
December Monthly Update
December Week 1:
At the end of last month Dan was just starting to wrap the middle section ready for spraying.

This would be our first time using an airless sprayer for painting, which also meant we were using a brand-new unit for the task.
I’m not going to lie, it was a learning curve to both set up, prime and use, but after one stressful evening, and then an iffy morning, Dan went from “this is f****ing shite, I’m sending it back!” to “this is f****ing amazing, I can paint an entire room in 20 minutes!”.
The rooms are not small, as you know, so even though the prep work to wrap everything up like an episode of Dexter takes a lot of time, you do save time and your sanity in the spraying process.
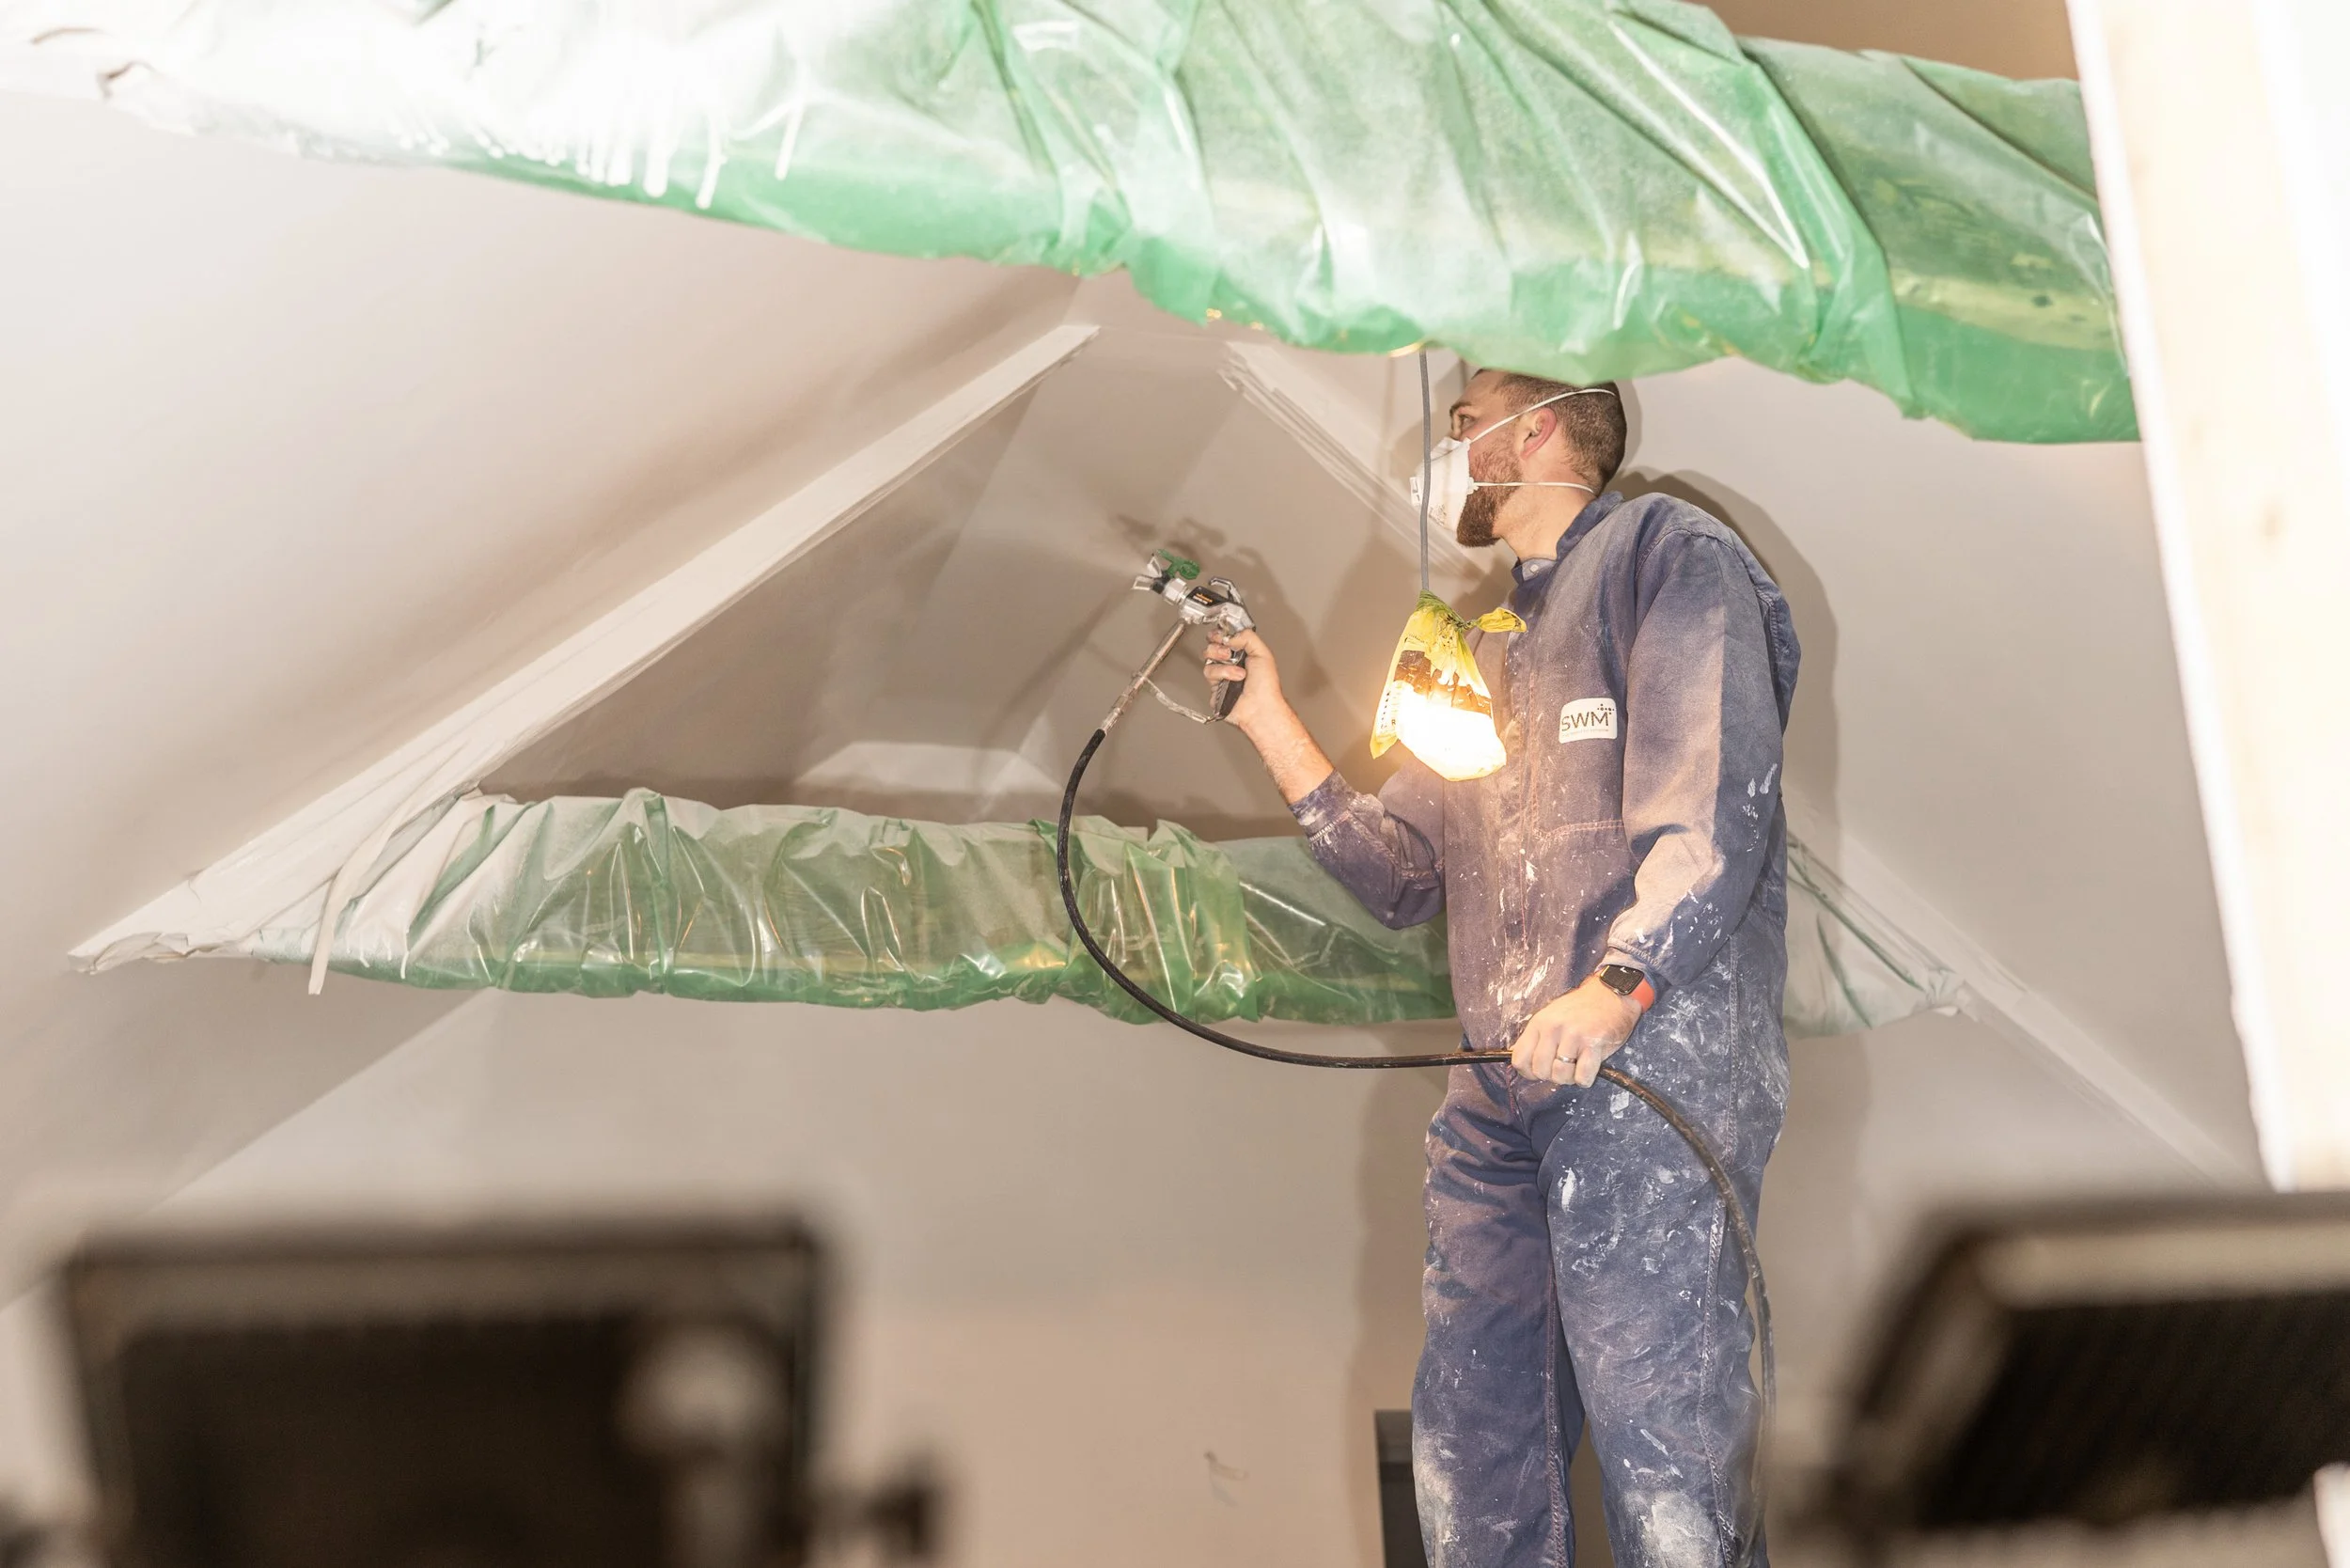
Over the course of the working days of this week (Monday - Friday, minus a half day in the middle), the entire middle section, except for my office, received a mist coat for the fresh plaster, a watered-down colour coat (10%), and a top coat.
If you remember from a previous update, every single surface is being drenched in one single colour for now. When we have time and funds post-finance, I’ll tackle each room one by one to give them their own personality.
I said everything was sprayed except the office, and that is true.
The office houses the stone Inglenook, and there wasn’t a simple way to protect it, because of how the stud frame joins it at each side. Therefore, this room was painted by hand, which took 1.5 full days to do end to end. The time was used up mostly in cutting in around 4 joins with very uneven stone work. This room is also the only room that will have a splash of colour when we move in, and that colour is going inside the back of the inglenook itself.
It won’t necessarily match the vibe of the rest of the house, so don’t have a panic about what it ends up being! This feature will end up being viewed by hundreds of thousands of people, so it’s more important that it’s a great background “set” and is on-brand for our organisation than fitting the mood elsewhere!
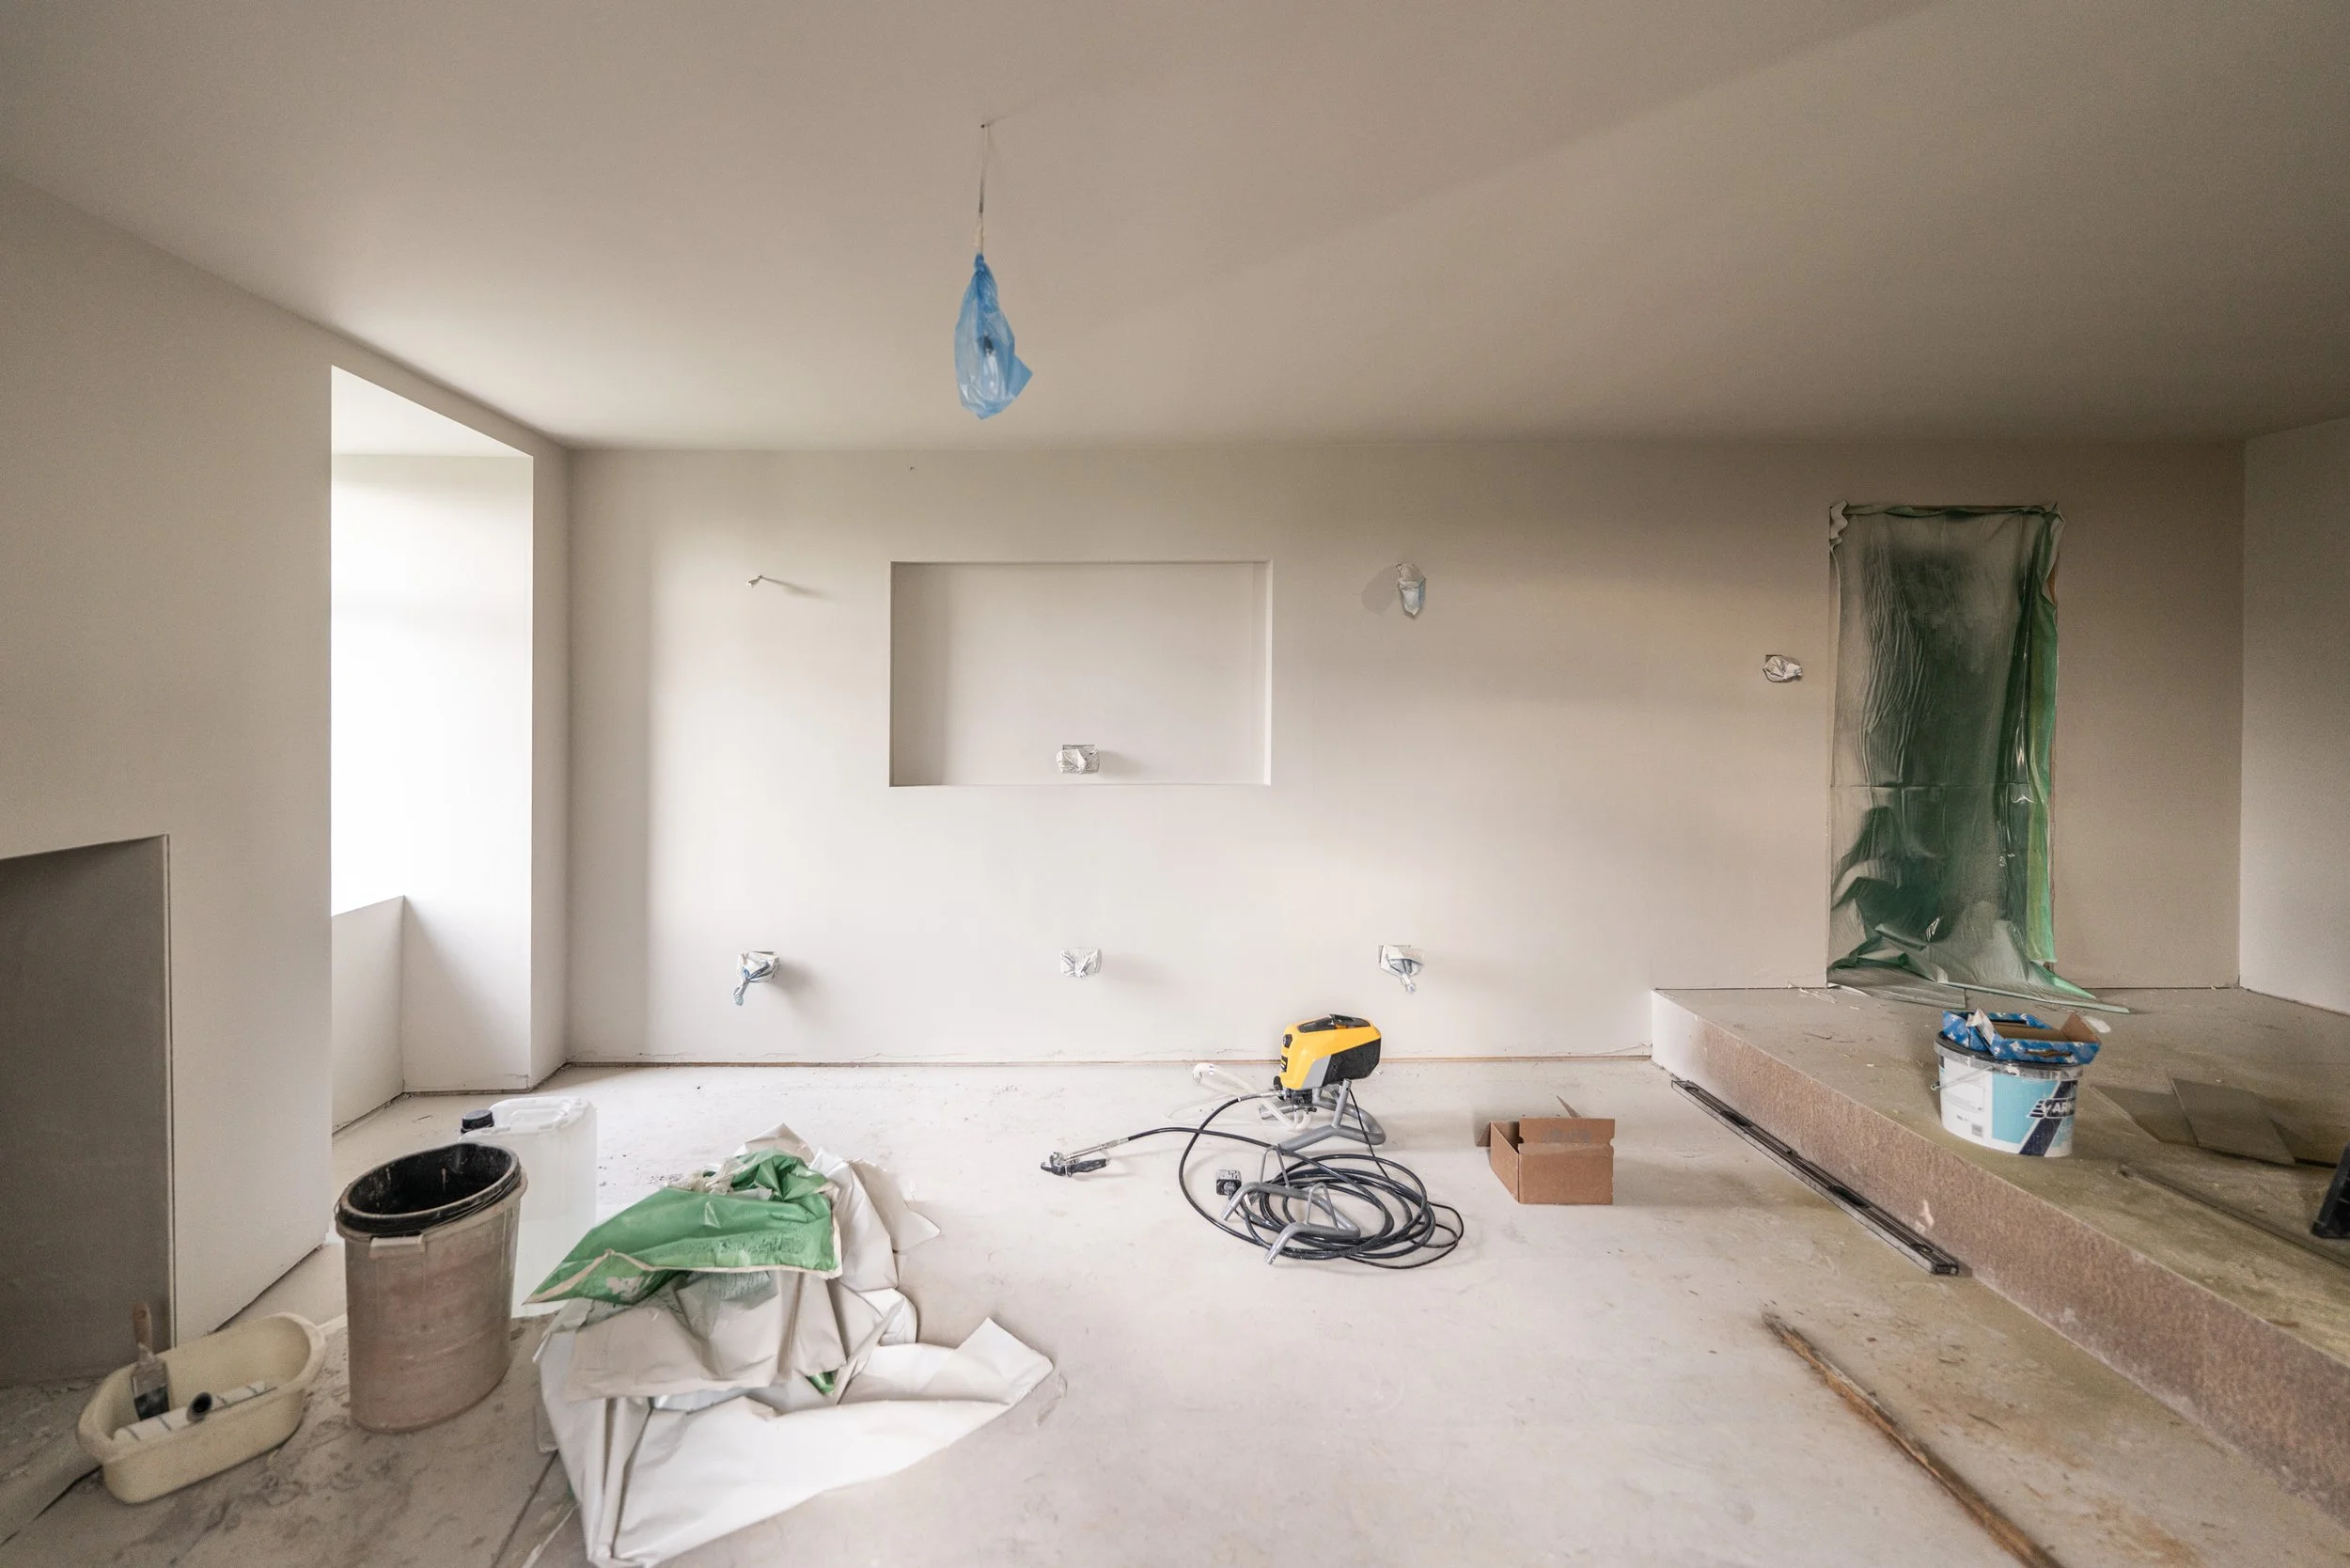
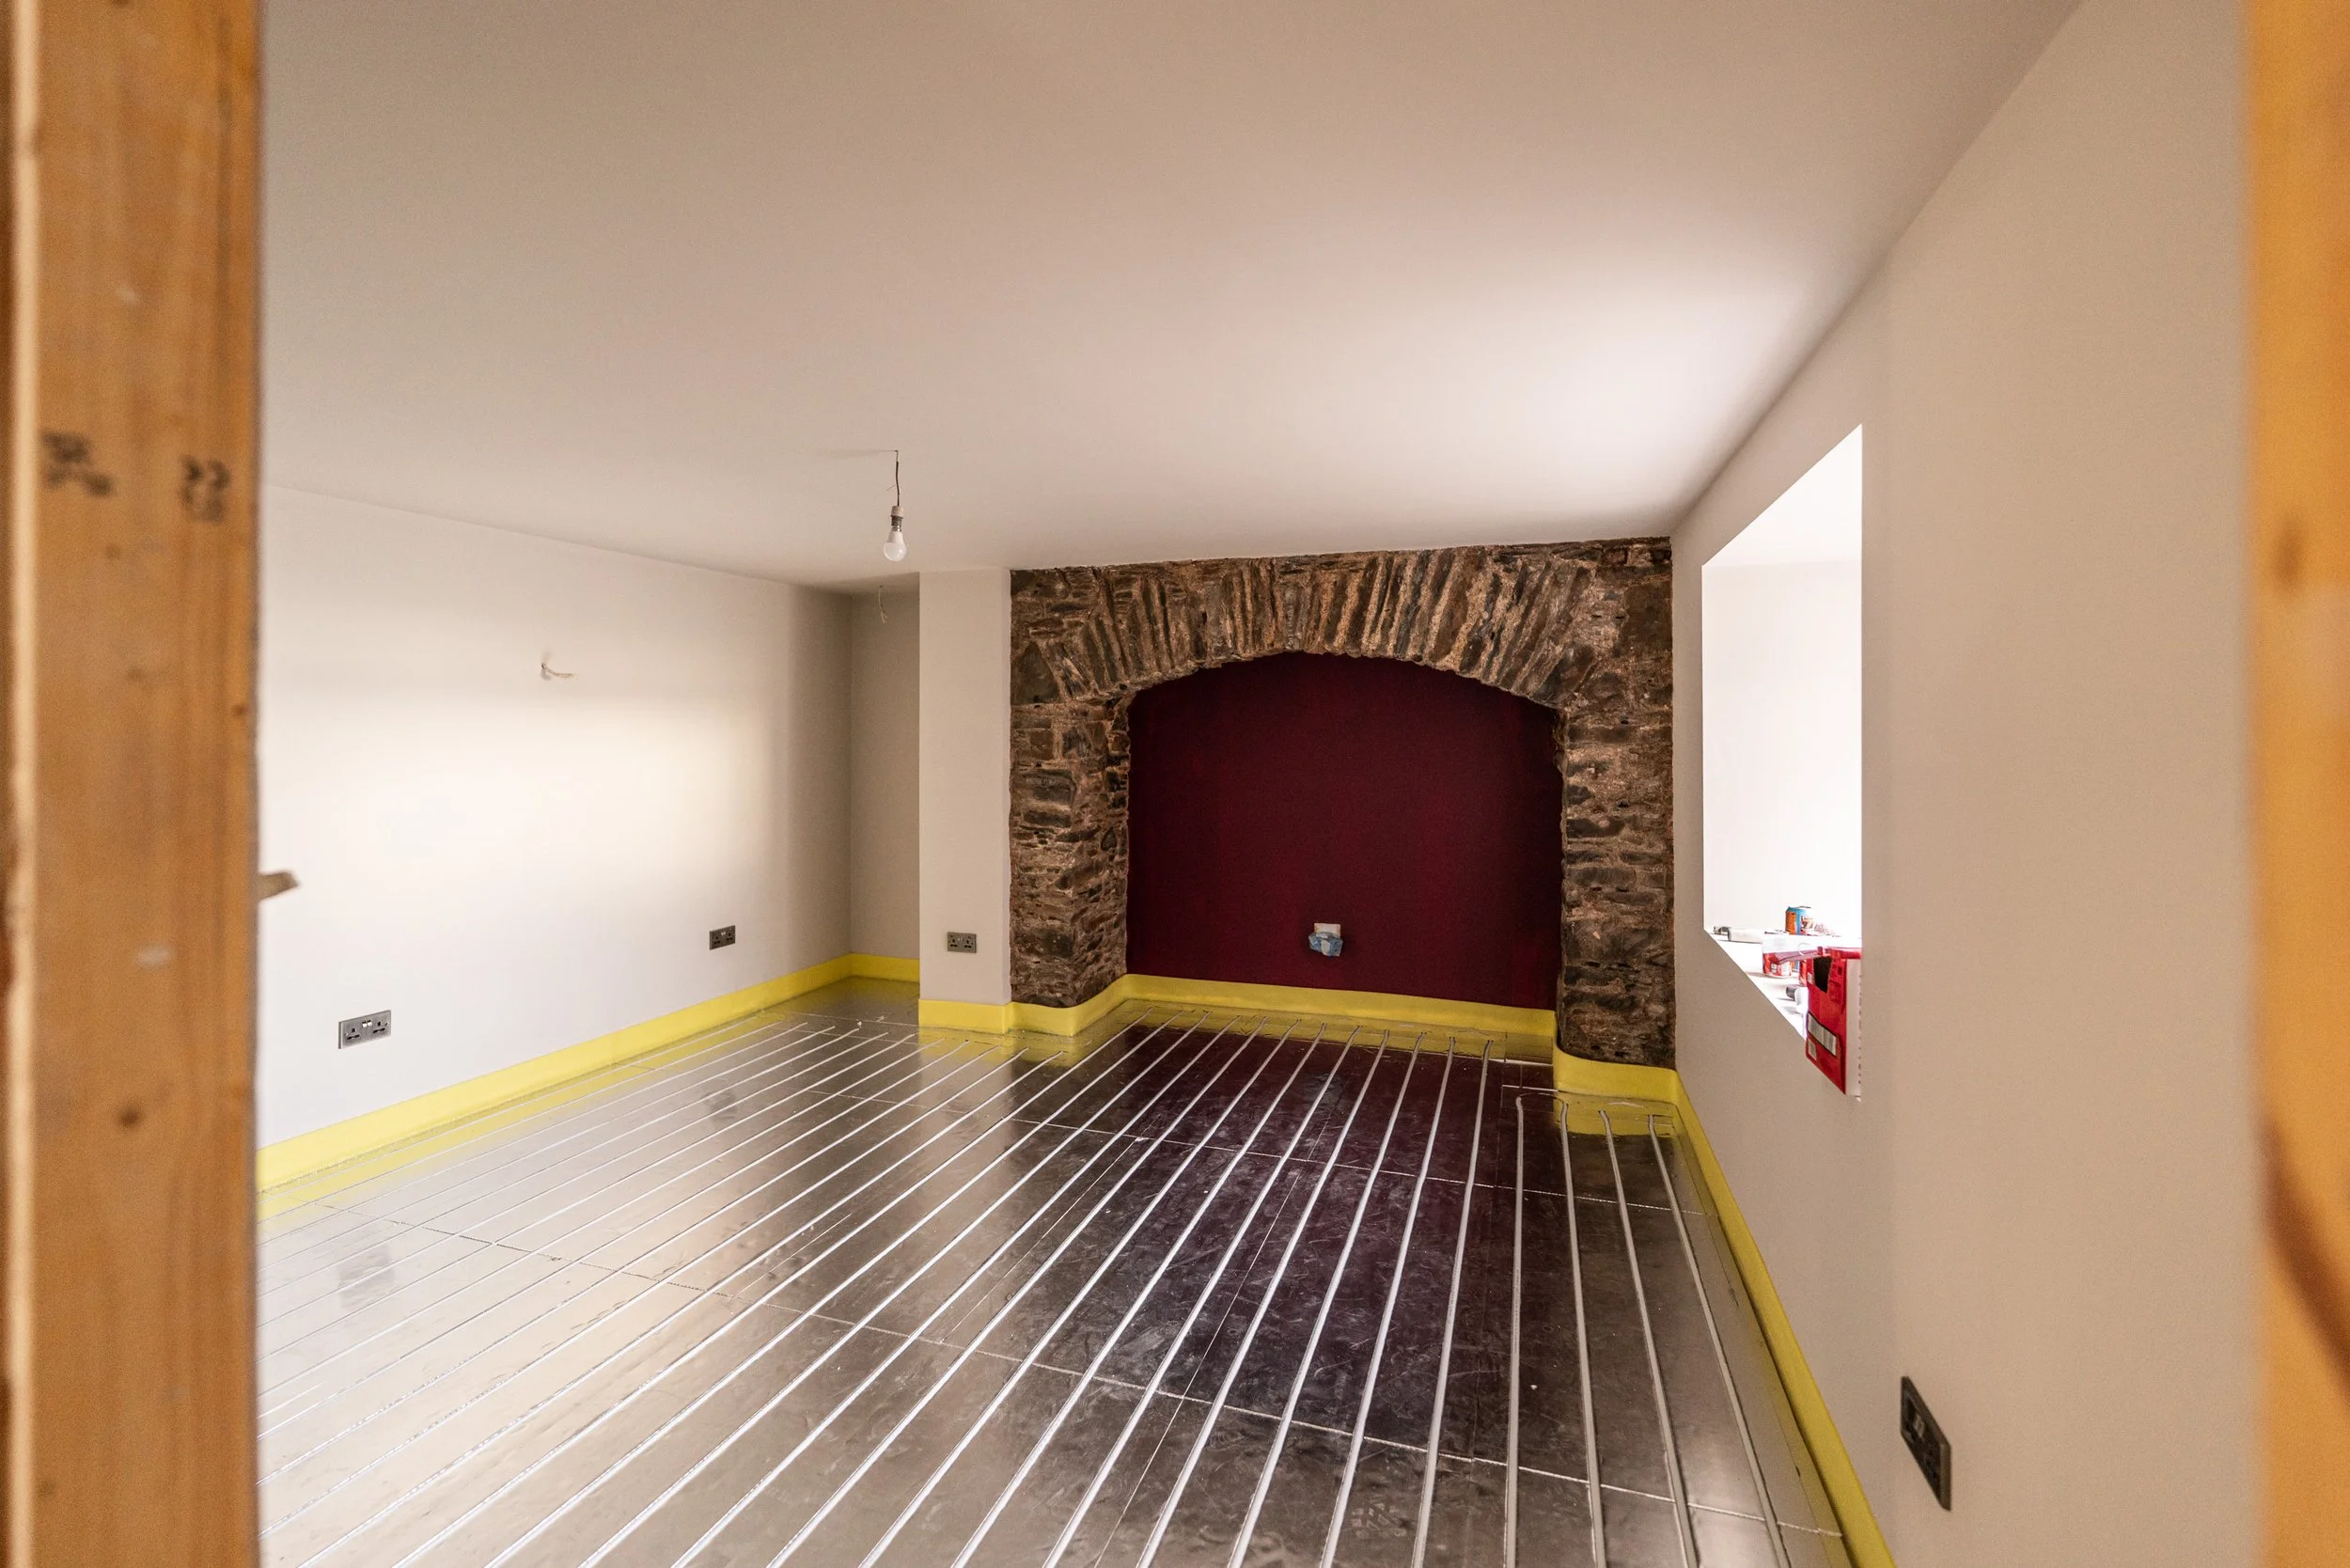
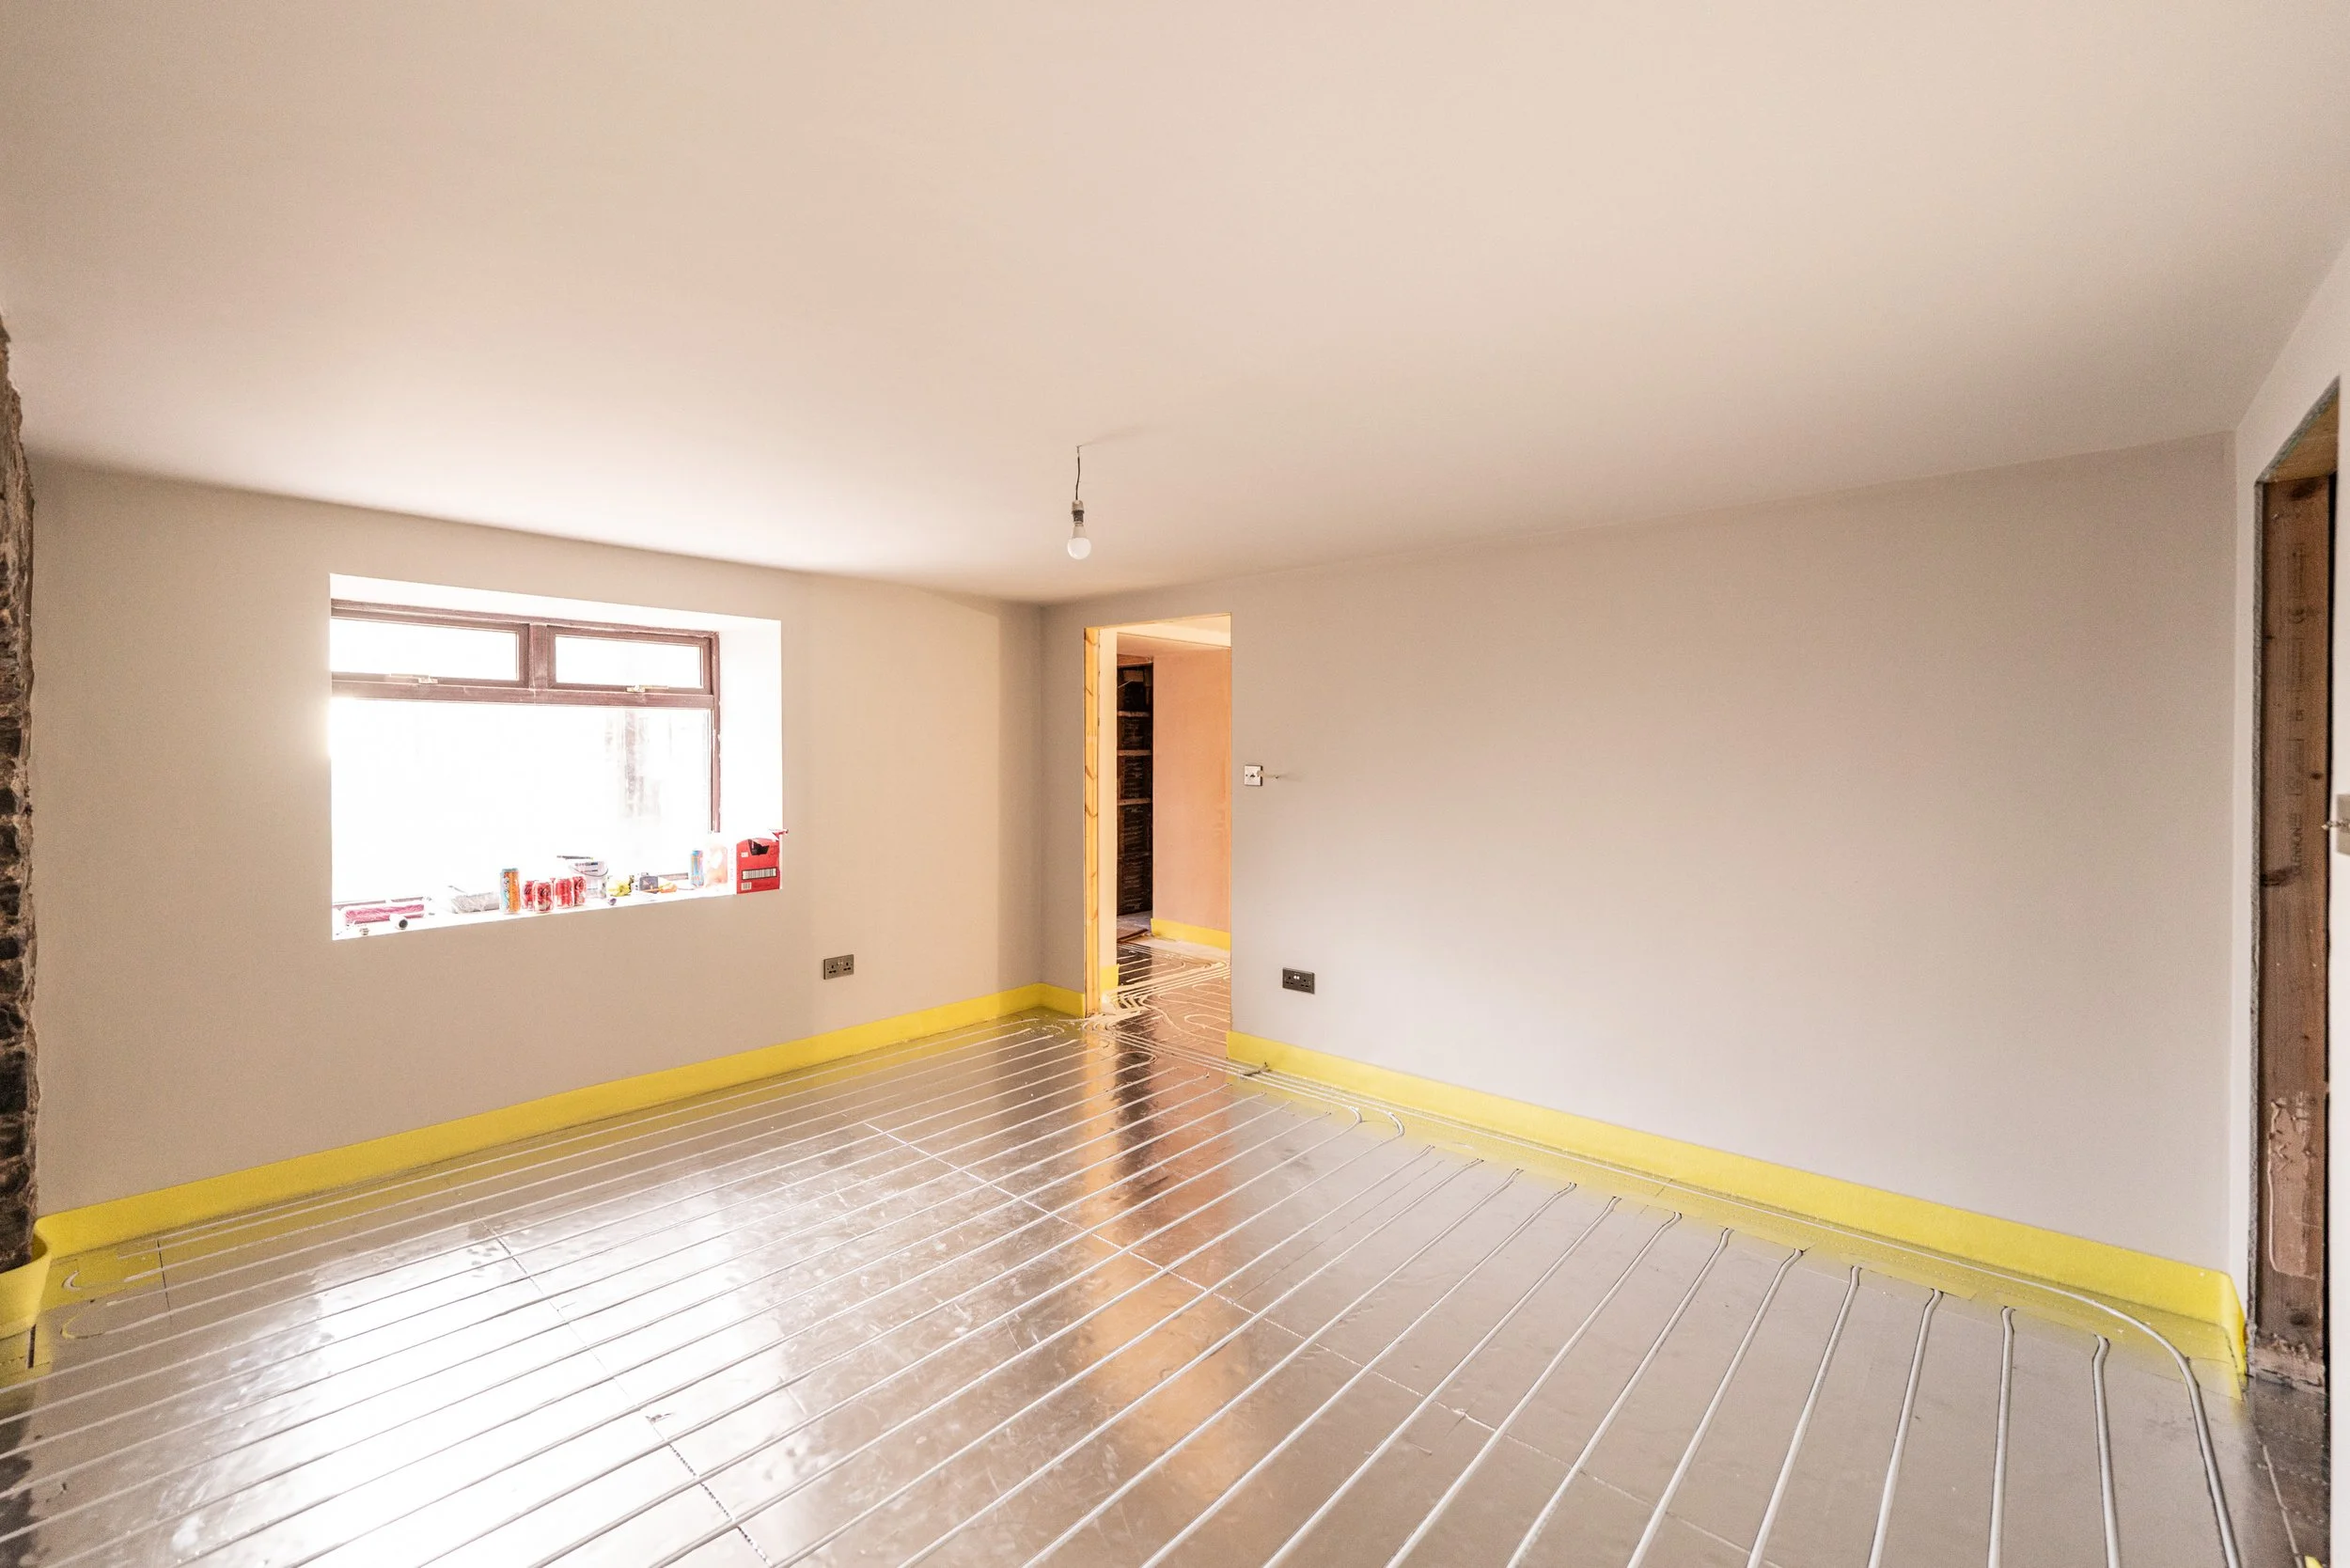
The rooms from plaster to paint look like this:
The Lounge (was: Library):


The Office (minus colour completion)
Because it wasn’t being sprayed, everything moved into this room temporarily!


Bedroom 2:


Bedroom 3


One of the days this week, Thursday, was a no-progress day. After working for a grand total of 4 days, the biomass boiled died… AGAIN.
This boiler is literally the most unreliable thing I’ve ever used, and Dan tried for about 4 hours to get her going again before giving up and calling in the pros. The engineer was here for a fair while and couldn’t figure out what exactly was wrong, but thinks it might be the fan (that creates a vacuum) or the control unit (which tells the fan to create a vacuum). Either way, after removing and replacing some wires, it did run (and still is).
I don’t think Dan will cope with this boiler, and it eats so much time to keep it running, so we’re going to have to look at alternatives in the not-so-distant future. I hope it lasts the winter 🤞
Also this week, the roofers came and replaced some slipped slates from the summer storms, we’re winter-ready (ish), and hopefully we’ll stay dry.
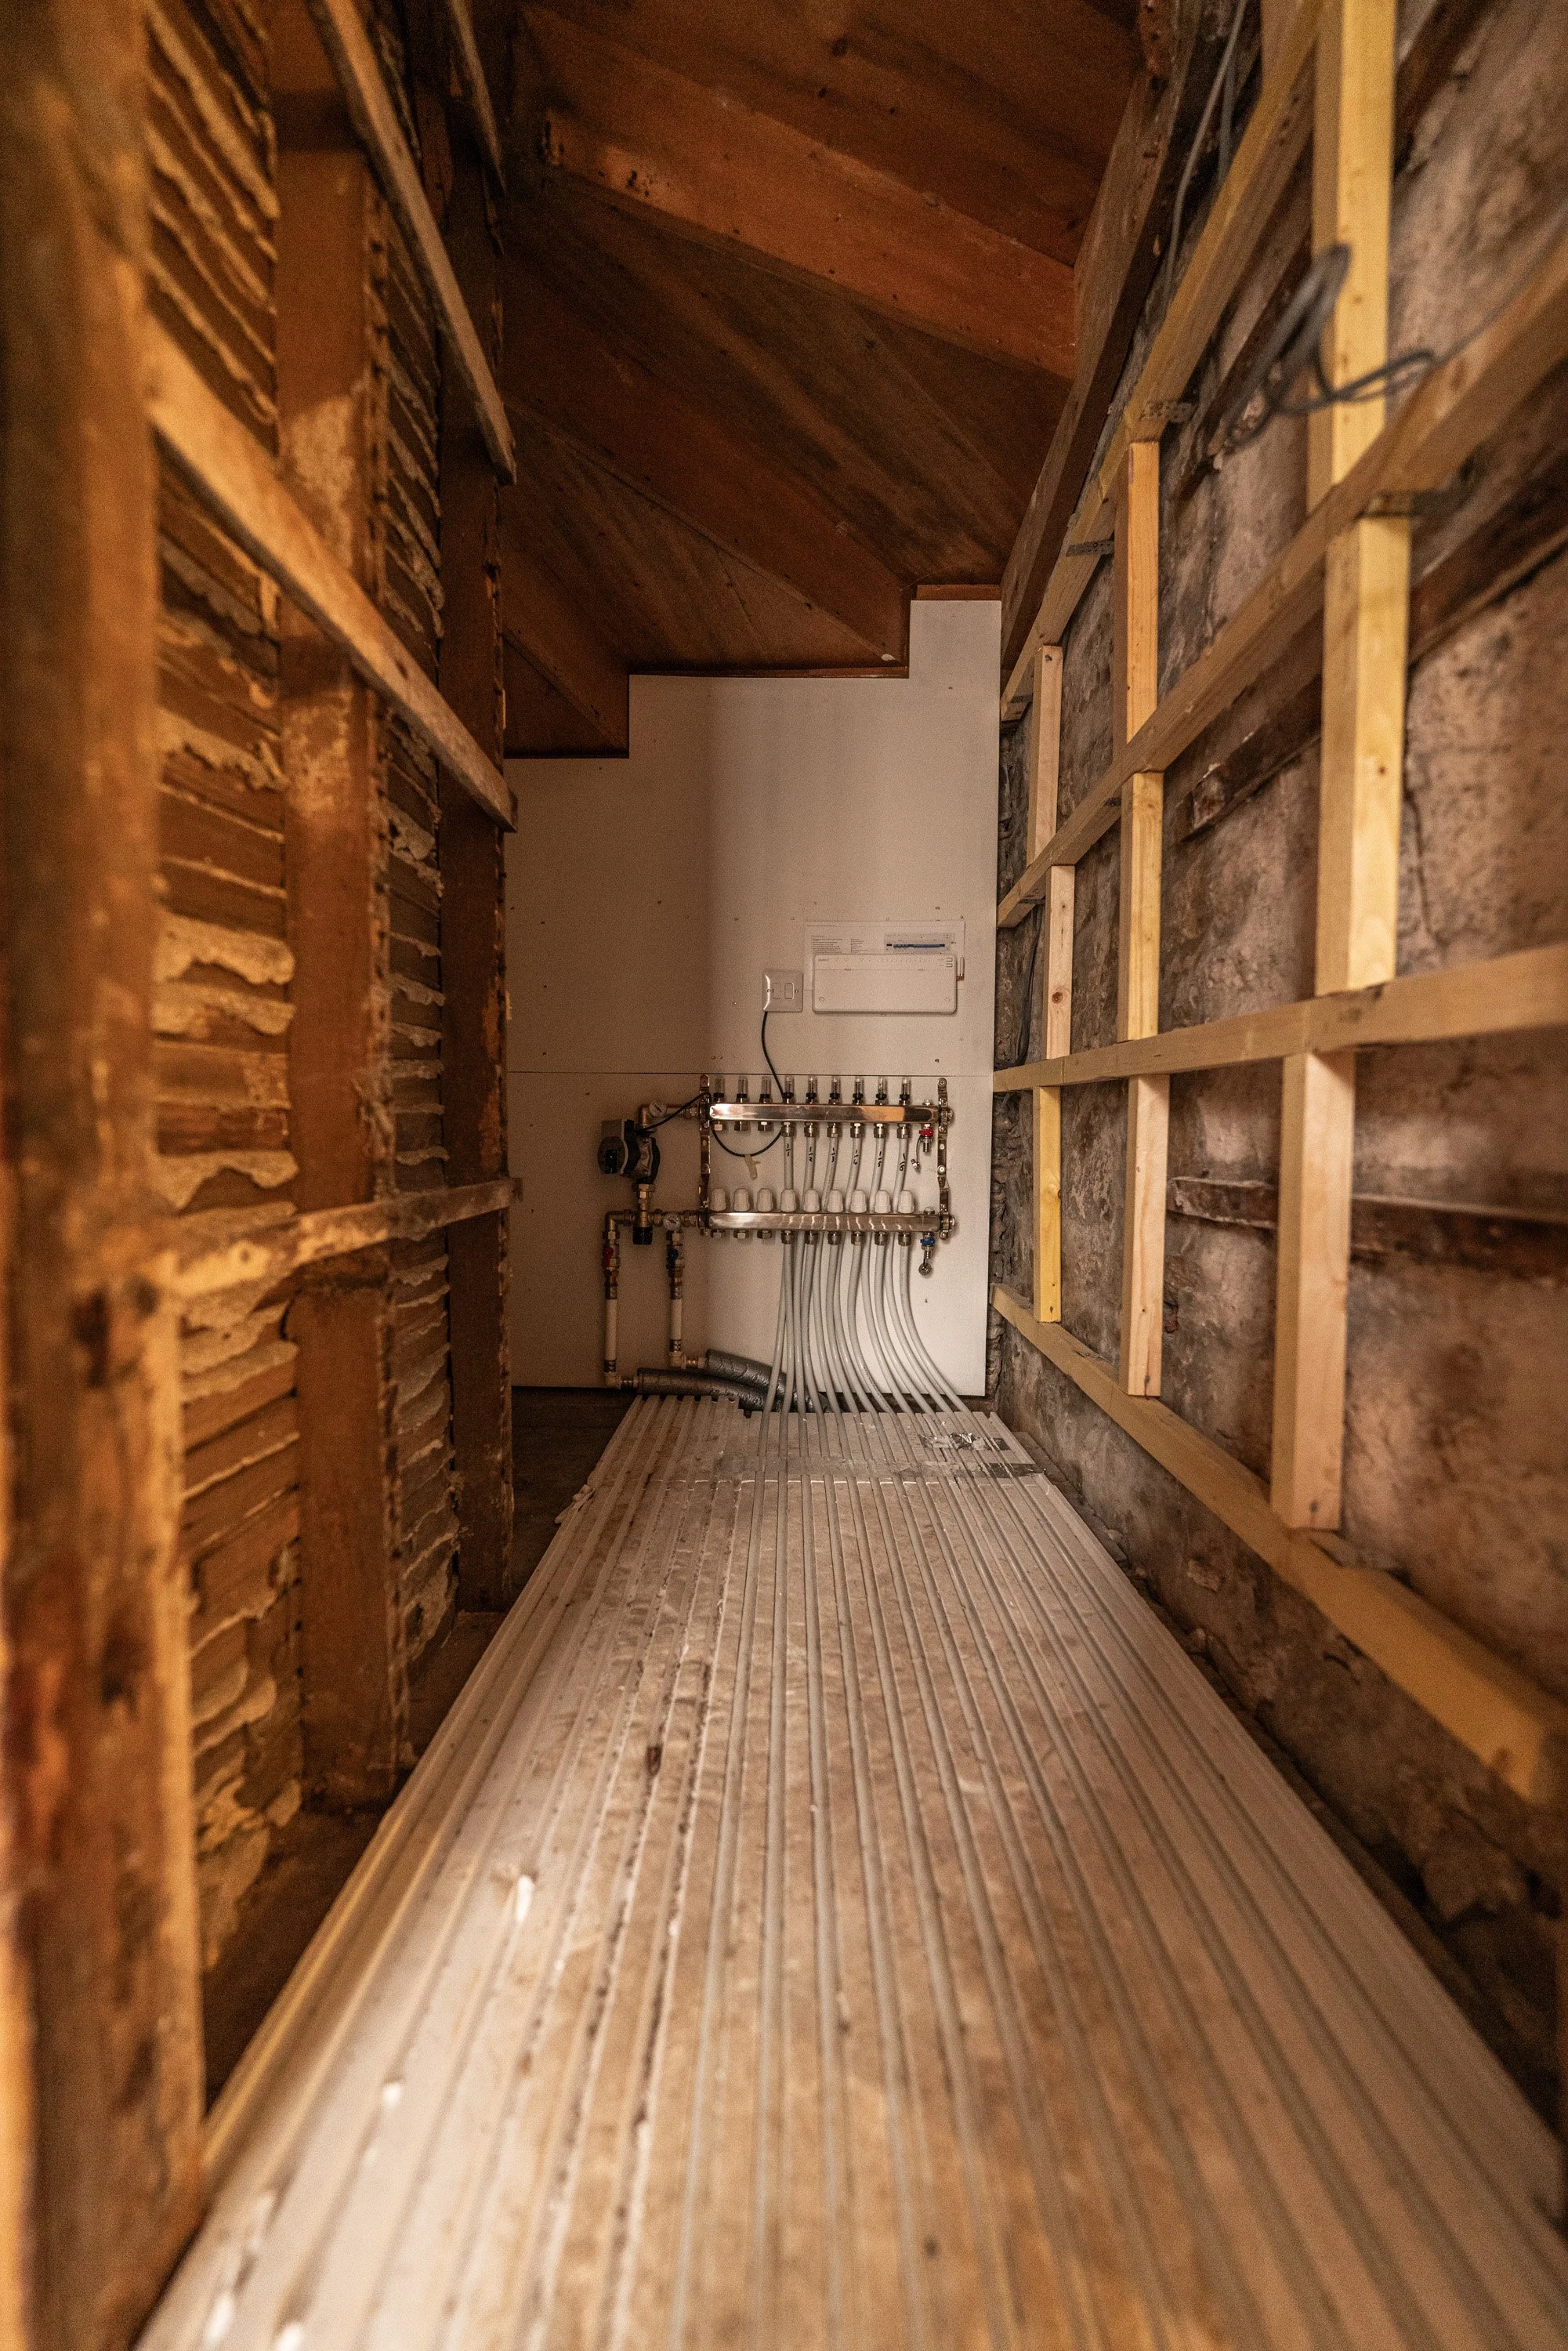
Also this week, Dan framed out and boarded the understairs cupboard, ready for the UFH manifold to get popped into. I don’t have an image of this complete, so the part done snap will have to do.
And, also this week (it’s been a bitty week!), we selected the flooring for the entryway, walkway and office. The supplier has sent a quote, it has been accepted, and we’re on our way to usable rooms 🥳
At the time of writing it is Saturday, and both of us have a big day tomorrow trying to lay some underfloor heating pipes.
Please send positive thoughts, we’re going to need them, and maybe a trip to the pub!
‘til next time…
December Week 2:
Underfloor Heating
Sunday of last week was day one of underfloor heating pipework, and it was a journey. We need to probably deep dive into just the UFH a bit because we’ve not talked about it too much, but in brief, the structure of the downstairs of the middle section is as follows:
Dirt. The base is dirt for most of the subfloor, but there is a concrete part that looks like it has had underpinning work in the past.
Cavity/Air gap. There is a vented cavity under the joists that has the original Victorian-looking air bricks on the sides. I was keen to keep the suspended timber floor because it wasn’t broken before, so there was no need to actually change it. Given how severely wet our area is, it felt like the right move.
Joists with insulation. The joists are all new, because the old ones were all wonky and bowed. Between the joists is 150mm PIR insulation, sealed with foam. The floor is a lot warmer than the uninsulated suspended timber floor before.
Weyroc boards. These are big, moisture-resistant tongue-and-groove chipboard panels that provide a flat and stable surface for flooring above. Would original floorboards have been nice? Yes. Would they have been left visible? No. They also weren’t salvageable from this section, so this is our outcome.
There are also no radiators or pipework for radiators left in the downstairs of the middle section, because we knew we were going down the floor heating route at the start. I did a LOT of research and ended up landing on Wunda, who do a product called “rapid response boards”. These boards are overfloor-underfloor heating, and they sit on top of the whole subfloor structure, heating only the finished floor product, which can be pretty much anything.
The worry I had/have about Wunda is how affordable it is. It’s not pennies by any means, but it’s also not anywhere near as much as we were expecting to have to pay, so I had a panic over quality/longevity/reliability. I guess we’ll soon find out!
A large part of the affordability is perhaps explained by the physical requirements for install. Planning to get it all done in two days was our fault, yes, but I still think you’d be a physically broken shell of a human if you had all week too! The process goes like this:
Step 1: Cleaning & Prep
All areas need to be clean, dry and dust-free. All DPM needs to be cut back, all holes filled, and all door jam studwork bottoms cut too. Also, remove all doors and skirting… we only had 2 doors to take off, so that part was straightforward.


Step 2: Tea Break Apply the Edging Strip
This is like a foam skirting board that has a sticky back and a plastic skirt that you wrap around the room to provide an expansion gap and clean edge on which to lay your final flooring, then the foam top is cut off, and the rest is hidden with your actual skirting boards. It’s a very straightforward application - by FAR the easiest part step in the entire process.


Step 3: Dry fit the Rapid Response Boards
For this, you’re going to need your map.
It’s called a pipe layout, and it shows exactly where to put the boards, the pipes, and everything else too. This was kind of nerve-wracking, because this entire pipe layout that Wunda created was from my own measurements and rough floor plan that I sent over. Dan checked the measurements but not the floor plan, so I needed a bit of luck to get this sorted. For reference, this is our map, and then me reading the actual map, because by default that was also my job.


With some orienteering practice, we began to lay. A couple LOT of hours later, we had the full middle section + entryway boarded, cuts complete (definitely Dan’s job) and everything was exactly correct on the map. Wahoo!


Then we headed in for dinner around 9pm before Dan went back out to do the next step:
Step 4: Stick the boards down
This step I wasn’t around for, but Dan worked through the night until 2:30am getting it done. Using the adhesive spray provided, Dan sprayed the floor and a bit on the board, for every single board and cut piece, in the entire middle section. Each board needs 80% contact with adhesive, so that’s what they got!


Time totals for day one are:
Jess = 12 hours
Dan = 19 hours
Physical situations were:
Jess = Exceptional lower back pain. Not new, very bad.
Dan = Exceptional knee pain. New, pretty bad.
Day two then got going with…
Step 5: Channel Opening
I’d seen a hack on TikTok using a hoover (vacuum) nozzle to break into the pre-cut channels, past the super-strength aluminium cover (which is VERY sharp btw), and I went straight to that for my role of pathfinder for the pipes. Following the map (see section further up), I just went and did that. At the same time, Dan was cutting through the foil and the boards too, to create new channels where there currently were none.
With our system set up, we went and smashed it out.


Step 6: LAY THE PIPES
At this stage, both Dan and I have numerous cuts on our hands because we both refused to wear gloves from start to finish, but the pipe was calling so, following our map and channel pathfinding, we piped.
This was, by far, the hardest part of the process. Not necessarily because it was hard, but after the rest of it and a bazillion hours, with existing physical pain, it was hard going and the pipe had a mind of its own. The instructions say to flip the roll of pipe 180 degrees at every turn, but I couldn’t get my head around which way it was supposed to flip, so after a whole hour that saw very little progress in the bank, we switched tactics and “drove around the corners”.
We also went off the instructions fairly early and resorted to a bit of tape over the bends to ensure they definitely didn’t move, and Dan tapped the pipes tight into the channels with a rubber mallet too, which sped up the process exponentially.


By 10pm, we had all the pipe in, labelled with zones and loops, flows and returns, That meant that, technically, it was ready for both commissioning and the self-levelling compound on the lounge section, ready for engineered wood floorboards to be added in the new year.
Time totals for day two are:
Jess = 14 hours
Dan = 15 hours
Physical situations were:
Jess = Cuts on both hands from the metal foiling. Next level lower back pain, crutches required. Not new, very bad.
Dan = Cuts on both hands from the metal foiling. Hand, back and exceptional knee pain. All new, very bad.
Shells of our former selves, we headed inside to crawl up into balls and toast to a job well done 🥳 100% worth it.
Photographed, it looked like this:


Little Bits
In the middle of all that, when Dan was cutting pipe channels, and I’d finished with the hoover nozzle, I did some “polishing”.
Putting sockets and switches back onto the wall was part one, but a bigger moment for both of us was removing the plastic wrap from the trusses upstairs that had been wrapped for painting. They look SO GOOD.


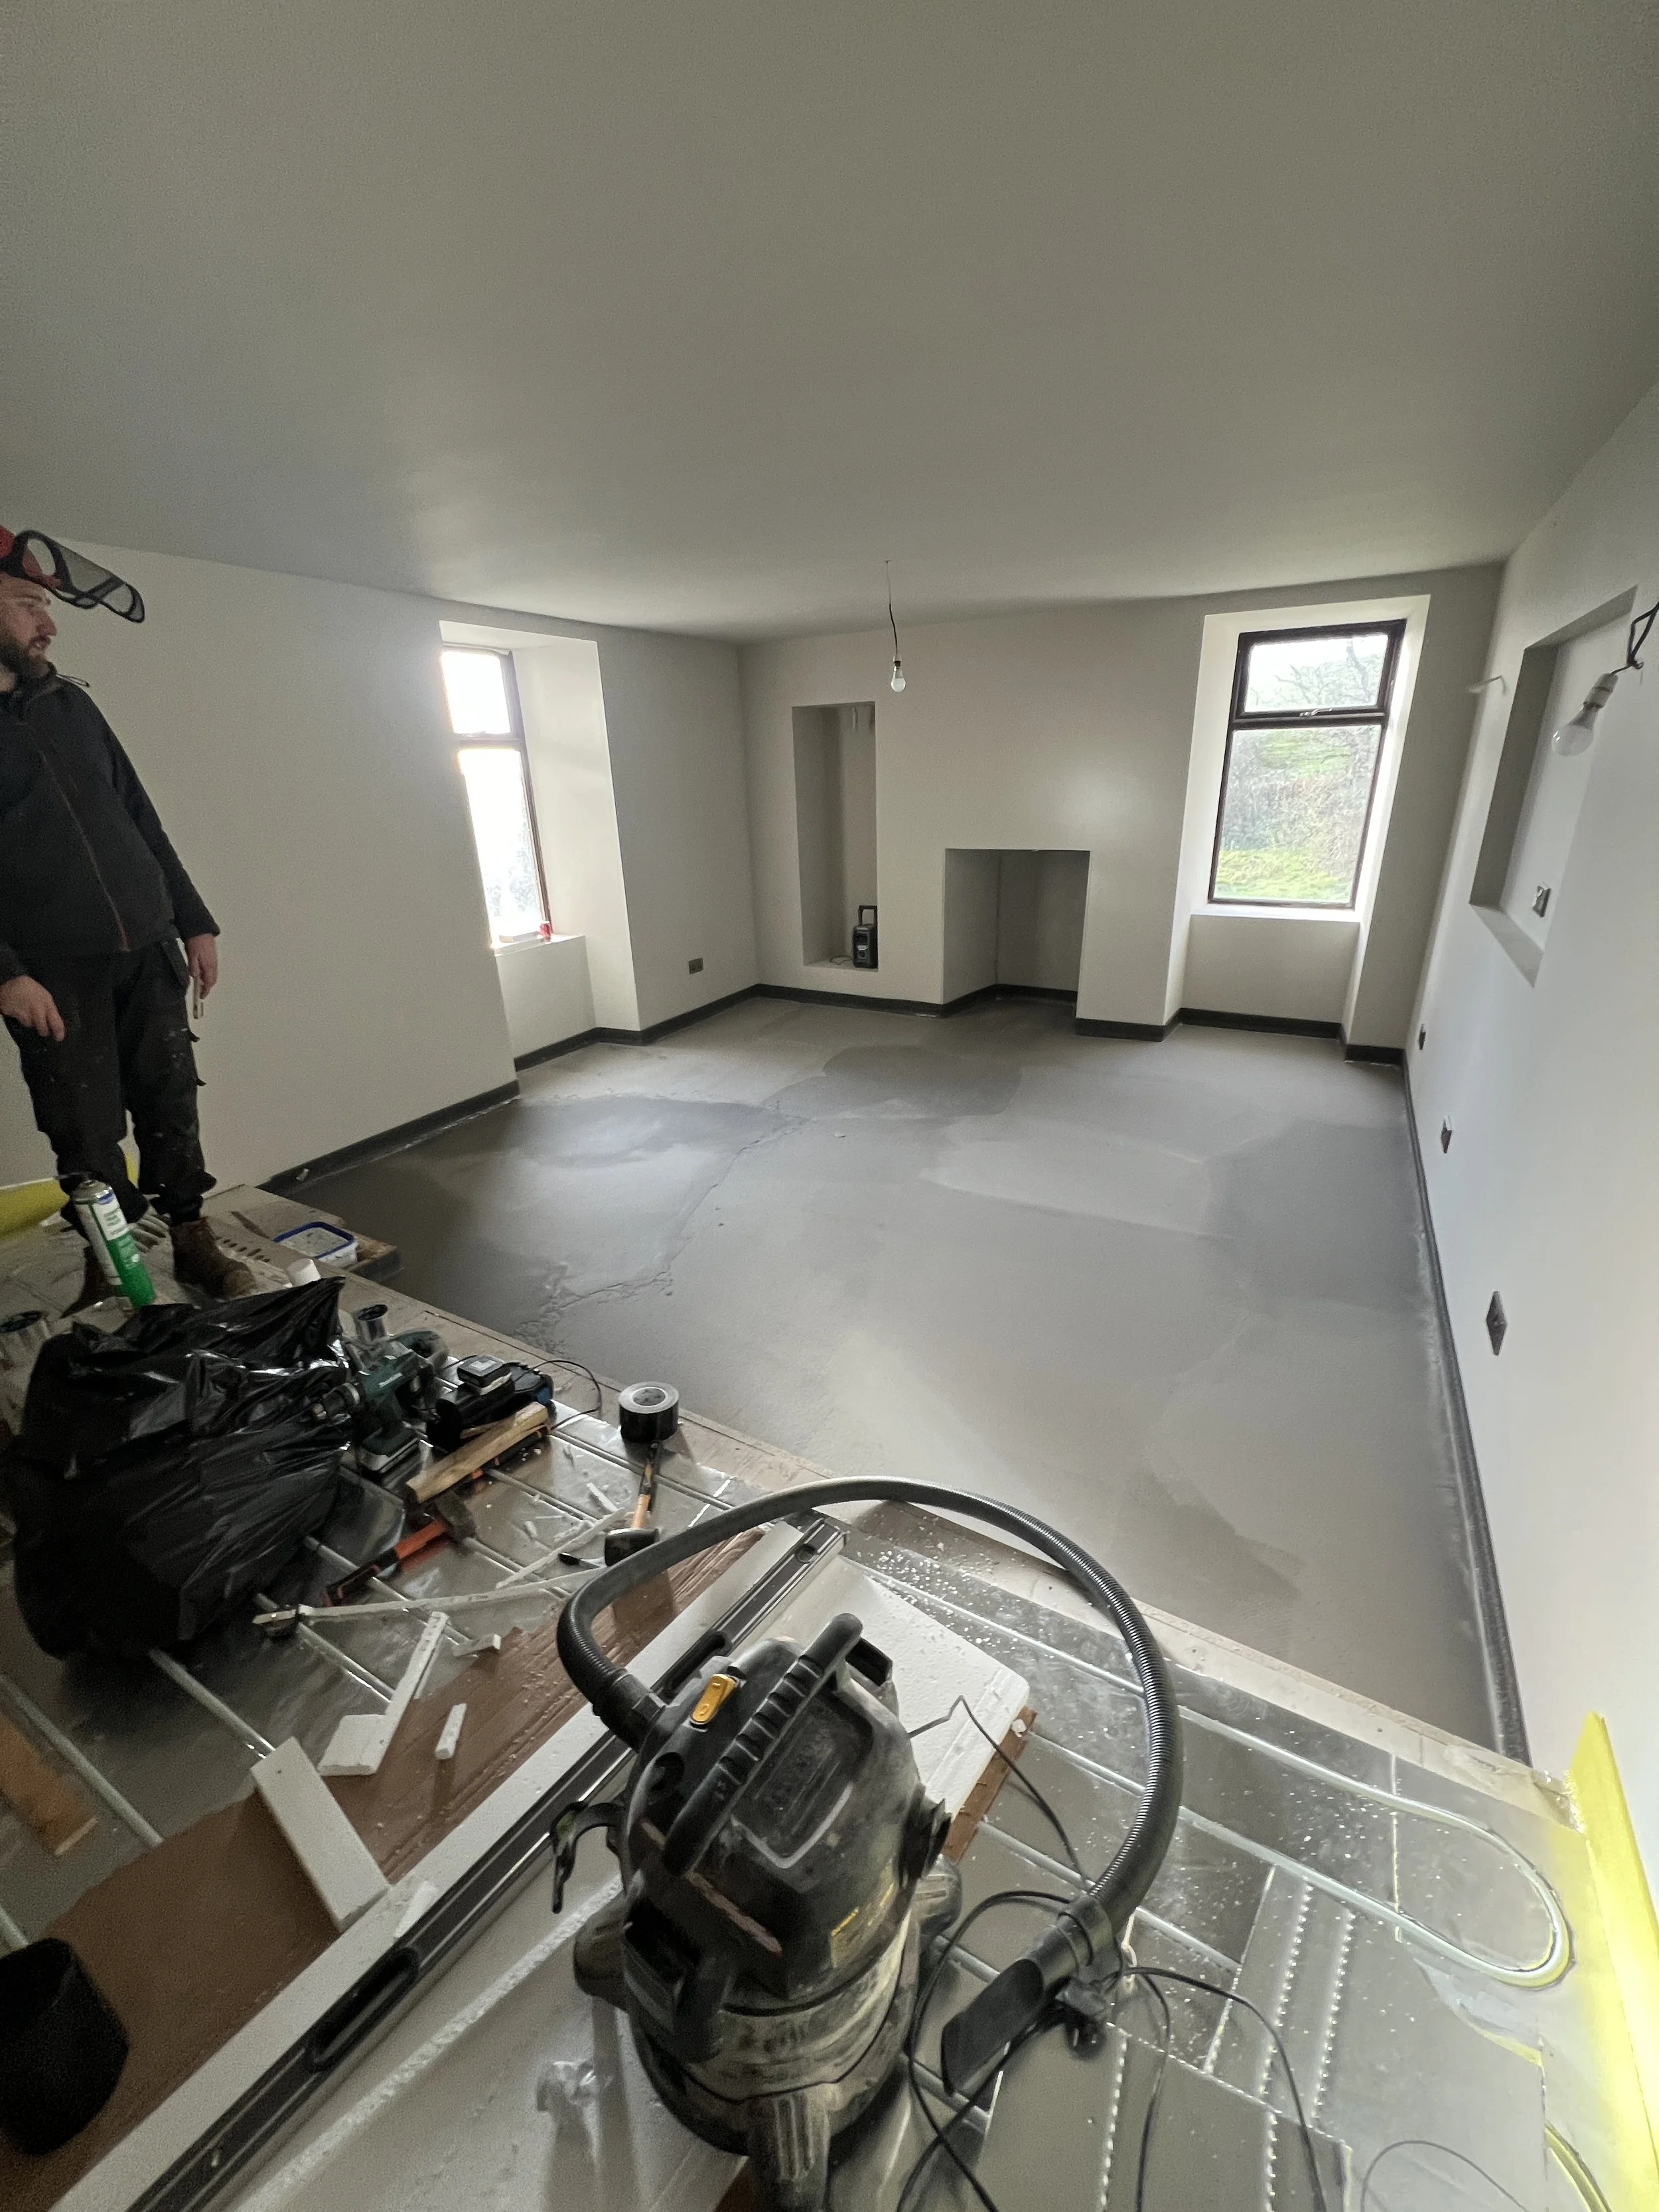
The Compound
Ahead of next week, when something VERY exciting is happening, Dan needed to make the floor be flat in the lower section of the lounge.
Armed with WAY too many bags of self-levelling compound, but coincidentally not quite enough bags to finish up in one fell swoop, off he went! Each batch was mixed and poured, creating a little bit of colour variation right up until the last tiny bit, which was when the compound ran out.
Dan headed out to grab another few bags to get the job finished, and although it looks like there’s a tiny lip, there actually isn’t.
The floor is fully flat, she’s ready to go and we’re holding at this stage until the new year, as the flooring contractor (and us!) need a little more time.
The little plastic skirt on the edging strip from the underfloor heating came in very handy here. Its job is to help provide a seal for situations just like this. Remember, this floor has a GIANT gap underneath it, and the top boards are just boards.
Both of us were really worried the compound would just wibble wobble its way down under there, but the skirt and Dan’s micro-filling meant that, oddly, this went really well. Yay!
The Boiler/Heating
Monday this week also had an important moment. Yes, the boiler was working again last week, but it also died again last week, and the summary of a painful situation is that it is dead. It’s actually not fully dead, but the cost of making it not dead again will vastly outweigh the value of the unreliable biomass boiler itself. The issue we have now is…
The cost of a new, reliable (ish) biomass boiler is absolutely not possible.
The feasibility of putting air source in is (hopefully obviously) ridiculous, given the general thermal envelope being disastrous outside of the middle section.
Ground source is not doable right now. There’s no chance she’ll be done in the next two years, and digging into sheet rock is not simple or cheap.
Gas isn’t going to fly. It scares me with a giant gas tank next door and mains is impossible.
Oil is the only answer left.
Therefore, Monday was emergency quote, spec and location decisions for a new boiler for the main farmhouse. The fact we’ve been backed into the oil corner is sad, but at the same time, there genuinely isn’t another option here. The boiler home is found (Dan’s Pantry, sorry Dan), the tank home is found (Dan is in charge of making a base), and the whole thing is happening next Tuesday, because we’re an emergency case.
Did I mention we need to stay in this house over the Christmas period? Well, now you know!
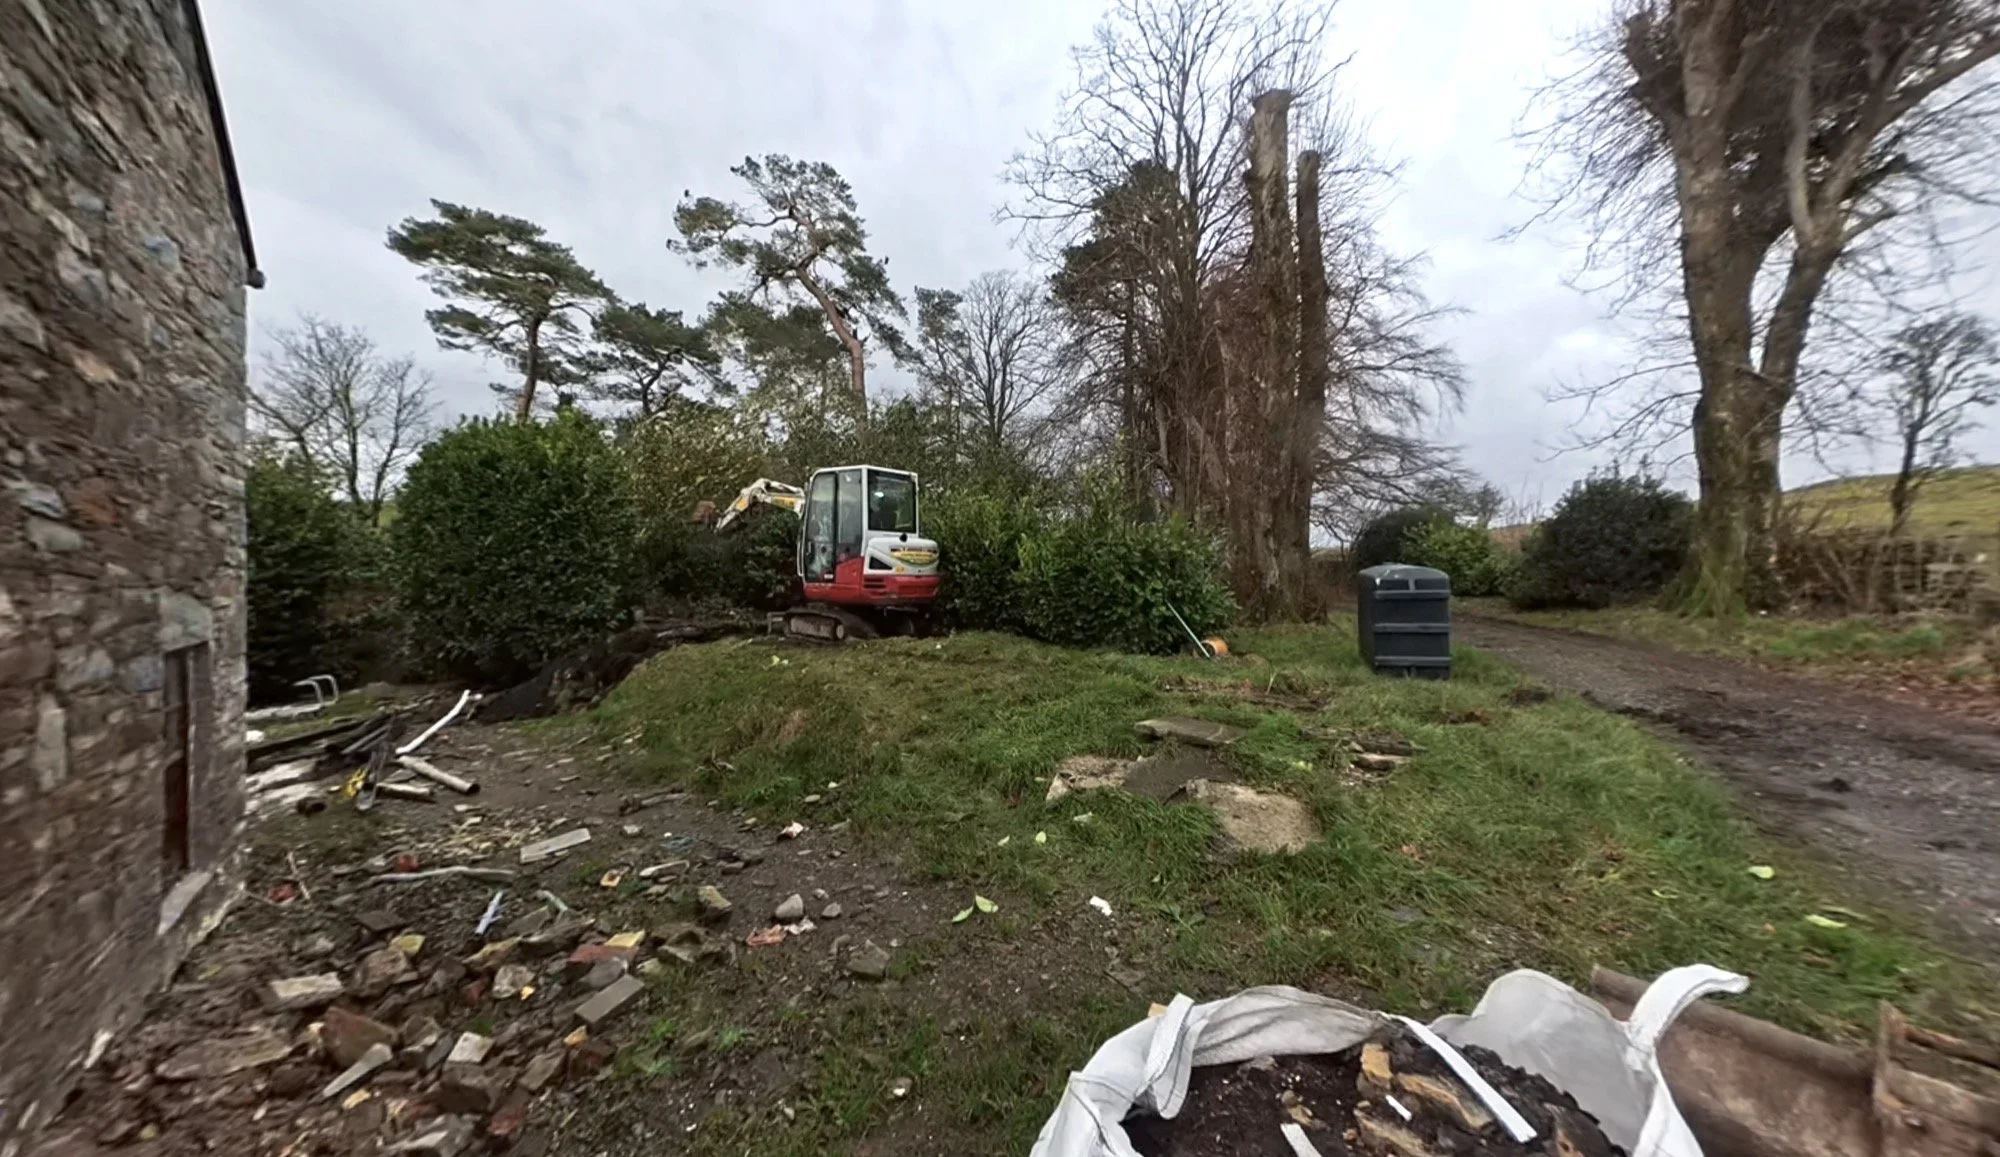
So, with a new thing we did not have time for on our December schedule, Dan cut trees in the week, then on Saturday, I took Bryt to go be a gundog for a day, which she nailed, and Dan borrowed a digger to start digging the base out. We all had fun,

It’s Saturday today and we have a busy Sunday in awful weather coming up tomorrow, but we will keep going!
December Week 3:
T’was the week before Christmas,
When all through the house,
Everyone worked like crazy,
Especially my spouse…
Legit, this week has been MAD. Let’s start with the big one…
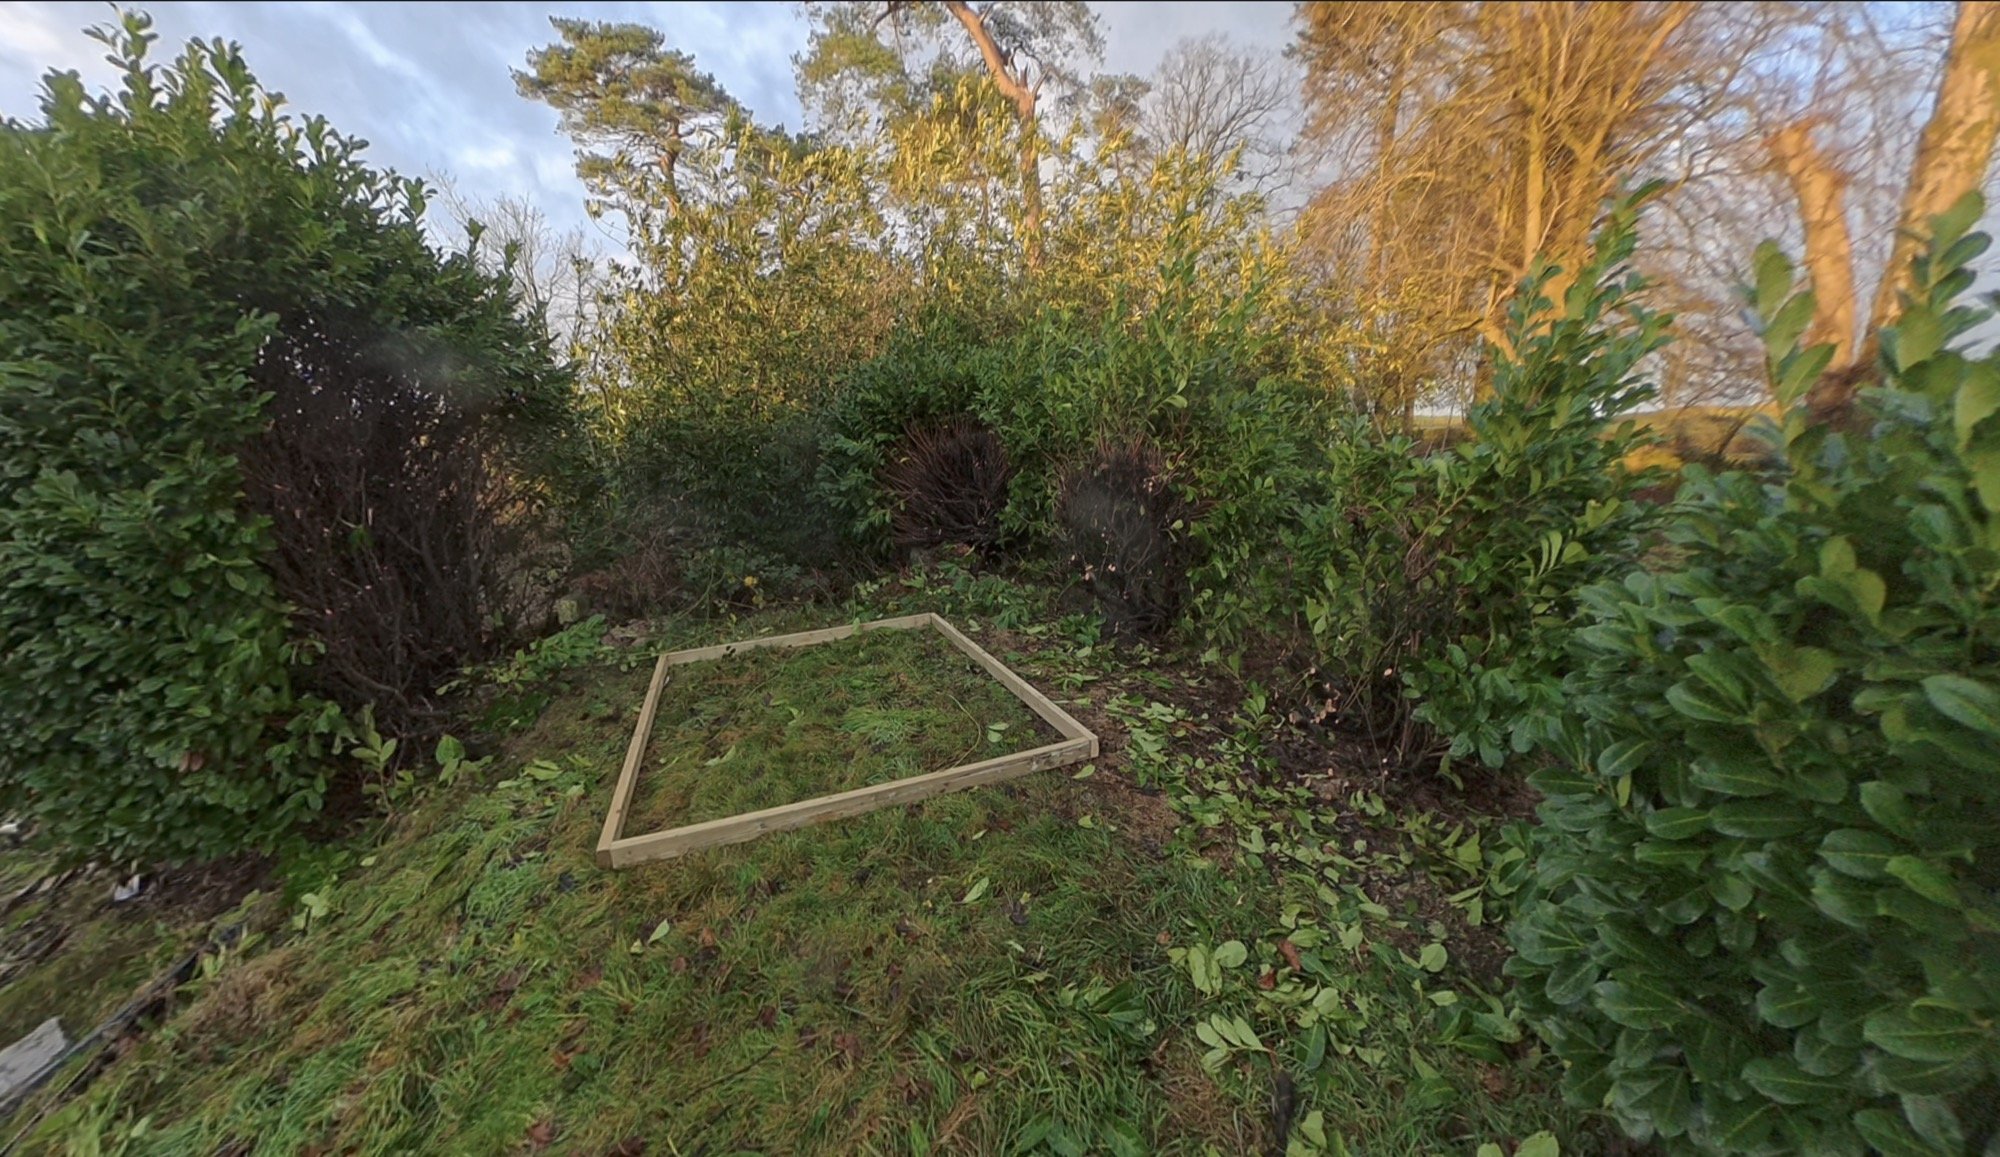
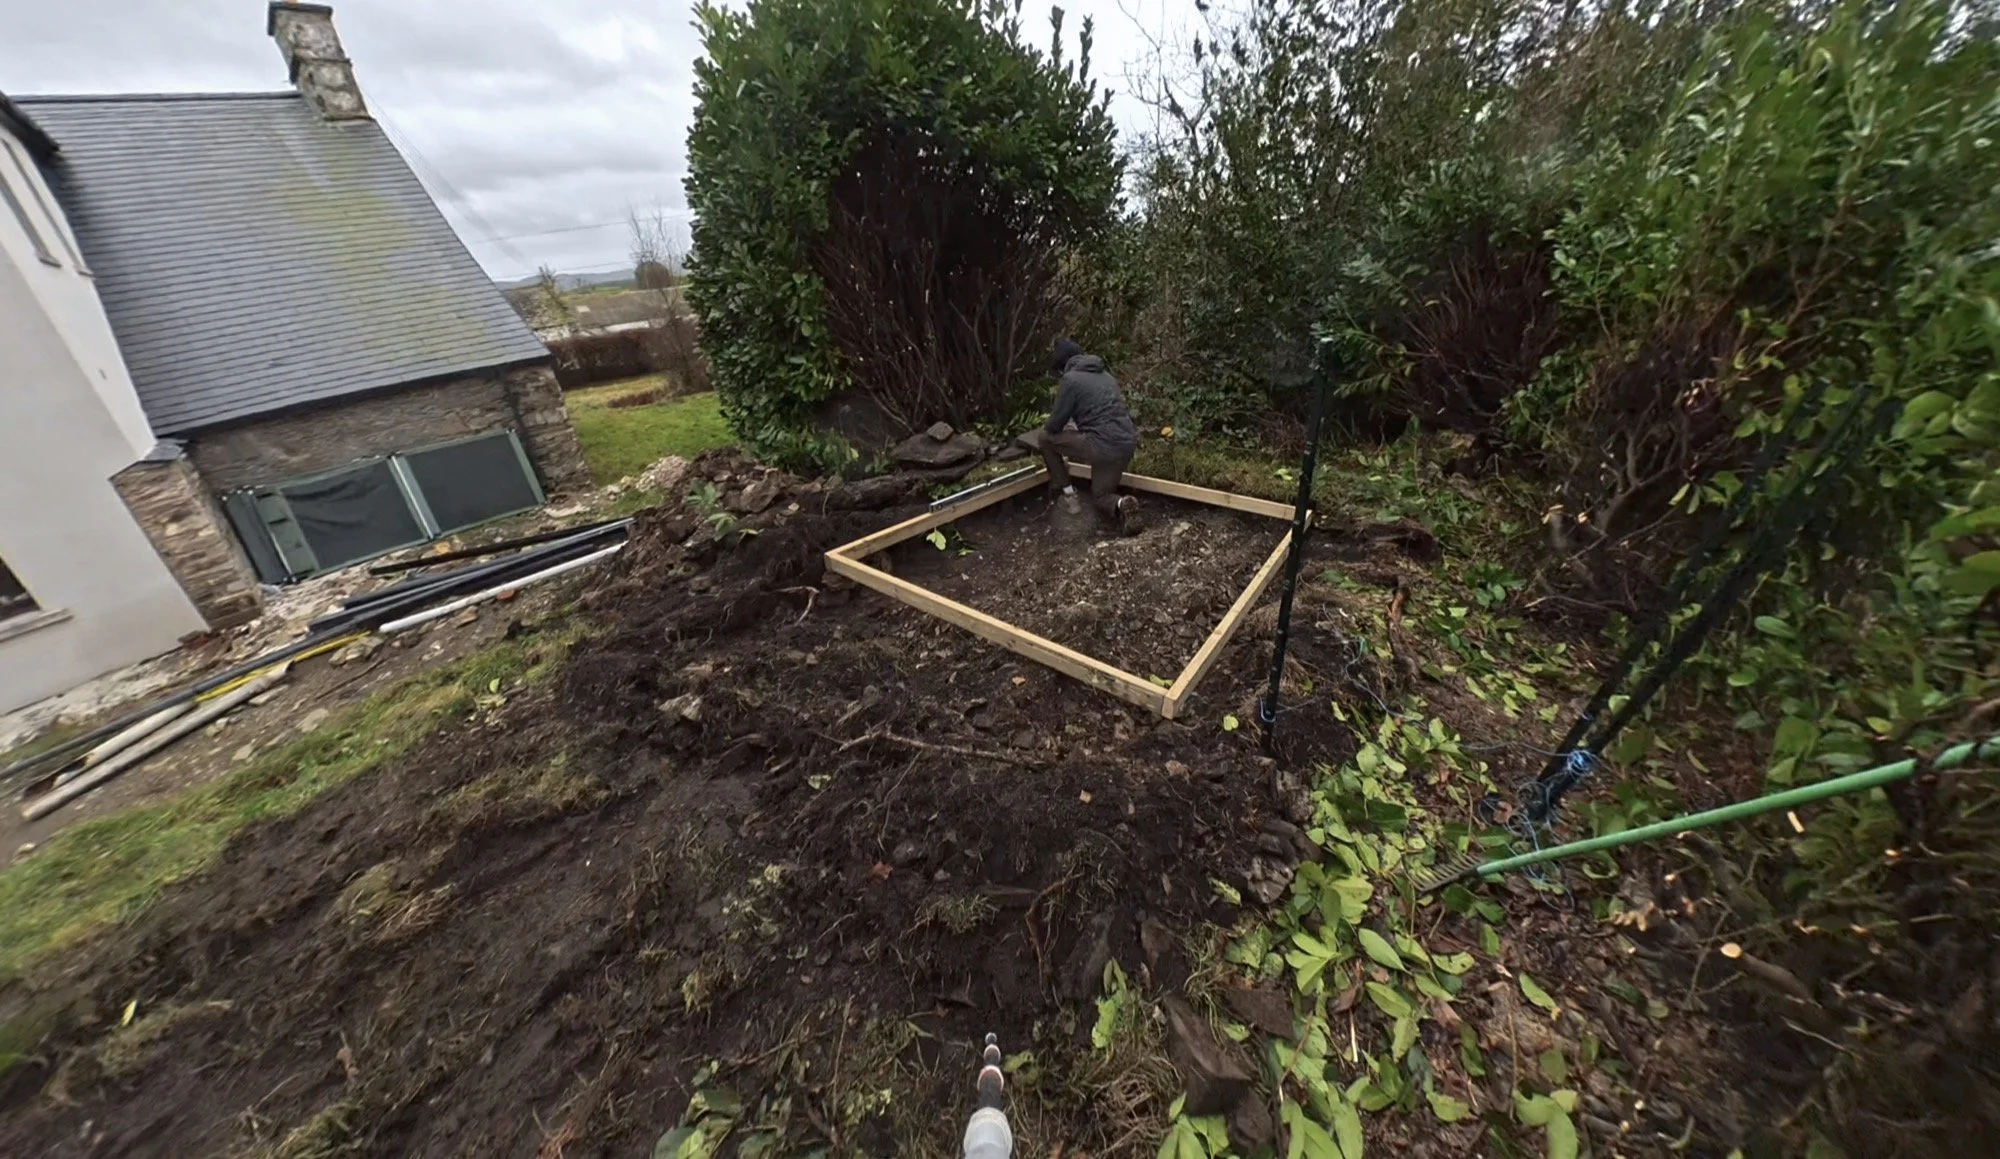
Last week, we left off here with a dead boiler (biomass) and Dan digging an almighty hole on a rock ridge whilst I played away with Bryt. He started making a frame and marking where he needed to dig. Then he spent almost an entire day excavating the small square. It took almost an entire day because, as is true everywhere here, the ground is solid rock.
A few boulders - and more dyking stone than we really need lying around right now - later, the hole was dug, and the frame was put in. To make sure nothing moved too much into the slowly developing quagmire (solid rock, slow draining), Dan popped down a membrane inside the frame and then threw in a load of stone we had left from our french drain mission earlier this year.

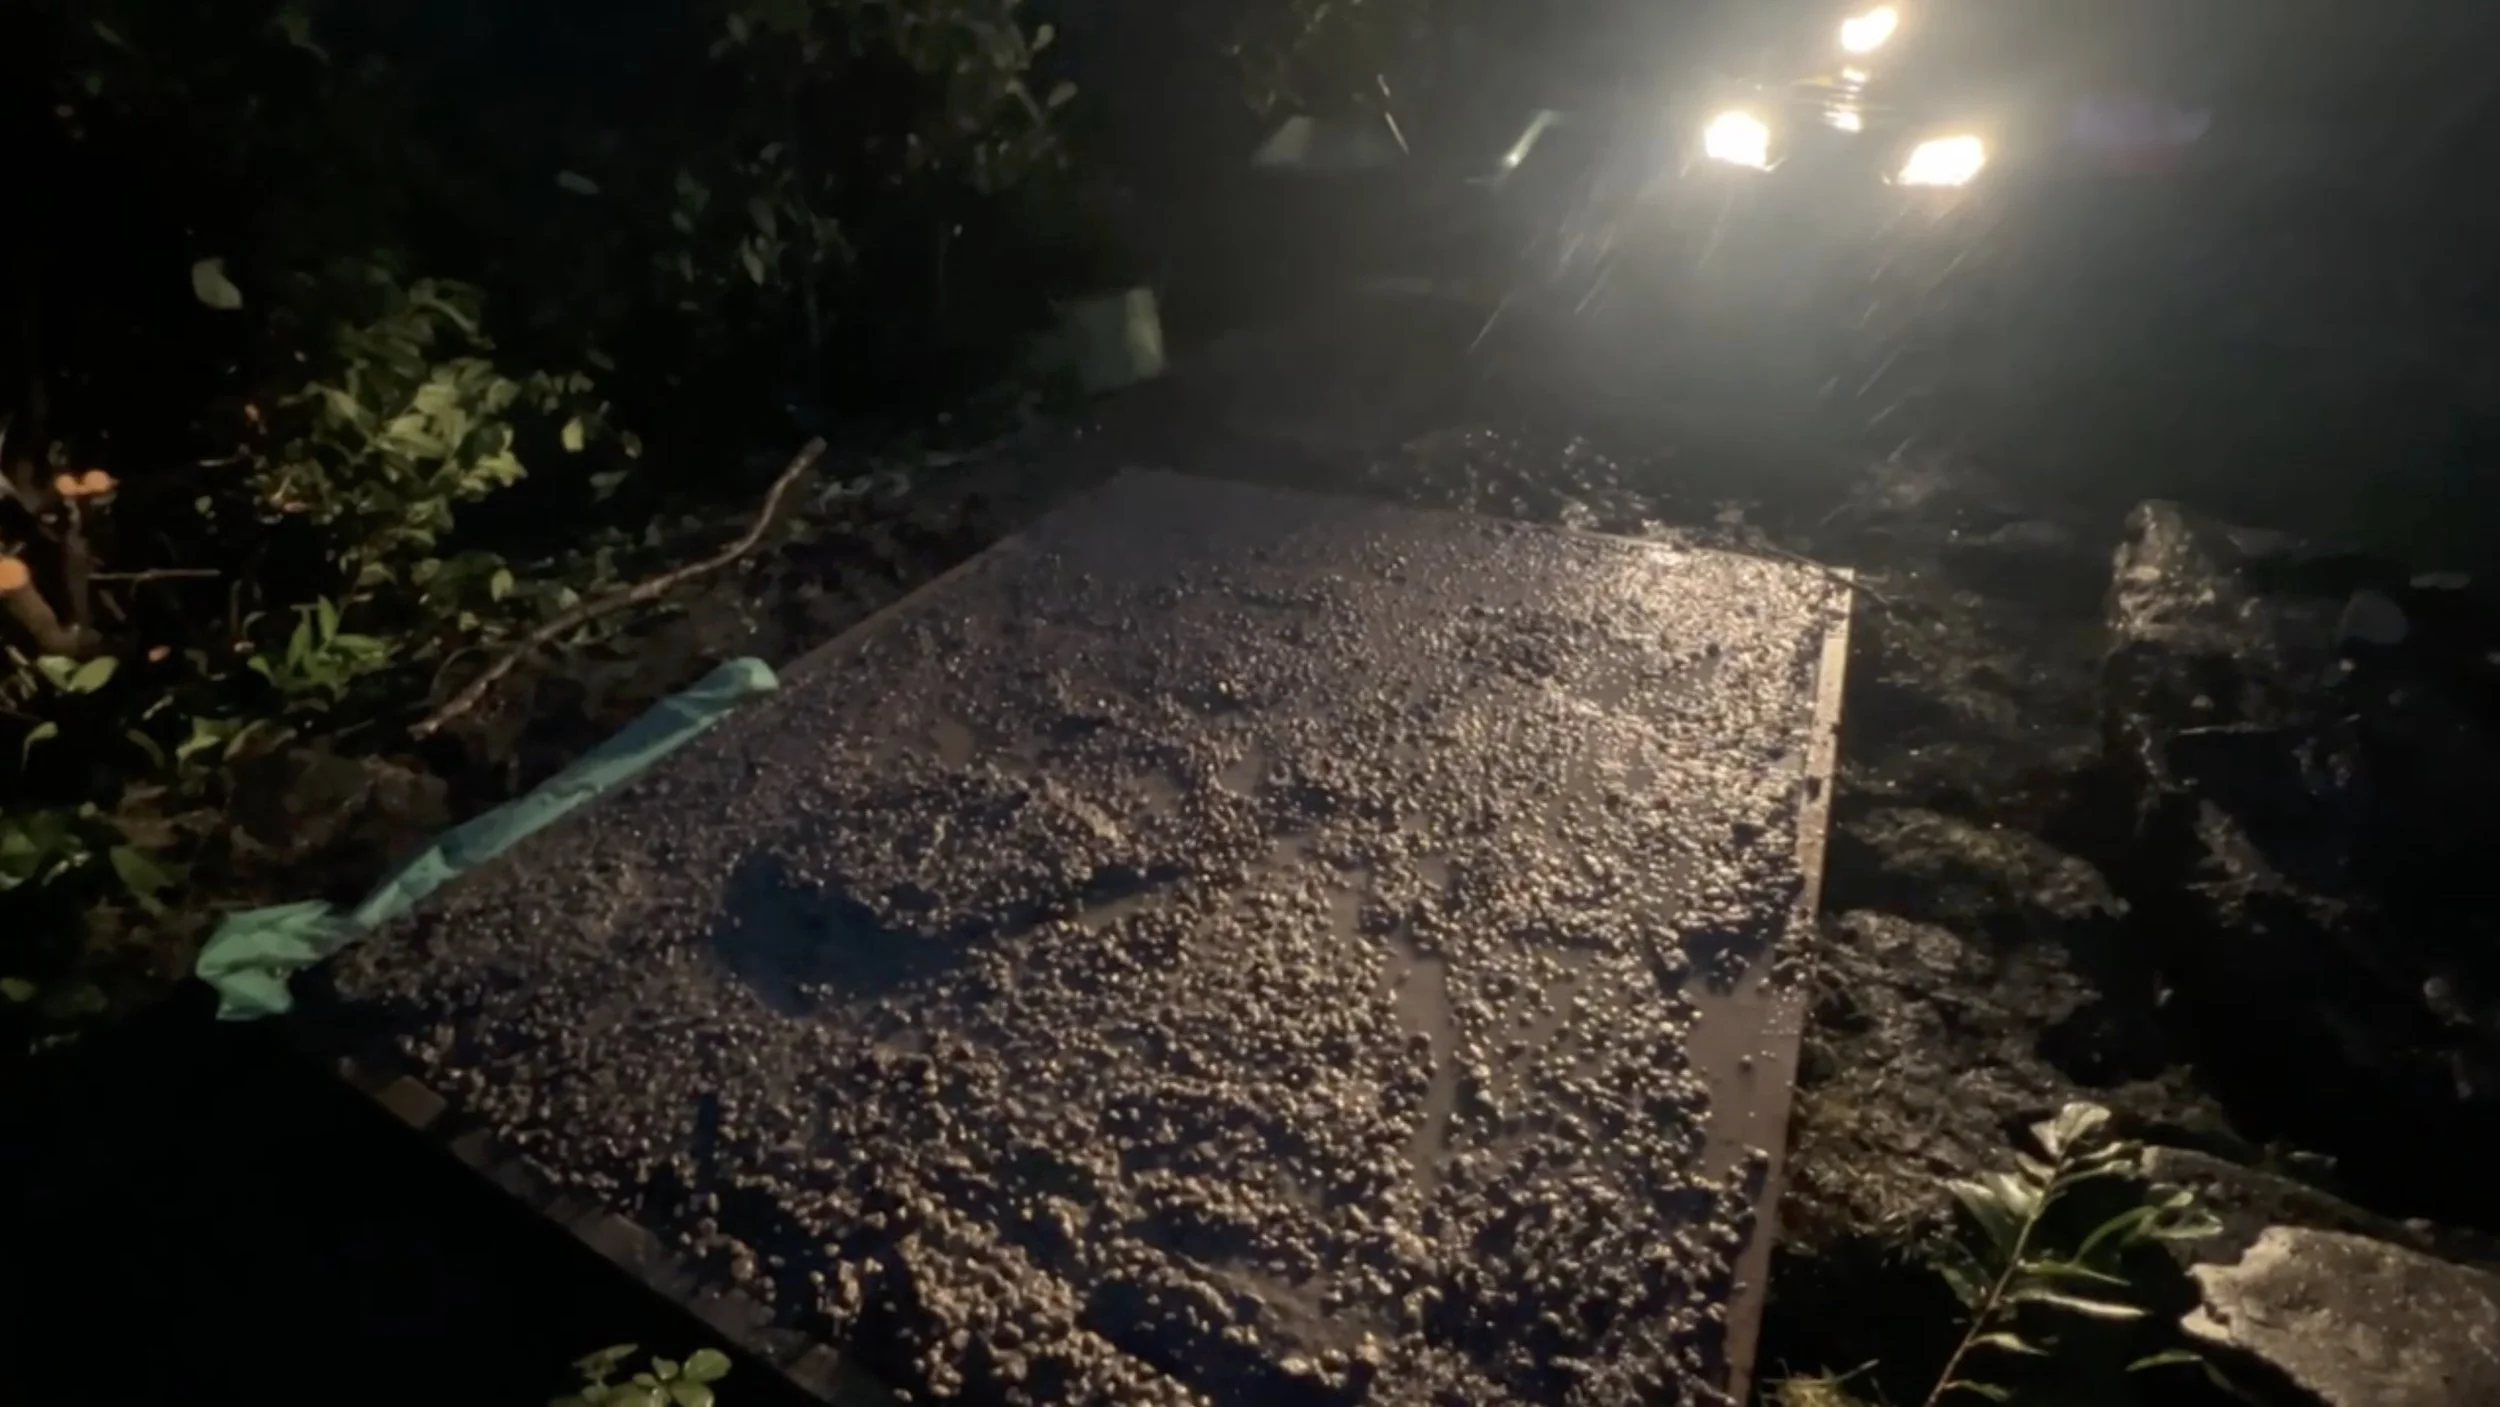
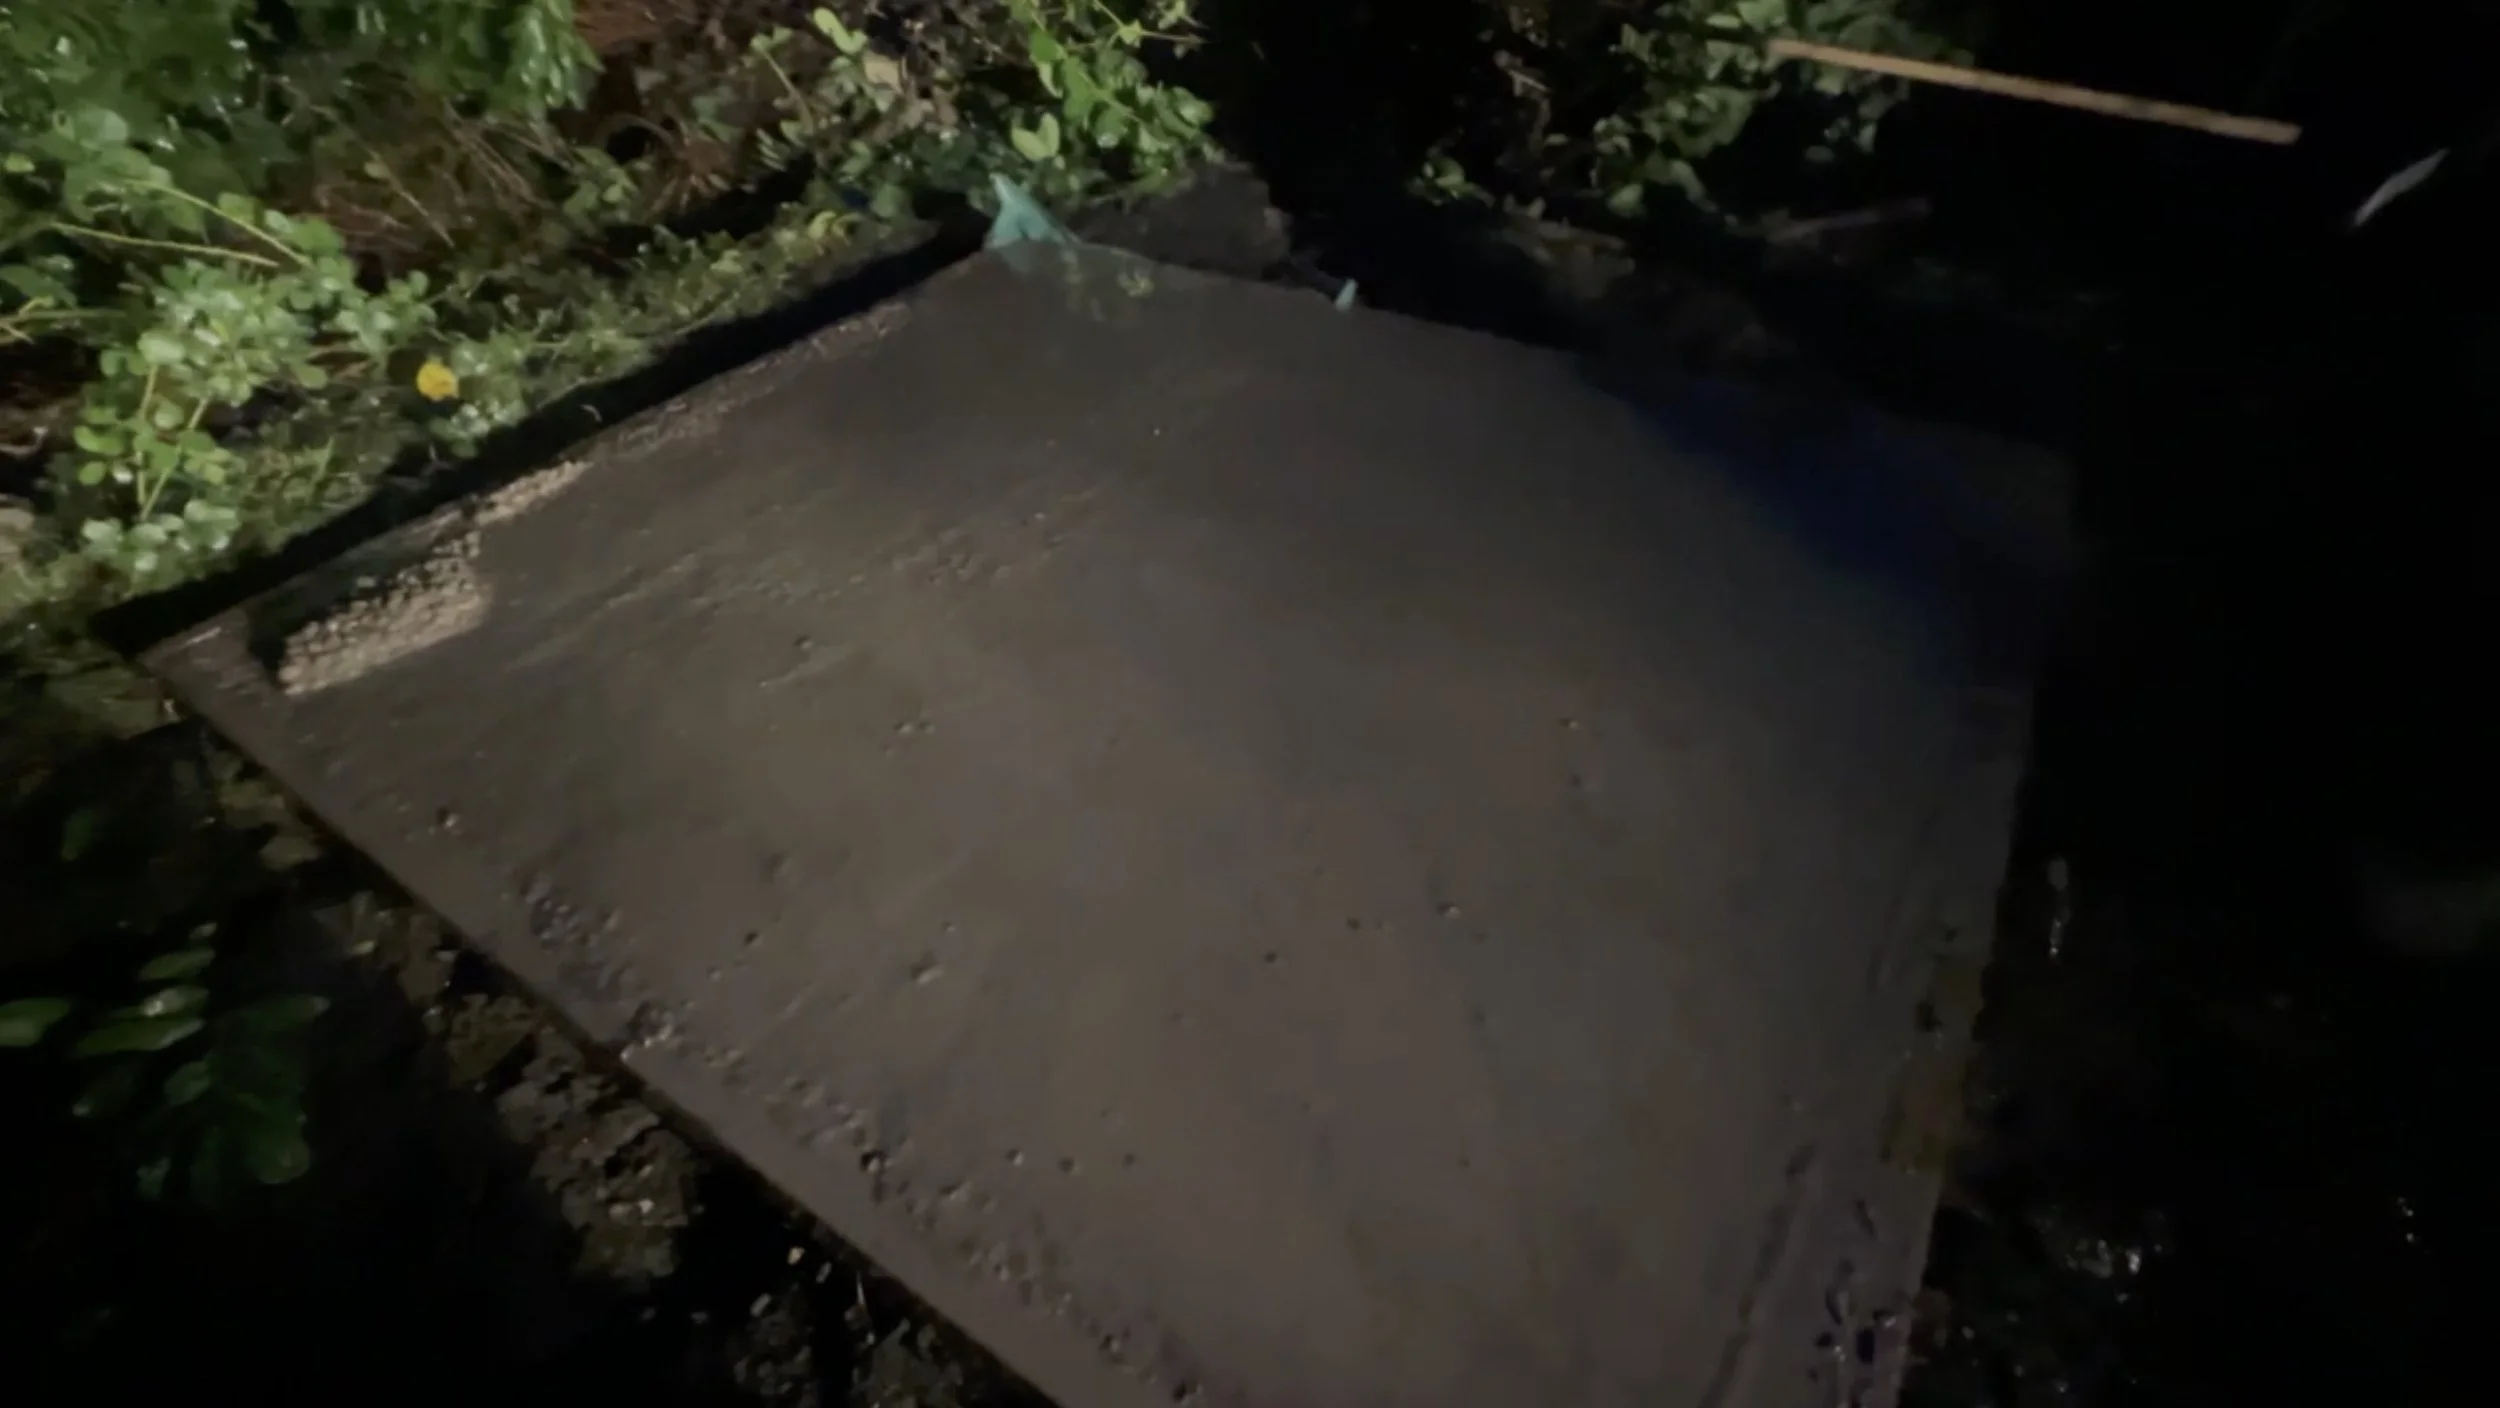
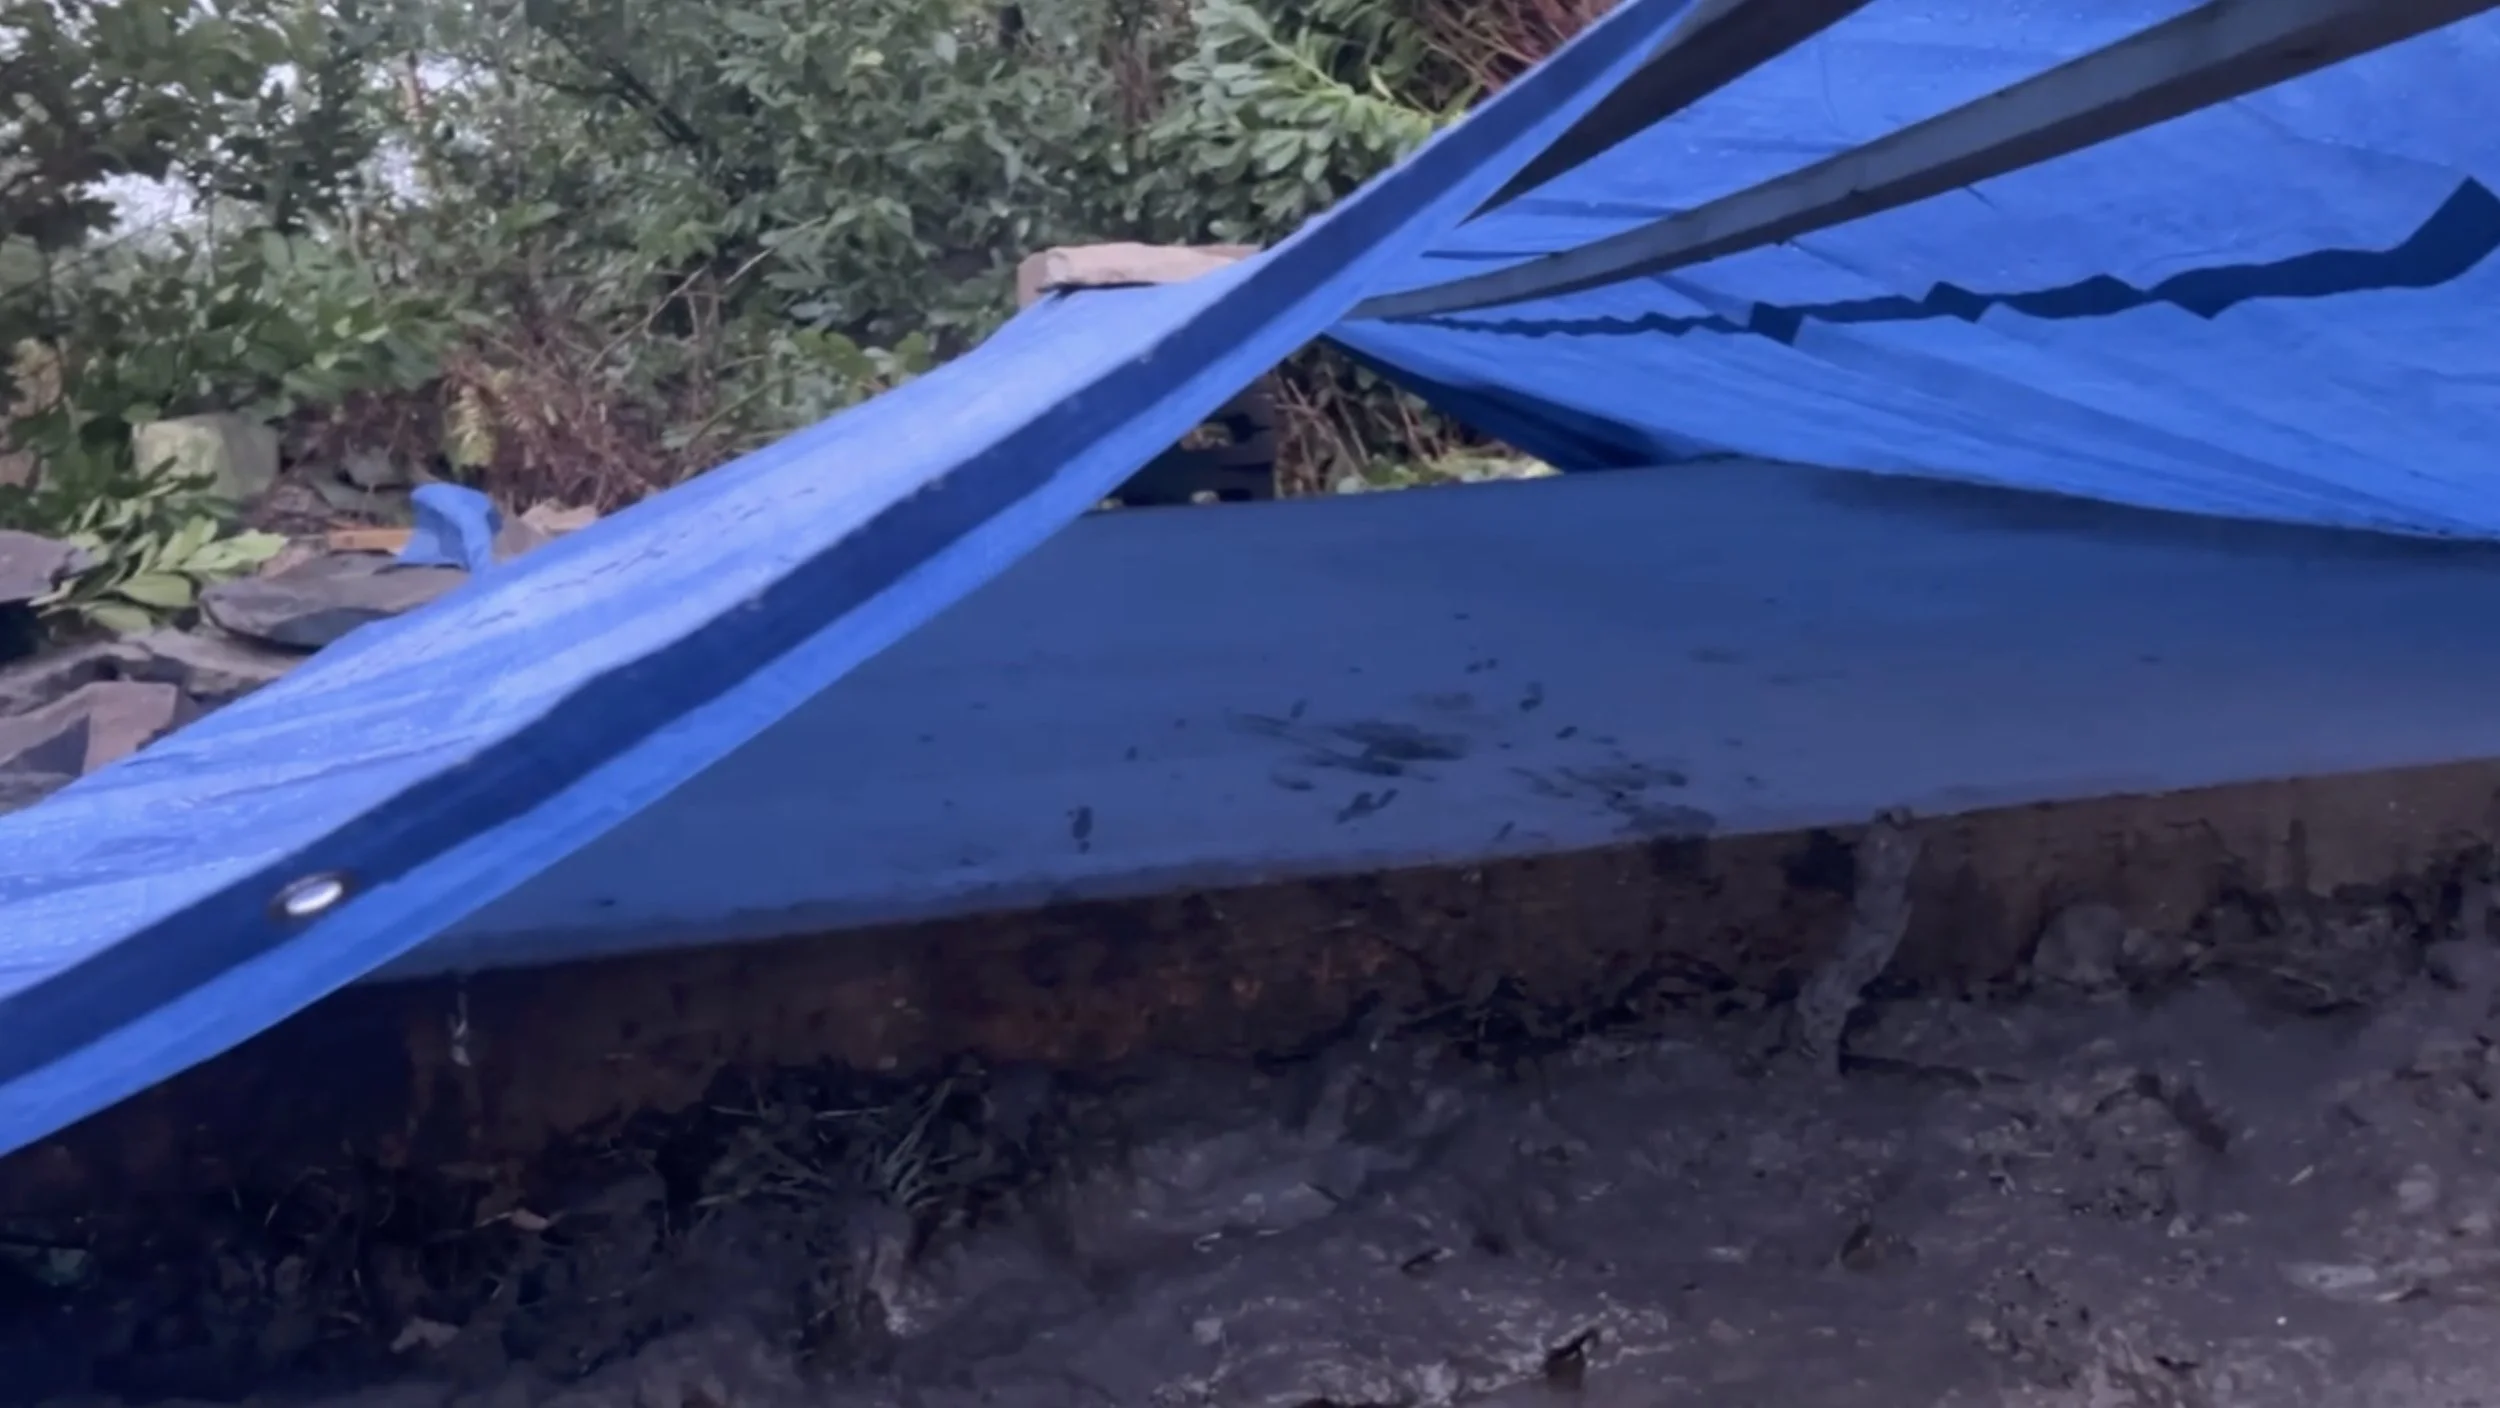
Then the weather really arrived. There was absolutely no way we could leave any form of recording device outside for longer than 0.5 seconds, so I have no progress photos of this, only short video stills from my phone. He started by compacting the stone with a wacker plate and broke for lunch before re-commencing.
In 50mph winds and relentless heavy rain, Dan mixed batches of concrete on repeat, pouring from the mixer to the quad trailer before driving up the yard to the north side of the farmhouse. Here, he tipped, shovelled and moved the mixes into the pit, in the rain, all afternoon.
By sundown, the concrete was all poured, and it was time to tamp back. To be able to see anything, we just used the headlights on the quad in yet more rain and continued onwards. I don’t have any evidence of tamping anything back with a piece of wood because I was doing it too.

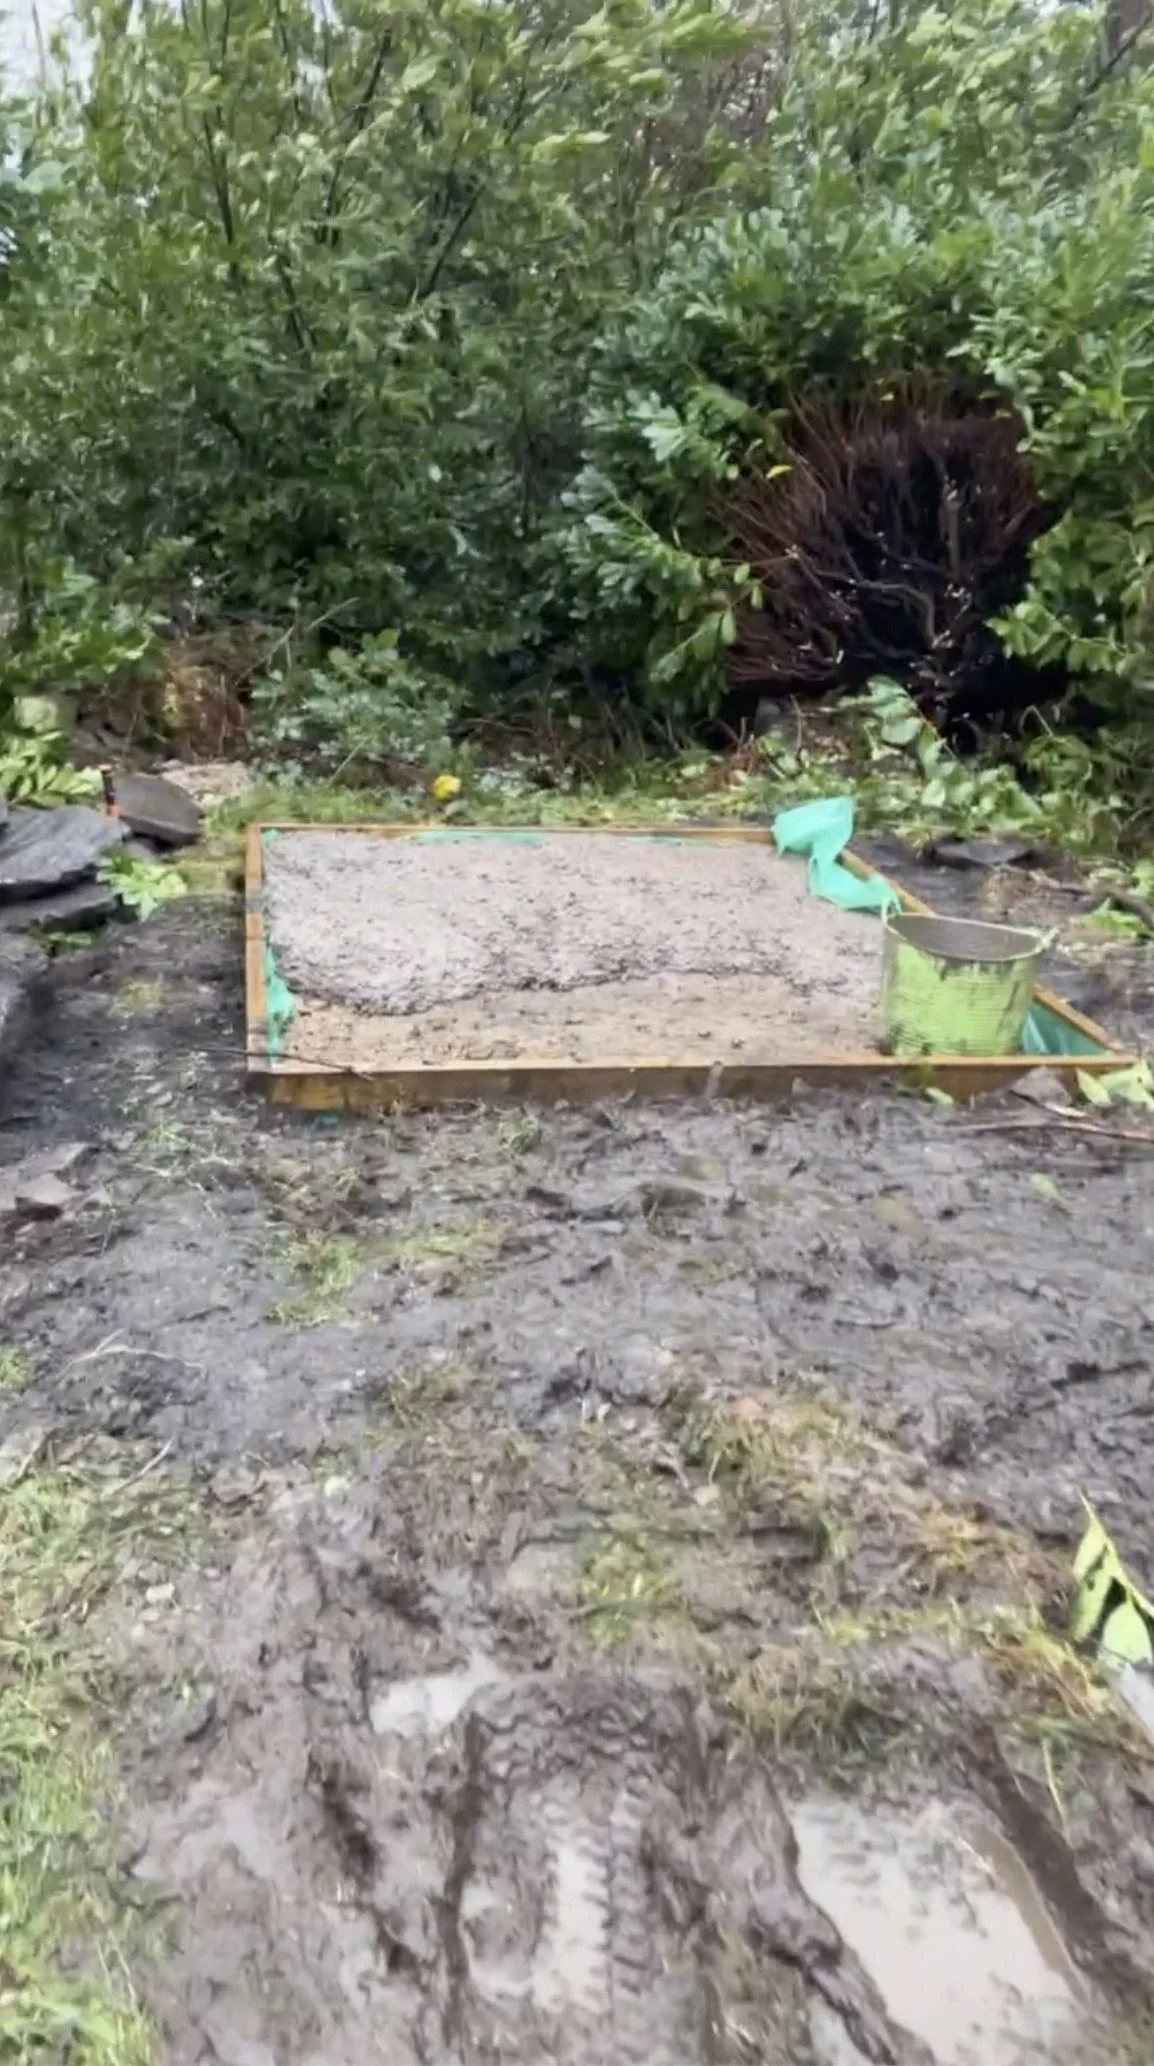
Next, given the rain, we needed to build a tent. In the dark. On a ridge. In the wind. With a tarp.
Oddly, the tent survived through the night and fully protected the concrete pad like a champ, which is good because there wasn’t a round two. It stayed covered with its tent until the oil tank was put straight on two days later. Yay.
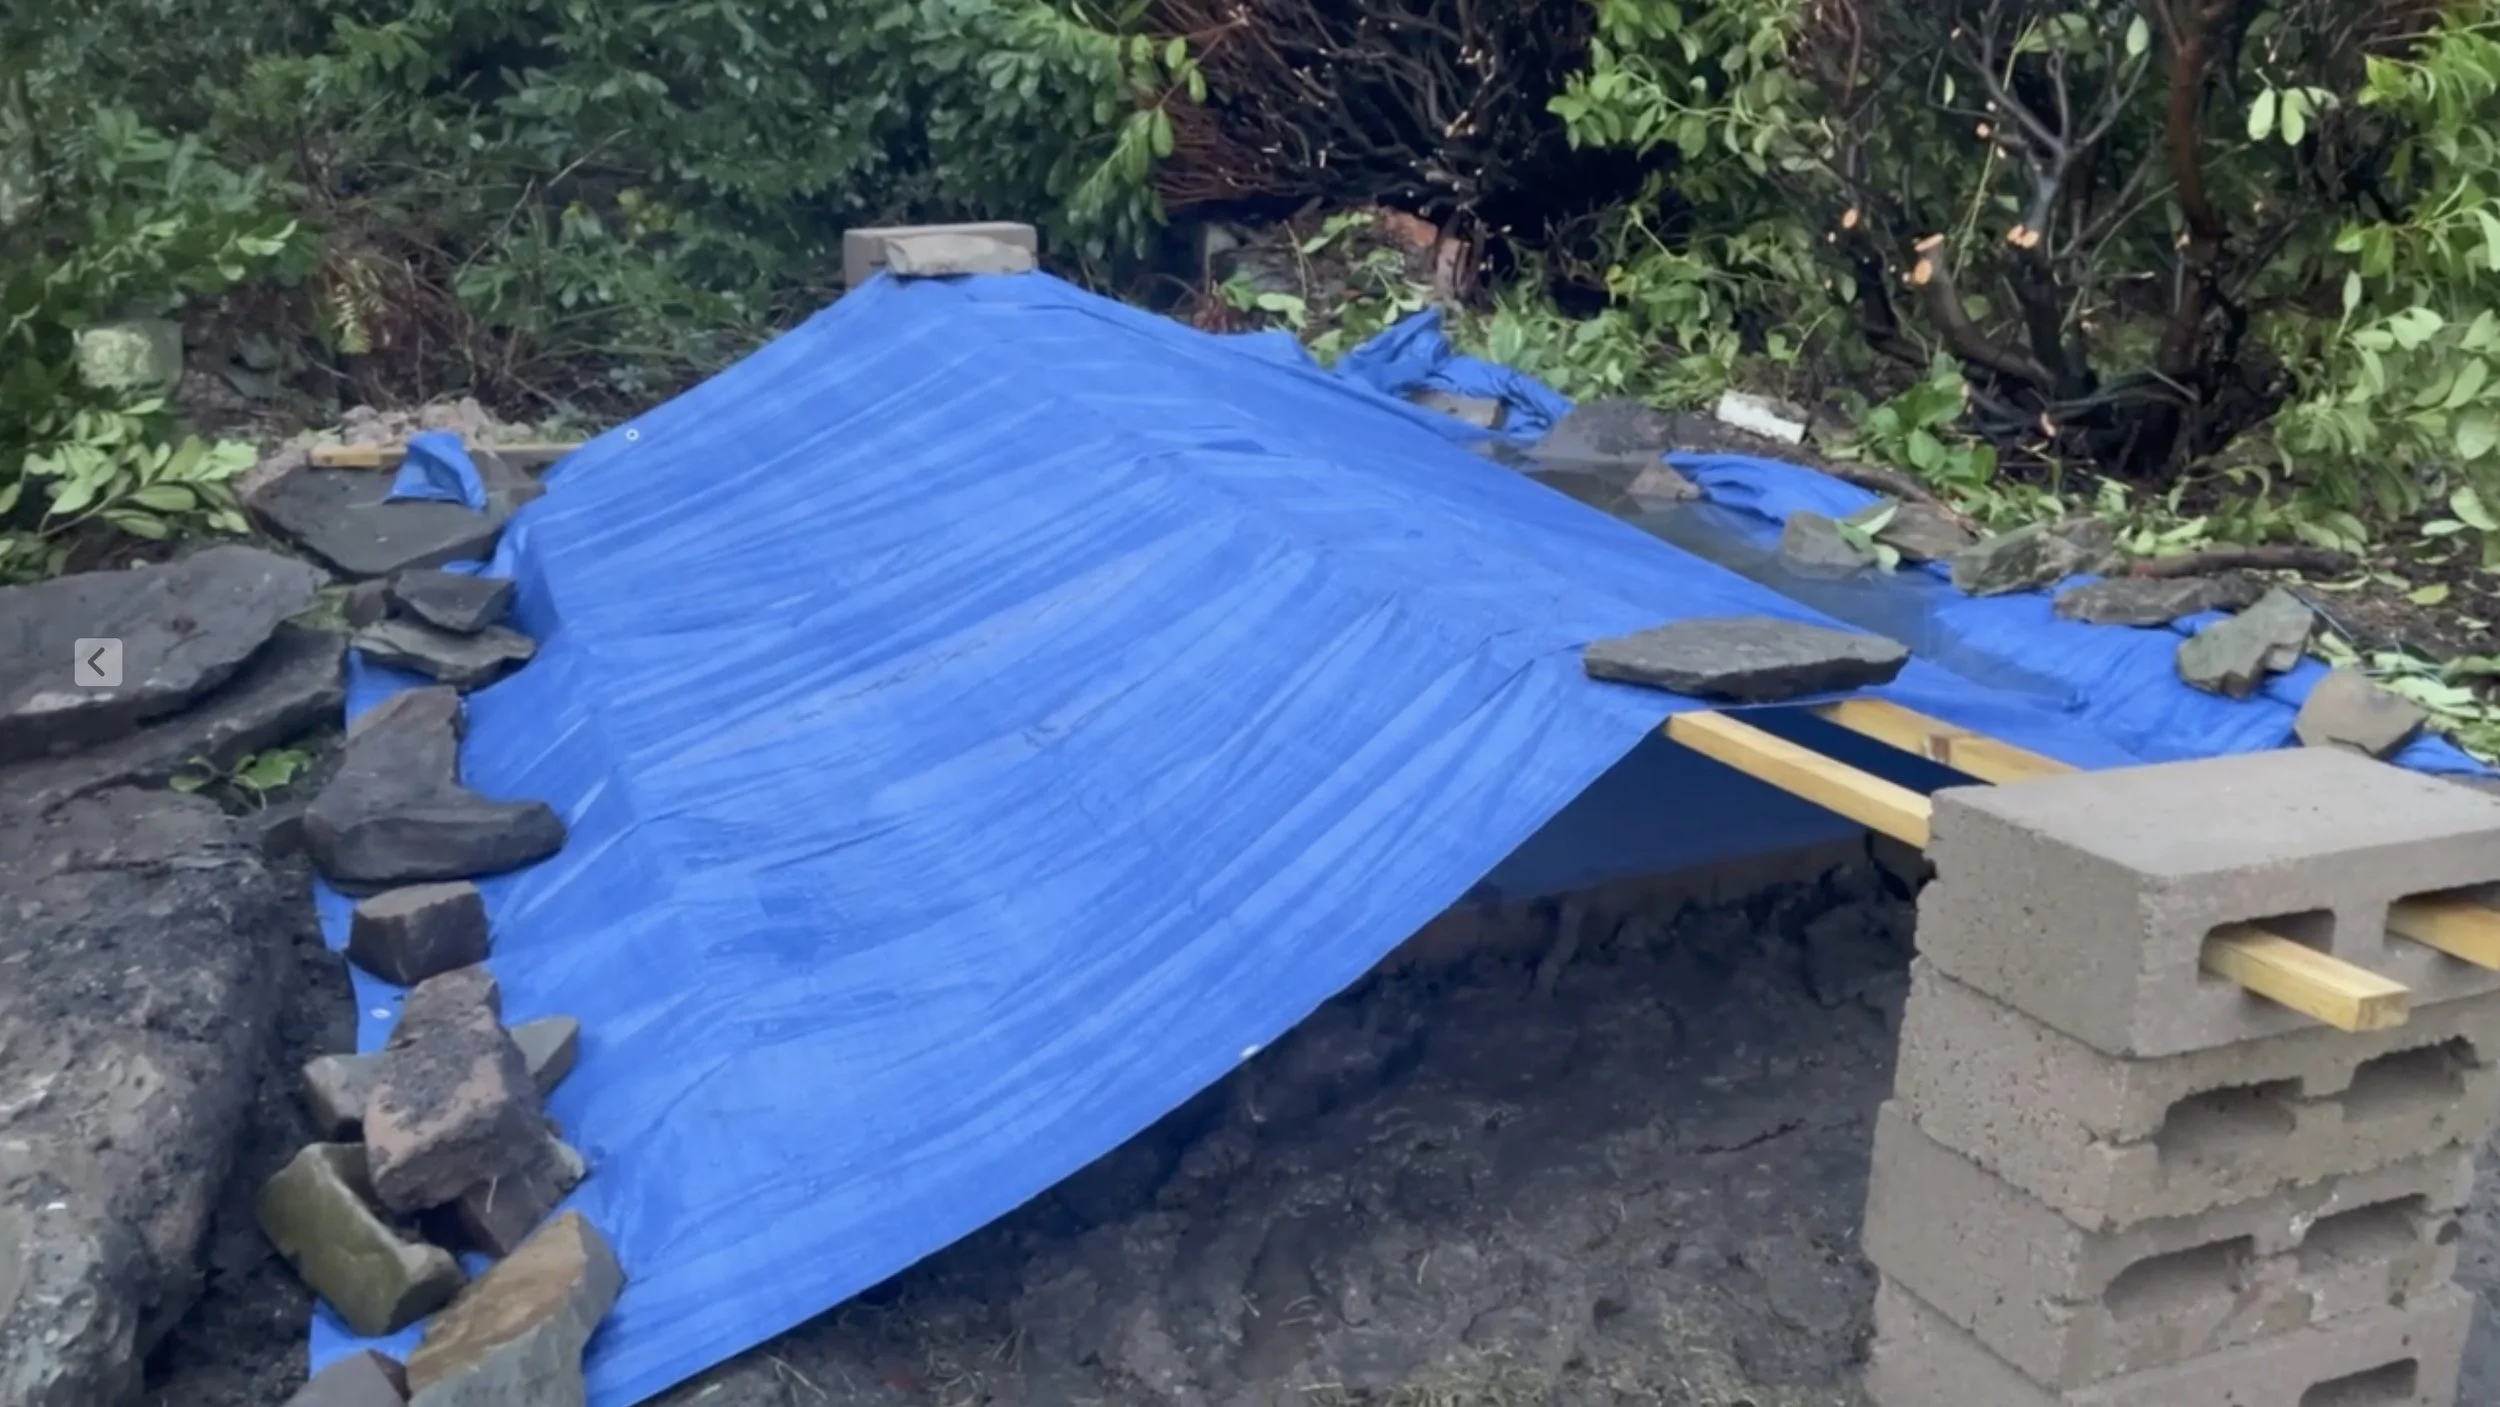
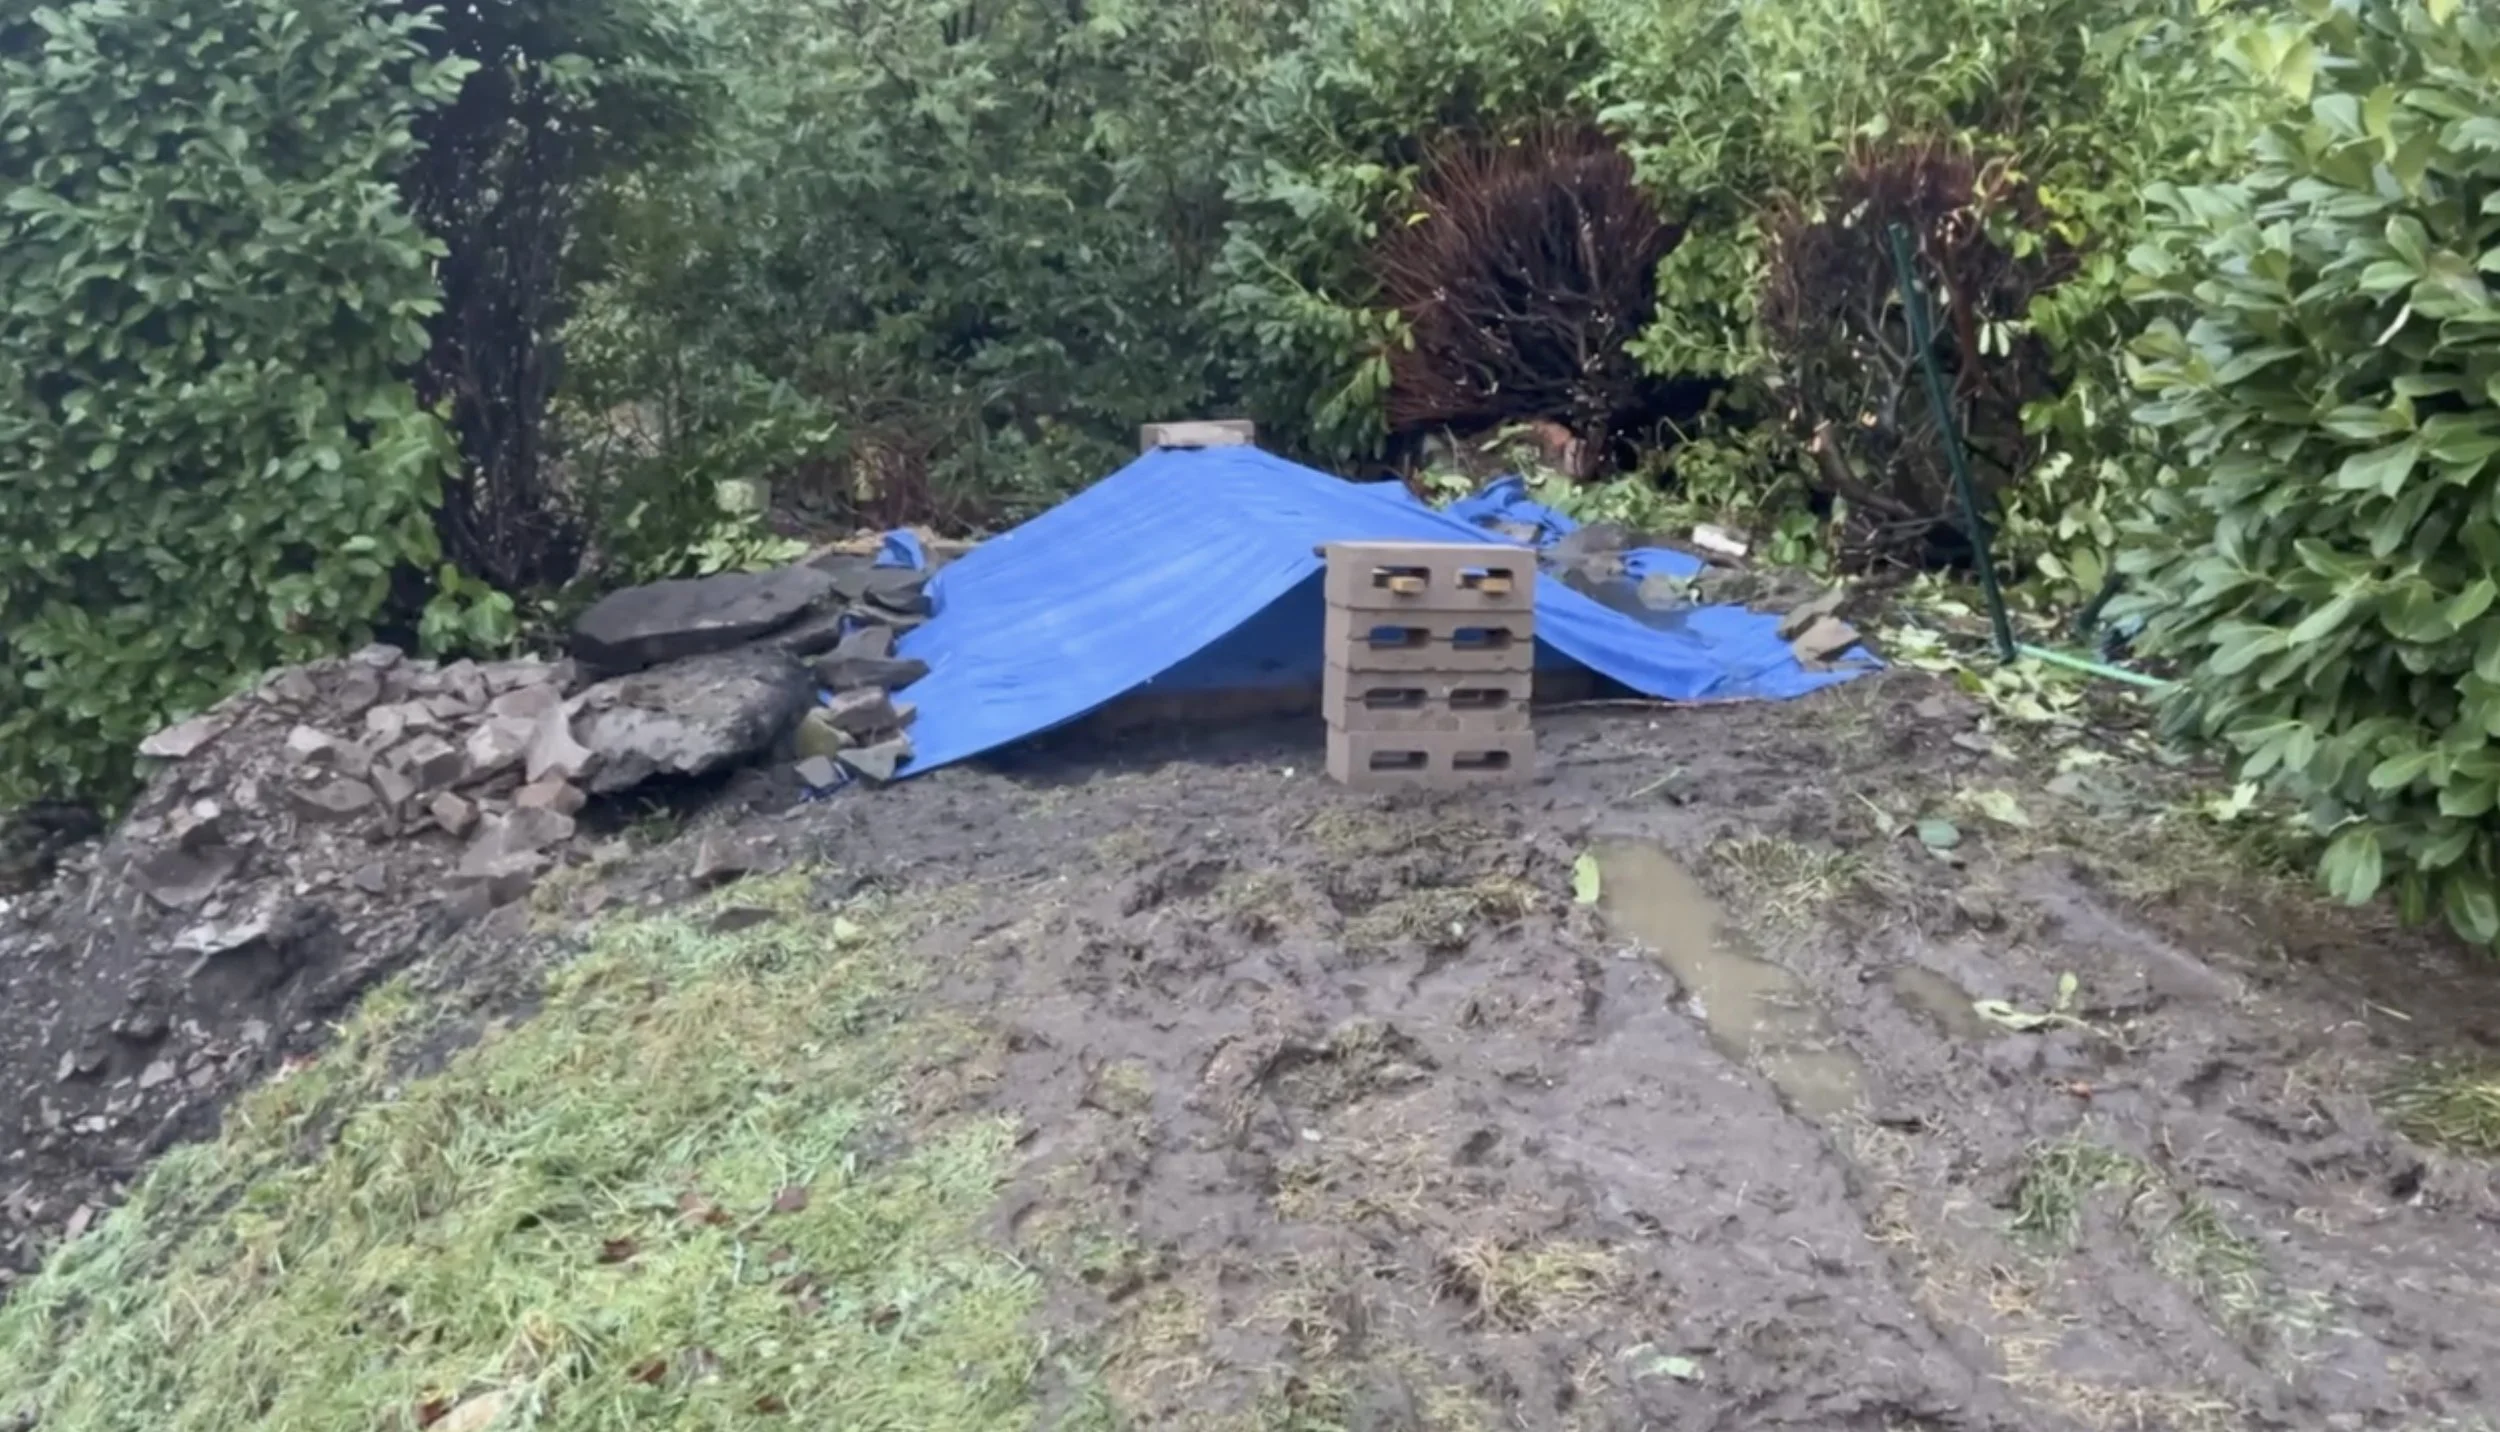
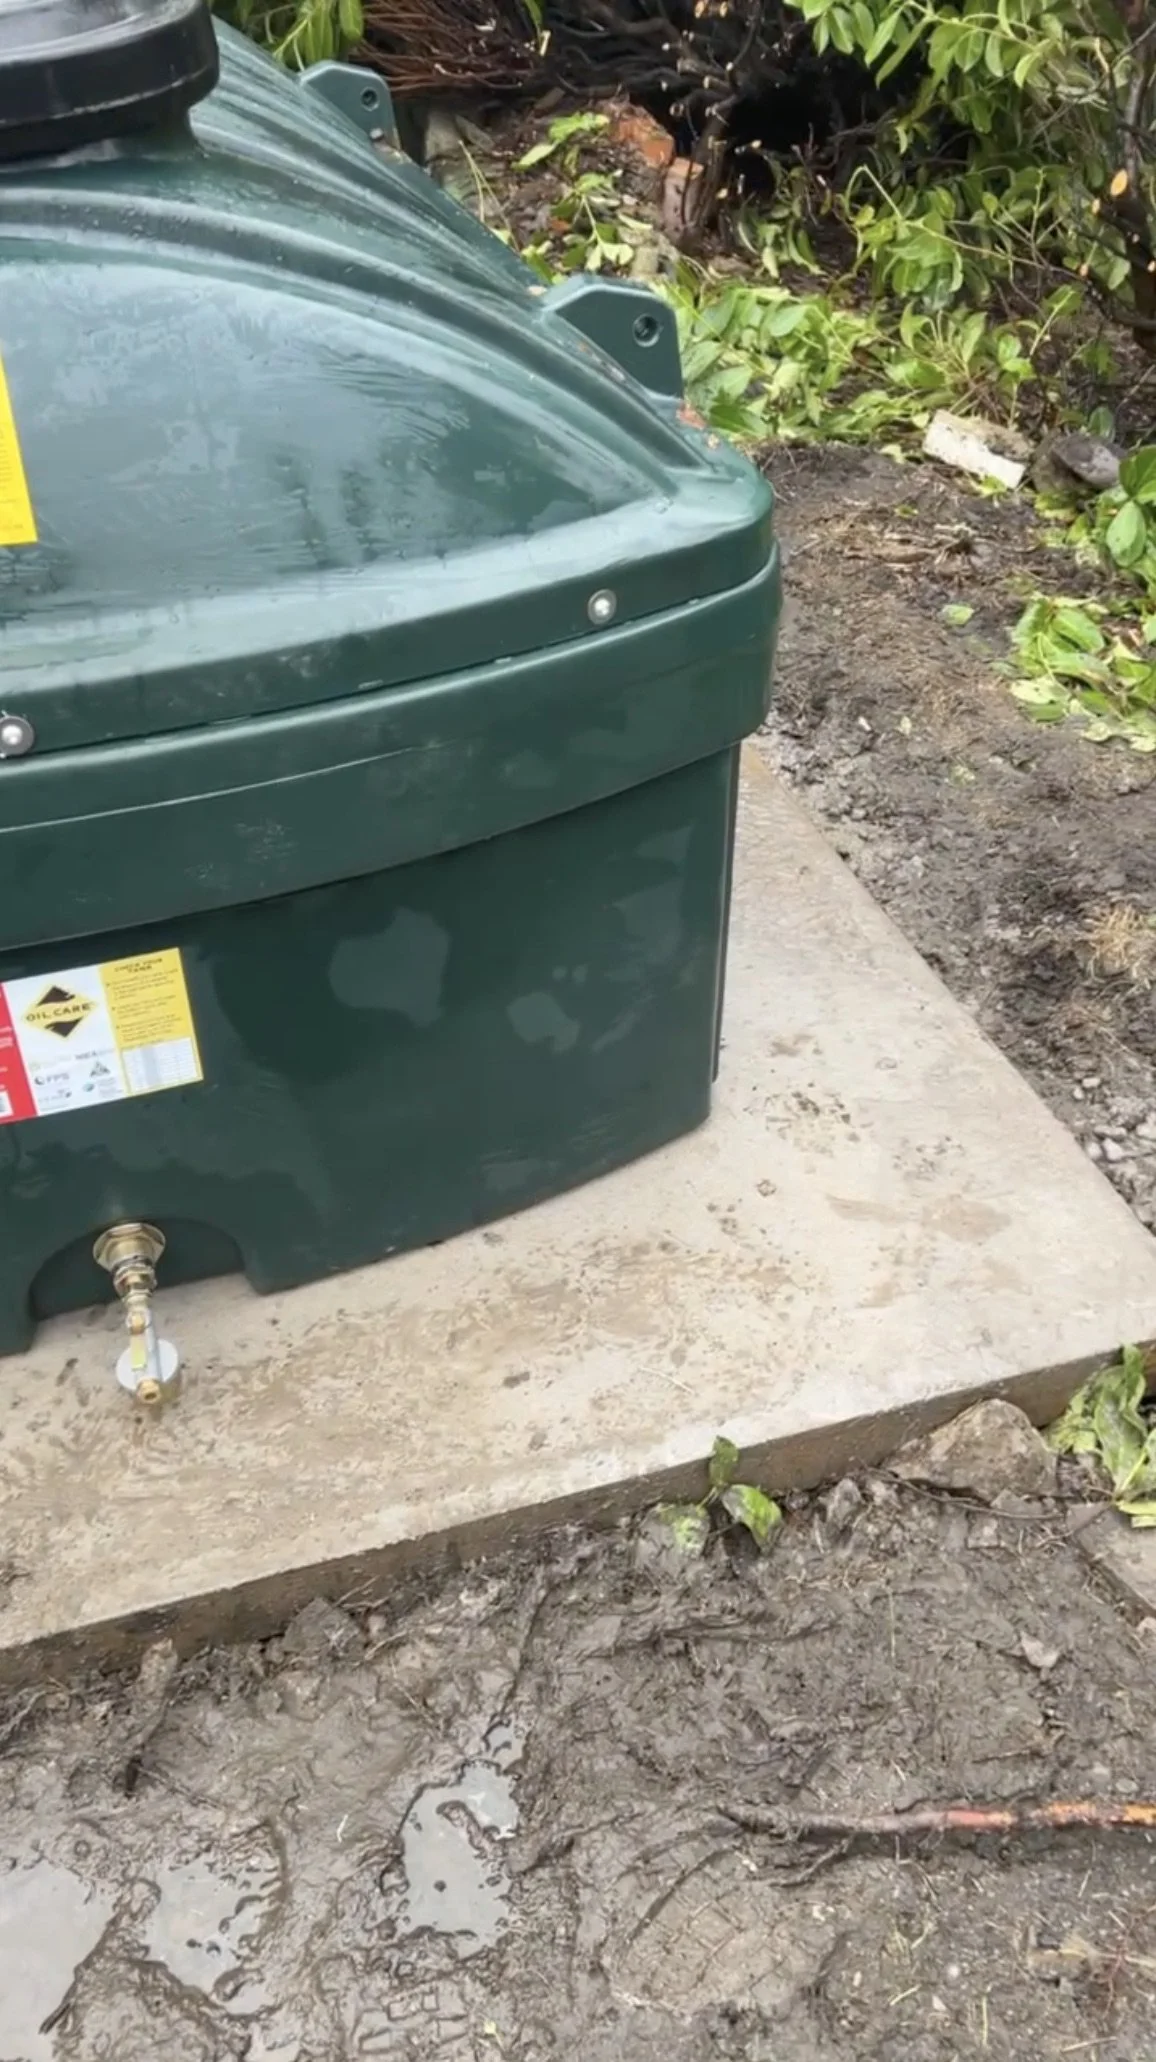
The heating engineers told Dan it was one of the best bases they’d seen made by a customer, perfectly meeting regulations (to the exact measurement for proximity to combustible materials and the distance from the tank edge to the pad edge). This news made Dan’s year; he was so proud!
So, the oil tank is in, but there was no oil because both Dan and I forgot to order any. An urgent order was placed by me, begging (politely) on the phone for 10 minutes, and 1200L were successfully delivered the following day. Before that and without oil, the engineers placed the tank and began installing the new boiler in Dan’s Pantry, now renamed “the boiler room”.
But before ANY of that could happen, Dan had to make a wall, because the pantry isn’t a pantry, it’s a stone box with zero wall linings or ceiling or anything at all. He spent half of Monday helping me with work and then went straight out to build some studwork to support everything in one corner, the boiler corner.
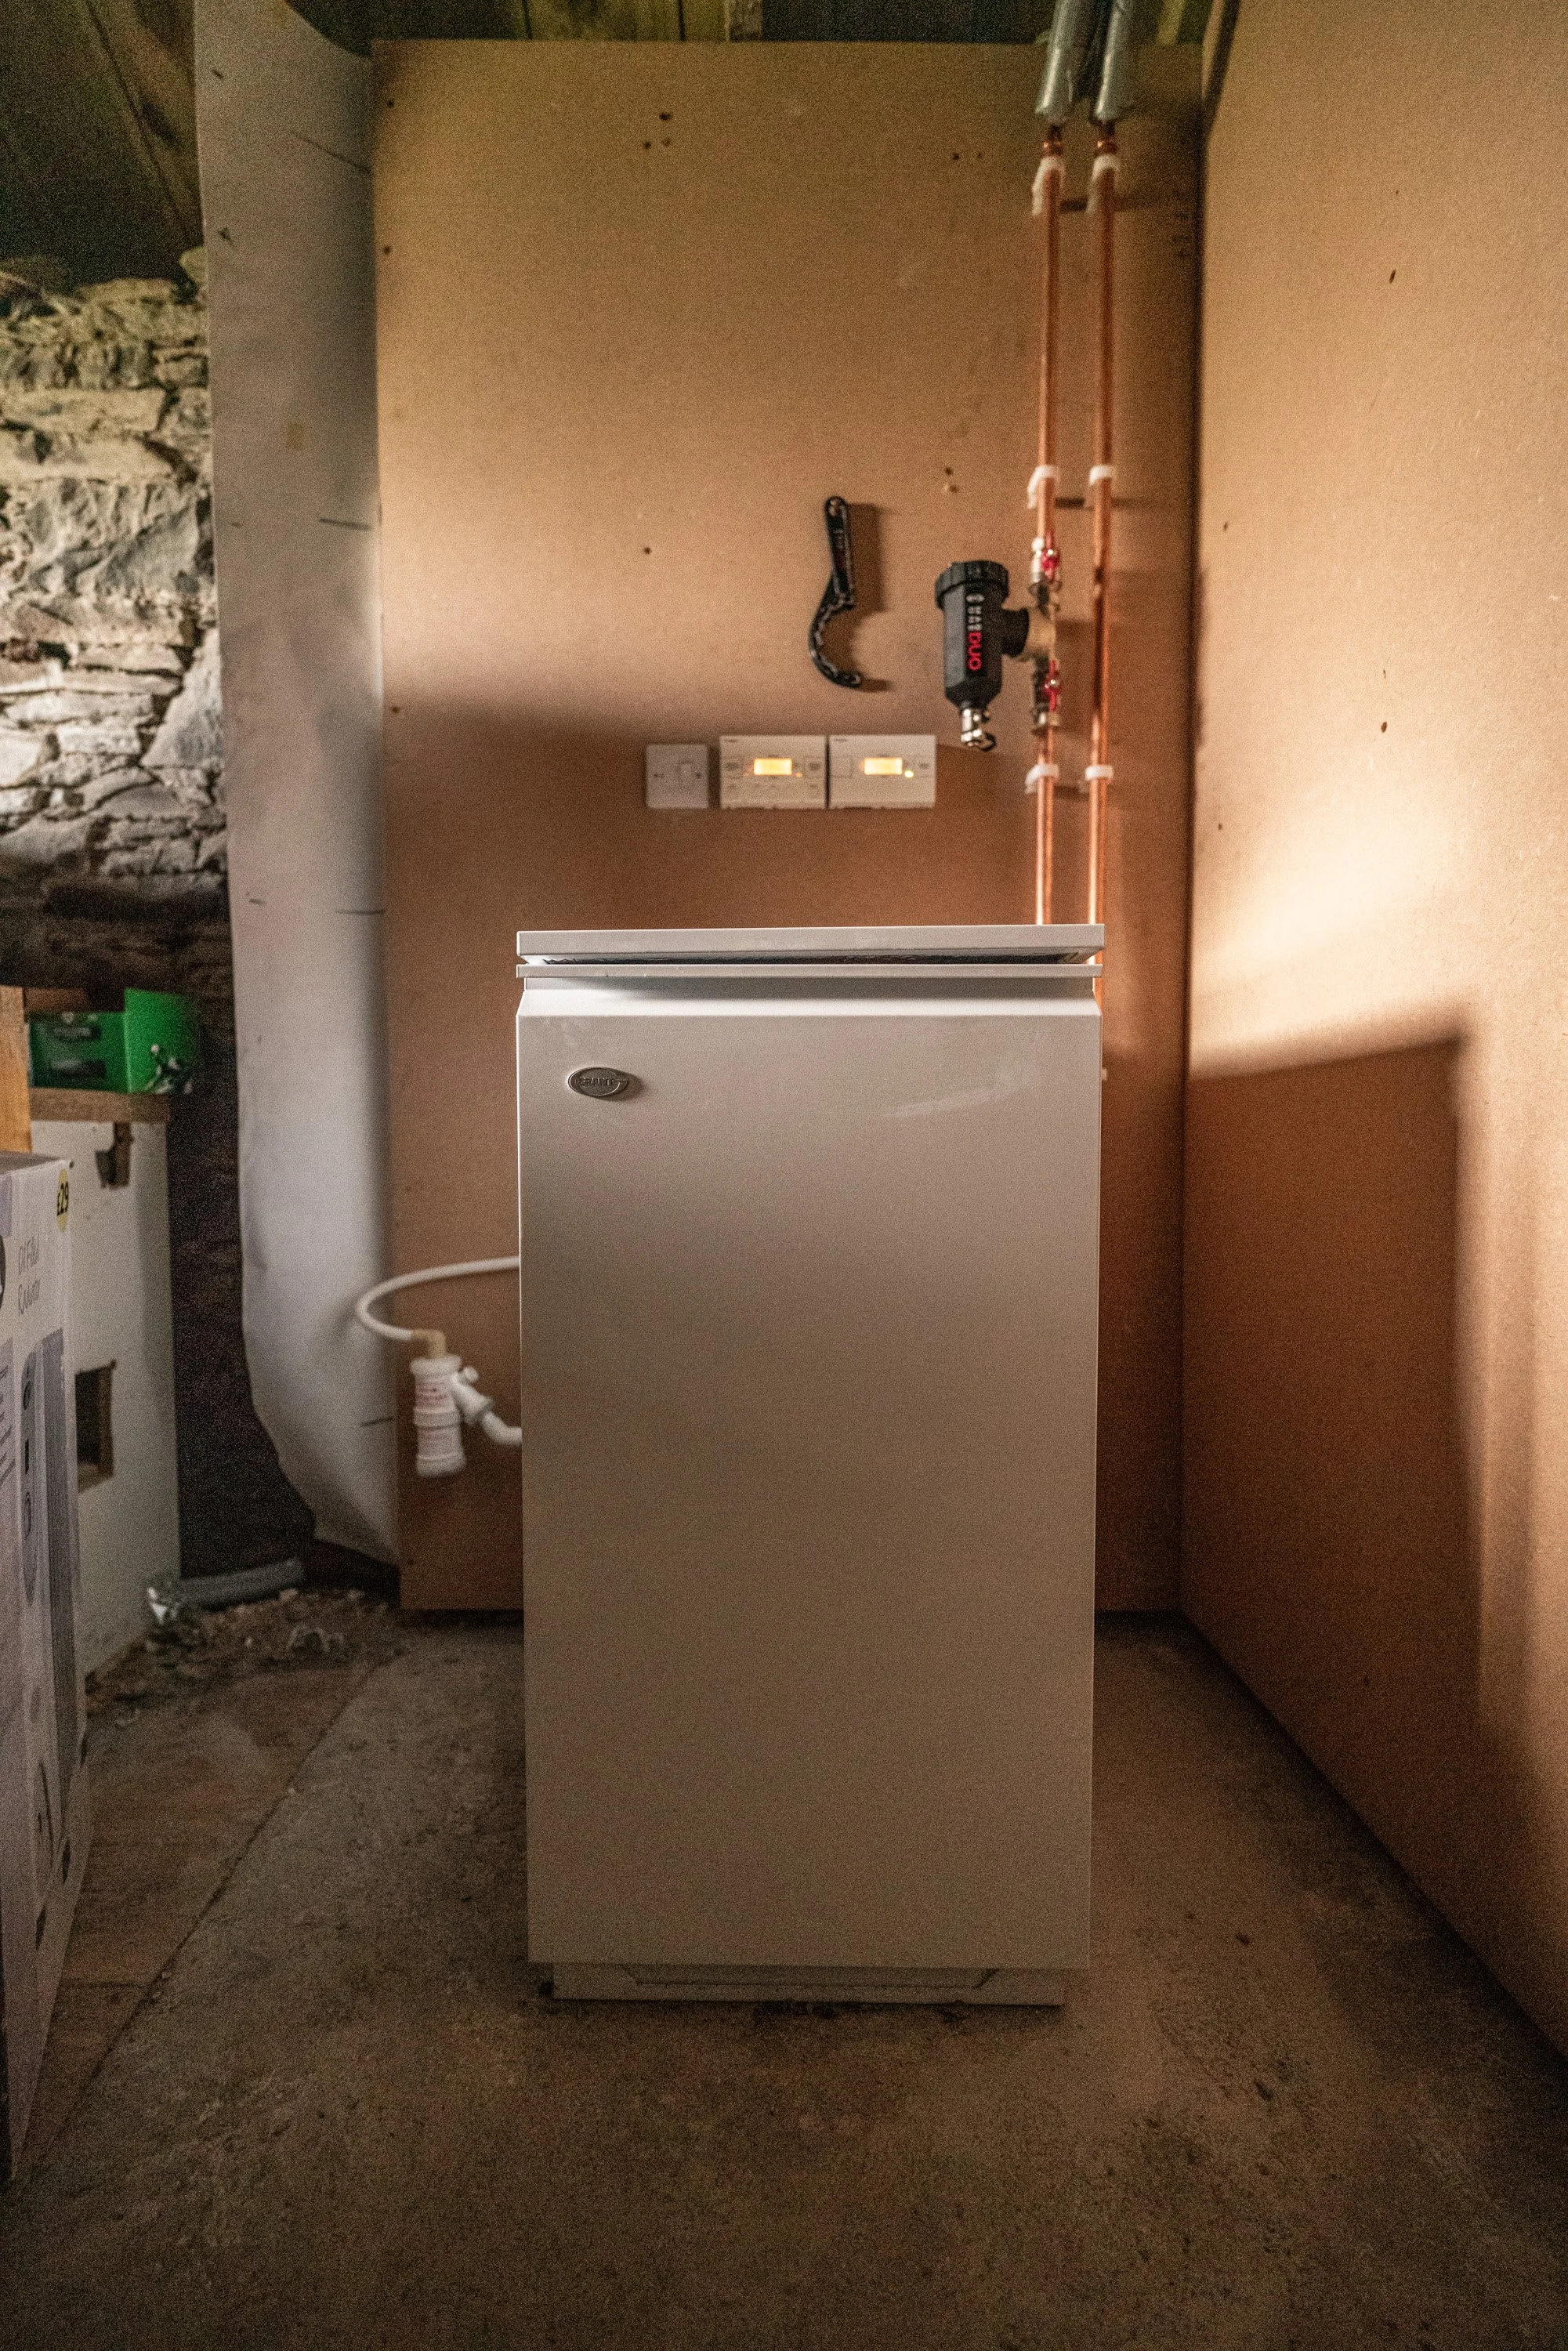
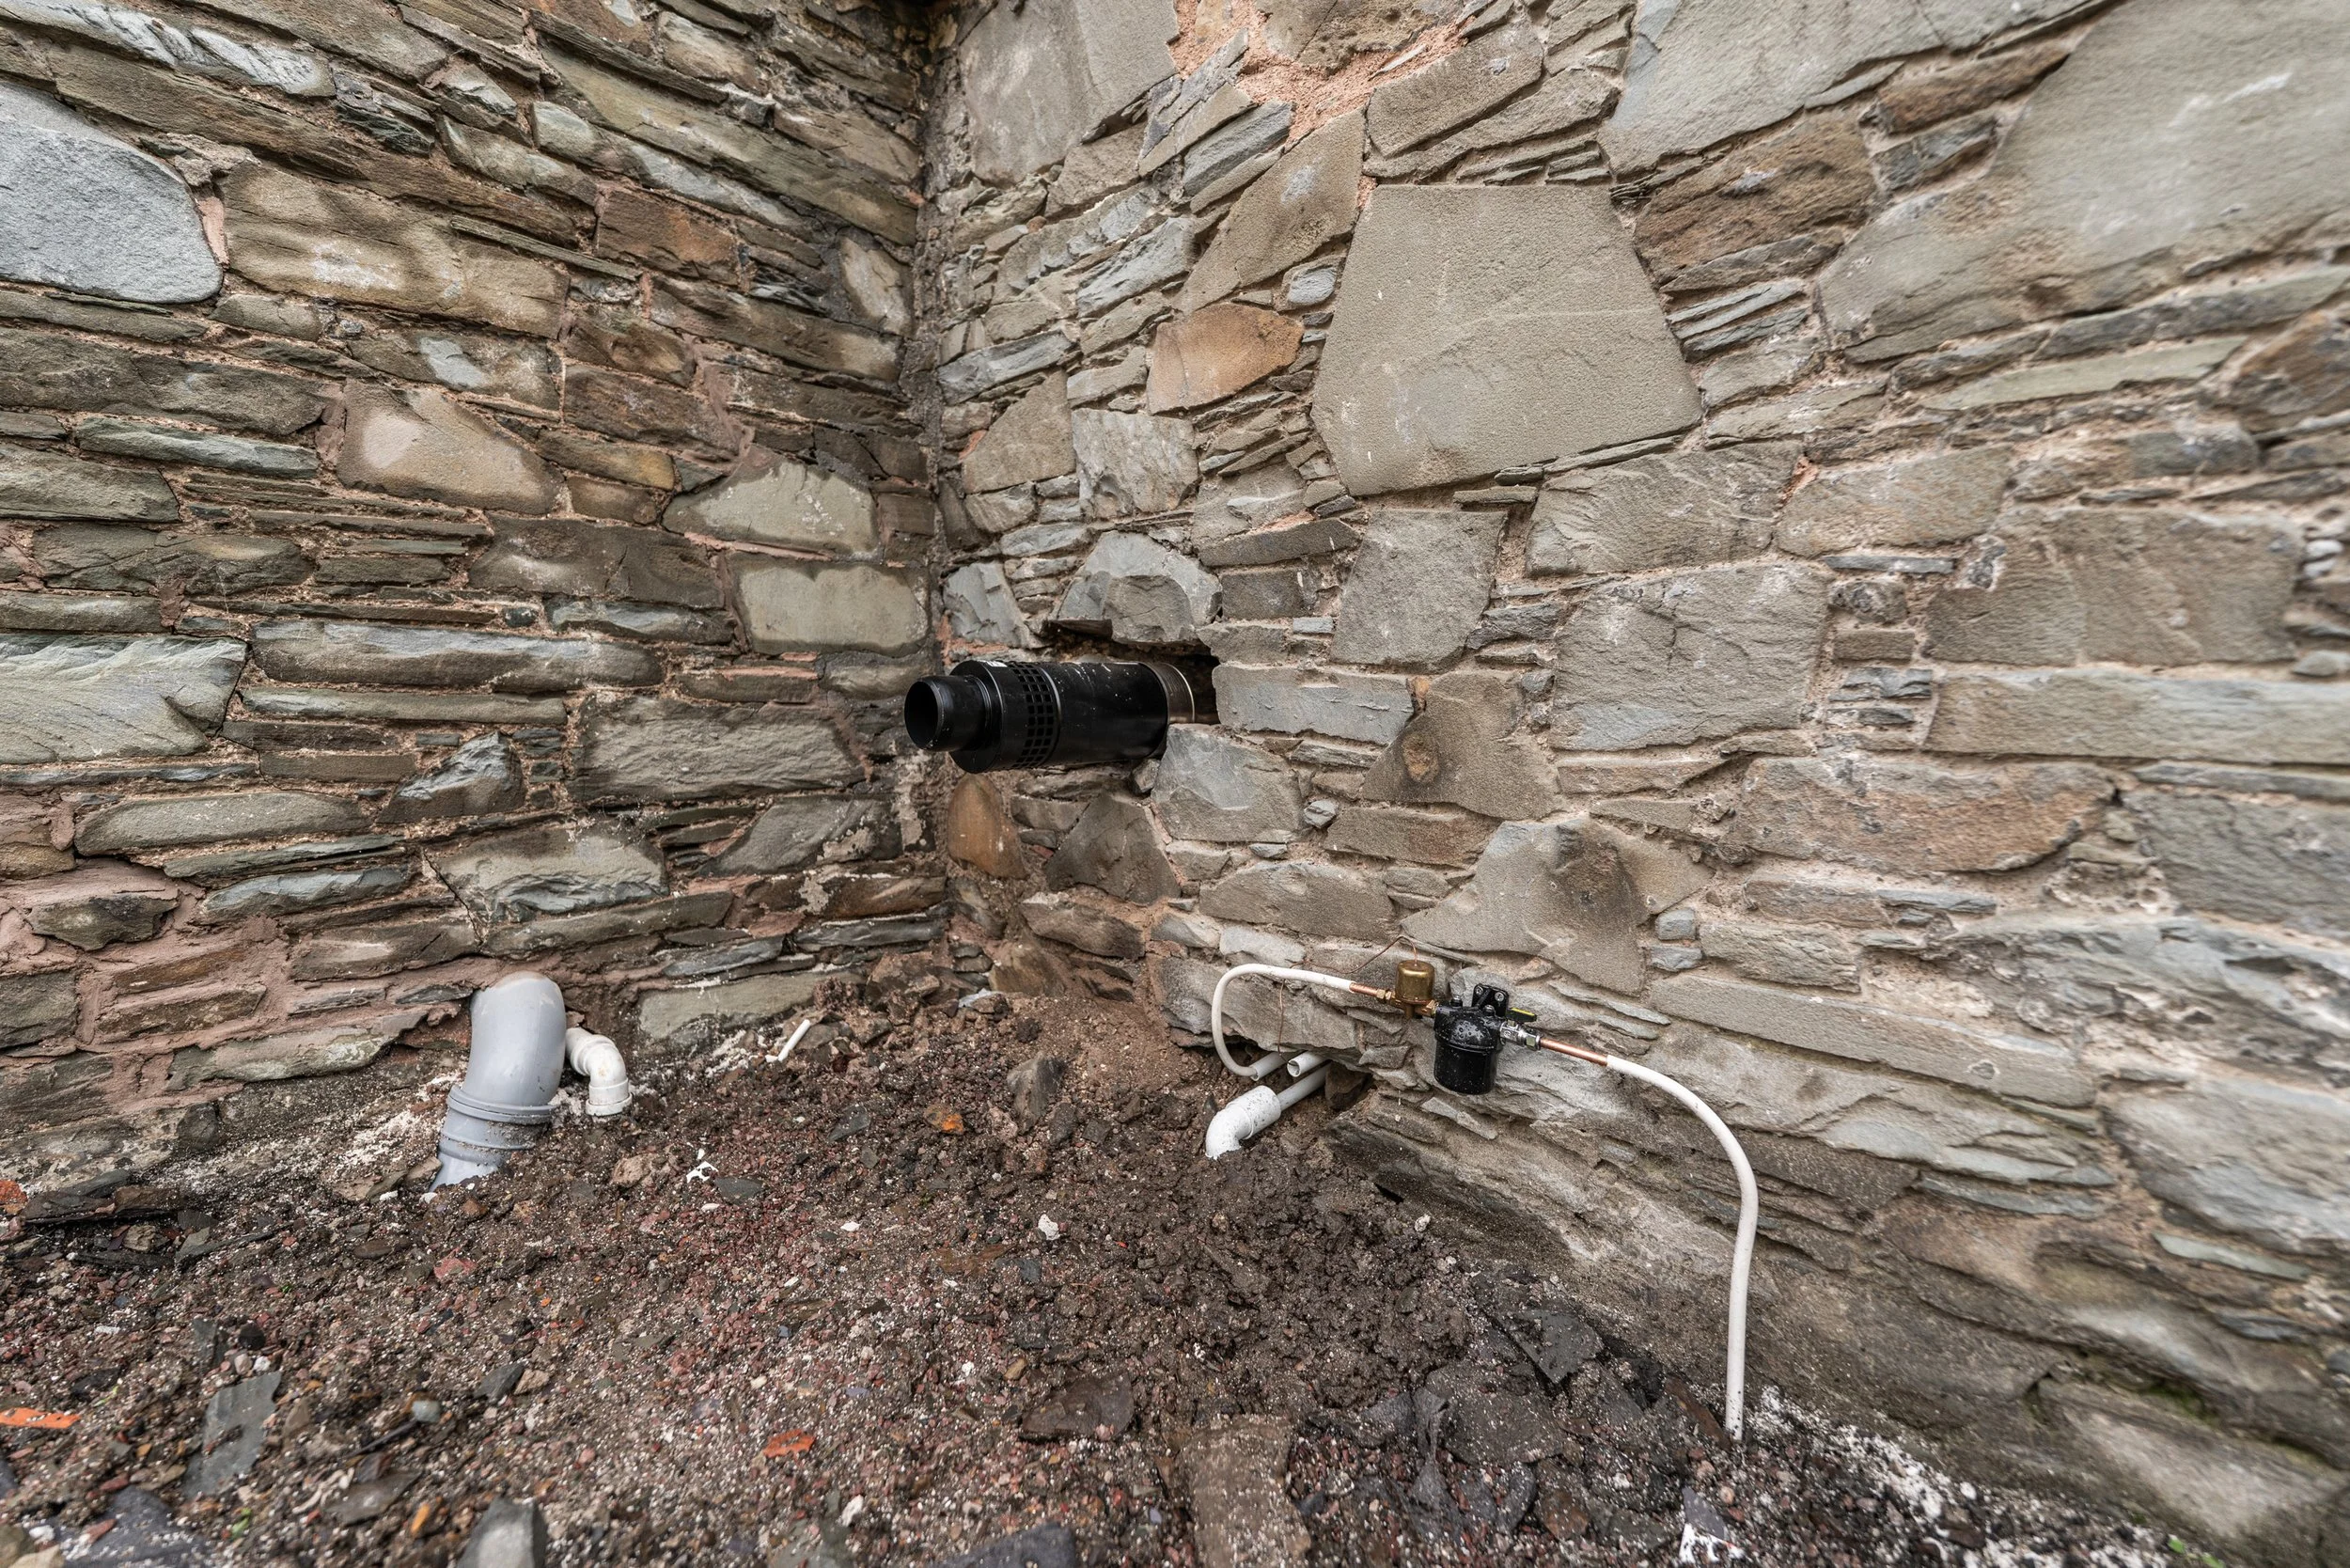
Then the boiler was installed, involving a bit of pipework switching to come from the east for the old boiler to the west for the new one. Thankfully, this entire area hadn’t been finished up yet, so nothing new was damaged.
The poop pipe (old, not in use) was cut and removed to make room for water pipes, and overall, the lads were fantastic. 10/10, good banter.
To be honest, this is getting confusing, and we’re only talking about three days here.
So, at this stage:
The concrete pad for the oil tank is dug, poured, set and ready to go
The new oil tank was seated on said pad, ready to go
The oil was delivered and put into the aforementioned tank
The corner in Dan’s Pantry The Boiler Room was built up for the new boiler
The new boiler was installed by the heating engineers
The pipework was switched to allow for the new boiler positioning
Some bits were killed and the old boiler was fully disconnected (it’s still here though)
Kenny the Electrician made it all work. Because he’s a magician.
It was time for the big test. Although the oil line hasn’t been dug underground yet, it is a zero traffic area so we just lit her up (I’m sure there is more to it than that, but I don’t know the details). Lo and behold, it went perfectly.
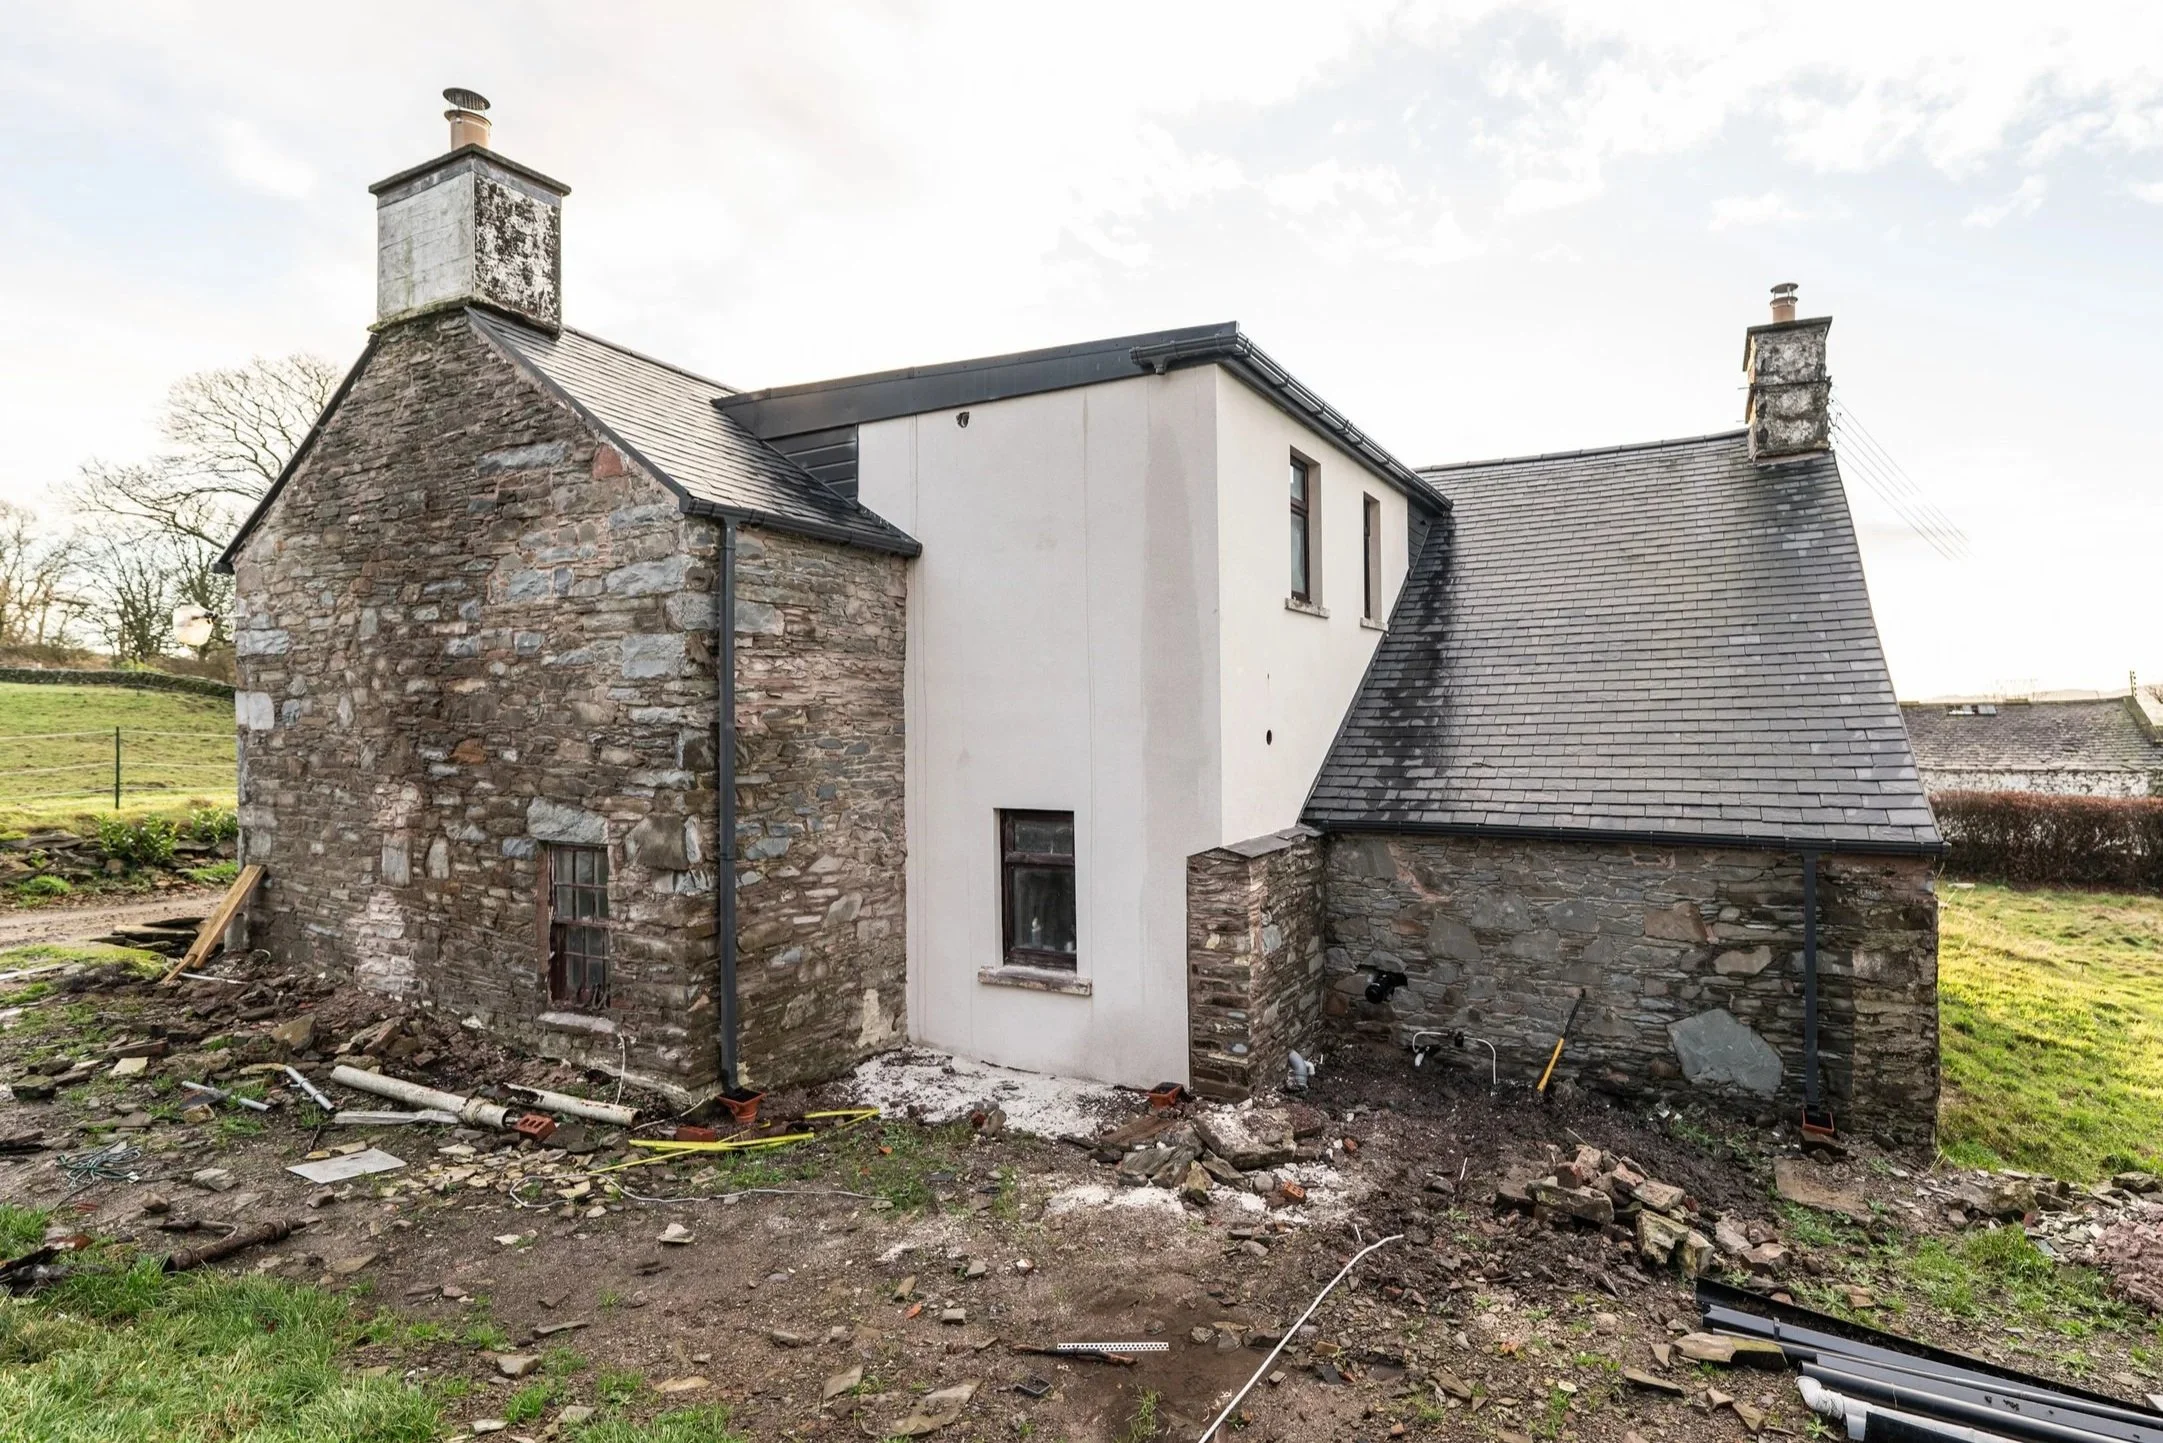
Here are some pull-backs after some more rain in the absolute disaster zone on the north side of the farmhouse. Thankfully, with this part now done, it means that we can get it looking presentable, with down pipes finally re-connected, stones all moved, trash re-collected and some bushes to screen the new tank.
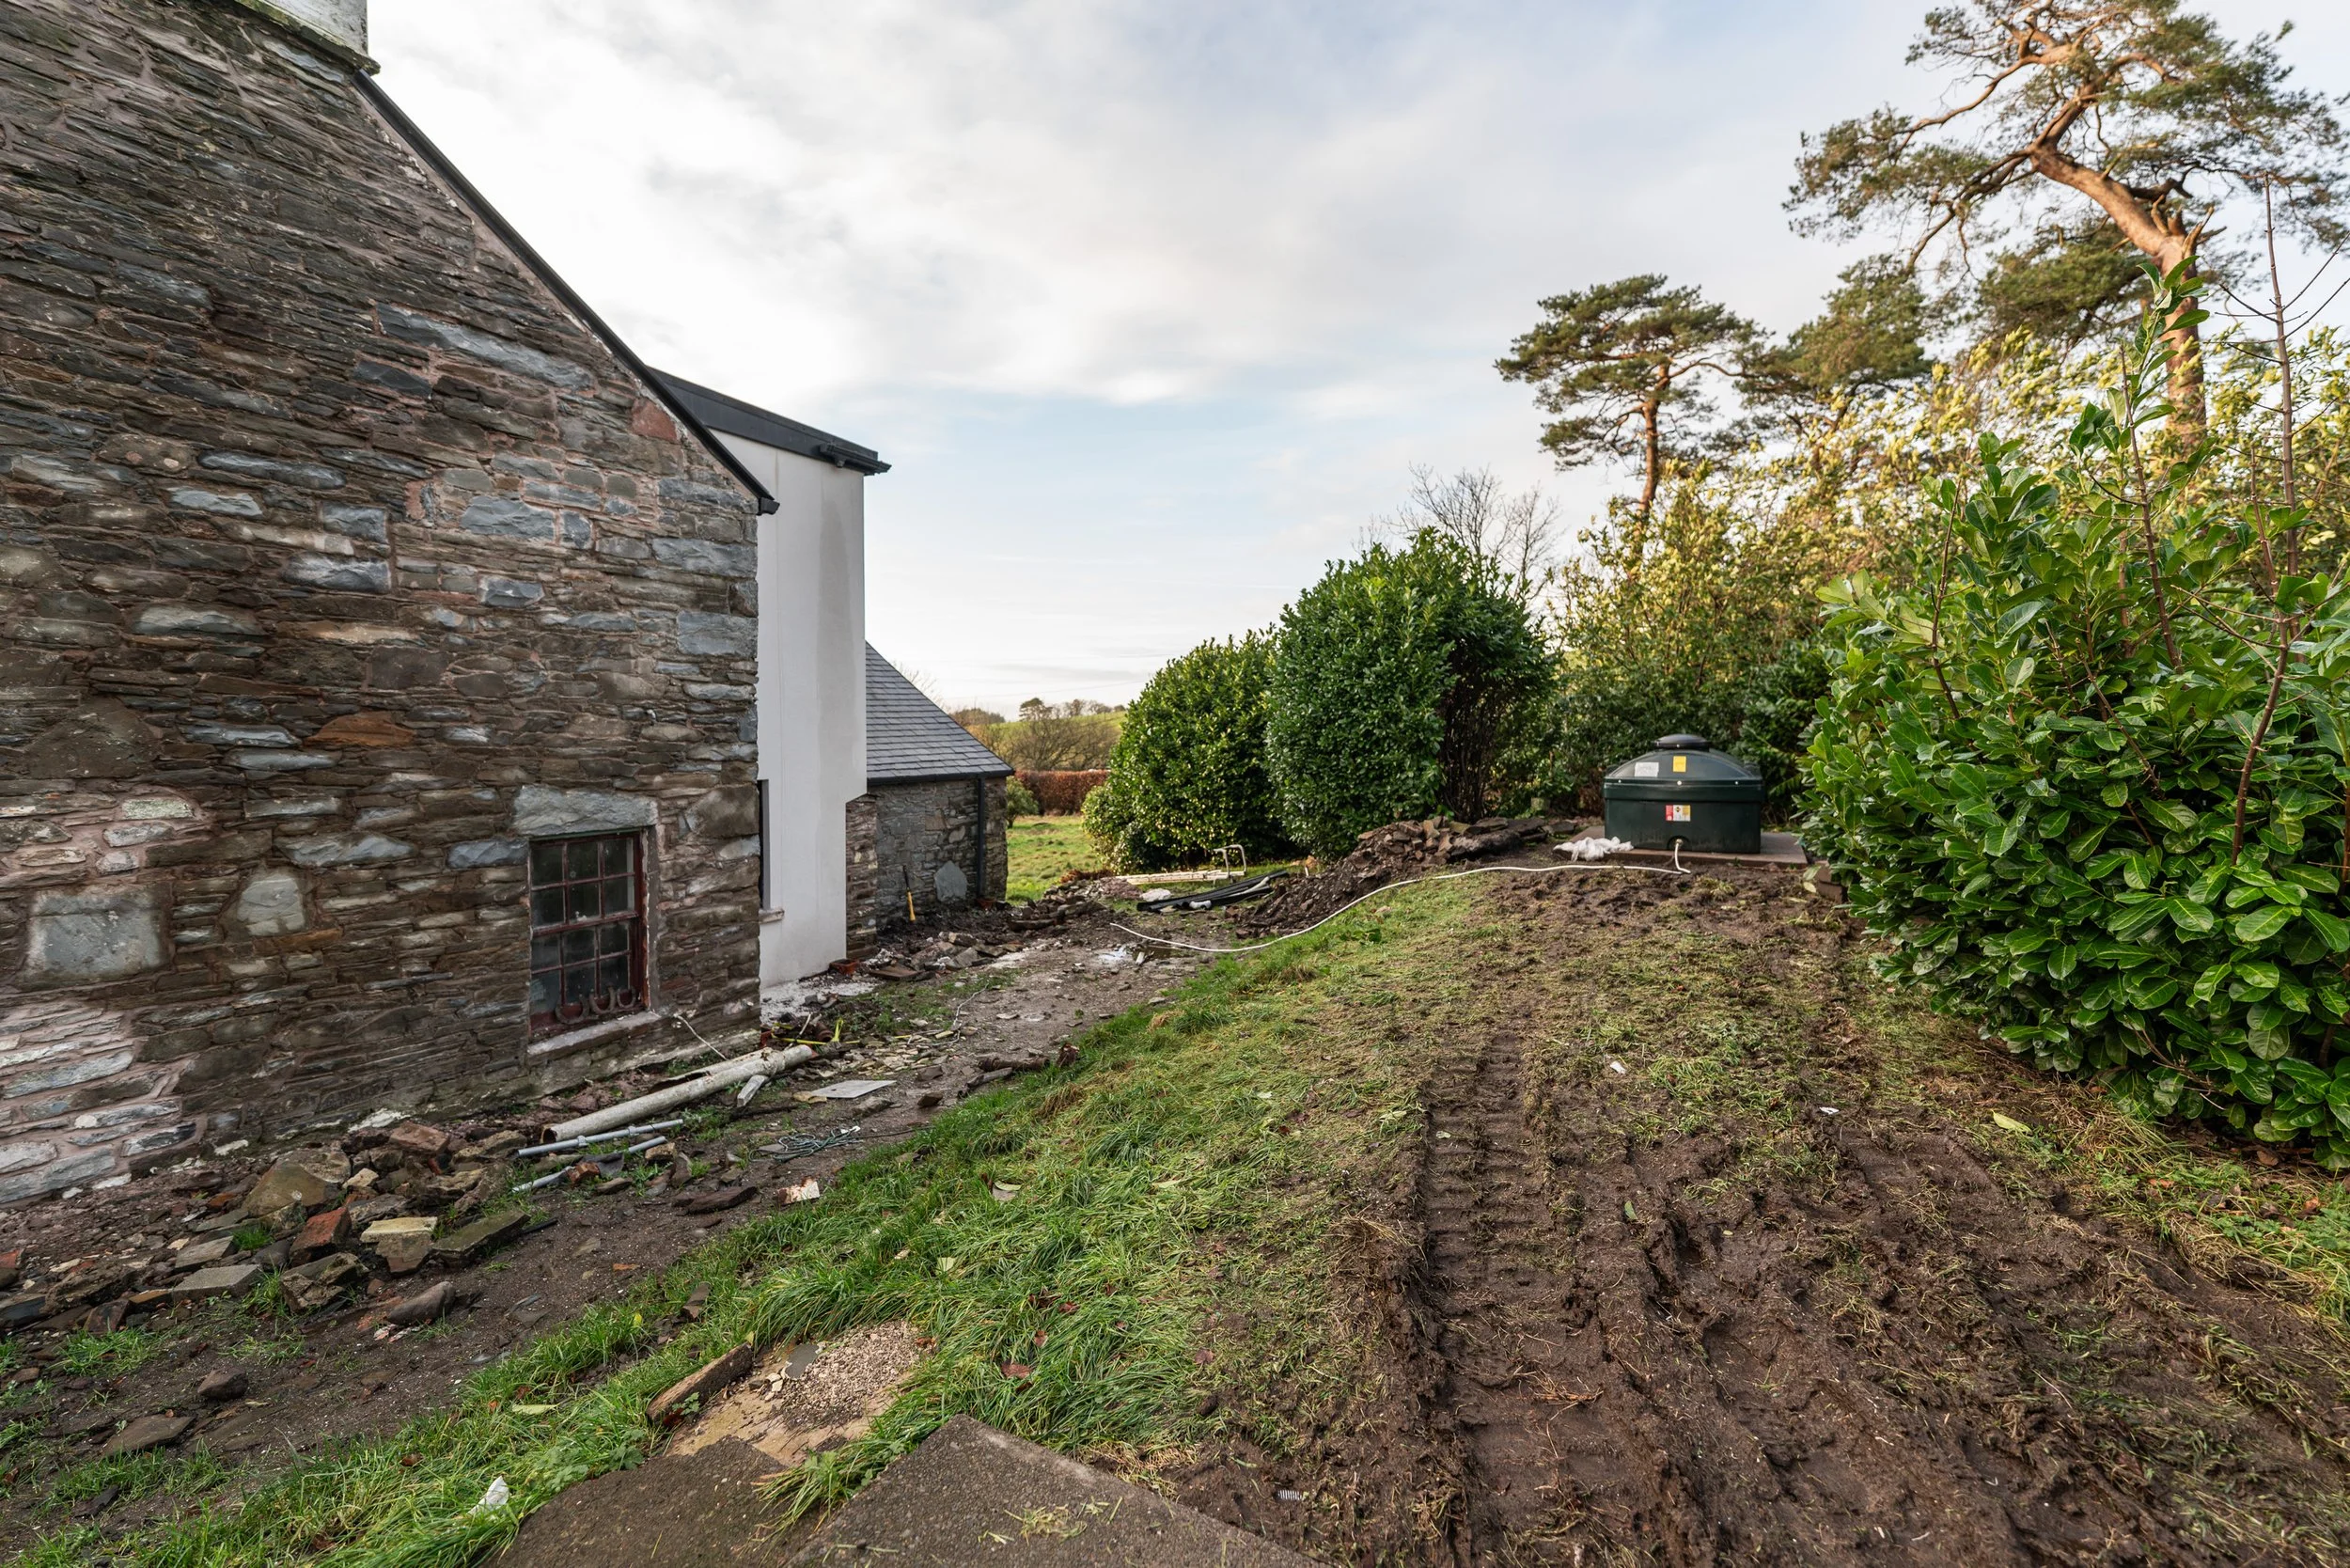

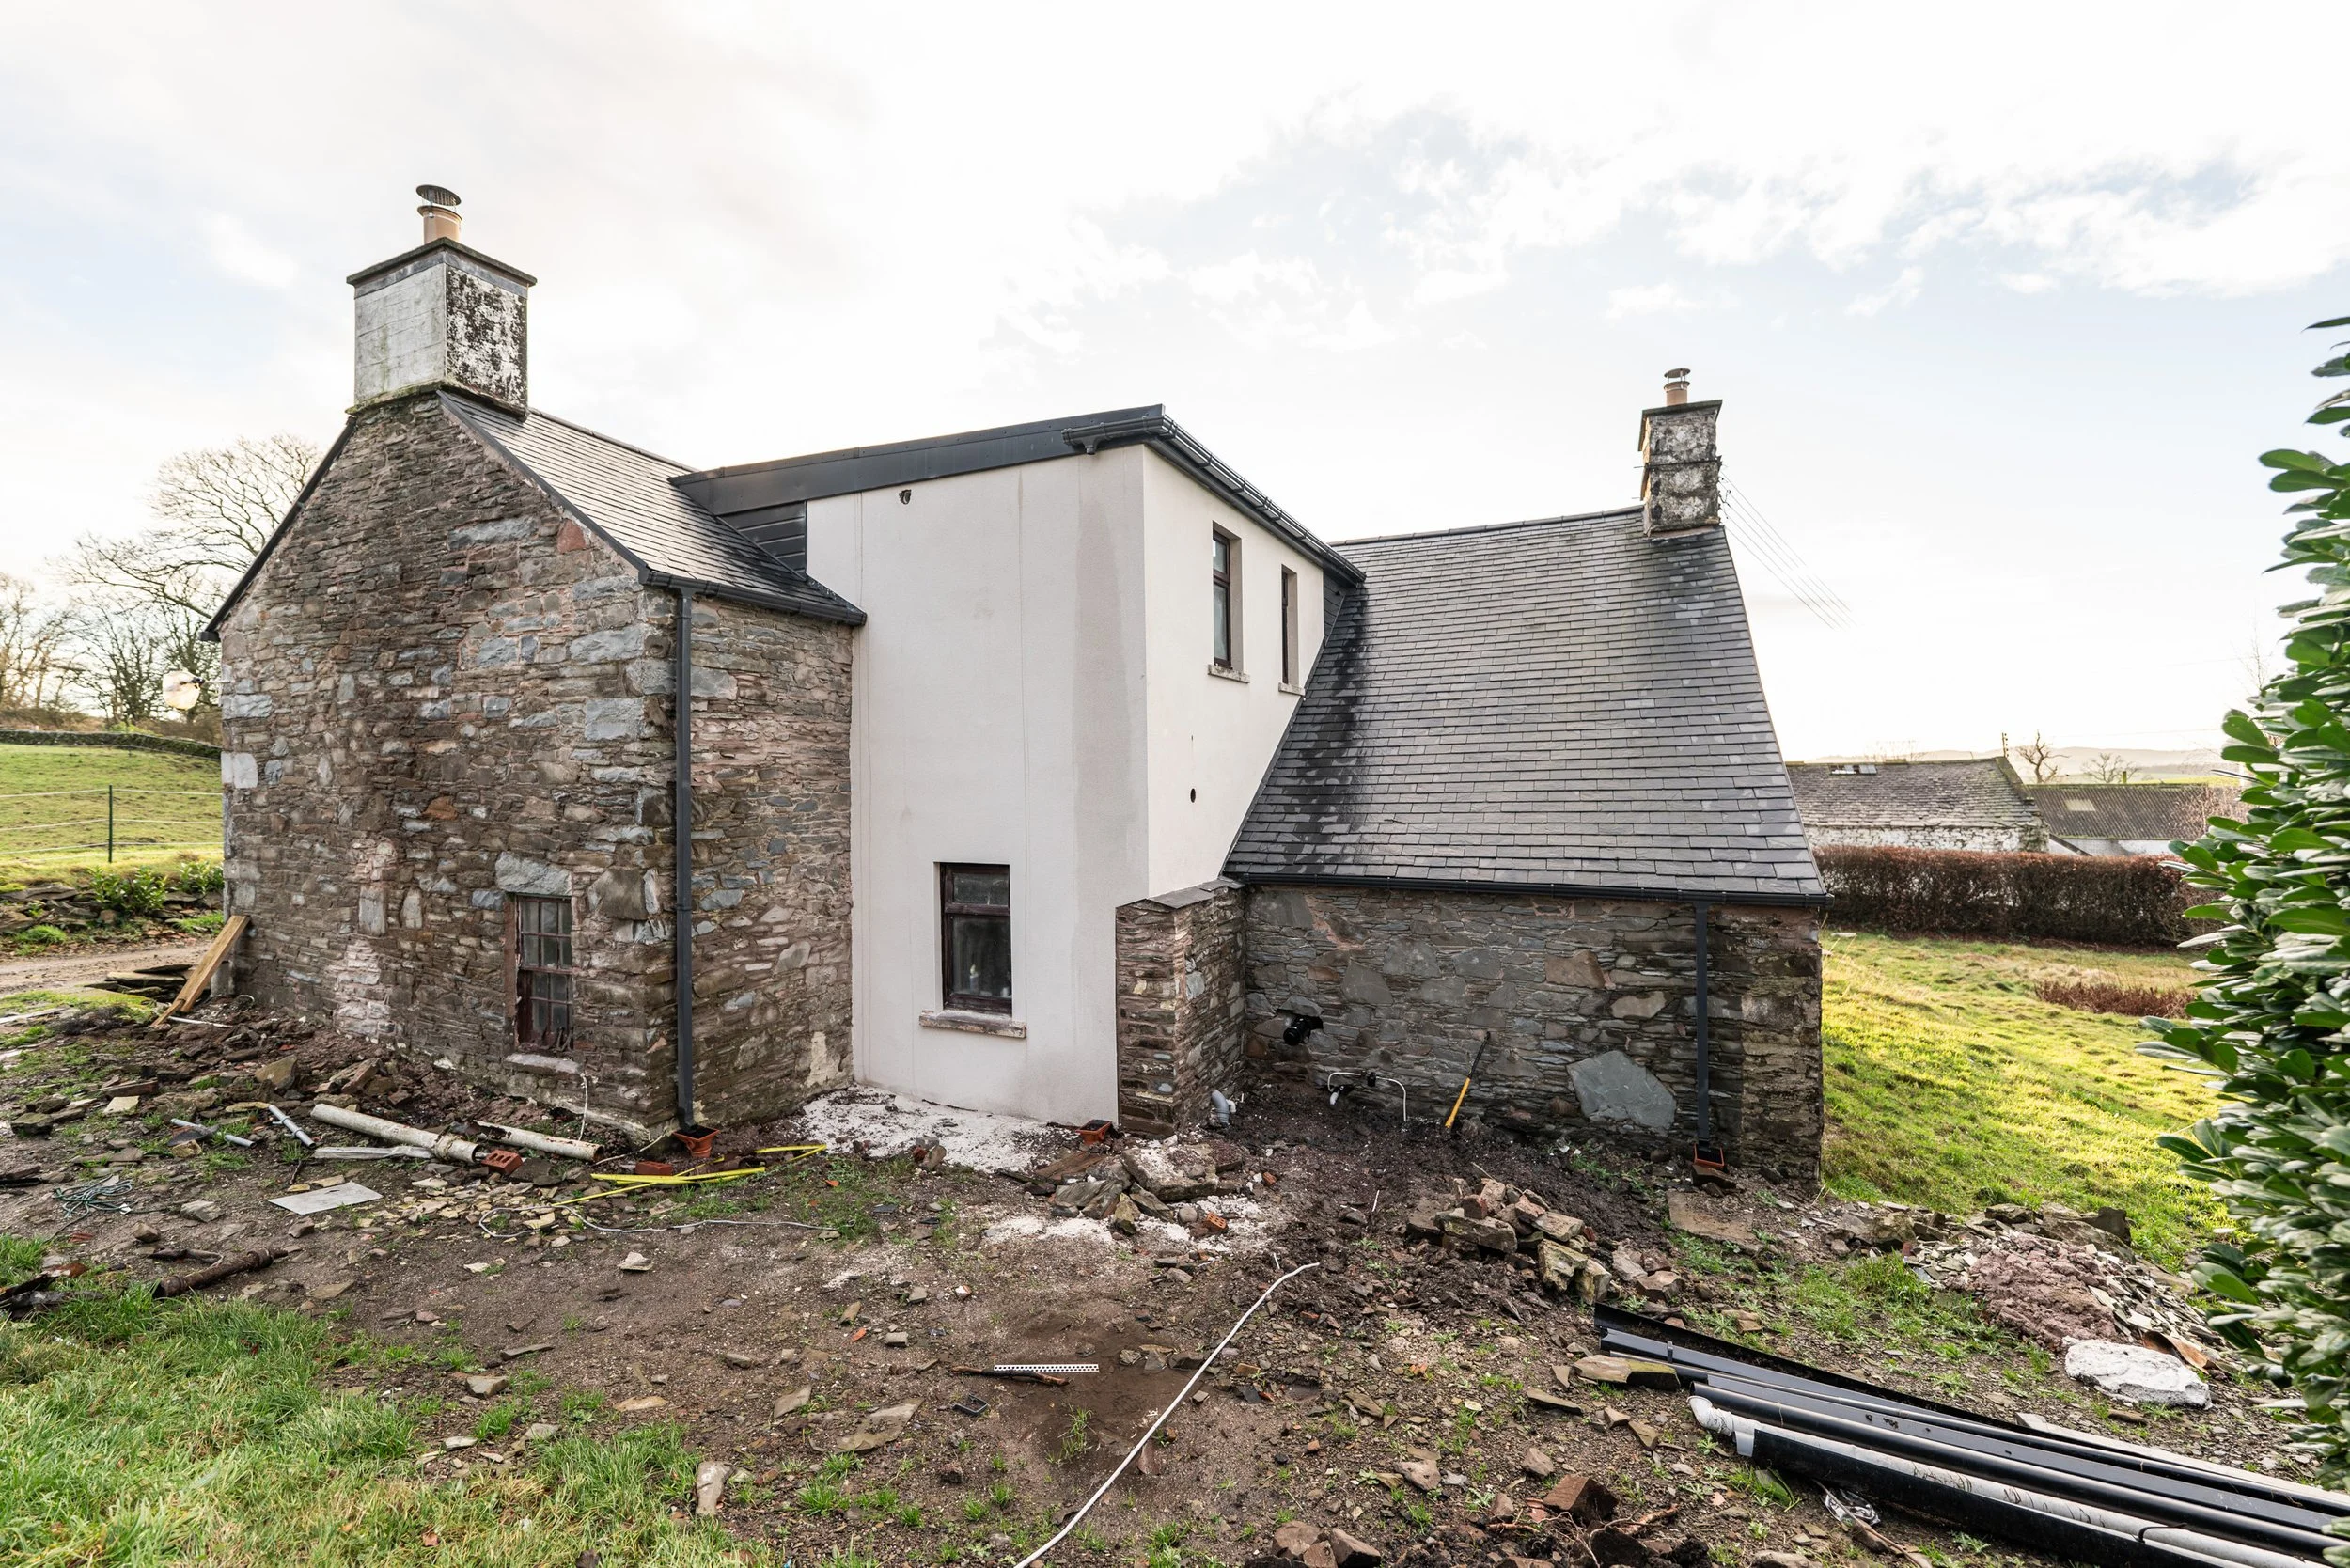
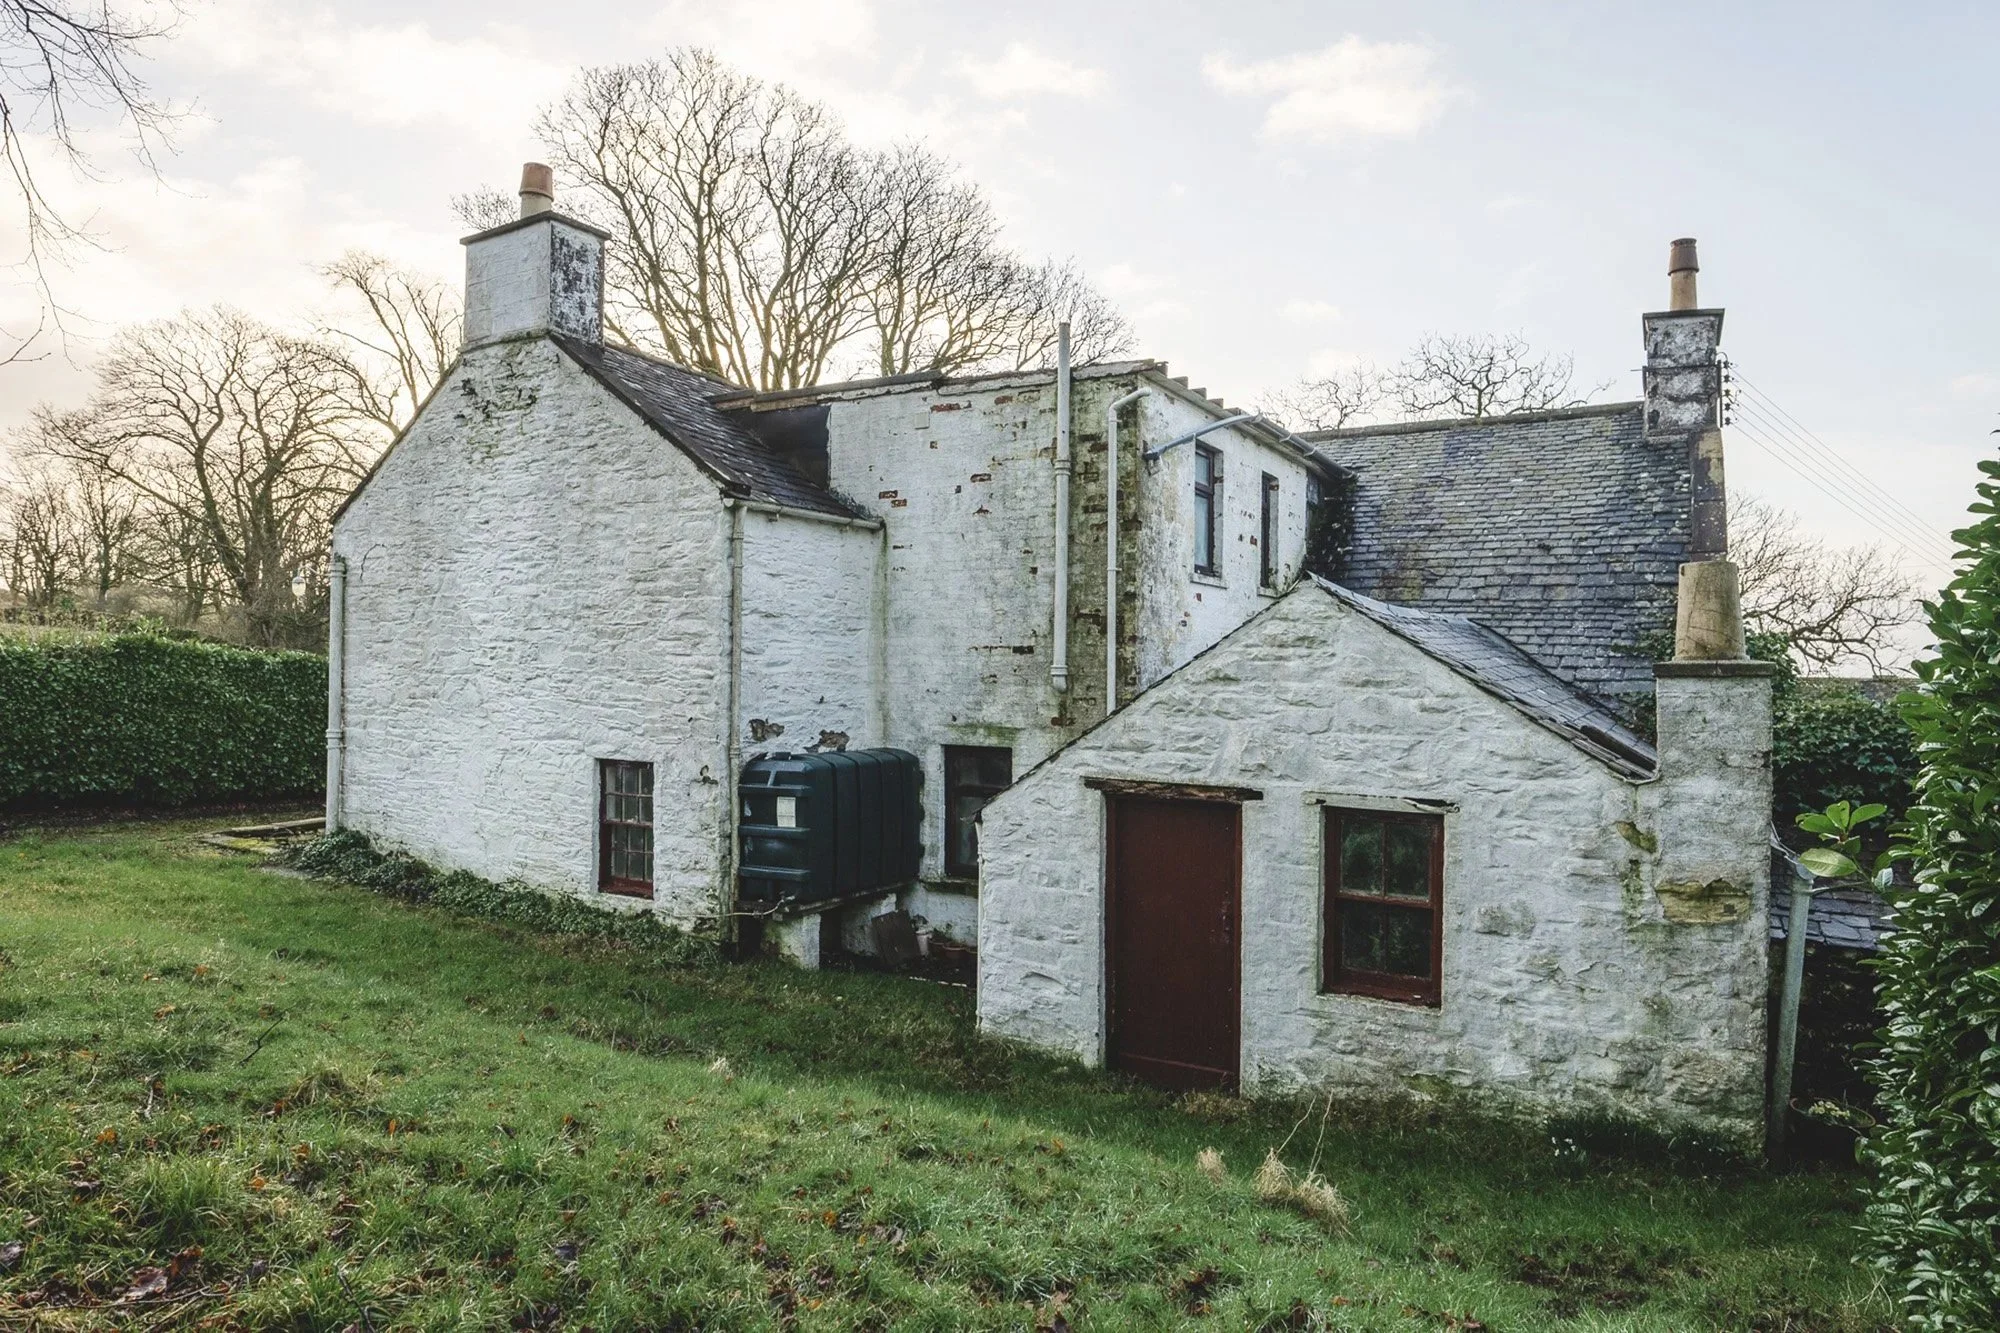
Rewinding with a blast from the past for historical references, here is the before and current view of the same elevation below. I cannot wait for this to be tidied up (and yes, the render has downpipes, they’re there on the lower right):
Next, the underfloor heating commissioning, which was a ‘fingers crossed’ situation, given that we poured the self-levelling compound before actually checking the pressure held. Another solid win, because it heated up and warmed our frozen feet.
So, at the end of the heating extravaganza (wet systems), we now have a reliable (🤞) boiler that provides hot water, heating through the radiators, and heating through the brand new, fully functioning self-laid overfloor-underfloor heating. Woohoo!
AND THEN…
… the EV charger got fitted. It’s only taken 1.5 years but we finally bit the bullet and put in an EV charger for our EV that we had before we moved up to somewhere with incredibly poor EV infrastructure. Since we moved, our incredibly comfortable and very fun to drive EV has been relegated to the shed since there was nowhere to charge it at speed. It came out for driving to functions and dinners once a month or so, but other than that, it was only used for long drives south.
After issues with the truck leaving us effectively car-less unless we sit for 3 hours somewhere waiting for a half charge, we ordered a very sexy hidden-cable charger unit from Andersons in the black friday sale. The green and black box was connected to the farm circuits by Kenny the Legend on Tuesday this week, and it works perfectly. How beautiful is it?!
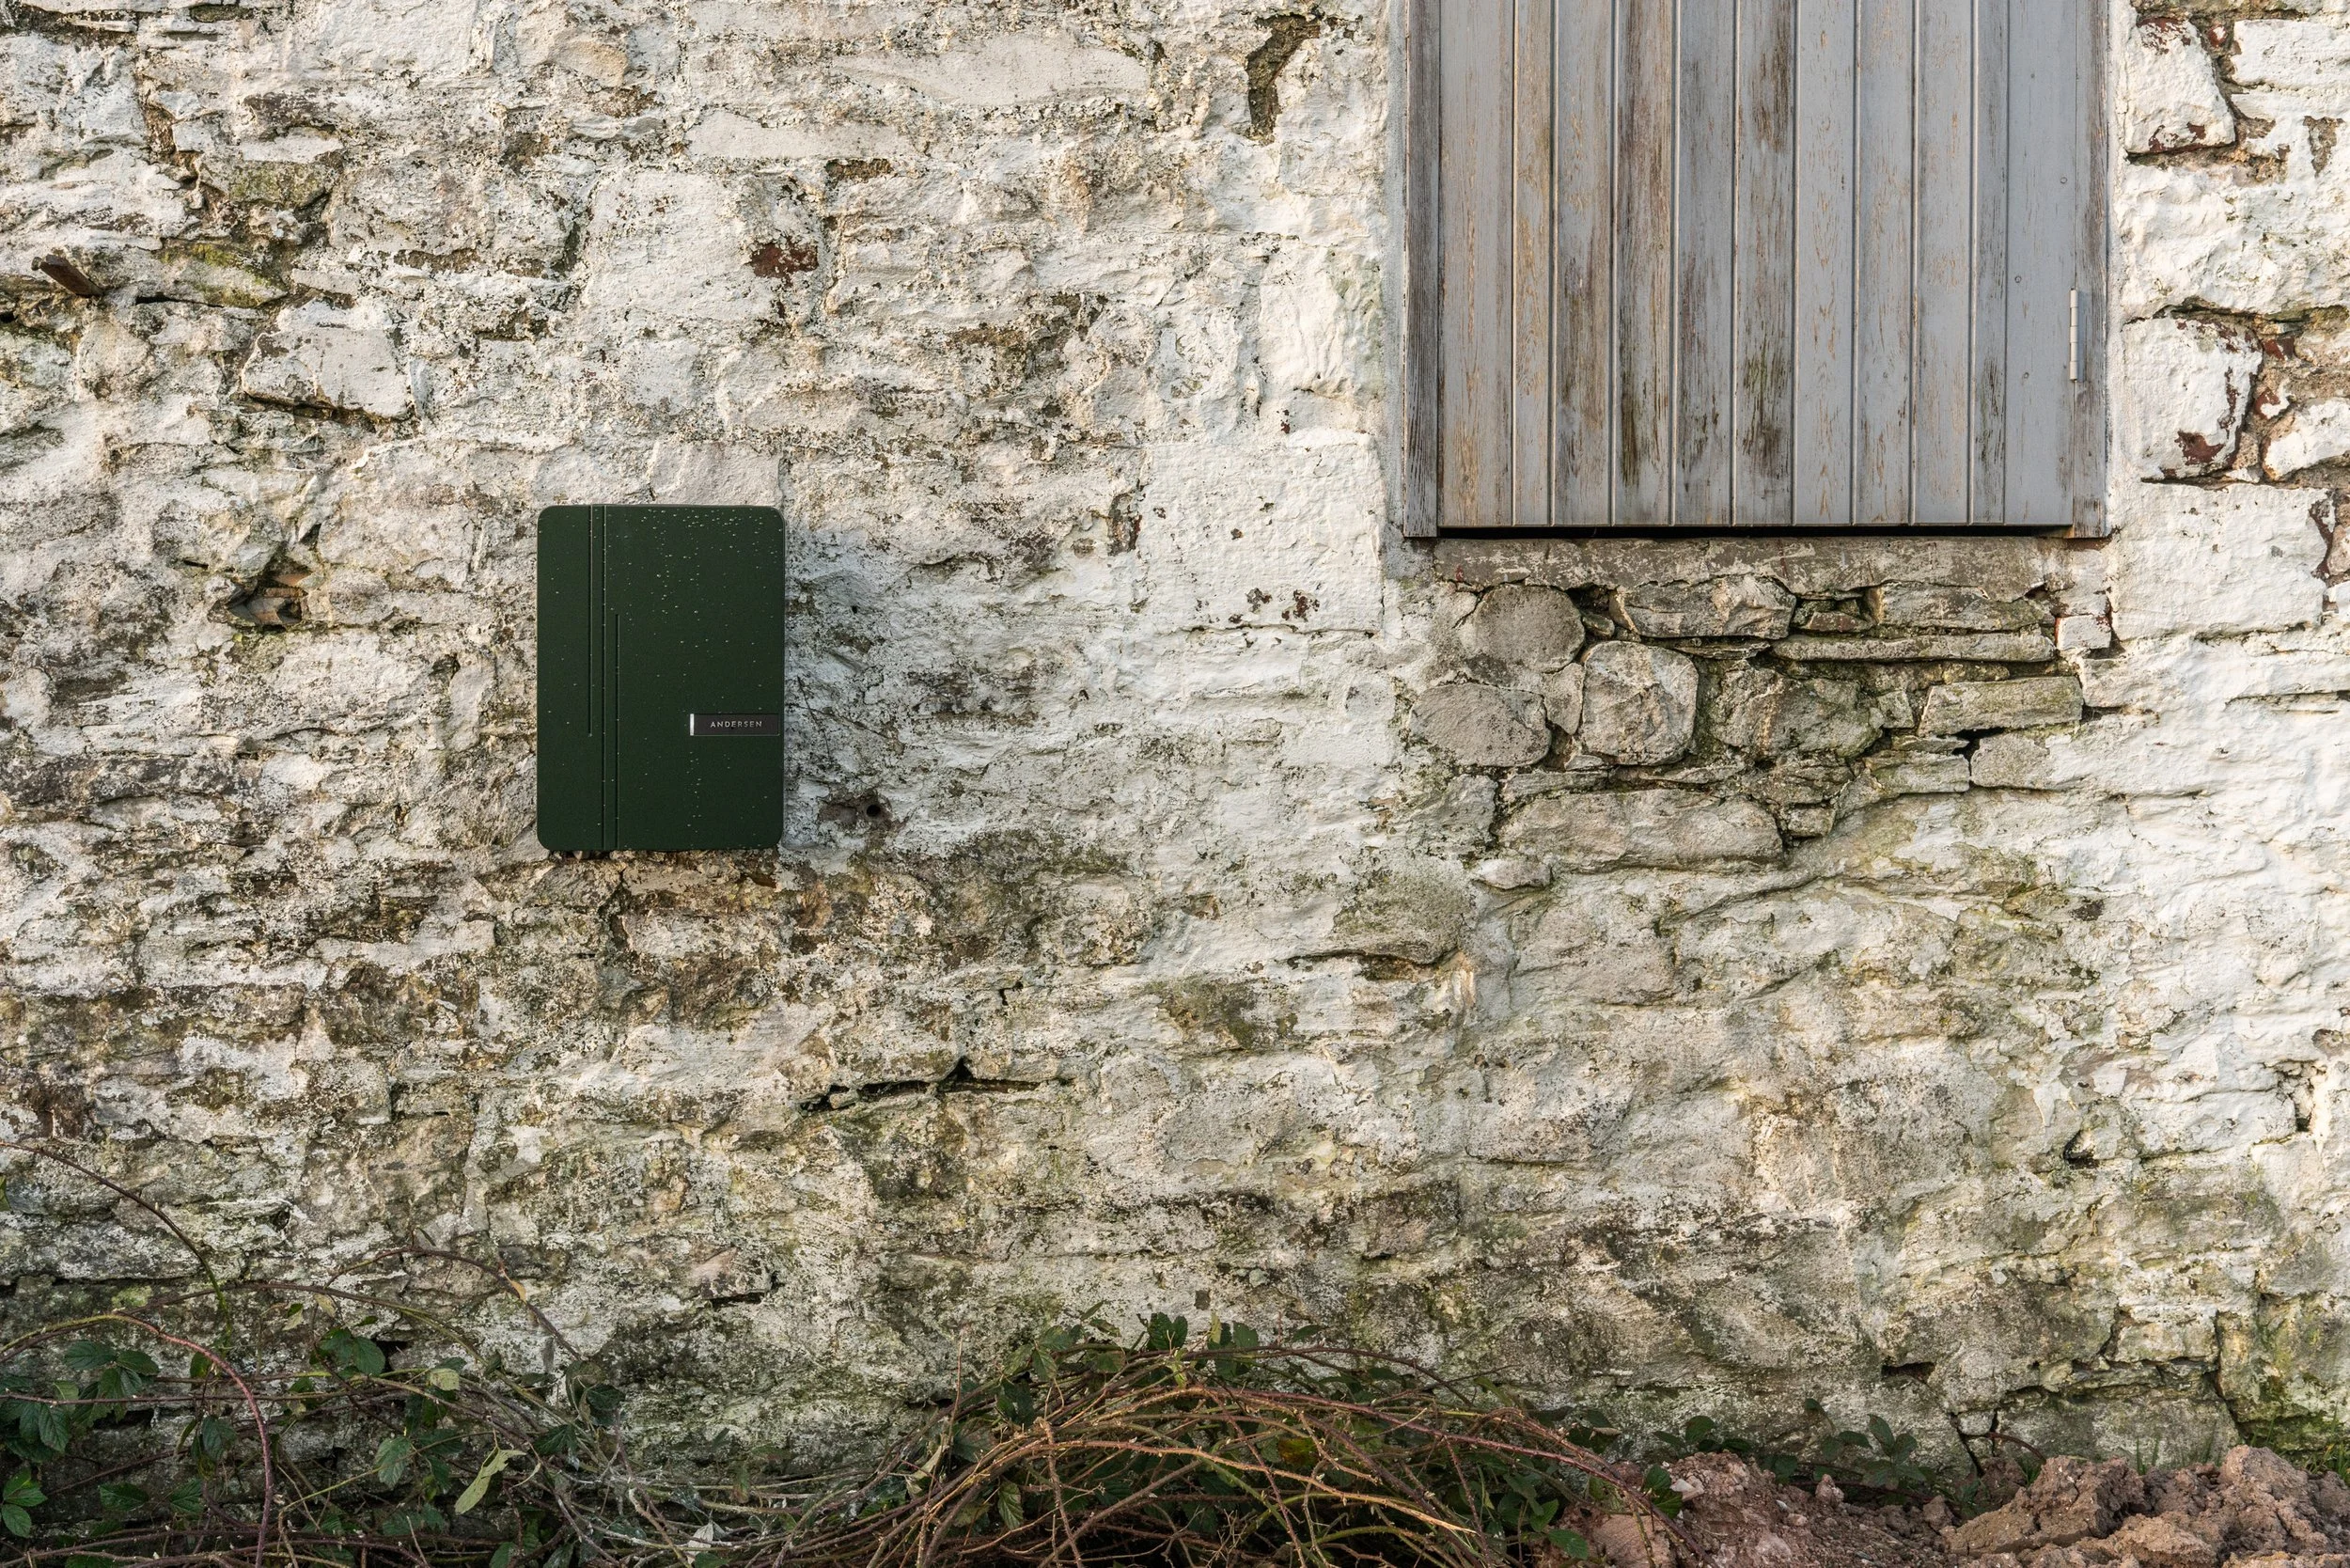

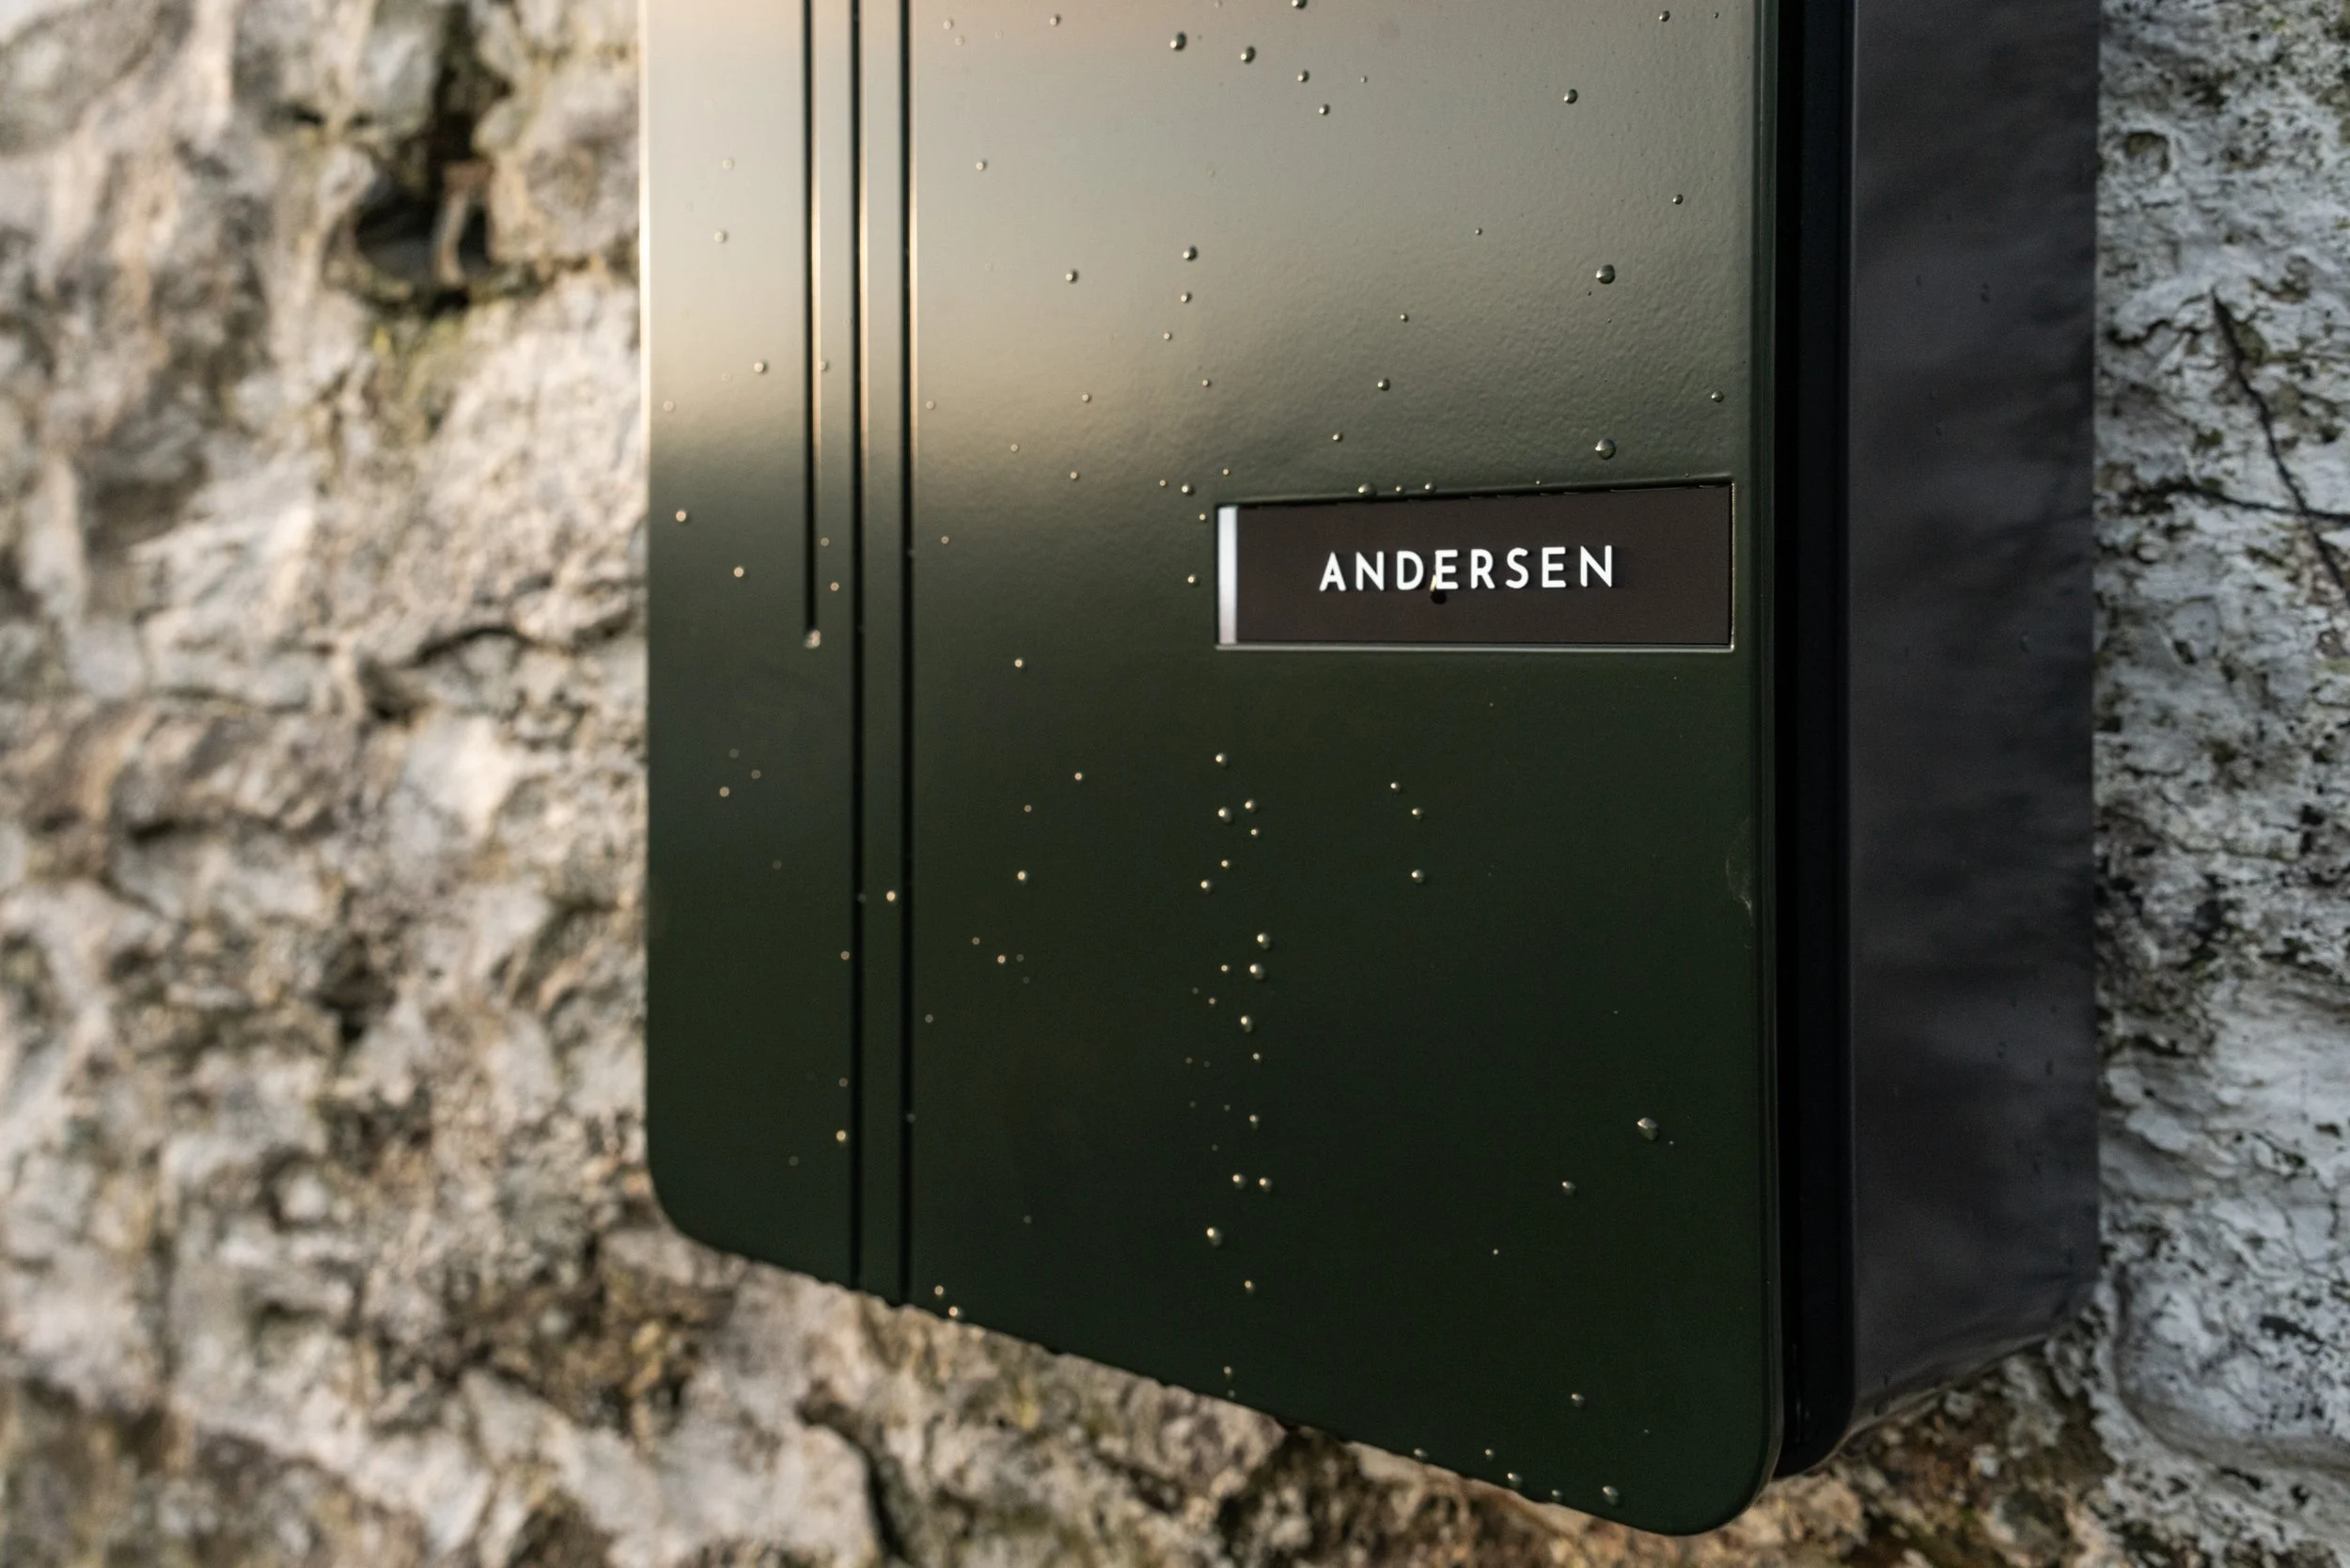

Probably need to remove the brambles underneath. I’ll add them to the list.
AND THEN…
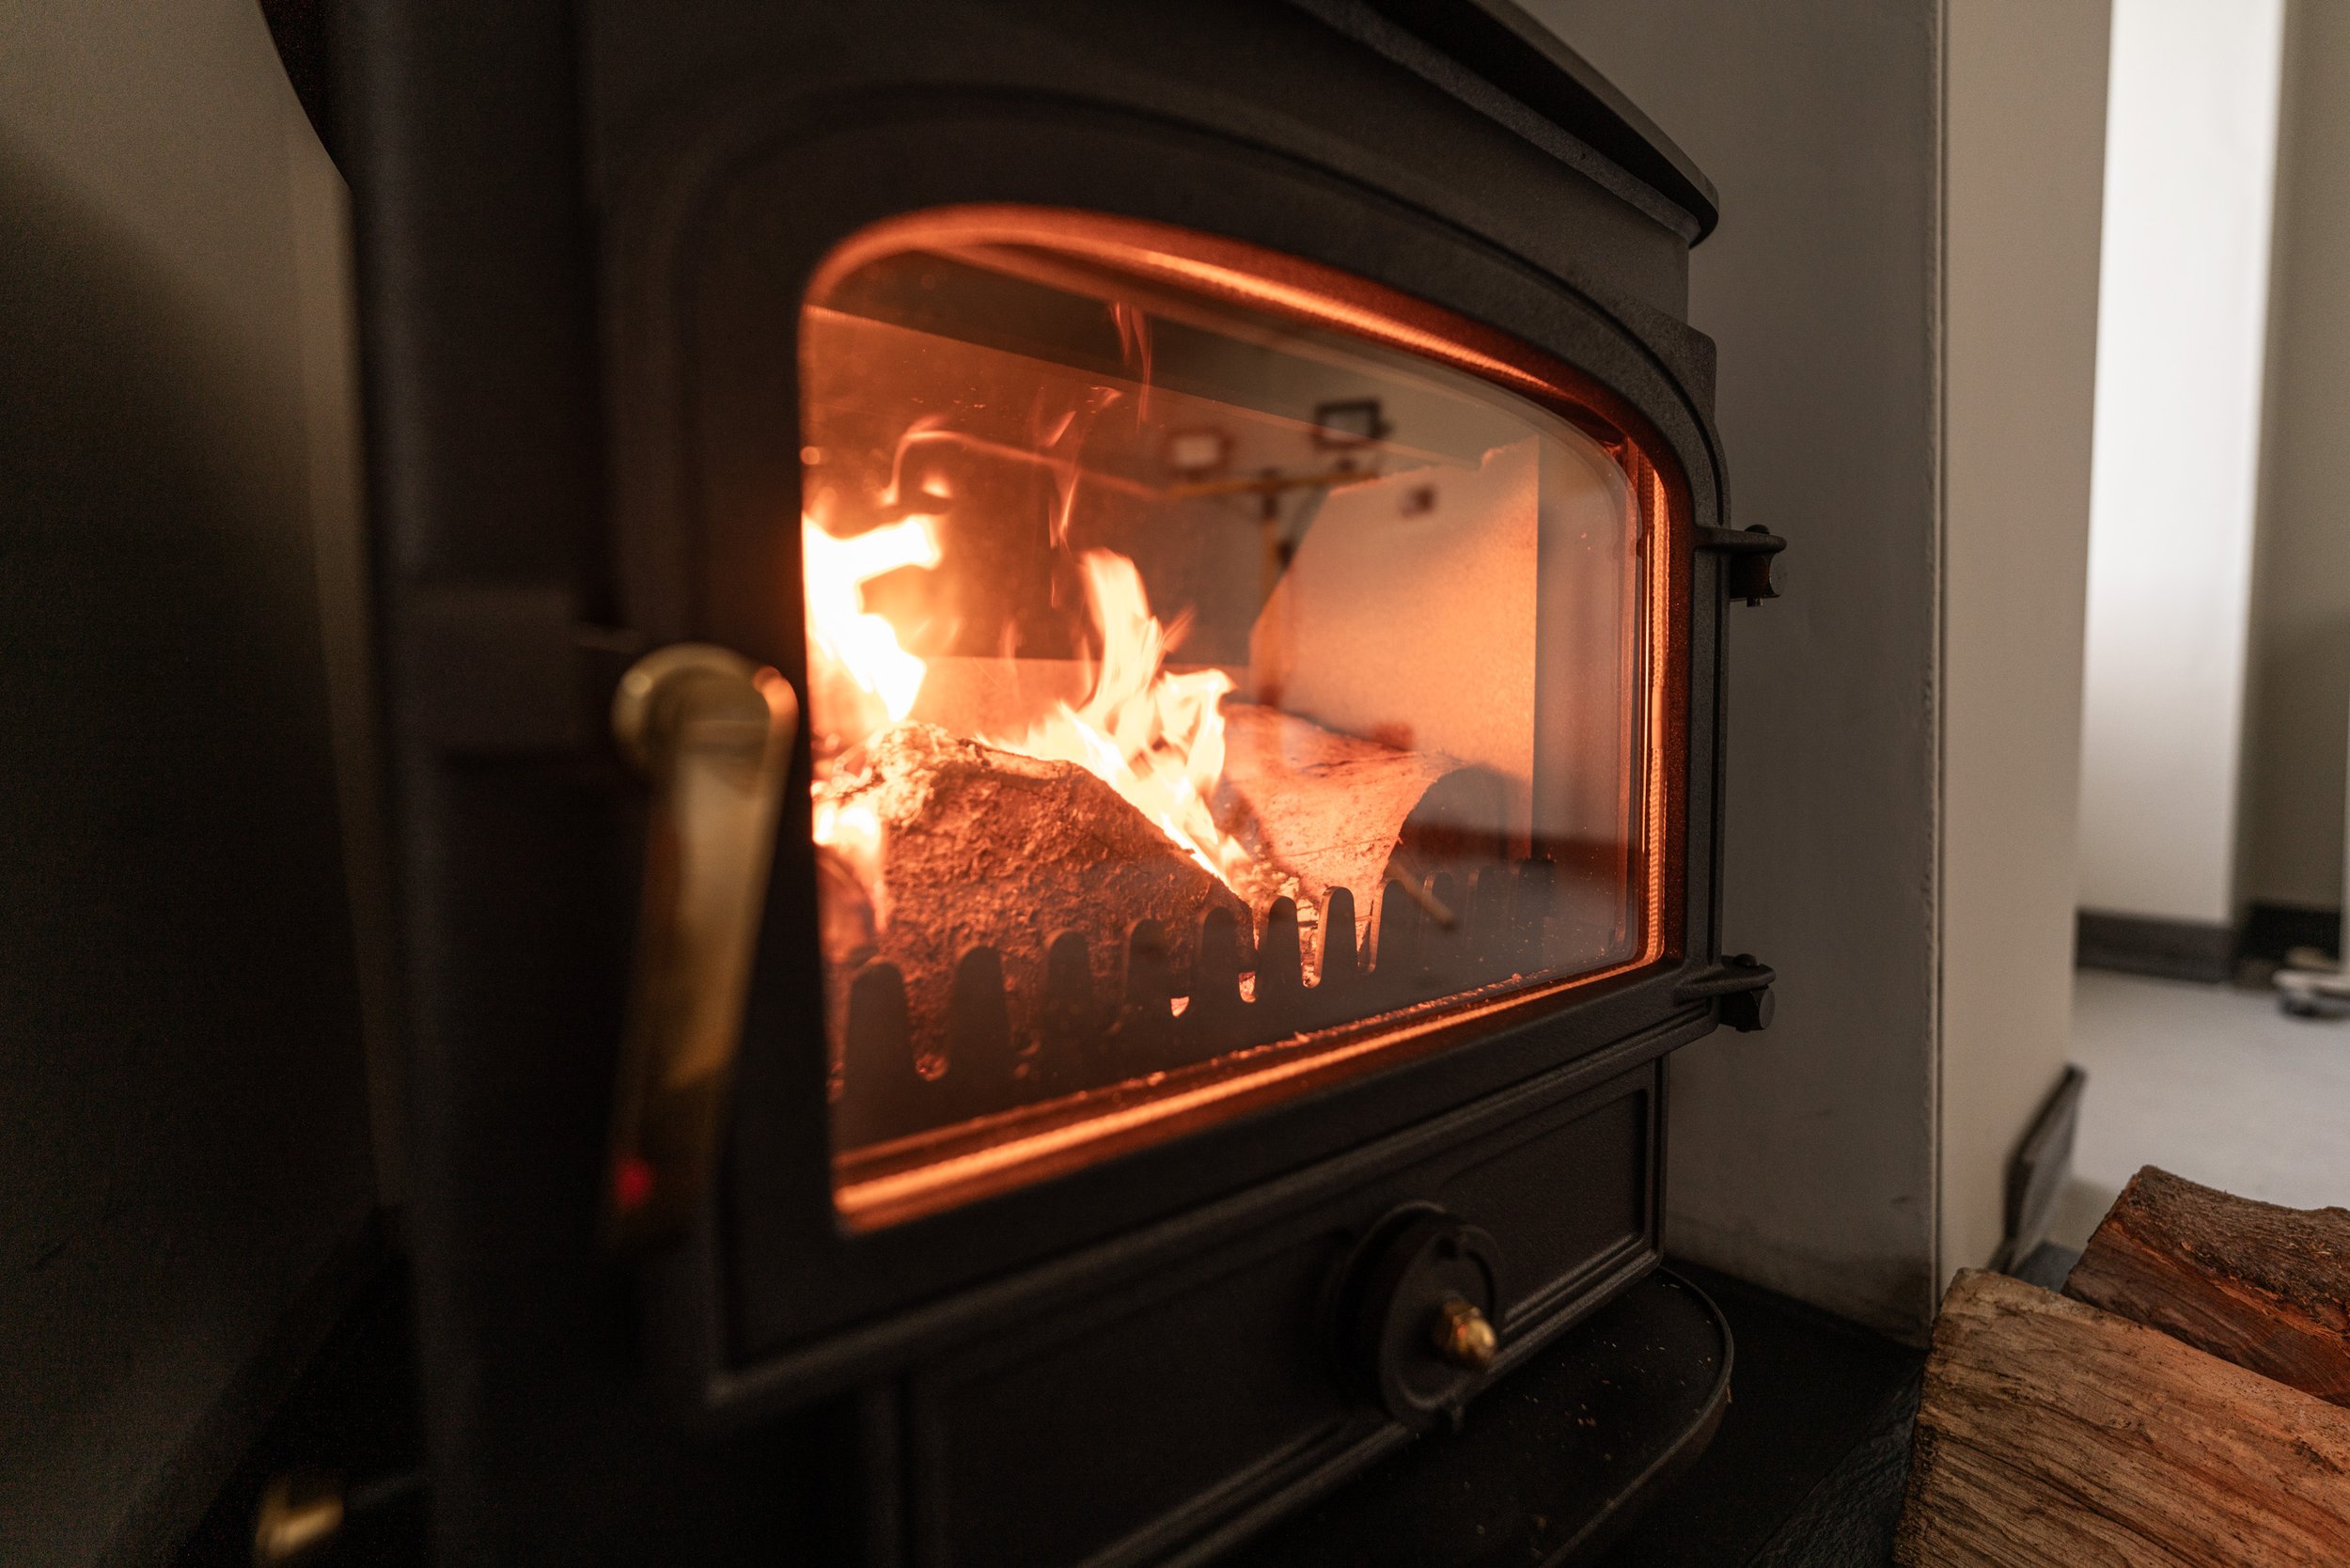
…it was time for the final instalment in our heating project. If you have one log burner, it needs a friend.
If you have two log burners, one might go out somewhere, so a third ensures nobody gets lonely.
Long burner No.3 in the middle section got fitted on Thursday. The final burner to sit in the massive old farmhouse now means that each section of the house has its own non-electrified, non-oil-dependent heating option. Each section of the farmhouse is a self-contained stone block with no more than 2 small openings (doors) into the adjoining stone building. That means that one burner tends to heat up its own stone building, but the heat very rarely makes it to the next one over. This is now resolved.
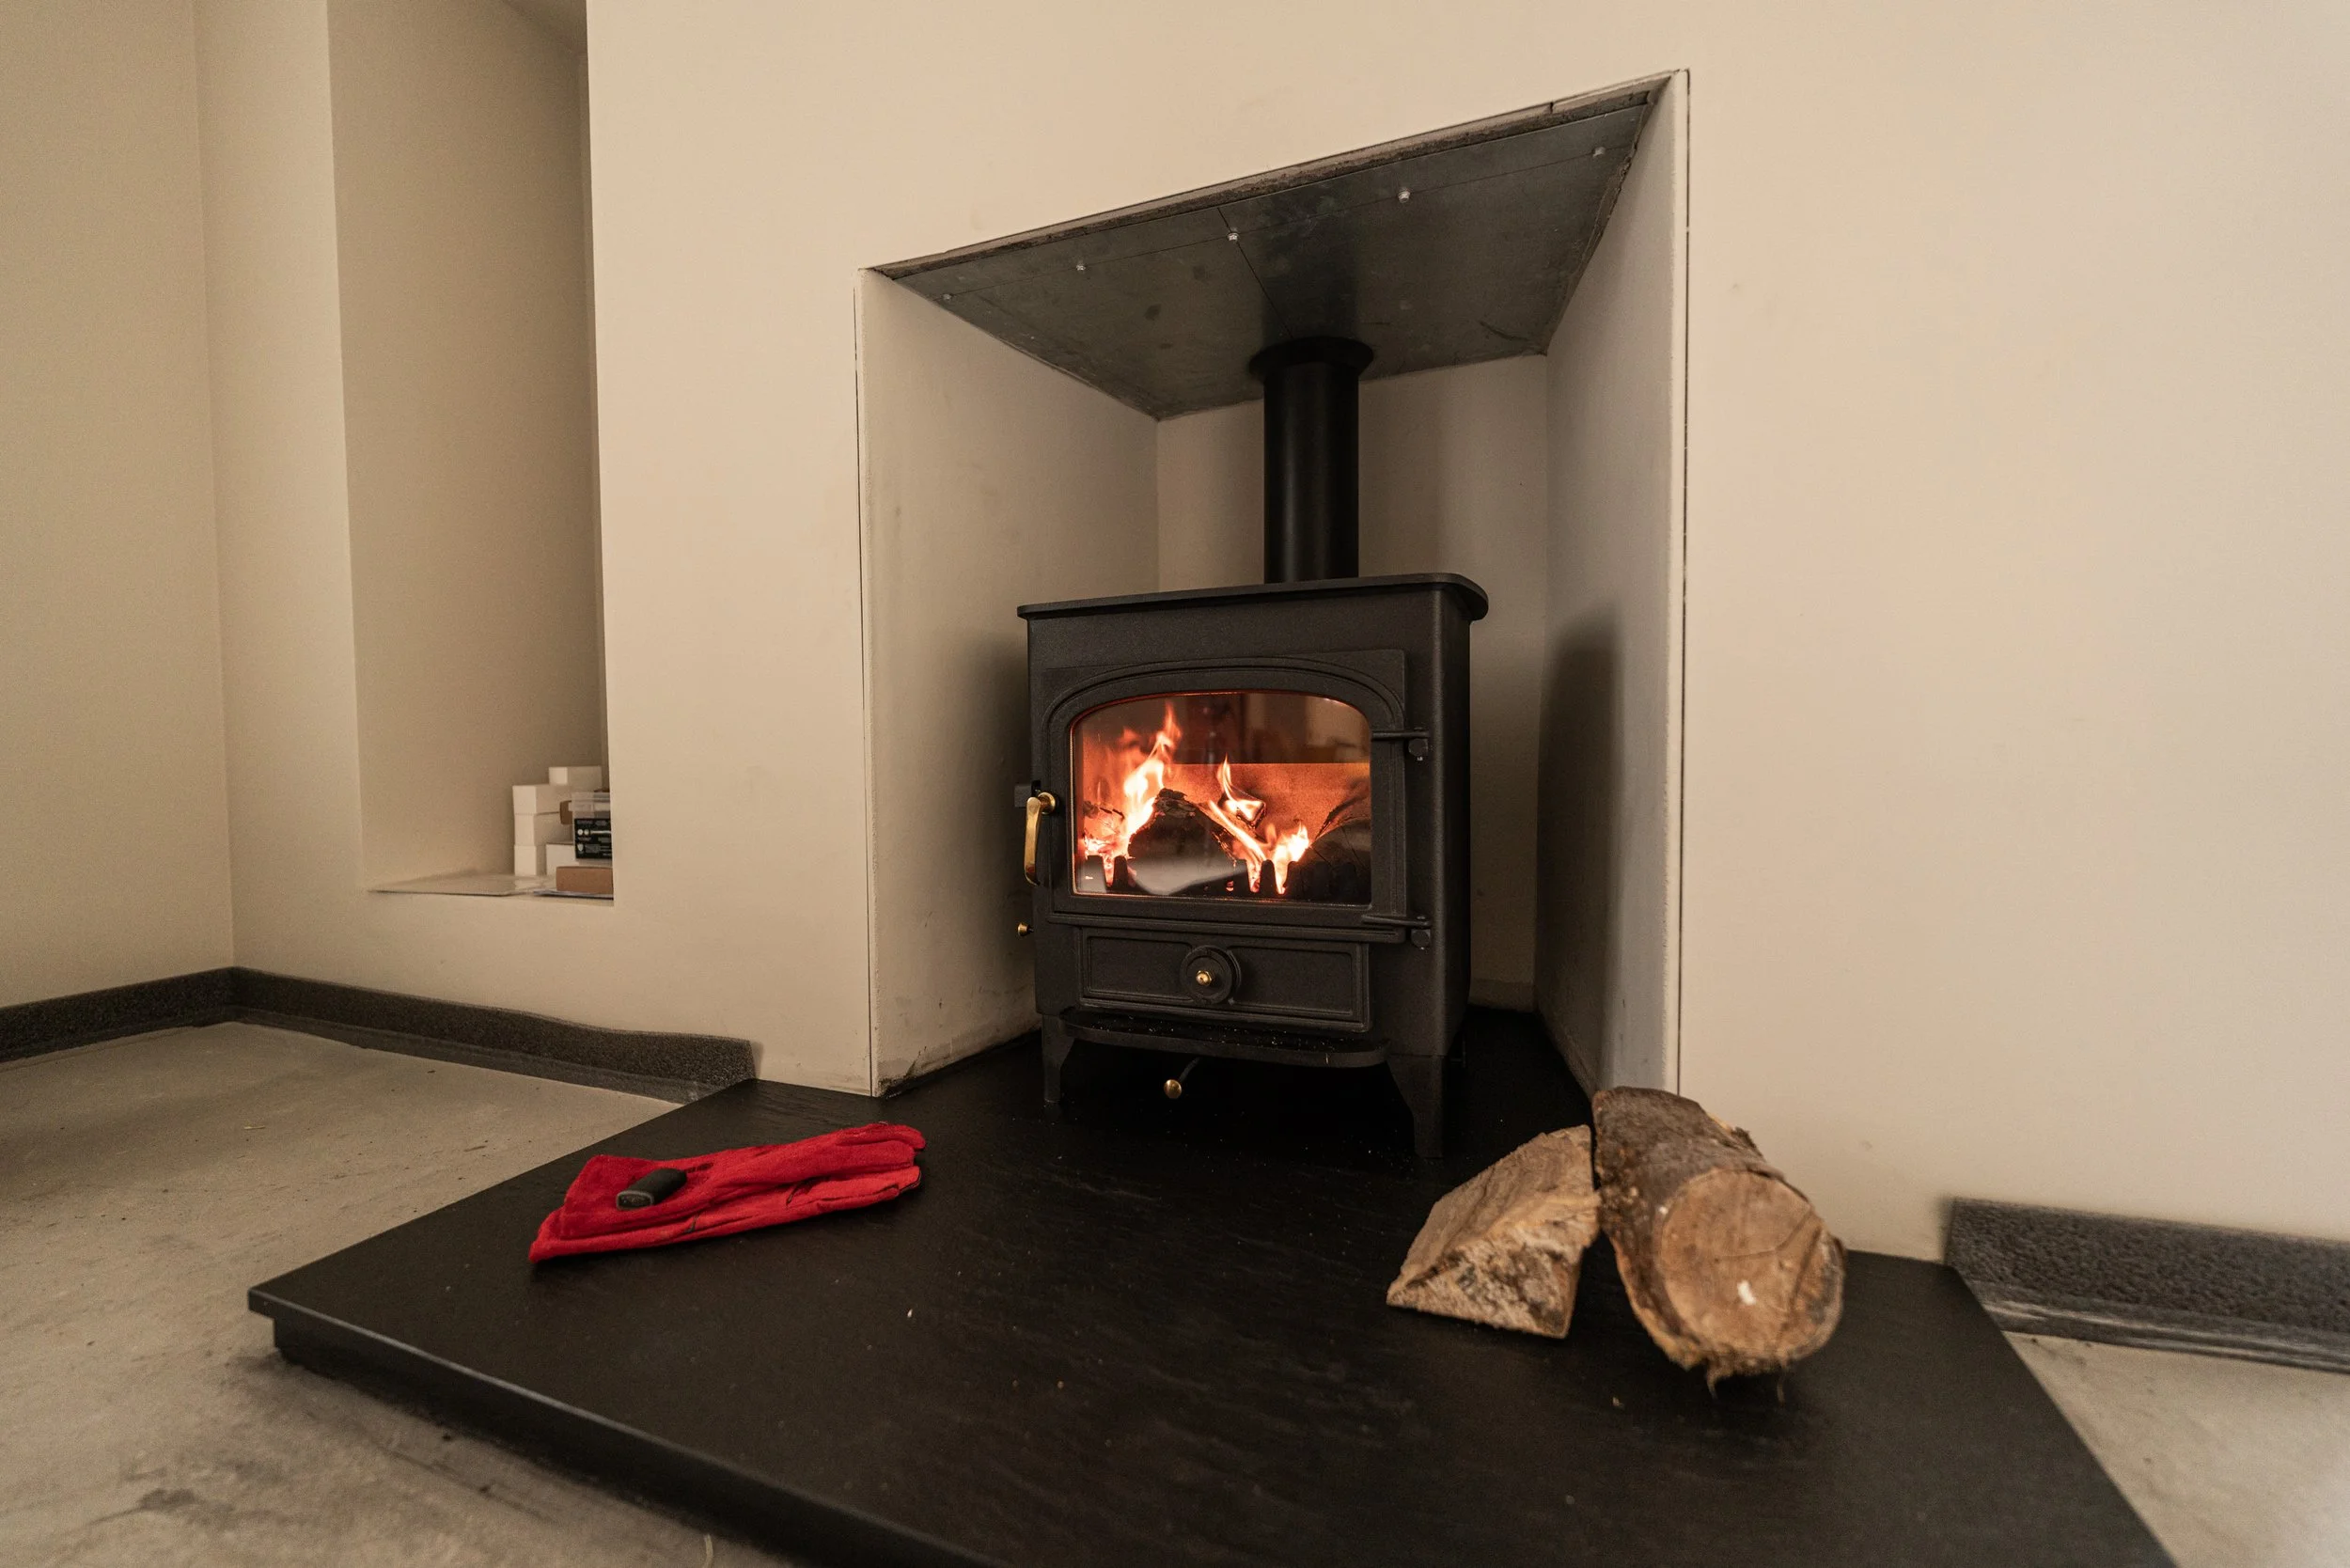
The north, middle and south are now heated, and the main gables themselves are heated via the chimney stacks. Yay.
AND THEN…
…a dull job. Dan and I shared a job cleaning the utility room over there. Our tumble dryer, essential but rarely used, also died a few weeks back but in its defence, it was about 3000 years old, and it has lived through 1 and a half winters in the shed. We think it may have frozen in the November cold snap and that was the end of it.
Sadly, that meant we needed to send her to dryer heaven and find a replacement, which we did, but we don’t want to kill Dryer 2.0 the same way, and therefore, it was time to put a white goods unit into the farmhouse utility room. The only issue is that the farmhouse utility/porch is grim. A dumping ground of crap because it’s always cold, damp and dirty.
It’s not that it’s never been cleaned, it has, it’s just that even after cleaning, it still looks cold, damp and dirty.
It is cleared out, fully cleaned from top to bottom including walls, ceiling and floor, and dryer 2.0 is now in situ. Literally, this room has been bleached from top to bottom multiple times and STILL it always looks grim. It’s on the list for a remodel but it’s the absolute lowest priority and therefore, this is where we’ll leave the icky utility for now.
AND THEN…
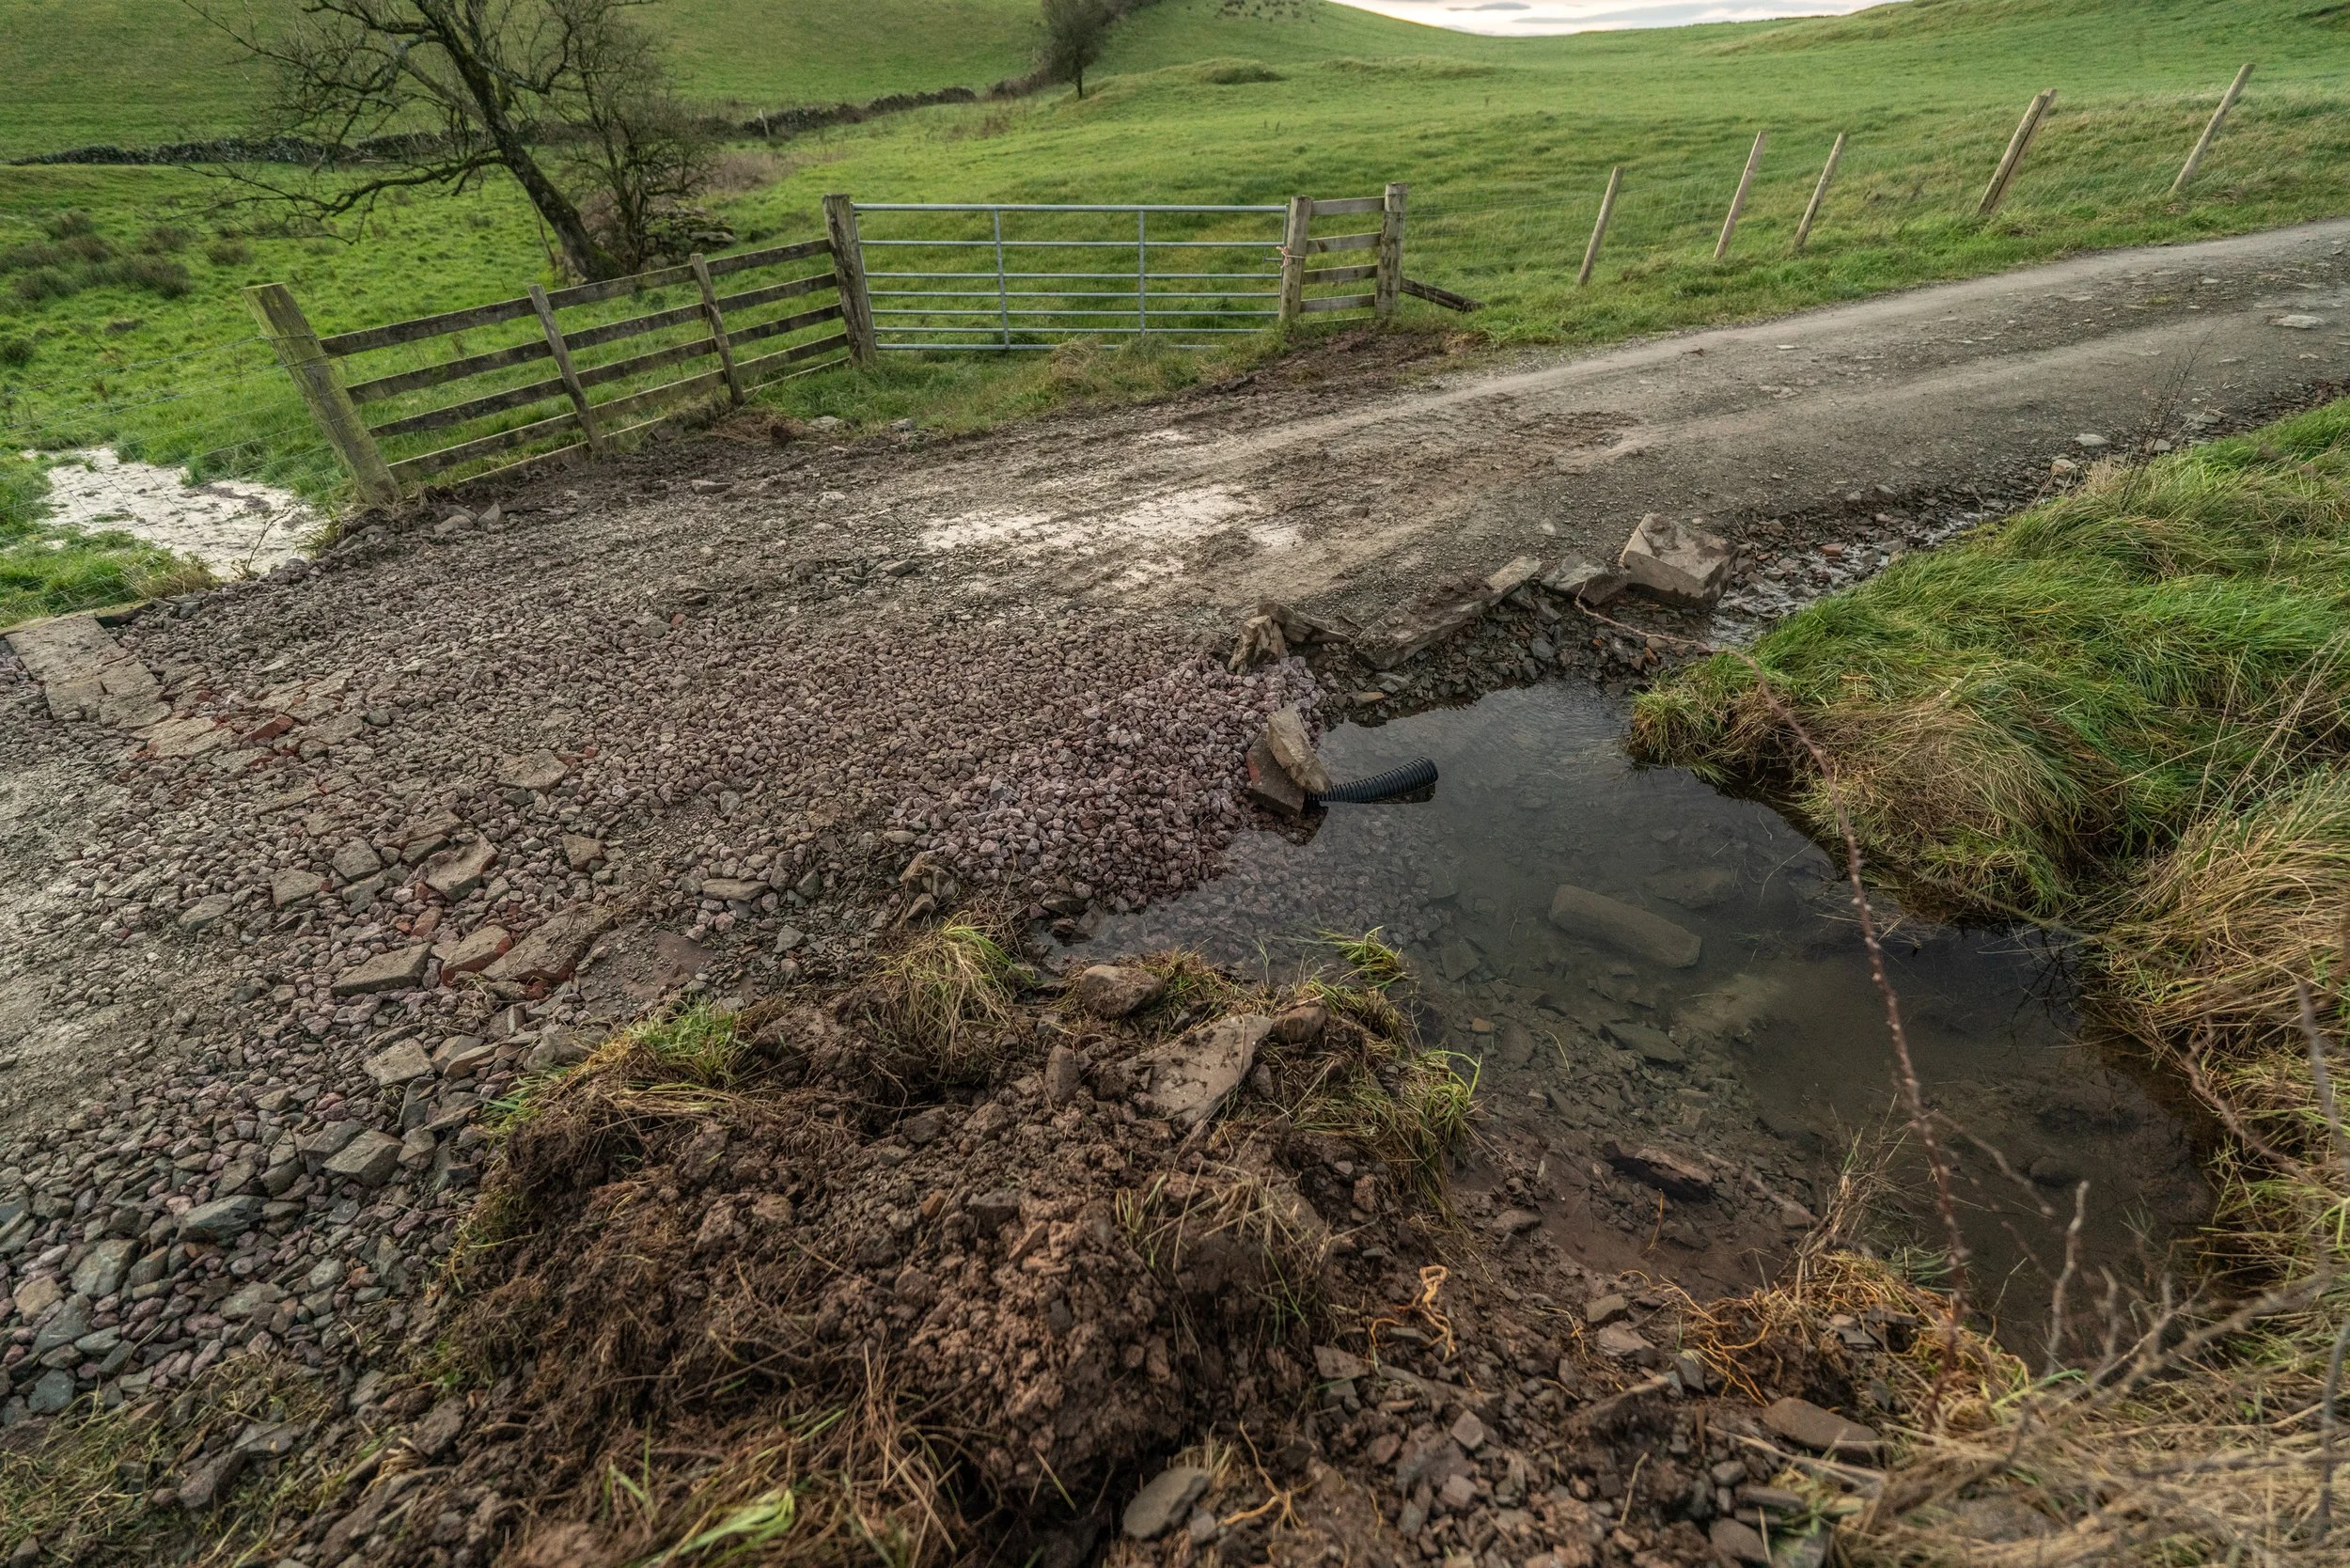
The driveway. The bane of our lives and something we’ve been tackling since we moved in. If you remember, last year we spent a high four-figure sum resurfacing the driveway, that is locally renowned for being absolutely horrendous, with our own fields rock. It looked great, it worked great, it was fantastic.
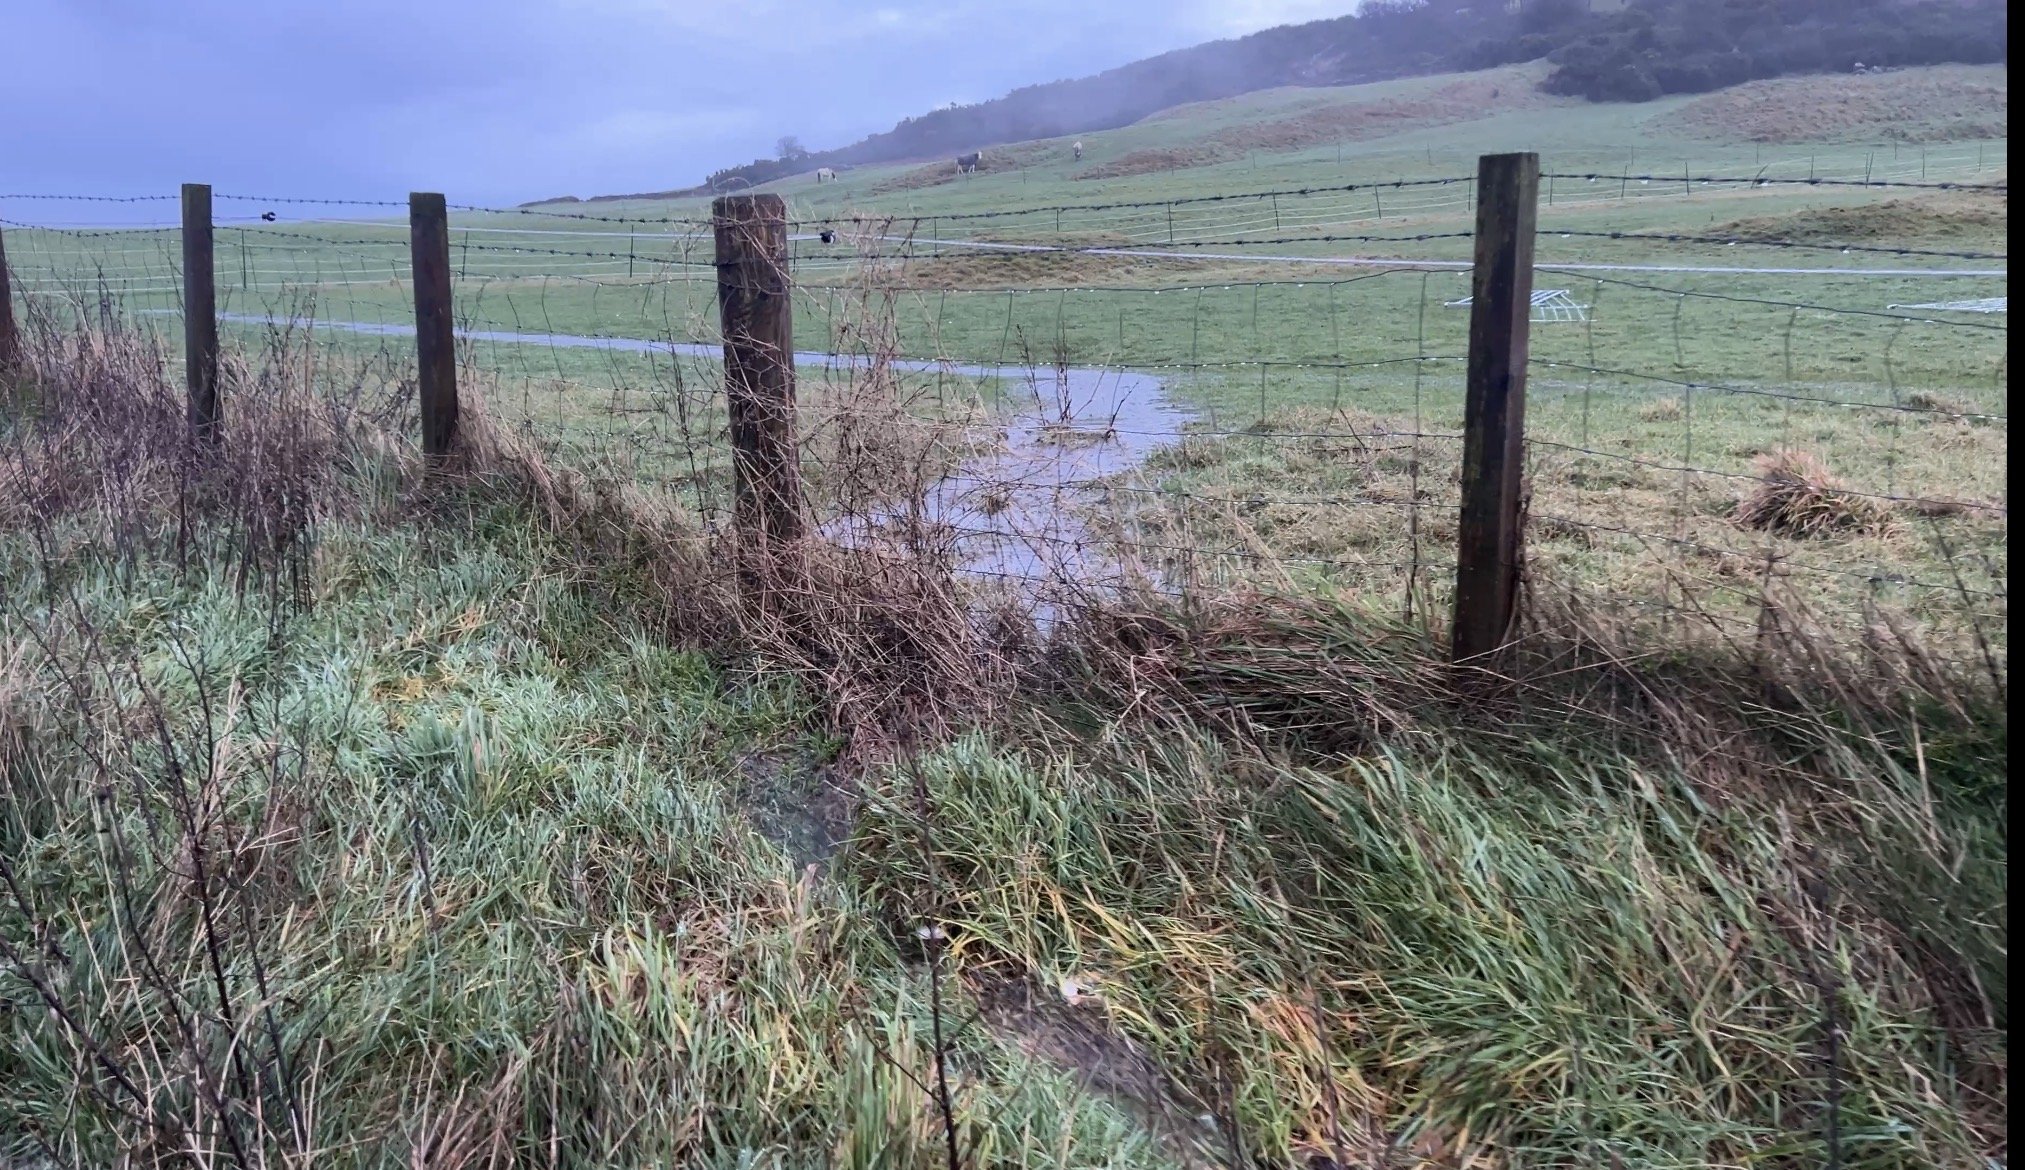
However, the last 2 months of horrendous rain have caused so much water coming over and out from under the land that the existing ancient culvert has been completely overwhelmed, partly washing away the bit we paid to be nice. In November, water completely covered the section between the bend and the pillars and it was exactly the same as watching your savings wash away down a river. Because that’s what was happening.
Gutting.
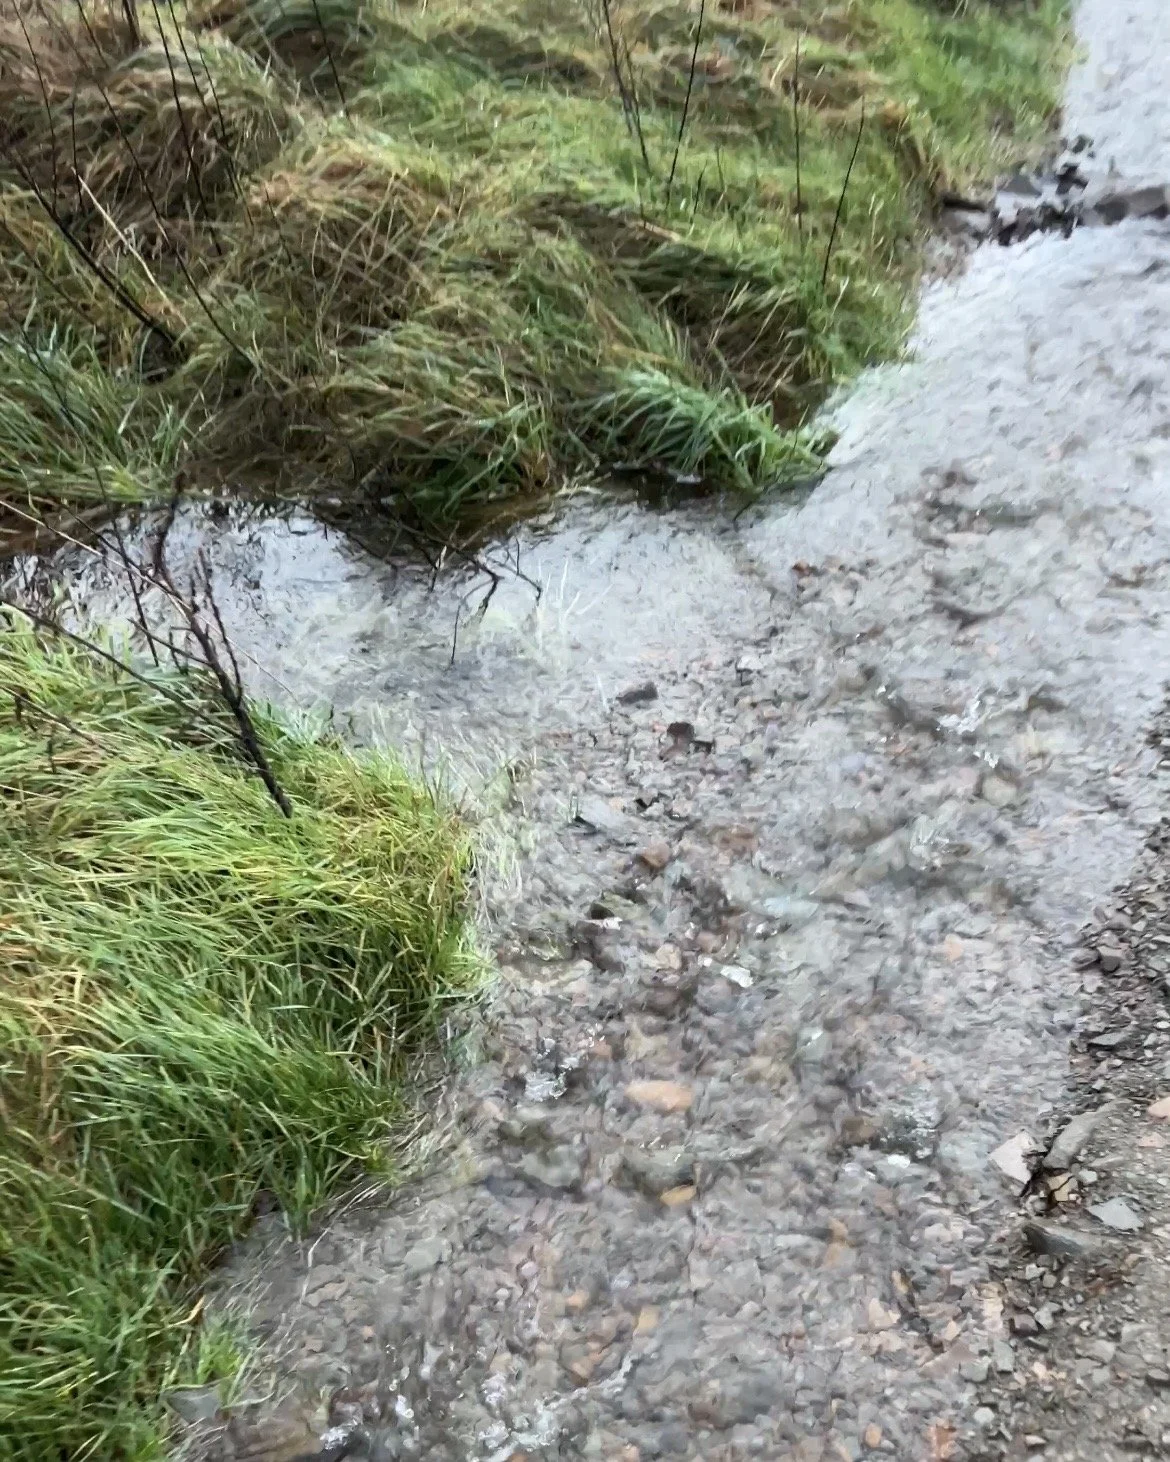
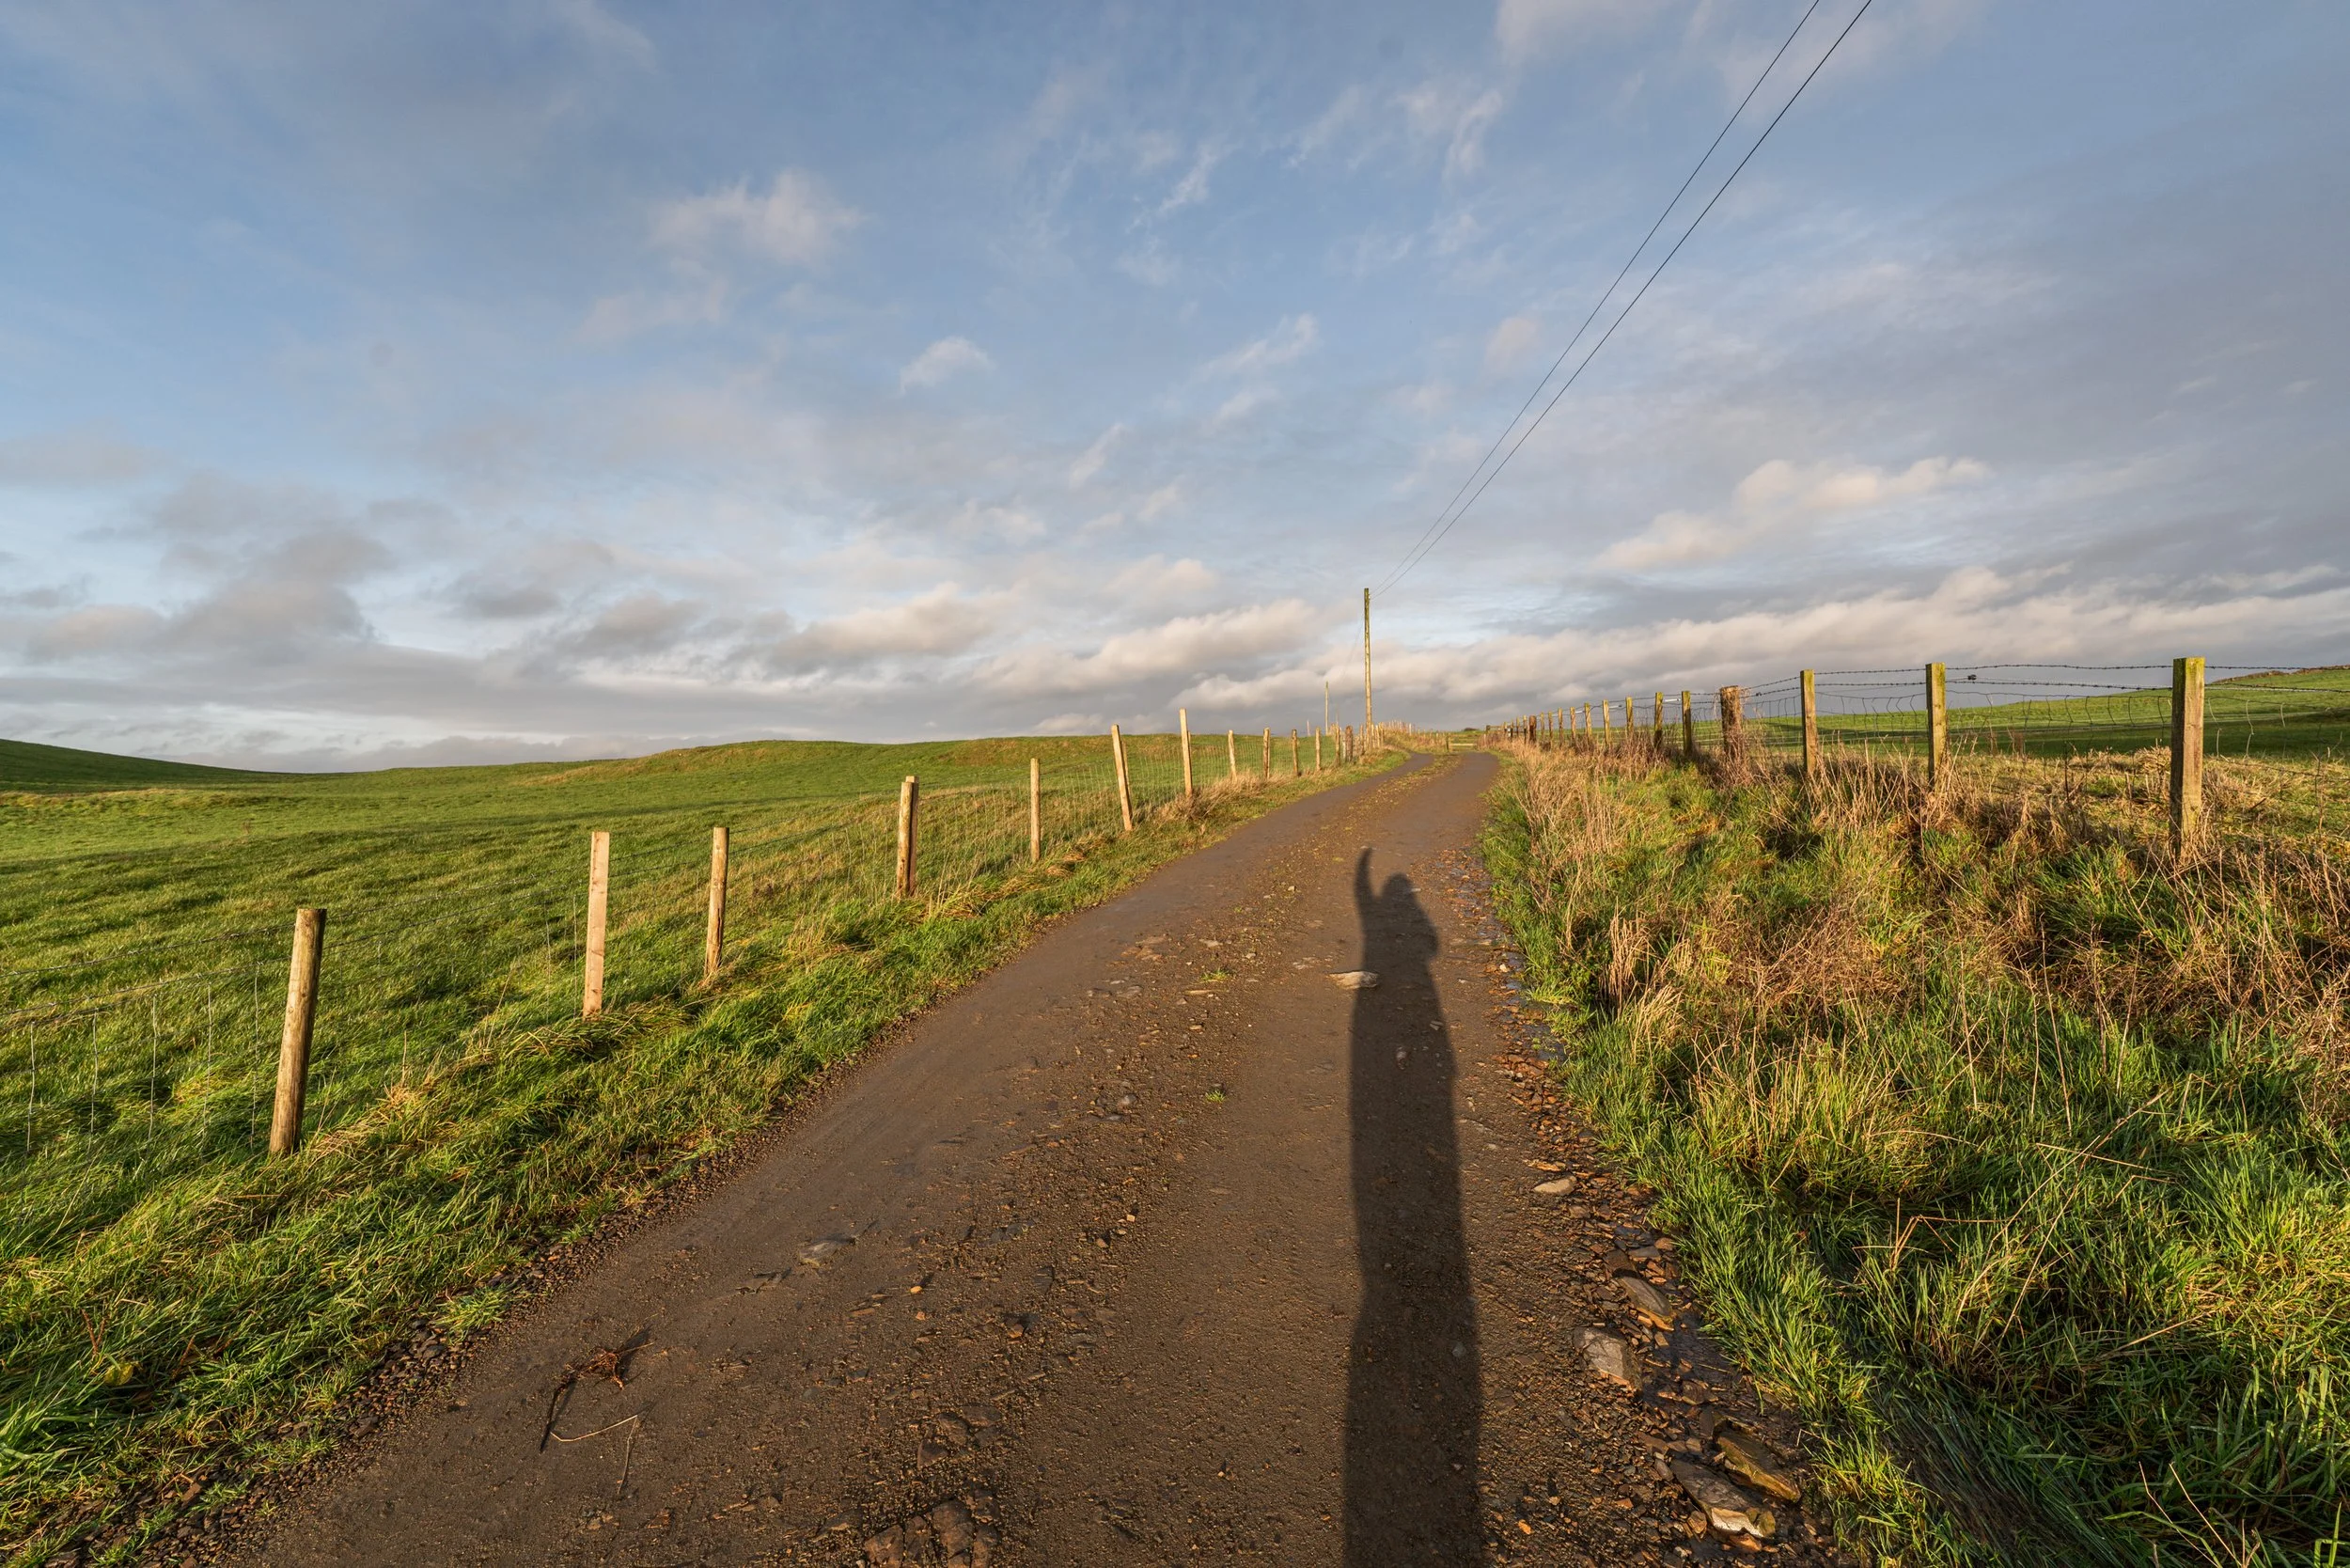
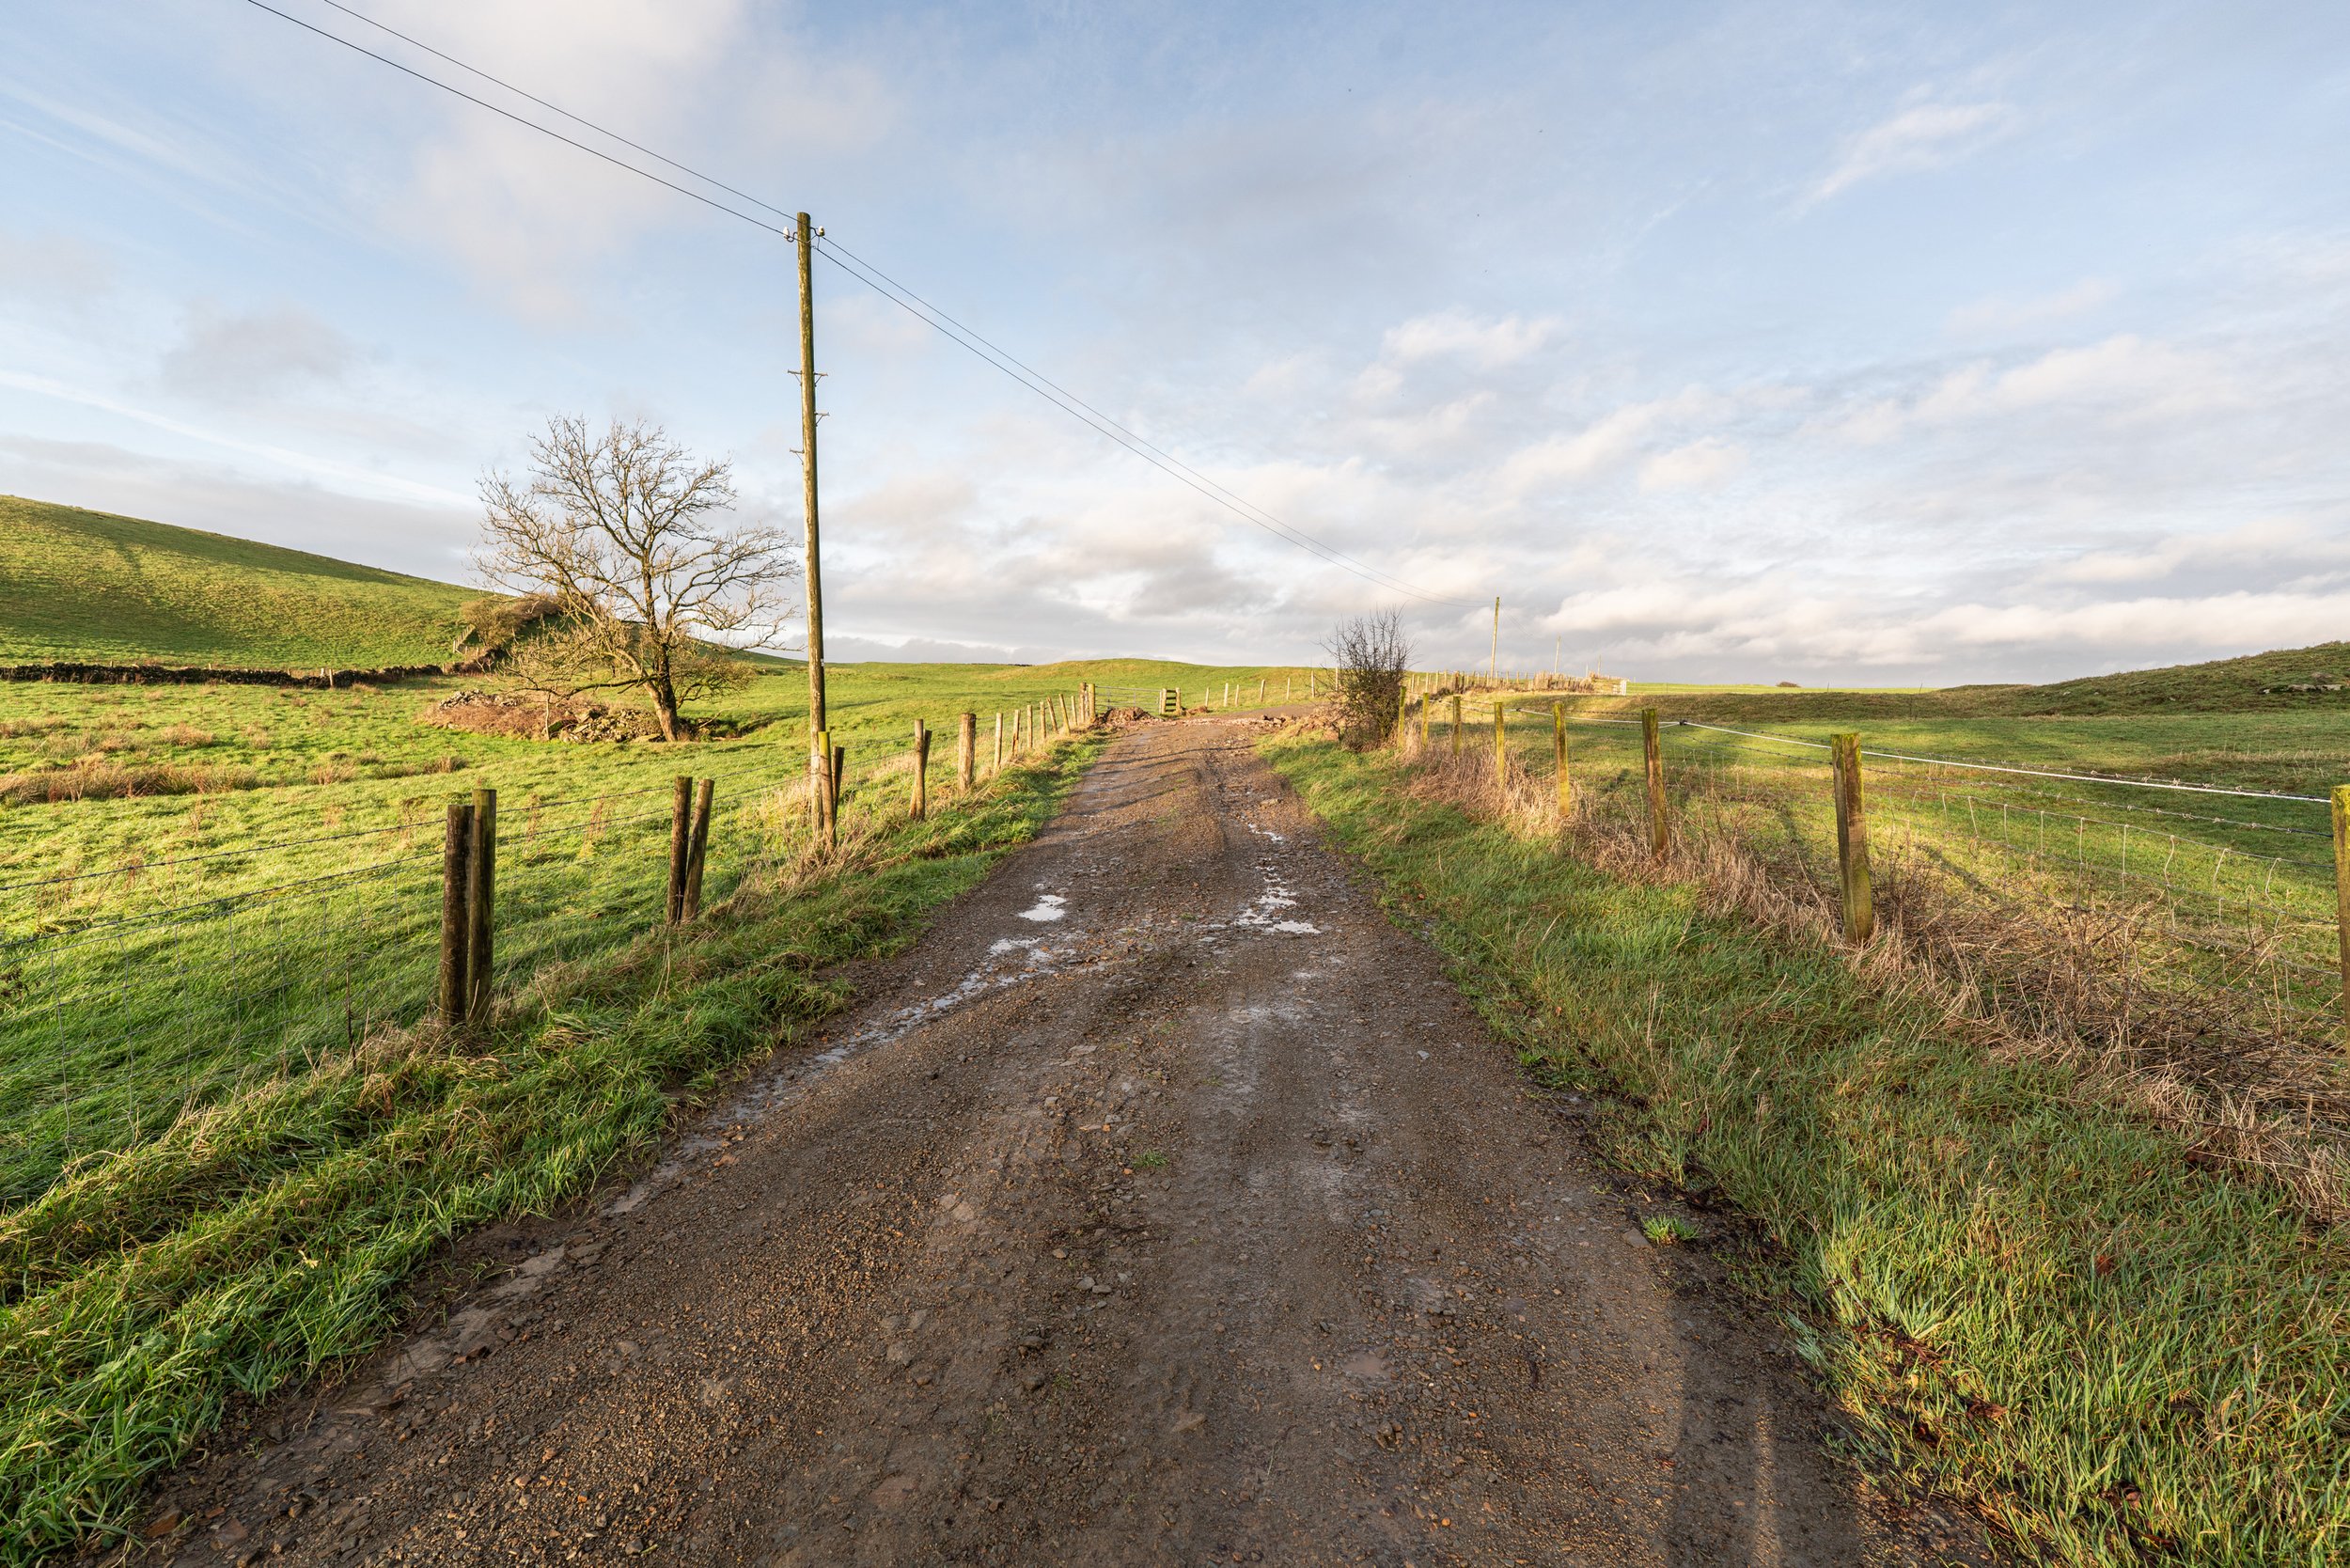
Here is the gradual demise of the lower section from early November to early December, on non-rainy days:
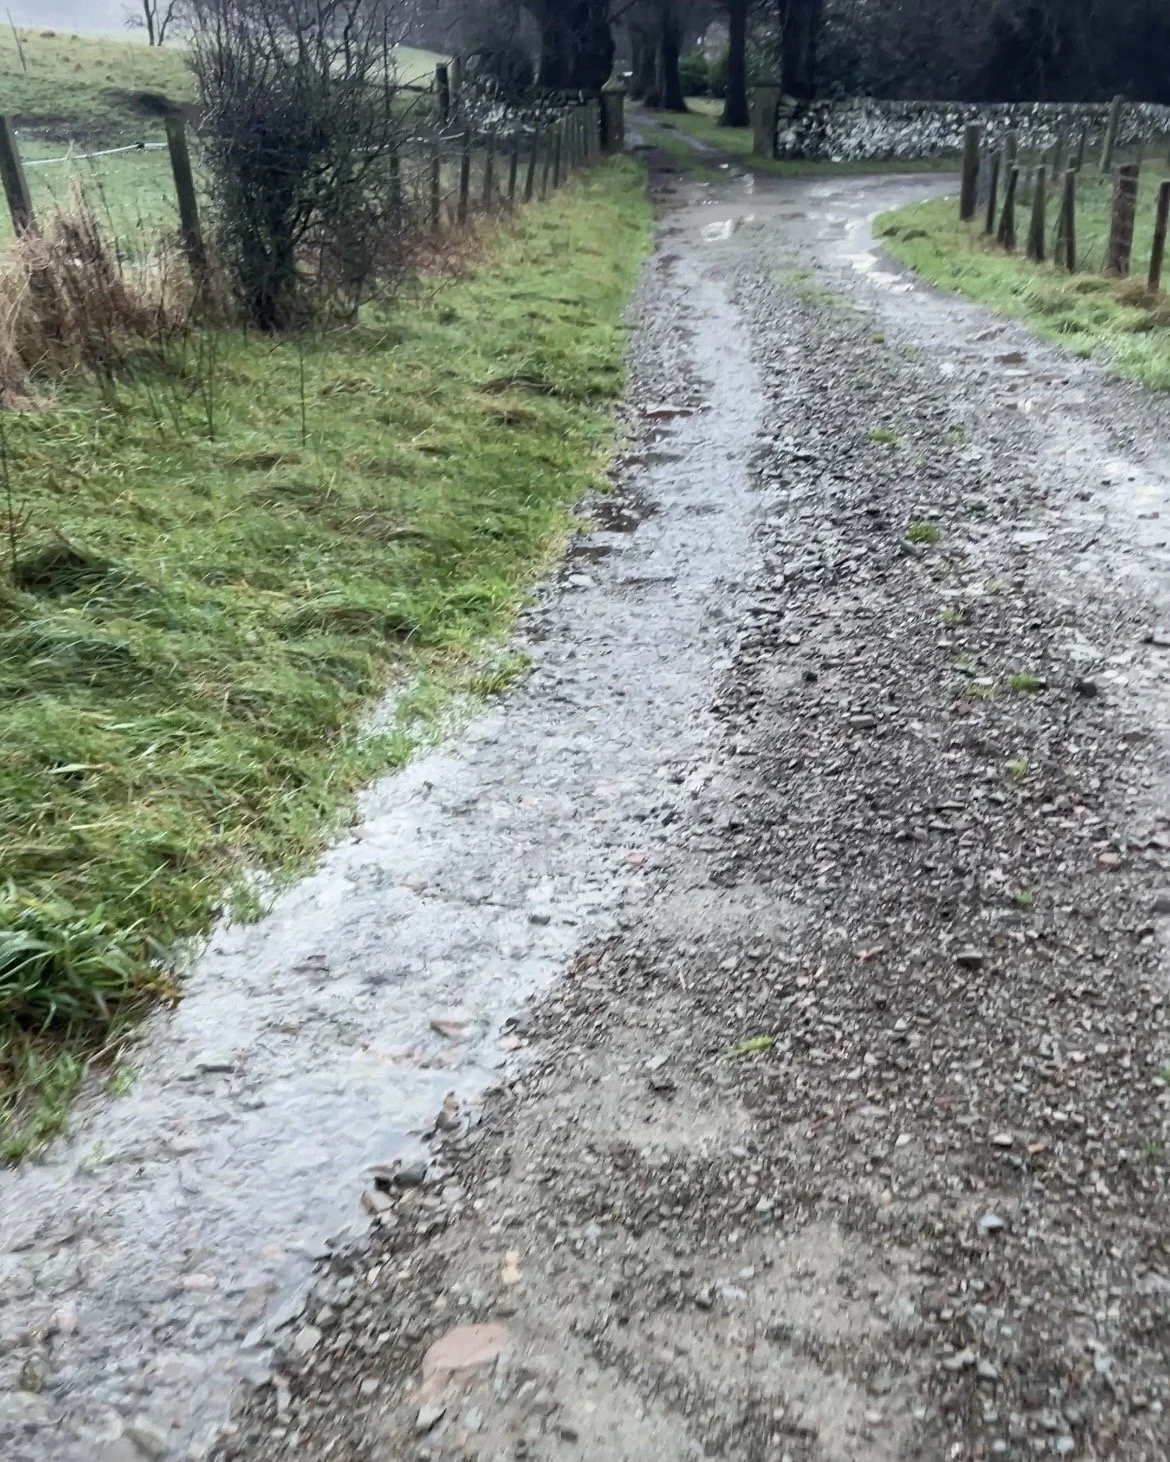
The problem is that the existing culvert can only carry so much water, but with the ground absolutely saturated, there is both spring water and run-off to consider from the entire field, and the hillside too. It just can’t cope. The culvert isn’t blocked; it’s still very much running, but it cannot handle the volume.
When the water cut into the lower section past the point that the original grade could correct (see above), the battle was lost, with a river forming over the driveway where the old culvert actually sits (see below, mid-December). We tried to temporarily dam the run going further down the driveway but the force of the water continually washed through it, and the cut going over the drive got deeper and wider, as to be expected, making it a bit of a driving hazard too:

And that brings us to this weekend, where it became barely passable and enough was enough. We needed to do something or lose access in small vehicles like hatchbacks and low vans. Given the time of year, deliveries here are daily, and no access was not an option.
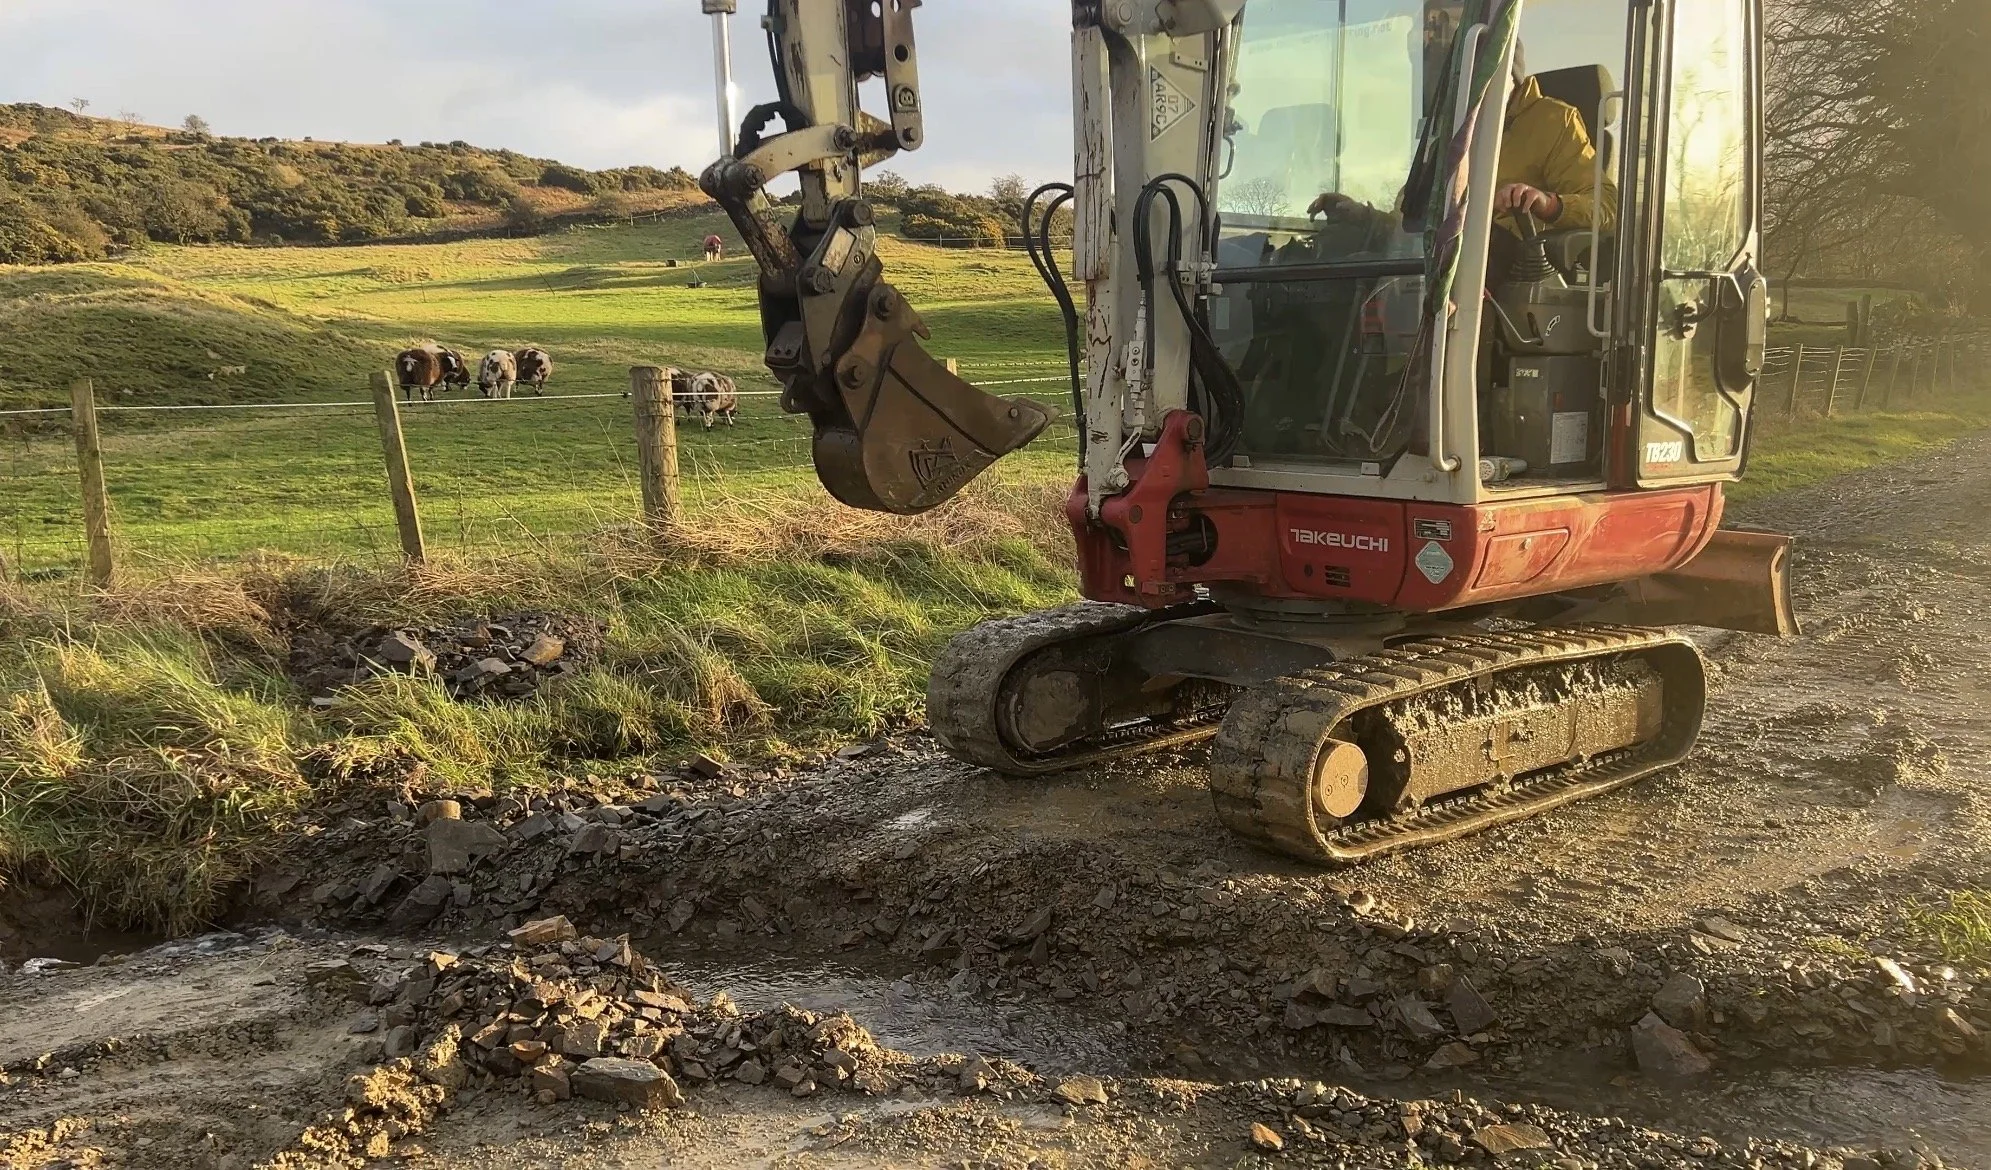
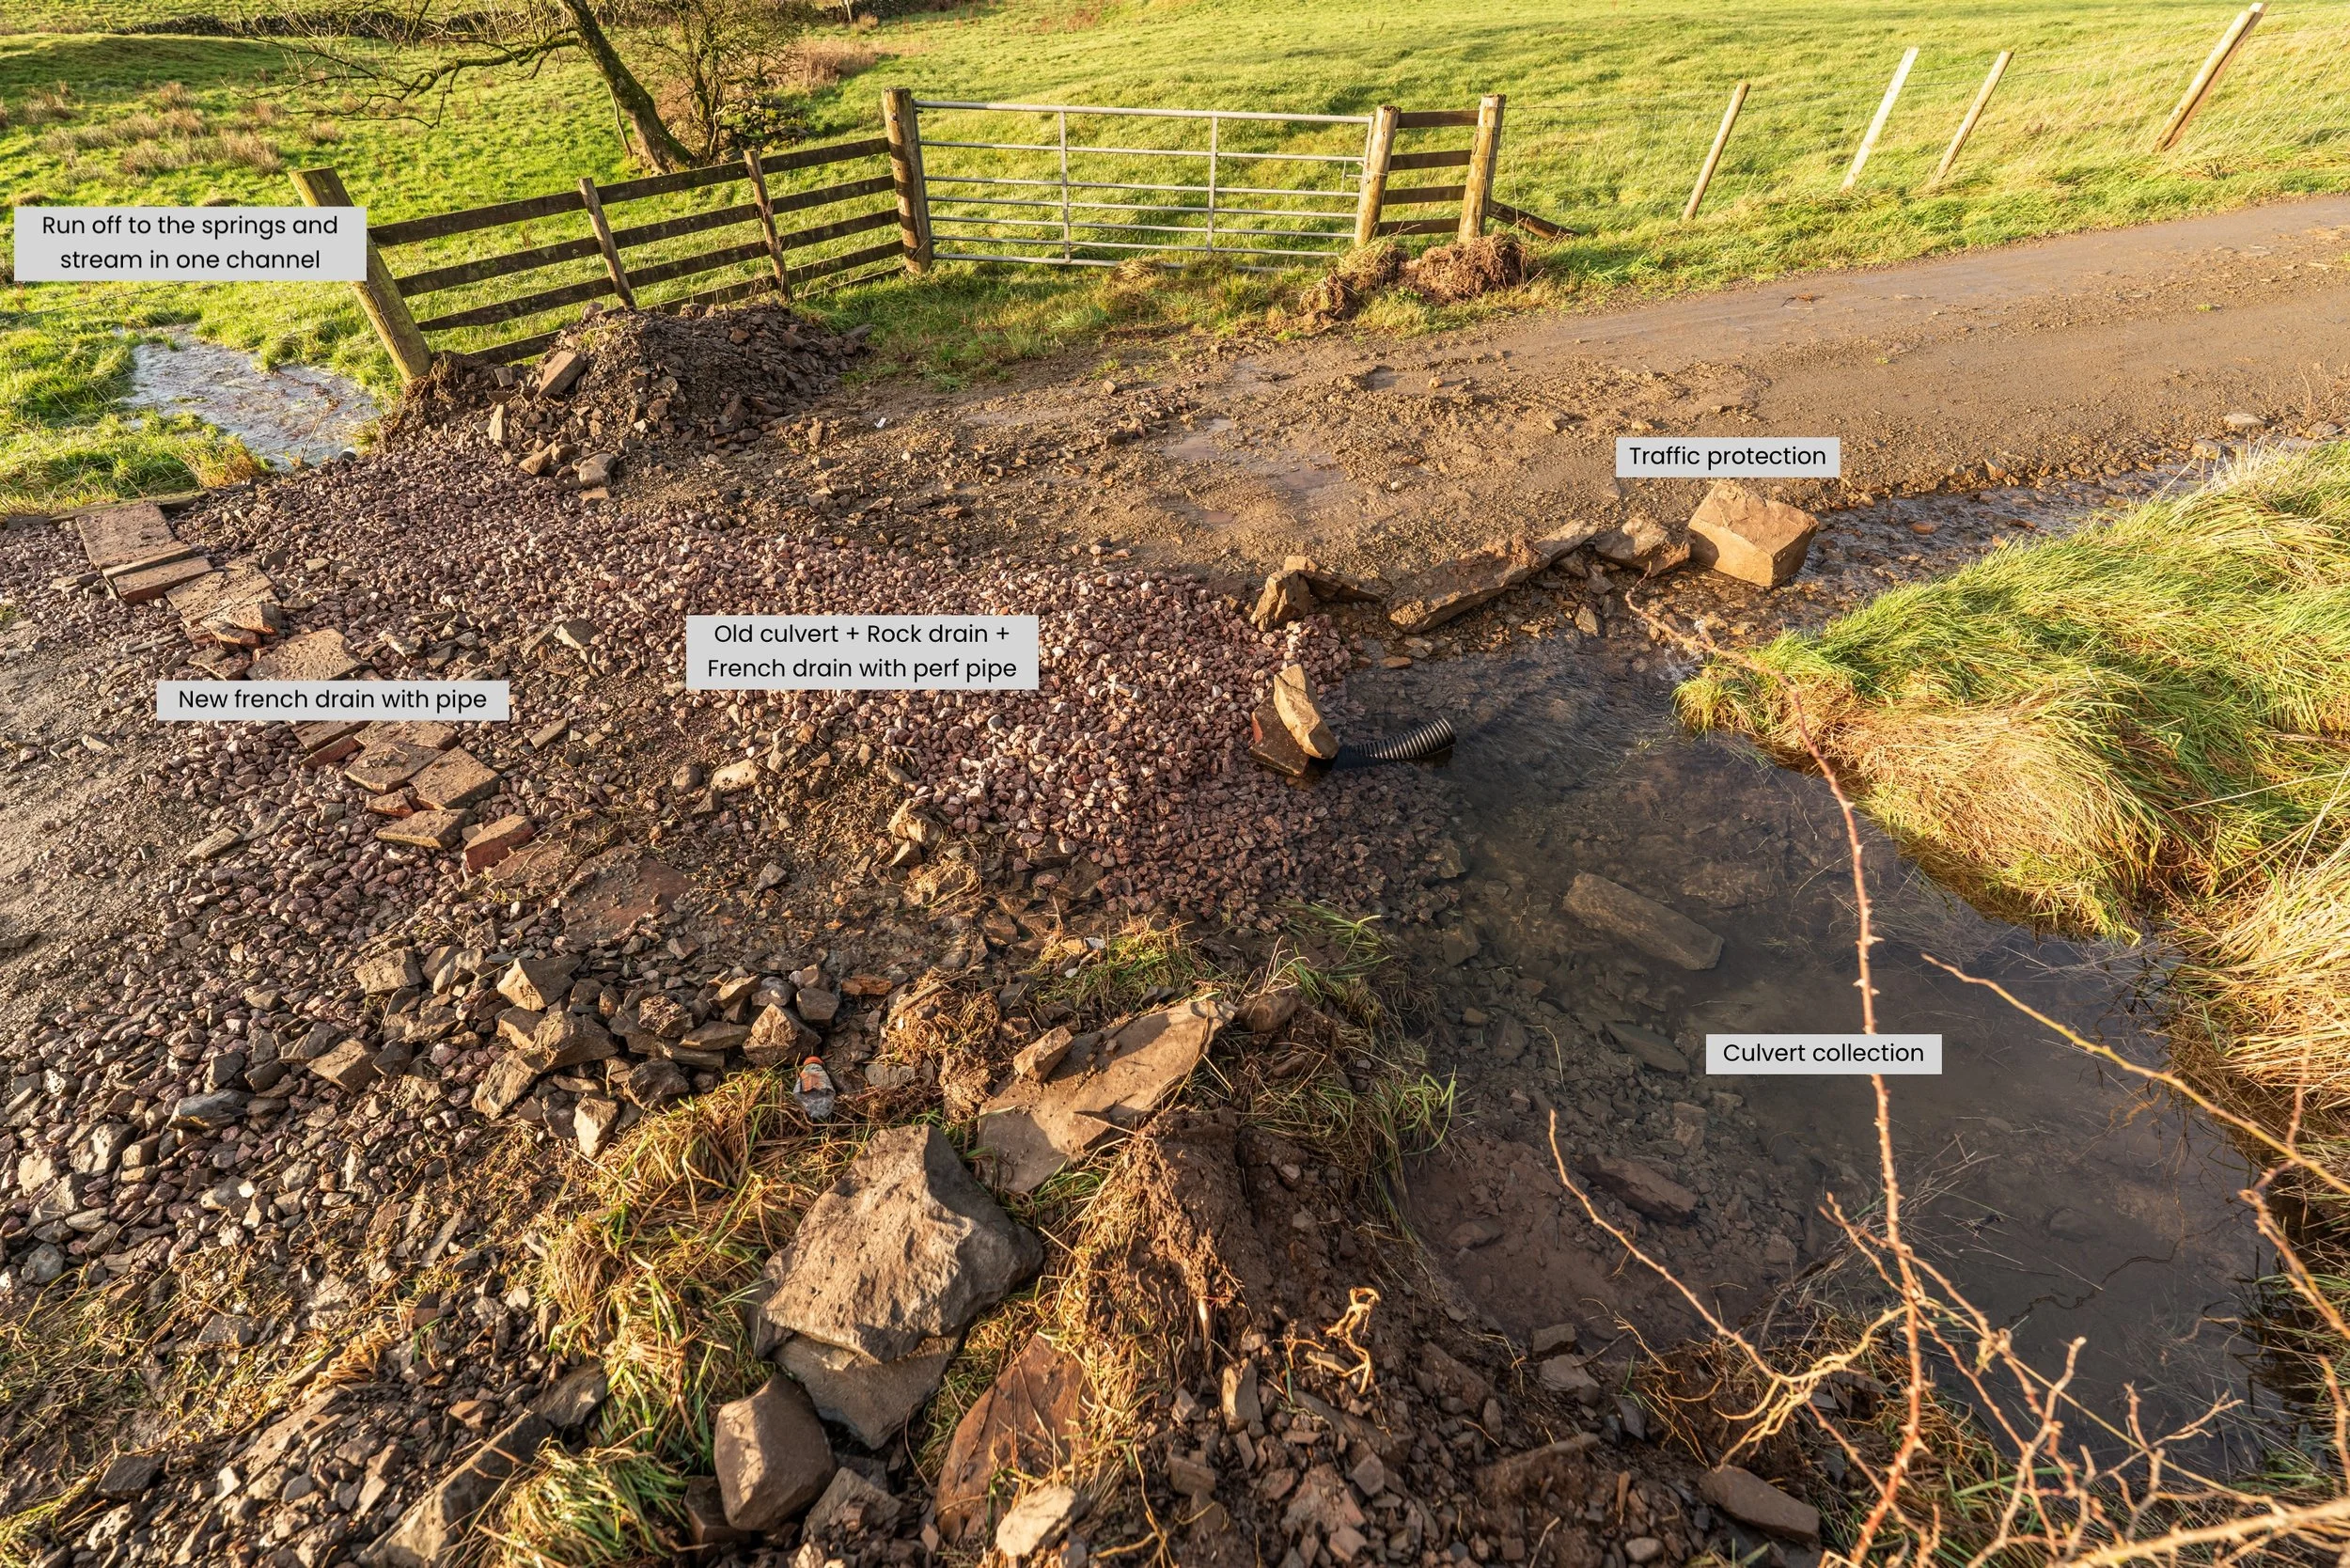
Armed with Farmer Ben’s digger, spare rock from the Farmhouse french drain project and a healthy dose of optimism, we went to work on a temporary solution to get us through the next few months (hopefully), until we can look at a larger culvert to handle the biblical rain that occasionally happens.
First, we made a new channel across the driveway to catch overflow water and take it straight over in one stream. It’s about 2m further down than the culvert collection. We popped some spare twin-wall perforated pipe into the bottom of the channel and backfilled it with washed stone. It will all get bunged up eventually, and it will collapse with heavy traffic too, but it’s ok for now.
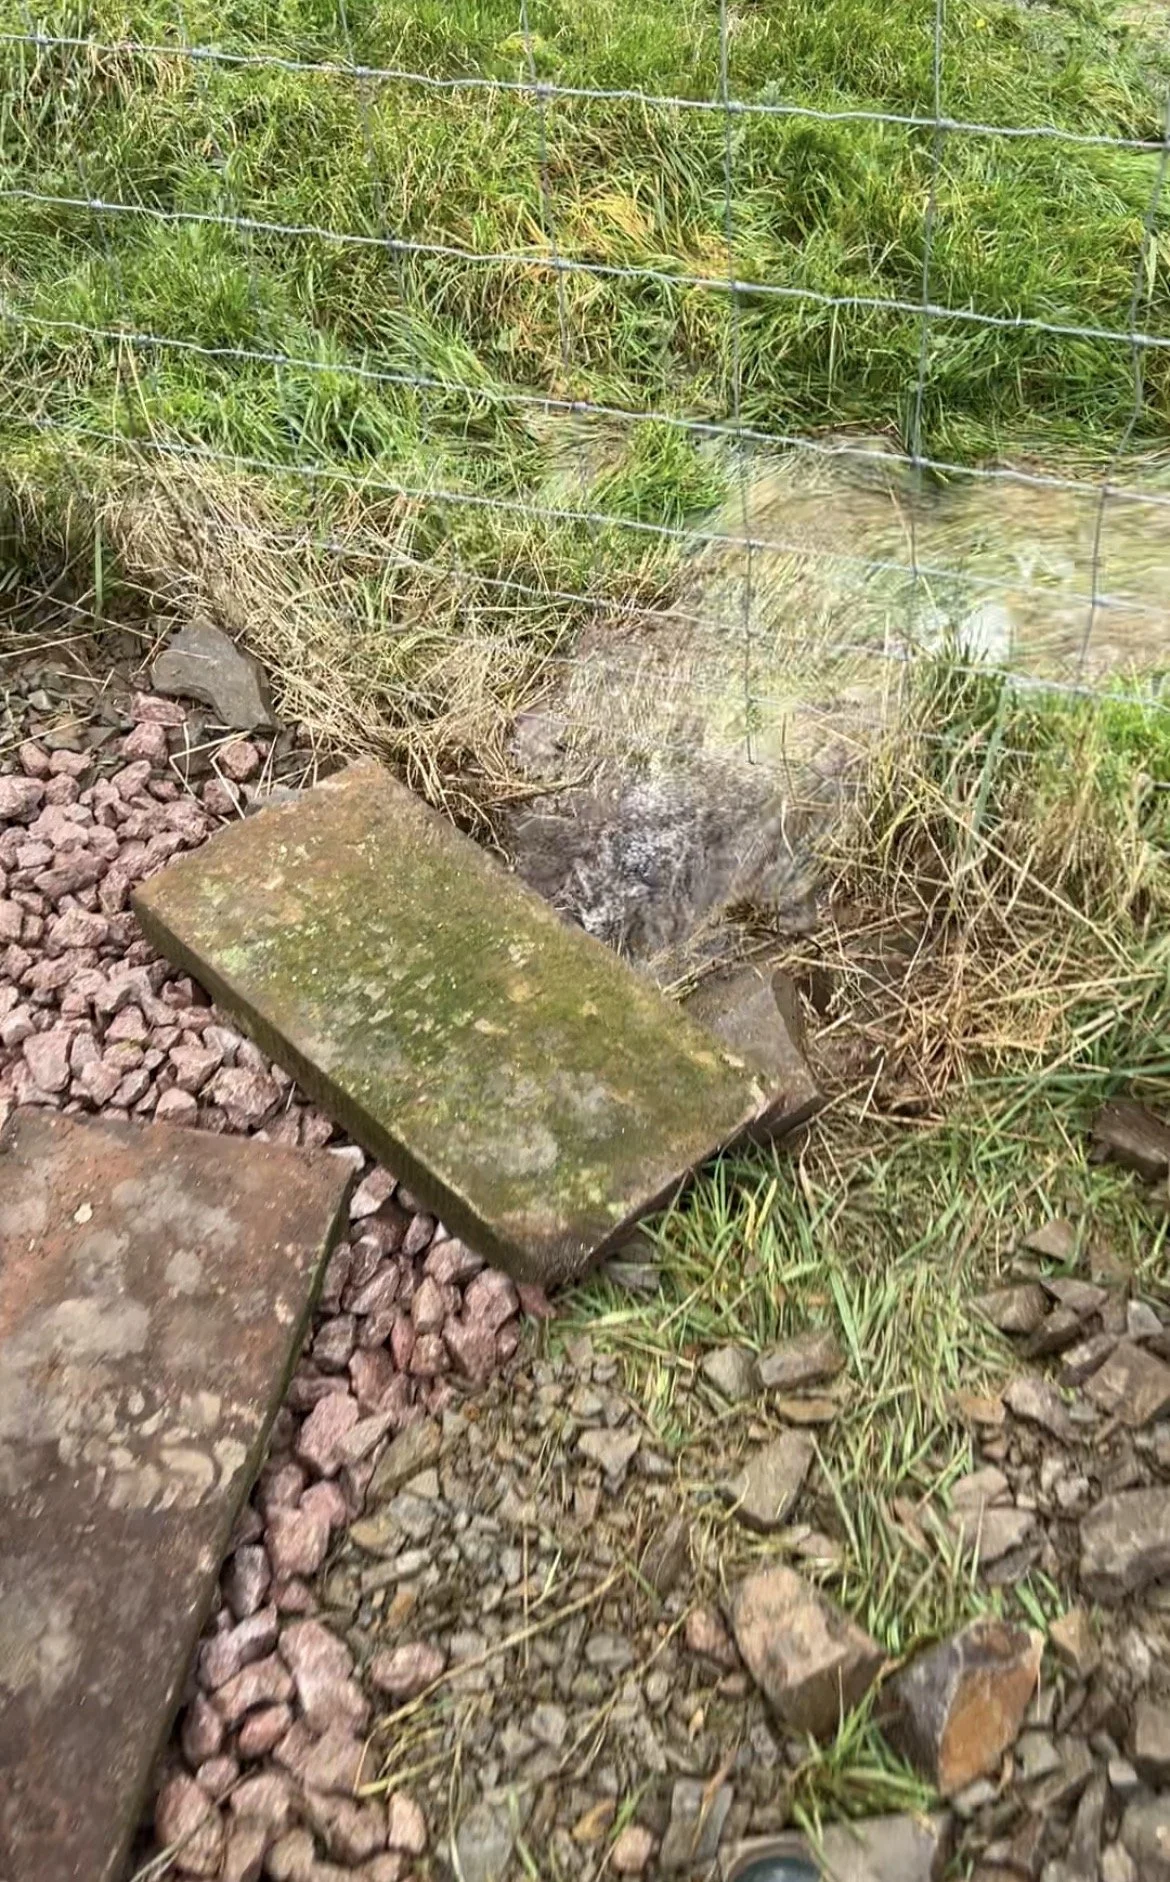
To mark its location for future reference, we popped some of the broken sandstone coping stones over the top, which were ok to get further smushed with traffic. It worked perfectly and gave us a breather to work on phase two.
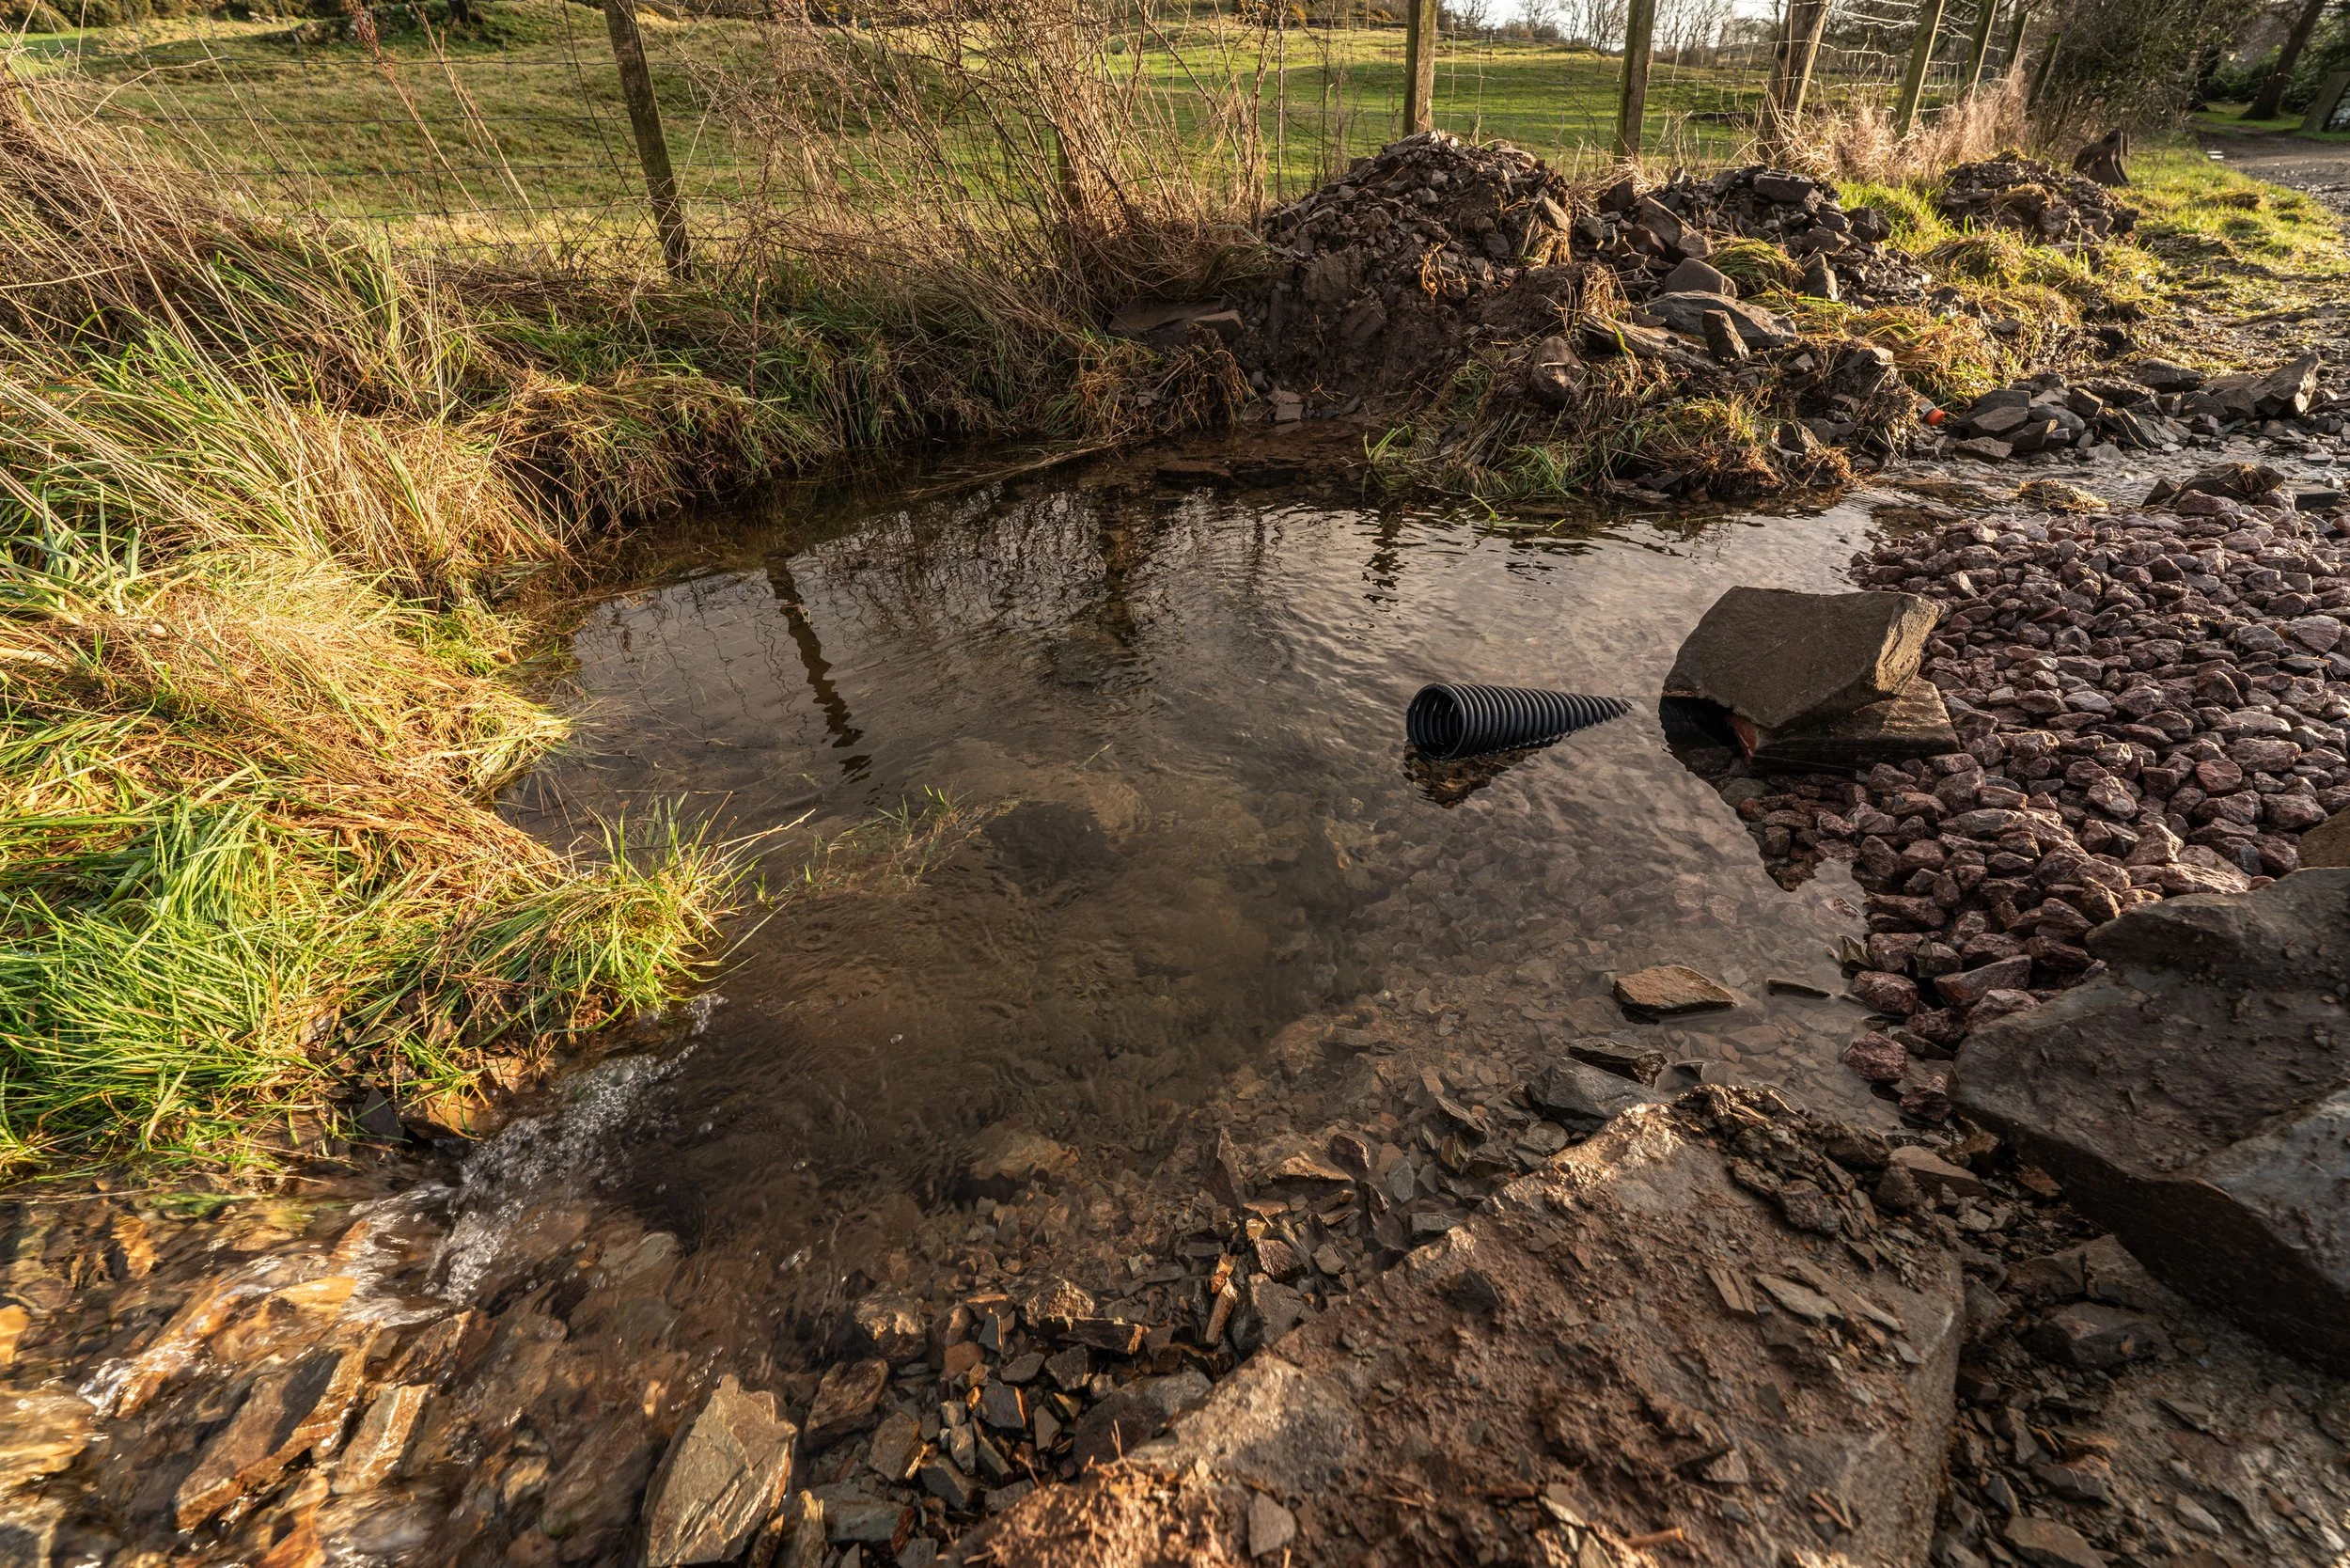
Phase two has no progress images, because it was entirely done last night, in the dark by headtorches and headlights. Phase two was digging out above the old culvert and repeating the process. The volume of water absolutely tanking through took some of the washed (pink) stone away with it, and nearly the pipe, but by about 9pm we had her bedded in.
The next rain is due tomorrow night (Sunday), and we expect all culverts and drains will be overrun, but hopefully not quite to the same extent. The area now looks a bit like a disastrous wasteland/building site this morning, but we did what we could and it’ll be tidied up soon.


…some little bits:
2.3 tons of flagstone tiles were delivered,
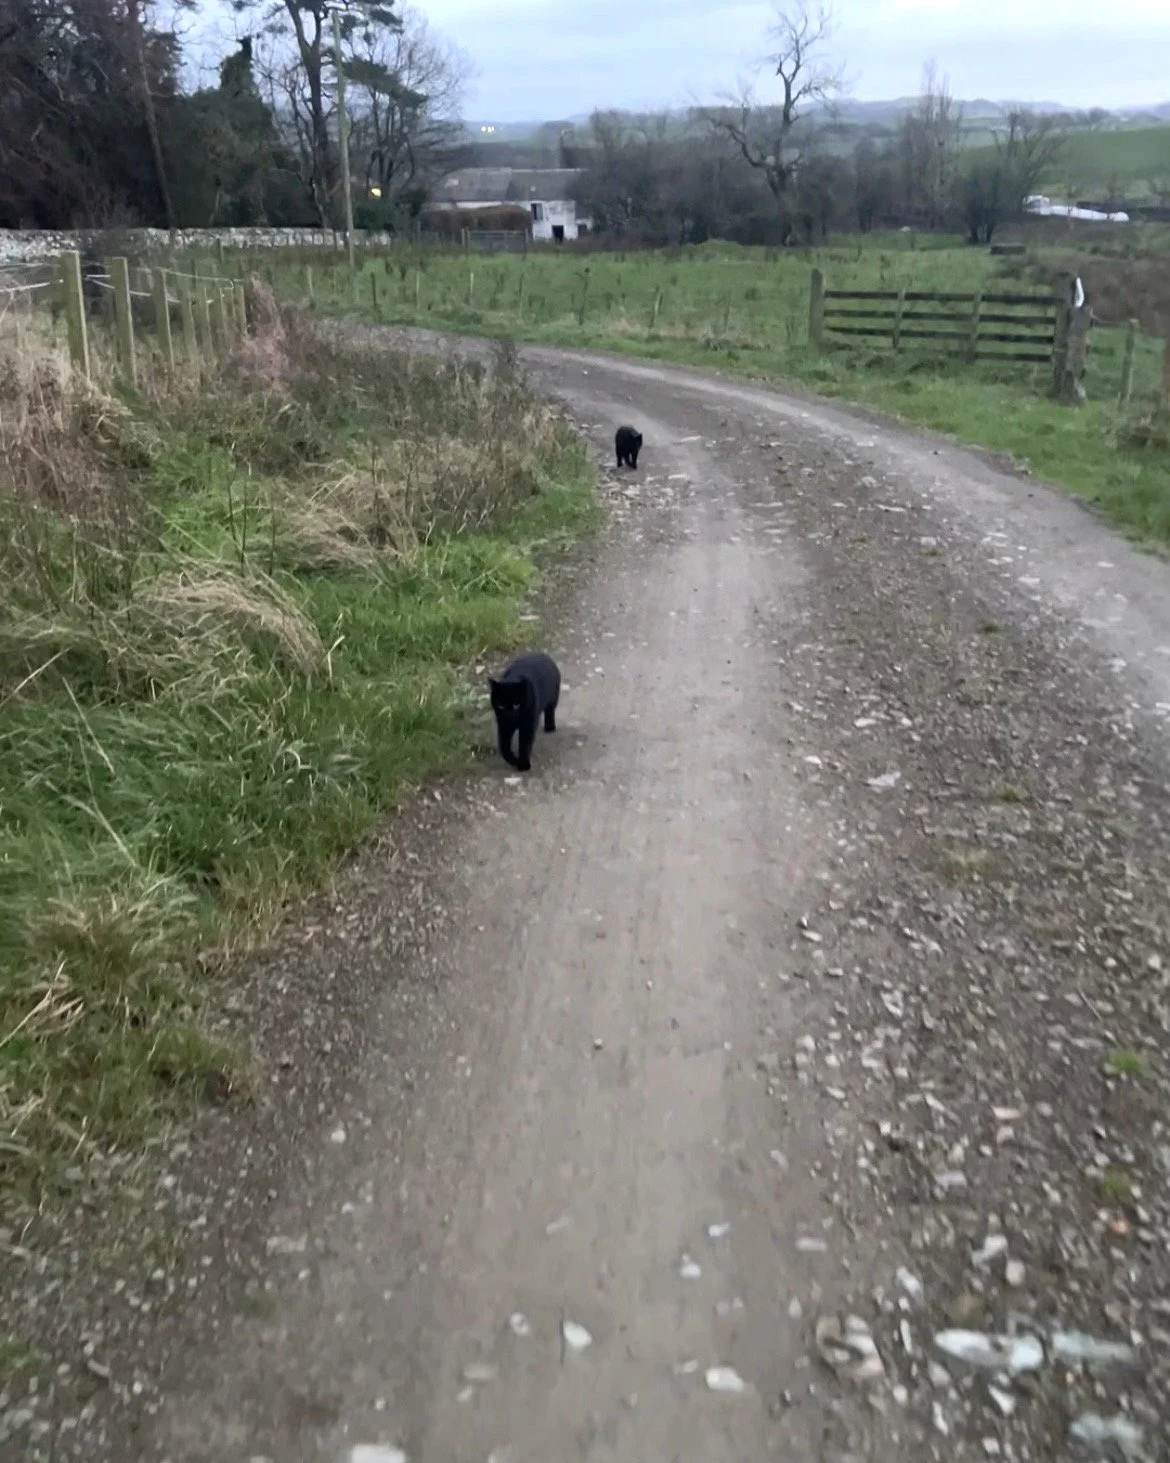
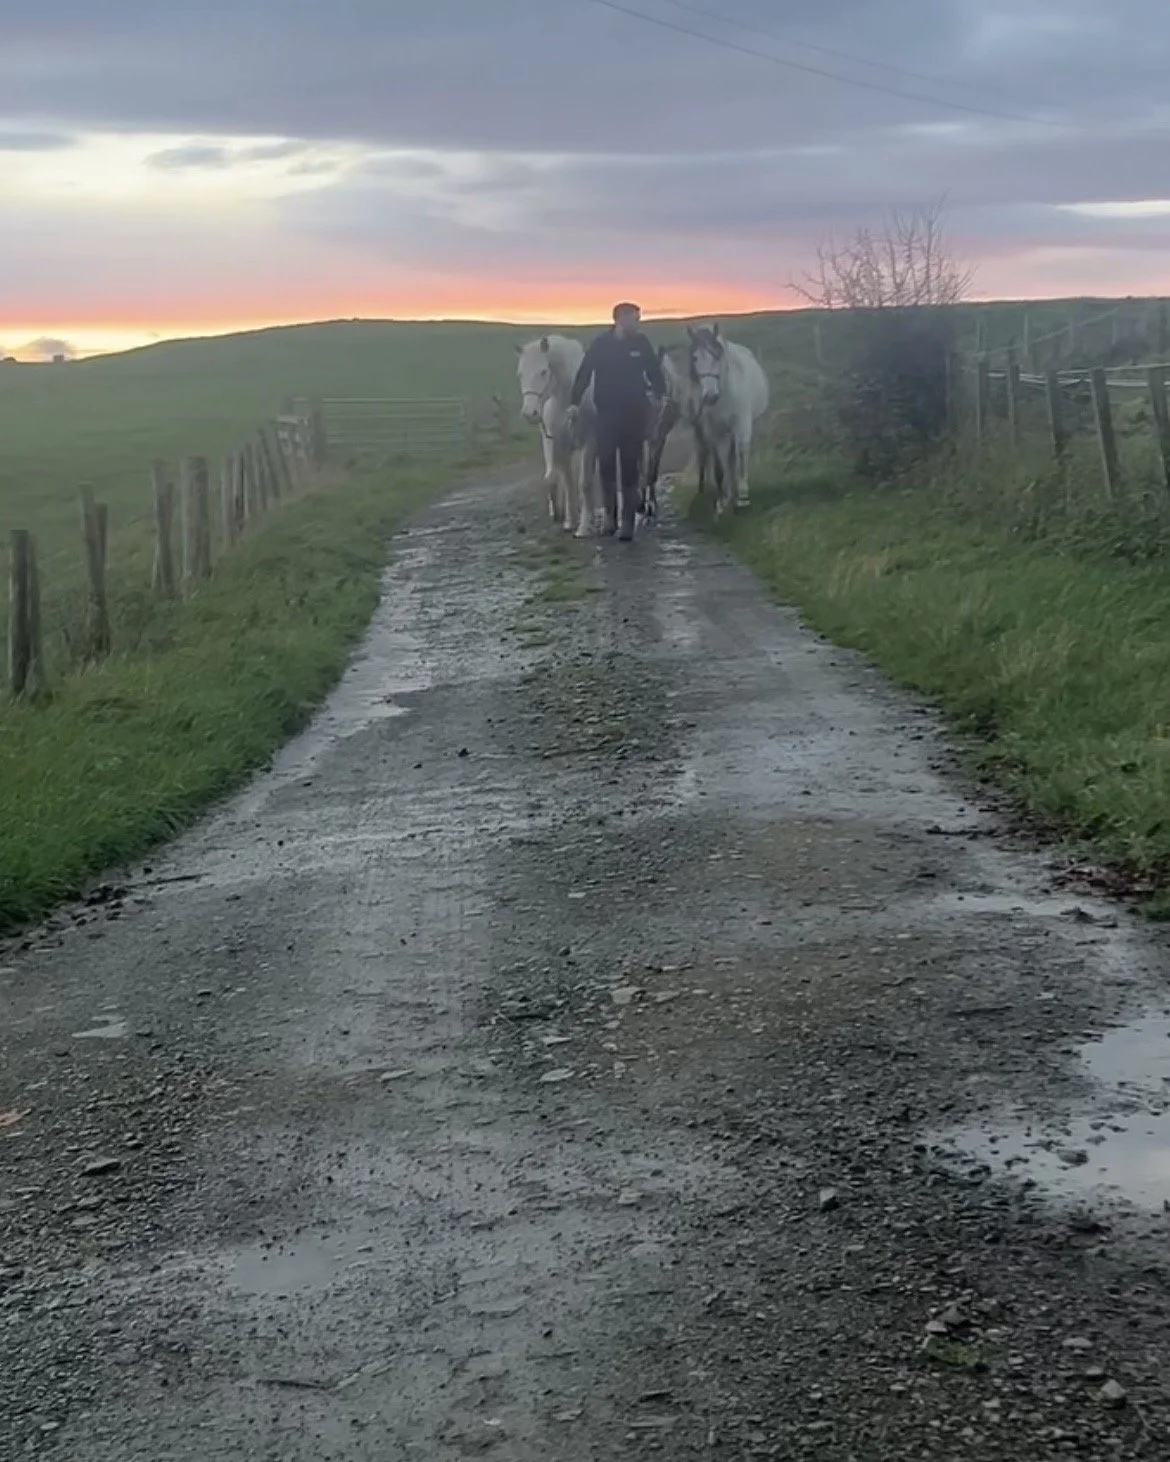
The horses switched up into their winter field
The cupboard doors came off the kitchen cupboards to be painted, and;
We’re about ready for family visiting for Christmas.
See you next week, where we will still be renovating and not Christmassing. Happy holidays!
Coming in here on Sunday evening just to add that we did indeed tidy up the driveway a little bit from where we abandoned it on Friday night. Just before sunset it looked like this, a bit flatter and dug in, still throwing out masses of water and with three rubble mounds collected into one:
December Week 4:
Christmas week, and the big day fell right in the middle on Thursday, so it was a bit haphazzard for progress, recording stuff and general bits. However, we did get a fair bit done. Let’s recap:
We ought to start with a few notes on a conversation Dan and I had. In the midst of all the progress and being tantalisingly close to the finish line in the middle section, I’d been carried away with getting it actually done and I shouldn’t have been. Yes, the middle section fully complete with floors and skirting boards and furniture, would be amazing, but it also misses the point. The middle section is mortgageable already; it just needs doors (put a pin in that).
A mortgage-ready house is not necessarily a fully finished house, but it is one with wall linings and ideally some plaster here and there.
Focusing on fully completing the middle section is great for vanity and for my brain, and for you guys too, but it doesn’t really get us closer to the goal of being finance-ready because, as mentioned, that bit already is. Therefore, the handbrake was applied on our holiday plan to tile the floor and instead, we U-turned back to the actual project goal because there are other bits of this big old house that need progress.
Therefore, we re-prioritised and I said goodbye to my Jan 1st dream of tiled floors.
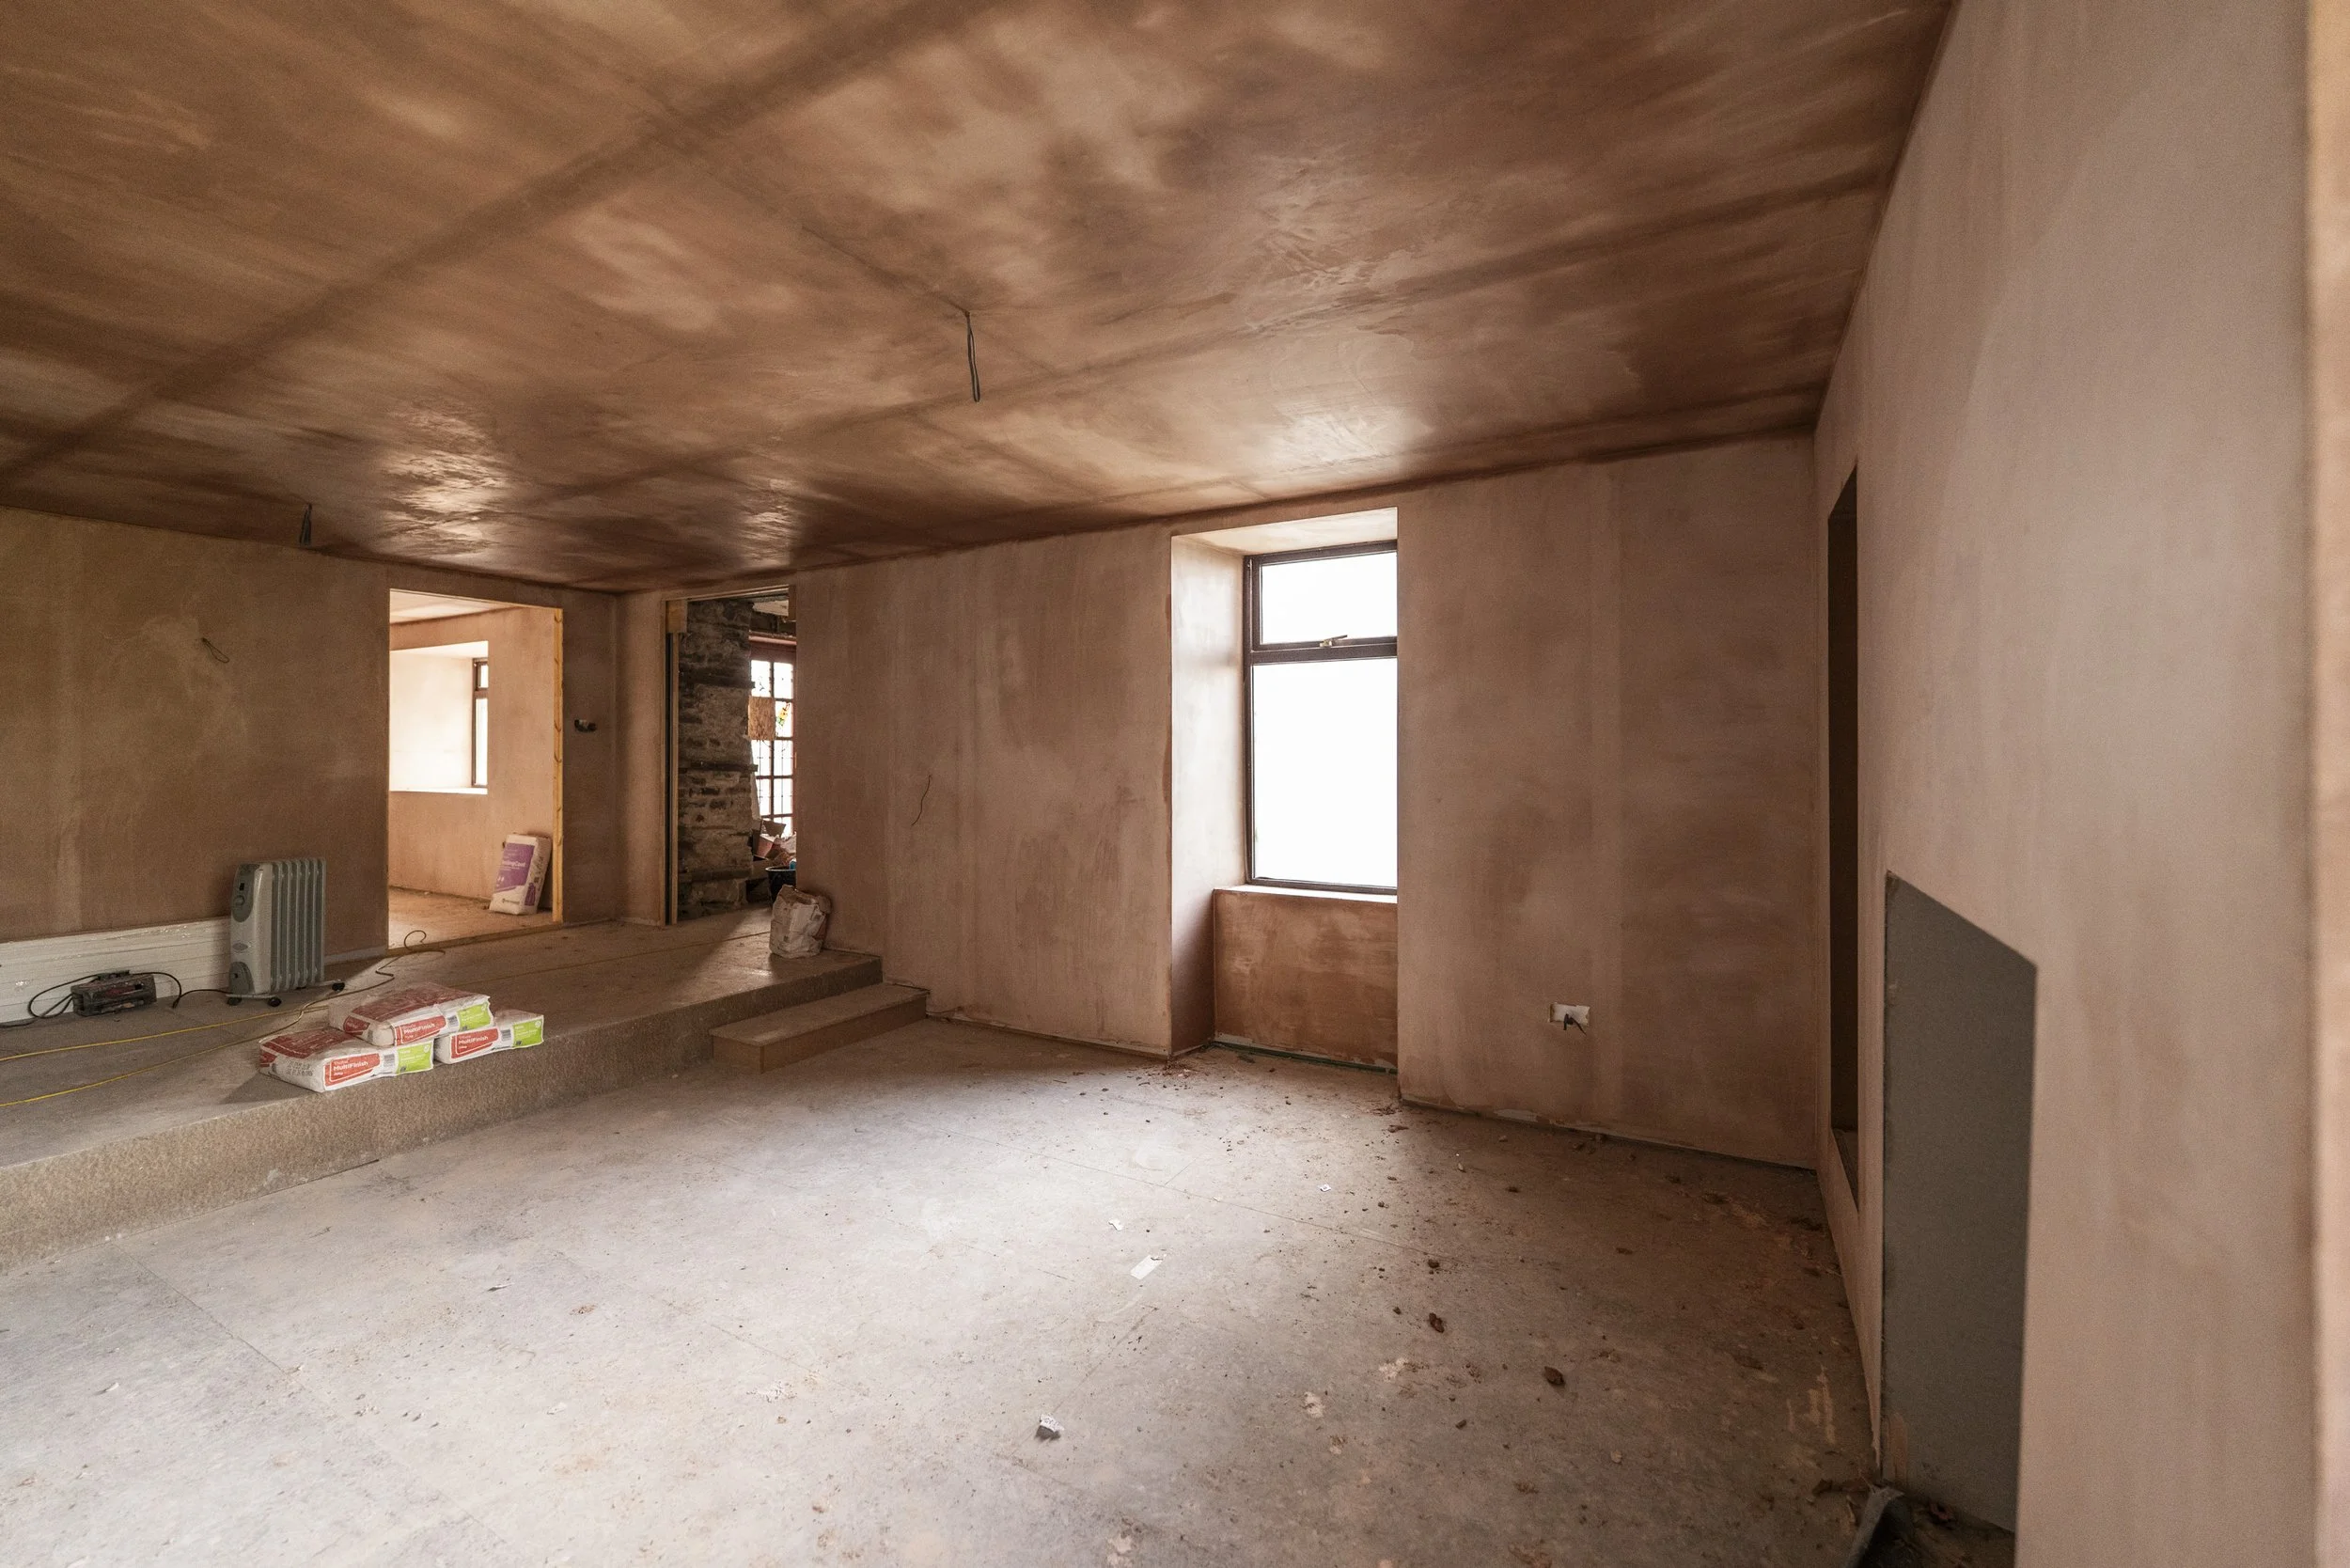
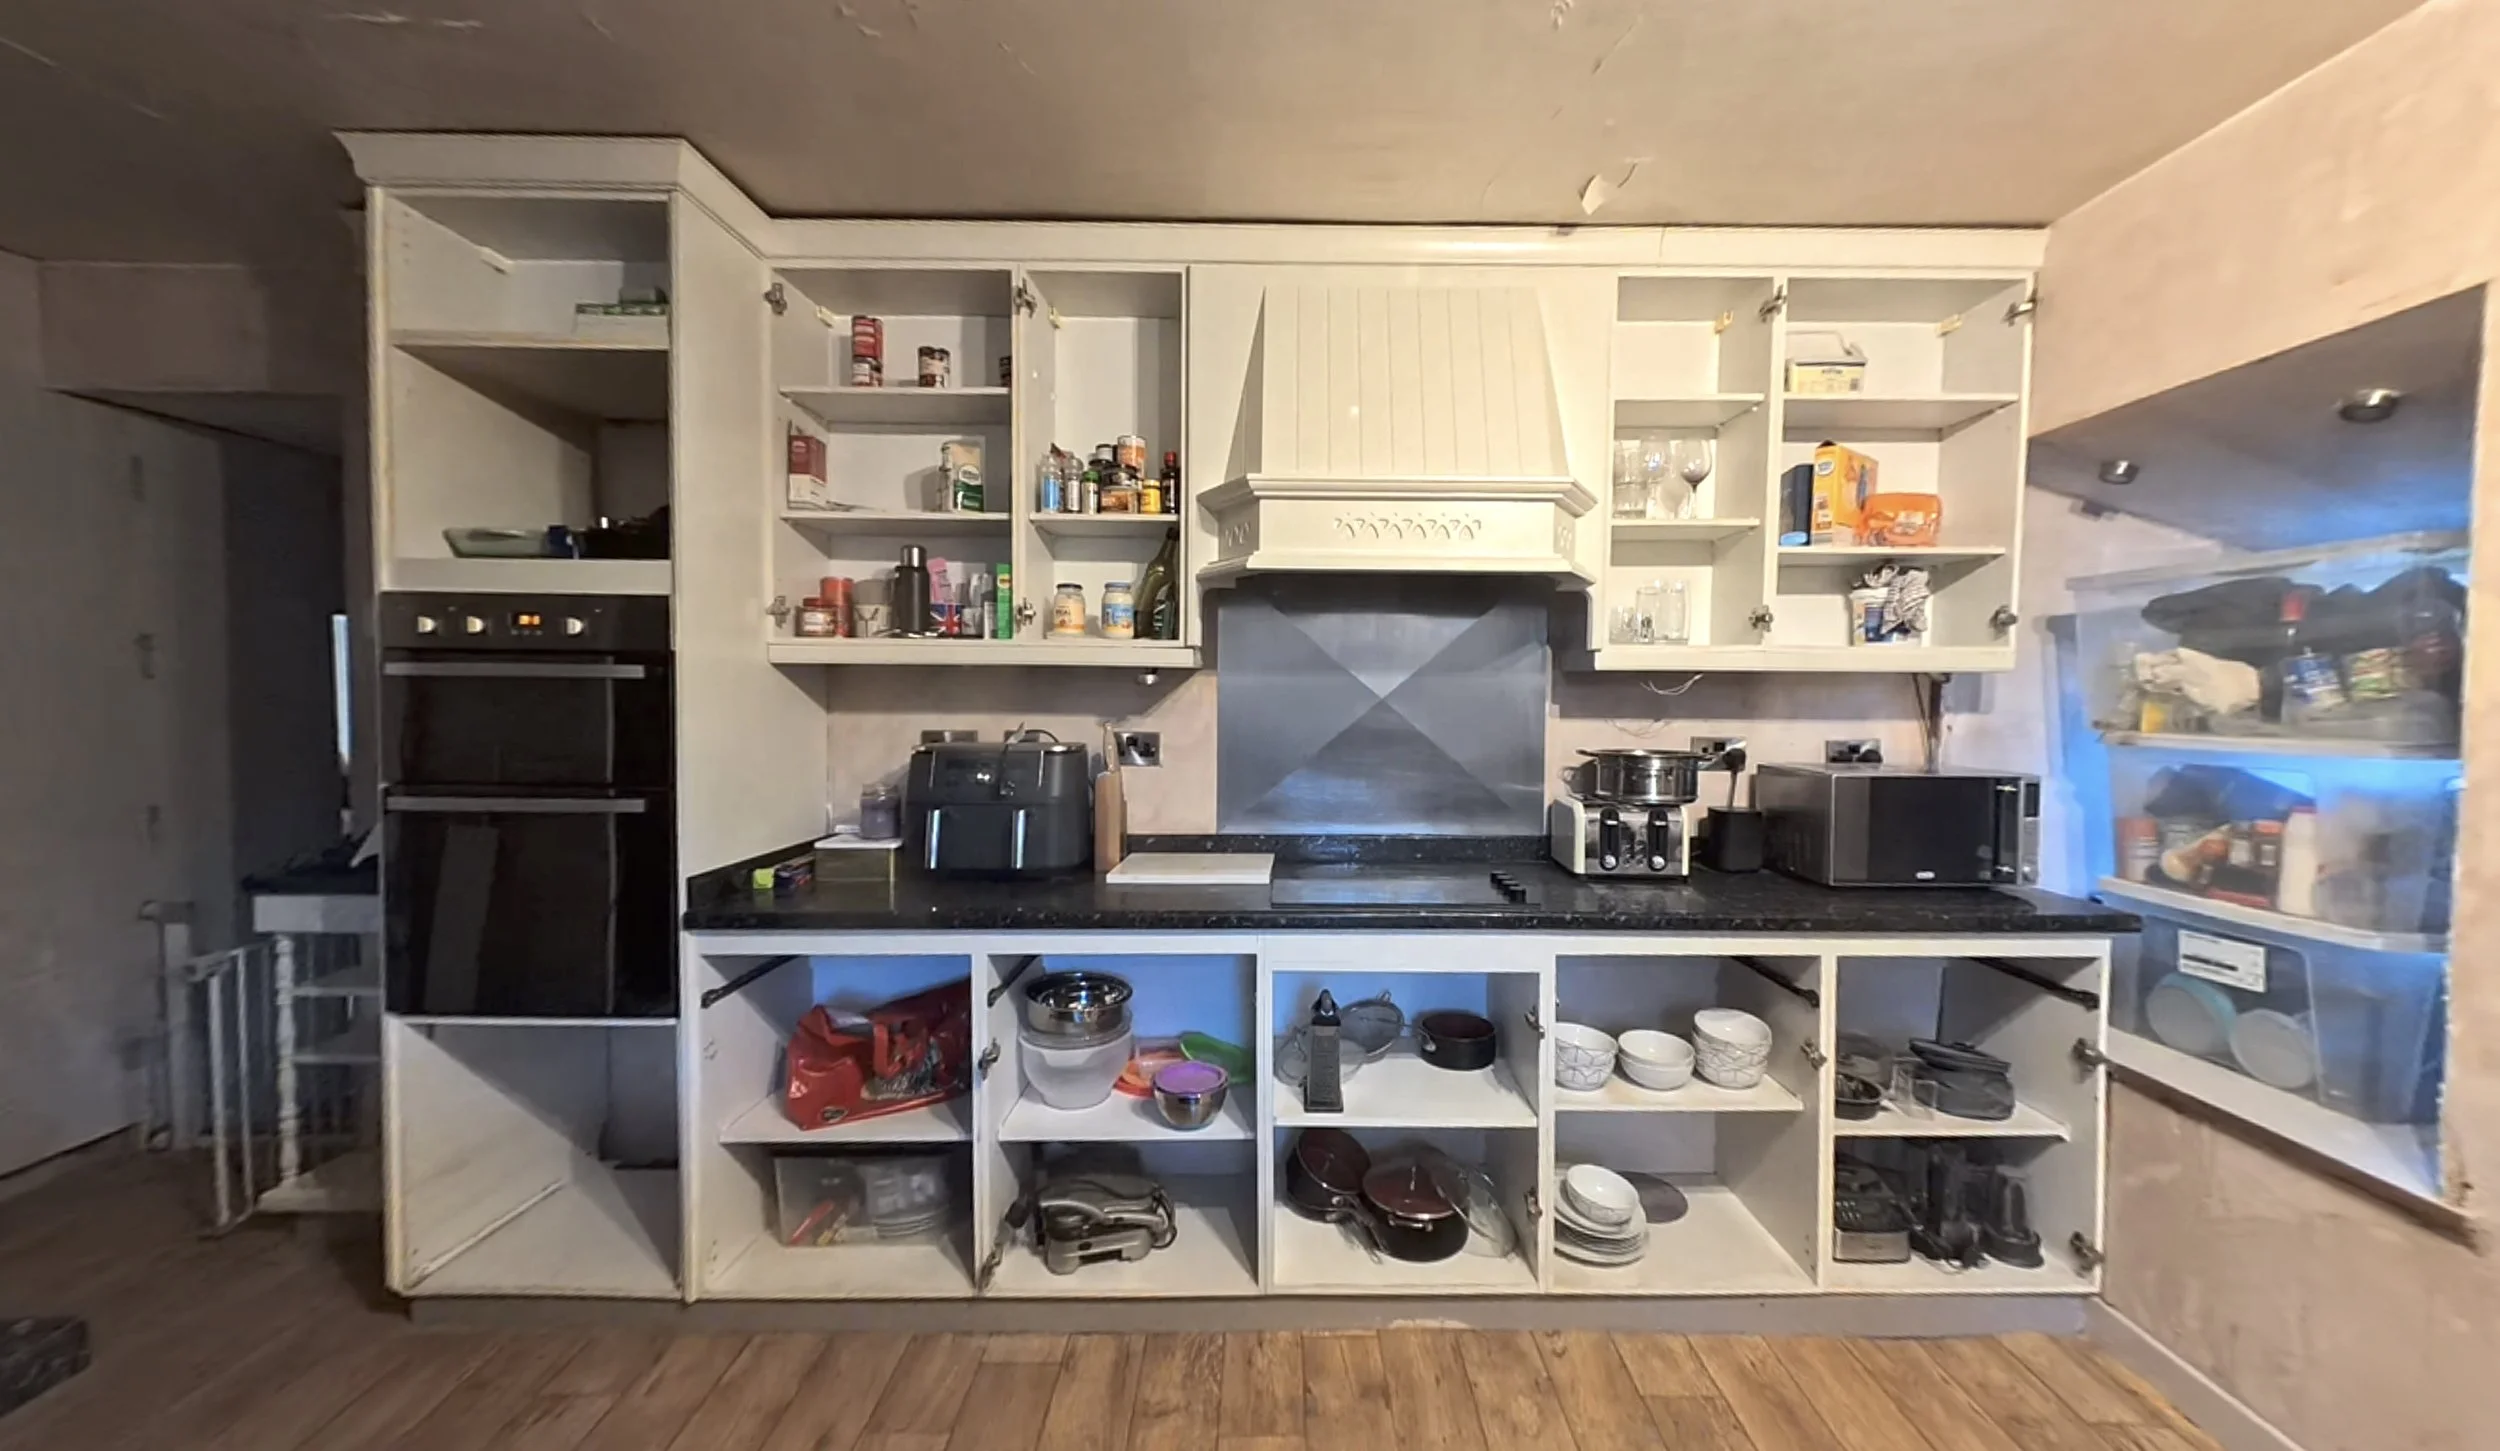
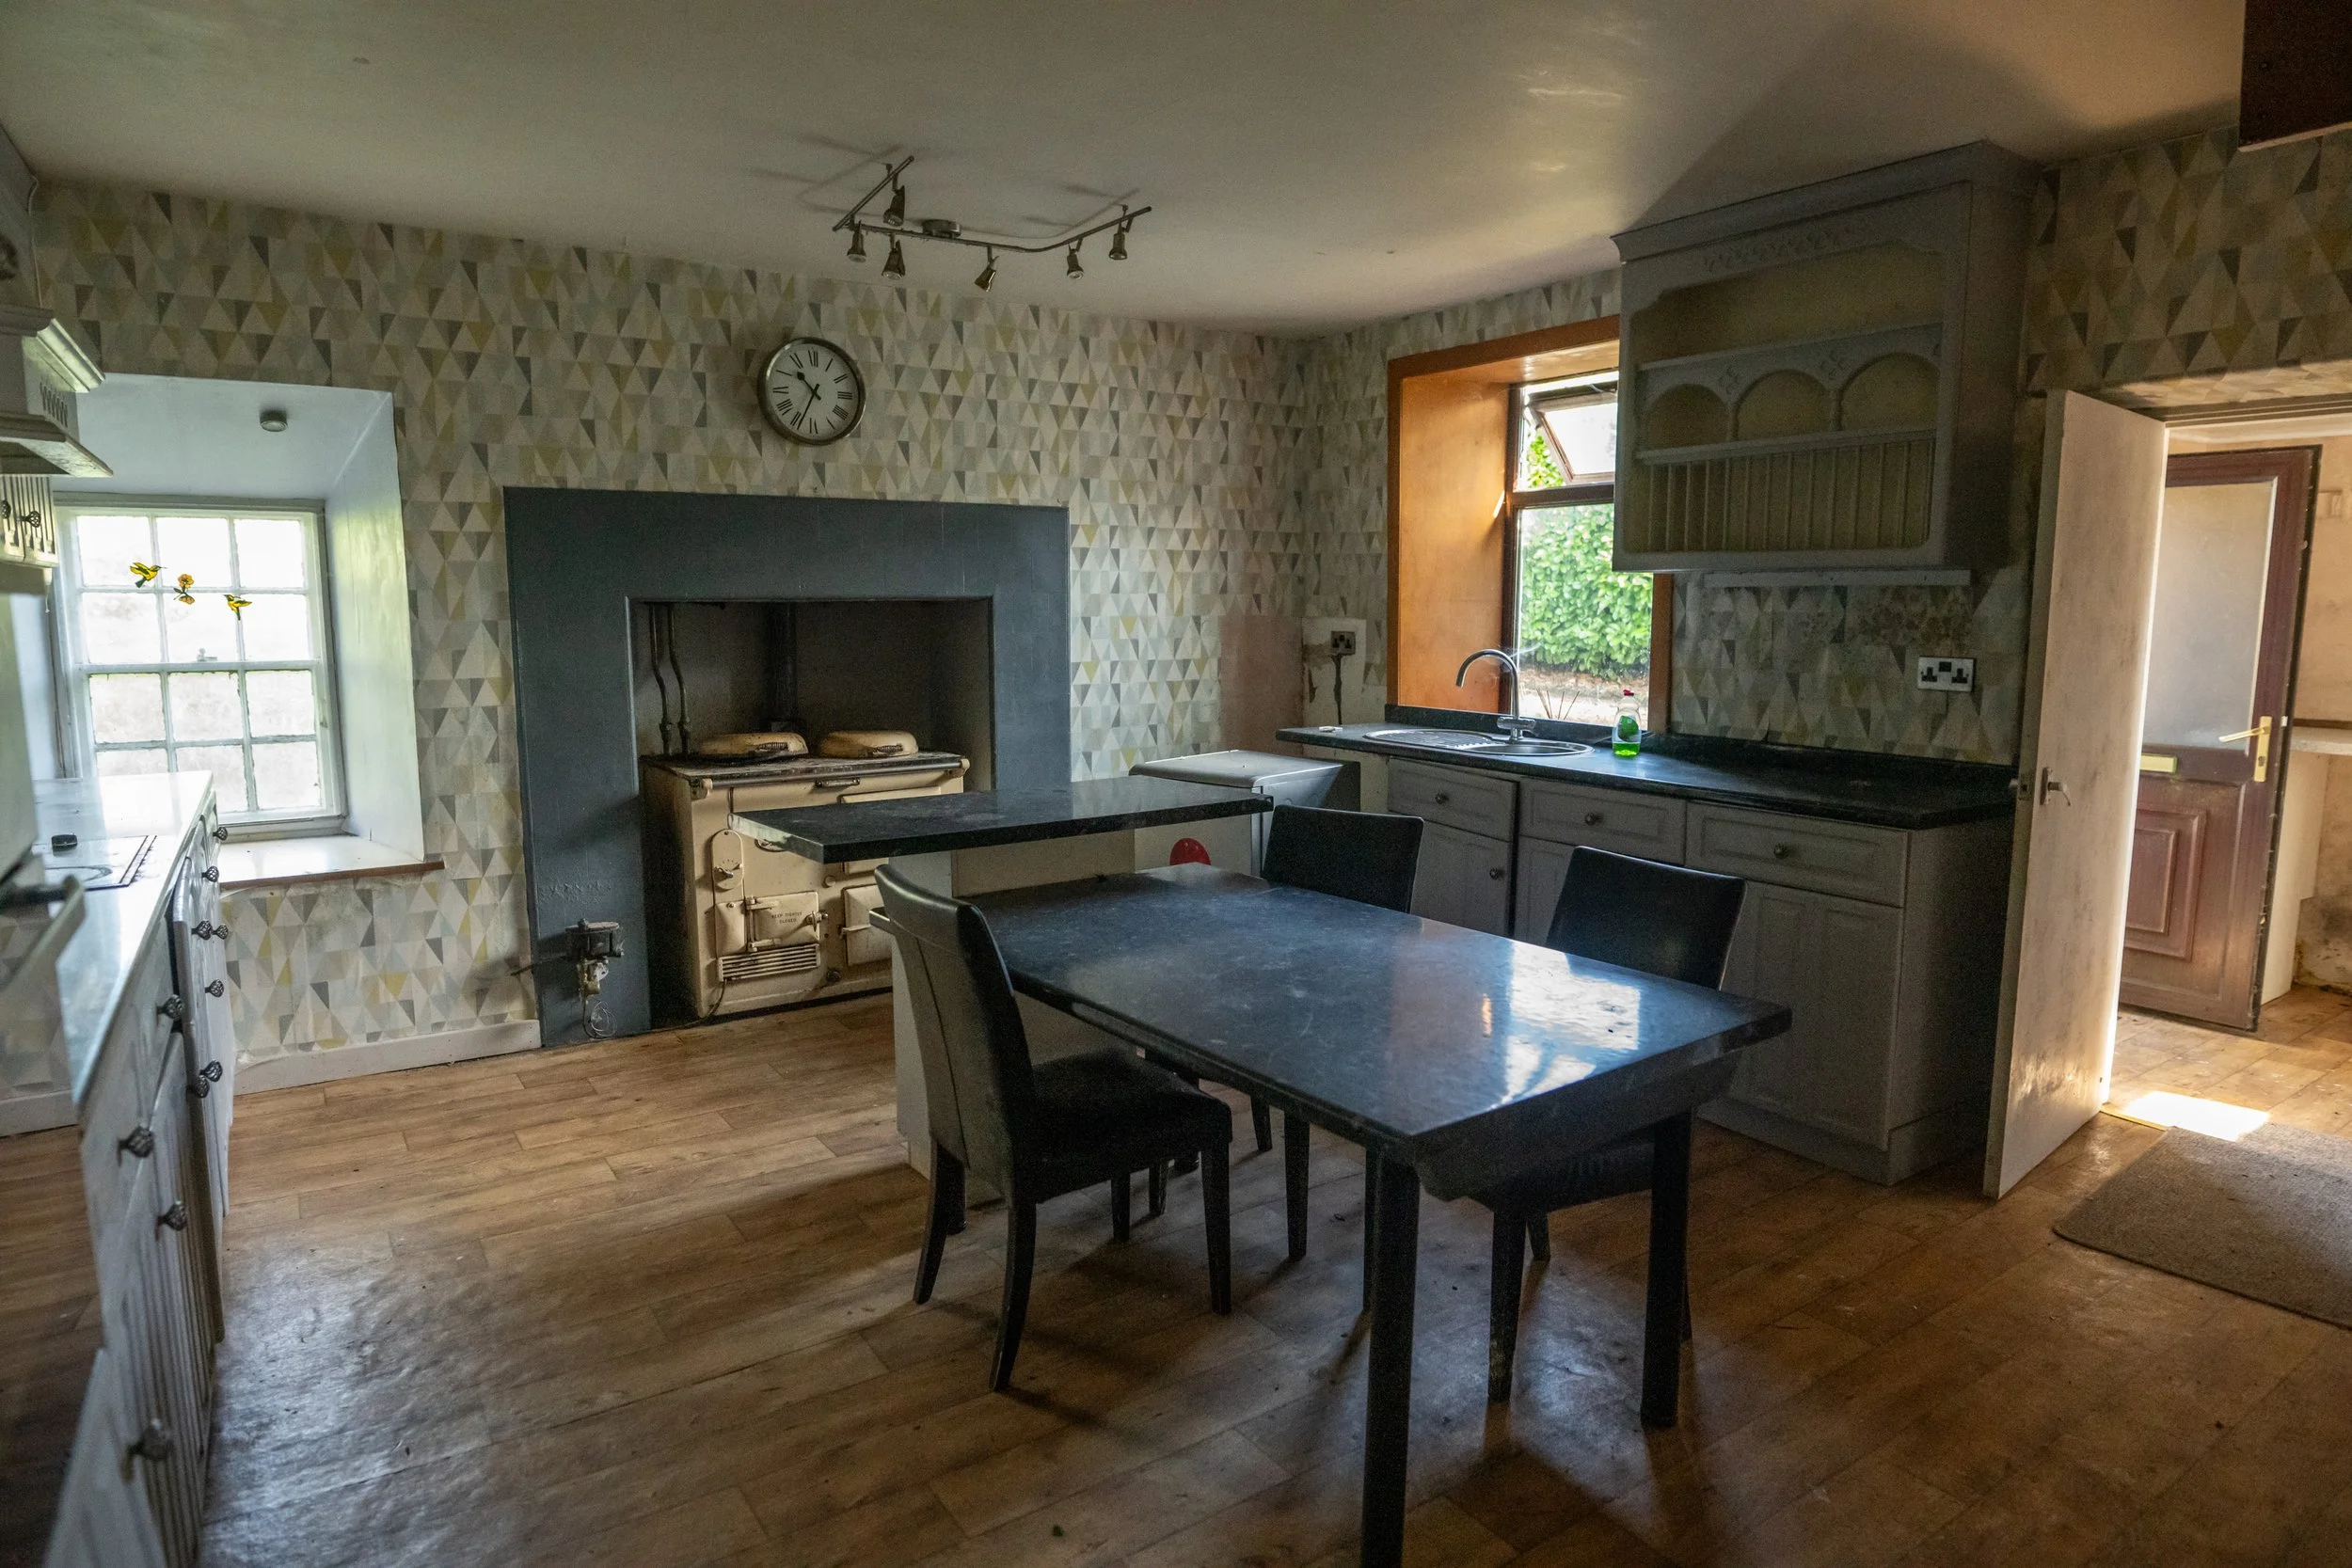
Let’s go to the Kitchen.
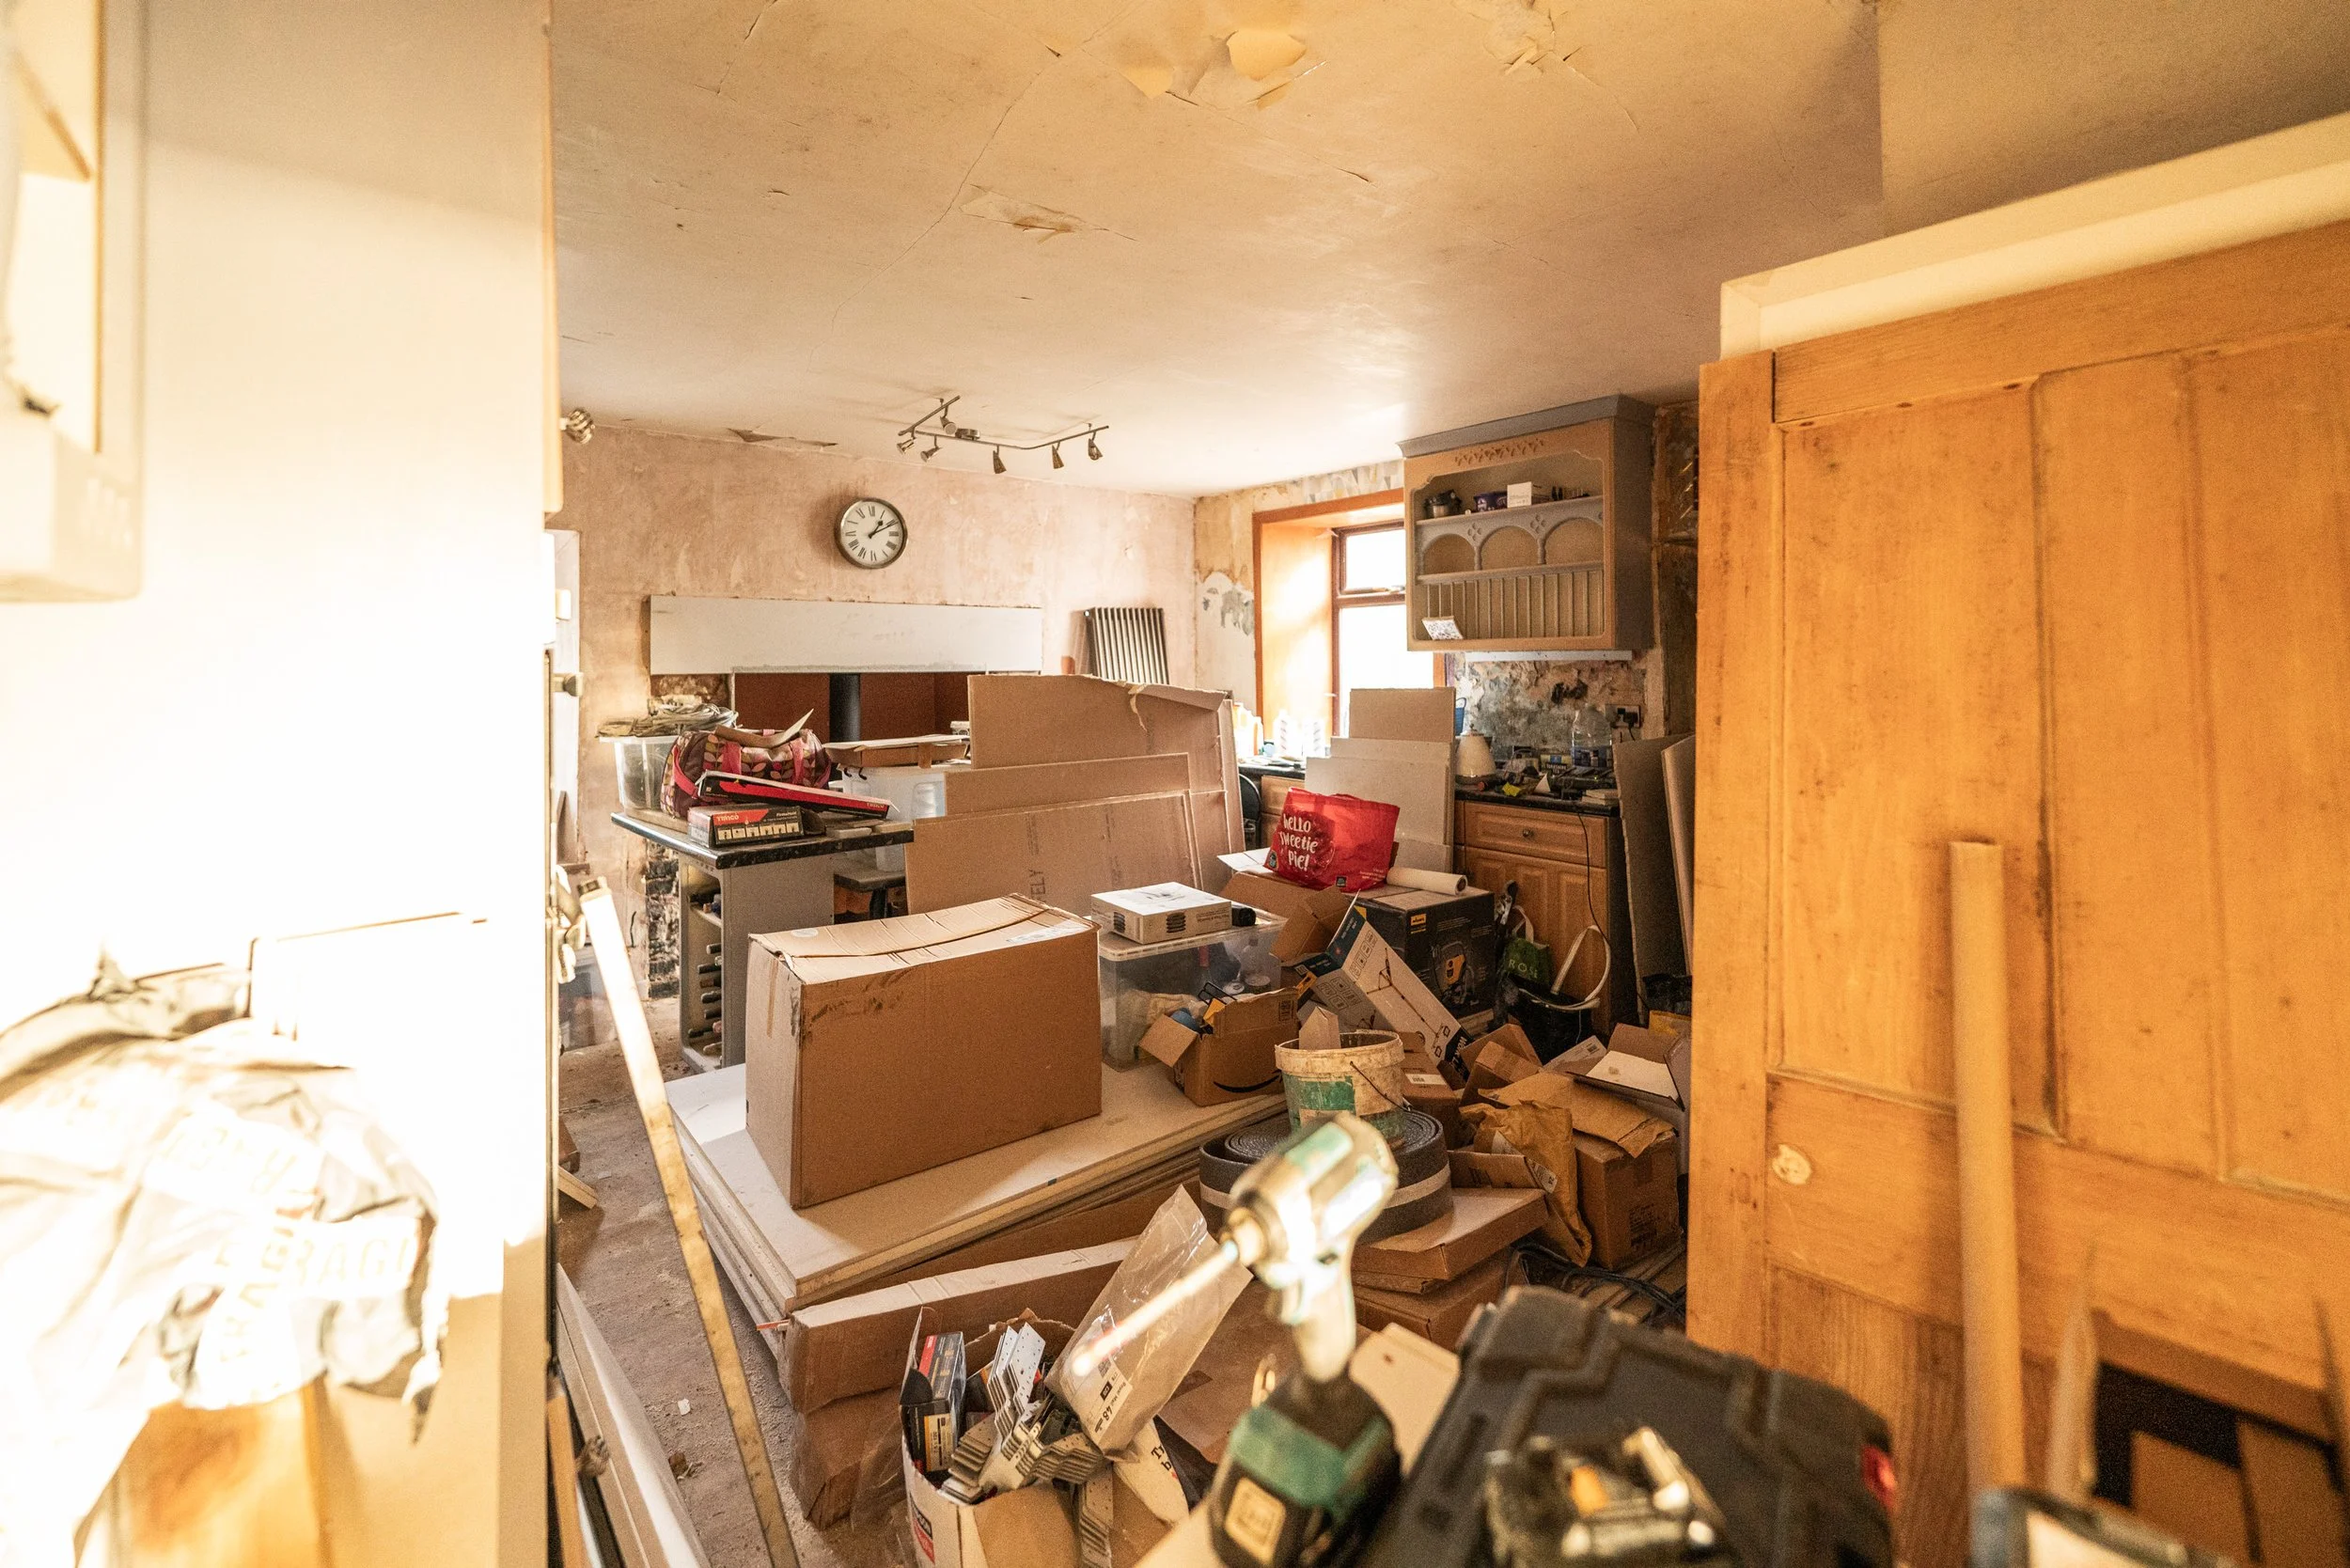
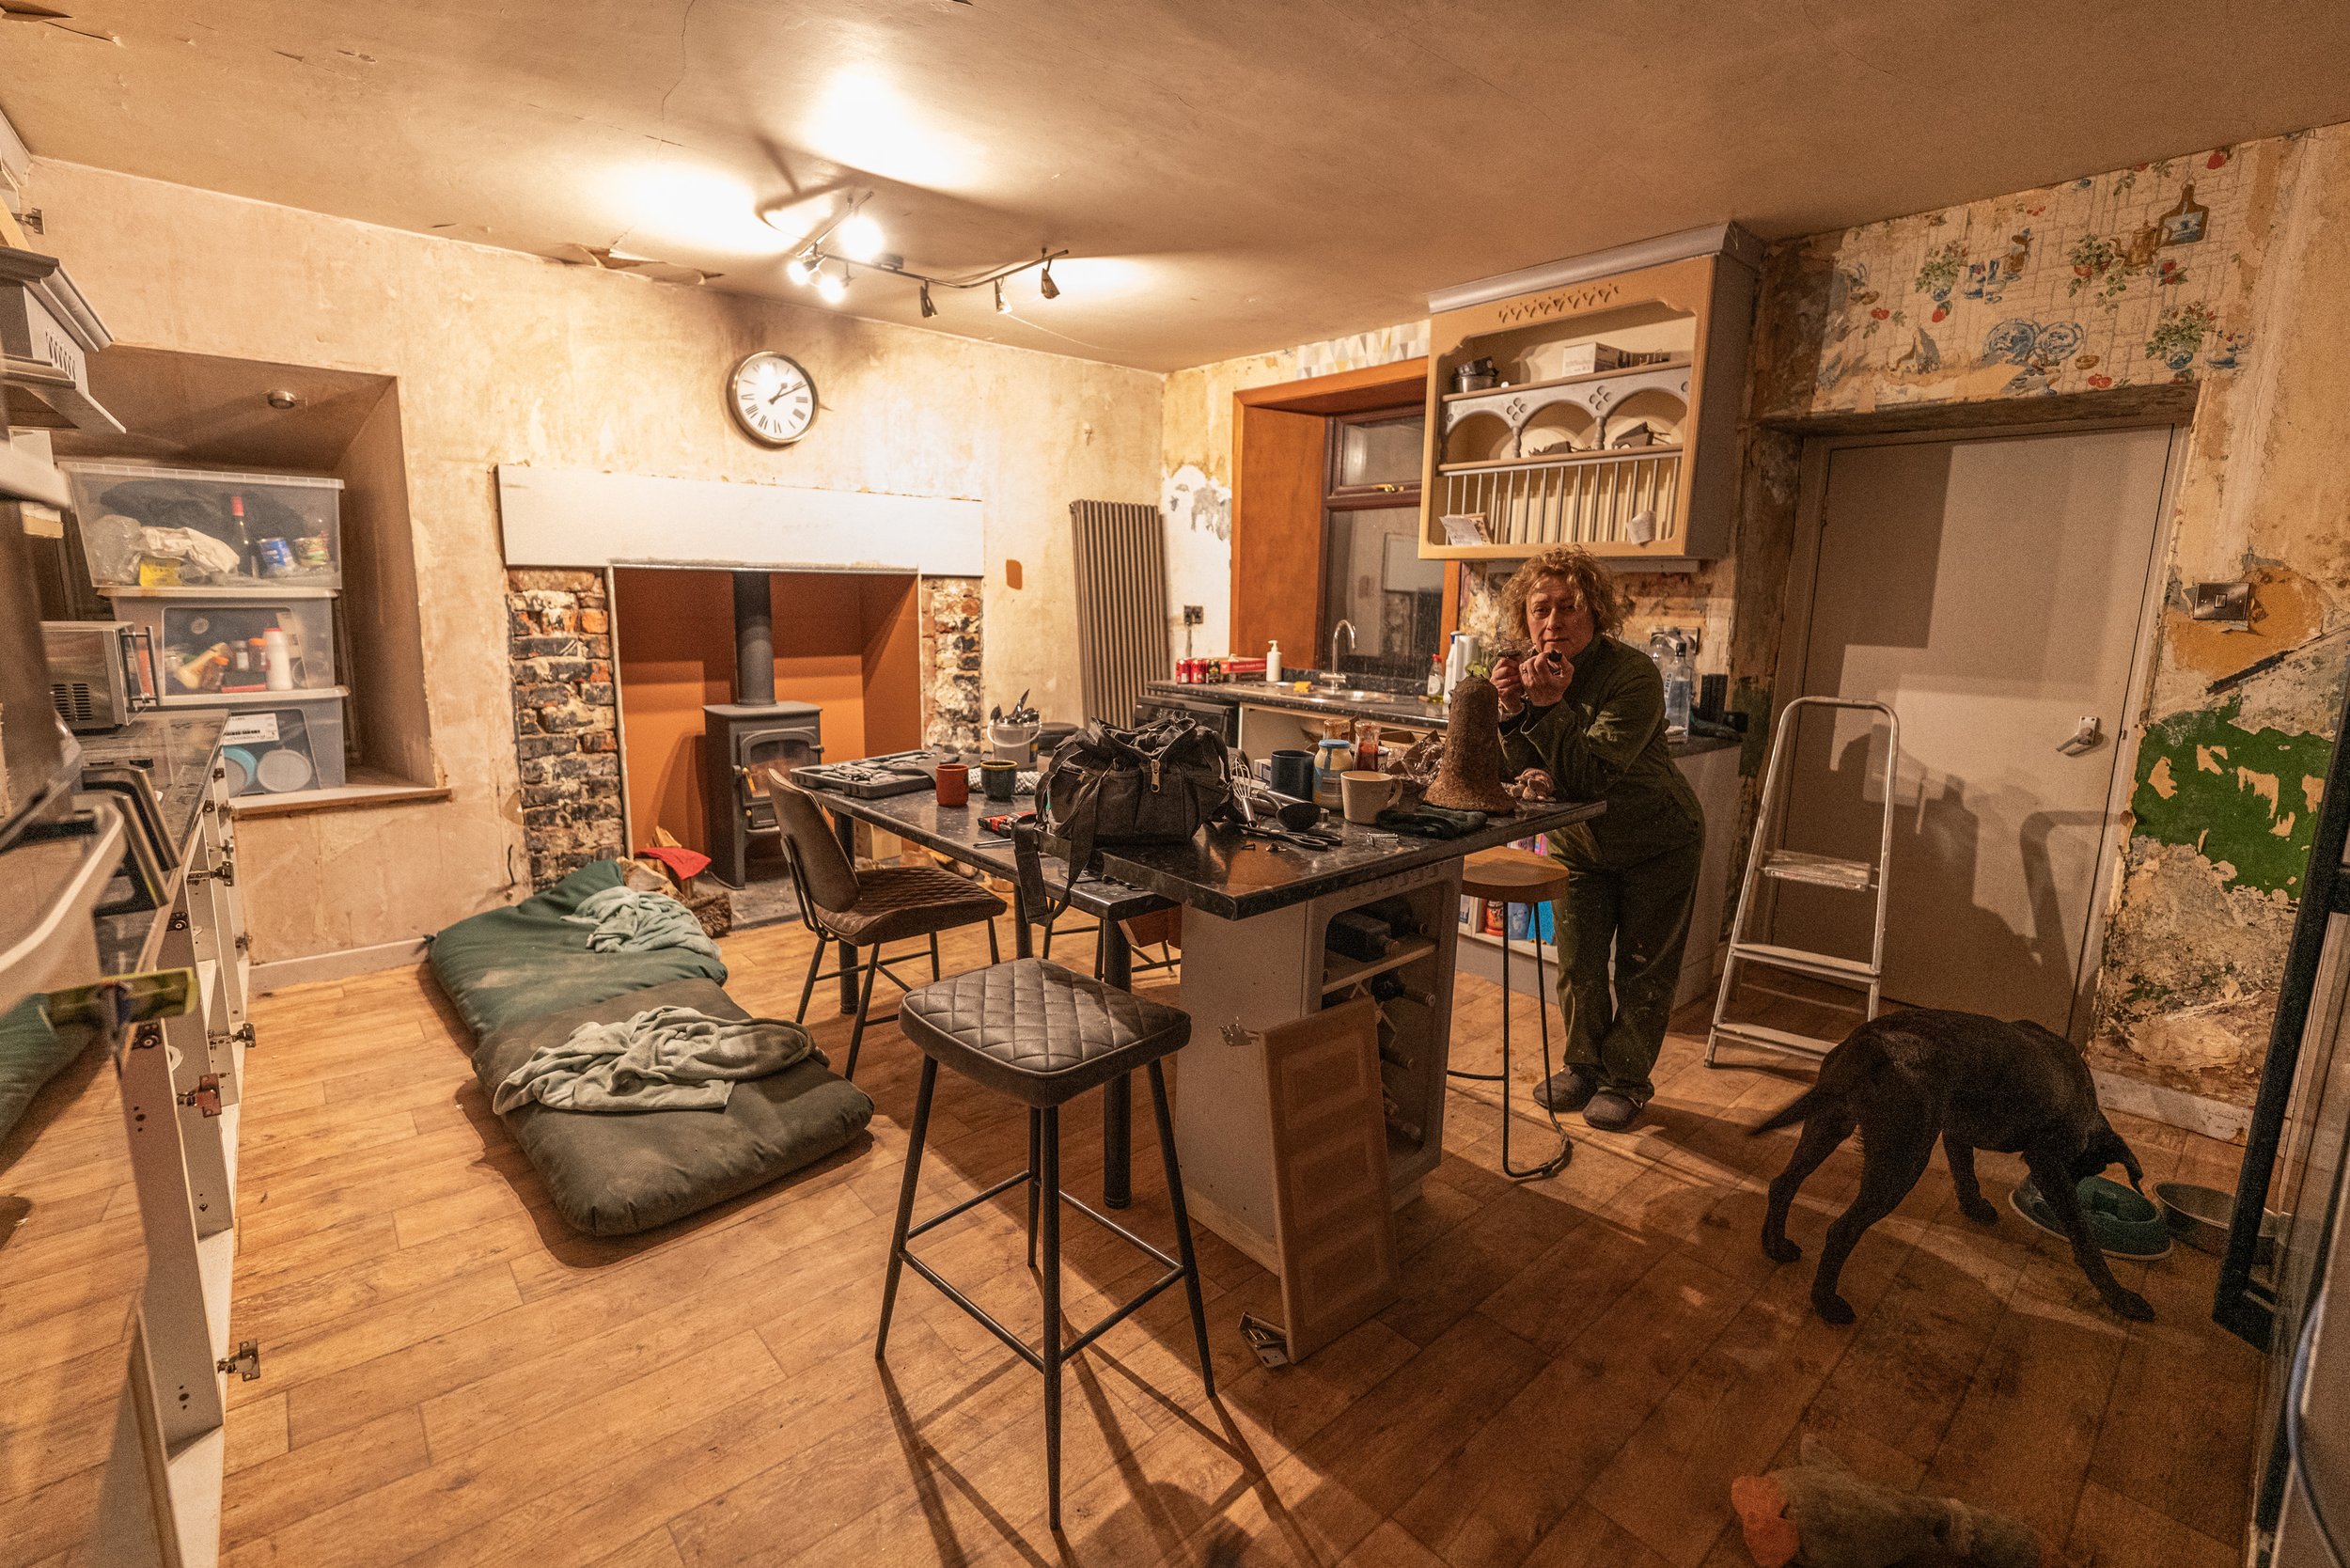
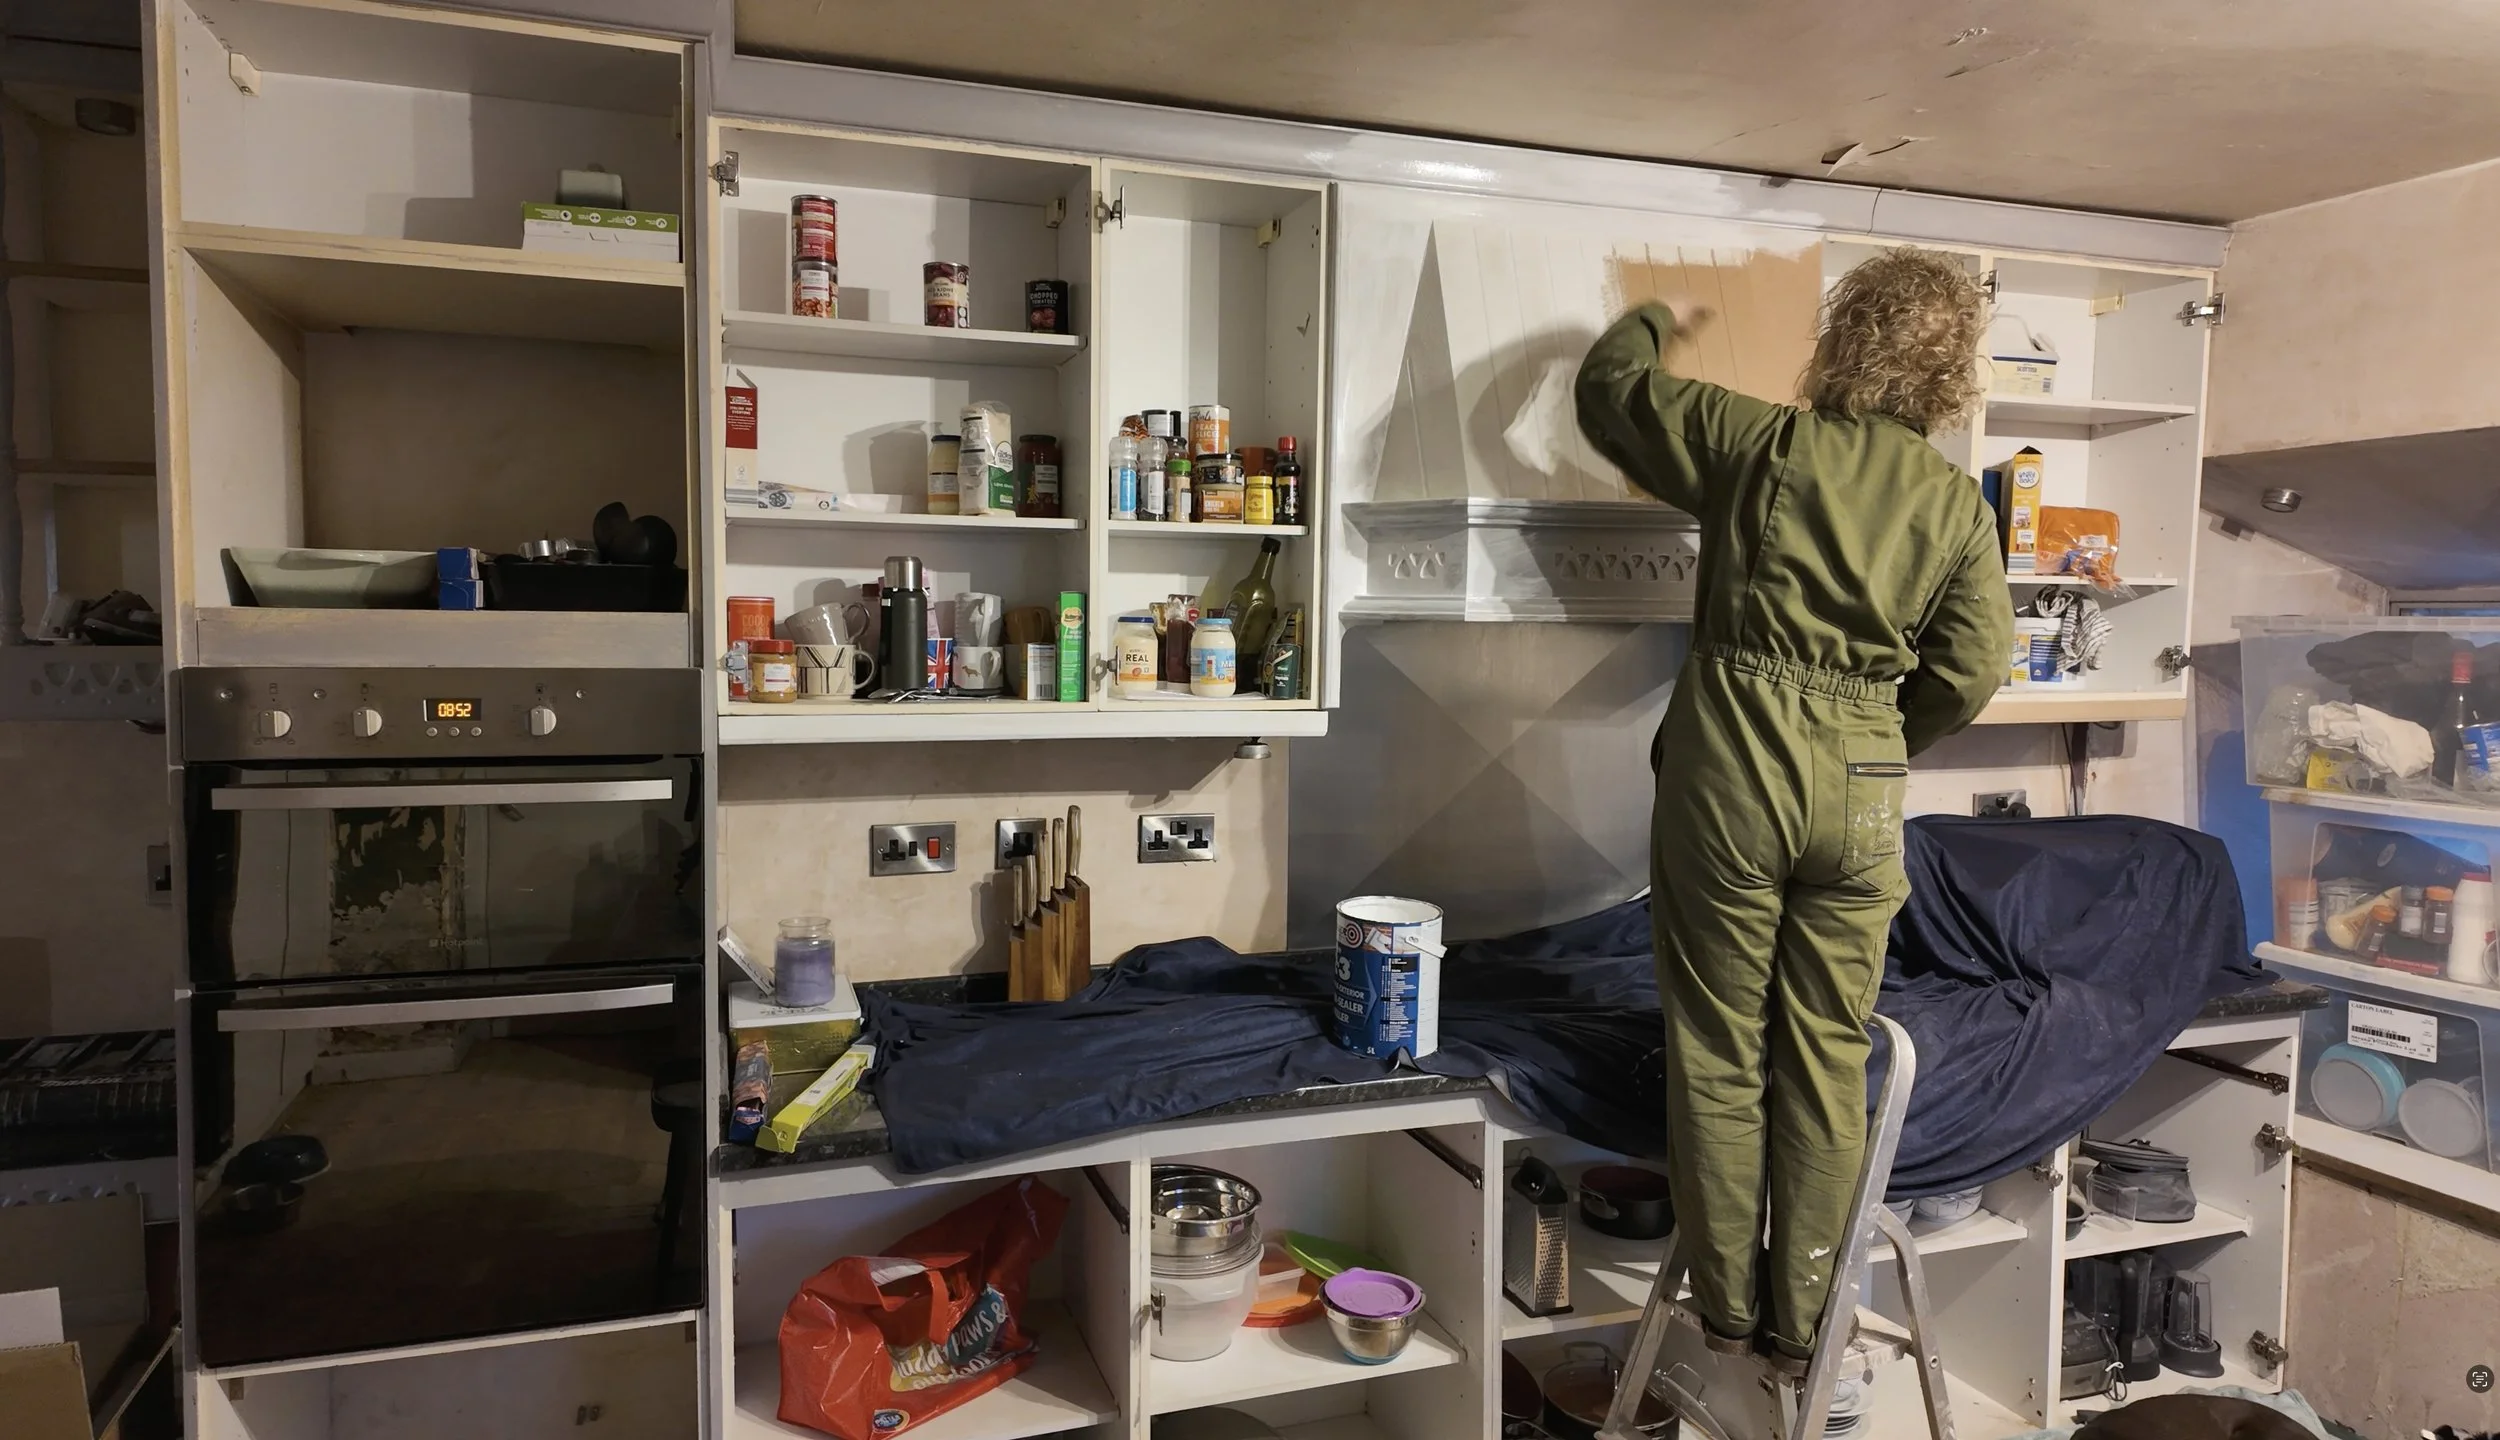
This room will be a kitchen for a few years before being converted into a utility/dog/boot/tack cleaning room, and it’s in the north section - cold, dark and dingy, it didn’t get above 15c last year even with the heating on full blast constantly. It had the serving hatch into the dining room (now office) in the middle section, and has been a very dirty store room for basically anything that needed an urgent home for the past 9 months. As a result, prior to this mammoth week, the room looked like this:

I promise everything you see here is absolutely vital and carefully stored in a way that both Dan and I understand. It just got a bit overrun!
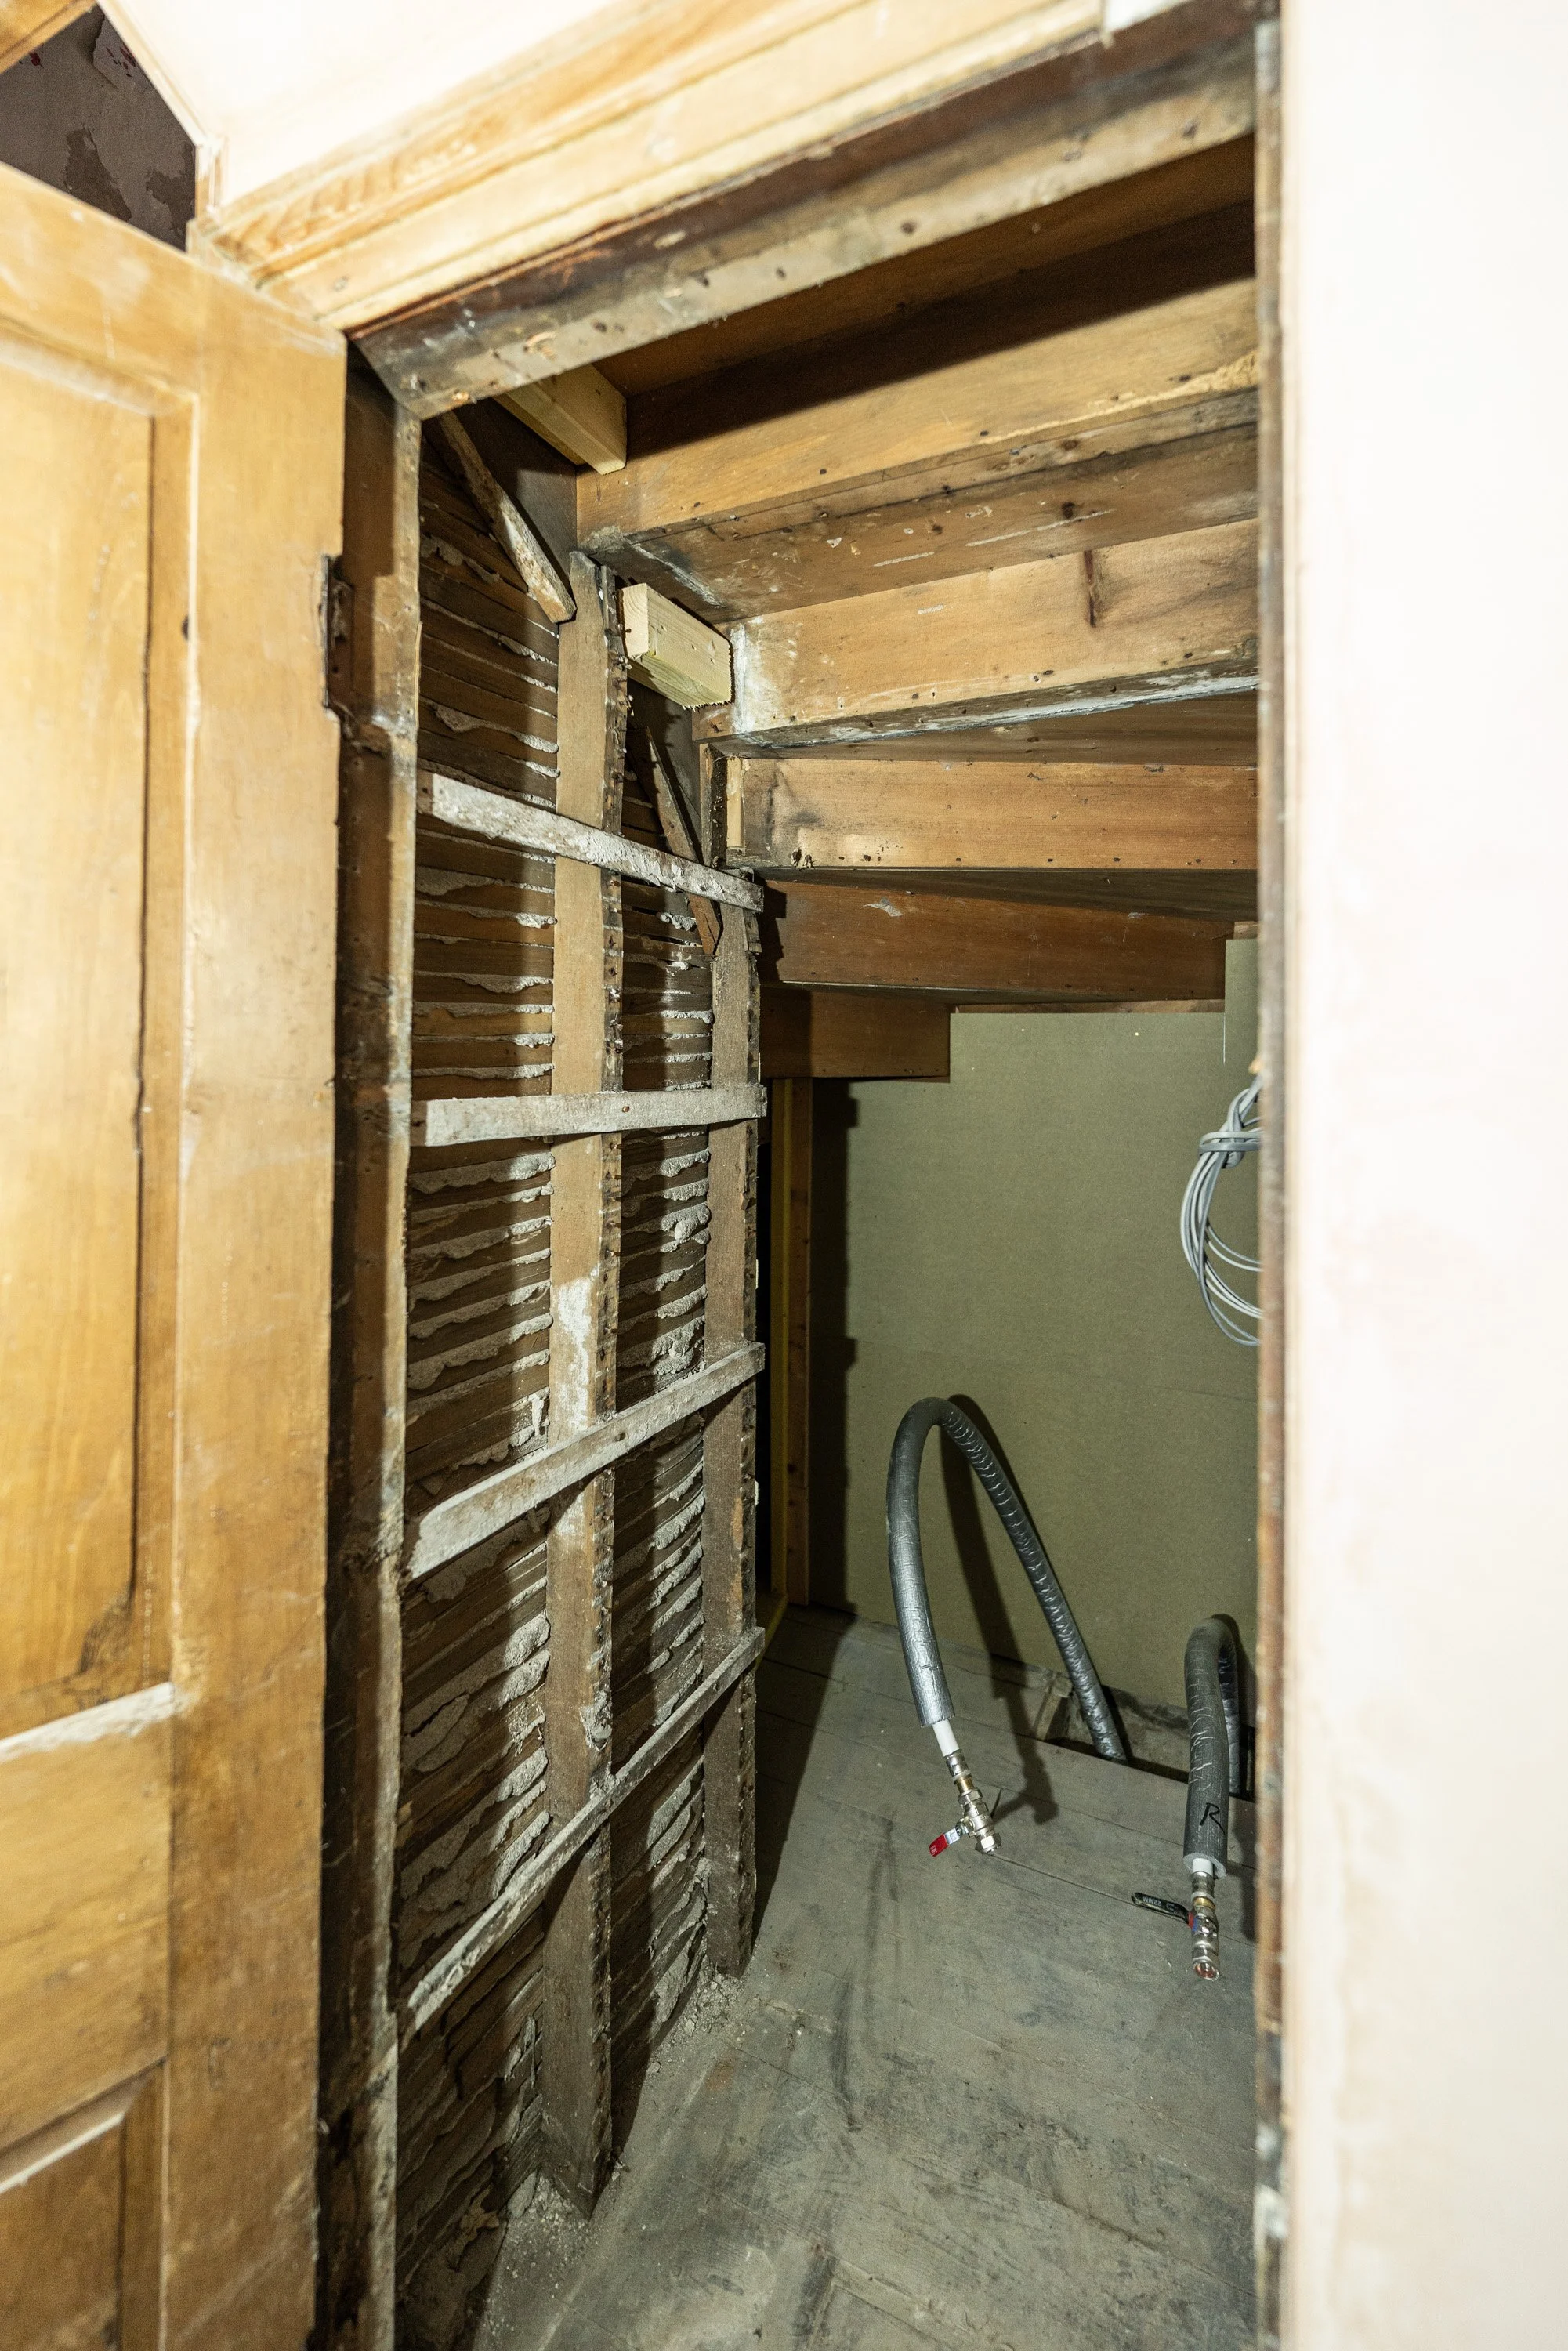
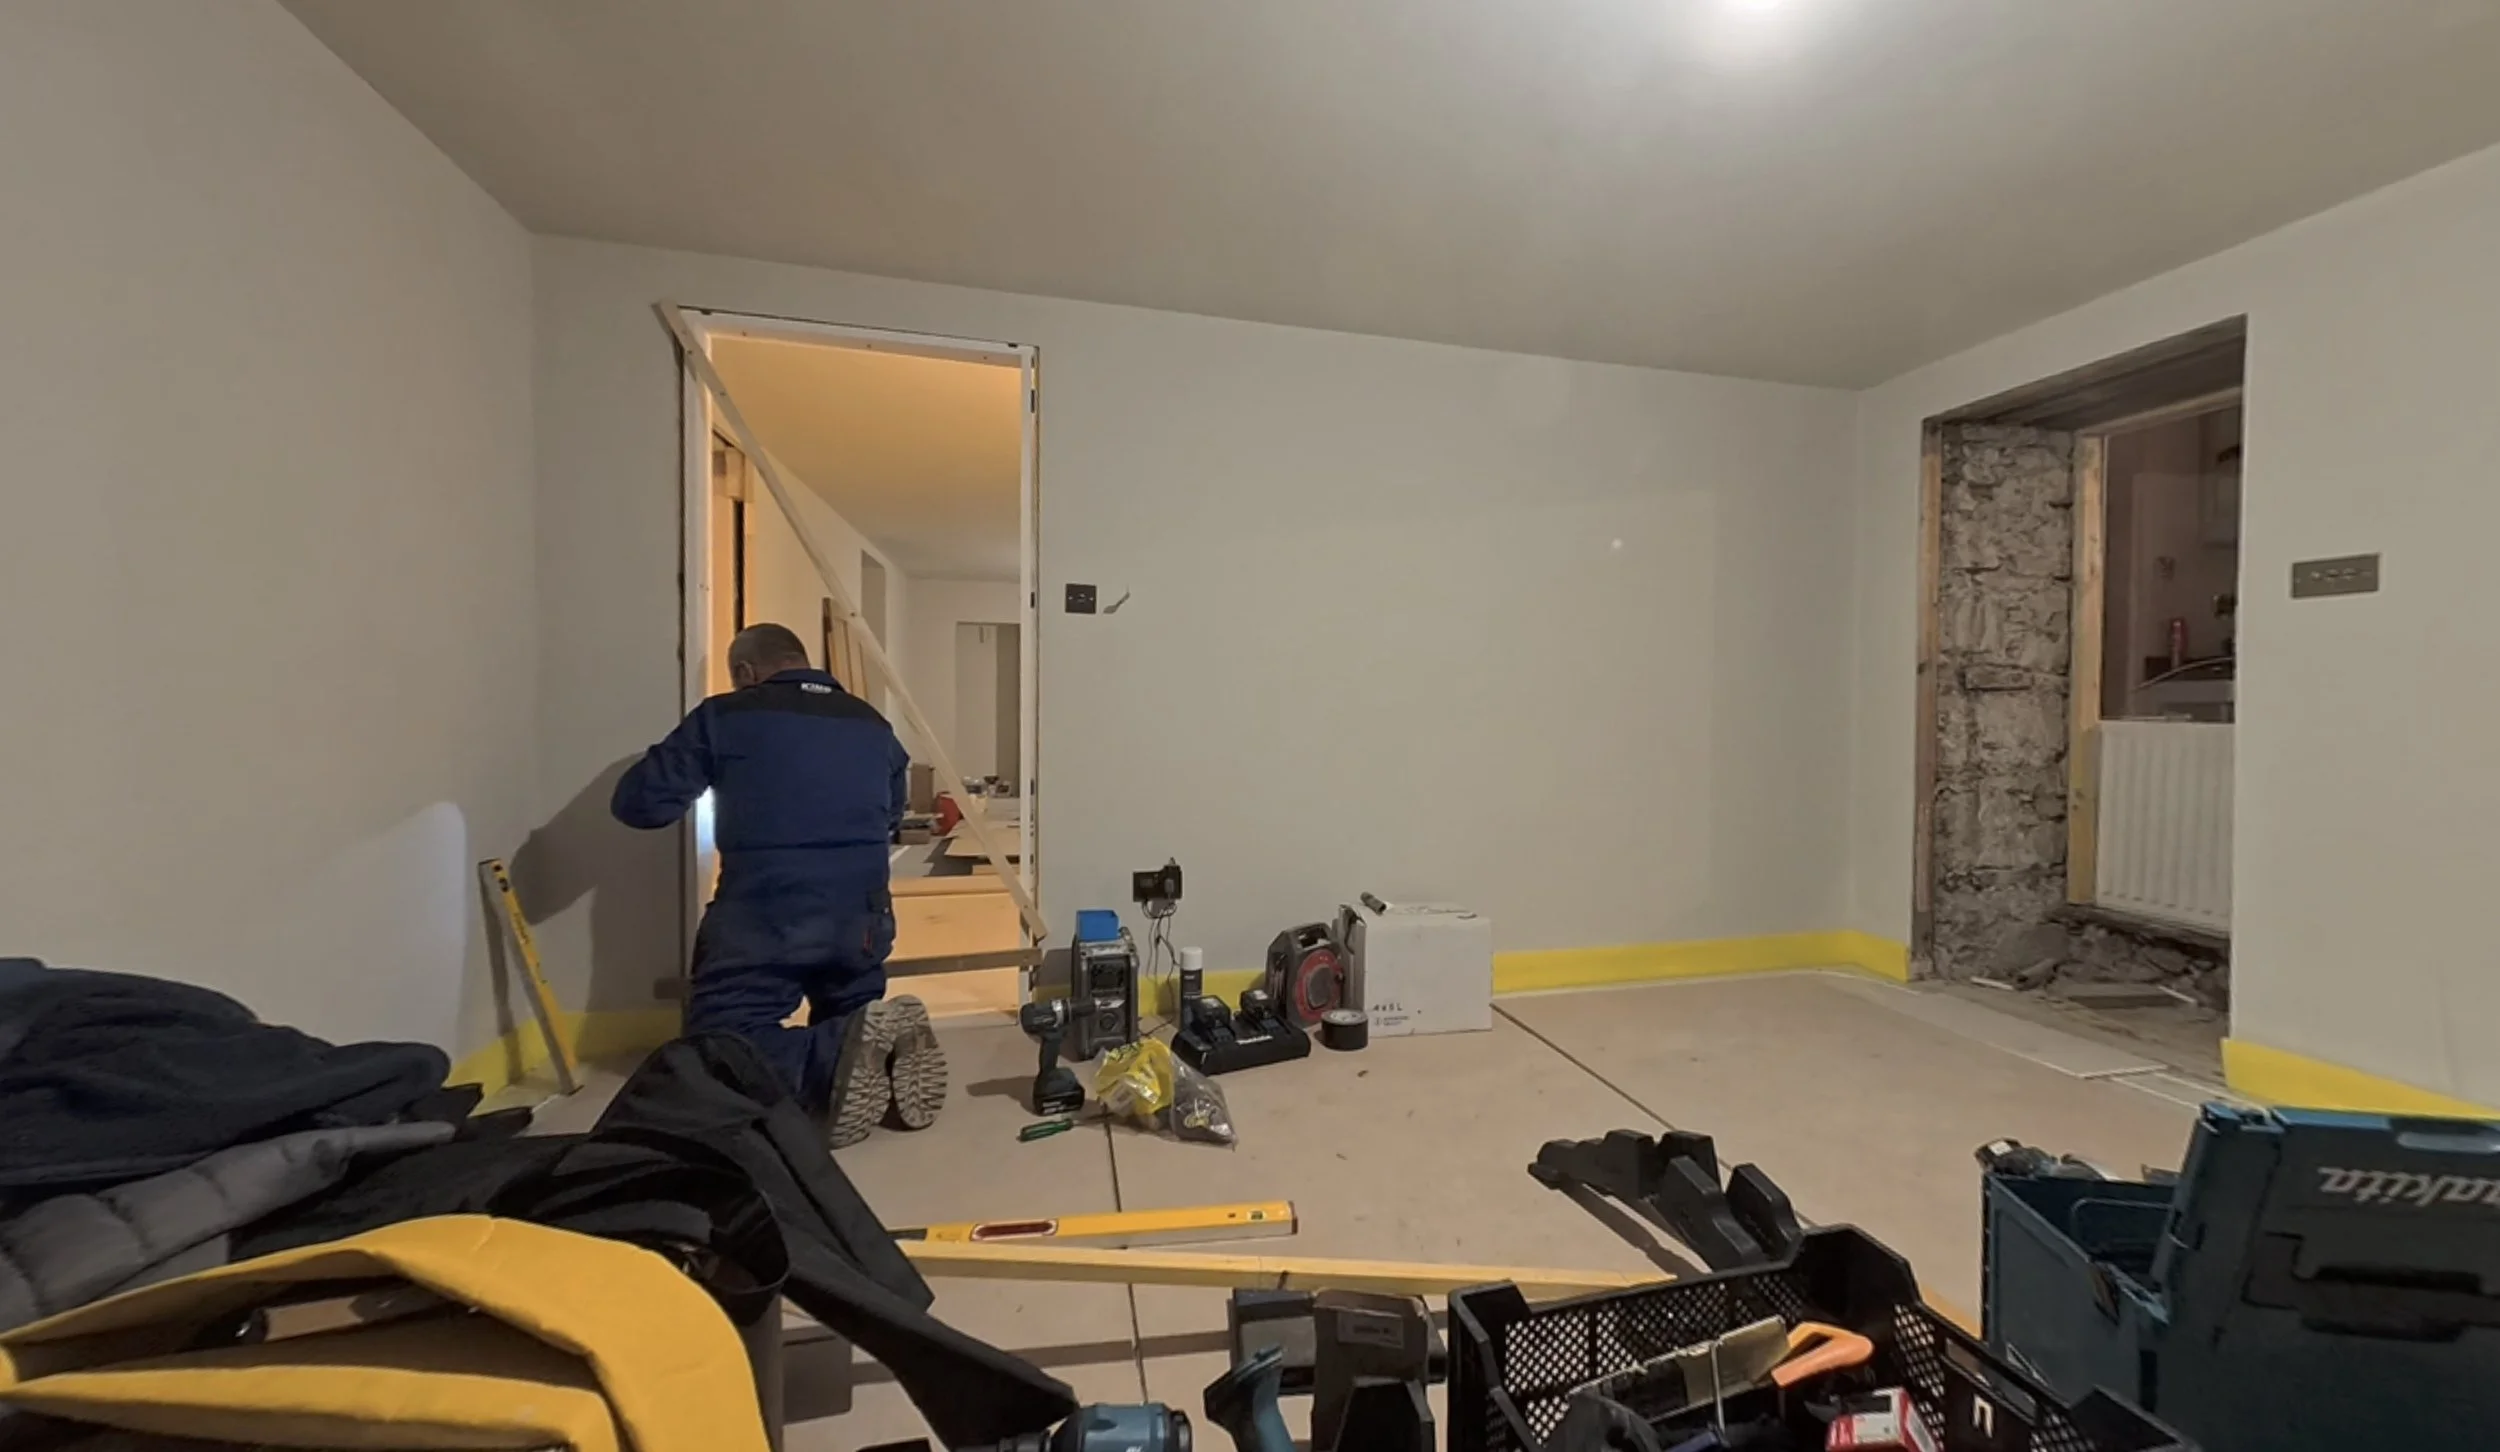
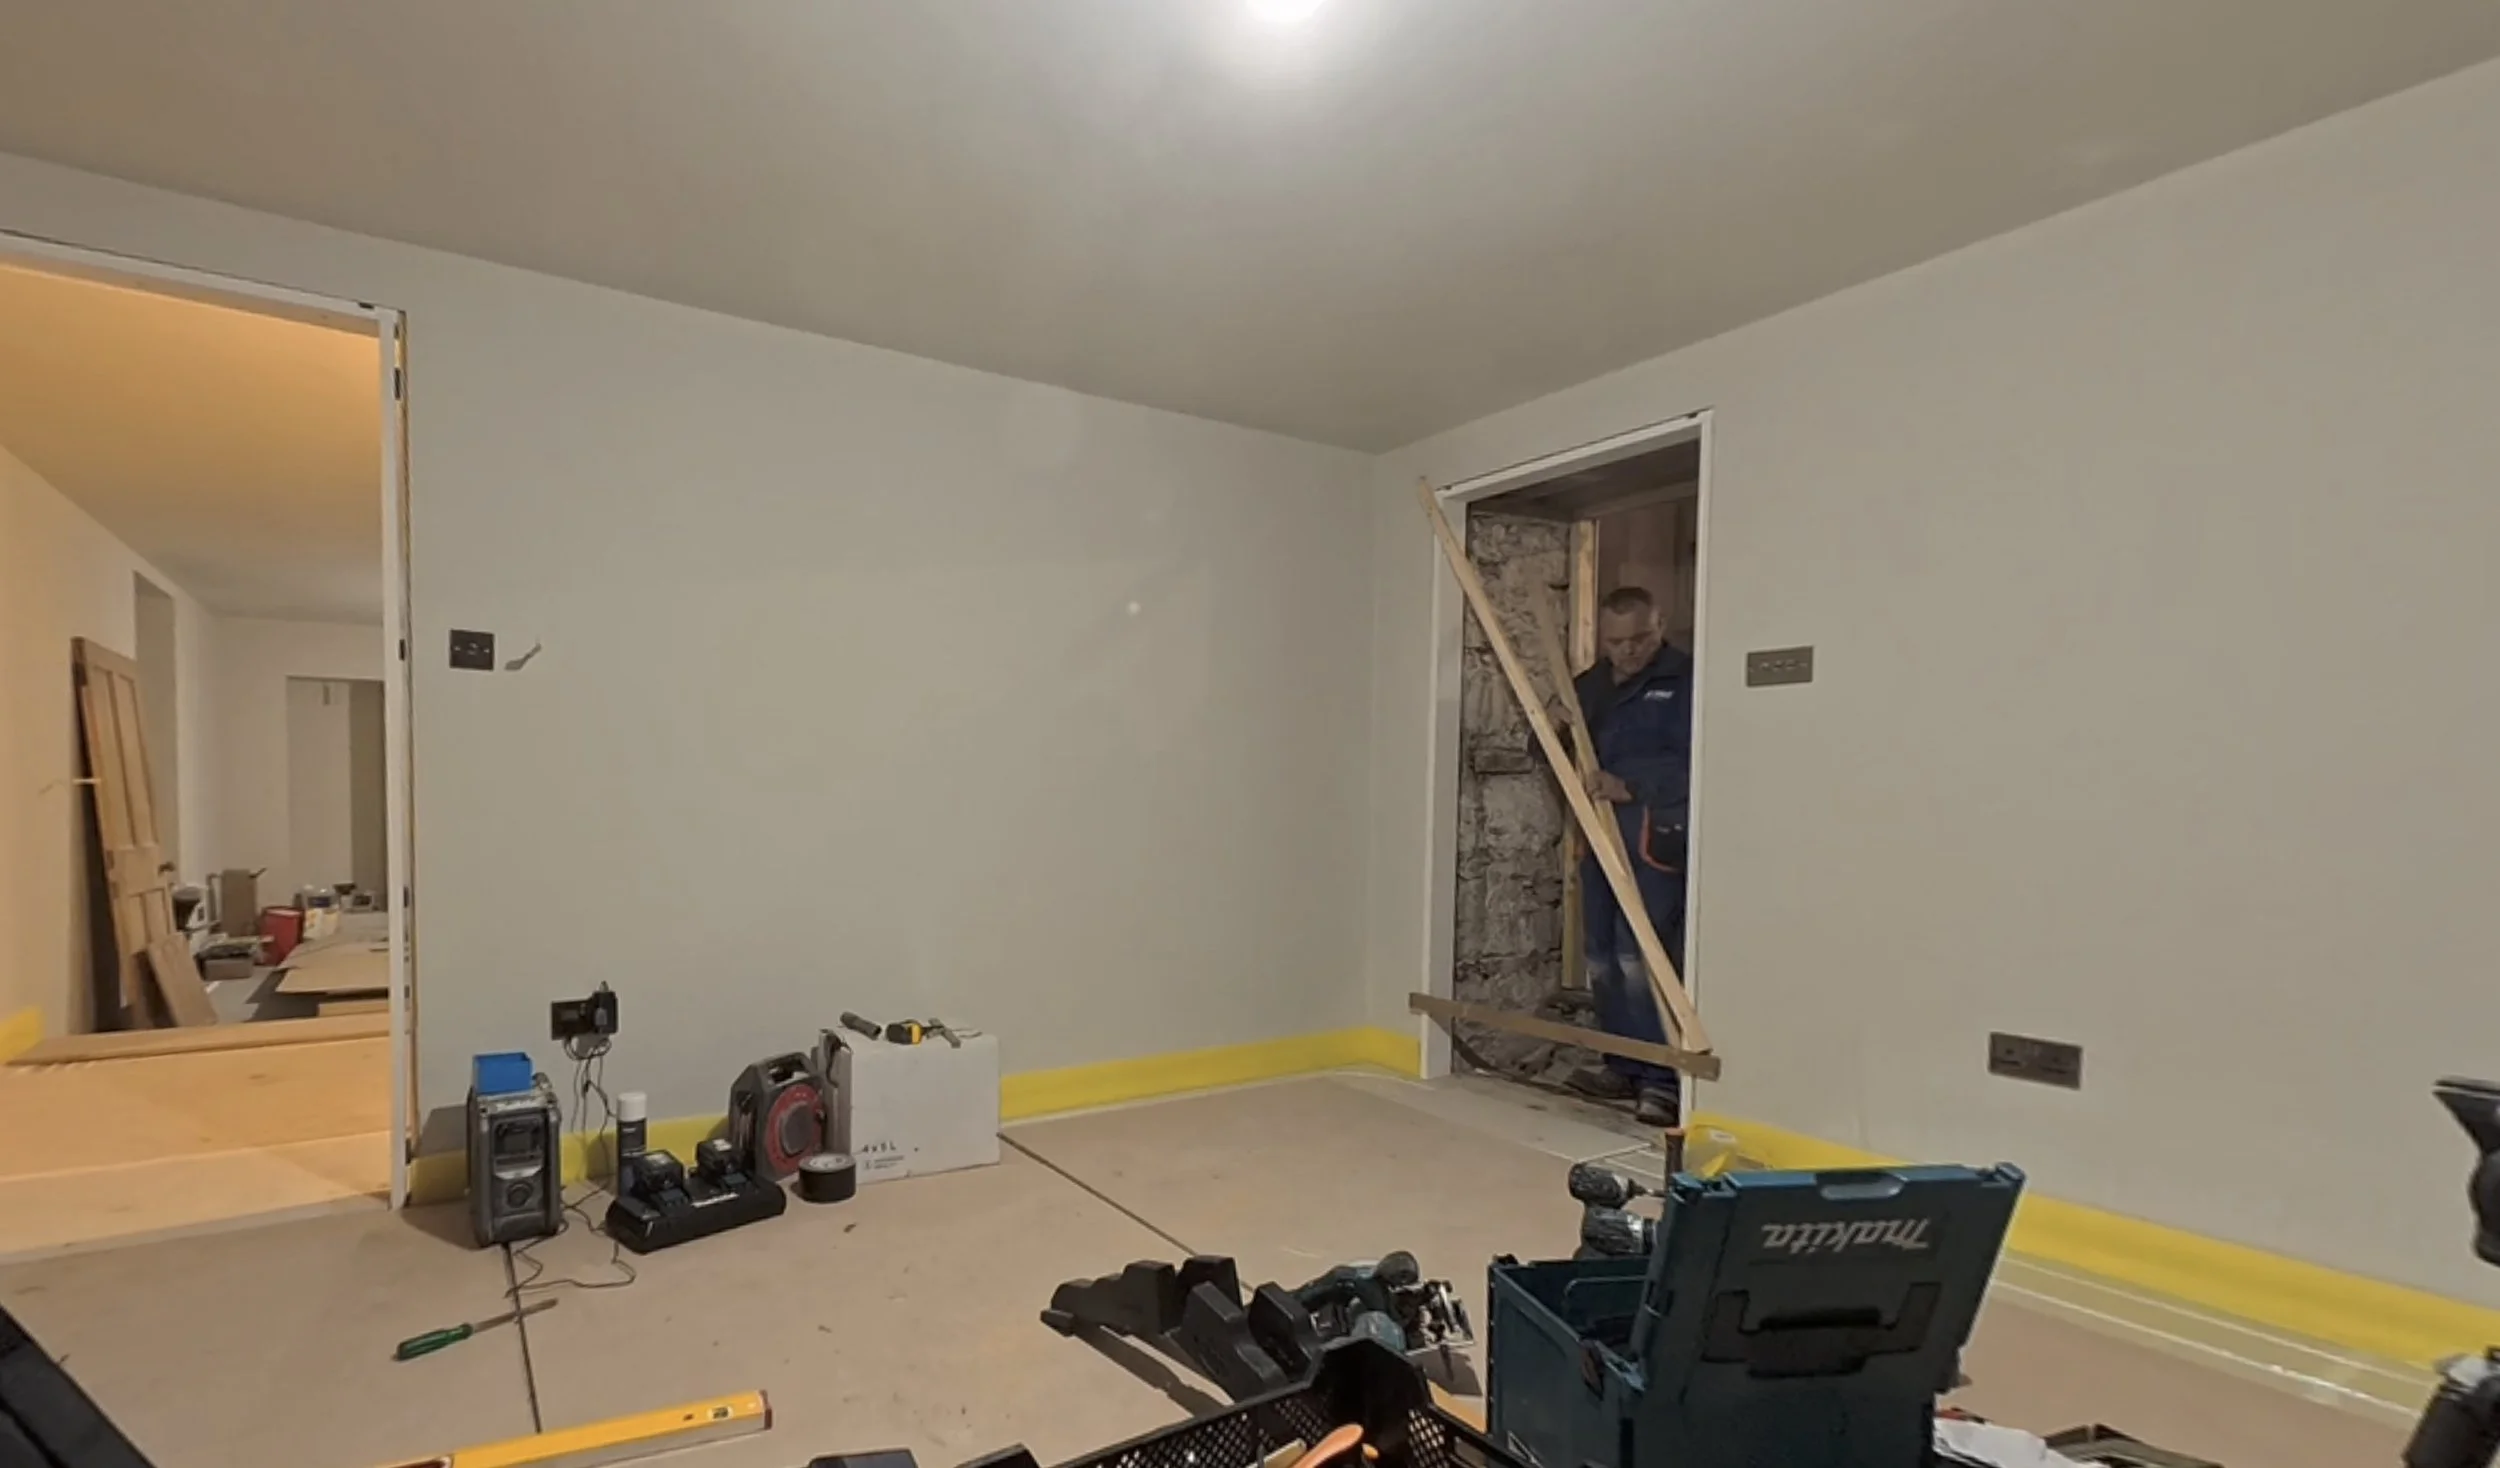
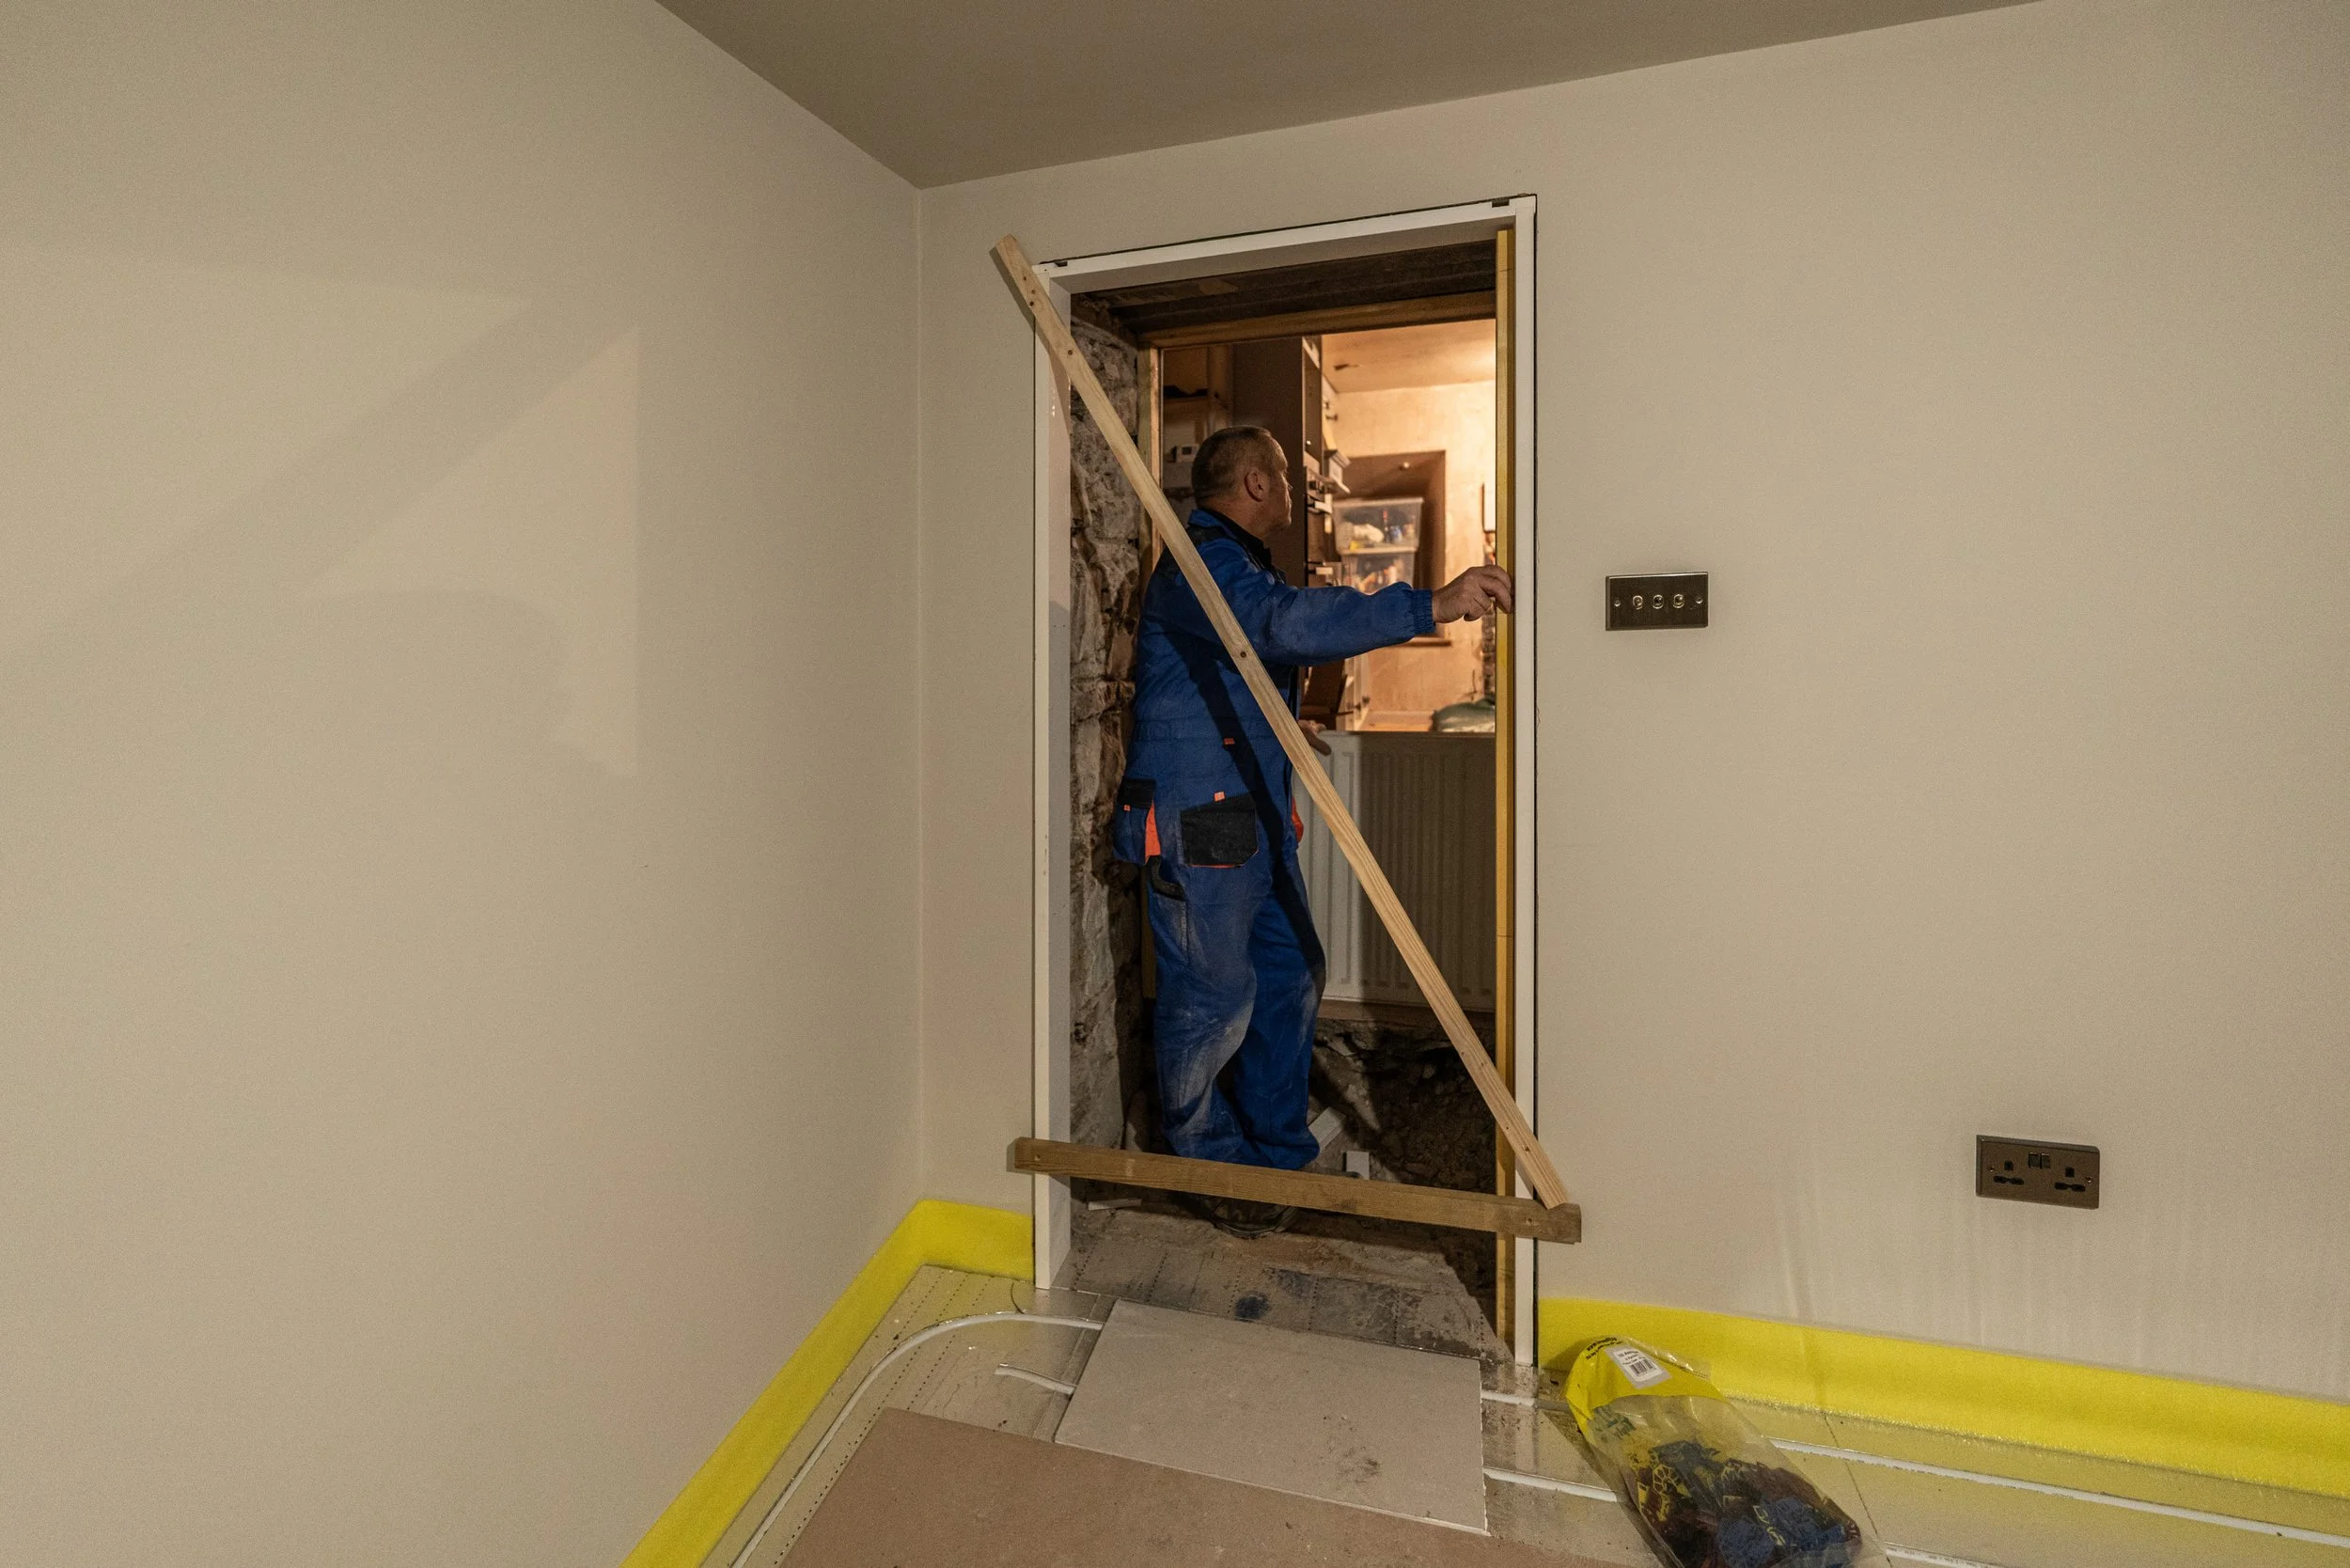
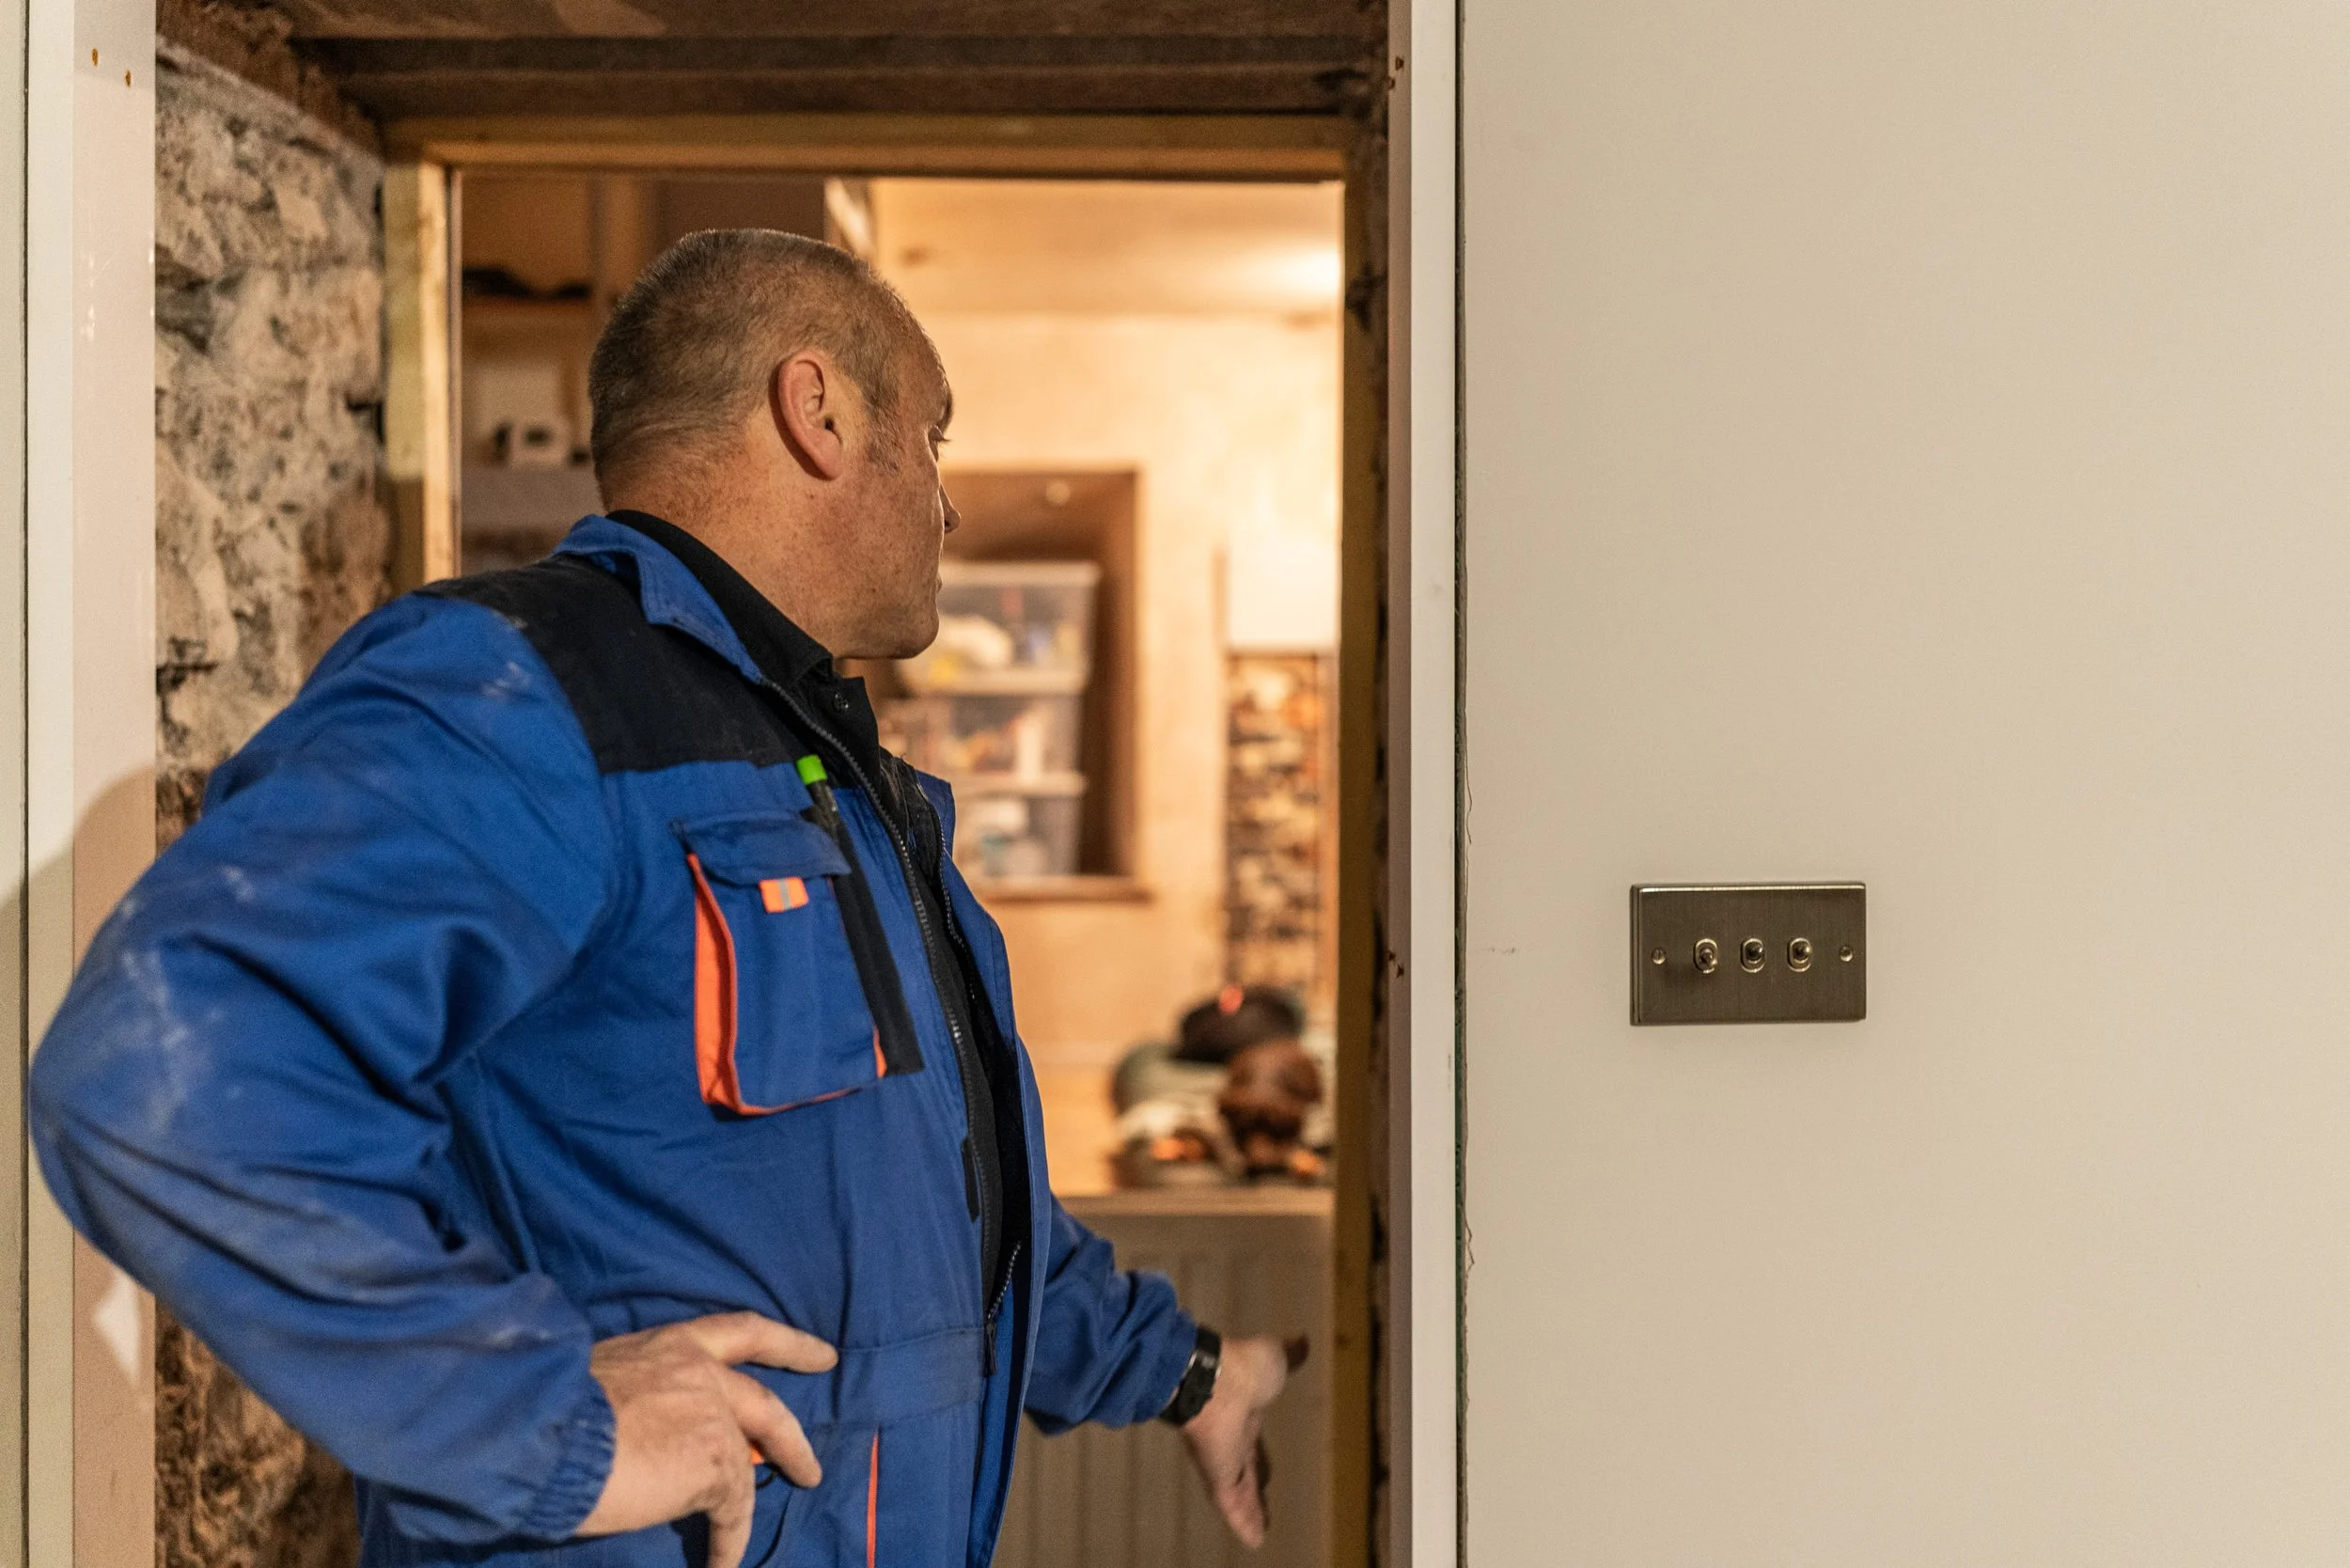
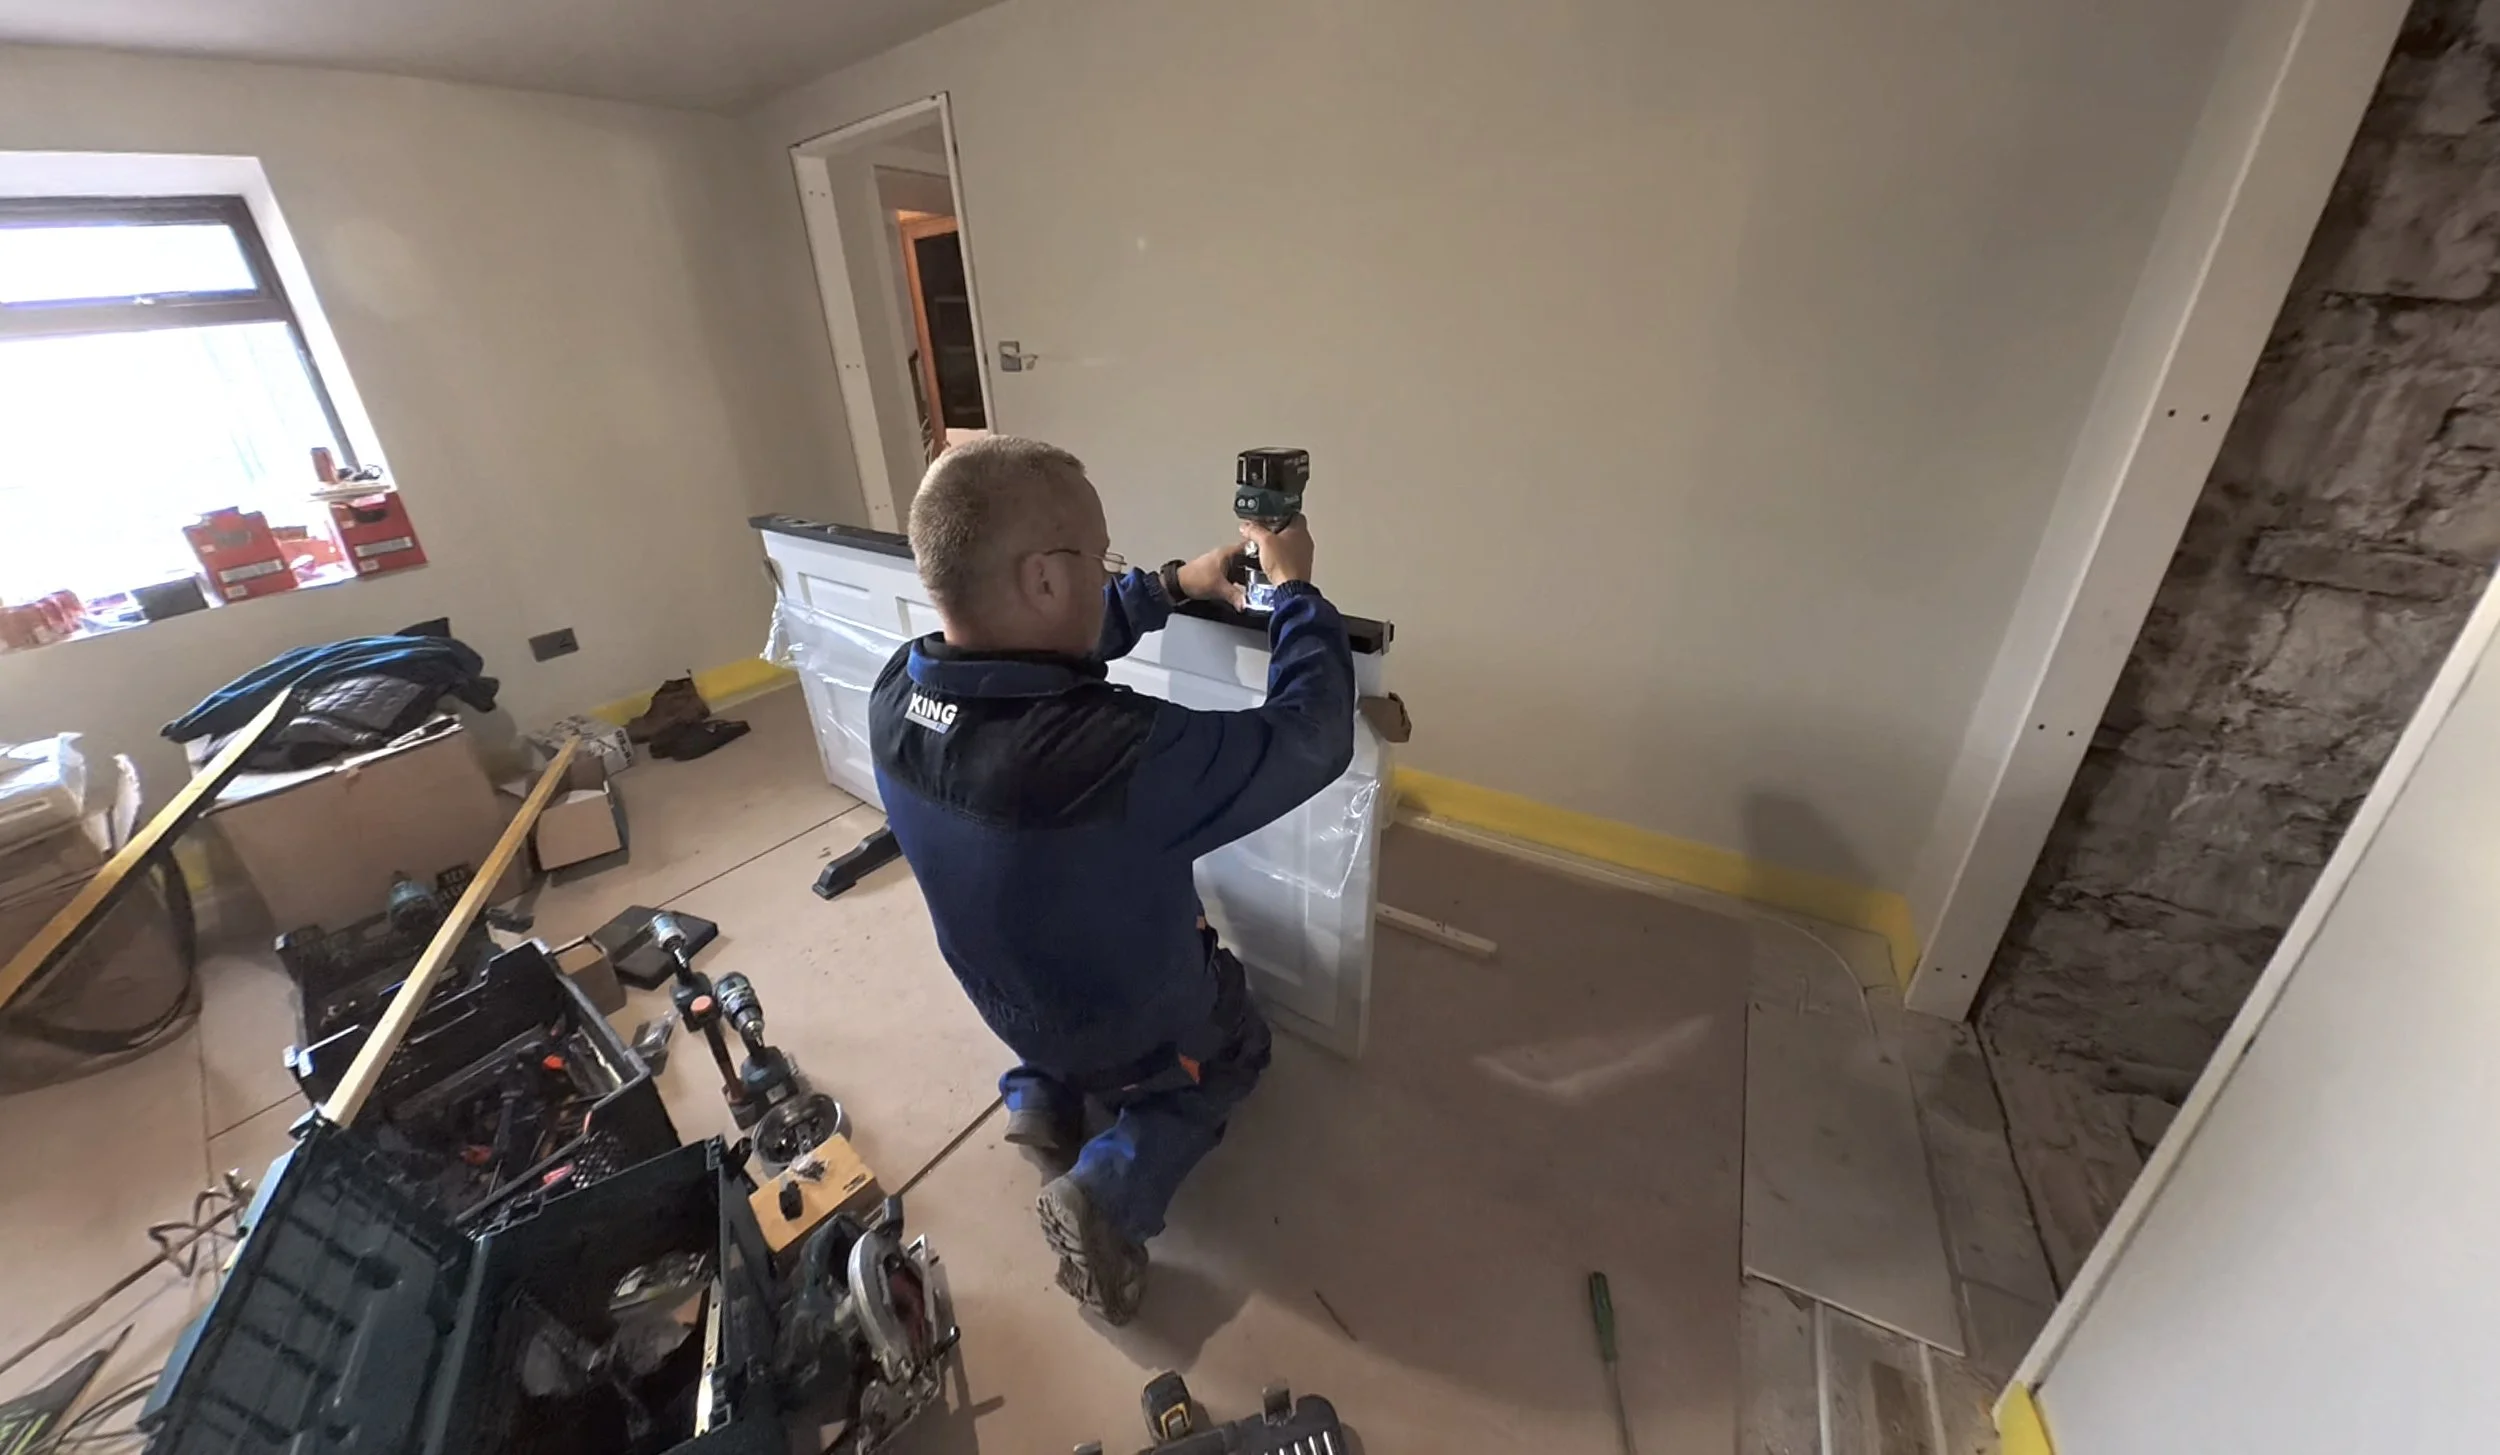
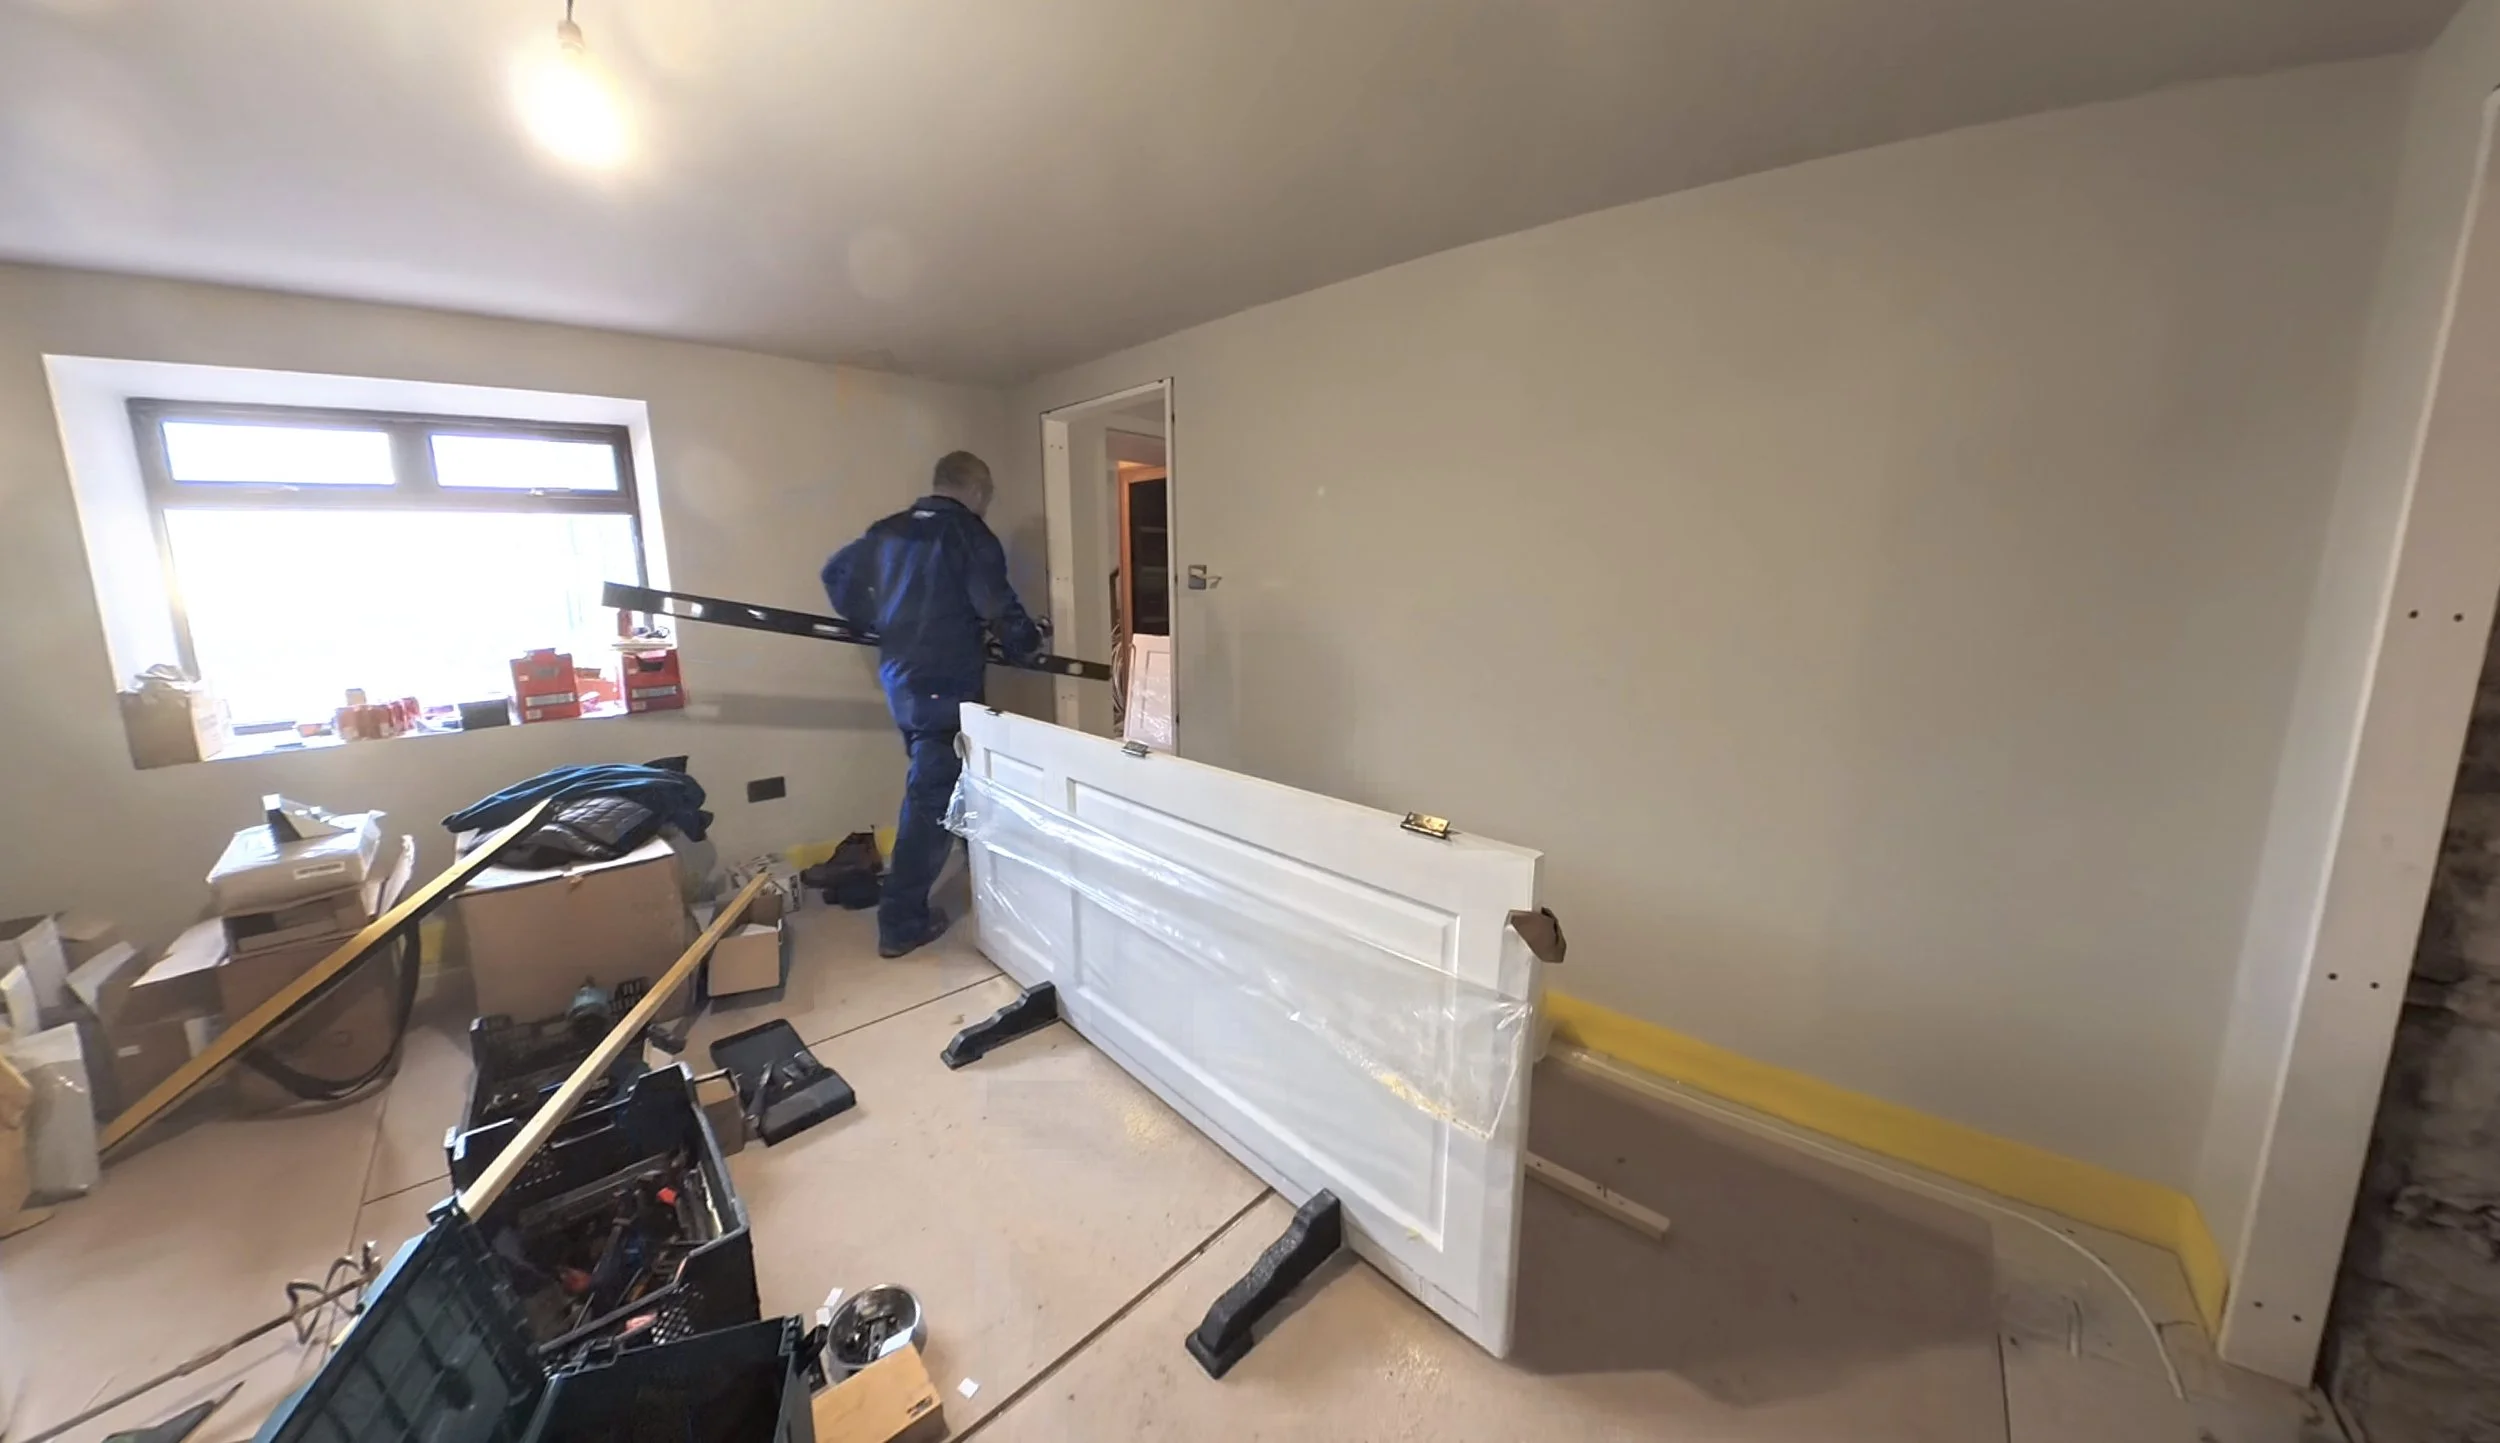
Because I was still at home on Monday, Dan and I (mostly Dan) boarded one of the last remaining walls to be covered - the hatch wall. Of course, this is now home to a Jess-sized doorway, aka “the hobbit door”, and is naked all the way down to the boiler room door. But not for long.
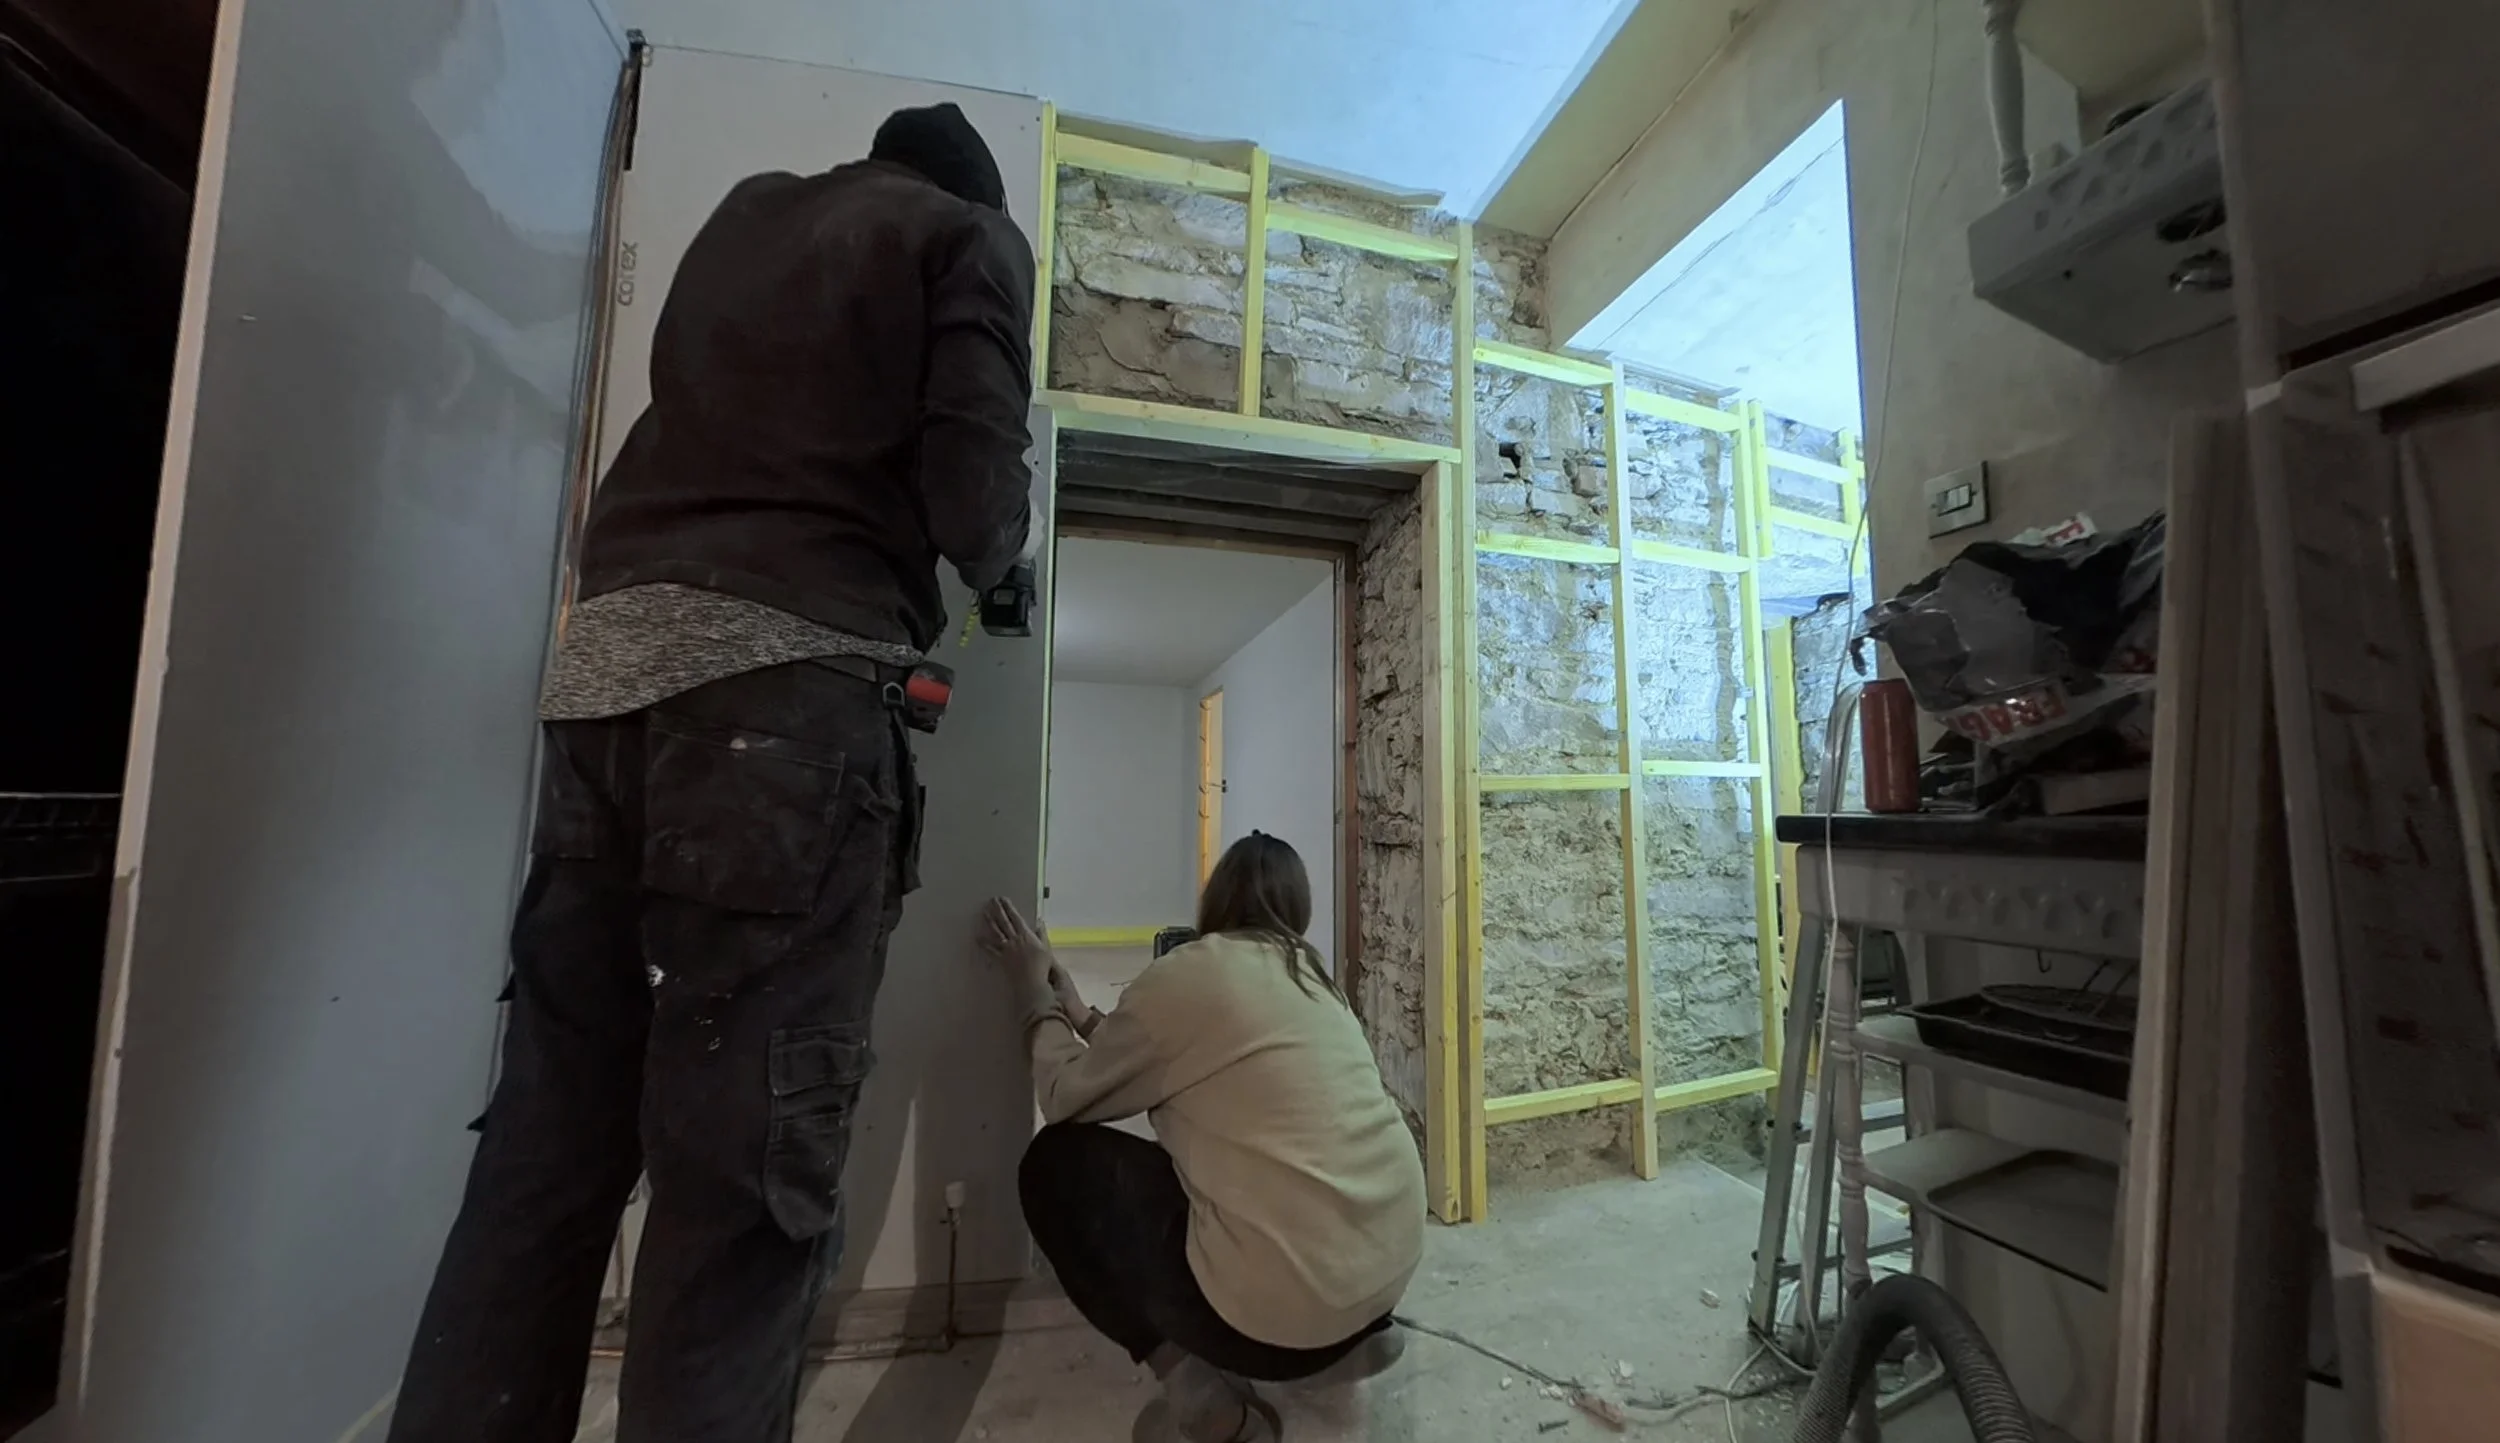
Dan started by attaching the stud brackets onto the hopelessly uneven stone, before attaching the most adorable little battens to said brackets, ready for plasterboard. Next, all battened out, it was time to attach the boards, including one that sits over plywood. This is where the giant kitchen radiator of 2025 lives, so it needs a bit more support. We left the doorway reveals for now, because the door linings on the other side might need some tweaking once in.
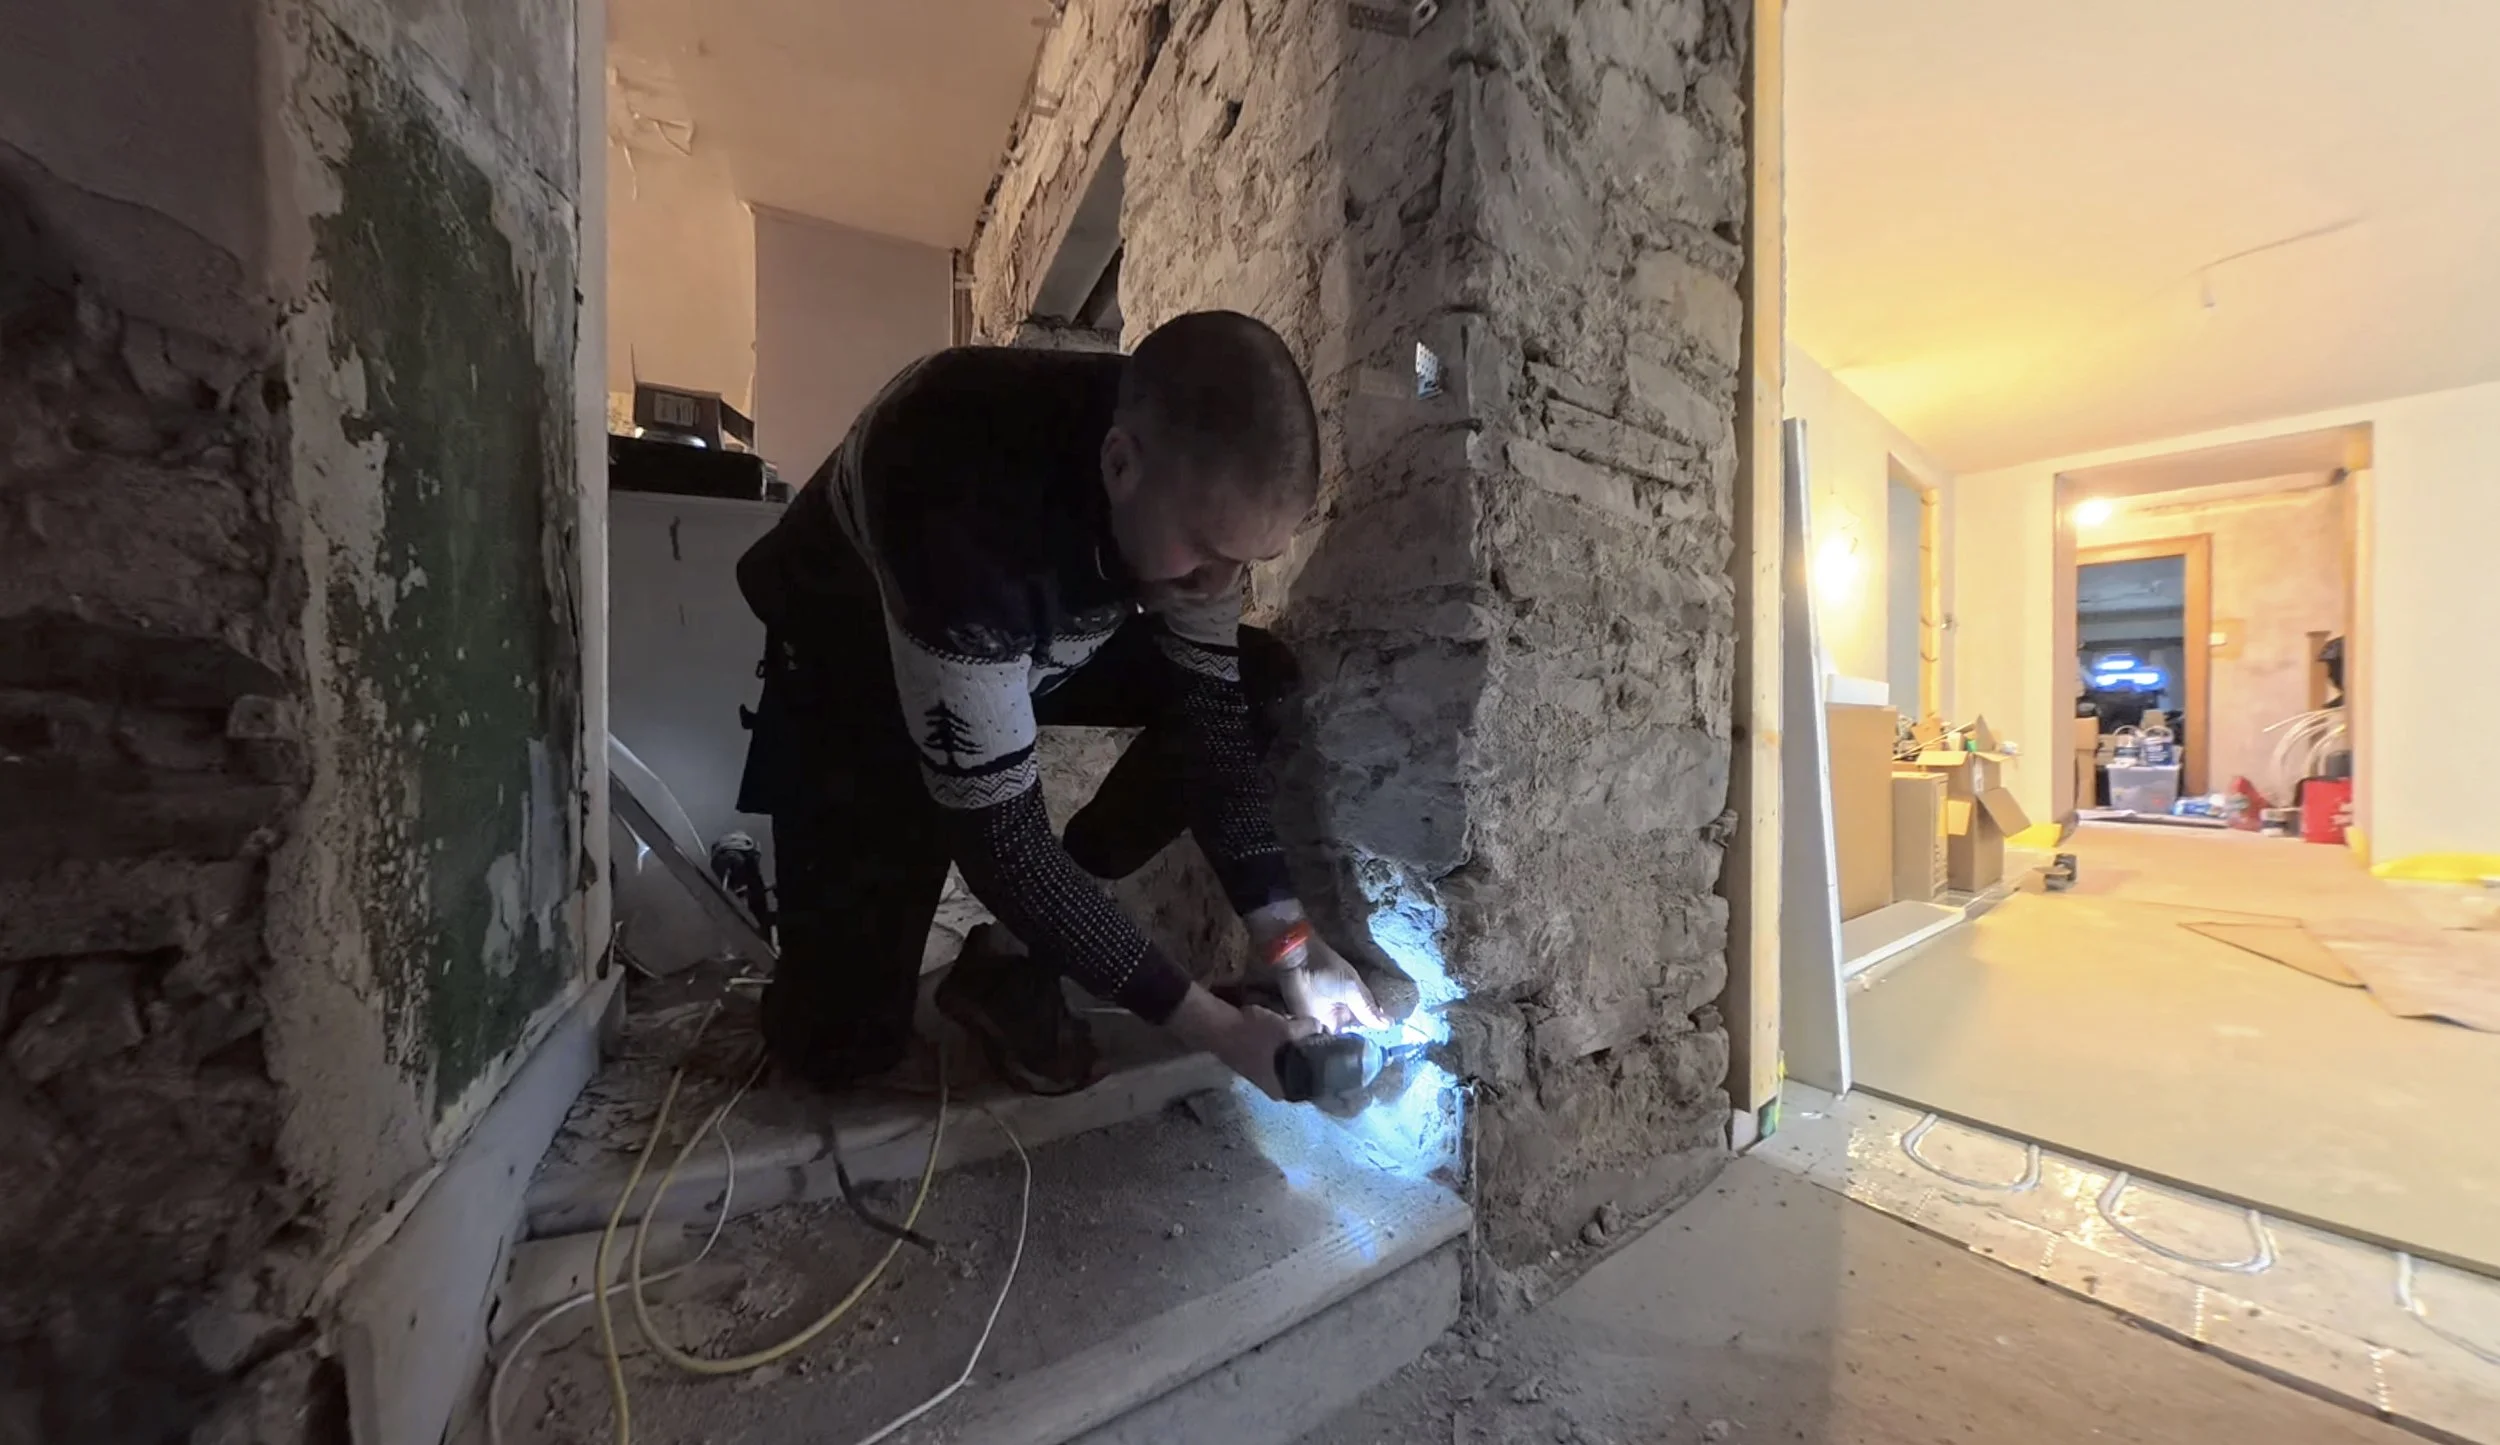
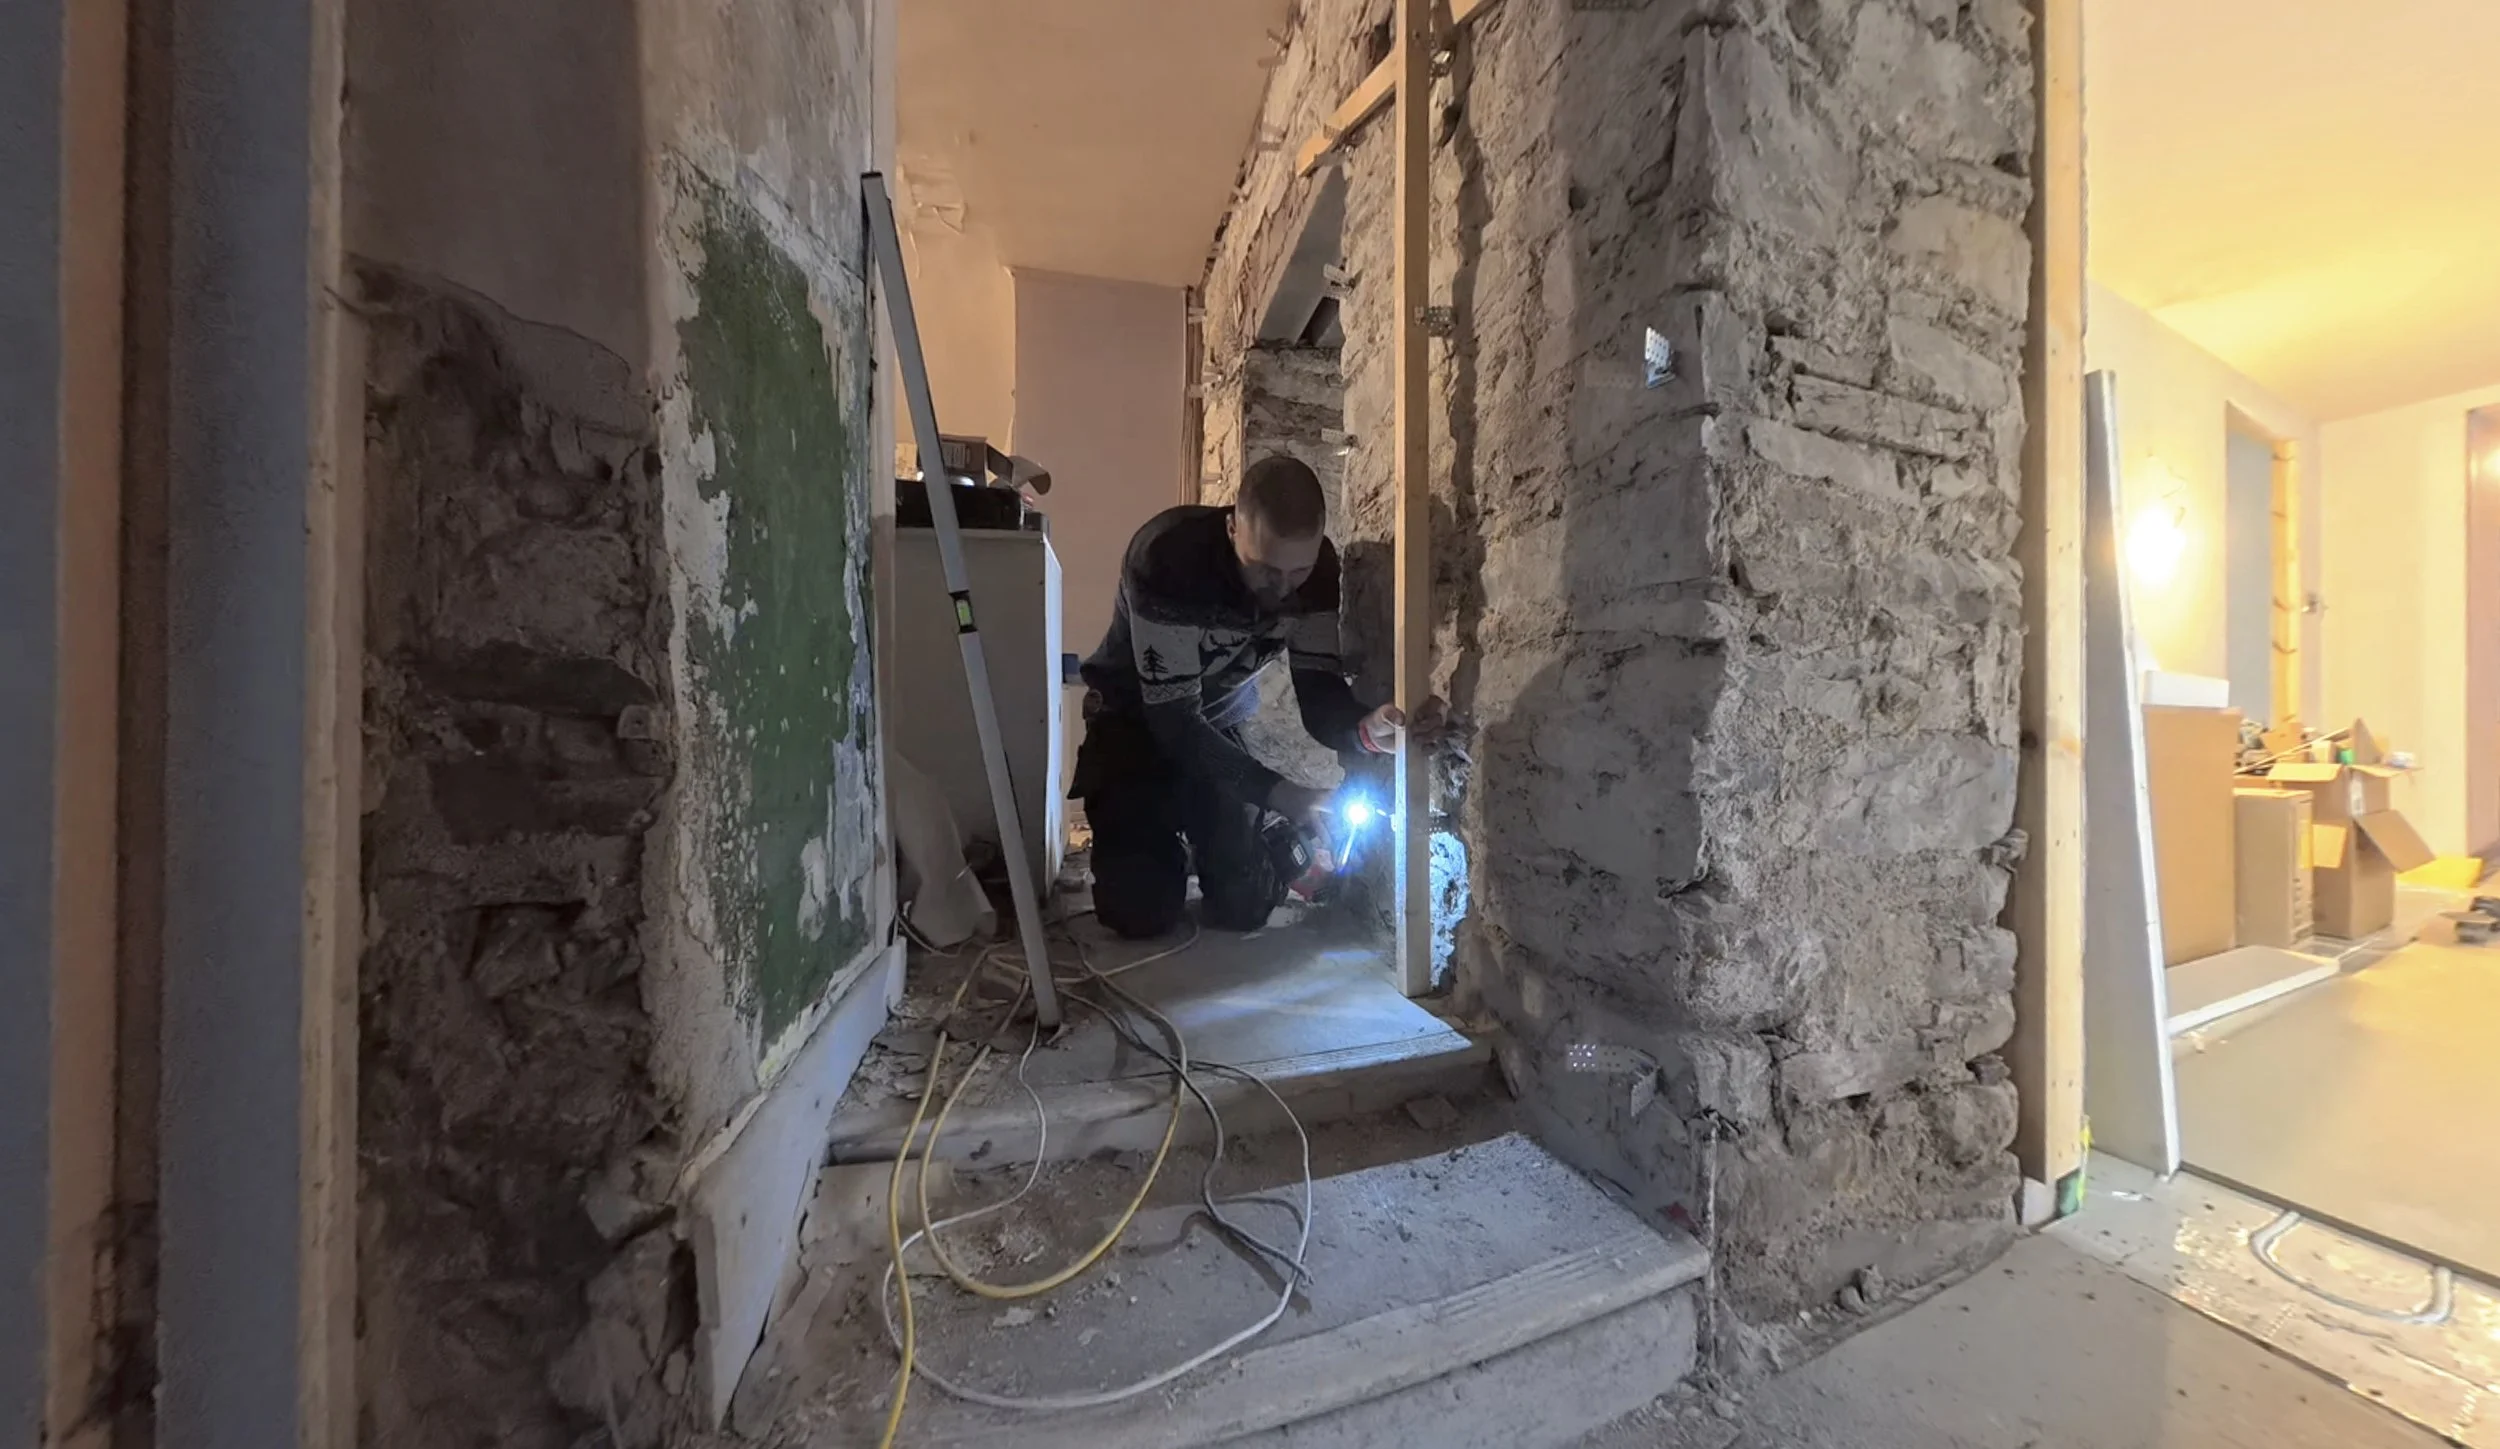
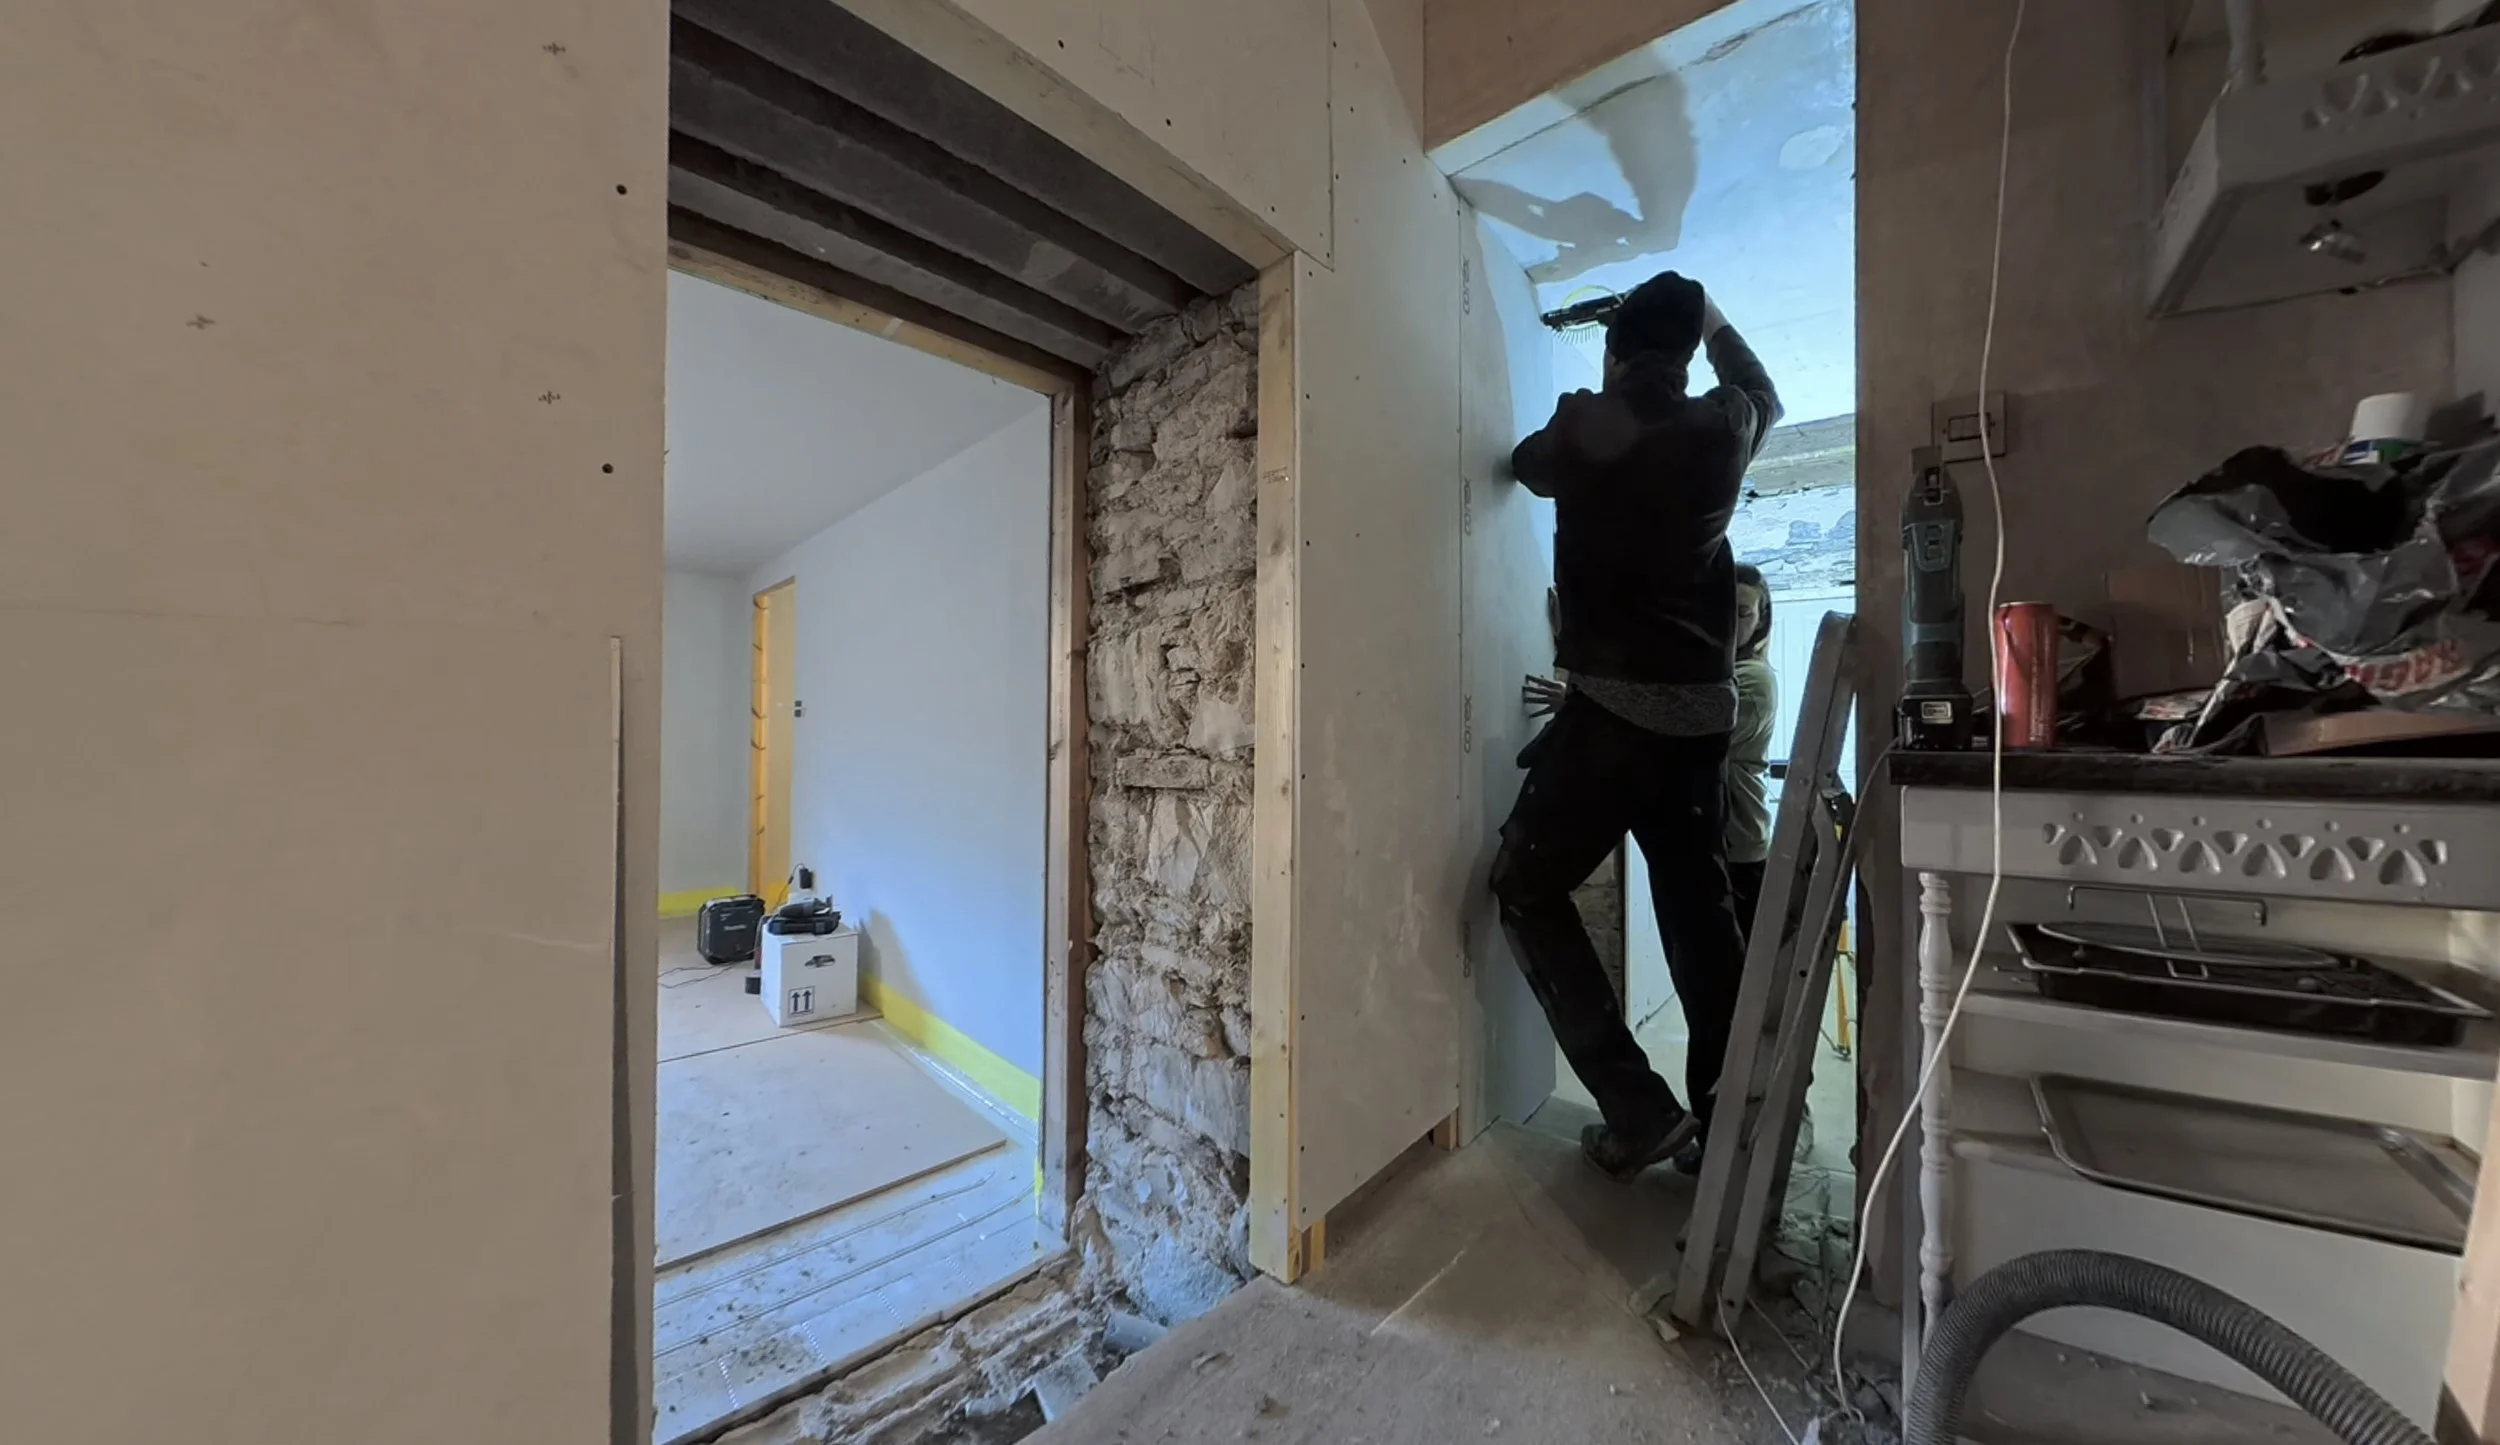
I feel that the screenshots above also effectively show what our internal walls look like between the different-aged sections of the wider building. You can hopefully see why a log burner at one end of the house does nothing to heat the adjacent stone block, and why wifi (without a mesh) and phone signal have no hope indoors!
Then, I bolted to Yorkshire for the annual 23rd December family gathering. Dad’s birthday is an open house tradition that allows everyone to meet, exchange Christmas gifts before the big day, and then go off to our respective homes/countries/sub-families for the 25th. It was a flying visit for me, so I was back home around noon on Christmas Eve, which was when the next leg of the mammoth farmhouse Christmas week mission commenced.
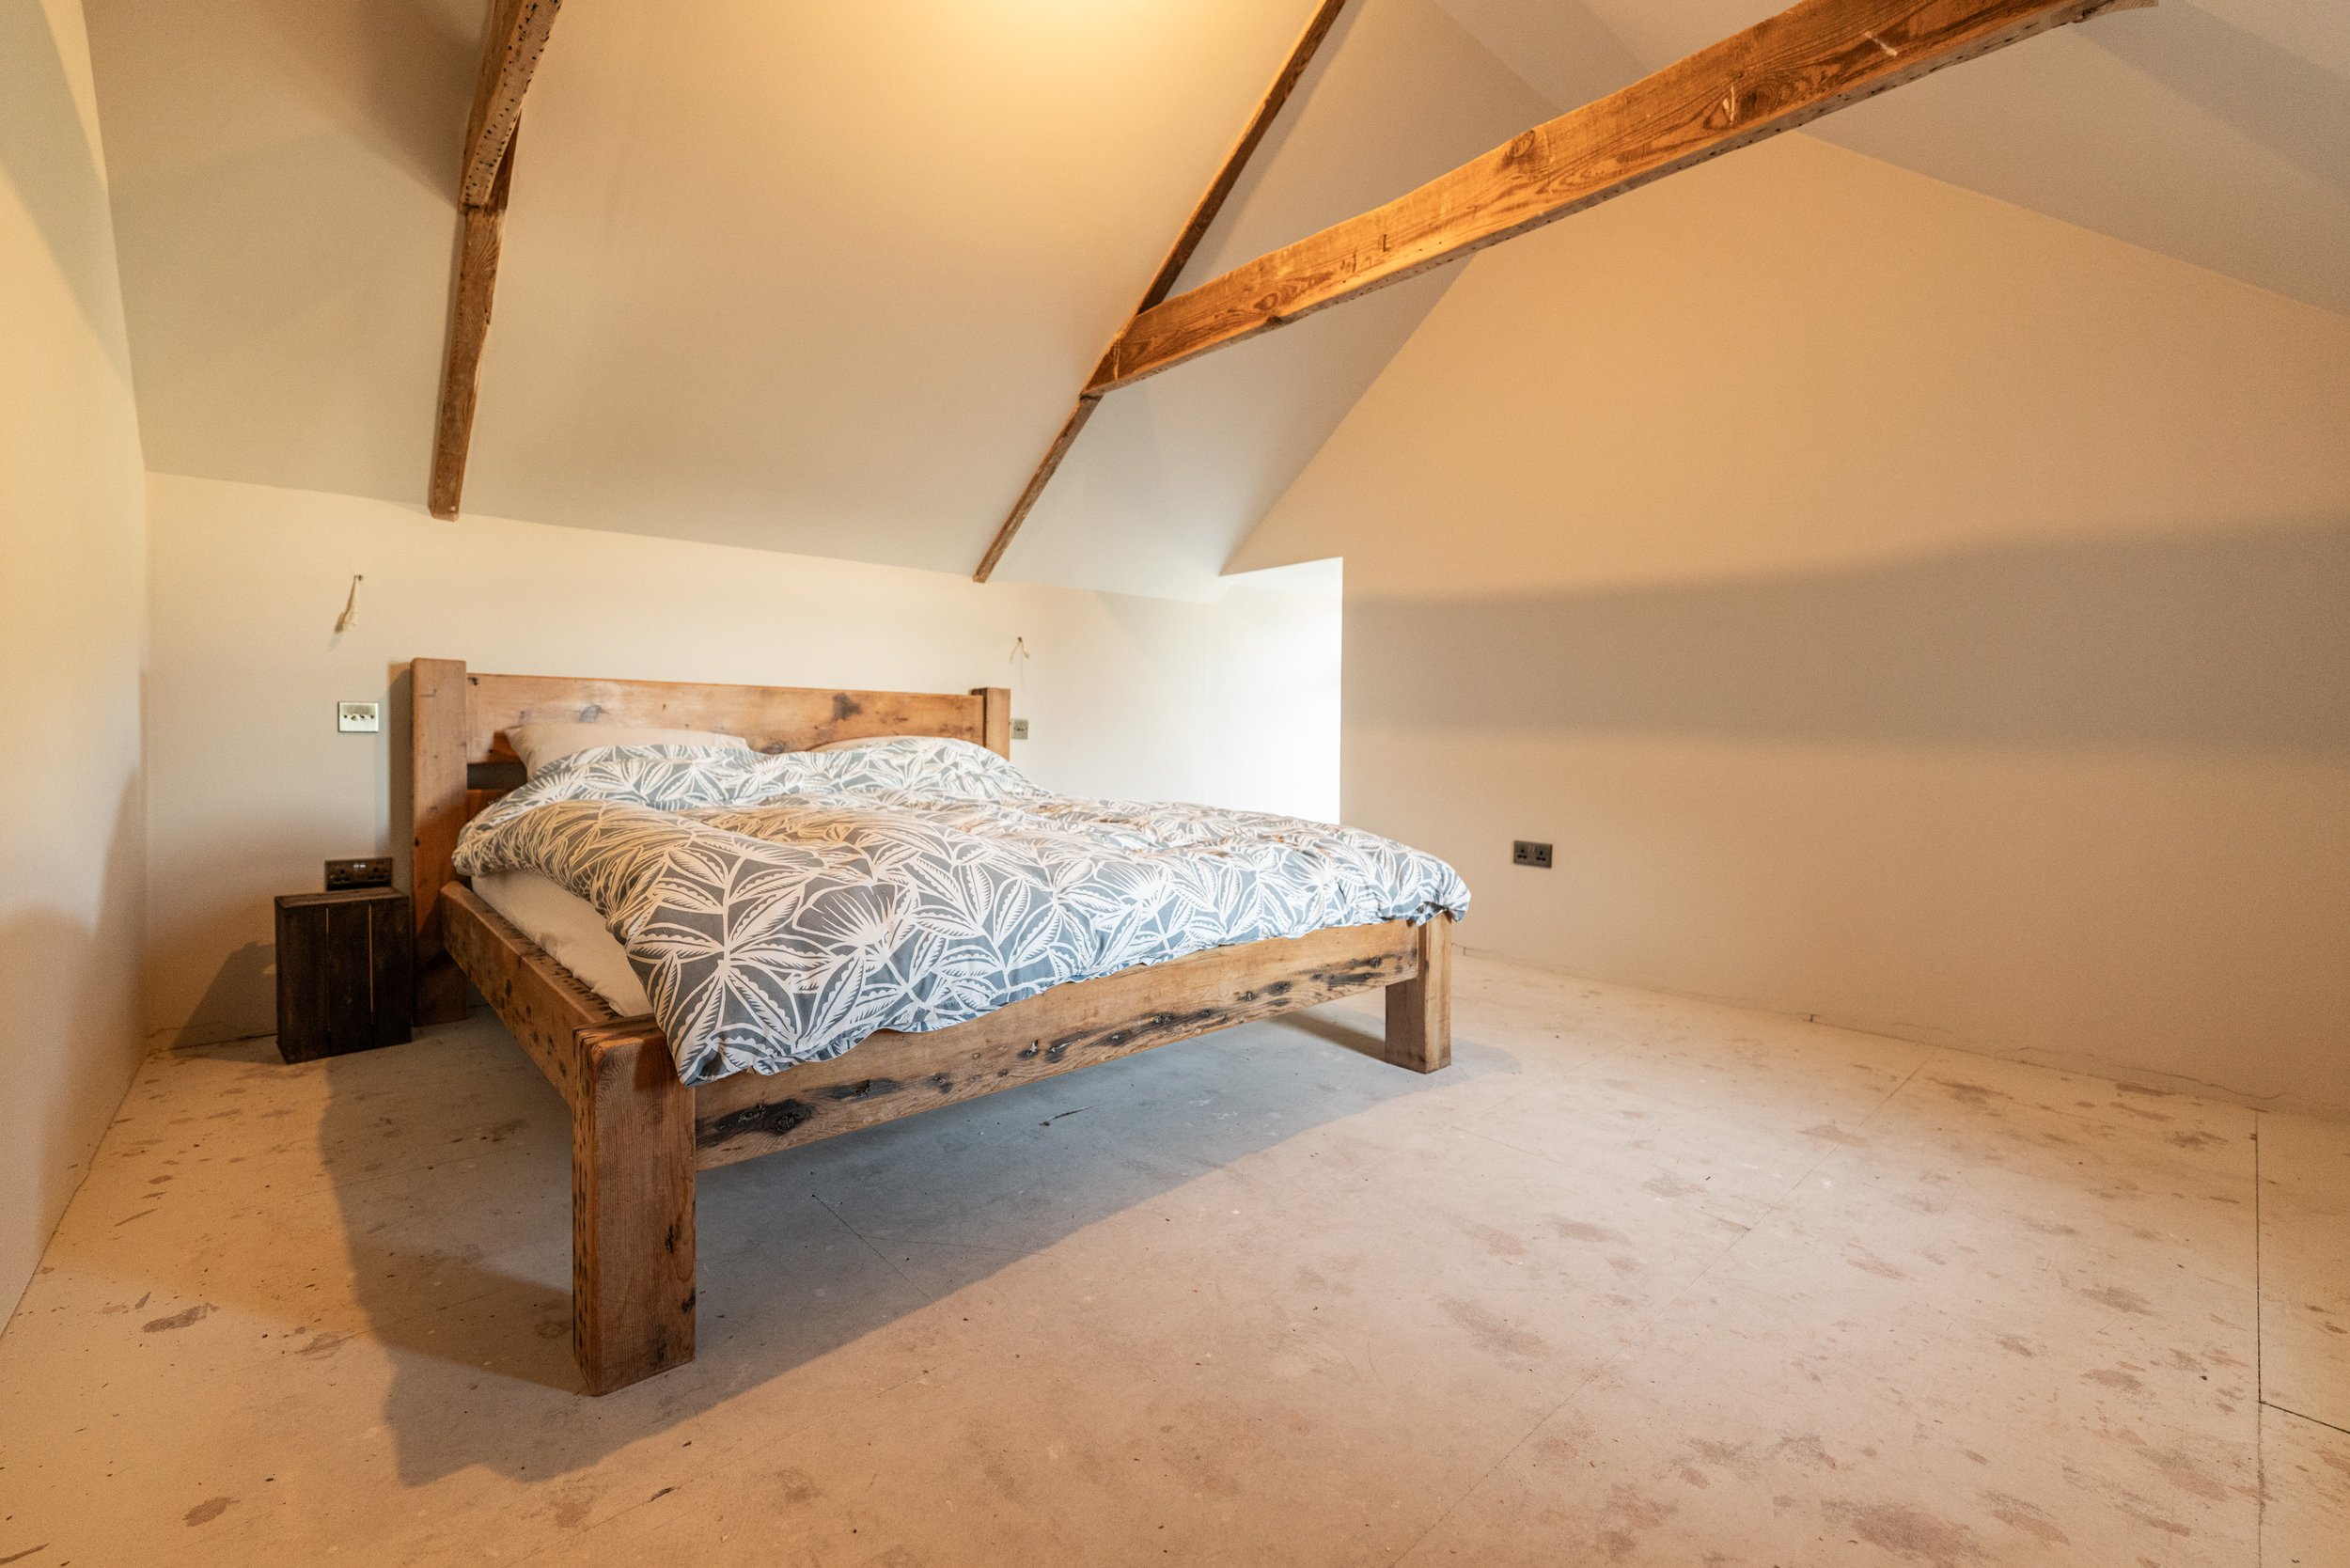
There is no evidence of this, but we did actually get a lot done! From reorganising the boiler room to clearing out the kitchen, cleaning the bedrooms upstairs to blitzing the old downstairs bathroom ready, this two-day period saw the north section revitalised. We also needed to move a super-king-sized bed frame and mattress into one of the new bedrooms in the middle section, ensure the heating in the house was up to temperature, and then deep clean the kitchen. I think I mopped the floors 5 times, and they still looked dusty and gross, but I will admit that by noon on Boxing Day, the place looked as good as it possibly could!
Then my dad and step-mum arrived.
Regular readers/viewers will know that when these two come to stay, there is no time off, no holiday weekend, no lazing about! It is very much go, go, go, and this visit was no different!
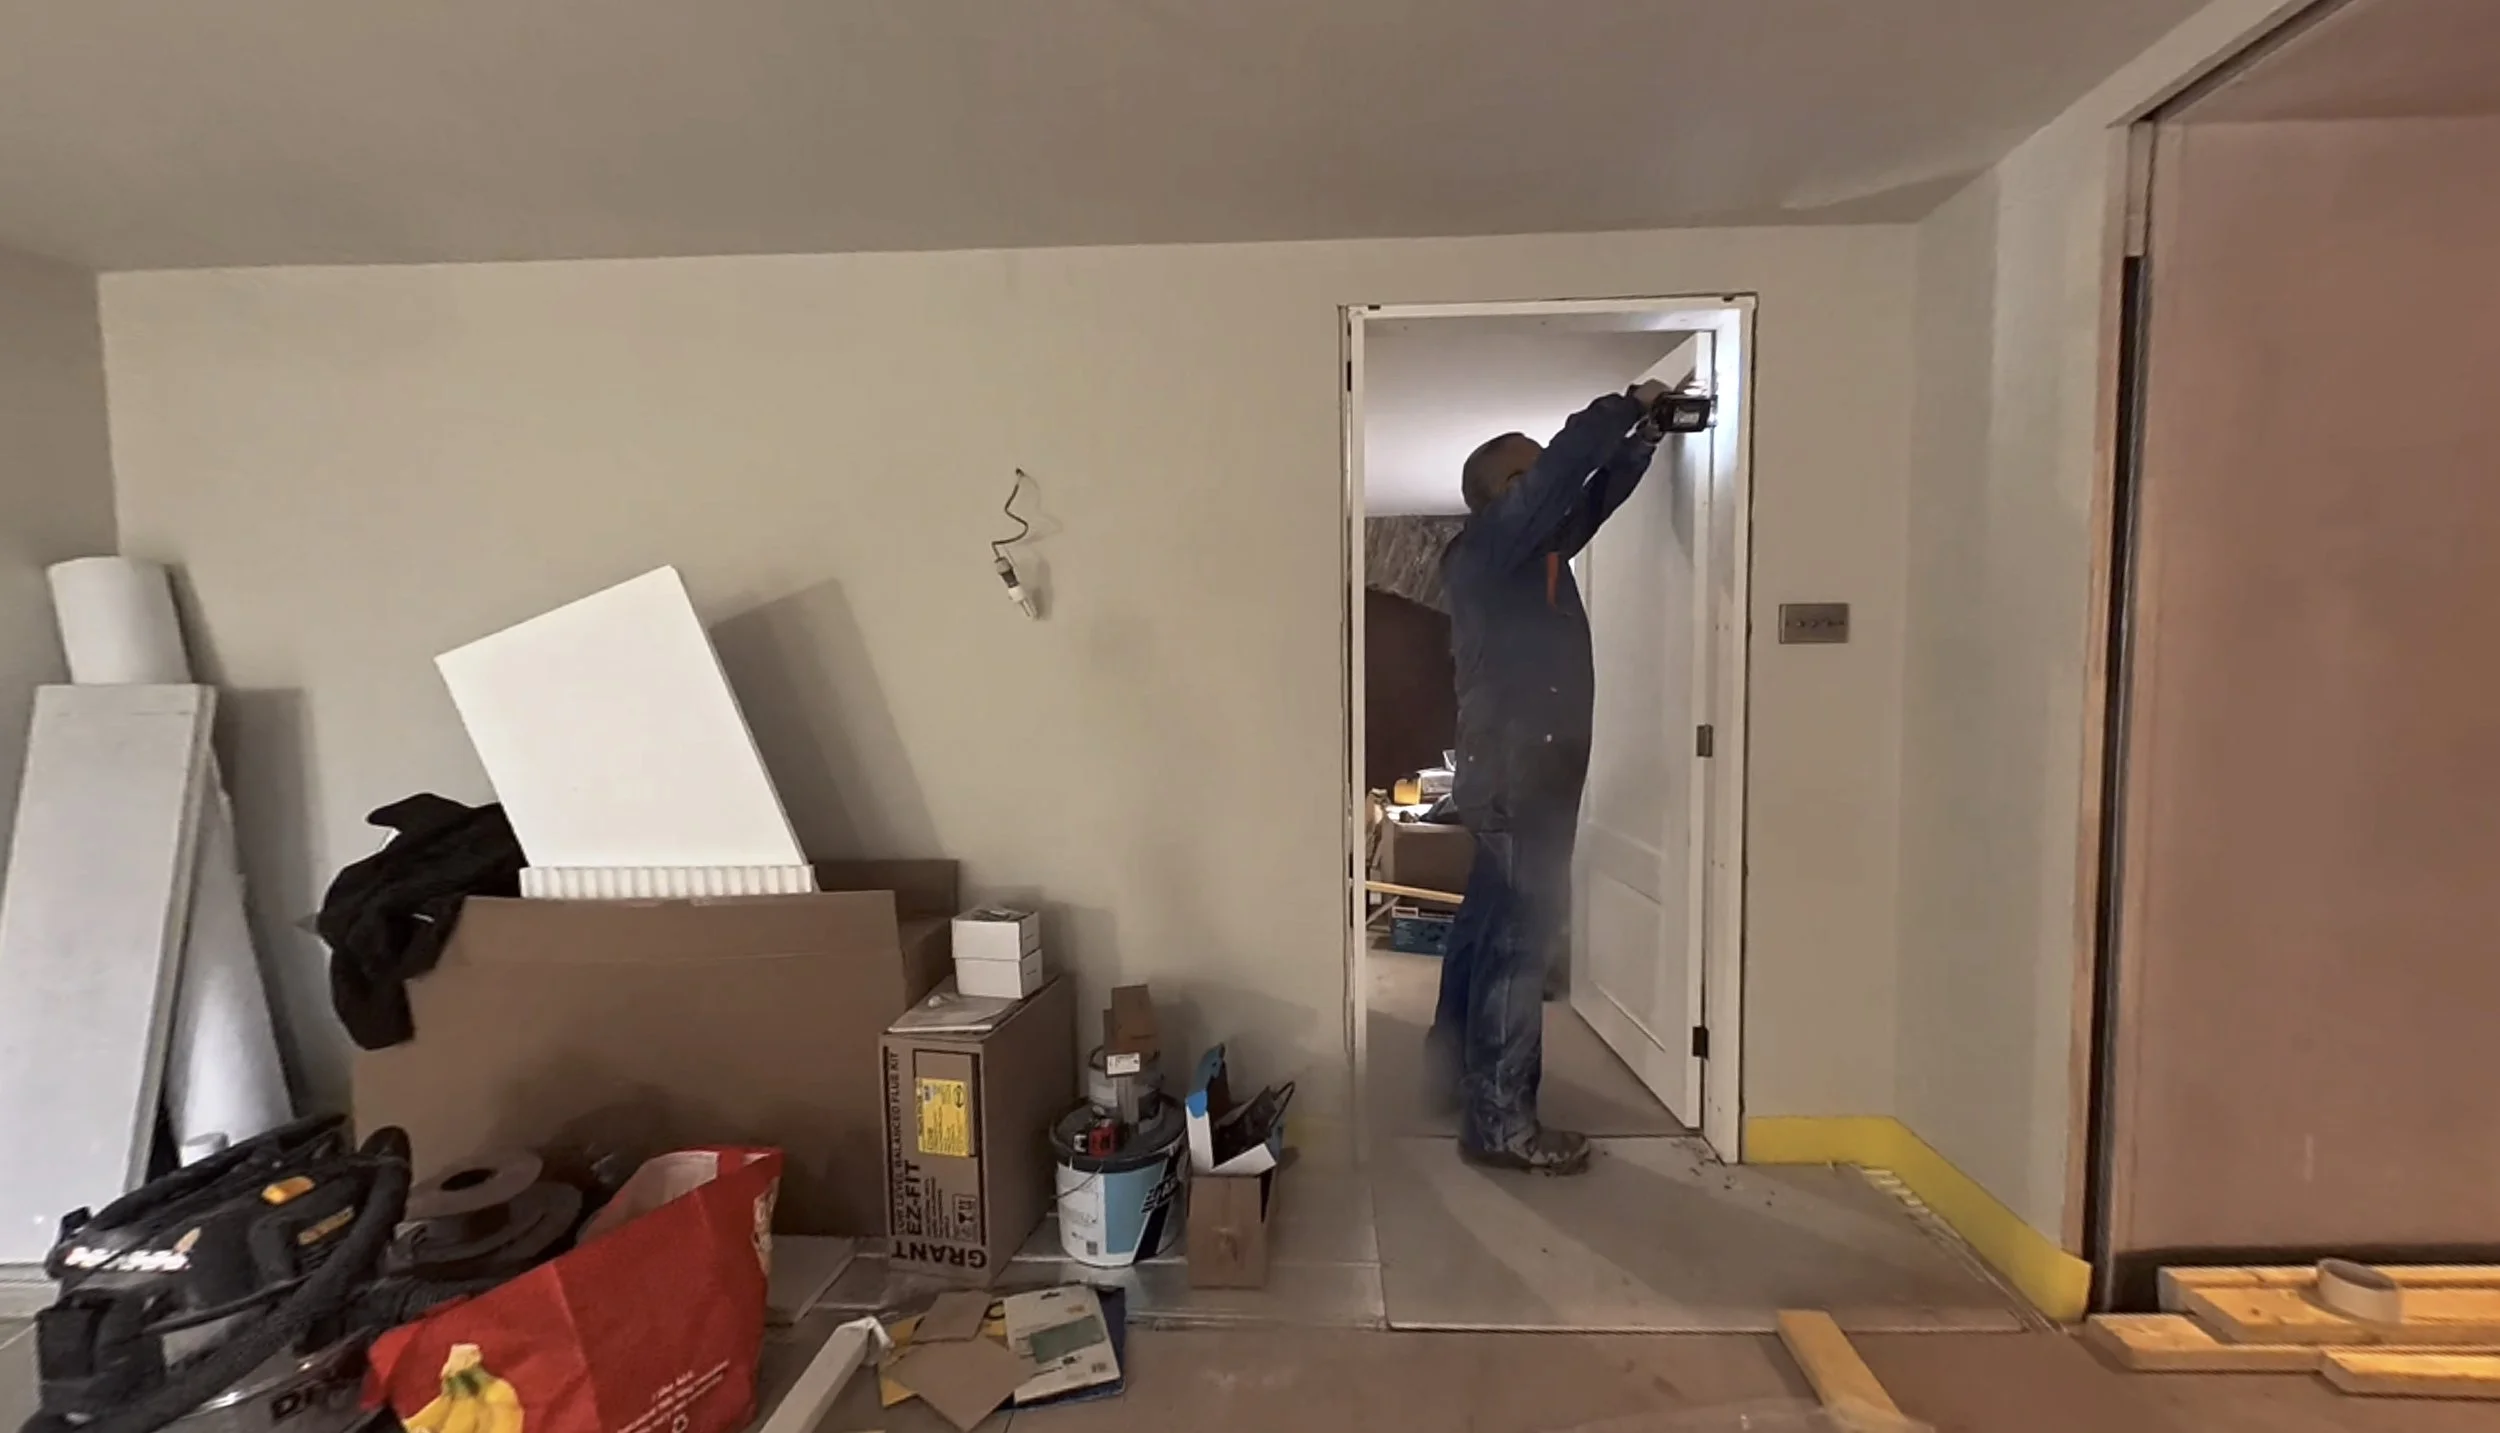
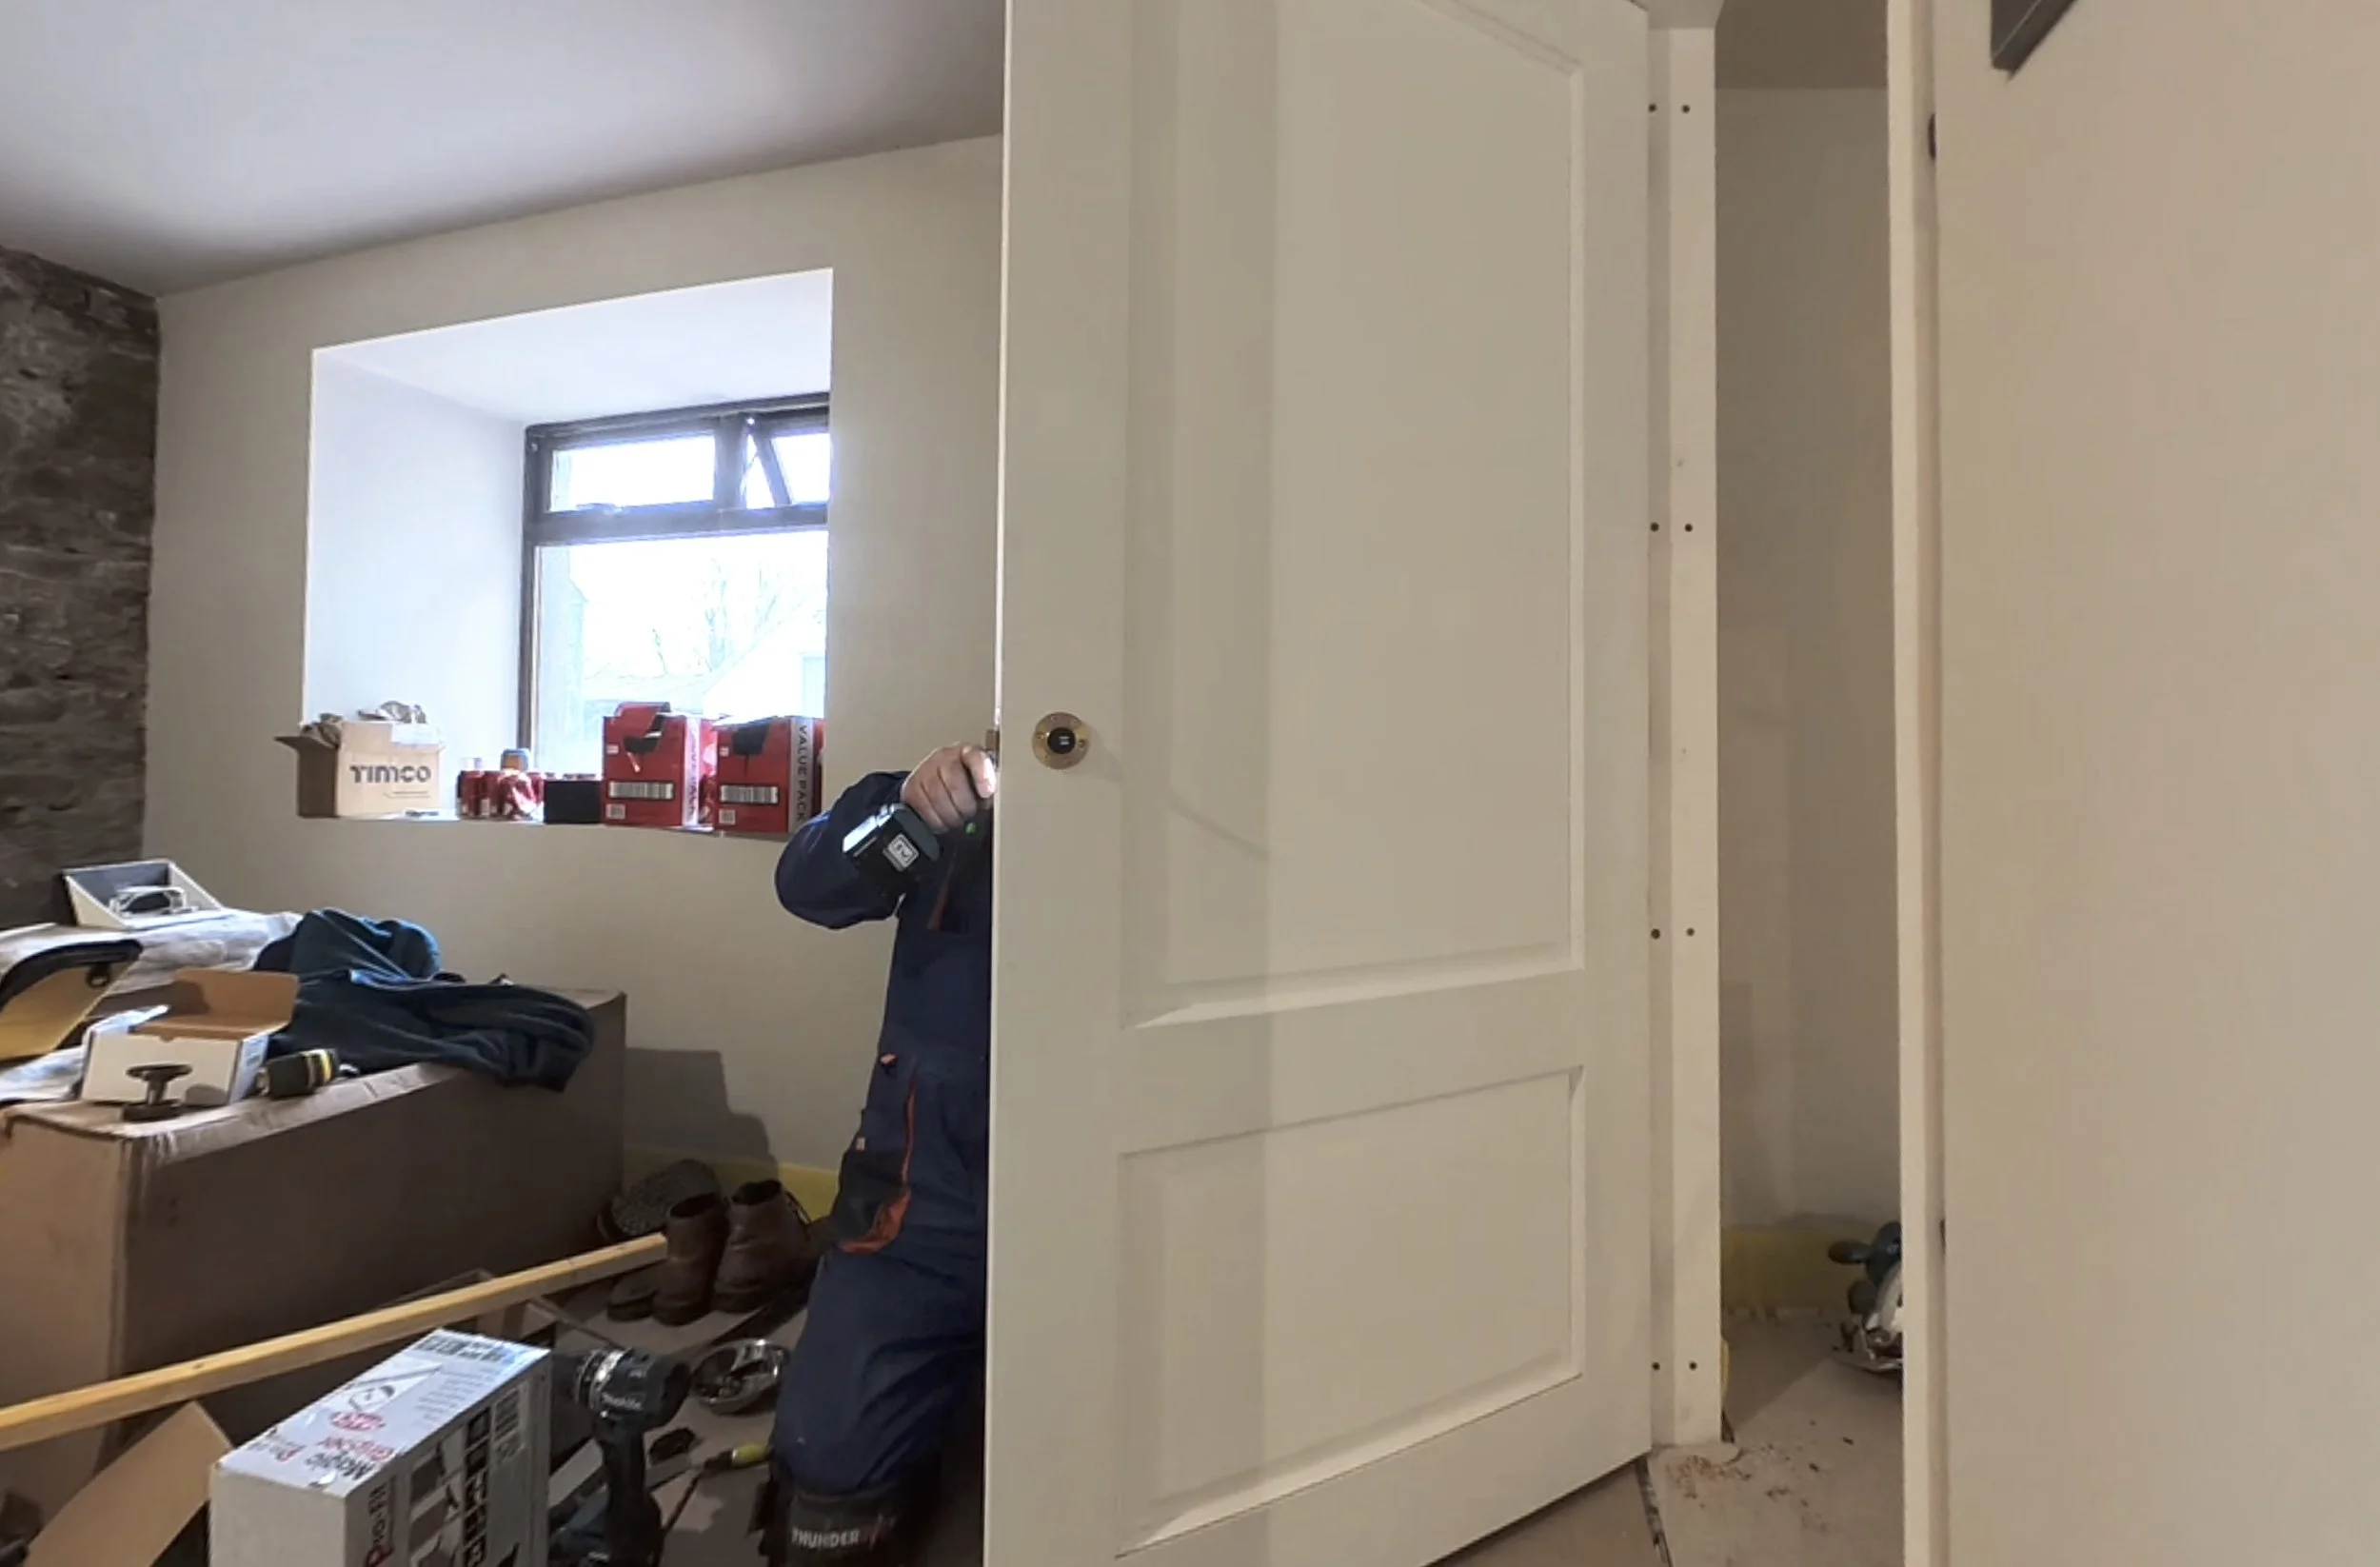
Dad had one main job whilst here, and he started right away: The middle section doors.
Lining kits handy, all the right tools, a healthy dose of optimism and copious determination – off he went. First, he cut and put up the lining kits for the upstairs bedrooms (no evidence of this), before moving downstairs to do those (evidence below). There were two delays, the first was securing the upstairs dividing wall between Bedroom 2 and the hallway. The builders had not fastened the wall to the floor. At all. Anywhere.
With this resolved, the next delay happened after the lining kits were in, because the jig was slightly too deep for the required router attachment. Some modifications later, and 36 hours since arrival, the first door was getting prepped for hanging.
I’m writing this on Sunday morning, so it’s safe to assume that there’ll be more door-related stuff to add later!
Whilst all of this was happening, Dan was finishing the prep in the upstairs bathroom for adding wall linings there. Zero photographs or videos of progress, sadly.
At the same time, Karen and I were outside doing a mammoth tidy up of all the plastic, wood and metal strewn around the farmhouse. Every bit of it, except the old glass light fittings, has been removed, sorted, stored and is now ready for removal. There is still a lot of stone, sadly, and for efficiency reasons, we didn’t go there. Rock tidy up requires a telehandler or skidsteer, which we had reserved, but it sadly died on Christmas Eve meaning we had no mechanised form of rock transport.
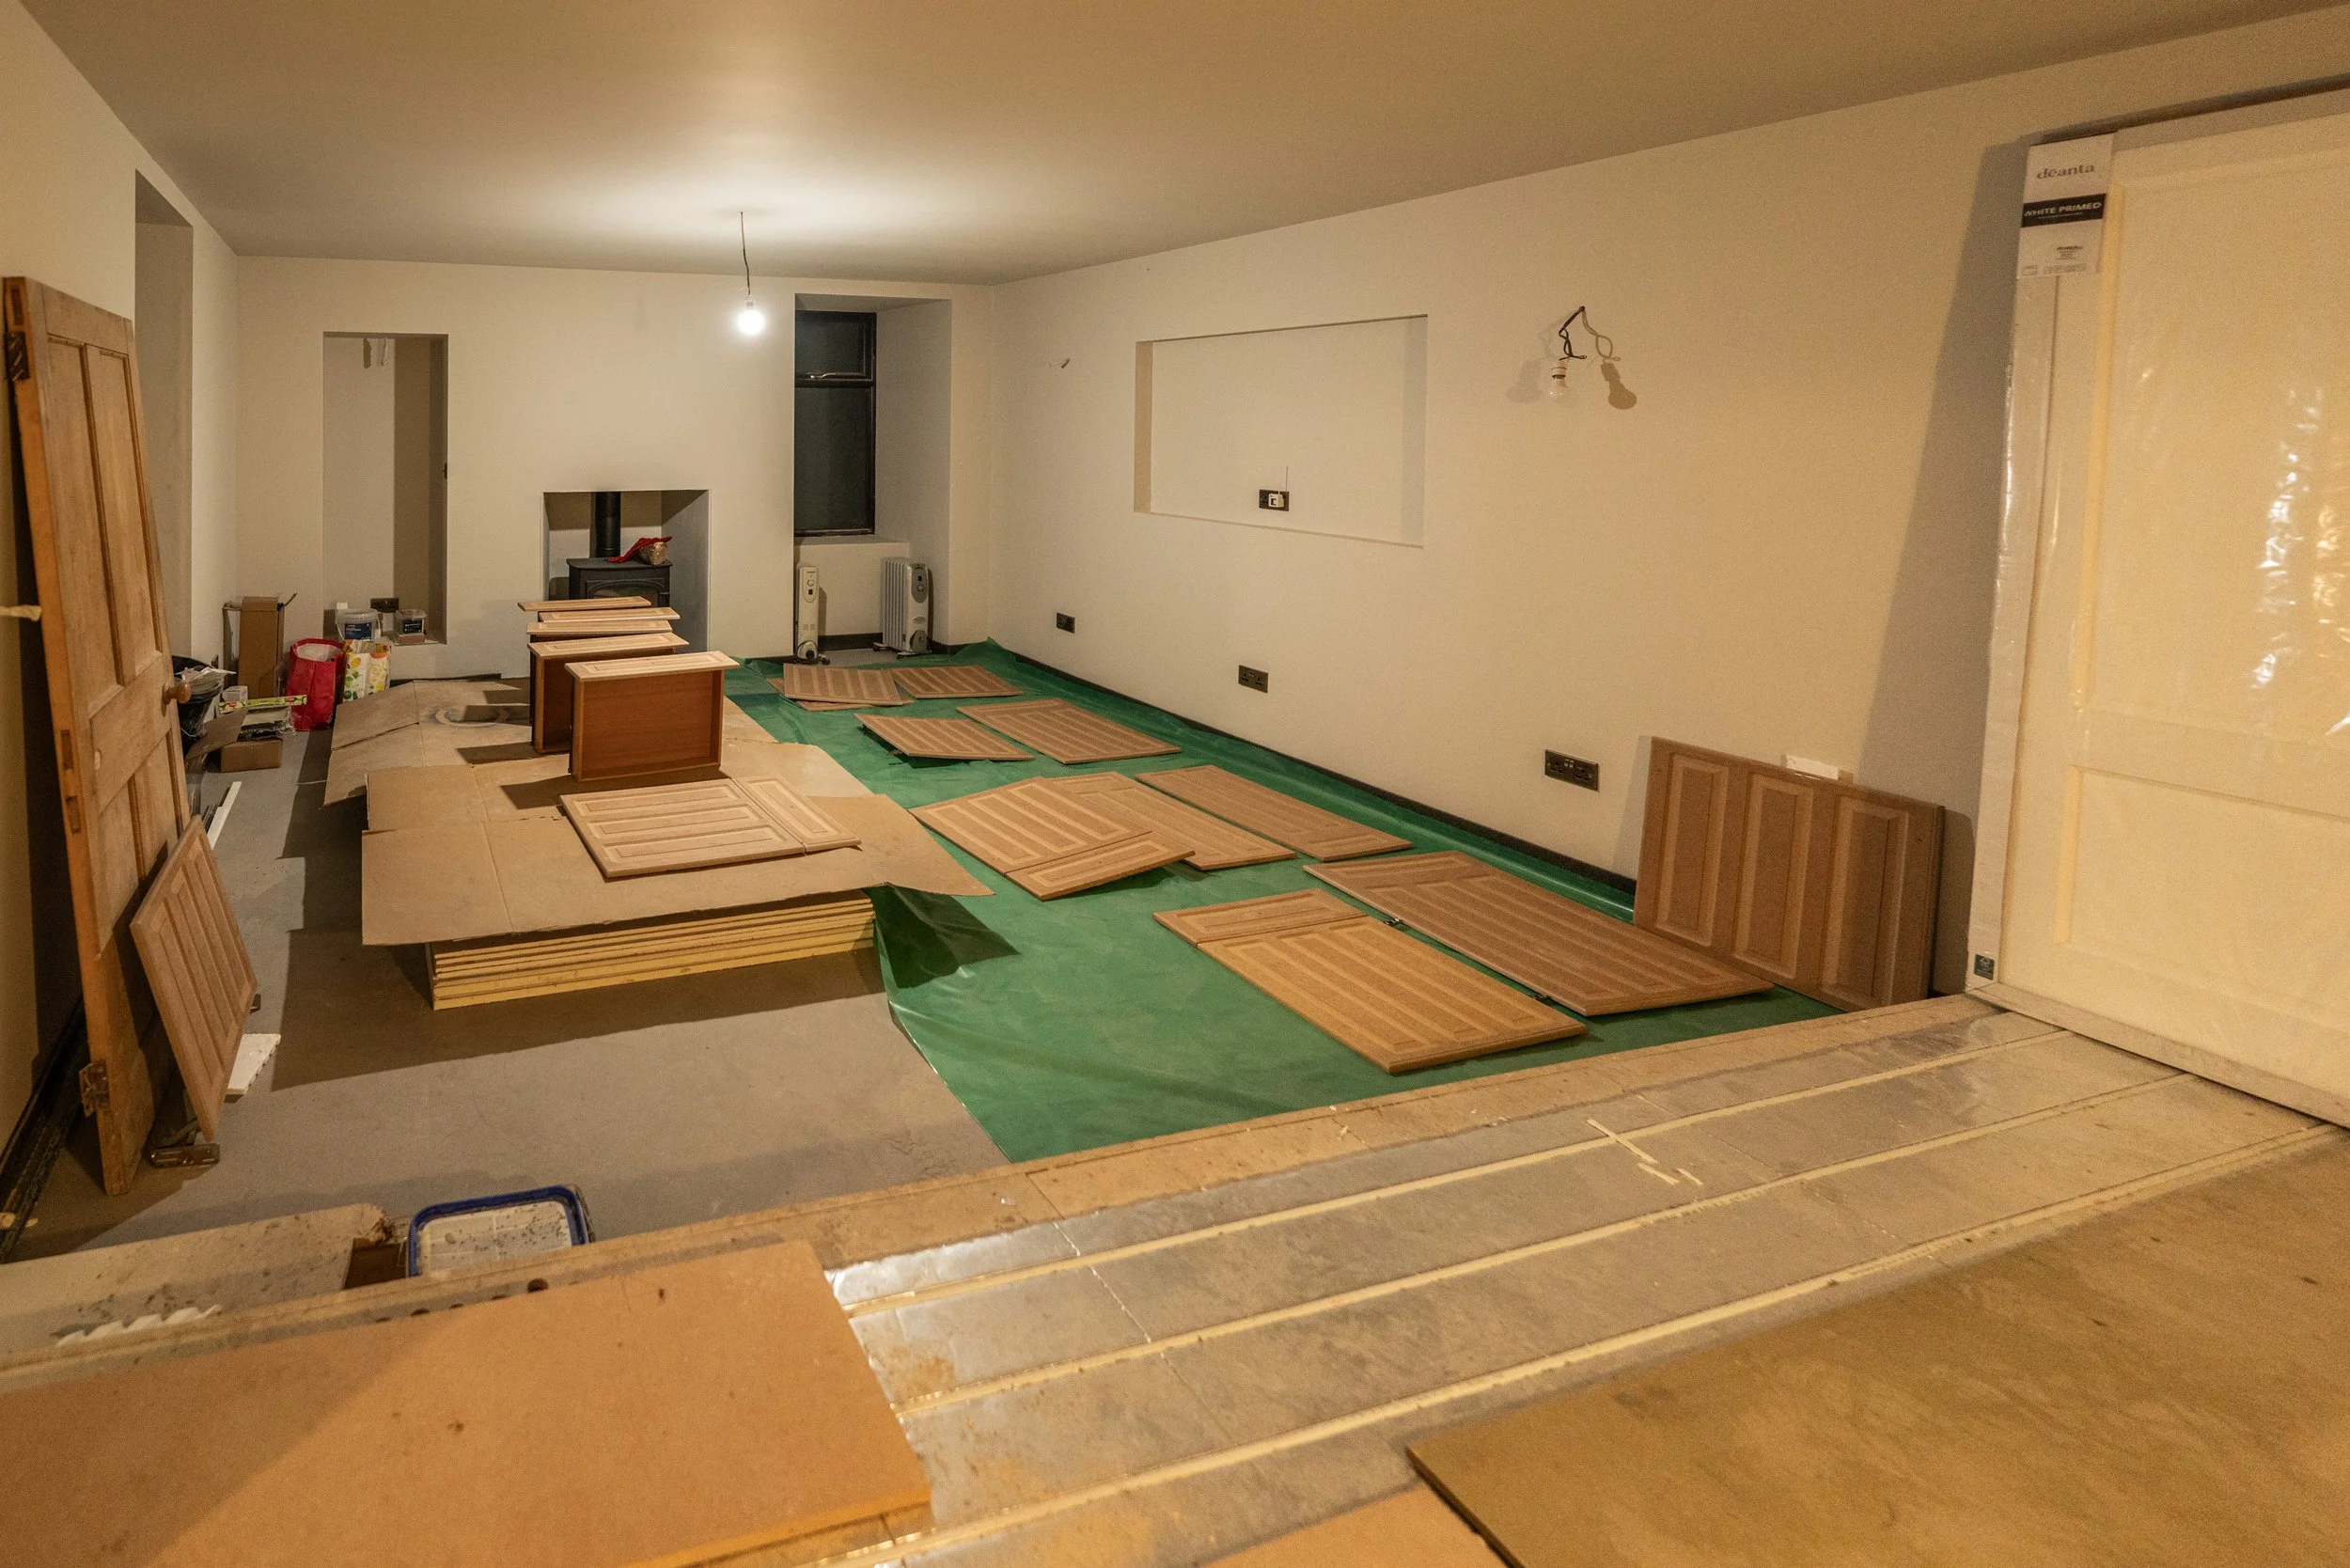
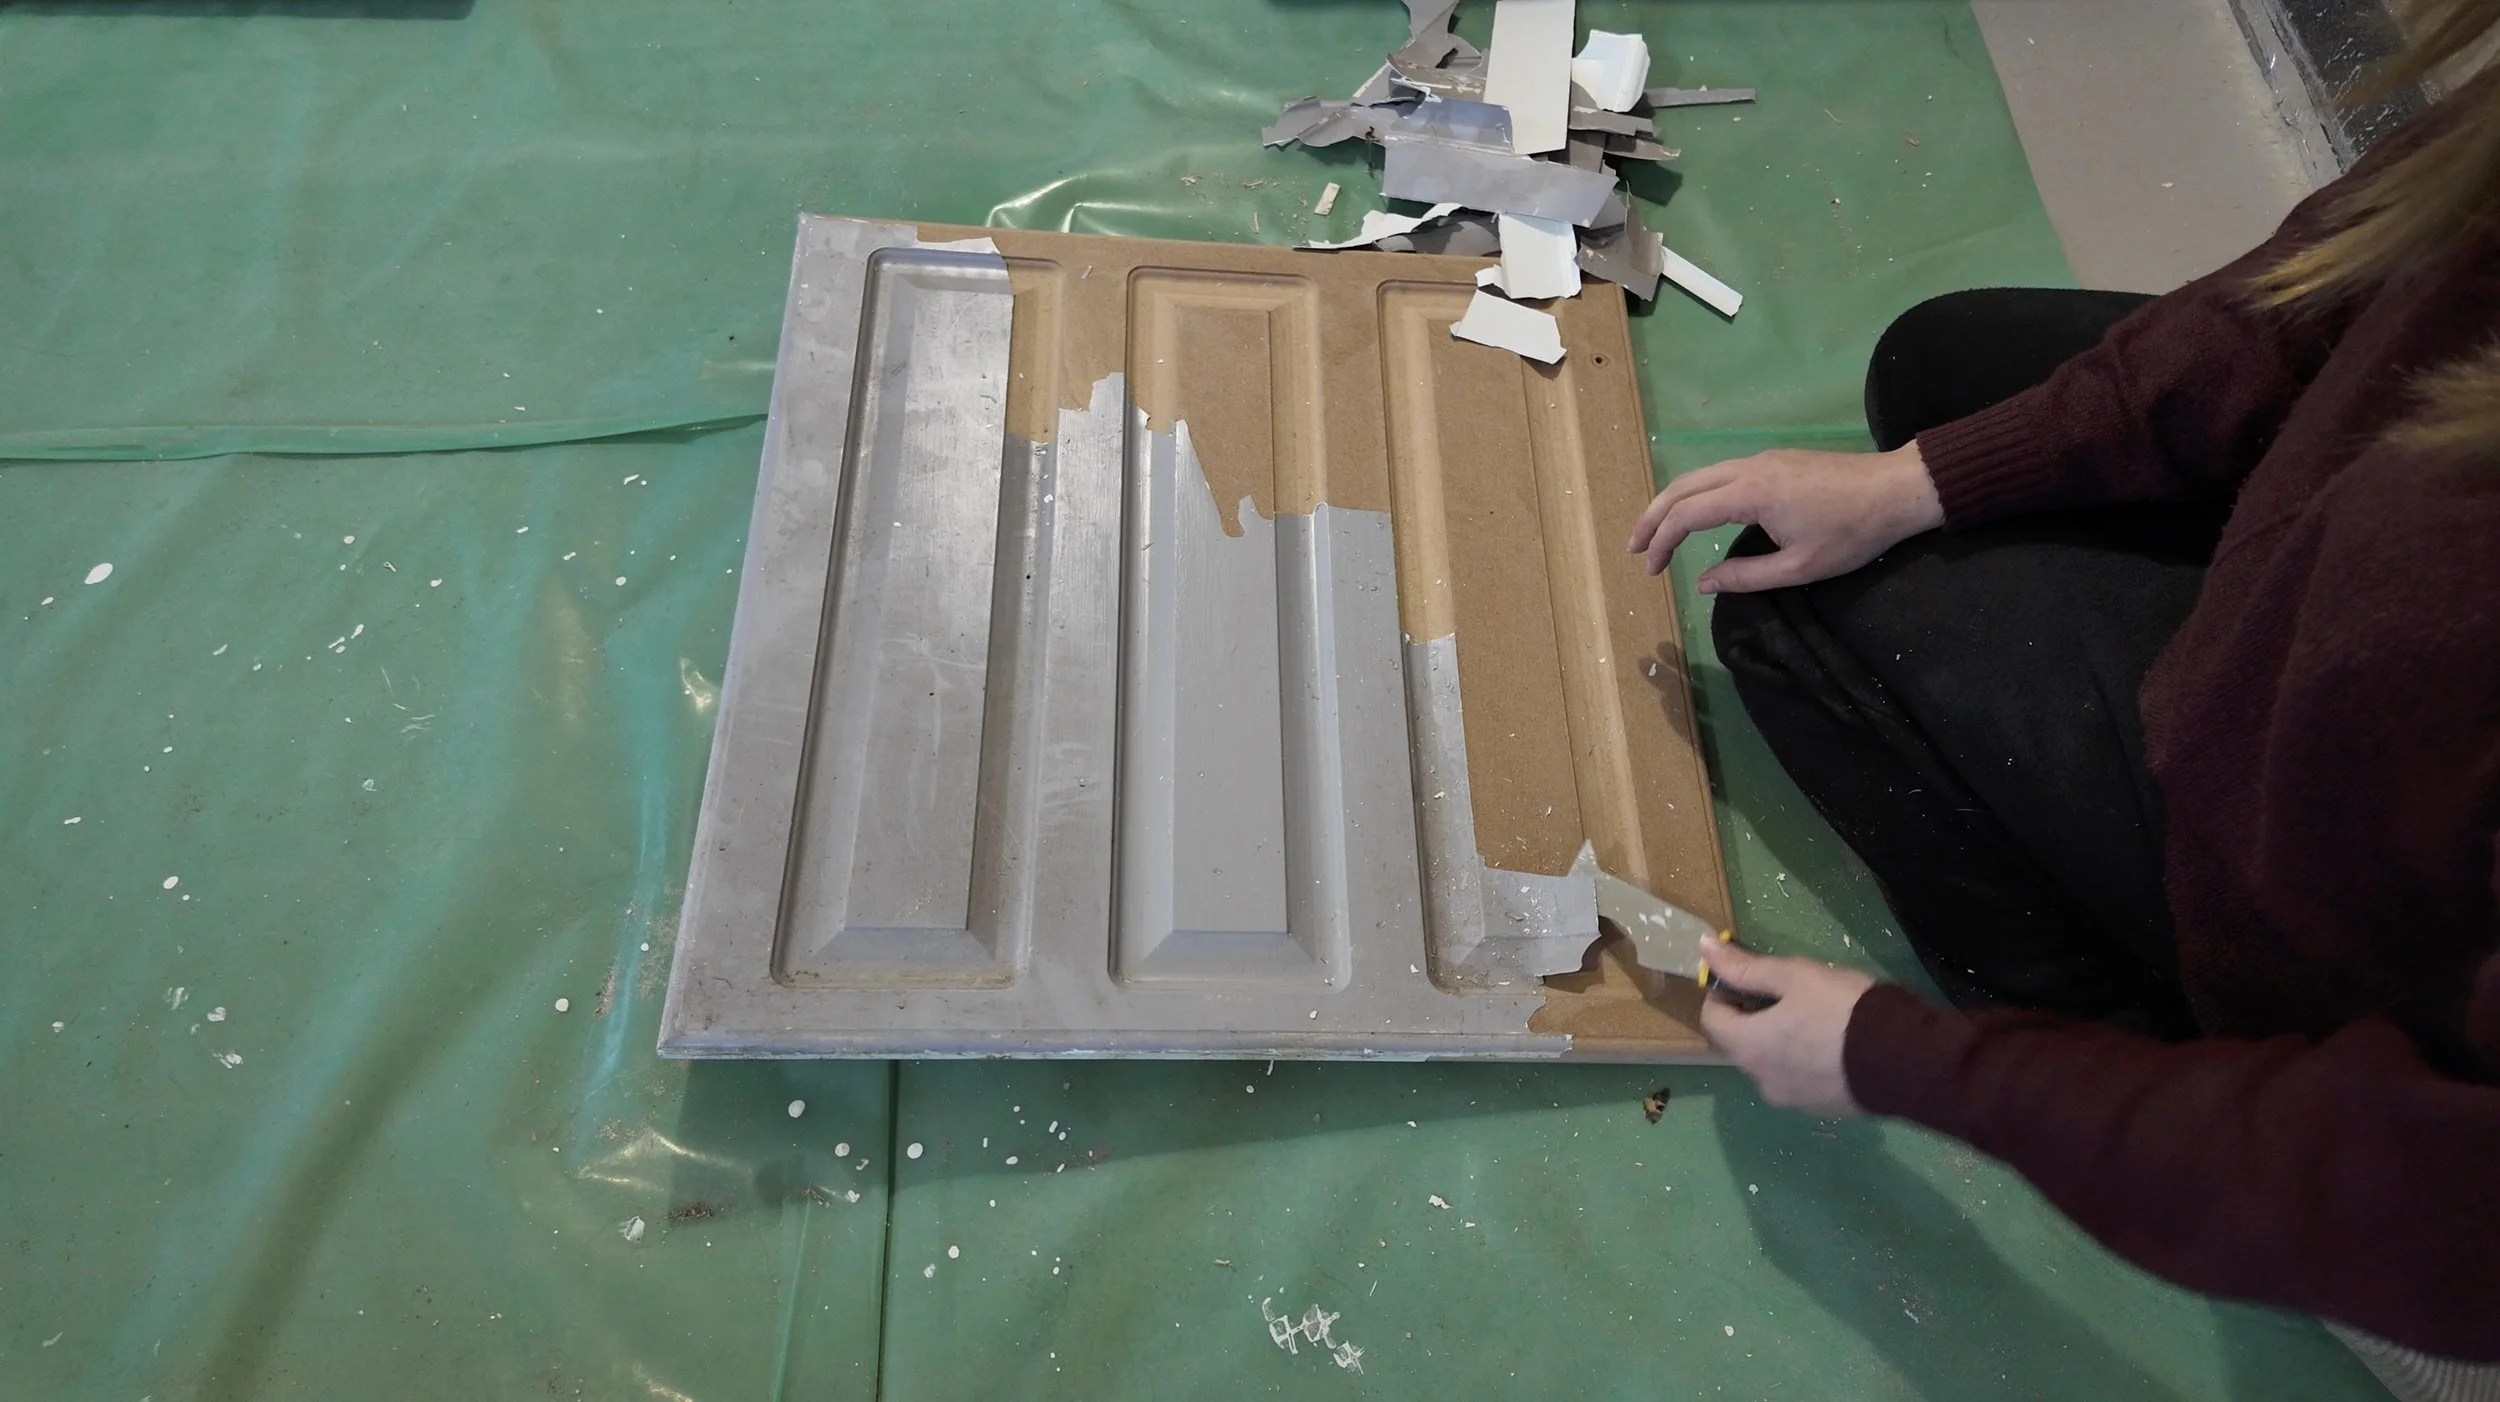
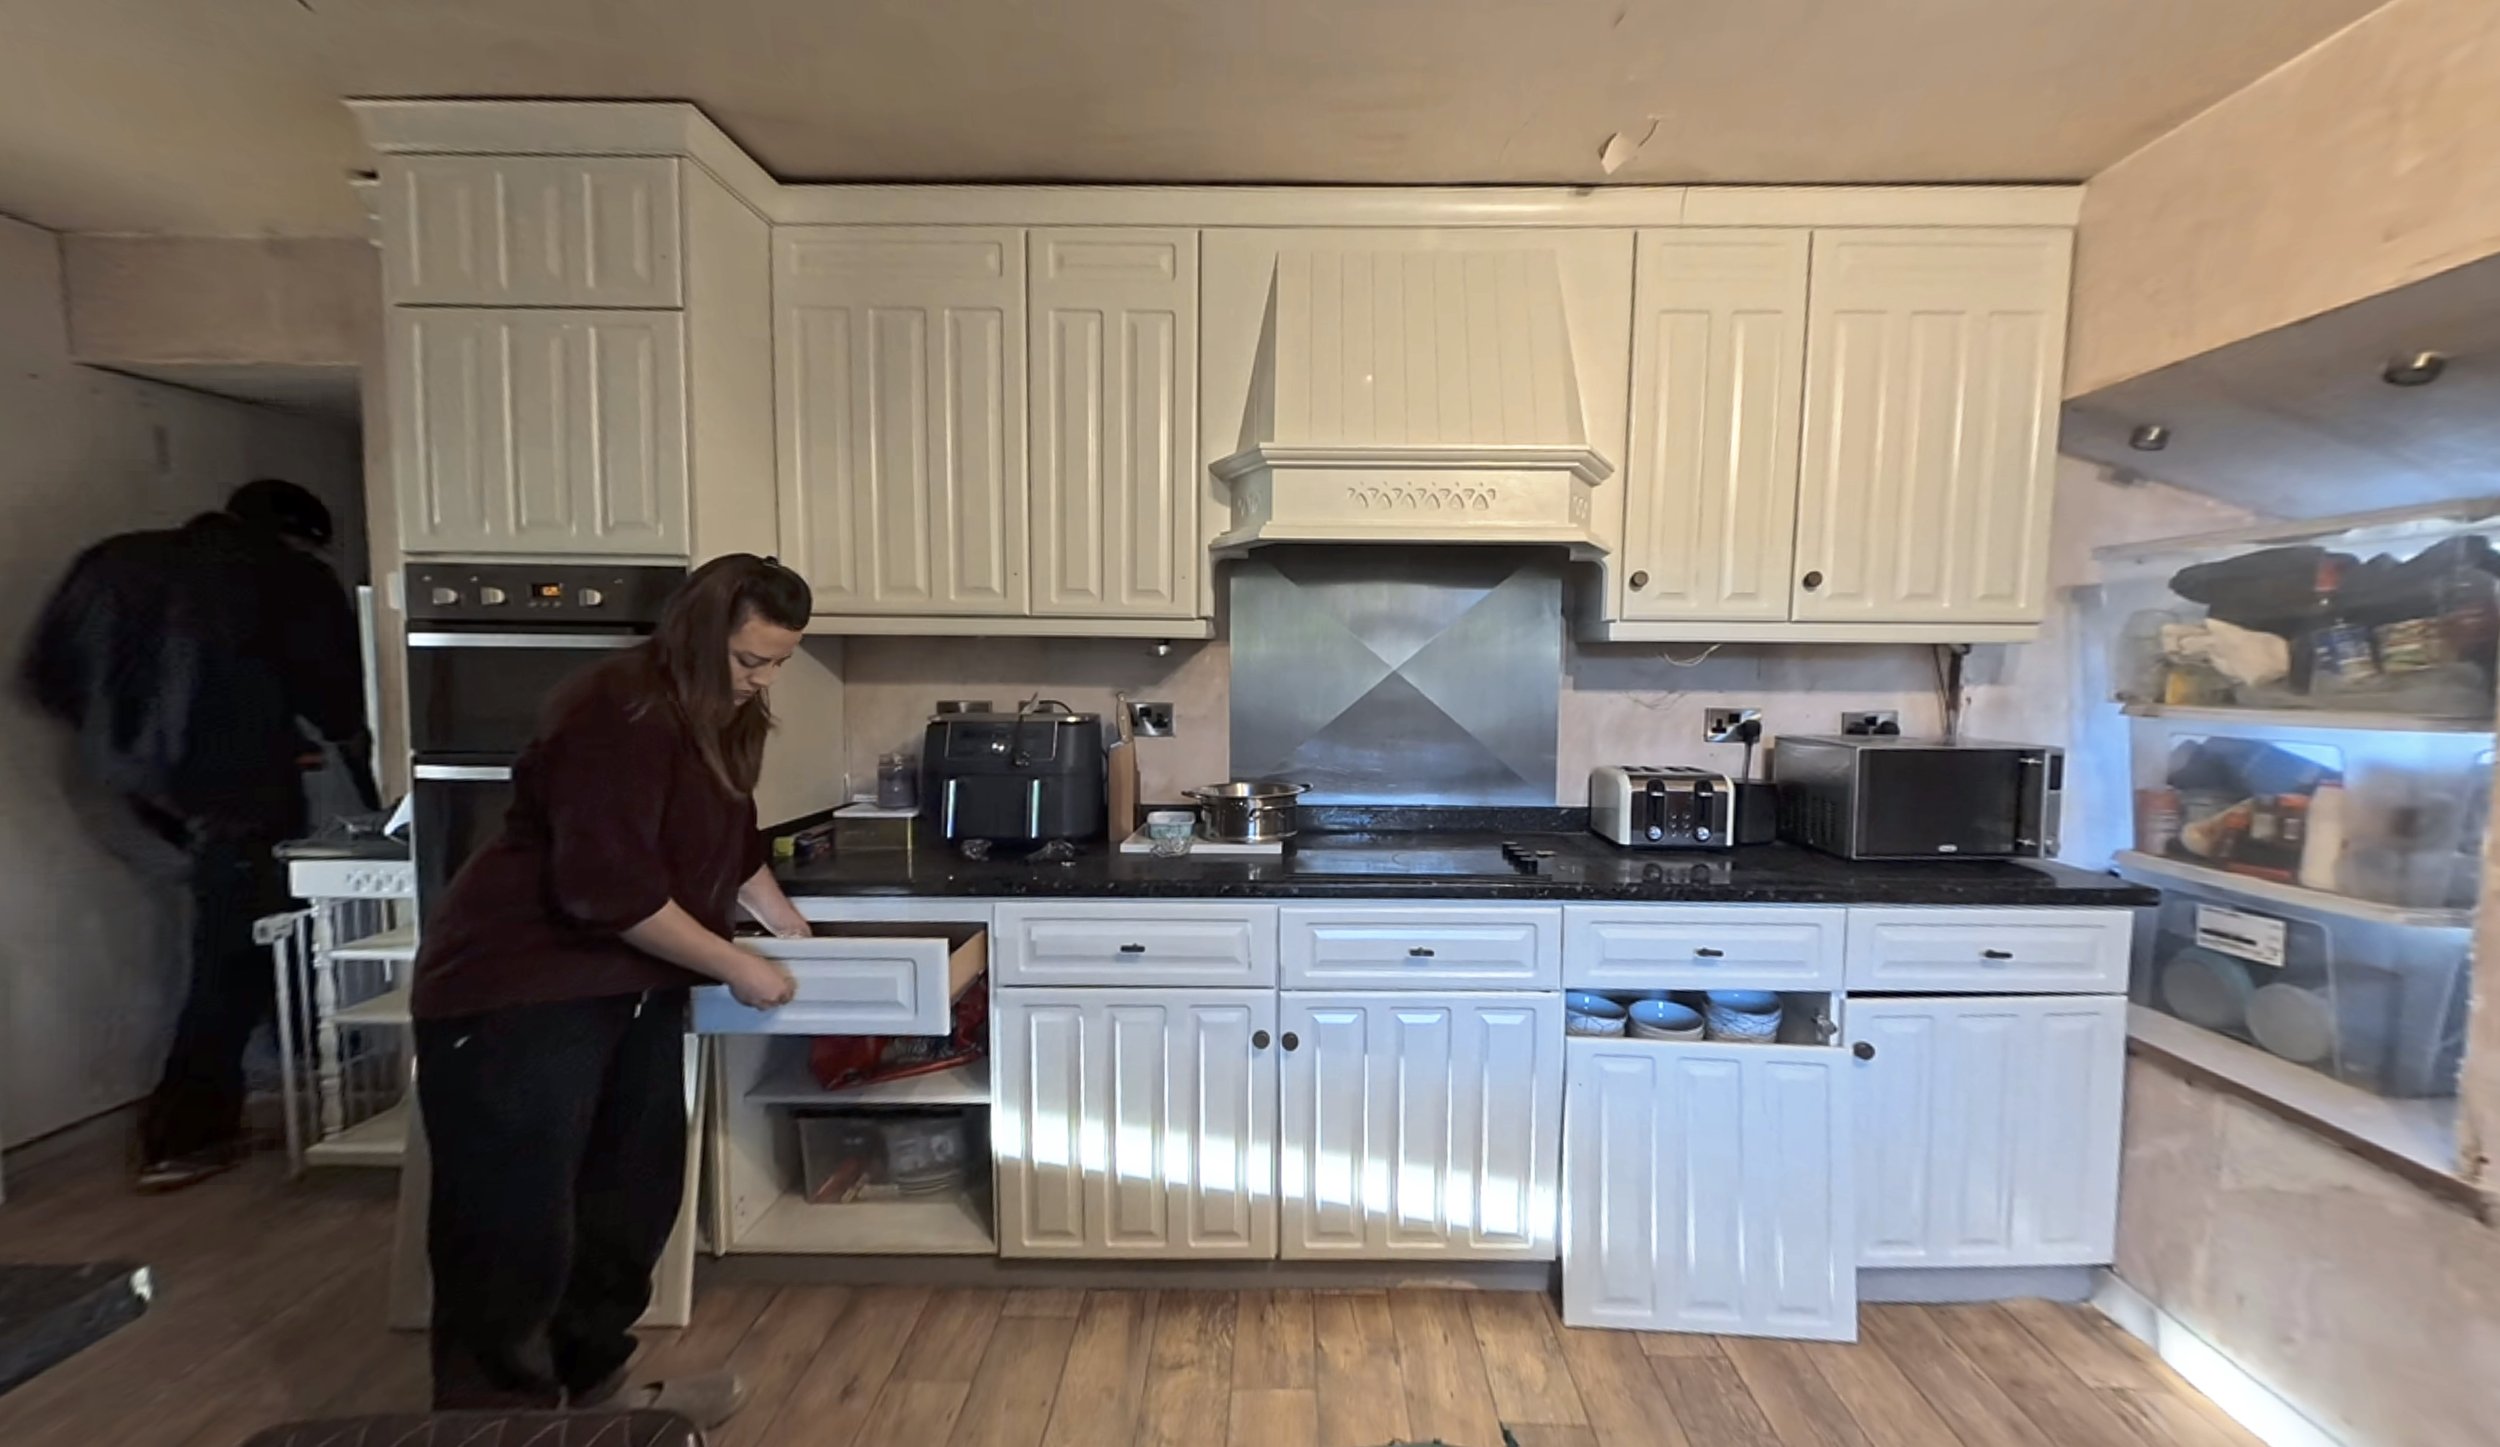
When we’d tidied up and sorted what we could, we headed inside to remove all the handles off the kitchen cupboards, and all the doors off the carcasses. It was time to paint the kitchen. Dans parents had already taken the broken vinyl wrap off the MDF doors back in November, so on Saturday evening, we began to paint.


Saturday evening ended with a roast dinner cooked in the farmhouse kitchen, complete with no doors or drawers, a roaring fire, 2 labradors, mince pies, and that classic pealing ceiling. This room has consistently sat at 18-20 degrees C with 50-60% humidity this week, which is unheard of, and is such a cosy room to be in. The front boards from the fire are awaiting replacement but were inaccessible (see before photo) - they’ll be added soon.
By Sunday morning at 9am, I’m guessing that Karen has already done a second primer coat on the doors and is either on with the first coat of wood paint there, or has switched to the carcasses left in the kitchen itself. I have to go help, so I’ll see you next week!
December Week 5:
Technically, this update rolls over into January Week 1 (it’s Jan 3rd at the time of writing, Saturday). However, this update post feels unfinished, and as December was still here for half of this week, we’ll continue onwards!
At the end of last week, we had the kitchen cleared out but cupboard-door-less, and the doors themselves primed on the lounge floor. The actual doorways in the middle section were framed out with their respective kits, and it was all systems go.
We’ll pick back up with the actual doors first, which we do have evidence of after Dad relented and allowed us to set up a camera - wahoo (thanks Dad)!
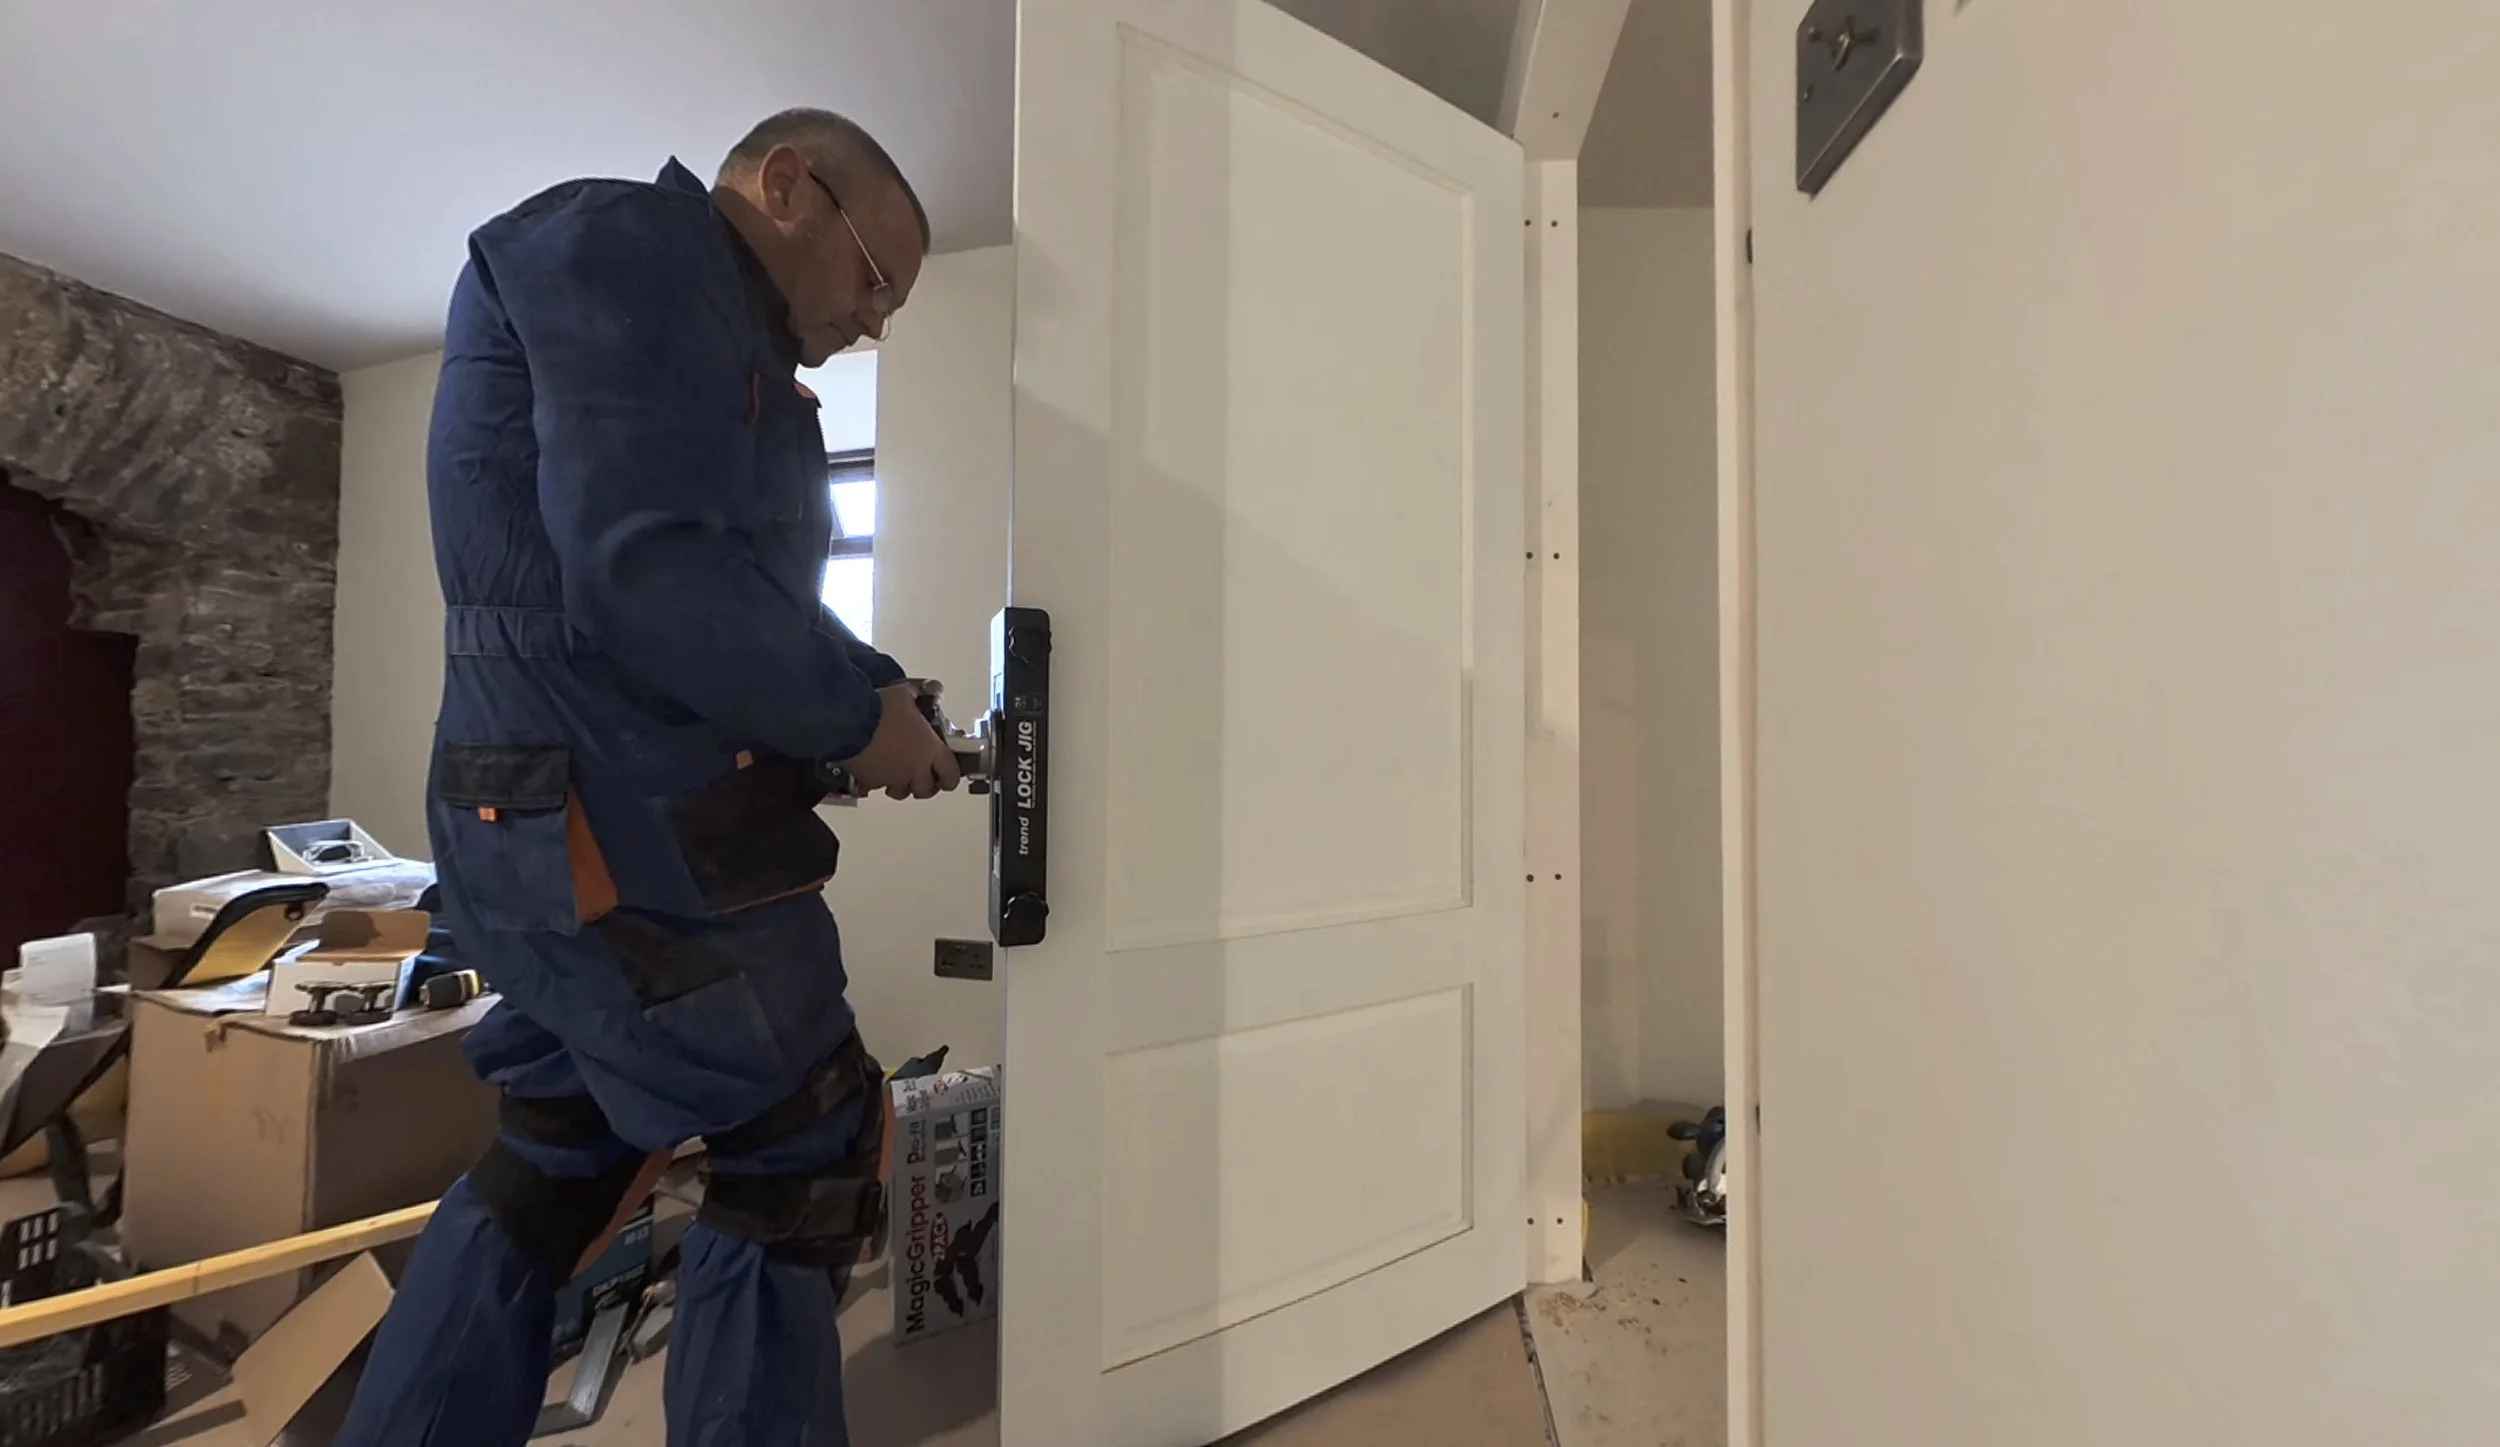
The entire process of hanging and adding the fixings for one office door is shown here in painfully simplified images. I can assure any reader (unless they’ve done any of the random tasks we share) has no idea how long, tricky, and painful the process truly is!
First, a hinge jig and router help to make the hinge slots on the door itself.
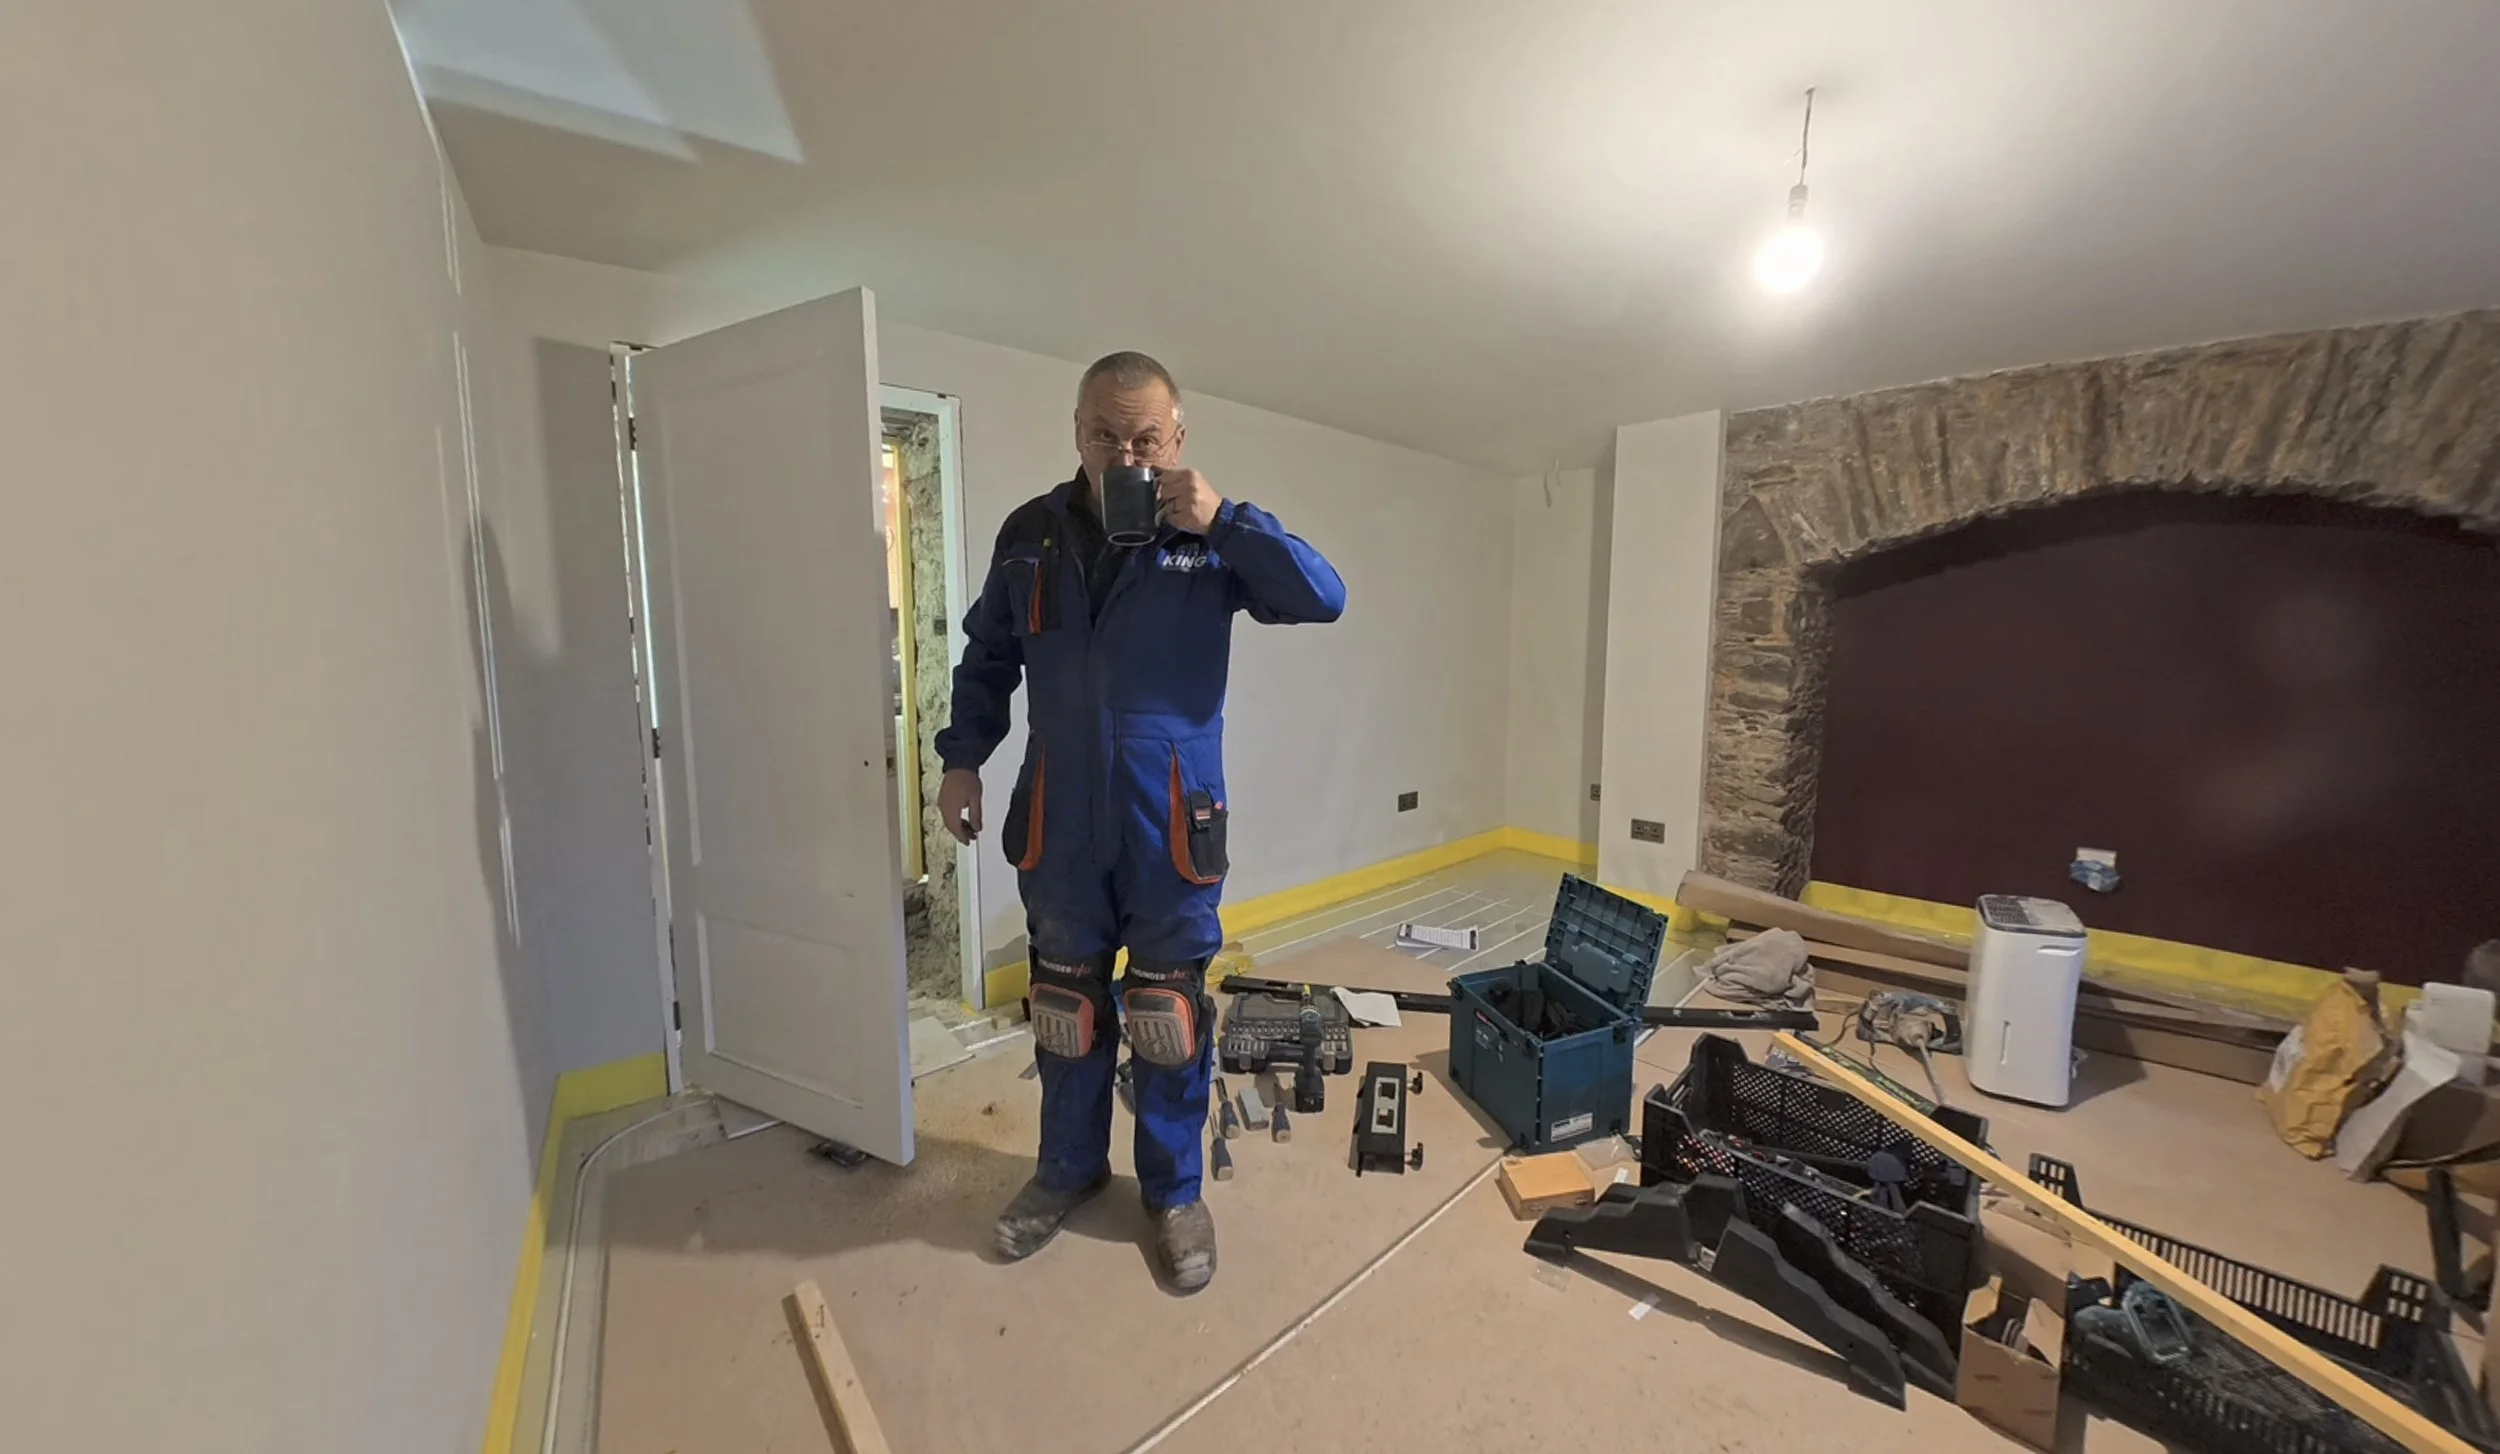
Then, the door is attached by its respective hinges and then a tea break is required (see image 4).
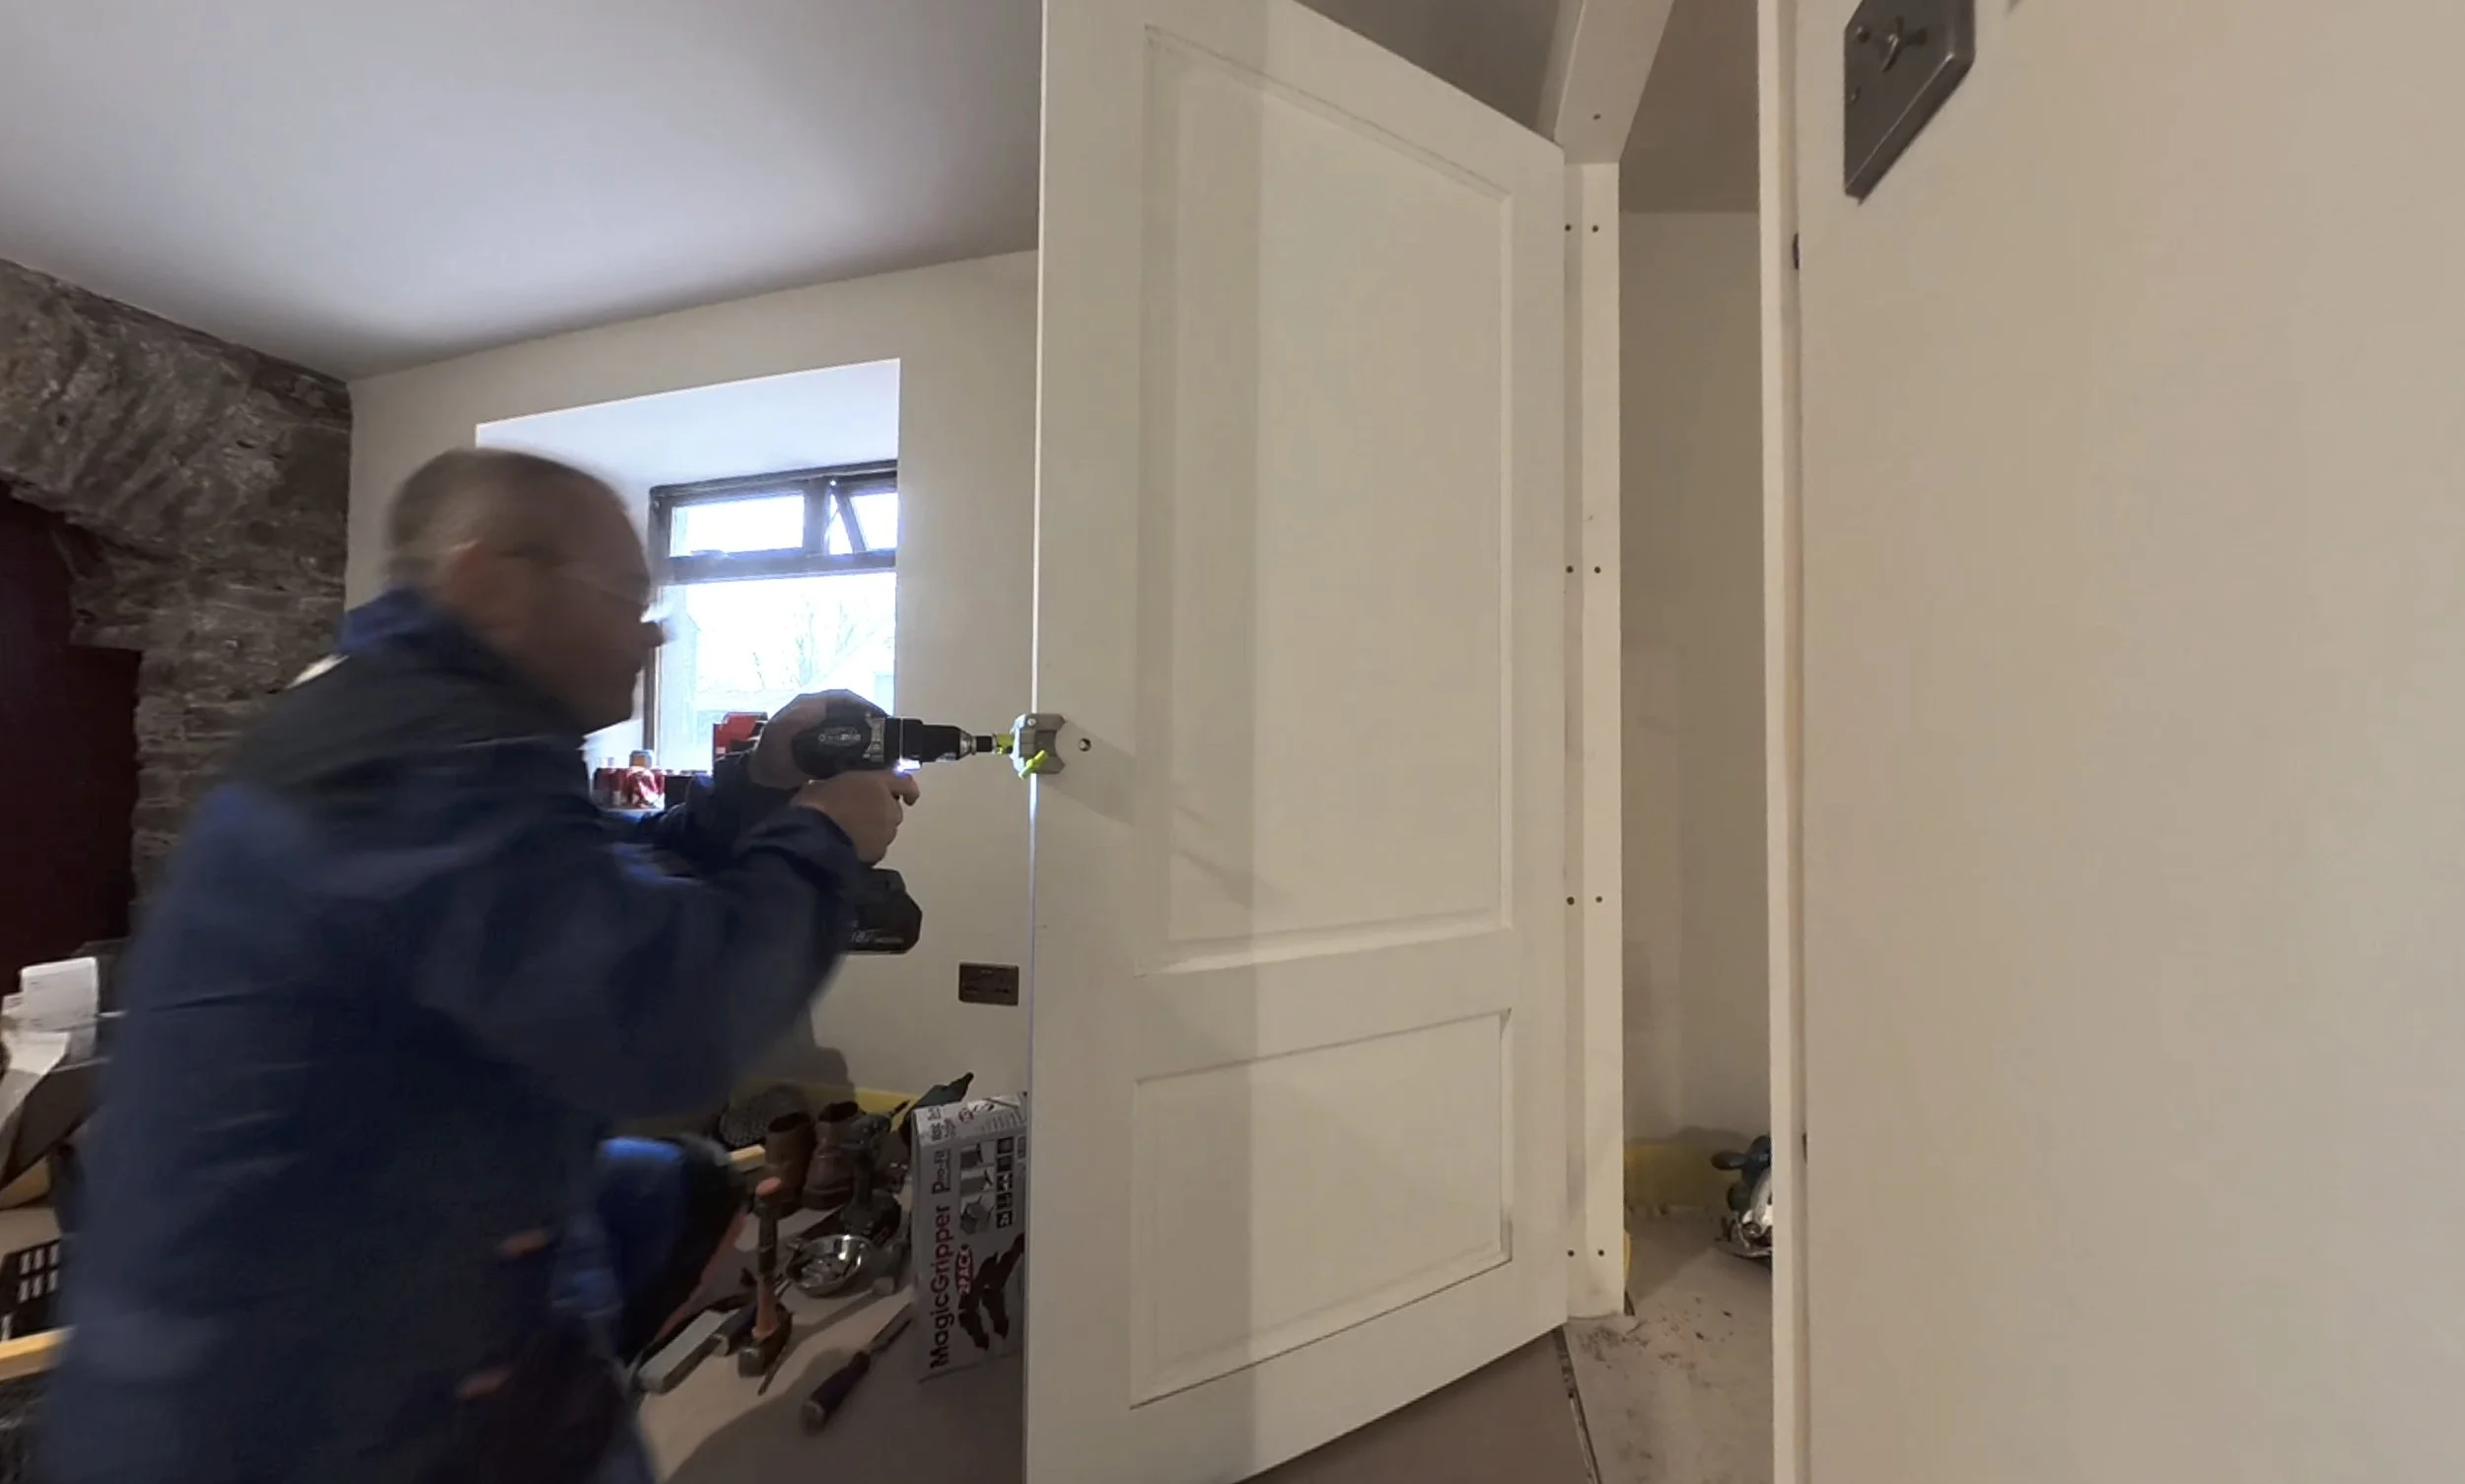
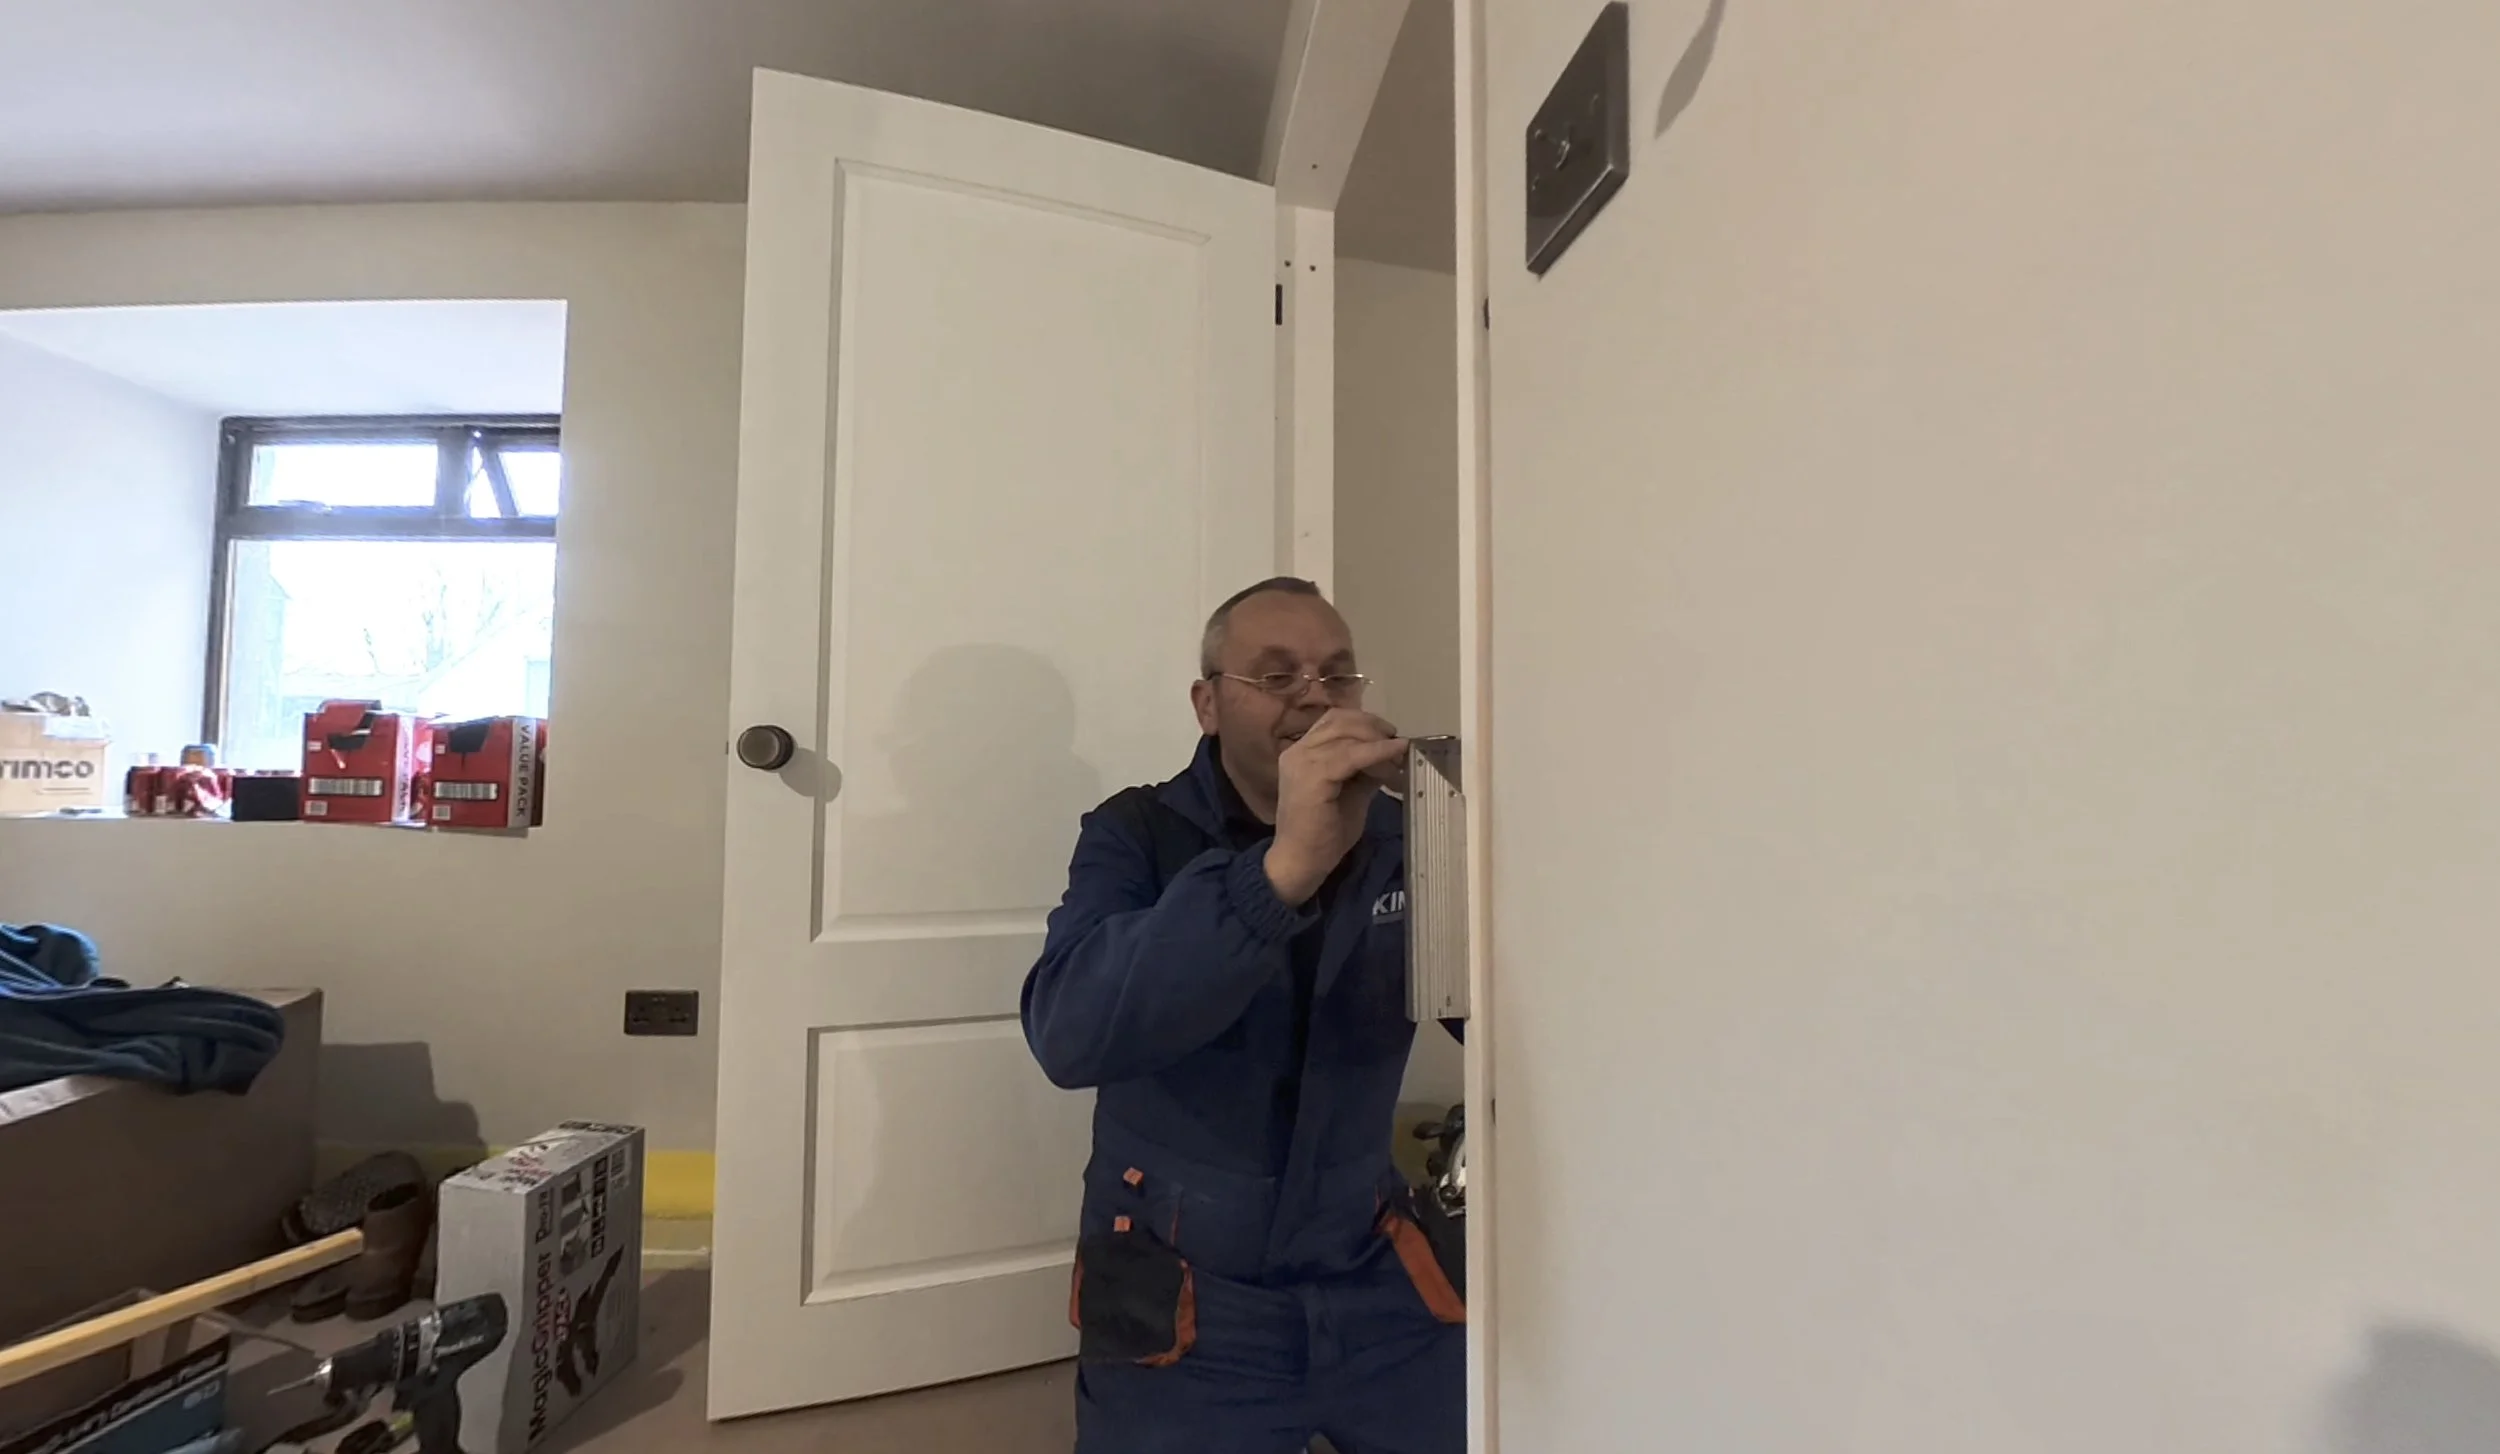
Next, the latch jig is added to route the hole for the handle latch. This is then steadily chiselled and/or drilled out to the correct shape.
After that, the hardware begins to be added before the handles themselves are threaded onto the latch system.
Then, the opposing side of the latch is started, which is steady, careful work with the chisel.
And the door is hung, latch working and off we go!
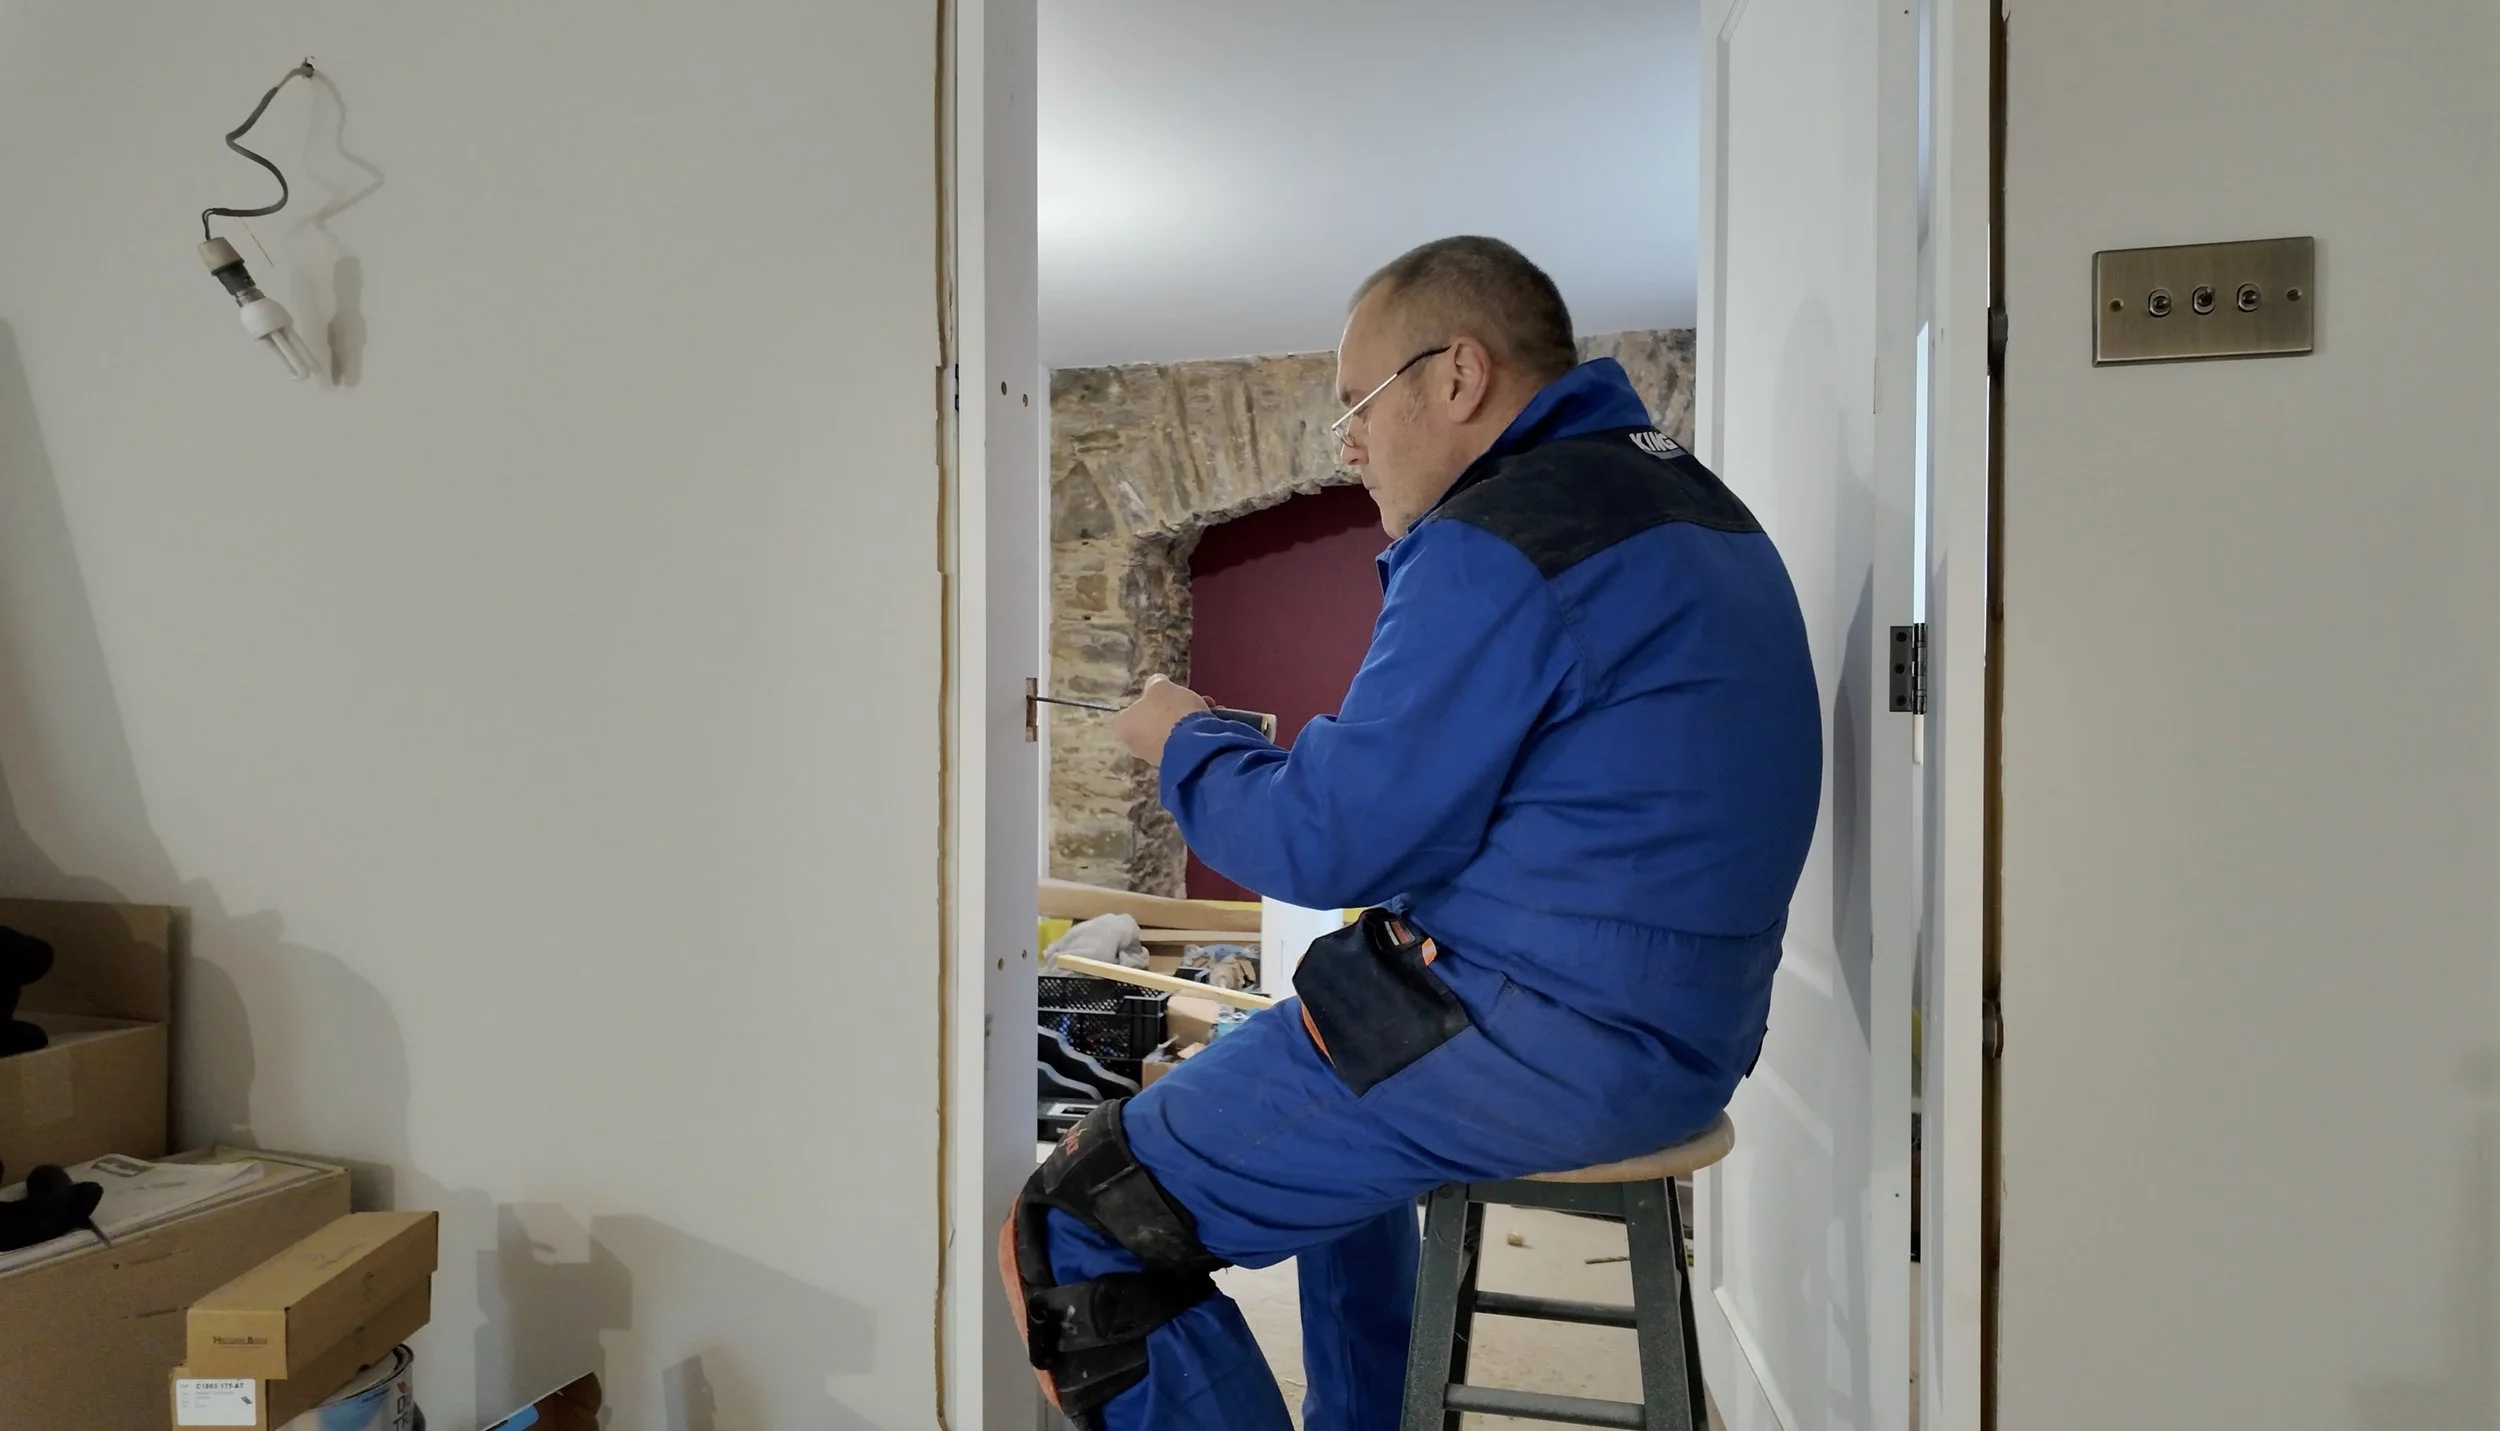
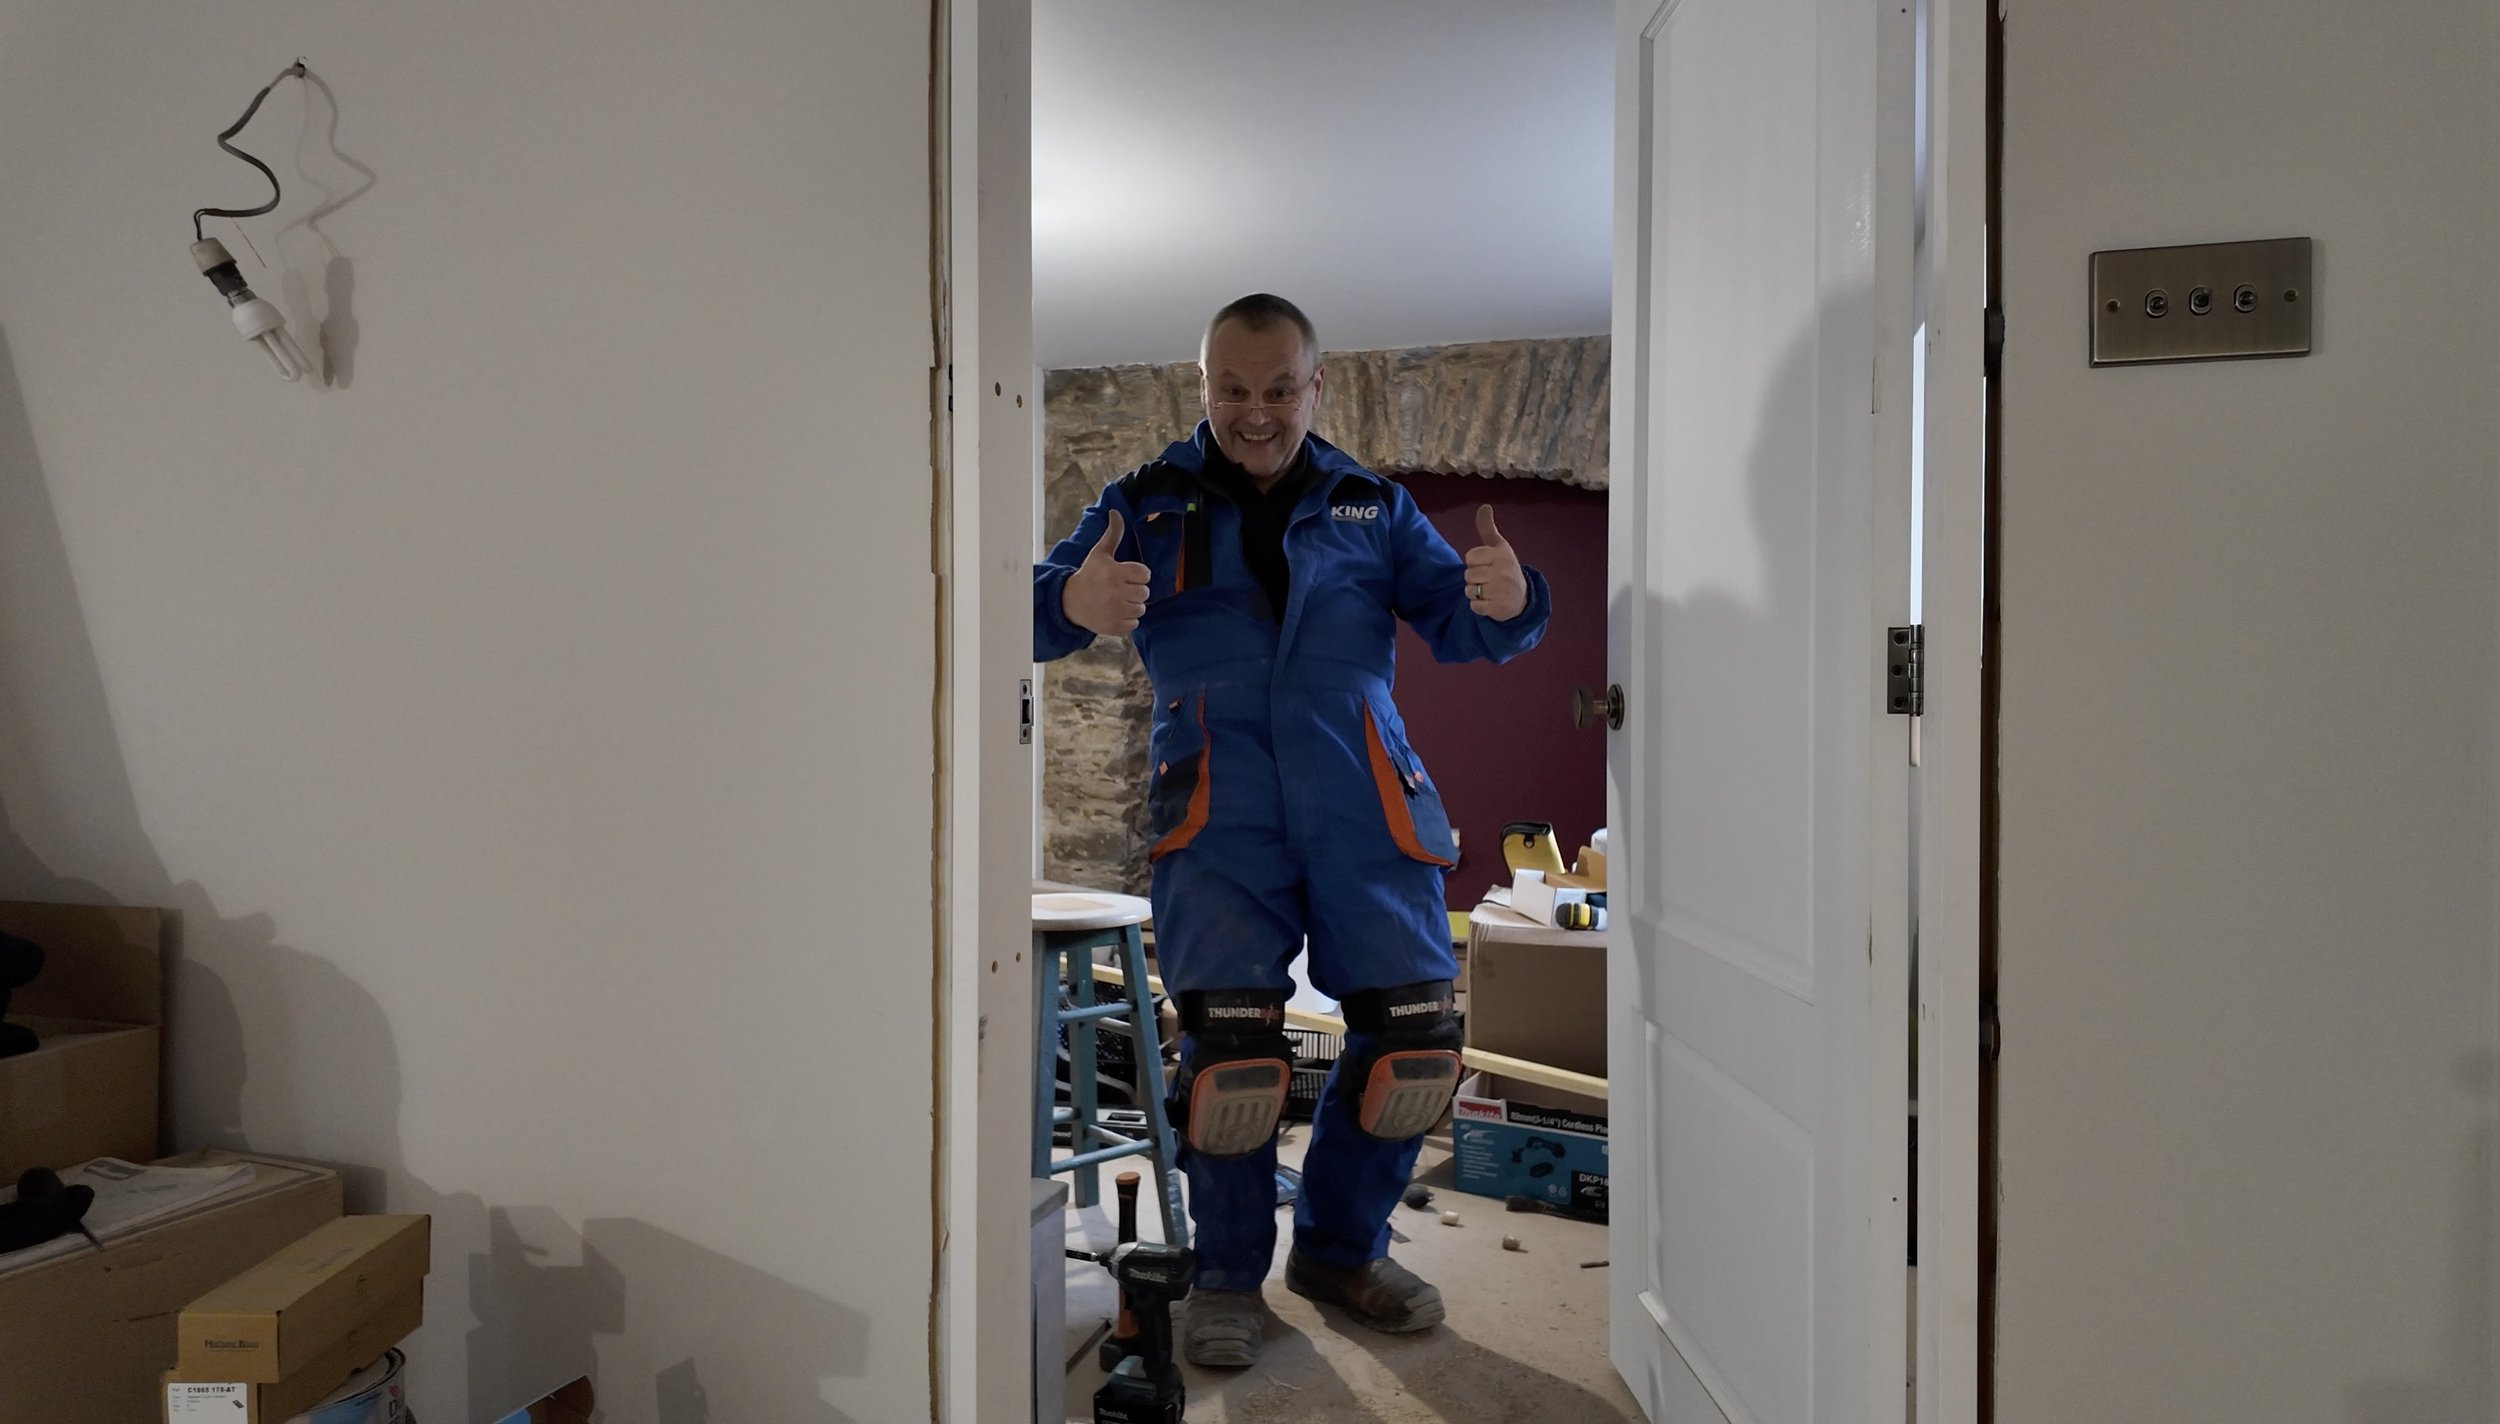
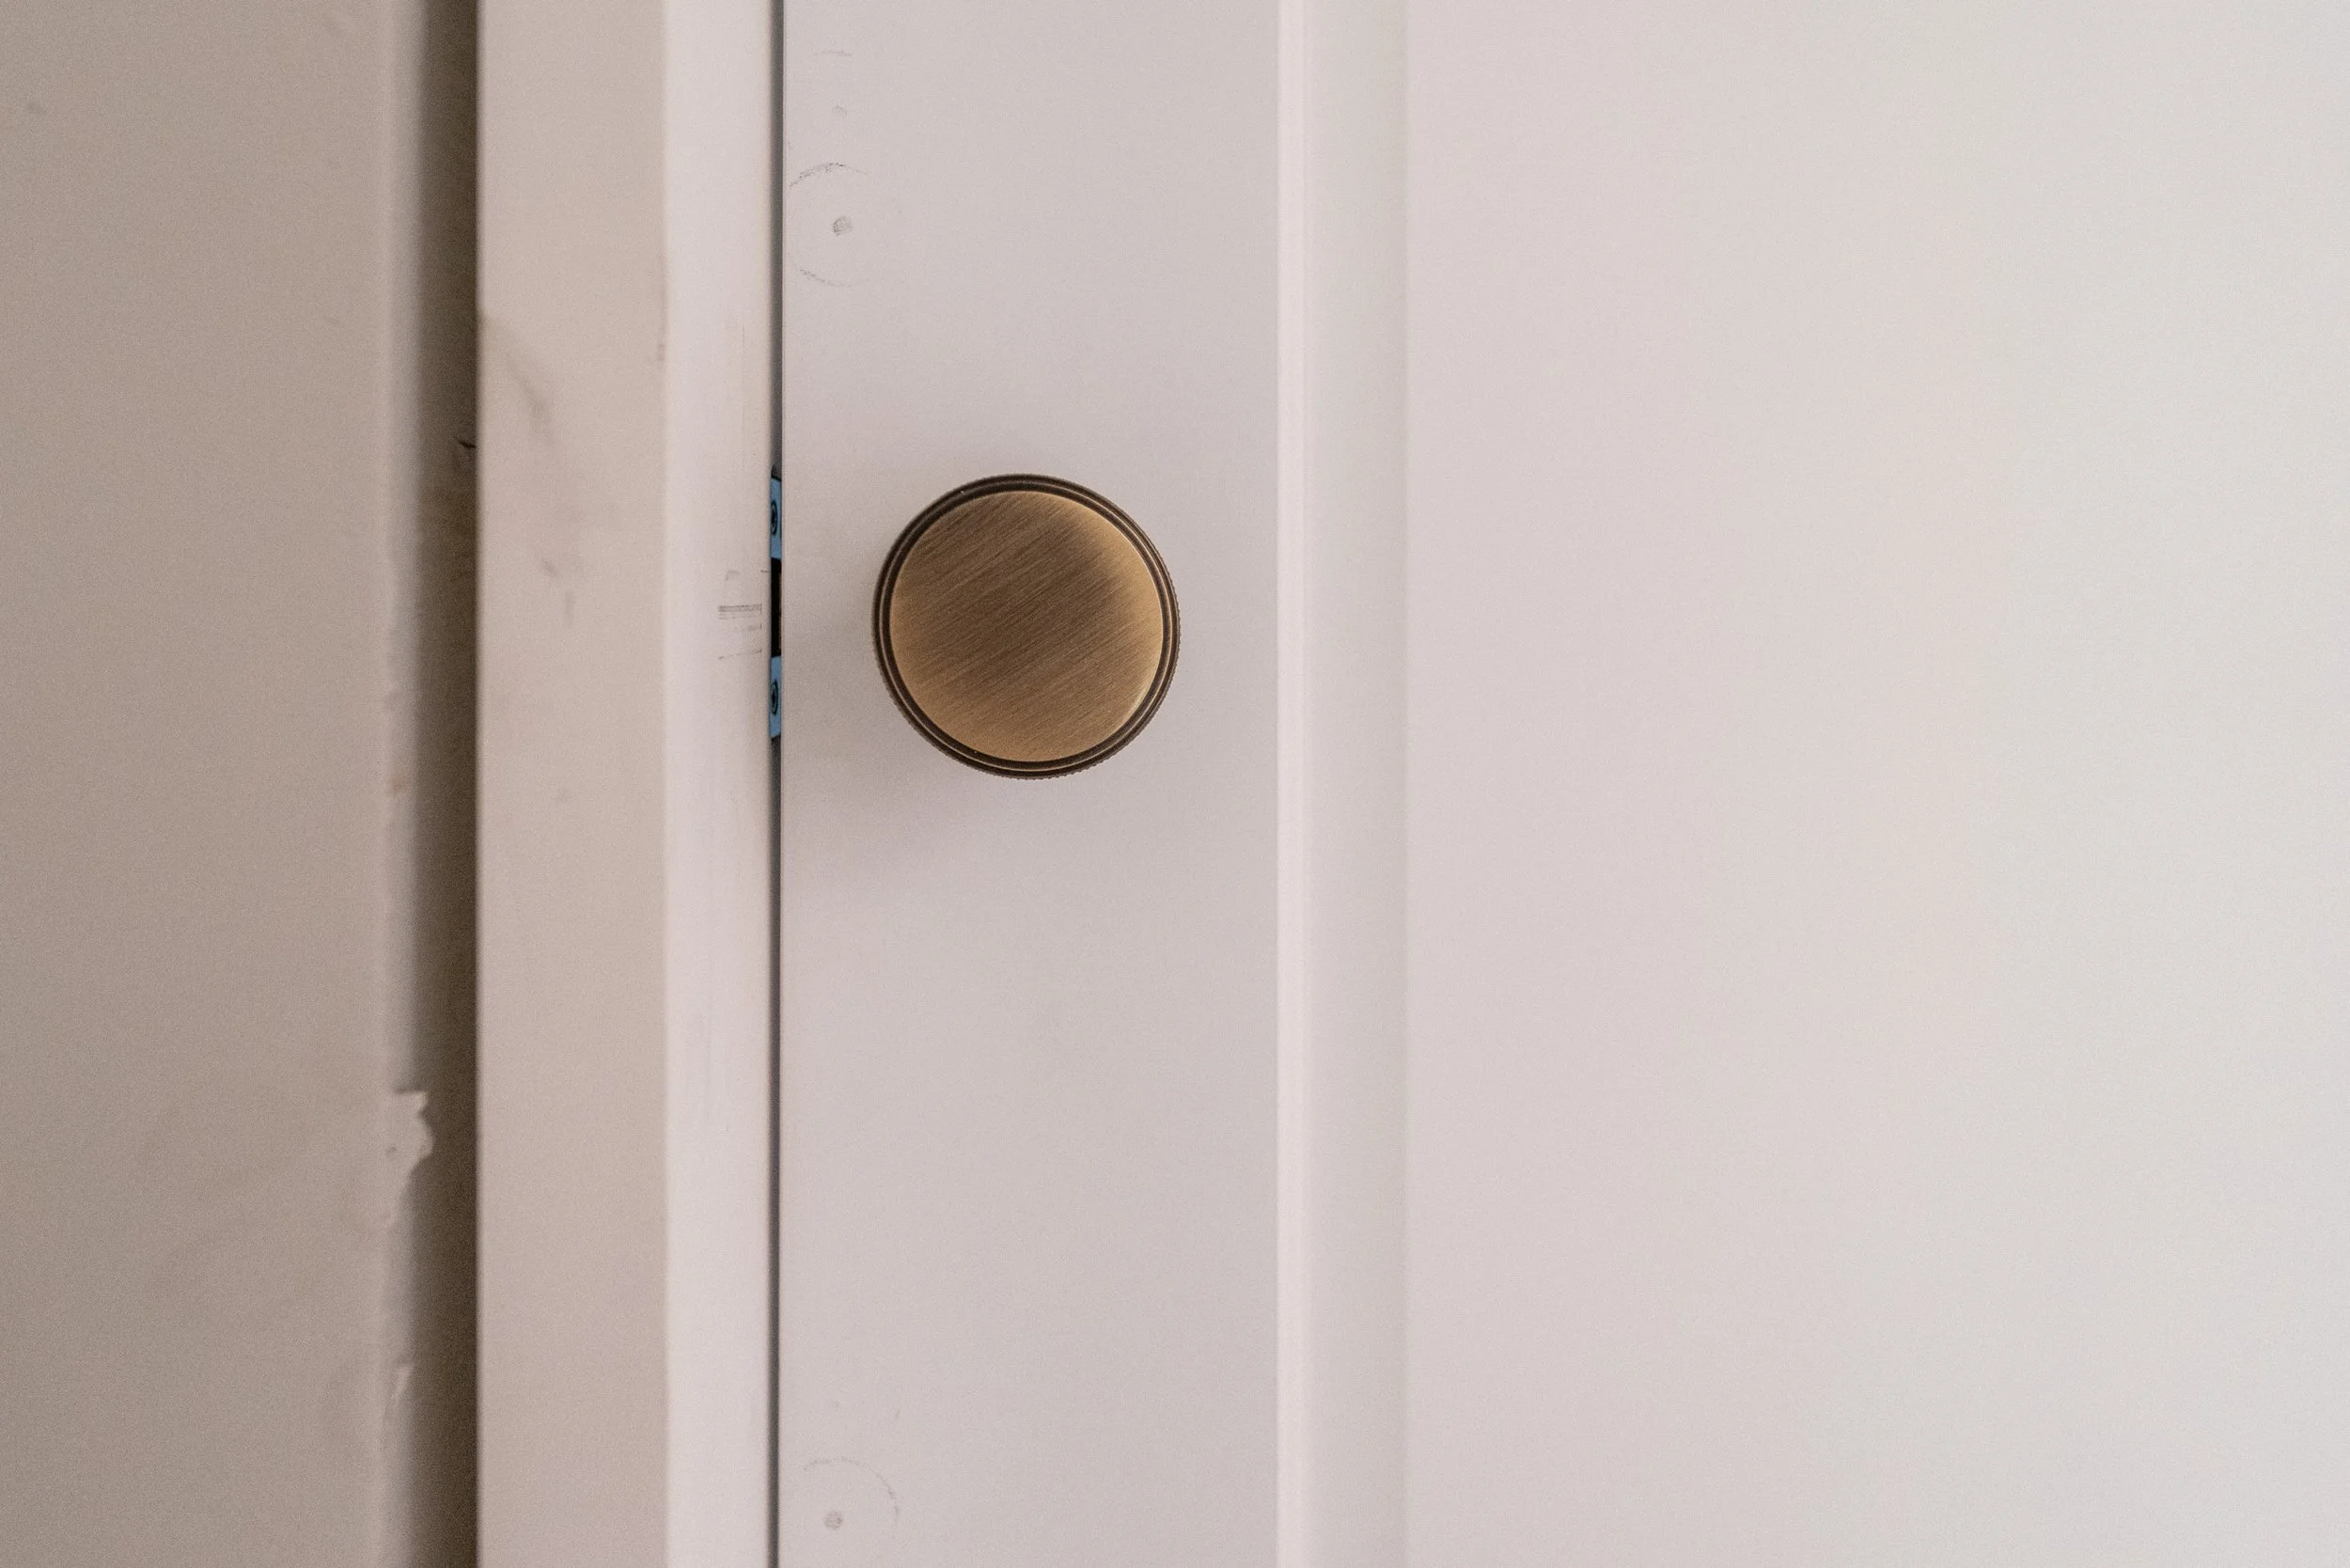
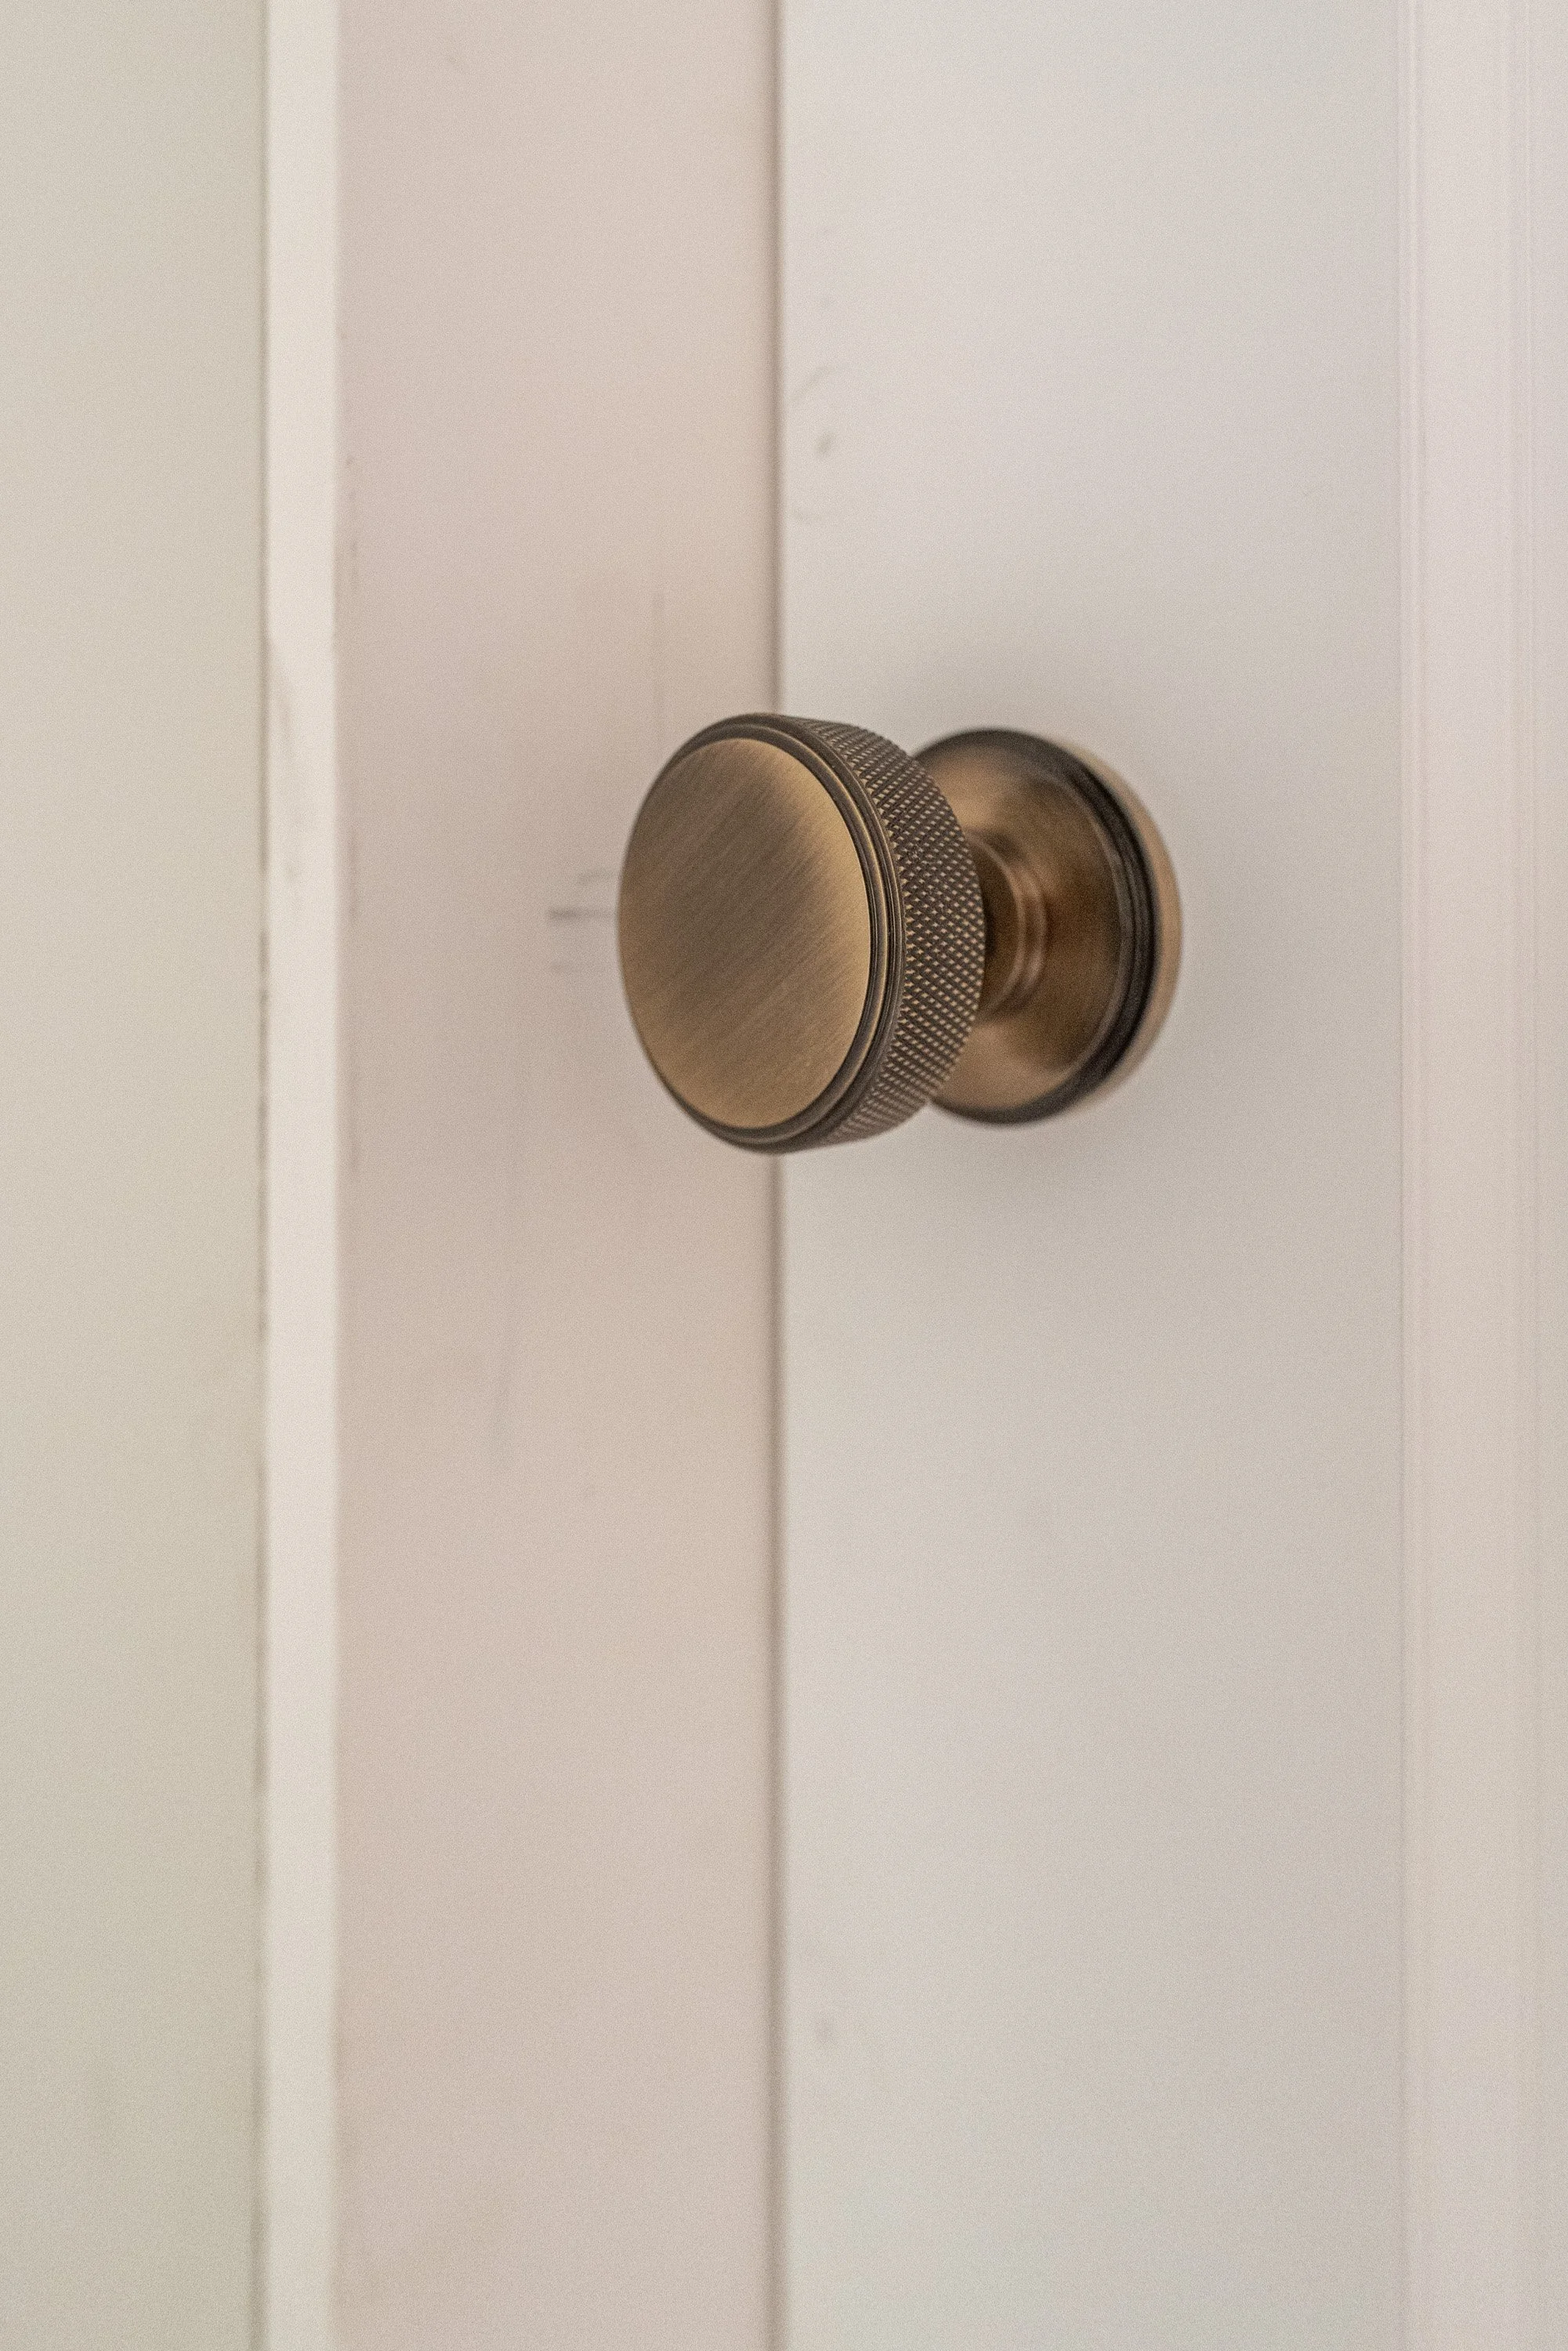
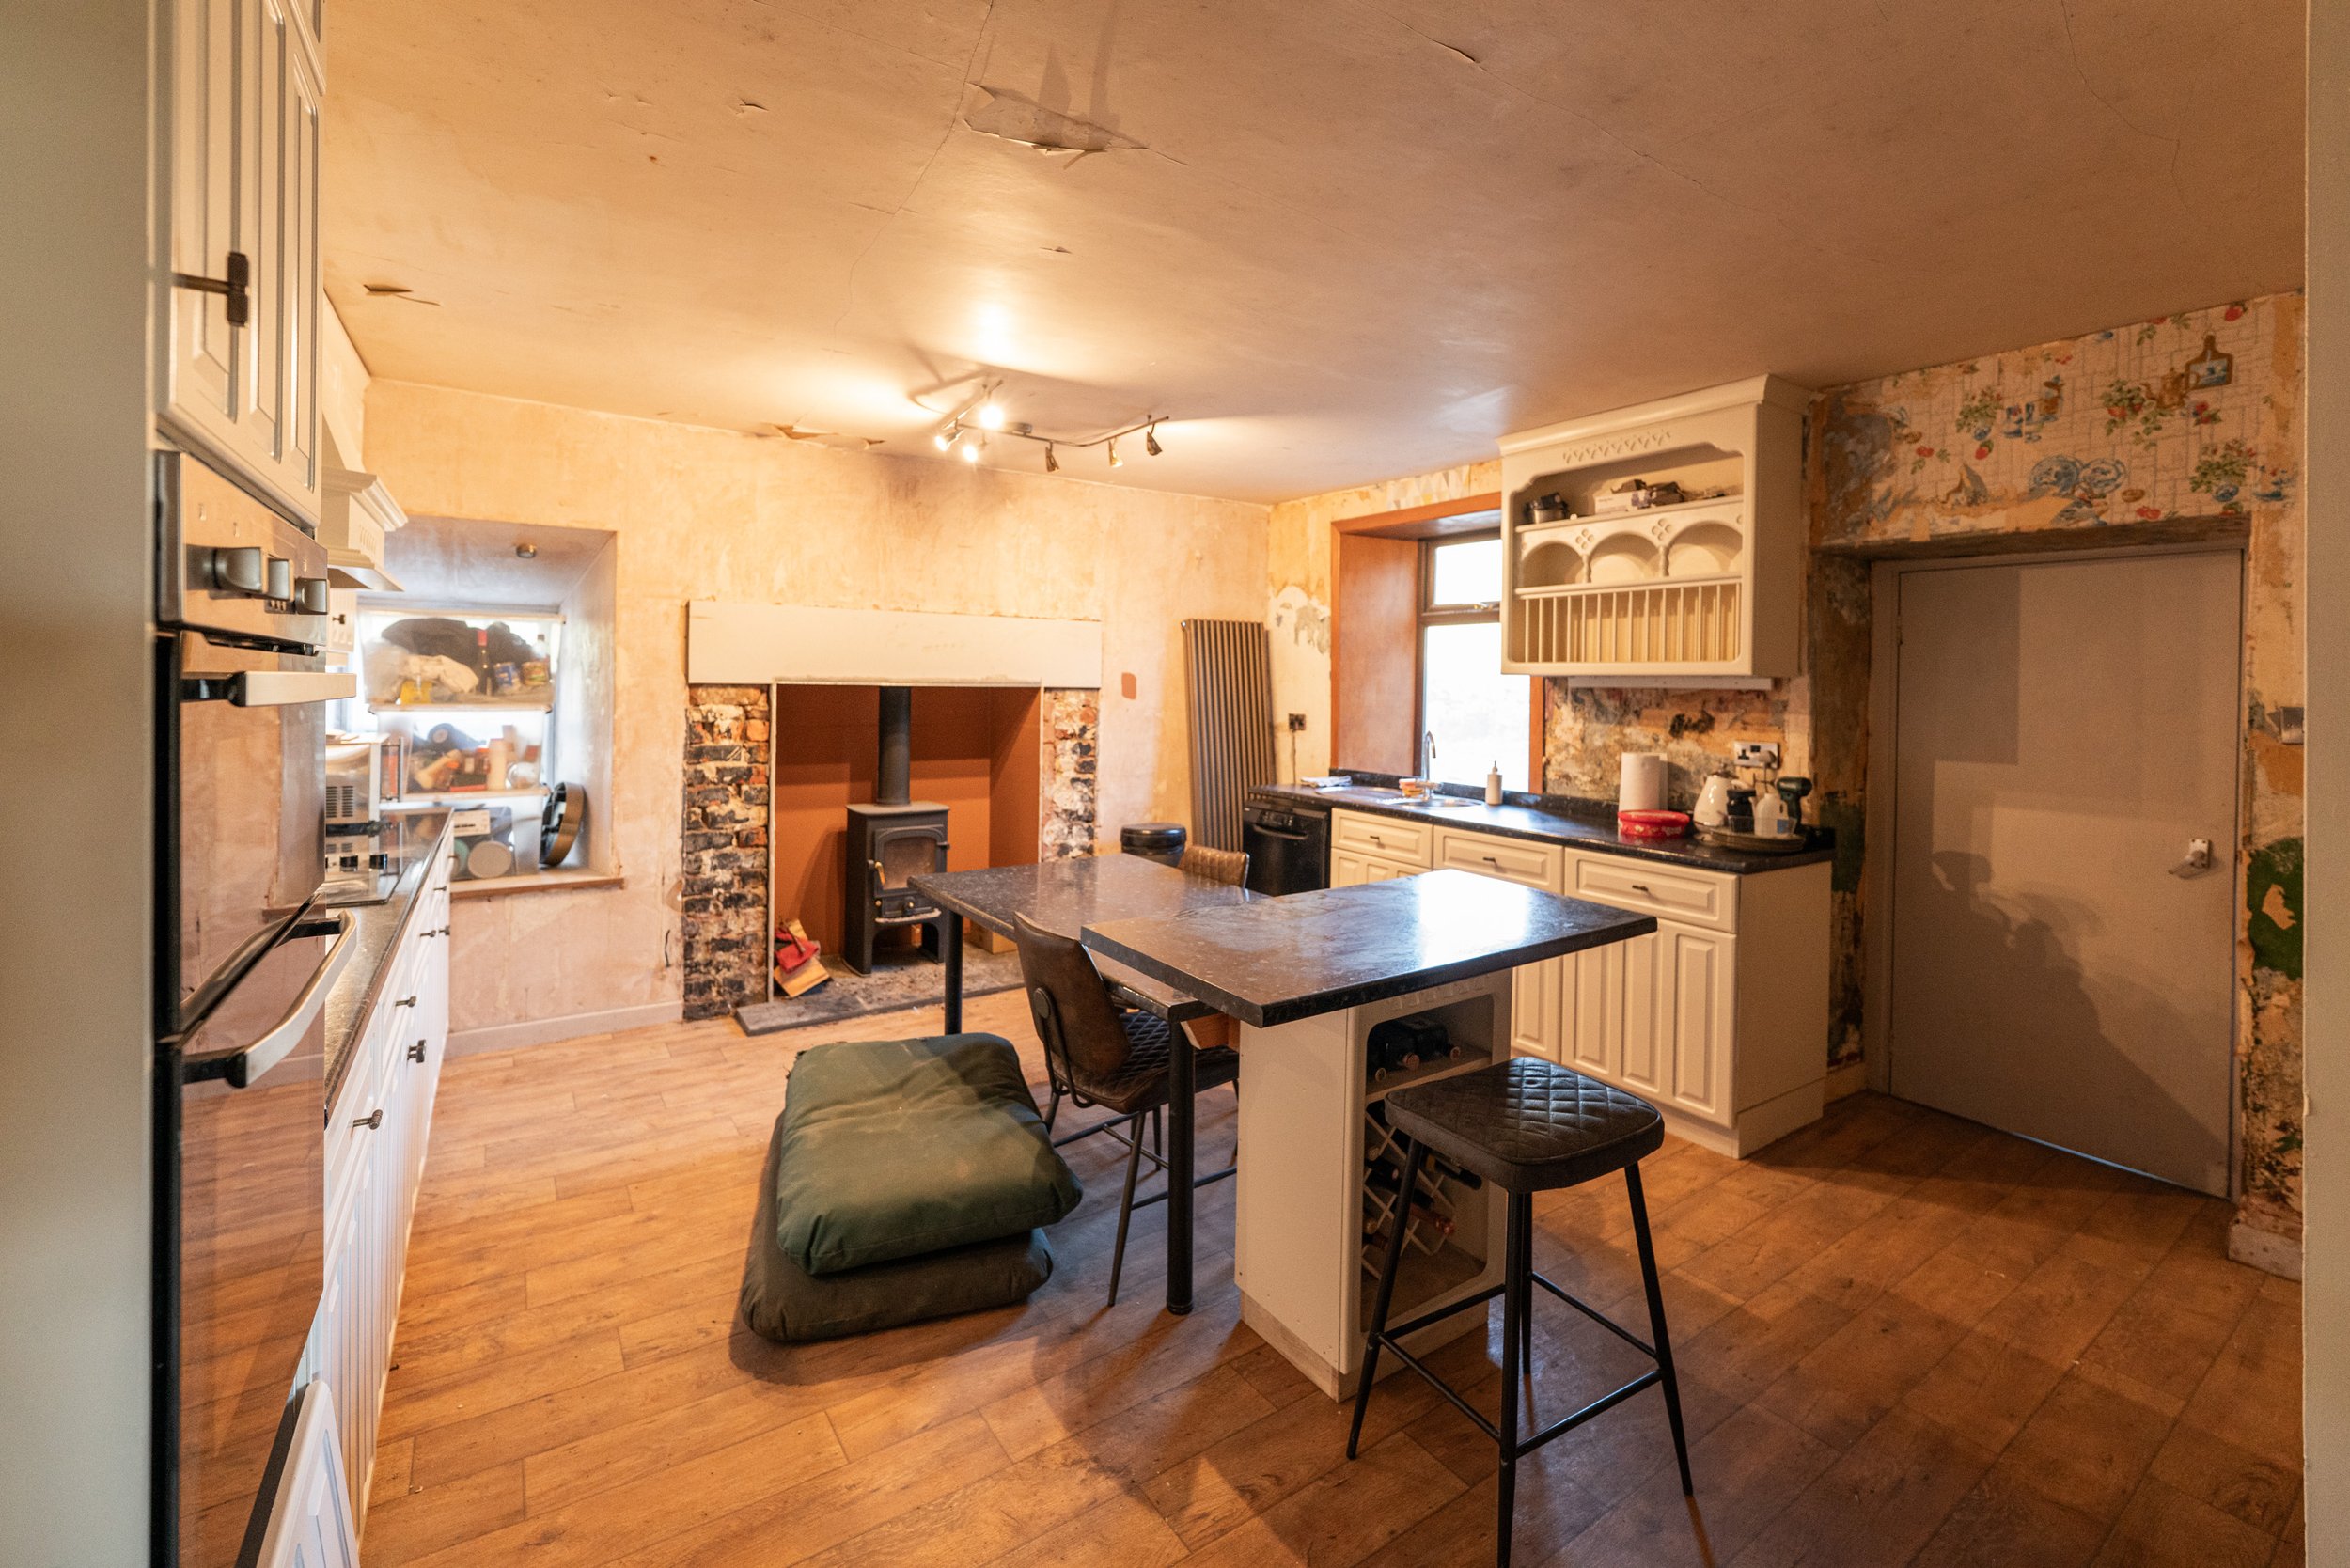
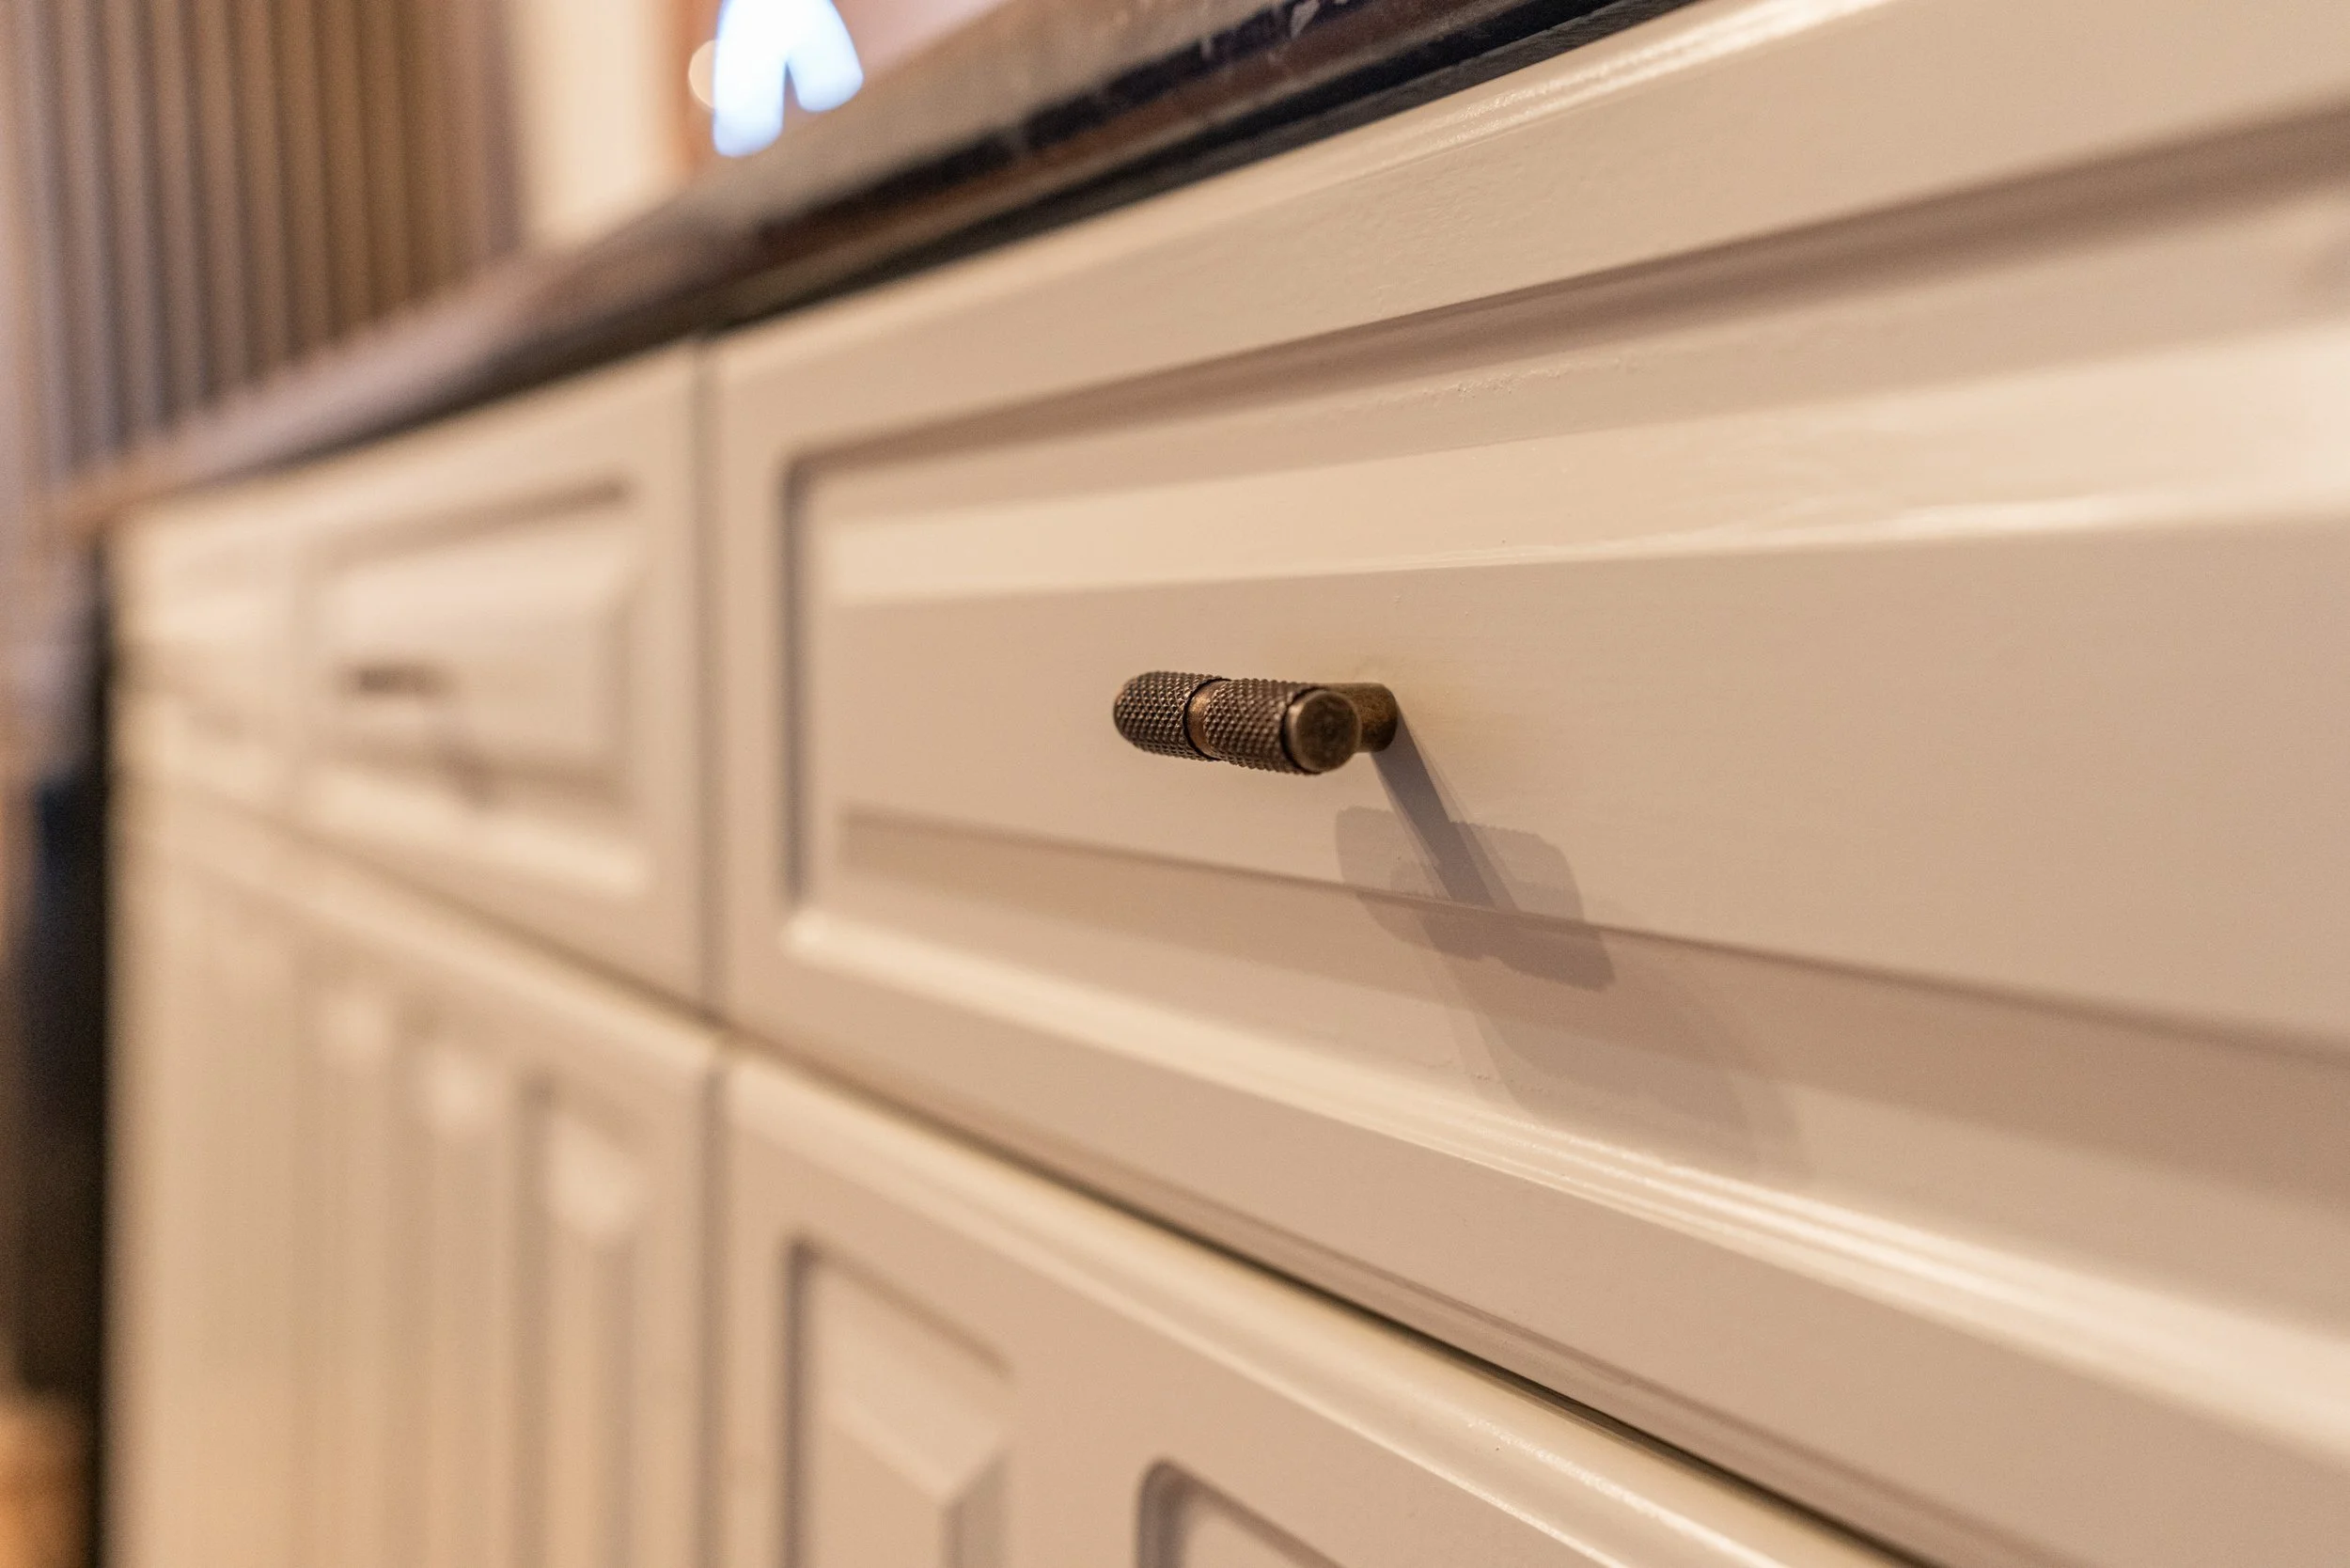
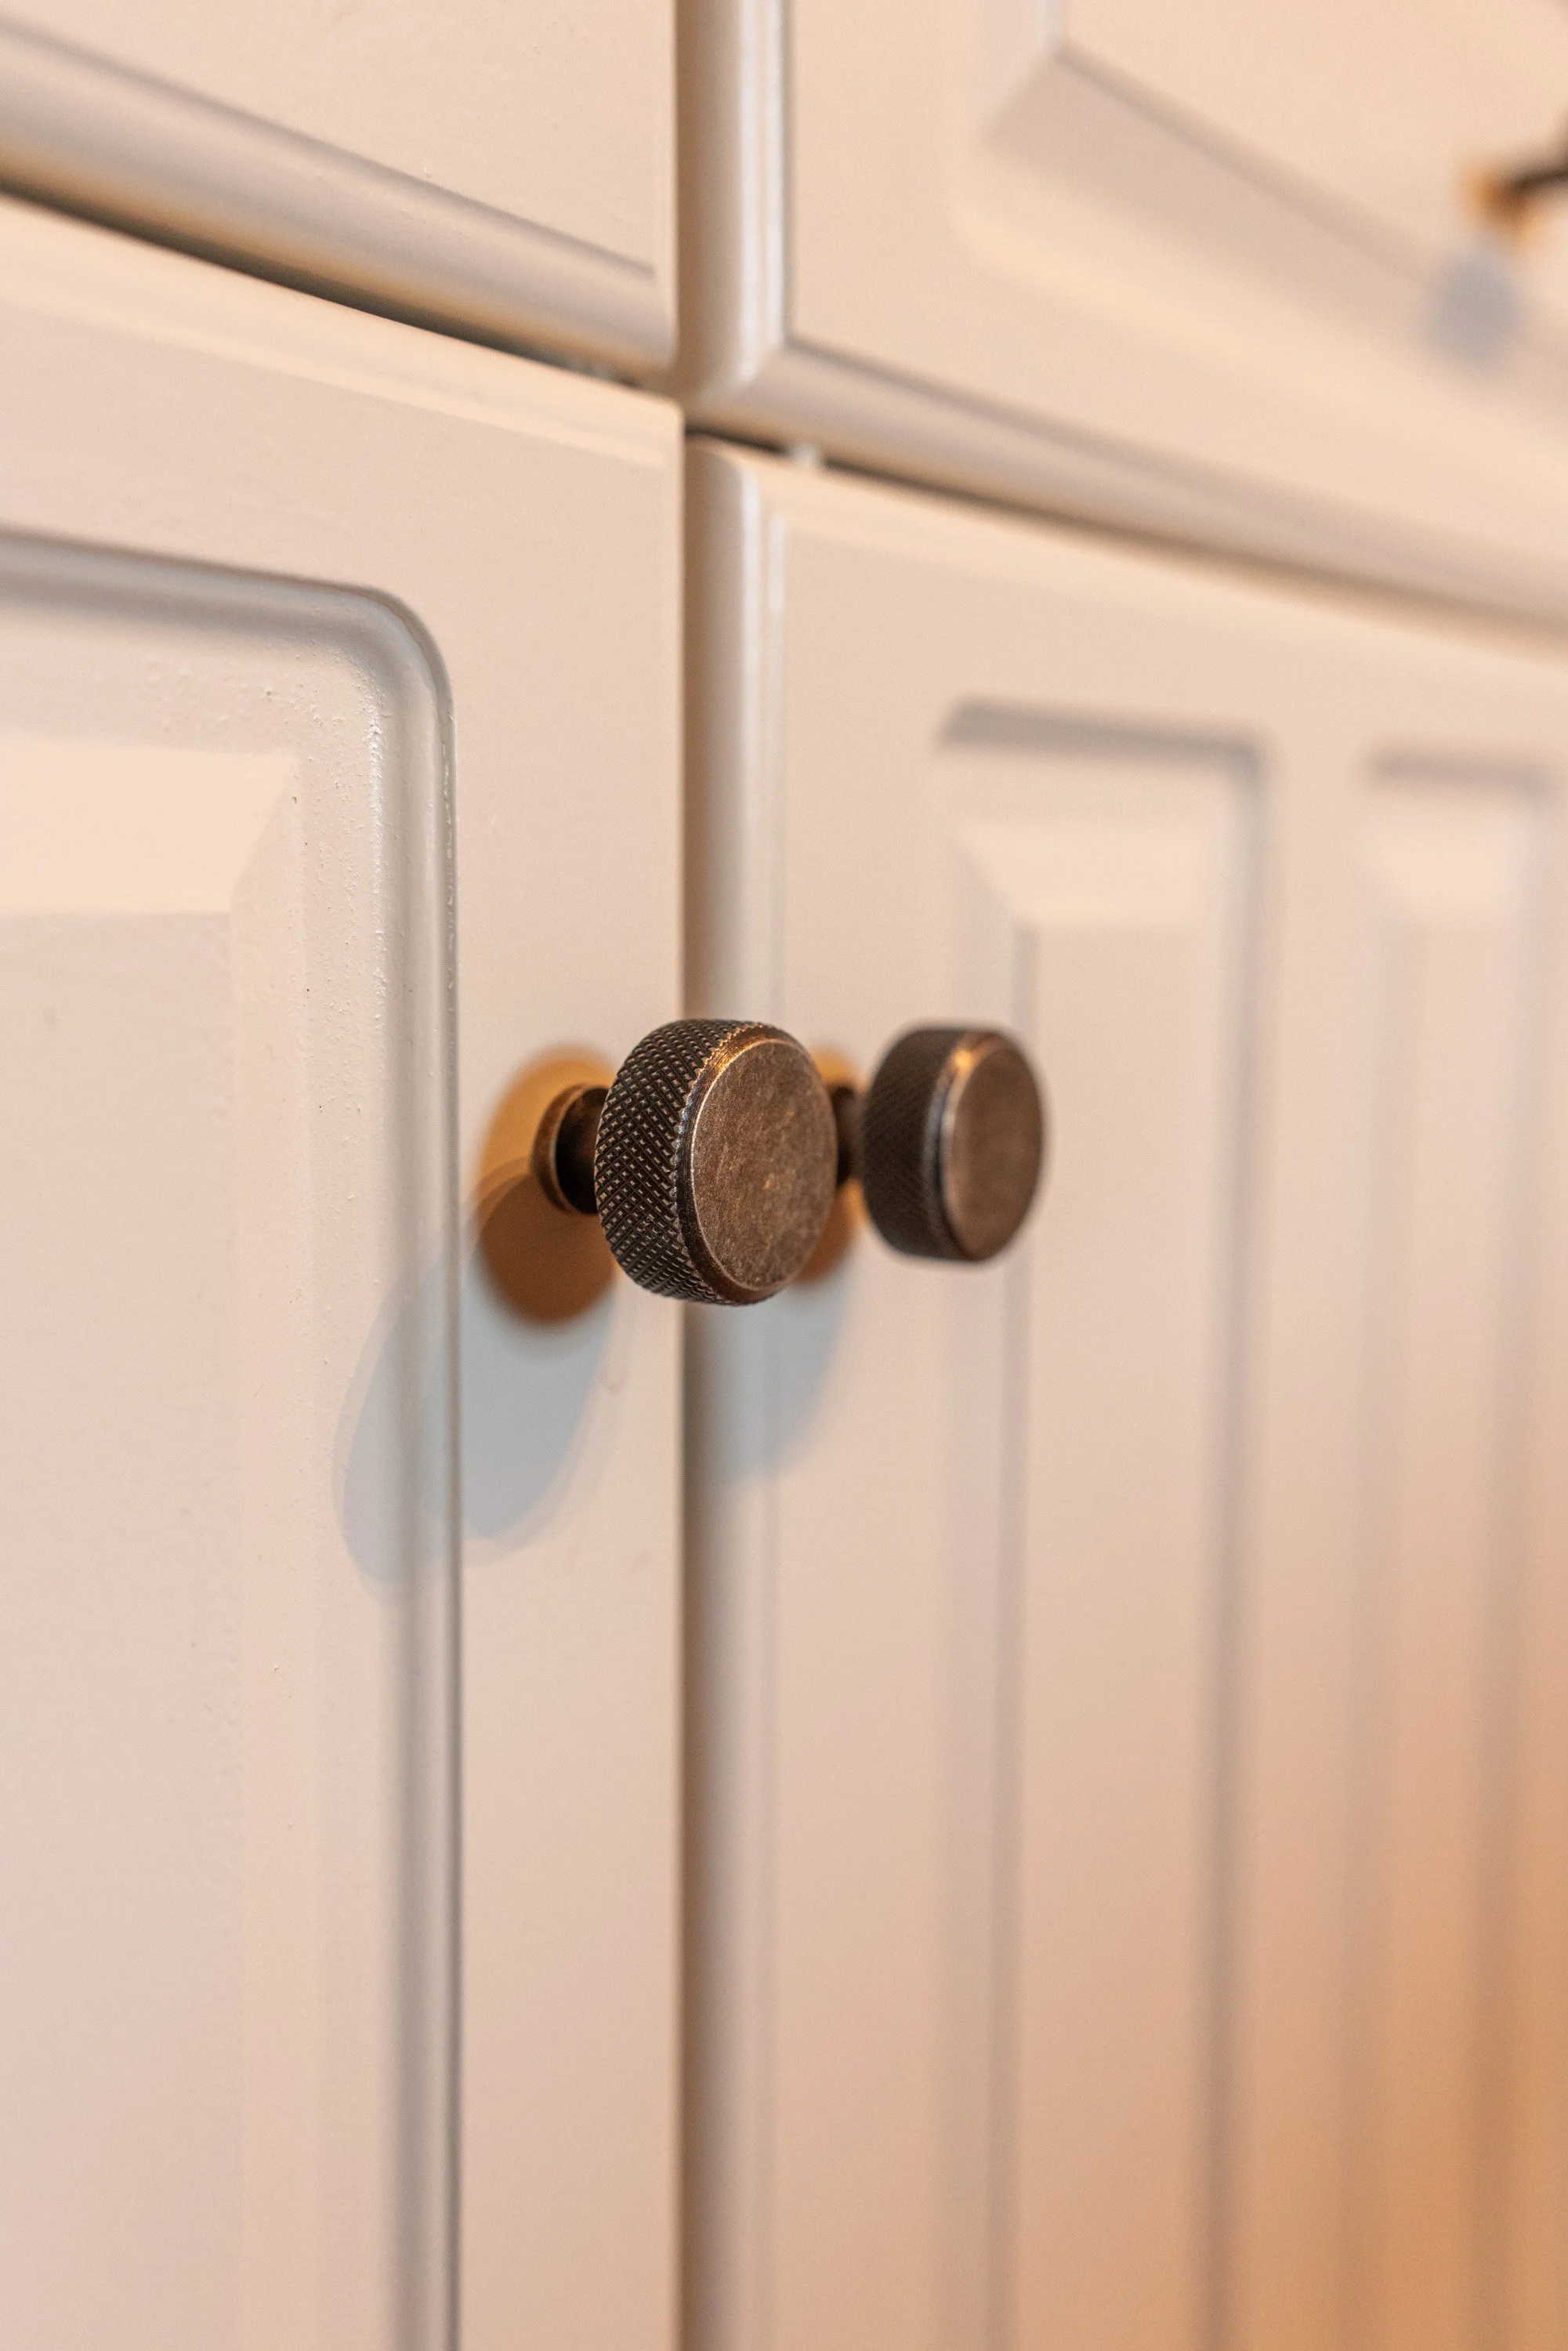
What a legend. This process is repeated for door after door until they’re all in and up, ready for their stops and architrave. The door handles did get Dad’s seal of approval (coveted!), they’re very weighty and apparently are super solid inside and out. Great pick, Dan, even if the price still makes me wince…
We’ll jump to the kitchen next, where Karen was left painting away on the last update. To help show the progression of these doors and explain in a little more detail, I have a visual story.
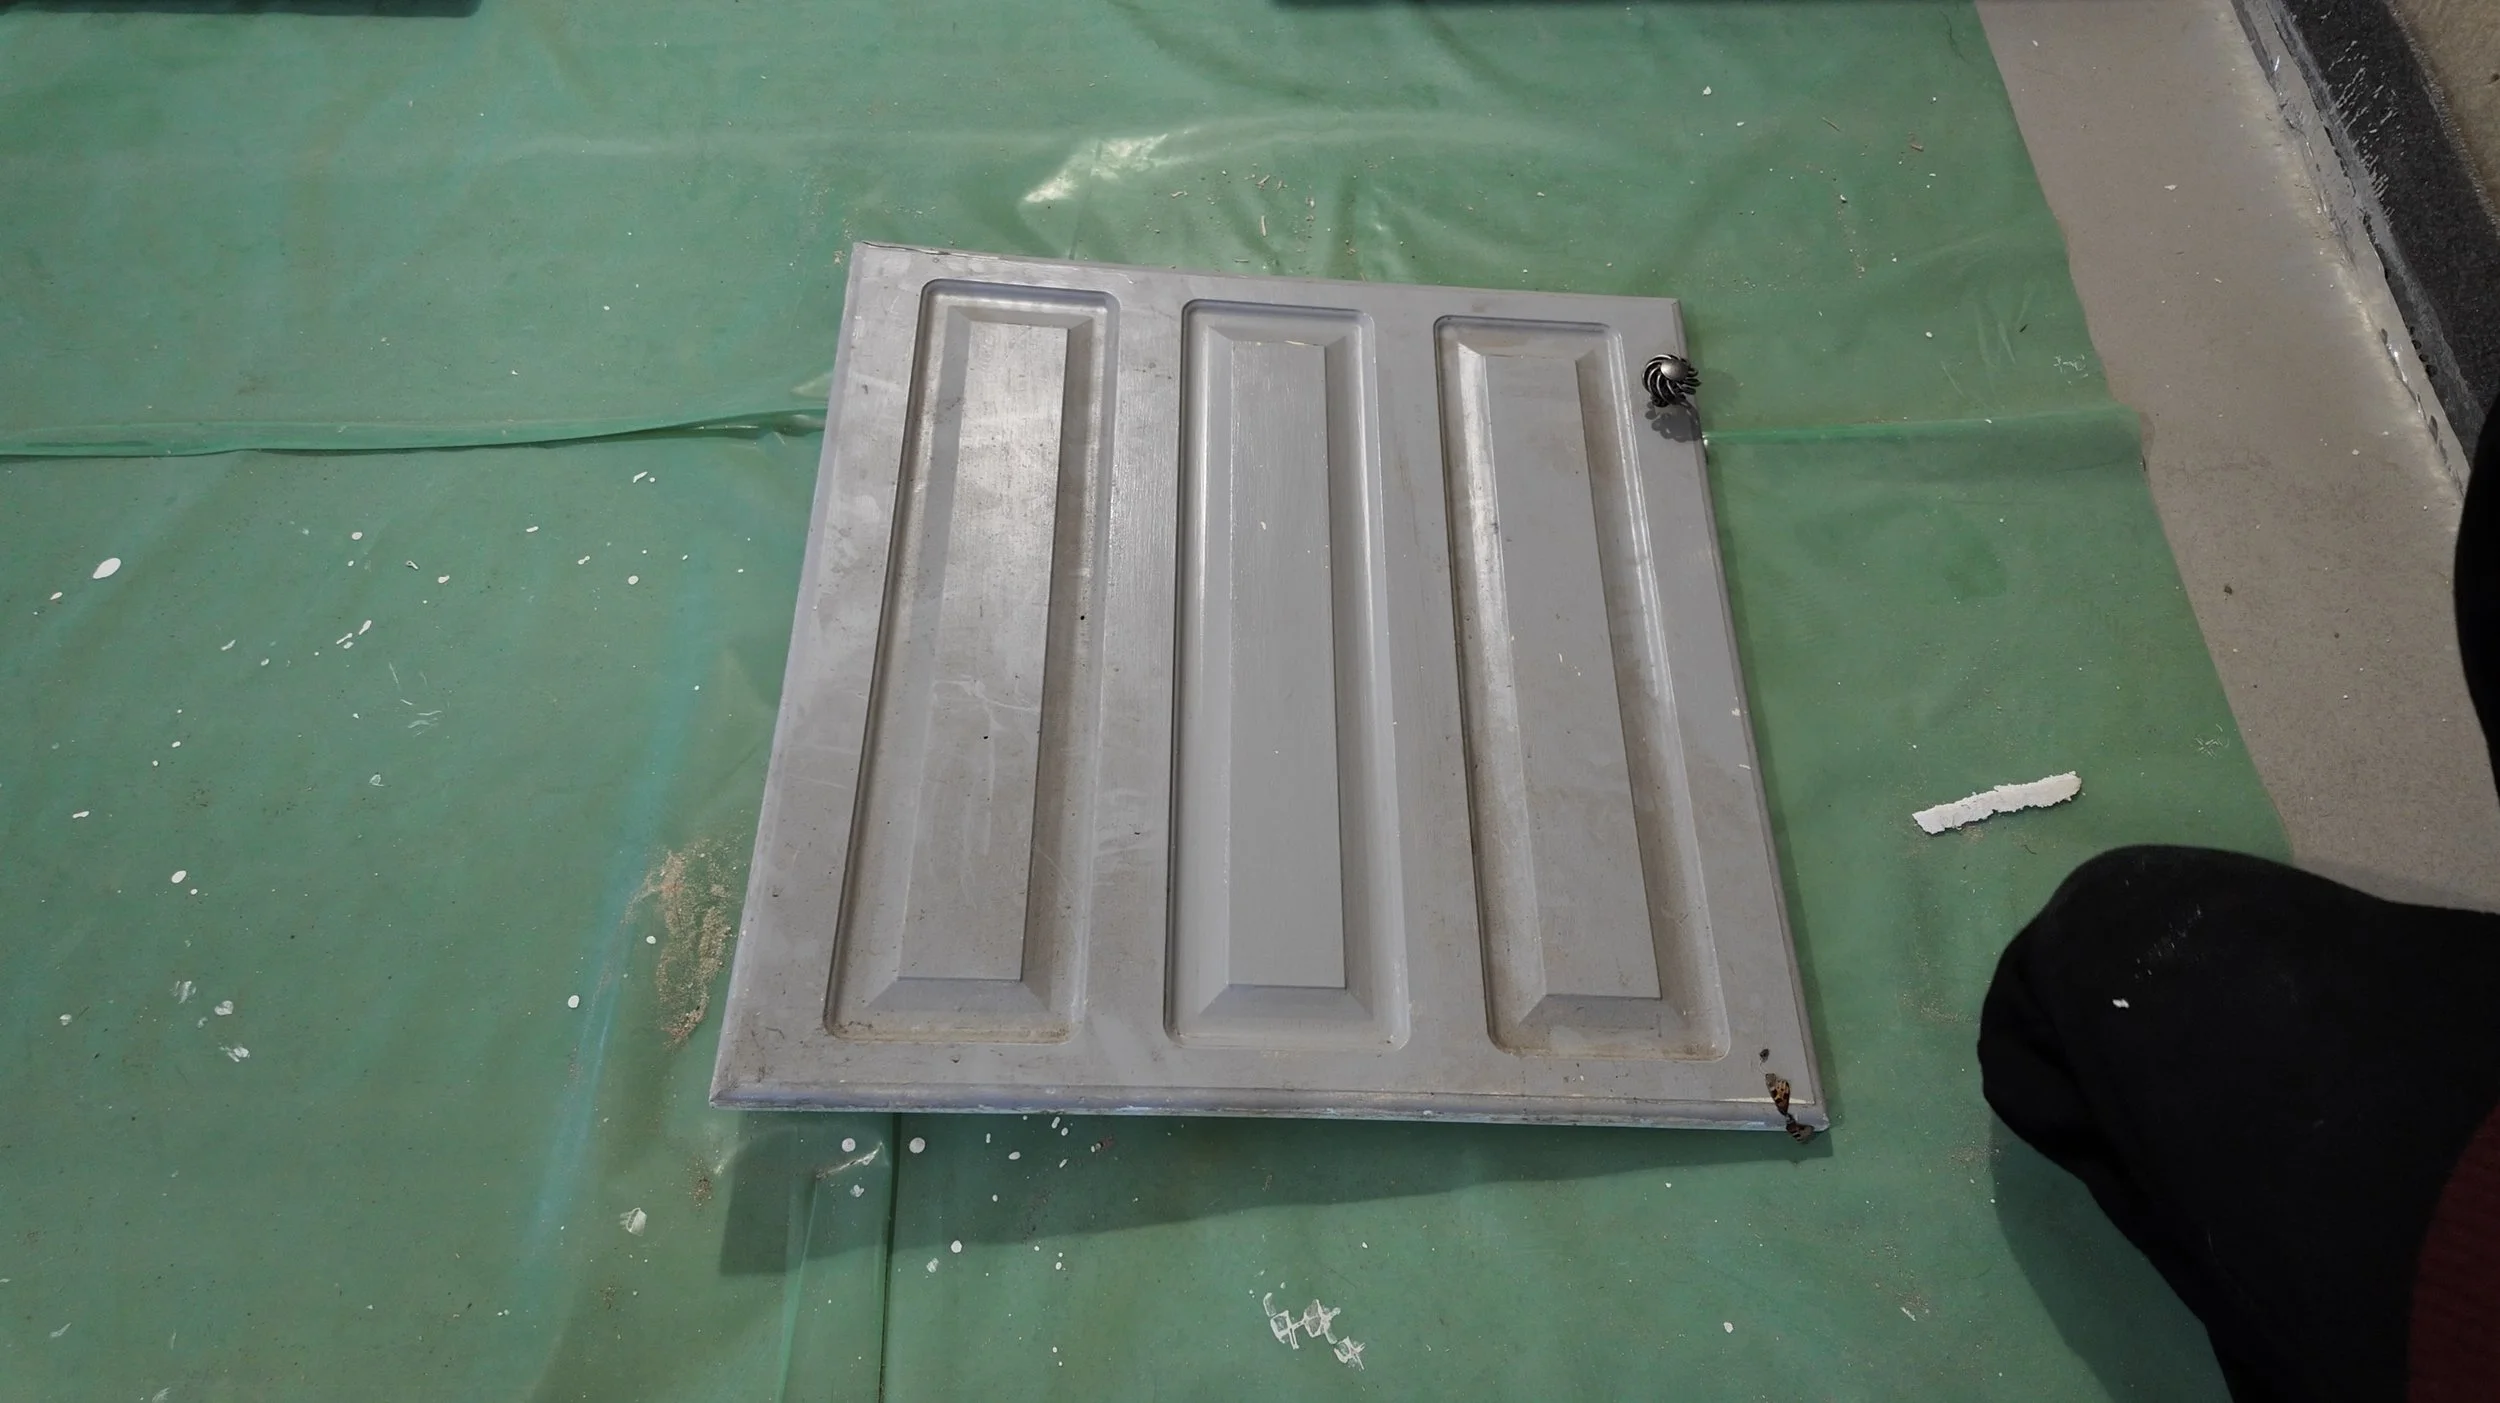
To strip kitchen cupboards and re-paint, you should:
Assess the current damage on the wrap. As you can see, these are knackered.
Remove the handles from the doors and pop them into the bin (not really, we have the bag if anyone wants them!)
Strip the vinyl wrap from the doors. Ours kinda fell off, but stubborn bits can be scraped back a bit with a scraper. Lightly sand the door, especially if it’s MDF.
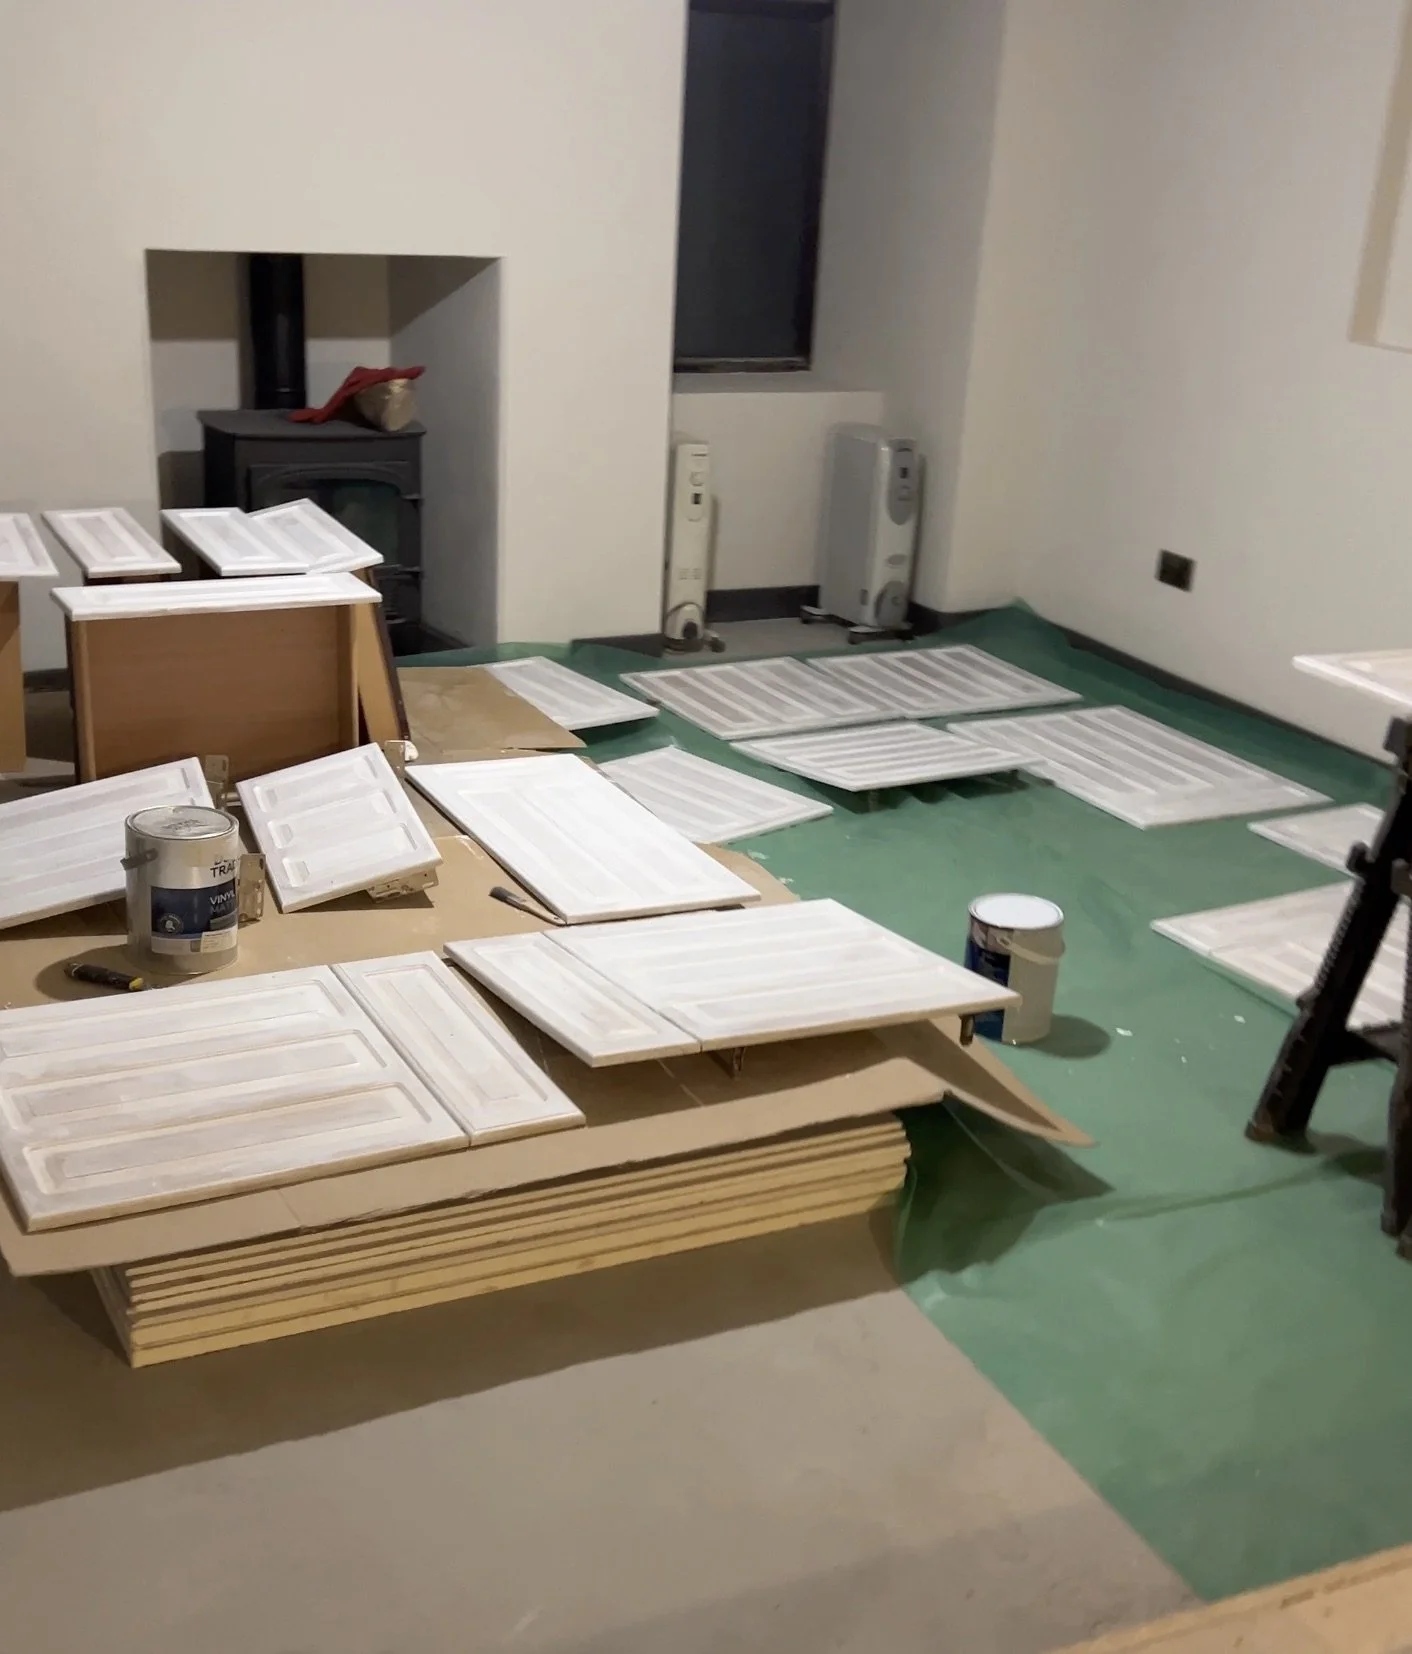
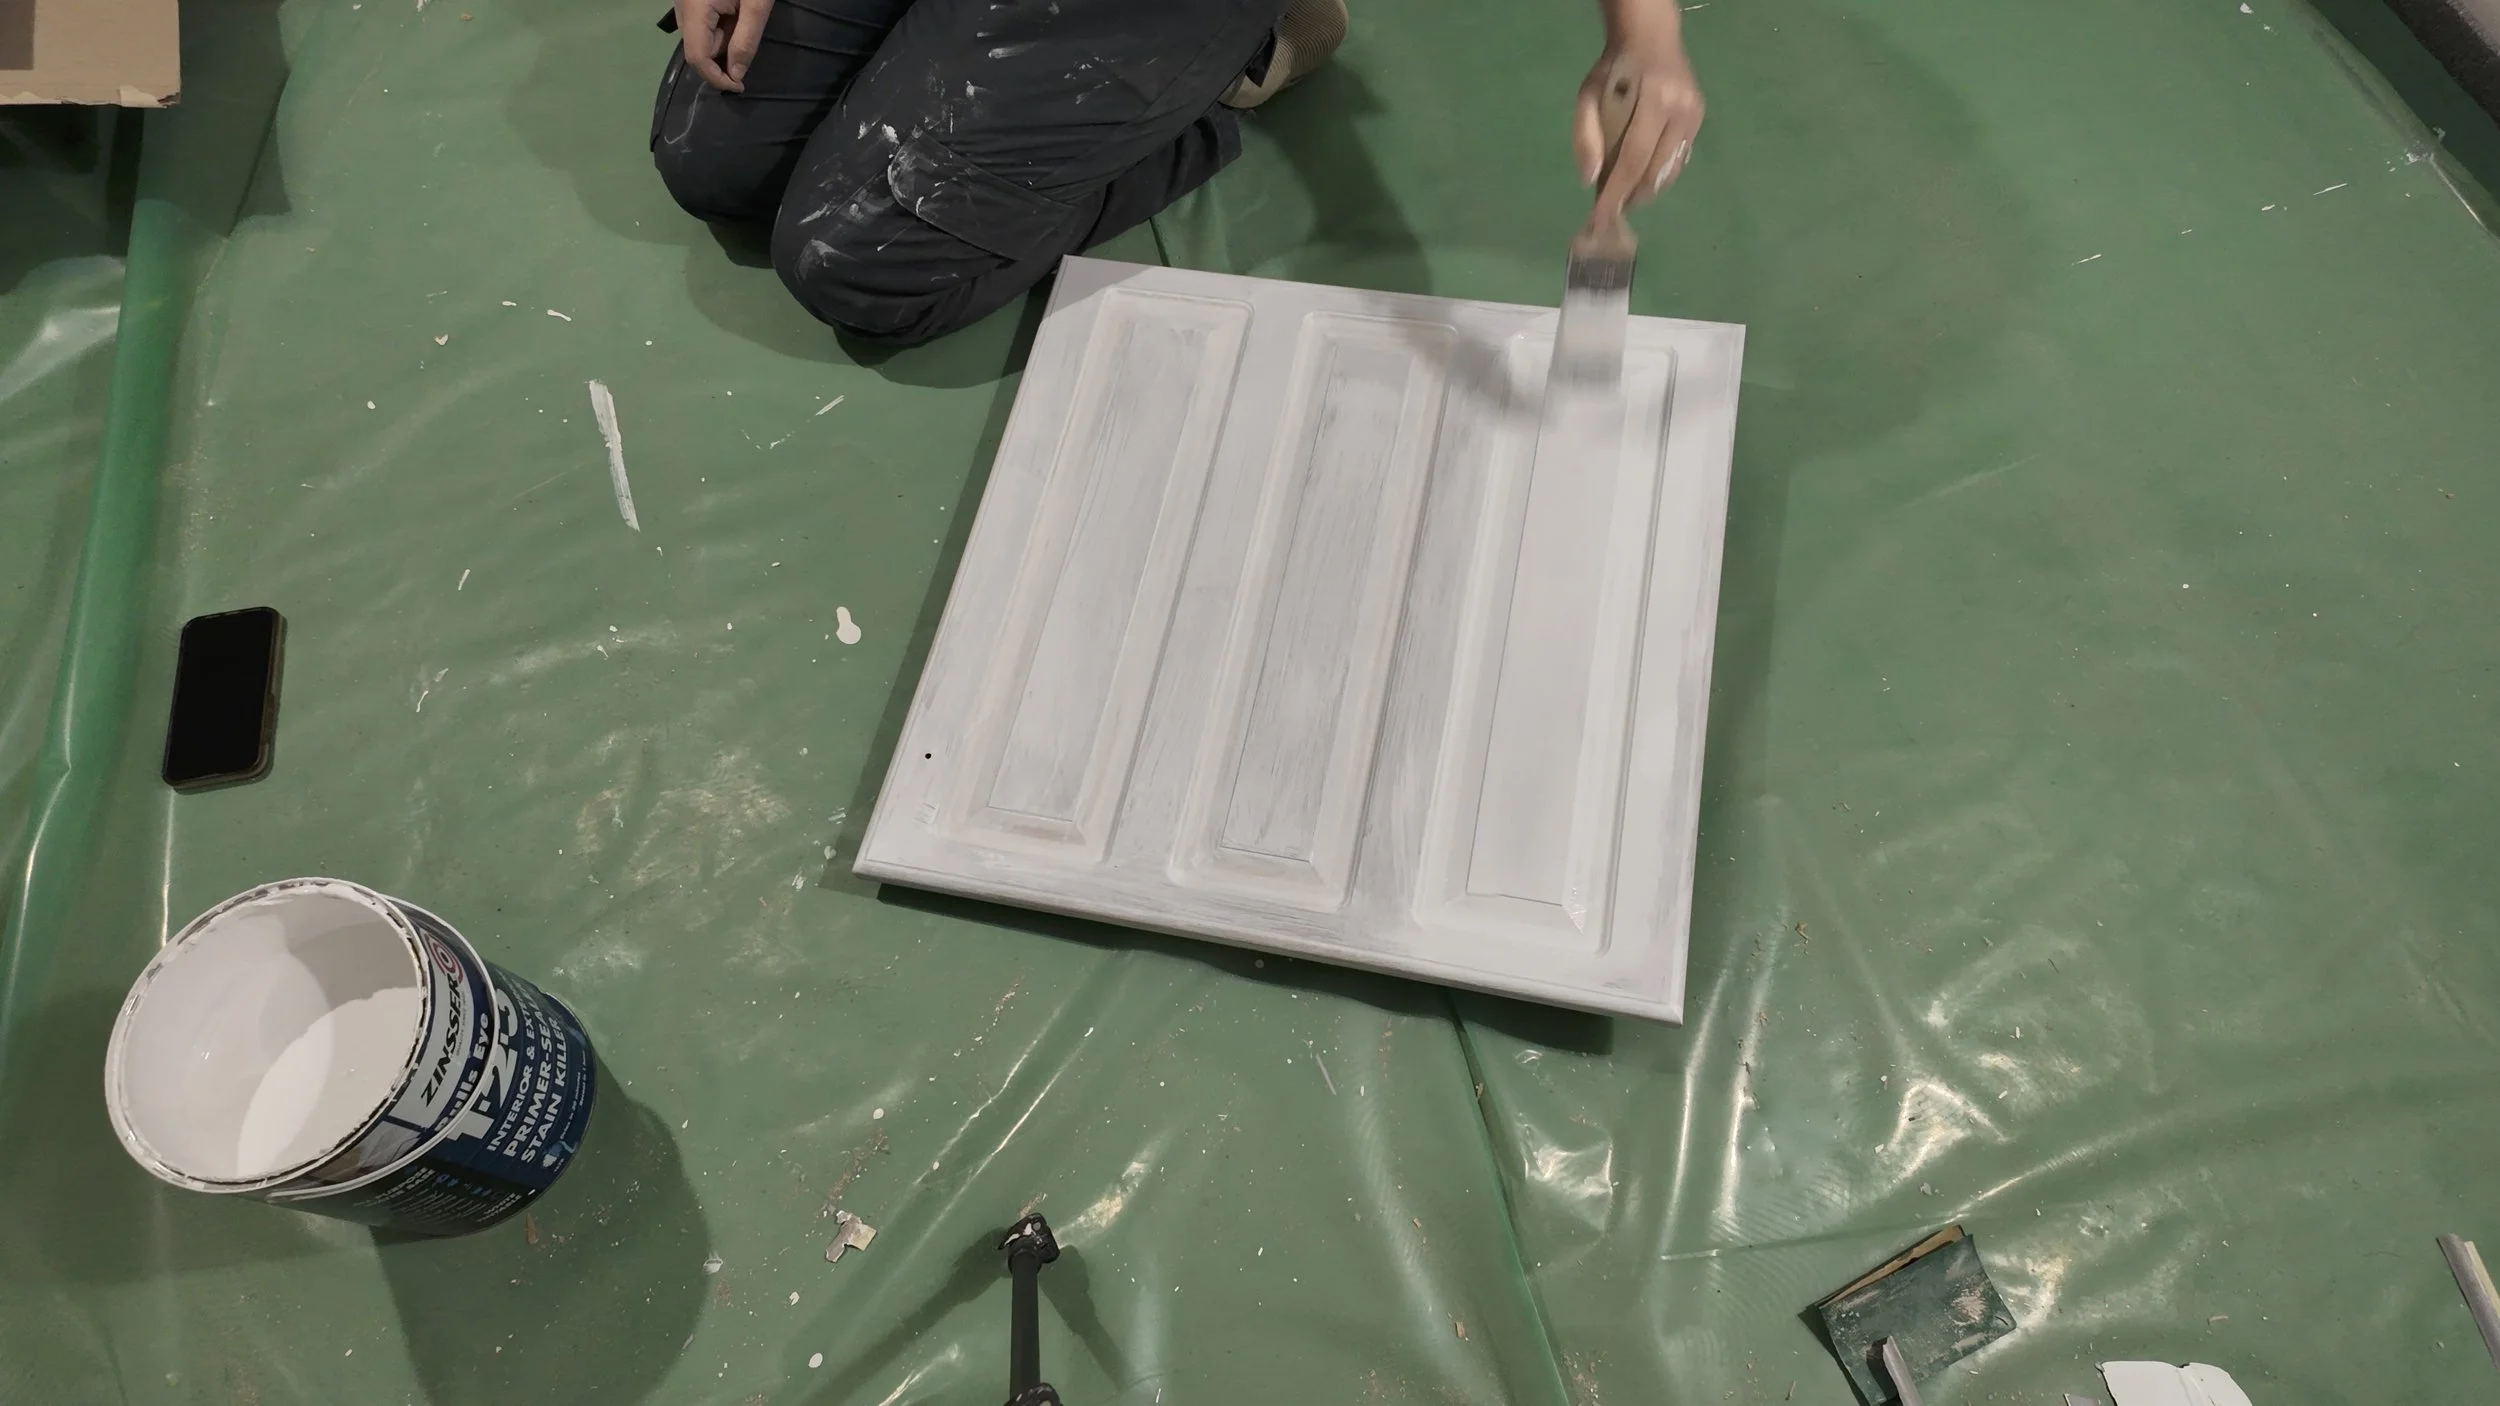
Prime the doors twice (we used Zinsser Bulls Eye 1-2-3 - it doesn’t smell anywhere near as bad as BIN, but it’s pricey!).
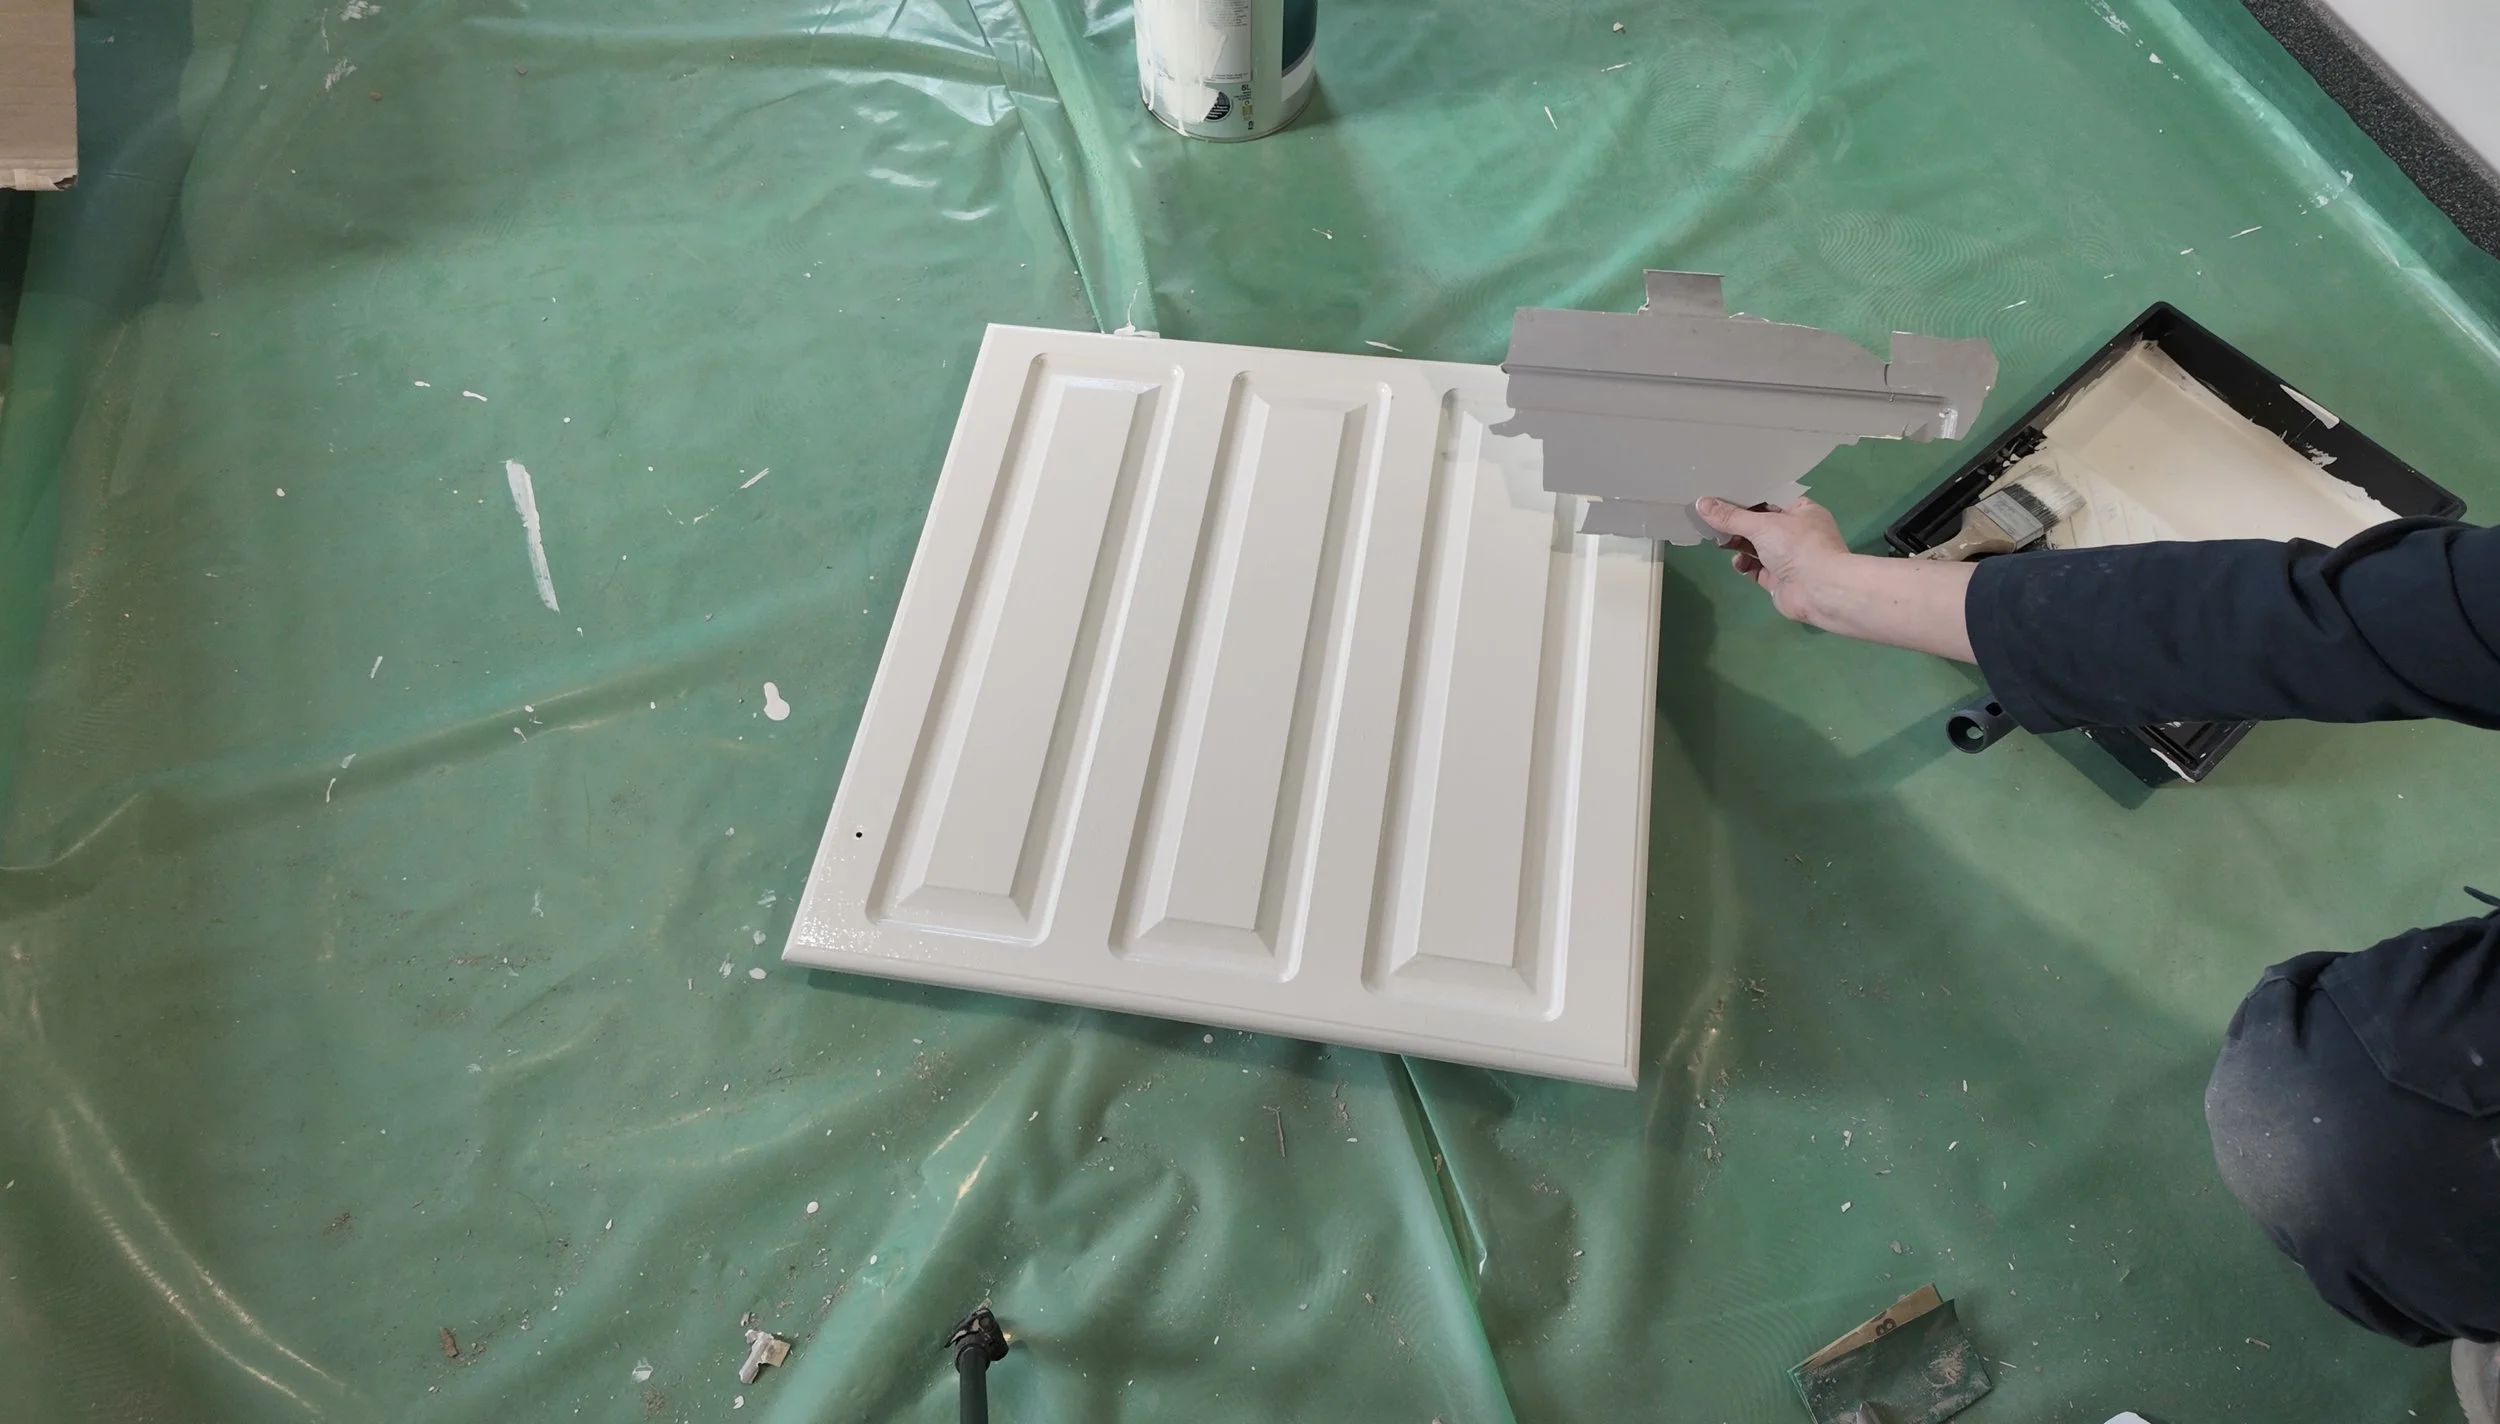
Paint the doors with your chosen paint. I went with satinwood for a very slight sheen rather than super matt or super glossy. Technically, gloss would have been harder-wearing.
Compare your new colour with your old colour, and smile.

Over in the kitchen, Karen did most of the heavy lifting with the carcass painting. With labradors in the room, lower bits were paused until I was flying solo though.
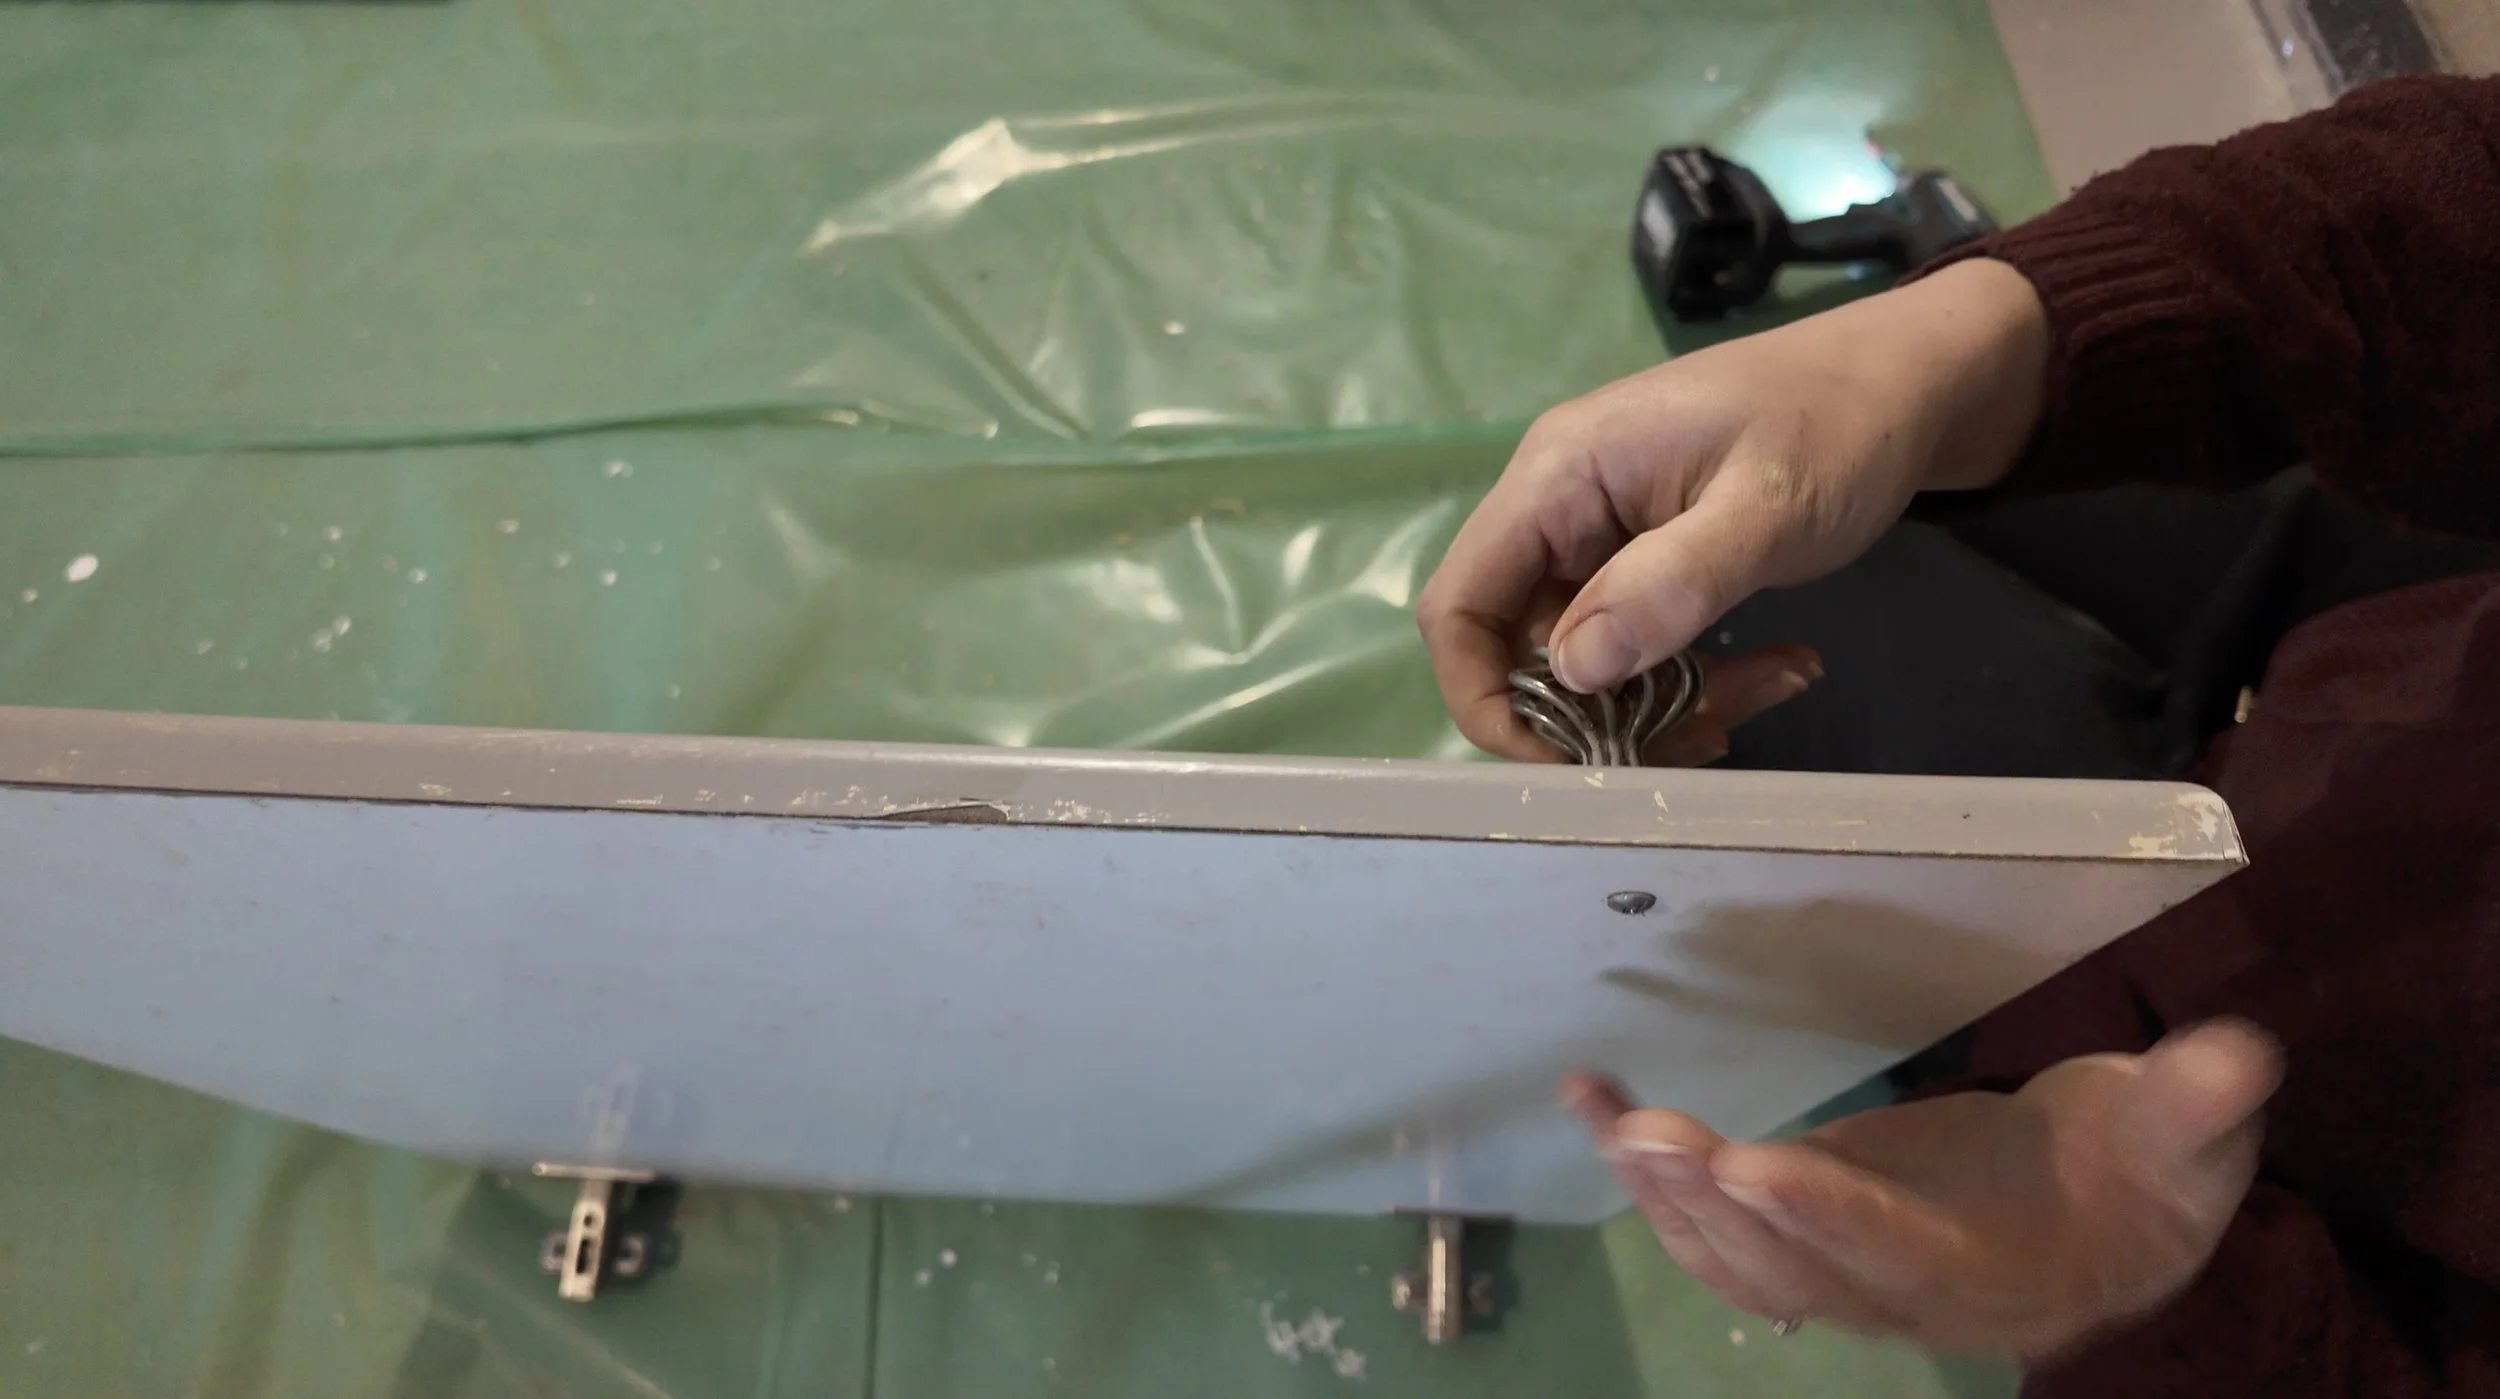
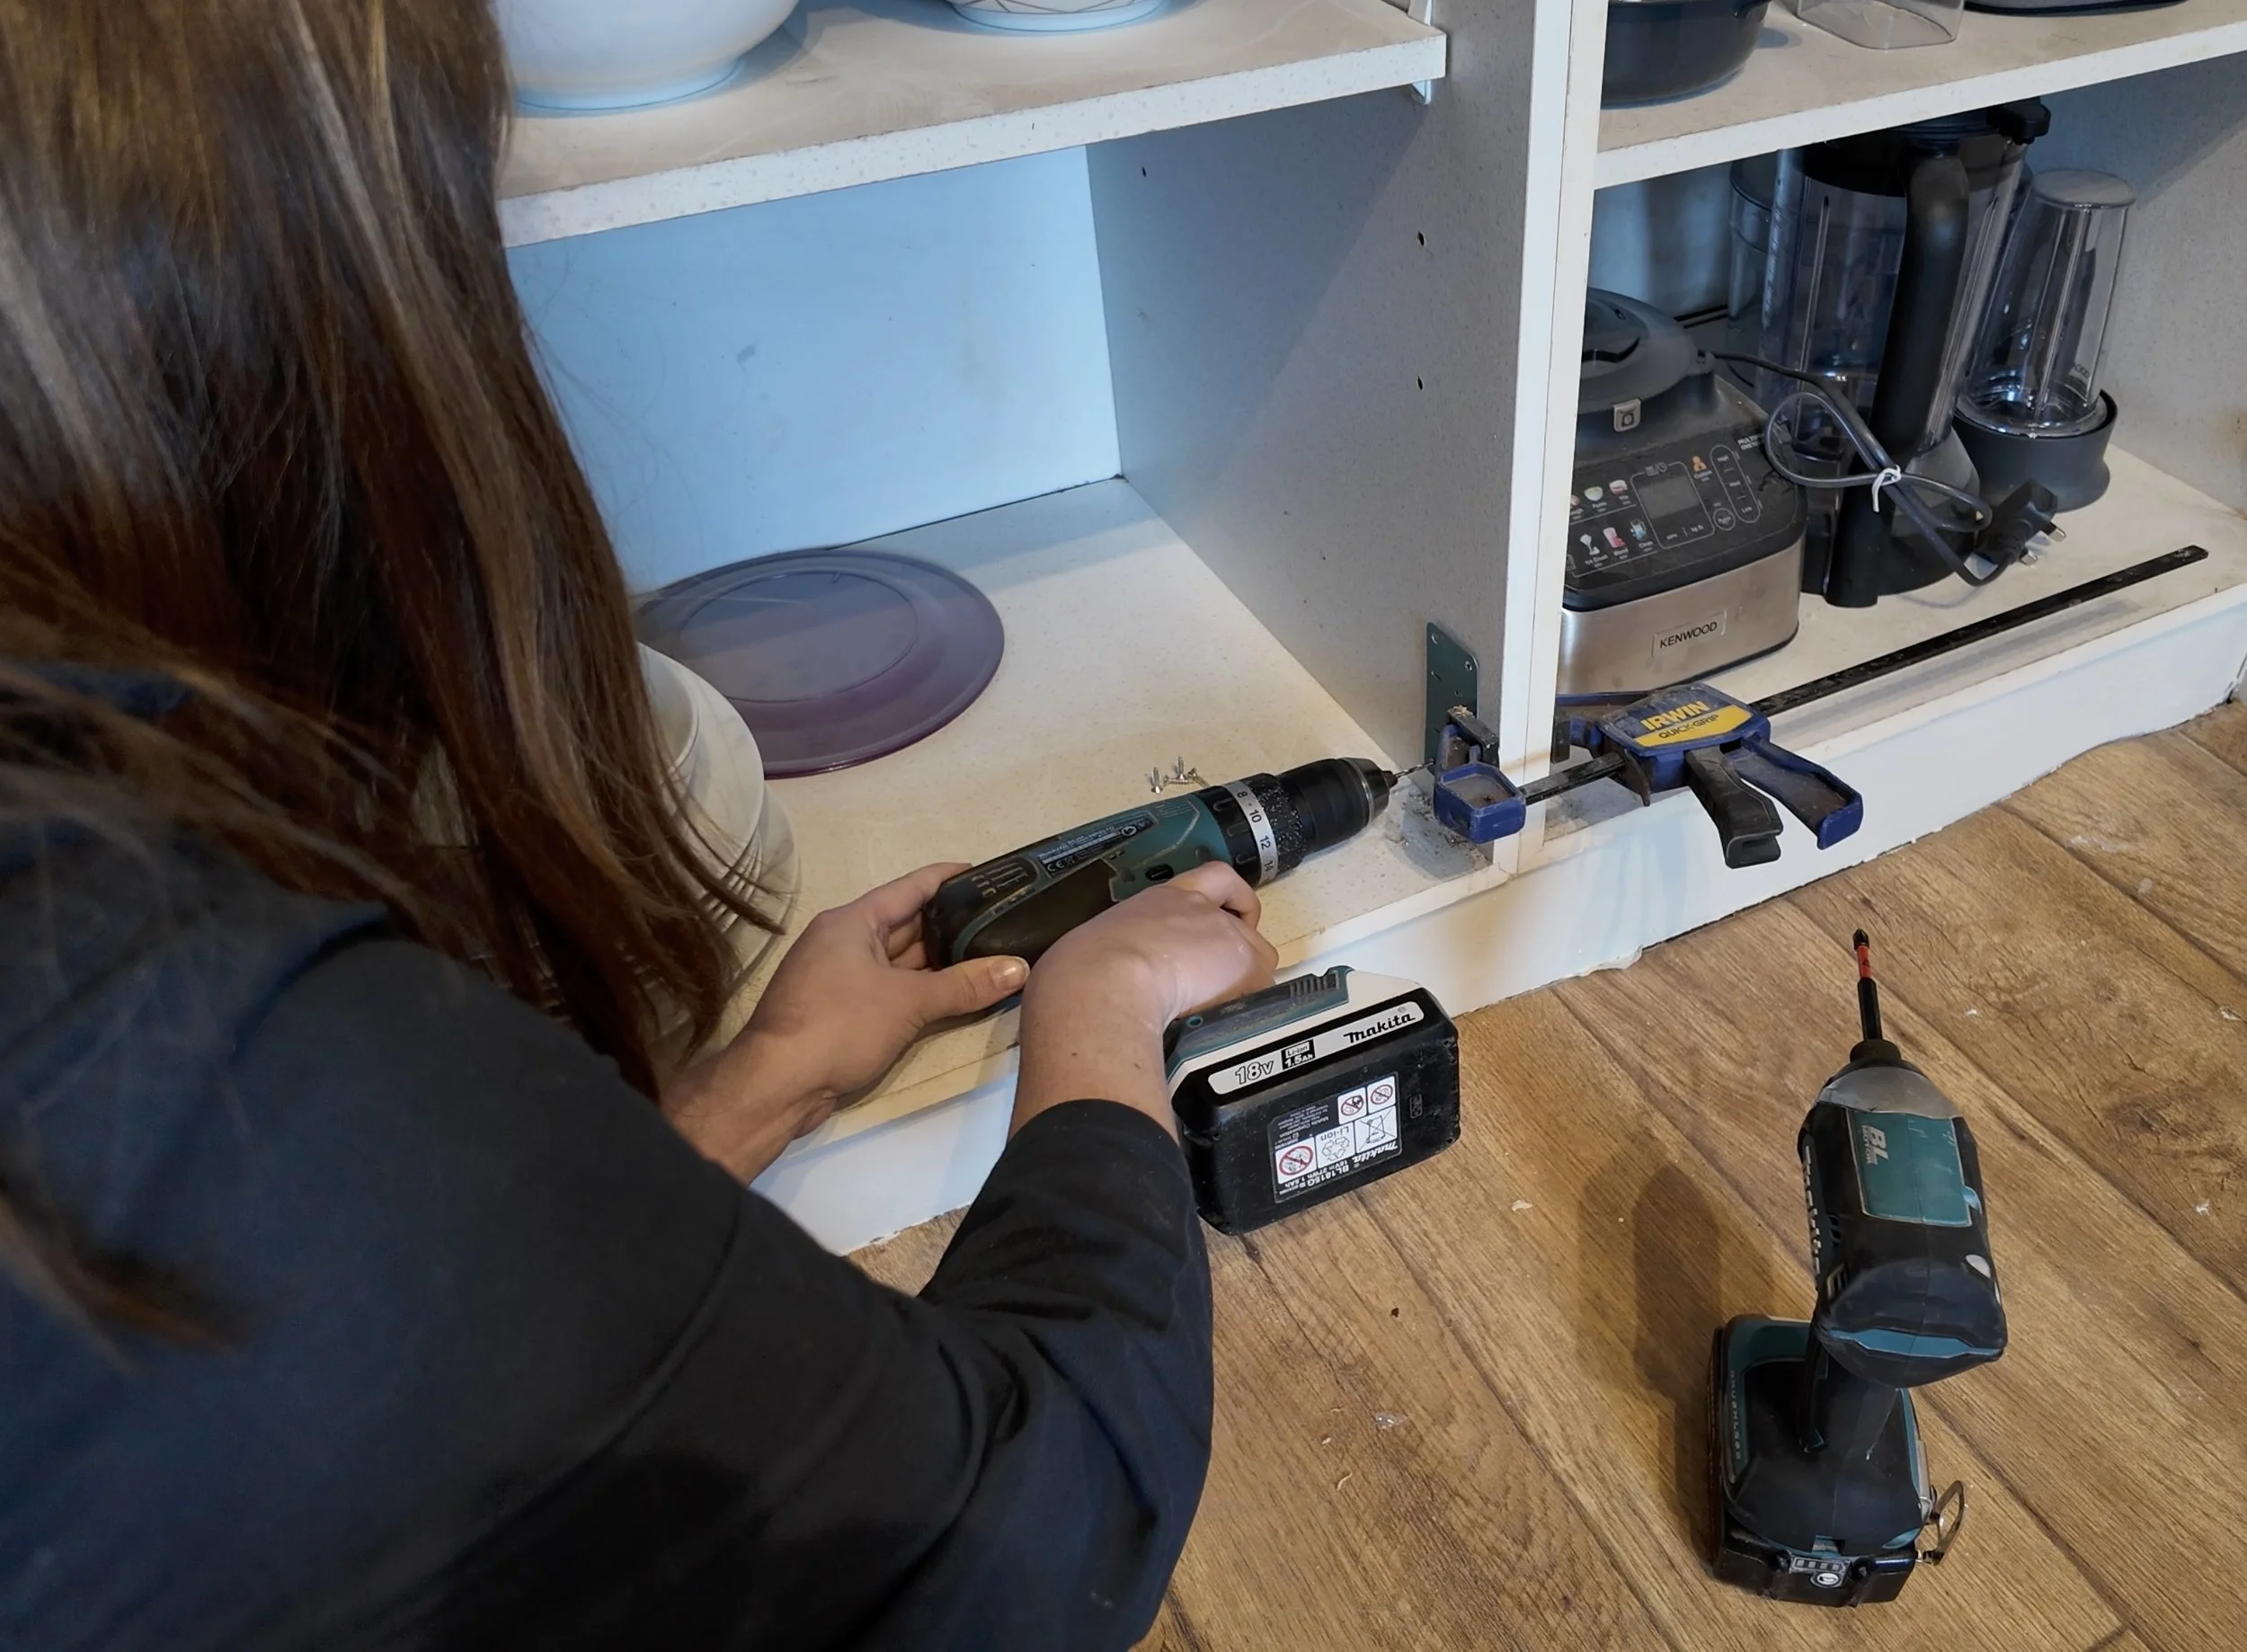
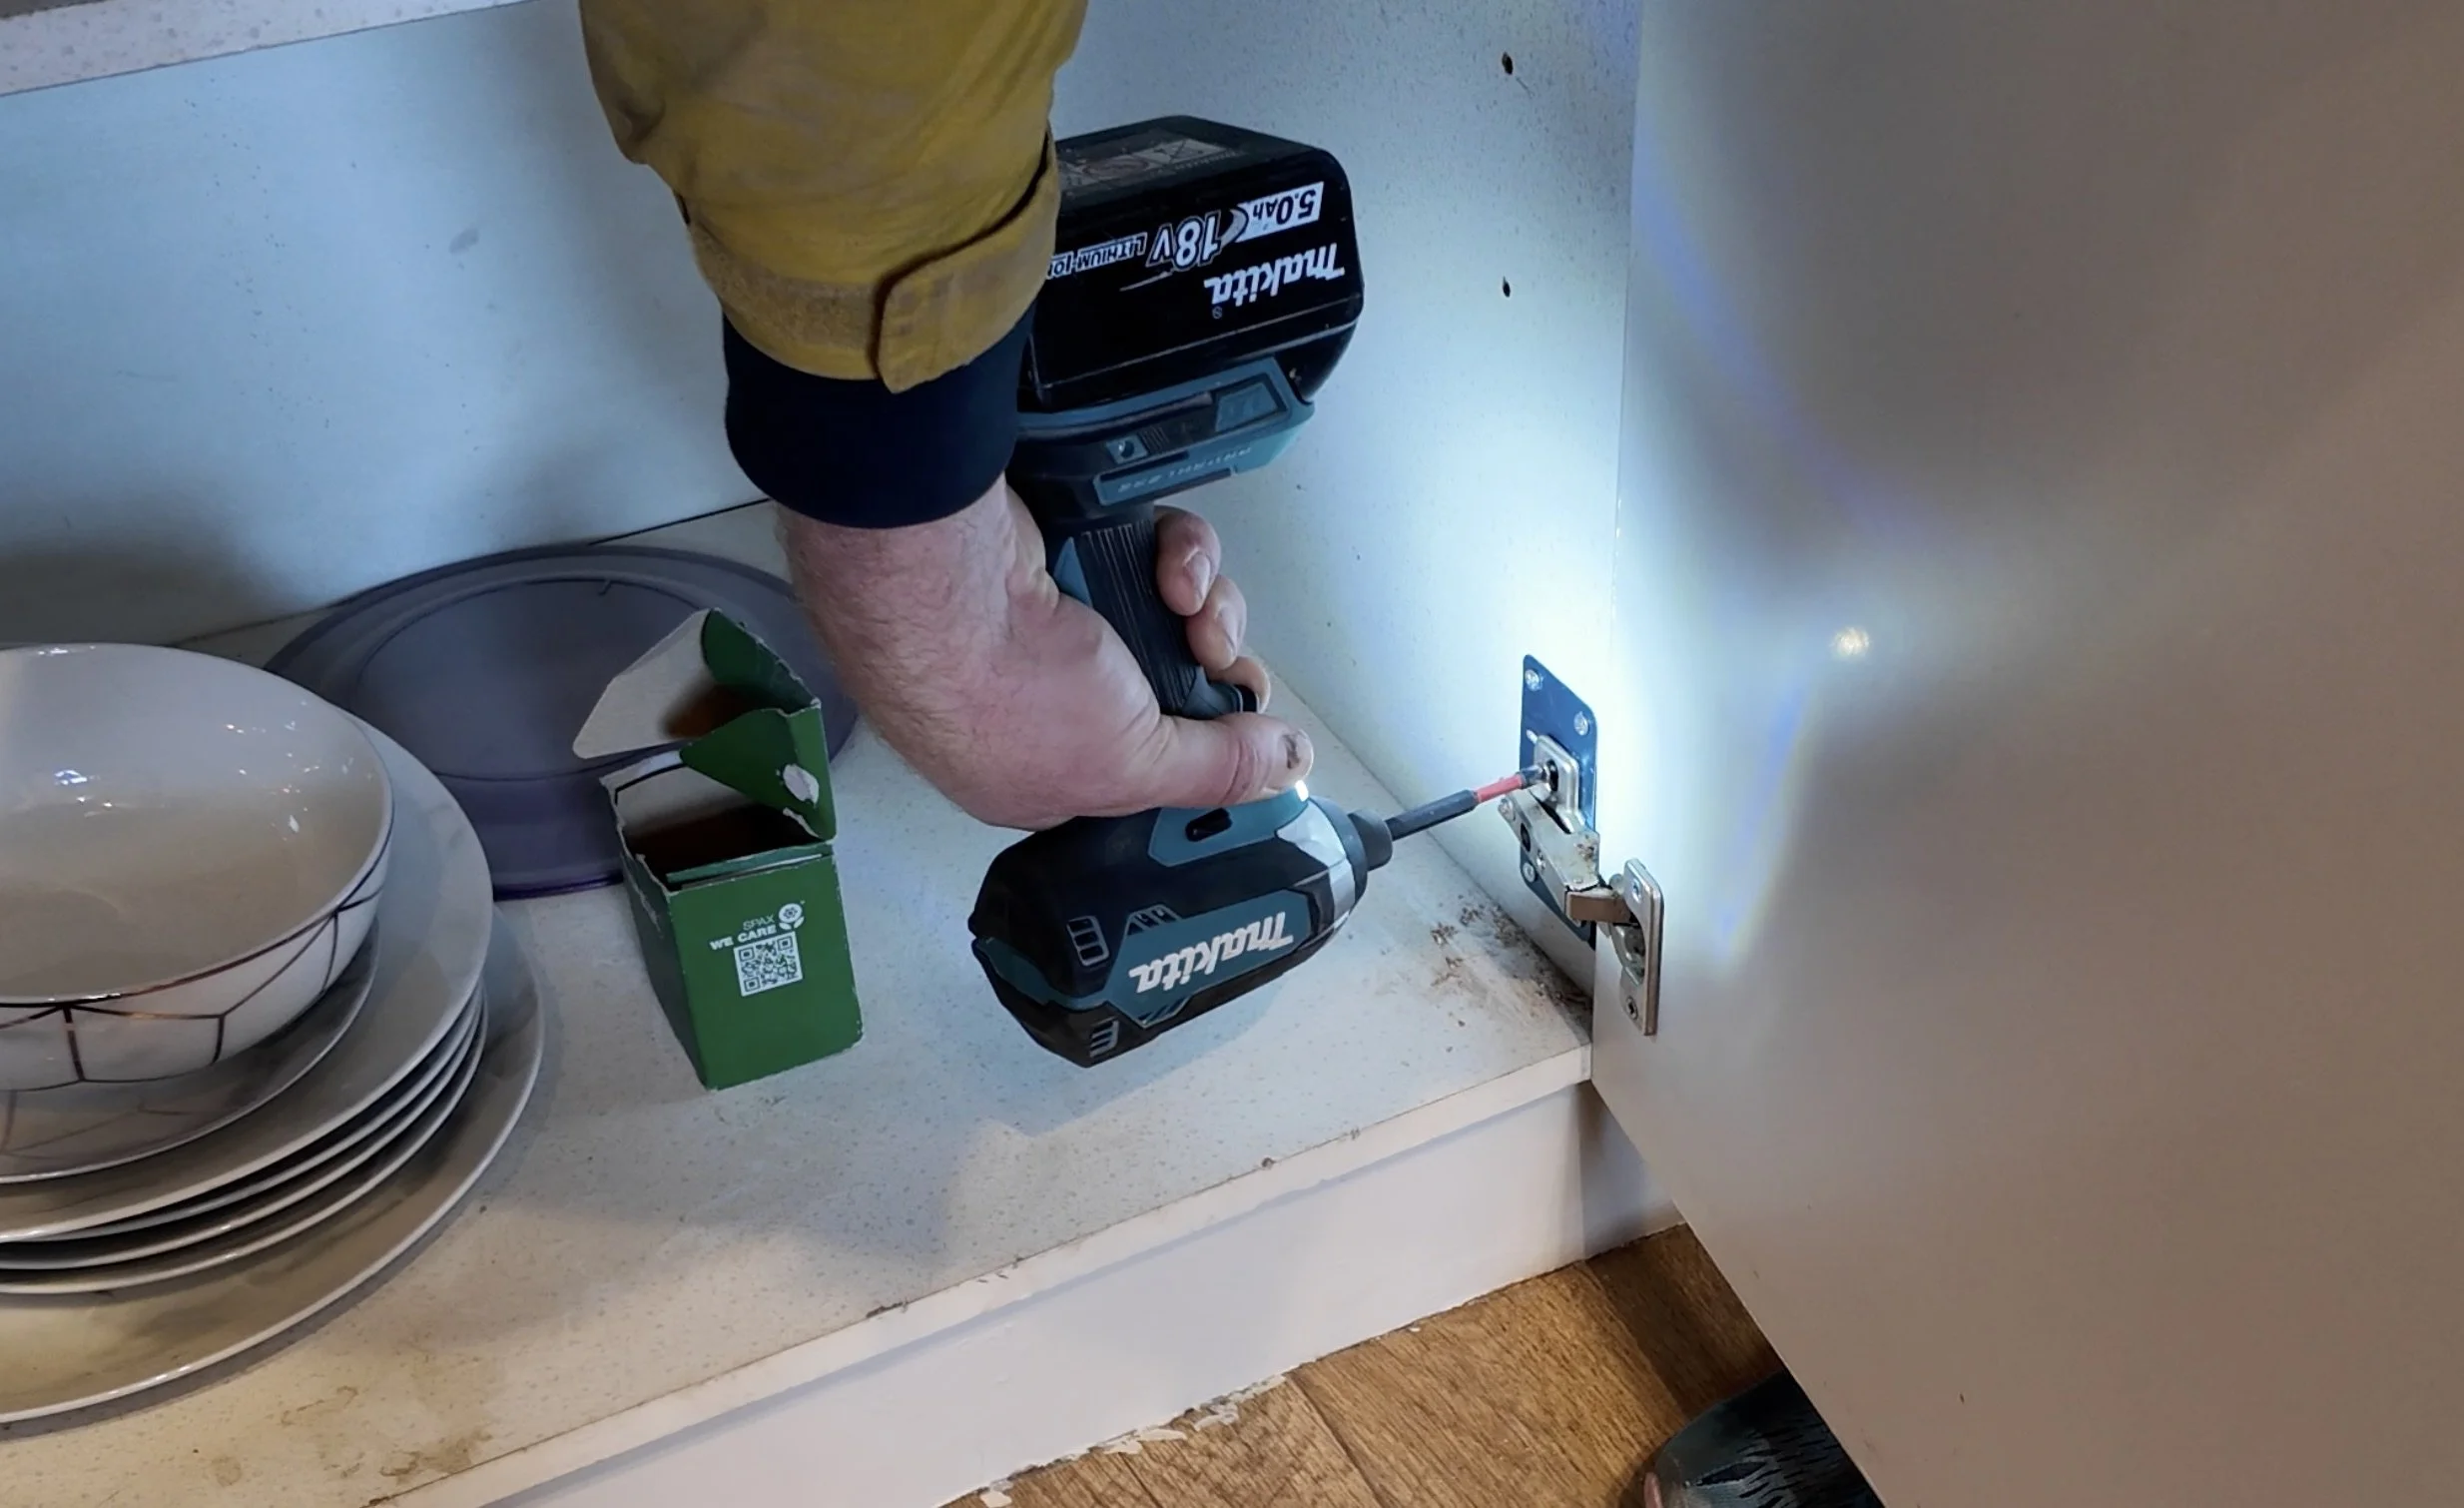
This week, I took over and finished up the rest of the woodwork after re-fitting the doors and adding a few handles (the rest are to follow). As you can see from image 3 below, there are a few doors that are not hung. This is because the hinges are totally shot - well, not the hinges, the carcass holes that once held them up. Another task for me (Dan helped for a few super tricky bits), was to fix these doors once and for all. I got some hinge repair plates and went through each door, replacing and reinforcing hinges until all were stable and re-hung.

By the end of the week, the kitchen looked almost put back together on the actual cupboards front. It’s just the ceiling, walls, fireplace fronts (Dan said it would be this week!), light fixtures (all around) and a few more handles to go. Then, this kitchen will be presentable once more. I’ve dug out a before photo of the kitchen, but it is important to remember that those walls were, in fact, very mouldy - right there behind the surprisingly wet wallpaper. Also, please note that all cupboards and contents of said cupboards have been thoroughly cleaned since those photos above ^^^
Here’s the before vs current - the rest will come quickly now, trust me!


There was a question previously about the peeling ceiling. As you can see in those photos from before, the ceiling is intact. So what happened to make it all peel off? Well, the room was very wet, with water on the floor and every surface damp as heck. When all that water dried up, the swollen things shrank back to pre-wet size, including the boards above. For the vinyl paint, however, the shrinking was too much to bear, so it cracked, hence the peeling. The same is true of the cupboard doors, which are warped, but definitely usable!
Again, very happy with the hardware choices in here for a bit of a refresh. Huge thanks to Karen and Dad for all their help!
Alright, so doors and kitchen cupboards aside, Dan was elsewhere.
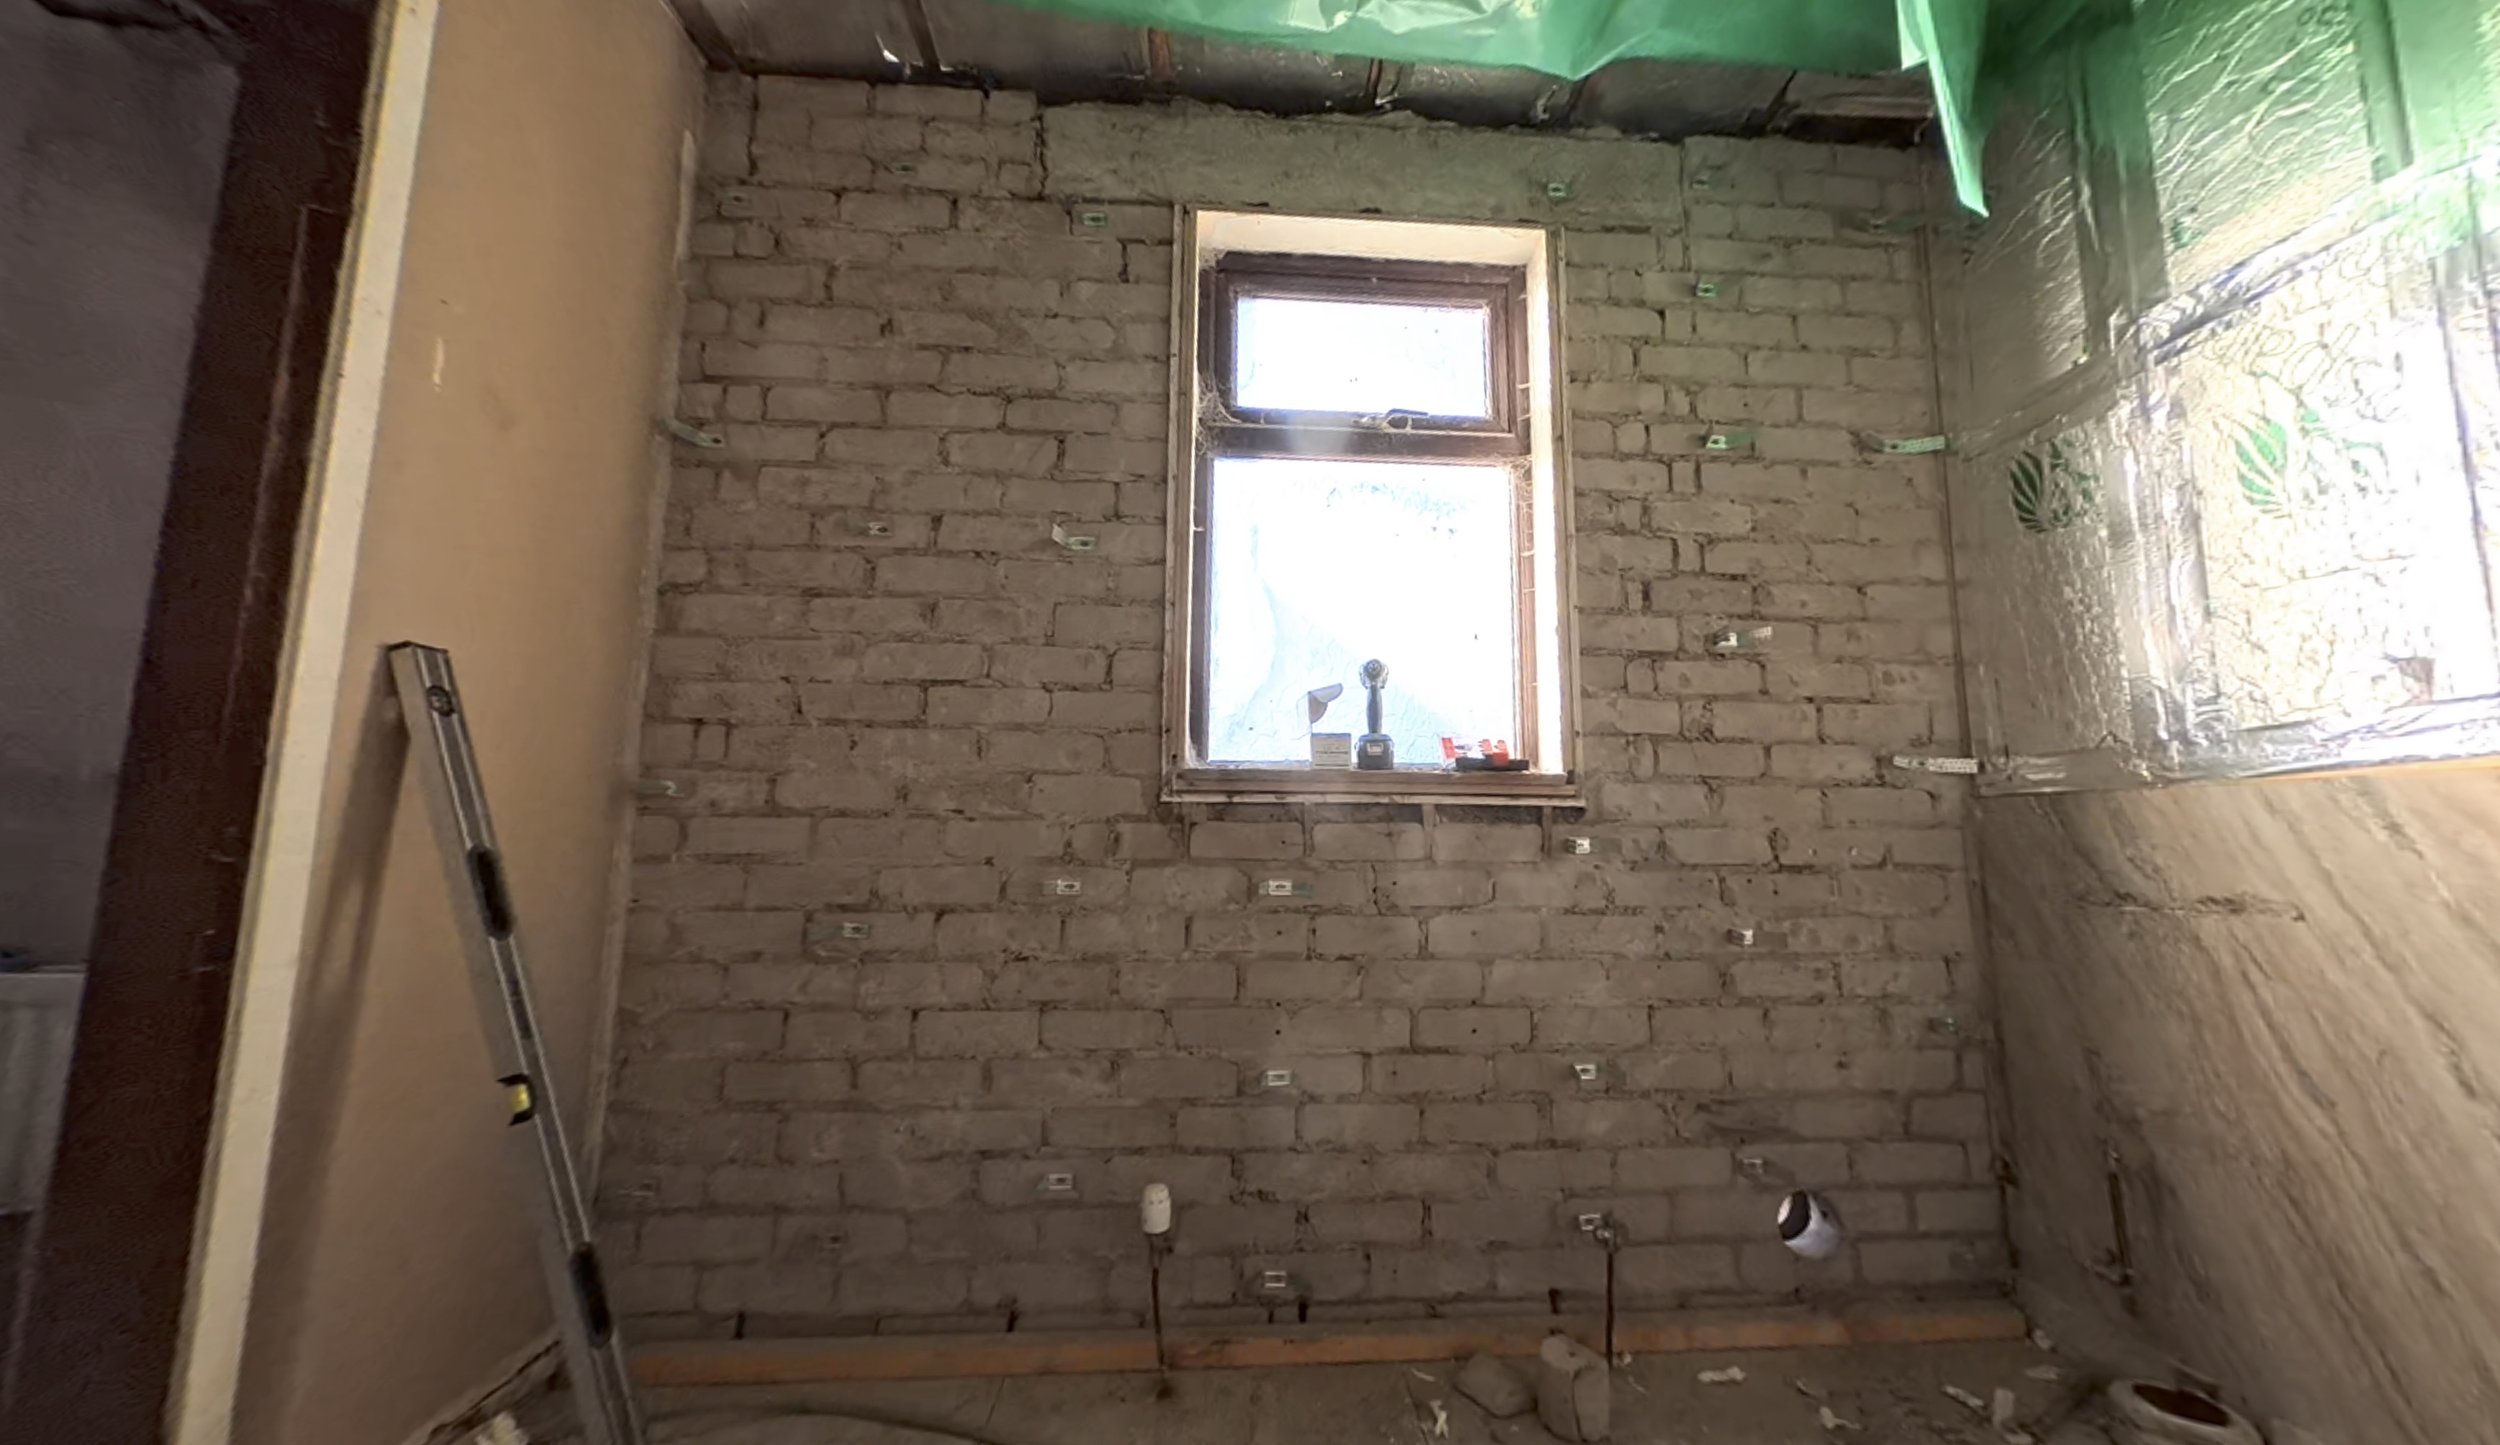
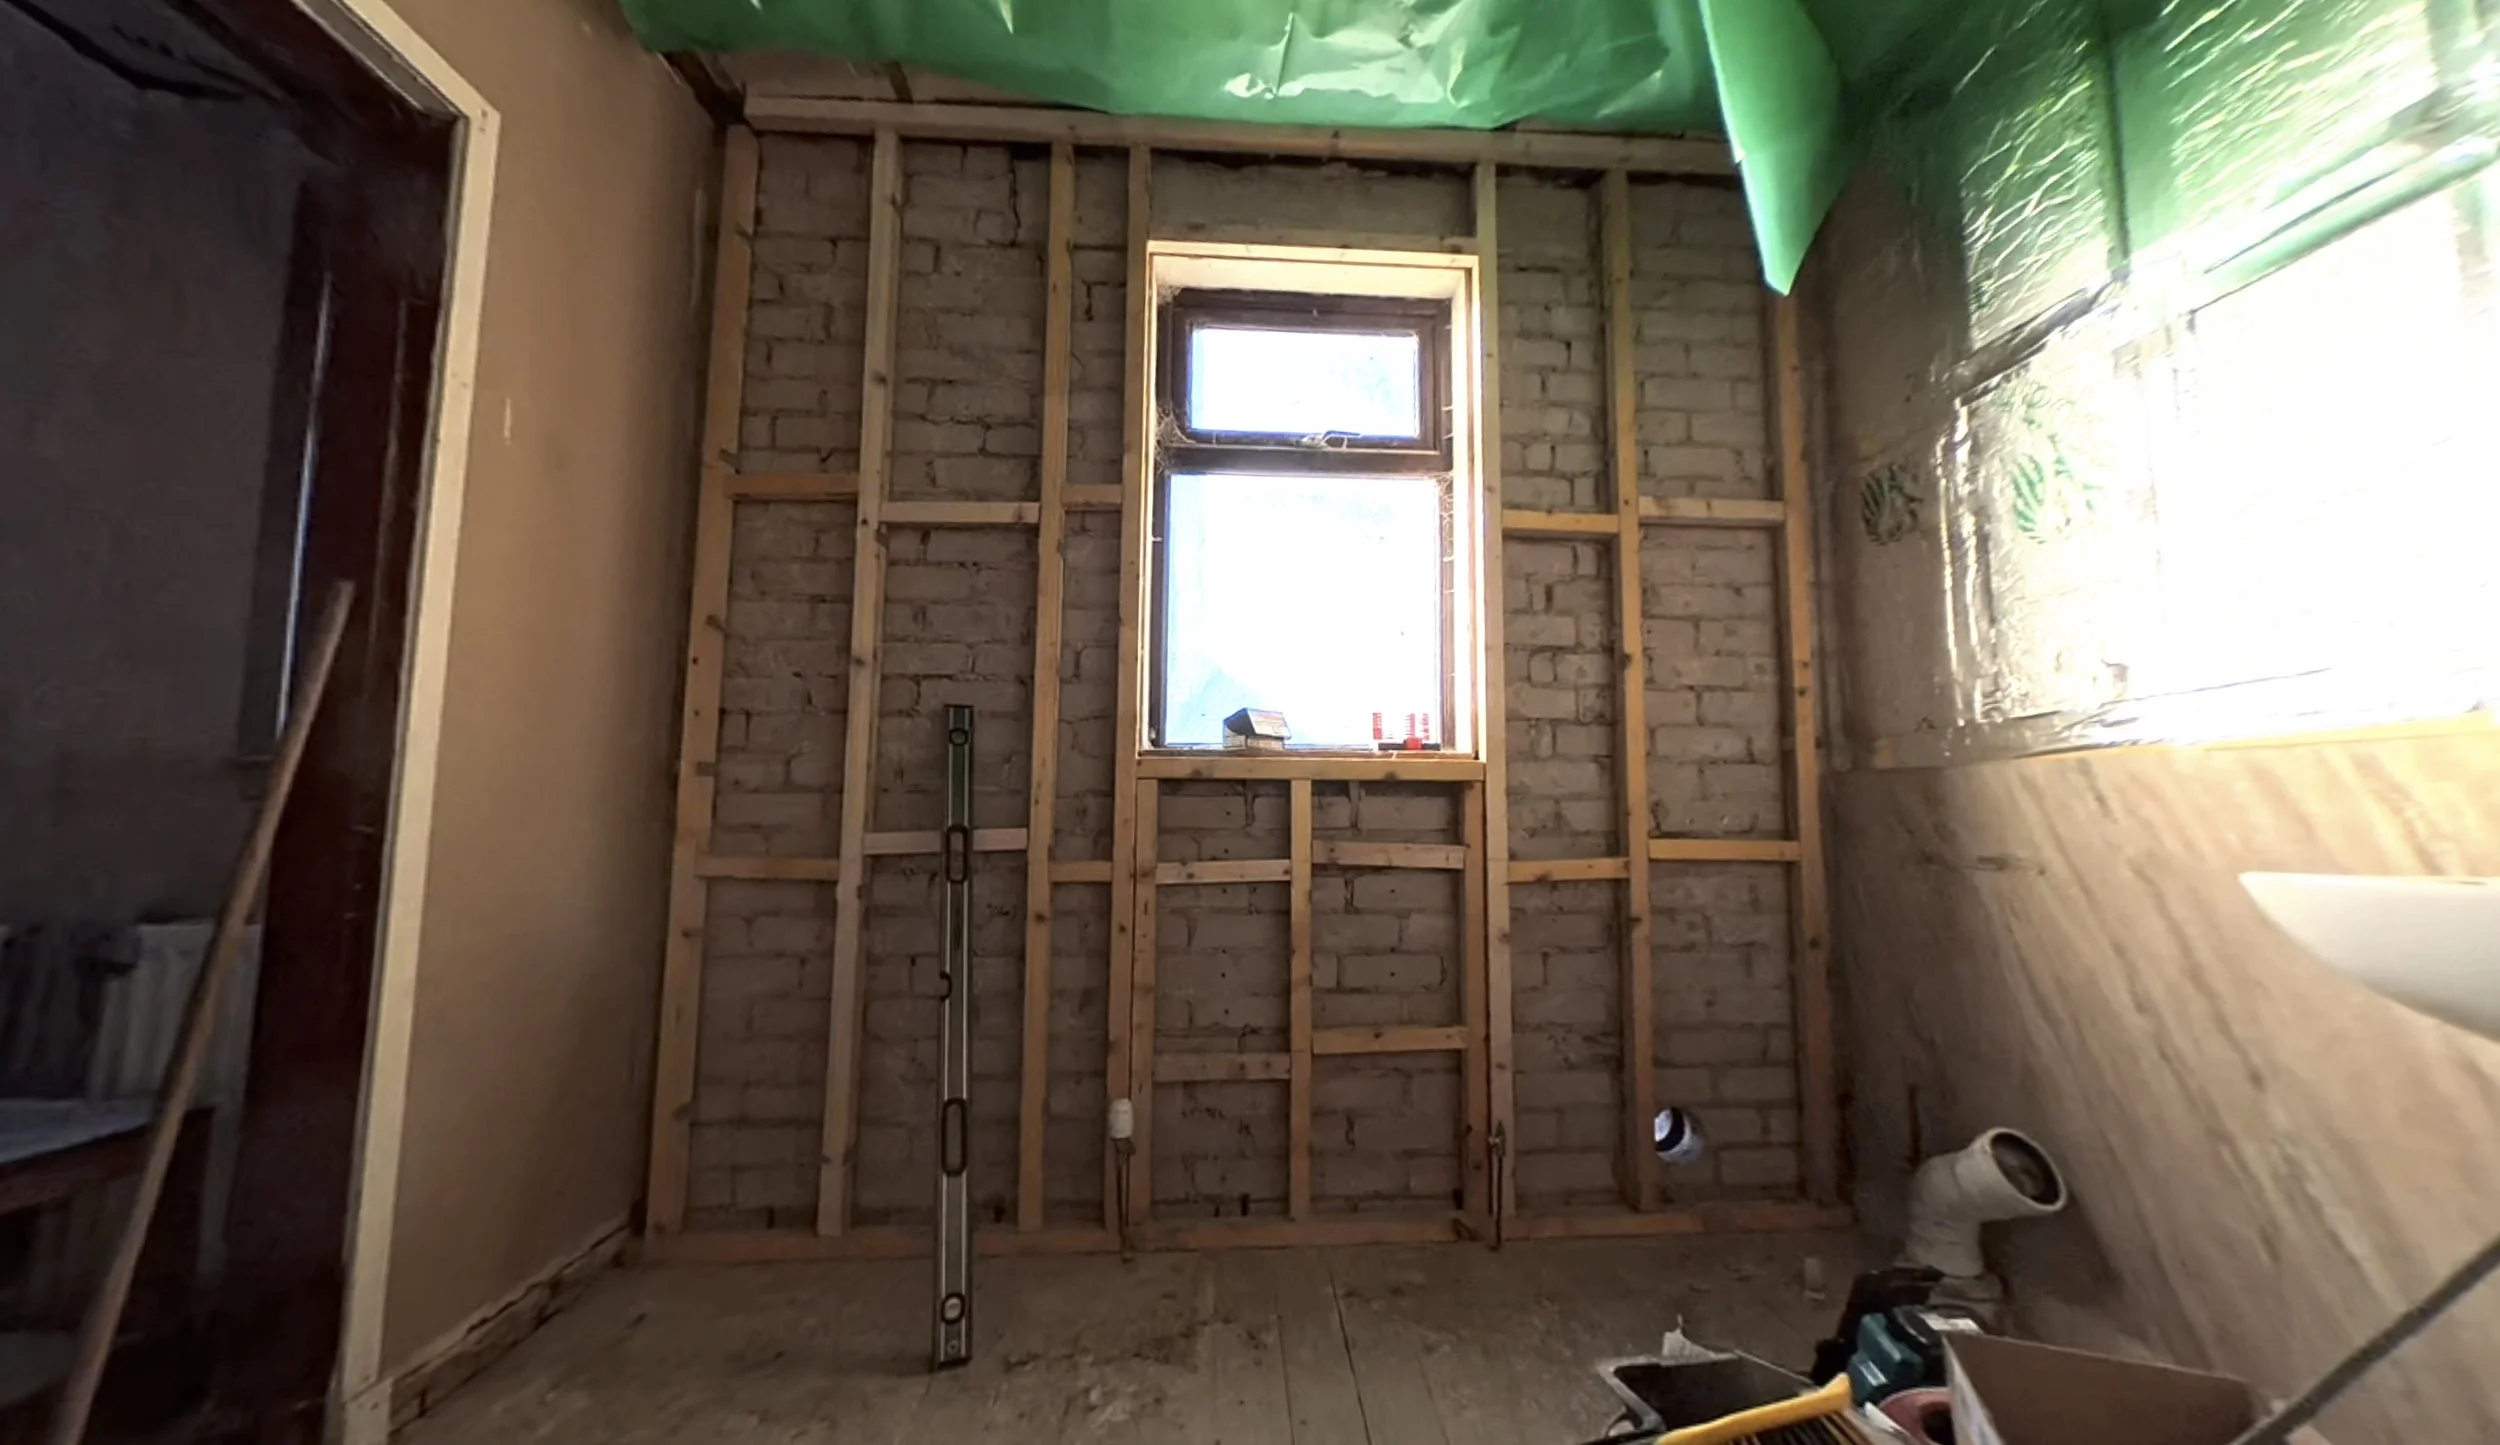
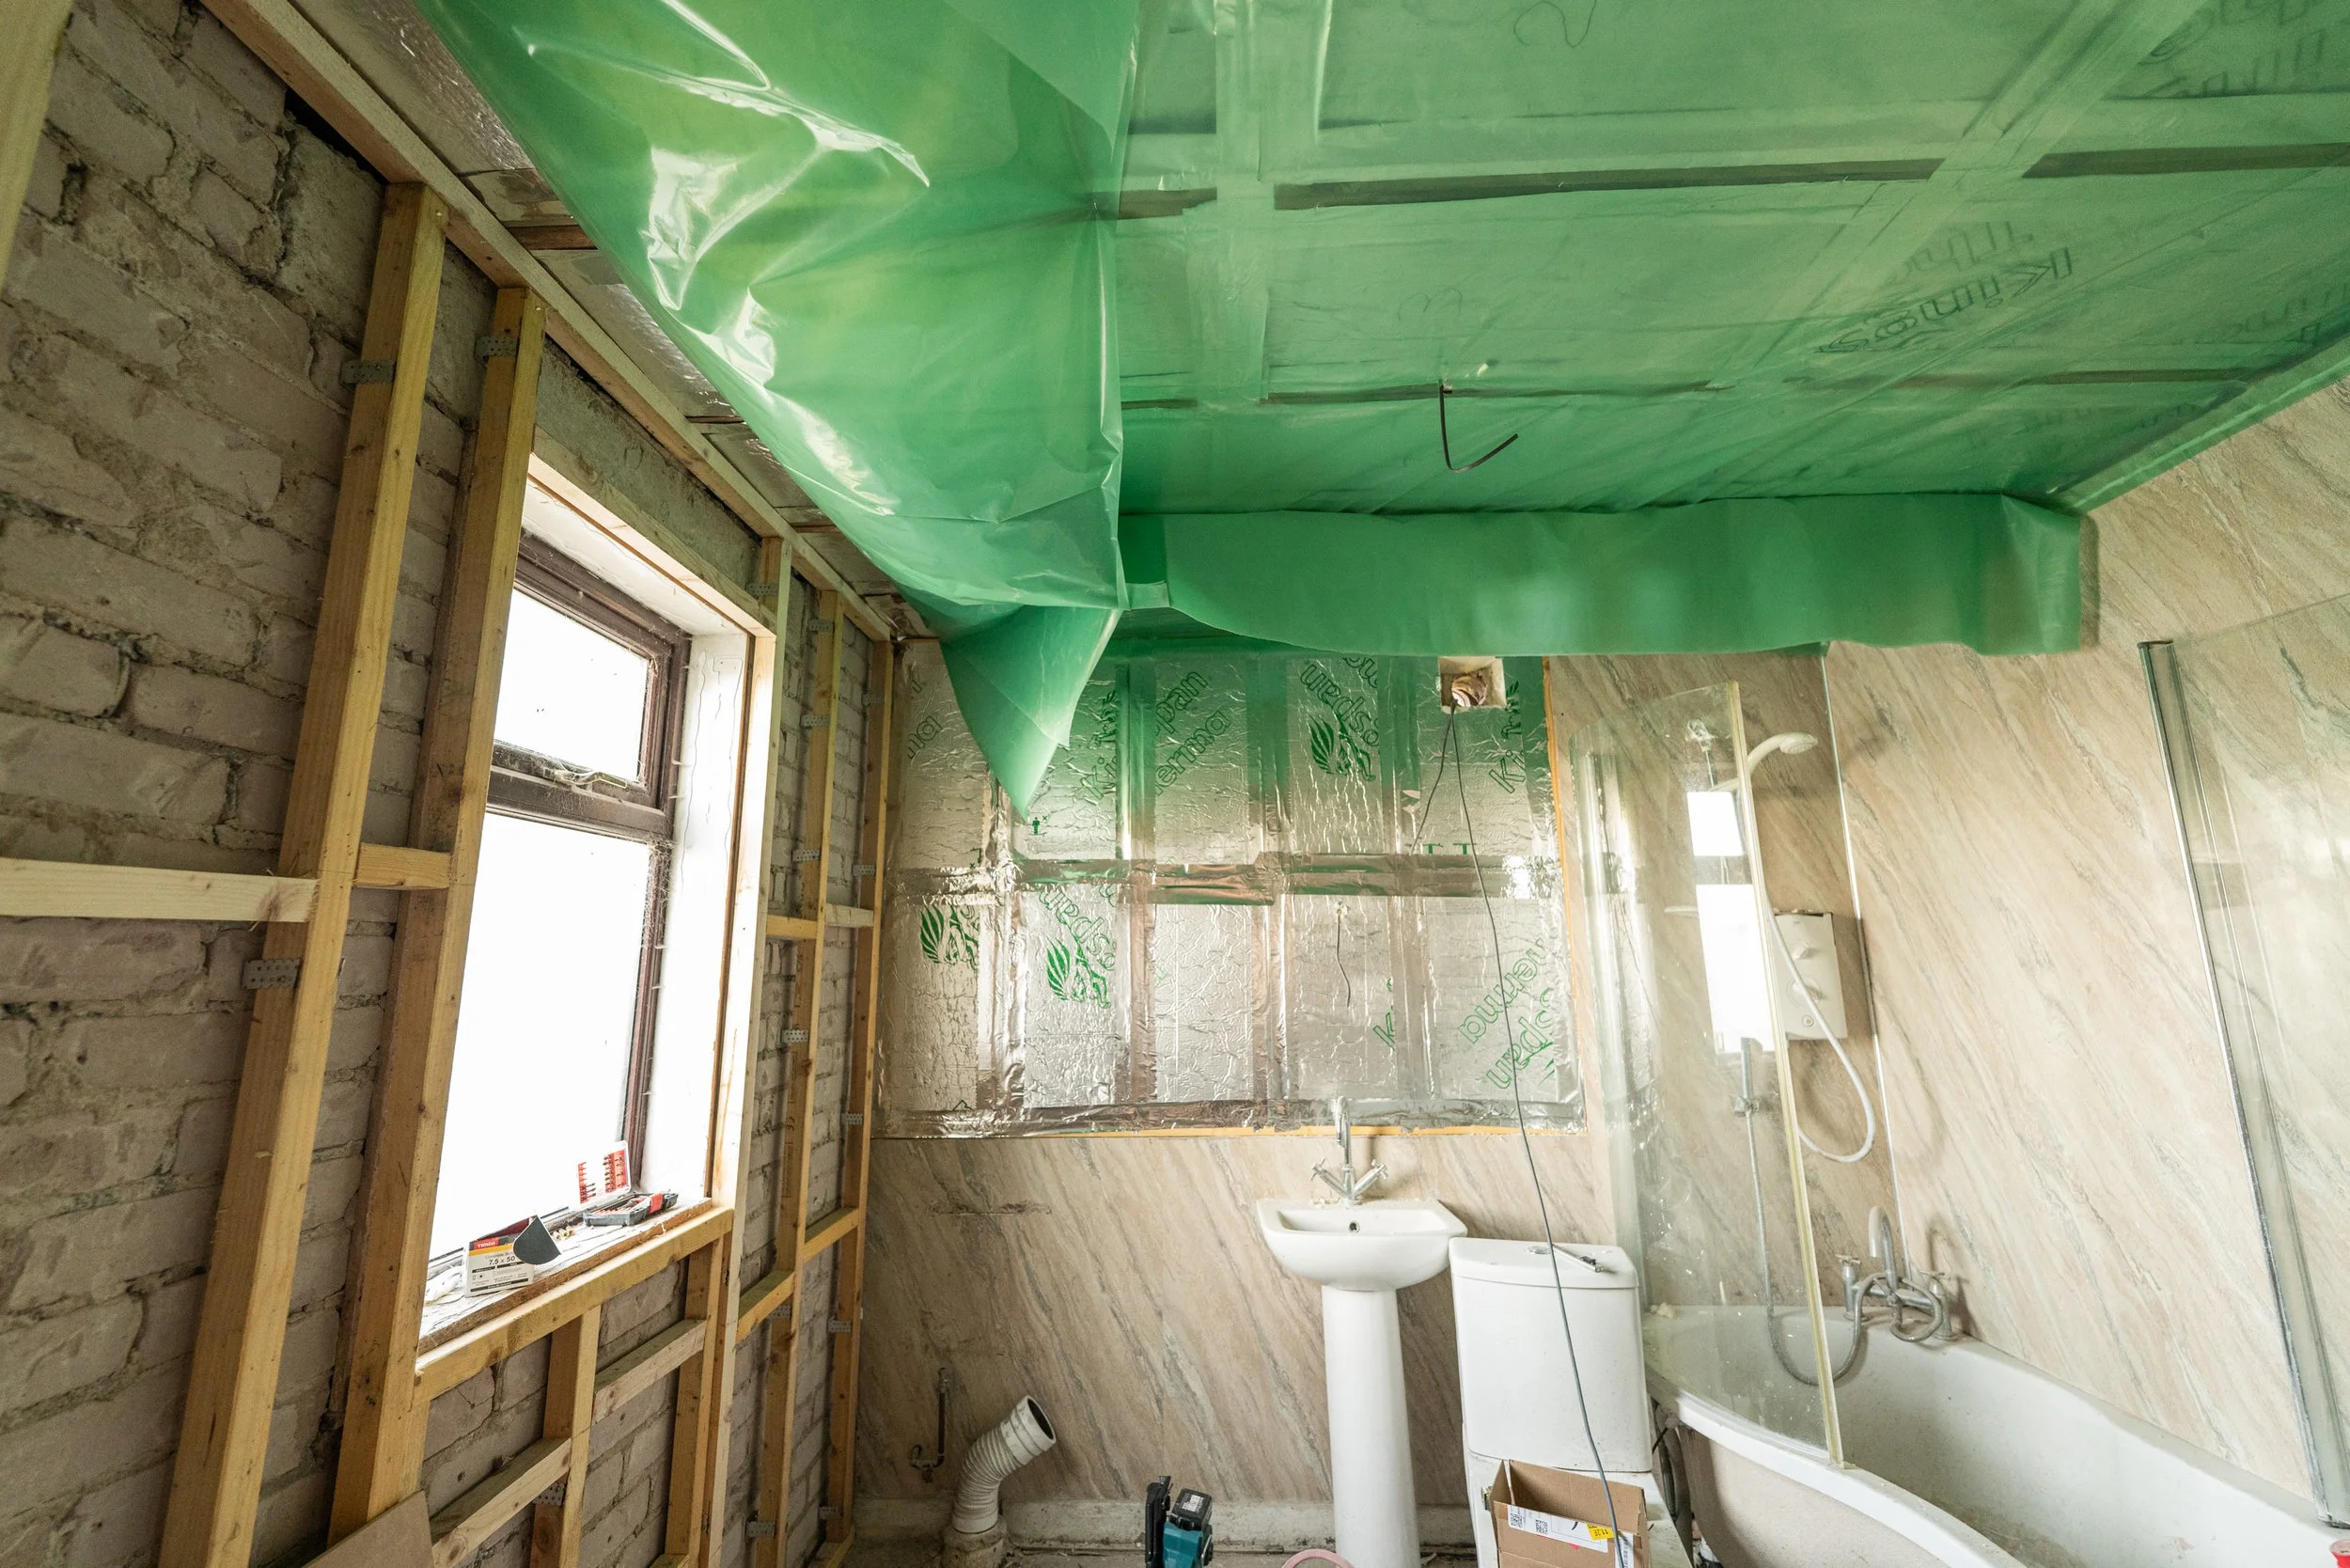
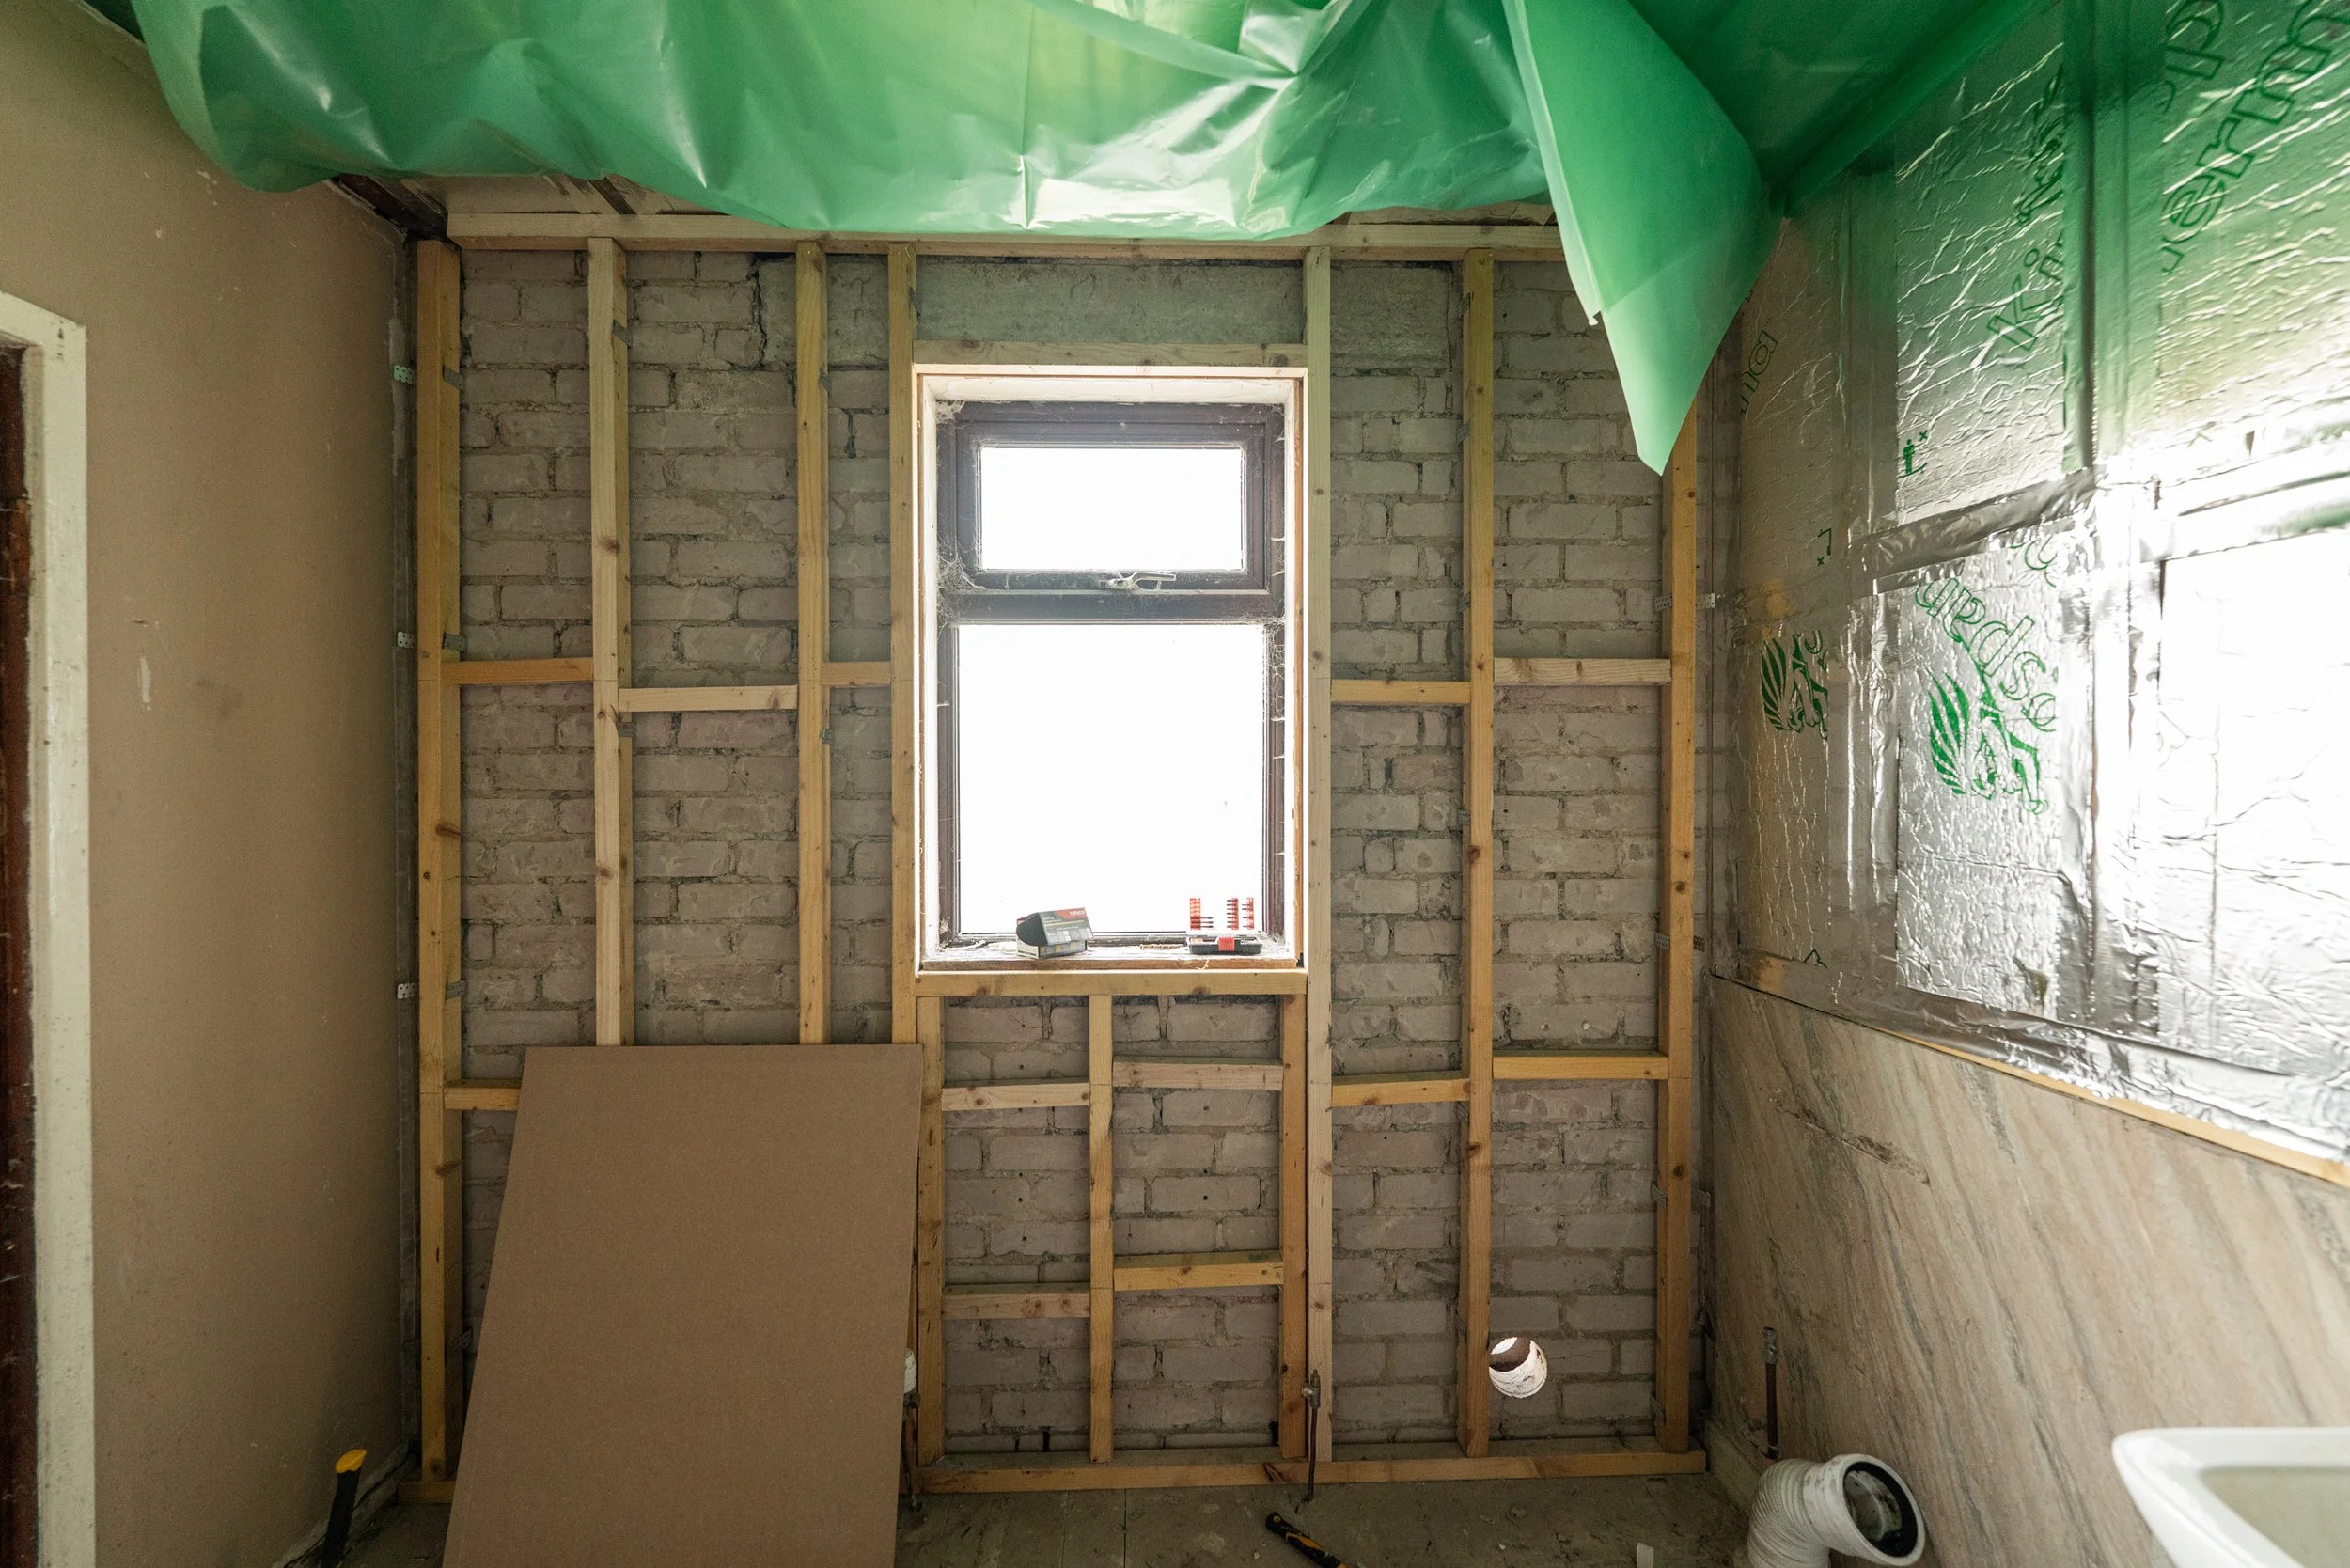
Upstairs, the master bathroom desperately needed some life support. Let’s go back in time to the day after we got the keys:
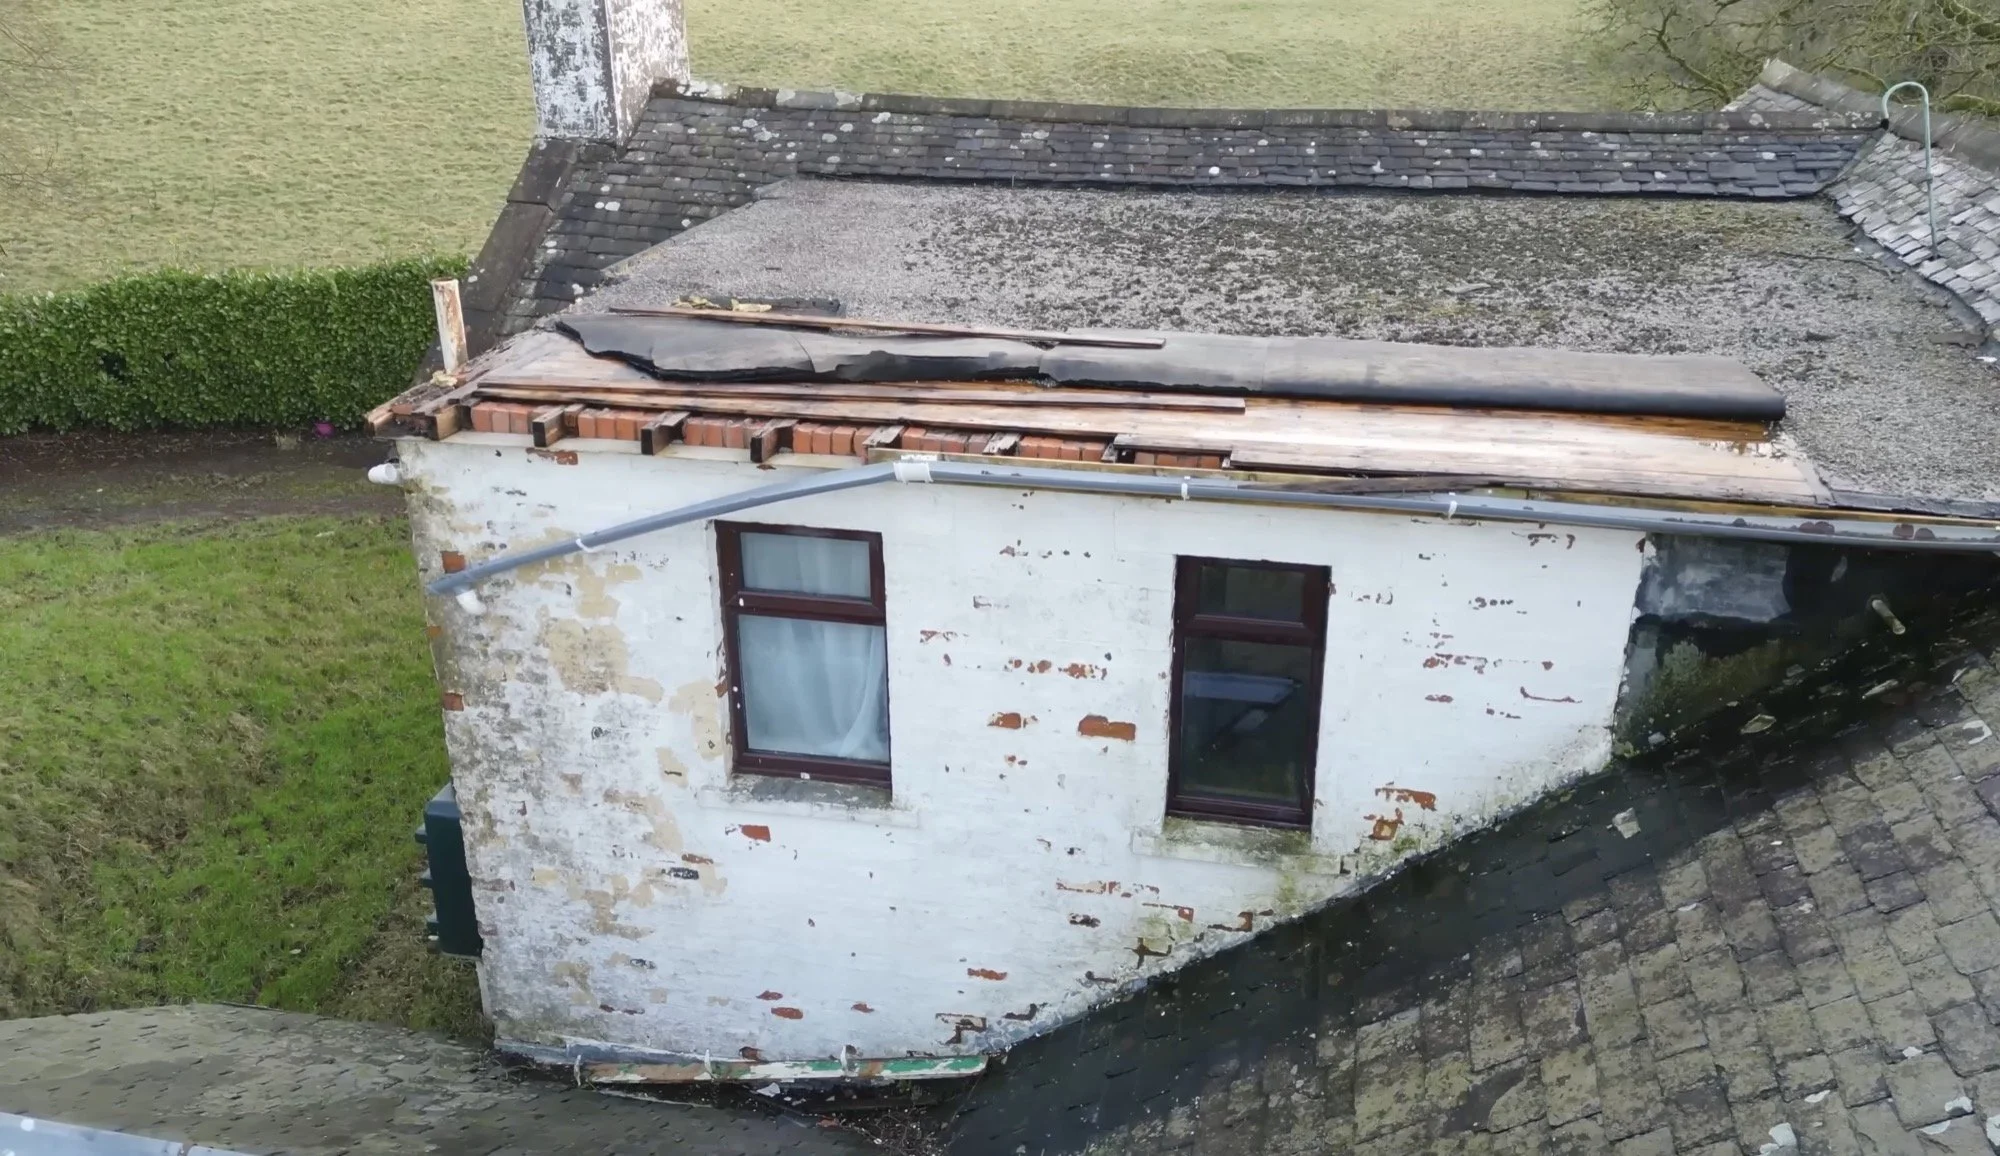
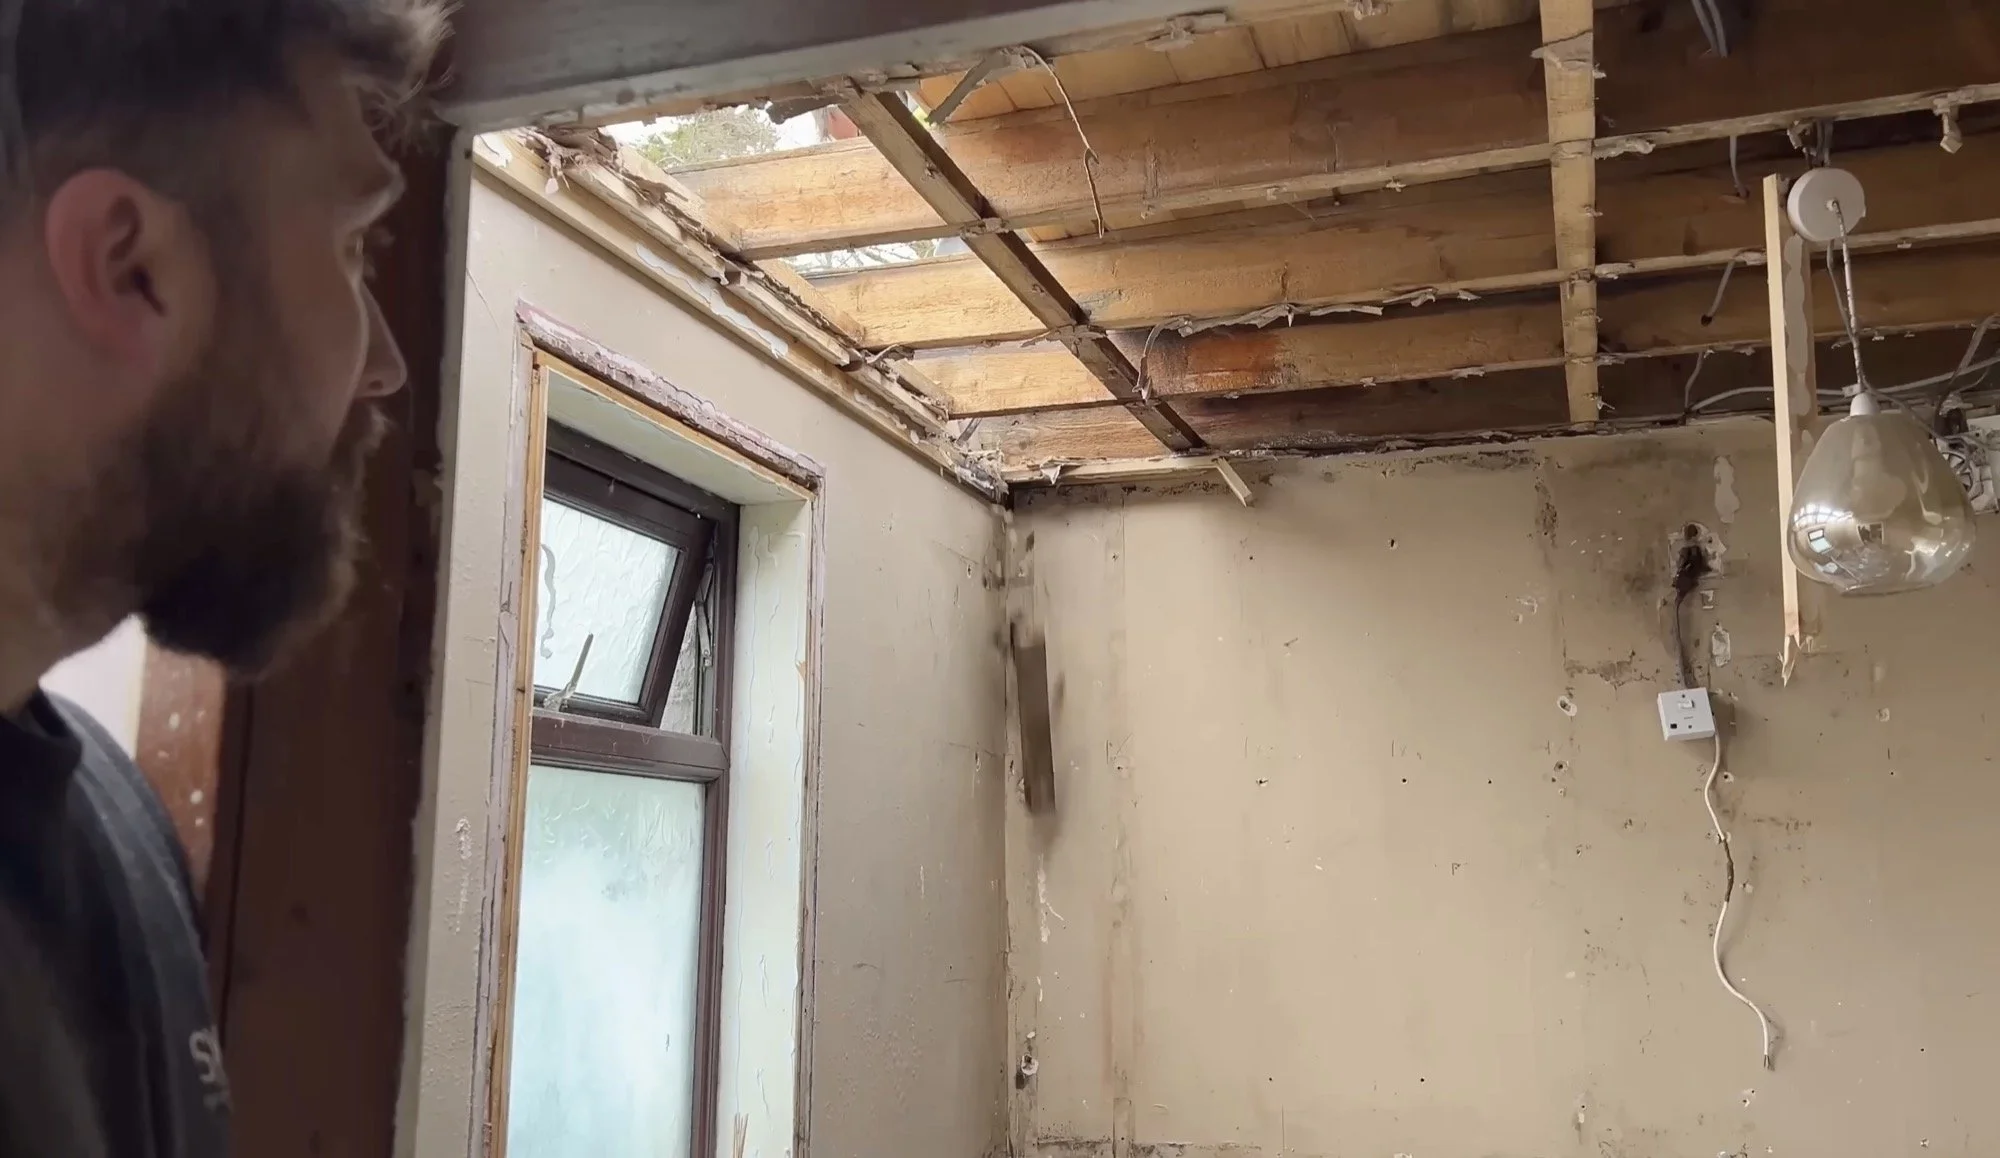
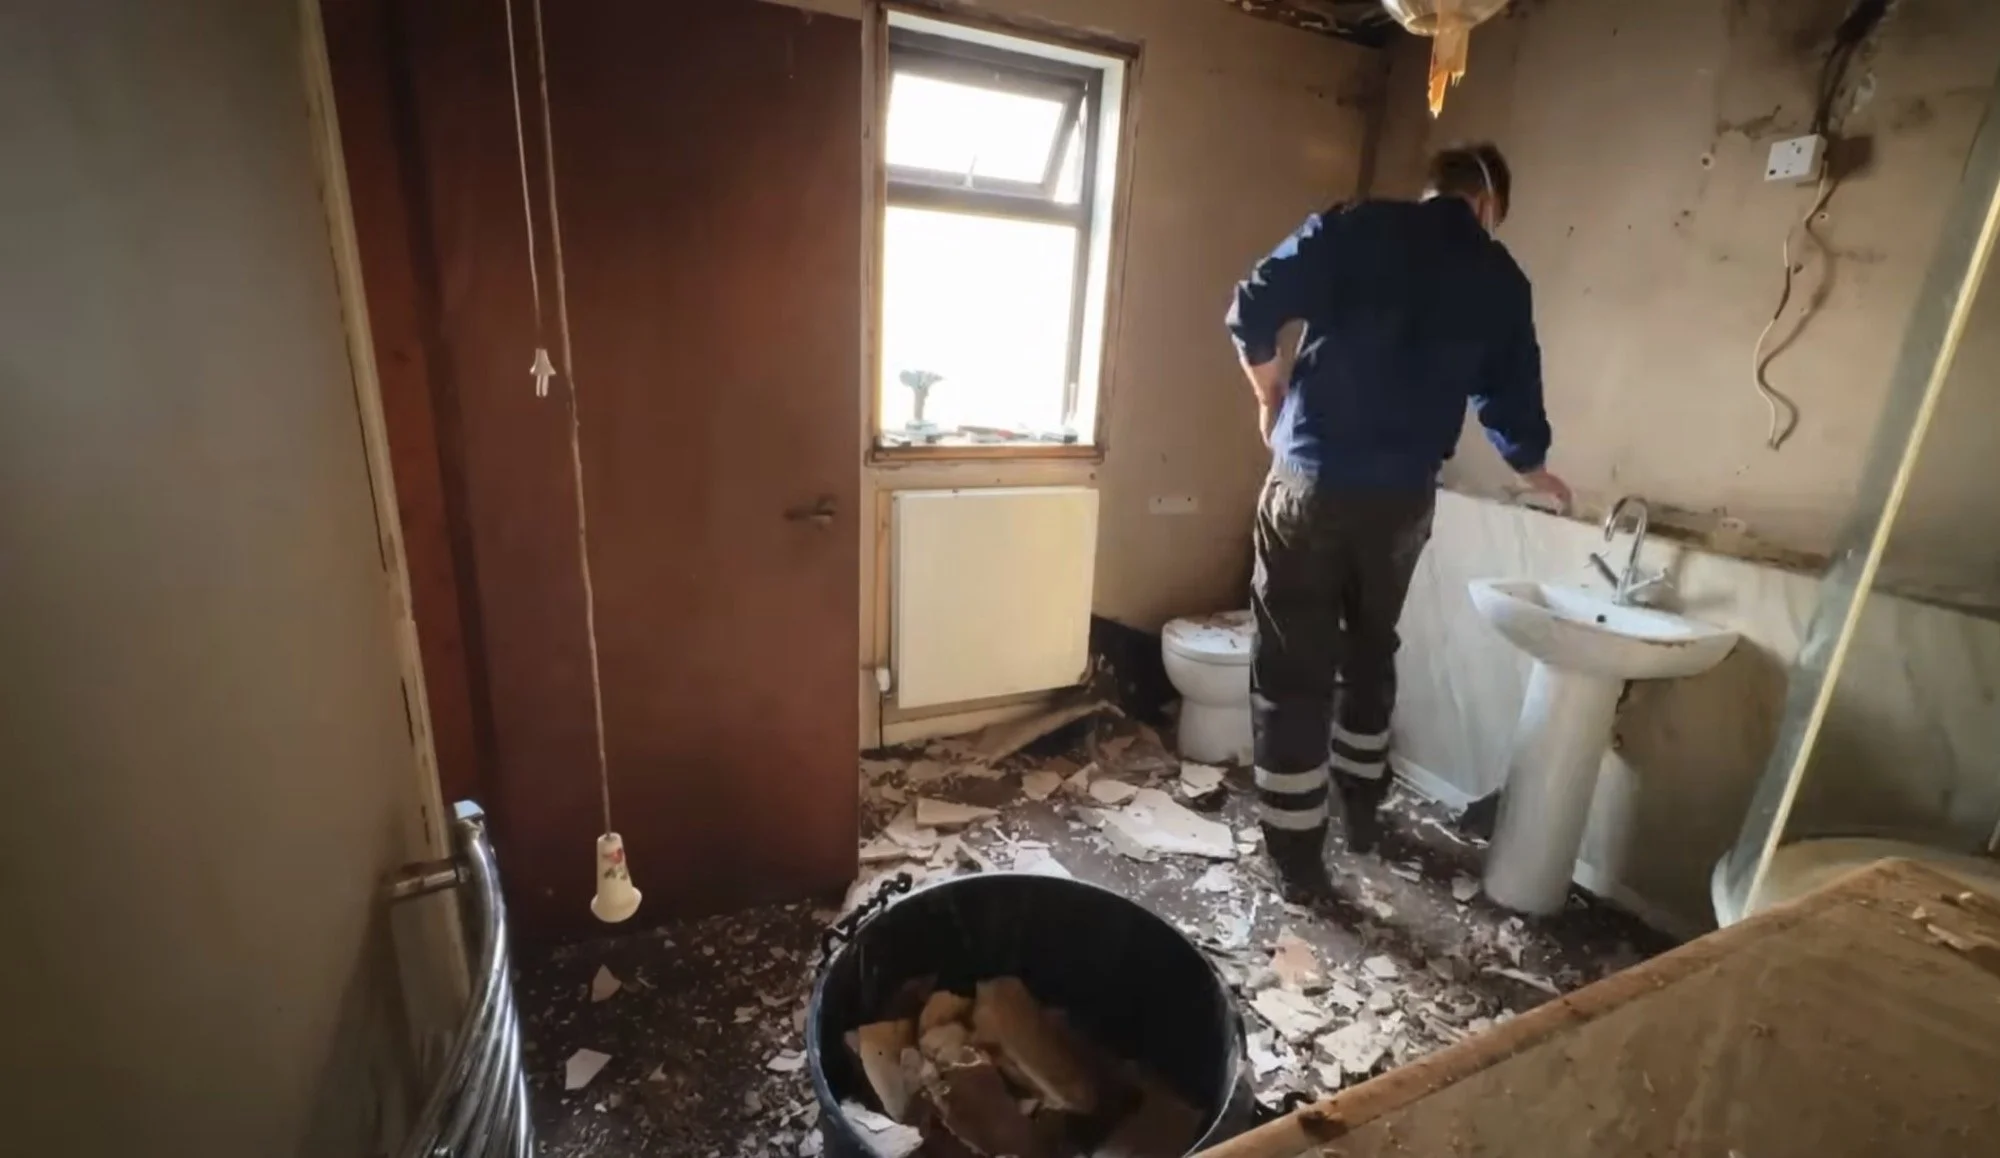
It took about 9 months to thoroughly dry out after a new roof was added up top there, but aside from being stripped down, it’s been completely abandoned. We have switched the waste location so the toilet will be swivelling around in there, but as this section of the house is still awaiting its full “re-do” at the moment, Dan has made me promise that everything must remain as it is. Of course, I already have a full new bathroom layout planned, but there’s a time and a place for these things, and now is not the time.
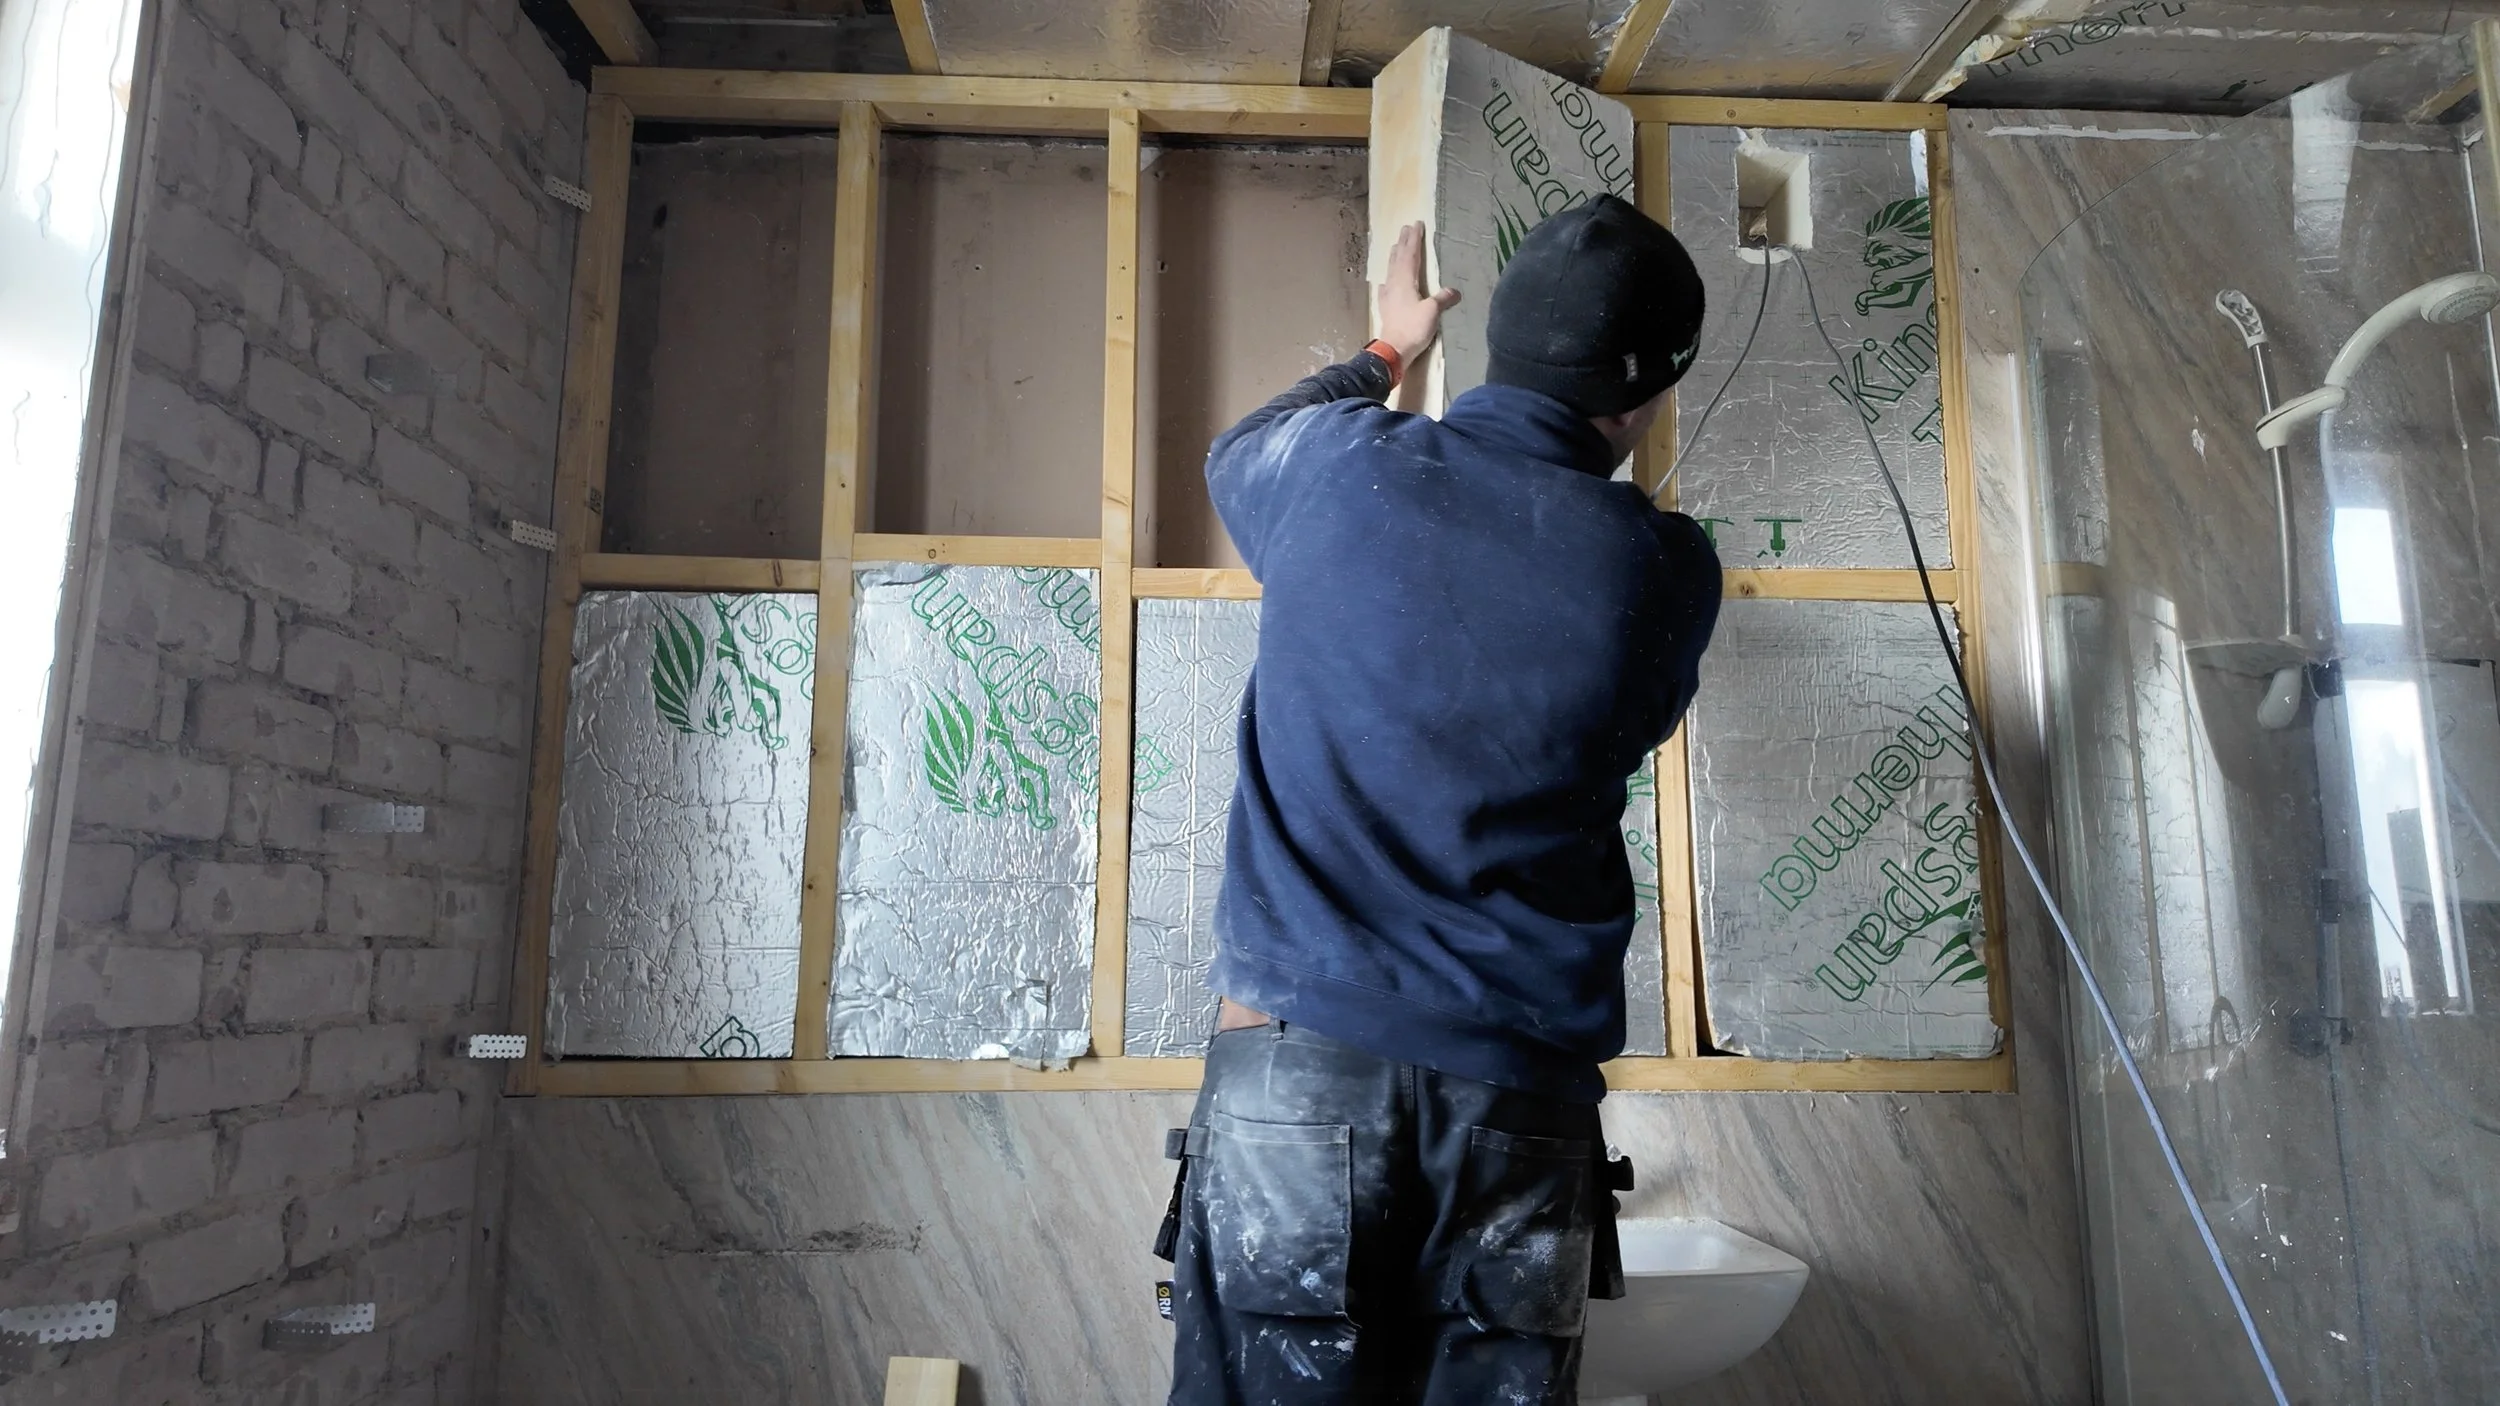
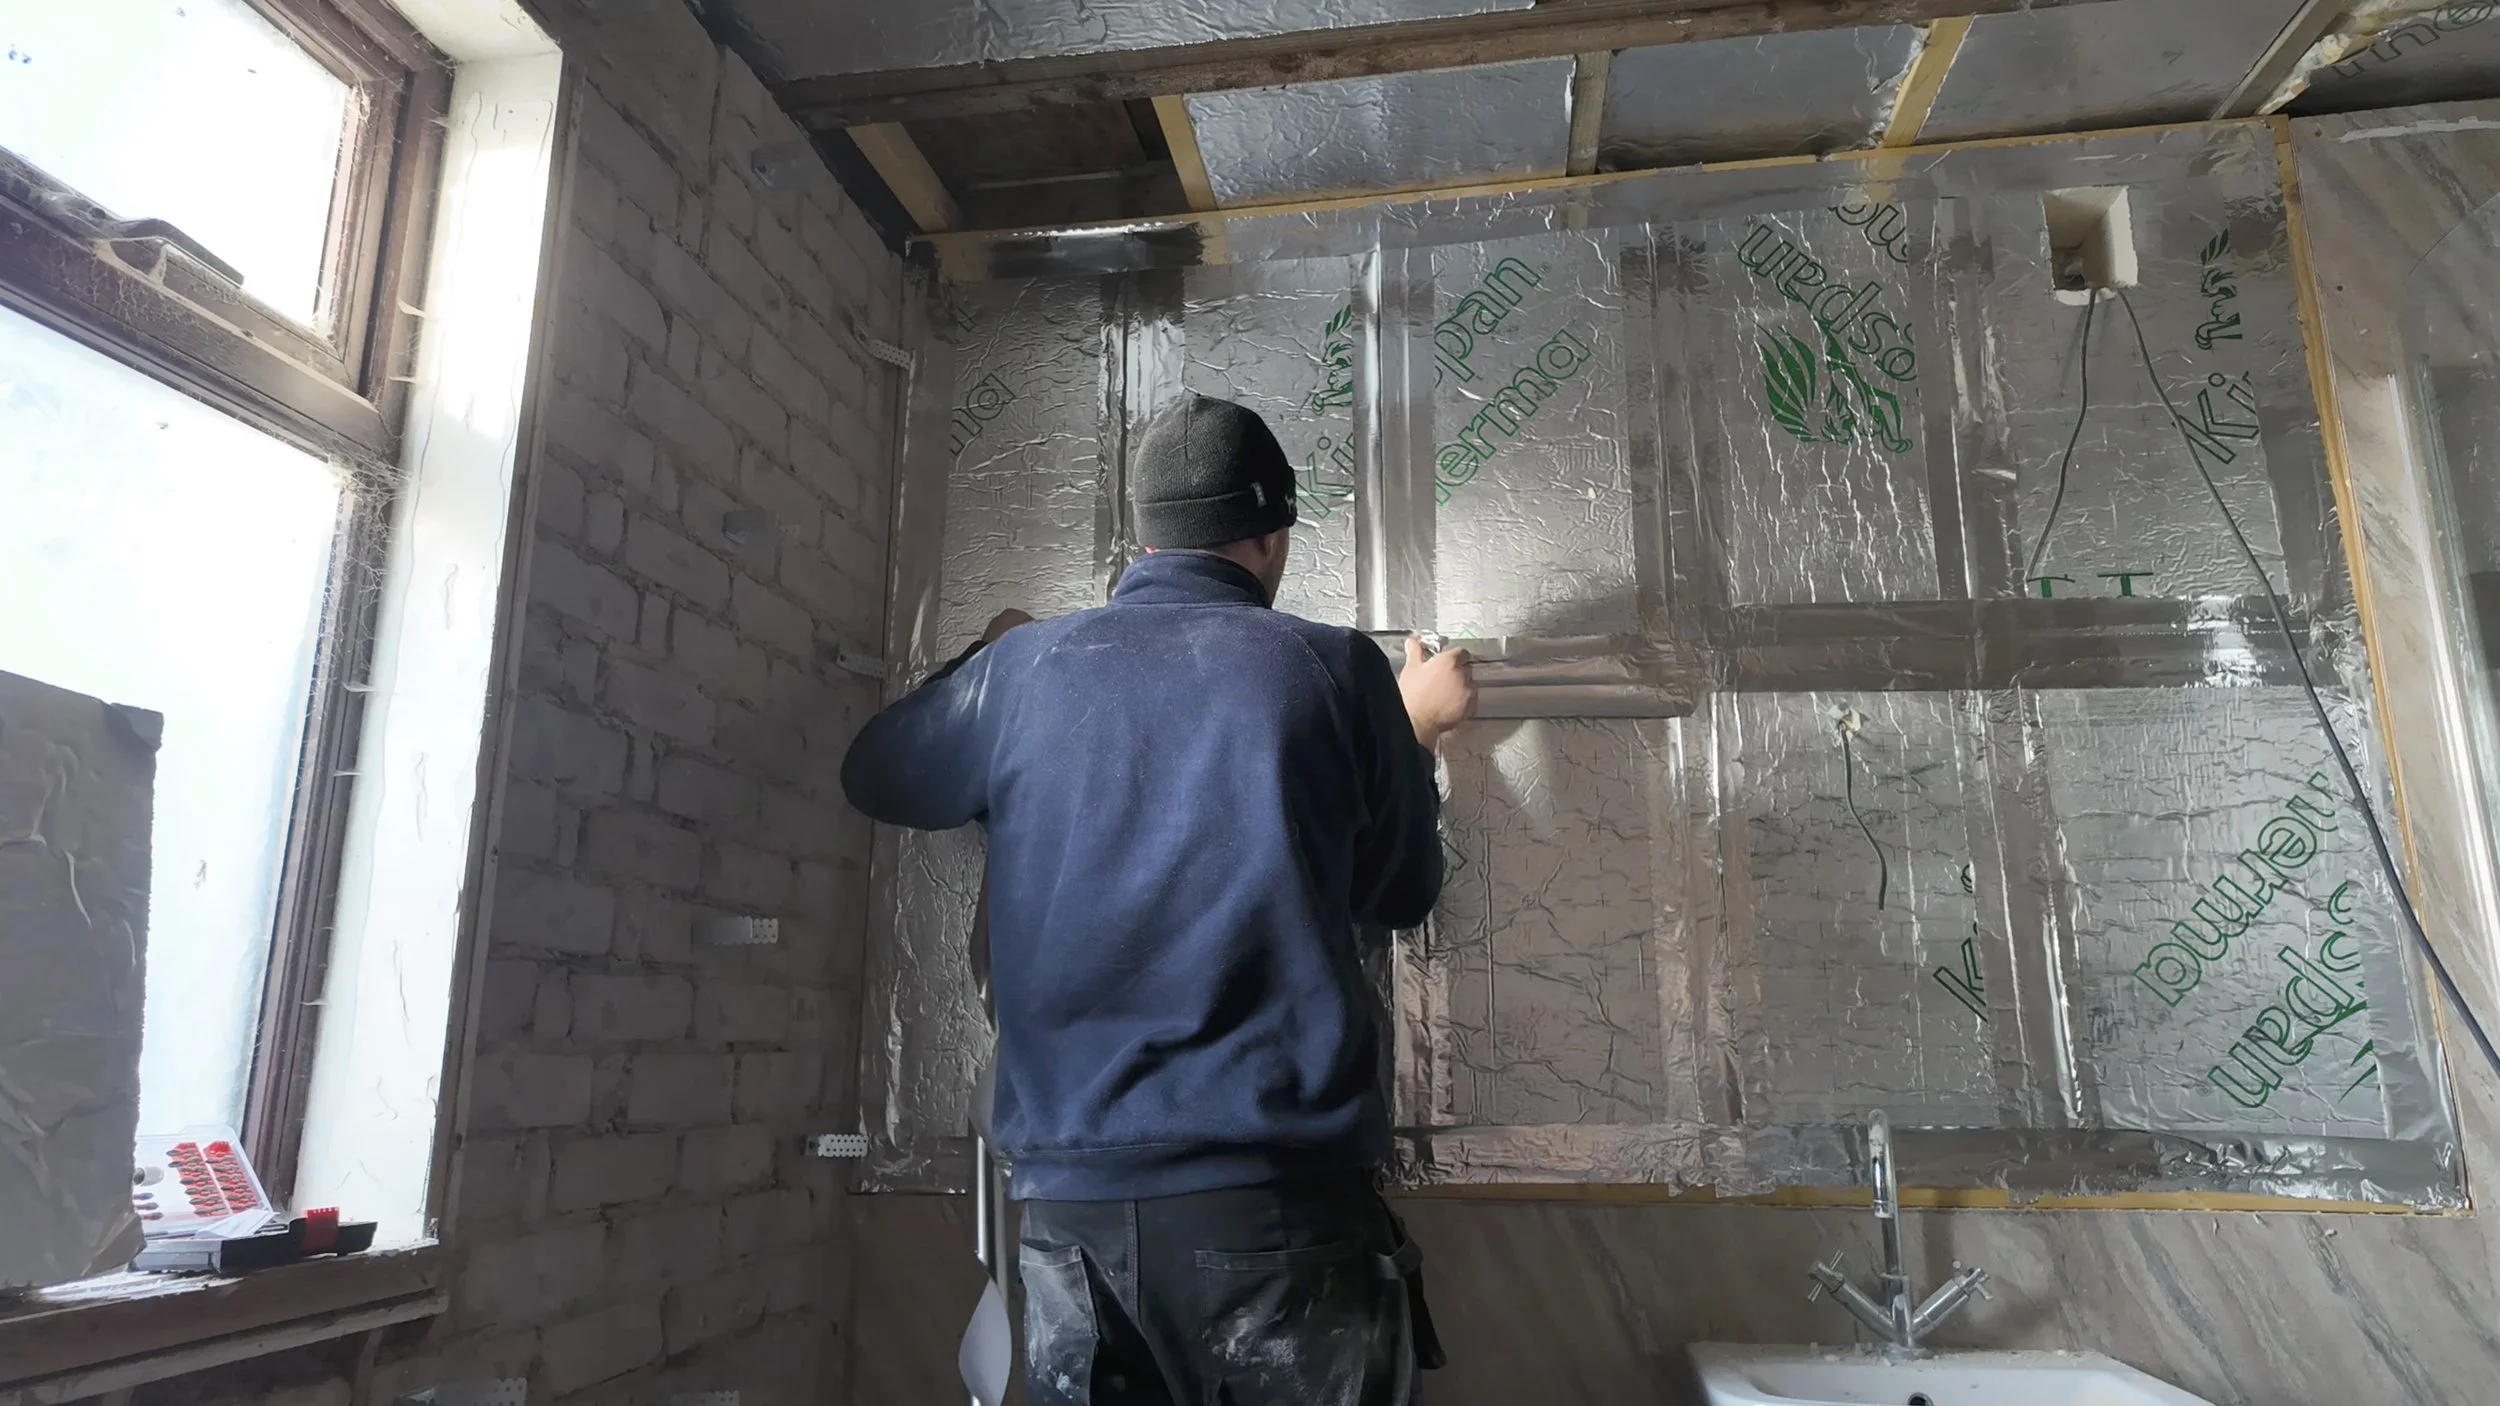
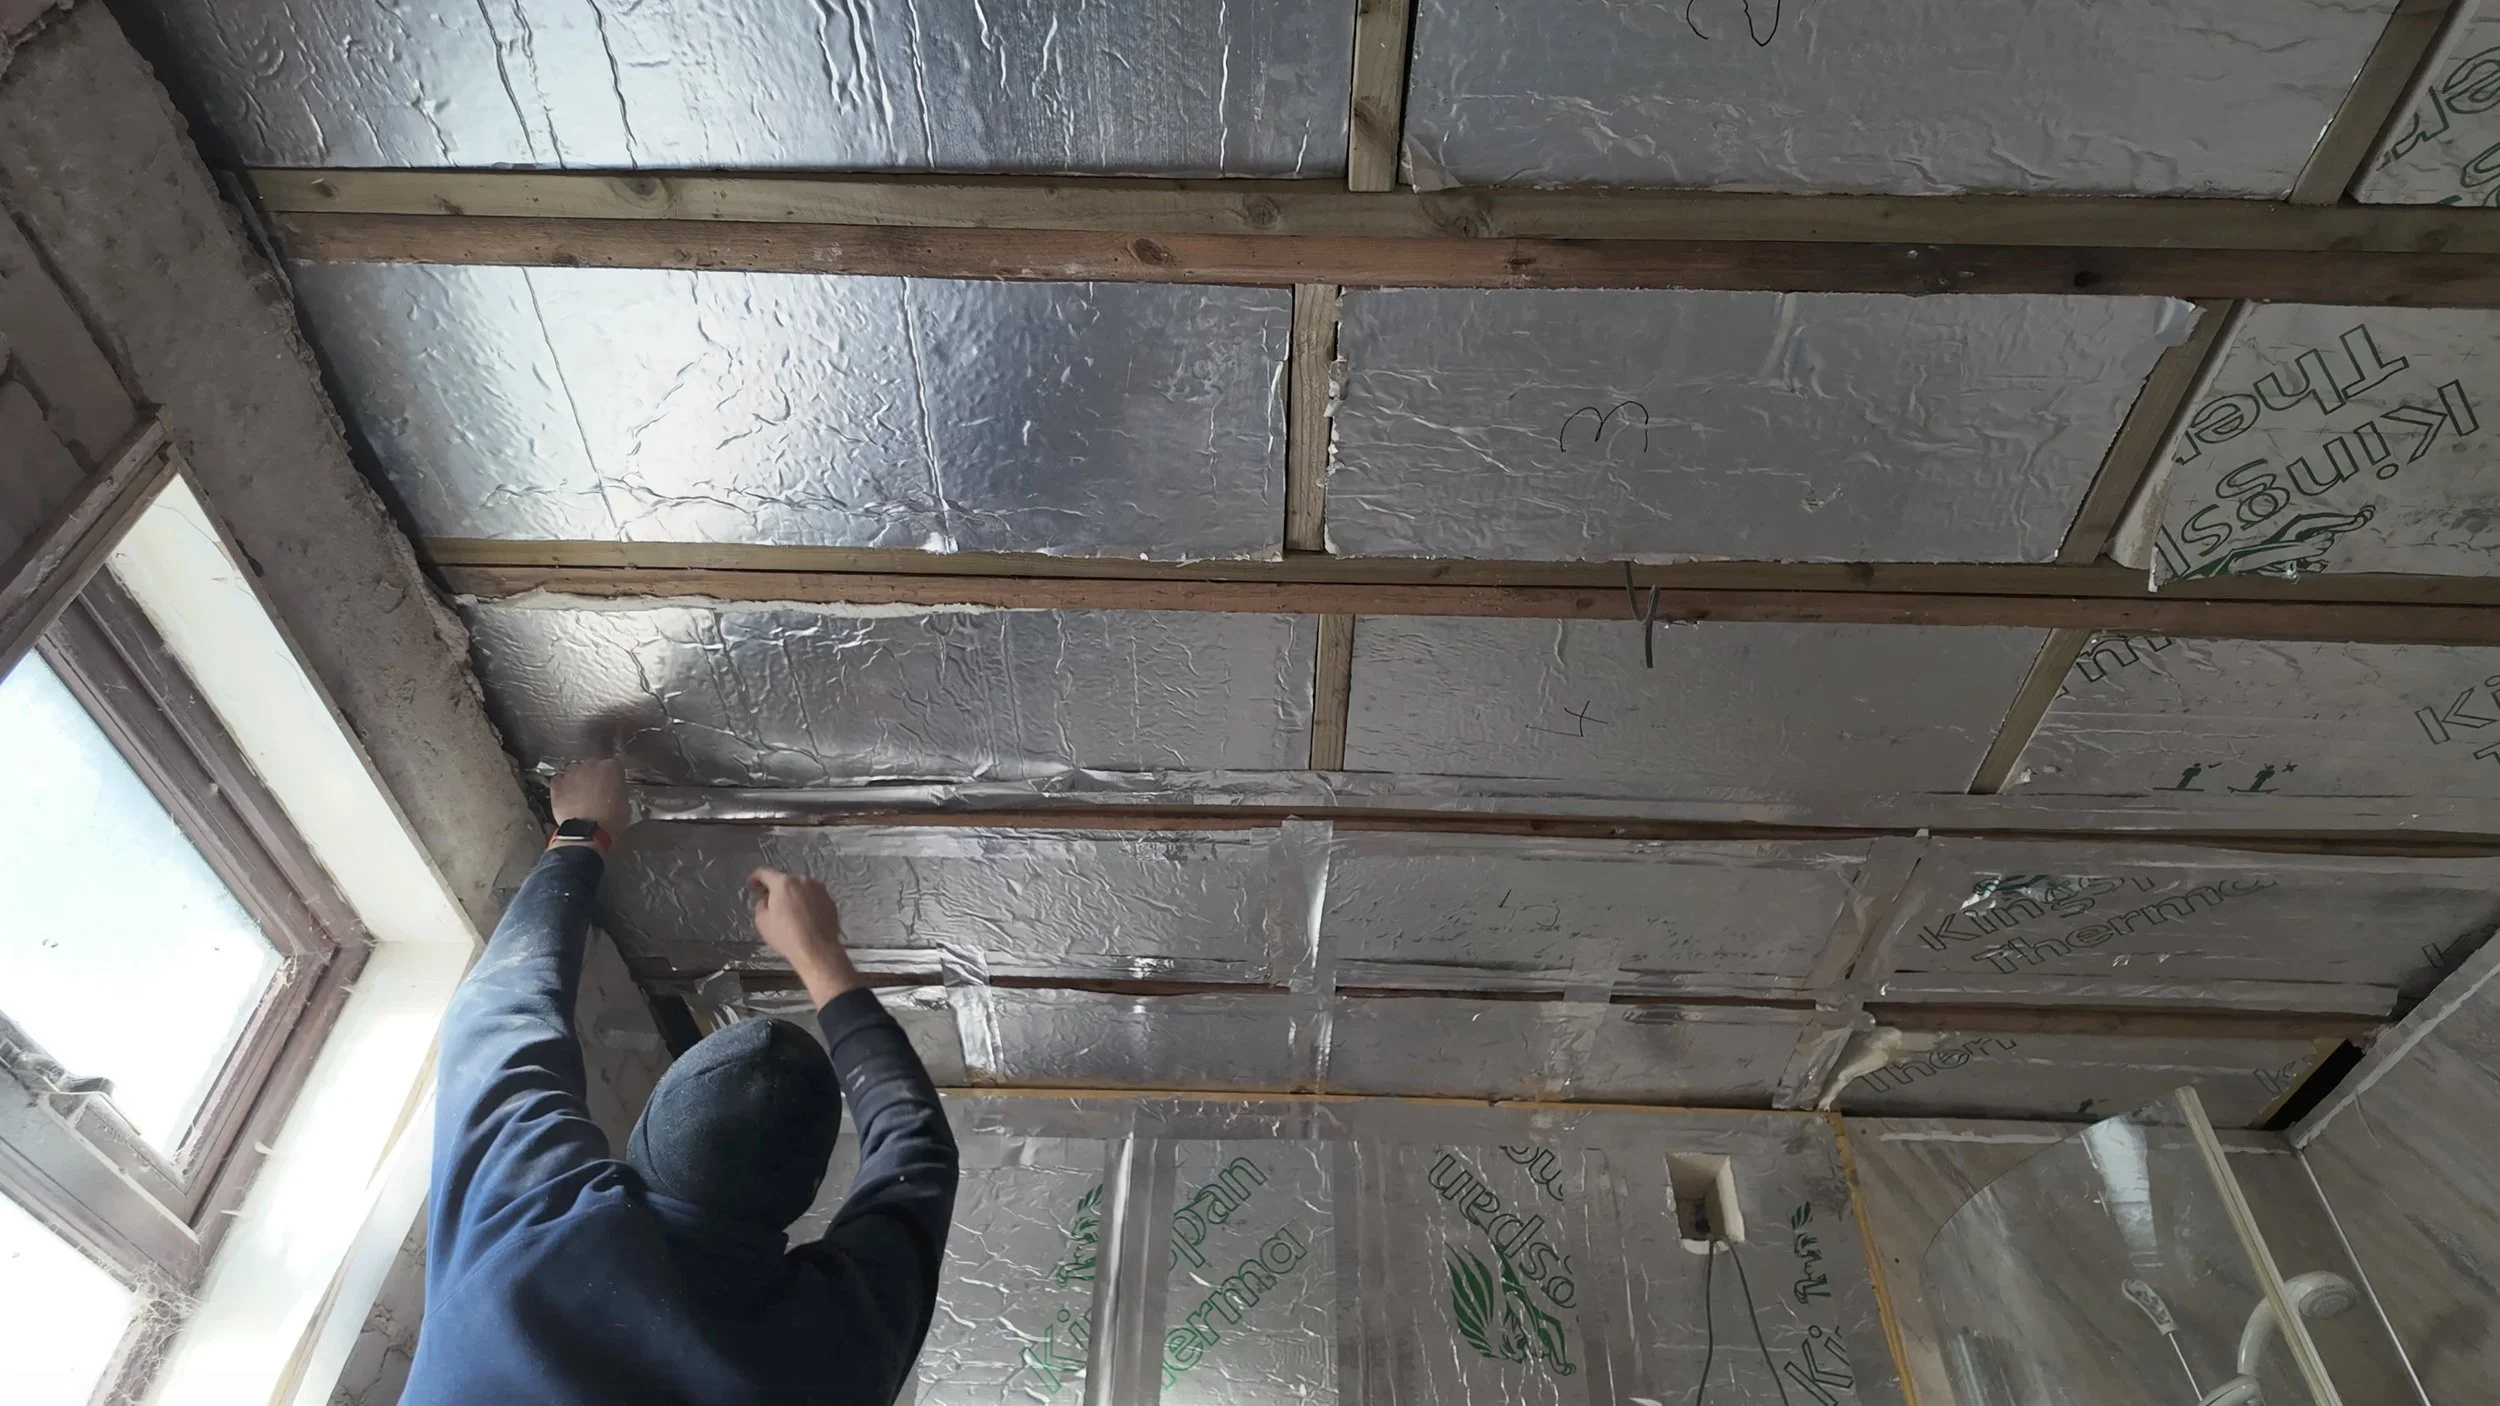
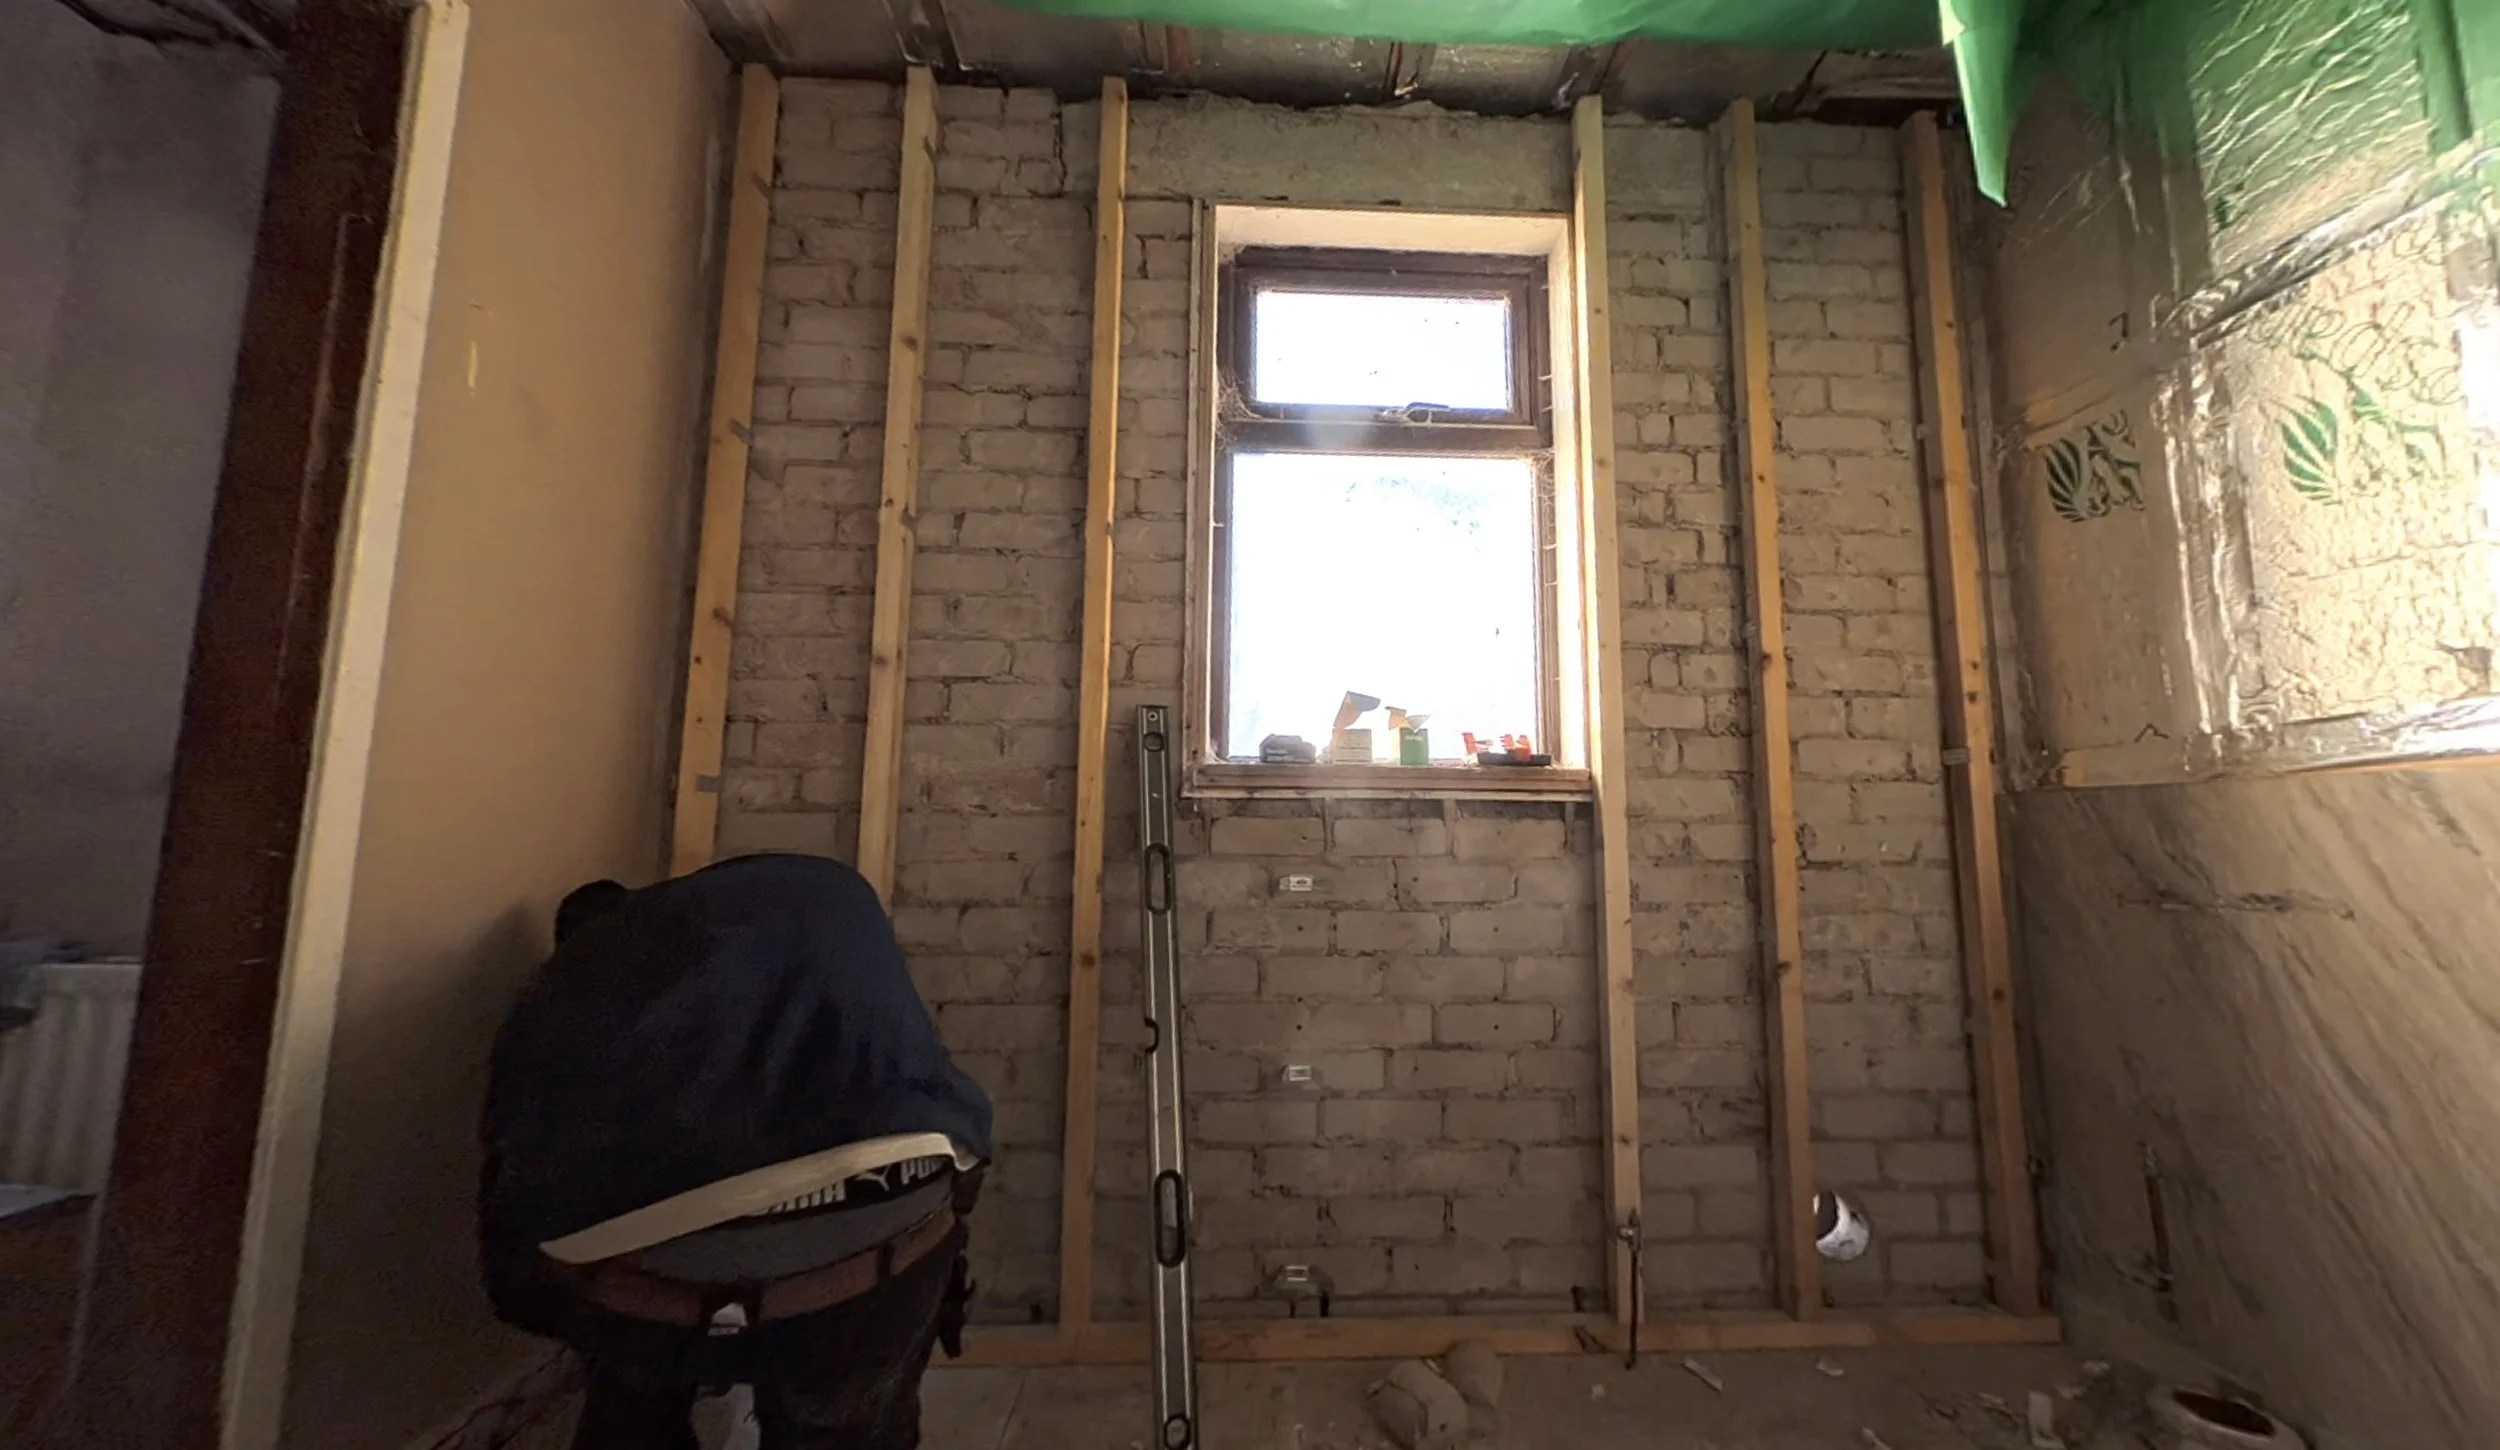
So, Dan needed to take the naked walls back a bit further in some areas, then go make progress! Dad convinced him to insulate properly, so this was added to the plan. Dan’s progress involves some stud work, heavy insulation of the external walls and ceiling, and then prepping for plasterboard.
And that leaves us here, where Dan peeled off on Friday to help me with some dog things:
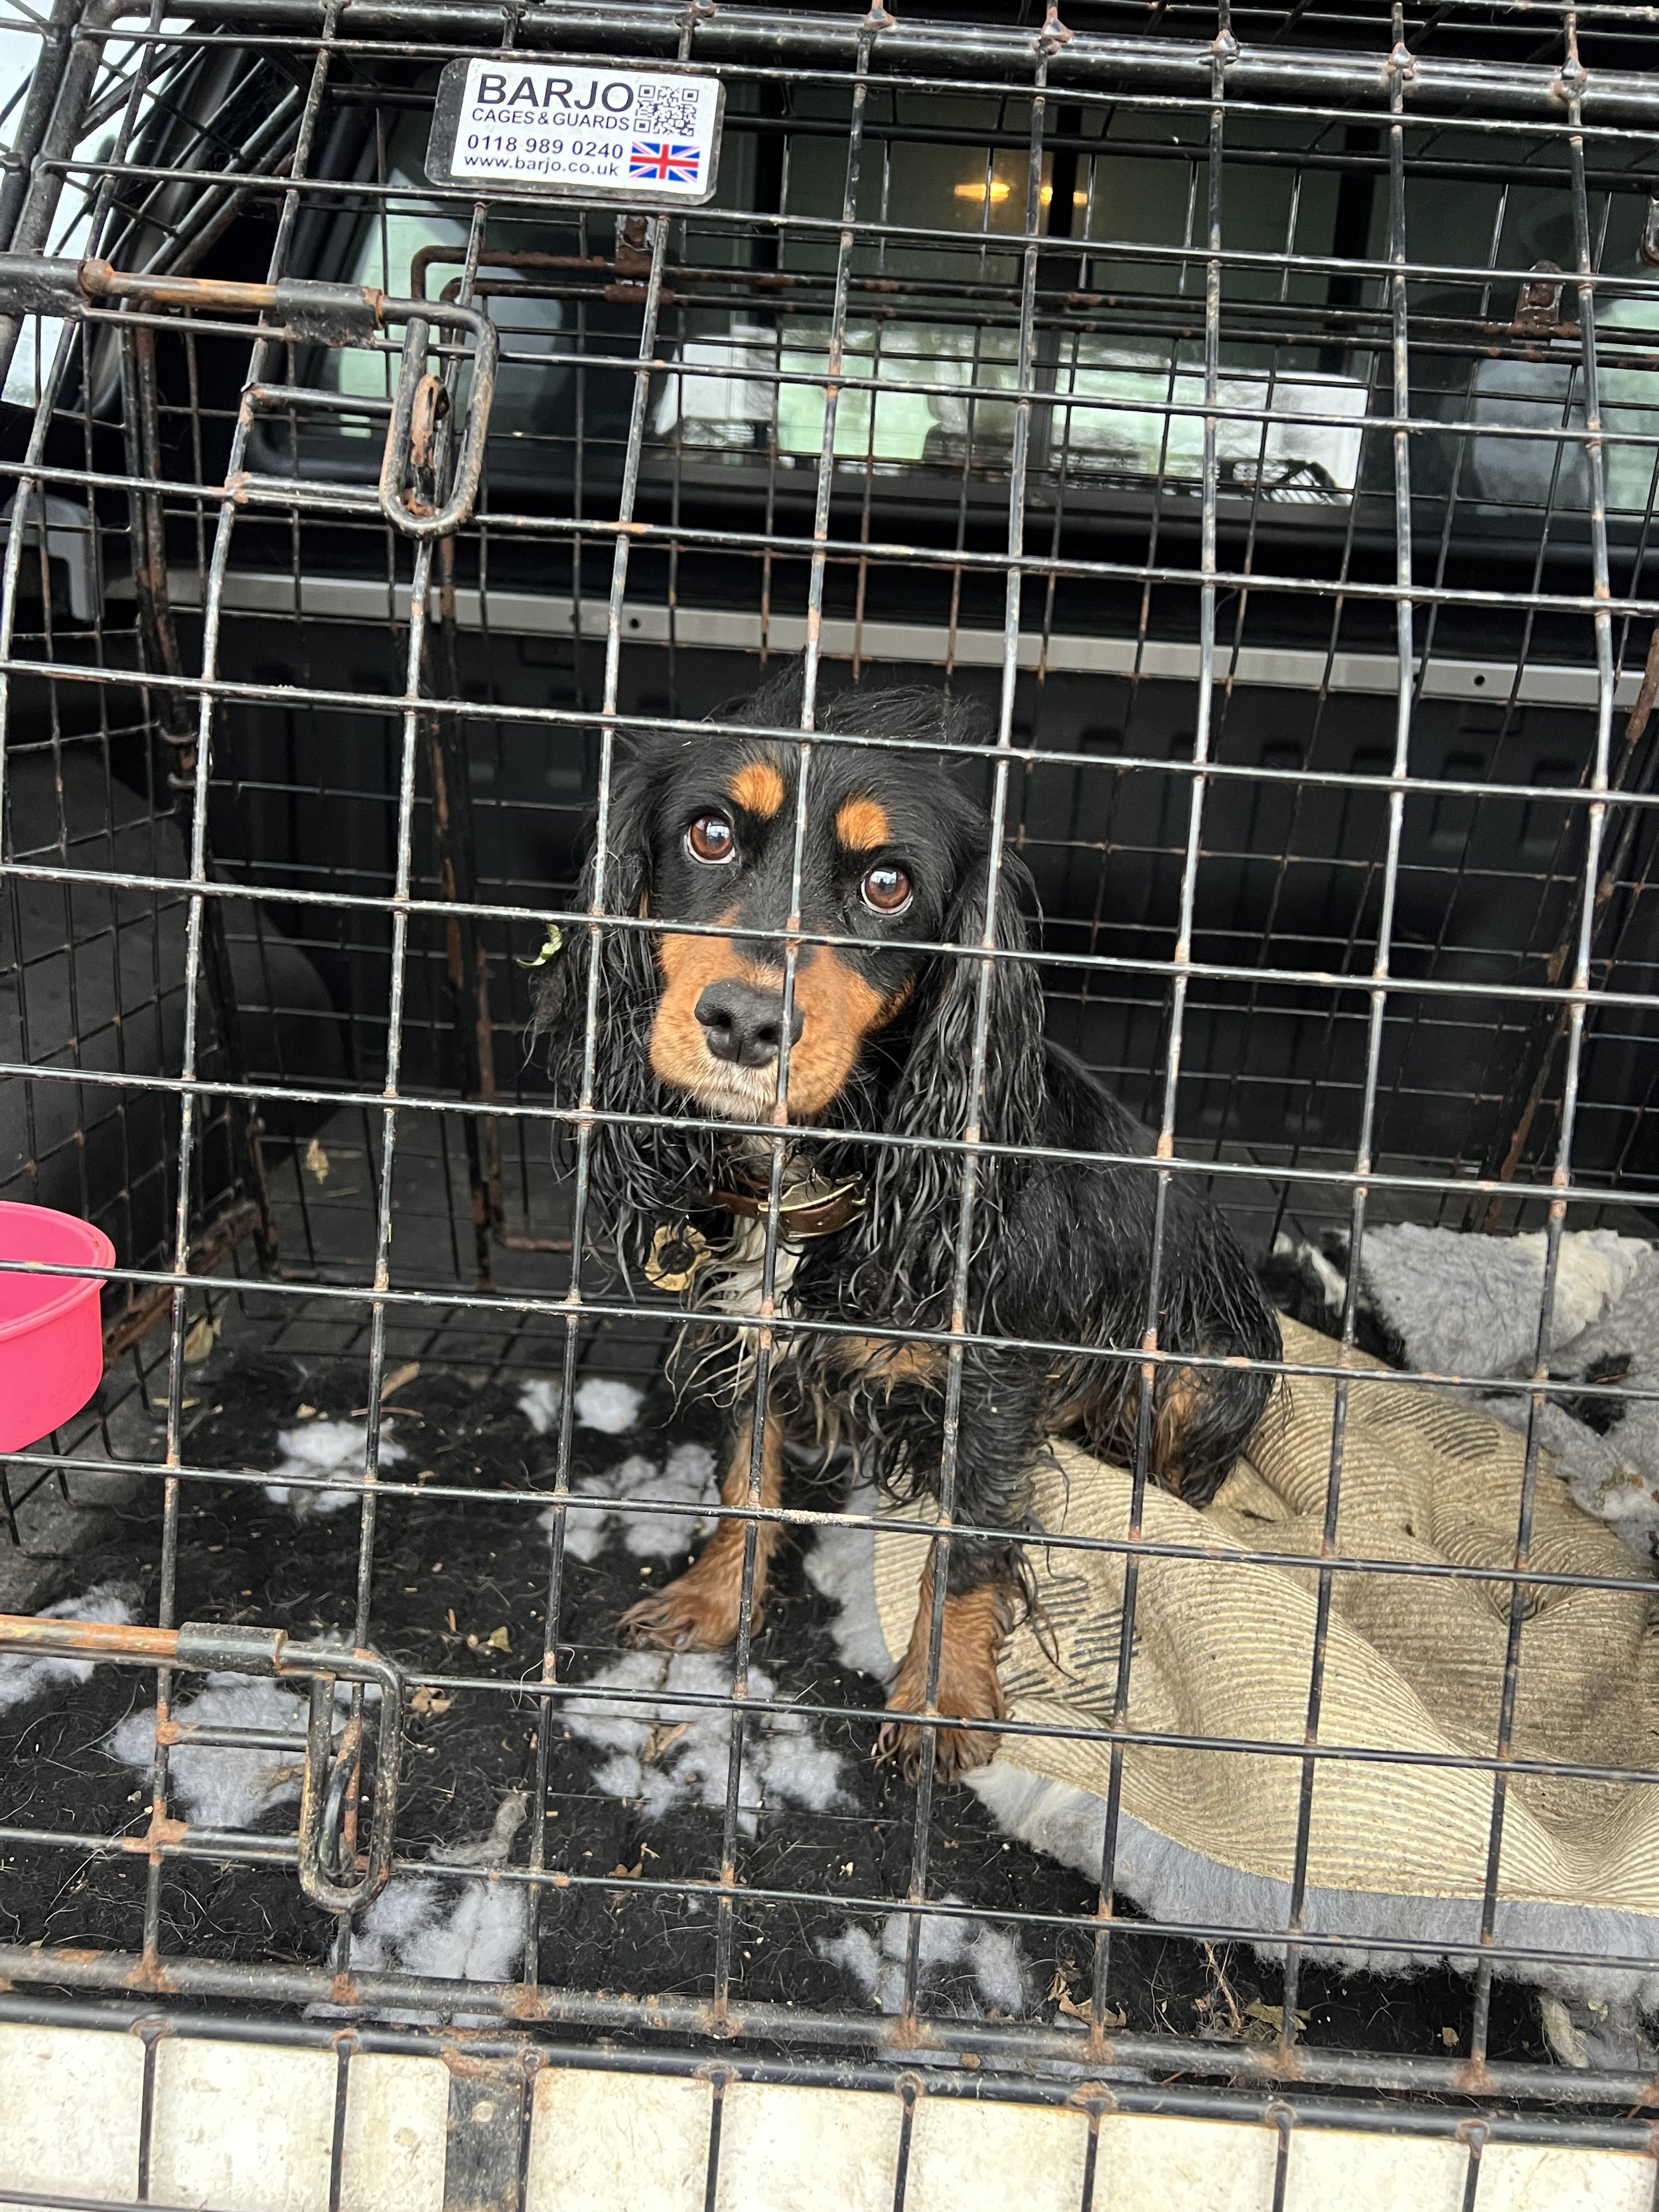
Dog Things (this section includes discussions about game shooting and cold game [dead birds])
Bryt went to work again on Monday this week and she was just so damn good, I could not be prouder of her. She not only flushed bird after bird within the line this time, but she also found and picked up two cold birds too, retrieving them back to the hand like a pro despite never being trained for it at all. She got lots and lots of compliments with people asking what breed she was, what the colour was called, and how long she’d been working for. What a champ!
Before we prepare and consume the birds within about 10 meals over the next couple of months, I wanted to capture her doing her thing if possible, given that those two days at work were it for 12 whole months. To do this, we had to do a partial reenactment.
I know that shooting, cold game, and things like this will be affronting to some readers. Therefore:
If you are a vegan, I understand your opinion of this section - skip it and close the browser tab if you need to.
If you are not vegan but this section is still offensive to your eyeballs, it may be time to reassess your food choices. Let me explain:
The food miles on this bird are less than 1 (genuinely).
It was brought down with a clean shot on a non-commercial shoot (tiny, 3 days out of 365).
It was picked up, deceased, by the dog immediately - it did not go around injured or maimed; it spooked out of a bush, and then, nothingness.
It will be prepared into multiple meals that sustain multiple humans this winter.
Nothing is wasted.
This bird is more “ethical” than any option you can select from a supermarket shelf, especially compared to other poultry like packets of chicken breast, for example. We are obviously friends with many farmers, and it’s not that the ethics or welfare of their animals is bad, because it isn’t (or we wouldn’t be friends, obviously). But, comparatively, the general public being offended by a pheasant is hypocritical at best, as the shades of grey in here are deeeeeep.
1 x 600g of chicken is at least two birds lives, and would feed 3 humans for one meal, for reference.
1 x pheasant is 6 meals for two humans, at least, depending on if you go for sausages or not…
With that perspective added in, it was time for a photoshoot before the birds really needed to be prepped for dishes. Therefore, Saturday morning was a frozen photoshoot-at-sunrise day, and Bryt LOVED it. She didn’t really understand why we were hunting with nobody else, and she didn’t understand repeatedly retrieving the same bird over and over either. She did try, though, so at least there’s that!
Dan shot the first three images, which, I mean, hats off to him - he did portrait and action, including backlit, despite having used an actual pro camera only twice in his life. I guess he’s listened to a few things over the years of cutting the educational videos and watching me work 🥳 Go Dan!


She really is the coolest little dog on the planet, and I’m so proud to call her my pup!
So in summary, the new year went by without a hitch, apart from we ran out of oil in the cottage boiler, so we stole some from the top tank (our other tank - we stole from ourselves). Dan got the boiler going again, and all is good.
Because of the cold snap (which is SO pretty!), the farm is frozen, which means that the cottage has intermittent water, and with another week of minus temperatures, we’re on water prep as per usual. The farmhouse is, thankfully, totally fine and usable, so no dramas there!
It’s time to look forward to January, where I’m away for nearly half the month, so it’ll be updates from Dan’s recordings and a couple of late posts too. I’ll try to keep you in the loop…
Onwards!