
June Monthly Update
Trying something a little bit different this time, by adding updates each week directly to one post throughout the month, rather than collating everything at the start of the next.
That means that although this will be posted on the first weekend in June (theoretically, if time allows), it will be added to week after week until the month is complete. Essentially, it’s kinda like a journal. As always, I’ll add the good, the bad and the ugly!

June Week 1:
A lot of prep moves this week. Dan had to measure the entire farmhouse for the first time to give me a hand-drawn map with measurements on it.
When I say that this sketch was tough and not pretty, I mean it. However, he did a great job getting all the weird bits of walls, nooks and crannies for me to use moving forward. Then, I made everything up to scale in InDesign to provide a starting point for what was about to happen next.
This does mean that I can share floor plans of the current house, which you can see here:

Downstairs, around 150 square metres in total.

Upstairs, with a similar footprint.
You can sort of see from these plans that the farmhouse is split into three sections. The section on the far right-hand side is oddly the oldest and the newest, because of dormers and bathroom pods added on fairly recently. However, the bones of this part date back to somewhere around 400 years ago. Therefore, we refer to this part of the house as the “old section”. It’s quite dark, built partly into the hill, and has some weird brick bits and flat roof sections. Remember her now?!
The middle section of the plans is, as the name suggests, the middle bit!

This consists of a whopping great box added onto the oldest section somewhere in the Regency era (late Georgian; 1812 is our best guess).
Finally, the left-hand side of the plan is the “newer” section in our naming terms. This appeared somewhere in the late 1800s, Victorian era, likely circa 1880, but it’s difficult to say for sure.
I explain all of this to provide a fuller picture of June’s main focus - the middle section. For illustration purposes, the middle section is highlighted in pink on the plan.
If you remember from strip out, this section had to be ripped right back to stone upstairs with mammoth roof works to plug about 30 different leaks. That’s further than we went with the other two sections, and it leaves a gaping hole in our house looking livable (a mortgage staple in terms of valuations). The surveyor we enlisted said to focus all energy on this part of the house, and patch up the rest, as soon as possible. Therefore, that’s our working plan.
The actual floor plans were needed because we have a team of builders joining us on site from the 16th of June. This whole section will need to have nothing but stone walls left, and the electrician needed to know where the future sockets (power outlets) and light fixtures would all be beforehand. To work that out, we need to know roughly what will go where in each room, so my InDesign map had some furniture on it to give us all a guide (see blobs on map, these are colour coded for sockets vs lights).


If you’re familiar with the house from previous videos or updates, you’ll perhaps notice that the “snooker room” is labelled up here as the kitchen, that the kitchen is now the utility, and the dining room is now my office. Although this will not all happen this year, or even in the next year, this is the end goal so that the kitchen diner is a very light, airy and open entertaining space with garden access (to a garden kitchen, of course), The oldest section of the house then becomes our “messy bit” downstairs – where our 5 dogs reside with a doorway reinstated for office access for the pawed family members, a utility for mucky boots, some horse stuff, and dog beds, along with a wet room for muddy humans, and more.
Upstairs, very little will change thanks to the 2-3ft deep solid stone walls everywhere, but we’ll add an additional family bathroom (losing a small bedroom in the process), and create a self-contained master suite with walk-in wardrobe. This is quite personal stuff and I feel it’s very much TMI, but at the same time, what happens next won’t make sense without the context!
Back to the plans, I also had to map out radiator locations for heating (going with rads in here to test if they'll do ok, if not, the other sections will be a more expensive underfloor heating job... we don't want that just yet!). To do the radiator planning, I needed to know how many radiators were needed, which means we needed to work out the rough BTU of each room, then work out which radiators gave that output. Some YEARS (it felt like years) later, the map was complete. Everything is to scale, so we know what can fit where, and I hyperlinked the radiators on the PDF to the exact ones to purchase later 🤓
Dan and I finished moving everything we have stored in the middle section to the one remaining room in the house, so it's all ready to strip next week. We still have some of our own living stuff up in the bedroom (ALL our clothes, my dressing table, etc, etc), but the electricity gets cut on Monday, and then it's game on.
June Week 2:
The electric was indeed cut. Kenny came to lop off the fuse board because it resides in the middle section upstrairs. He fixed a reno board with a couple of sockets to tide everyone over placed loosely where the future fuse box will be (in a cupboard, hidden from view).
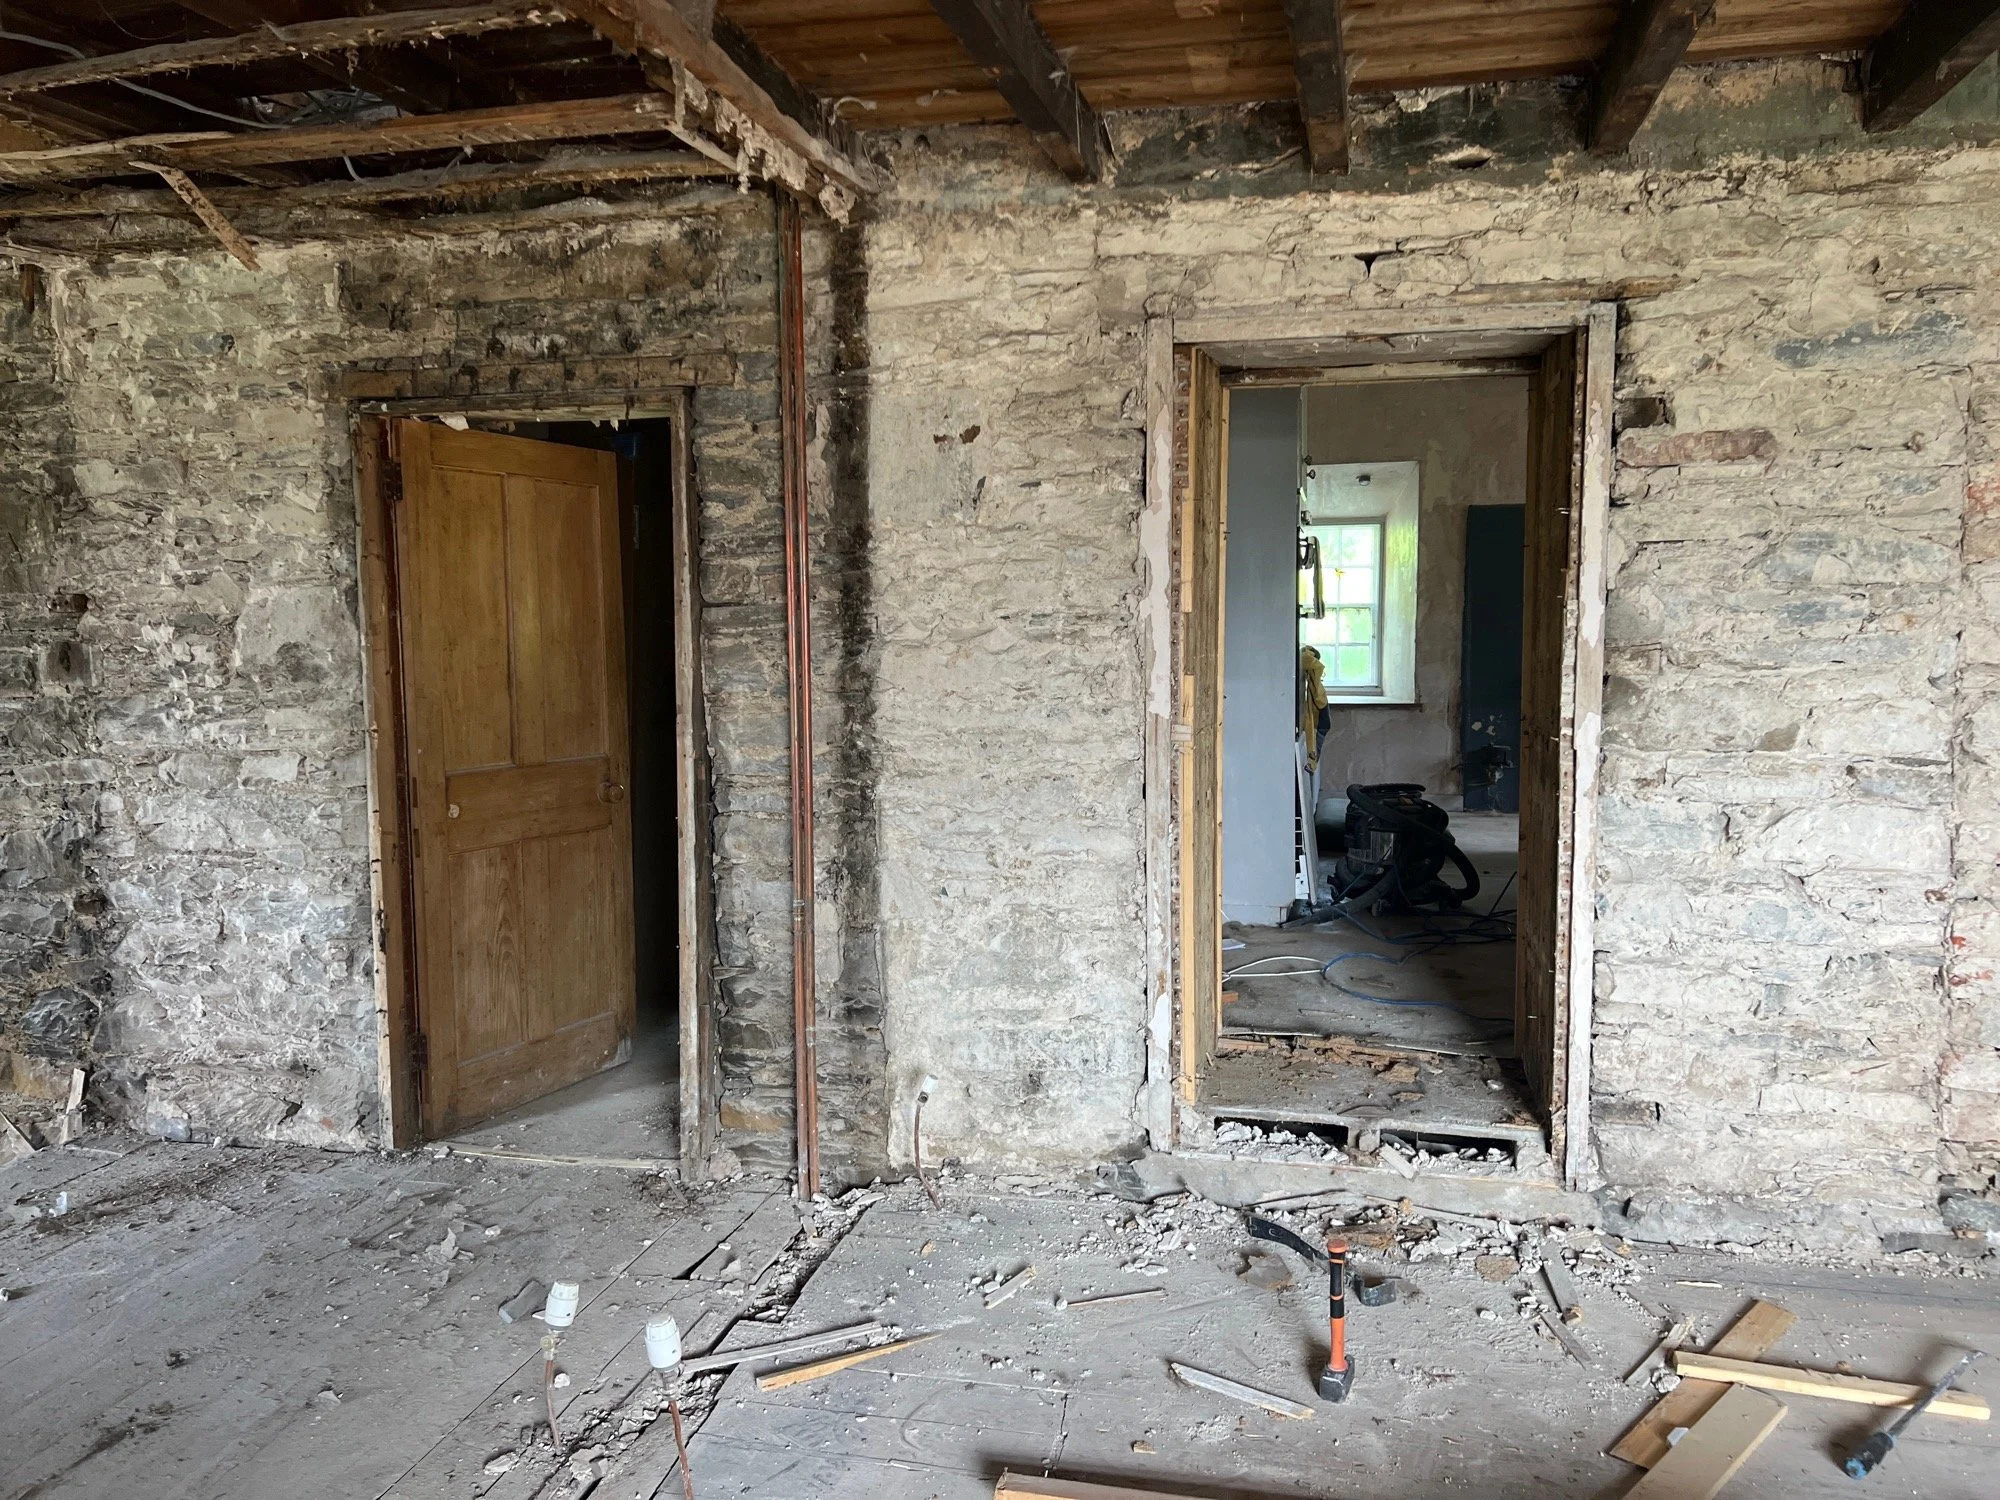
In the middle section, all the walls are off, all the ceilings are off, and all the internal walls are also out. That means this 100msq (50 down, 50 up) section of the farmhouse is currently split up solely by the 1st floor joists and the floorboards. A week of discoveries that have consistently changed the floor plan over and over again, which is exciting, but also not great when there is no available time to keep re-drawing plans 😣
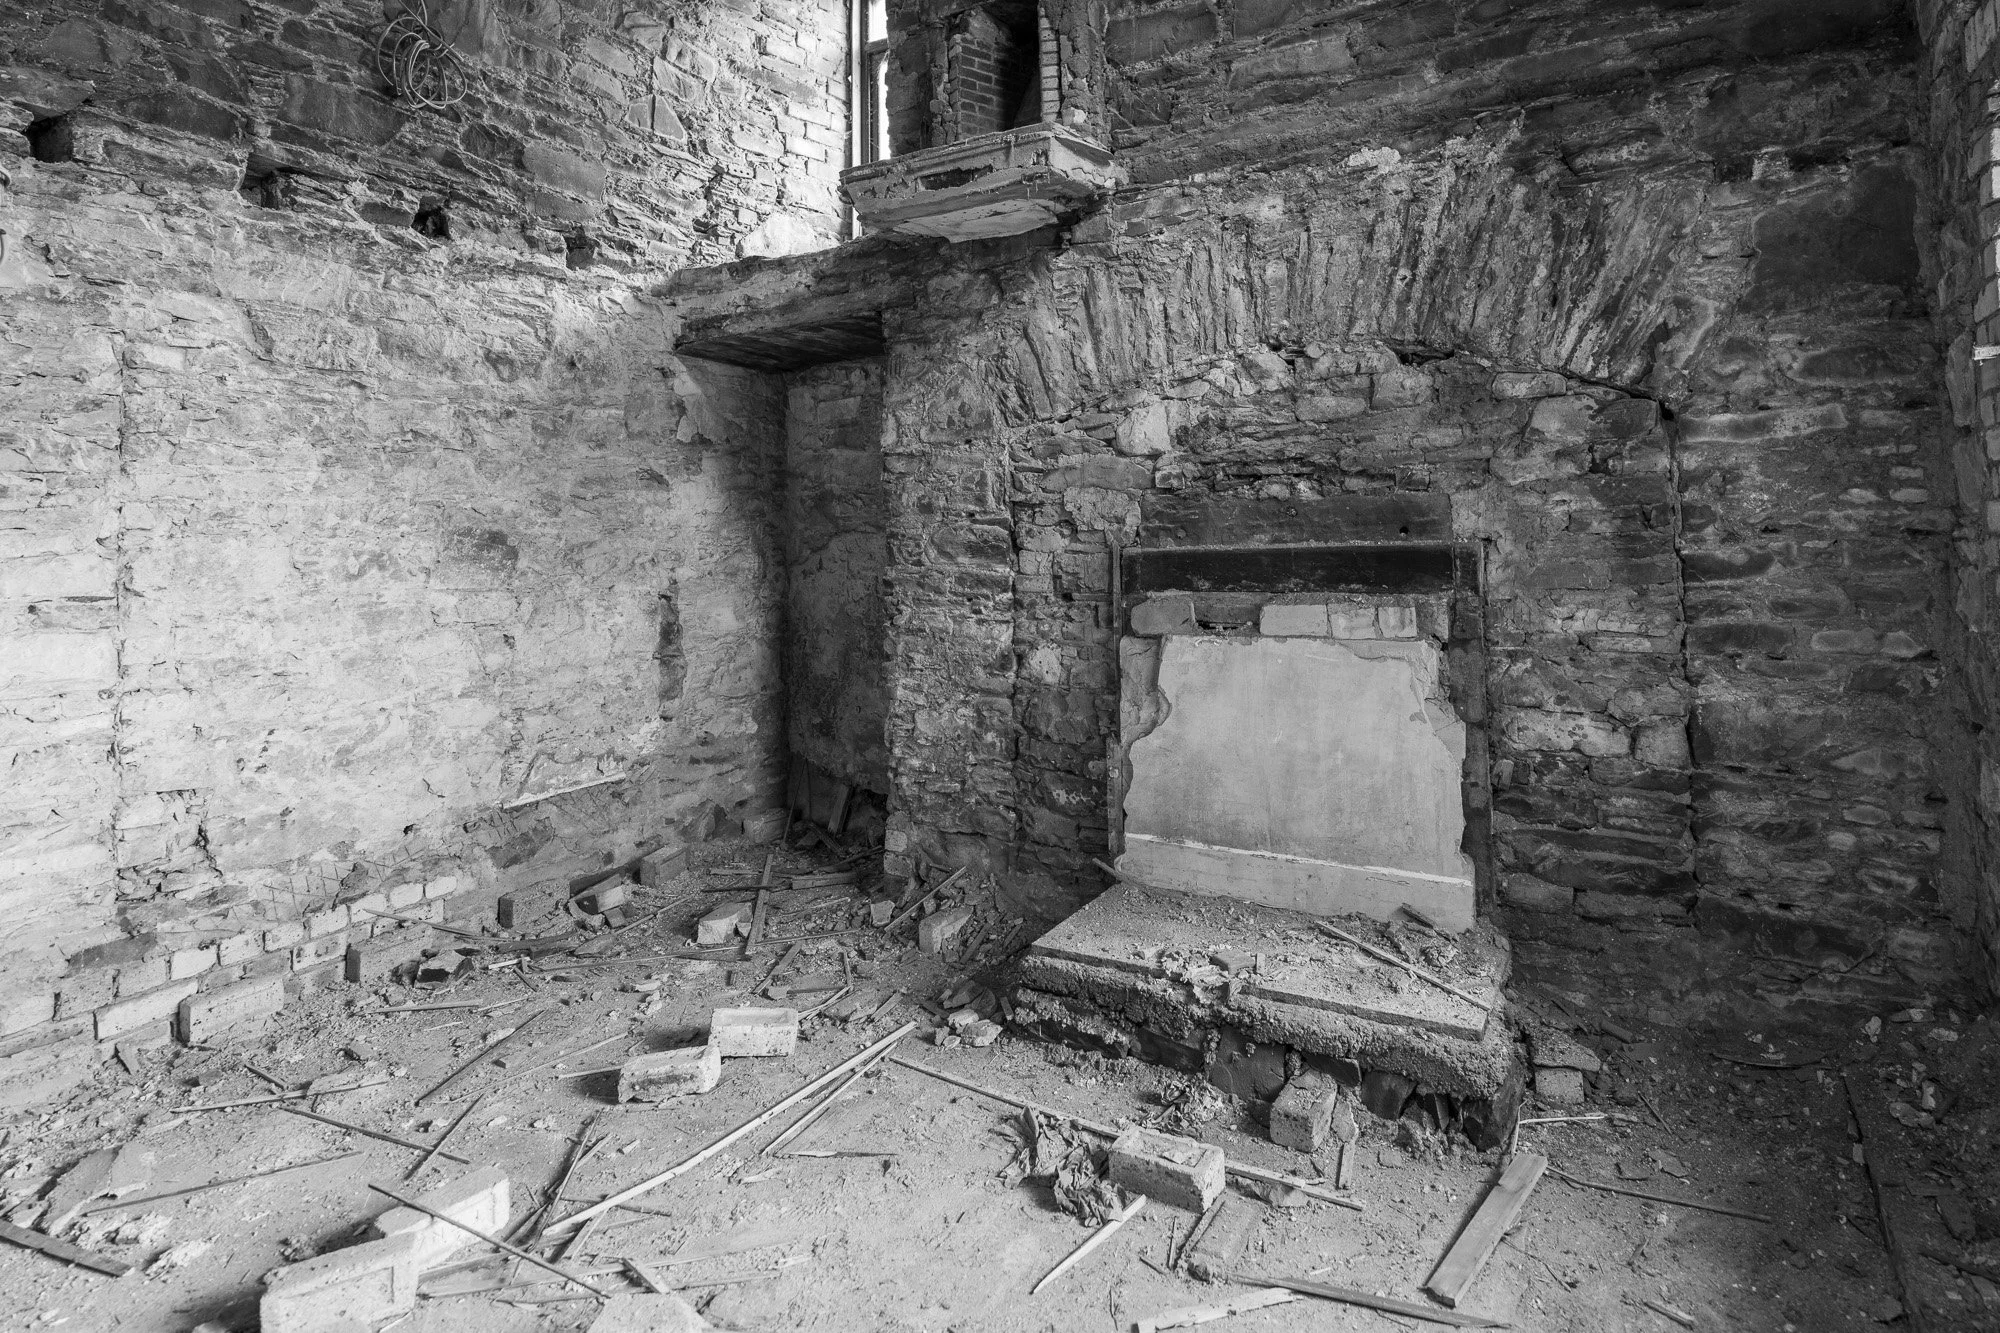
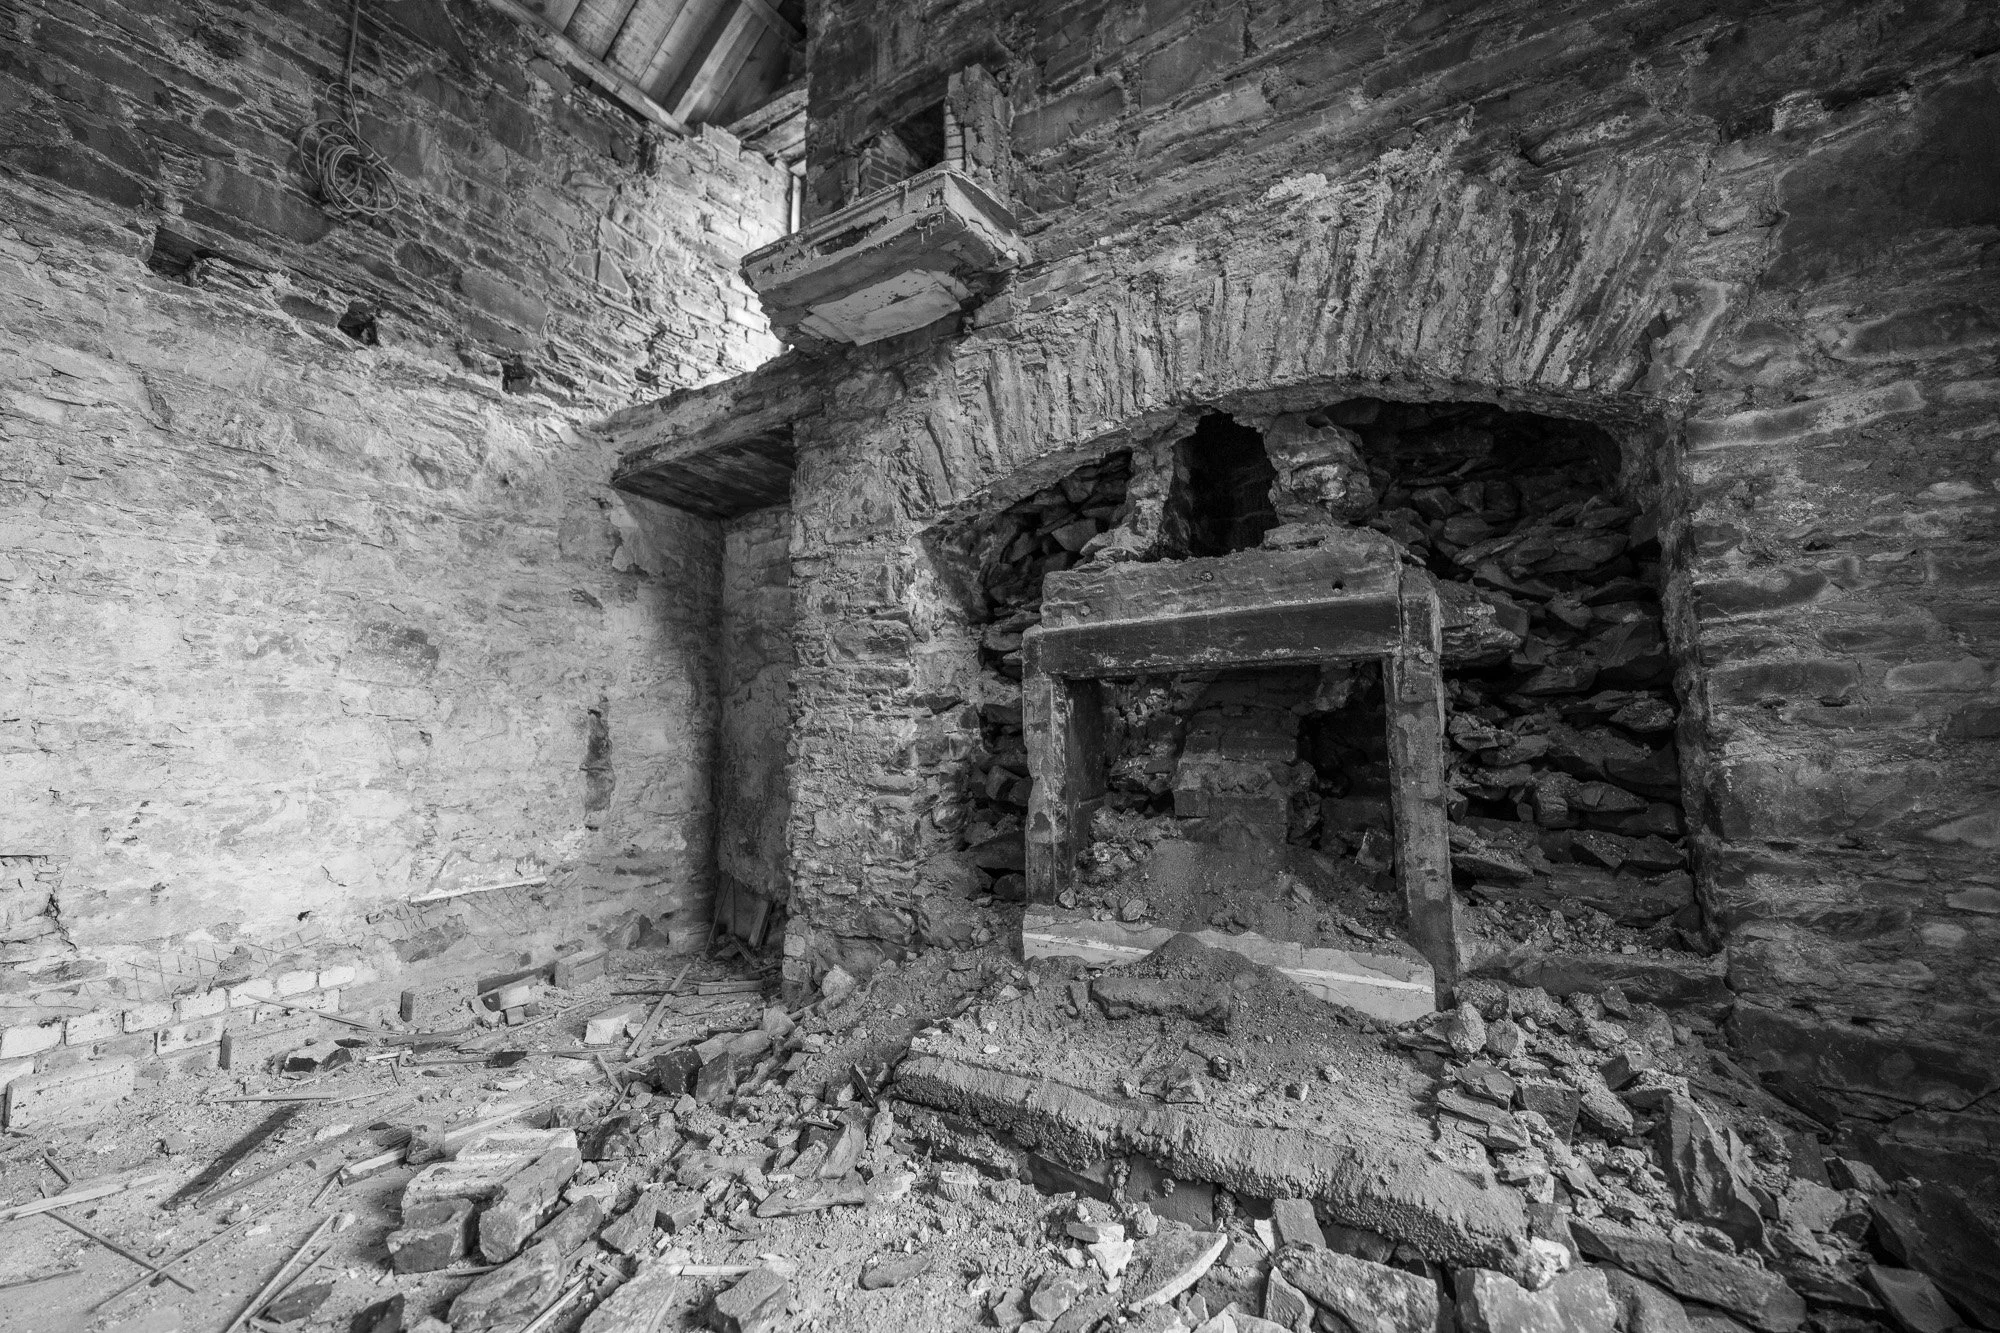
The main find was this stone-arched hearth that was completely hidden behind a plastered wall:


Located in my future office, it houses a smaller fireplace that had been inserted at some point within the opening, but it is basically a dead cert that this arch is original and dates to before 1820. Sadly, at the decommissioning of the smaller fireplace inset into this wall, the chimney stack was removed at the top, so although the fireplace will still have a flue (probably), it doesn't have a chimney or opening at the roof line. This leaves us with a conundrum because we simply can't afford to reinstate a chimney (legit just paid for that roof to be re-done!), but not having a fire in something we'd like to leave exposed as stone carries an incredibly high risk of wet stonework, damp and mould if every other surface is well insulated.
We need to consult with the builders, but it may be that she's hidden for another 10 years or so and makes an appearance down the line when funds allow 😔
The other main find was that the actual giant archway in the library is fake. This was quite a surprise, but there was a wall opening here at some point, and it was bricked up with red brick then framed out in very recent modern soft wood battens. Therefore, it will not be protected, and the floor plan changes to put a solid wall there instead, to insulate against the single skin bricks and provide useful furniture space.
That decision meant a whole room shake-up in the library (our living room), and we're now operating on a "lets leave it open plan" vibe by not re-installing the hallway wall at that side, which will allow for a true libary wall, balistaude entryway and a "grander" entrance to the property. We may live to regret this decision, and I have less than a day to figure out if we can put a pocket door over the hallway arch to provide a "door" that isn't a normal hinged door to this space. This archway is 135cm wide and 215cm tall, and so far my searches for suitable doors have drawn a blank. I'll continue during my lunch break today (from the future, I found it)!
We also reopened the previously blocked-up door (that was a serving hatch beforehand), to create that utility/office link for future me. (It’s the one on the right-hand side here.)
Today, Dan has to clear out the last of the rubble and take it to the skip before taking up the downstairs floorboards. At that point, we'll then have a view of whether we can steal some space for the living room or not from the floor heights (they change!).
A lot up in the air, a lot of re-drawn plans, a lot of "ifs" - by the end of next week, all will be solved!
Exciting though 😊
June Week 3:
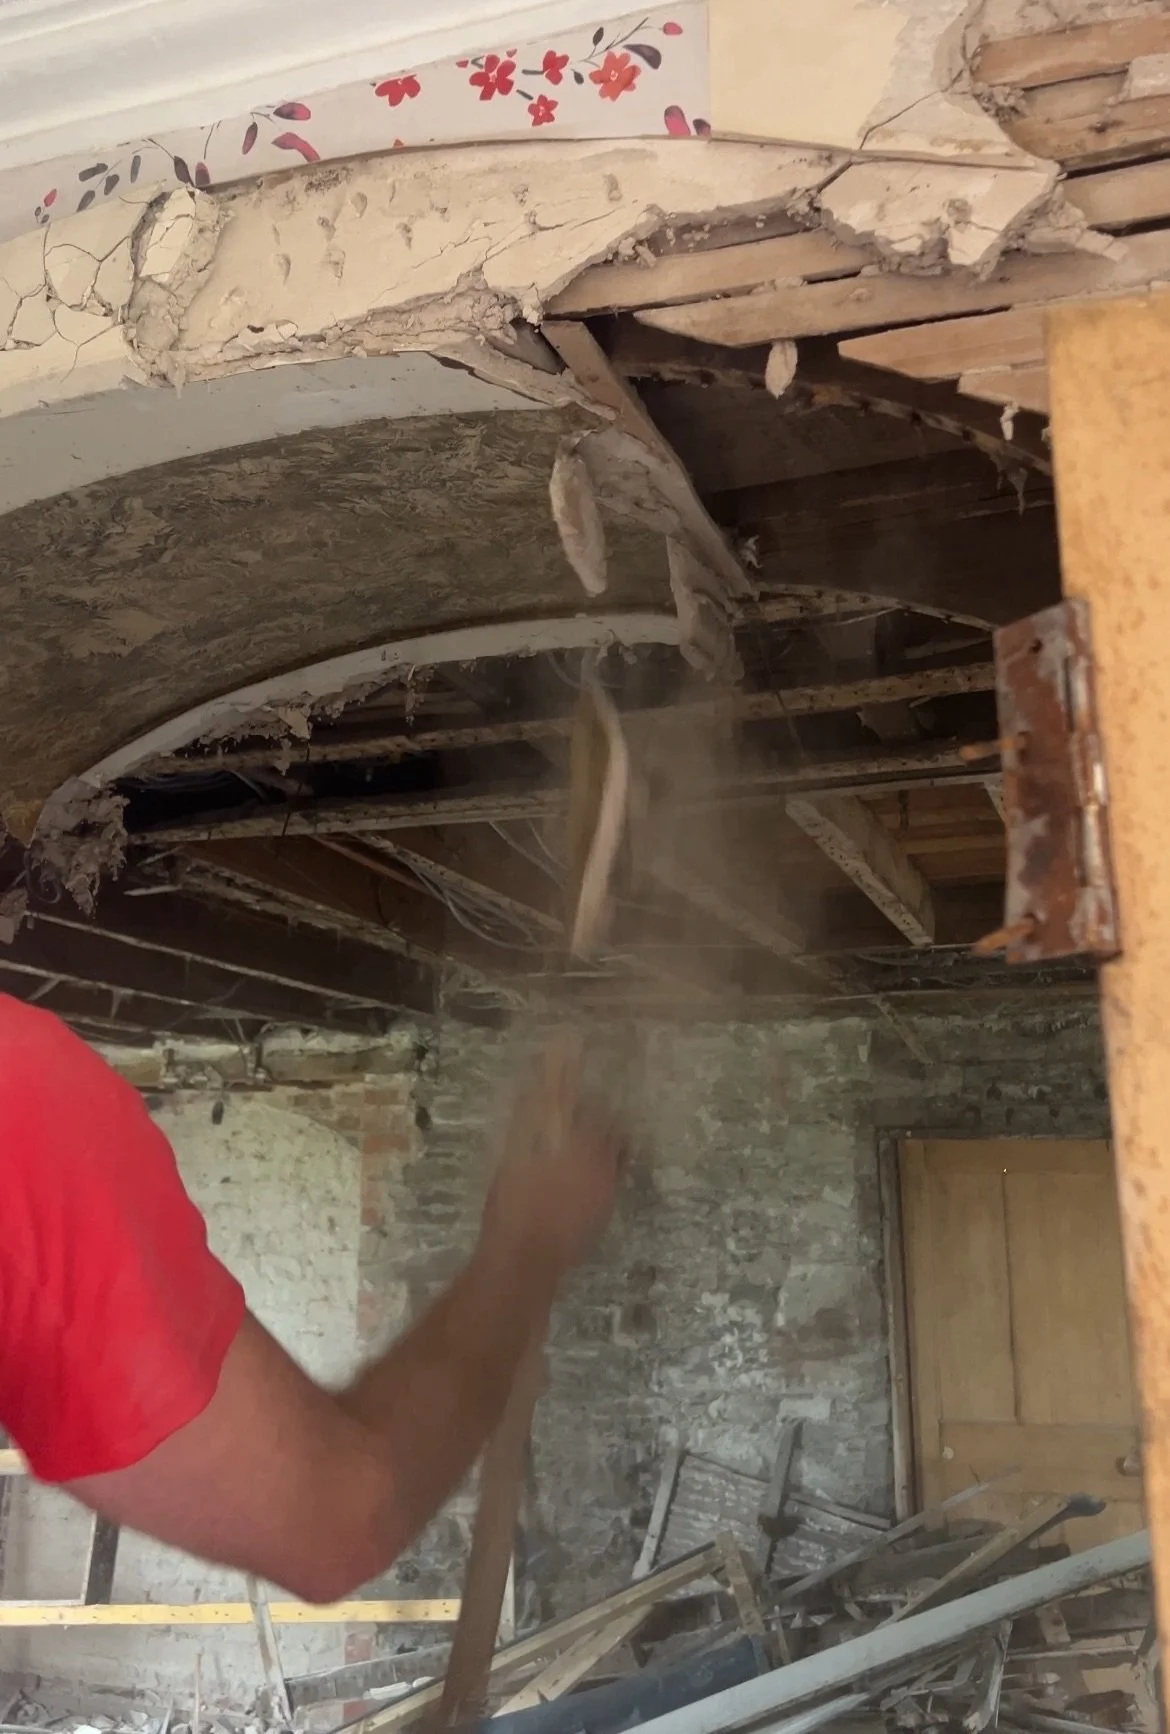
Early doors on Monday, Dan said it was time to tackle the arch. This arch is part of the bones that make this house sing, so destroying it hurt my heart a little bit. It does need to be stripped right back because the insulation work will run over it, and remedial work behind it, ensuring it lasts for another few hundred years.
Dan tried to remove the mouldings, architrave and cornicing carefully, and for the most part, the lower sections came out in one piece. The pillar sections were just flat boards with no detail, so those were less critical, but the finely detailed elements were stubborn in their removal.
Each of those details, except the plaster arched architrave detailing, came off relatively in one piece. Sadly, the plaster work couldn’t be removed and retain its shape, so straight removal it was.
That left the archway open and a horde of bits from it. It also revealed the coolest wallpaper that had been boxed over when the arch was installed. I still have had no reliable date on the paper, and honestly, I’d love to know!

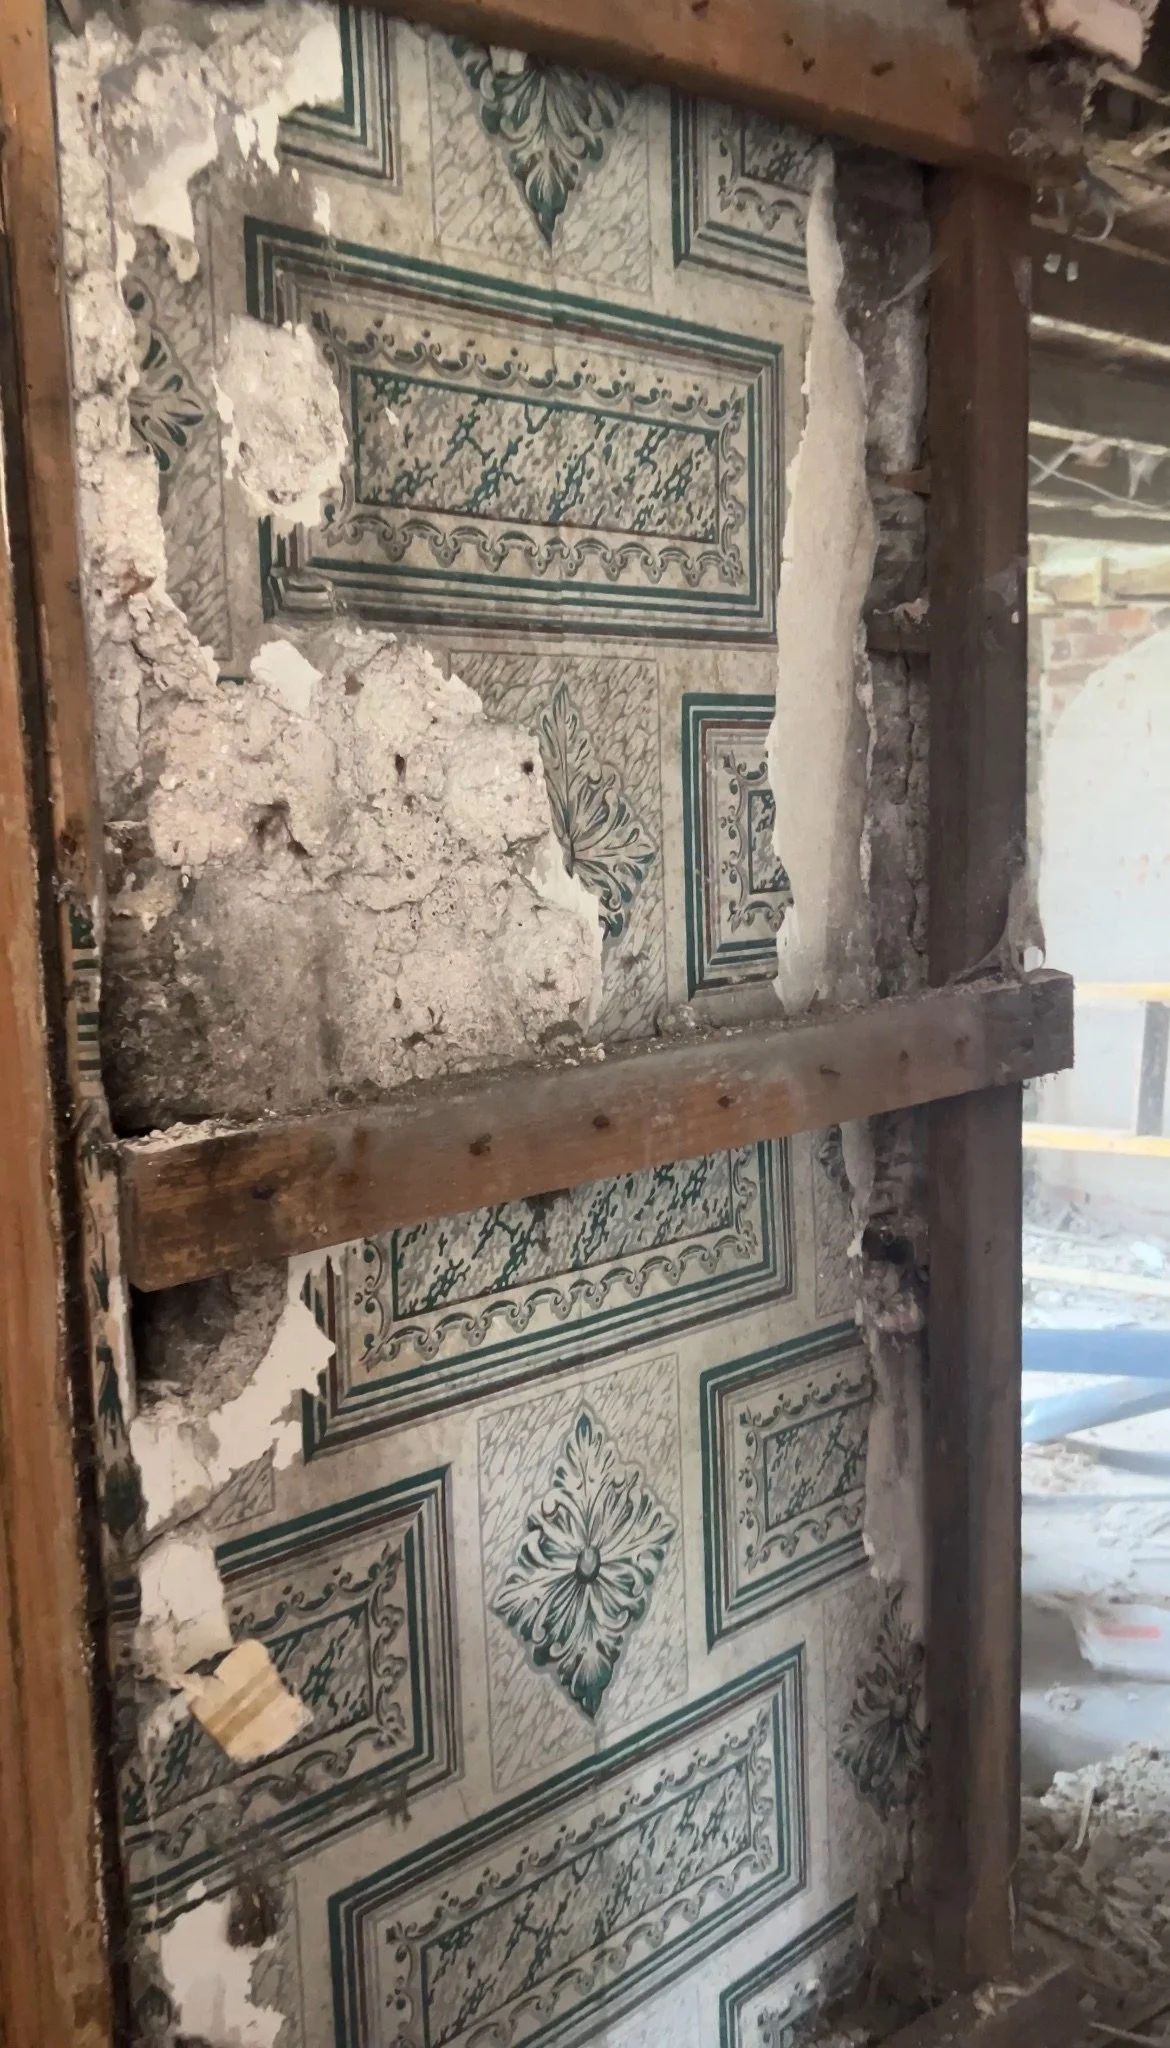
The hidden wallpaper
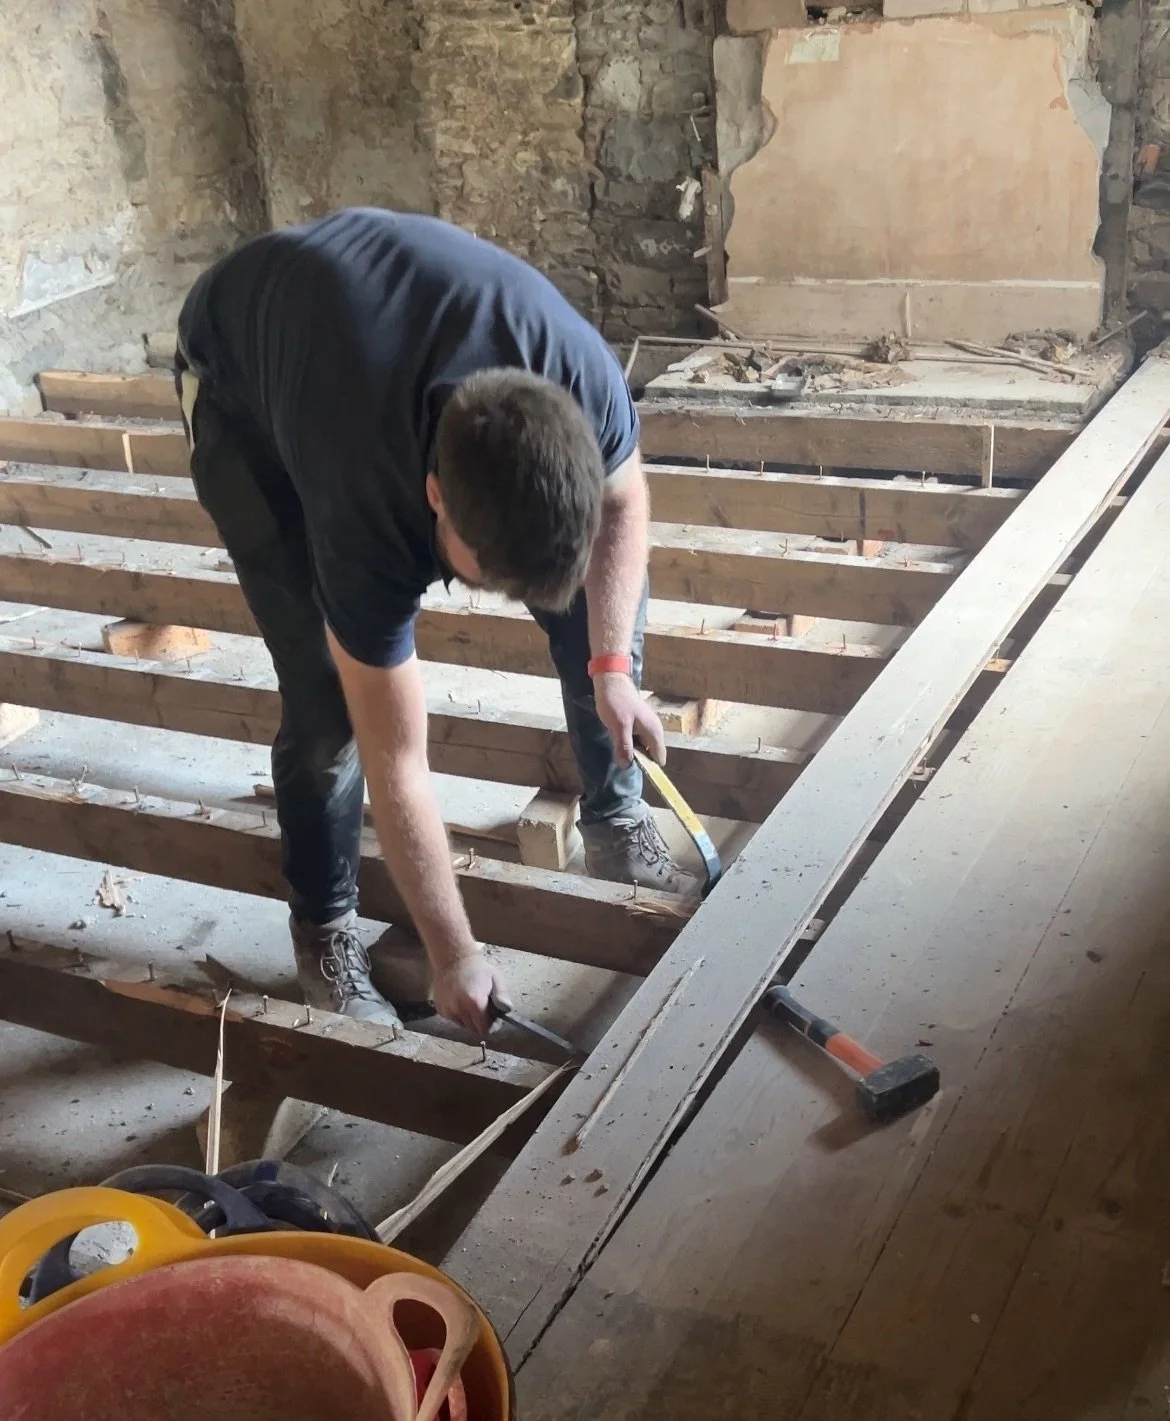
Next was the floorboards downstairs. This might be top of the list of jobs Dan hates now because it was back-breaking work. It was also enlightening.
I had been quietly stewing with sadness over ripping up original floorboards and destroying the original fabric of the house for months. MONTHS. What a surprise it was to then see concrete underneath the dining room/office boards, with some brick underpinning, bricks under the joists, and more. At least we were not the owners to destroy the original fabric, which let me breathe a sigh of relief!
We did find the hidden newspaper to date that works, which showed July 2004.
At some point in the fireplace filling at this side of the house, the lower air brick for subfloor ventilation was blocked up at the back of the chimney, and the area is soaking wet. Hopefully, she’ll dry with some remedial action.
We needed to lift the floor boards down here for insulation underneath, but we also needed to lift the boards to see if we could steal a strip from the hallway for the living room. The floor level on top of the floorboards was split in two, with the office and hallway at one height, the living room 8-10 inches lower. If the subfloor allowed, we needed to lower part of the hallway to the same drop as the living room.
Thankfully, we found three heights, with the concrete sitting higher than the dirt-based hallway, which was slightly higher than the dirt-based lounge.
The joists and subfloor props really need replacing, which adds extra costs to the mixture. This throws up extra questions about whether underfloor heating would actually be the right thing to do, given we have a partial screed situation anyway. Conundrums for sure.
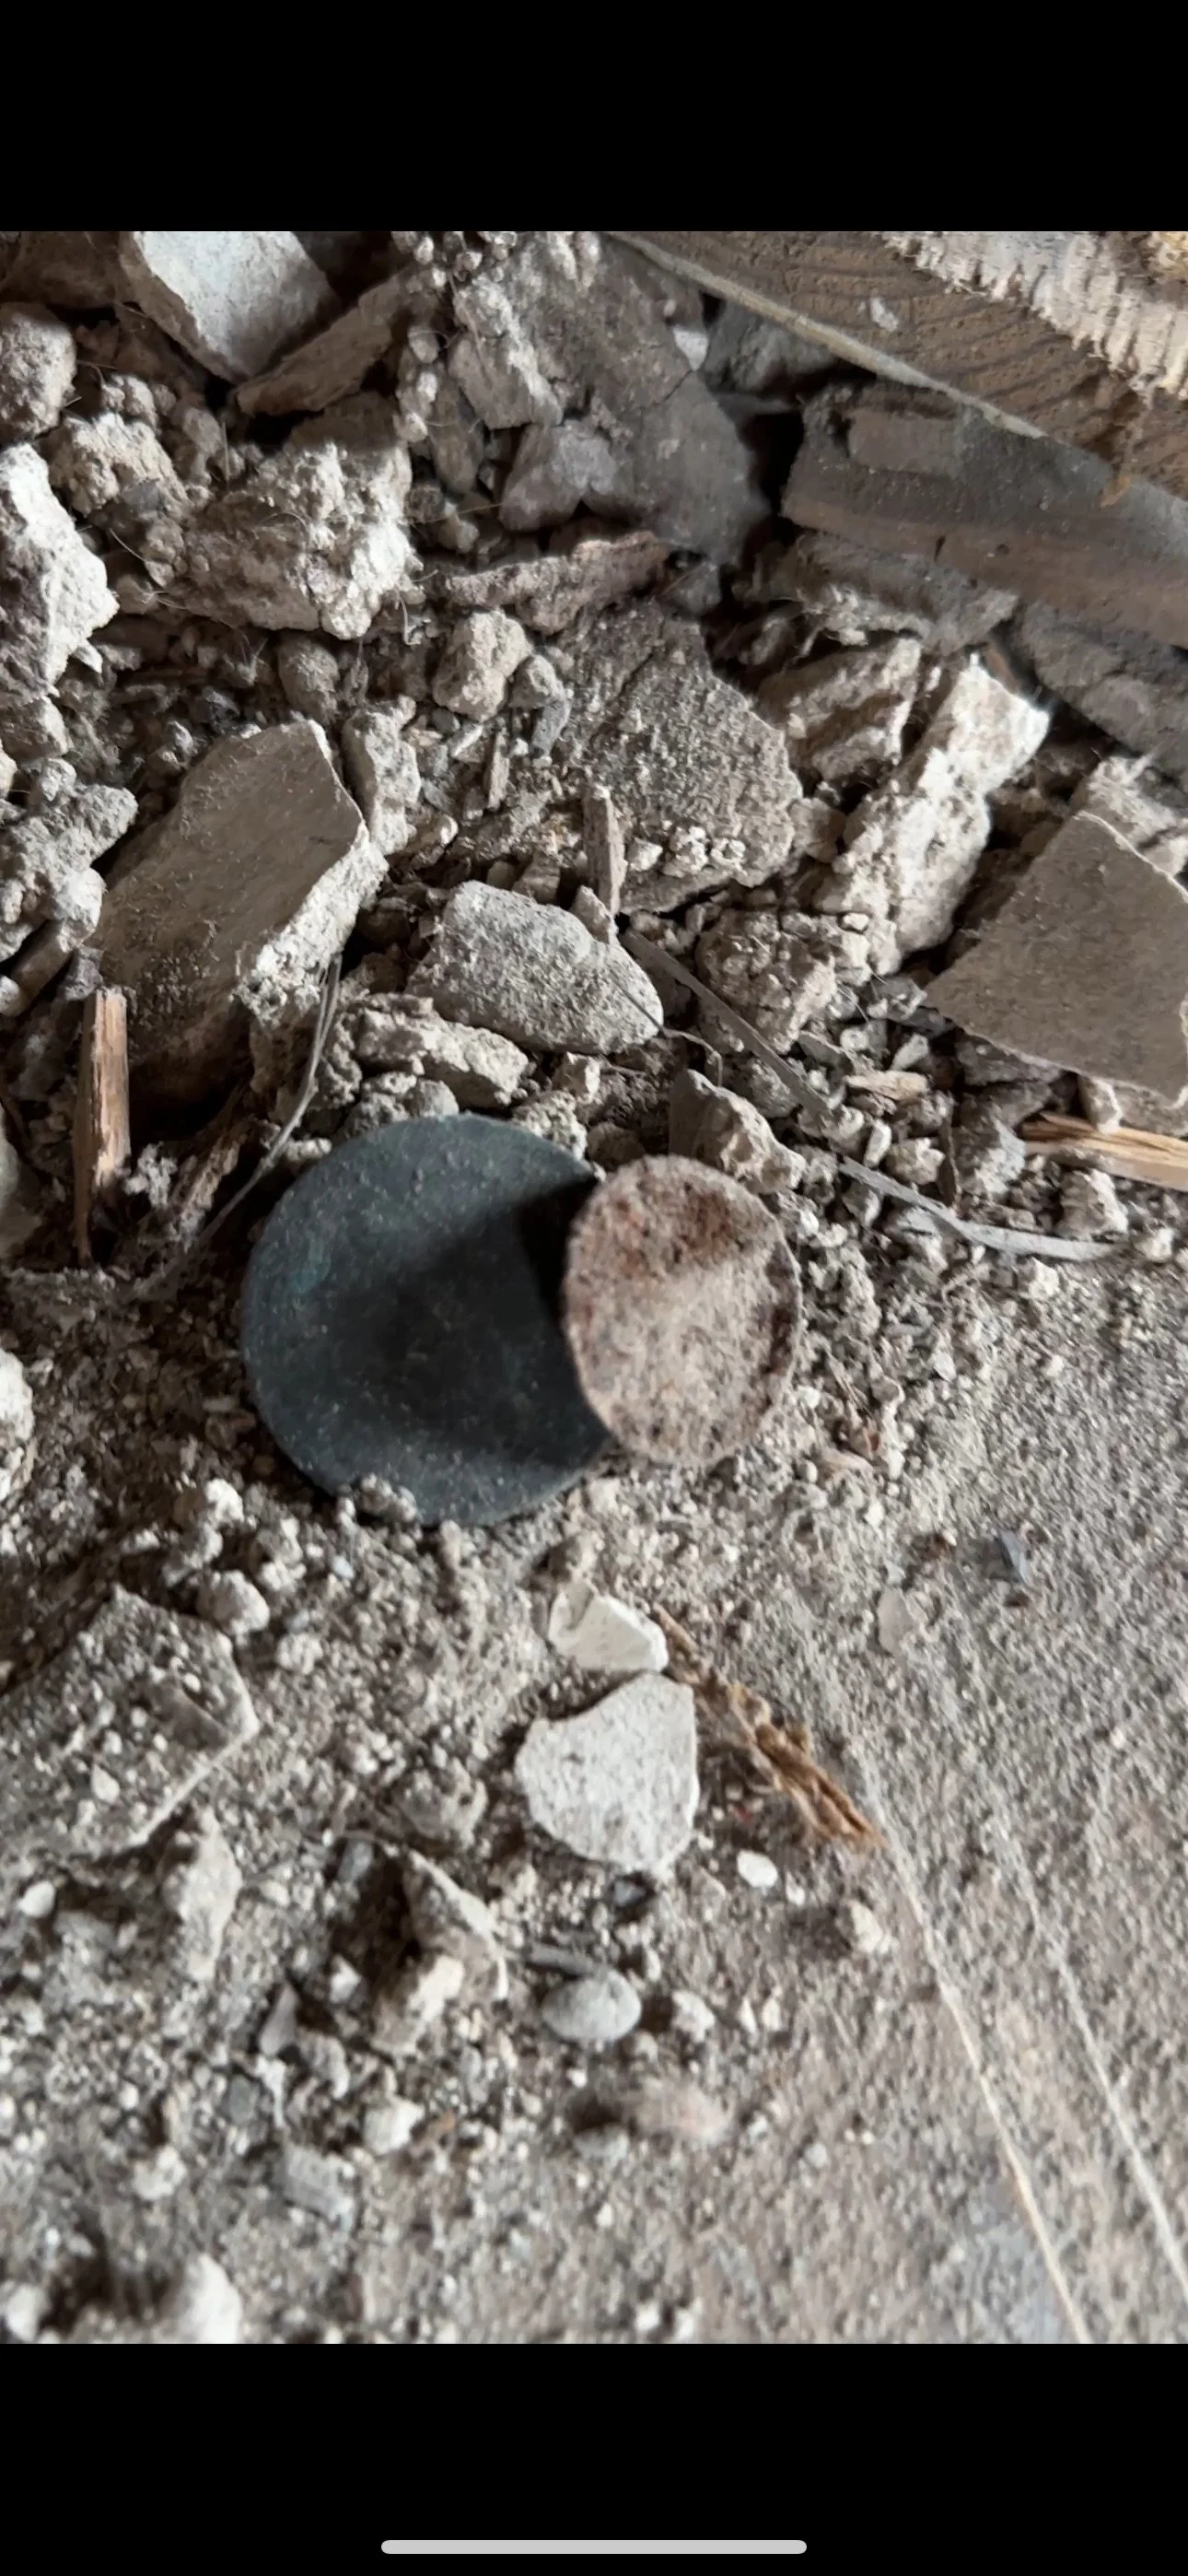
The only other thing of note here is the coin Dan found in the dirt. It’s almost impossible to make out, but this is a One Penny Token from 1812, which helps us to date the middle section and place it into likely Regency era in terms of build and design.
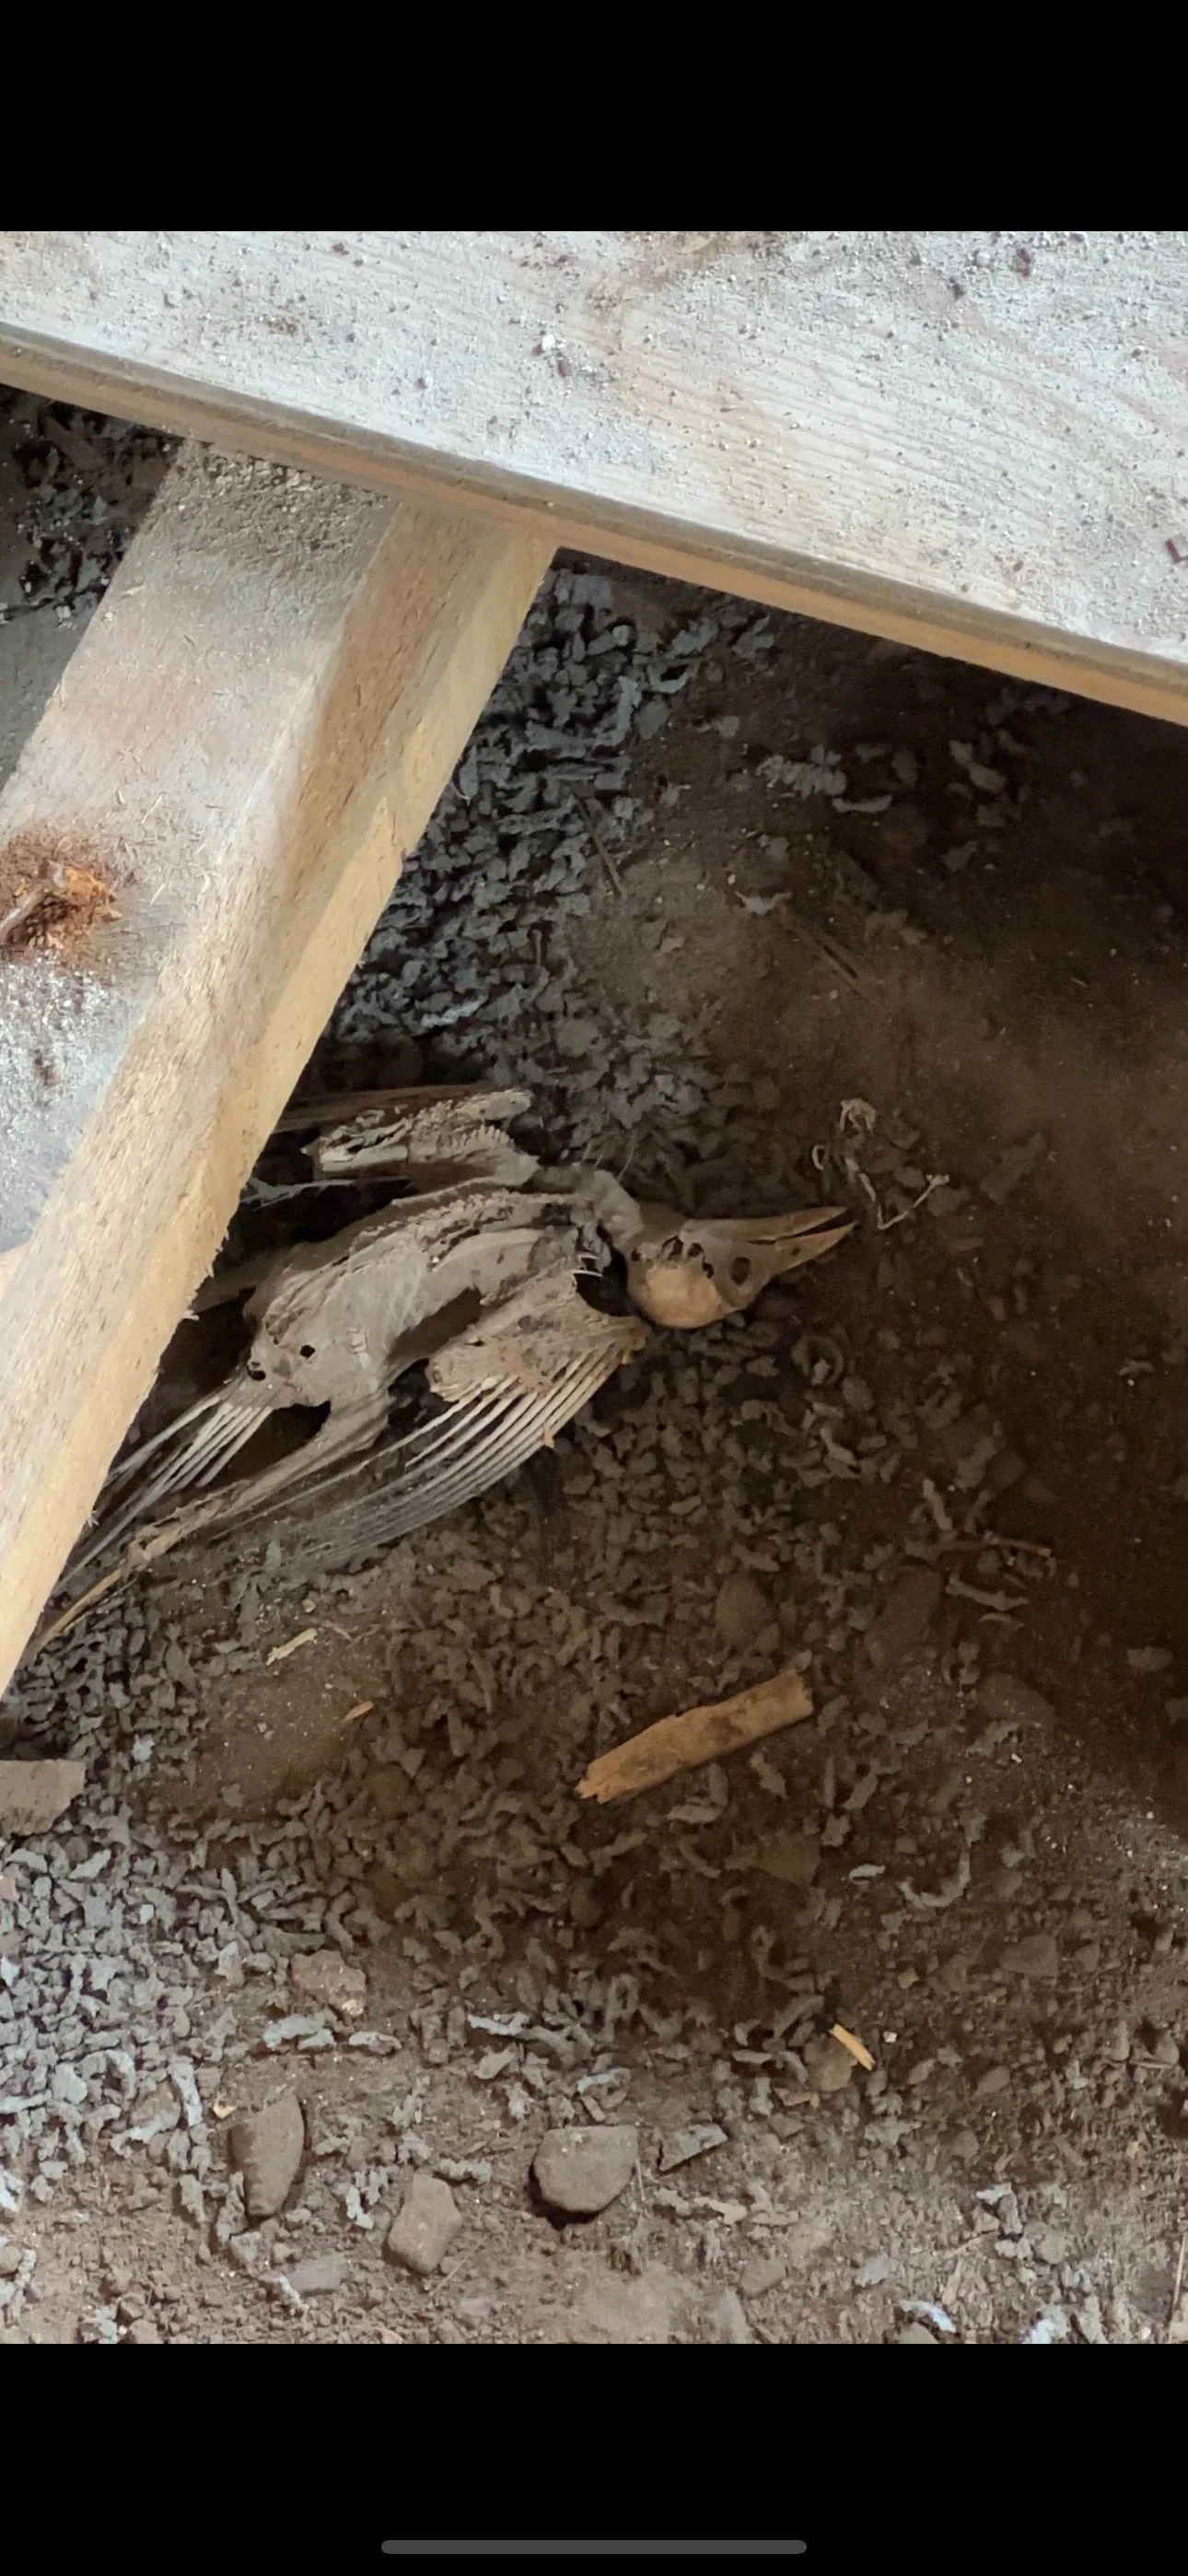
We did also find another dead bird, this time under the living room floorboards!

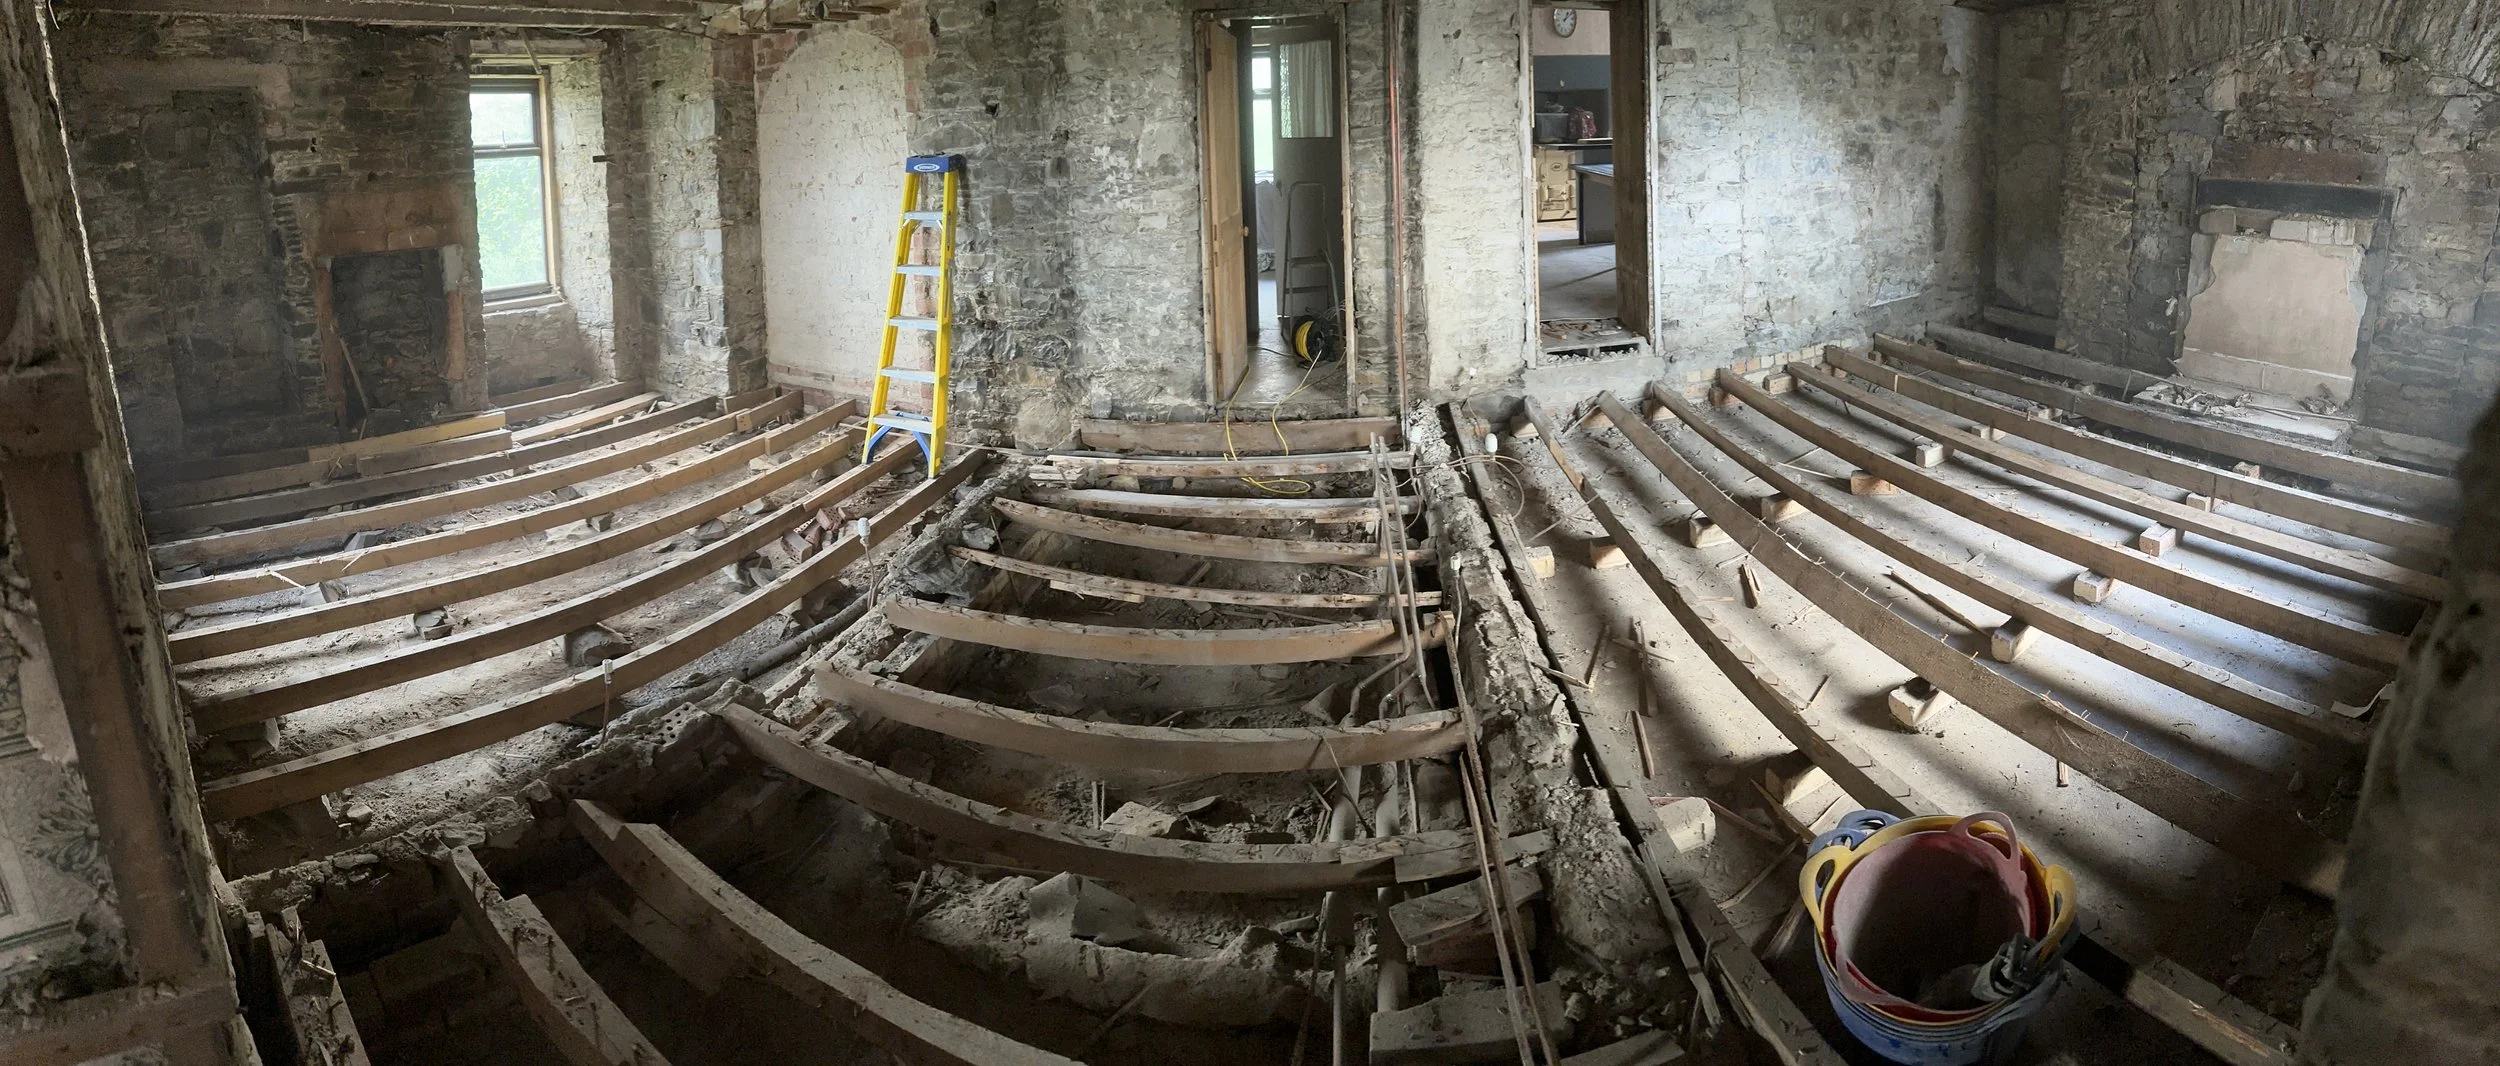
At the end of floorboard gate, the downstairs space looked kinda like this (I don’t have a non-pano version right now!):
The builders were supposed to come on Monday, then Wednesday, then it became Thursday, and although there was a site check on Thursday, it’s now next Monday. So yep, obviously me being me, I’m not so thrilled about that right now.
We ought to probably cover a few other things that happened this week - there’s been a LOT - like Velia having her photoshoot and coming home, the field getting its first cut and bale, us pulling down the aga baffle/panel thing to try solve a big wet patch (we’ll talk about this another time!), Velia having her first follicle scans, and more.


Look at how good baby Velia looks! ^^
We also went to the pub for a drink, which at the time of writing, I honestly do think that we deserve!
June Week 4:
If I said this week had been plain sailing and full of sunshine’s and roses, it would be a flat lie.
Honestly, this week has been full of rising excitement and anticipation, and then that elation has been squashed into disappointment and frustration faster than you can blink.
I can’t even remember what happened on Monday to be fair, though my timestamps on the photos I have say that this was the day that both floors in the middle section truly exited stage left. Mostly.
Dan chipped in and took out the lower joists remaining, because really these needed to be set down correctly, not with hopes and prayers on random stones.
The builders began removing the floorboards and joists upstairs, because the joists are, as we’ve seen, not structurally sound. Heavily bowed and split in places, a replacement was the only way to go.
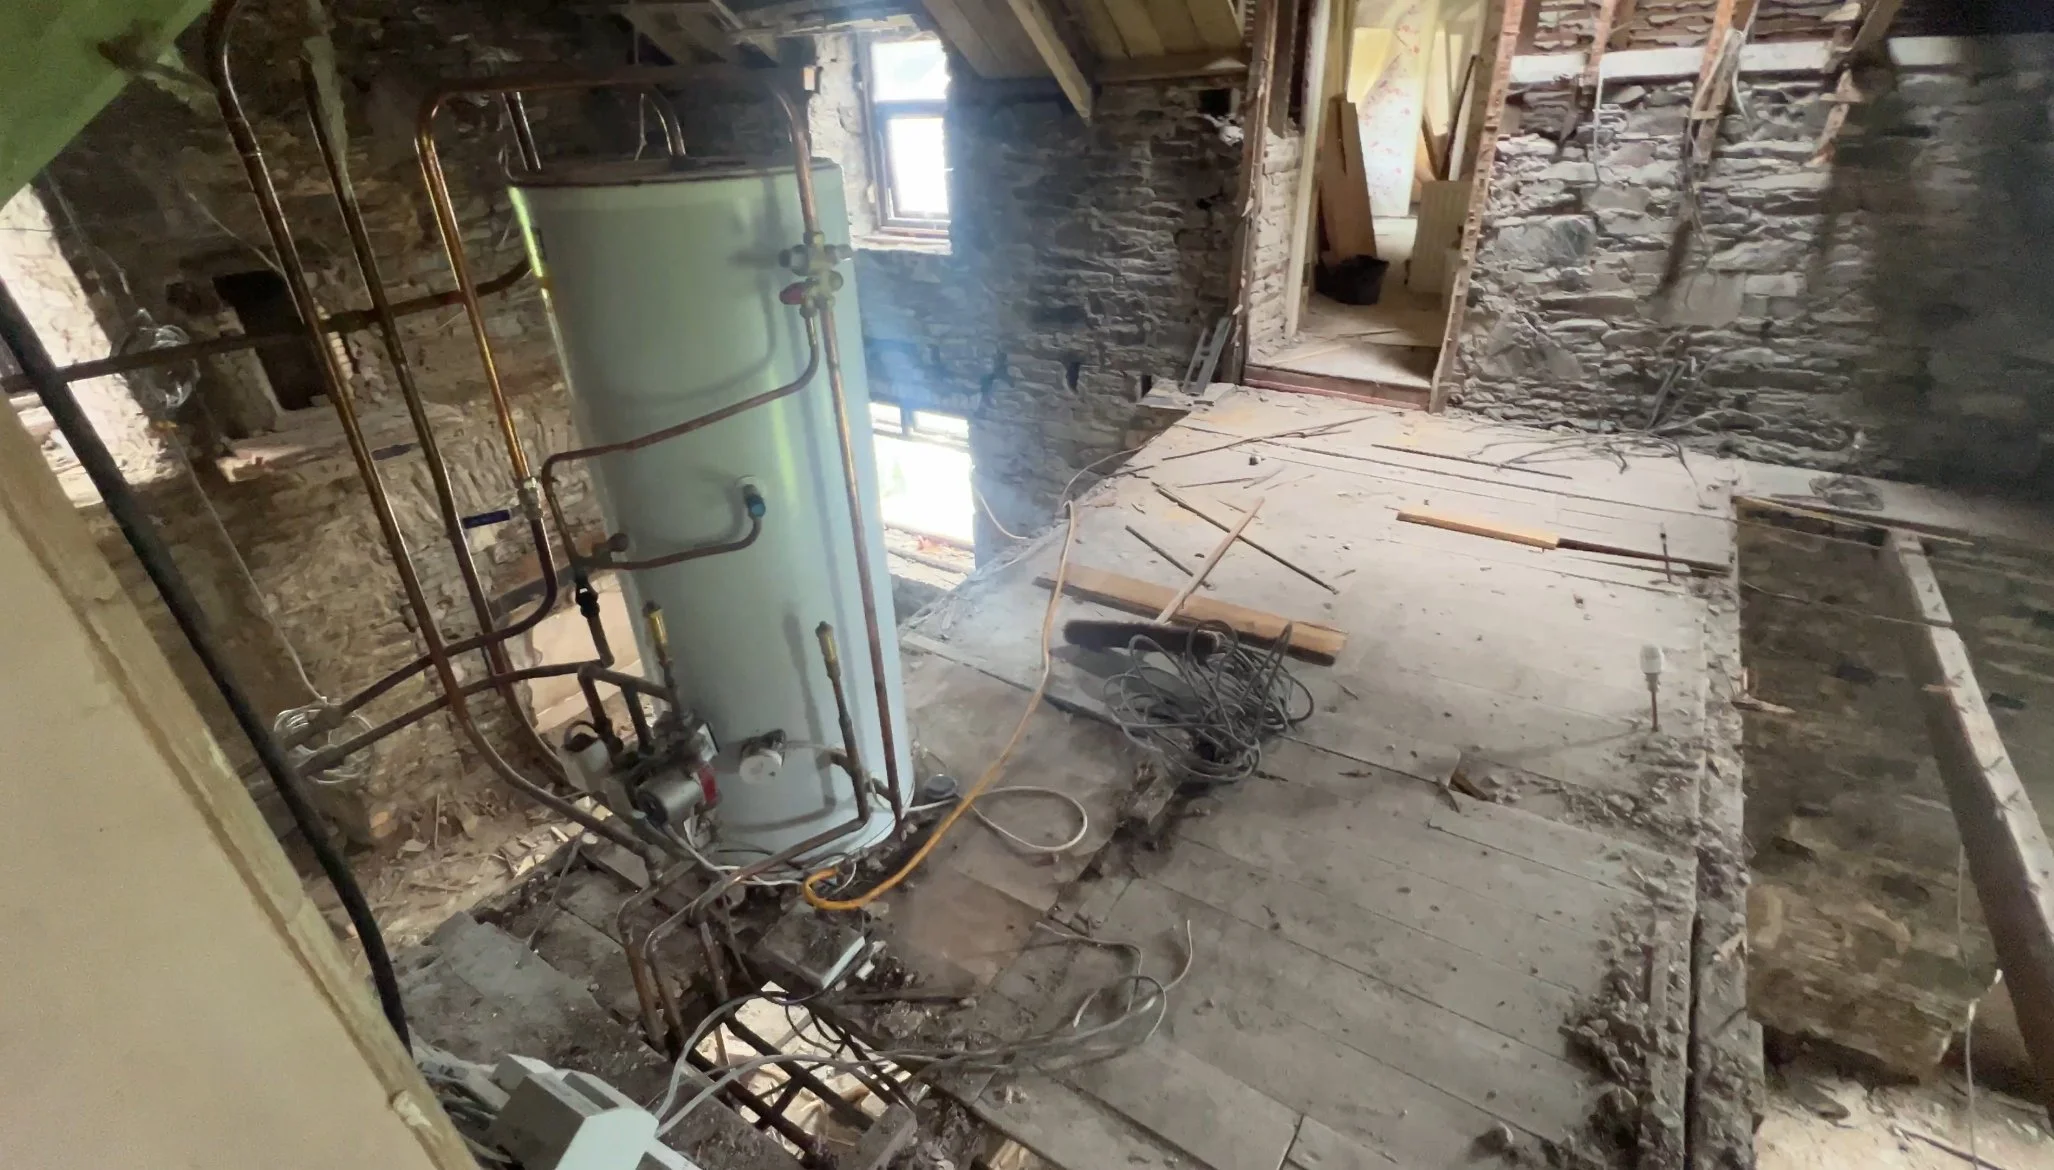
However, this left us in a sticky spot because the immersion tank thingy (still no idea what this is called), rests atop the central section, which we’ve also discovered has absolutely no joists spanning fully from one side to the other. Magic holds it up.
Therefore, to allow for its full removal, the plumber came to disconnect the tank thing, before works ground to a halt.
That’s partly on us, because we’ve had conflicting advice about what to do for the grownd floor, a lot of lintels also need replacing, and that giant archway in my office needed to be factored into the equation too. Essentially, the quote was changing and we needed to know where we were at.
That left the few planks inside the void in the middle section looking stunningly sketchy. Walking across that (the part with no joists) is akin to crossing a rickety rope bridge over a 300ft gorge; Both thrilling and terrifying, plus a little stupid, all at the same time. It’s a nice view from up there though!
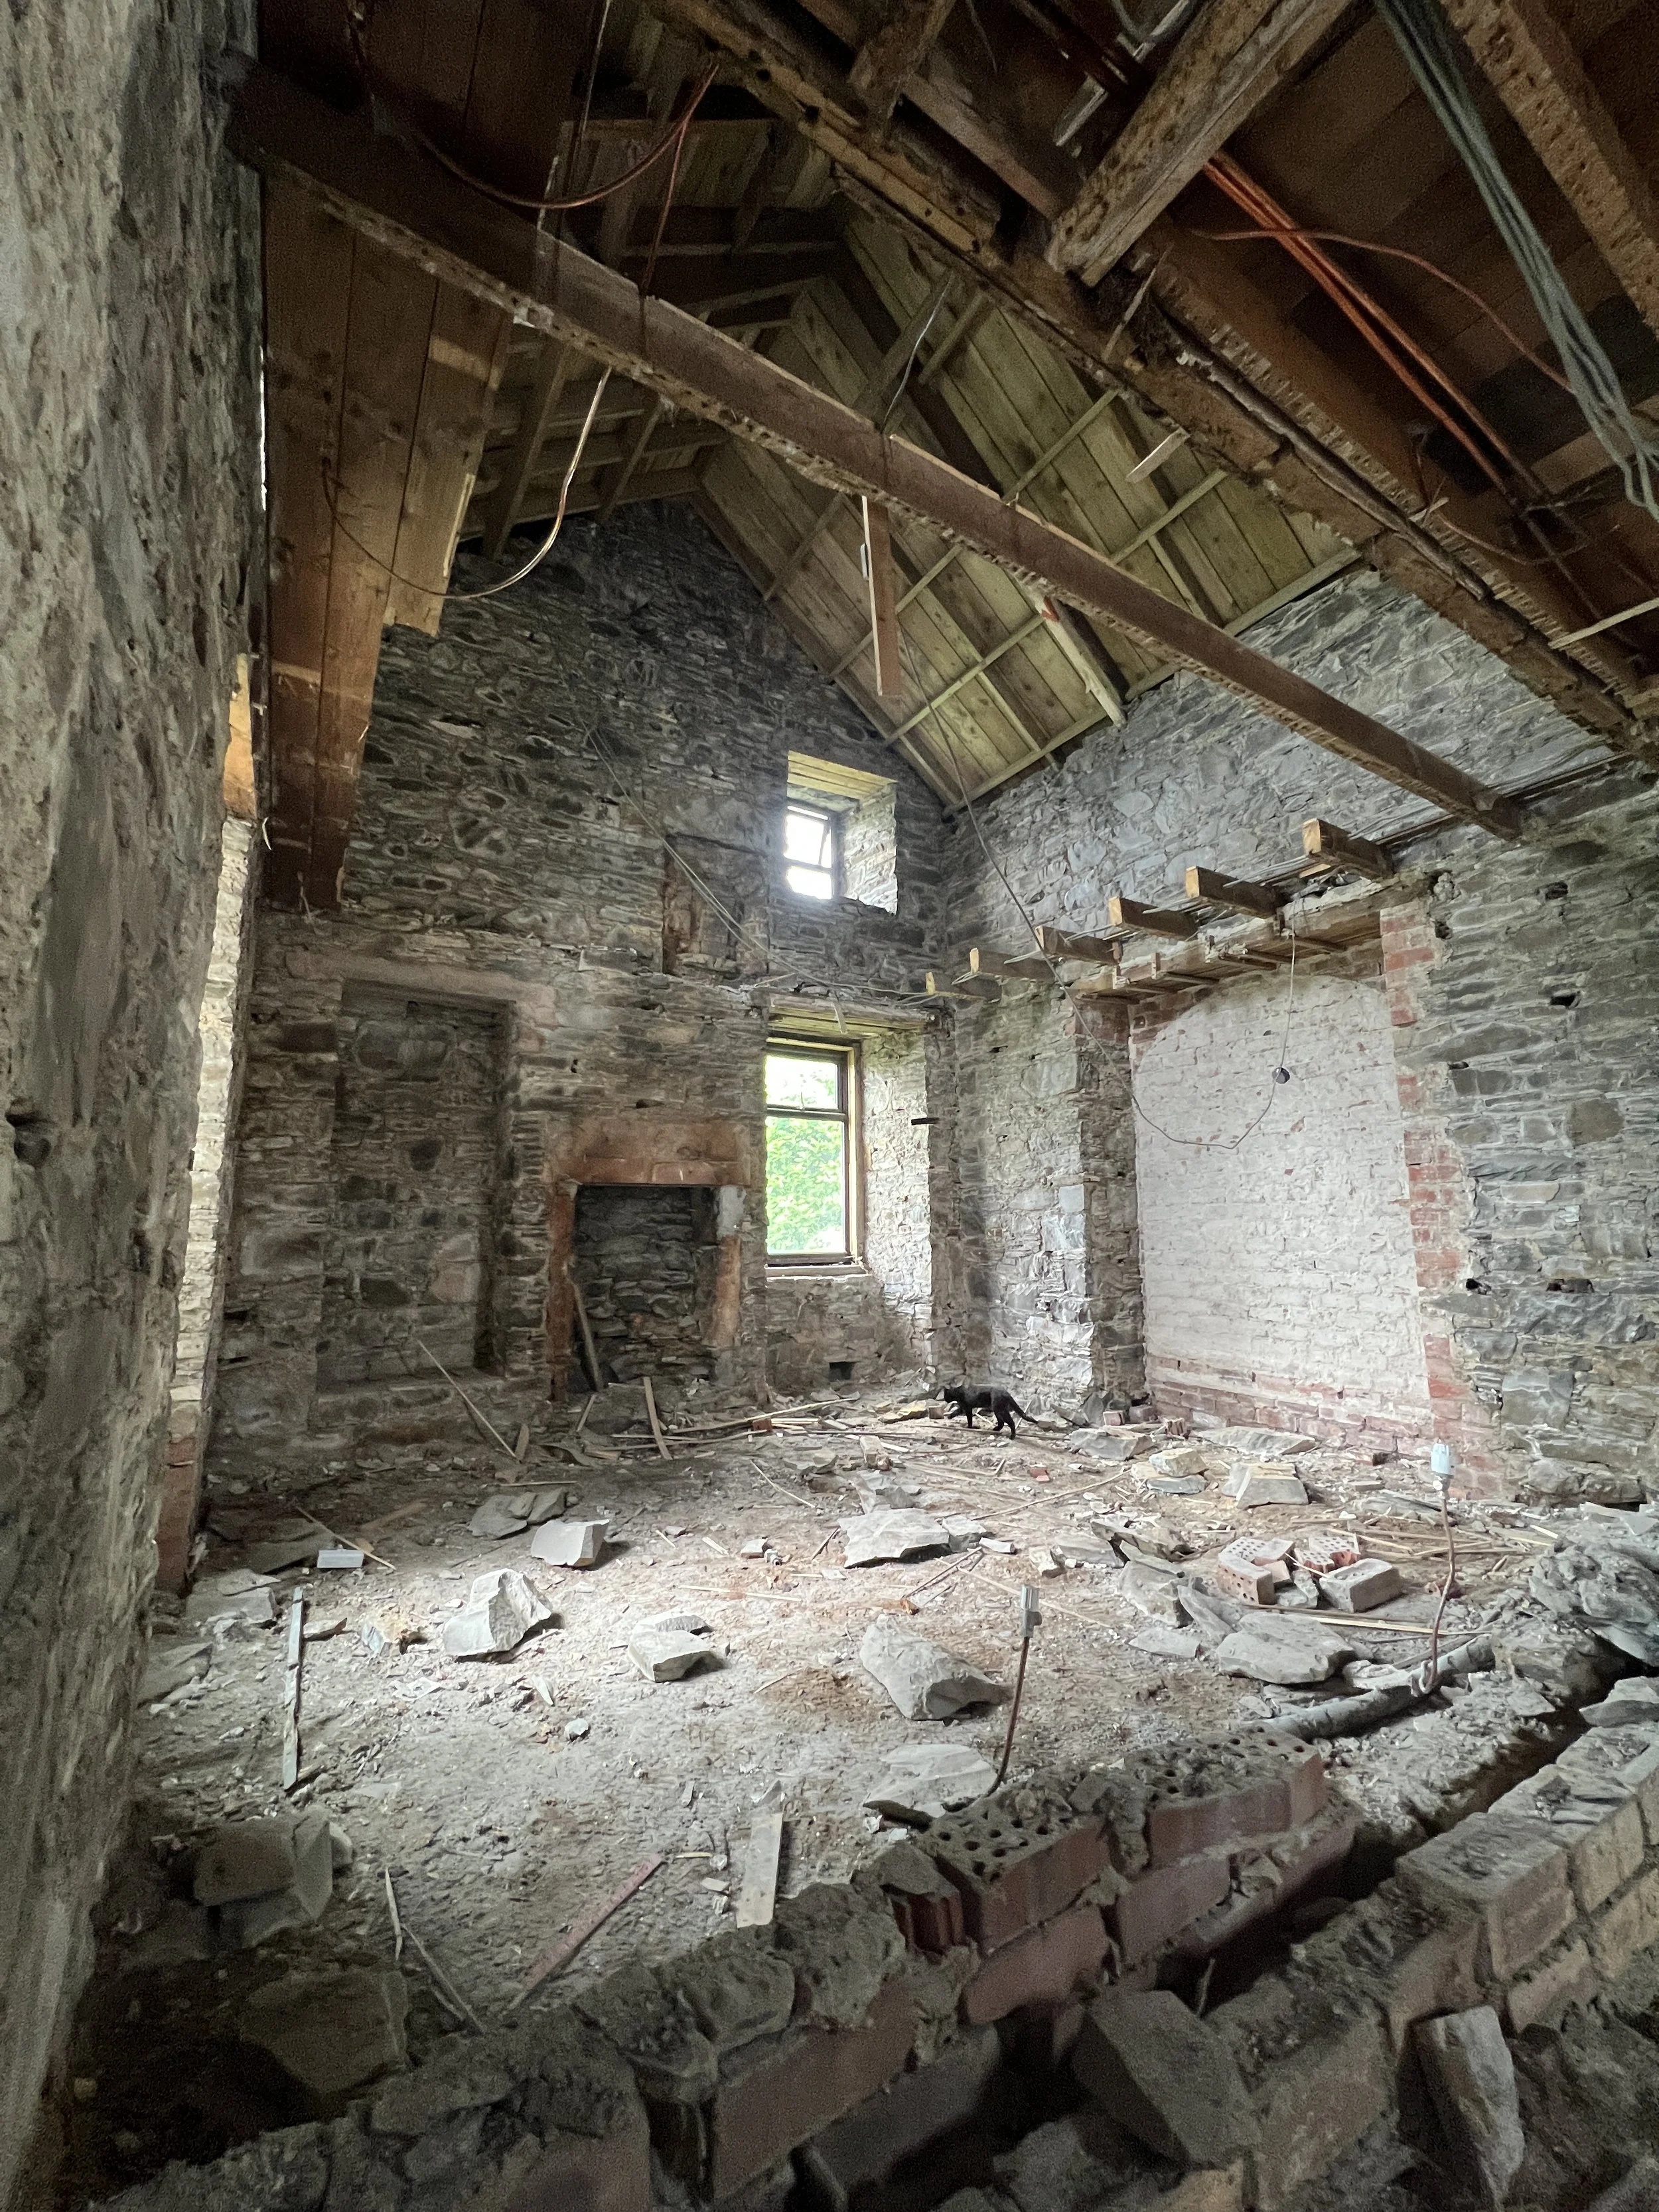
From downstairs, the space looked like this. It’s giving church, it’s giving cathedral:
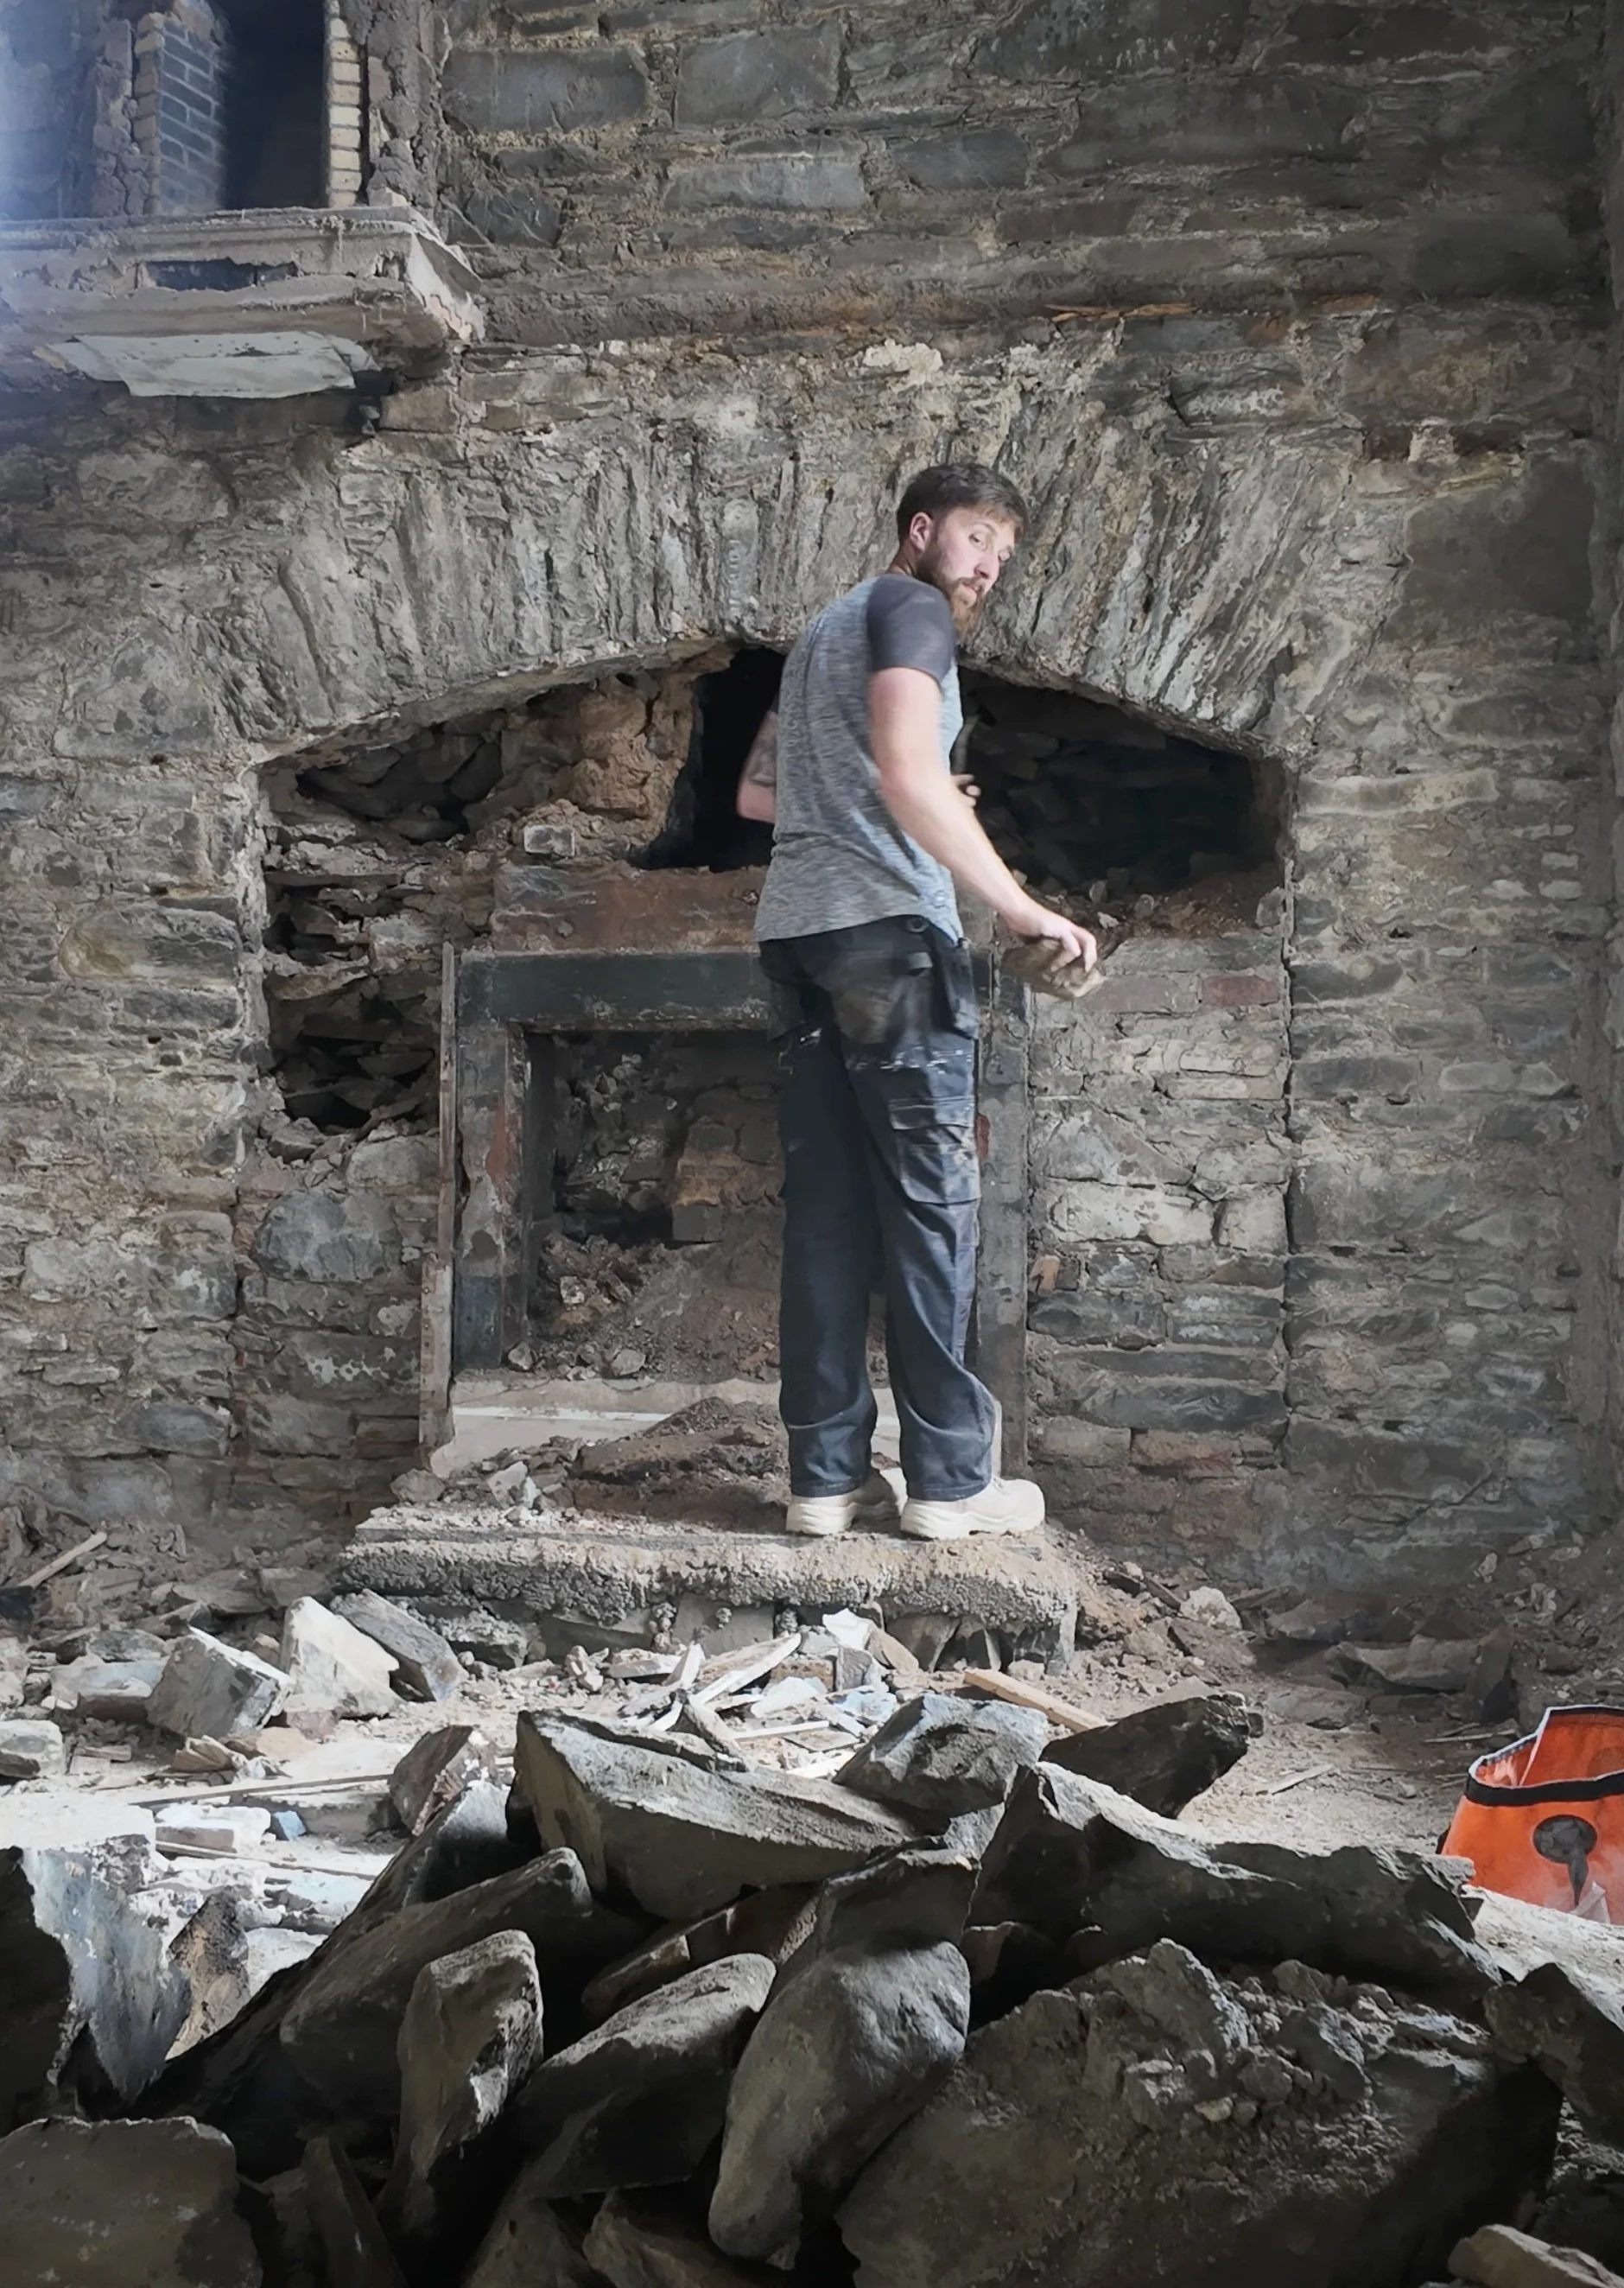
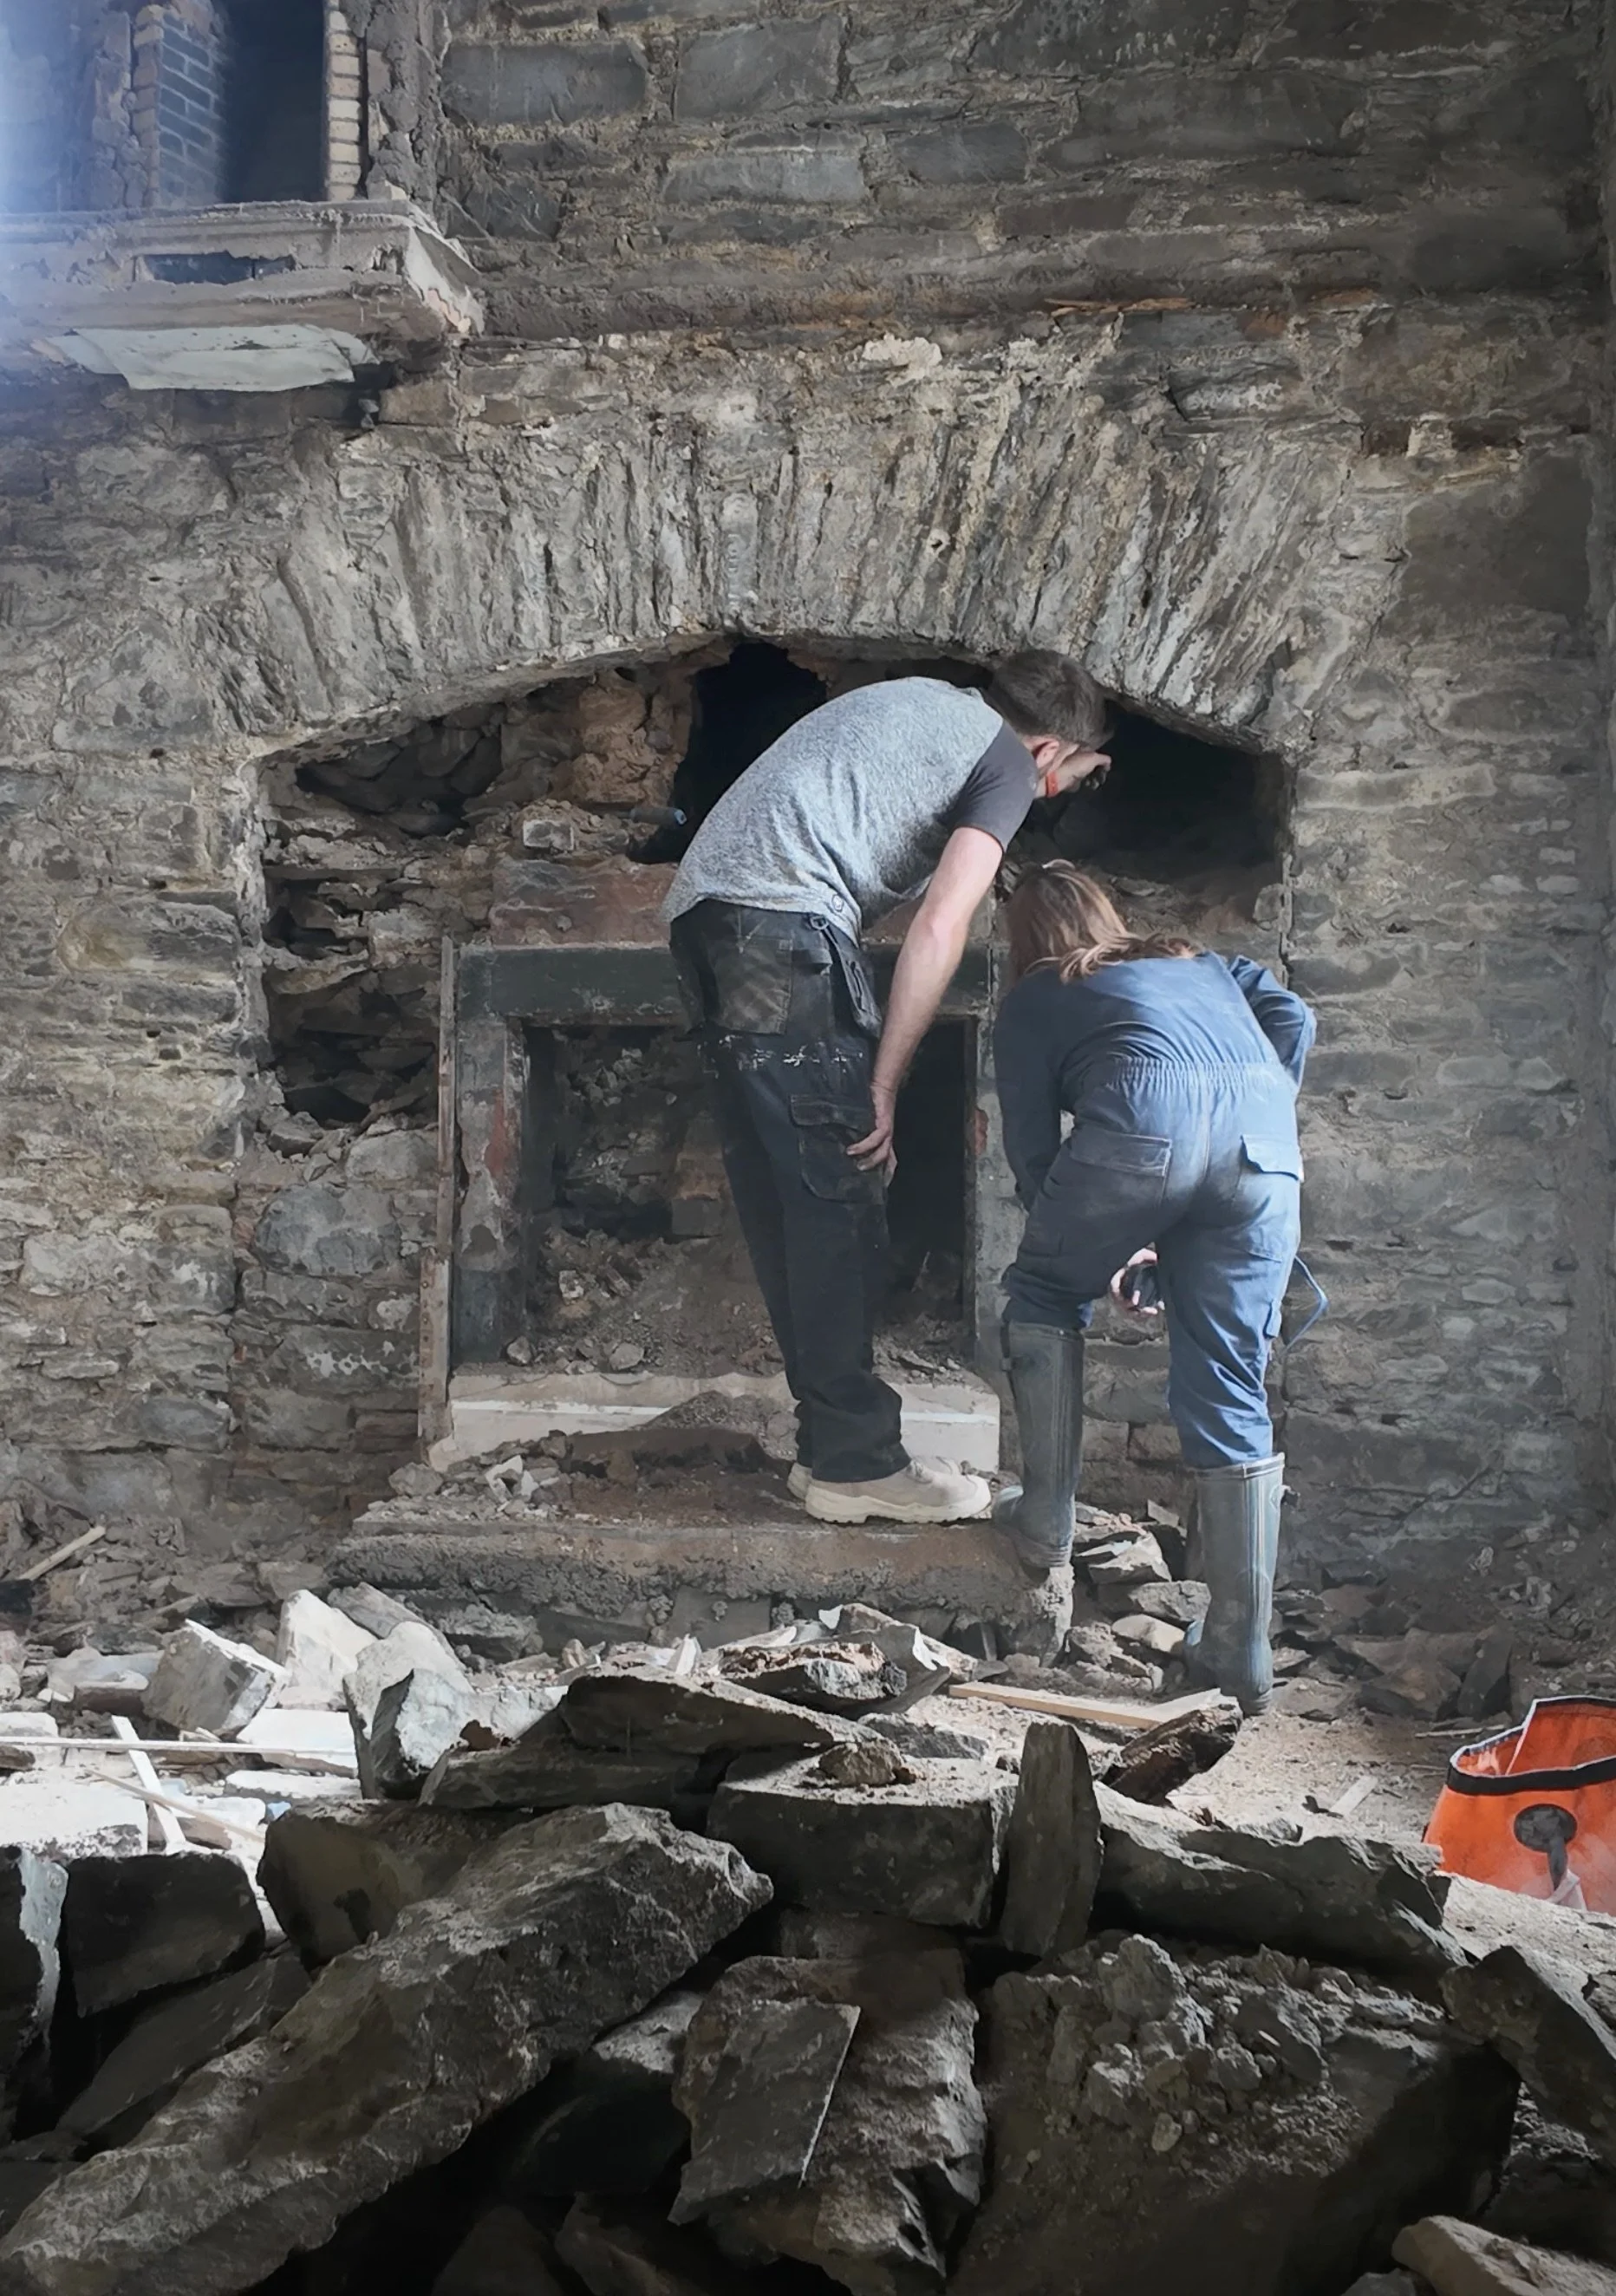
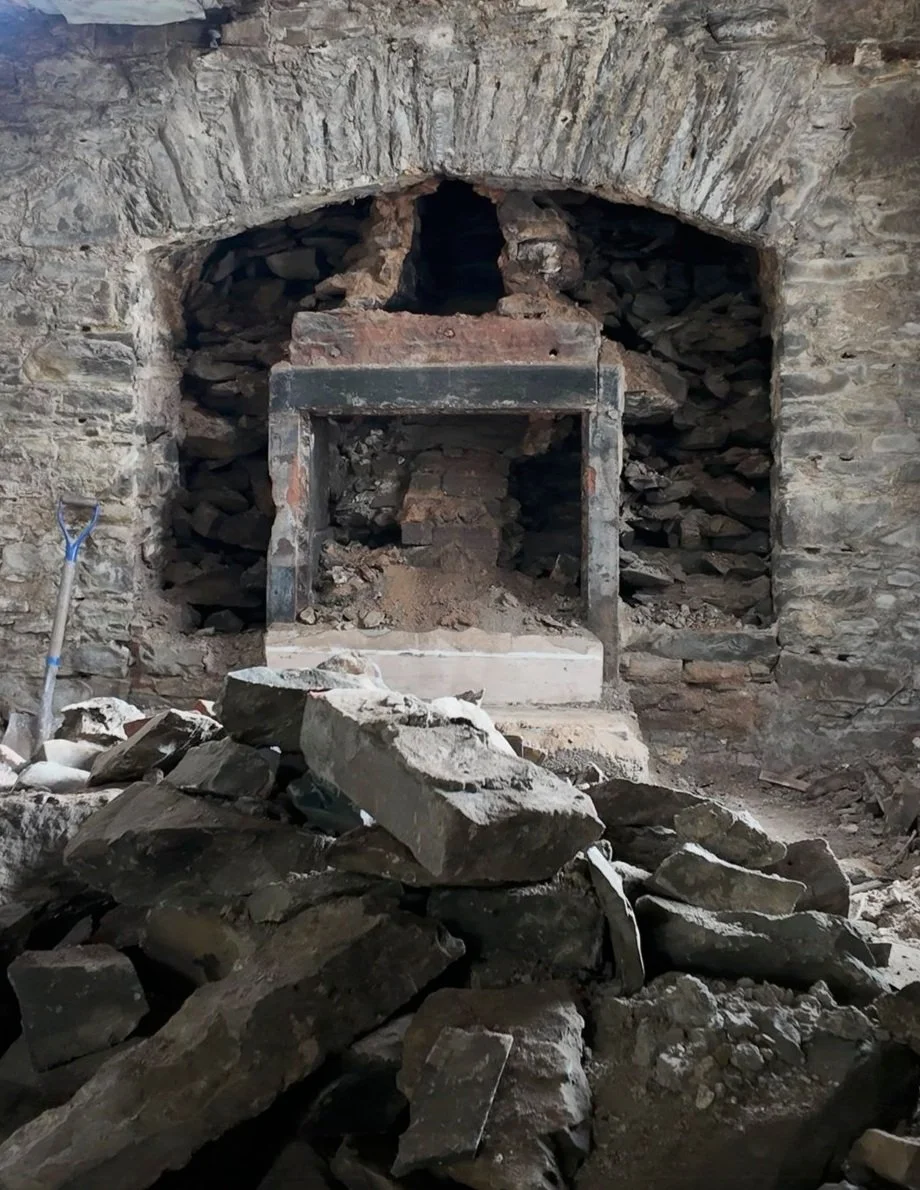
Next, Dan and I started to tackle the inglenook, a thing of beauty (we thought) that the builder was convinced we could work into the eventual office as a feature. To provide a before, I can share this:
We needed to clear out the plastered/blocked section in the smaller firepace, followed by the pointed stone filling first which we started together.
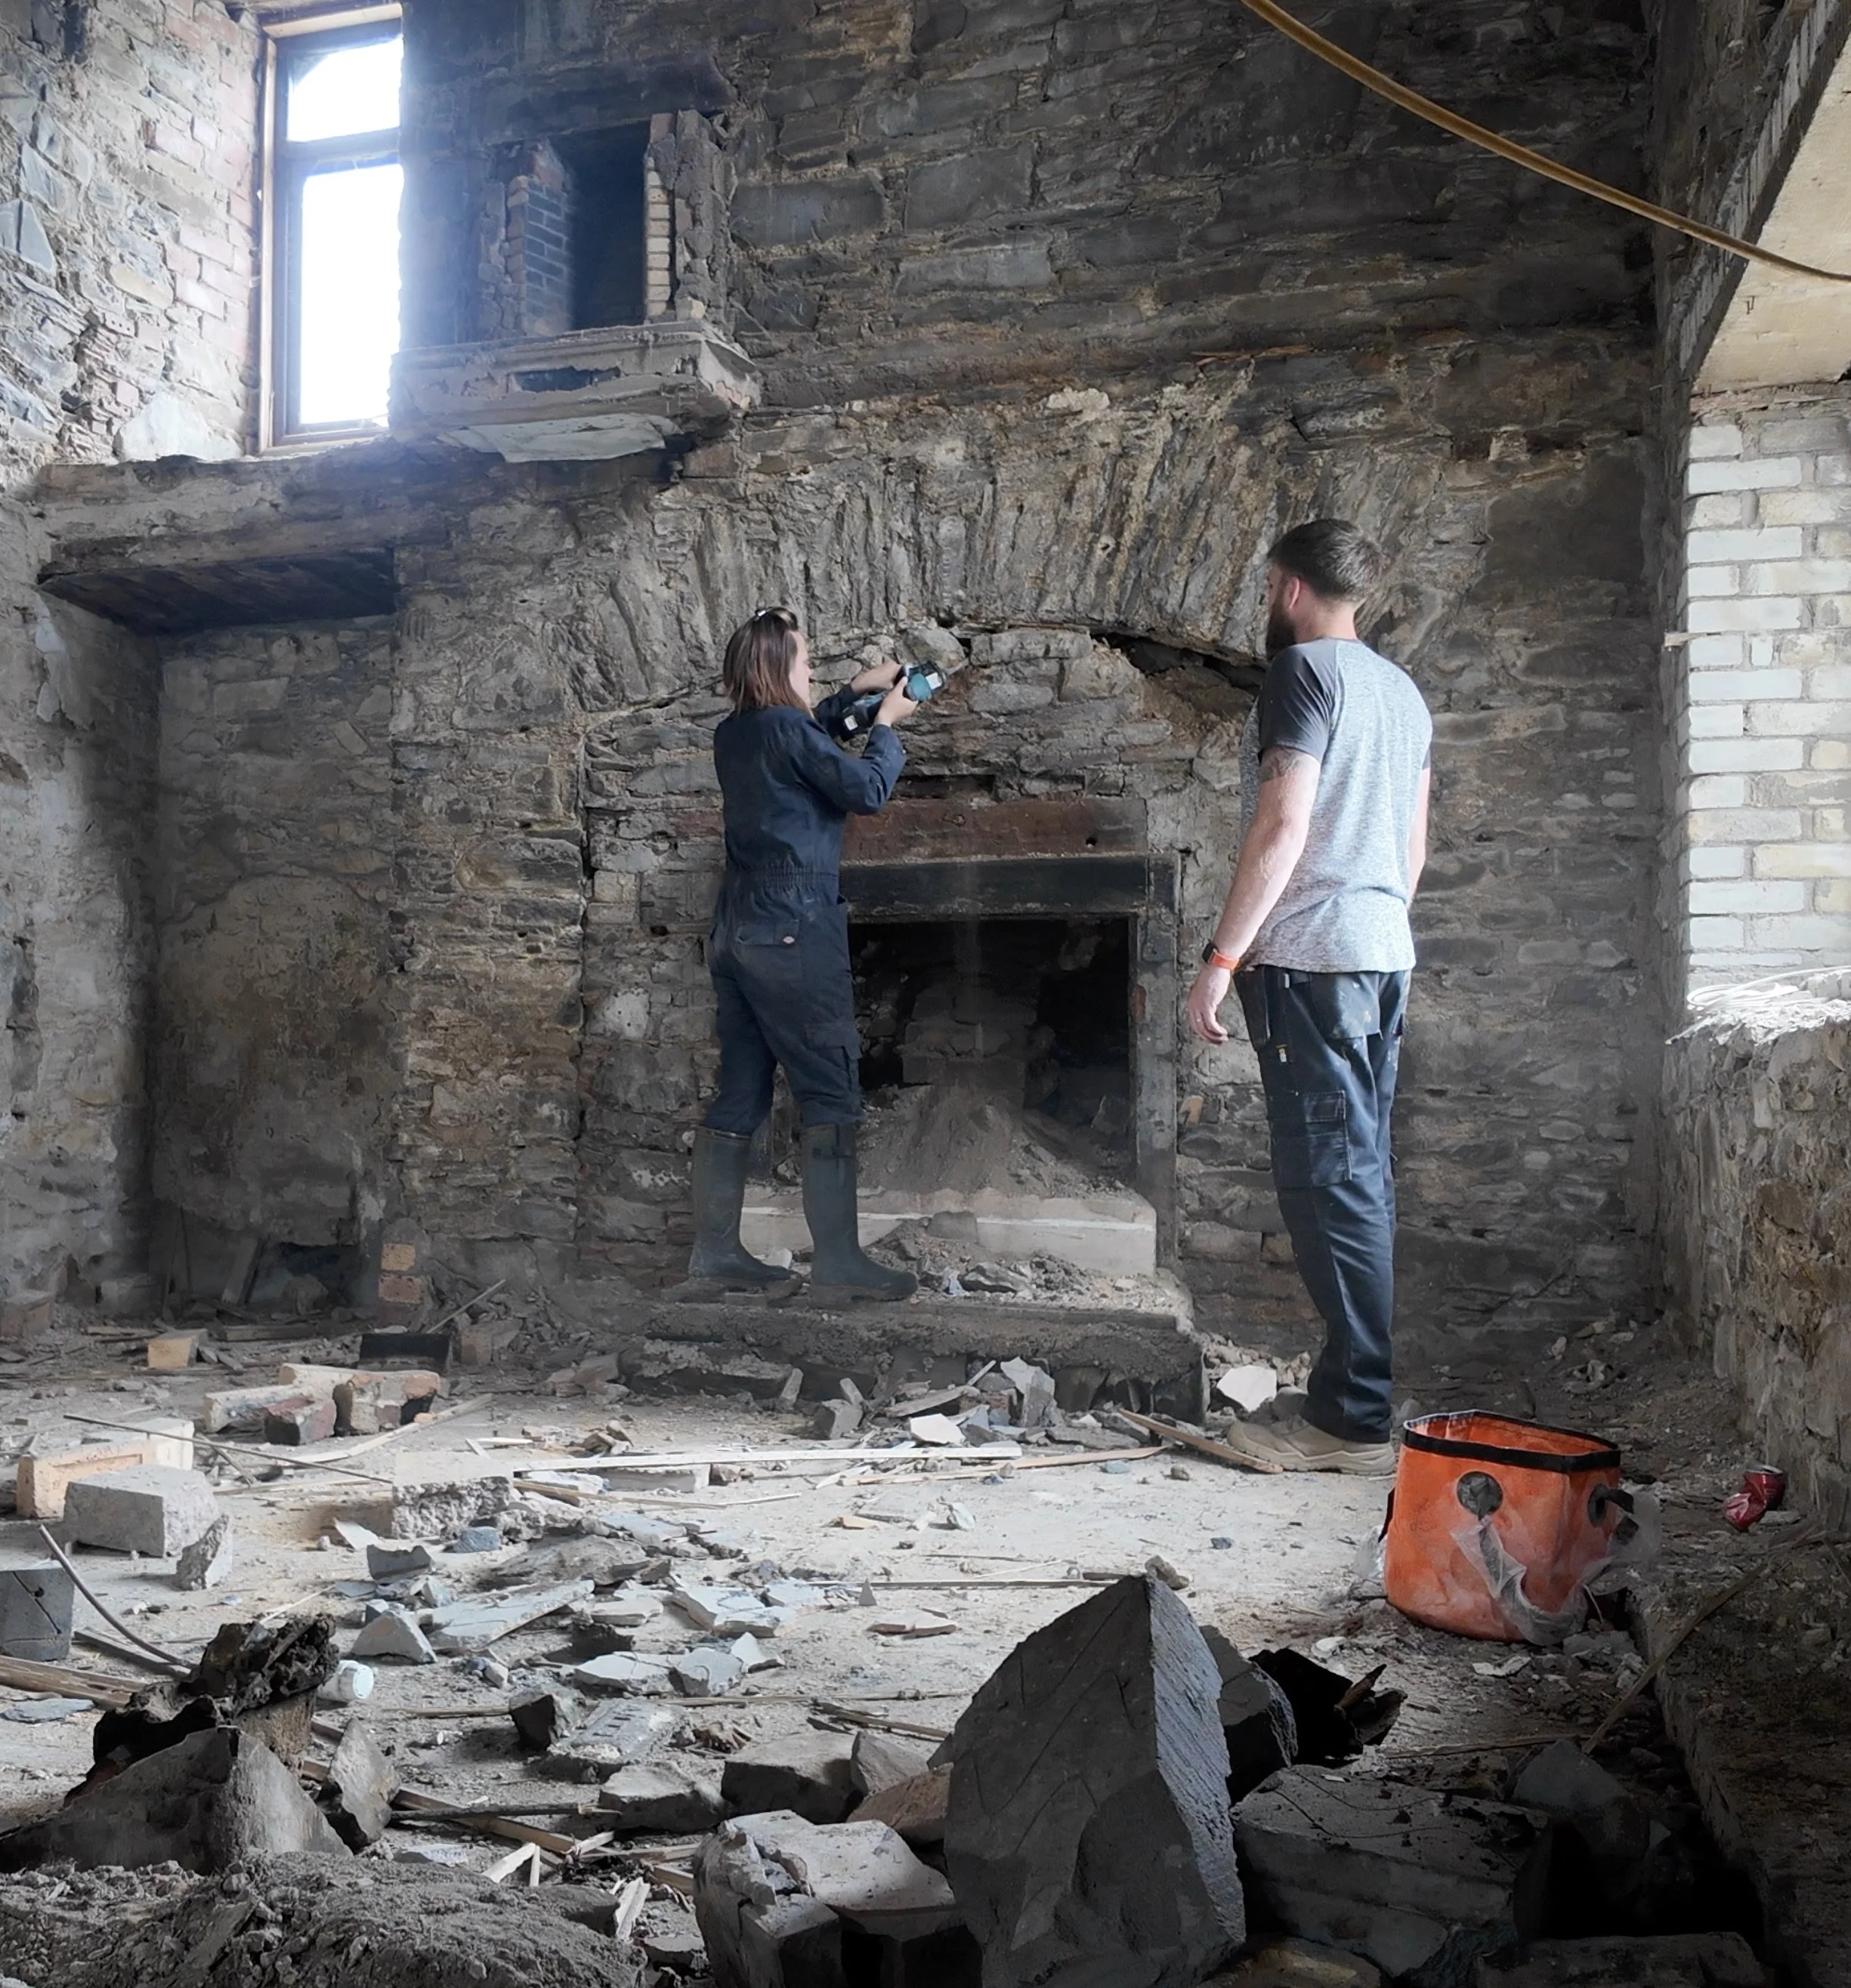
We were so excited for what we’d find, but the optimism was soon crushed.
Although there is the most perfect alcove inside this impressive feature, the filling here hides a dirty little secret.
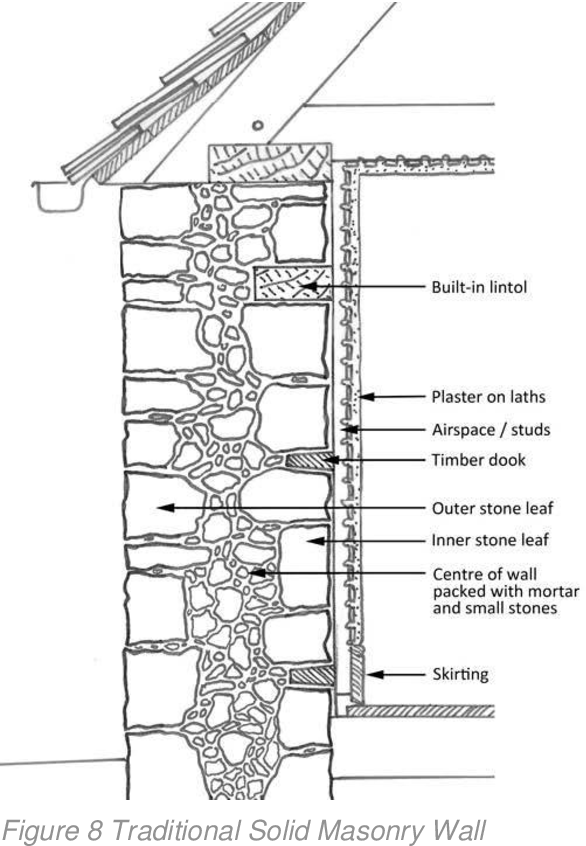
To understand what’s happening back here, and the gravity of the problem at hand, I first need to explain briefly how these very old buildings are built.
Any solid stone wall like this has two skins, an external and an internal. These skins are built with lime mortar/pointing to glue the stones together and the wall may also have “through stones” at regular intervals to add more solidity. Through stones are like ties, and span the full width of both skins.
Between the skins is a void, and this void is filled with hearting. Hearting is smaller rubble type loose stone, though when originally built it is also all glued together with mortar.
Over time, the mortar breaks down and the hearting becomes loose, sometimes slipping in the void.
The handy diagram explaining this visually is helpful, so please refer to that for what happens next.
For hearths and fireplaces, this two skinned, hearting-filled wall is the starting point, and then a chimney breast and flue is (or flues are) built inside, or just into the external structural wall. Next, a new solid stone structure extends into the room to house the hearth/opening. That is the archway we have in here.
Back to our archway hearth:
Behind the packing stonework, which was lime mortared up into a new internal wall, we found loose rubble with no evidence of mortar - disintegrated or otherwise - in sight. Assuming this was standard, normal in-fill to block up a non-structural hole, we carried on clearing it out. Becasue we were also expecting to see the top ceiling of the inglenook behind the arch, we also carried on upwards.
The following stills are in order, and you can see the situation unfolding in real time:

Upward and back we went but no end to the rocks that were falling out was in sight. In fact, we actually stopped because we saw something very problematic: Daylight.
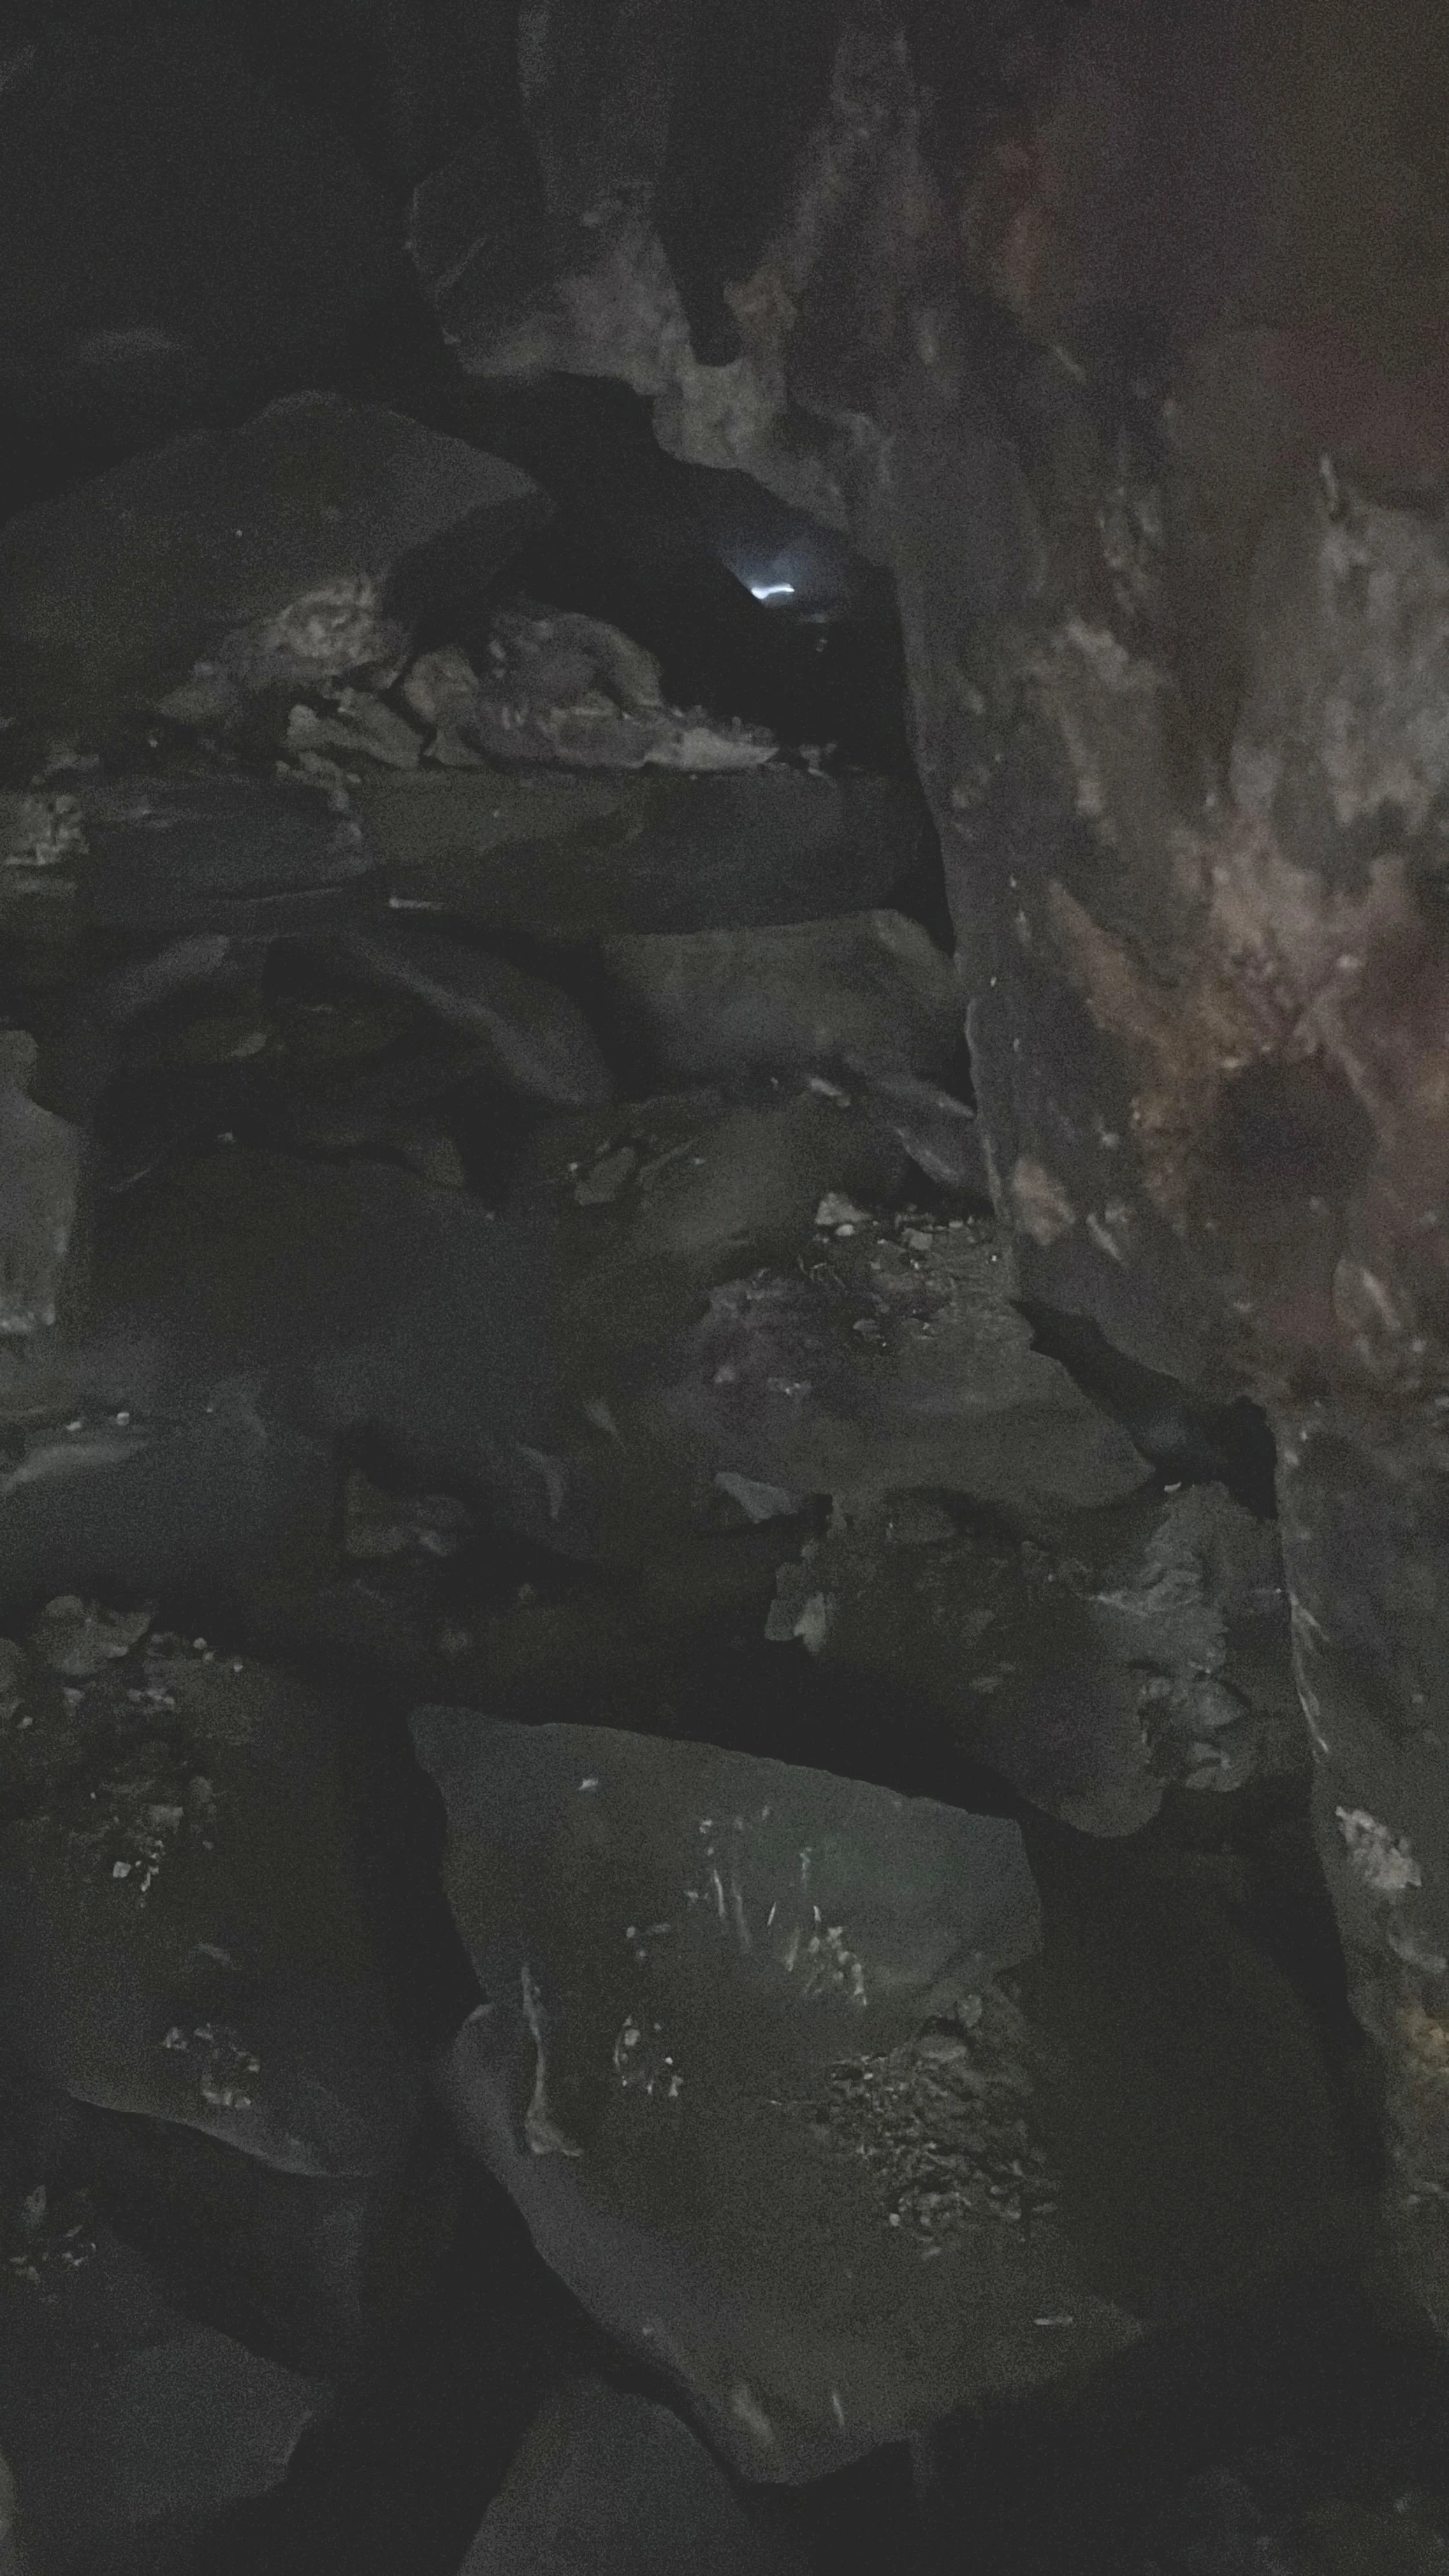
Oh yes, we could see daylight THROUGH the back of this inglenook fireplace which means that the internal skin of the external wall didn’t exist down here, and that some of the hearting from the external wall was potentially mixed in with this rubble infil (which did include modern bricks and stuff, so it’s definitely mostly infil!).
I have absolutely no idea why someone would remove the internal skin of an external wall – a structural gable end – but unless we’re completely mistaken, that is what’s happened here. We were also, at this point, looking at the lime pointing on the reverse side of the external wall, and the cracked pointing between these stones on the outside (yet to be tackled), was the source of our daylight.
Without an internal skin of the external wall, and loose rubble, potentially hearting, falling out, it was definitely time to down tools and call in experts. We only know what we know and this was outside of our skillset now, and we have gone to worse case scenario simply because we currently don’t have any other information to go on.
We haven’t even cleared up the mountain we pulled out, because frankly, the obvious option here is to put it all back to roughly how it was, and hope the void infilling prevents more hearting loss (if that is what it is), and forget the “arch as a feature” plan.
Therefore, we ended here for this week whilst we wait for construction experts to advise what on earth to do next:
The shaped flue edges that you can see are also, we think, somewhat structural for the lower section of flue, and therefore, we also haven’t touched them. They’re a mixture of stone and sandstone, from the smaller hearth surround upward, and because of all the rubble, we can’t see how far they go up. The square fireplace section has bricks in the back though, which we think we could take out, but again, we’re just going to wait.
Real talk now:
This whole situation is sad for me - I can’t lie and say that I’m not absolutely gutted about this. Not least because it may cause a huge setback if we do have structural problems here, but also because it also definitely means we’ve lost yet another week, and it’s now getting a bit tense. I’m scared, but I’m also tired, and catastrophising (cheers brain!), so I’ve got to hope I’m wrong and that it will all be ok, and then keep calm and carry on.
I also don’t know whether all of this is just TMI (too much information), but I’ll admit and say I’m starting to feel a little bit defeated. As always with a major reno like this, one step forward, two steps back.
Chin up, crack on. Let’s see what happens next week!