
July Monthly Update
July Week 1:
Where July started ^^
To be honest, not a lot happened in Week 1 of July, largely because we were still trying to work out a plan for that epic inglenook disaster from June Week 4/5 which scuppered our plans. There were further delays because of previous delays (these things tend to add up) and with family due to arrive [and me about at the maximum capacity for setbacks], we all needed to take a breath. So breathe we did.
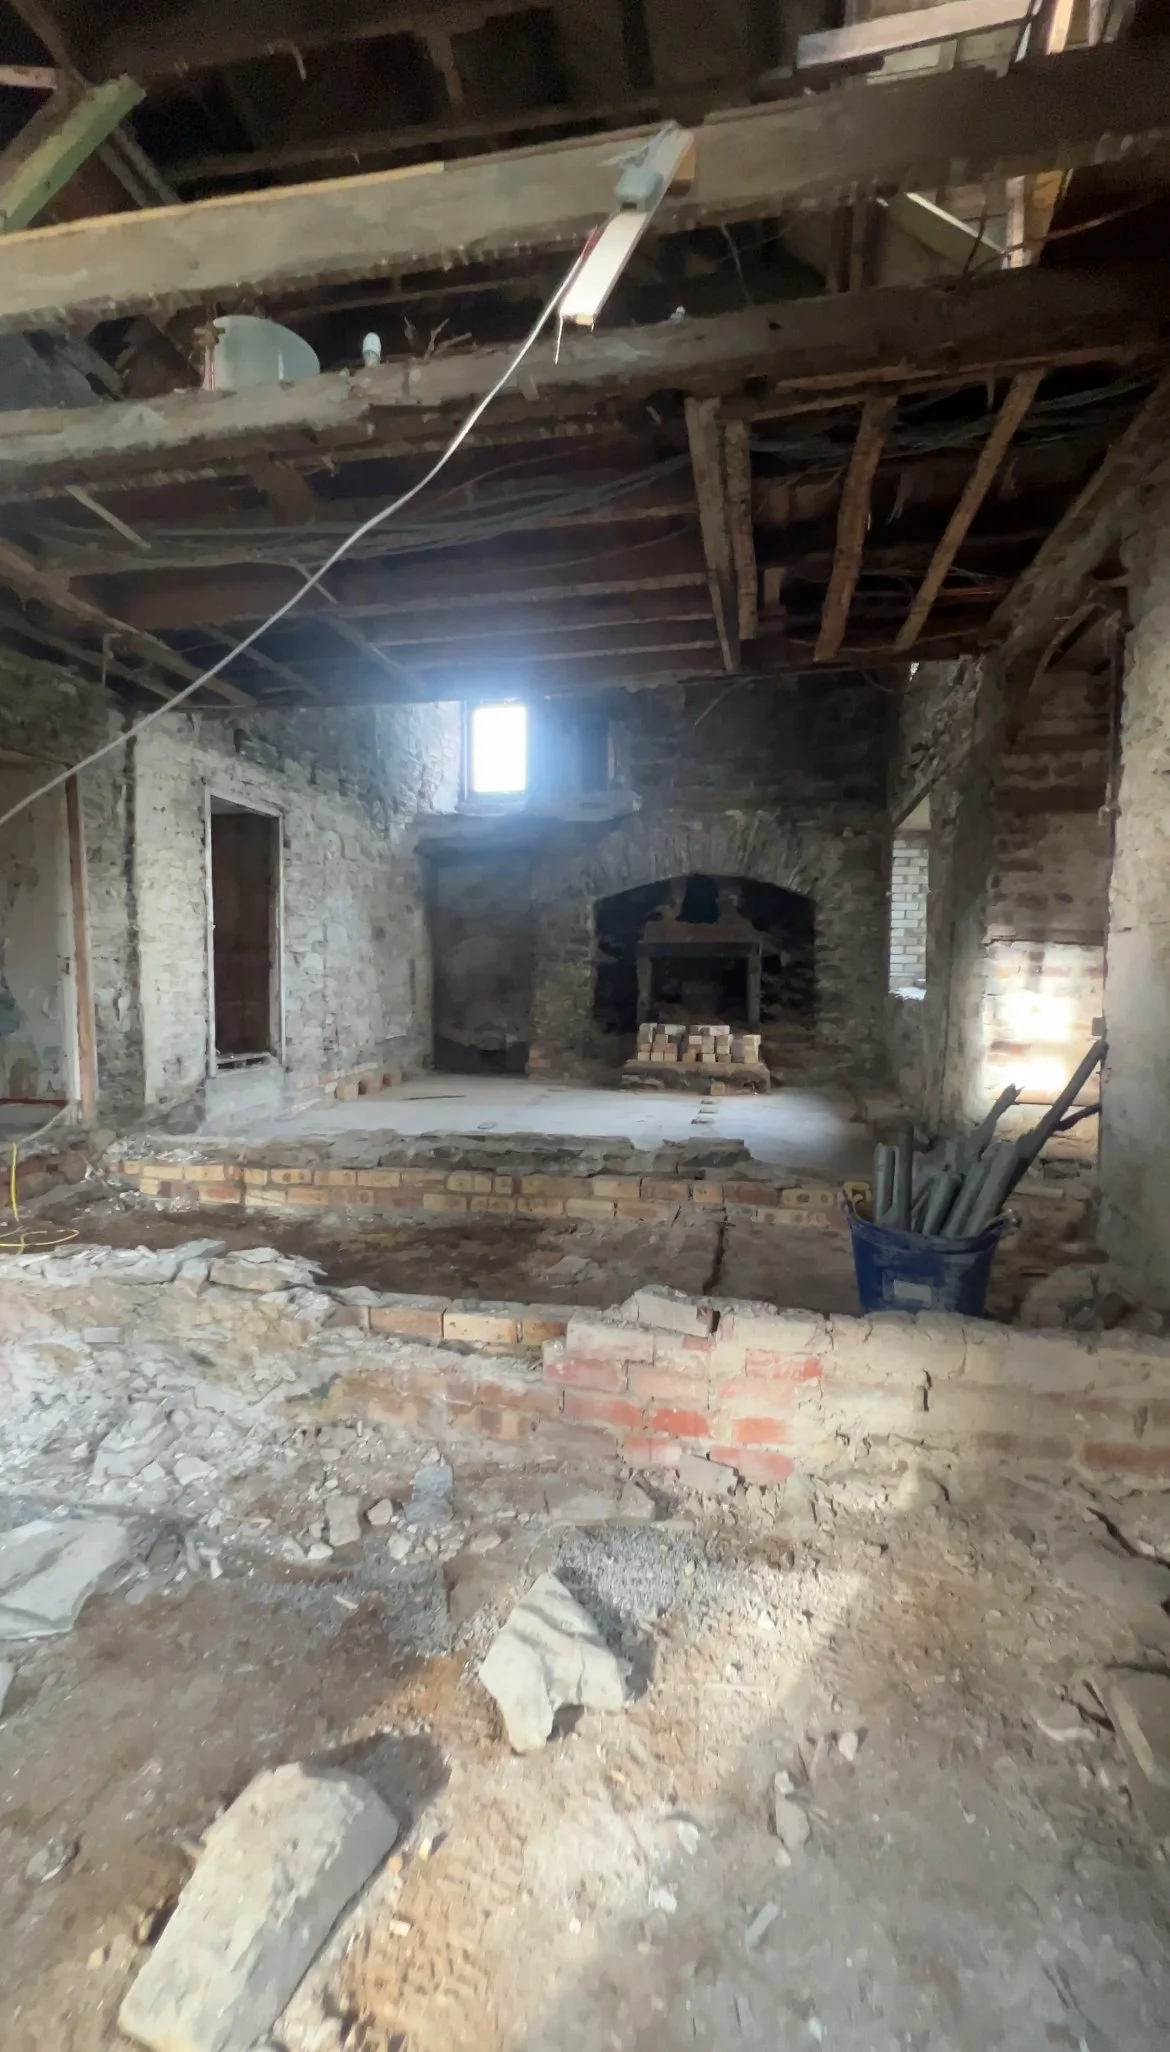
If you remember, the downstairs of the middle section looked fairly naked, quite messy and it showed the structure - warts, modern additions and past disasters too. Everything from very old wall foundations in the hallway to recent underpinning is now on show, and though the bridge does still currently remain, by the end of July it won’t be there, and then our speed can hopefully ramp up quickly.
The decision has been made on the inglenook too, to keep it, but not in full.
A new retaining wall will be built to structurally support the outer leaf and archway itself, which apparently is ok, meaning we have to sacrifice depth. The alternative is to block it all up and pretend it never existed, which would be considerably less expensive, however it would be such a shame to lose a piece of character like this (and I won’t do that), so it’ll be here, just not quite as dramatic as it could have been.
July Week 2:
With family here, and a heatwave sitting on top of our region just like much of Europe, we only did smaller bits mid week.
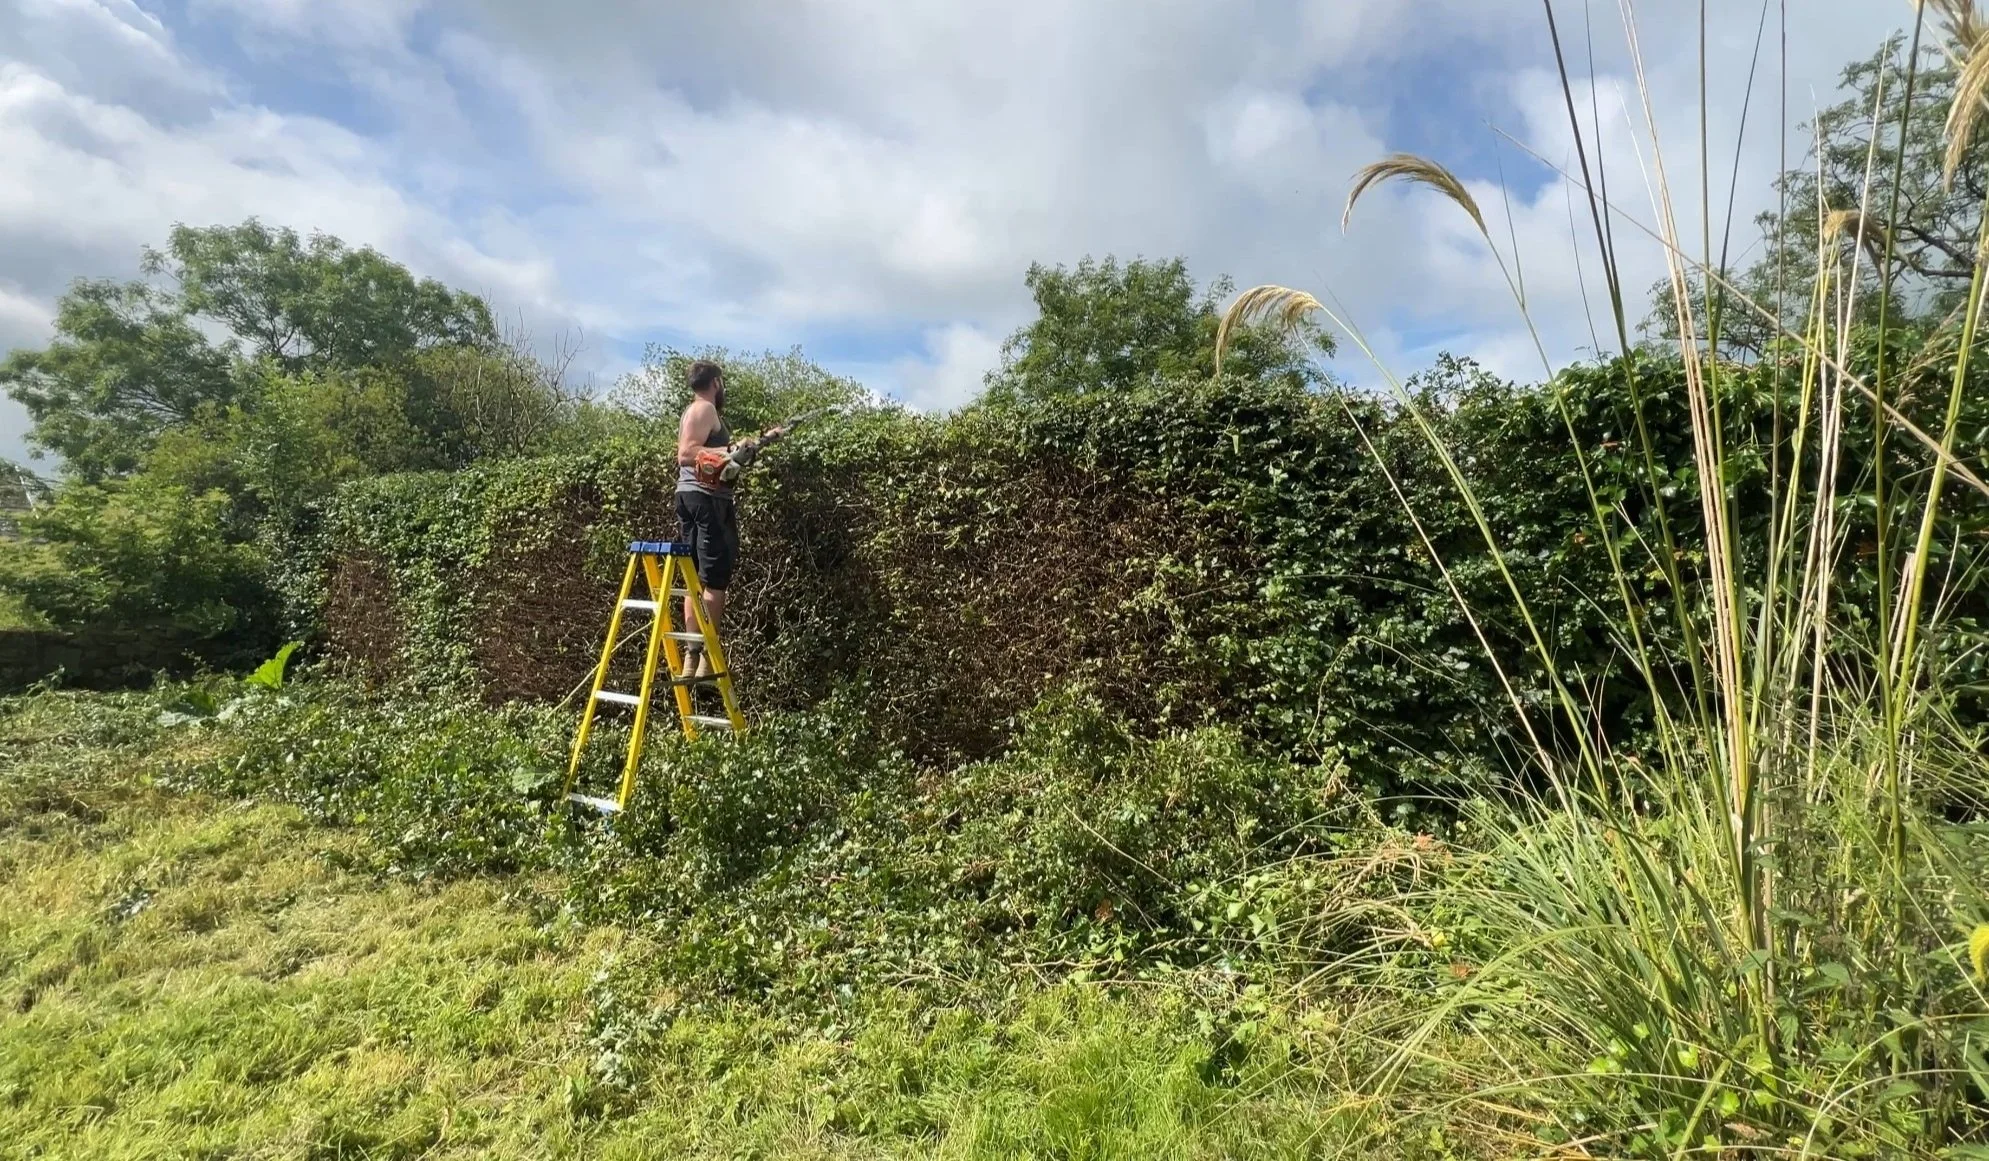
The family helped with a lot of site maintenance, mainly cutting back all 5473829395 (slight exaggeration) baby sycamores that just appear everywhere each year, as well as doing some much needed windfall and hedge cutting. Thankfully, no nesting birds were disturbed and the site looks a little neater than it did prior!
We were expecting joiners on site on Wednesday, then Thursday, and by Friday the heat was too high for outdoor manual labour too, so we hit a bit of a standstill, however, the joiners did arrive on Friday and made a fantastic start on the replacement suspended timber floor.
Dan chipped in to help clear rubble and bricks left by removing that part of the wall footing there, which thankfully was able to come down to give me an extra 30cm in the lower section of the lounge. That’s a win for me because it means I can reasonably fit another 2 or 3 seater sofa in there too. Result!
Saturday rolled around and the 30.5 degree heat (in the SHADE!) was intense. It was unbearable for outdoor manual labour but inside the farmhouse the temperature was much reduced thanks to the enormous walls, so work continued. There was another conundrum here though, as there was a miscommunication about the type of underfloor heating we were going for.
The build team were told to prepare the floor for between-joist UFH whereas we’d committed to over floor UFH. The difference is important, because the battens that hold the insulation need to be in a different place to accommodate the UFH pipework (or lack thereof). By 12 noon the decision was made to run with over floor UFH, which sits on mats above the structural floorboards and therefore would need the insulation to be flush.
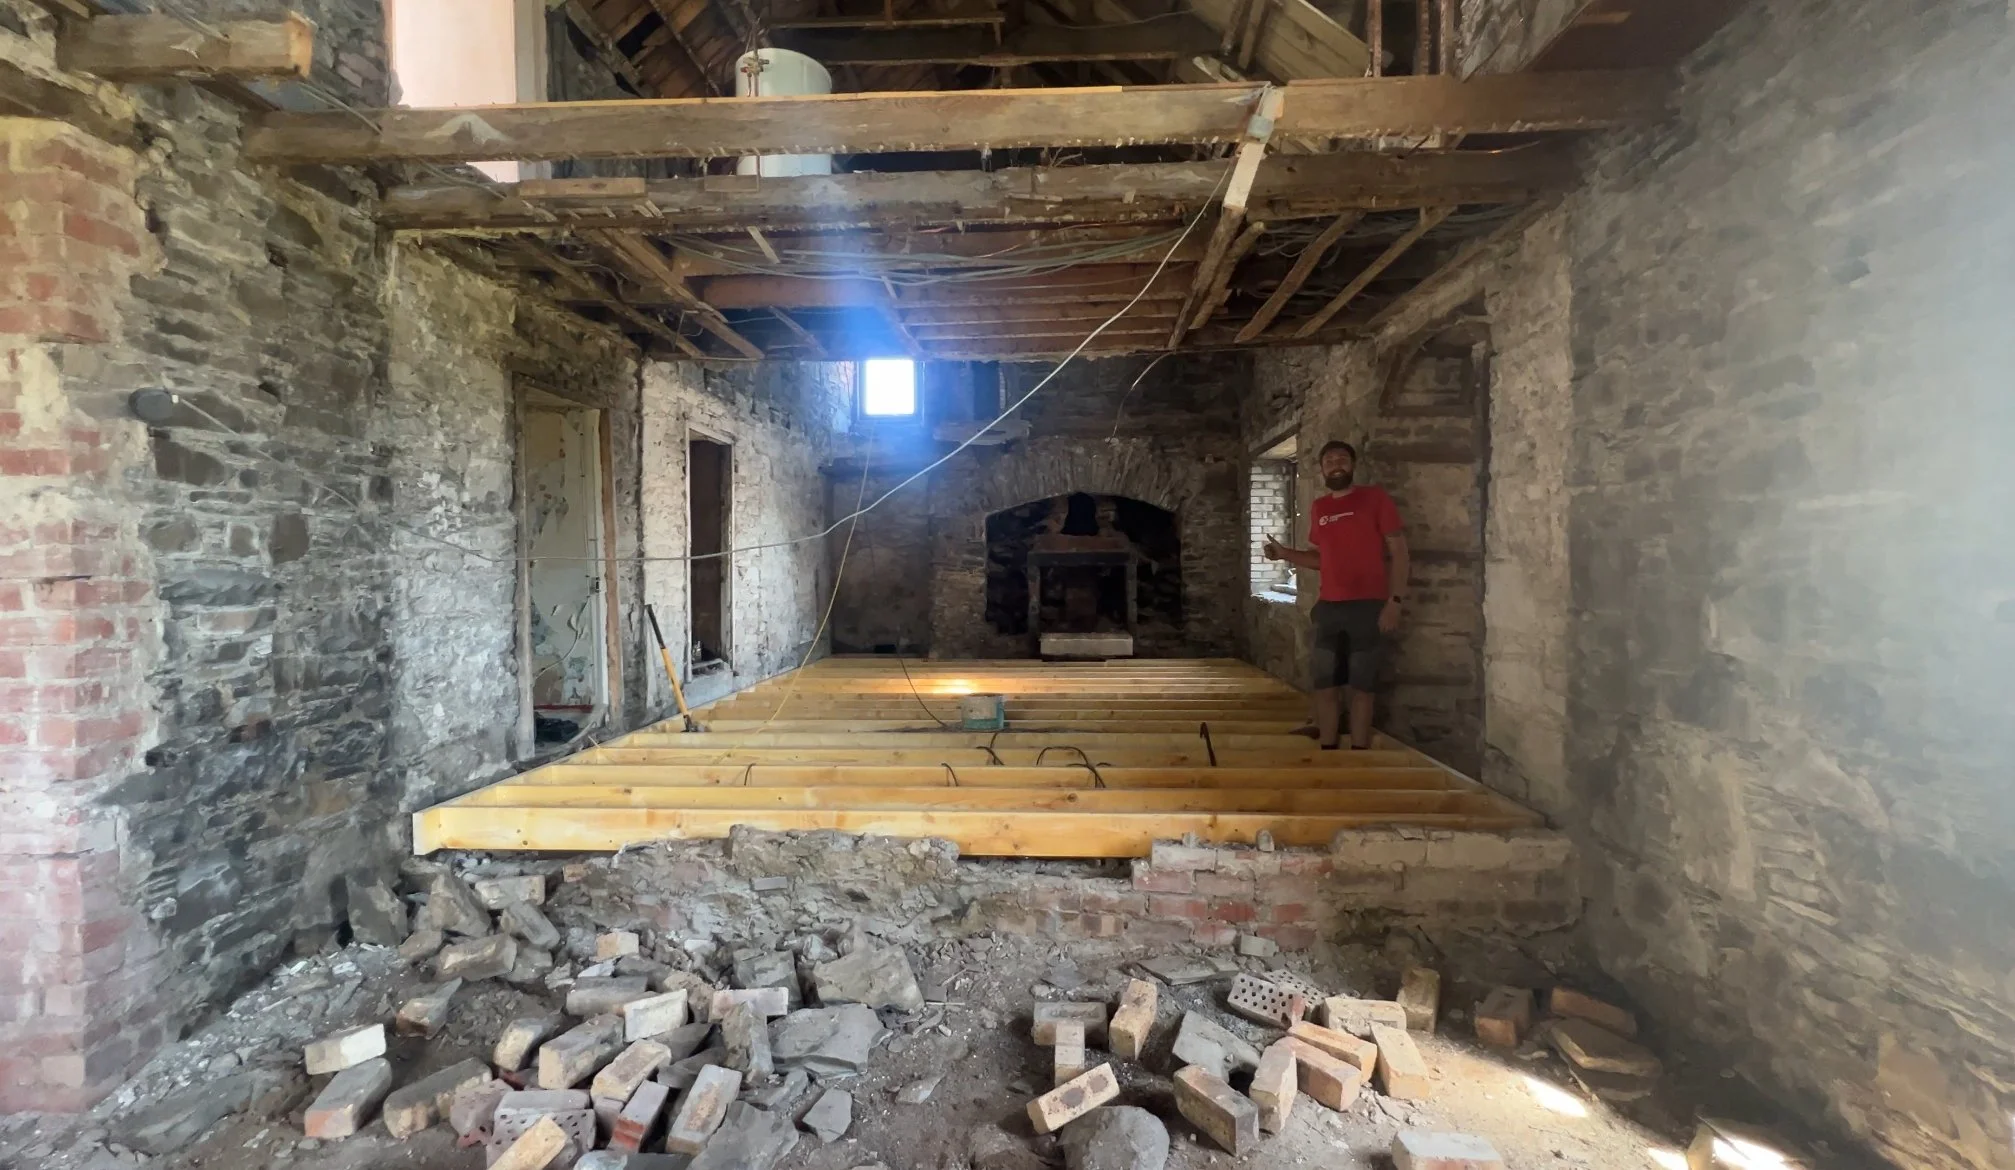
The joiners worked to that and got the entirety of the subfloor built (minus the entryway) on Saturday, ready for the insulation.


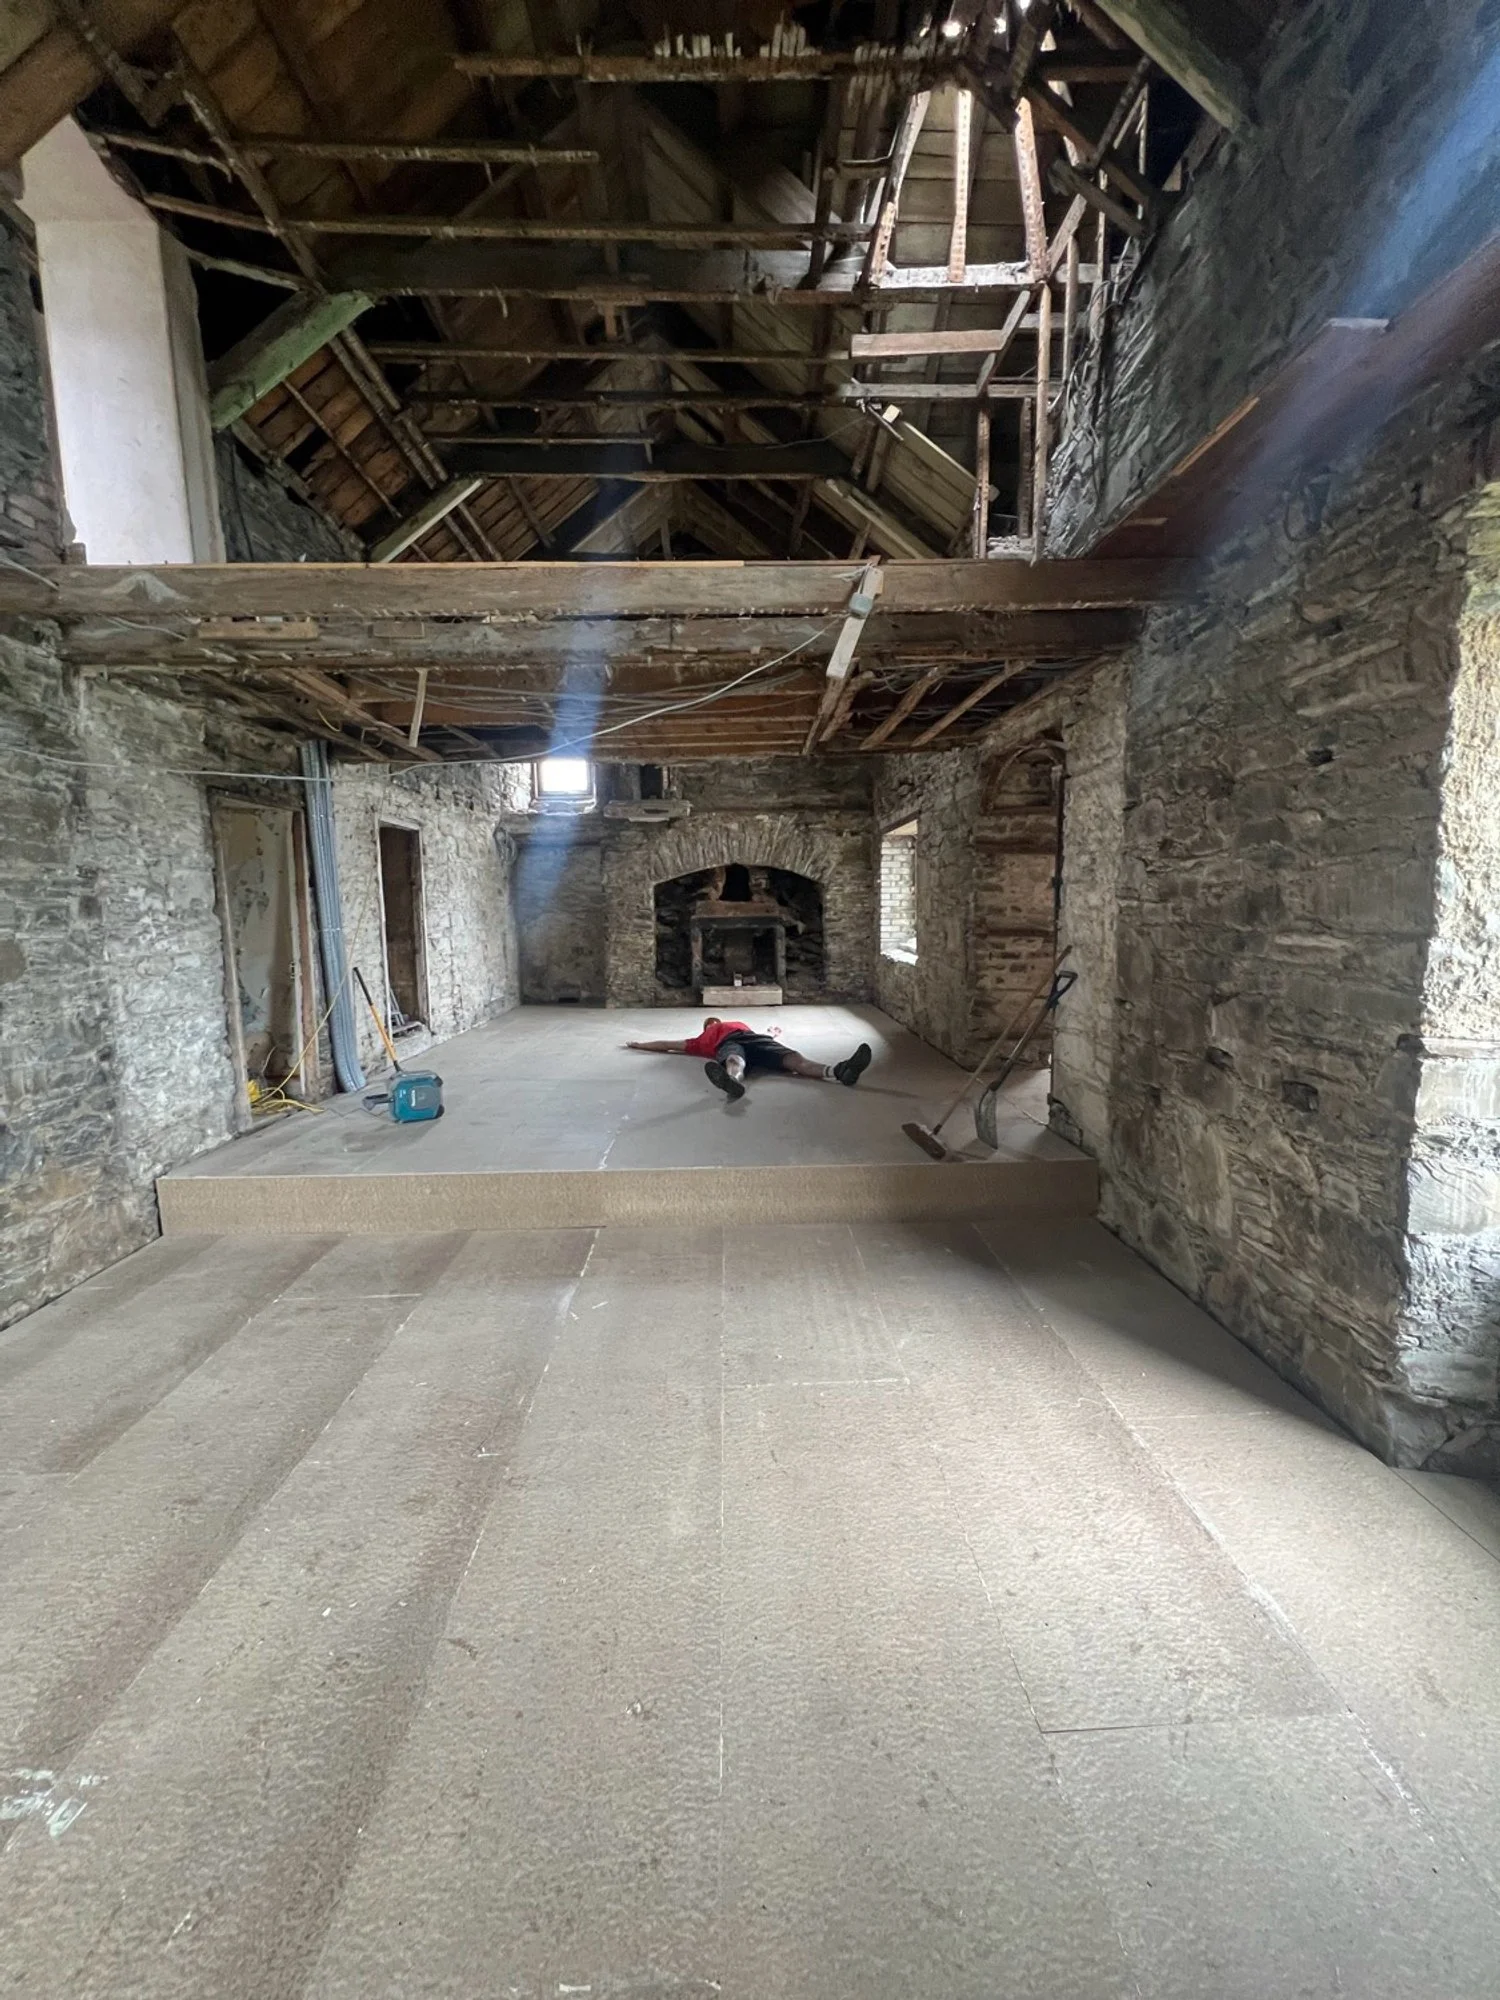
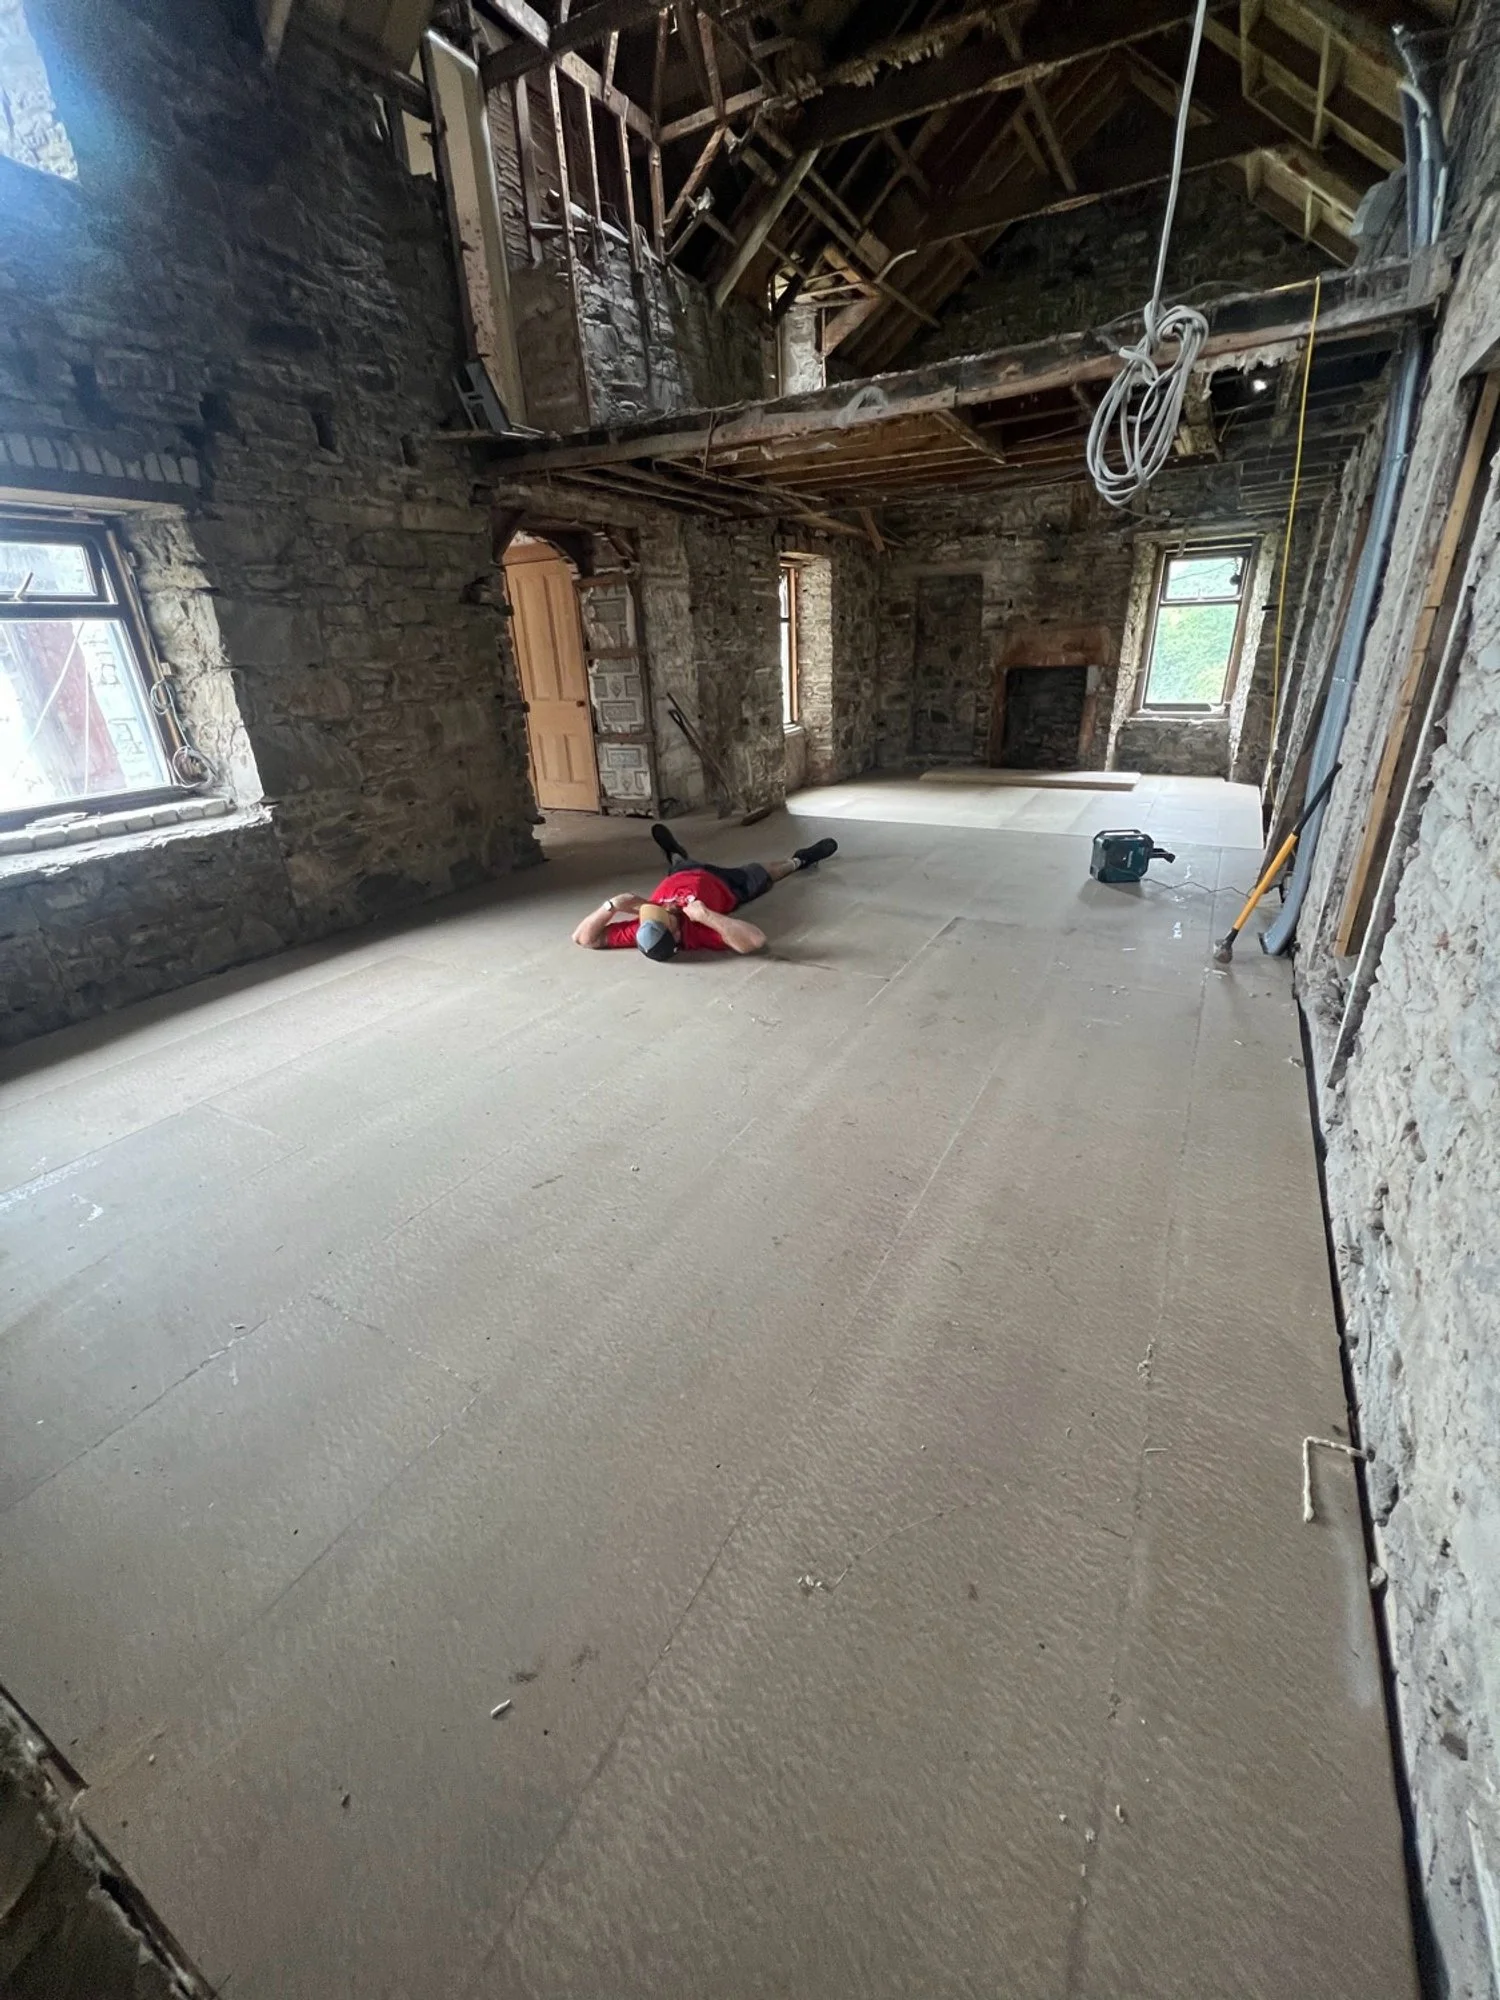
Sunday was insulation application day, and the lads cracked on at speed to get the job done.


The insulation here will enable to suspended floor to still retain airflow from the air bricks around the building, but not let those draughts cool the rooms above.
Paired with underfloor heating, which doesn’t need to work so hard thanks to the lack of a subfloor to heat at the same time, the end rooms should be toasty and warm, yet also keep the walls and dirt base dry too. A win win for us.
The step you can see in the suspended floor will clearly be visible in the finished rooms. As discussed in June’s update, this was the orginal living room/hallway wall (minus 30cm of hallway), and although the step makes building life difficult, especially for pipework and so on, it is an integral part of the charm of this property, and I was really keen to keep it in place.
The same height difference was retained, and the step will be an open area, though with a bannister rail for safety (and practicality) for most of the width. The steps we’re reducing to one with a shaped end, and switching the side too, to make more sense for the flow of the building.
By the end of Sunday, this part of the build was done, and it was over to plumbers.

July Week 3:
With the heat wave over and rain back on the menu, we had to look to the next phase. Another misunderstanding left us plumber-less and so I sourced one who came to check the plan in Week 3. They’d need to:
Reconnect the heating pipes from the older to the newer side, passing through this middle section
Run a new hot and cold set of pipes to the newer section through this section, for our eventual kitchen and family bathroom upstairs
Run a hot and return pipe to the understairs cupboard for this sections UFH manifold
Disconnect the tank on the bridge, that should have been done in June, to allow that part to be removed for joist replacement
No issues here, and the work is scheduled for next Monday. Although this is a delay, it’s not the end of the world, and it doesn’t necessarily hit the project negatively.
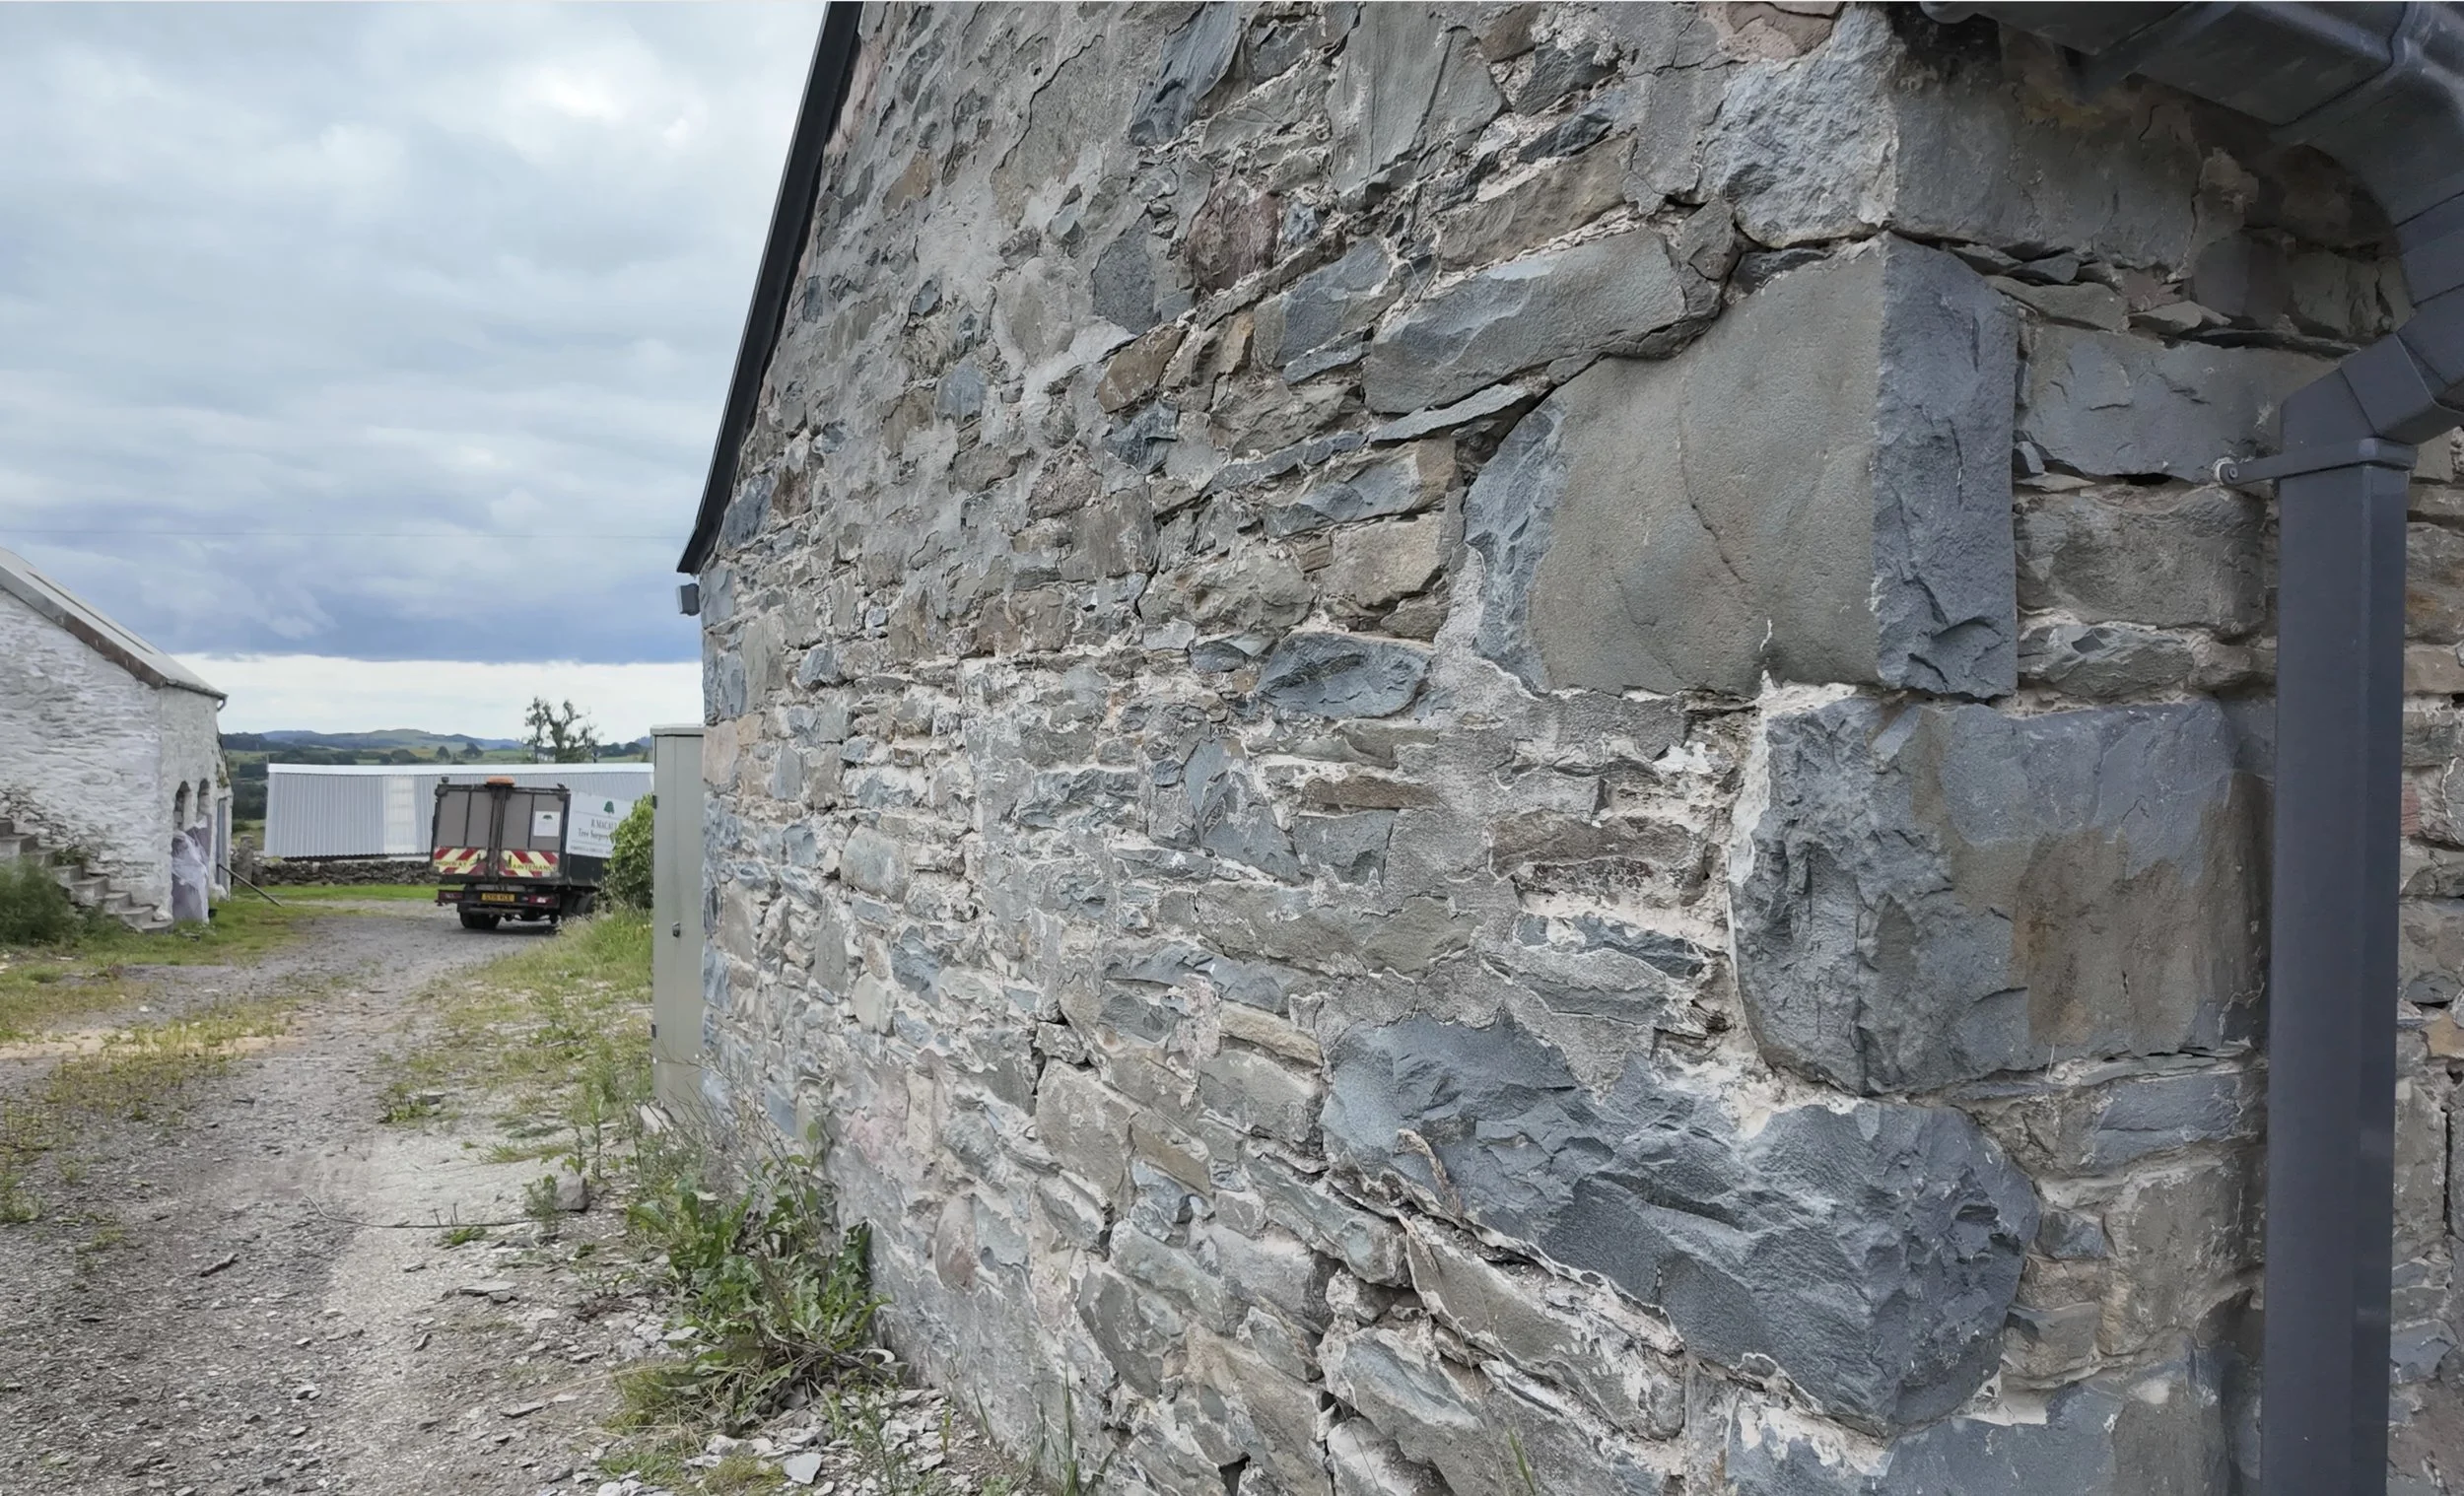
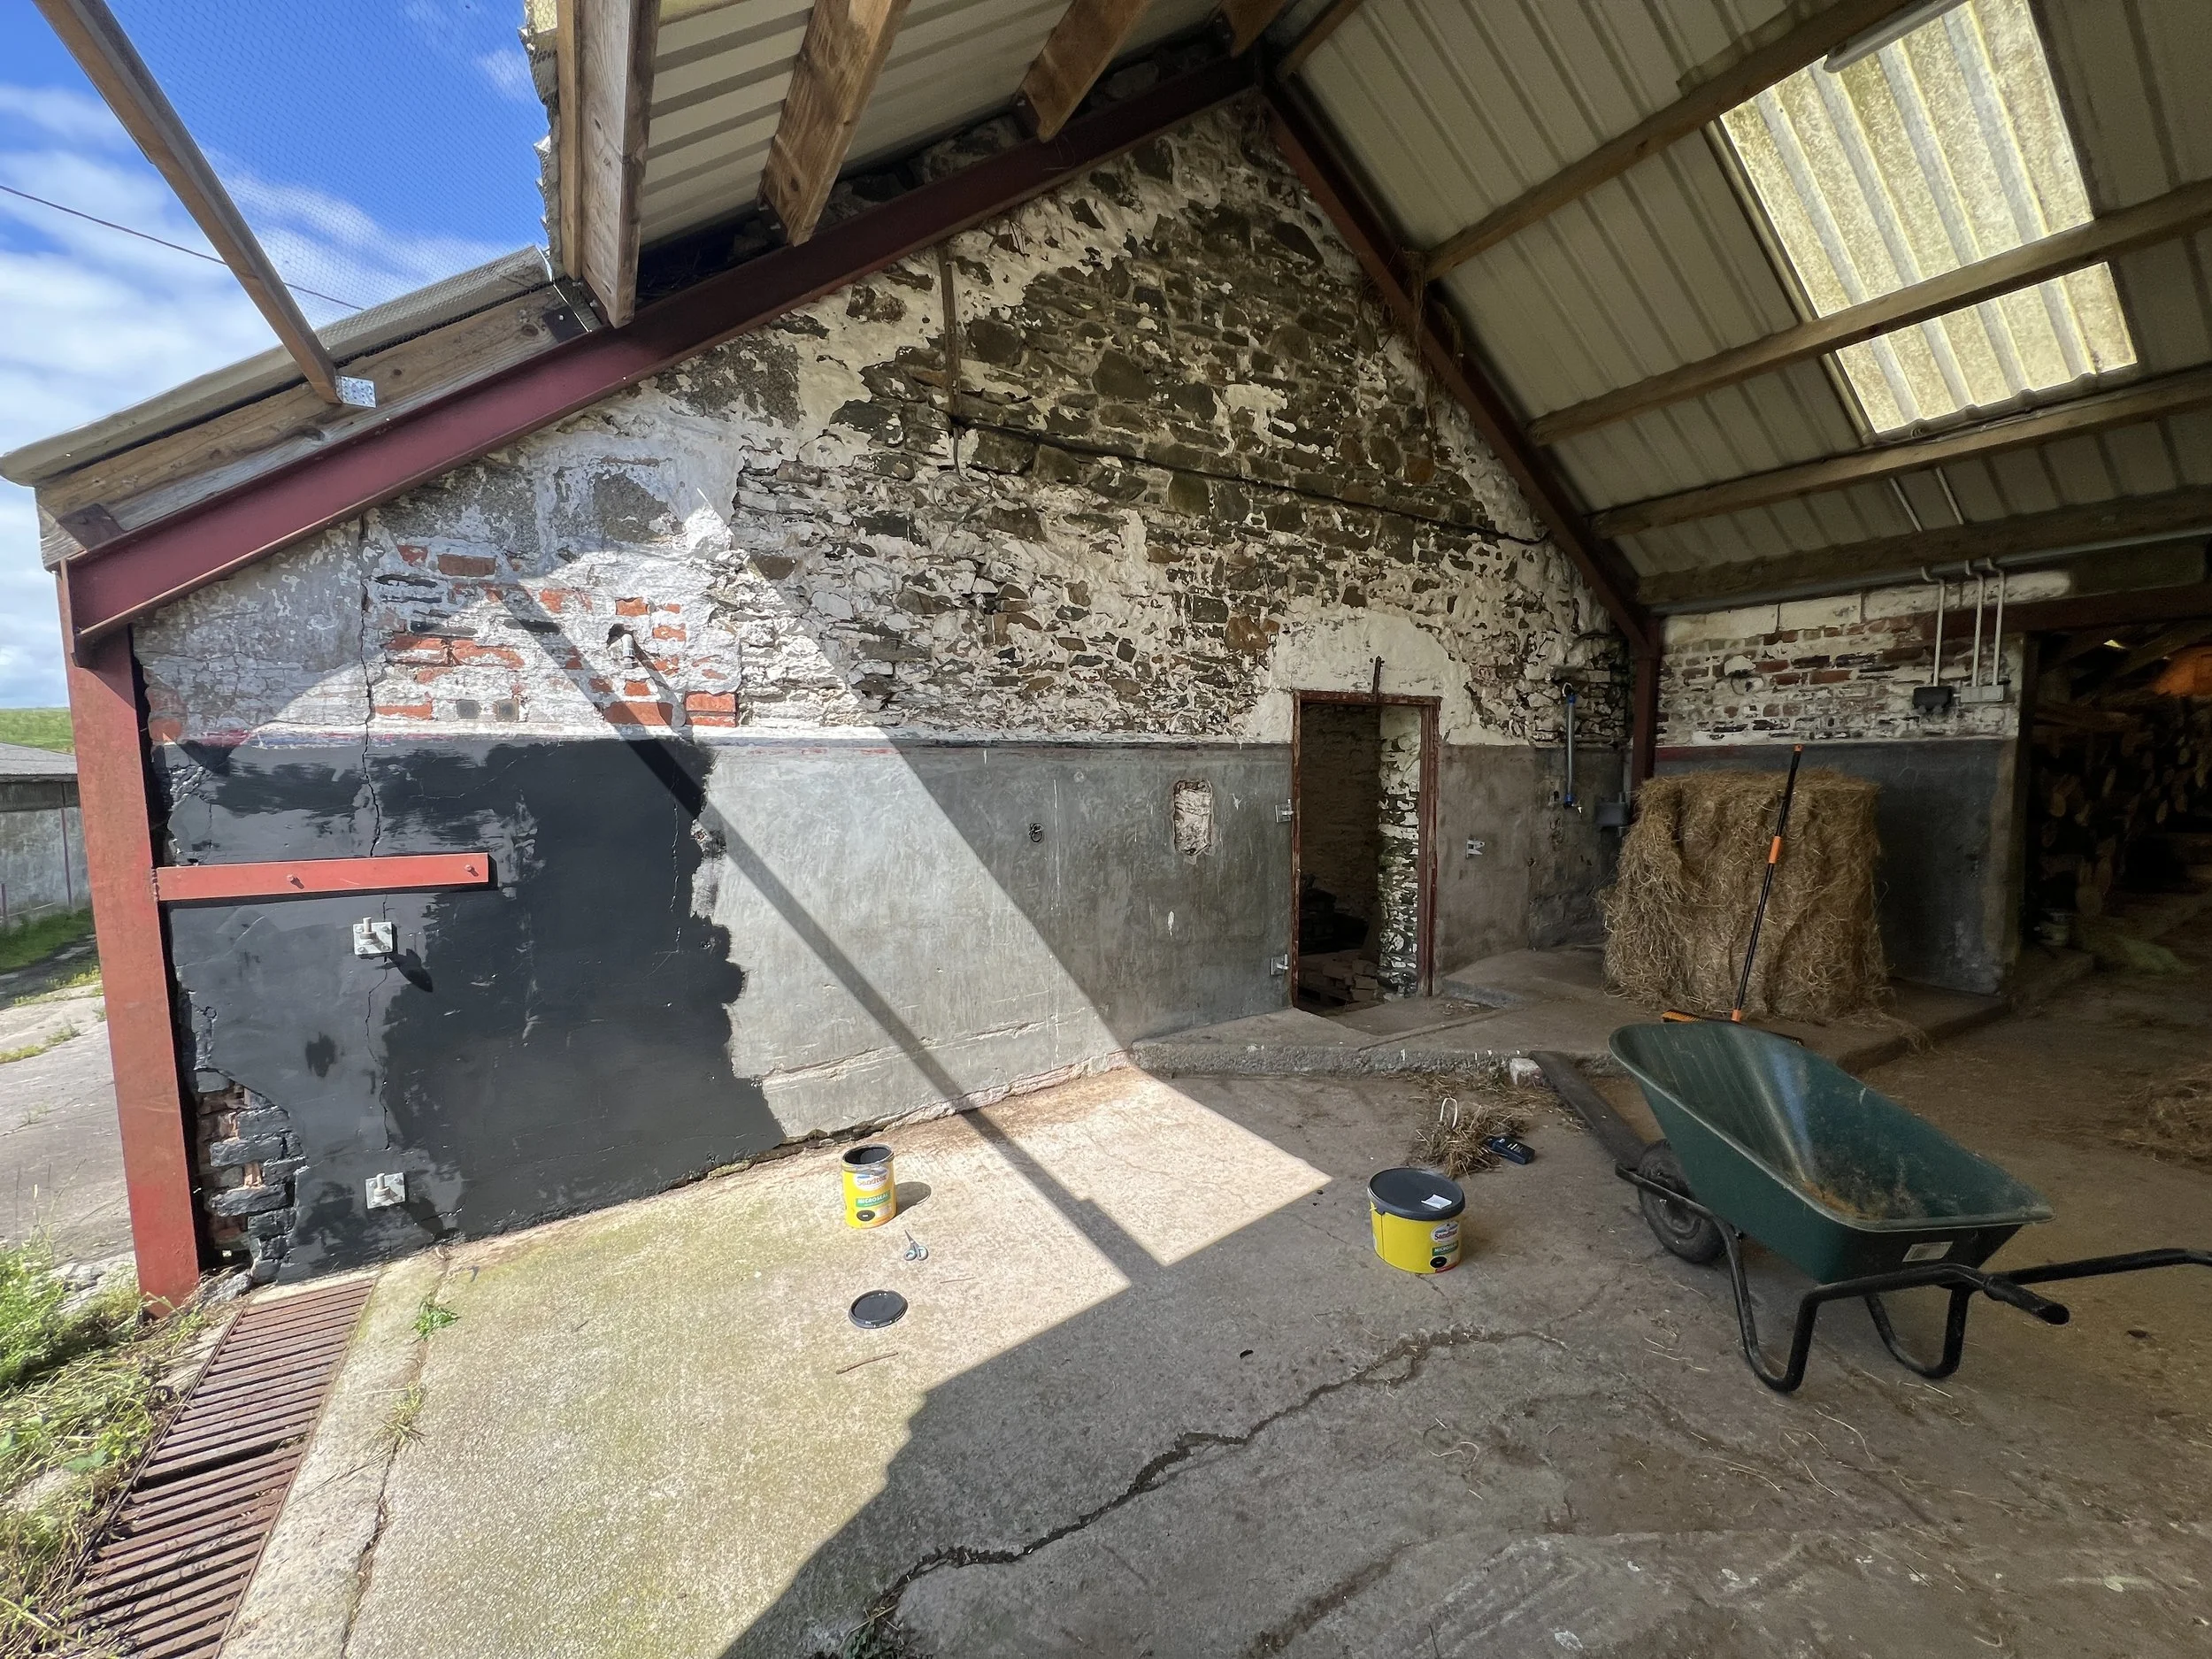
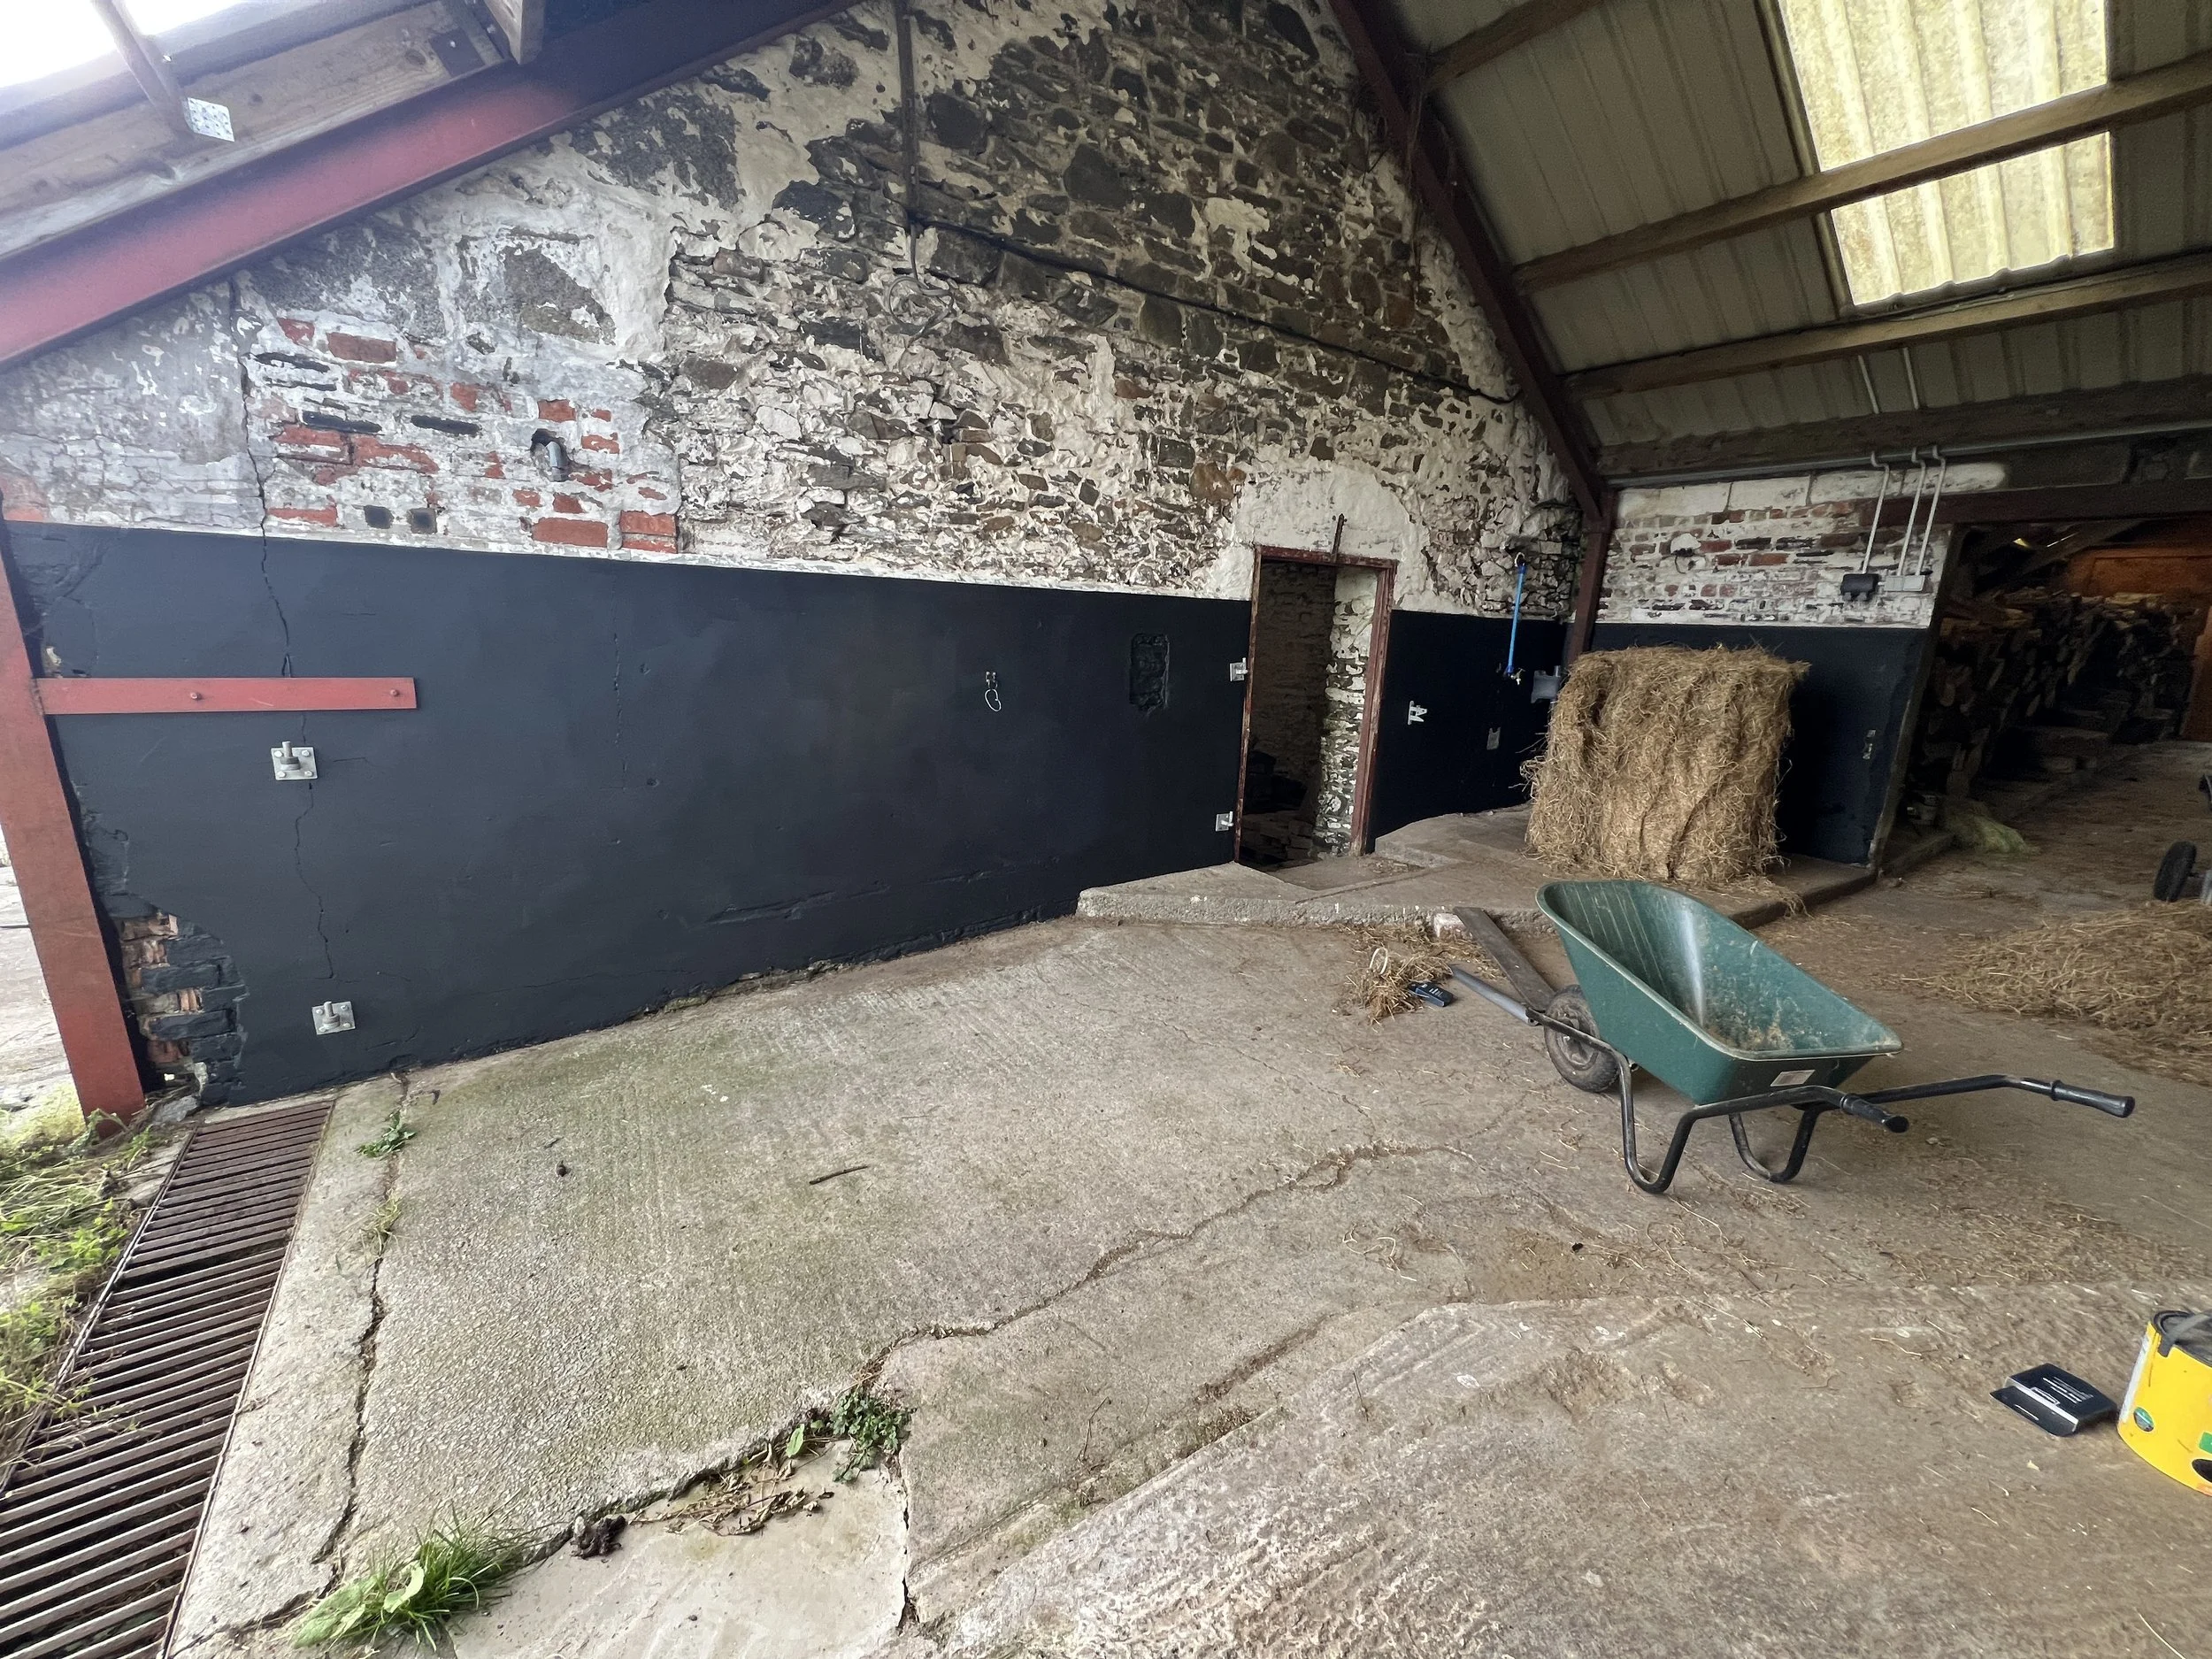
At the same time, Dan began removing cement and concrete from the farmhouse exterior walls. This needs to be done ahead of repointing and chimney work in the coming weeks, so he started on one of the worst parts - the porch wall on the east face.

In the interim, with me still having a somewhat of a wobble, I did what I do best: Disassociate and paint instead.
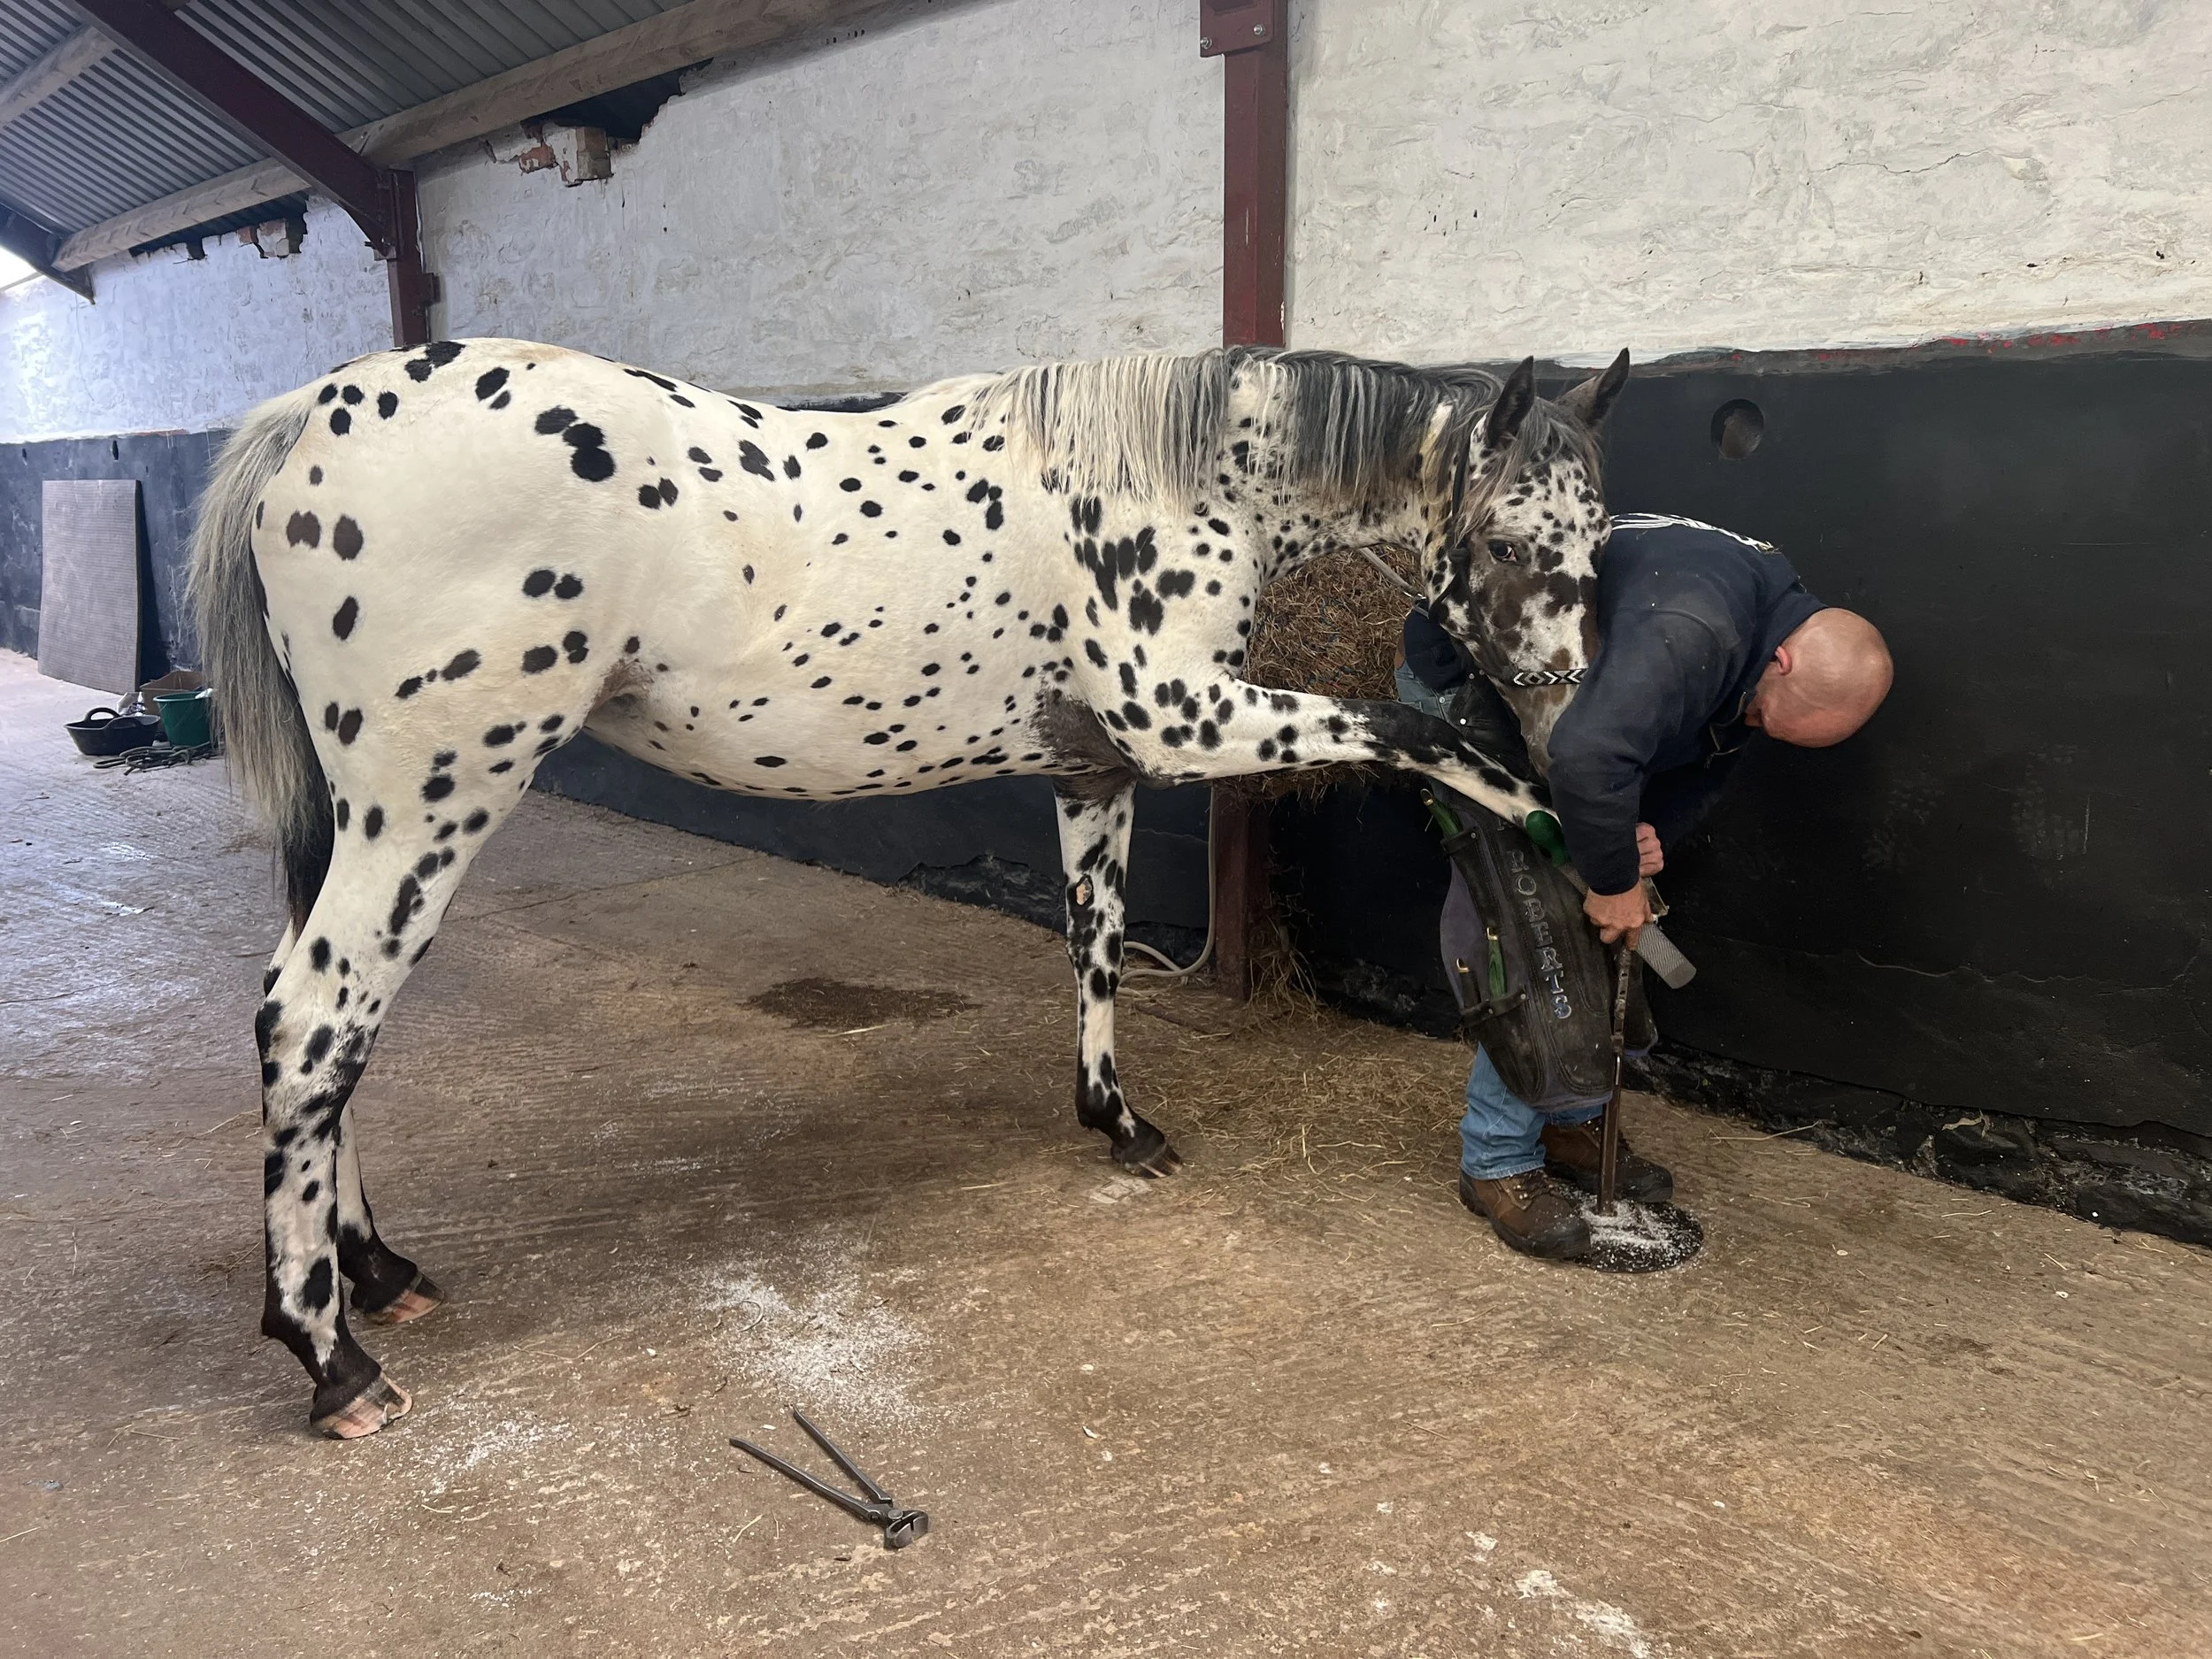
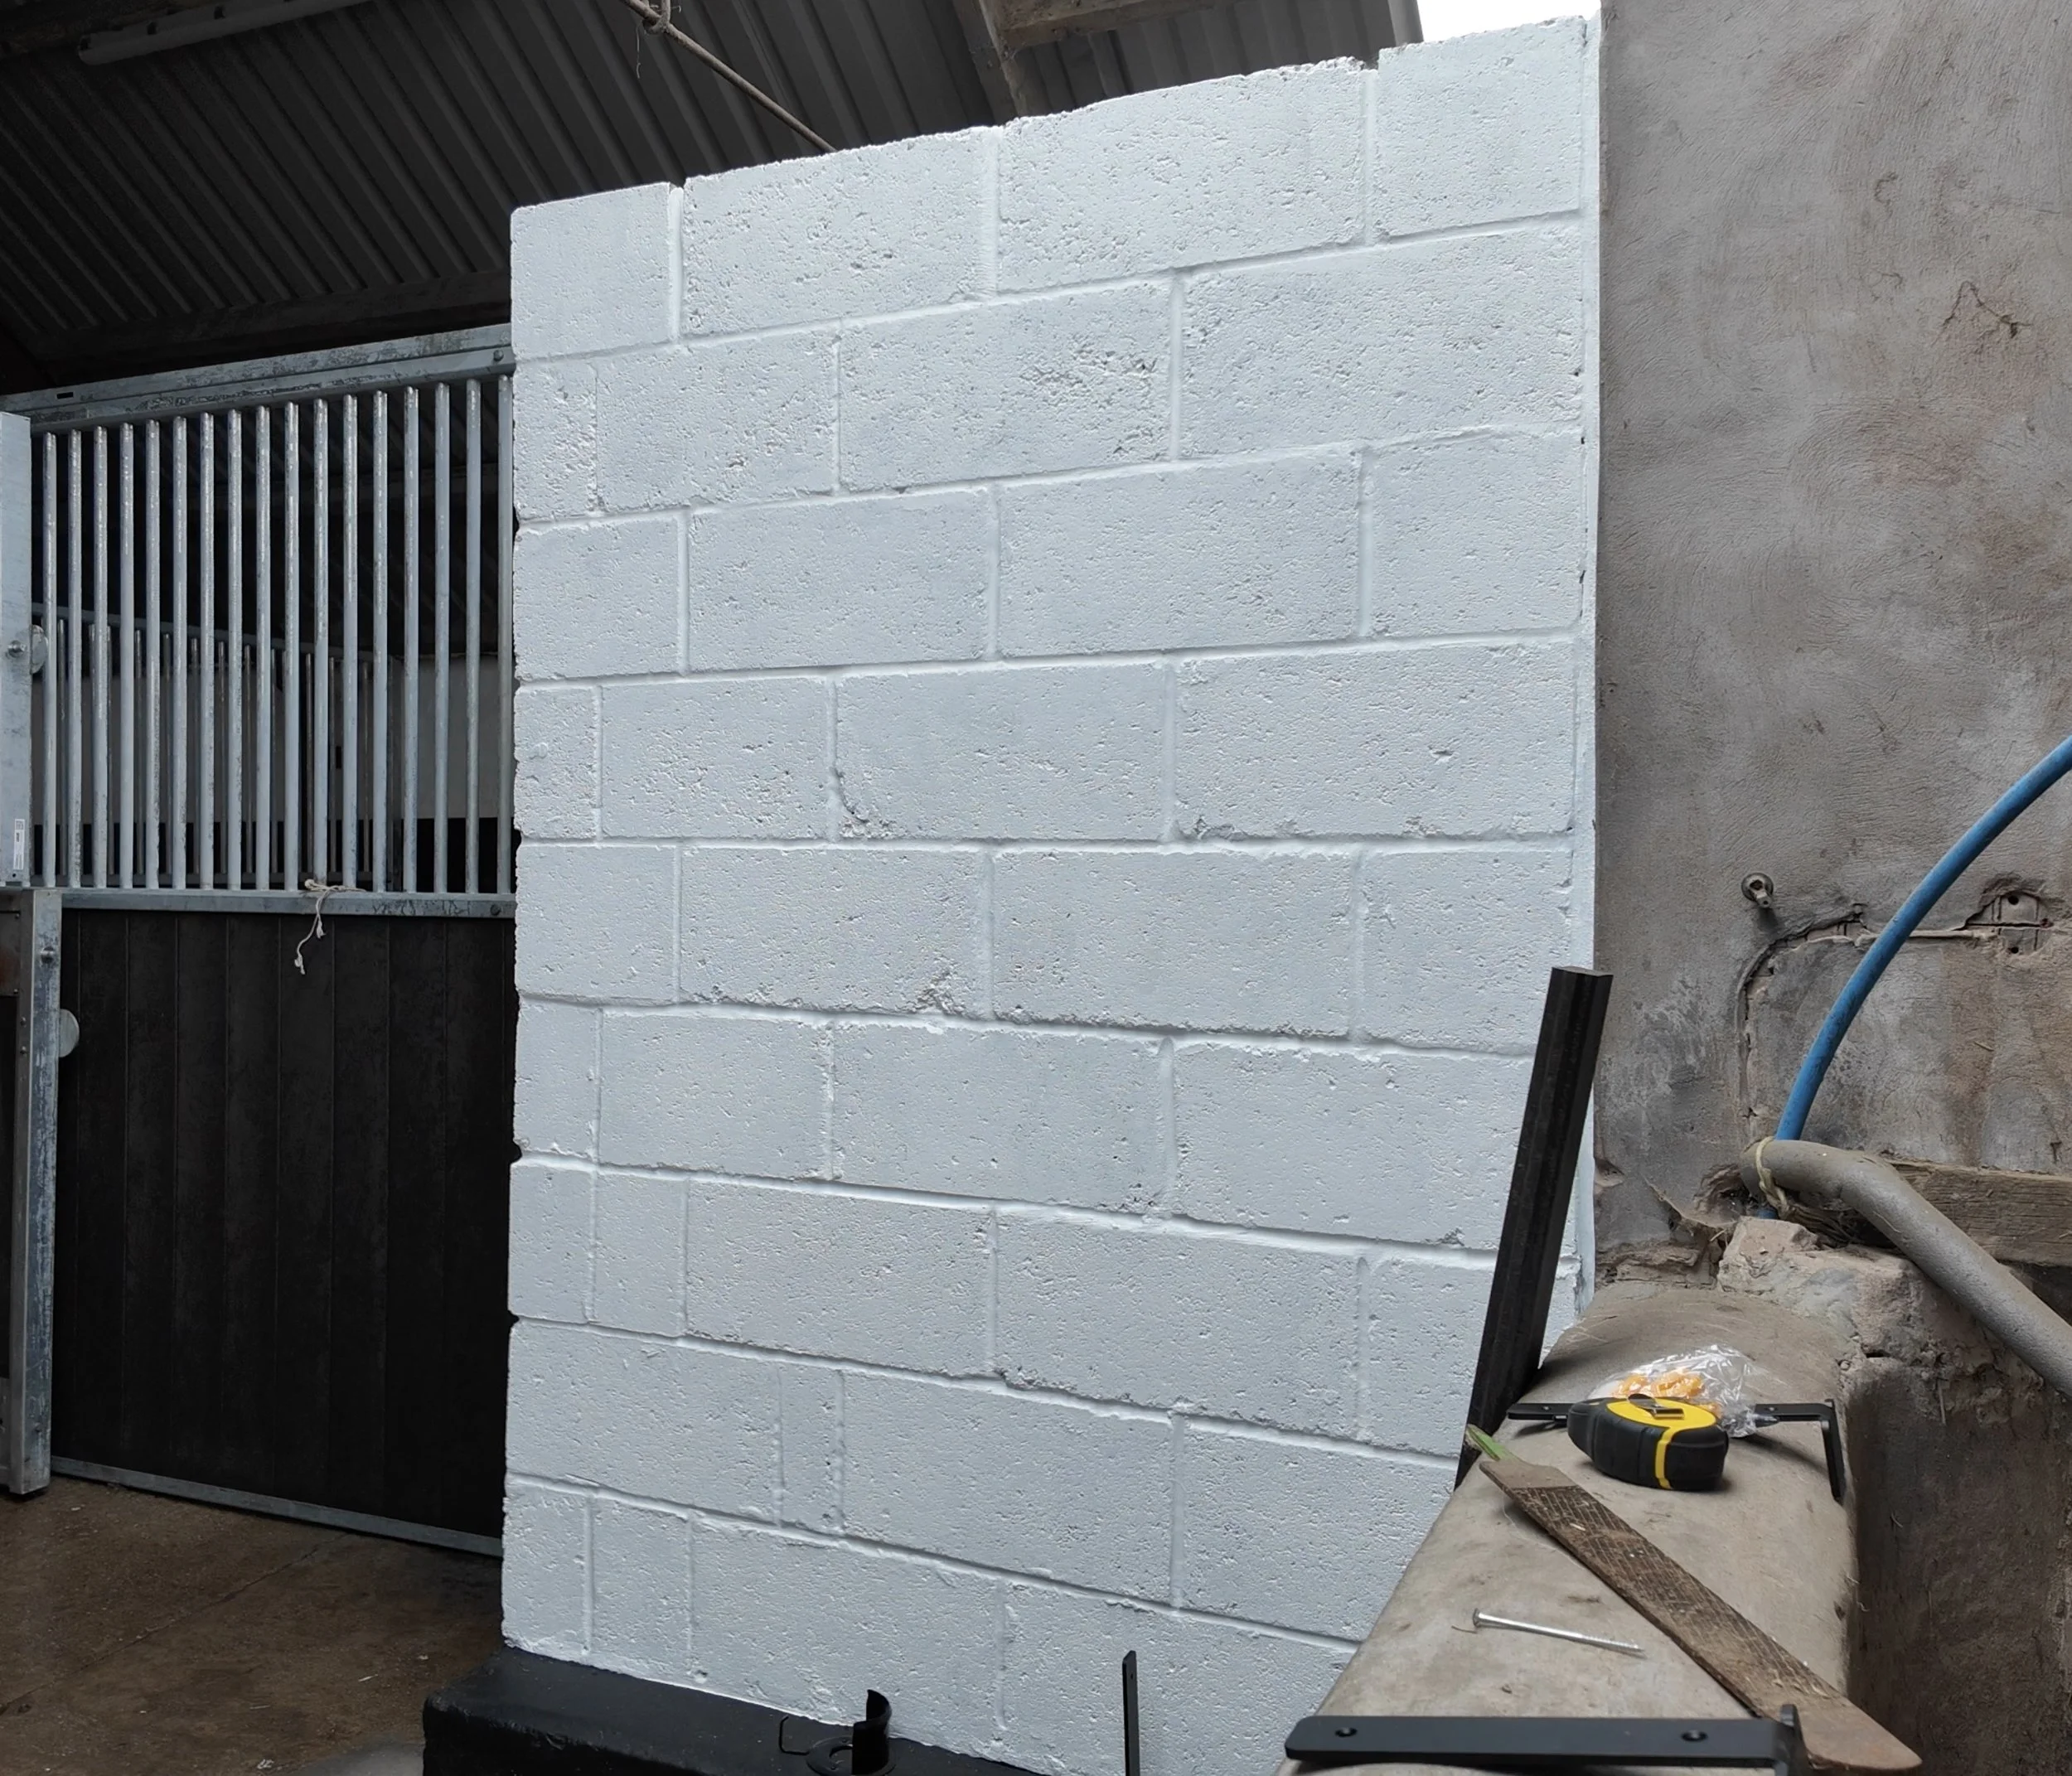
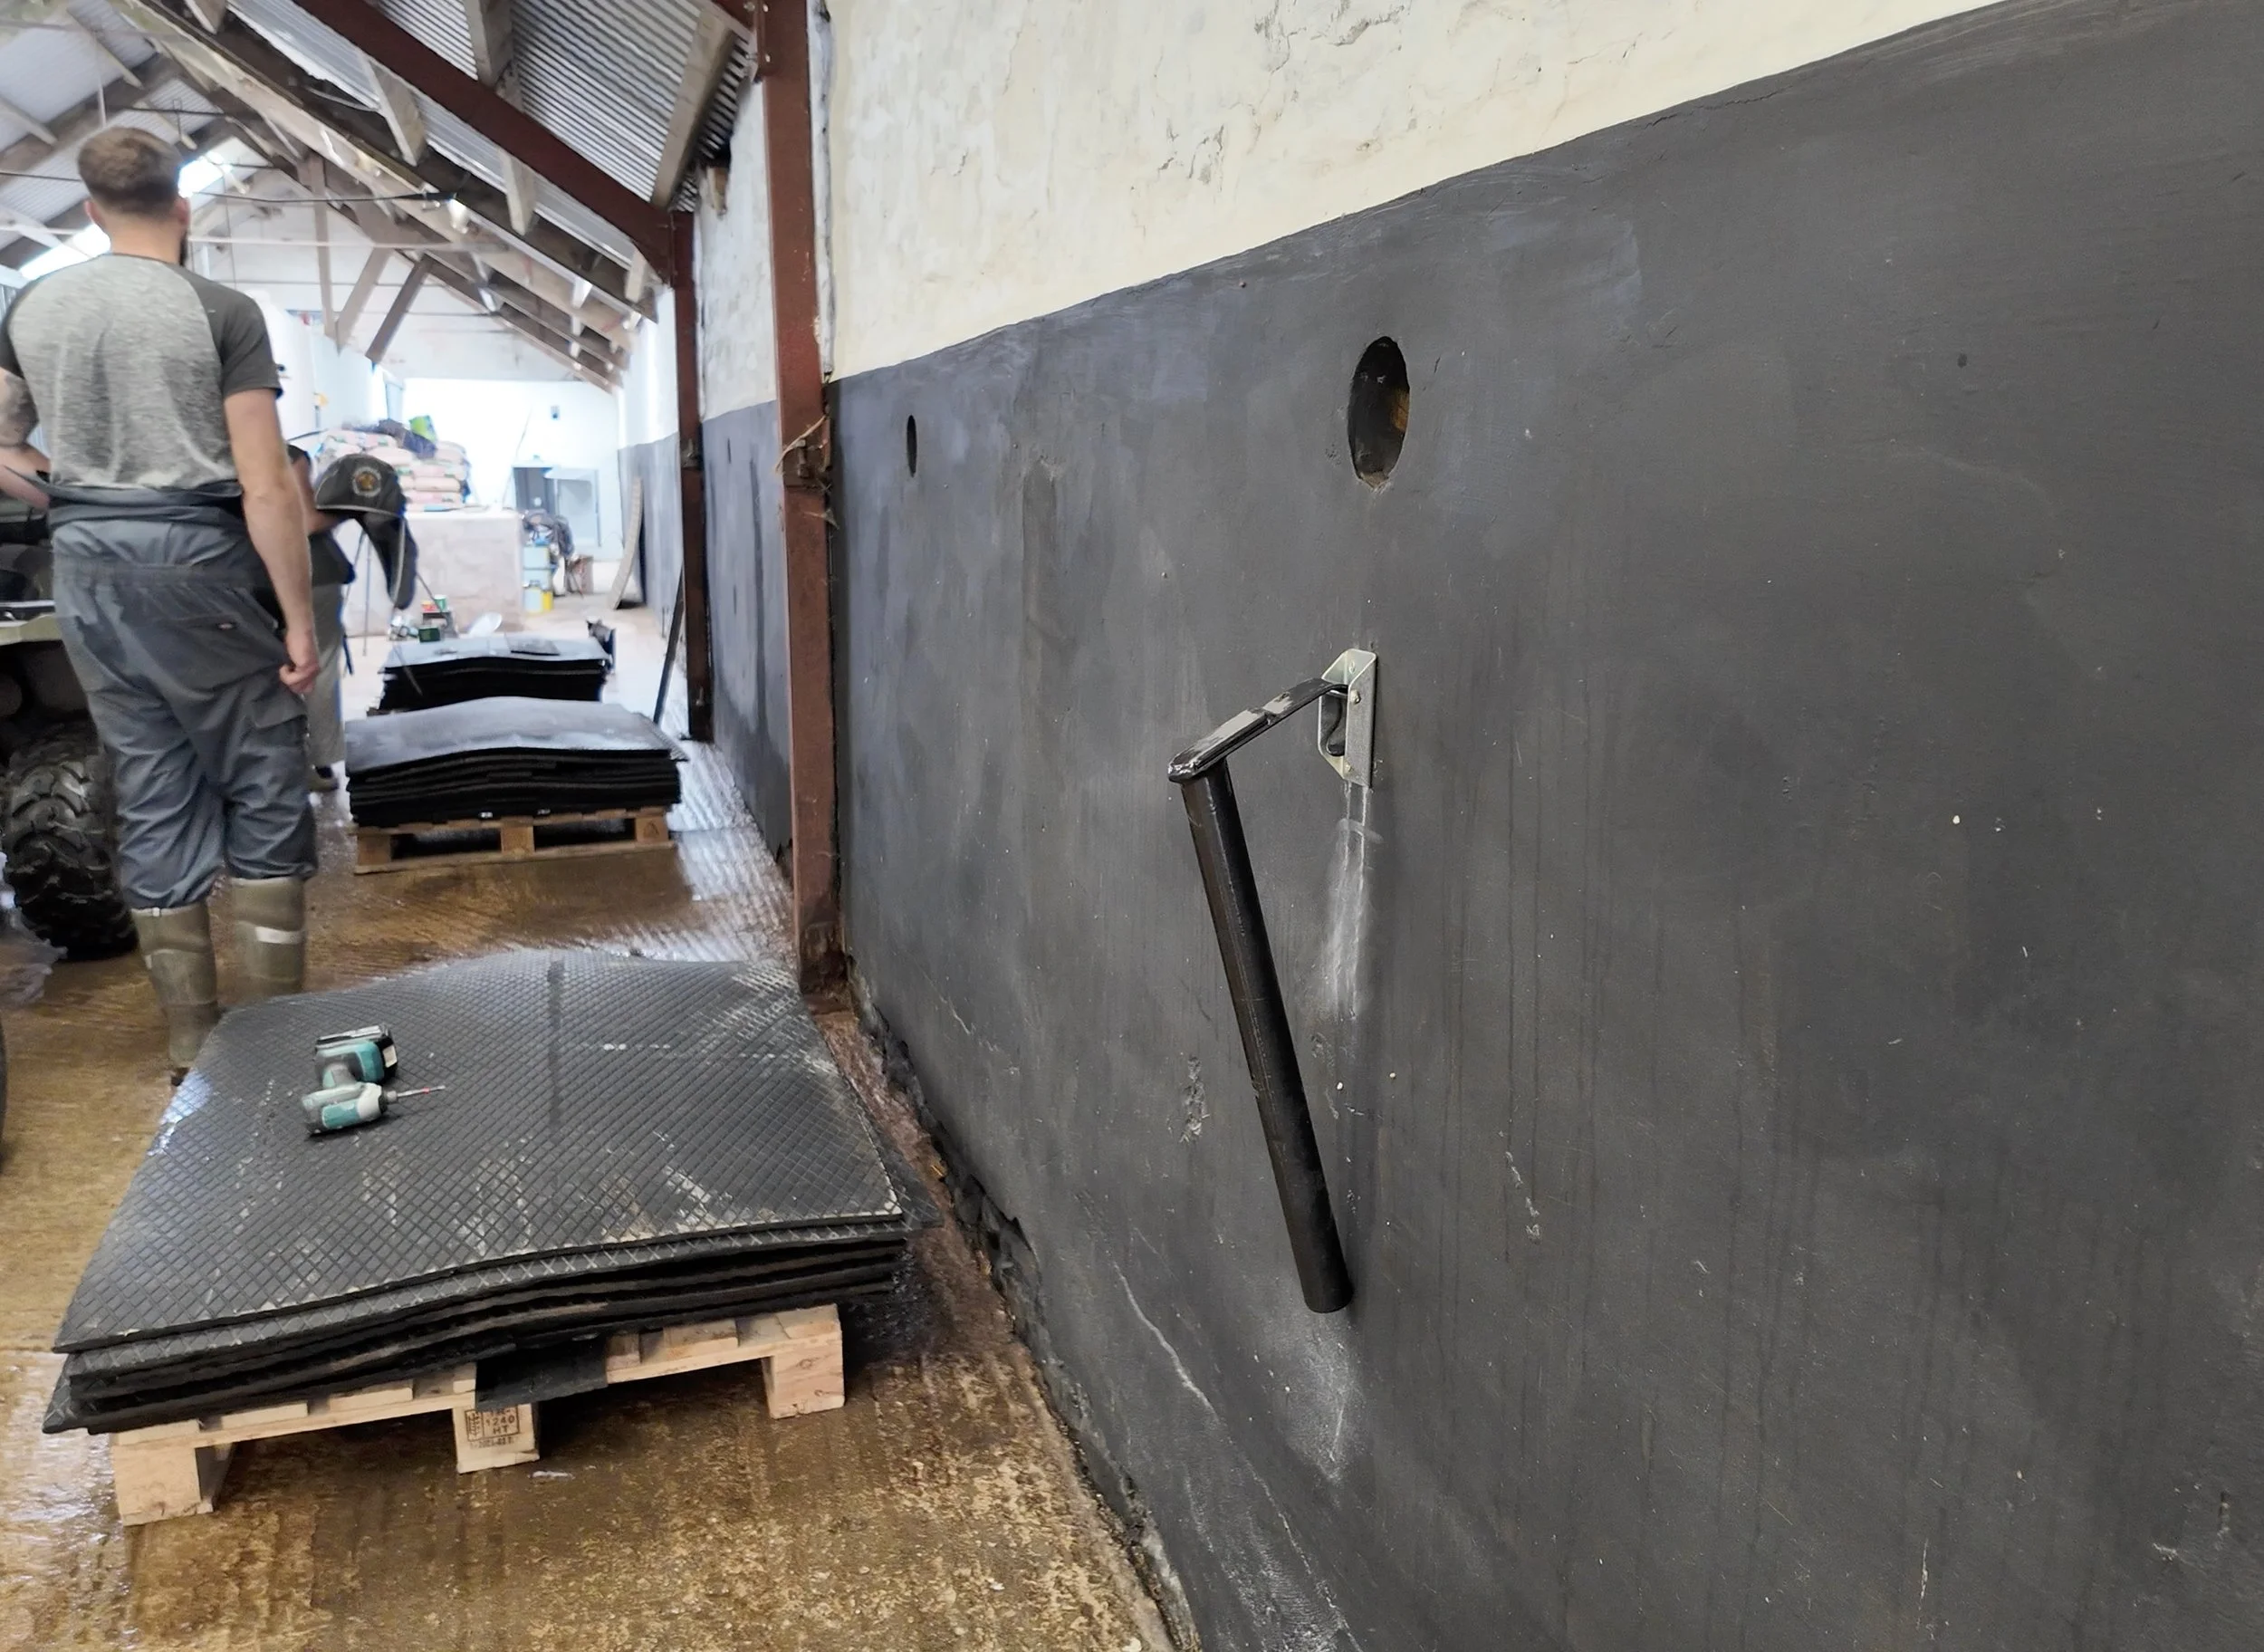
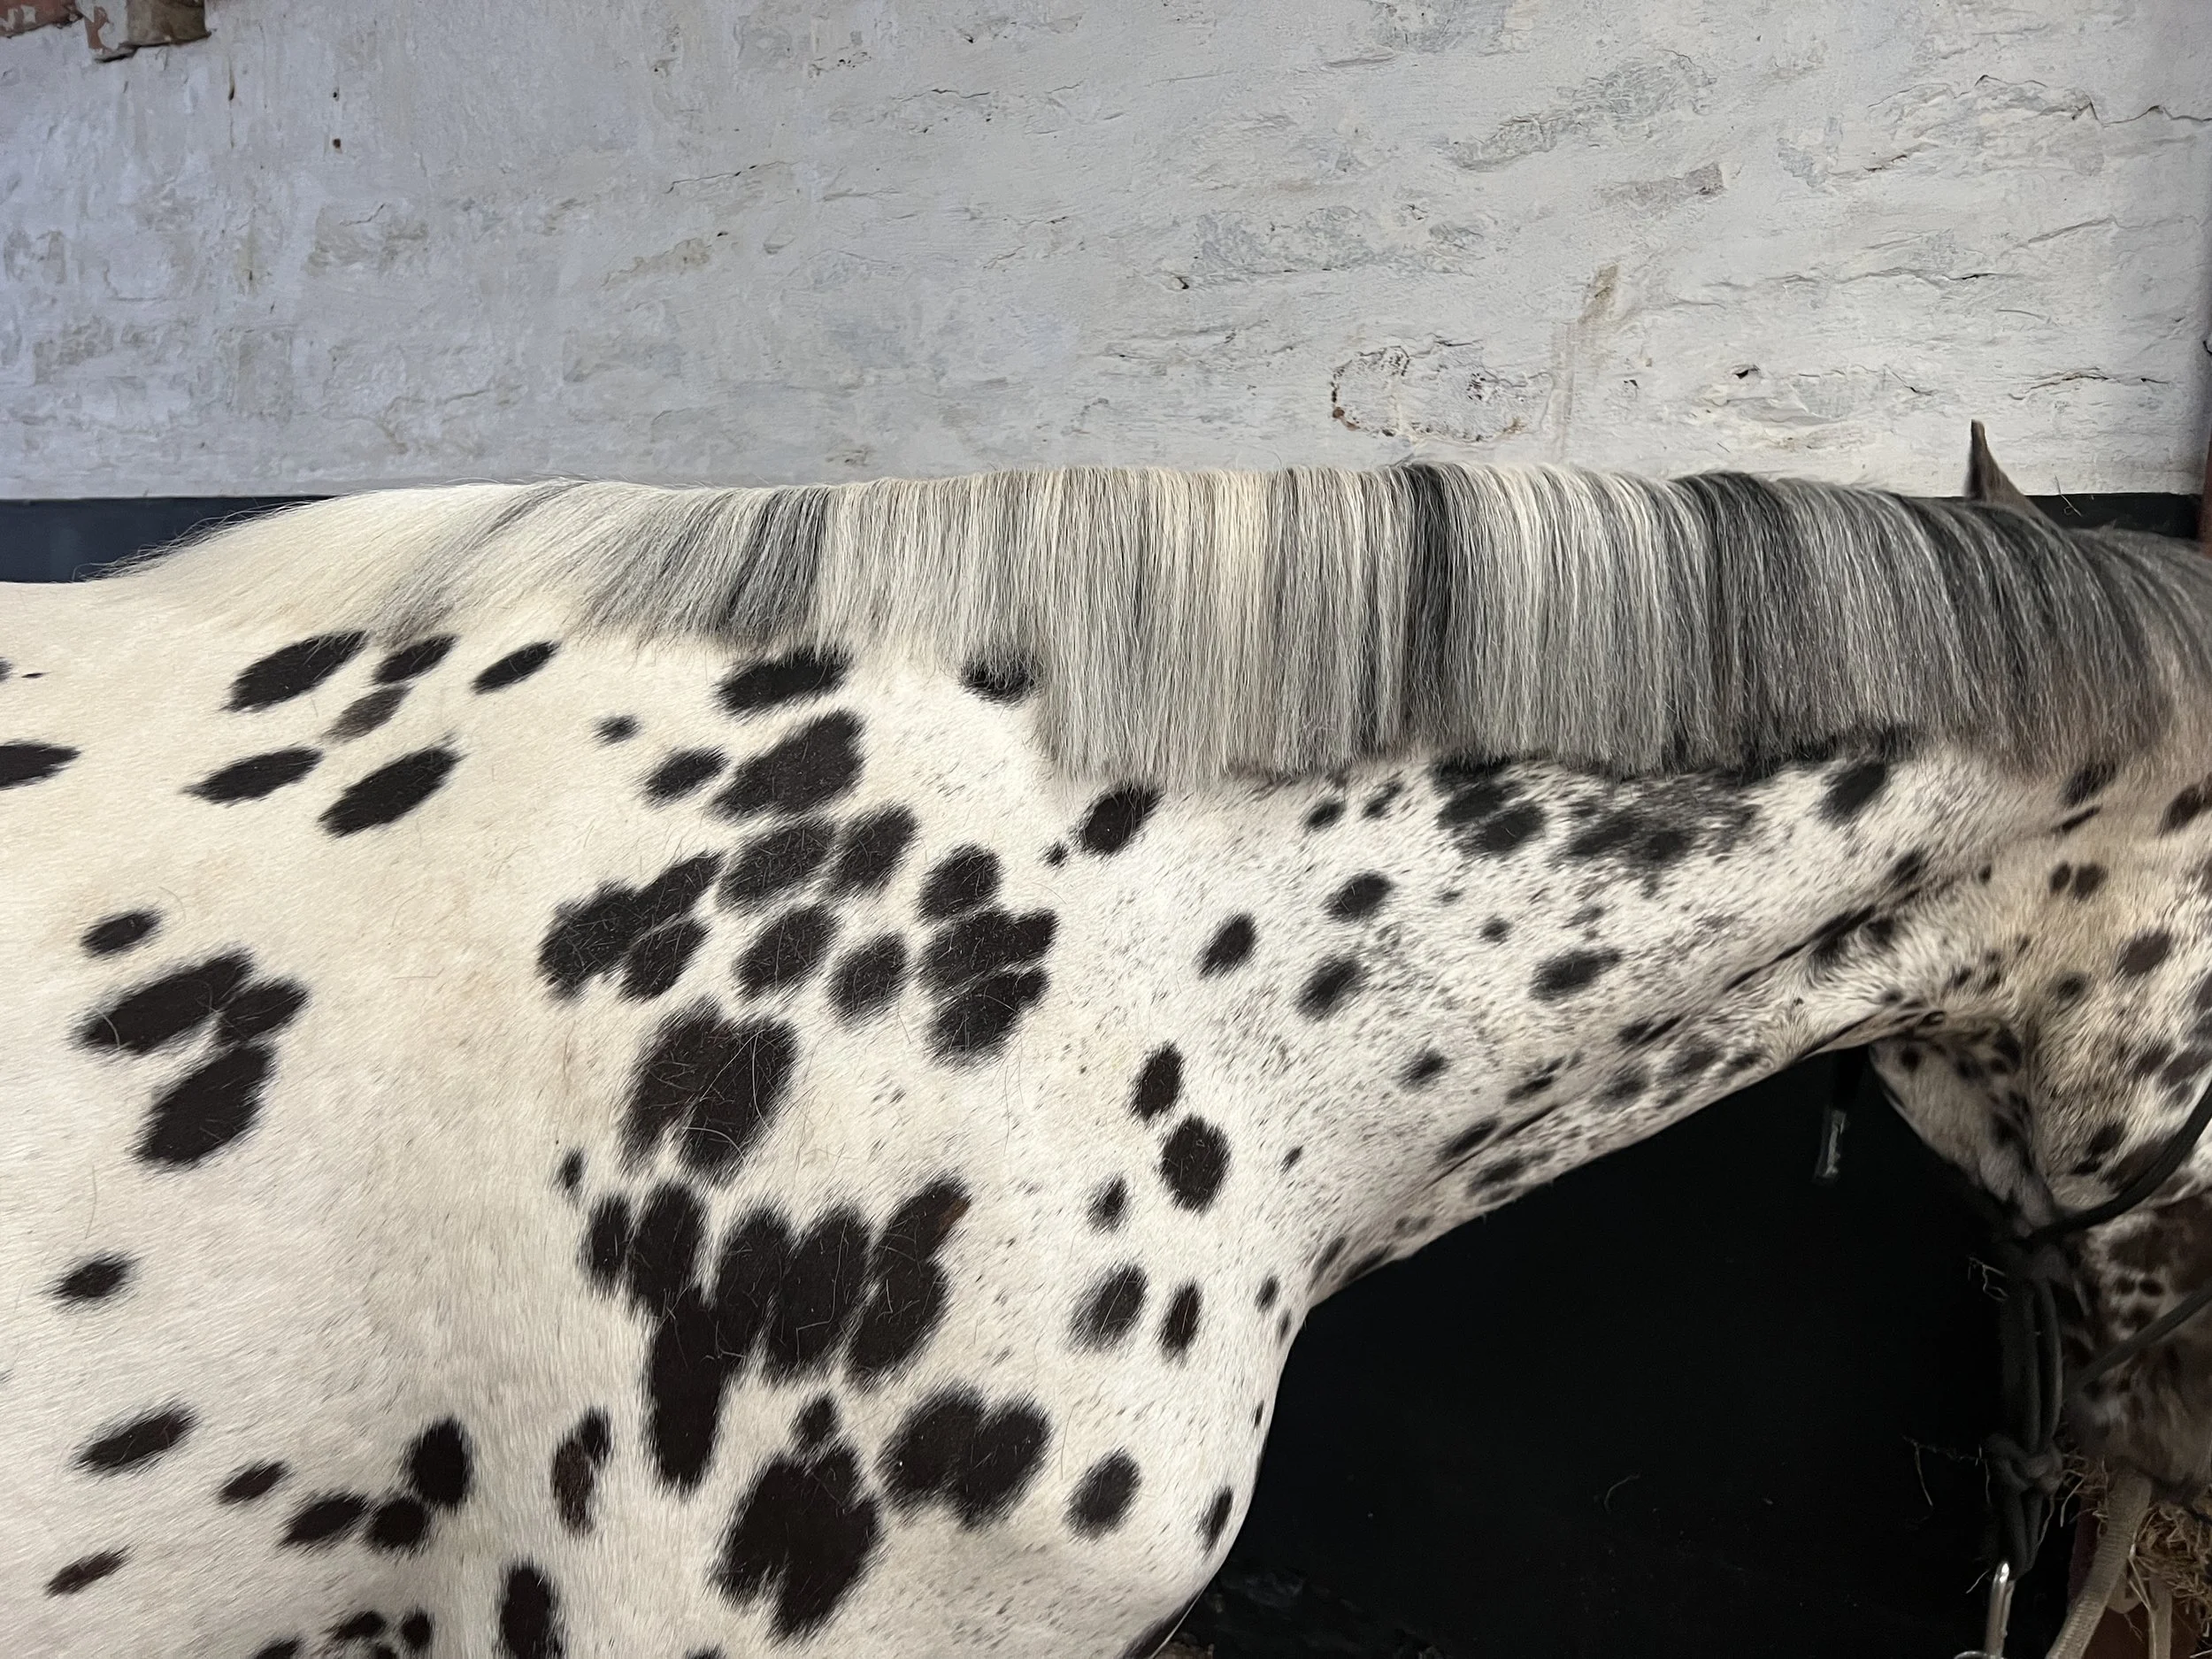
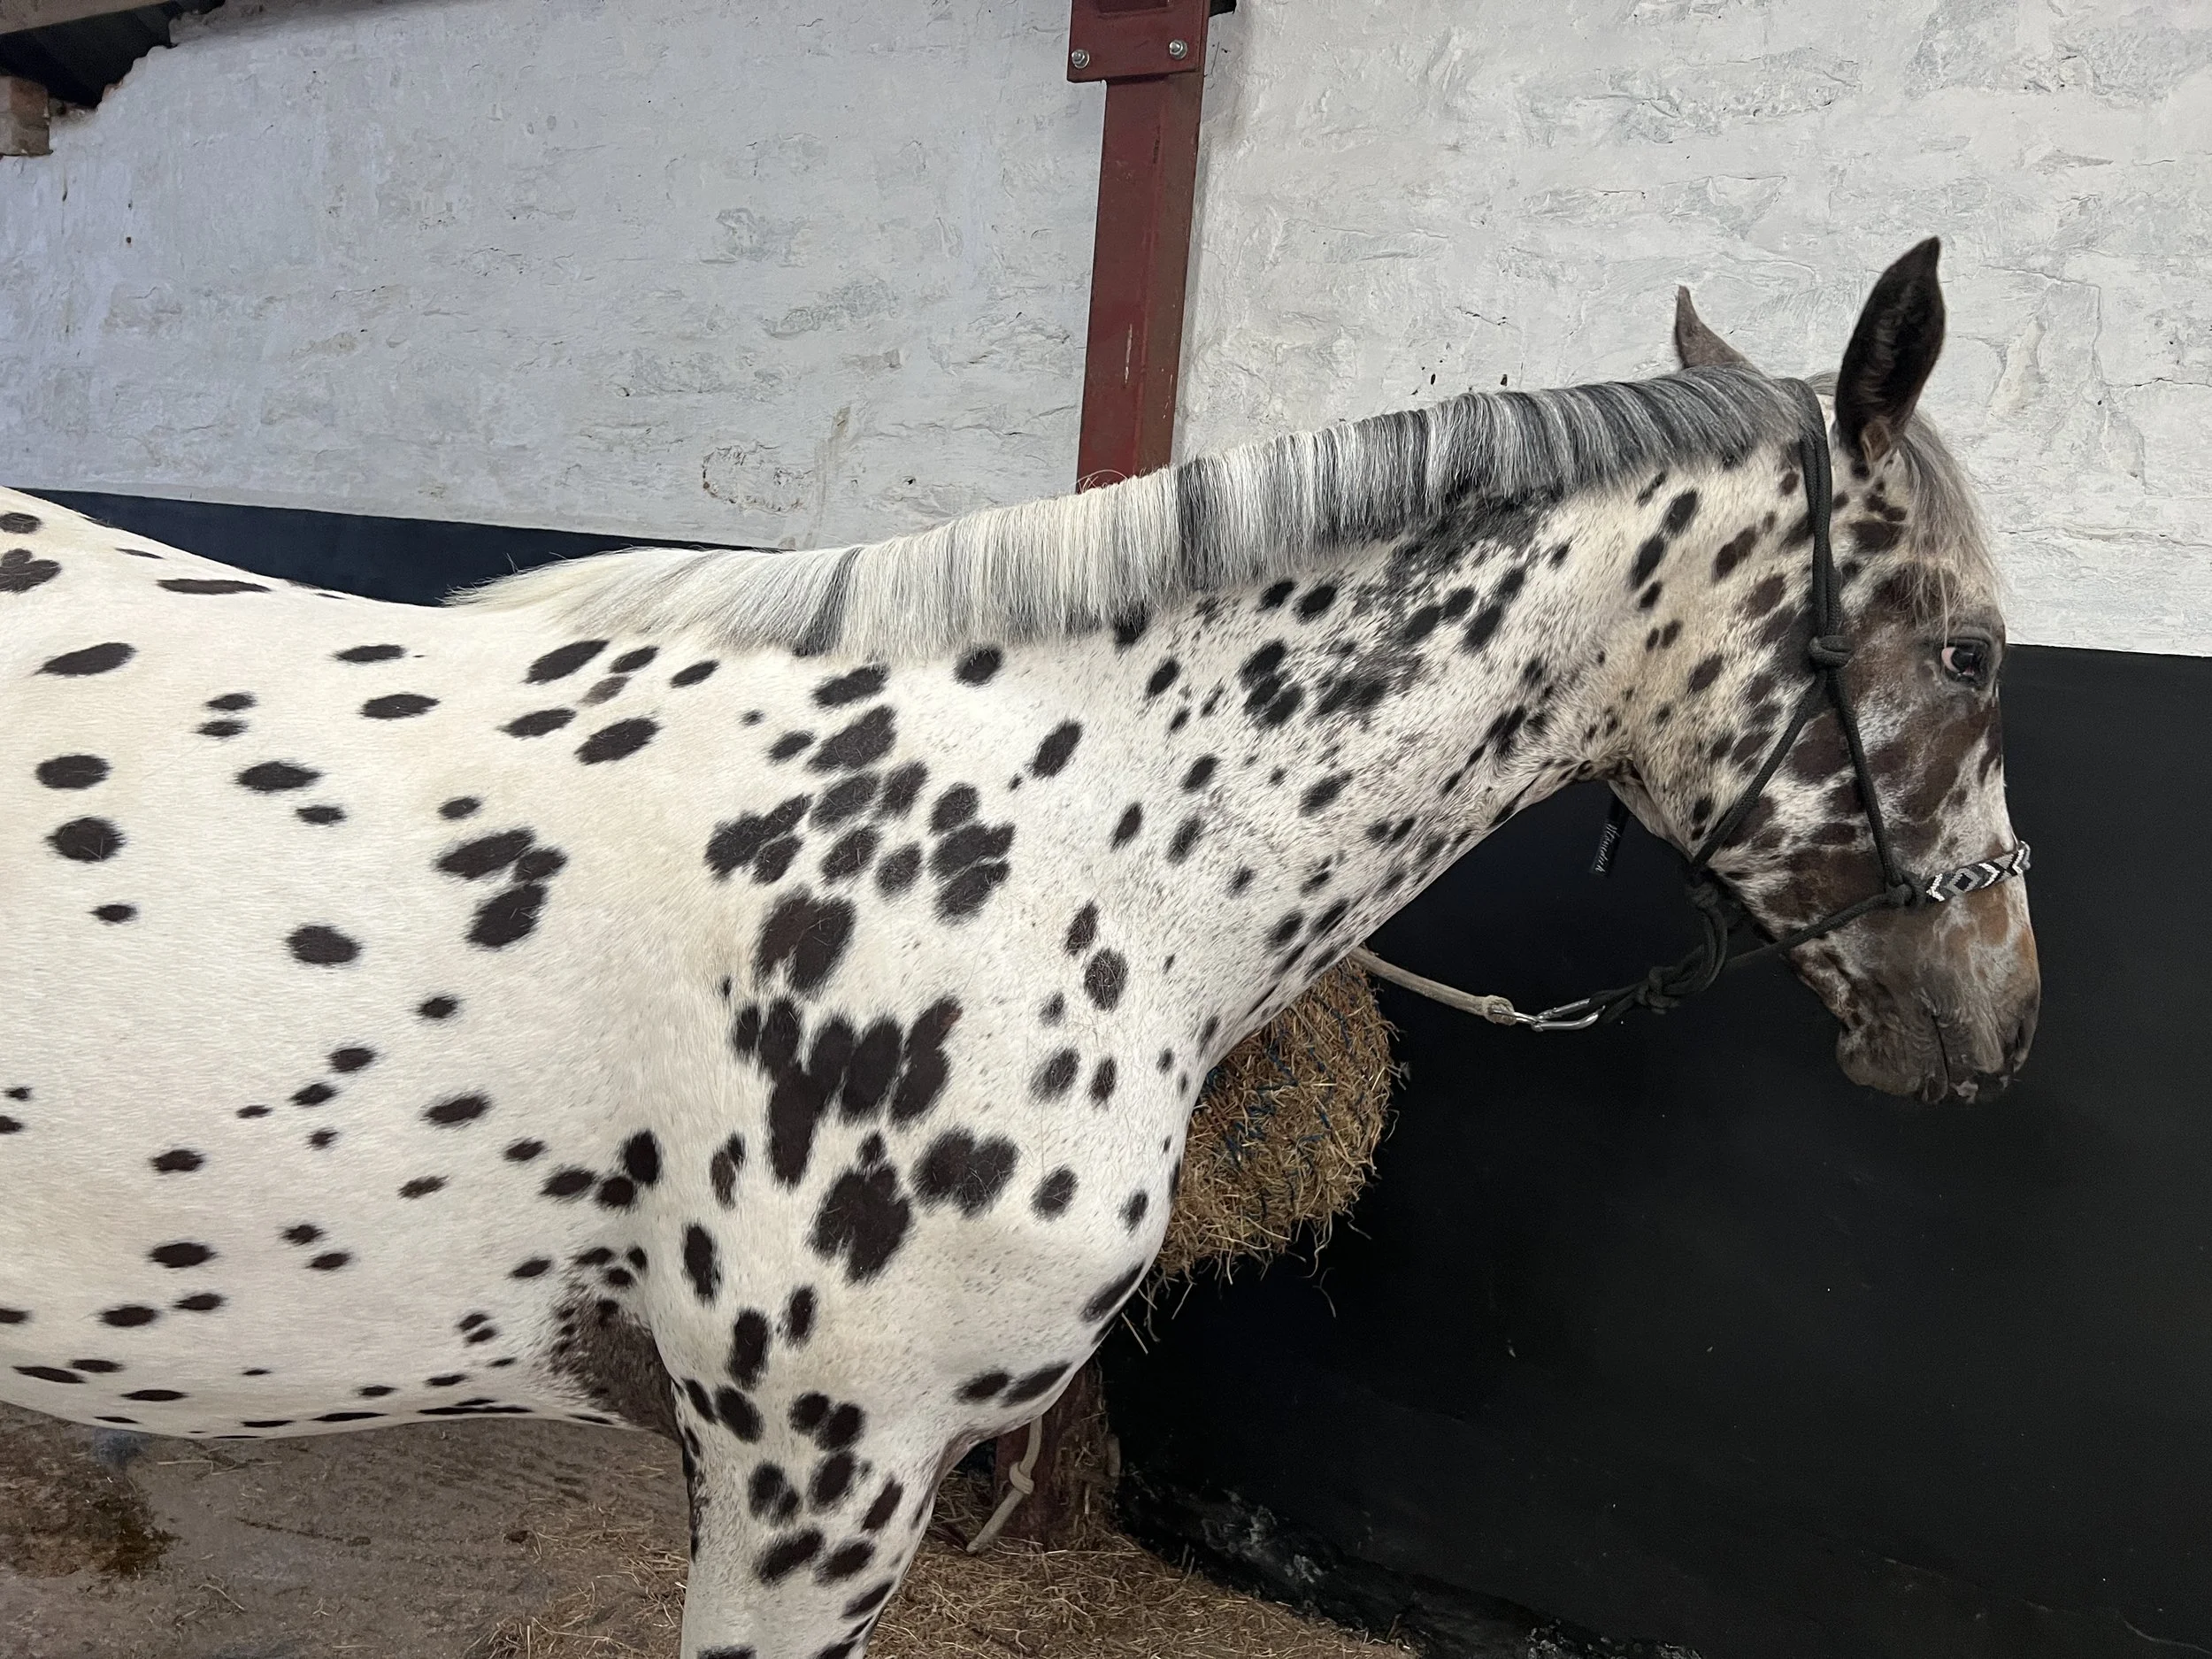
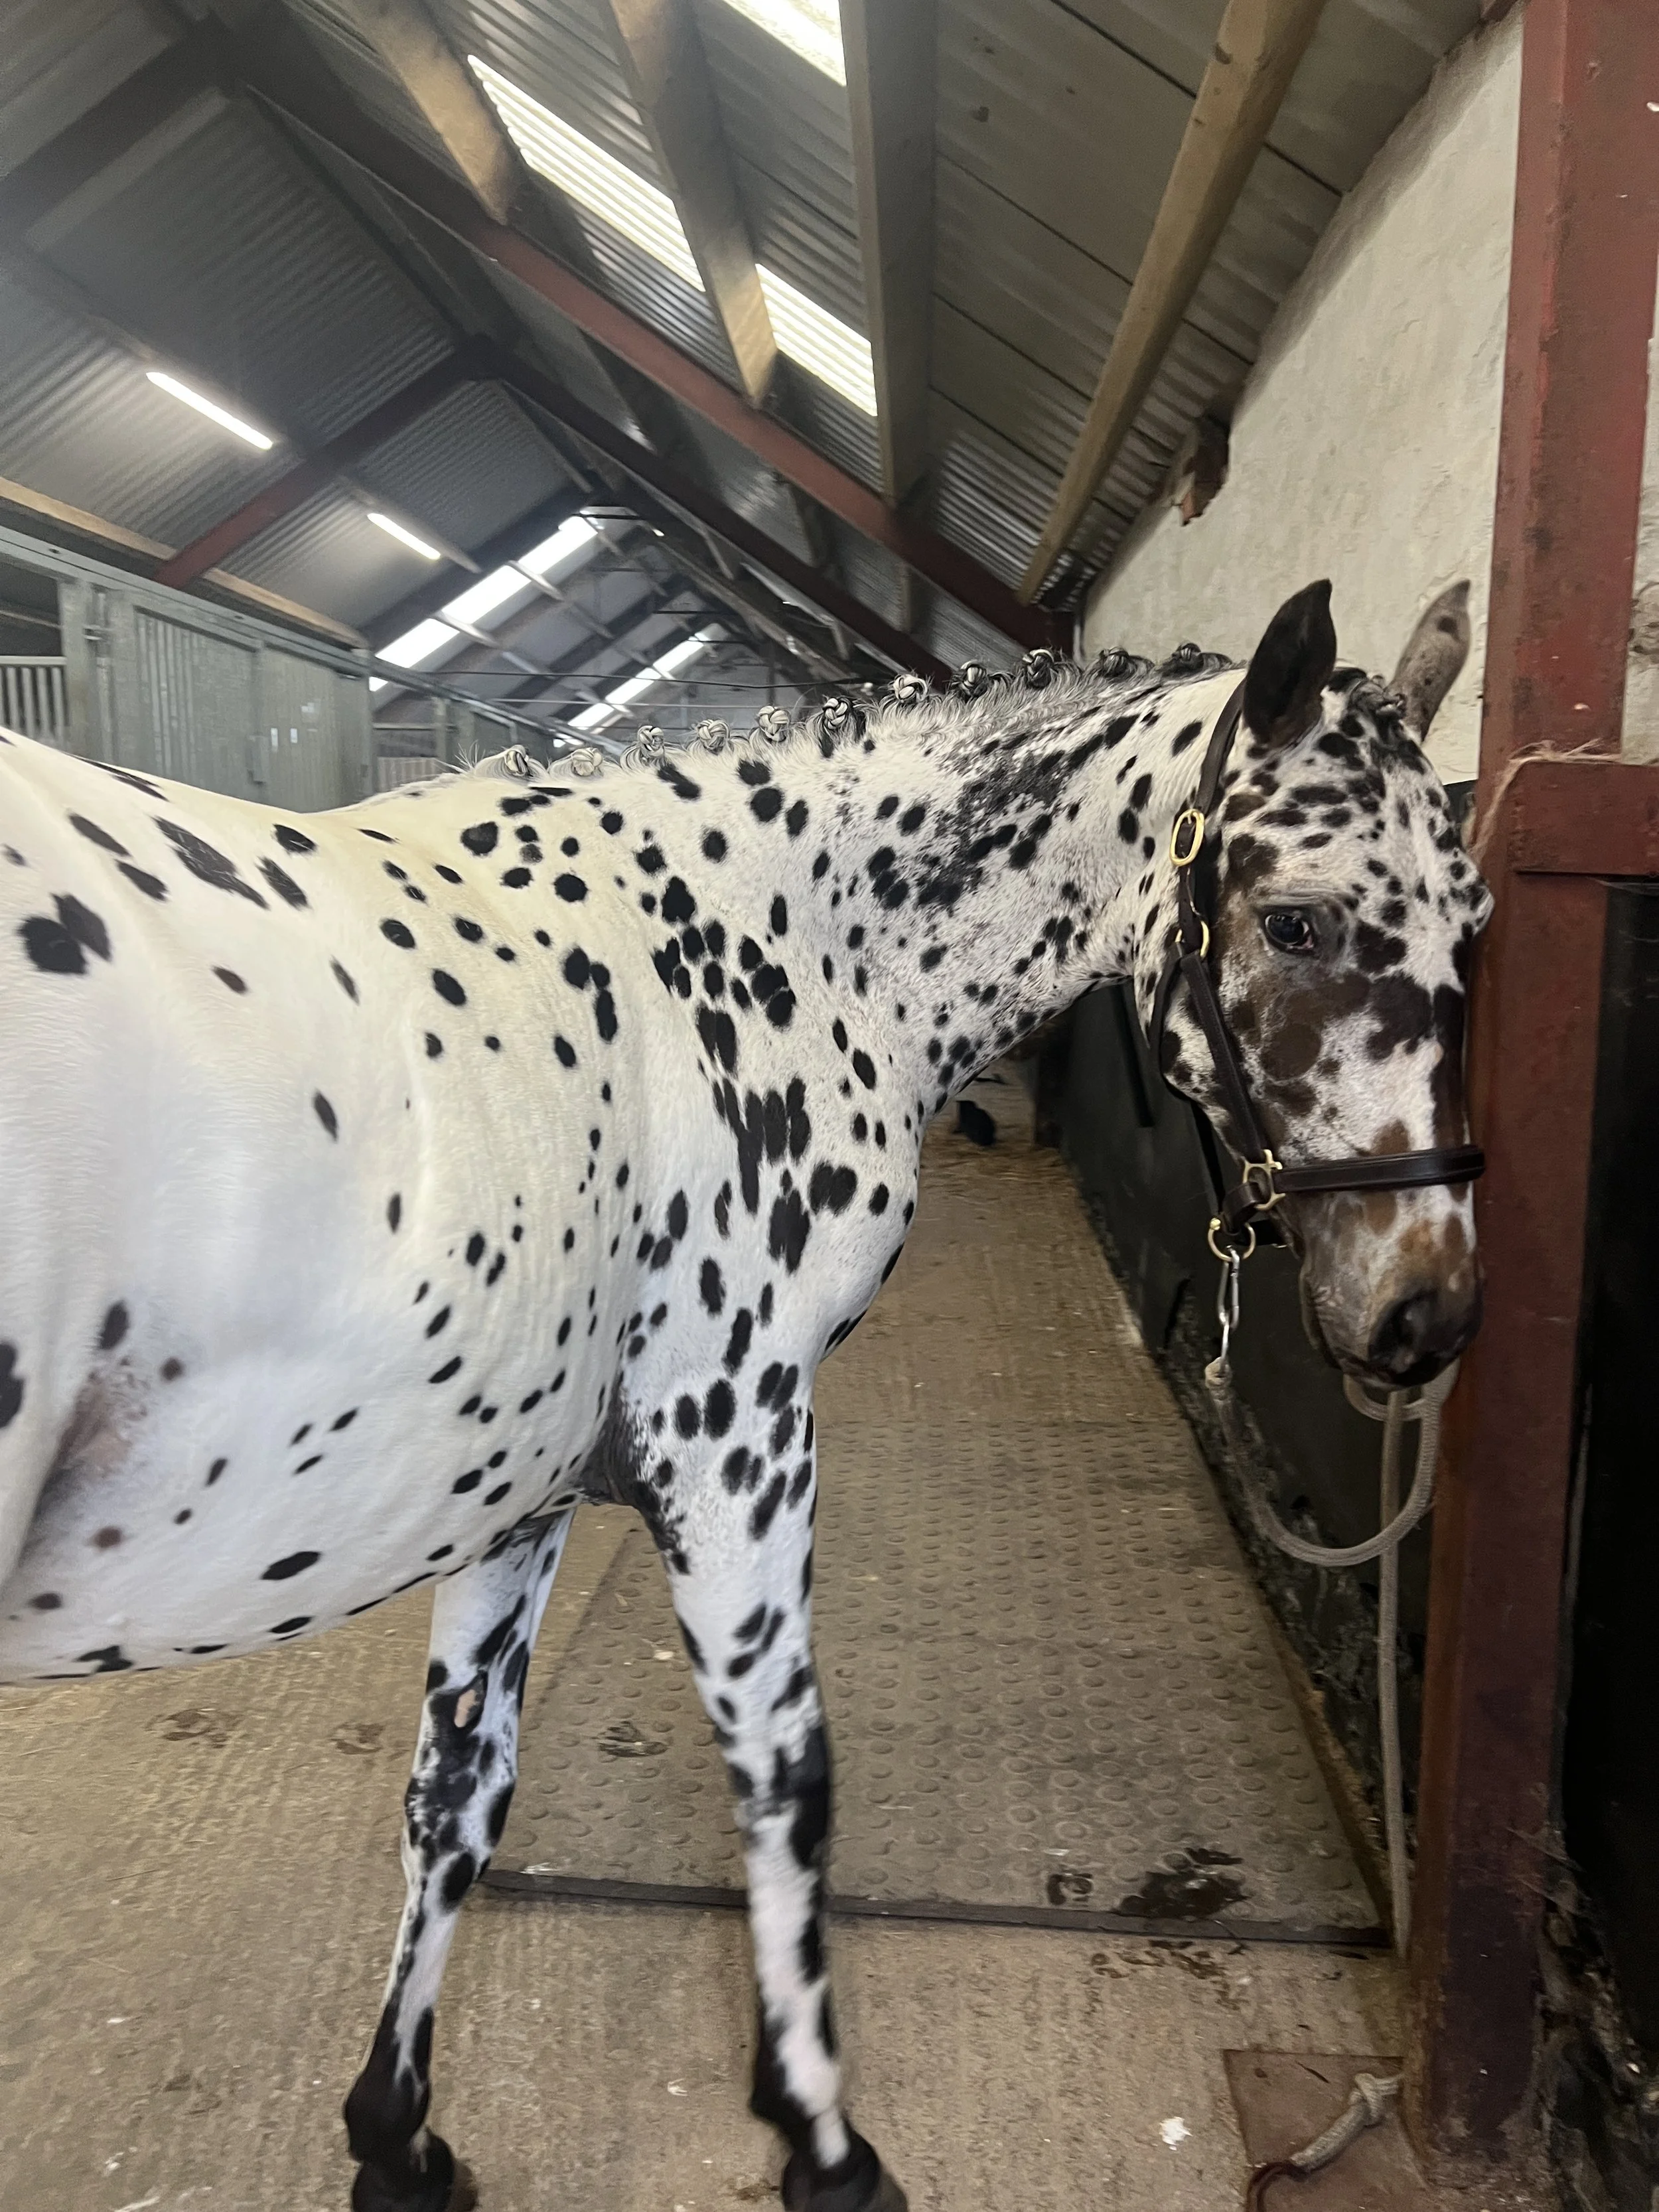
We need to film some things in the stables for work and the wall was line-less (as you can see behind Connie having a manicure earlier this week - where black meets white there isn’t a straight line). Line-less is not permitted in my book, so I set about painting the last of the black whilst we had good weather, and finishing that line neatly.
If you remember, we couldn’t complete the painting last year because the low temperature and high humidity meant the paint didn’t cure at all. We also couldn’t paint in here this year until the jackdaws left, which they thankfully now have. Although the brick gaps to their nests need to be filled in, which is on the to-do list, it wasn’t essential for that to happen first.
Weather wise we were perfect for painting so paint I did. It looks great by the way! Although it doesn’t need to be perfect, I did try to get it at least “good enough”.
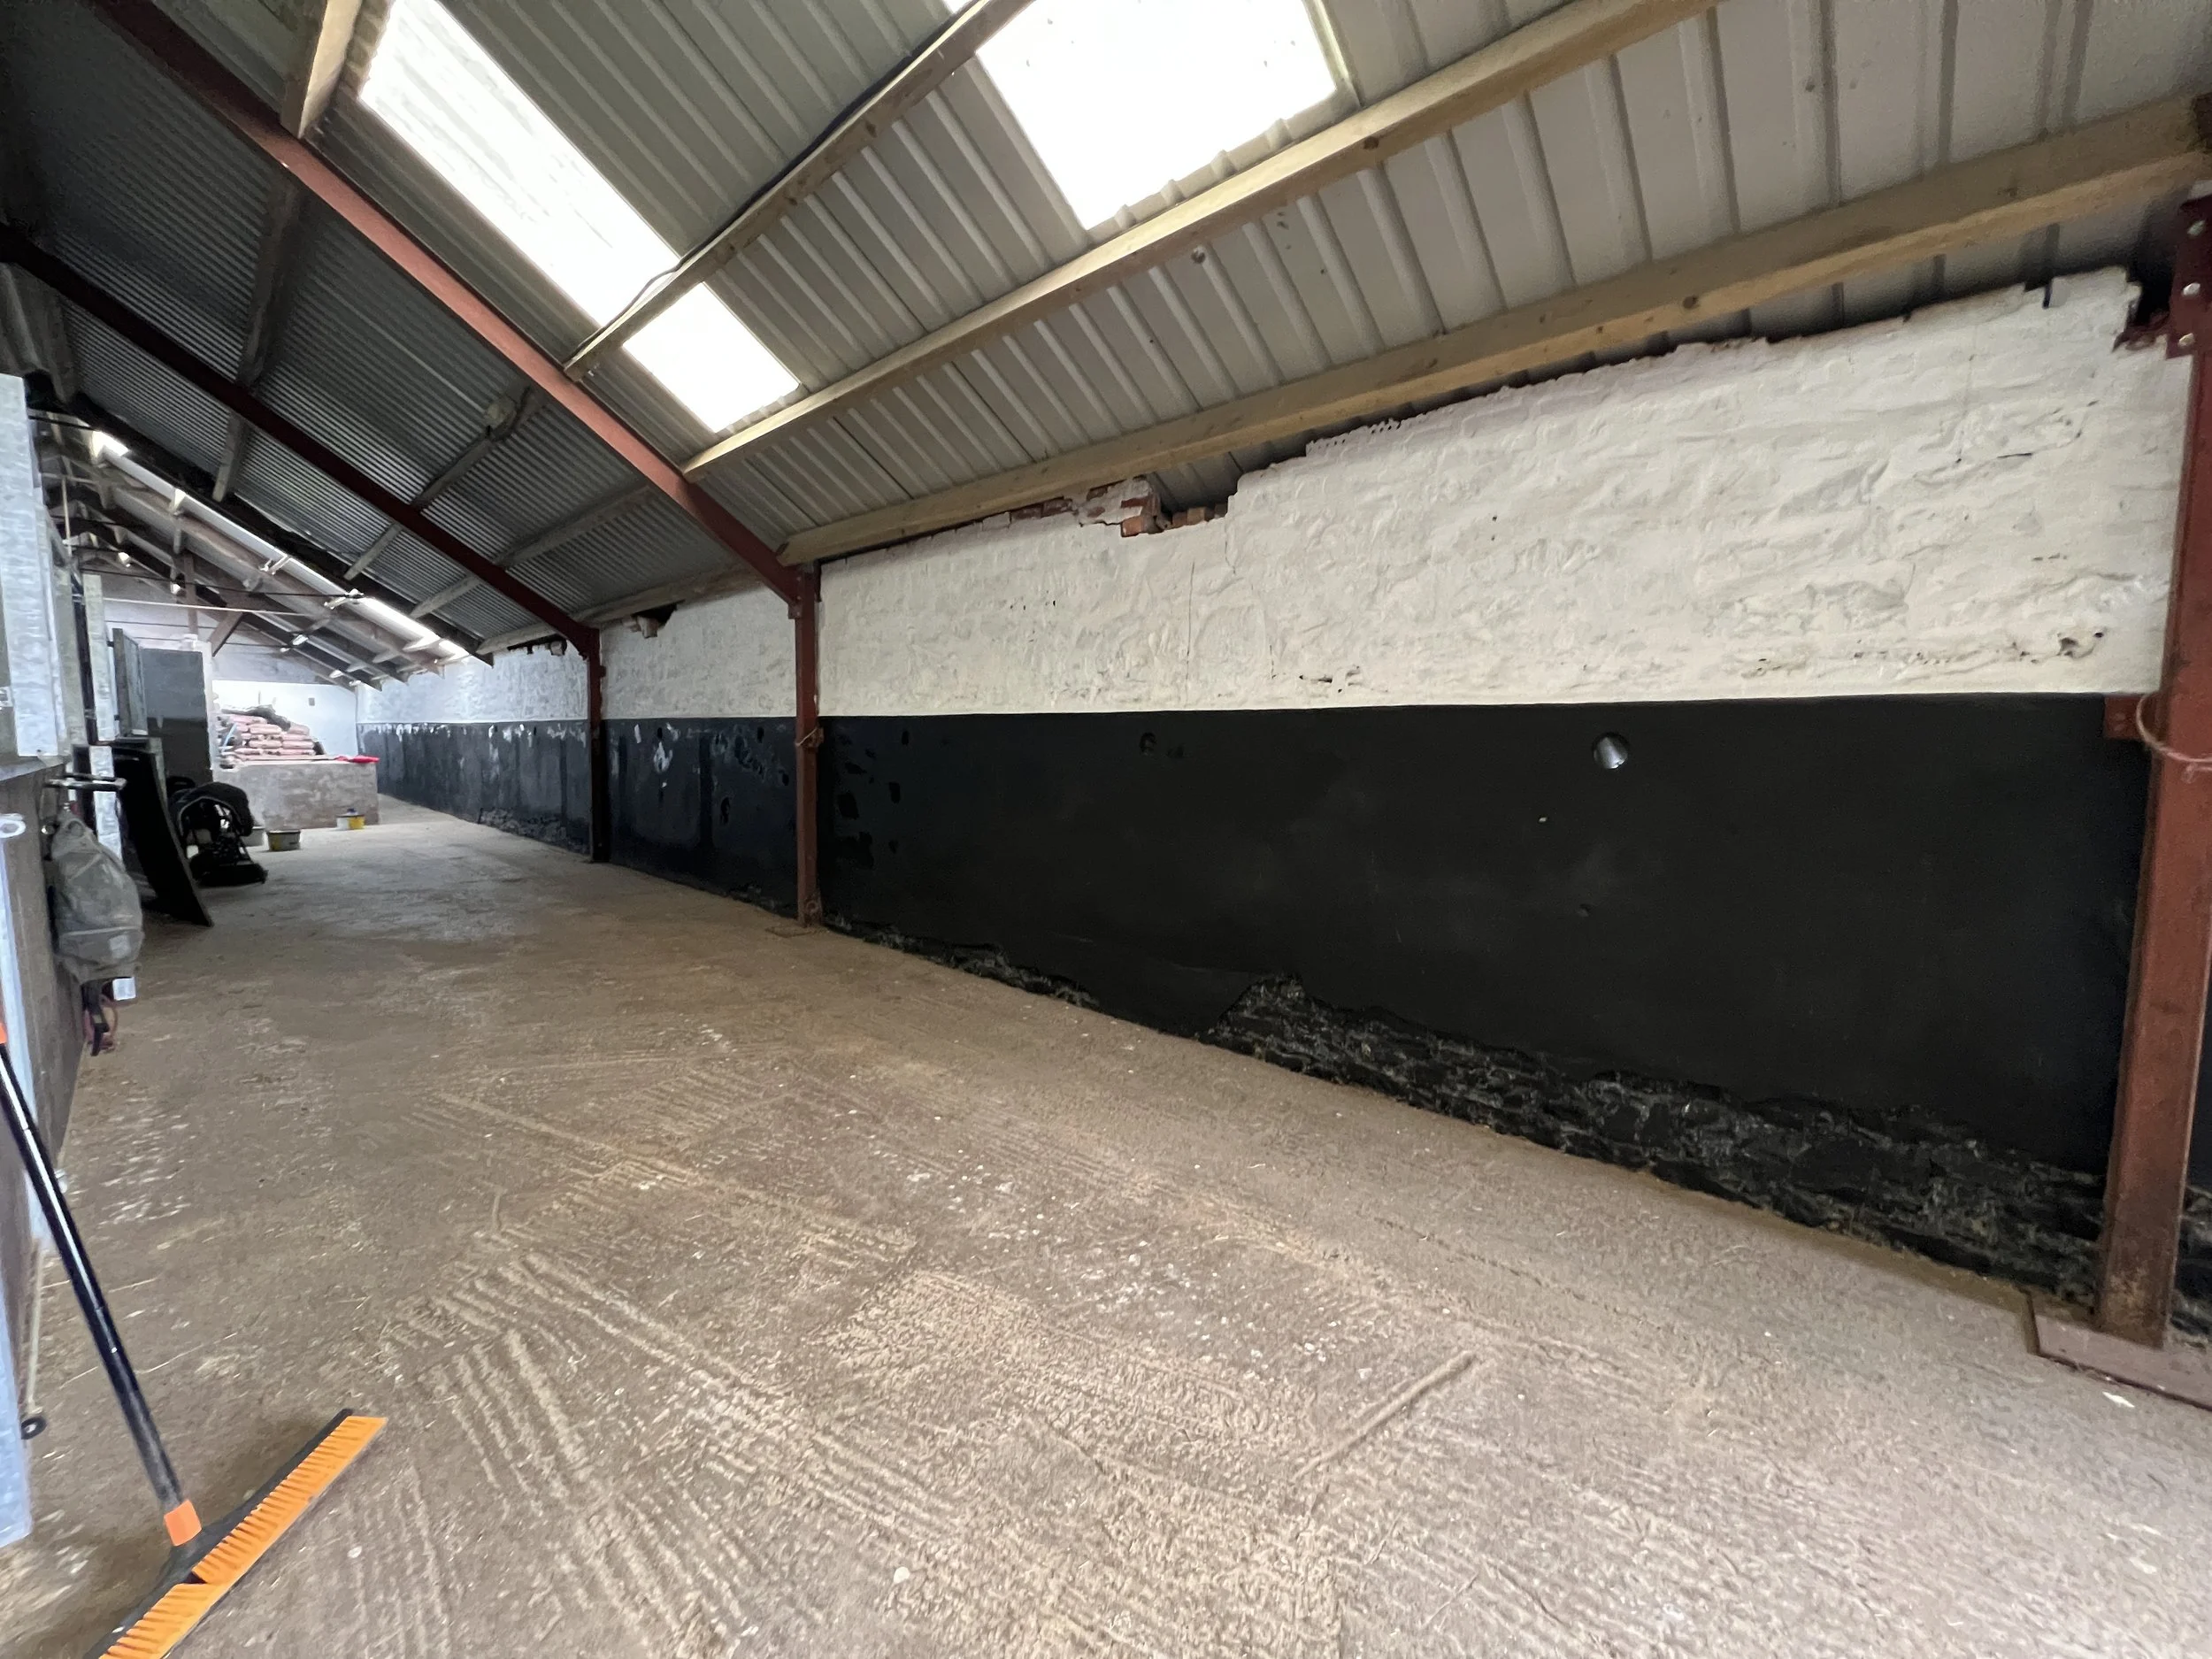
The area we’d left unpainted near the wash bay and forage storage was also tackled, but the white above won’t be completed until we’ve had a chance to repoint up some of the holes and gaps which, despite how they appear in images, are enormous and would look awful against a white background. I left that here with just its first coat, and I’ll circle back later in the year to do the rest.
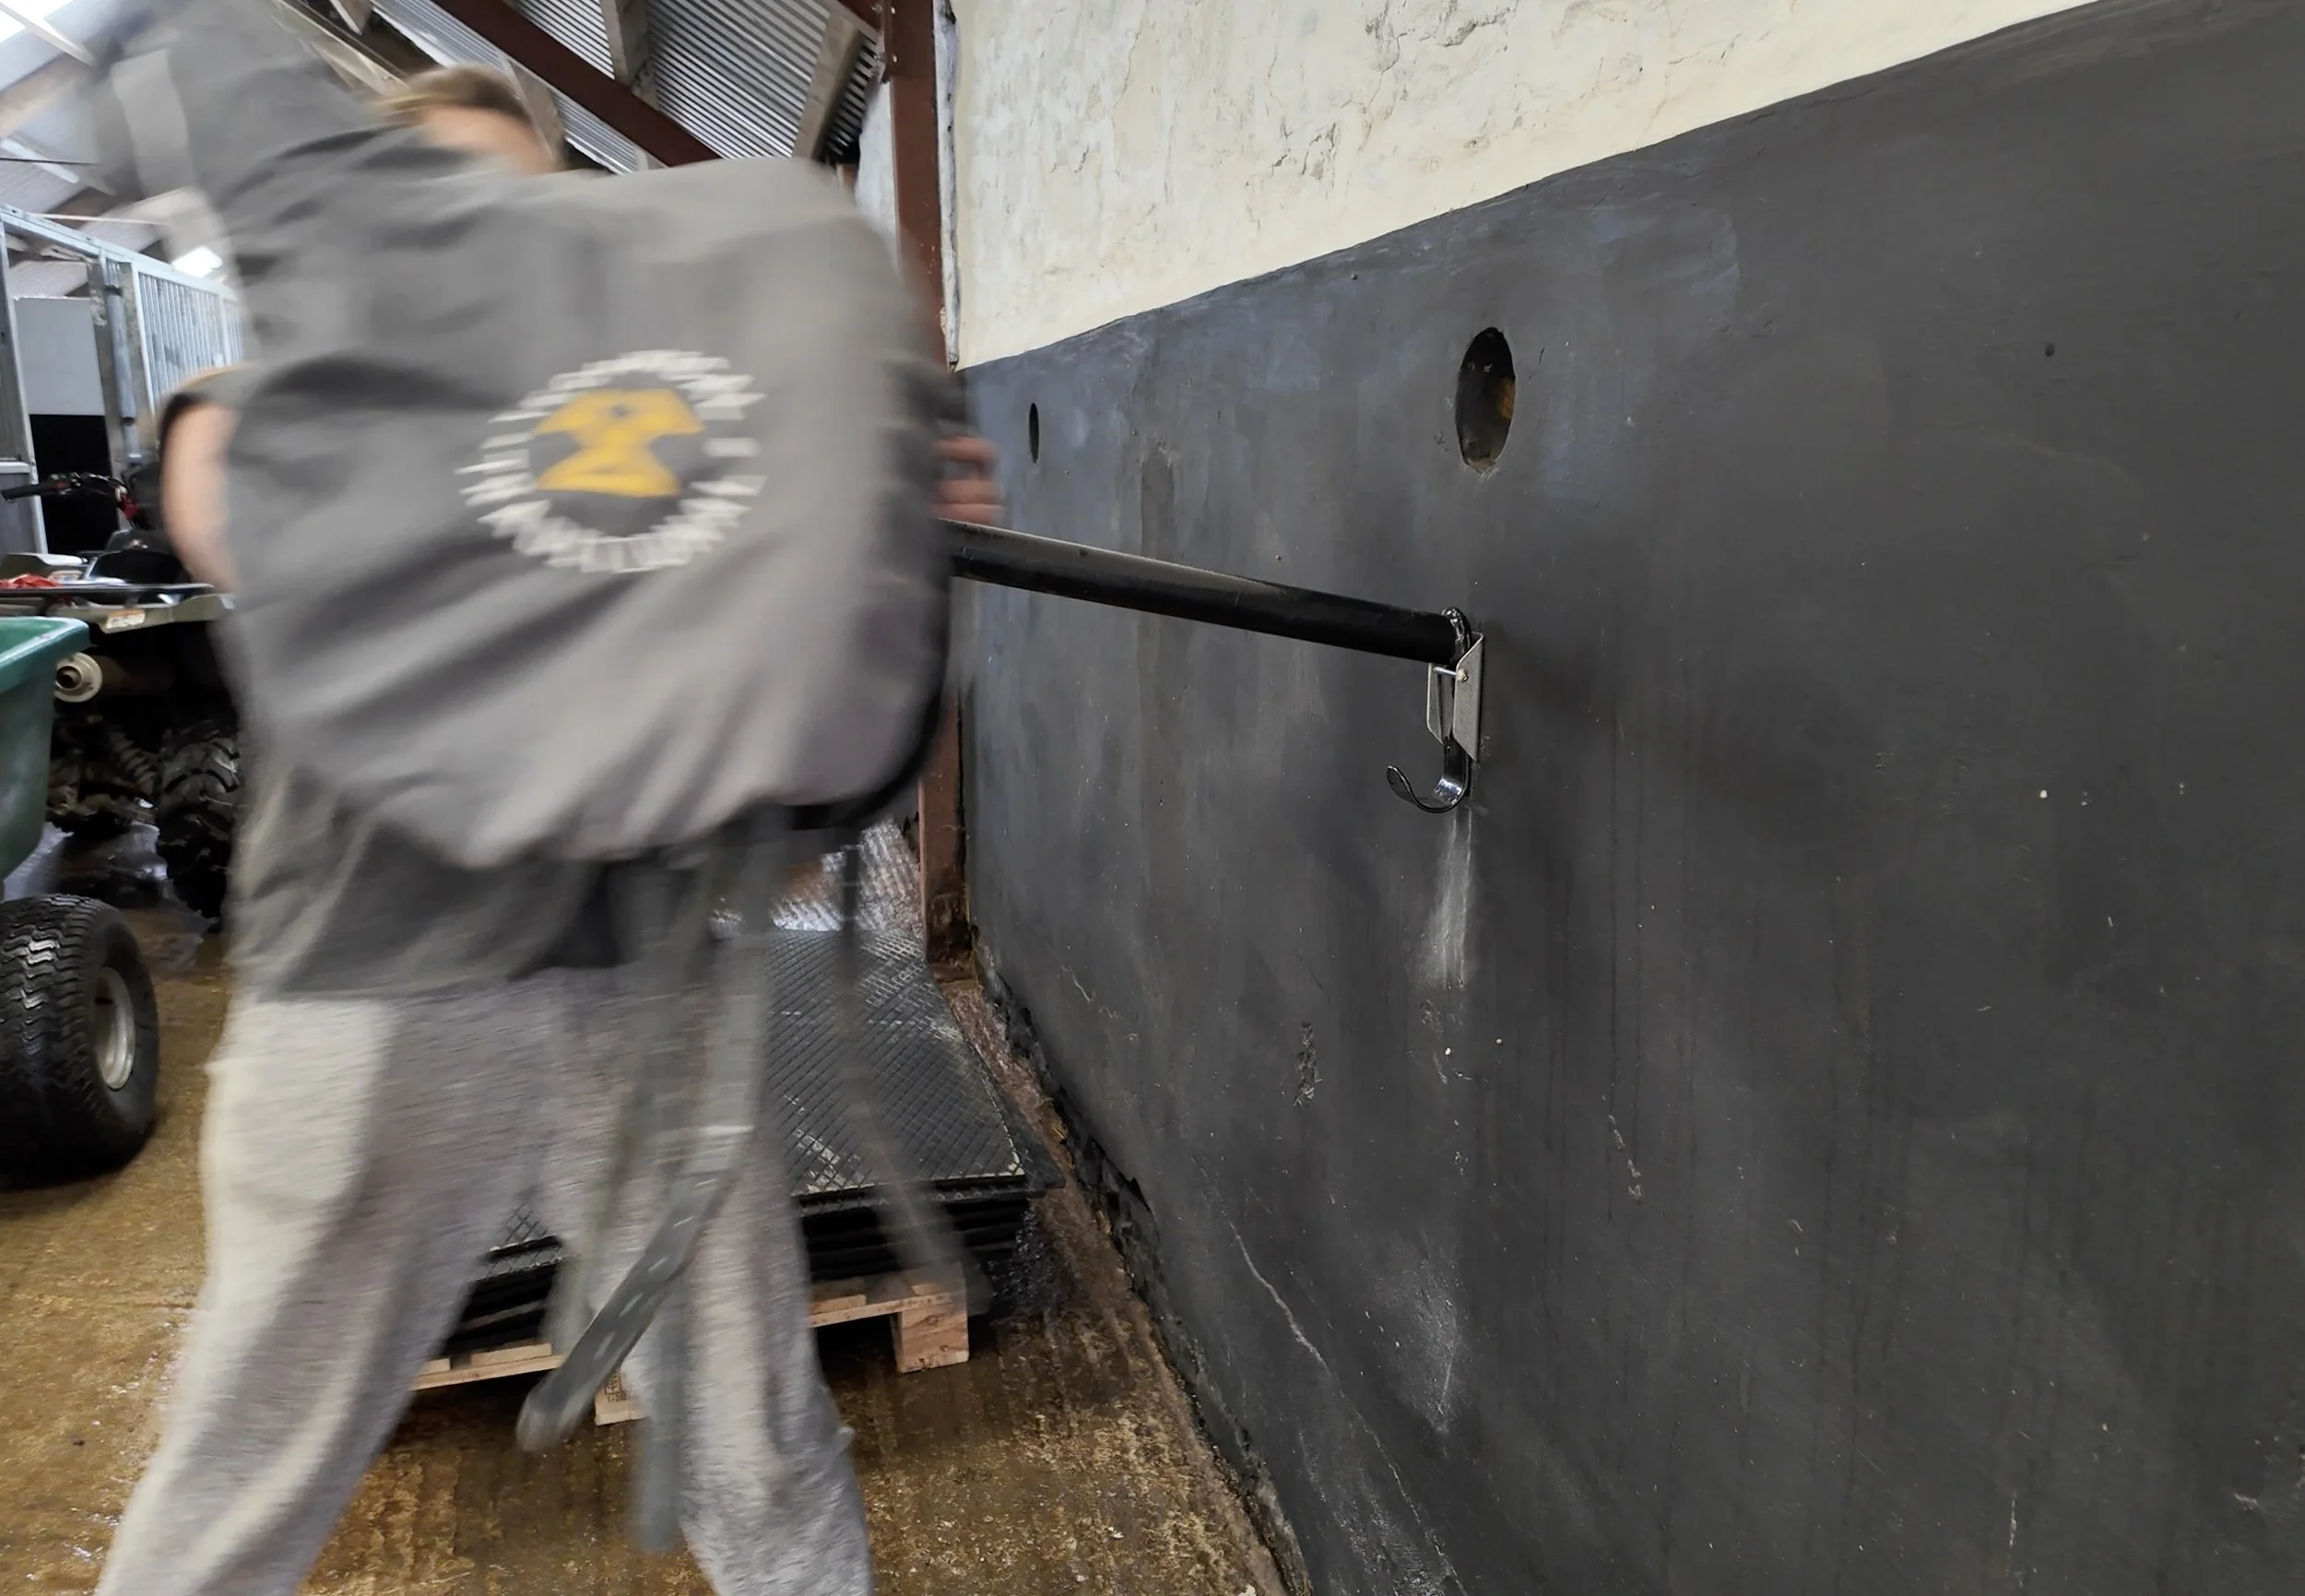
At the weekend, Dan pulled all the rubber mats out of the stables and began cleaning the full dairy, removing a winters worth of drained and dried pee under the matting, all the jackdaw poop that went everywhere this spring, and also the cleaned the mats themselves too. The floor of each stable was scrubbed with antibac and antiviral cleaner, and I learnt how to use an SDS drill for the very first time - which I’ve been scared of for years - to add a tack area to the store section.
This section was painted this week too. Dan helped with the first coat of white because I was due to jump on a Zoom call for work, and I finished up with half black half white on the stable facing side, then a second coat of white on the store facing side. The step underneath has been painted black for now, it’ll be a dust magnet though so I’m not sure which will be best long term.
I’ve struggled a bit going right round to the store to get tack if I have Velia in the dairy alone, because she can no longer see me (or anyone) and she gets a bit tense. Similarly, leaving tack on the stable doors is a no-go if there are other horses in them, so a two pronged approach here was helpful.
First, I did the tack area with two saddle racks and two bridle hooks, along with a shelf. This is our main tack that I use each week, but my other bridle is so disgusting right now that a lunge line sits in its place! The shelf will have my hat and boot bag, but these too have wintered out so they need a good clean before going up there!
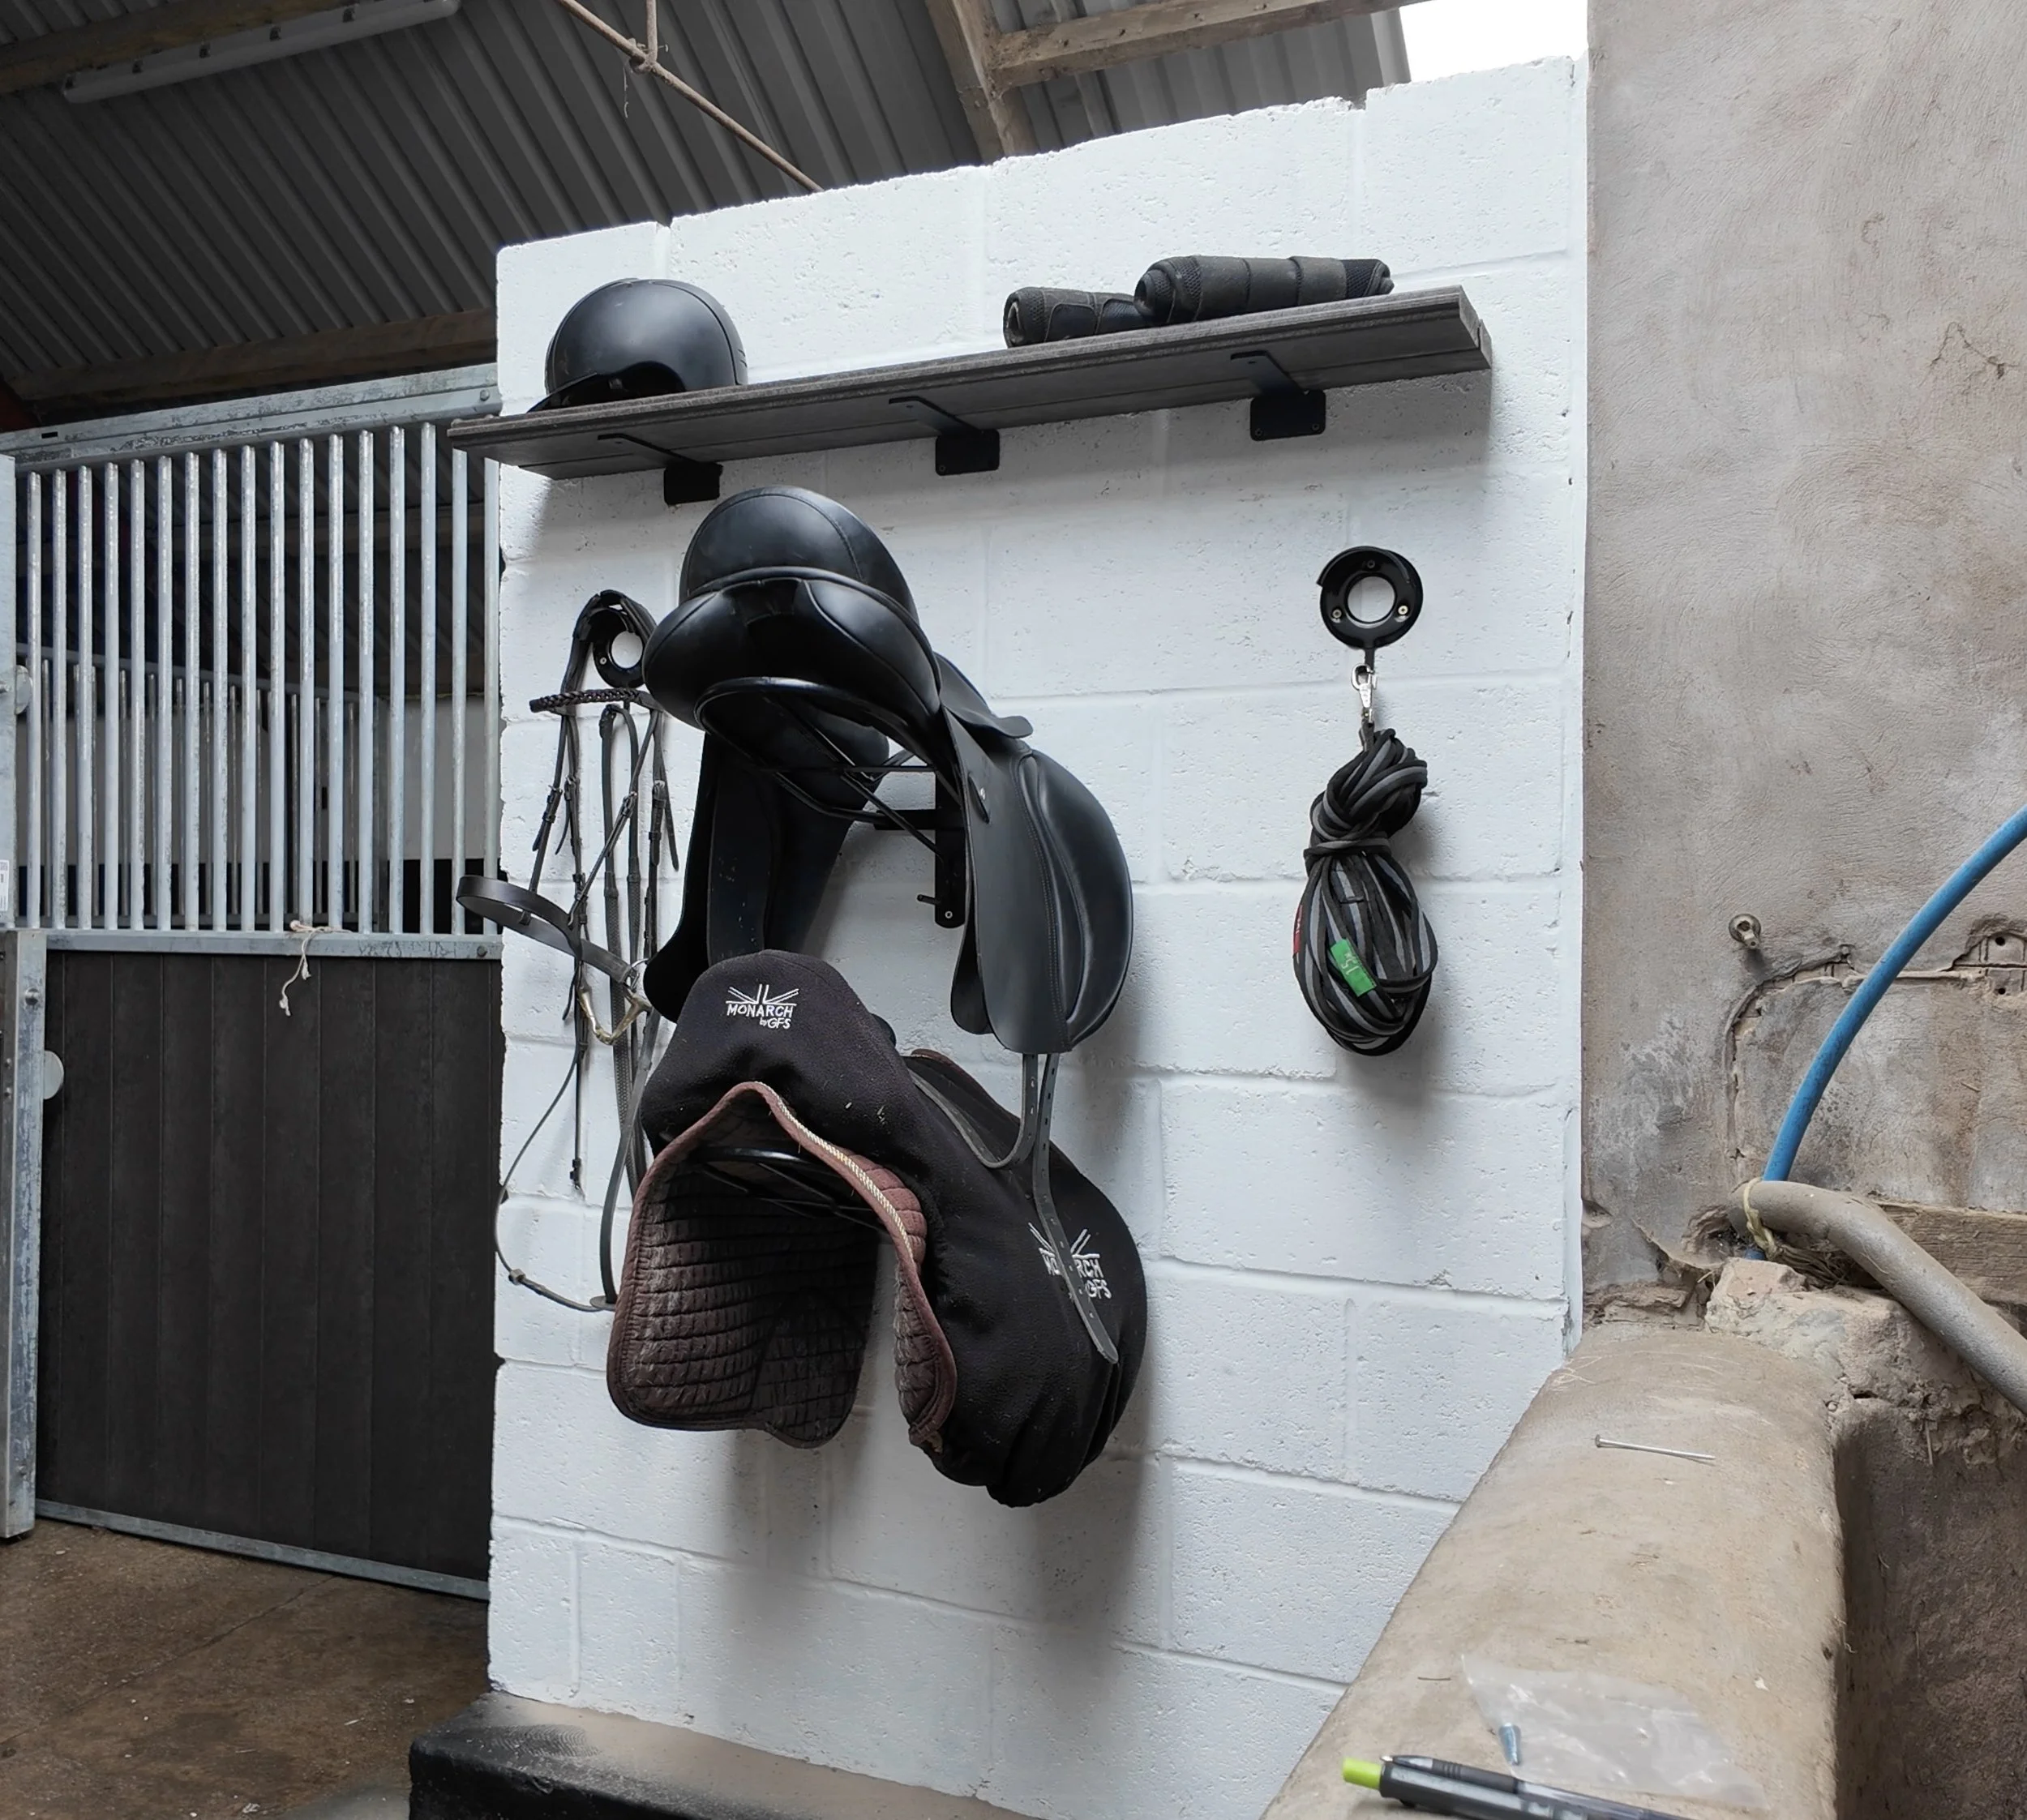
Next, I tack up next to the second stanchion, opposite the end stable, so I popped a folding rack next to this bay for ease when I’m needing to be up and on quickly:
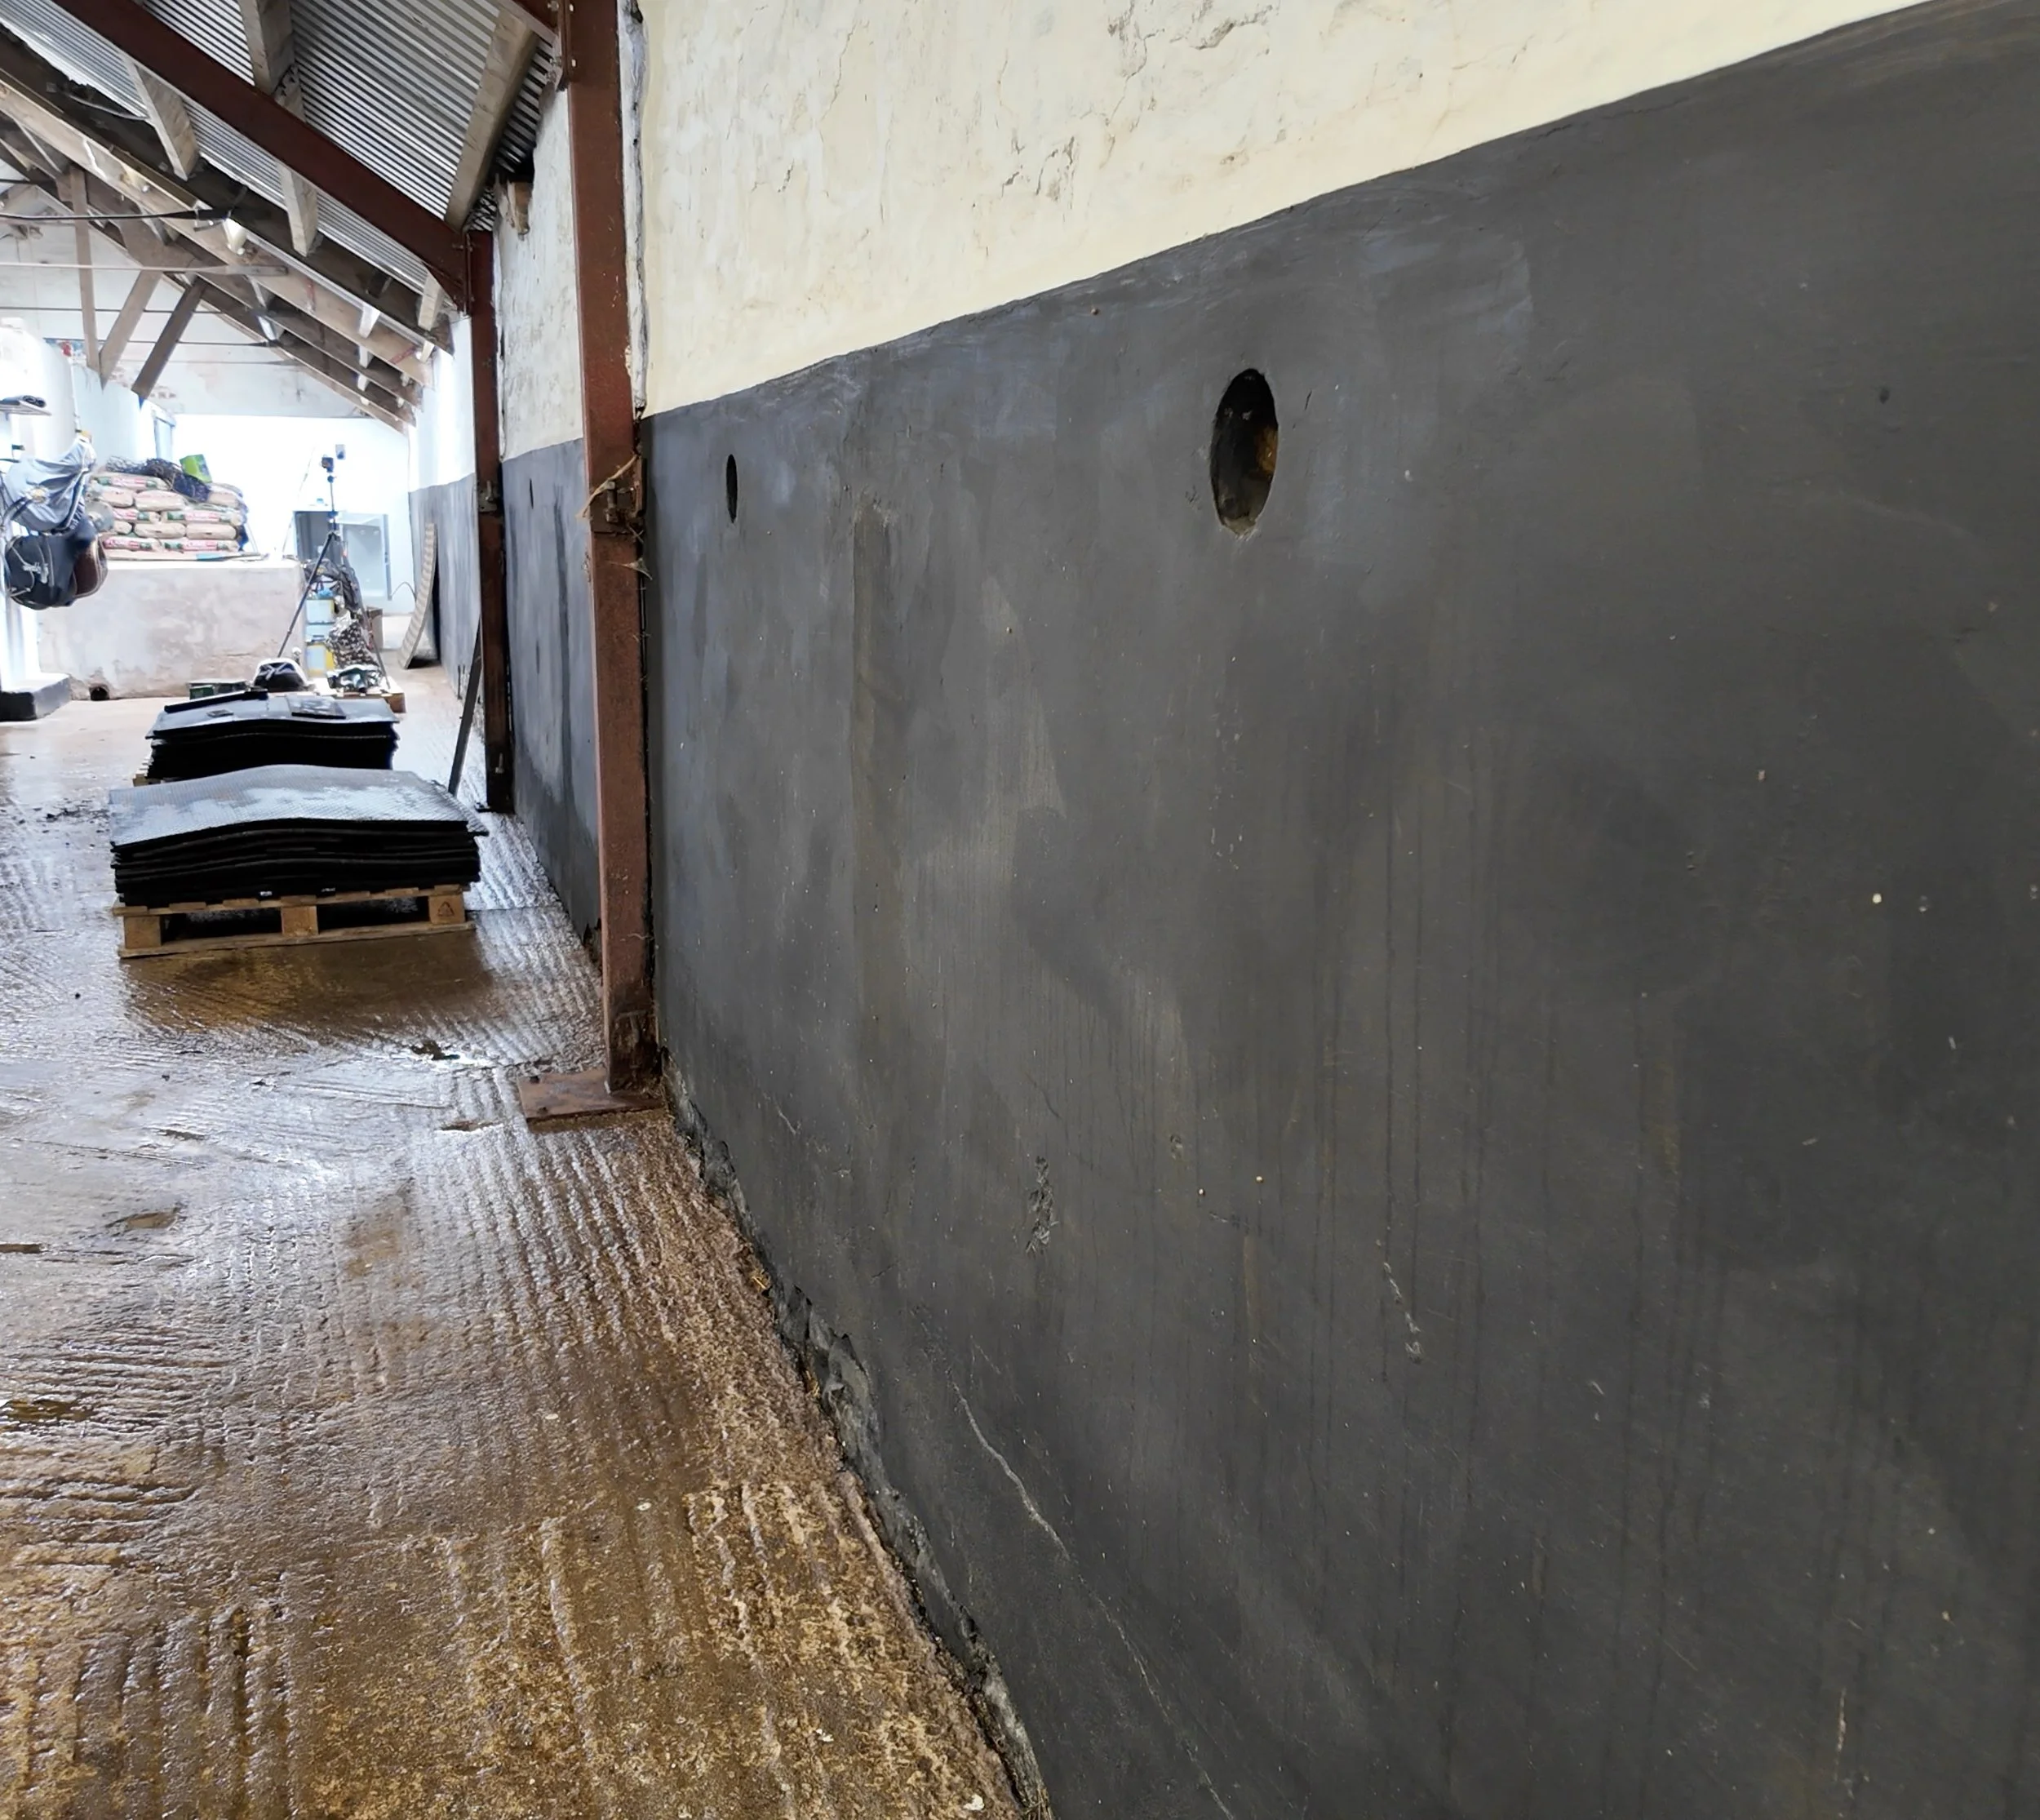
Just the floor to dry, matts back down and perhaps another coat of each paint colour on the long wall (shown above), then we’re ready to go right through into winter. Technically I do want to clear out, clean and add a shelf to the feed area, along with remove that giant concrete trough (seen in the tack area photos on the far right), but they’re non-urgent for now. Similarly, I have about 12 rugs that need to be cleaned, reproofed and bagged too, but Rome wasn’t built in a day.
July Week 4:
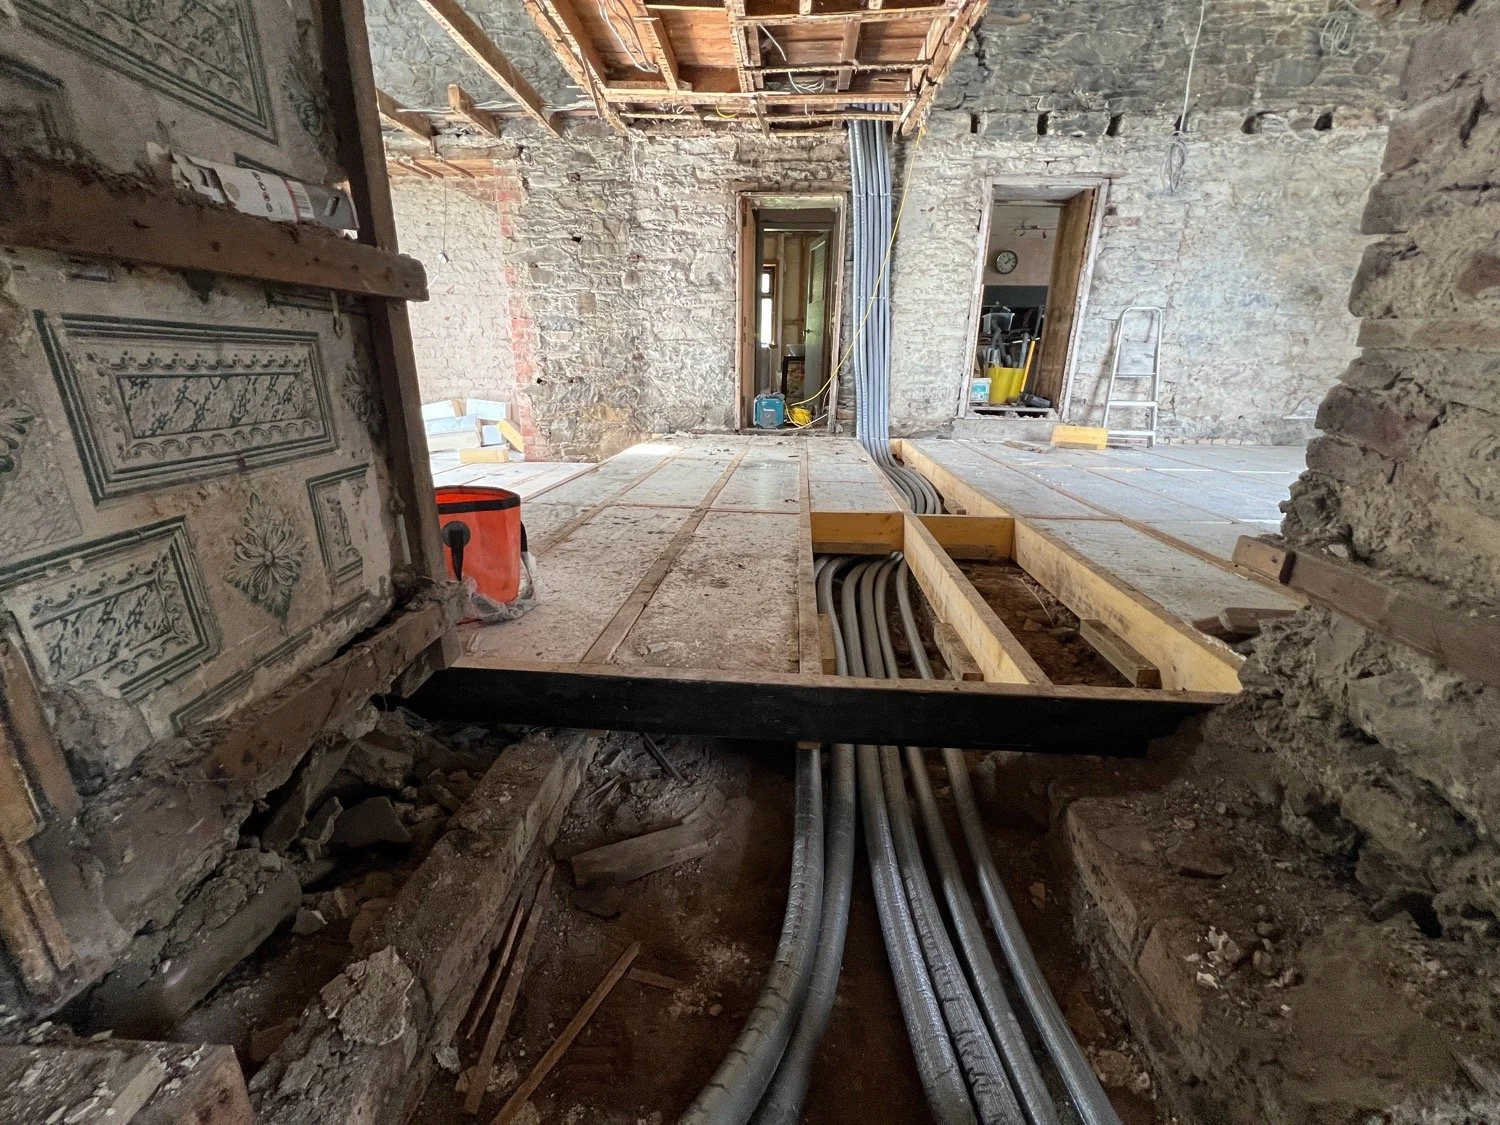
Monday this week was, of course, plumber o’clock and they did not let us down! On Monday, the guys came to move the tank on the bridge and lay an assortment of replacement and new pipe work under the renewed suspended timber floor. As explained last week, those 6 pipes you can see below are:
A pair to feed the manifold for overfloor-underfloor heating
A pair to run hot and cold water to the future kitchen & additional family bathroom upstairs
A pair to replace the cut pipework that simply heats the south side of the farmhouse.
Job done!
Early doors Dan also ripped out the under stairs cupboard, zero evidence though - sadly!
With Monday wrapped up, there was a contingency day (not required in the end!) before the joiners returned to lay the floor and seal her up. We were out for the day in a forest, of all places, for work and therefore, we didn’t get to see this part in progress. It wasn’t there, and then it was. Dan particularly was really happy for this stage to be complete and I found it way easier to see the spaces - specifically that step!

Next came Thursday.
Thursday was a site meeting with the head builder to run through the giant to do list and make a fixed plan. Week commencing 4th August, it all kicks off, and before that, we need to do some site clearing. That’s the aim for next week!
After that, all that was left of this week for progress bits was Friday. This was a very special day for totally unrelated reasons, so we’re switching to personal now, skip if you want to!

^^ this will make sense at the end of this section!
The short version is that this Friday was kind of the start of the future for us here at the farm.
As you know, the original farm was split up and sold off in lots, as is normal now for farms and their land. That means that of the original 350+ acres, 20 remain with the houses and steading.
That’s not enough to be a farm, despite our homes name, but it’s also too much to be a nice garden (who has that much time?!). Rewind further, the plan was to find somewhere to live with Tuna at home, but Tuna would need some friends. She’s also a 10/10 nanny for baby horses, and as a semi-retired queen, she needs some babies (not her own!). Enter Connie and Velia, both Knabstruppers - a breed very close to my heart - both mares, and both with special bloodlines.
You can see where this is going, right?
The plan was to have our home also be a place to breed and raise Knabstruppers. Right now, the place doesn’t look like much, but we have plans (of course!). These plans will take time, probably 5-7 years for the base setup, but the next phase is a mammoth fencing mission for permanent pastures across the land.
Everything that we do with the horses is with this eventual goal in mind. Velia was backed, ridden away and photographed in work to show her as a riding horse even if she didn’t stay in that “job”, and she’s hopefully going to be graded into the breeds main studbook this summer too (fingers crossed).
Recently, our vet has been here more than any other human [bar the postman], and my aunt has a very lovely purebred, premium graded, studbook registered Knabstrupper stallion too. In June, Dan did a mad dash to Yorkshire to collect a very special parcel, and the following day the contents of that parcel was delivered to its final destination by Bruce the vet.
So fast forward to Friday this week, the moment happened. That blurry carrot shaped shadow inside the big black blob is a 35 day embryo. Velia is due to foal in May 2026 🥳 Game on for project stud too!
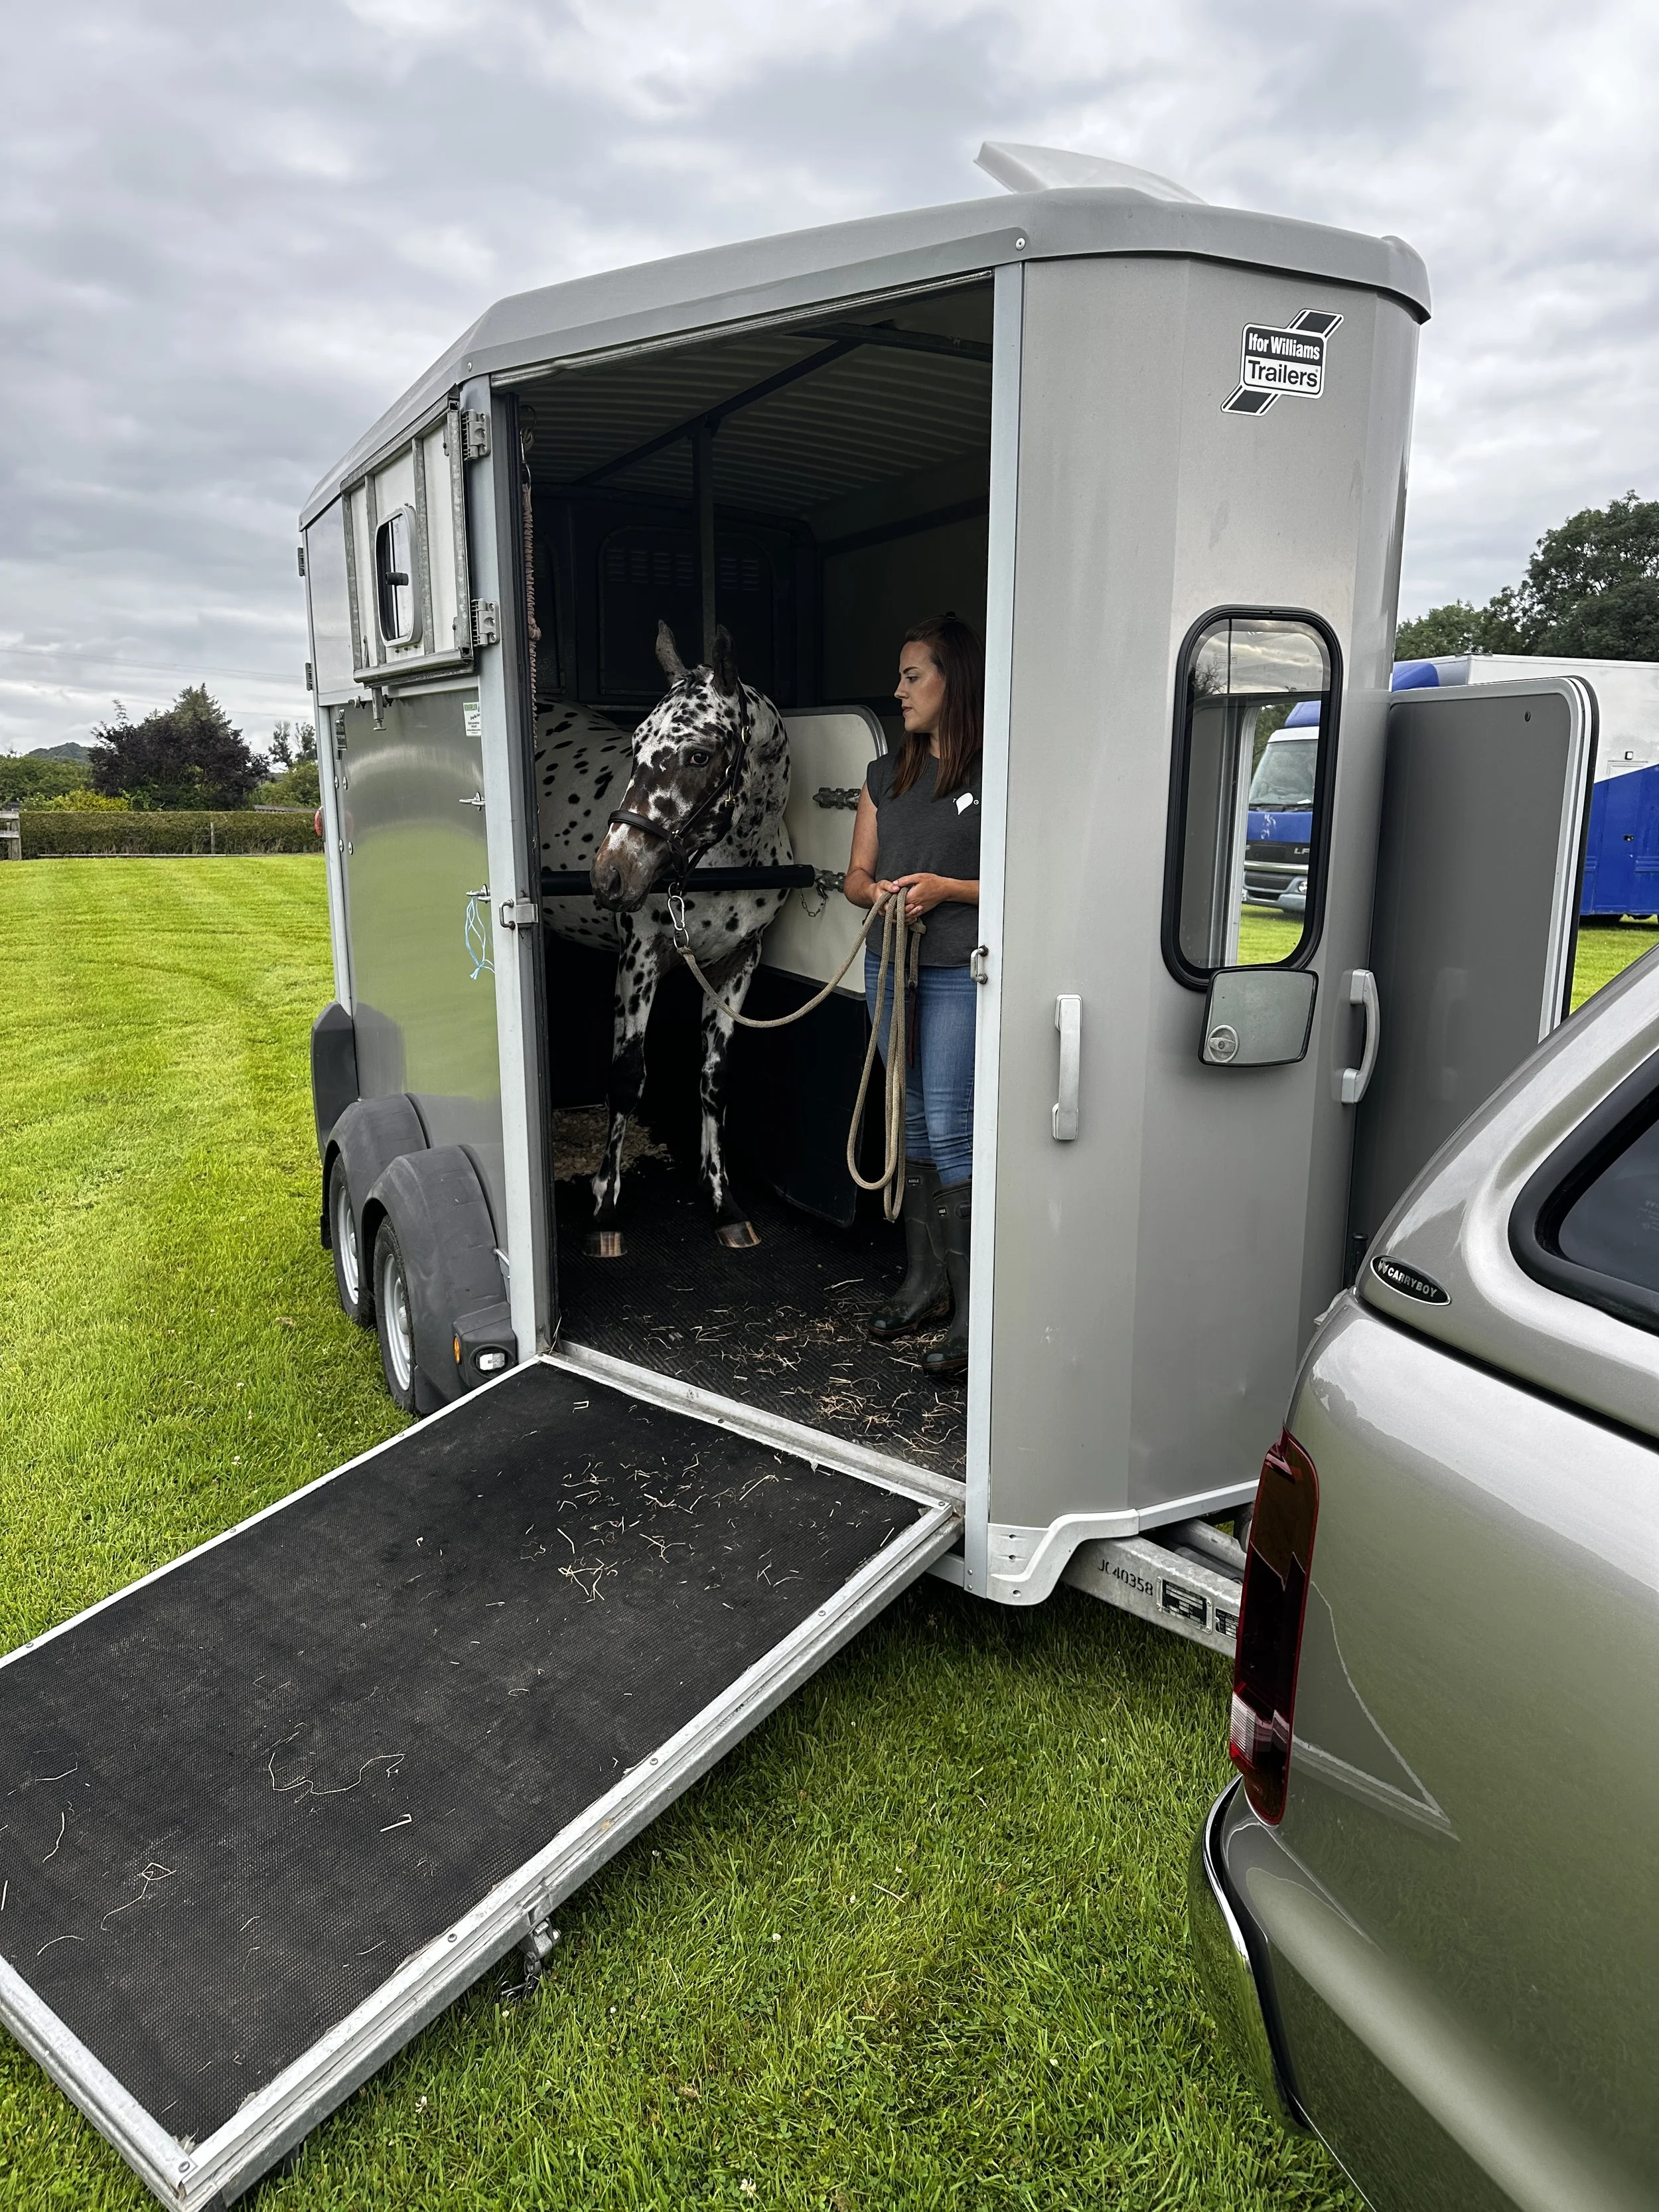
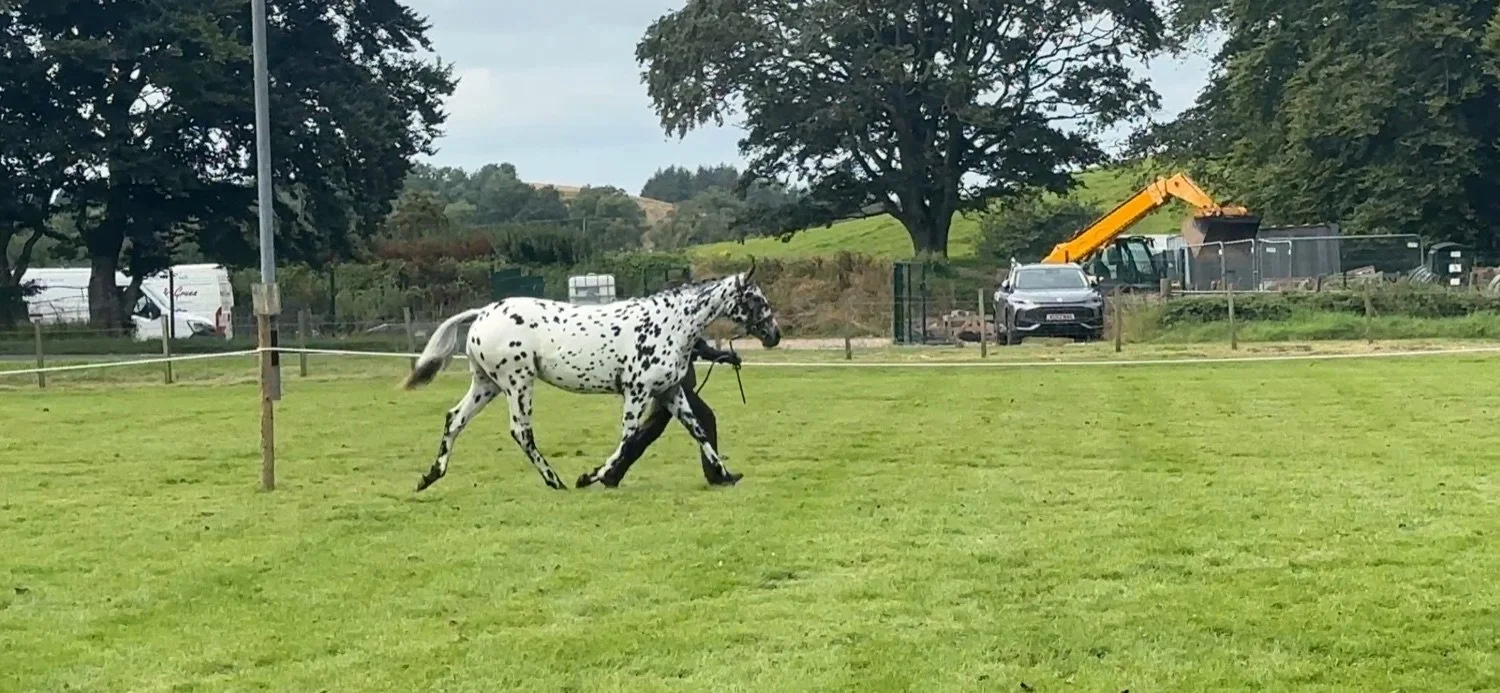
On a similarly horse-filled note, this week ended for us with the local agricultural society show which I thought would be a good idea for Connie the Yearlings first ever party. To get her to the point that she could actually attend a public event away from home, we’d been preparing for a few weeks with in hand walk and trot work, bitting for her show bridle, and trailer practice too.
Of course, the actual preparation work on her physical appearance for her classes included an almighty trim and tidy up, which she took really well, followed by a double bath (thanks Dan) then rugging up for overnight. The morning of the show I re-washed any stains which were thankfully kept to her lower legs, then began plaiting up. A needle and a yearling are always fun, but we got there in the end! Next, loading up and travelling to the showground, where Connie met the big wide world with eyeballs on stalks and an excited pep in her step. Here’s all that in photo form:


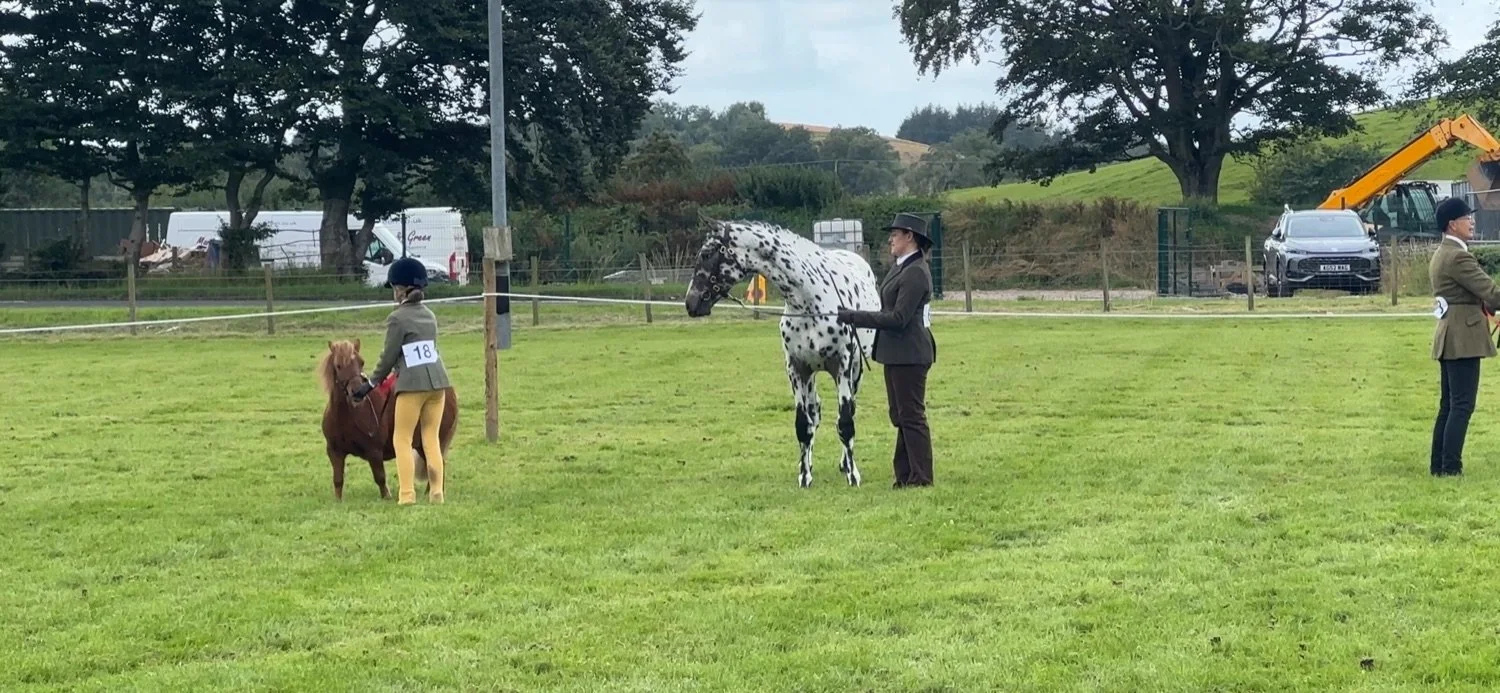
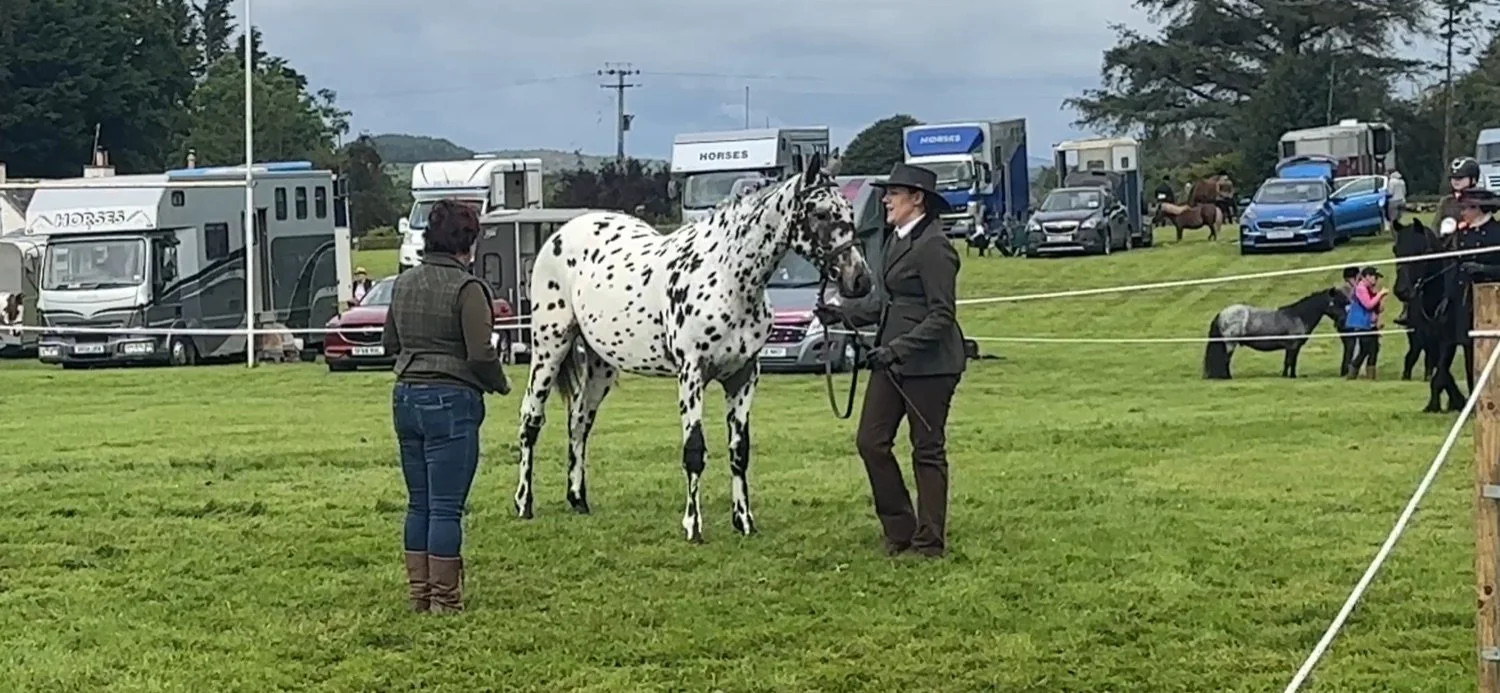
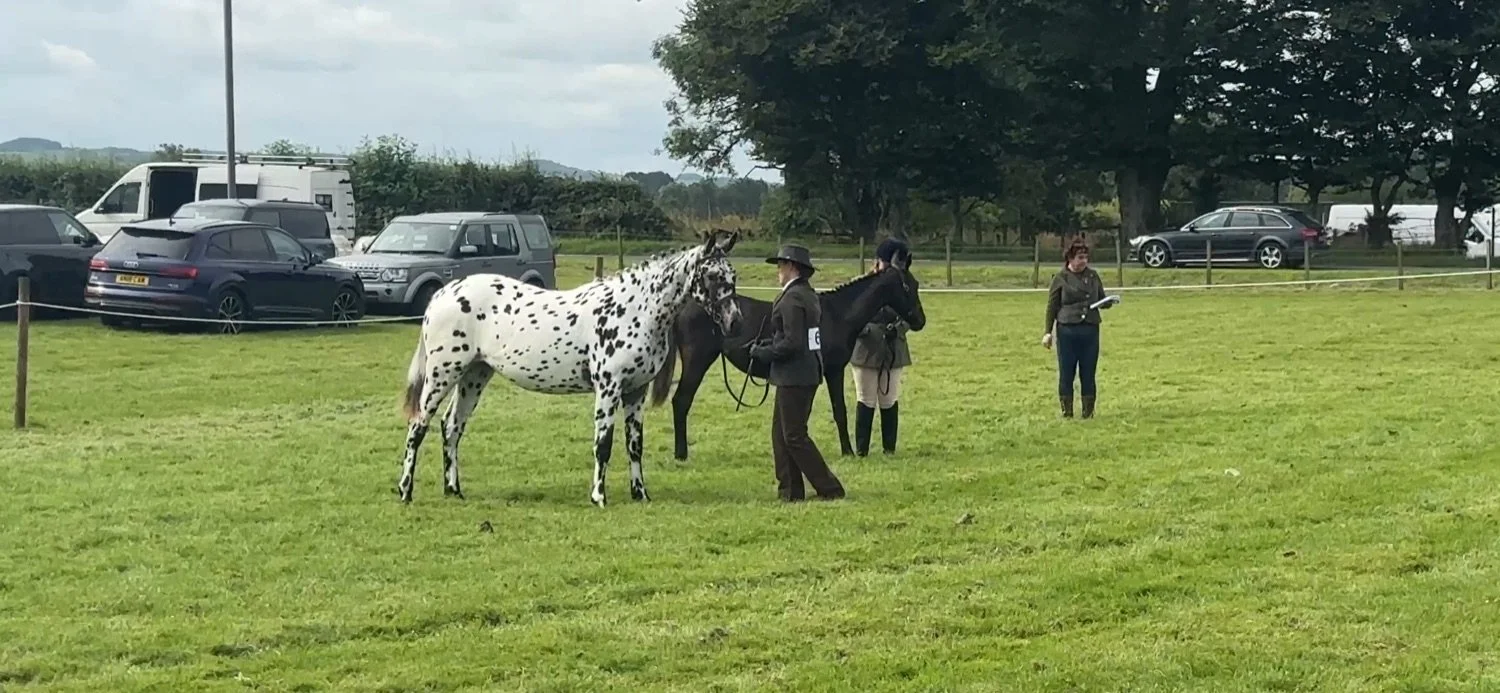
We’d checked ahead and had permission from the secretary to enter the Coloured class, which was super news, and we also had a yearling class to try too. I had two goals for the morning:
Get Connie into a ring, and then
Trot without mad shapes
The first was a non-issue, her level head takes everything in it’s stride and she tends to approach all situations with a “oooh what is that!” mentality. The latter was hit and miss, she had a fly in her ear for one trot around but the other she settled into nicely. In hindsight I should have moved her more forward but we were there just for the experience and to help prepare her for later life, so I’m happy with our efforts!
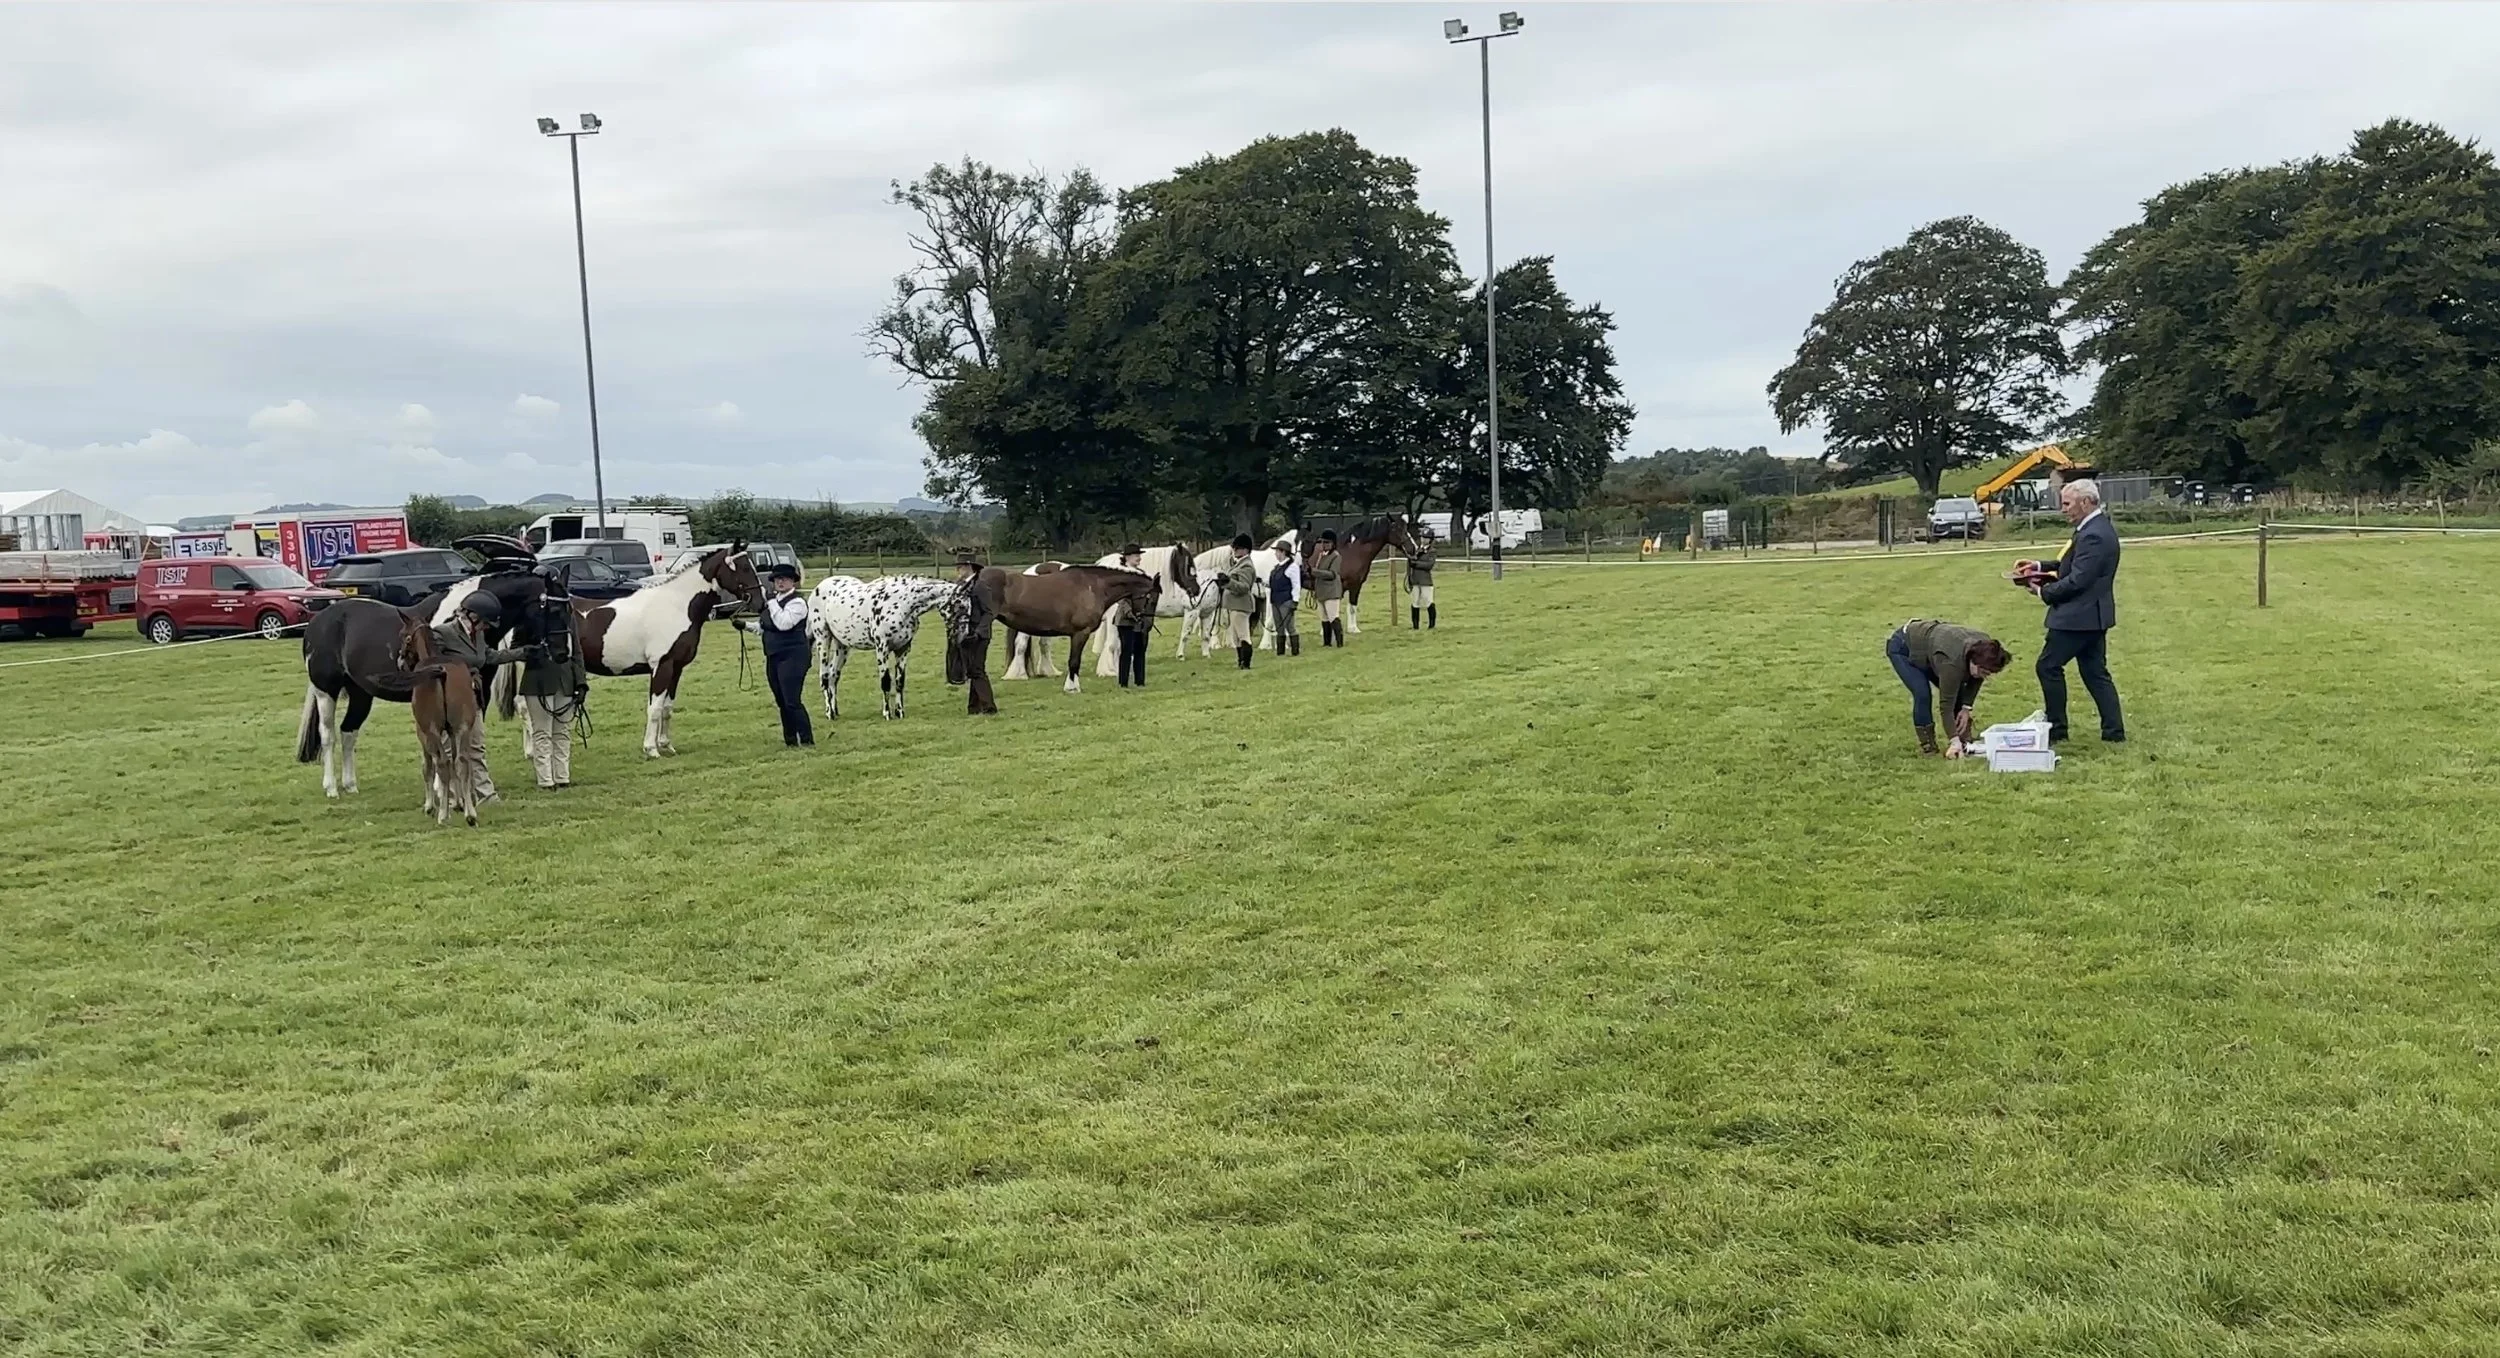
Had I known we would be well placed in both classes, I might have spent some pennies on a correct hat and better fitting trousers, but regardless, below is a compilation of our time in the ring, where she placed 3rd in a competitive coloured class, 2nd in a yearling class and then kept her head in the championship class whilst a lot of the company had a (rightful!) panic about kids rolling around in zorb balls behind the ring.
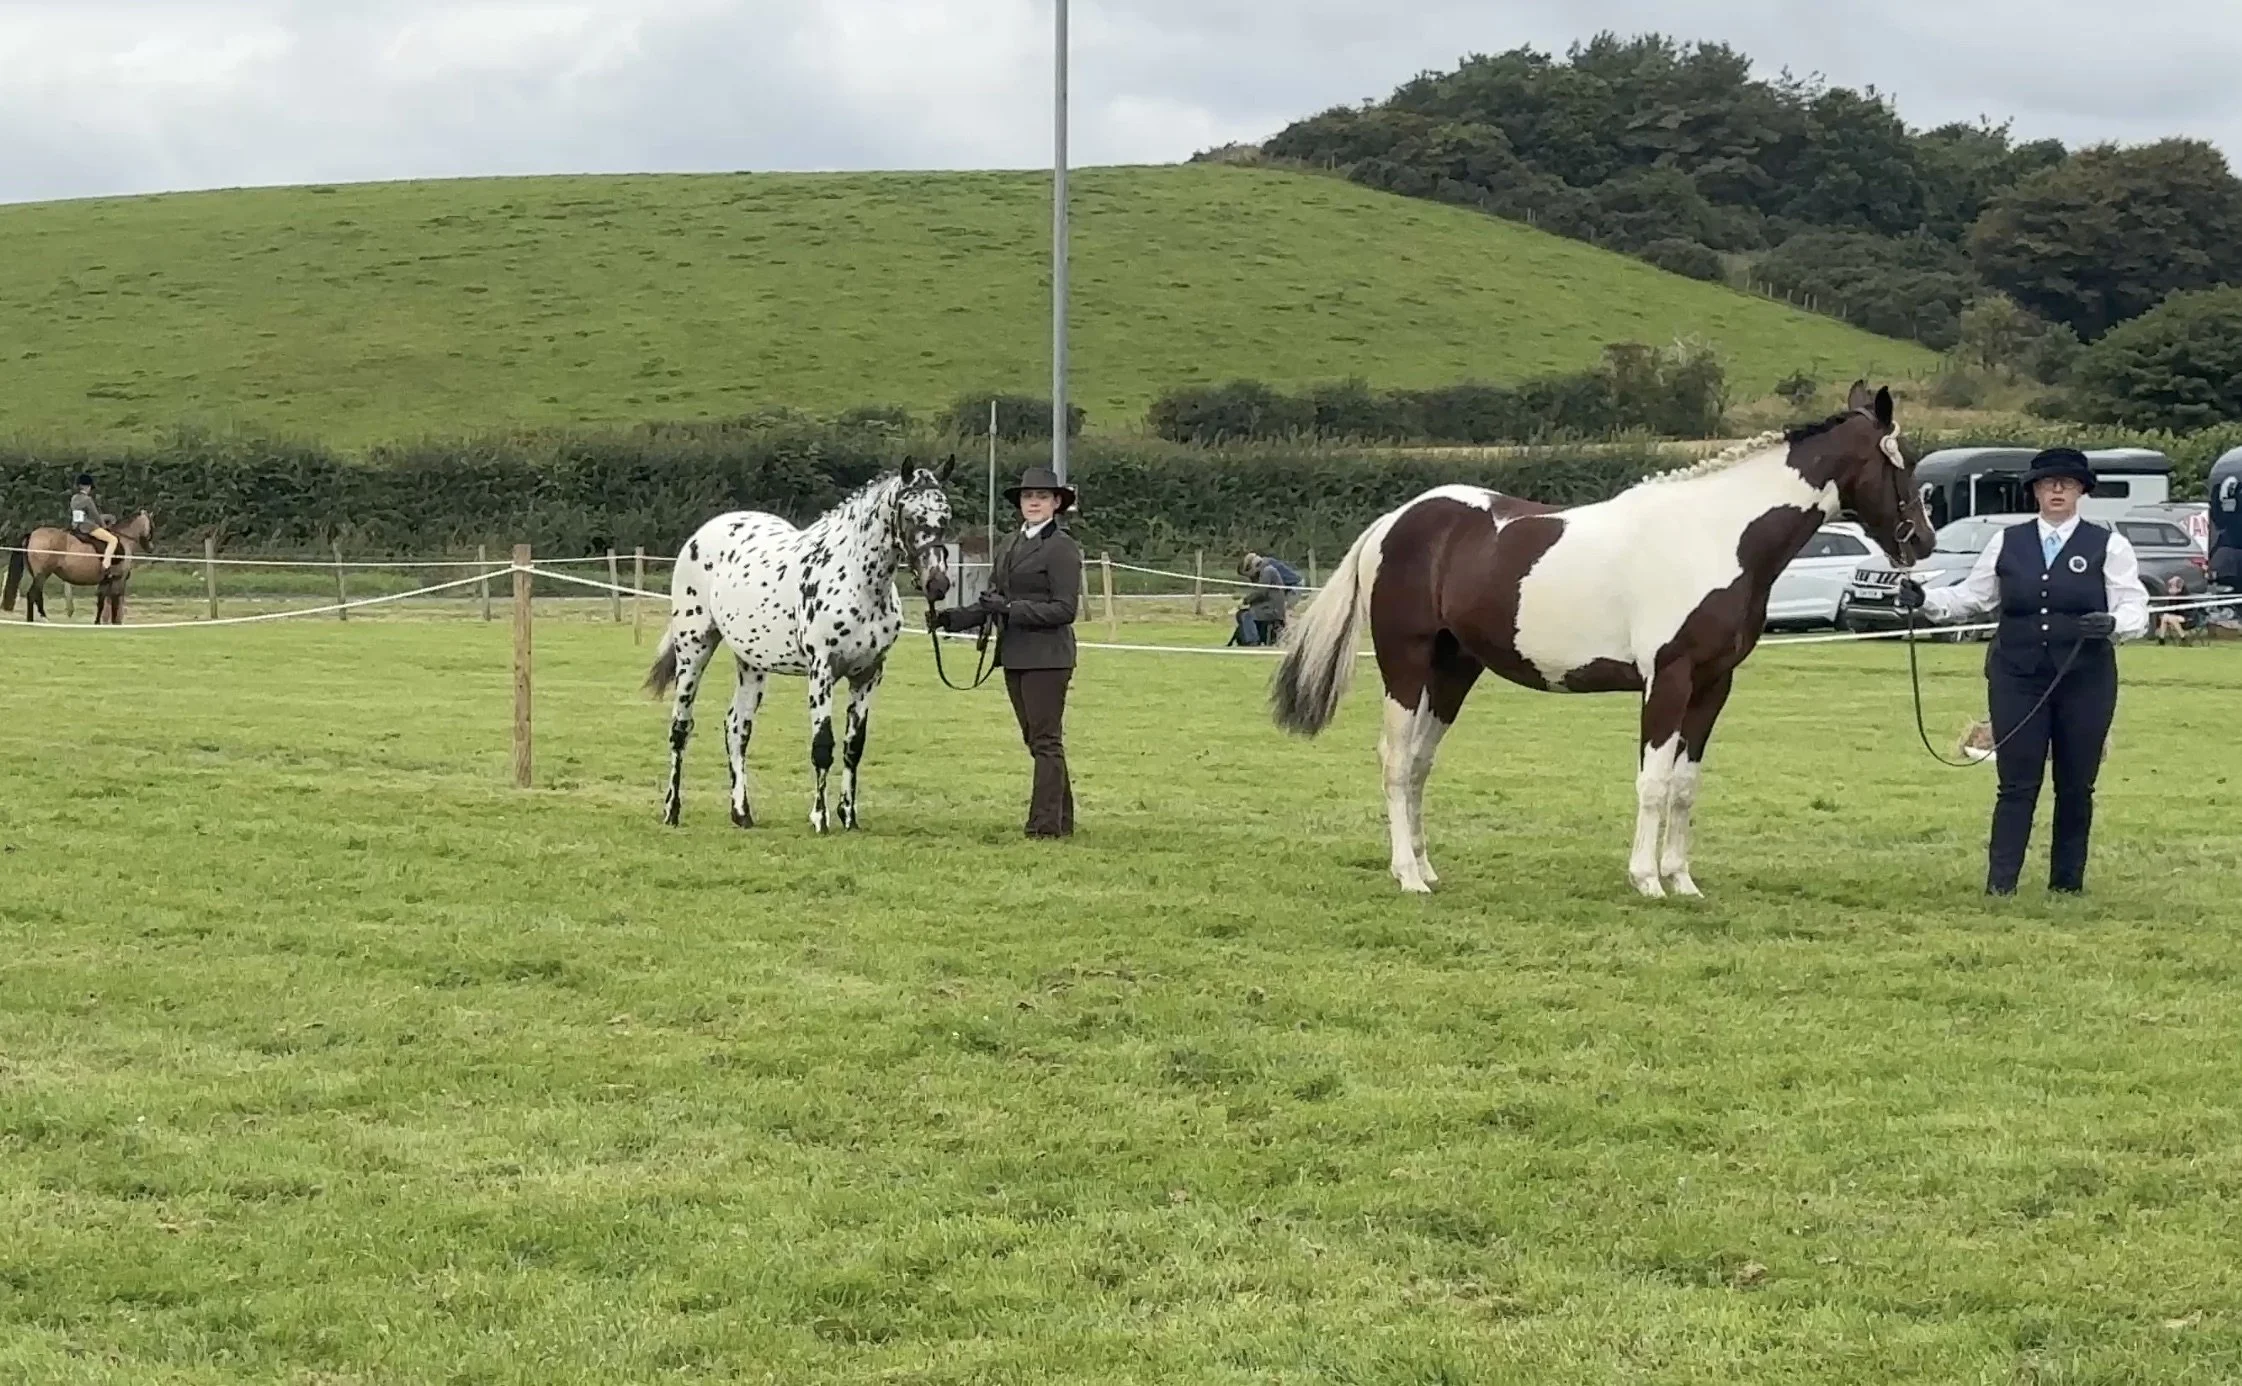
That meant that she won some pennies and paid for pizza on the way home. Result!
July had a few days left but we’ll pick them up in the August round up next.