
May Monthly Update
May Week 1:
Ren
Dan was out this week for a full day, taking Ren the Malinois up to the specialist for a checkup. Dan wasn’t happy with how she was running in harness, even though she wasn’t lame or showing any major signs of discomfort, so he felt it best to take her in two months before she was due to go anyway. He was right to, because after an iffy check-up with teeth on display, she was put under GA and sent in for detailed diagnostics on her joints. Another bout of ligament and muscle fibre breakdown was found in multiple different places, which is gutting for Dan, Ren, and the family here.
She’s had some more cells taken to re-culture stem cells for implantation, and she’ll have to go back out on the 4 hour round trip to have them put in soon. Our aim with Ren is to focus on a balance between longevity and quality of life. She’s still happy and raring to go, so hopefully we can get through this round and keep her healthy for the next maintenance window (18 months). It’s really tough with this breed, because they’re obviously hard-wired to do a job, at high intensity, forever. We’ll continue walking the balance for as long as we’re able ❤️
Flagstones
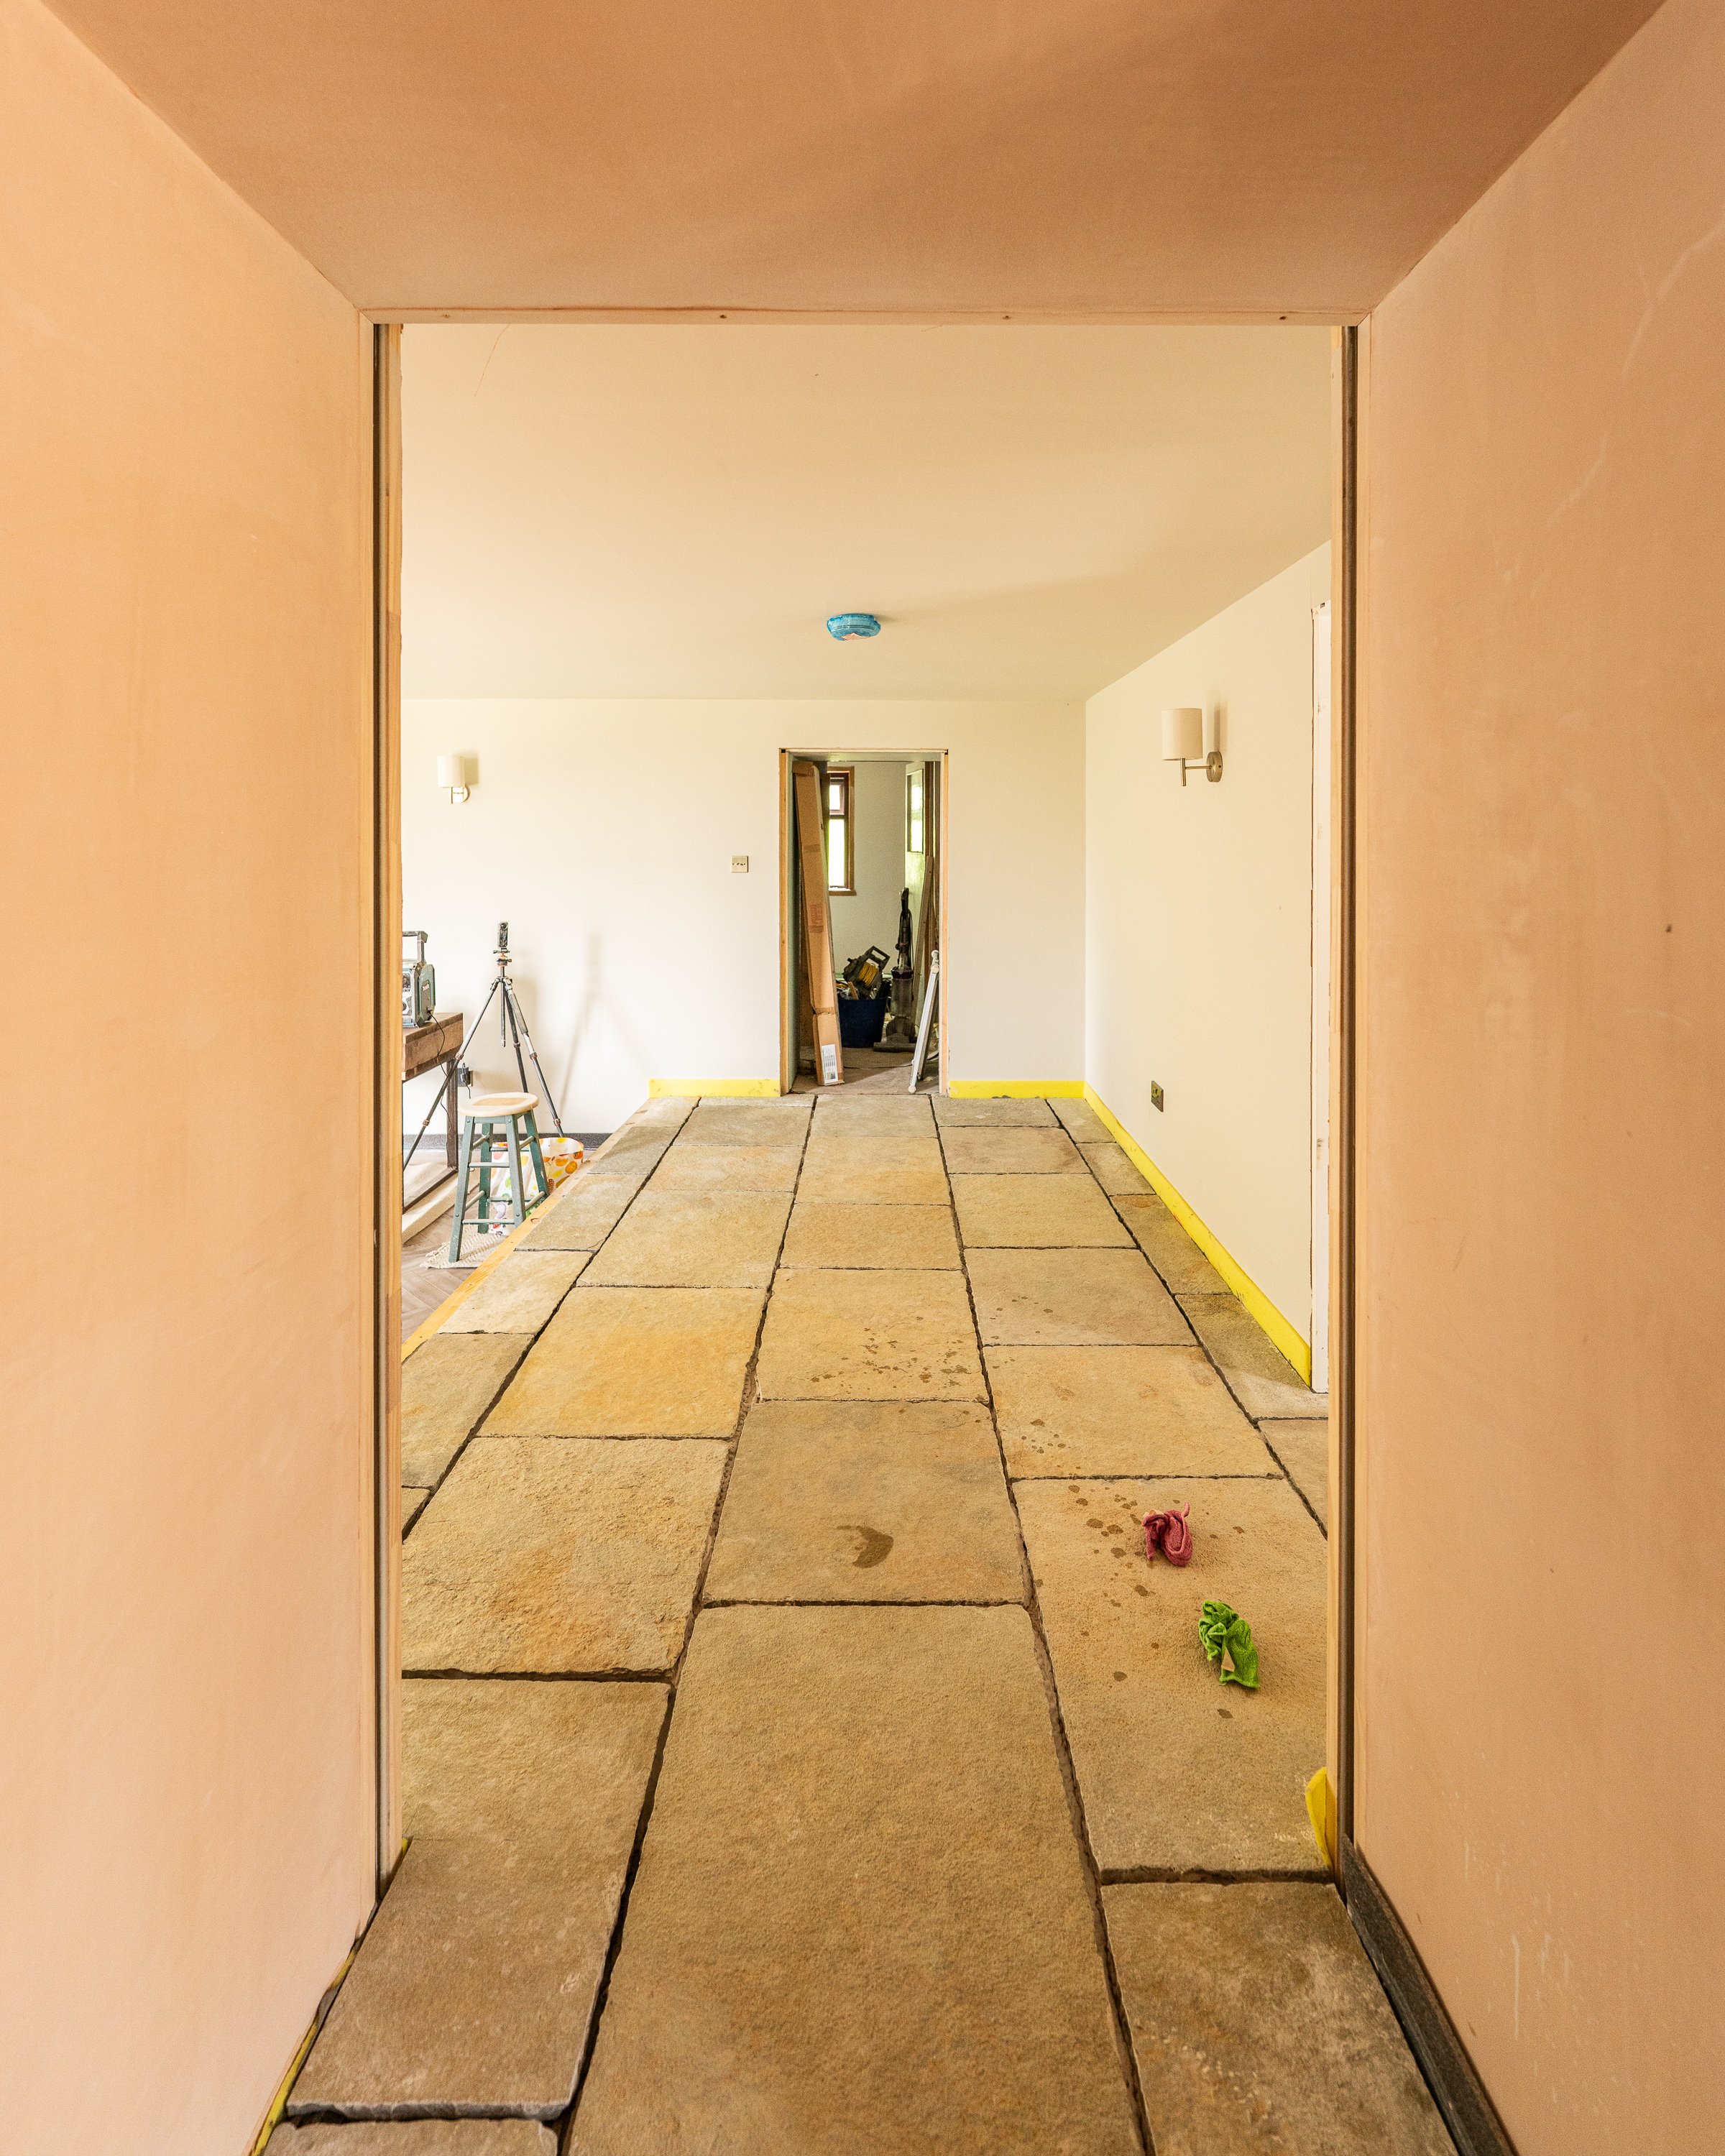
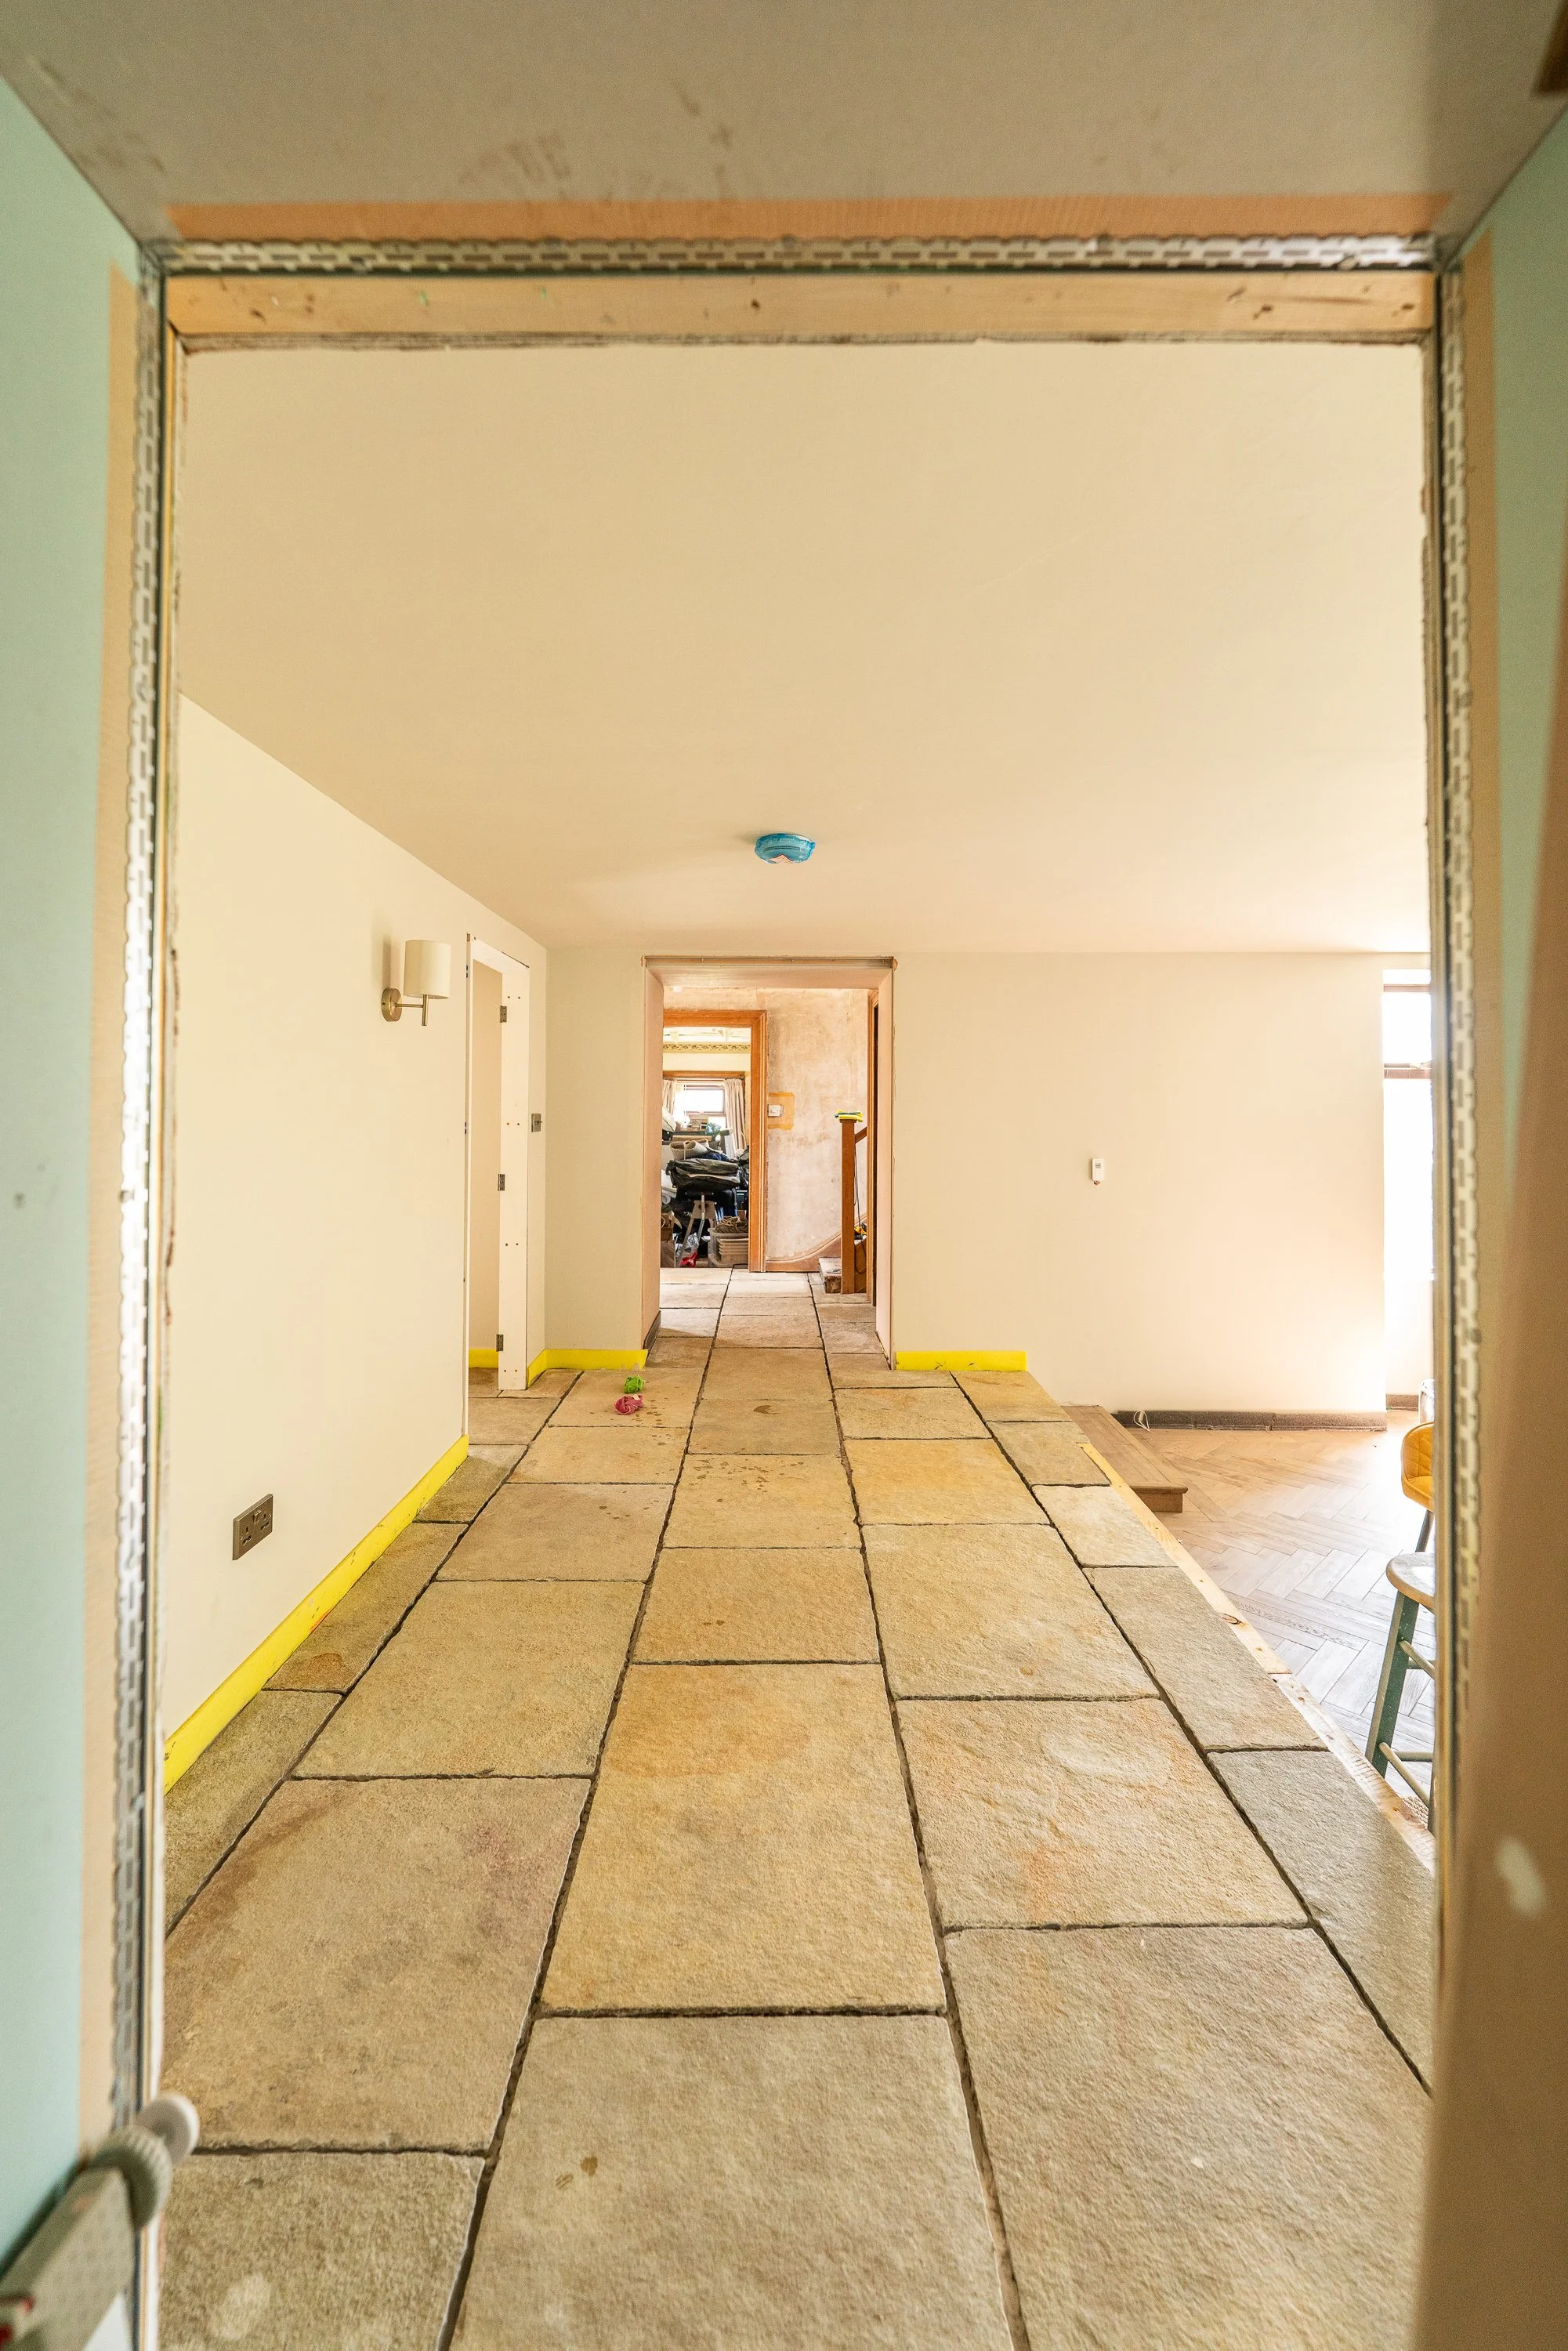
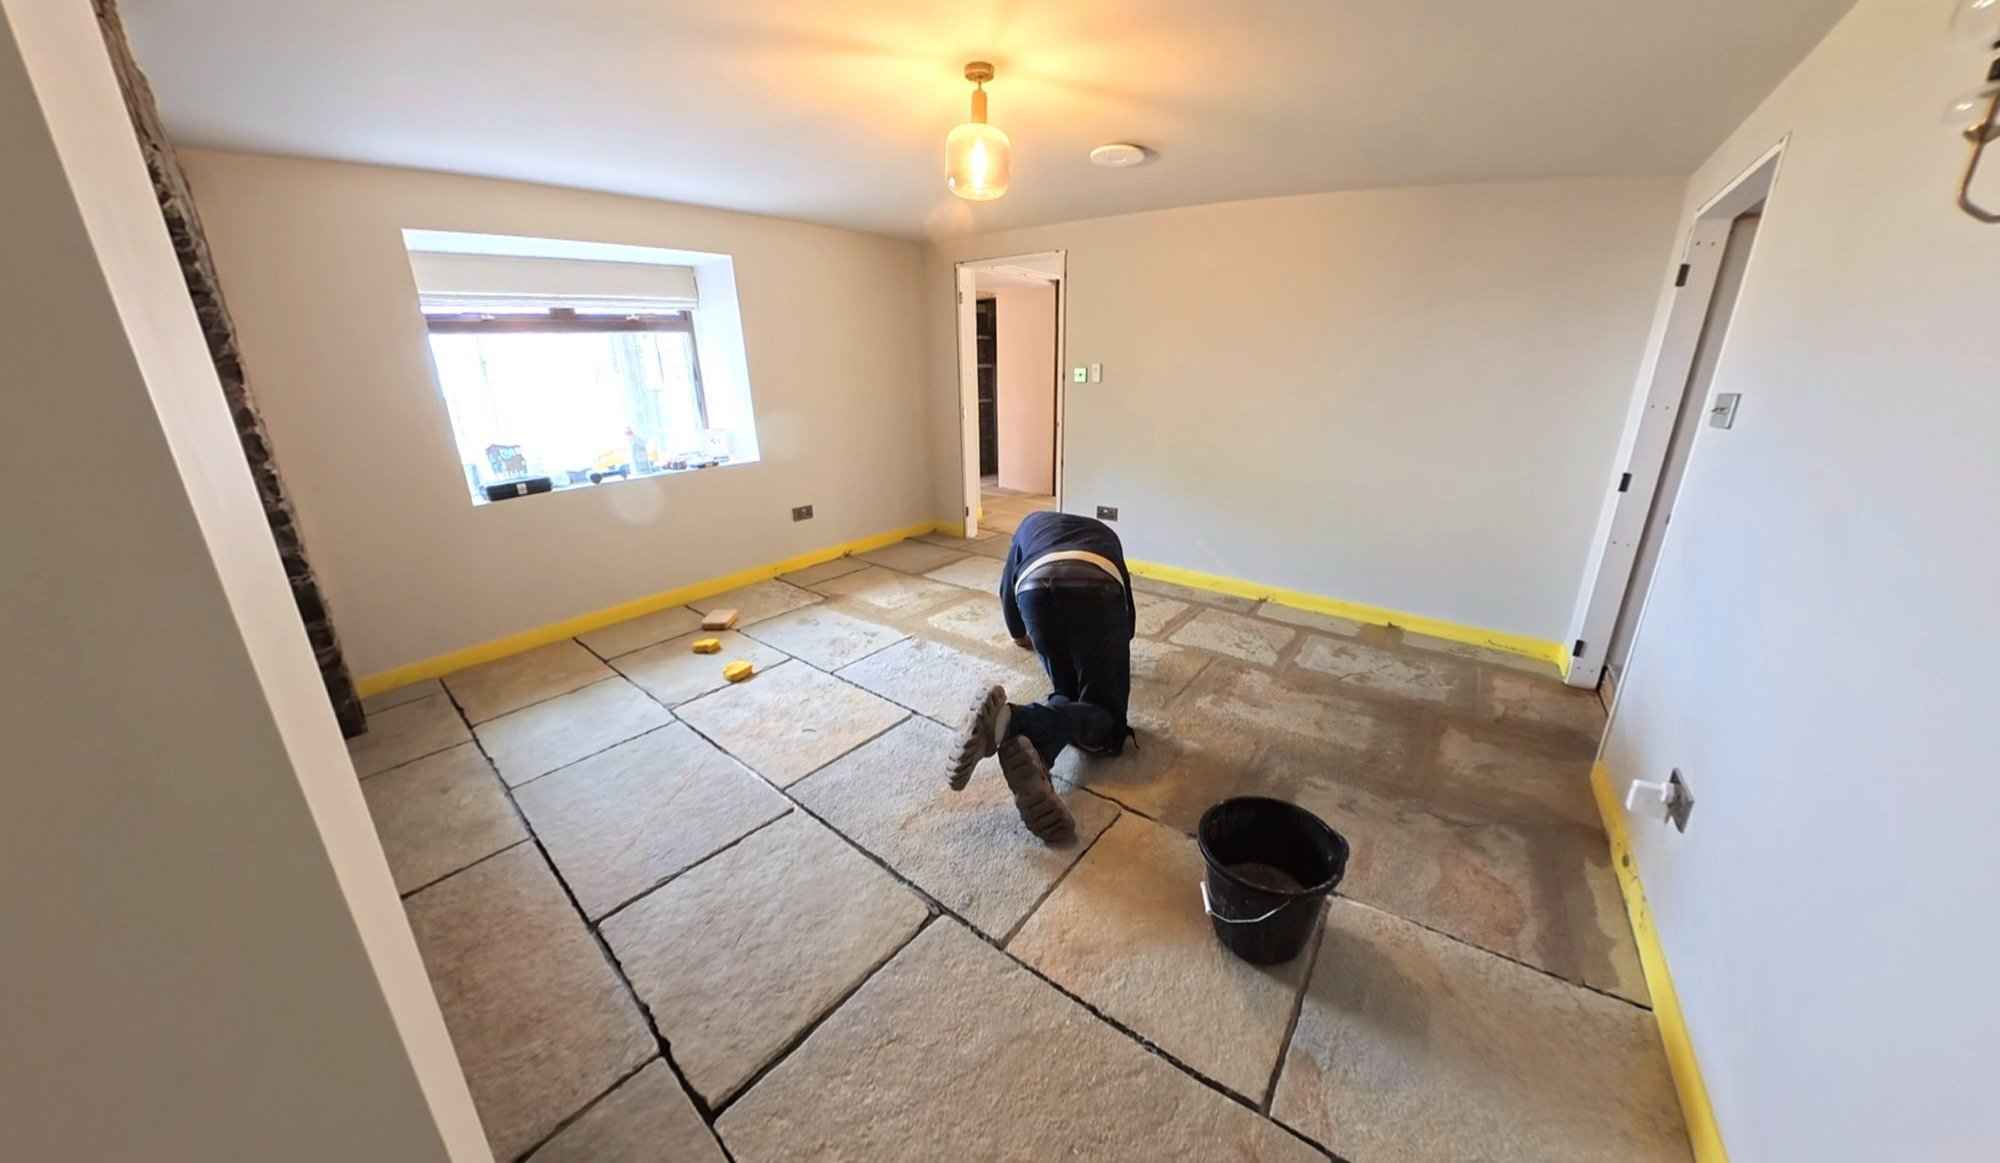
Finally, the adhesive arrived (on Wednesday!), so Dan cracked straight on with laying the last of the flags in the hallway and under-stairs cupboard. The next phase of the floor goes like this:
Clean the stone with LTP Grimex
Seal the stone with LTP Mattstone Sealer x 2
Grout the stone with Rocatex Ultimate Grout
Seal the stone with LTP Mattstone Sealer x 1
Re-commission the underfloor heating on gradual cycles (maybe not… it’s summer!)
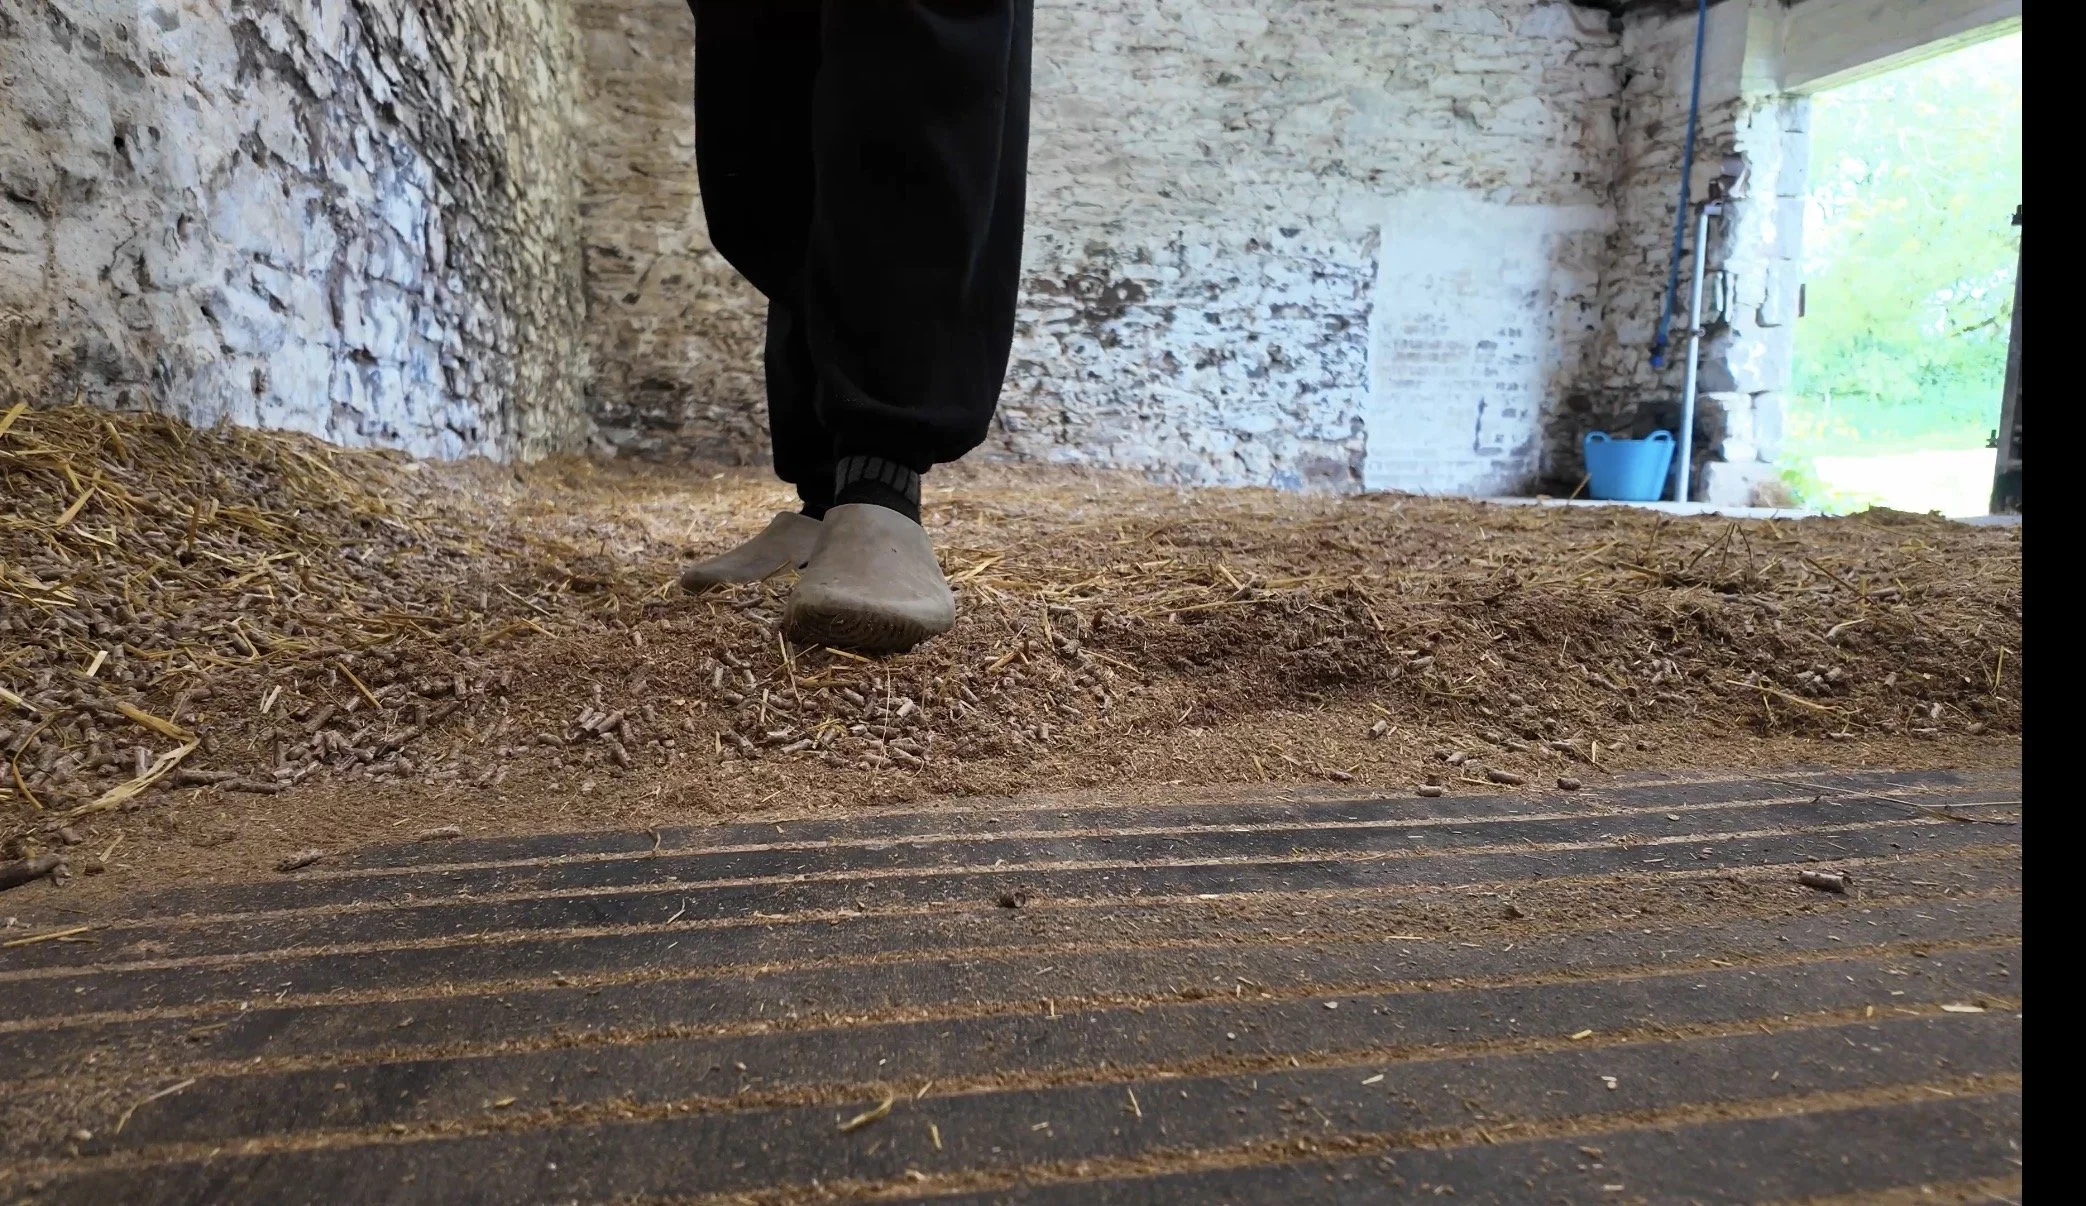
At the time of writing this (Saturday) Dan has already done the stone cleaning and is prepping to do the first coat of sealant tonight. It currently looks like this:

I need to be in the office to film again on Monday, and the sealer needs 3 days before grout too, so we’ll pick back up next week with the final stages.
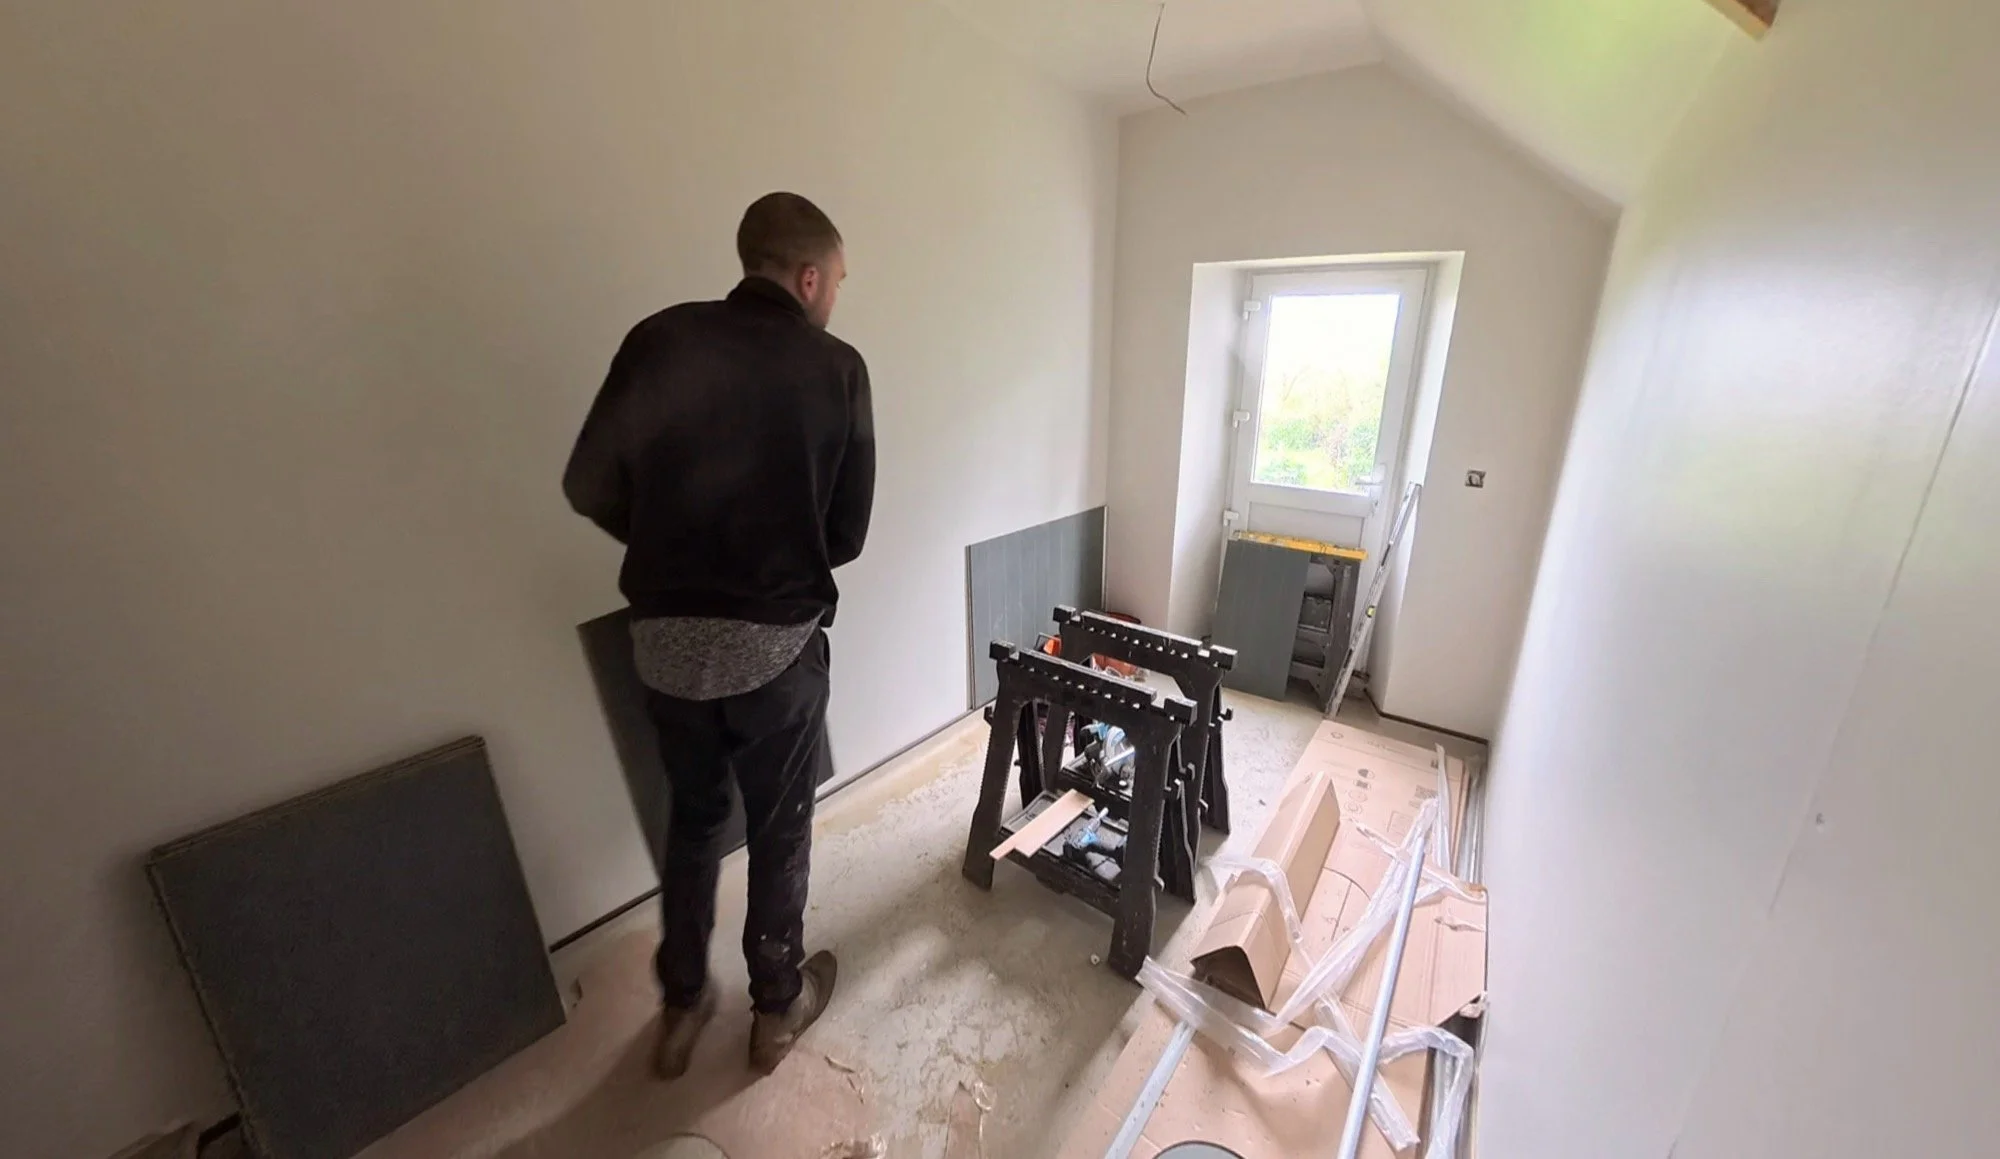
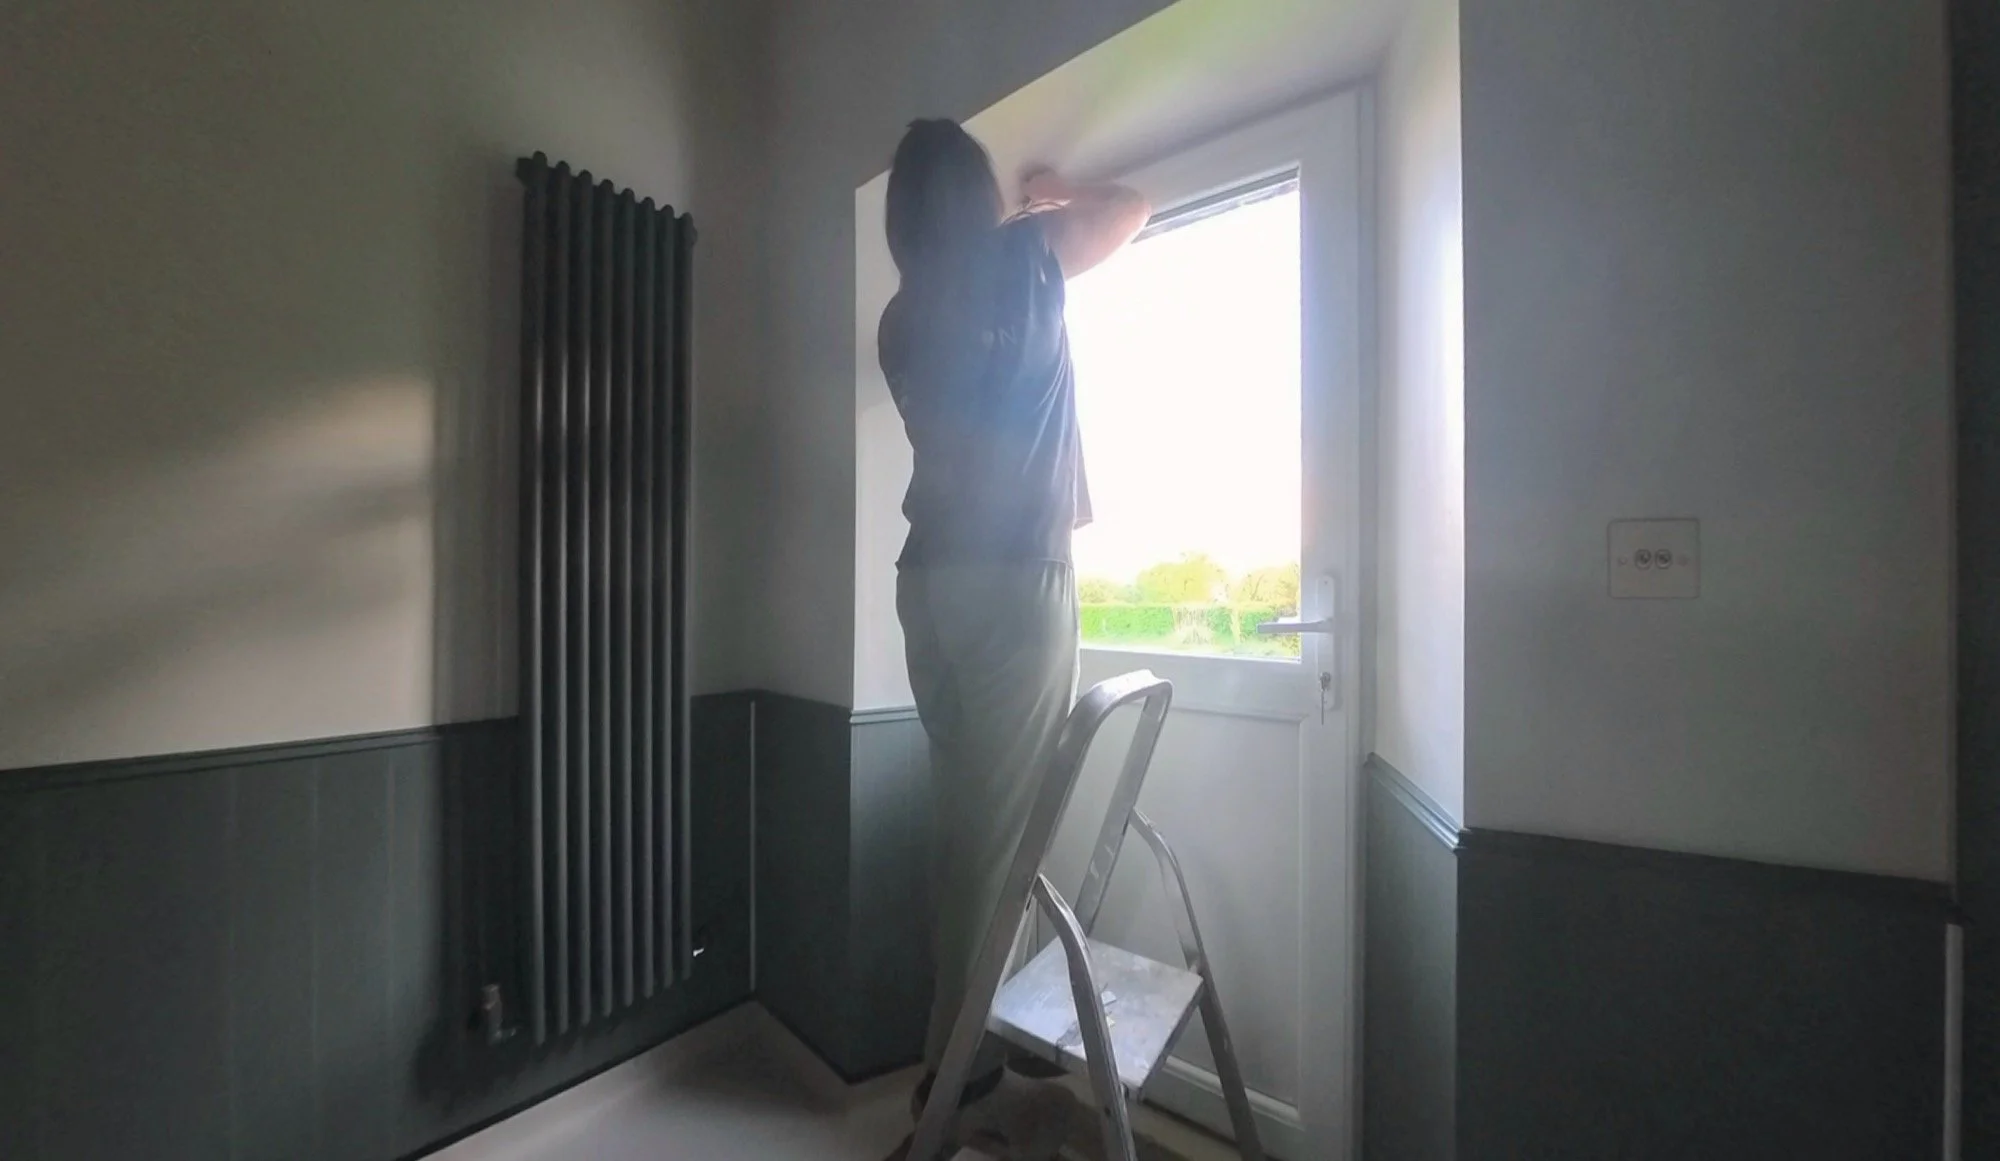
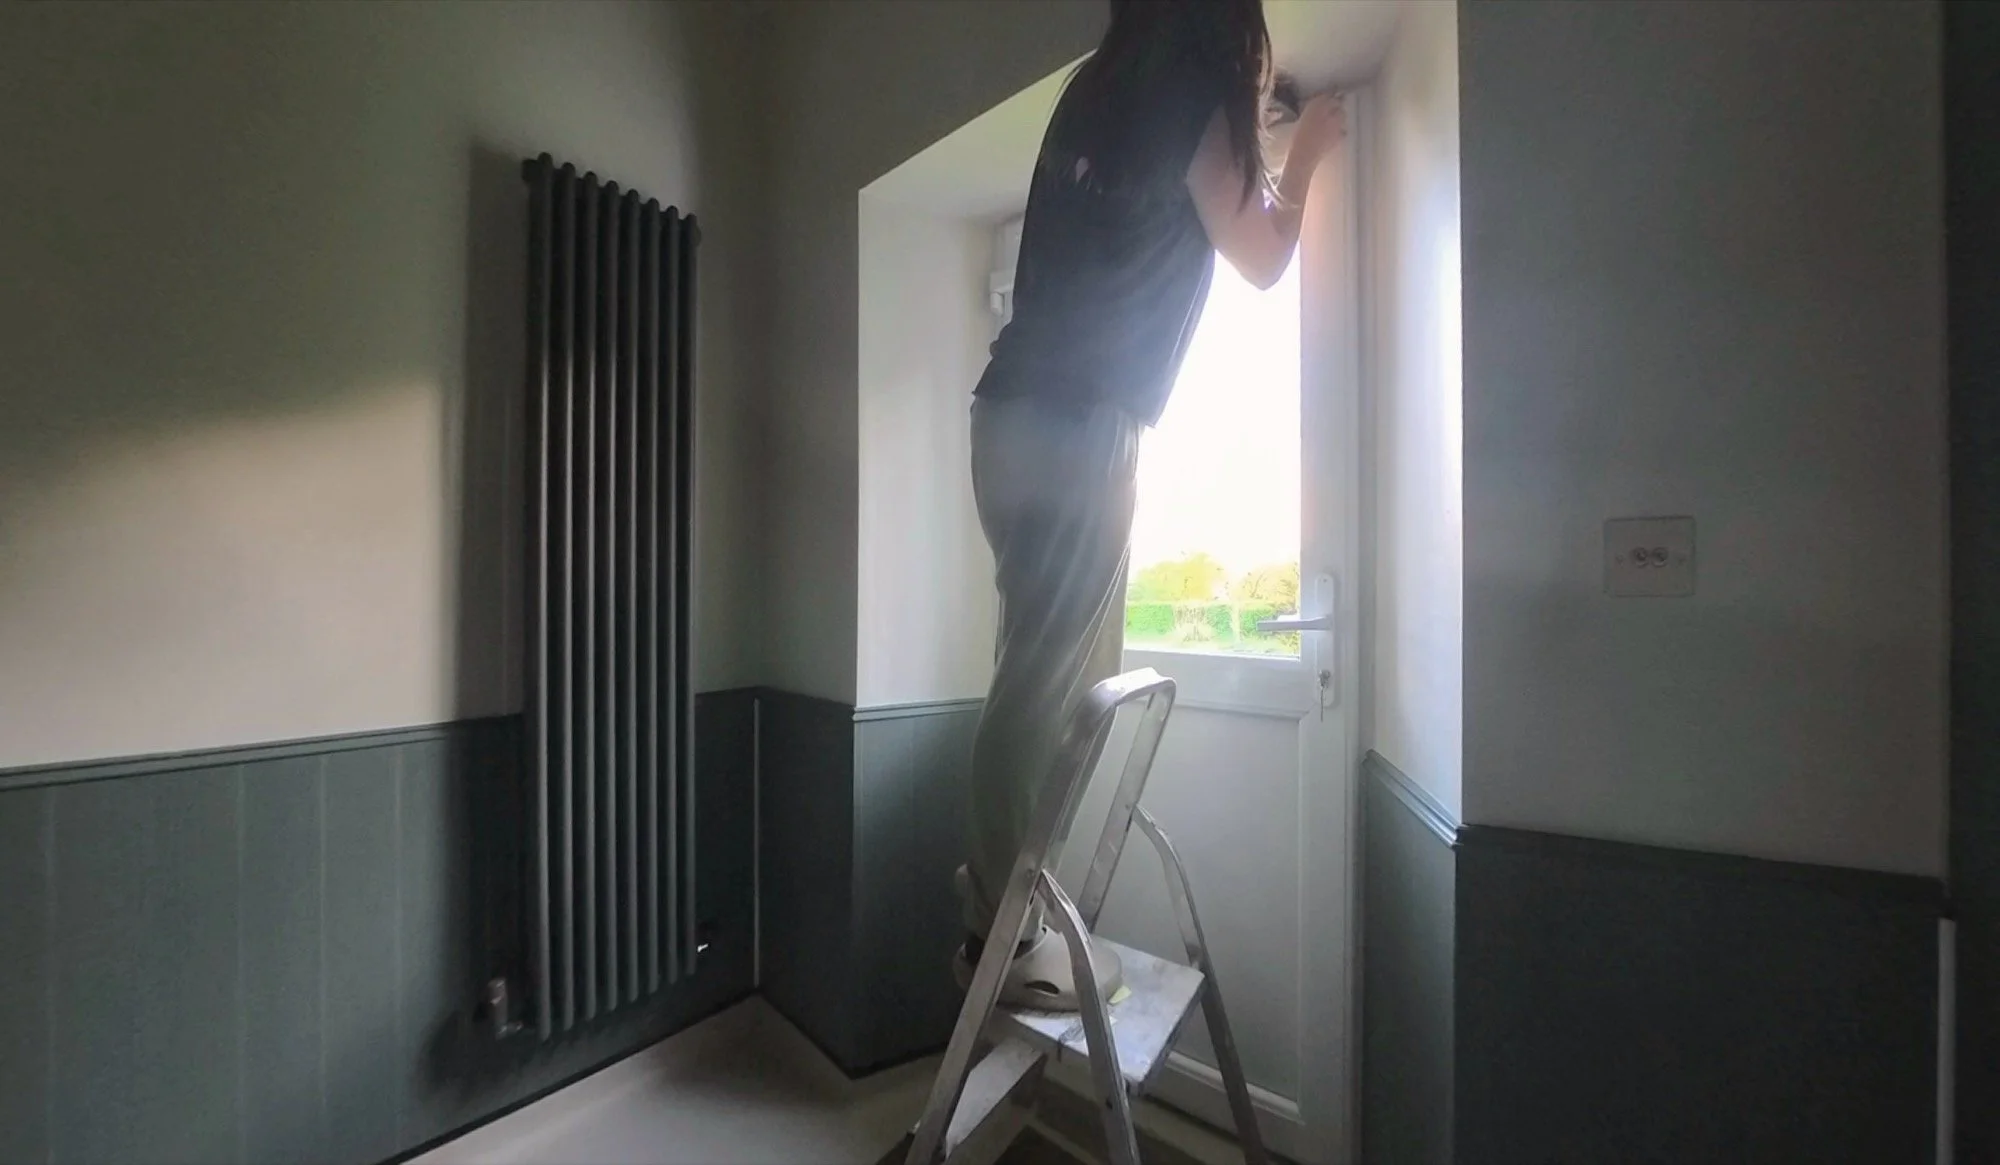
Wet Dog Room
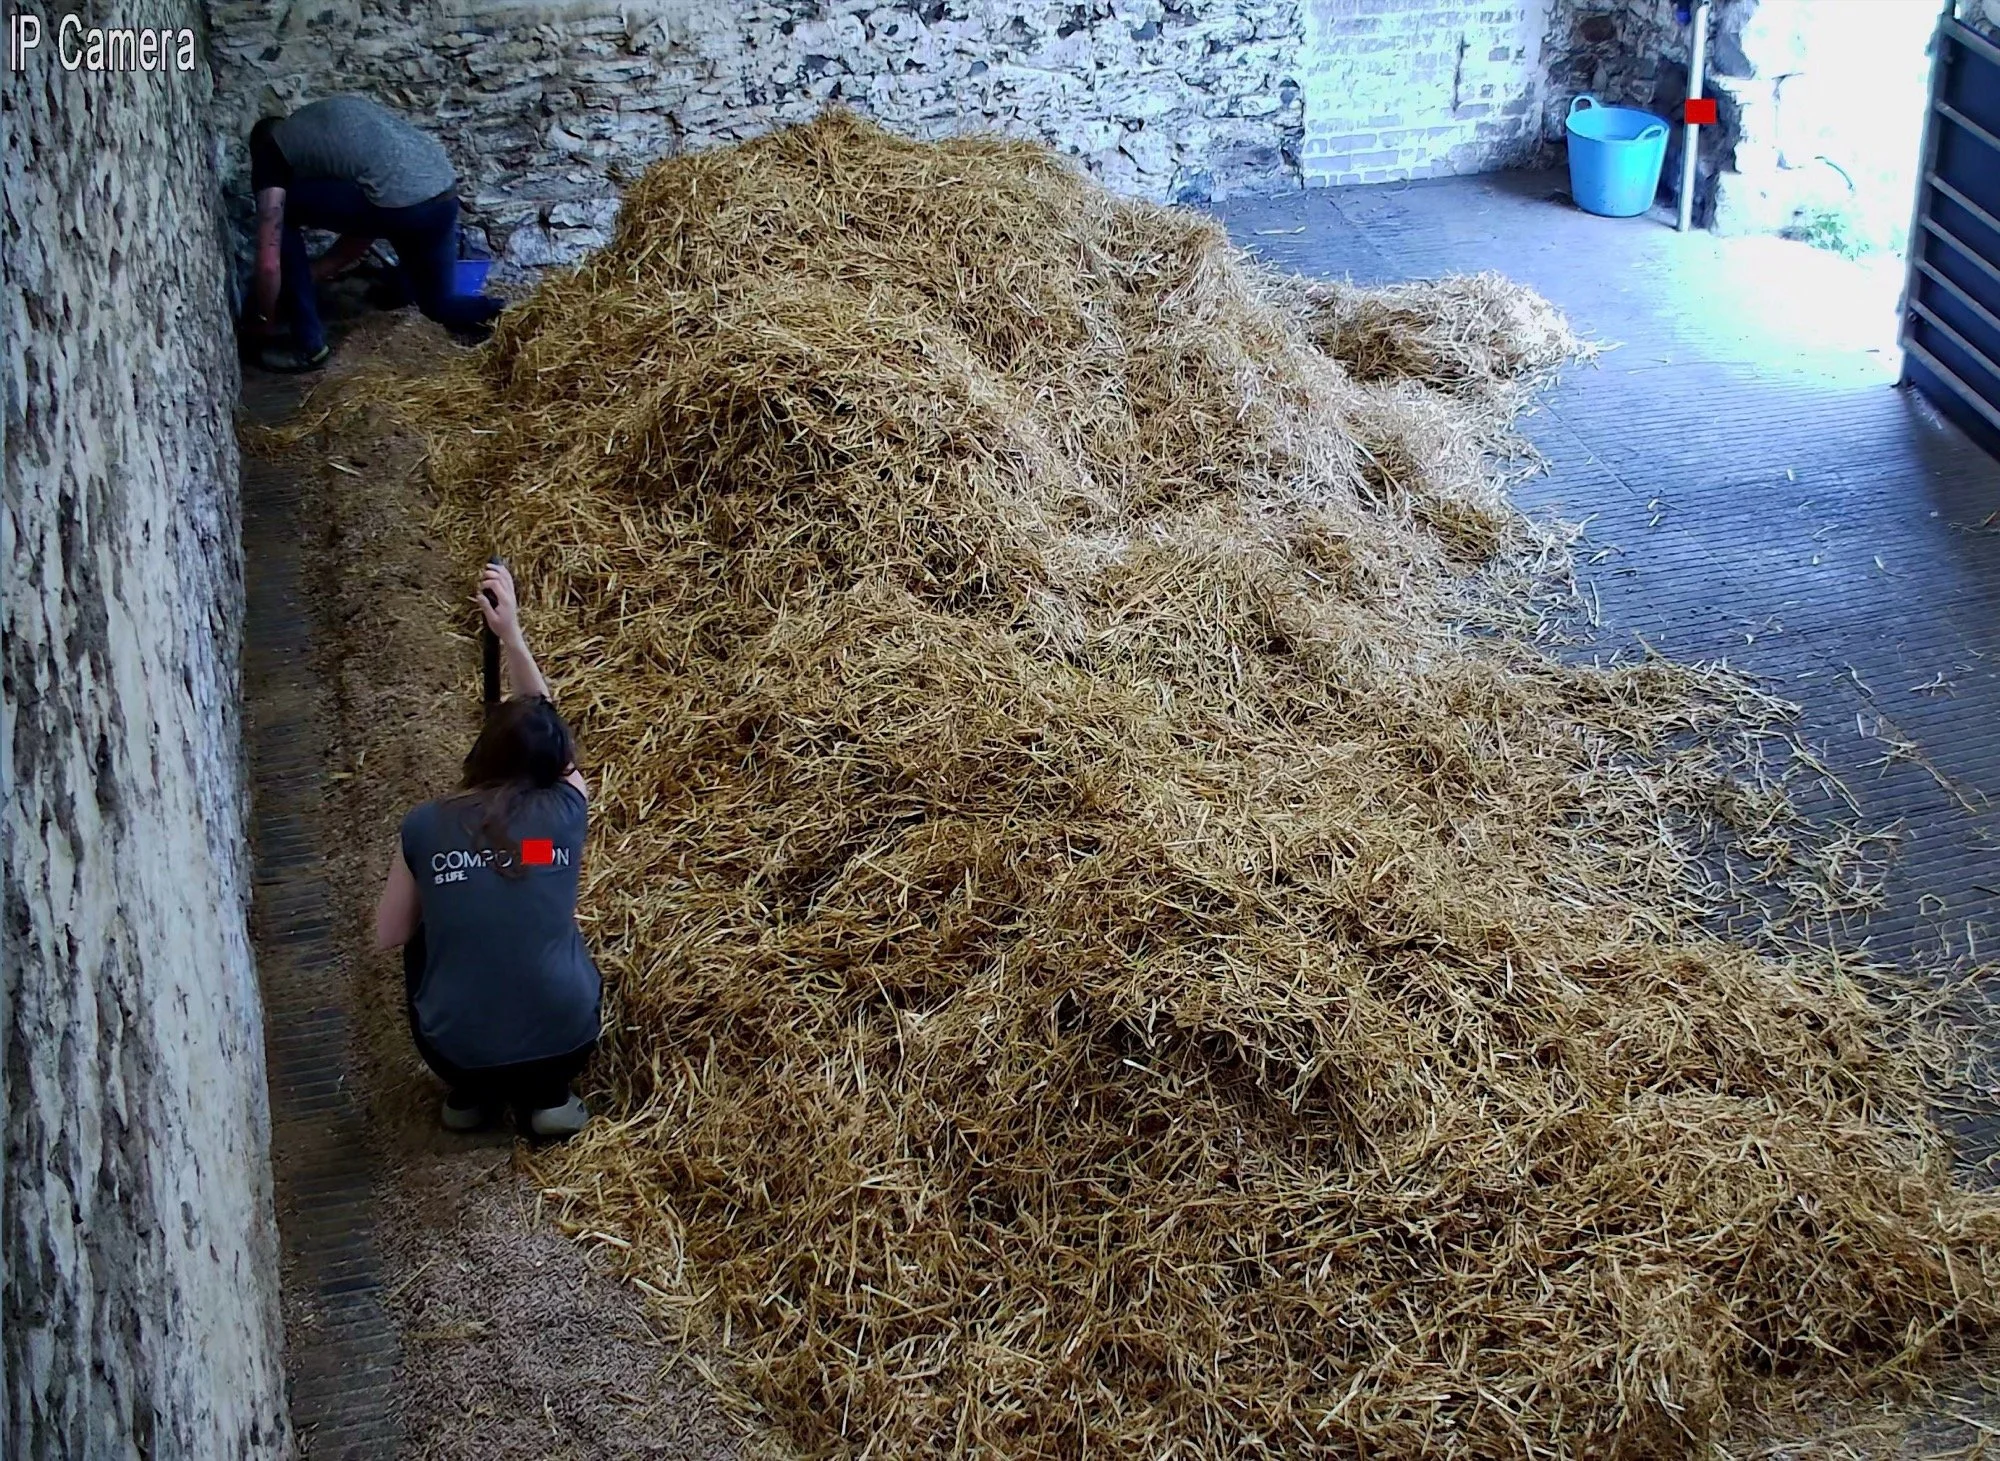
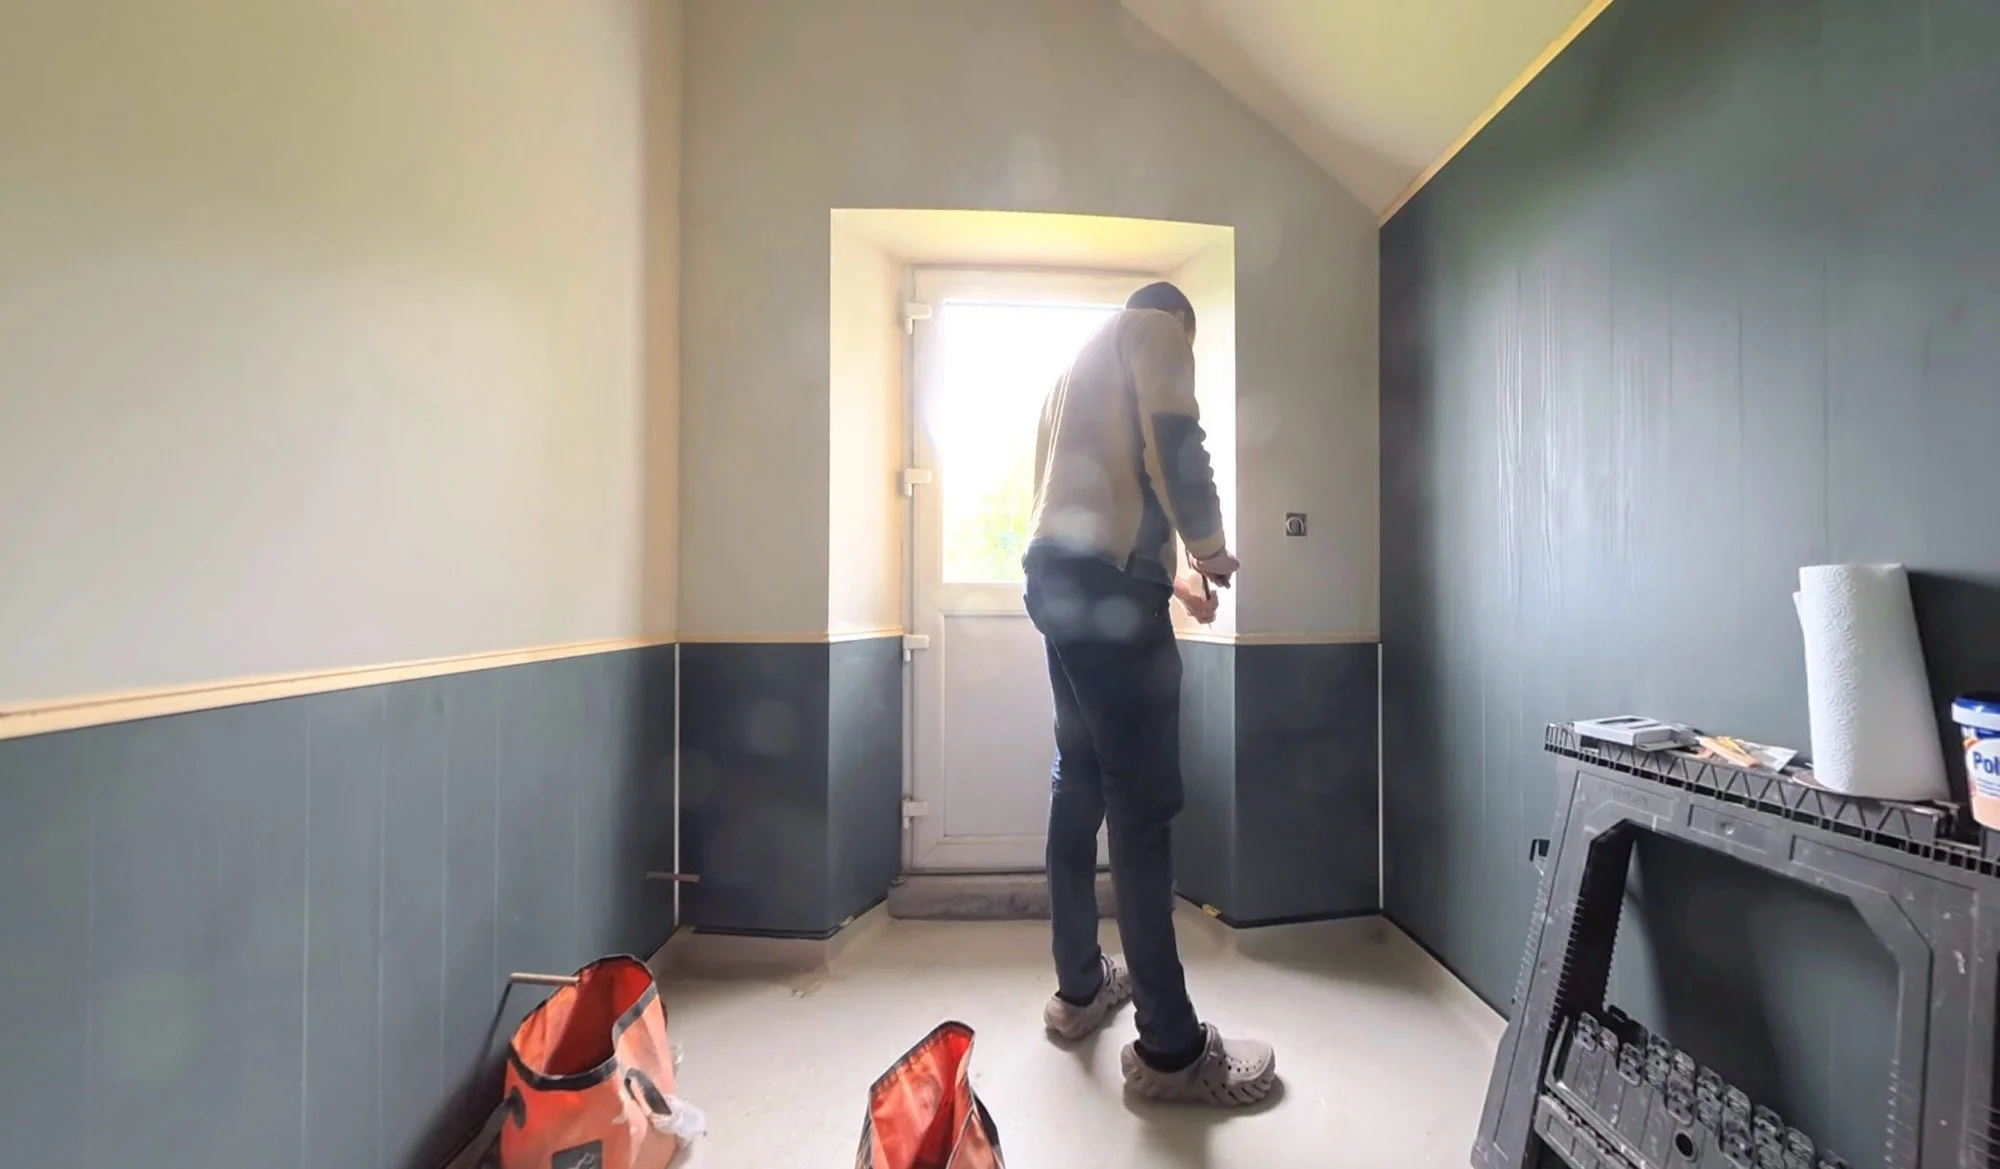
Panel o’clock in here!
The local supplier said we’d be absolutely fine installing them ourselves because Dan has the tools and skills to do this job, so the delivery came last weekend and Dan began almost immediately. We’d opted to risk it for a biscuit and purchase literally just enough panels to complete the job, meaning part of the only offcut we’d get was a piece of panelling needed for elsewhere in the room.
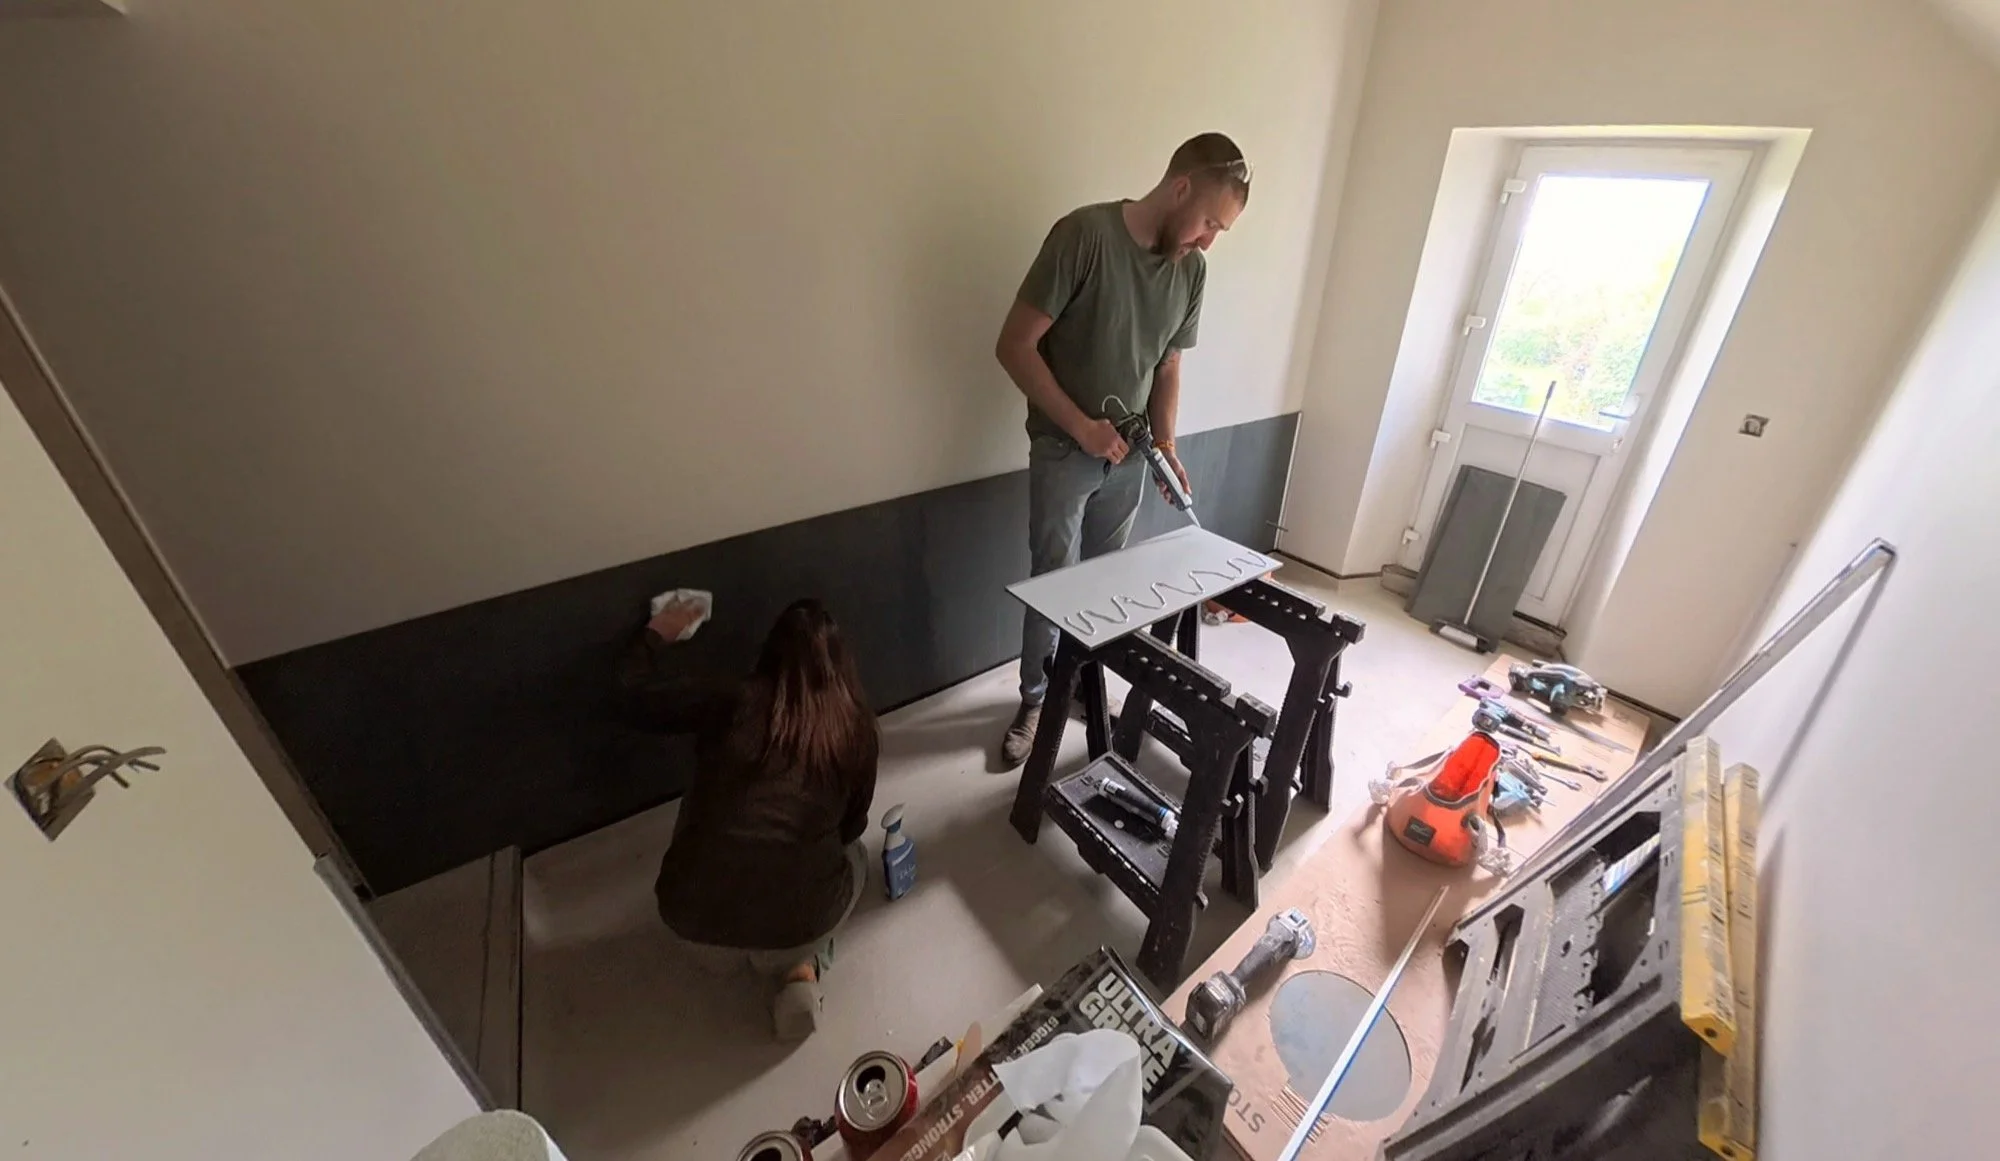
Because of the cost of these panels, we needed to be smart about the general layout. We have 10cm of height up the wall from our flooring choice already, and we want a countertop to sit at least 86cm from the floor on one wall. The panels themselves are 240cm high so we opted to take 3 × 80cm panels out of each 2400mm length and make a 90cm high waterproof section all the way around, except for one wall.
The wall with the future countertop and dog crates on it needed to have waterproofing all the way up the wall for wet dog shakes and things like that. Therefore, we ran the panels full height on this section only.
With the brief and the most cost-effective way of doing this identified, Dan went and did it.
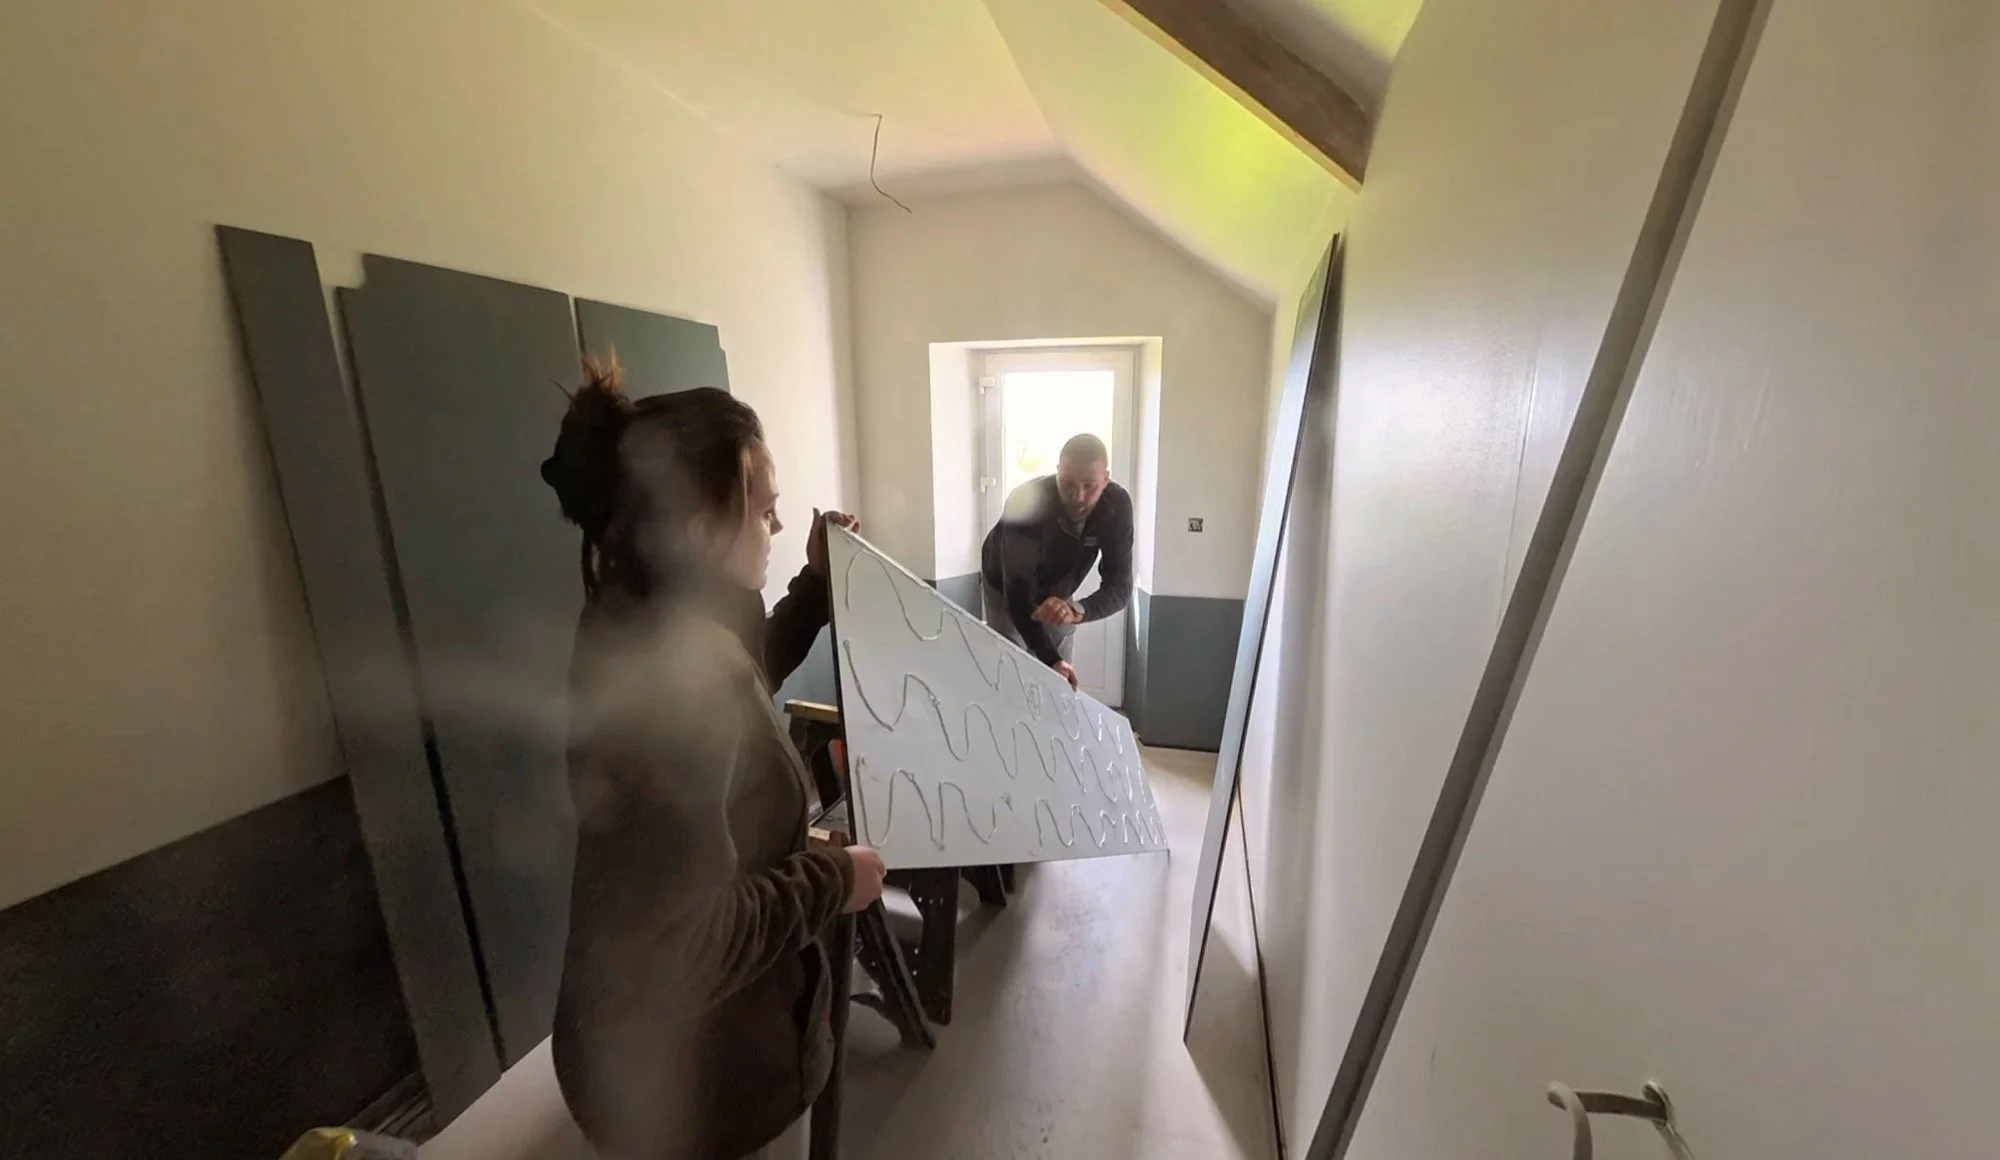
First, he cut the boards and dry-fitted with the end and corner caps, and then stuck them all in place, sealing every join. If you do this yourself, ensure you keep the joins clean with suitable wipes, cloths and cleaning solutions because the sealant does change the finish if you let it sit for too long. Thankfully, I caught the areas in time, thanks to the bright light at one end of the room (use a torch if you need to!).
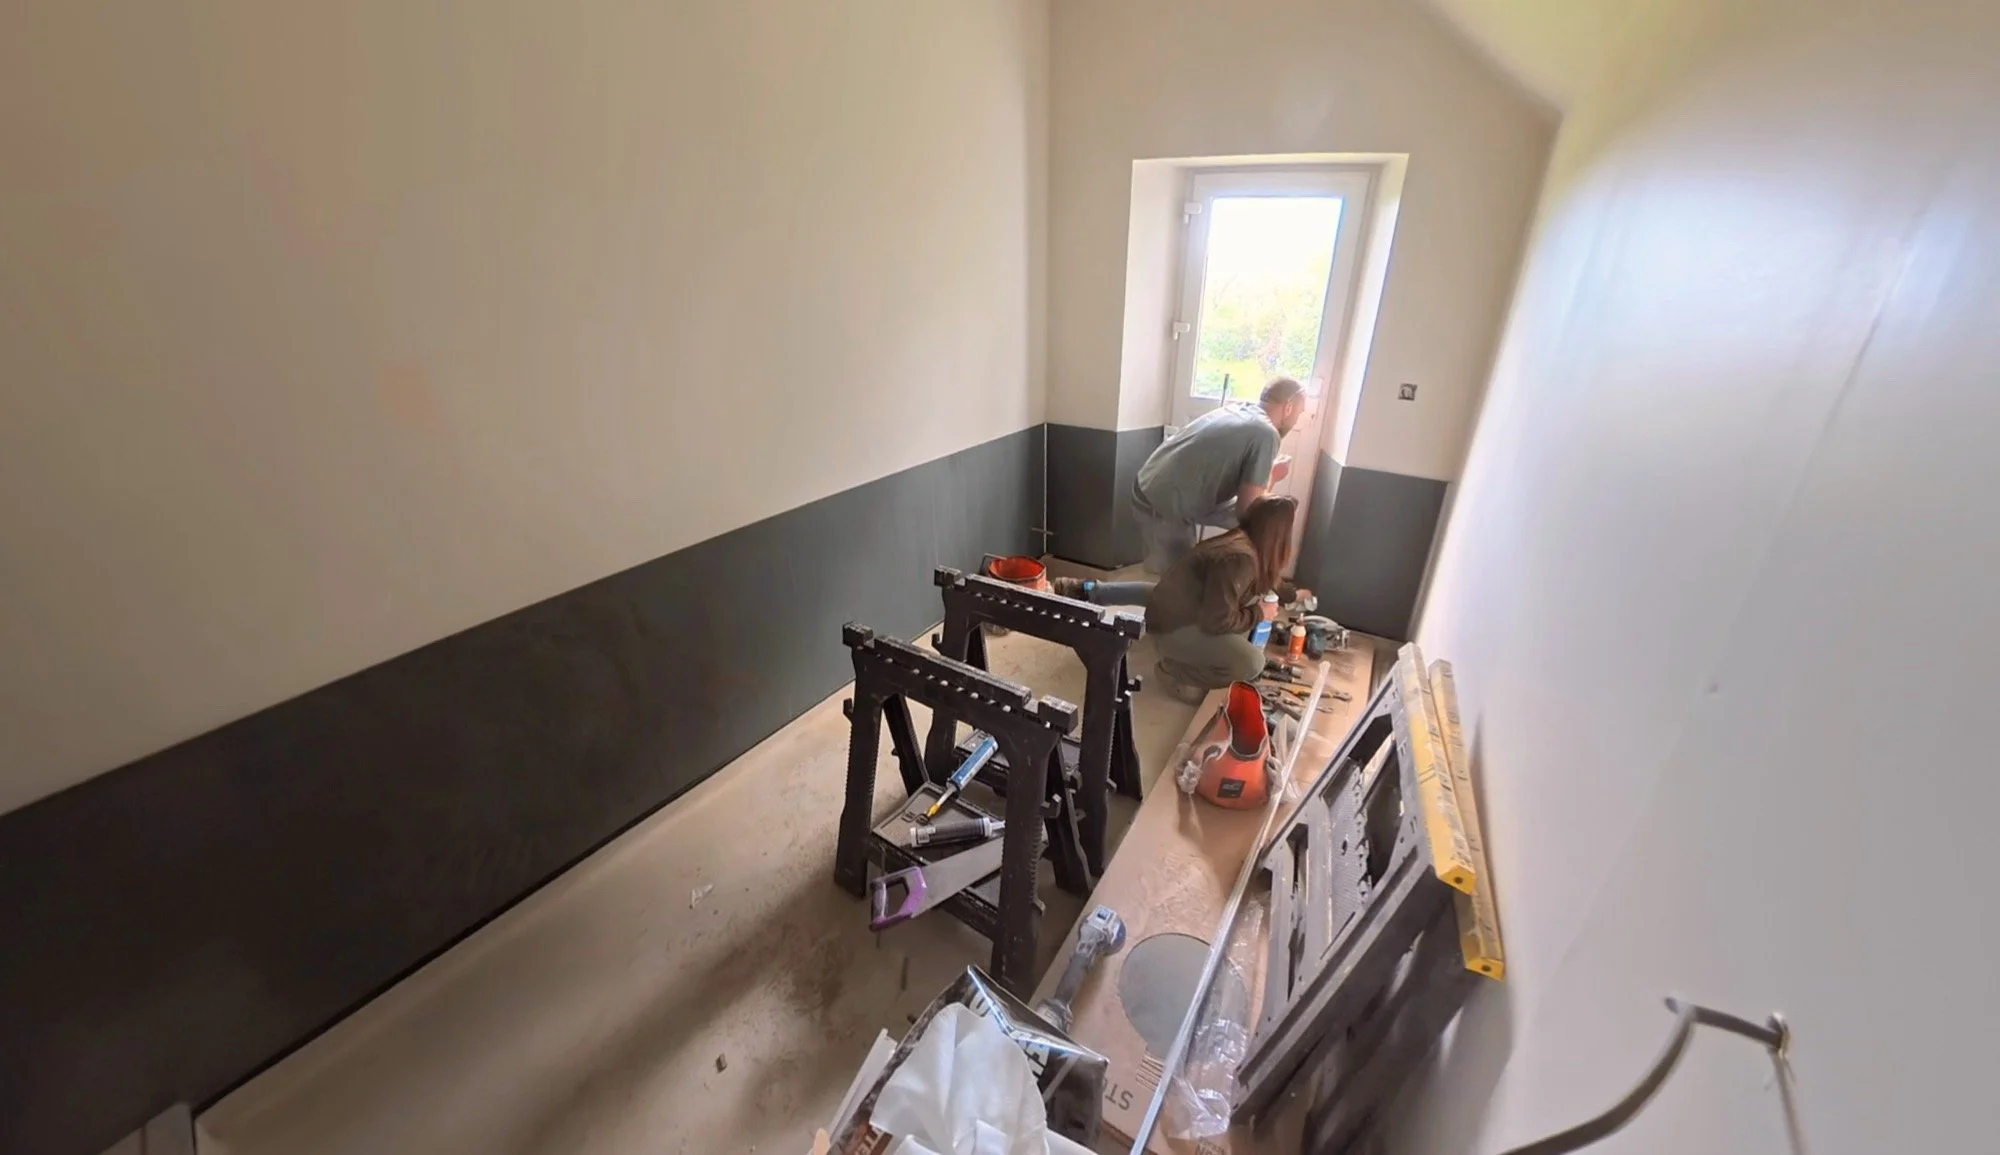

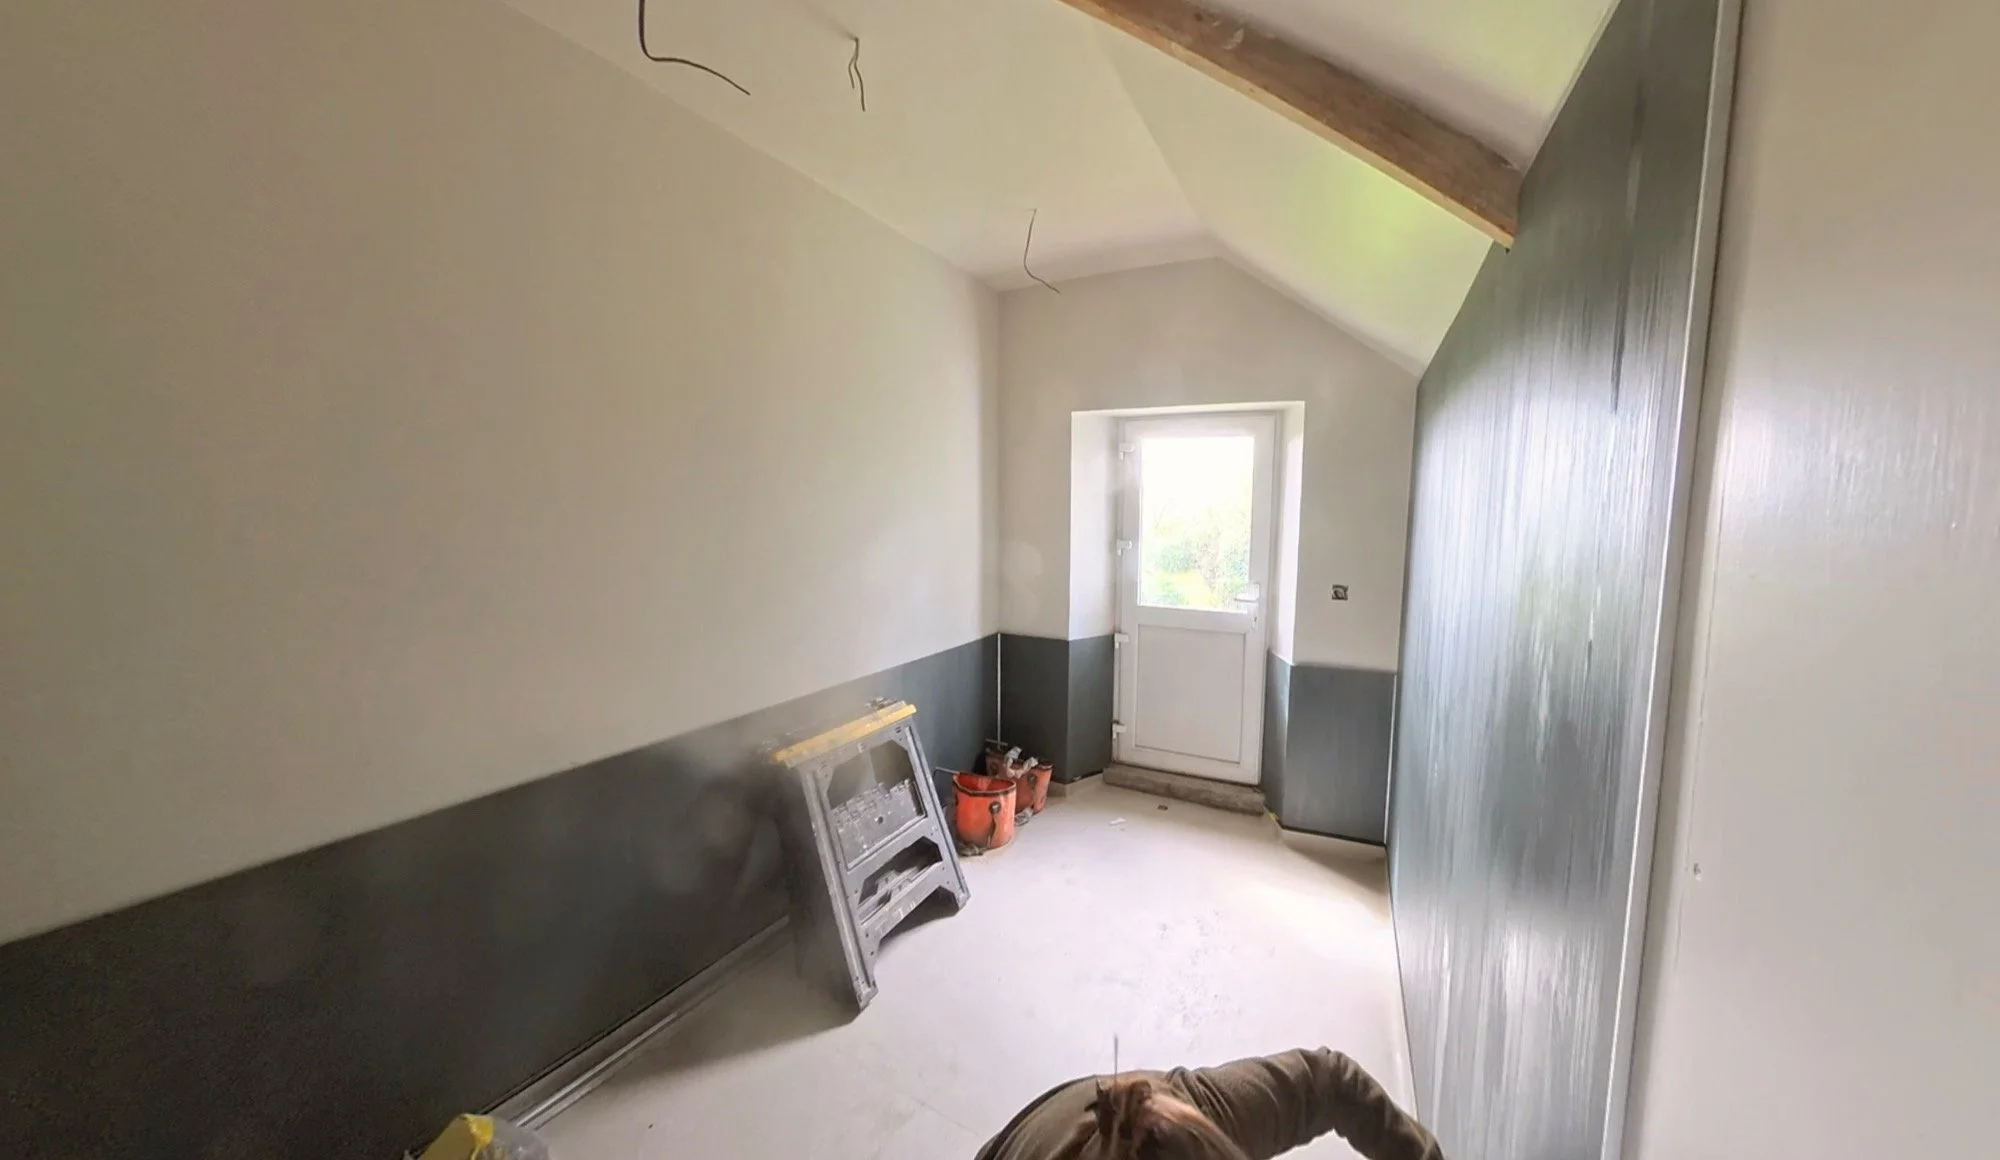
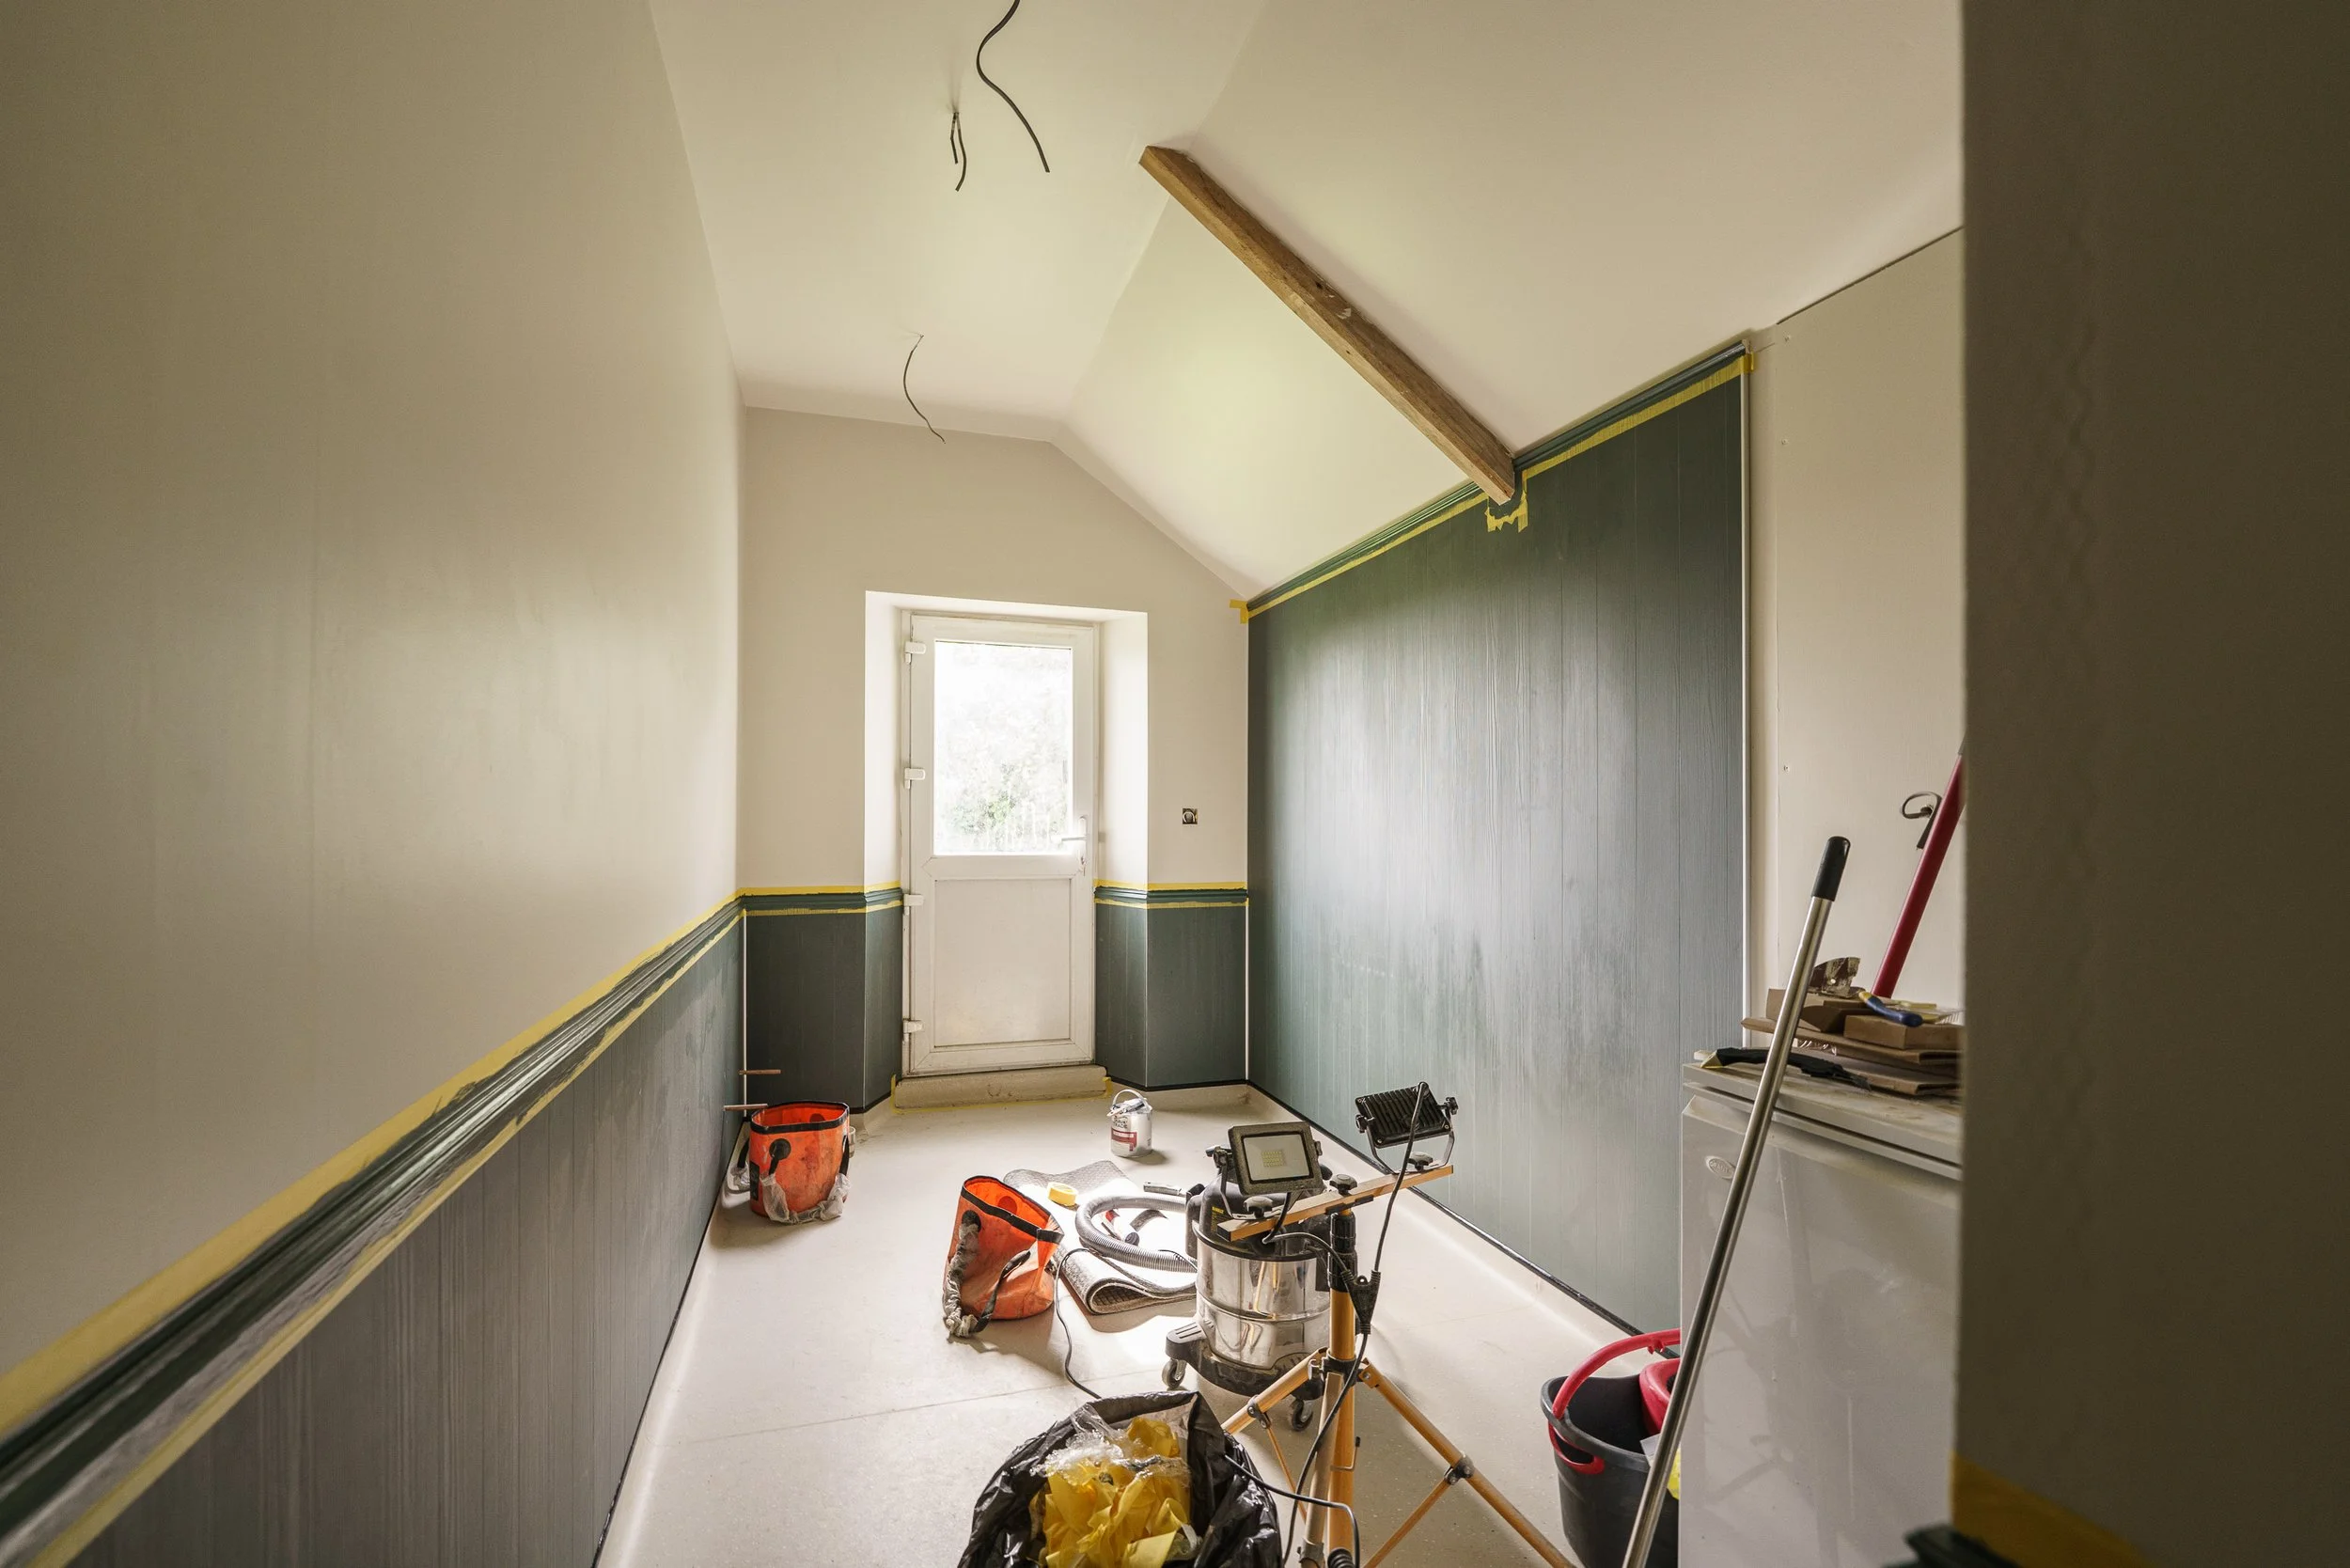
The current look in here is shown below. I did not tidy up or clean the panels any further, as you can see!
To finish the ‘look’, I had sketched out a wooden trim rail to sit on the top of all horizontal edges, including the full height one, hence the gap left at the top over there. We purchased the wood needed this week, and it’ll be cut, primed, stuck on and painted shortly. The paint for this has been colour matched to the panels themselves.
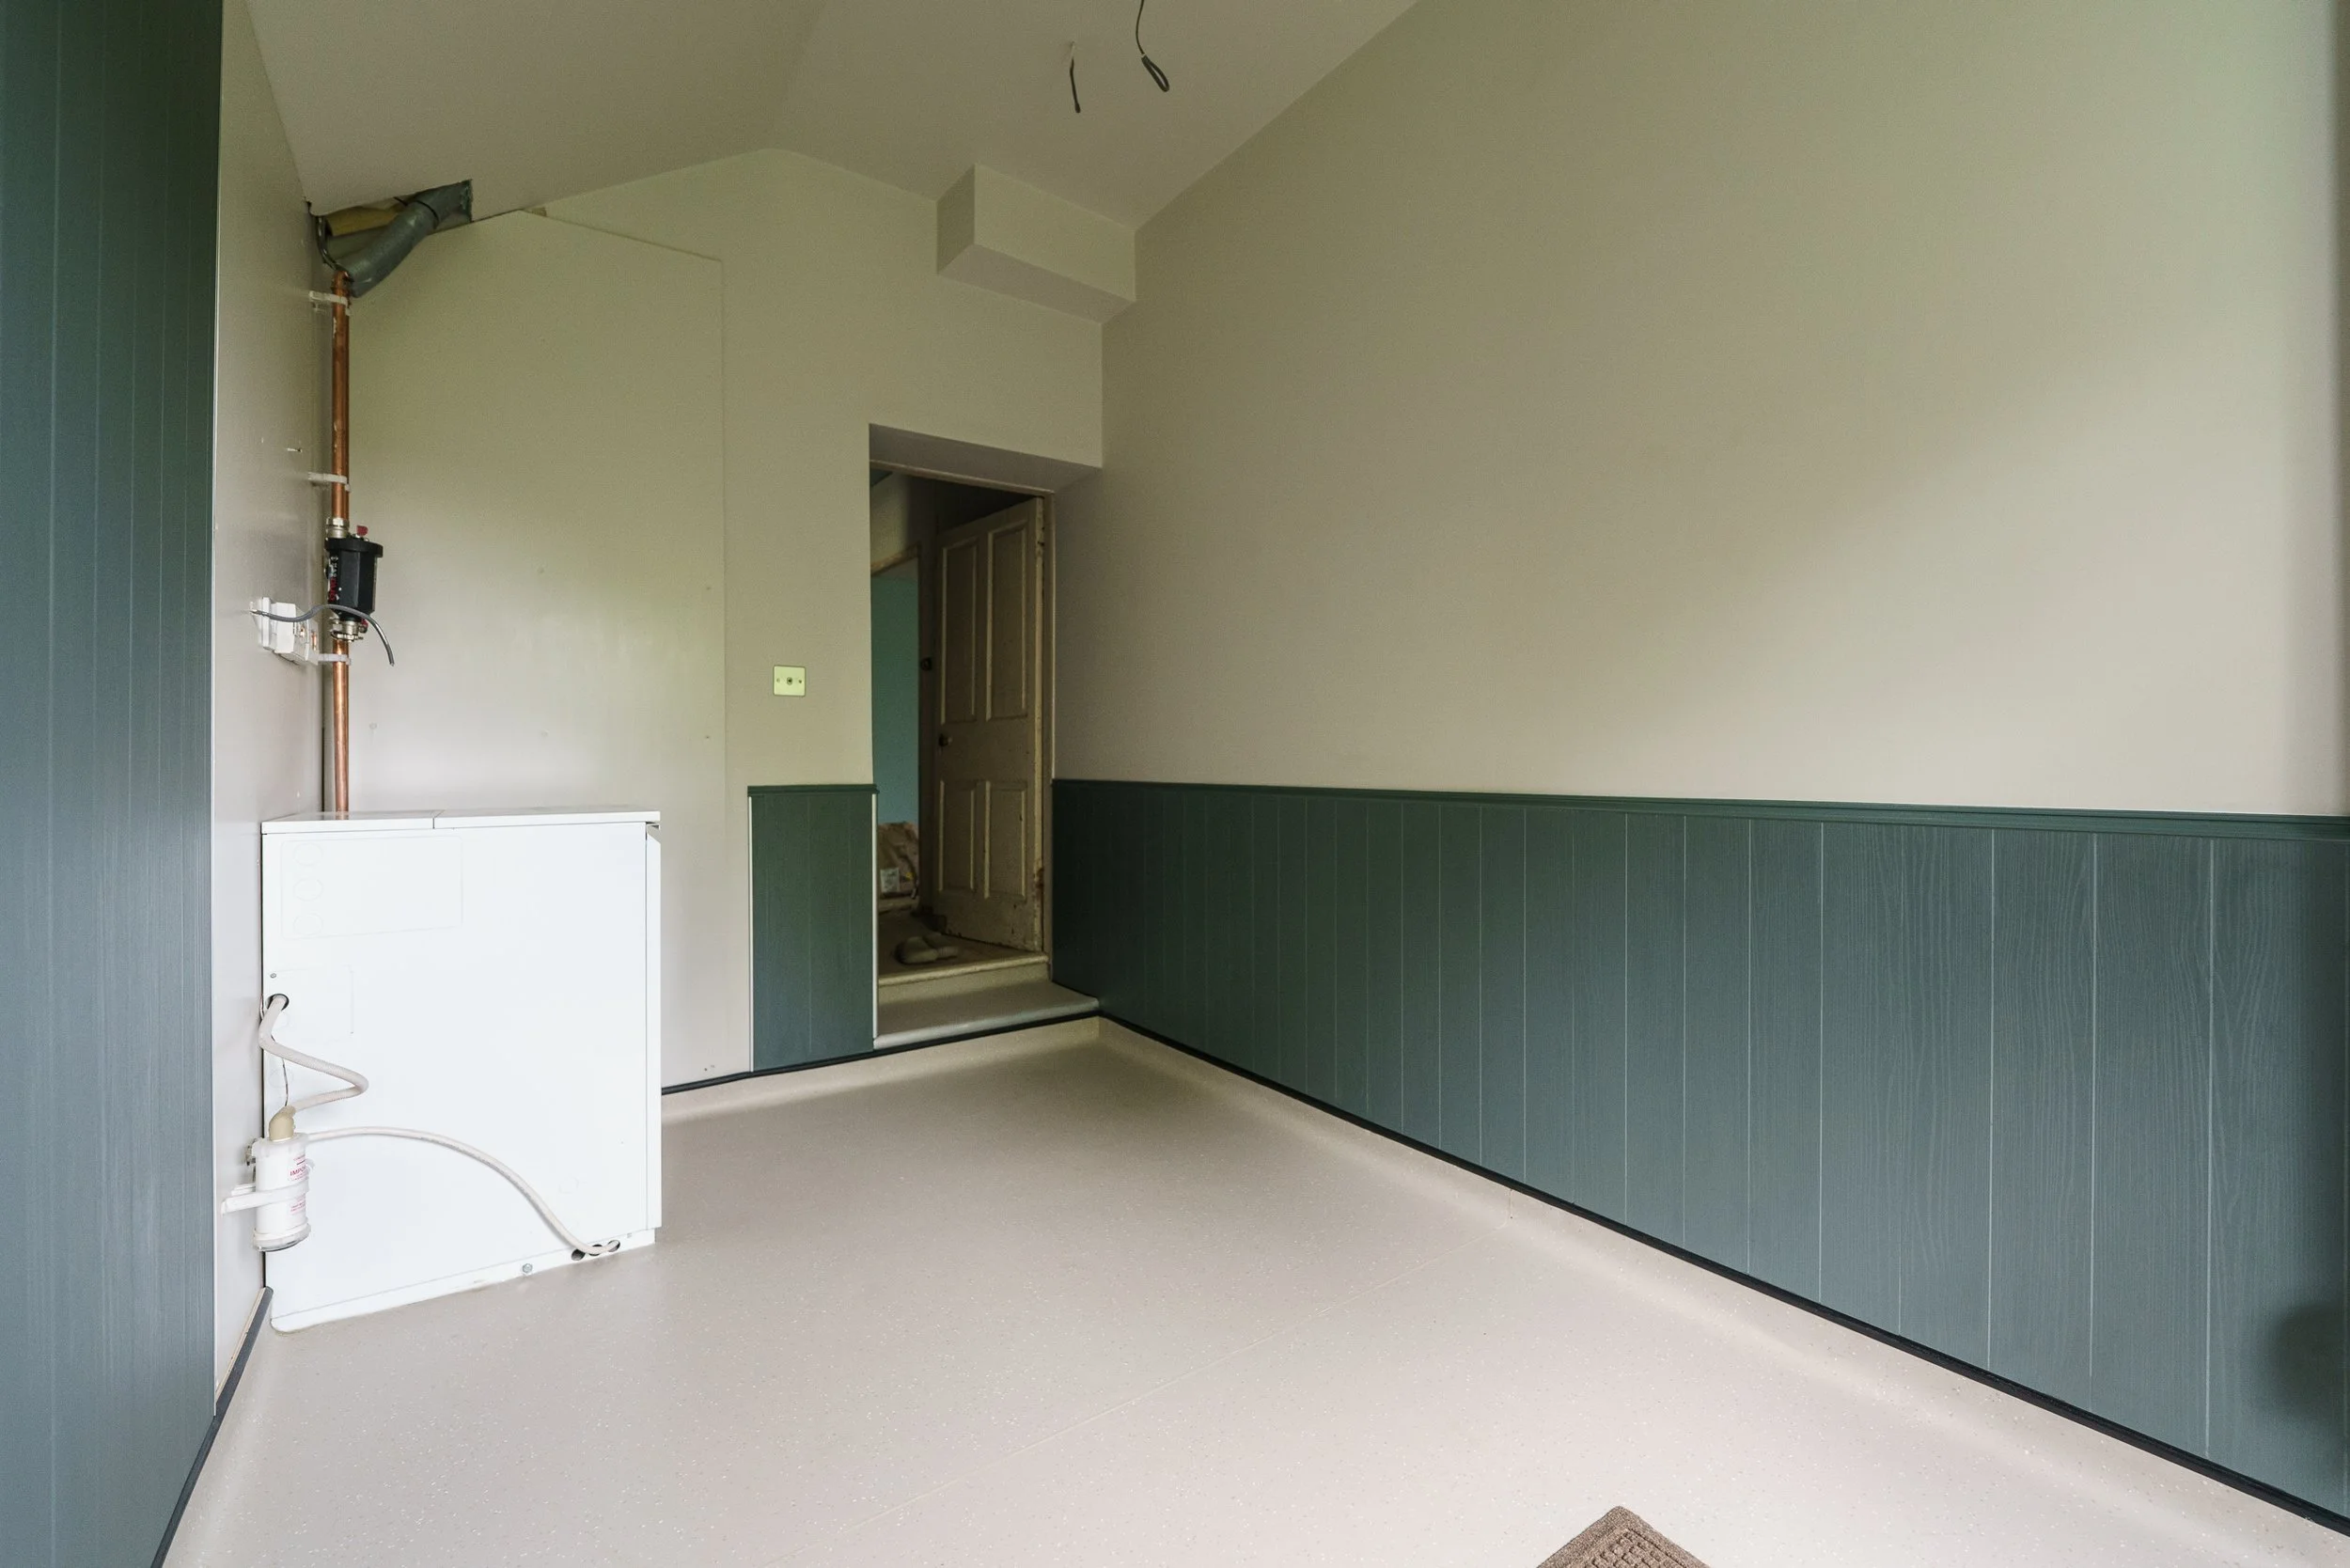
NB: The boiler will be inside a cupboard. You can see the future side of the cupboard where the silver vertical edge strip sits on the wall to the left. It will come out there and surround the boiler, heating controls and sockets, with some storage and shelving inside. This build is not as important as progress in the kitchen and other areas, so the cupboard will wait for now.
Other bits
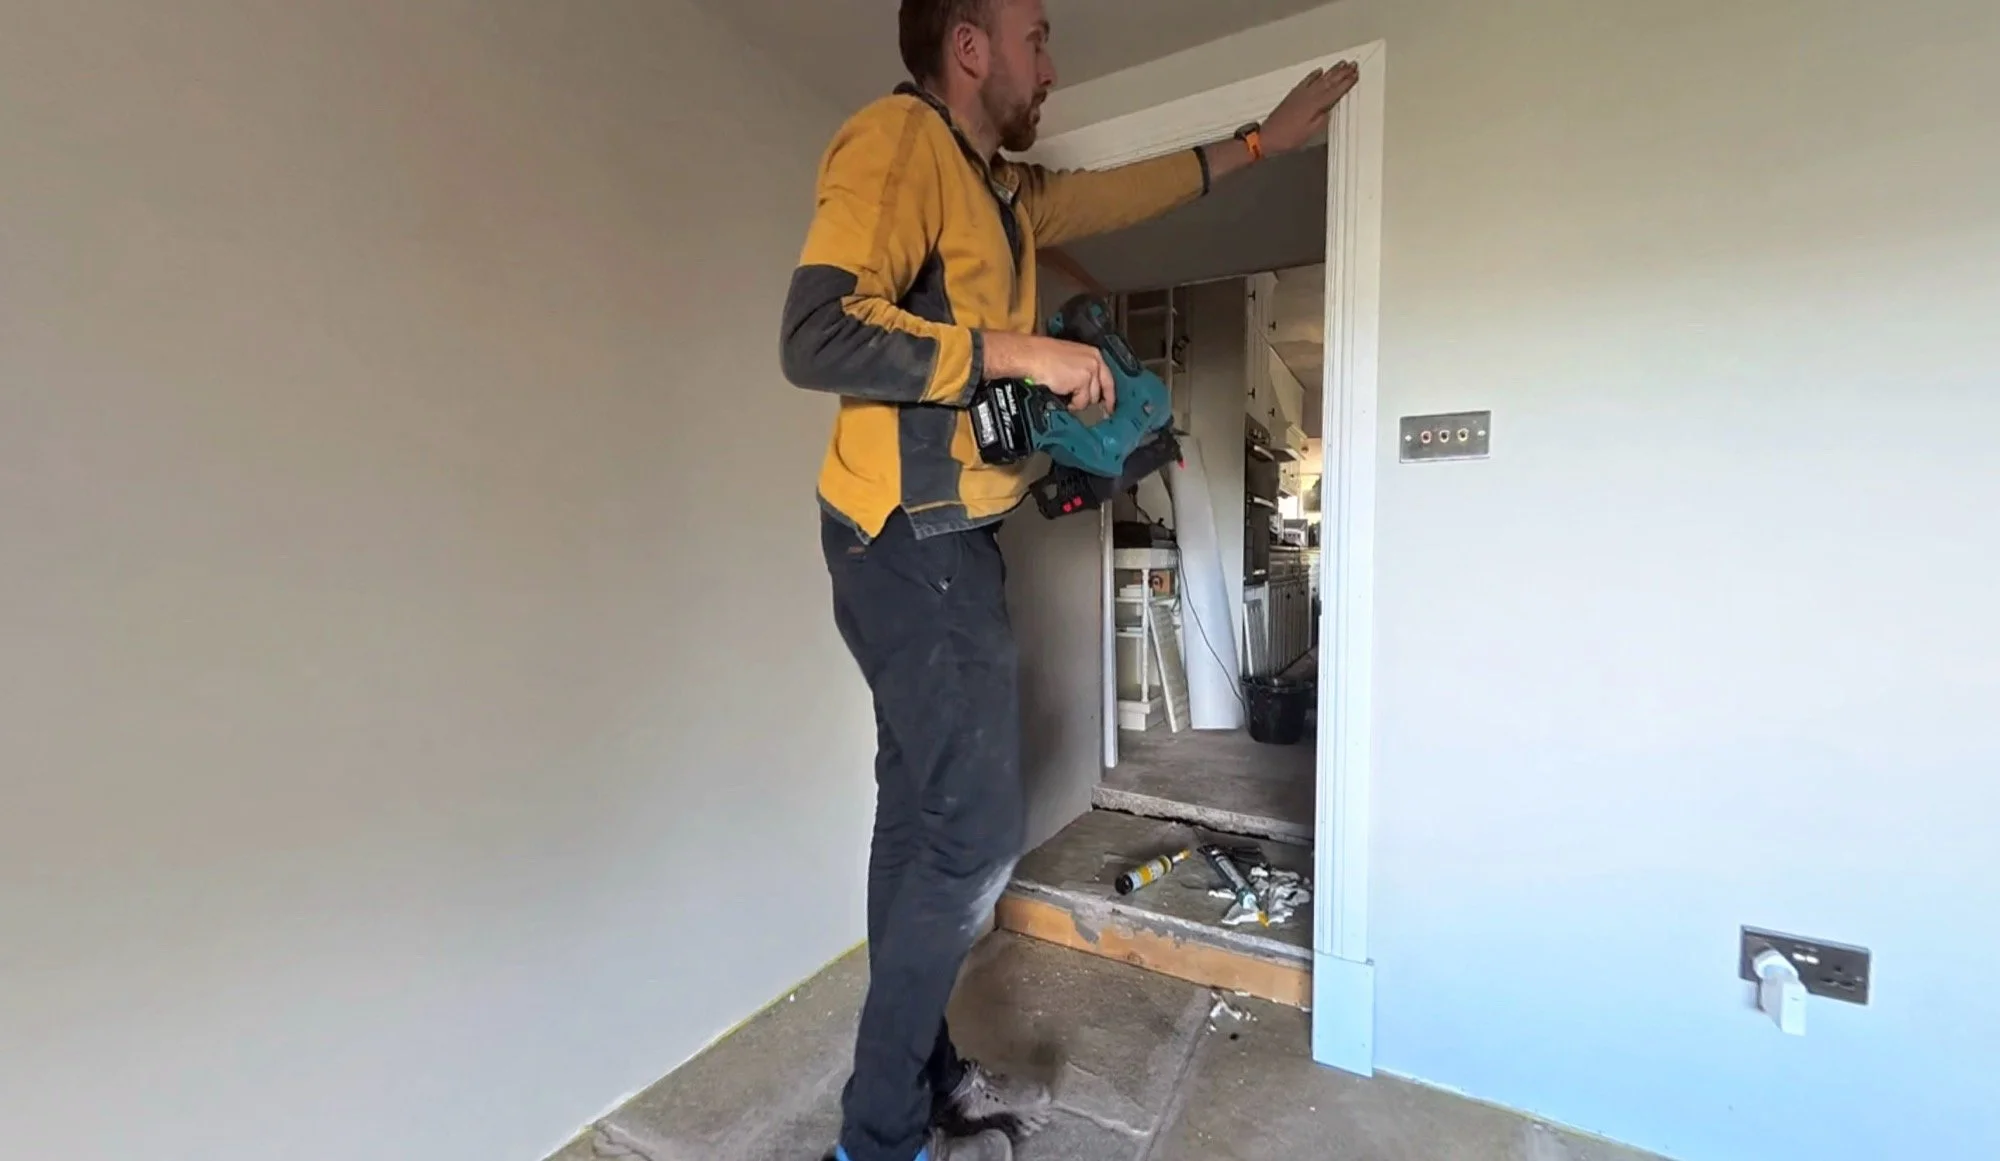
As a heads up for next week, the remaining doors, all the skirting board, architrave and plinths are due on Wednesday. From here, it’ll be an absolute race to get the office, lounge, bathrooms and 3 upstairs bedrooms finished with their woodwork before moving everything from the store room into these spaces to be able to switch focus to the only part of the house that is still untouched.
Finance-wise and water-wise, things are progressing, but we can’t share the details here.
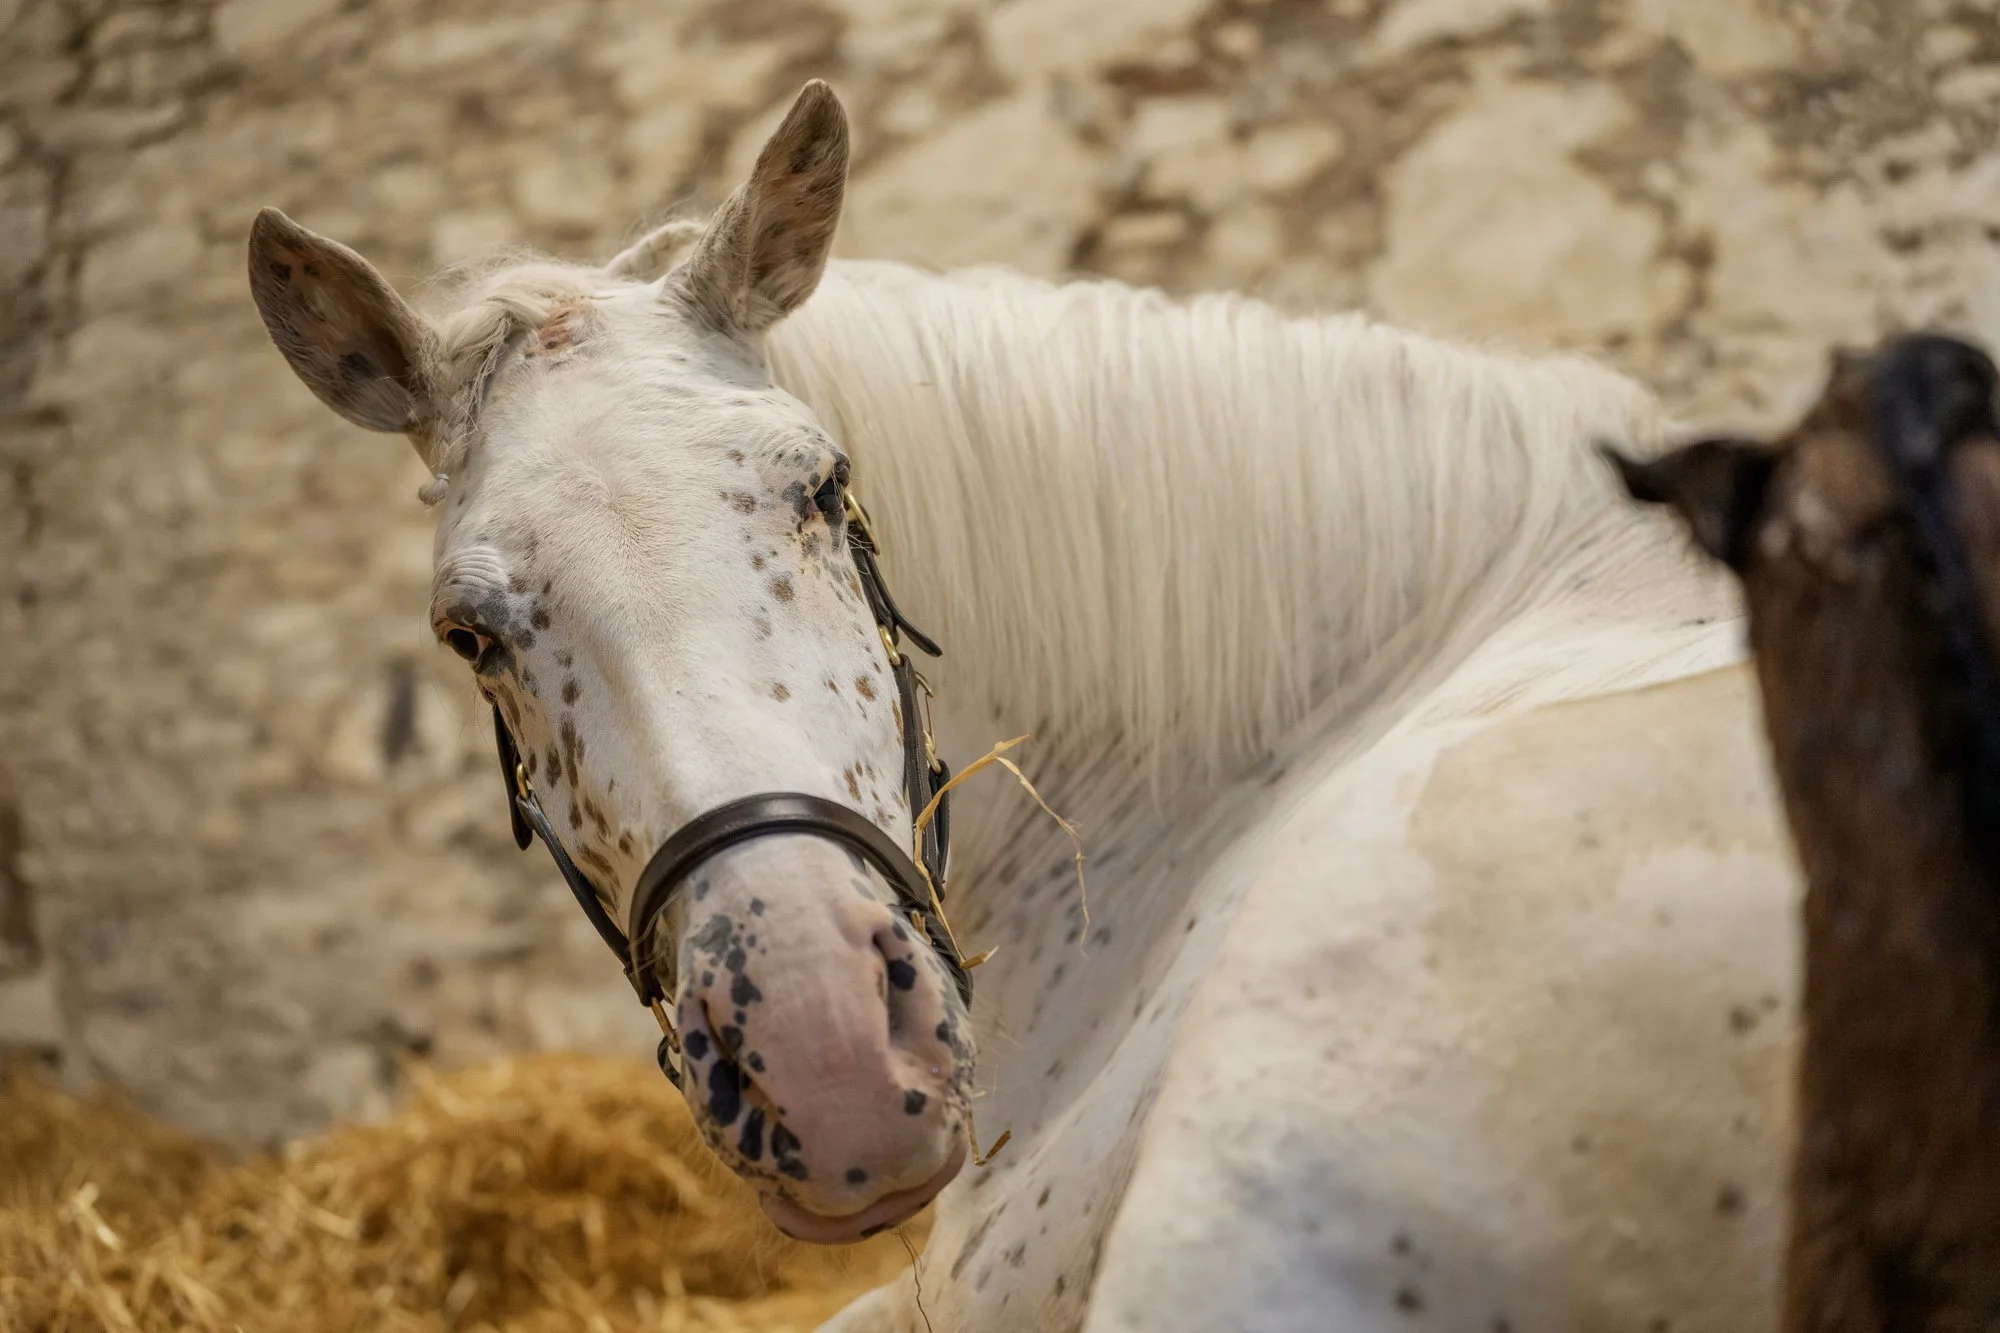
Velia
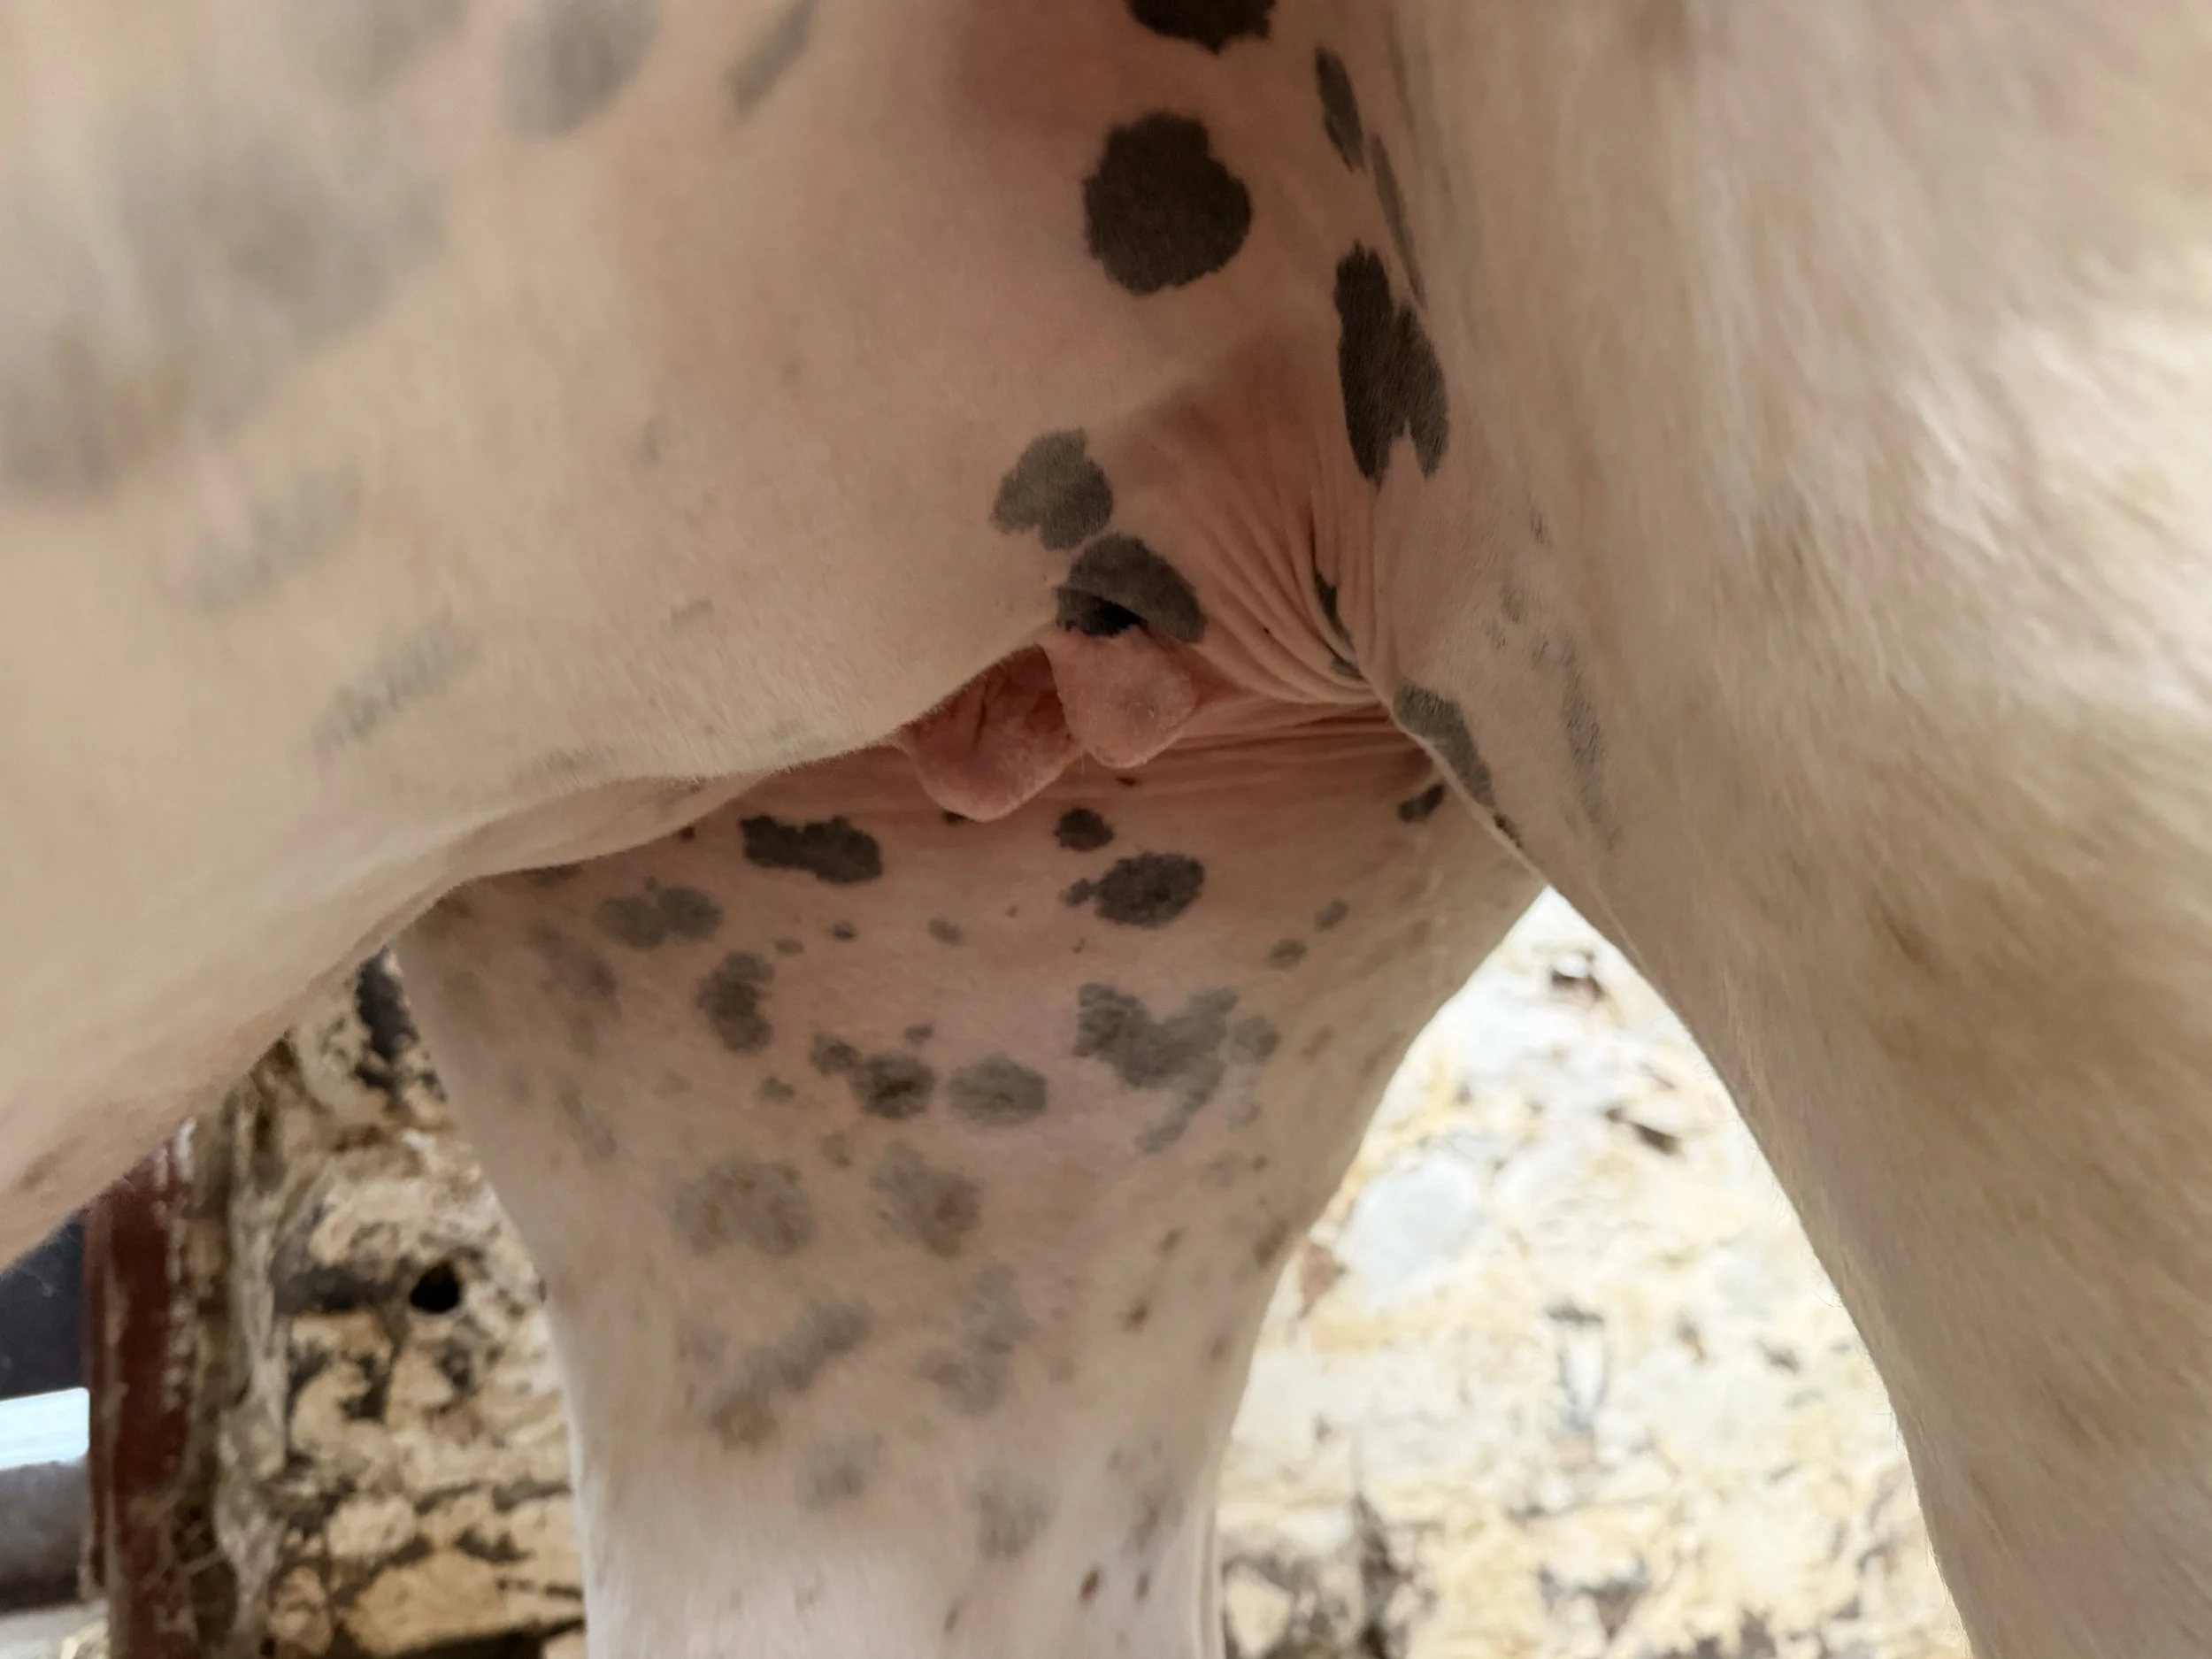
V has had a good week, though she went through a few days of reversing her progress signs, from a small bag to no bag, from very lax ligaments and muscles to some tension again. On Friday evening, everything started to come back so we now have a bag that is building and holding despite movement in the daytimes, and that means we’re closer than ever. She’s very loose all over, is as mellow and chilled as can be, and she no longer hates Dan.
She is on day 320 at the time of writing (Saturday 9th), so a delivery from now is viable in equine gestation terms. She still has another 20 days until the average length of gestation, but we are fully prepared and doing 2-hour camera checks at night to ensure we don’t miss anything that may happen.
When we switch to milk testing, we’ll know when ‘true foal watch’ begins, but we’re not at milk in her udders yet, so there’s still a little time left.
As a first-time mum (a maiden mare), she won’t follow textbook signs of impending foaling – they never really do – but we’re watching for a handful of signs to sit together. Here are some udder changes that are easily visible for everyone:
10th April

28th April (mostly edema)

March 30th (first of any change)

May 9th (Day 320, clear liquid easily expressed)
We are afflicted with a rodent issue though. Not horrendous by any means, but Velia and her pet rat spend most evenings together, and all measures to remove the pet have failed so far. Rat man says to block up as many access points internally as possible, to force her friends around the outside and past the traps. This morning Dan and I removed the bed from the walls and repointed some bits that may have been entry points. Yes, I wear crocs to muck out at 7am.
Watching her friends on the cameras at night is gross (at best) and I’d rather we handled this sooner than later! We’ve been lucky to have no rats for 2 years, but the cow feed this winter gave them a food source, and the slurry tank (firm on top) gave them a protected space to live rent-free. Big Cat got one, Dan got another, but since then it’s been a losing battle.
We continue, and nope, I won’t share Velia with her pets, I will share her napping though:

That’s all for now!
May Week 2:
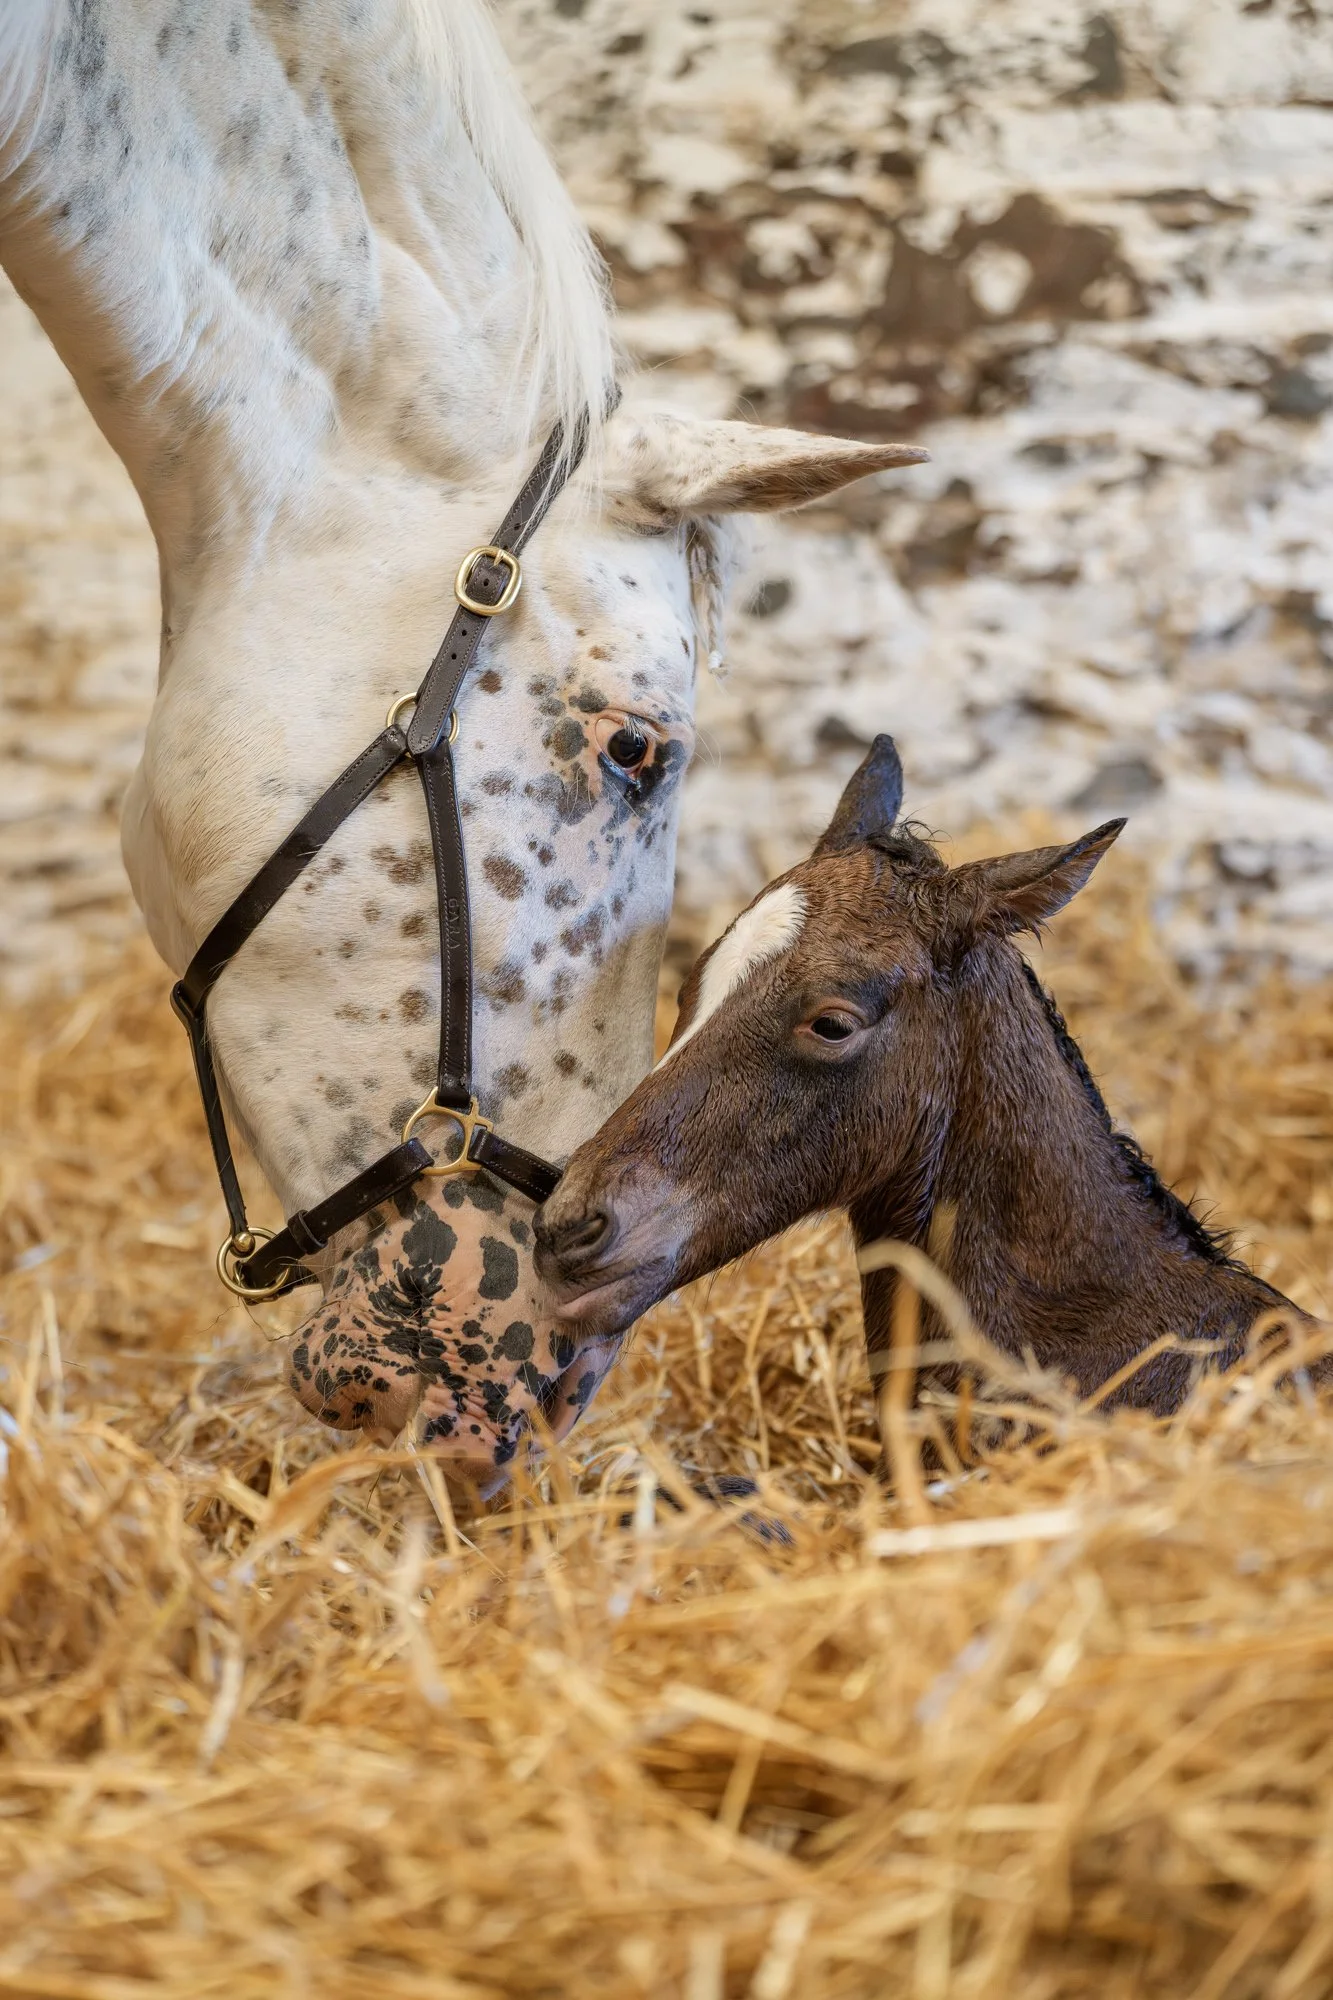
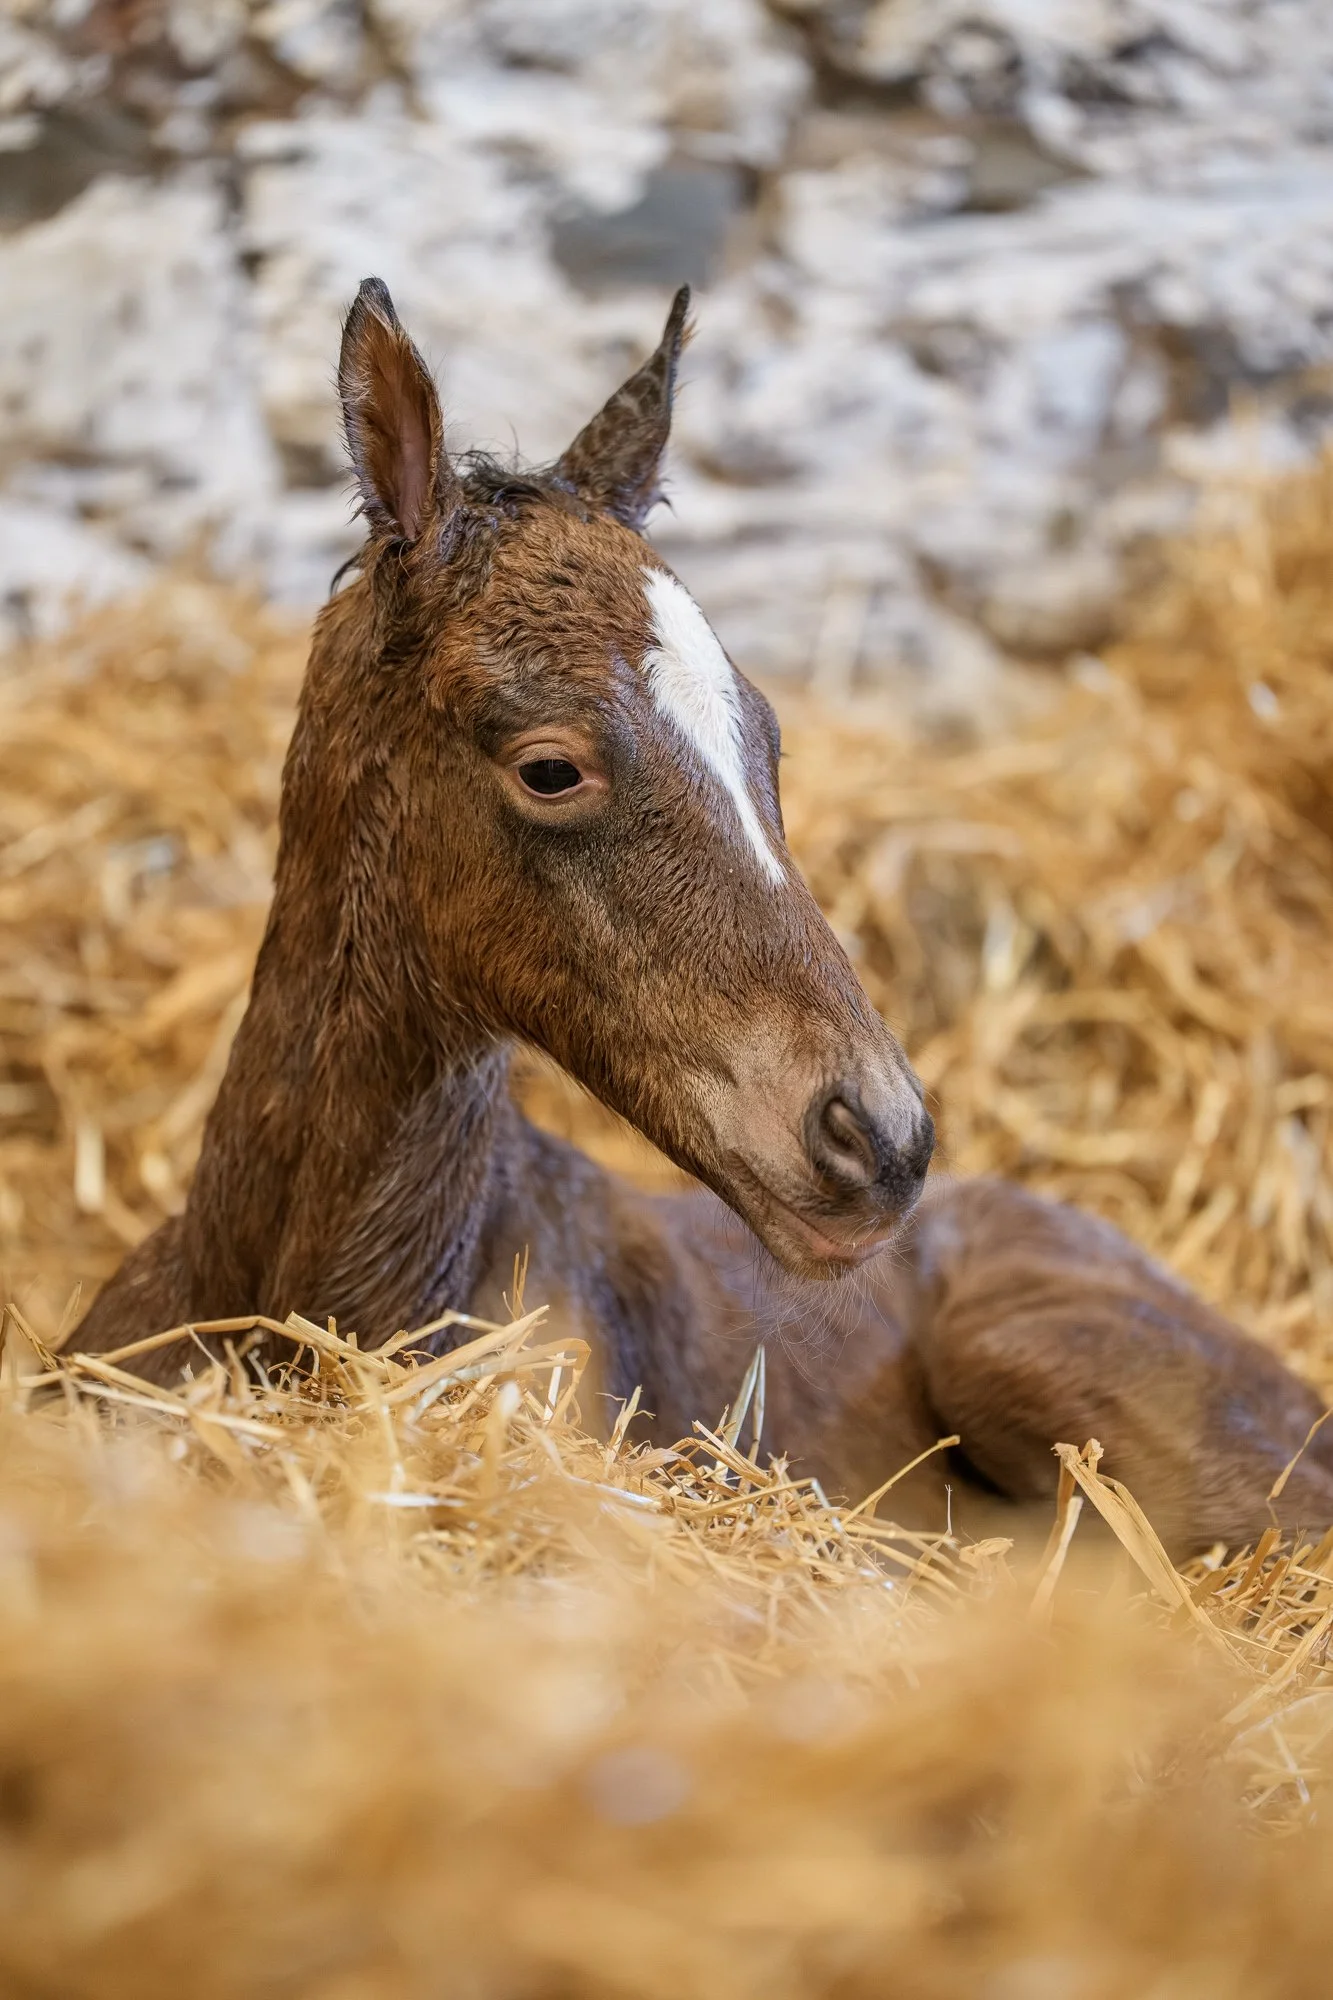
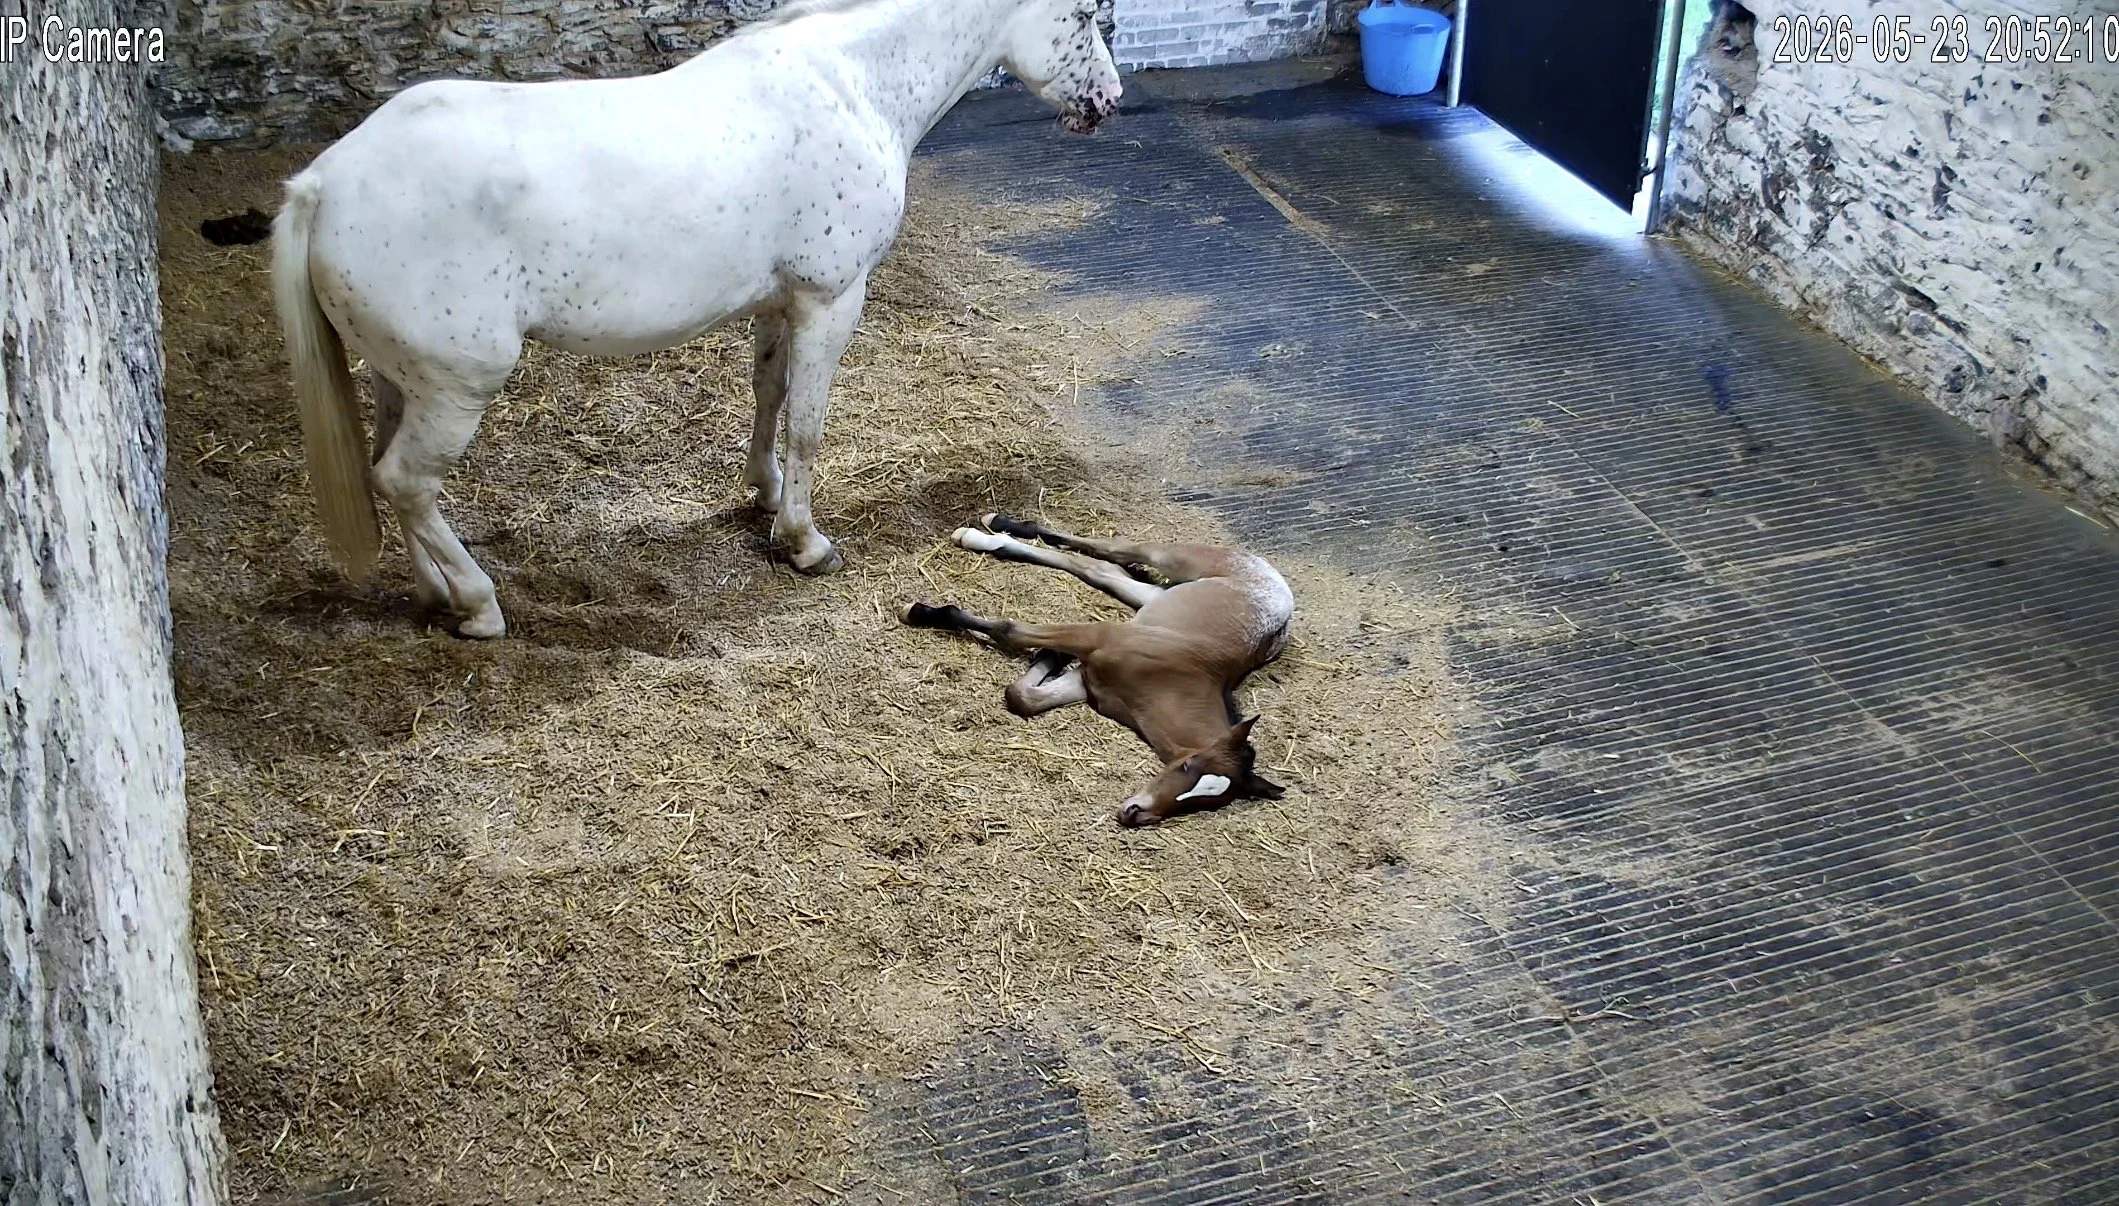
This week has been 69392 days long (in our world!). With a grand total of 10 hours sleep across 4 days, the biggest news was that Velia released her hostage! It was Day 326 in the end, but she kept giving us false alarms from Day 323 so night watch it was. A lovely little filly arrived just before I started work on Friday morning, so in the end no sleep need have been missed 😅
Those on social media will have seen us share all the signs of the impending birth, with the most accurate test actually being a change in the taste of Velia’s milk, paired with a pH of 6.2 and a calcium reading over 400ppm. Don’t wince at the taste part, we haven’t lost the plot - it’s scientifically proven to change in the last 24-hour window, and thankfully it really doesn’t taste of anything.
Labour started like in the textbooks, but with horses, timing is critical. After the waters break, the mare has 30 minutes to completely expel the foal, and if there is no progress for any 10-minute window in that time, it’s time to intervene. For us, the intervention started at about 22 minutes as the feet had not progressed for over 12 minutes, and no nose was visible. I applied traction only to hold the position, but it was not enough, she repositioned and the nose became visible. At 27 minutes, Vel was tiring and the forehead was not expelled, so I asked Dan to ring the vet, as it takes 20 minutes to get here from the clinic, and that would put us at 50 minutes. Over 1 hour is a no-go realistically.
I repositioned the front limbs, pulling one forward a bit and the other back until the shoulders of the foal felt like they ‘popped’. At that point, baby basically flew out - a little too quick truth be told! So far, there are no true signs of ‘dummy foal syndrome’, but foals born too quickly, or foals that lose oxygen at some point in the delivery, can deteriorate. I’m watching this one carefully.
Feel free to skip these photos if you want to:


Thankfully, there wasn’t any dystocia (incorrect presentation of the actual foal at birth), and there wasn’t a red bag delivery either, so really we had it super easy, and Vel did everything right! She immediately started the bonding protocol, nickering, nuzzling, licking and nipping to get the foal up and moving. With all the work I did around her udders in the months before, she had zero reaction to foal nursing, but she wasn’t too pleased about snoot boops on other tender areas!
Meet Asterveil, or Asti for short, the cutest critter on the planet right now - the top row is from her first hour, the bottom row from 1.5 days old:

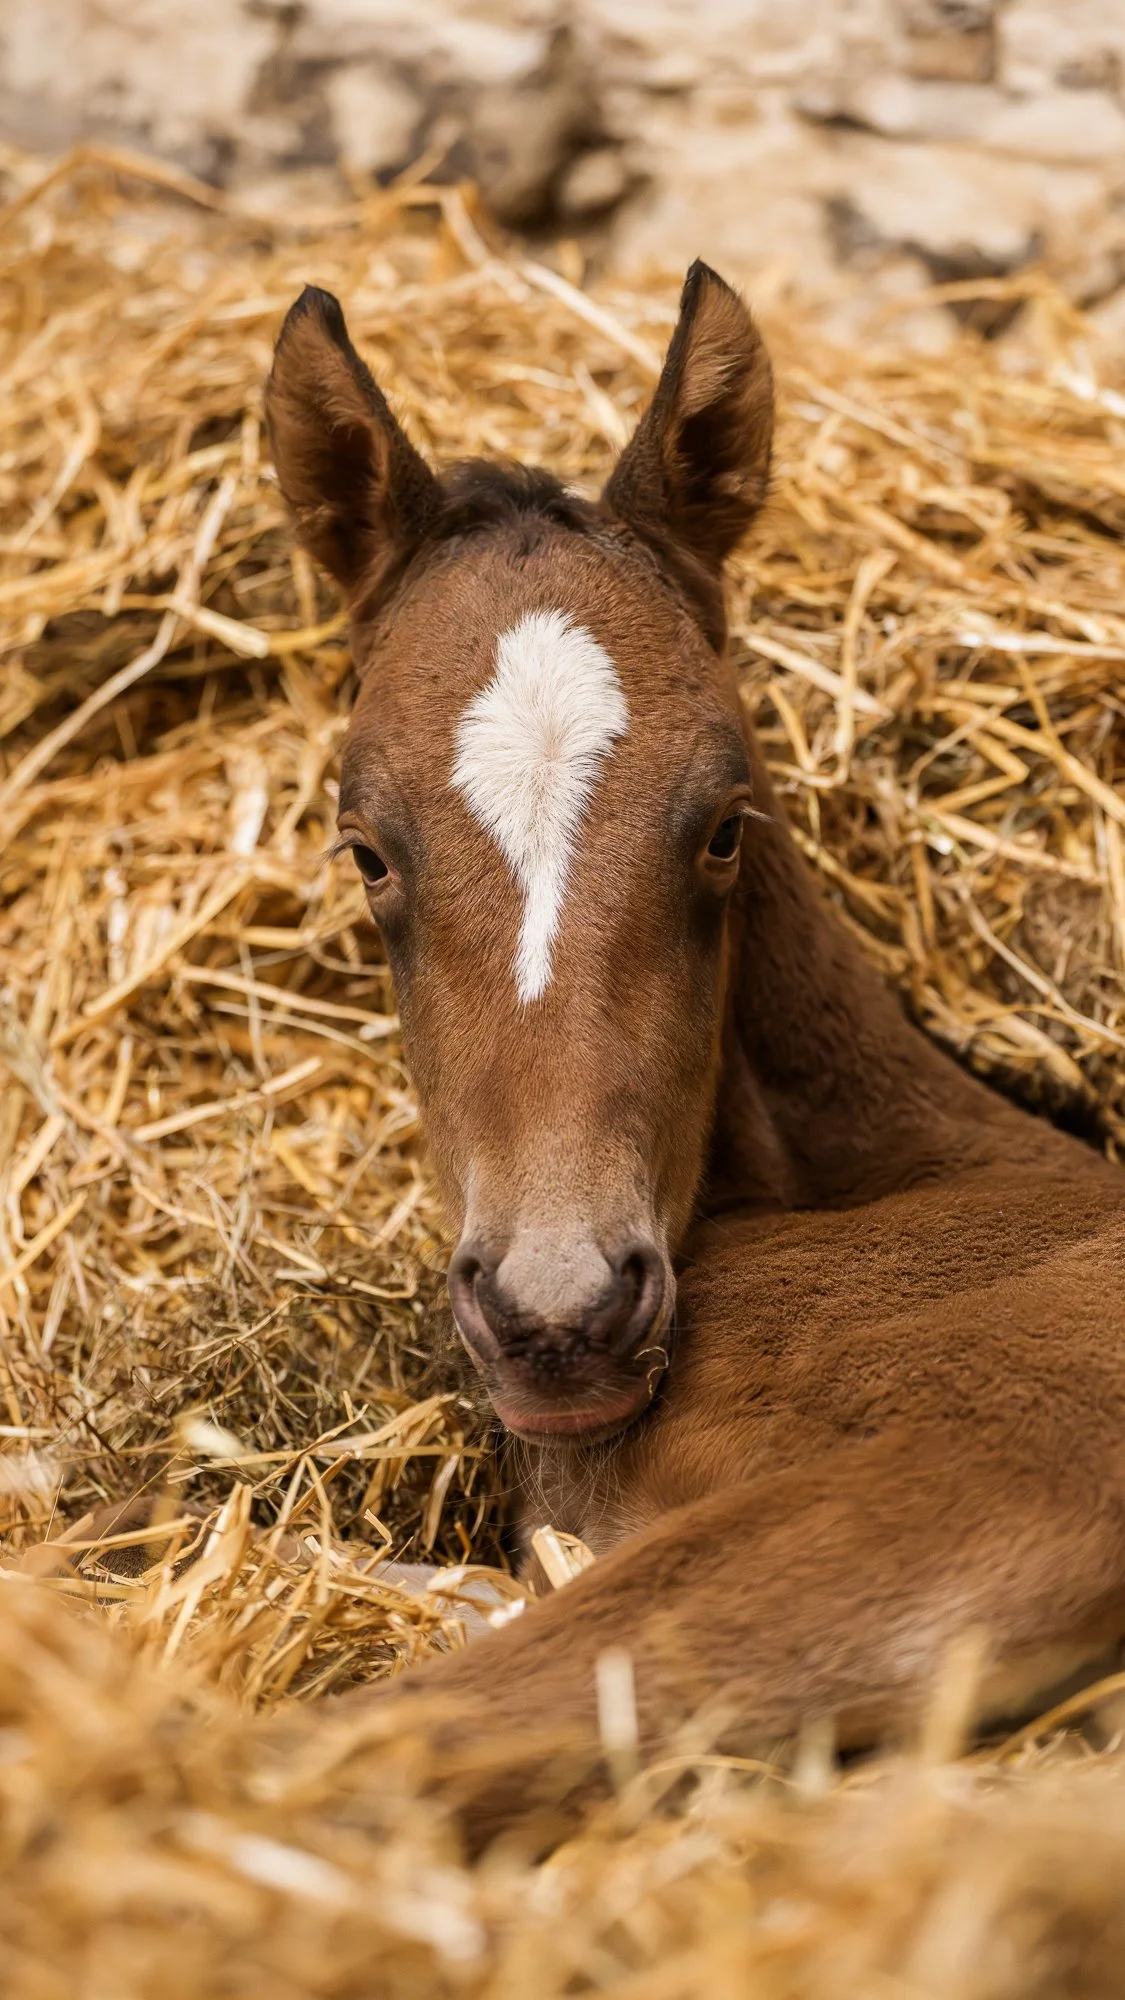
This is our view now, at 1.5 days and a bit old:

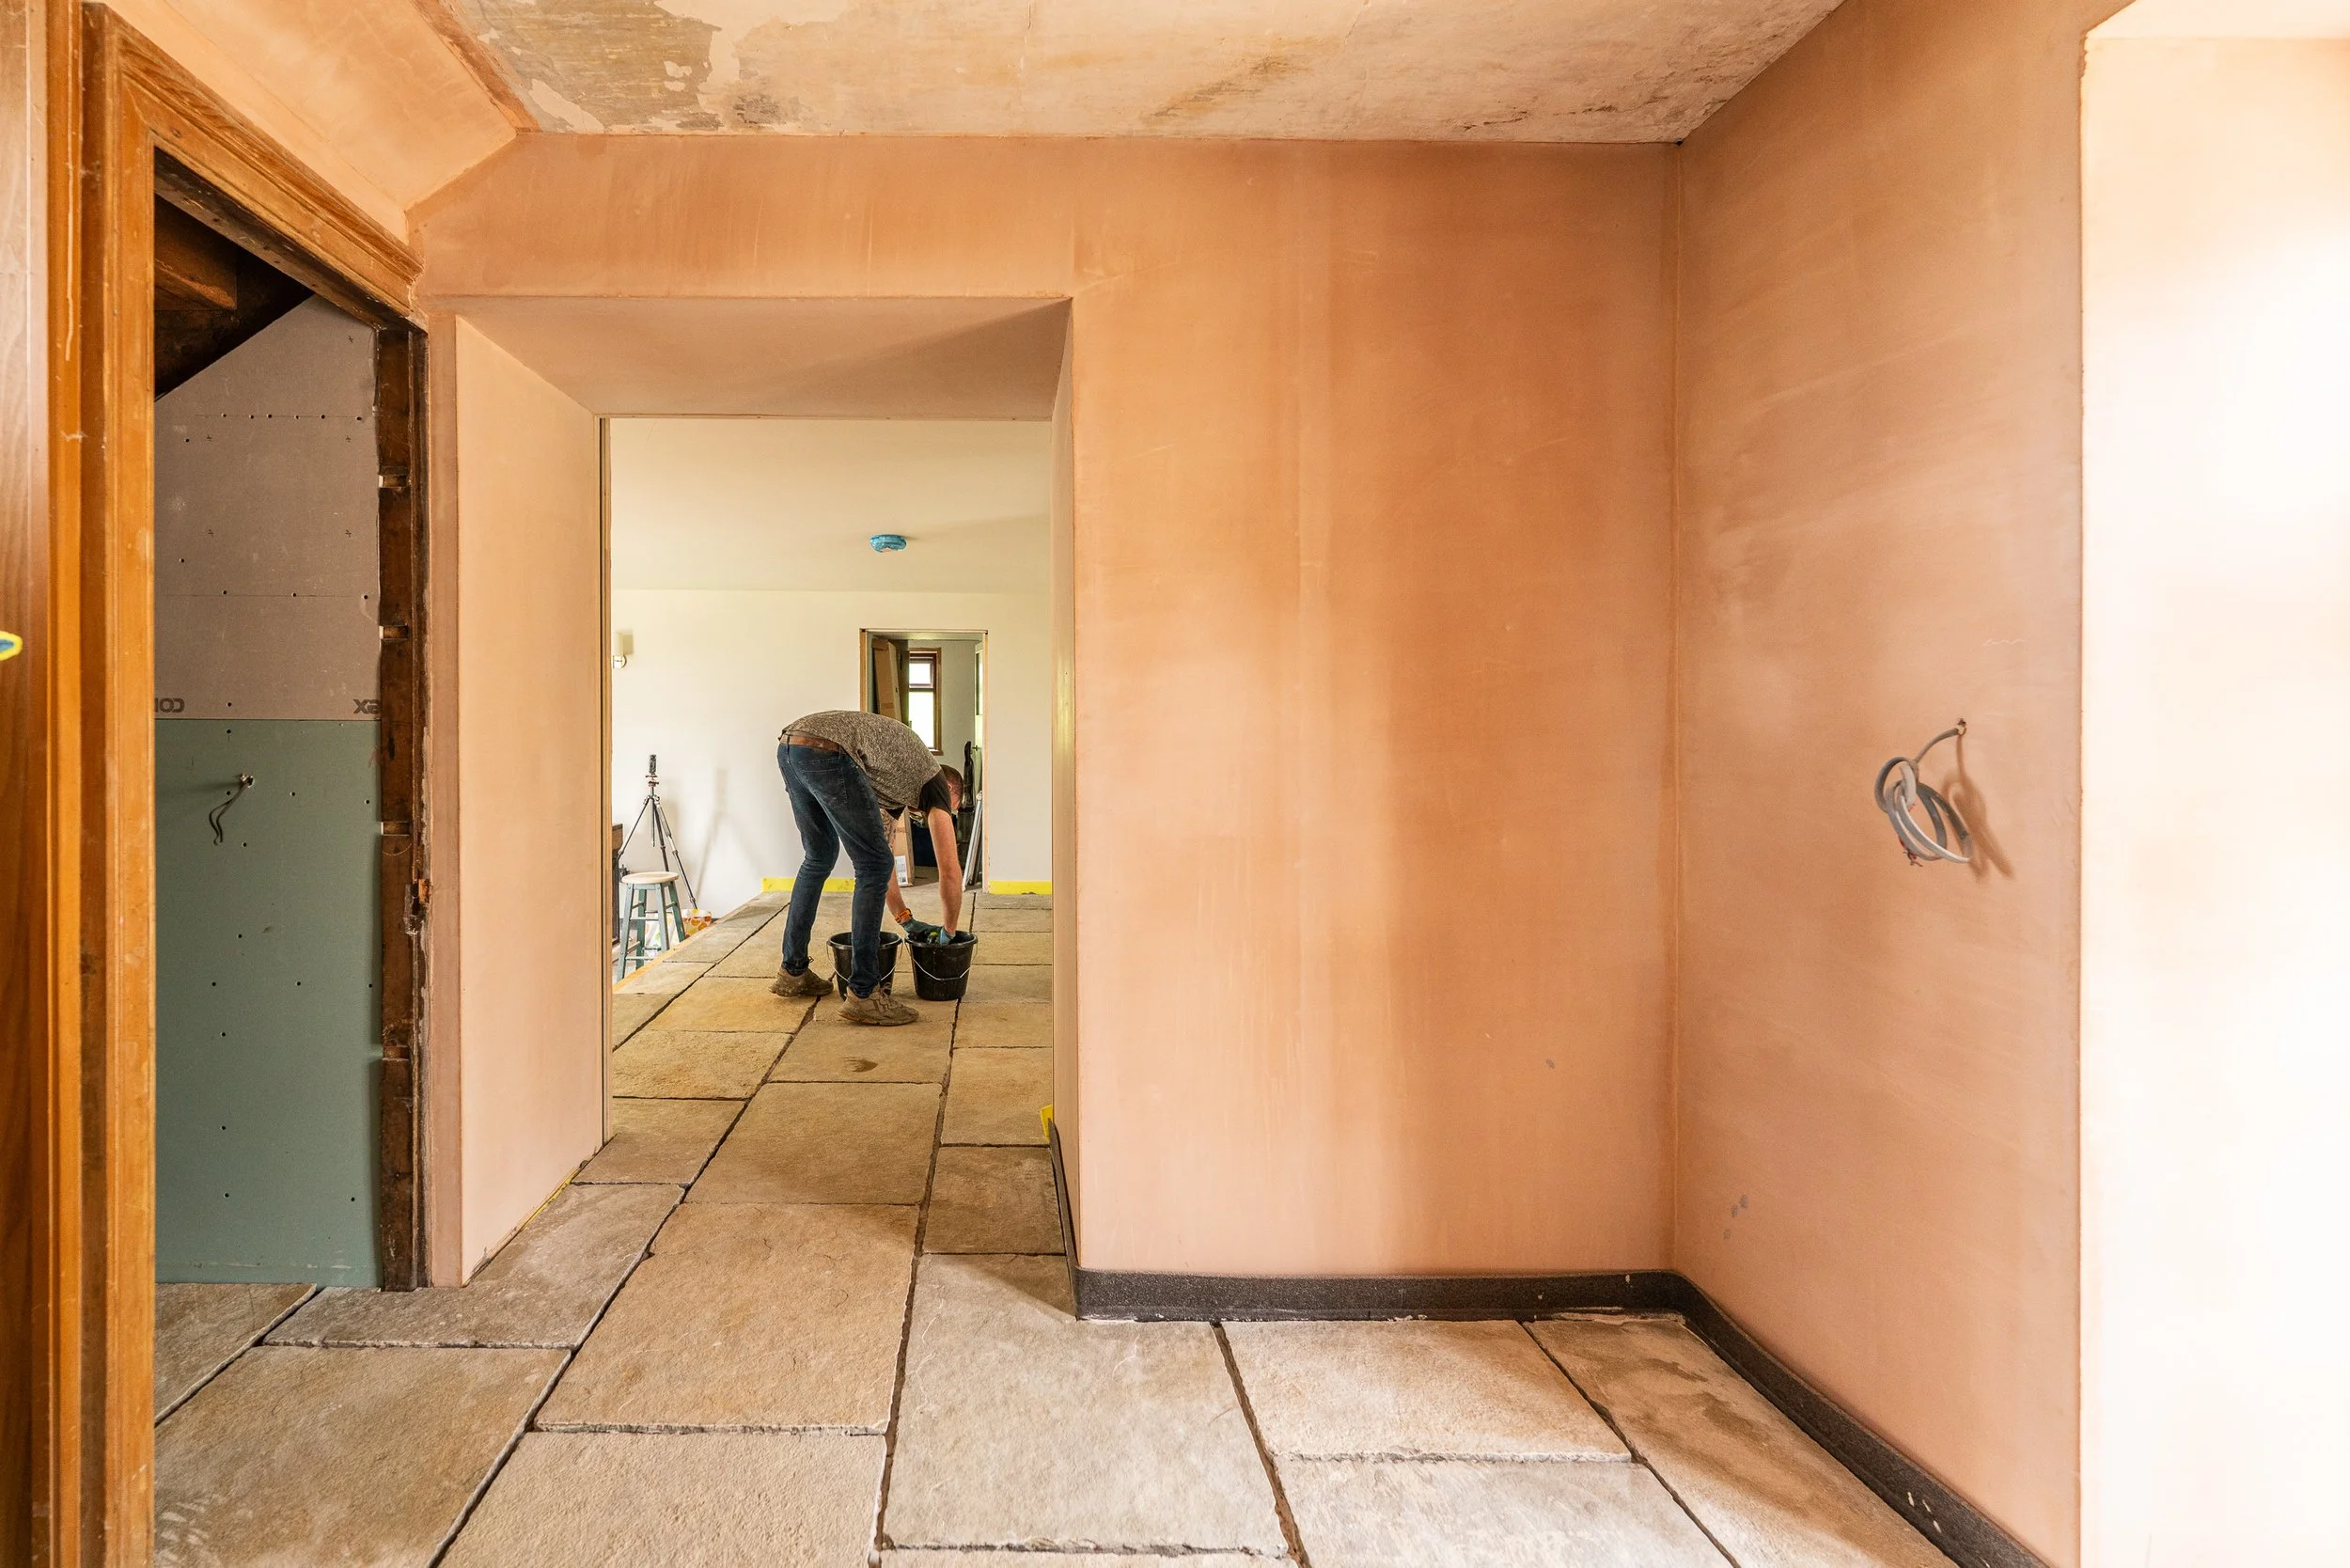
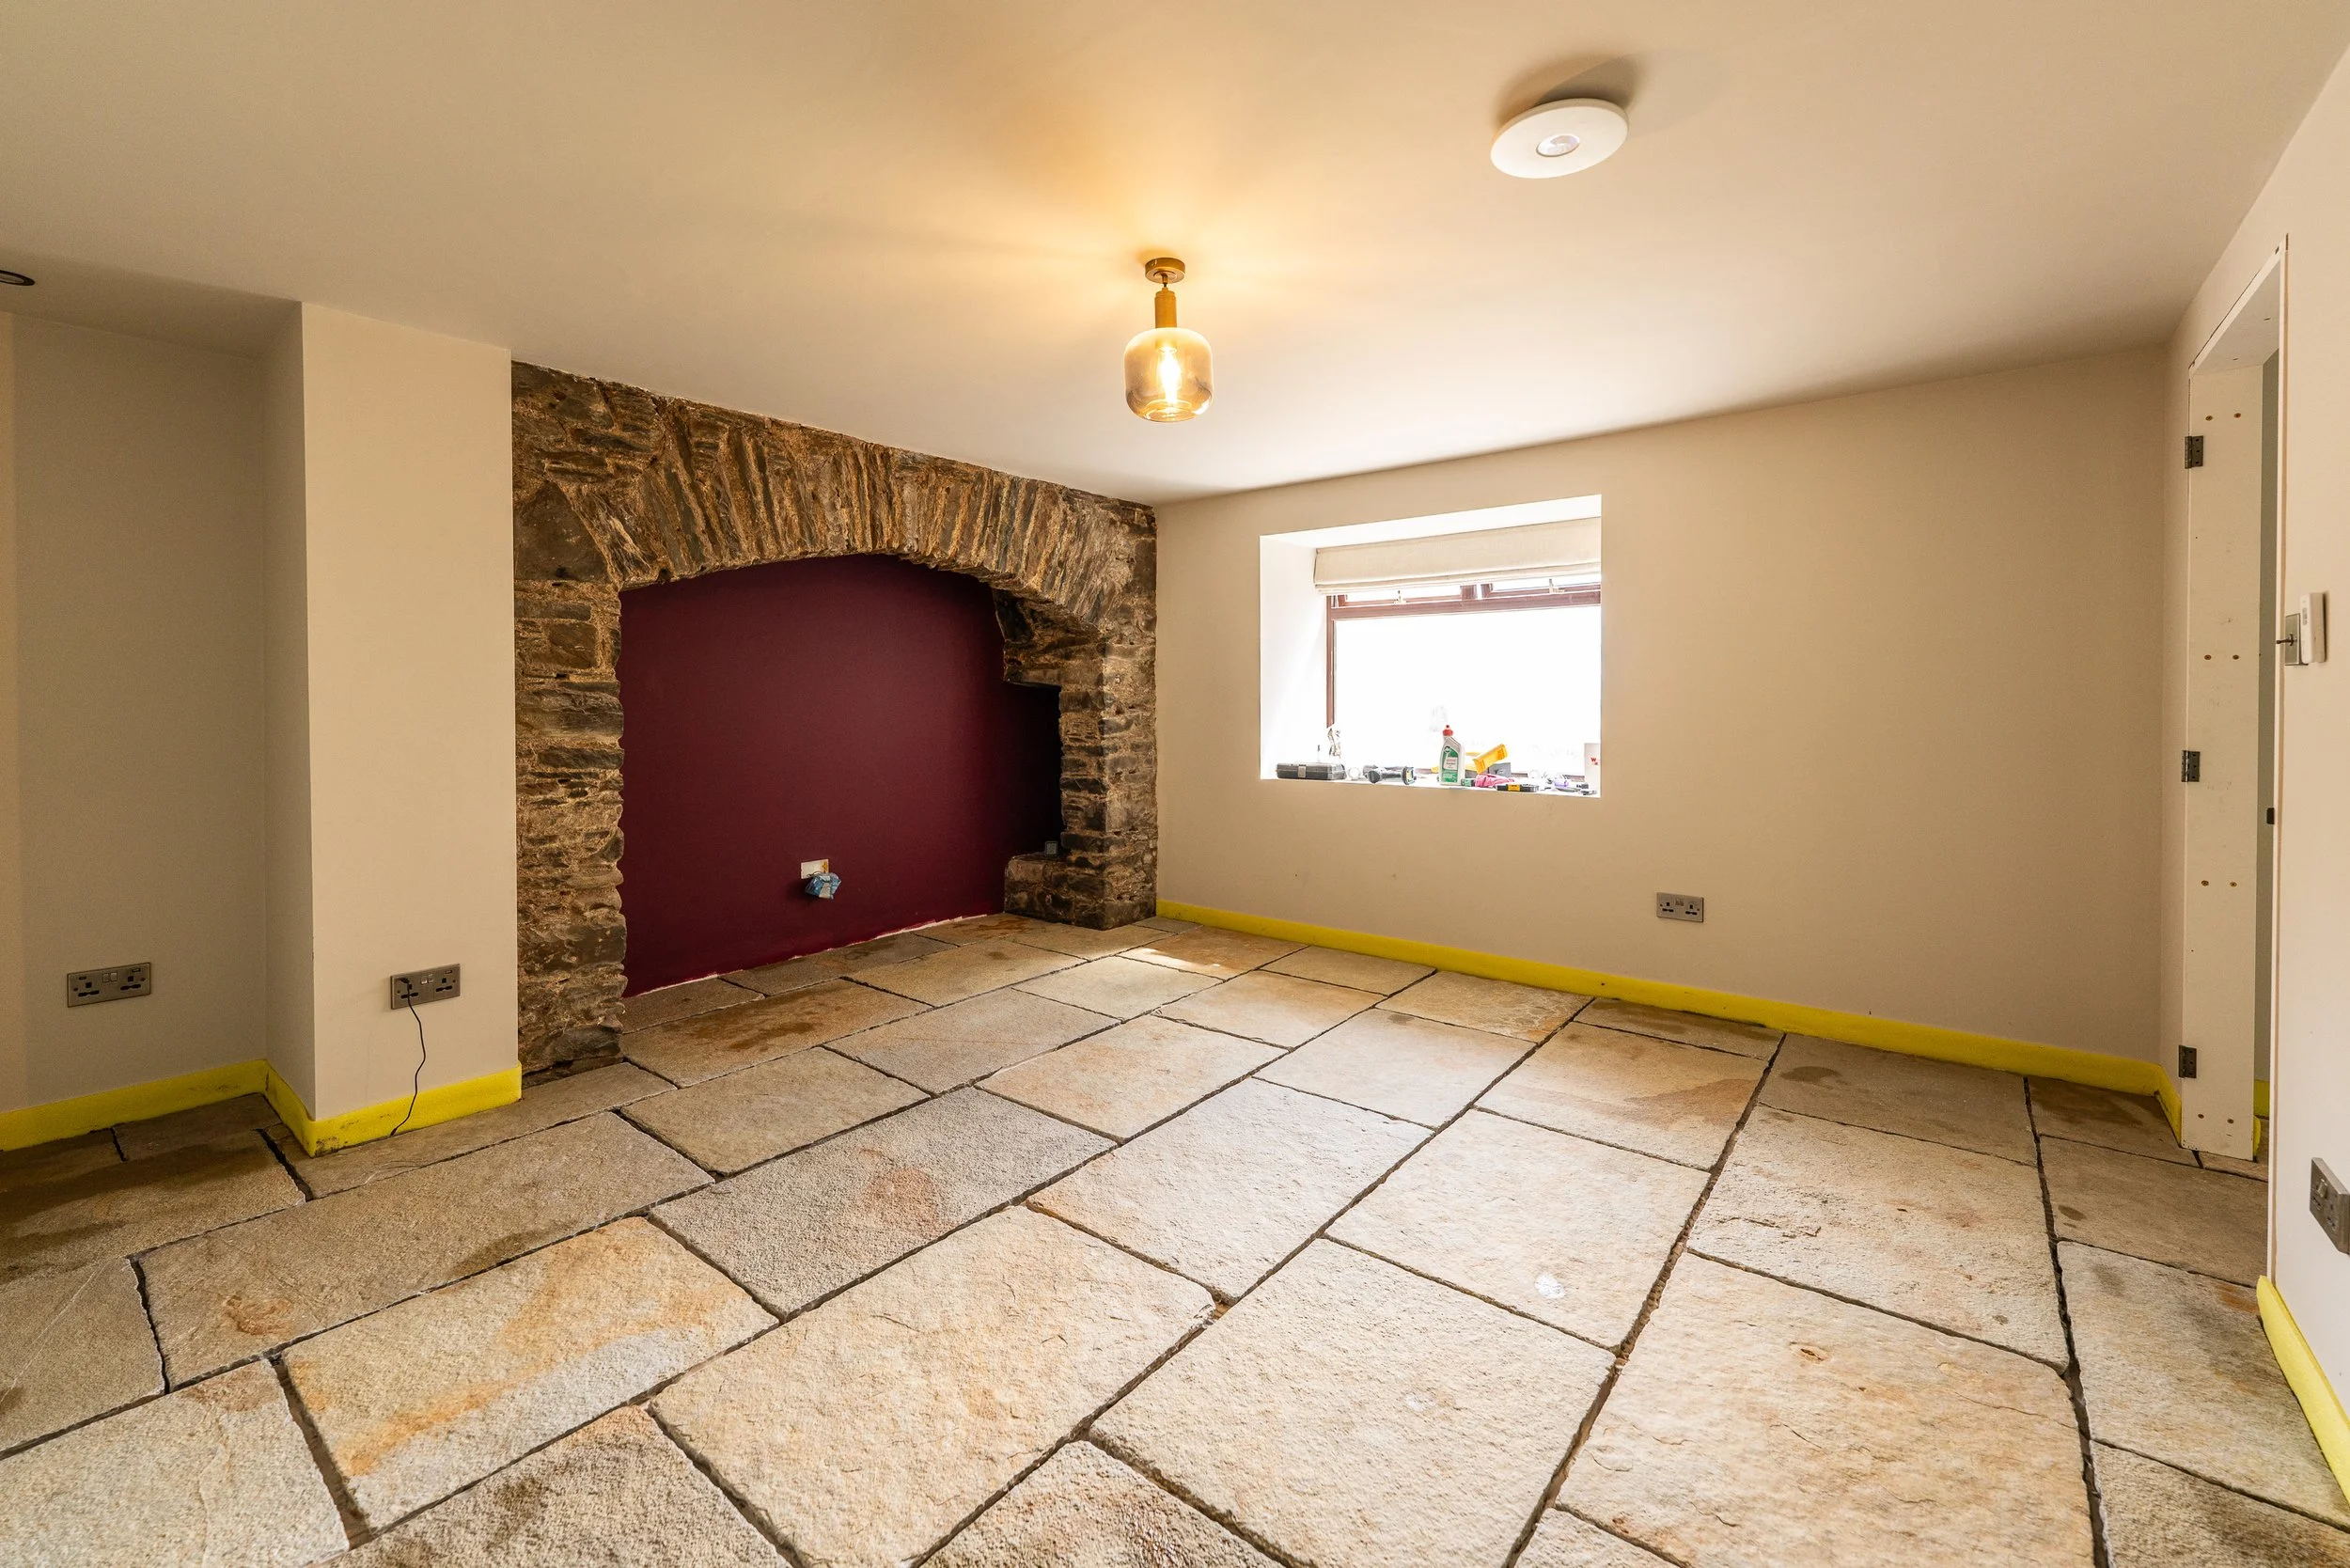
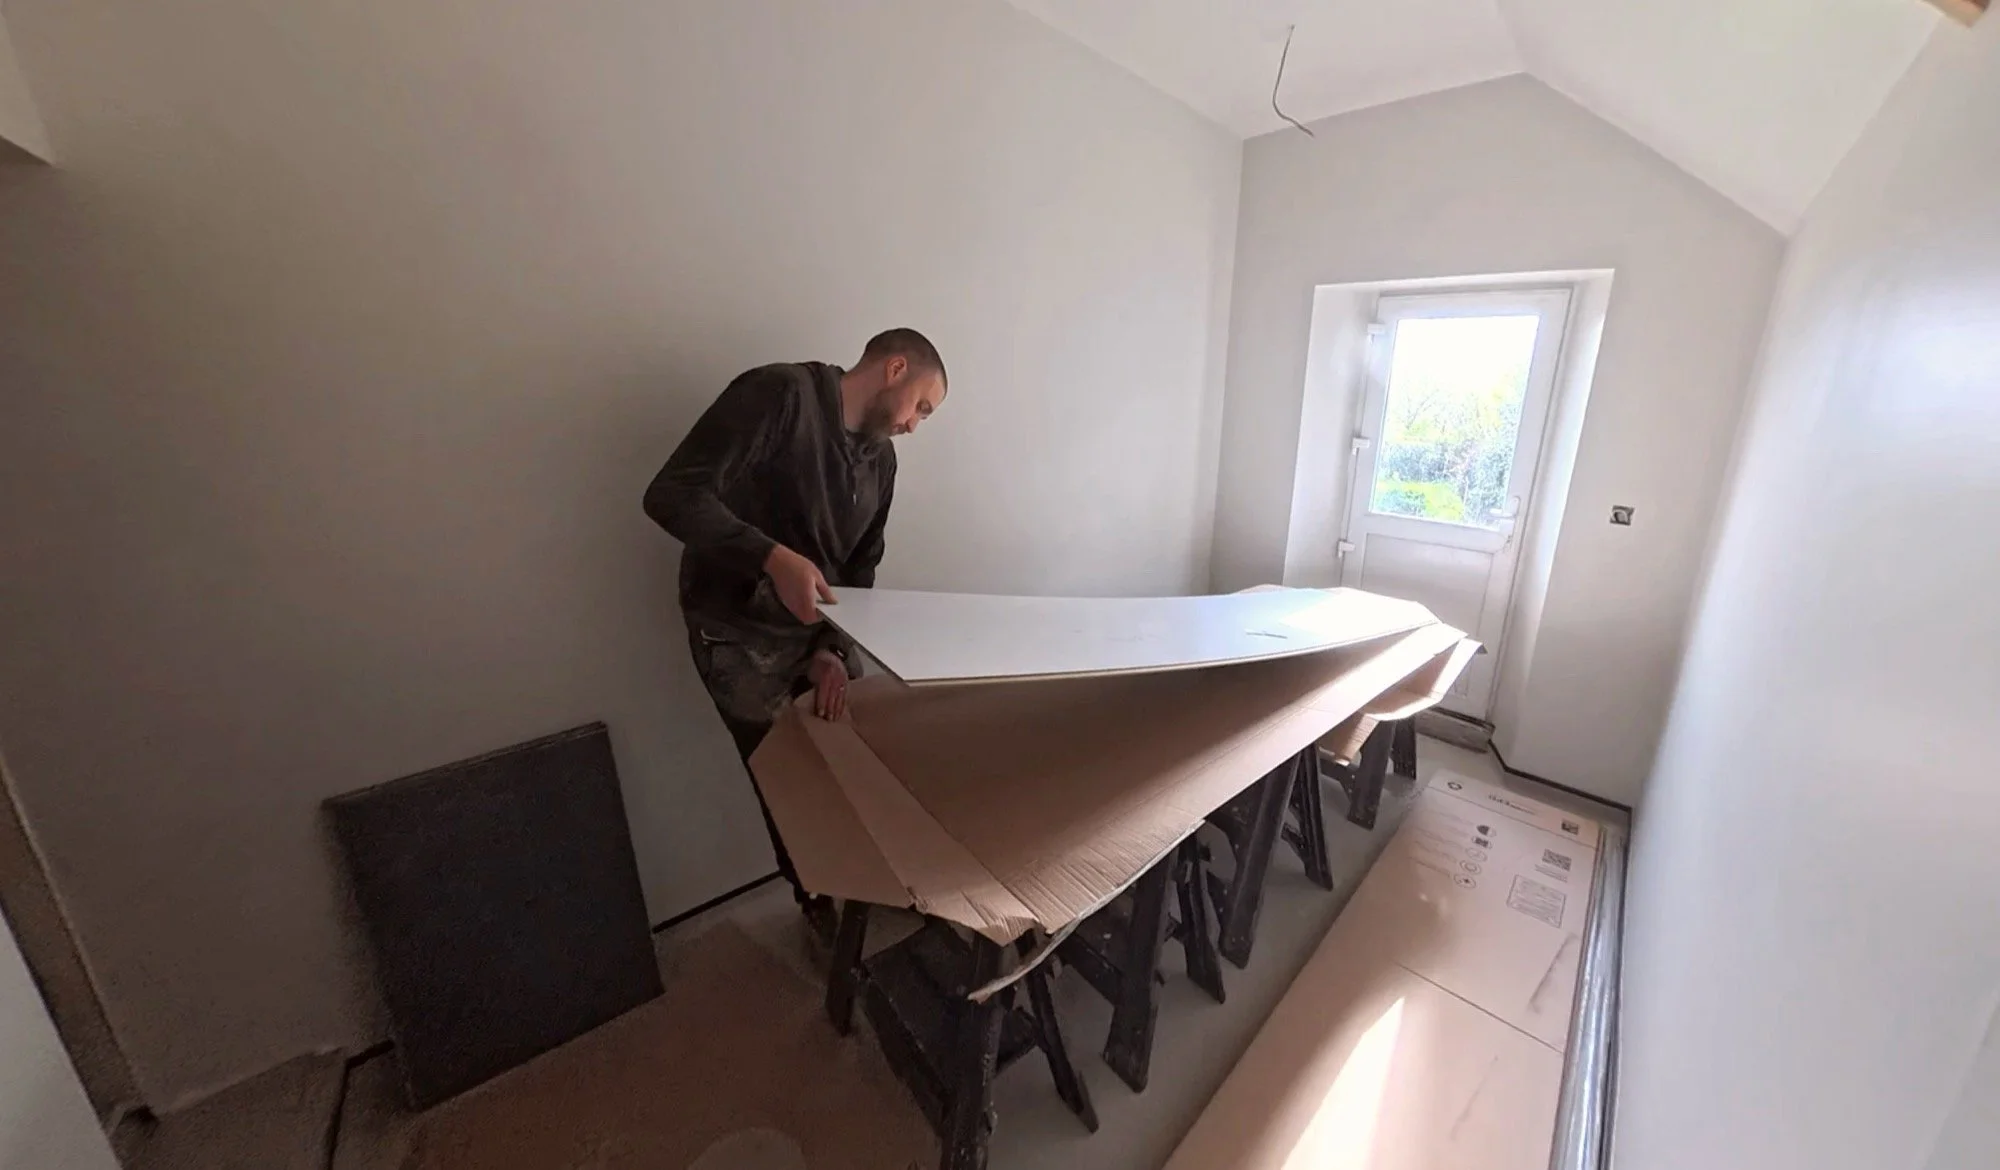
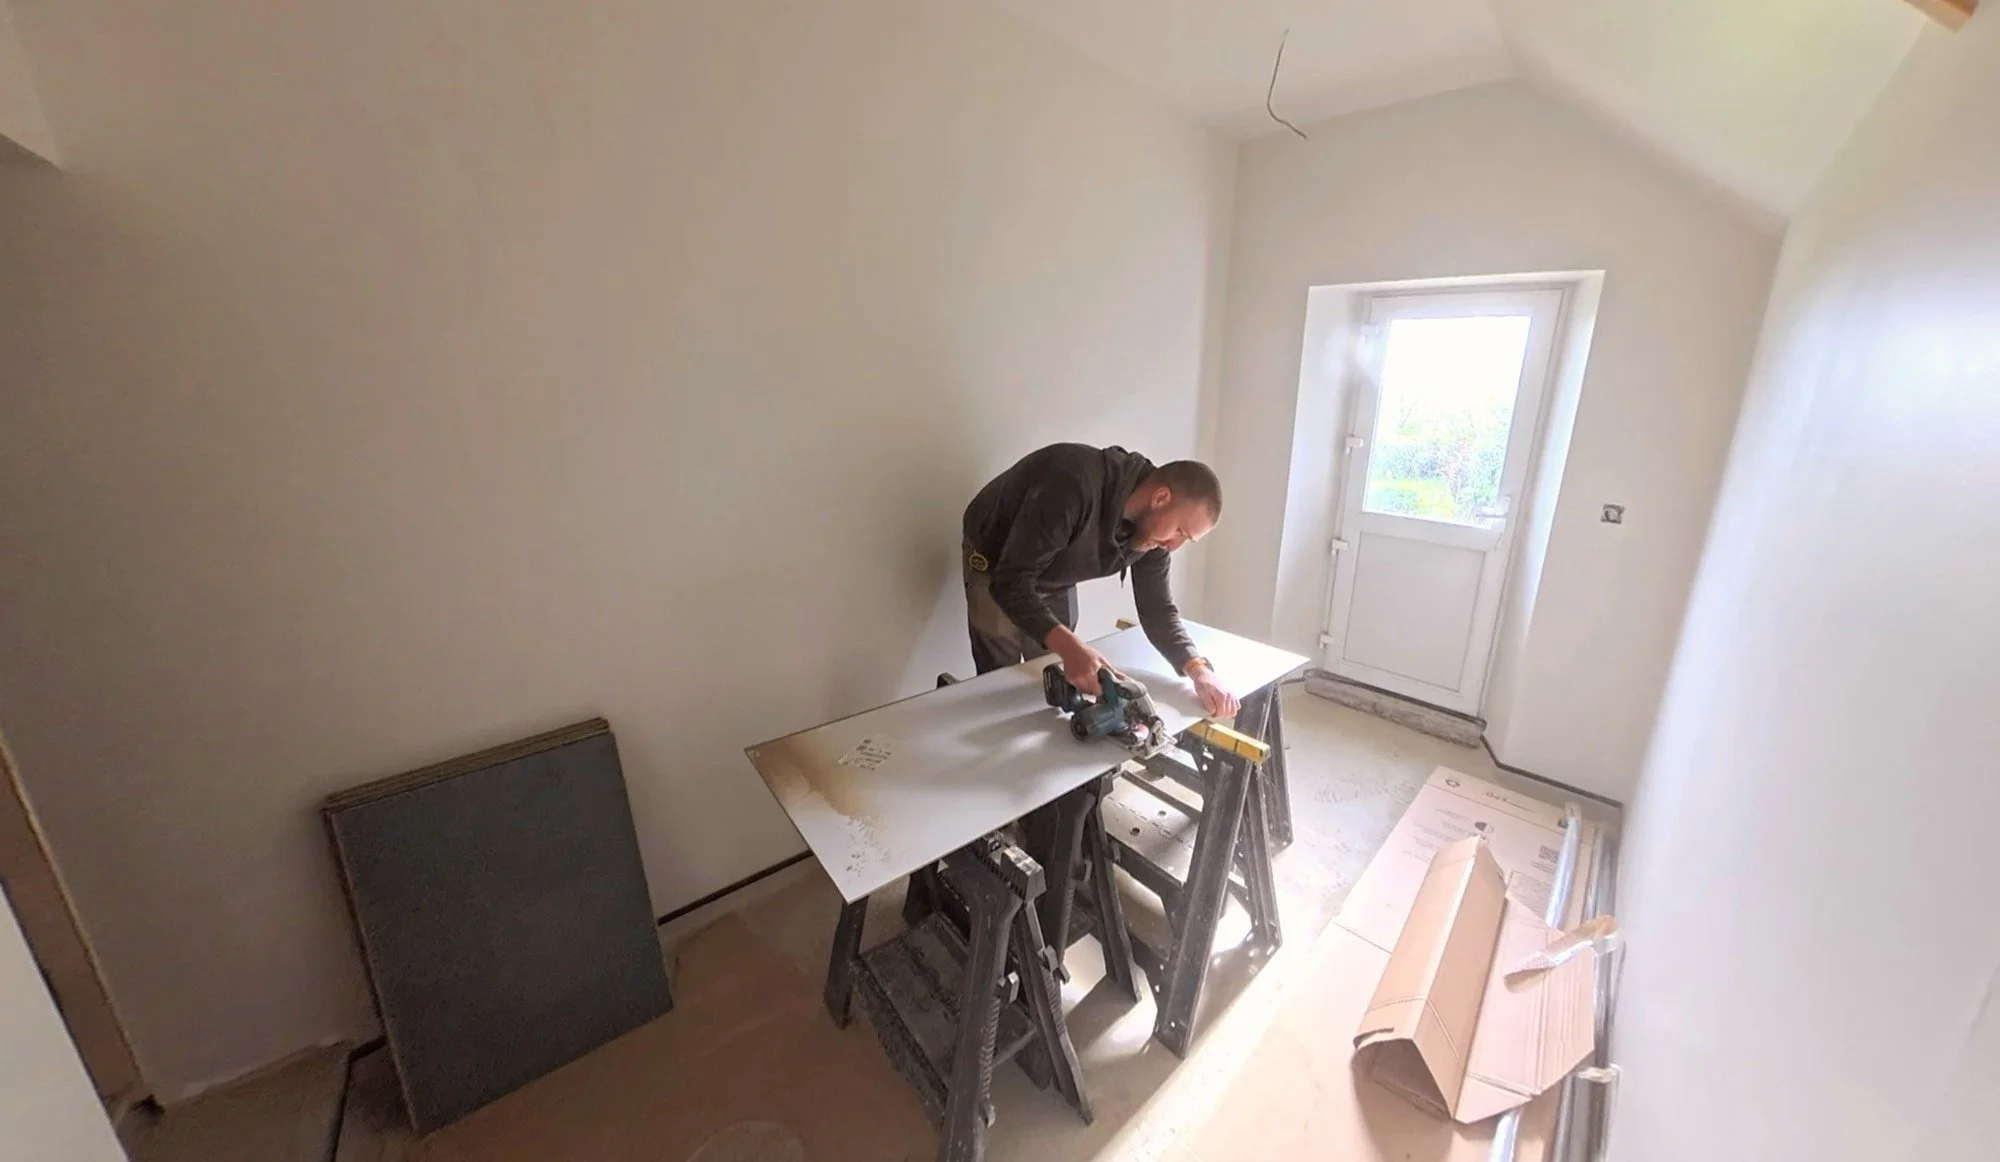
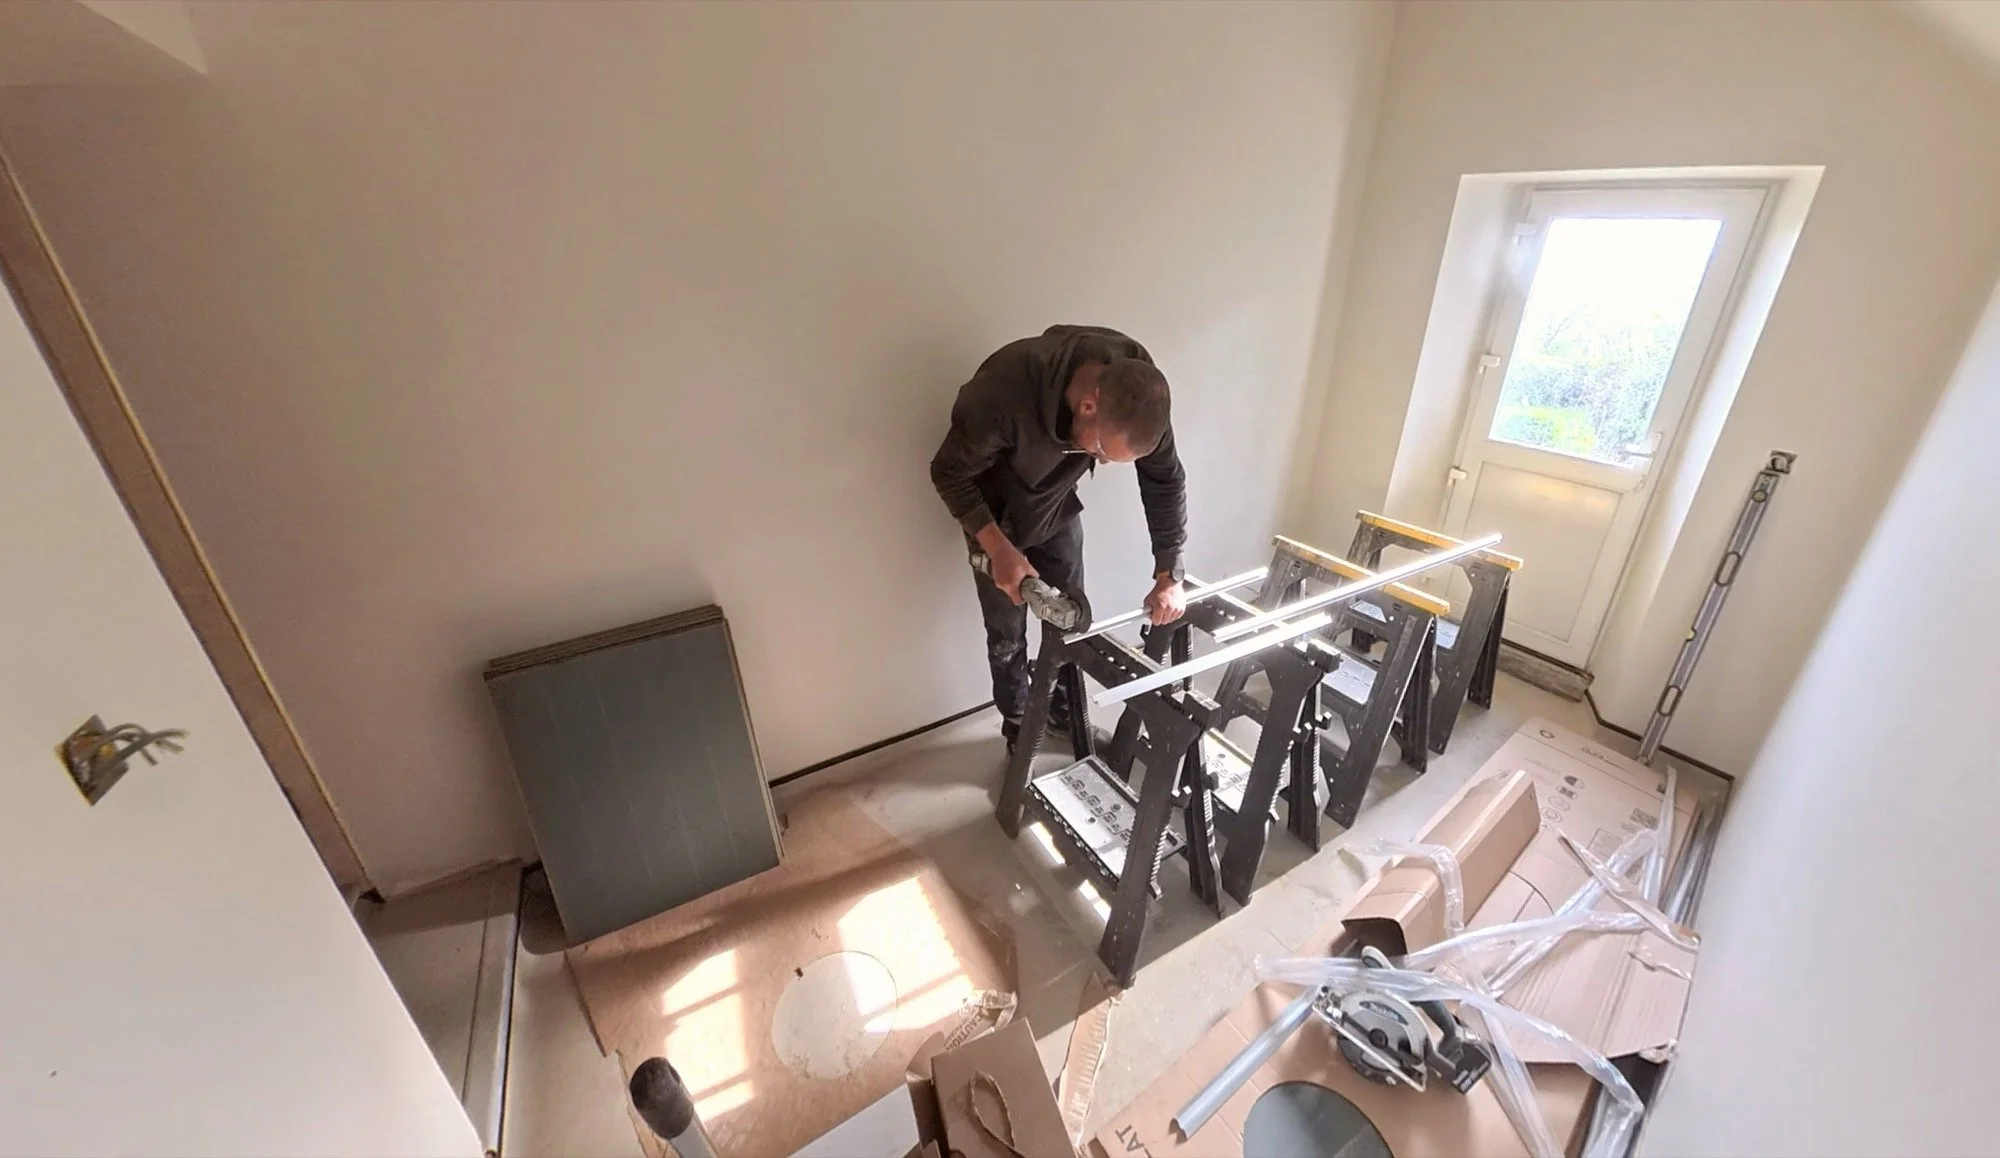
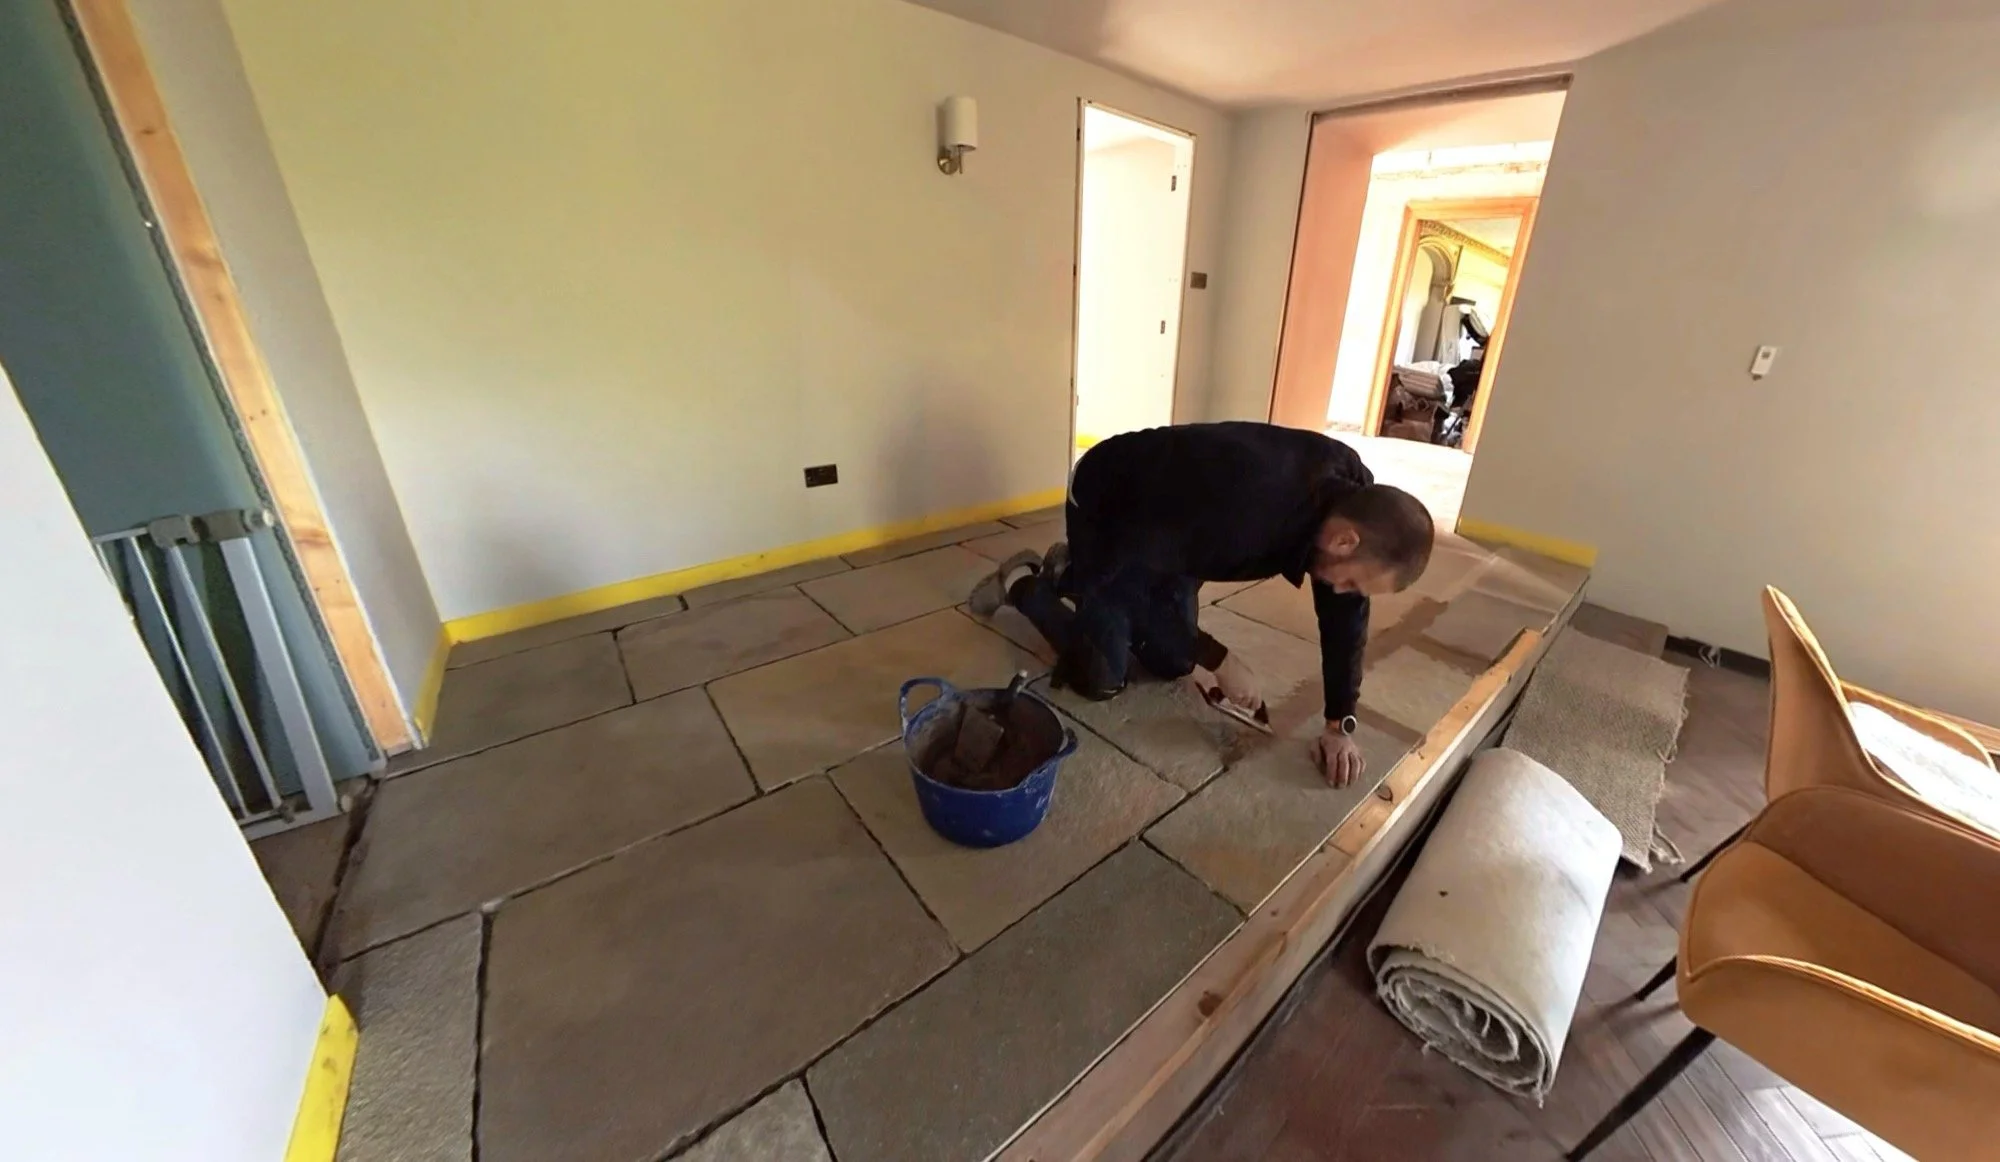
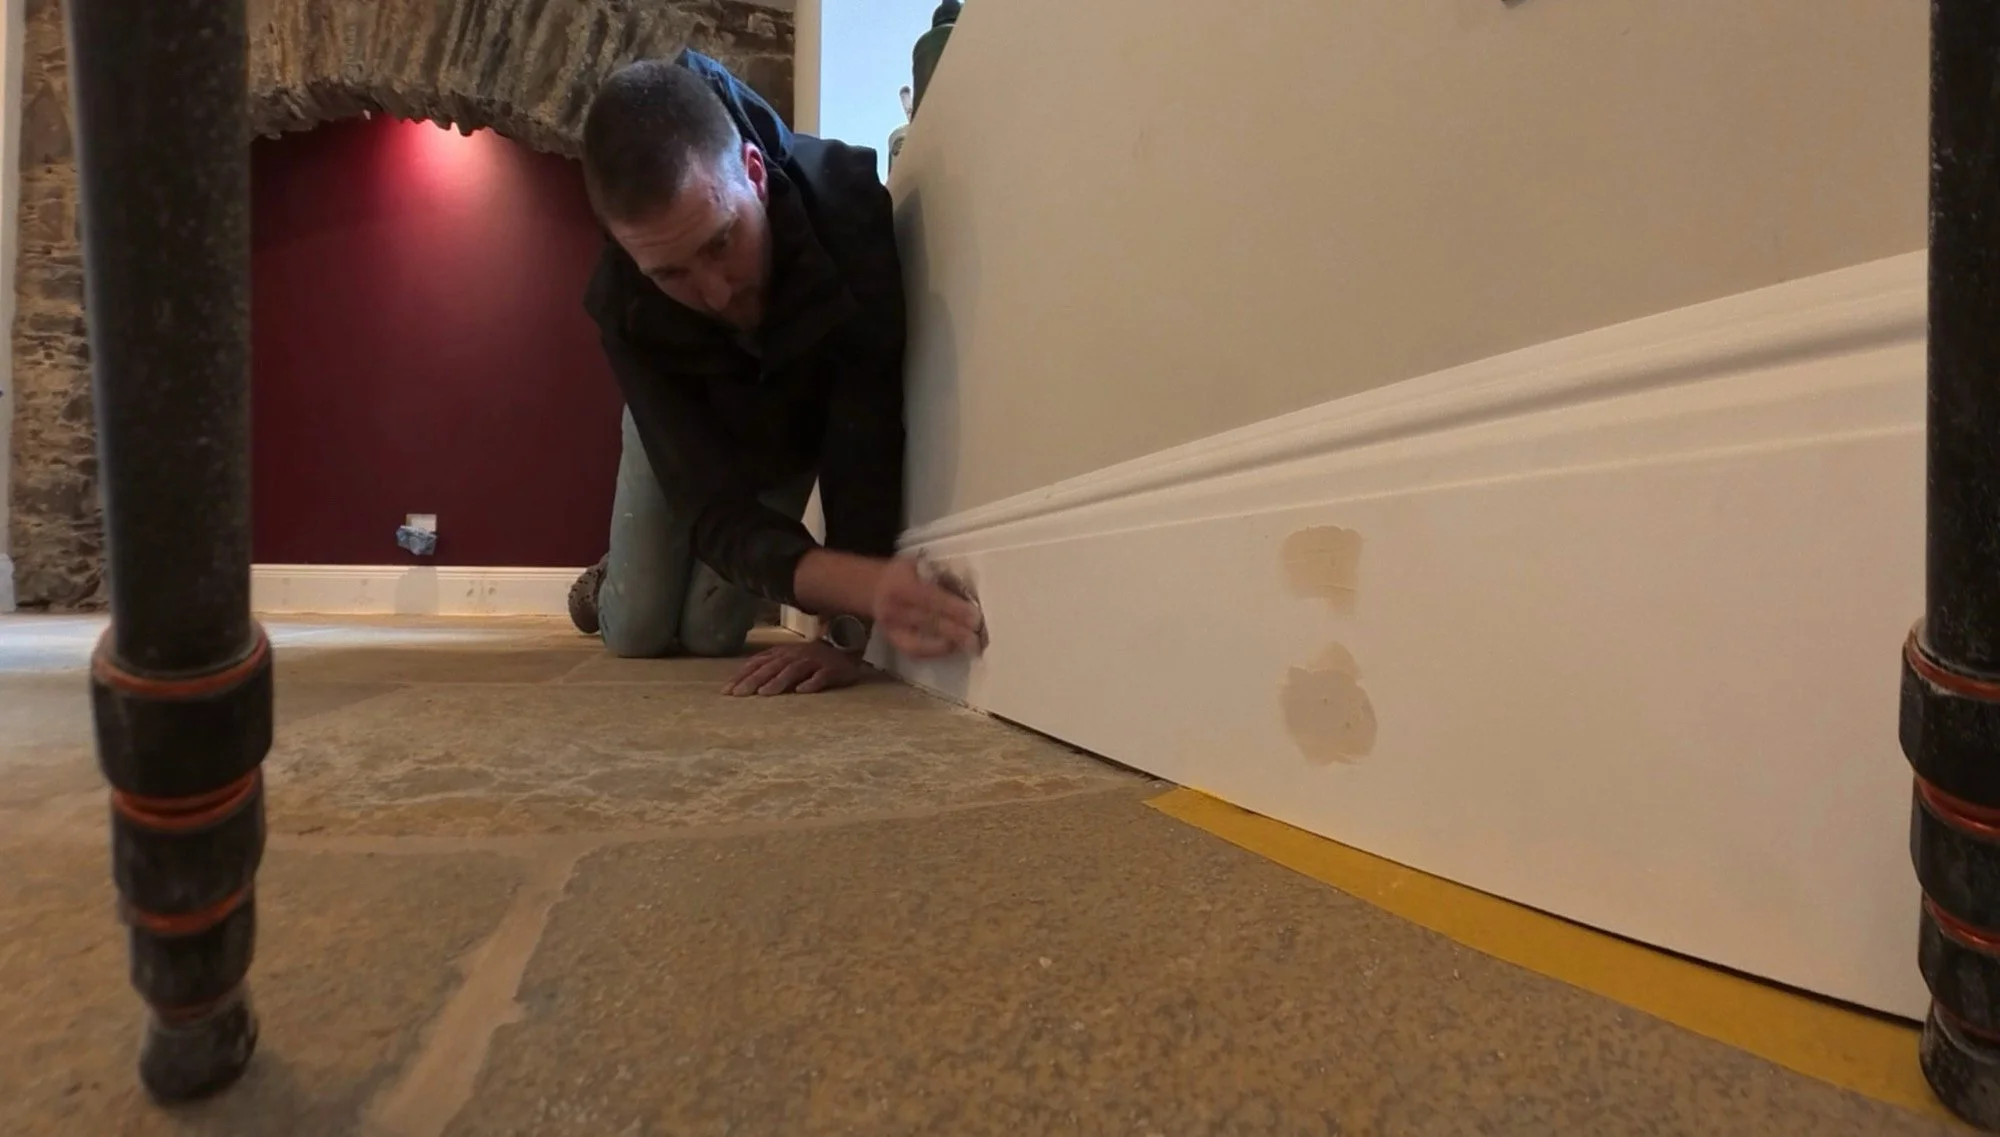
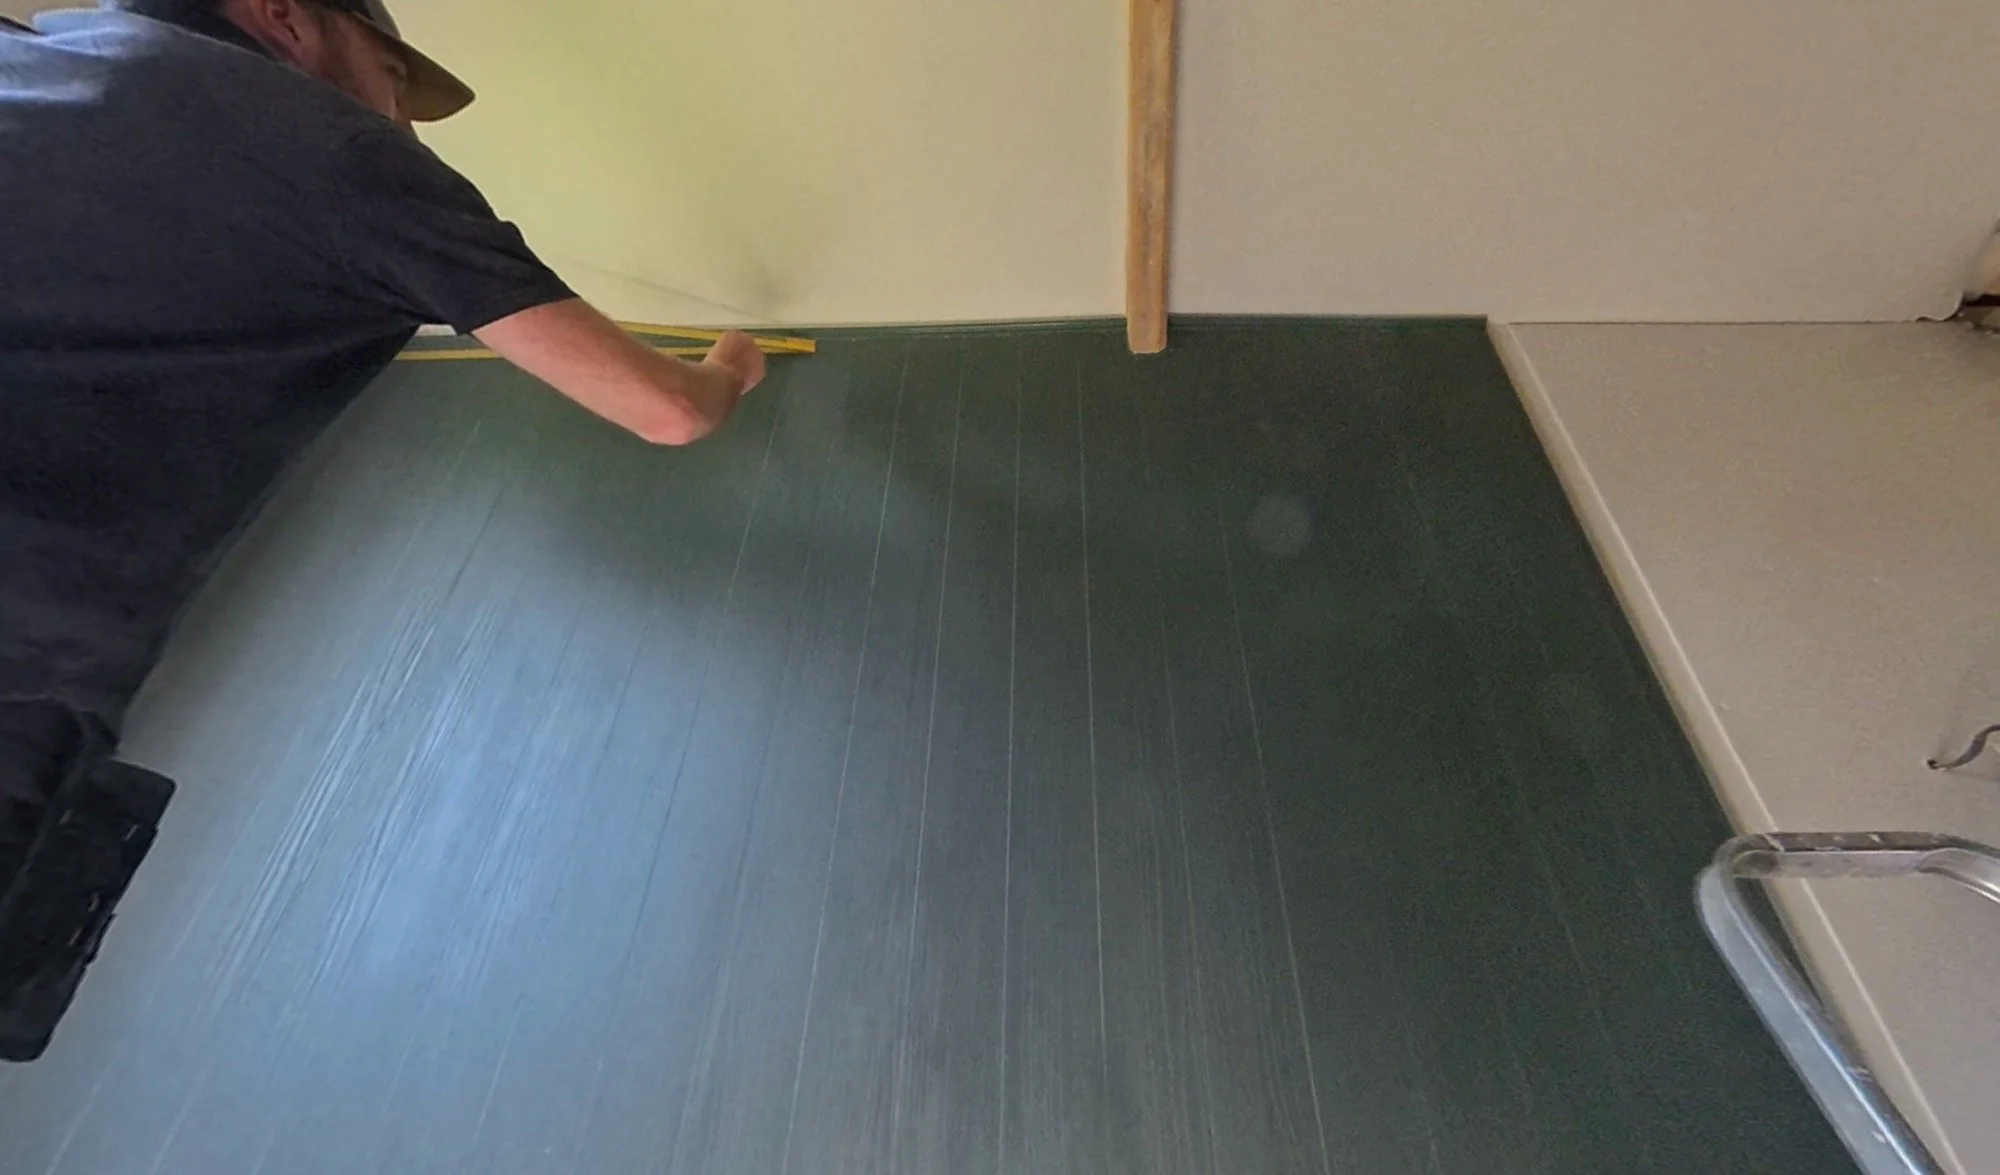
With all of that to manage, a week or two earlier than we’d planned, it’s a miracle that any progress was made anywhere else on site. However, it was a big week as we took delivery of all of the wood - architrave, plinths and skirting along with a couple of new doors. We (Dan) also got the entire stone floor grouted.
To do this, Dan first had to clean the stone with the approved cleaner, and then seal it (2 times!). Next, he got going with the grout. It was his first ever time grouting, and he’s done amazing. The colour gave us a panic (nervous breakdown) when it first went down, and given the house is unheated at the moment, it took forever to set (literally). When it dried, though, it is the perfect colour.


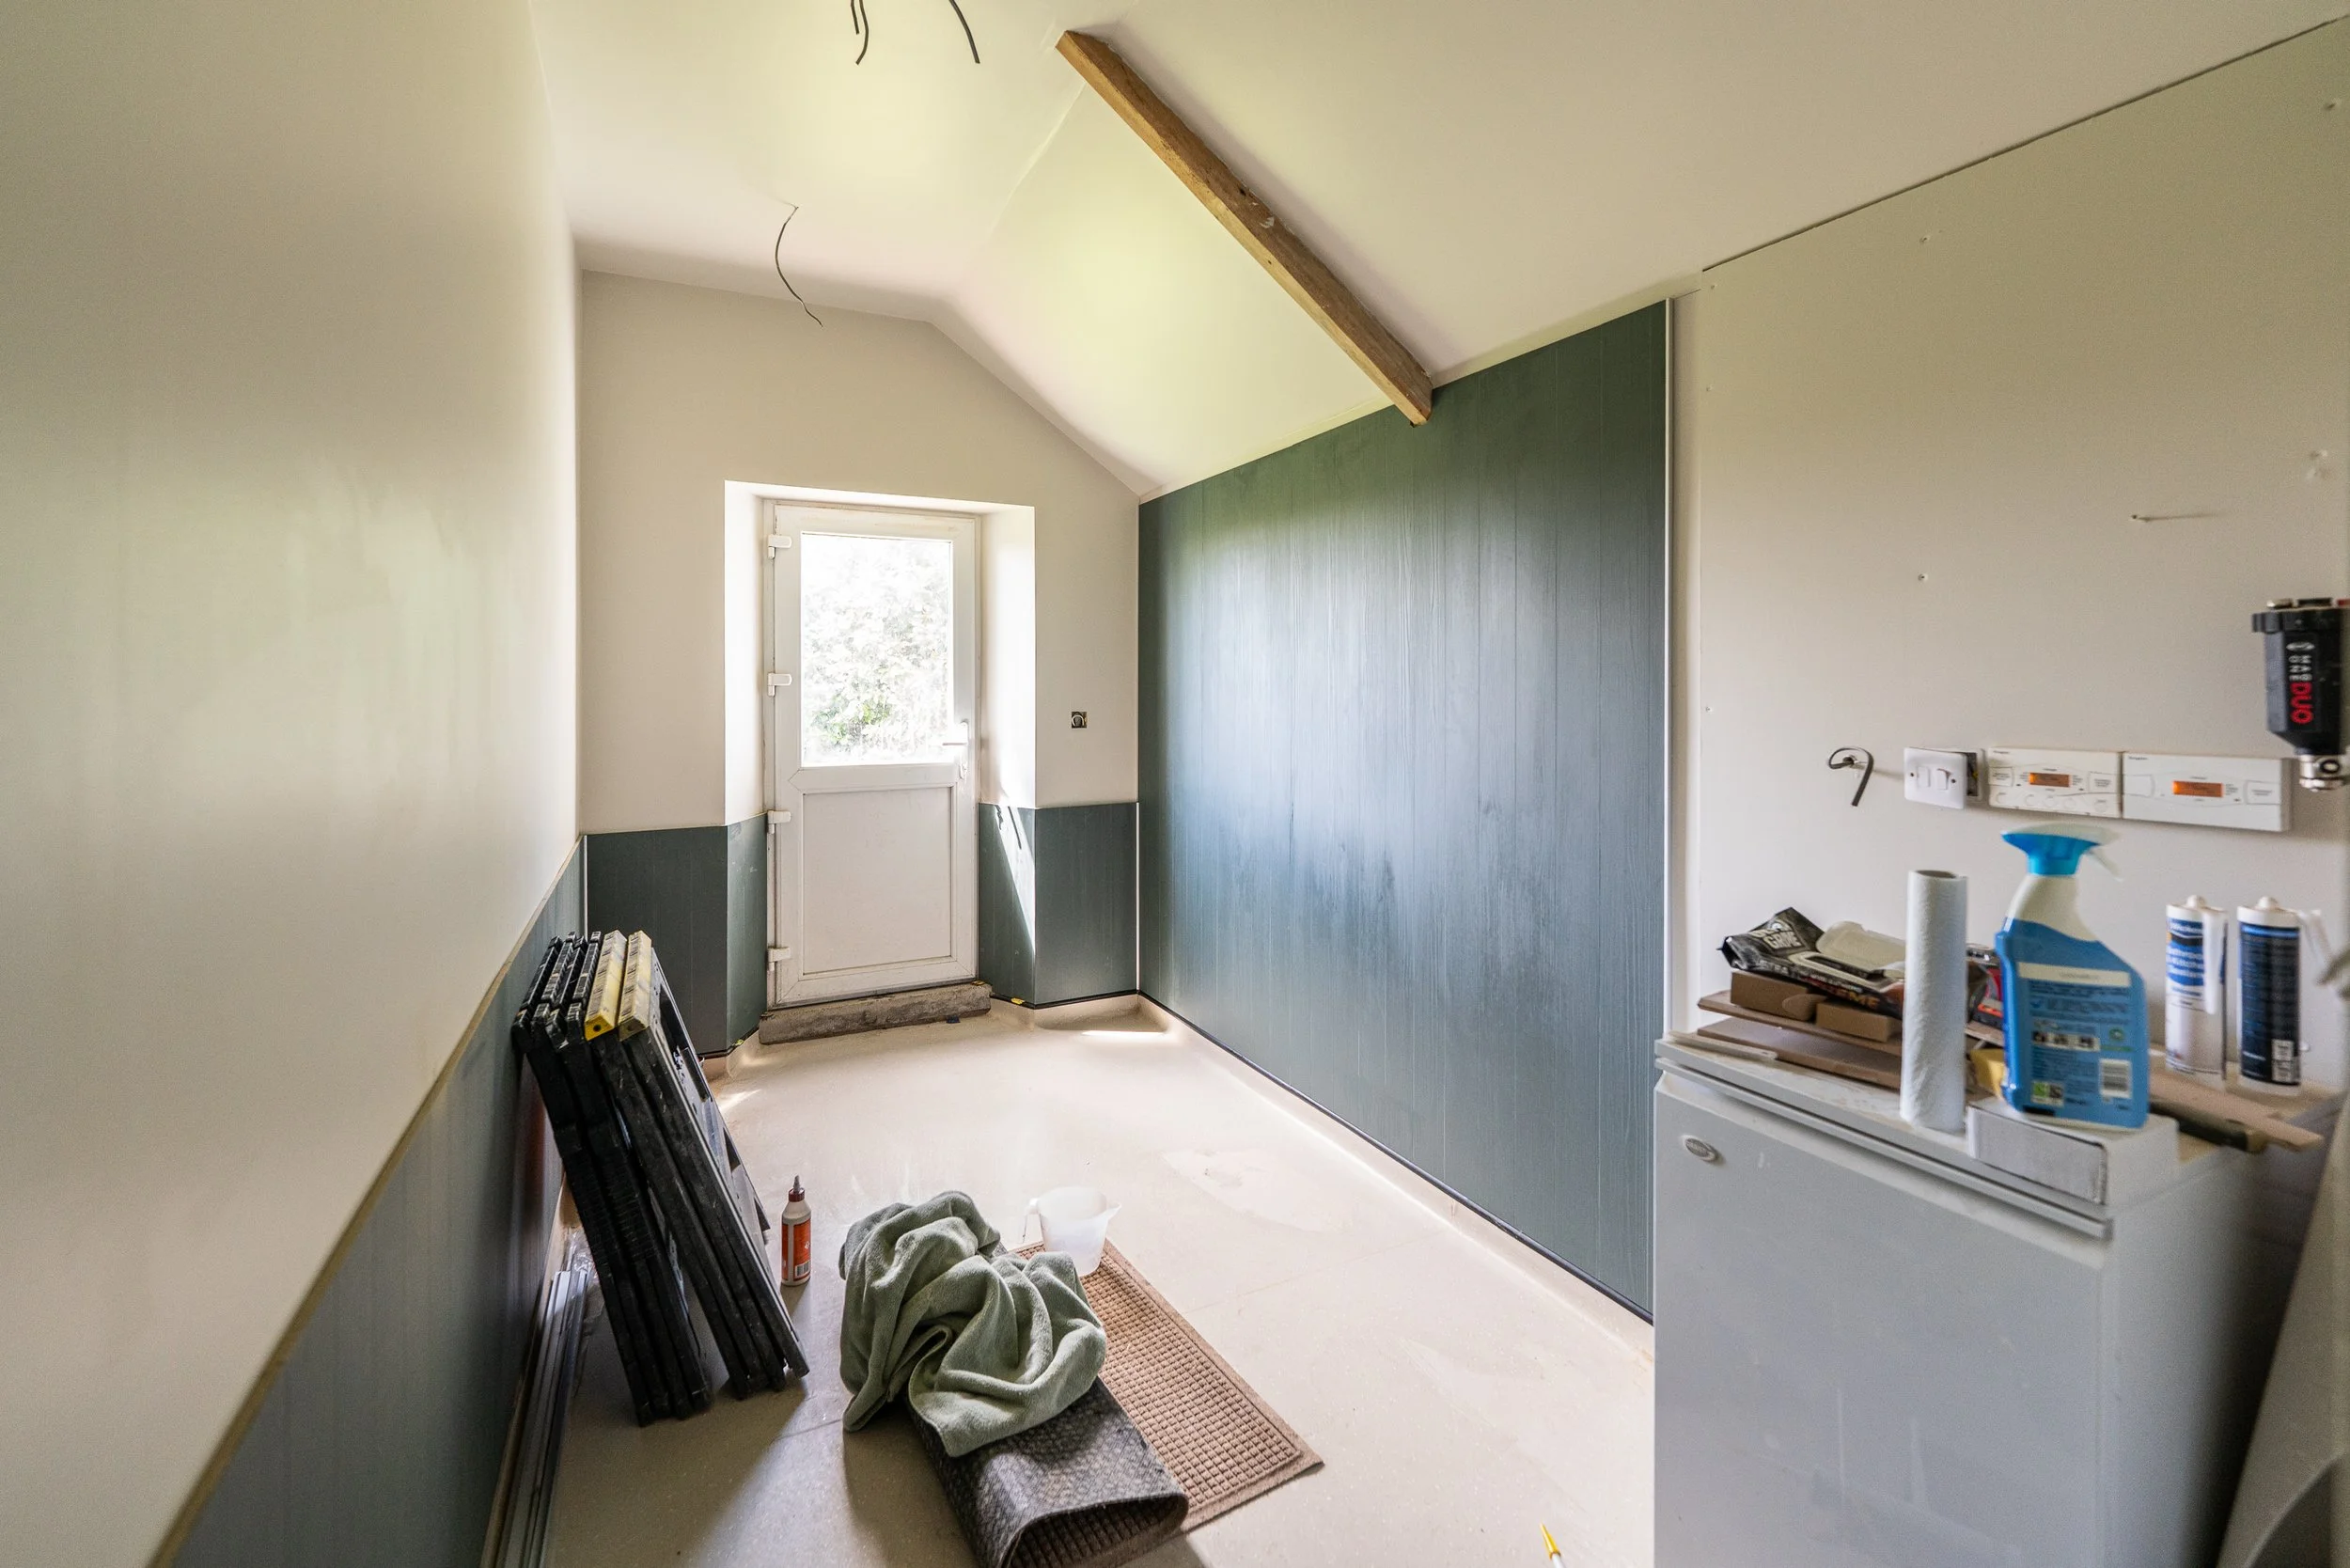
This room hasn’t been cleaned down yet, it’s still drying, but you can get a good feel for the *vibes* here:


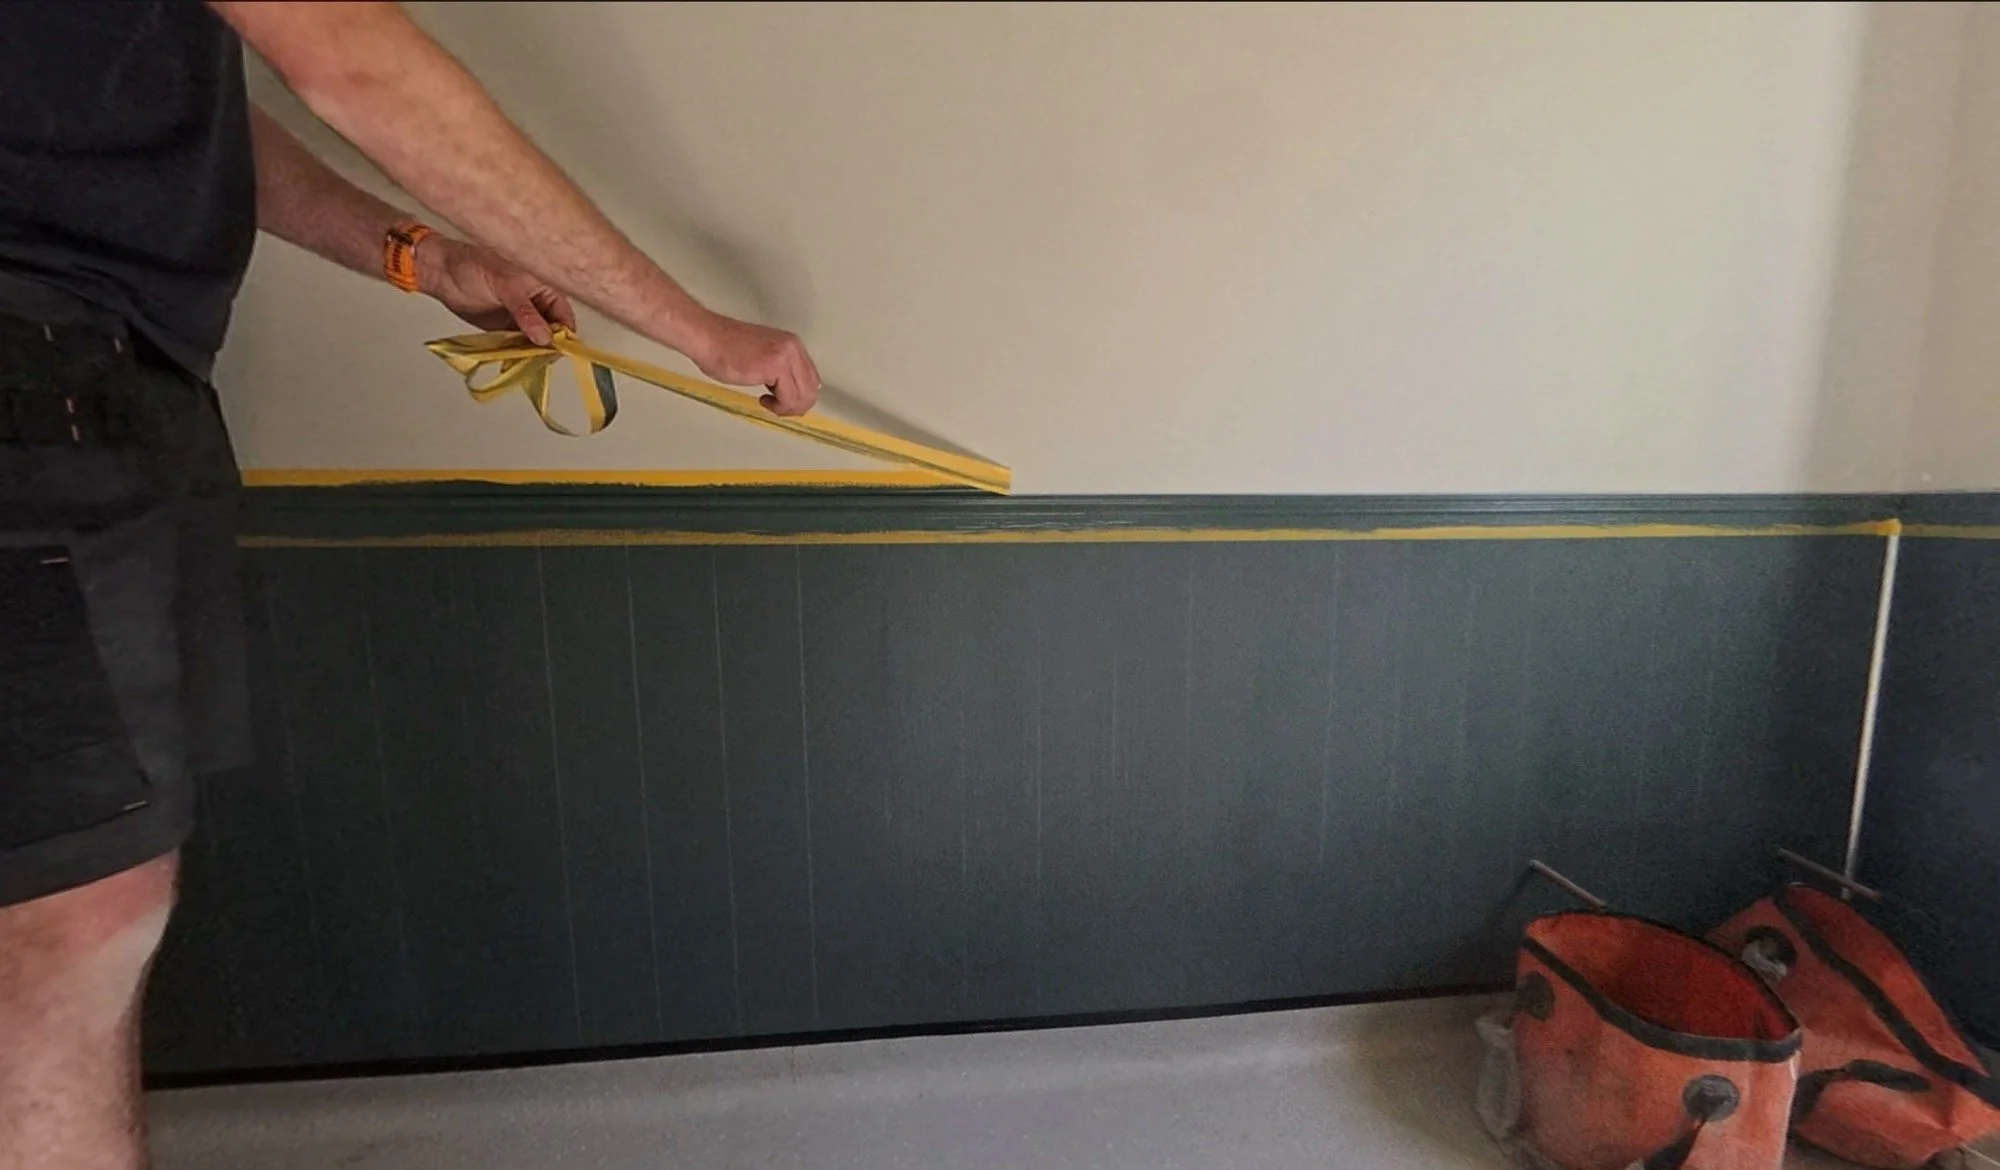
Next up, Dan added the wood trim to the Wet Dog Room. The cutting shot at the start shows the grout cleaned and dried. We have to give it all 3 days to go off, and then seal it again!


The trim was added stuck on with adhesive first, and then secured properly with a finishing nail gun. The trim will be filled, sanded, primed and painted in situ. I can’t WAIT for this to be done, the lights to go in and the radiator to go on that wall. It’s sooooo close:


That’s all for now!
May Week 3:
Another somewhat broken week because there was a lot to do, and a lot to catch up on work-wise too! We’ll start with the house things and then move to Asti, because her first week was super cute!
We left last week with the Wet Dog Room prepared and its the trim in place, but nothing else had happened in there. This week, that changed, as Dan got the final sealant in place, as well as filling, priming and painting the trim in the colour match for the panels. He wants to still add another coat to the trim, and the concrete lintel step on the door also needs another coat of its waterproof paint, but it’s looking great, and I’m very happy with it!


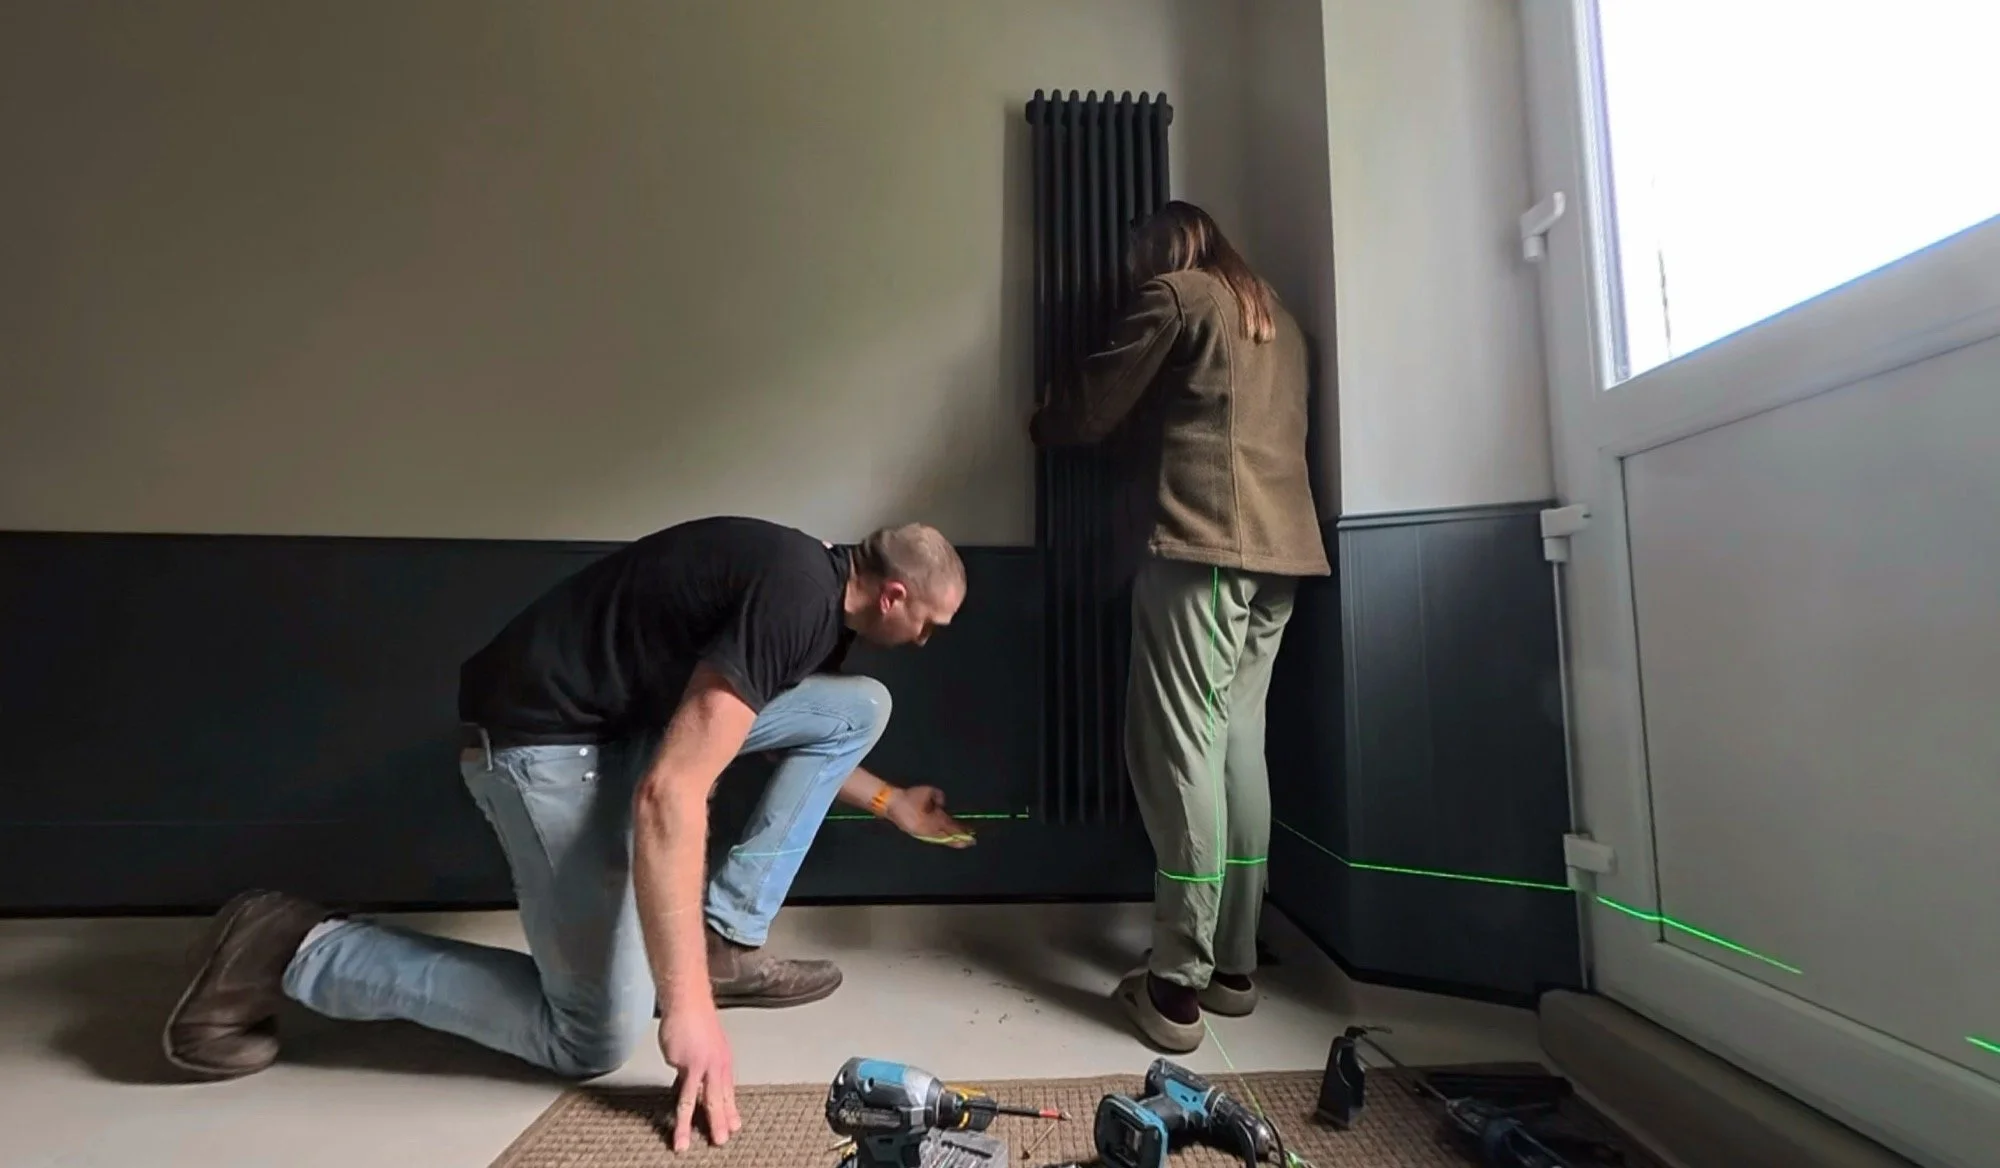
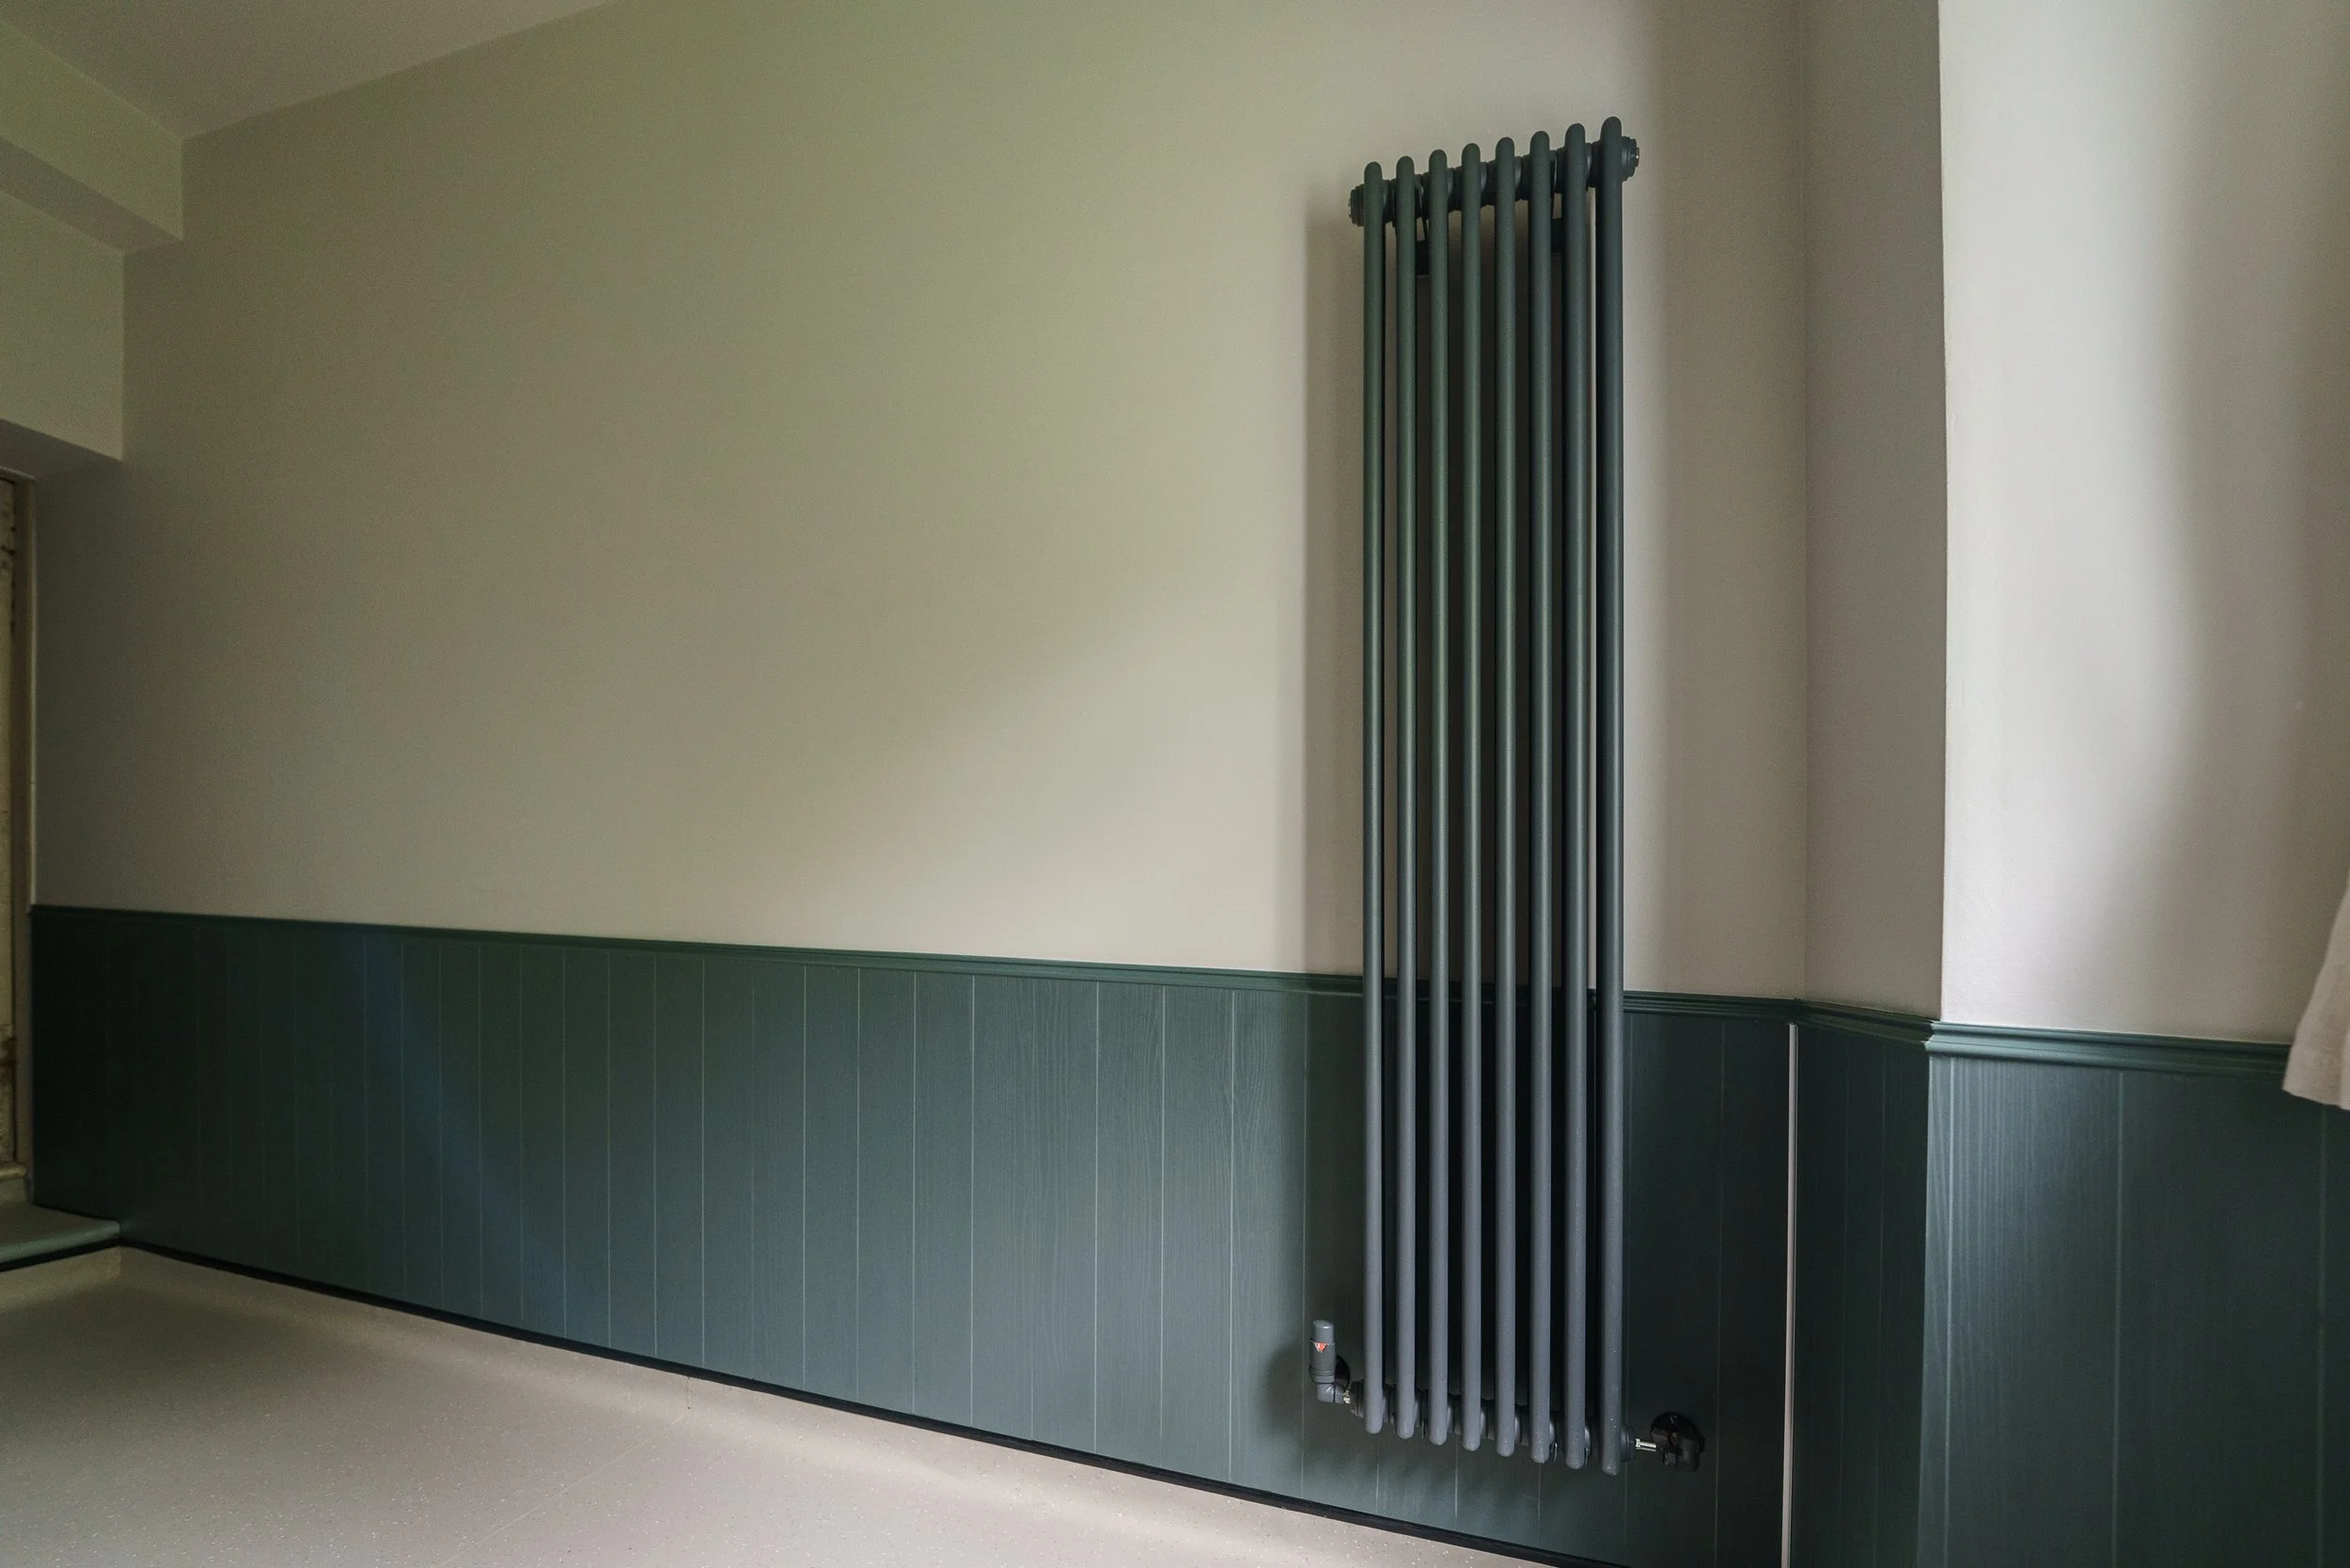
The lights and alarms are still to be added, but we’re holding until the rest of the electrical work is completed too. The radiator for the back left corner will also be added next week (hopefully), which has also been held until the three new radiators are all going on together.
With no radiators, open pipe ends, and the water turned off in the house too, there hasn’t been any heating. Yes, it is May, but for us this month has been unseasonably cold, with some frosty nights and a lot of cold spells. Together, this means that things have taken longer to dry - the grout, the filler, even the caulk - so lots of space heaters in the office to help get things set off well.
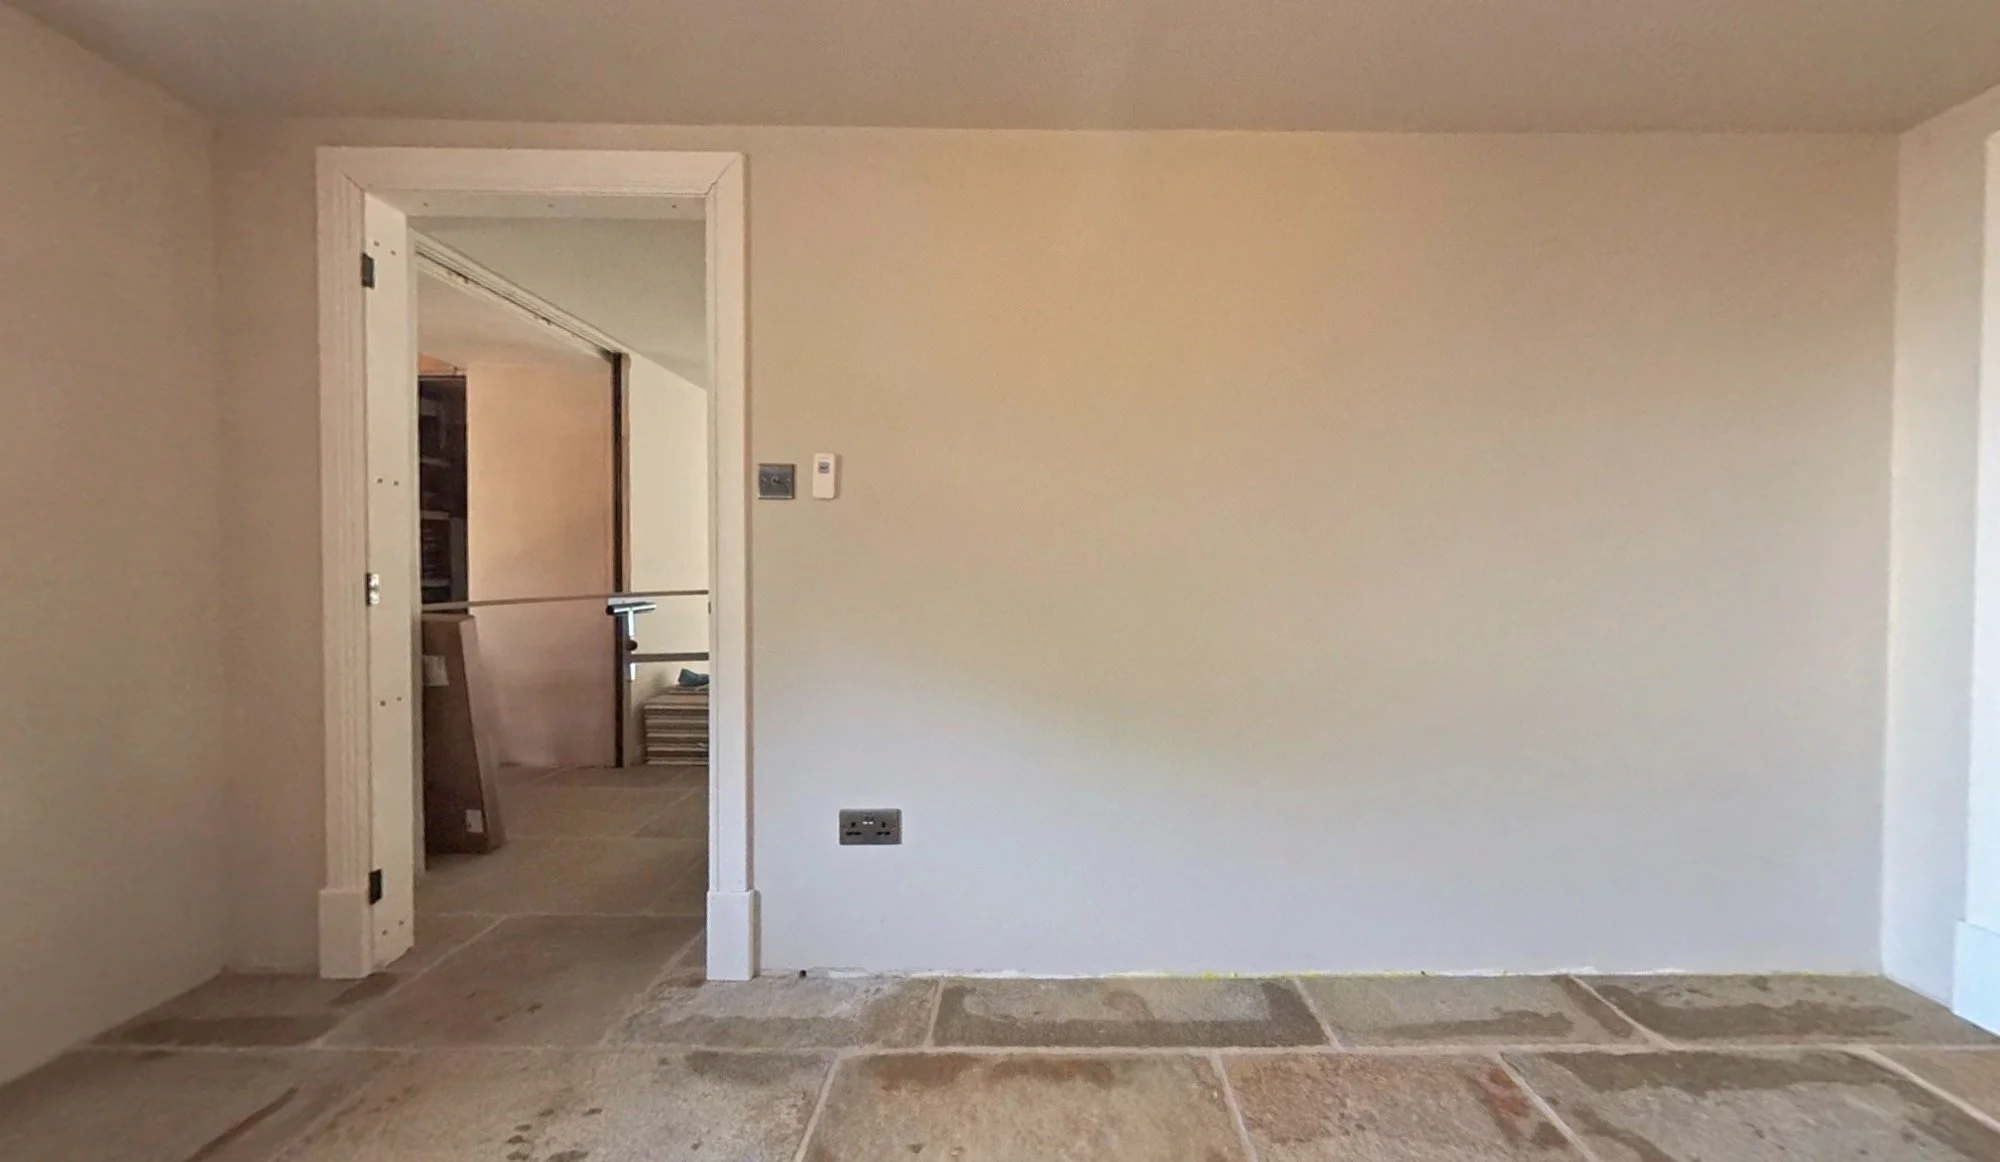
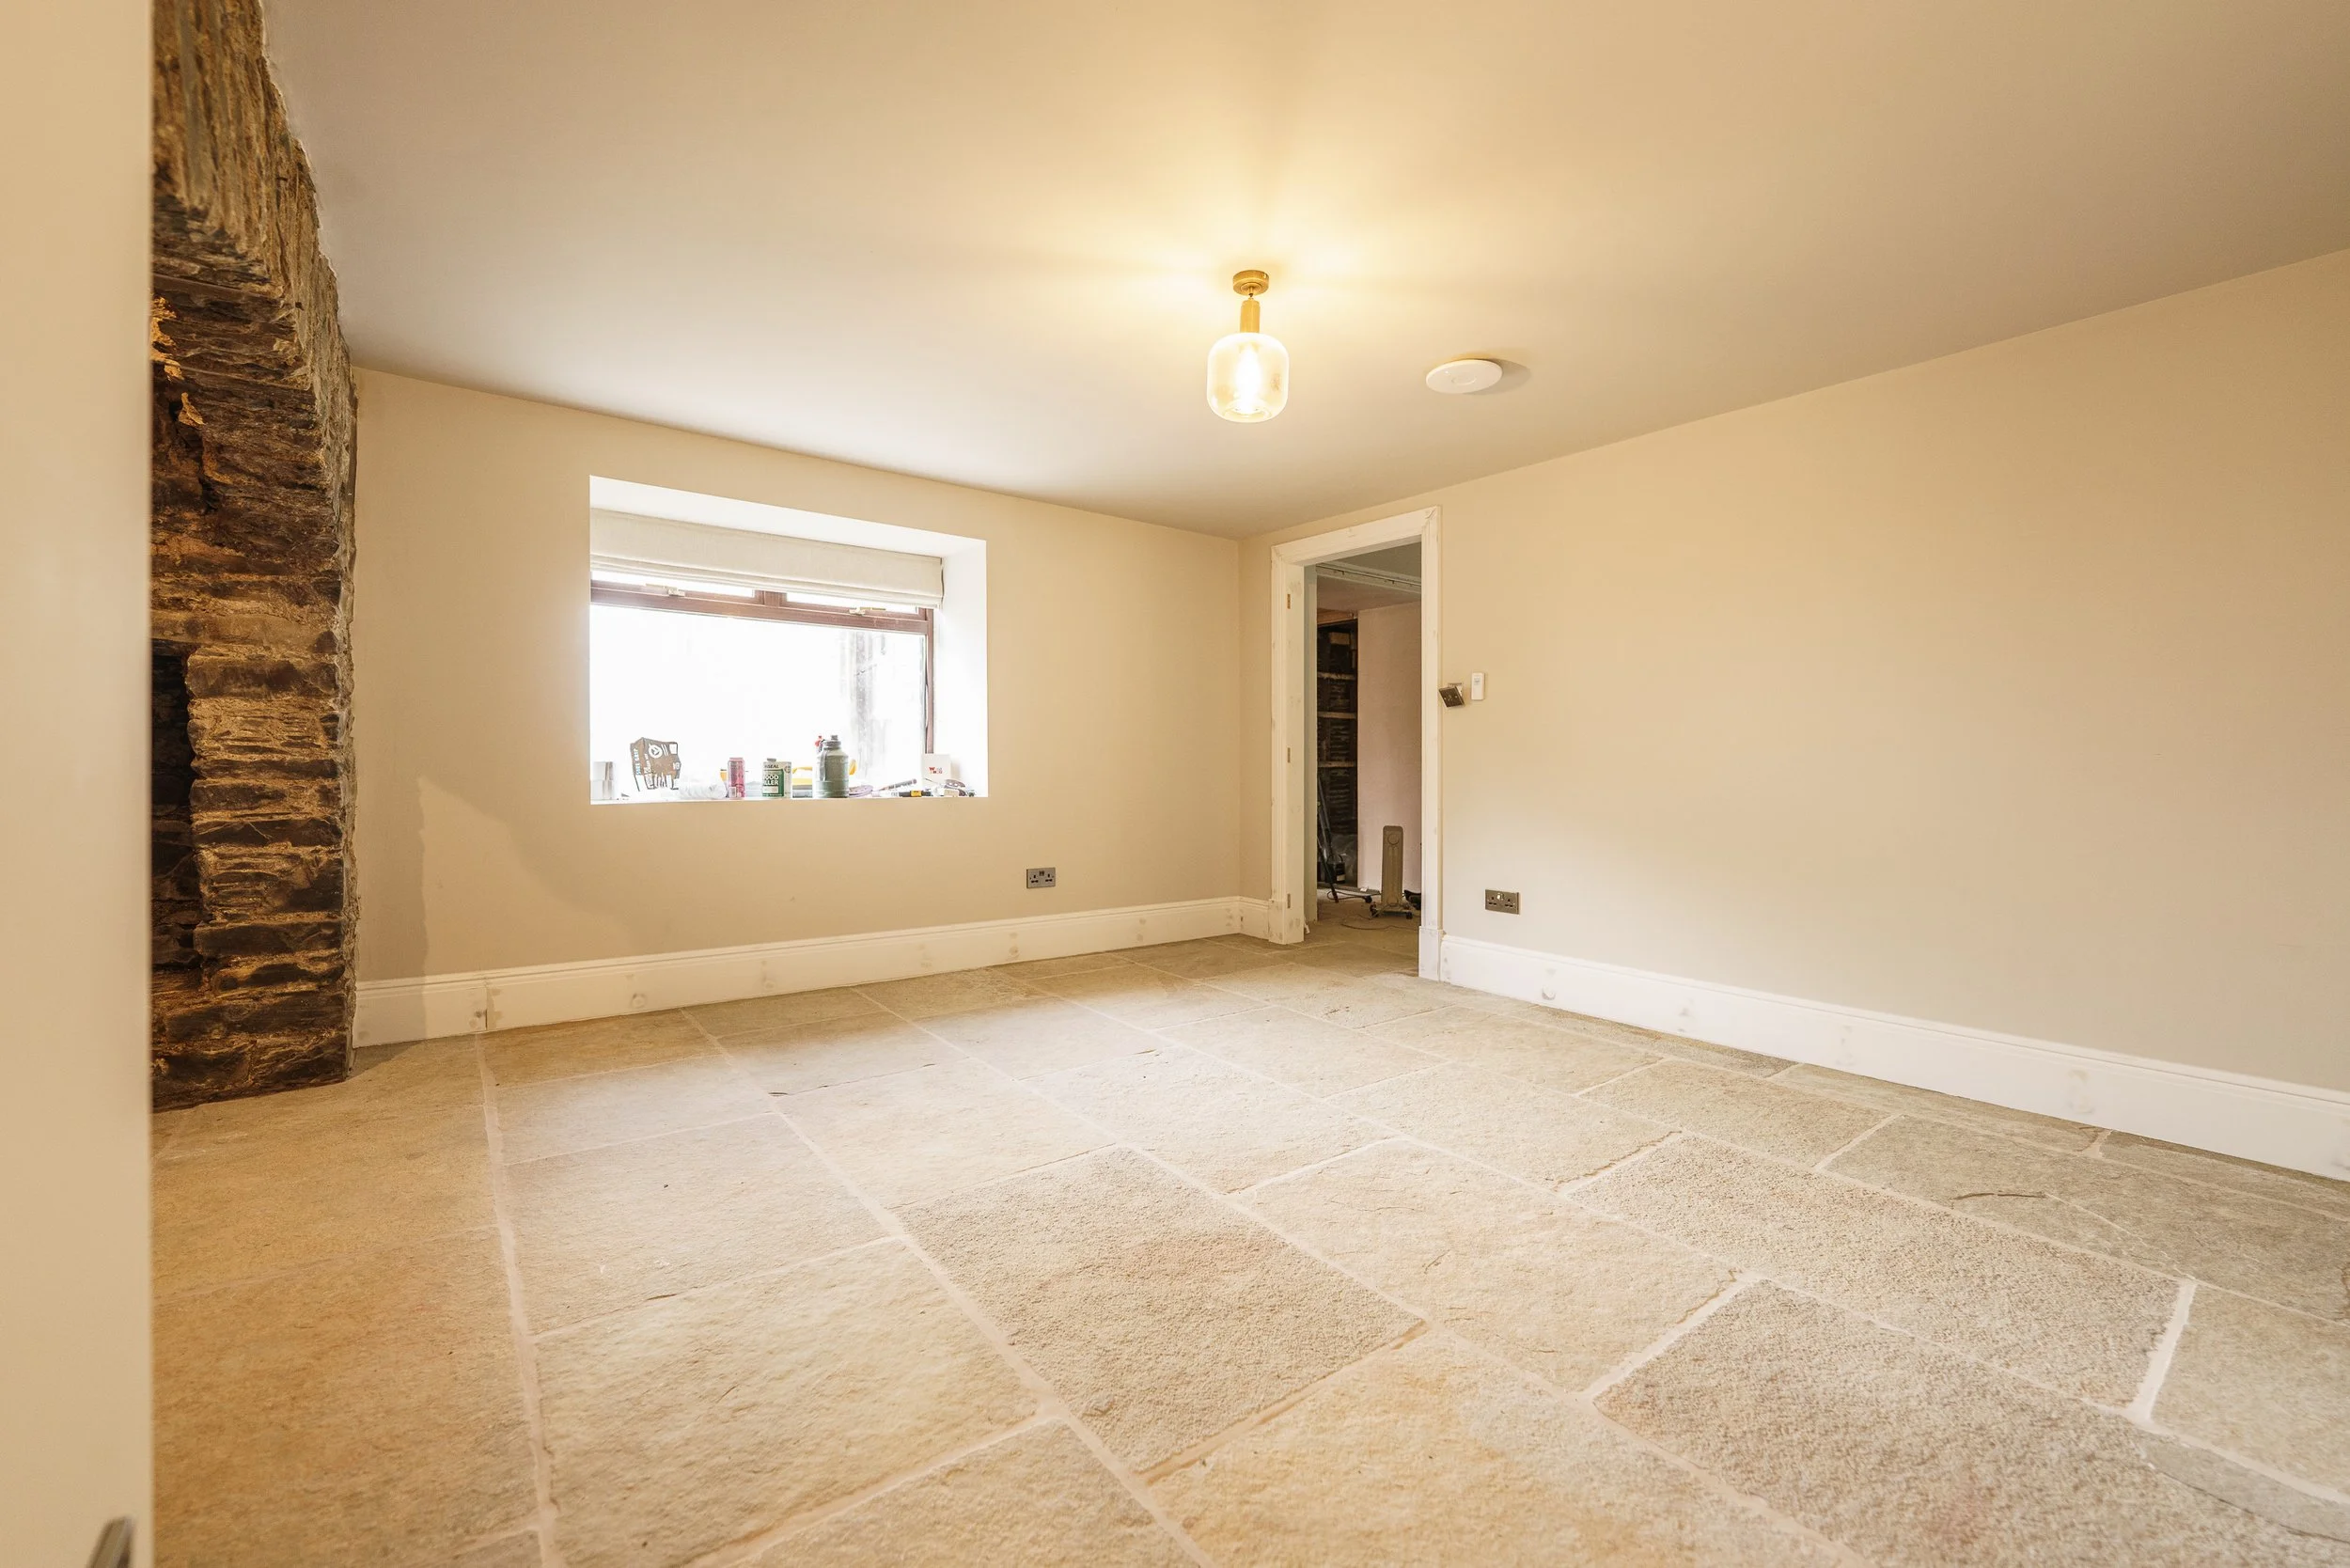
We left in the office with the grout complete last time, and drying slowly with the heaters. This week, a LOT has happened, but unless you know the process of adding the woodwork, you might miss the steps!
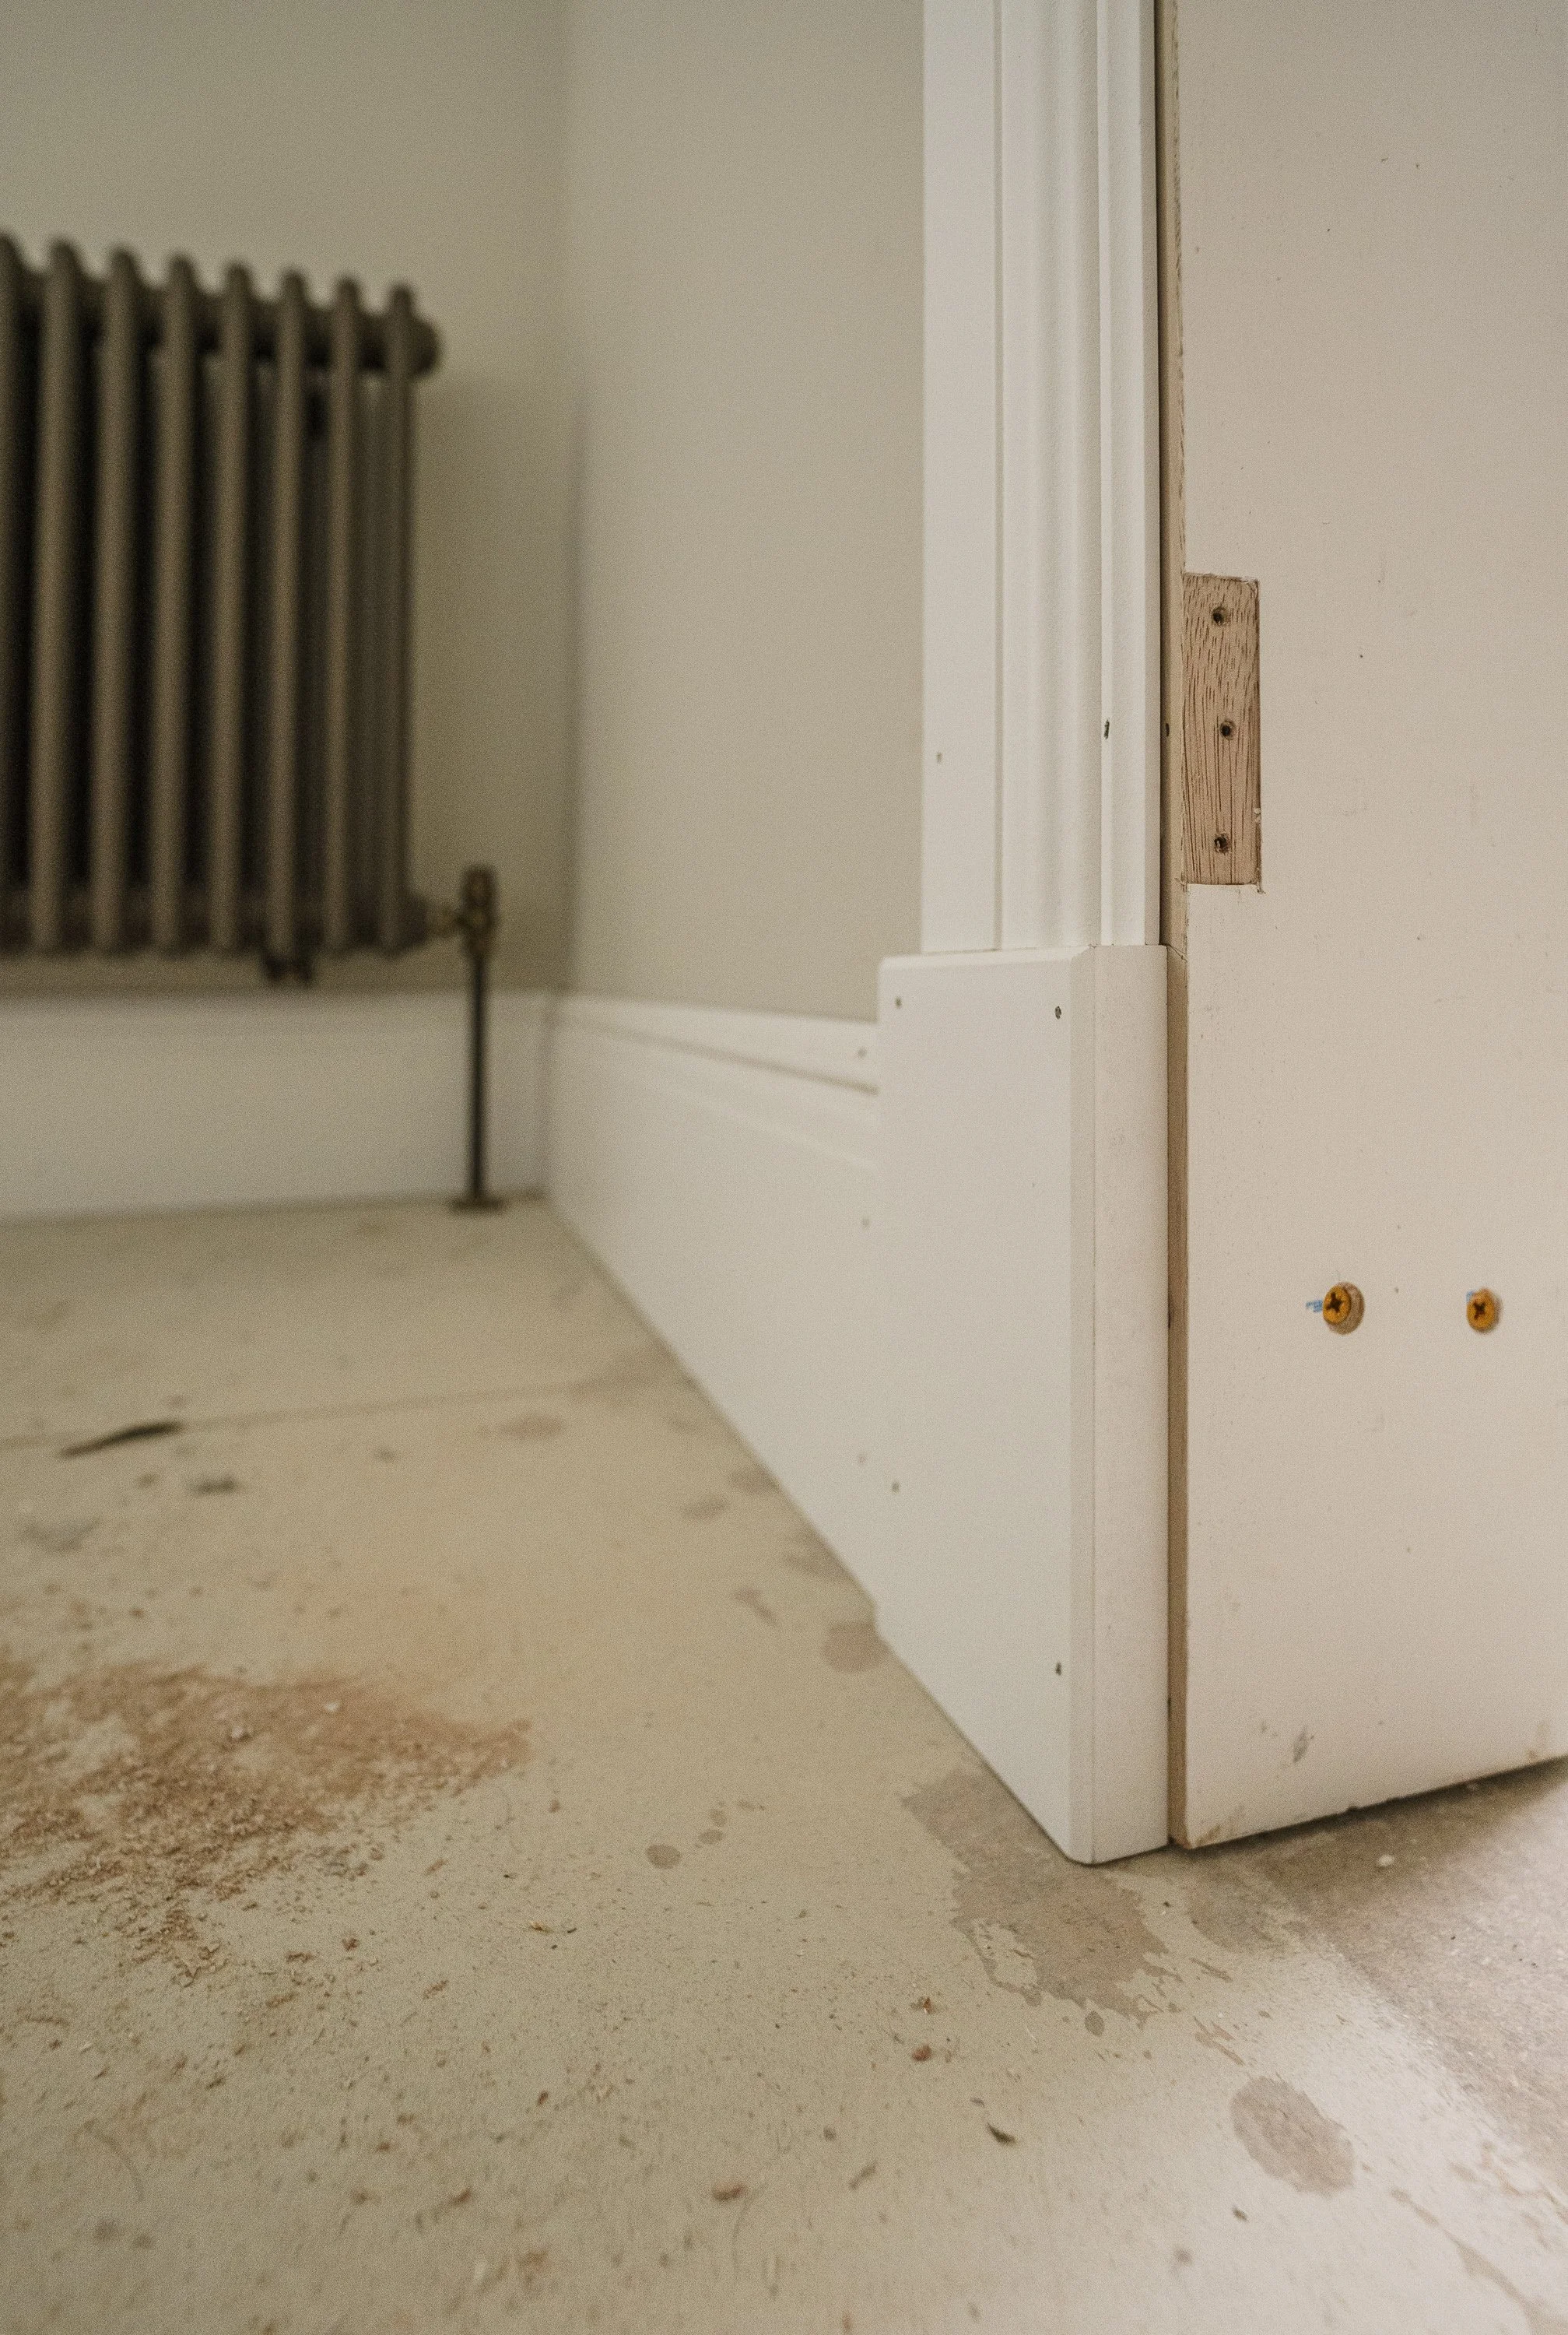
First, the architrave was cut and fitted to the two doorframes, along with the door plinths there too. After this was nailed on with the finishing gun, Dan cut and fitted the chunky skirting (195mm) all the way around. Where the skirting board returns into a stone wall, the cuts were complex and not straightforward for Dan to do. However, they’re all done and it looked amazing! Here are a few steps in that process:

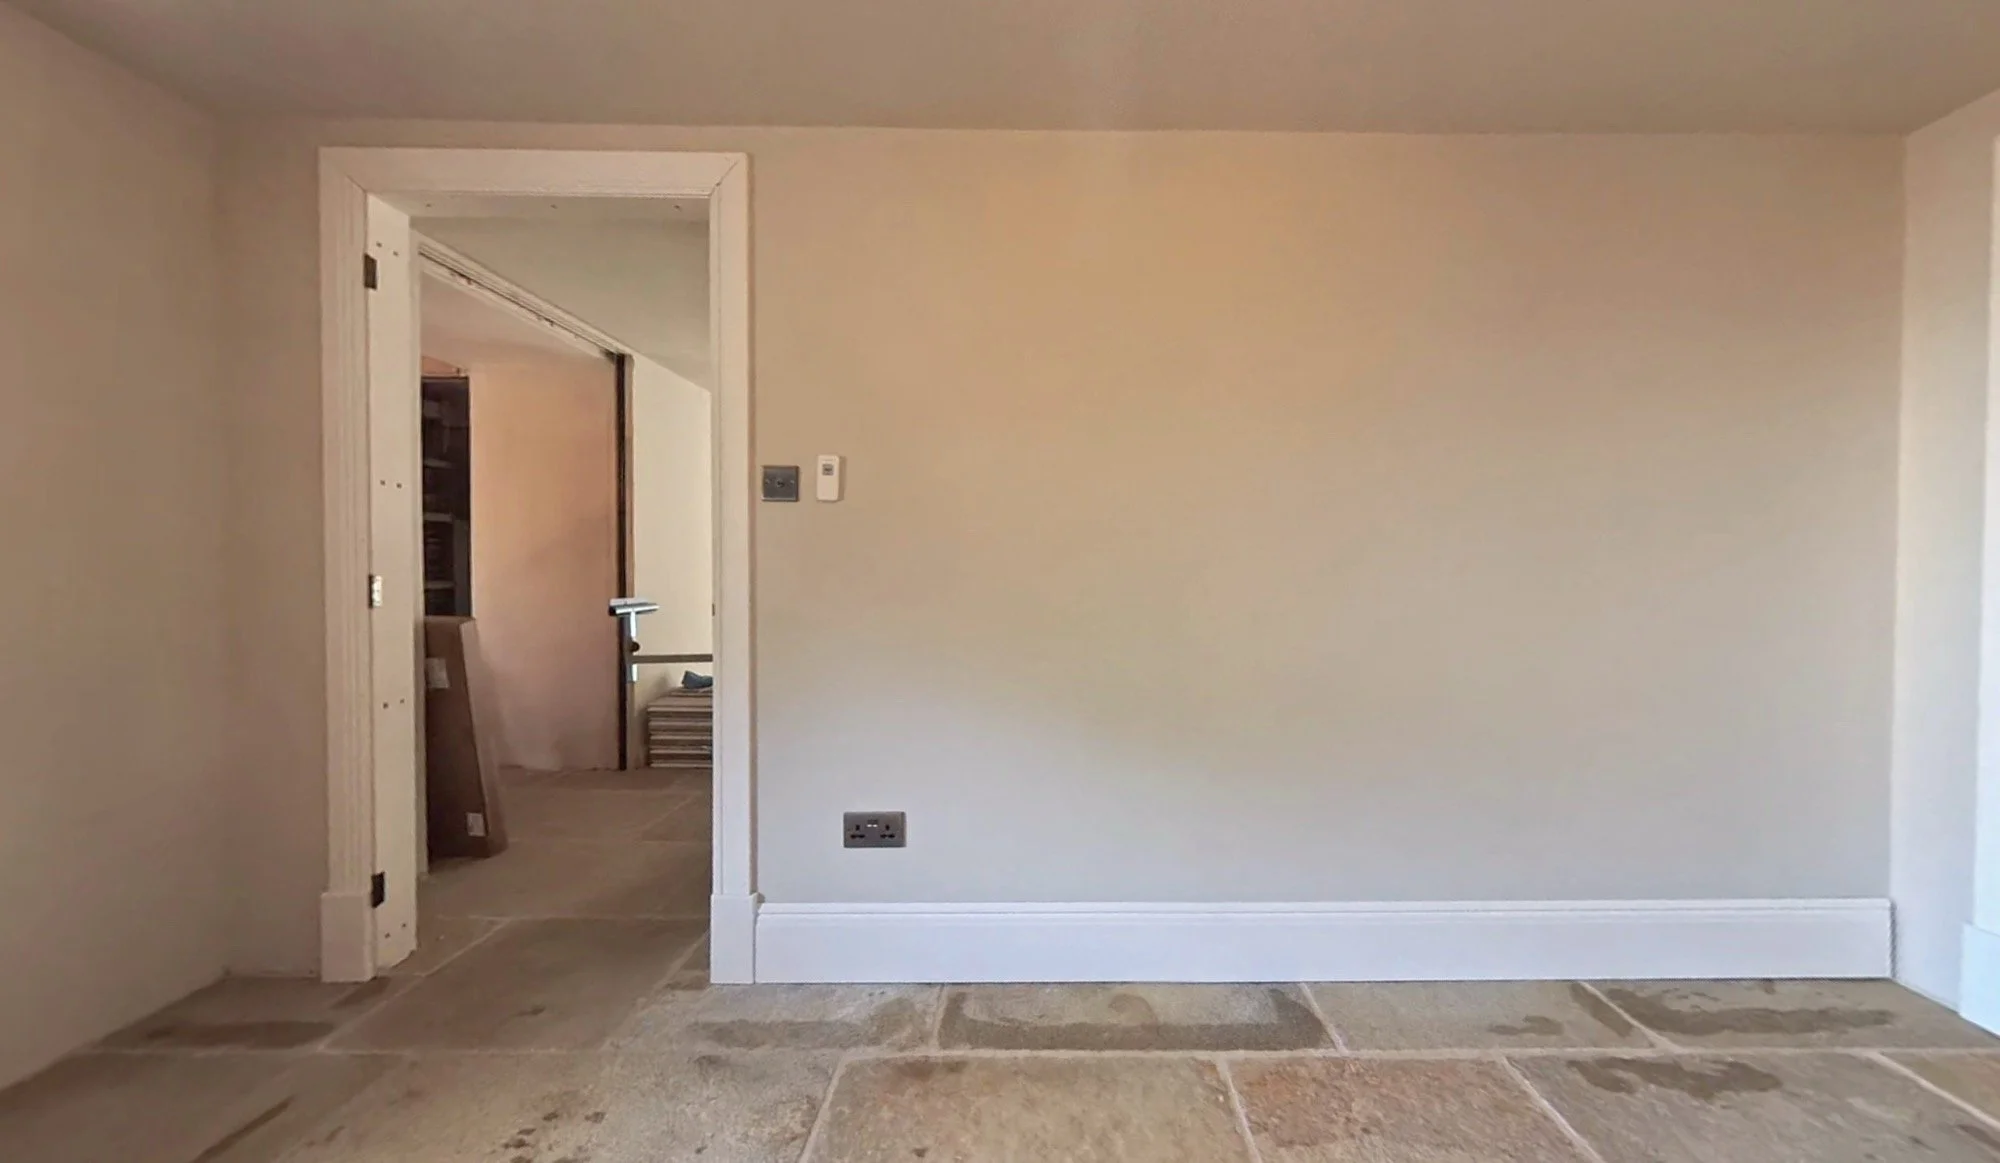

Next, filling and sanding all the nail holes, joins and transitions. This took a minute but was completed in an afternoon. Finally, the caulk went on, which was also used to pad out any gaps underneath the skirting as we didn’t profile the bottom of the boards for the natural stone floor, opting to bridge the gap afterwards instead. Breifly, that’s covered here:


Still some touching up to do, but holy smokes, this room looks amazing so far:


One section of Caulk wasn’t set yet, so painting has to wait until Dan’s next free day (Monday), and hopefully this room will be fully prepped by the end of next week with woodwork painted, doors painted and back on, and the floor with its final seal.
The skirting height and profile, and the architrave style with the plinths, is all in keeping with Regency period design, which is the original date of this section of the house (1810/1812). Although the bigger profile makes the procurement more expensive, we felt giving a nod to the period was a nice touch given this section was completely gutted last year. Historically, plinths were reserved for the most important rooms, but we’ll run them throughout wherever possible, because they feature throughout the cottage in a very micro version - a little bit of continuity across the buildings.
Seeing this profile, you may notice the ogee design from the top of the skirting is repeated in the Wet Dog Room, on that little bit of trim we added. We’re trying to bring it all together!
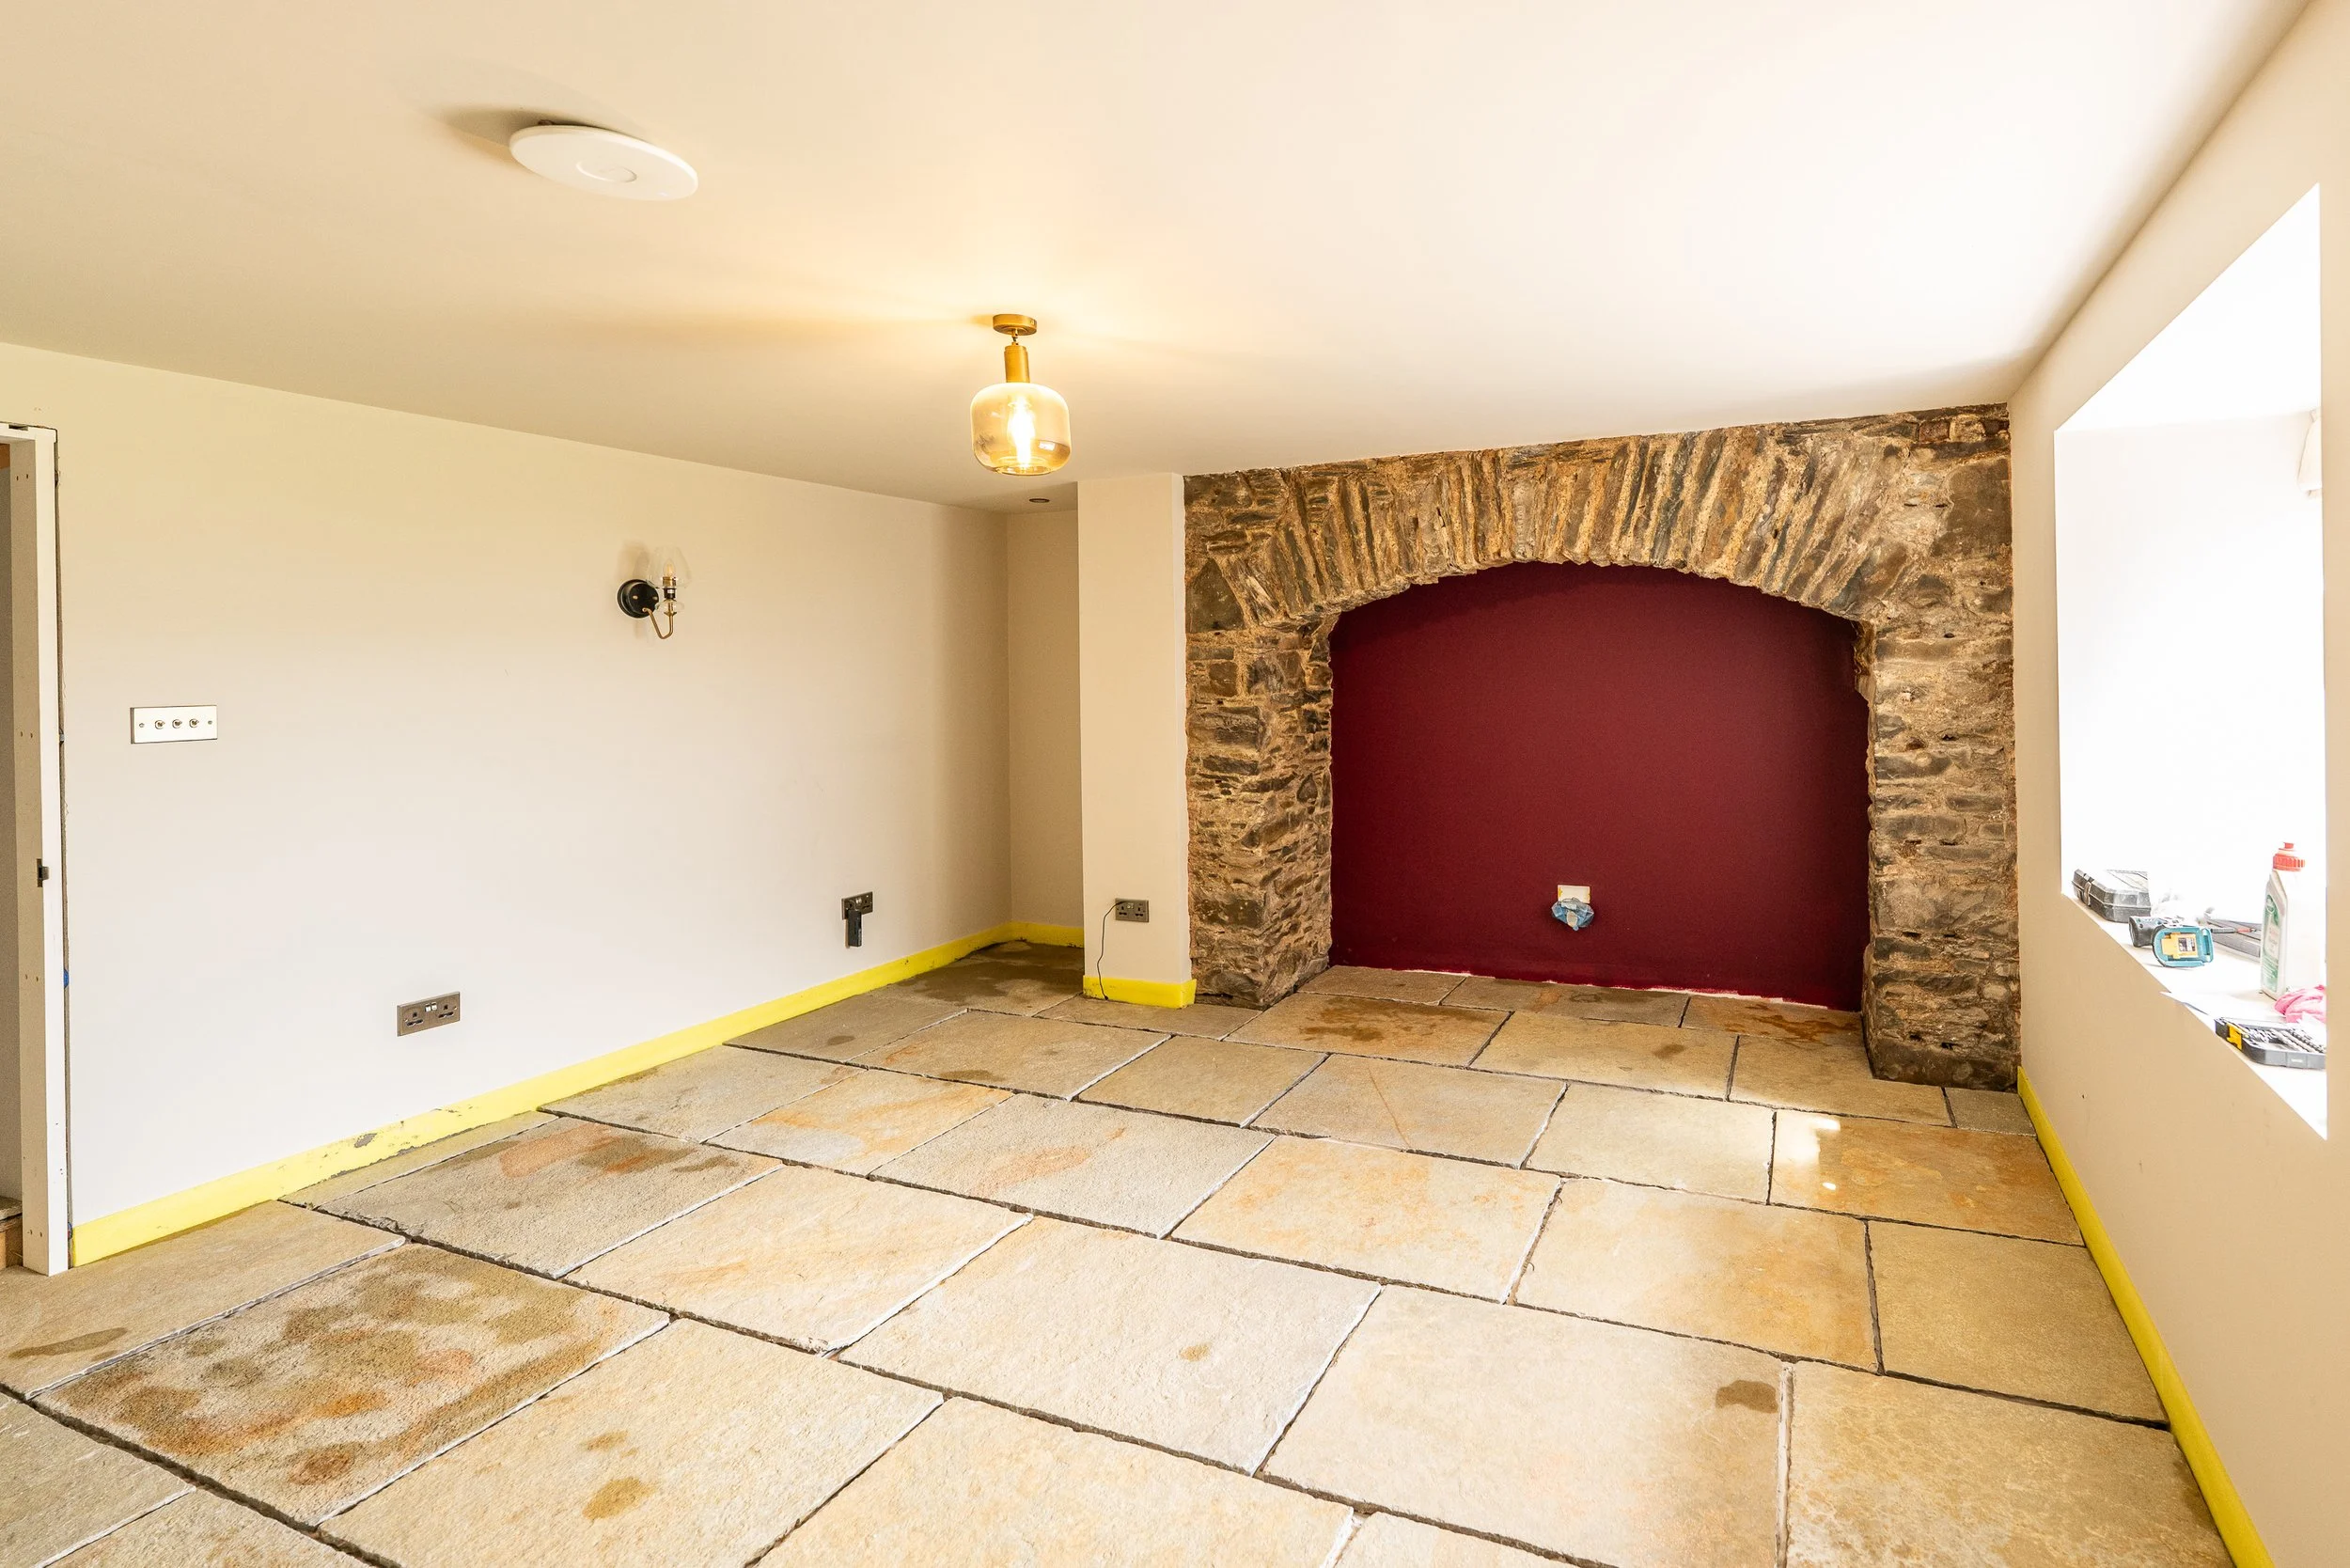
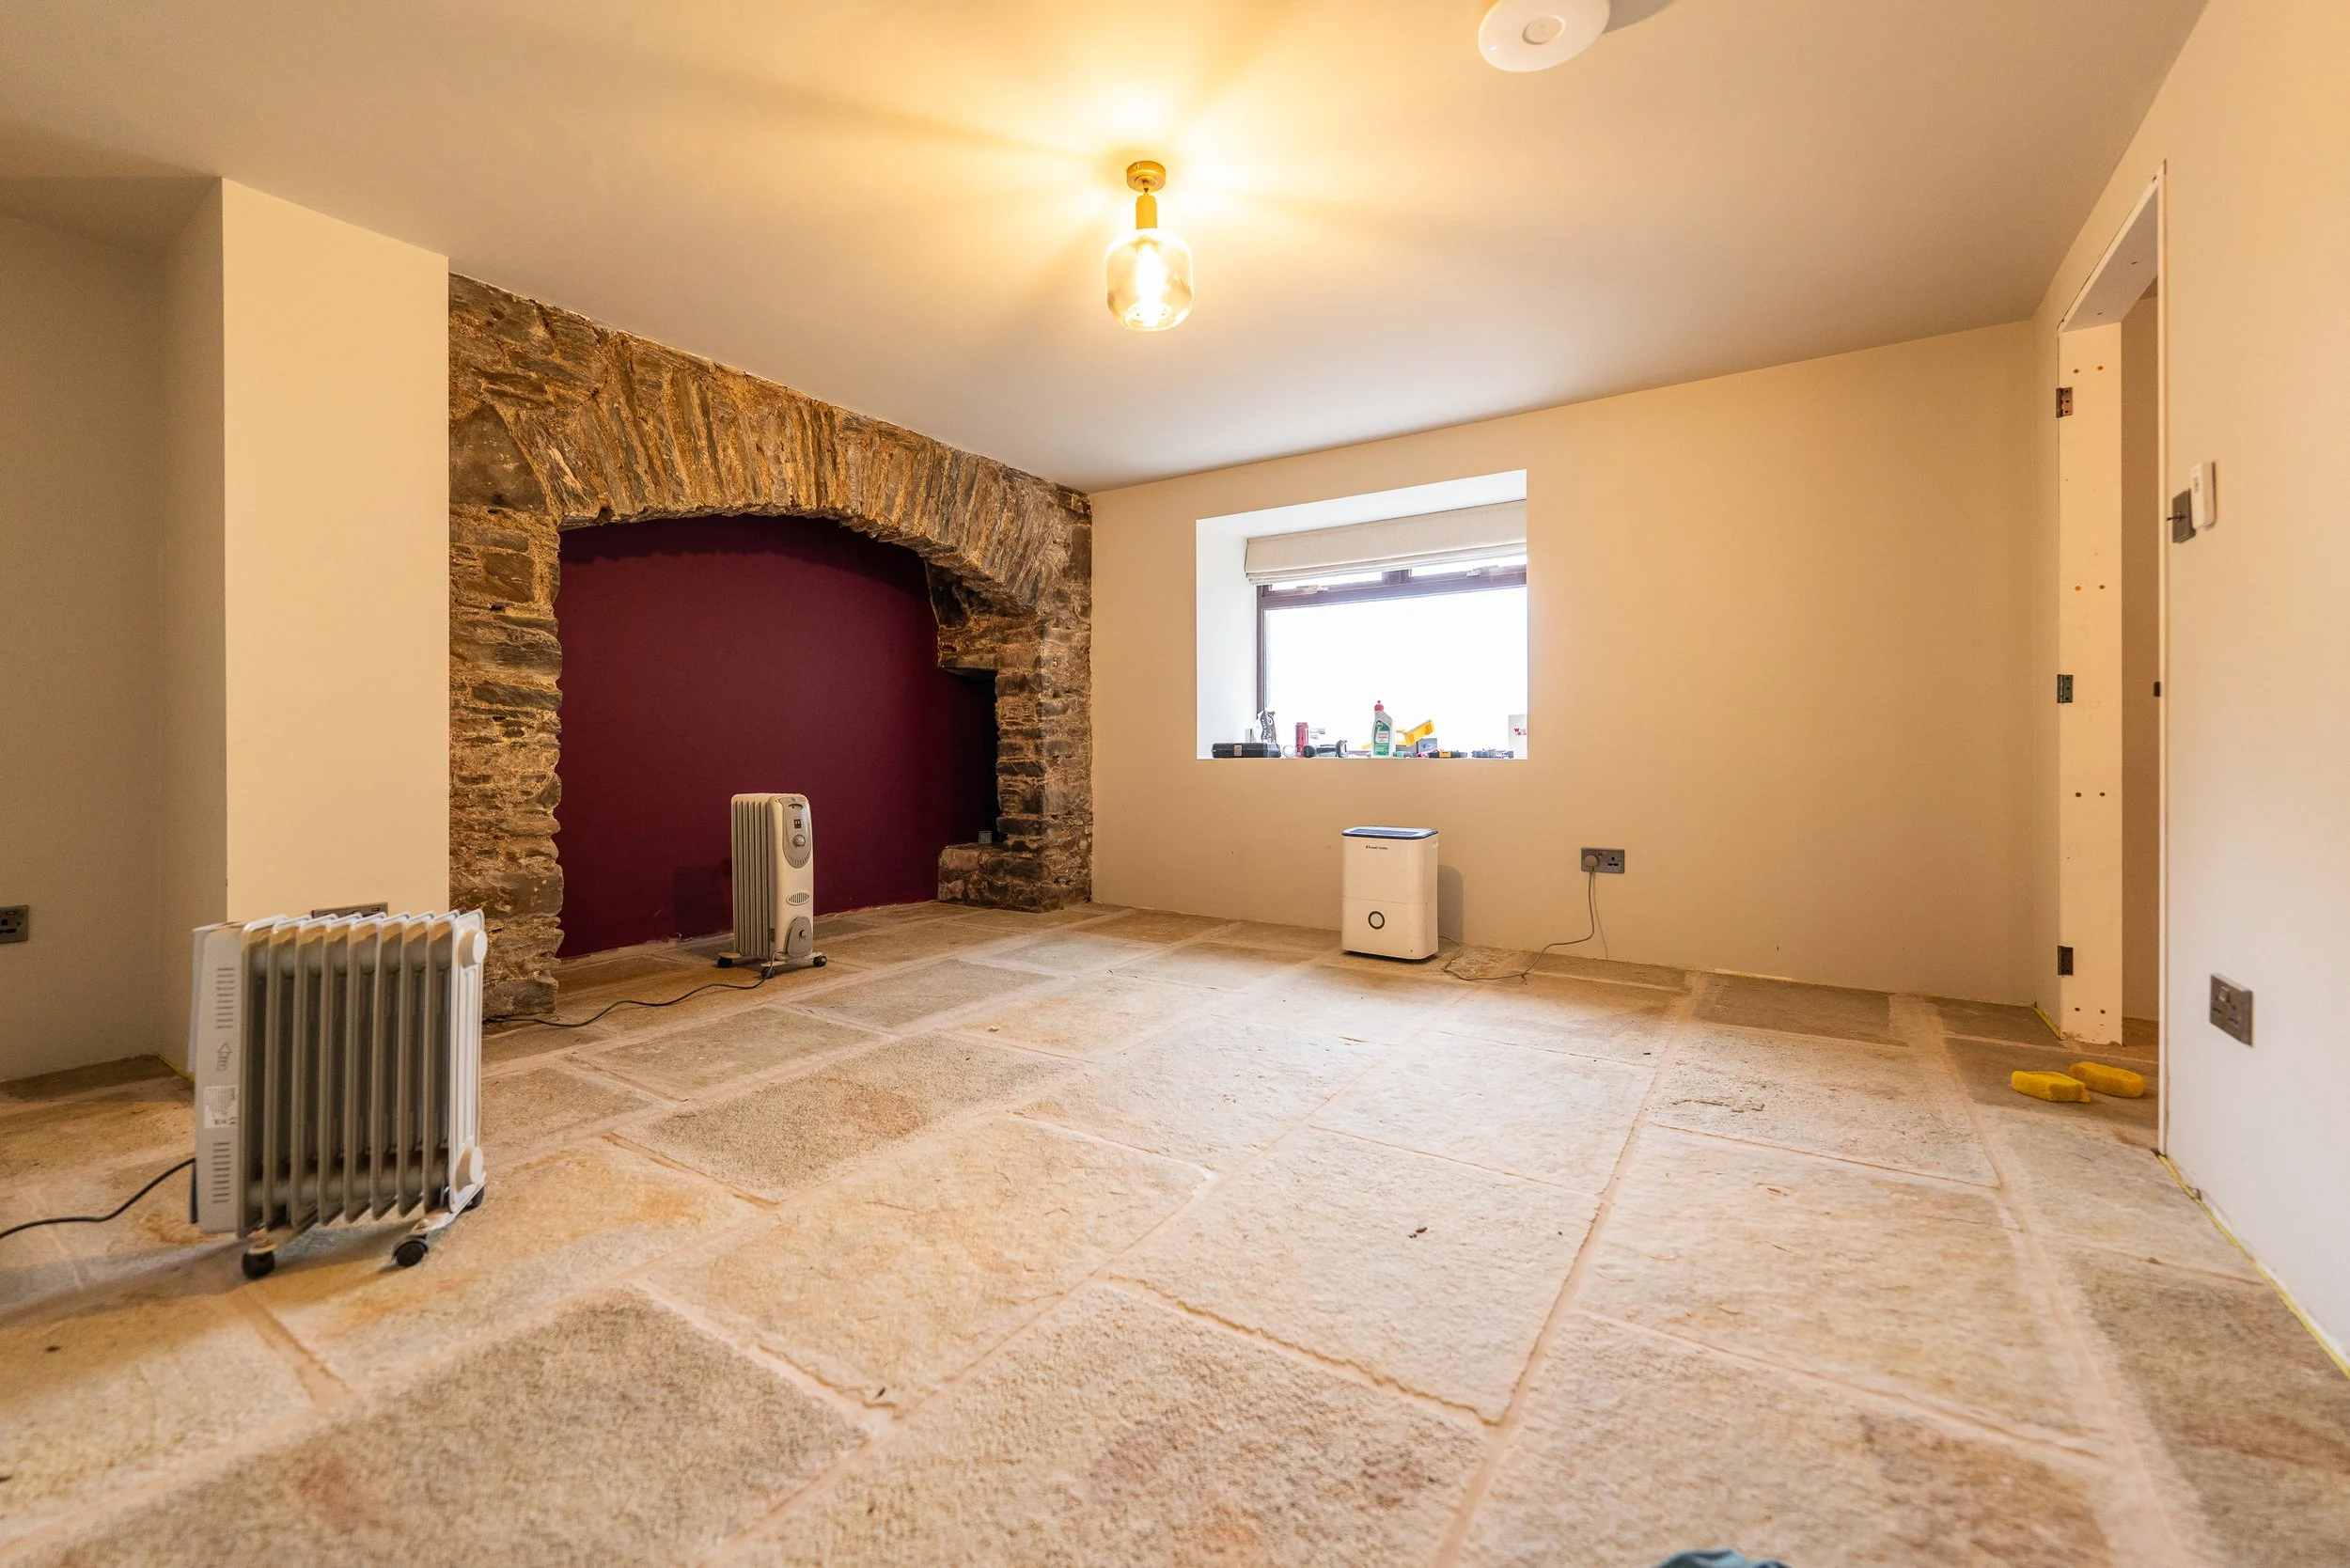
Lounge-wise, we’ll be holding off putting the skirting near the log burner because we need to wait for the fireplace surround to be fitted before working up to that. So far, the fireplace surround has been whittled down to a limestone Georgian design, but as our opening is very abnormal in size and height, it’s taking a minute to get organised and there’s a lead time to consider too!
Dan’s going to switch upstairs ASAP, because he has one month to get the 3 main bedrooms ready for their carpet install, and then switch back downstairs to complete the final tasks.
Asti
YouTube wouldn’t let me post a video that I’d prepared because it had some conception and labour components that it felt were problematic, so instead I did a much more relaxed and conversational introduction to Asti whilst I was doing a different piece of work this week. This video is here:
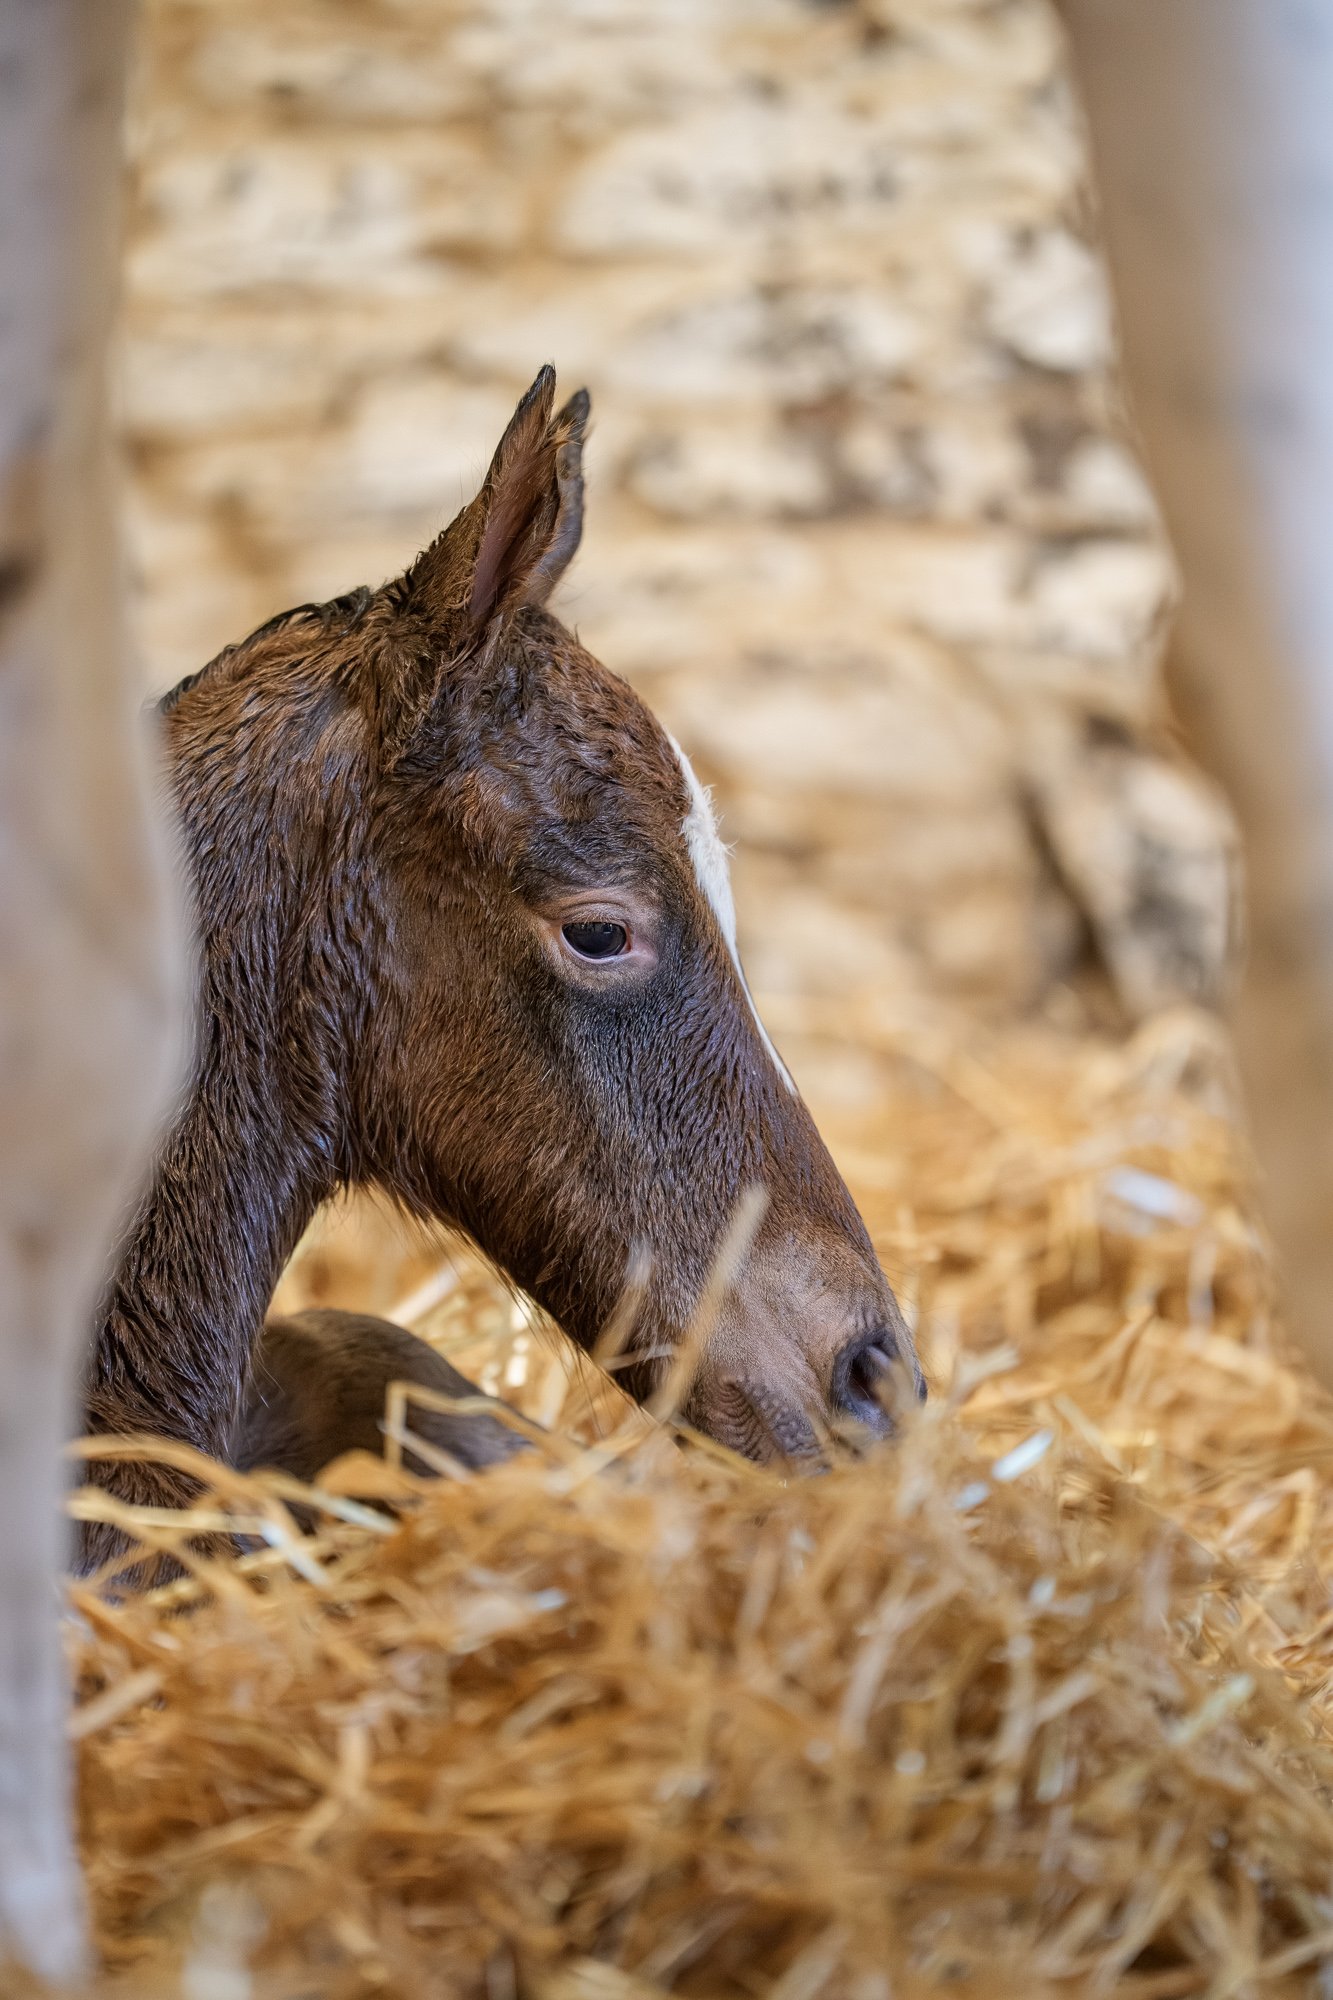
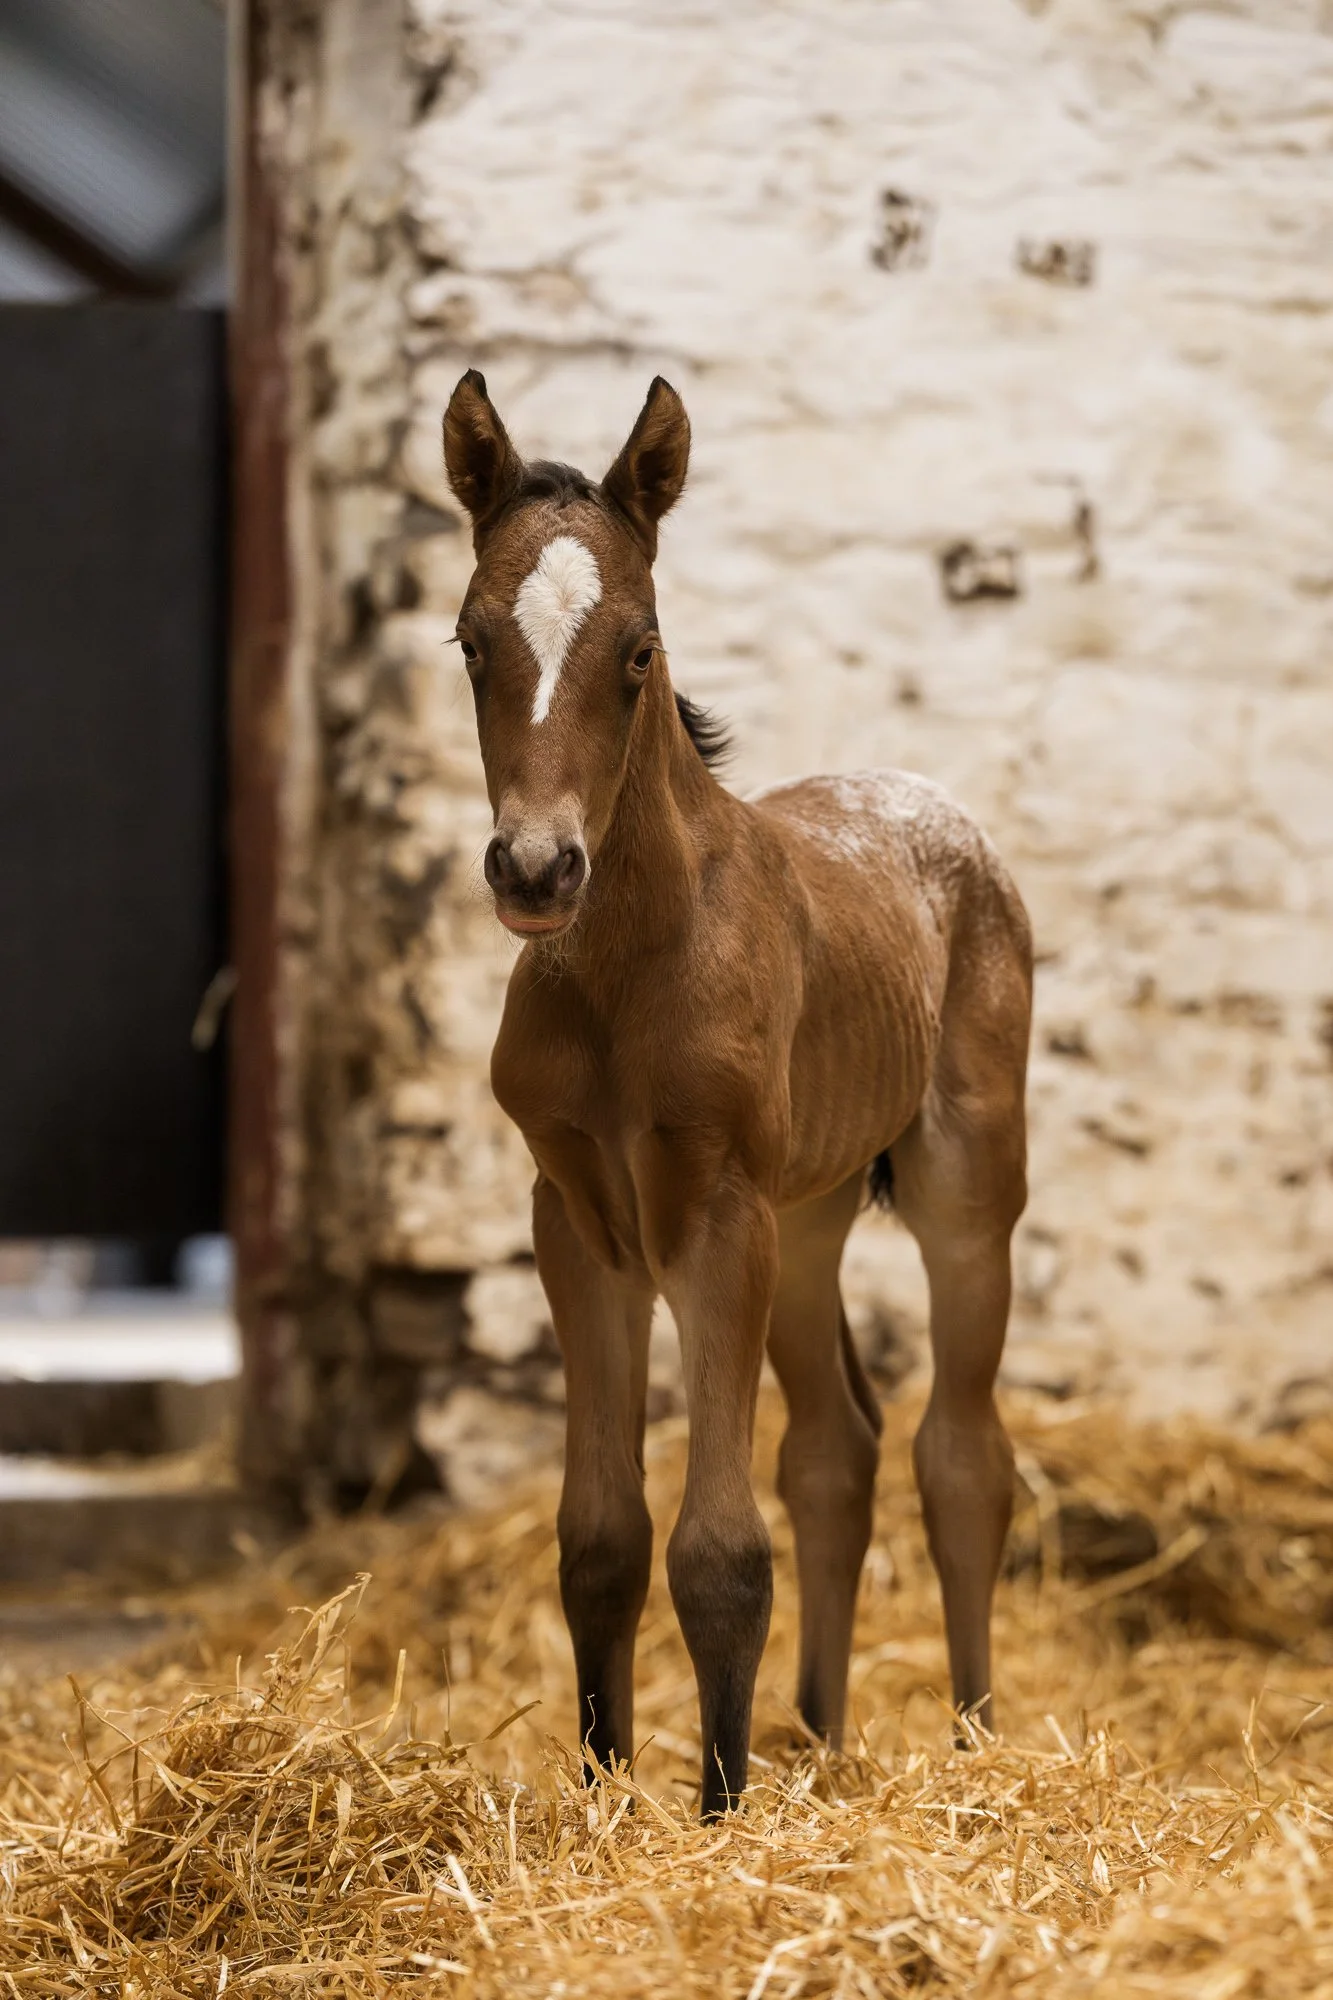
Asti has been building turnout from her 3rd day (it was awful weather beforehand!), going from 1 hour to 2, then to 3, 4, 6 and 8 hours with one day in because of gross weather again. Newborn foals don’t have a great deal of insulation, and it’s important to keep the umbilicus as clean as possible in the first week, so that’s why we were avoiding rain! She started filling out at day 4 and has grown at least an inch (if not more) in the last week.


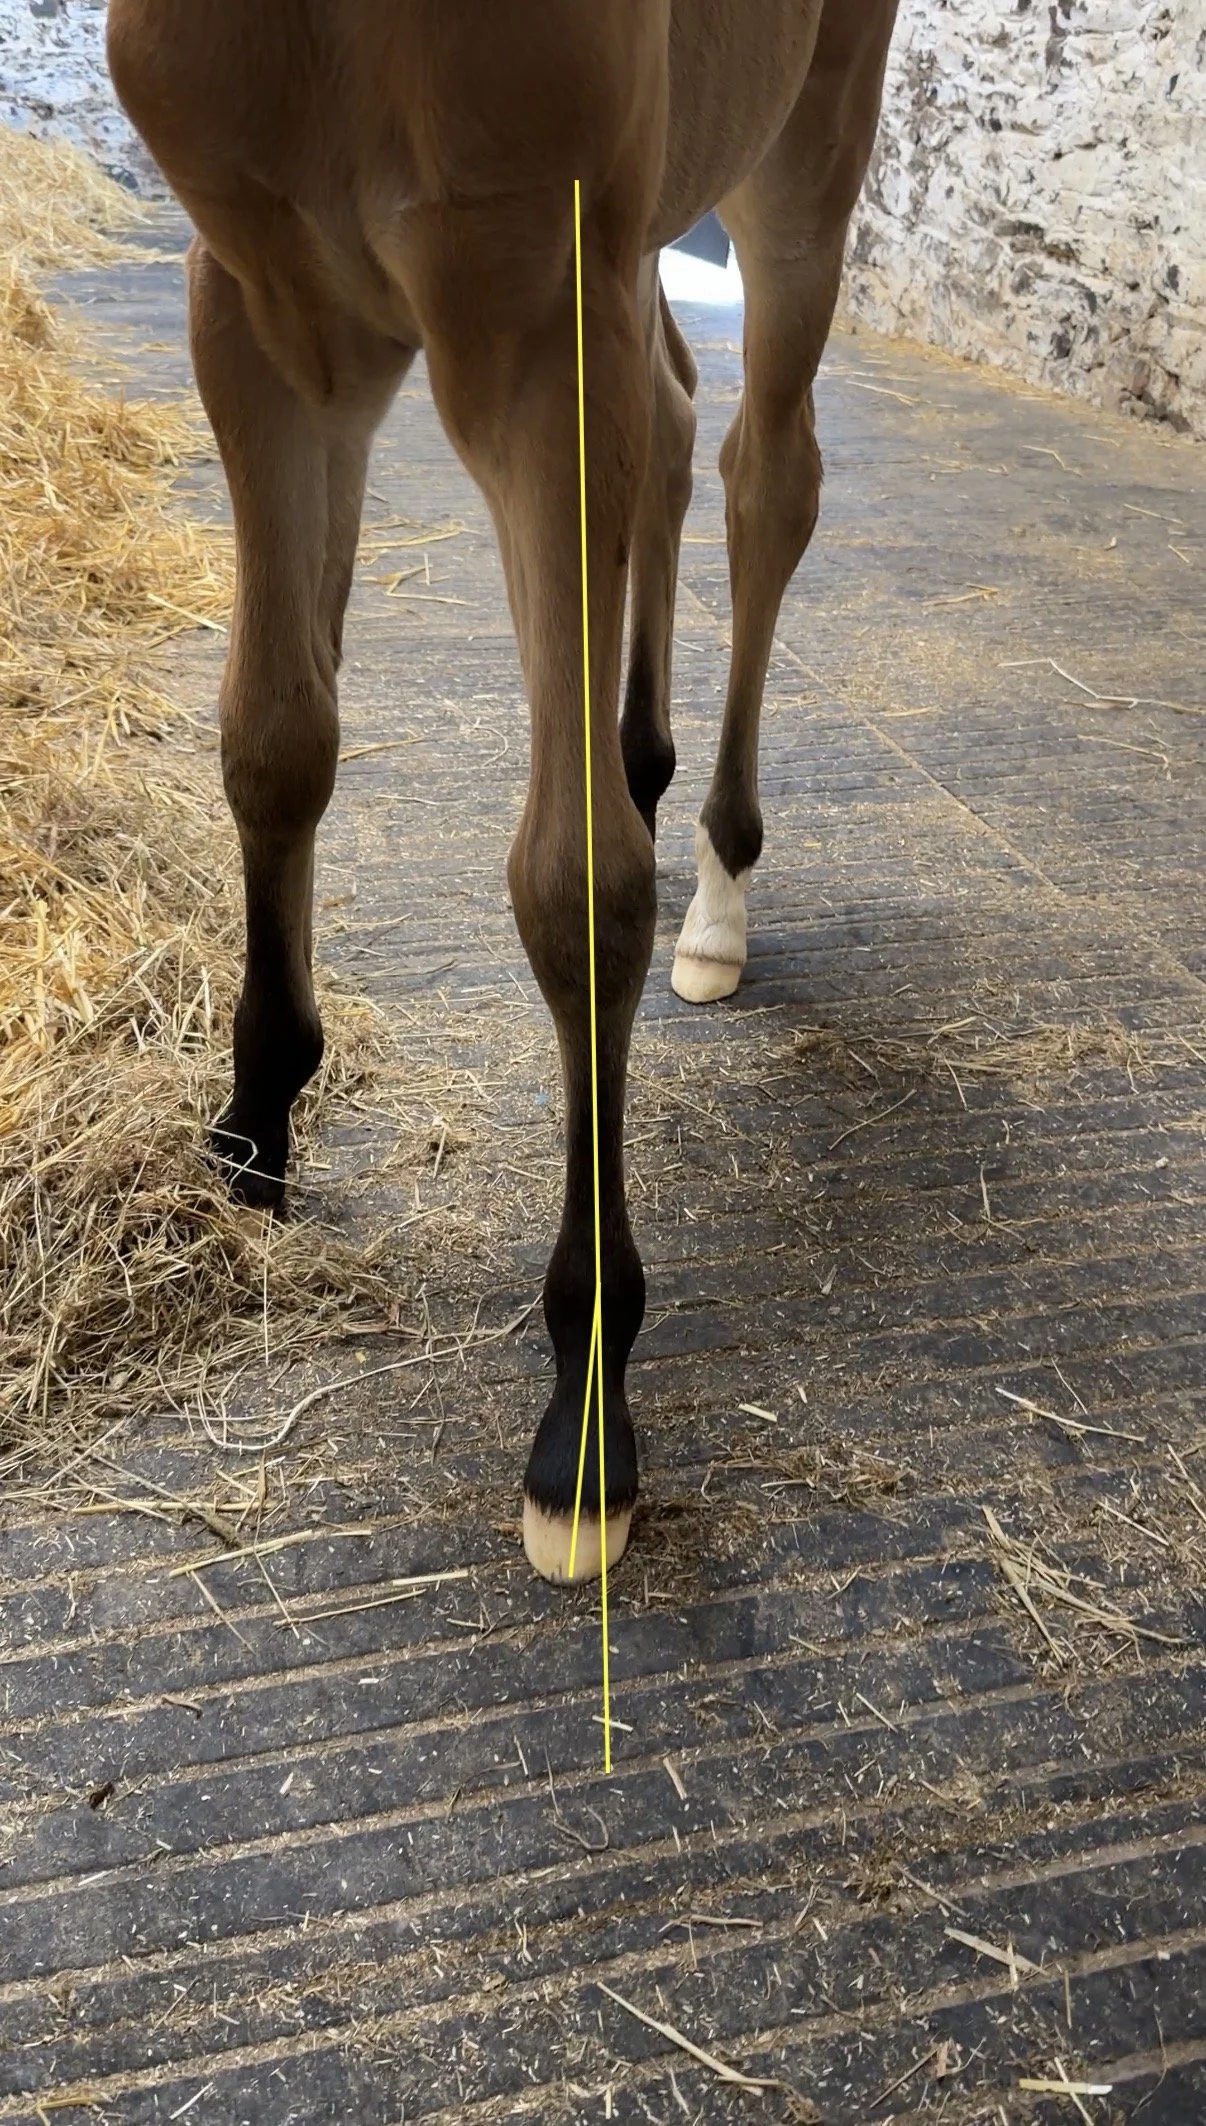
With this growth and exercise, her legs have been strengthening, and that was when I noticed a slight varus deviation in one front limb. This just means that her lowest leg joint before the hoof turns the next bone down inwards a little bit. I’ve added a rough line to help see it, because it can be tricky if you’re not sure what to look for.
About 80% of baby horses have leg alignment issues at birth or in the first few weeks, and Asti came out incredibly straight with just a little laxity in front and a little retraction behind. That laxity in front is almost fully tightened but likely may have impacted on this slight deviation here.
It’s a joint we can correct if we need to, but both our farrier and vet are preferring to leave it for another two weeks as it may level back out with more strength and growth. The fetlock joint ‘finishes’ at about 2-3 months old, so anything we need to do will be done before that time. It’s a case of watch and see, but the vet is keen for as much turnout as possible to give her more chances to strengthen on the move.
We had already made their paddock (was 2 acres-ish) a little smaller, partly to rotate through the grass for Velia, but also to give Asti less long runs down a hill! We think we’ll hold with their reduced paddock (about 2/3s of an acre) unless the vet says to give her more room in the coming weeks. Her teeth are also coming through now, and she’s picking both front feet up nicely, scratching all over and enjoying a little brush now and again.
We have learnt that the foaling box is too big - just. Really, a bit less room would be great for us to do management and handling, but at the same time, the space to move and play on rubber matting is also good!
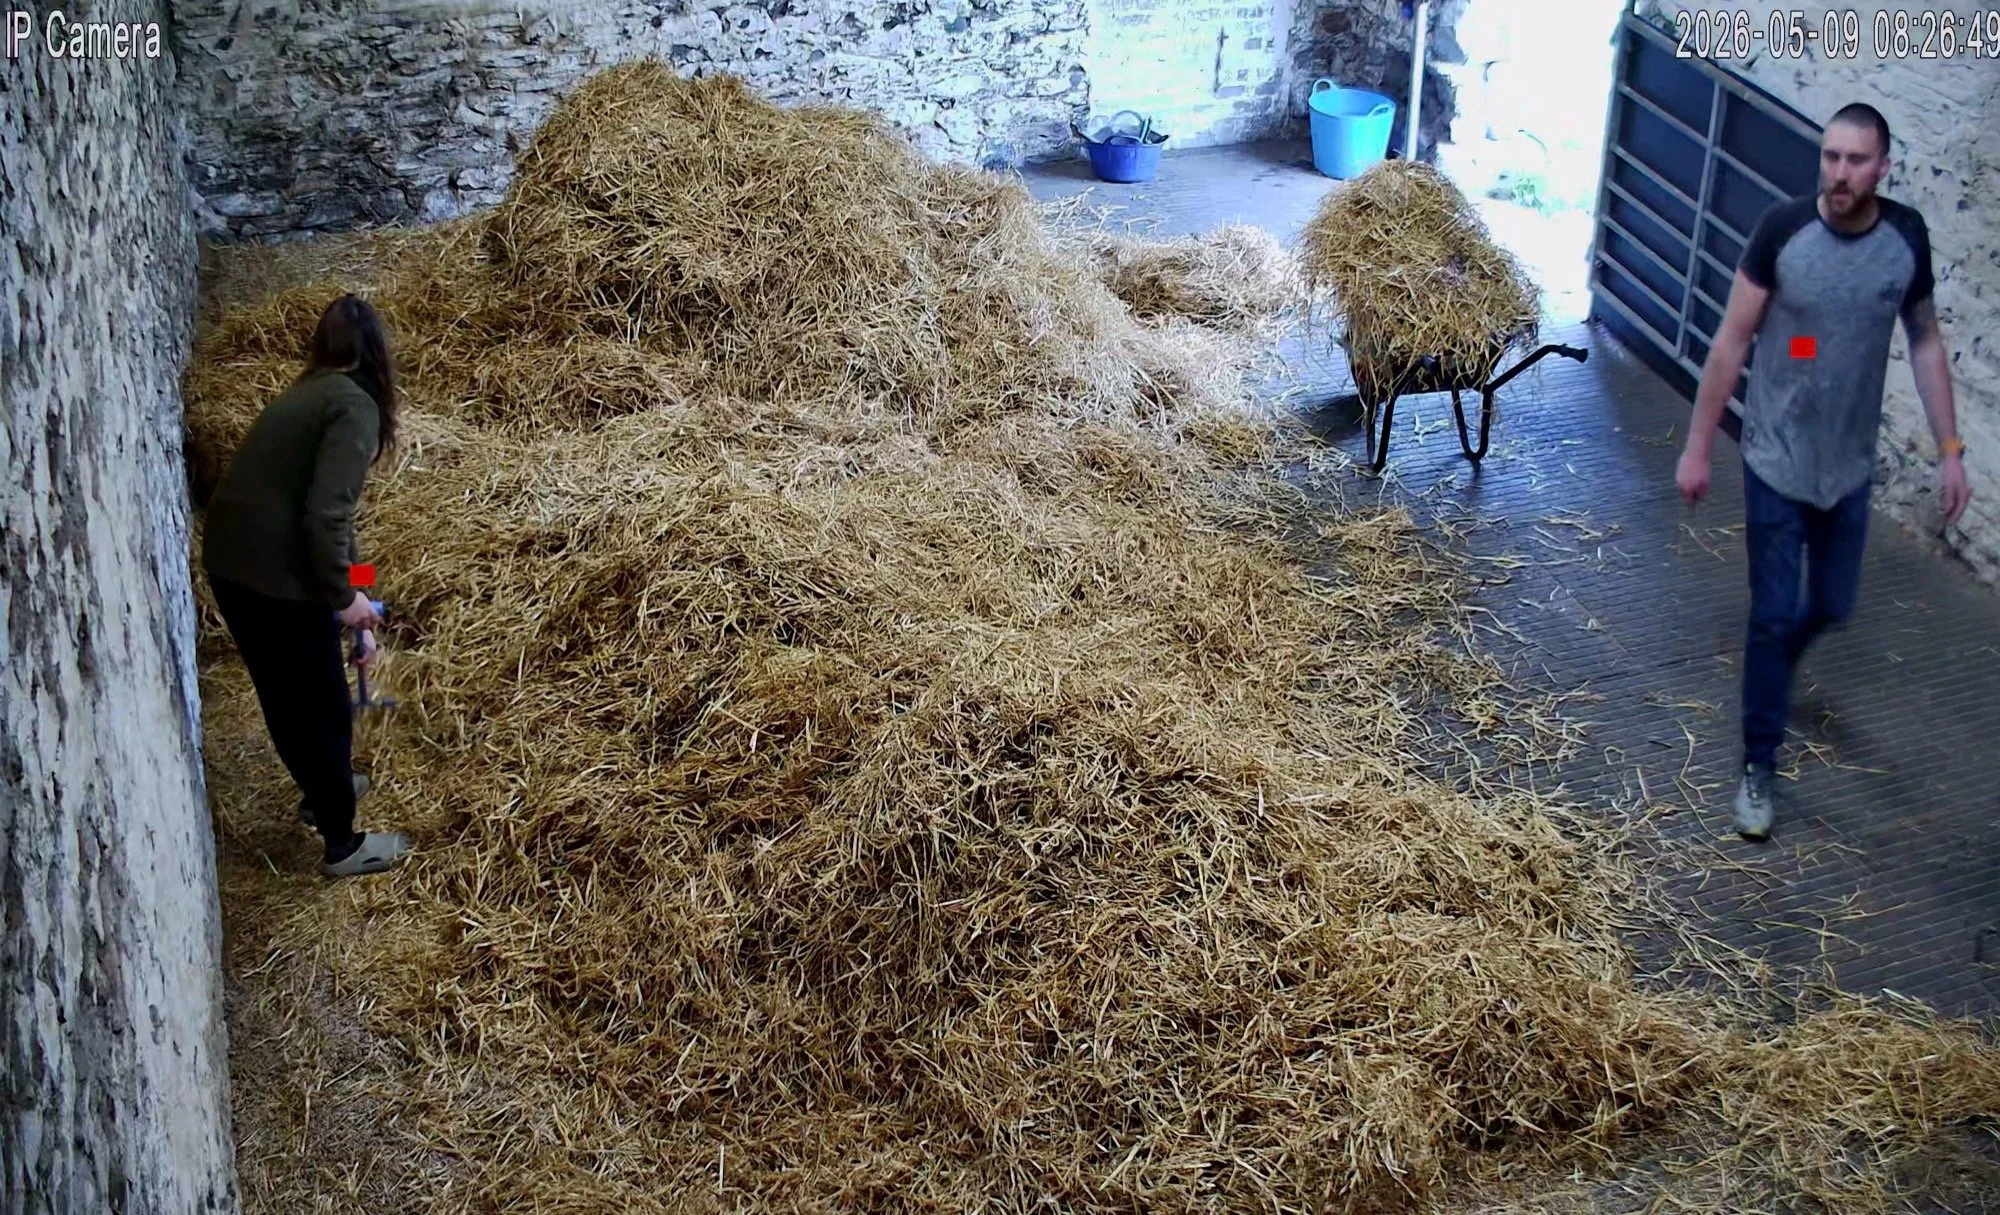
Given that we’re a week old now and the umbilicus has dried very well, the straw can also go. YAY.
I love a big straw bed, yes, but it’s so gross in summer - hard to completely clean out, flies attracted to all the air pockets inside and a haven for vermin too. With Asti also very much on her feet and enjoying sleeping on dirt outside, my moment for straw removal finally appeared.
It took over 18 wheelbarrow loads, two wheelbarrow breakdowns that needed fixing at the time, and a 2-hour window to do it all in, but I took out all the remaining straw, removed any wet in the wood pellets, turned everything over and re-made a firm but forgiving super absorbent 3inch bed.


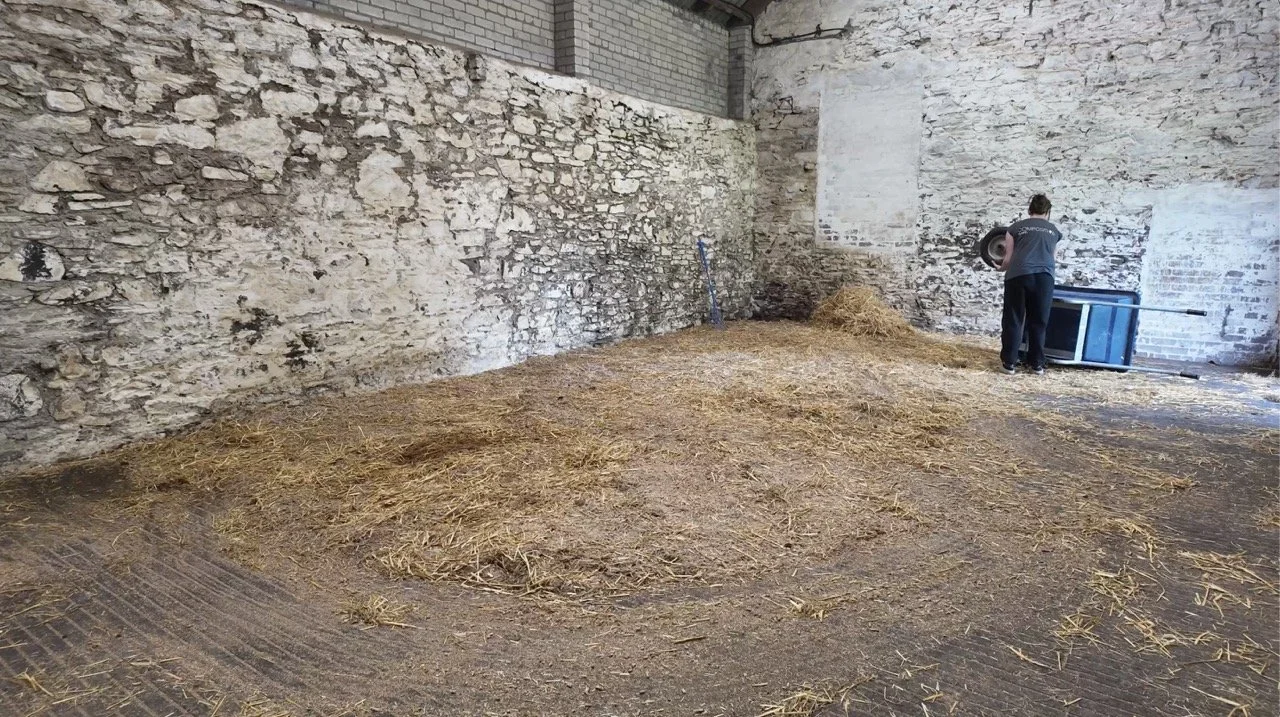


It might not look too comfortable to human eyes, but you’d be surprised how much the horses love this material - it doesn’t ever smell, it’s clean on them, and it has a good squidge to it whilst not being slippery at speed. The new bed is 20ft long x 10 ft wide, and Asti approved:
After 12 hours, there are no flies at all in this box now, and the slight ammonia smell you always get with a straw bed is completely gone. Perfect.
That’s all for now, see you next time!
May Week 4:
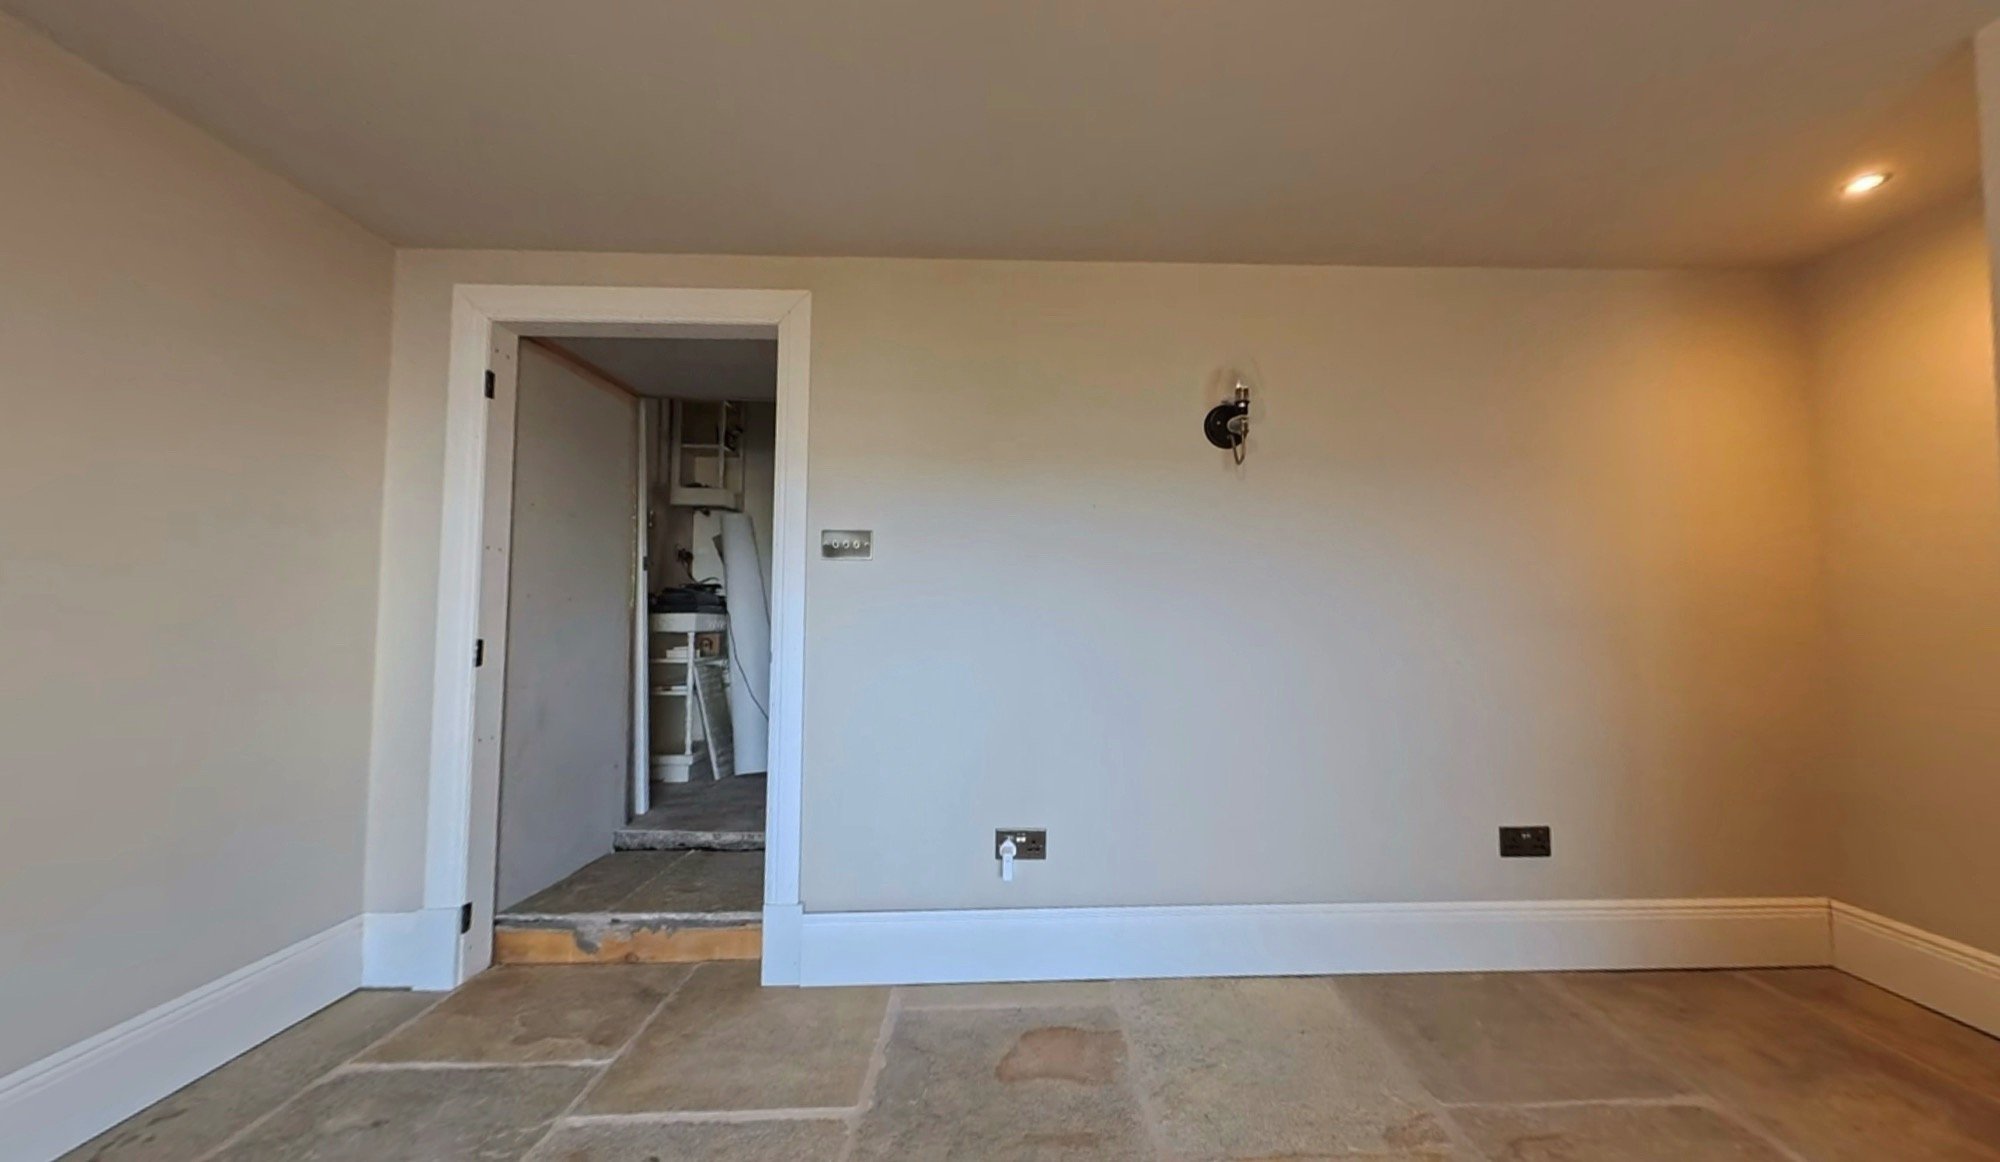
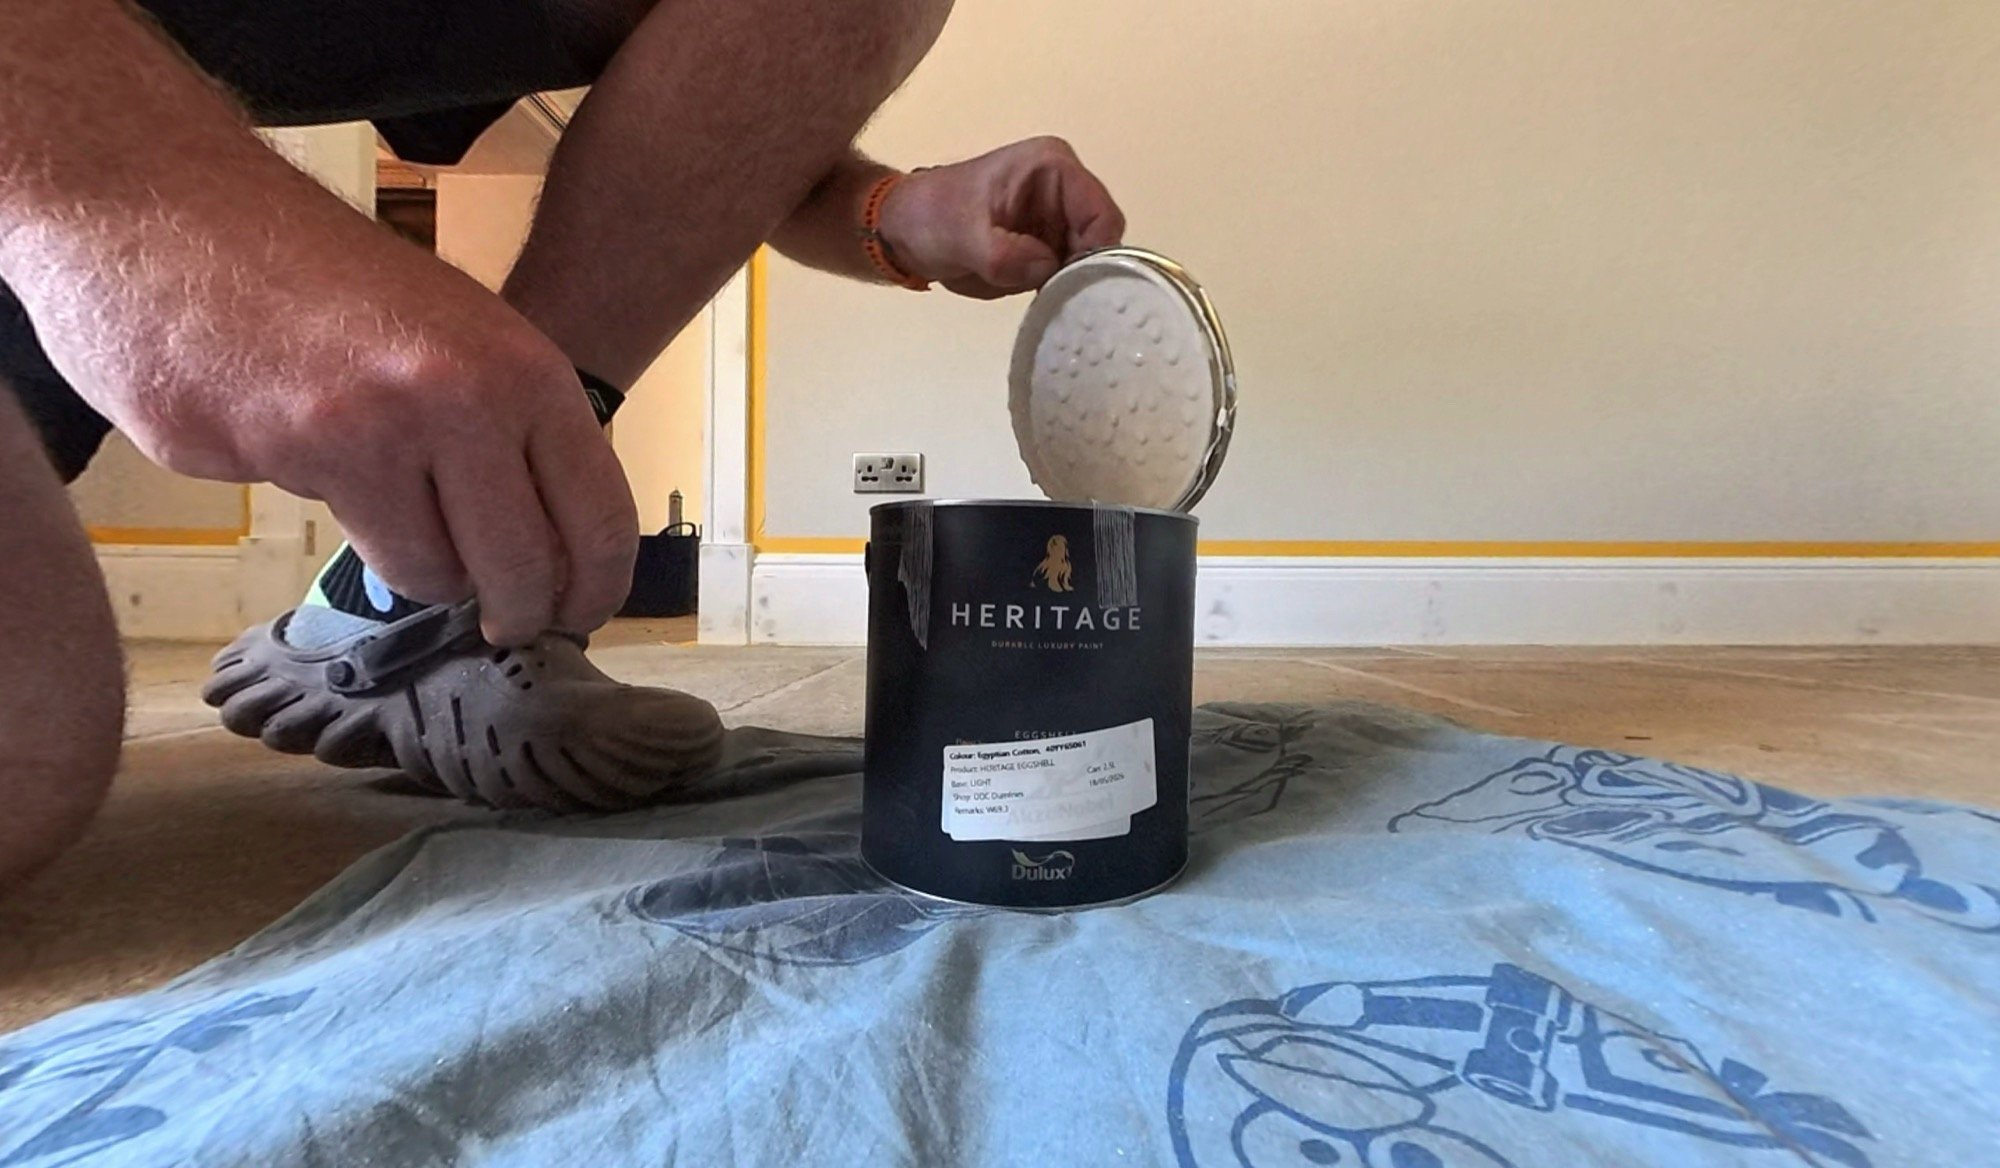
A week of ‘bits’ but Dan and I both rallied to get at least one area complete(ish)! Let’s start with the office in the farmhouse, which was SO close to completion last week, and is just a couple of small tasks away at the end of this week. Dan had one major job which was to paint the woodwork, so paint he did:


The final bits of this room to do are:
Re-seal the floor
Paint and re-hang the doors
Move in!
[oh, and replace the windows next year…]
That’s it, tantalisingly close. It looks like this today:


I’m so glad we put so many sockets on that wall… we’re going to need them!
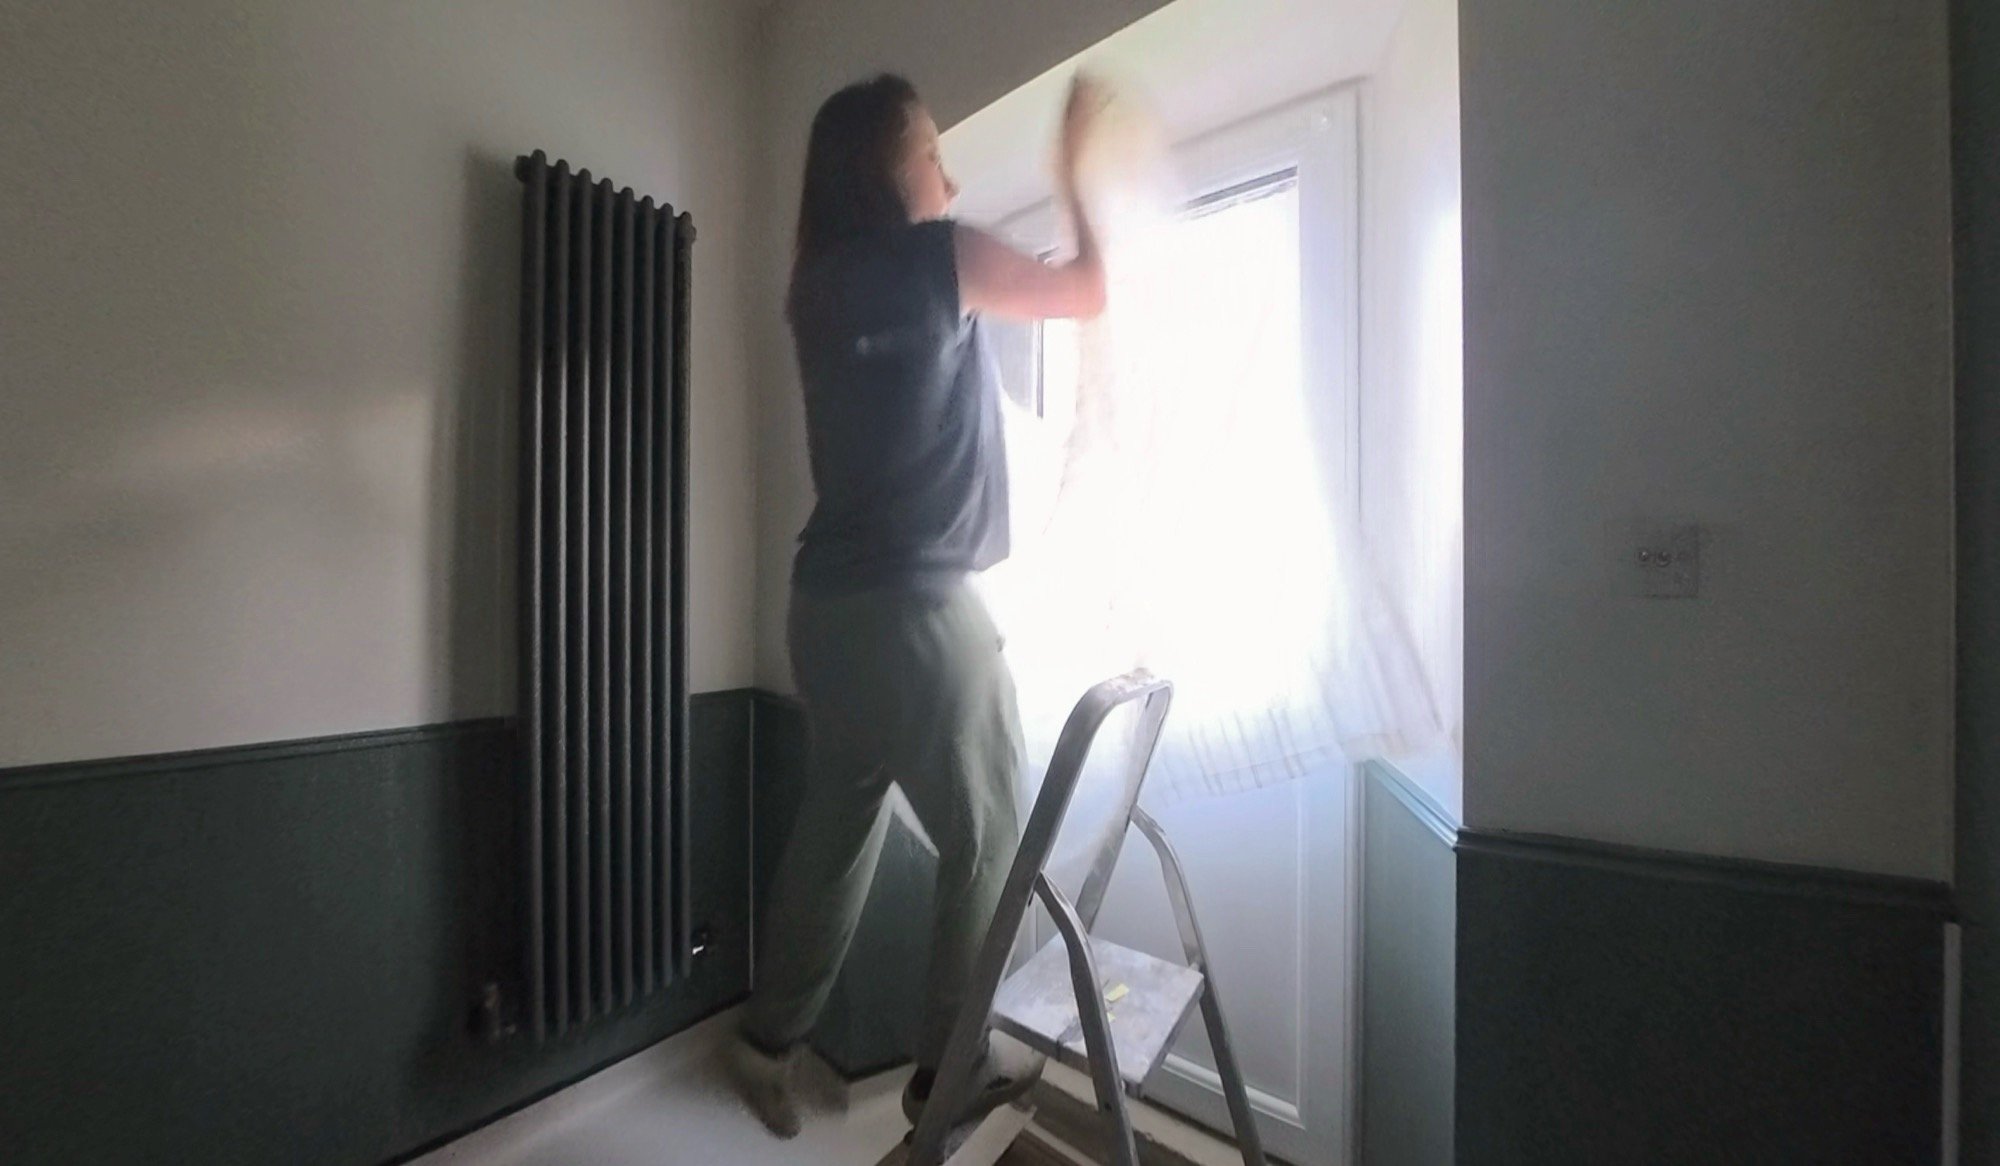
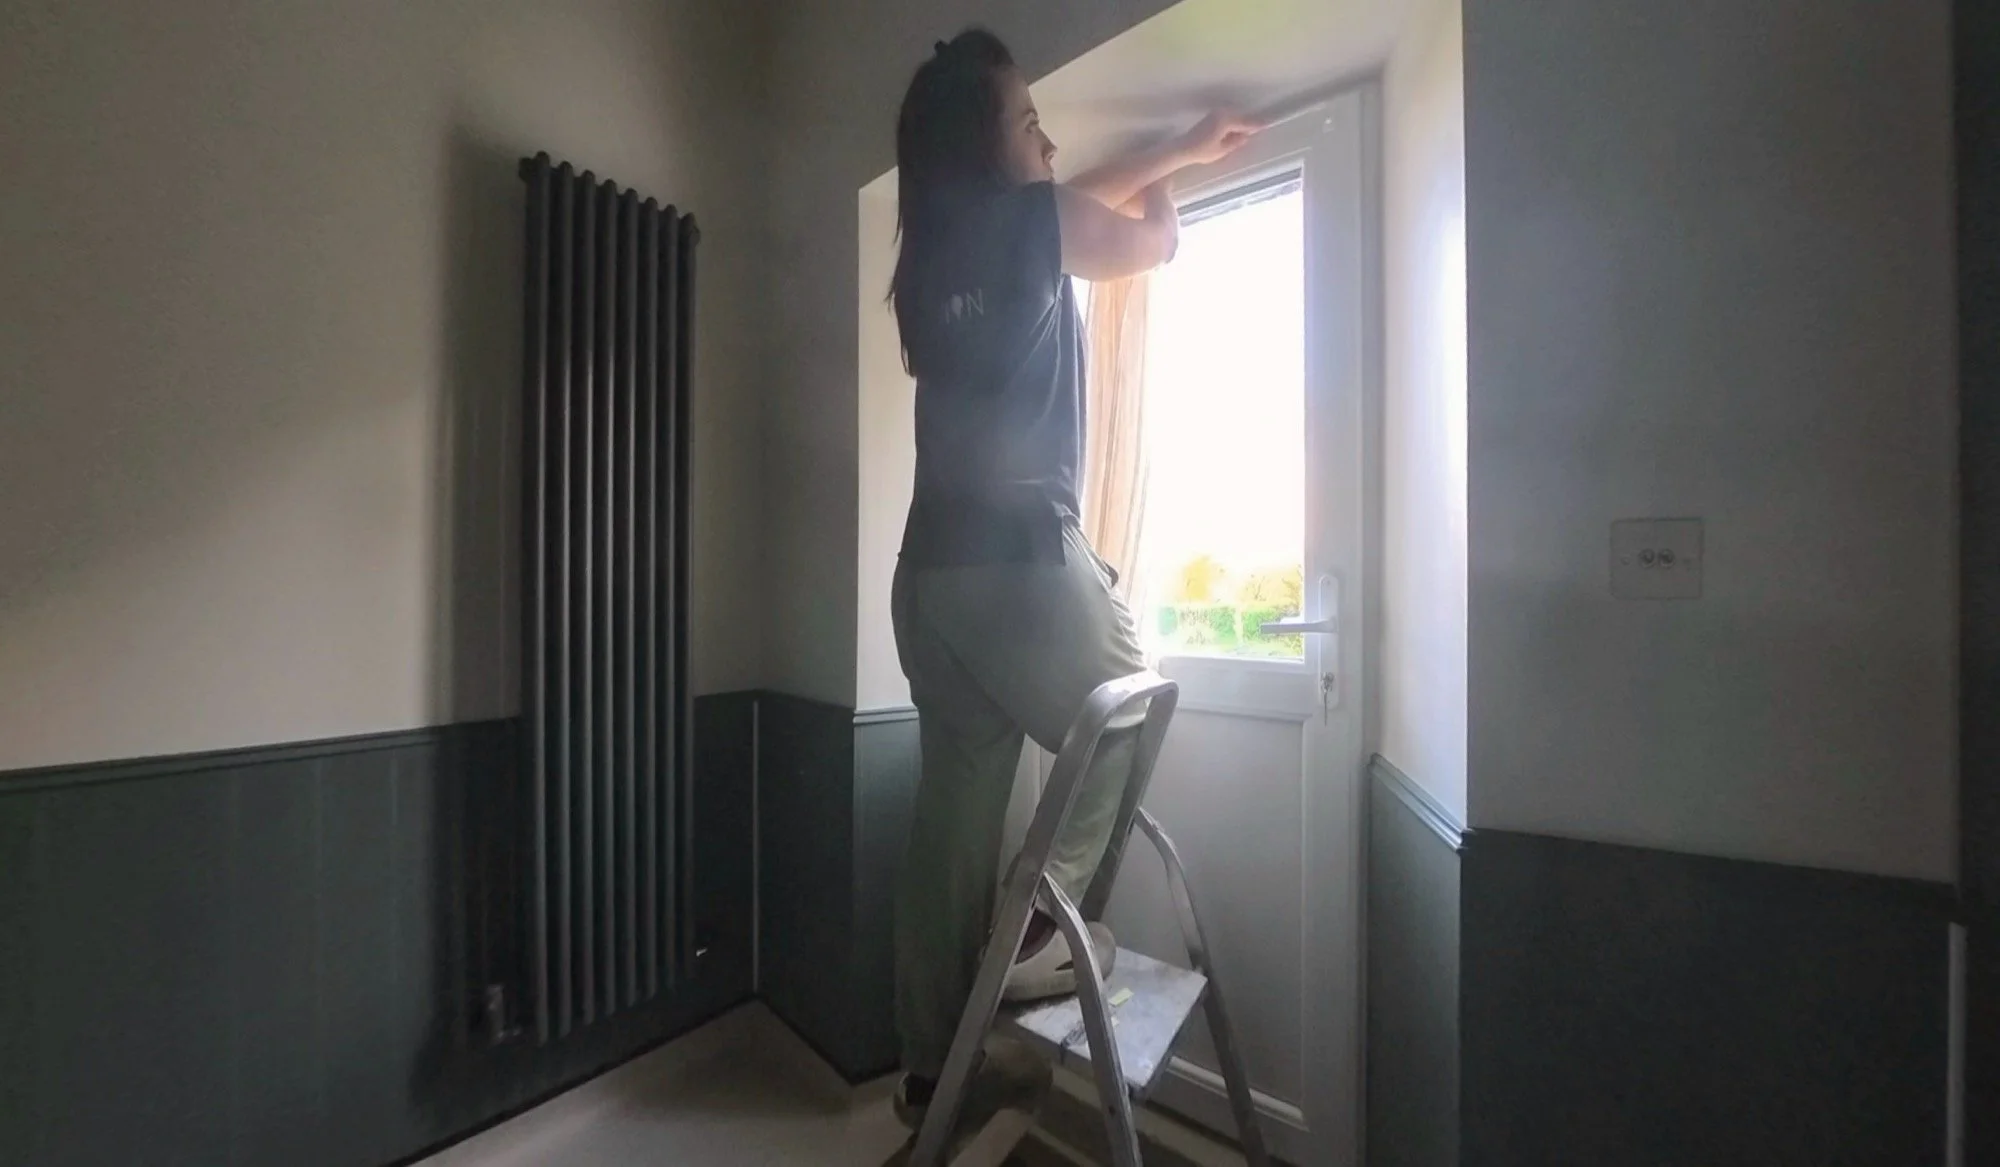
Next up, the Wet Dog Room, because the dogs needed to go in there this weekend, and it’s due some rain! Last week, the Wet Dog Room had its trim popped on, but there was still much to do, not least cleaning the space properly too! Dan took on sealing, caulking, filling, sanding, priming and painting of that trim, then I took over to do the little bits of touching up after the tape was removed.

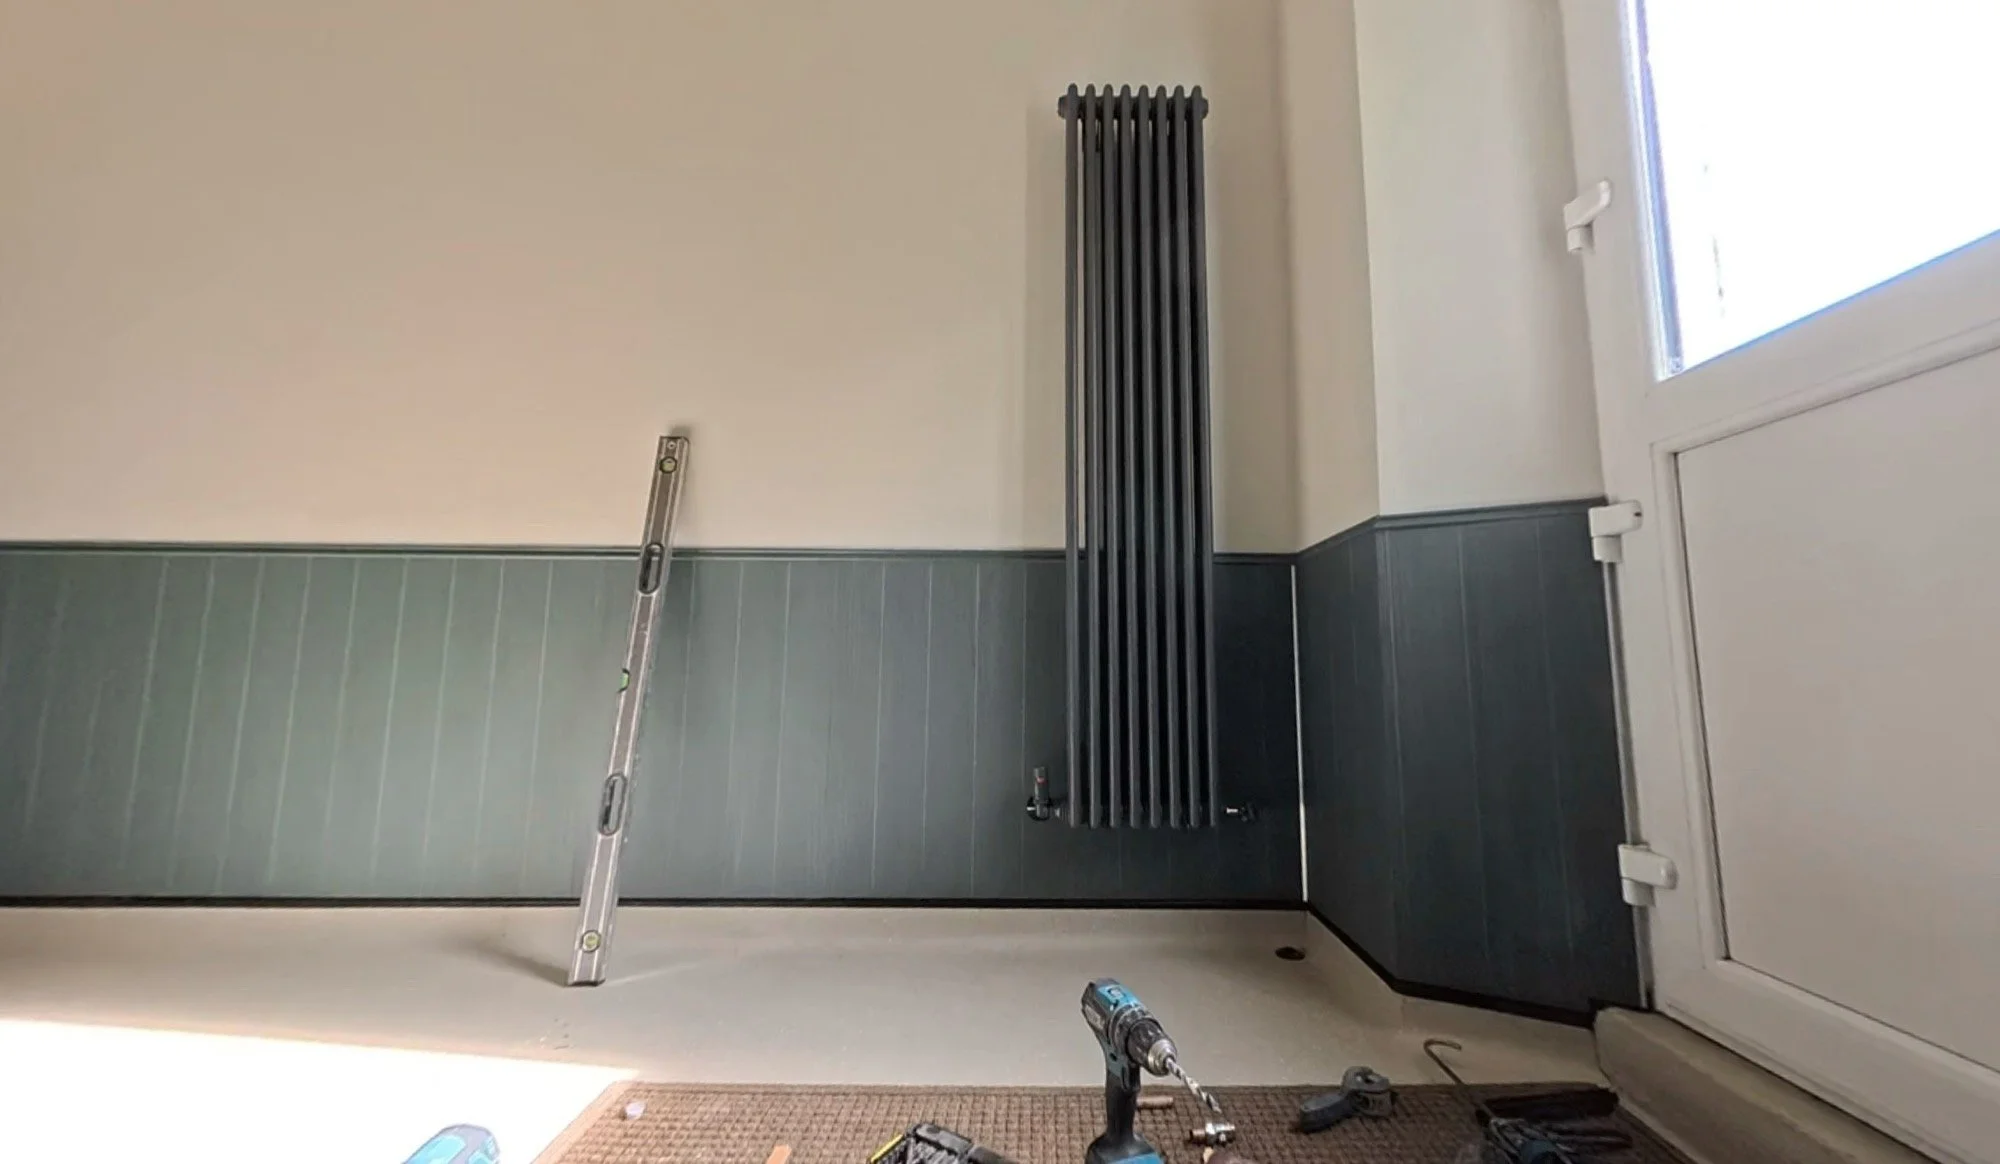
We needed to put the brand new radiator on its brackets and connect the pipe up, so we both tackled that on Friday afternoon:


We also needed some way of filtering sunlight in the afternoons to prevent turning this space into an oven. This door is temporary; it’ll be replaced in the next year or so and eventually this room will have some cute shelves and woodwork on show too, so I went with a cottage vibe for a temporary light-filtering solution. The voile is a budget sale item from Dunelm (£9) and the little stick-on bracket/pole was £10 from Amazon:


Just before bringing the dogs over, the space looked like this - note the lights still haven’t been popped into the ceiling:
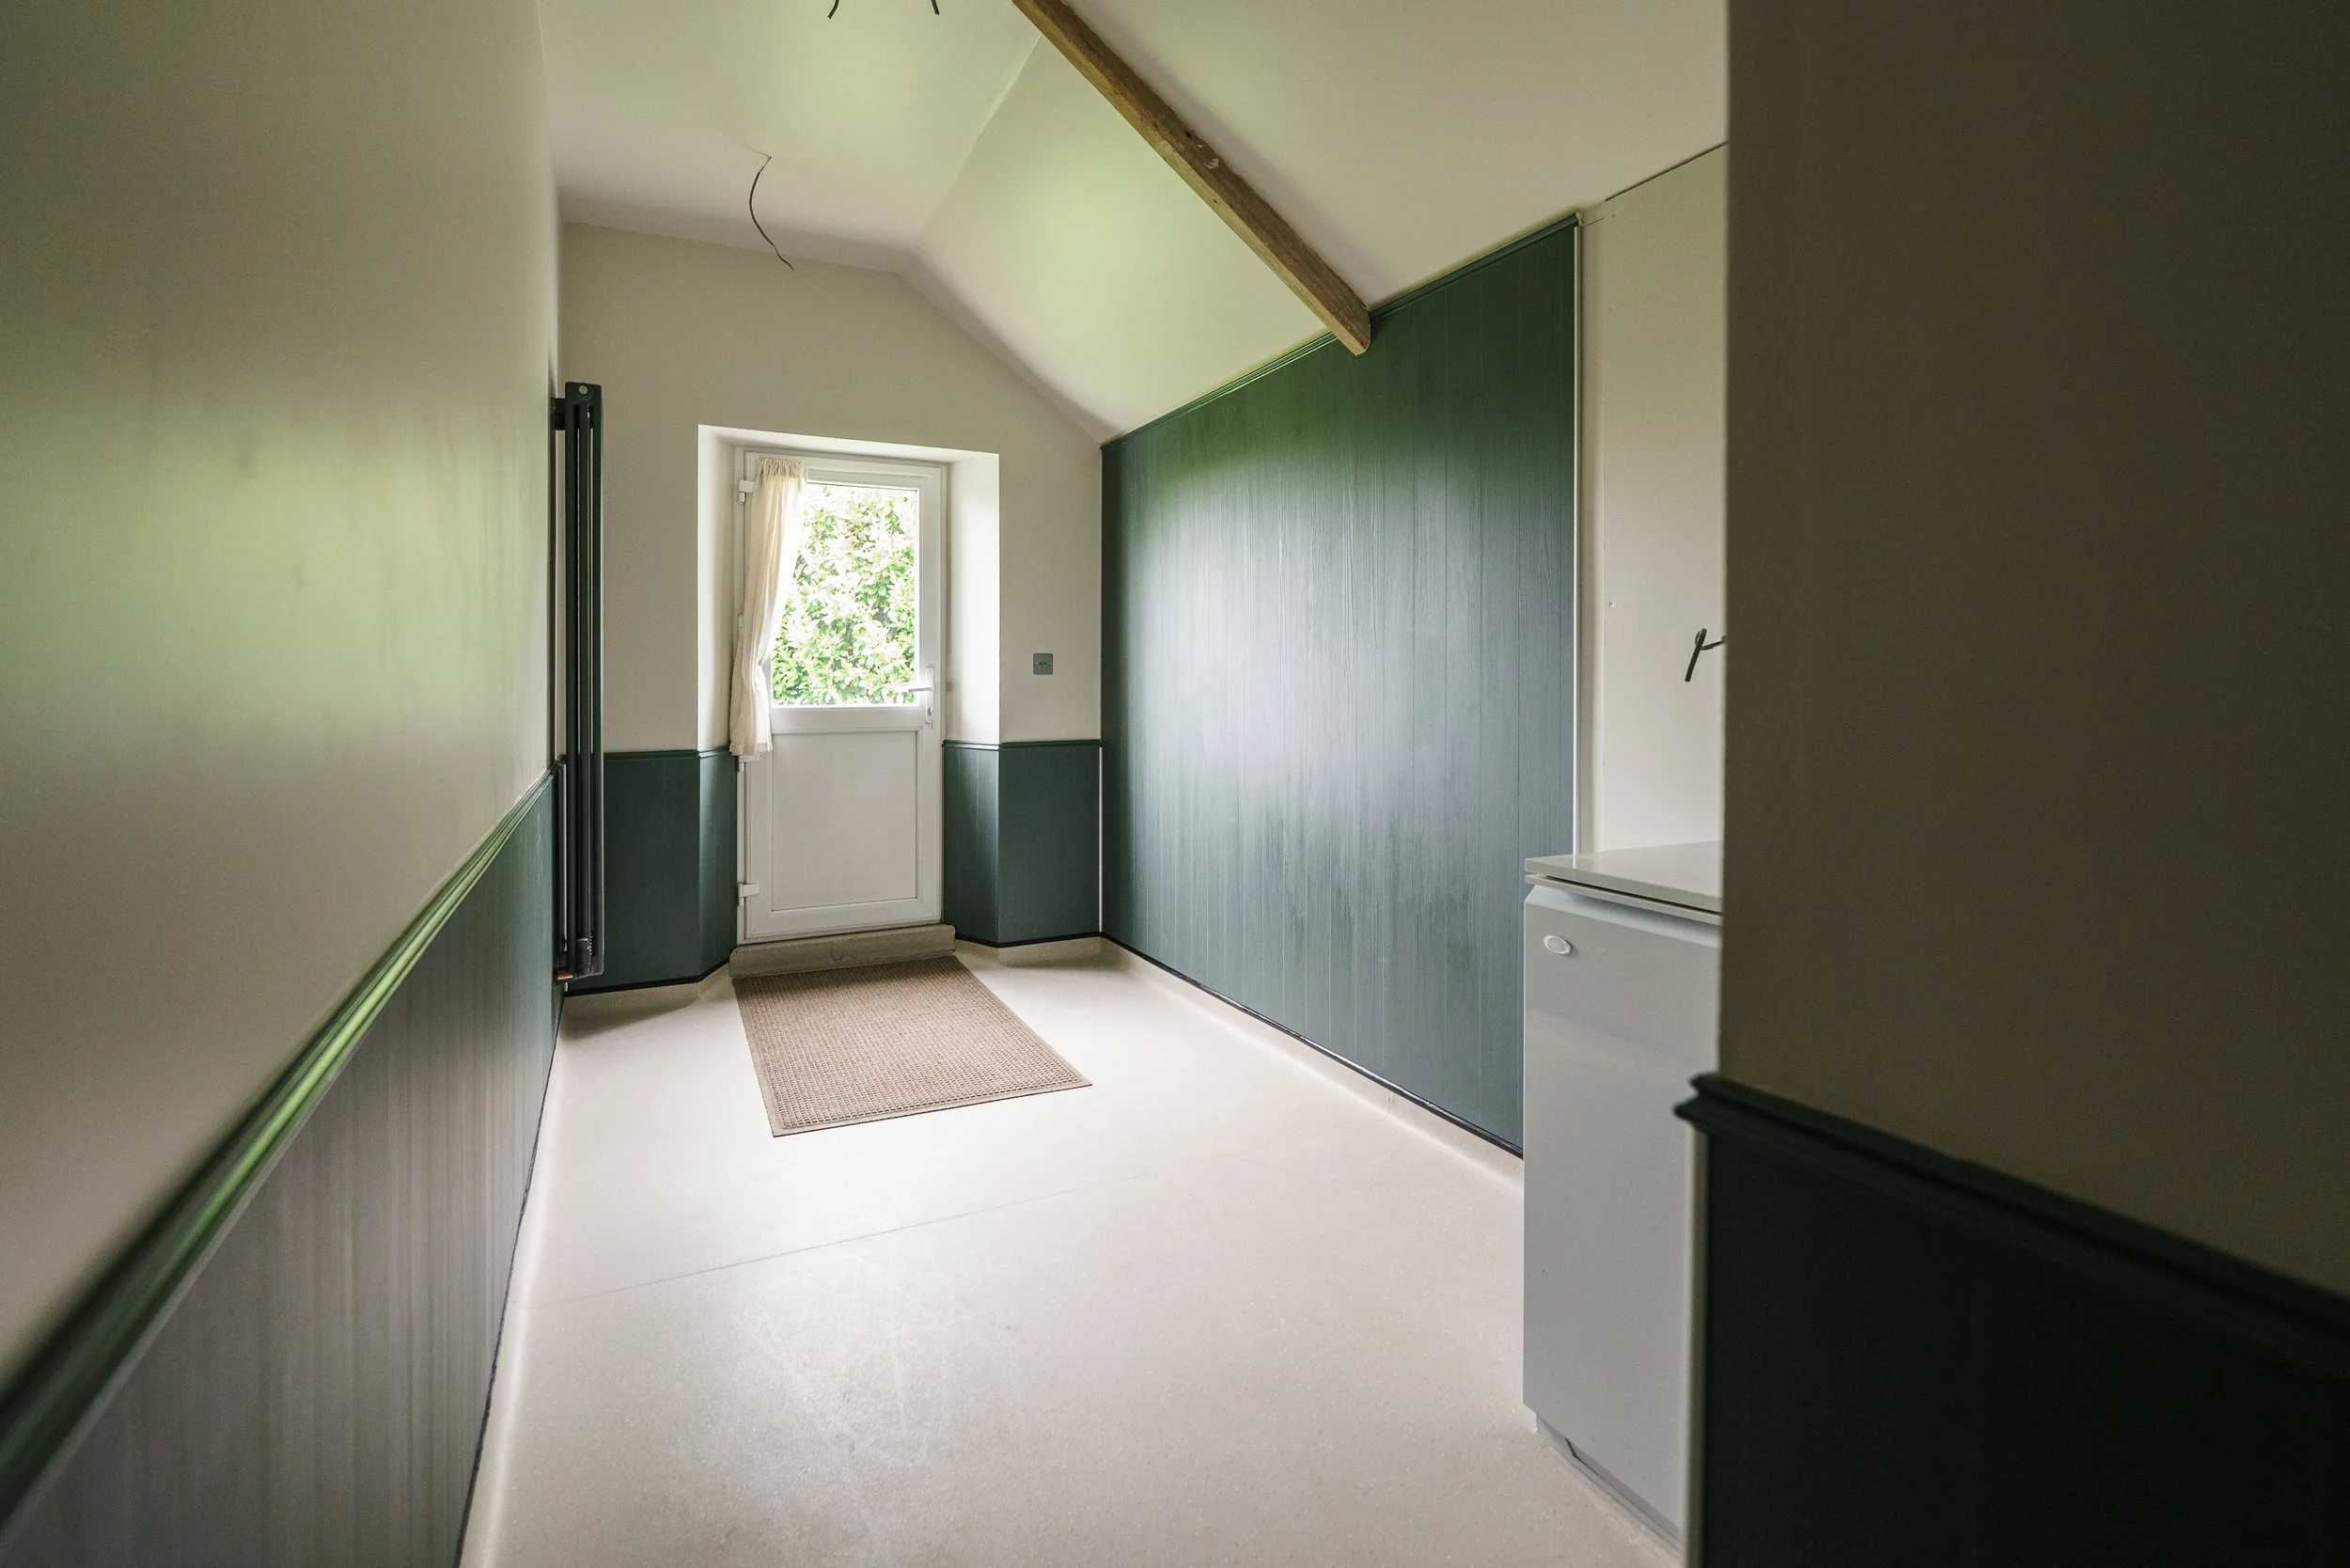


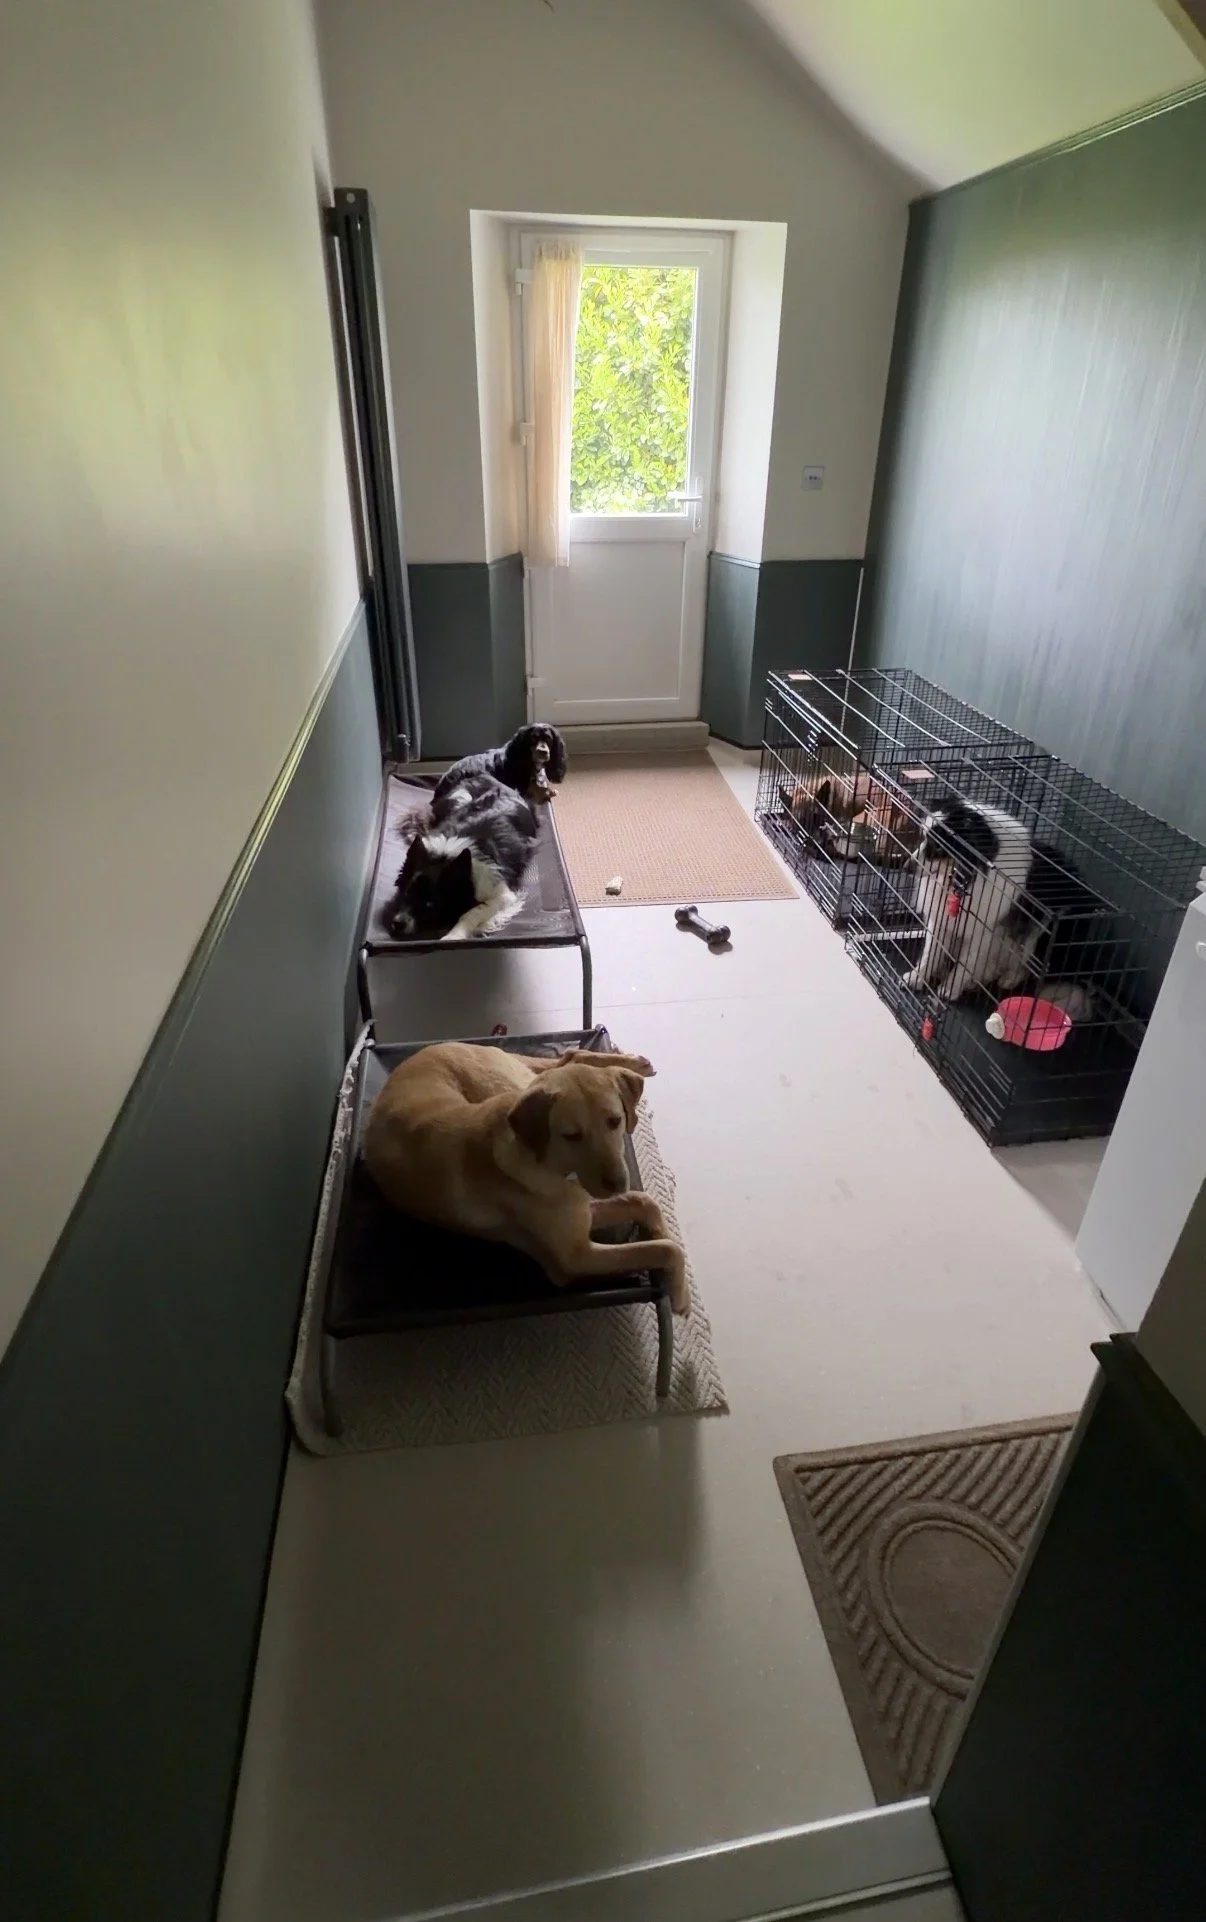
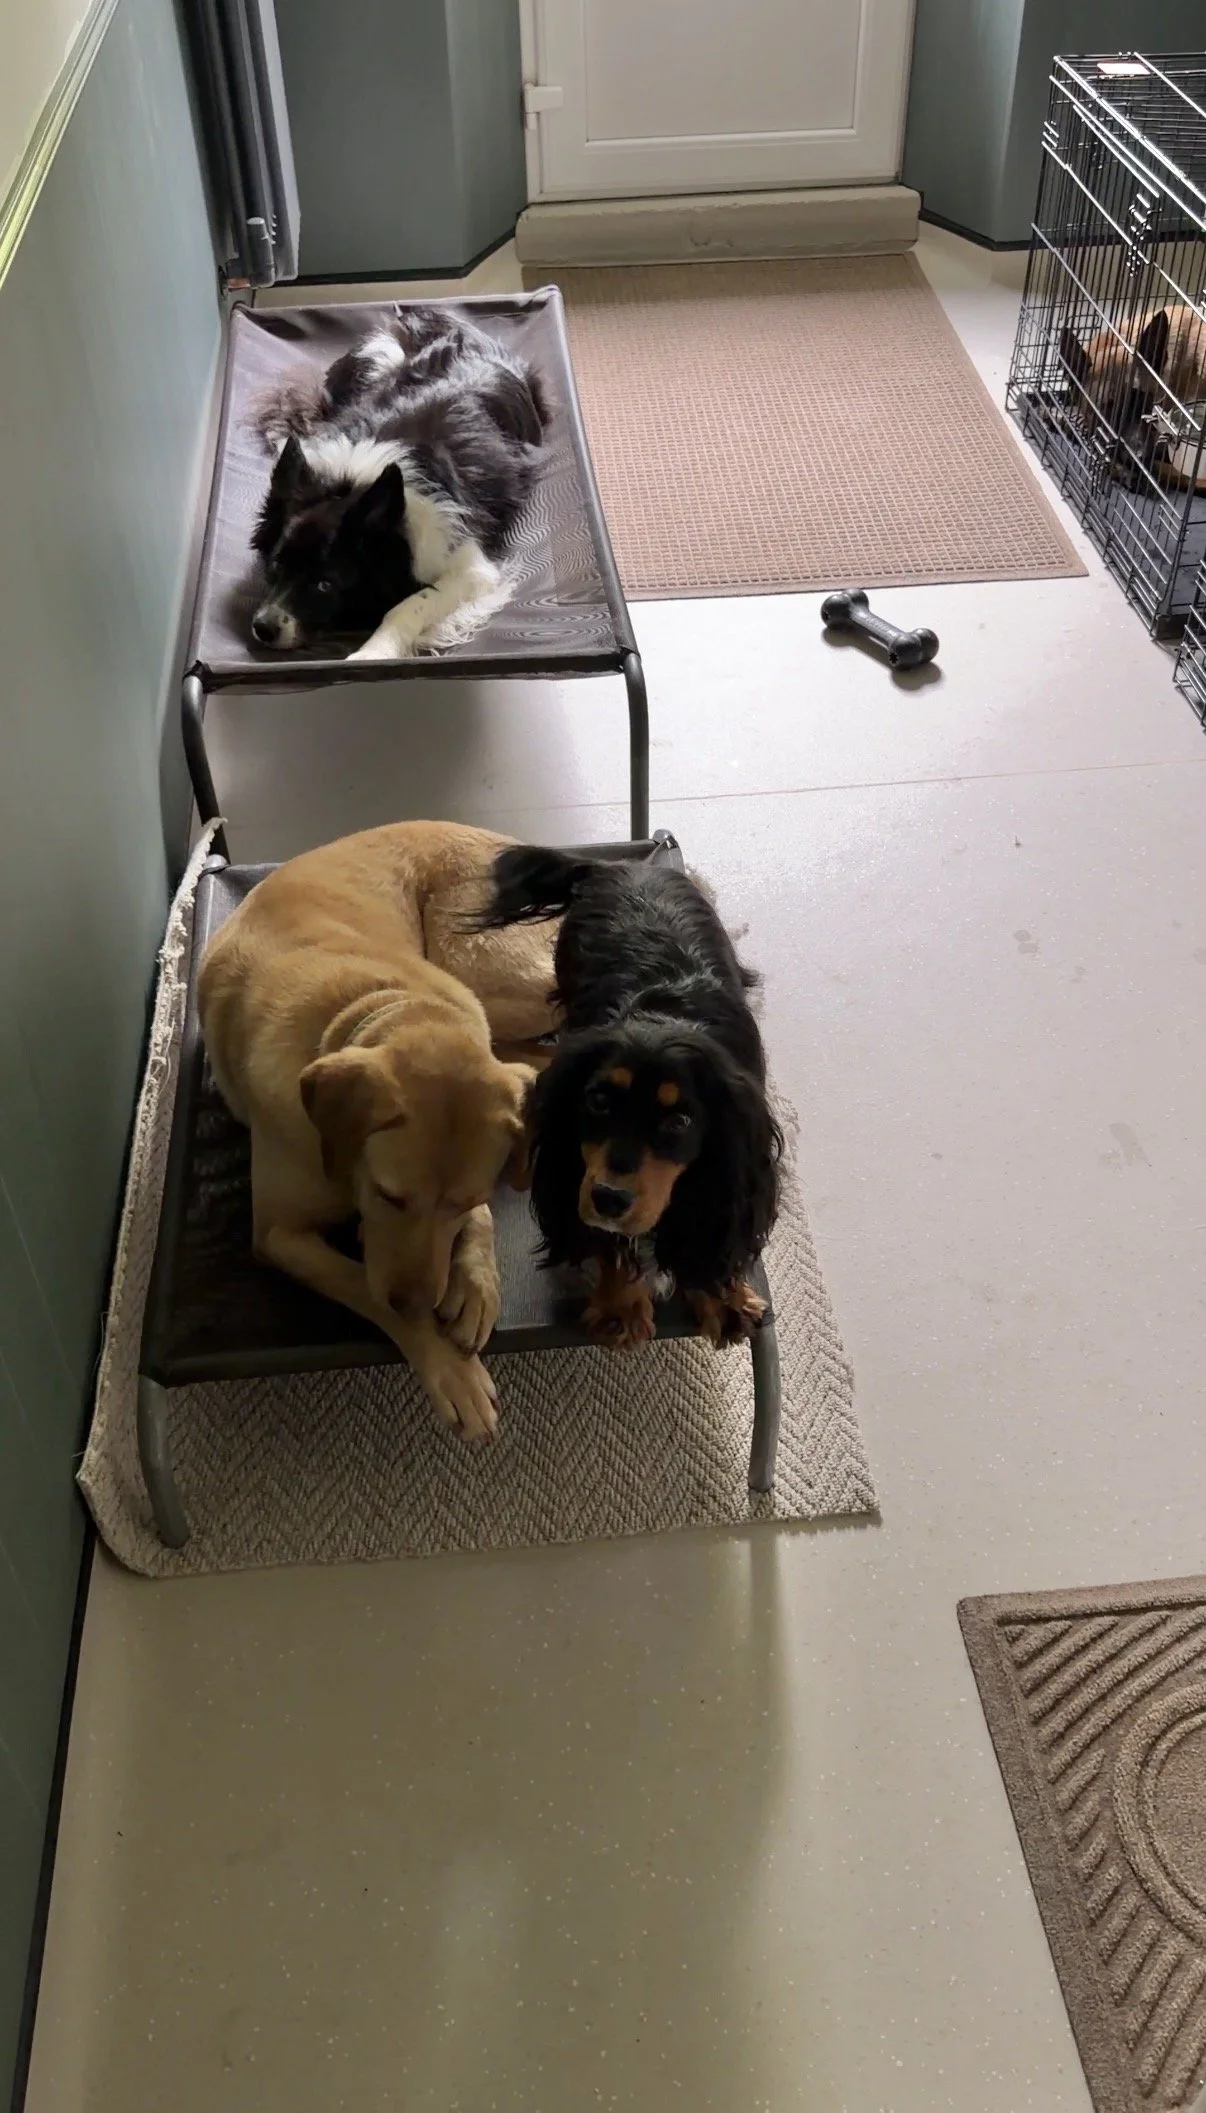
Before bringing over their comfy bed pads, the dogs test-drove the space as it is right now. See the images in this section to see them when they’d just gone inside!
Most of you know that Ren and Zest both prefer to have quiet time in their crates, so the two medium crates are in there for rest. Both Zee and Ren have larger crates that will stack one on top of the other when we actually move back into this house.
Before she went into rescue, Zest was kennelled 24/7, and despite our best efforts to get her happy out of a crate full-time in a home environment, she would much rather be in her own area to sleep (she’ll literally claw at the door to get back into a box!), so that’s ok with us.
Ren is on crate rest for probably about 12 weeks, I hope she can end up out of a box, but we’ll take it day by day.
Bryt and Lemon both prefer to buddy up and snuggle together on a single bed, so there’s a long double-width Hik9 and a standard one too. Those two and Alfie have free choice over where they park themselves whilst in here. The standard bed doesn’t have rubber feet (I lost them a couple of years ago!), so it’s on an offcut of carpet for now!
Oddly, the dogs settled instantly in here - it was immediate, even though they don’t know this room well at all. It’s odd to me because Lemon usually takes a while to settle somewhere new, and Ren will often be quite stimulated. Neither were - they went to nap positions straight away. The floor is more than grippy enough for their feet (YAY!), and the space has a very calm, quiet feel to it - it’s genuinely lovely.
In here, the to-do list is a bit bigger and split into two:
ASAP in the Wet Dog Room:
Fit the lights & smoke alarm
Strip & paint the door
Bring in the big crates when we move in
Whenever-we-can in the Wet Dog Room:
Build the cupboard
Build the worktop
Put up shelving
As we round up May, June will be very busy, because we have to prepare for some things happening in July. The order of priority is upstairs new rooms first, then the kitchen, then the bathrooms. We’re confident we can smash it out, and Dan is plugging away at skirting any chance he gets. He does make everywhere dusty though, the cleaning never stops.


Onwards!