
April Monthly Update
As always, there’ll be a lot in this one, so use the links to skip to each week as we move through the month:
Week 5 (quick one)
April Week 1:
April week one was a week filled with trying to stabilise Velia and figure out what on earth went wrong. She was about 280 days gestation (bun cooking average is 340 days), and mid March she had a medical crisis. We didn’t share the ins and outs then, because we didn’t know what was happening or what would happen next. She moved into the barn ahead of schedule to help her on what we were expecting would be box rest and/or early delivery of a sick or already deceased foal. Thankfully, I can share now that none of those things happened, but having her in the larger barn was well worth it regardless.
I can confirm that after copious rounds of tests, scans, bloods, cross party discussions and more tests, Velia is mostly out of the woods. In summary, because it is LONG (and covered at that length on TikTok for 280-290 day updates), the following happened with a 95% likelihood:
Late march, Velia had mild colic, explosive diarrhoea, discomfort and lethargy
Immediate poo sample of the explosive part sent for testing the same day (Friday night)
Velia moved to foaling box
Monitored over the weekend with soft stools, self resolving colic, poor appetite
Monday April Week 1 FWEC (fecal worm egg count) back as part of stool test, 135 reported (not high, deemed low)
Tuesday blood testing for pregnany hormones, encysted small redworm and general health panel
Wednesday health panel back, low albumin (blood protein), inflamation markers high, otherwise ok
Thursday fecal nasties test back clean
Friday hormone test back (took an AGE), pregnancy still live, slightly lower than normal hormone levels - potential placentitis for inflammation levels alongside gut issue, run around the county for 3 hours on a bank holiday to find drugs
Saturday drugs all begin administration. These included antibiotics, gut binders, a wormer (just in case), anti-inflammatories and Regumate, a hormone to try hold the pregancy in case of placentitis.
All Week 1 of April, Velia fine in herself (this is important), with a minimal but slightly changing bag (of milk, slightly early like this is a sign of something wrong with the placenta)
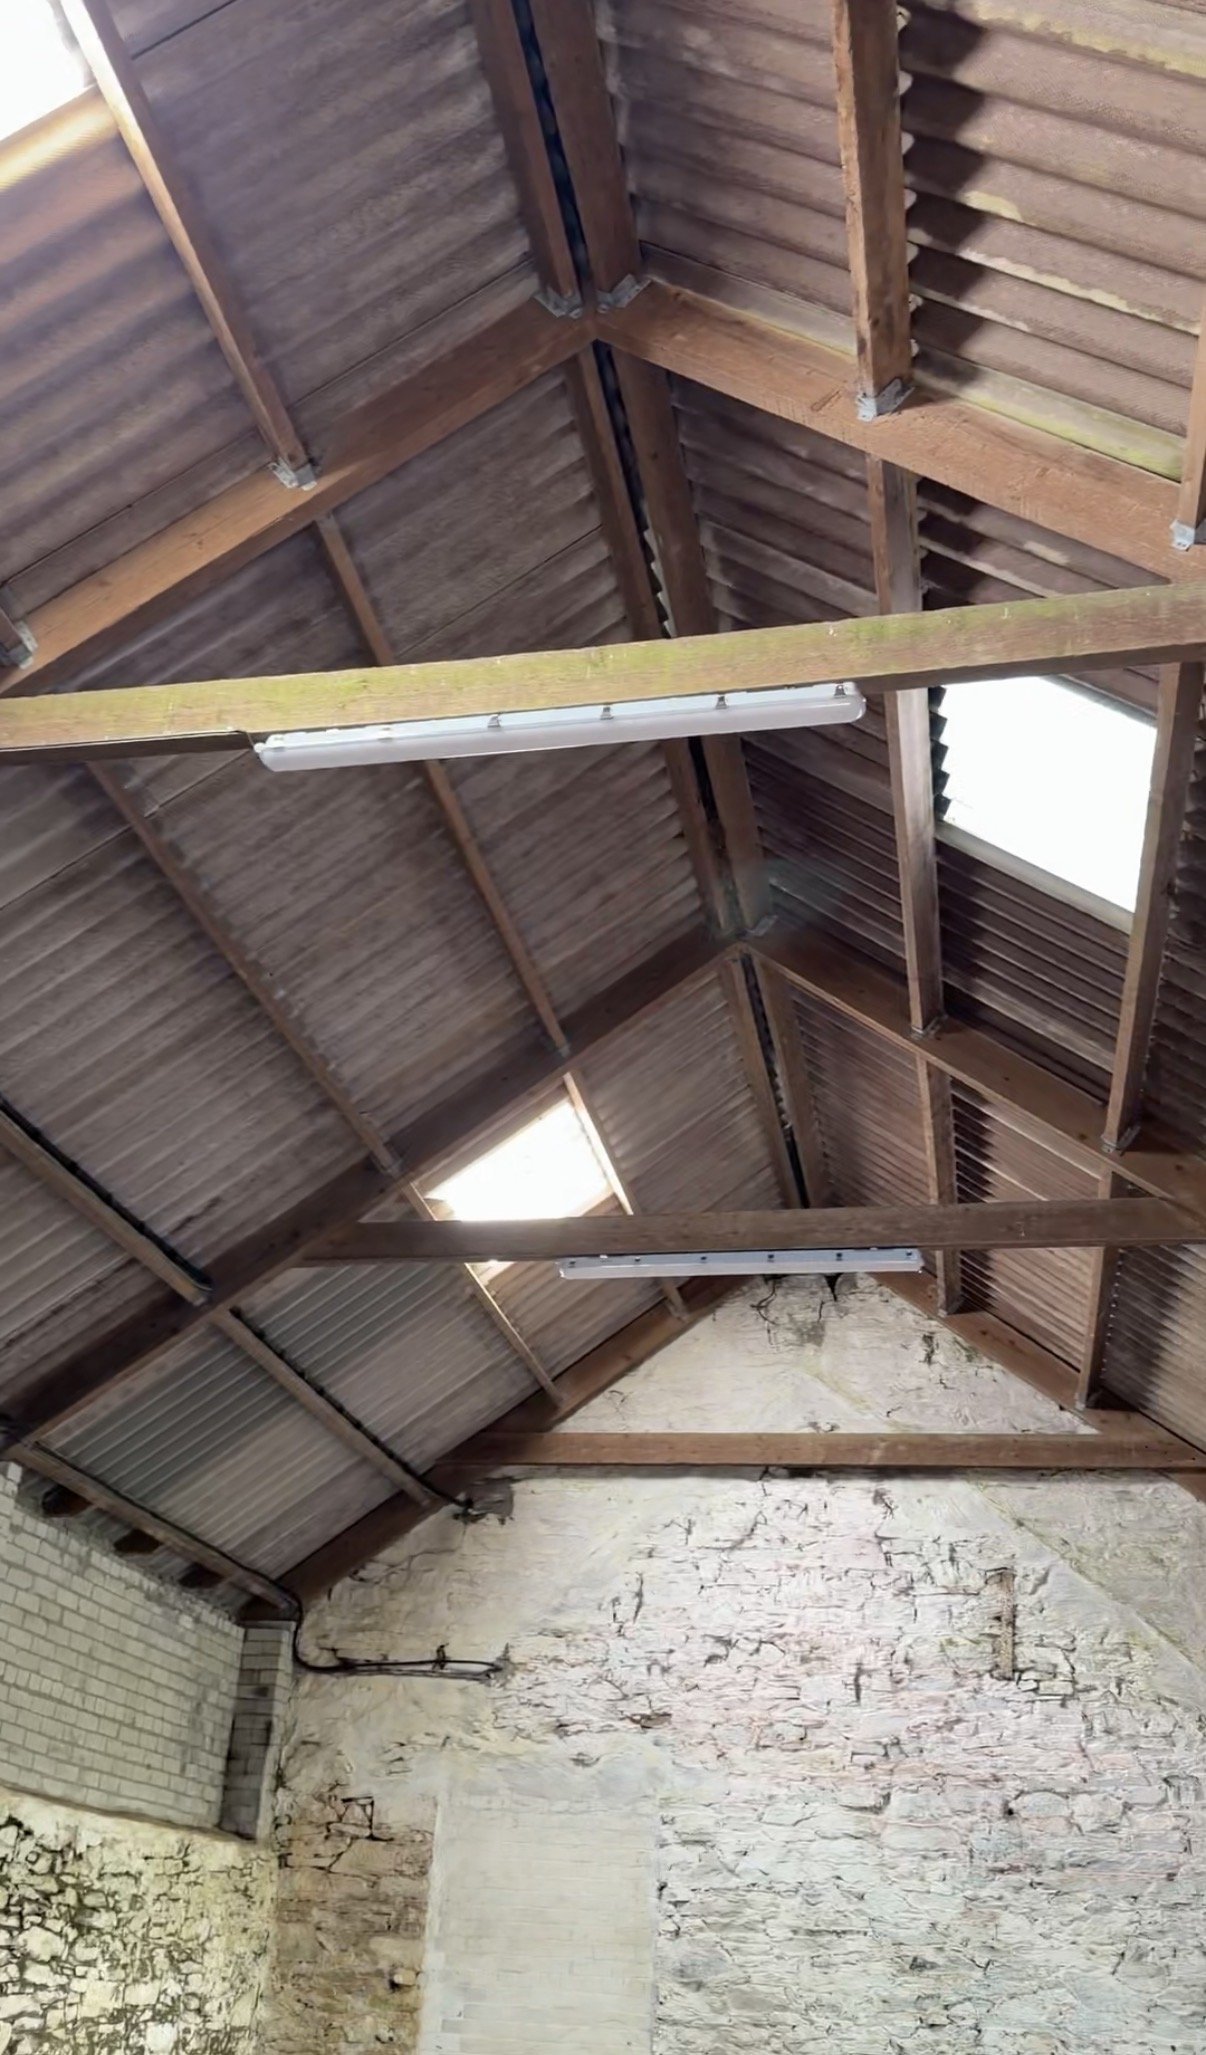
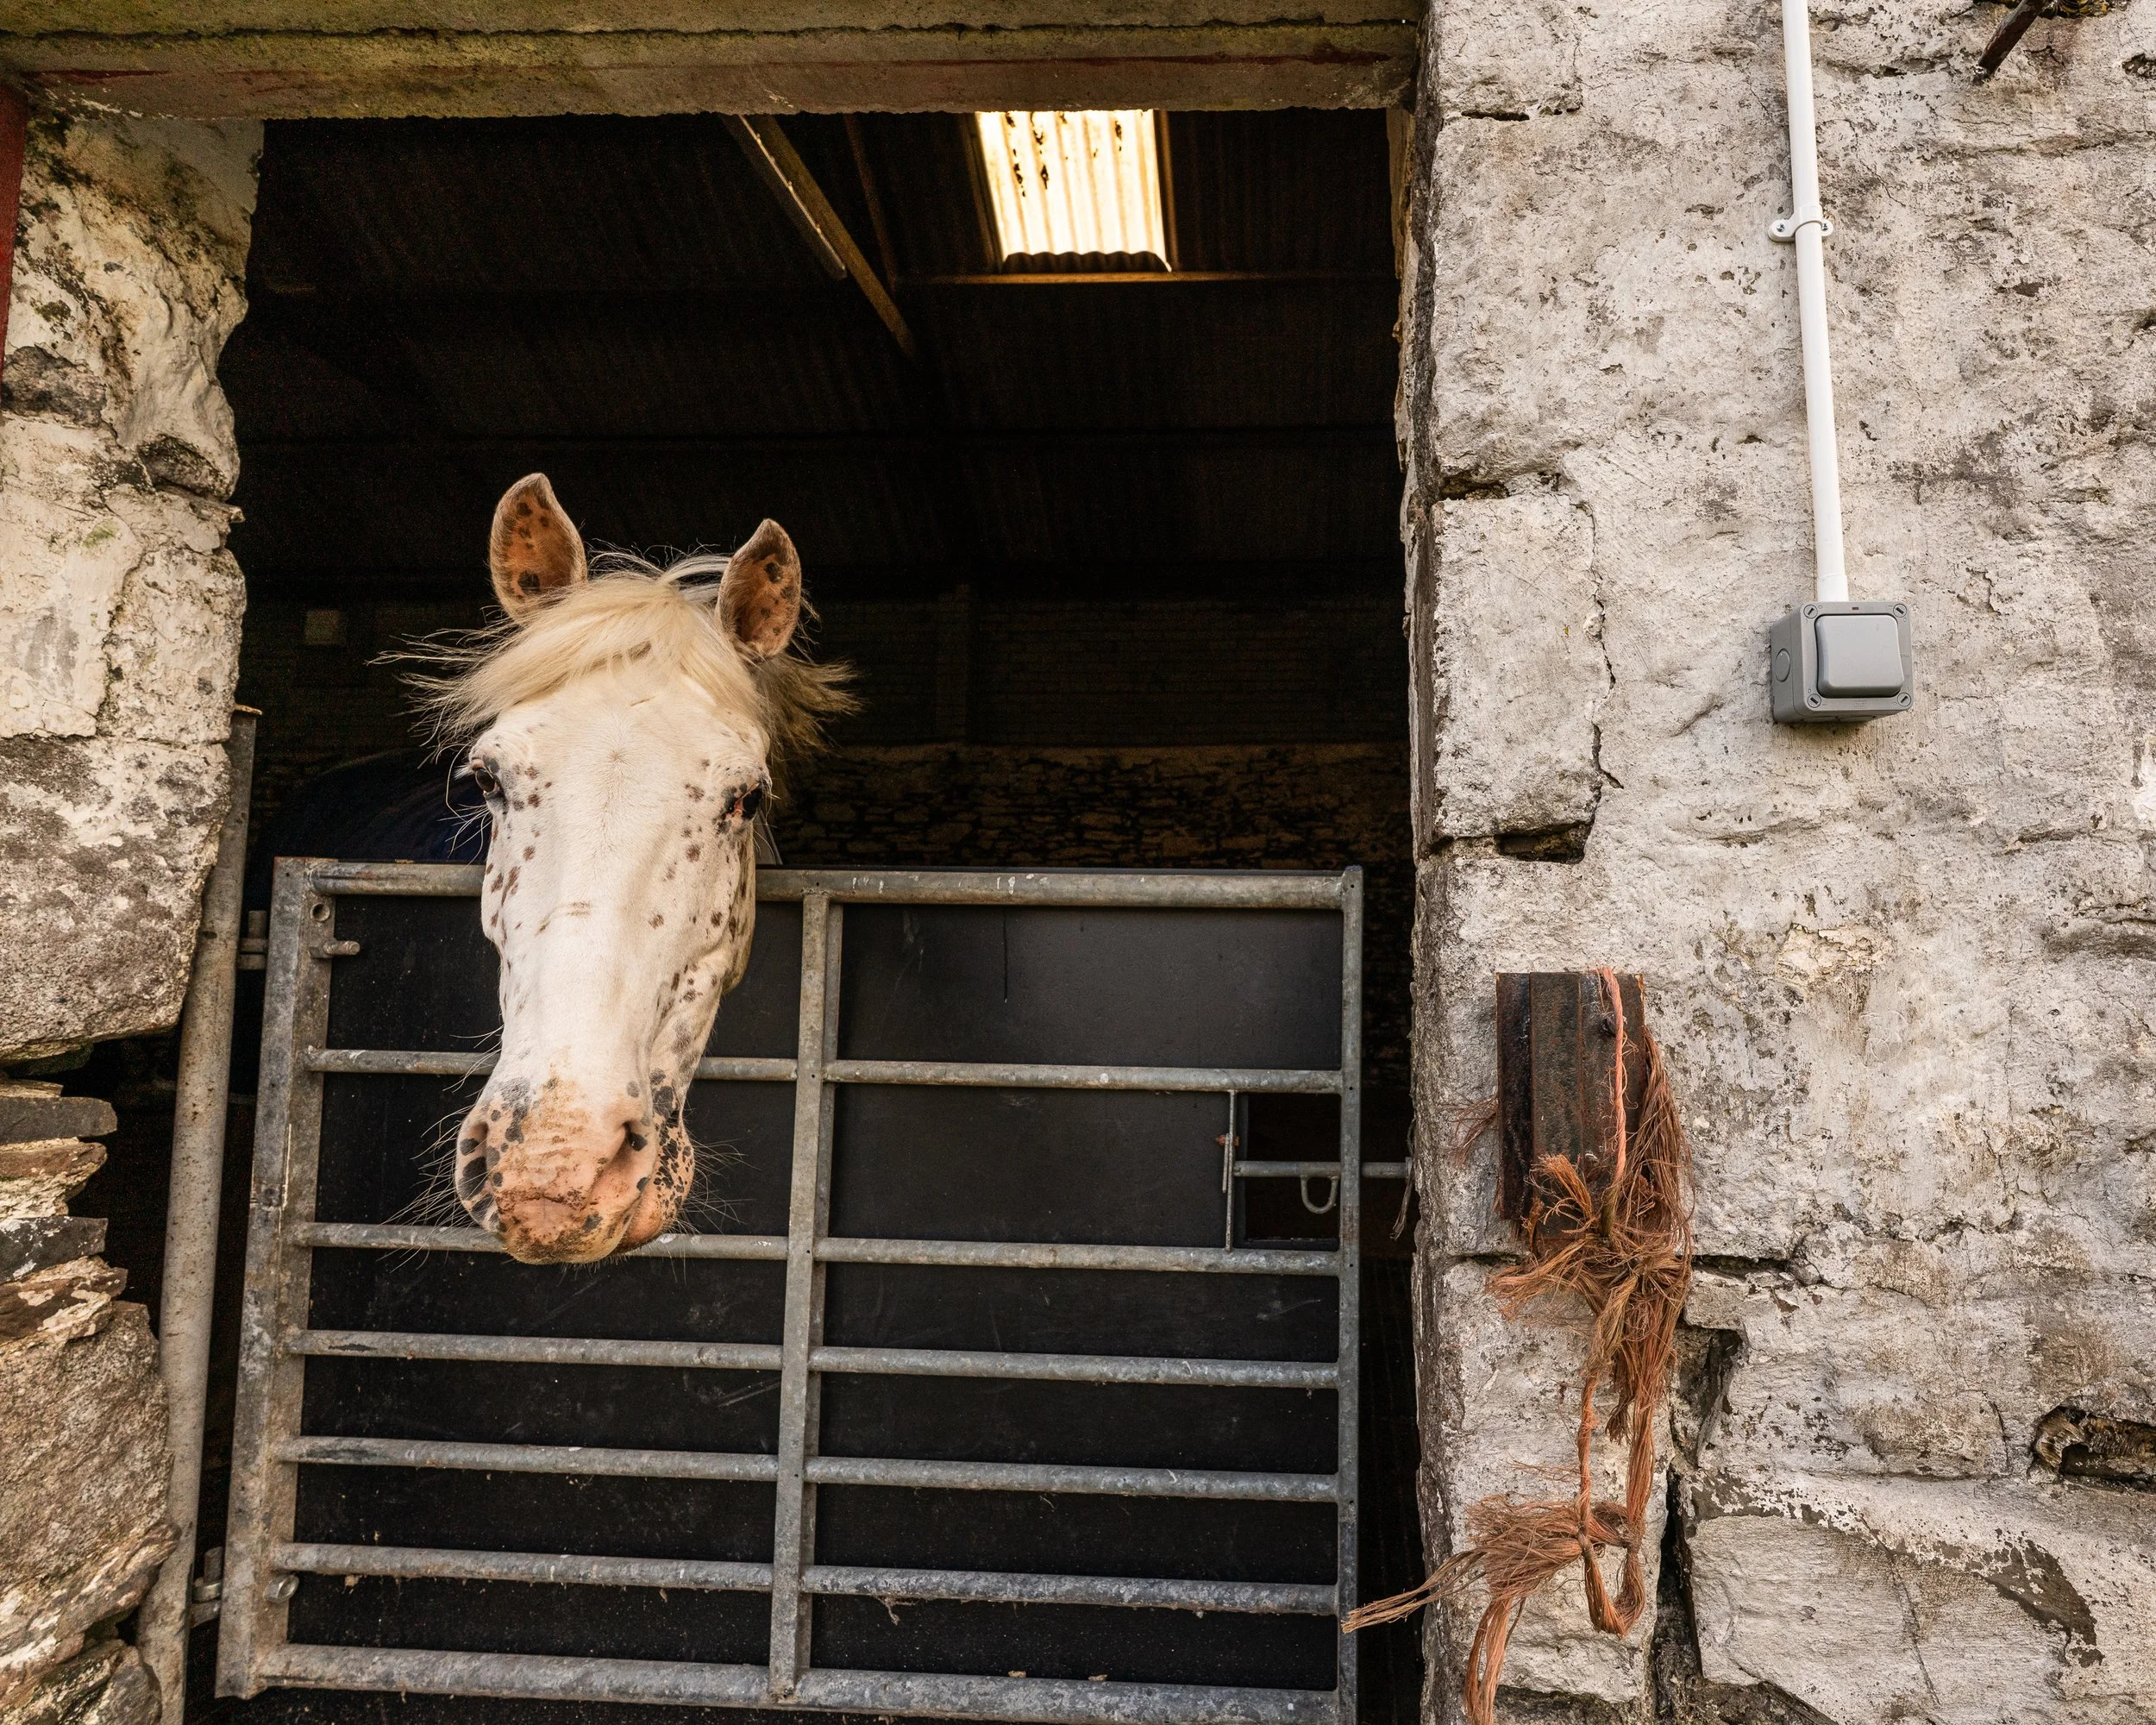
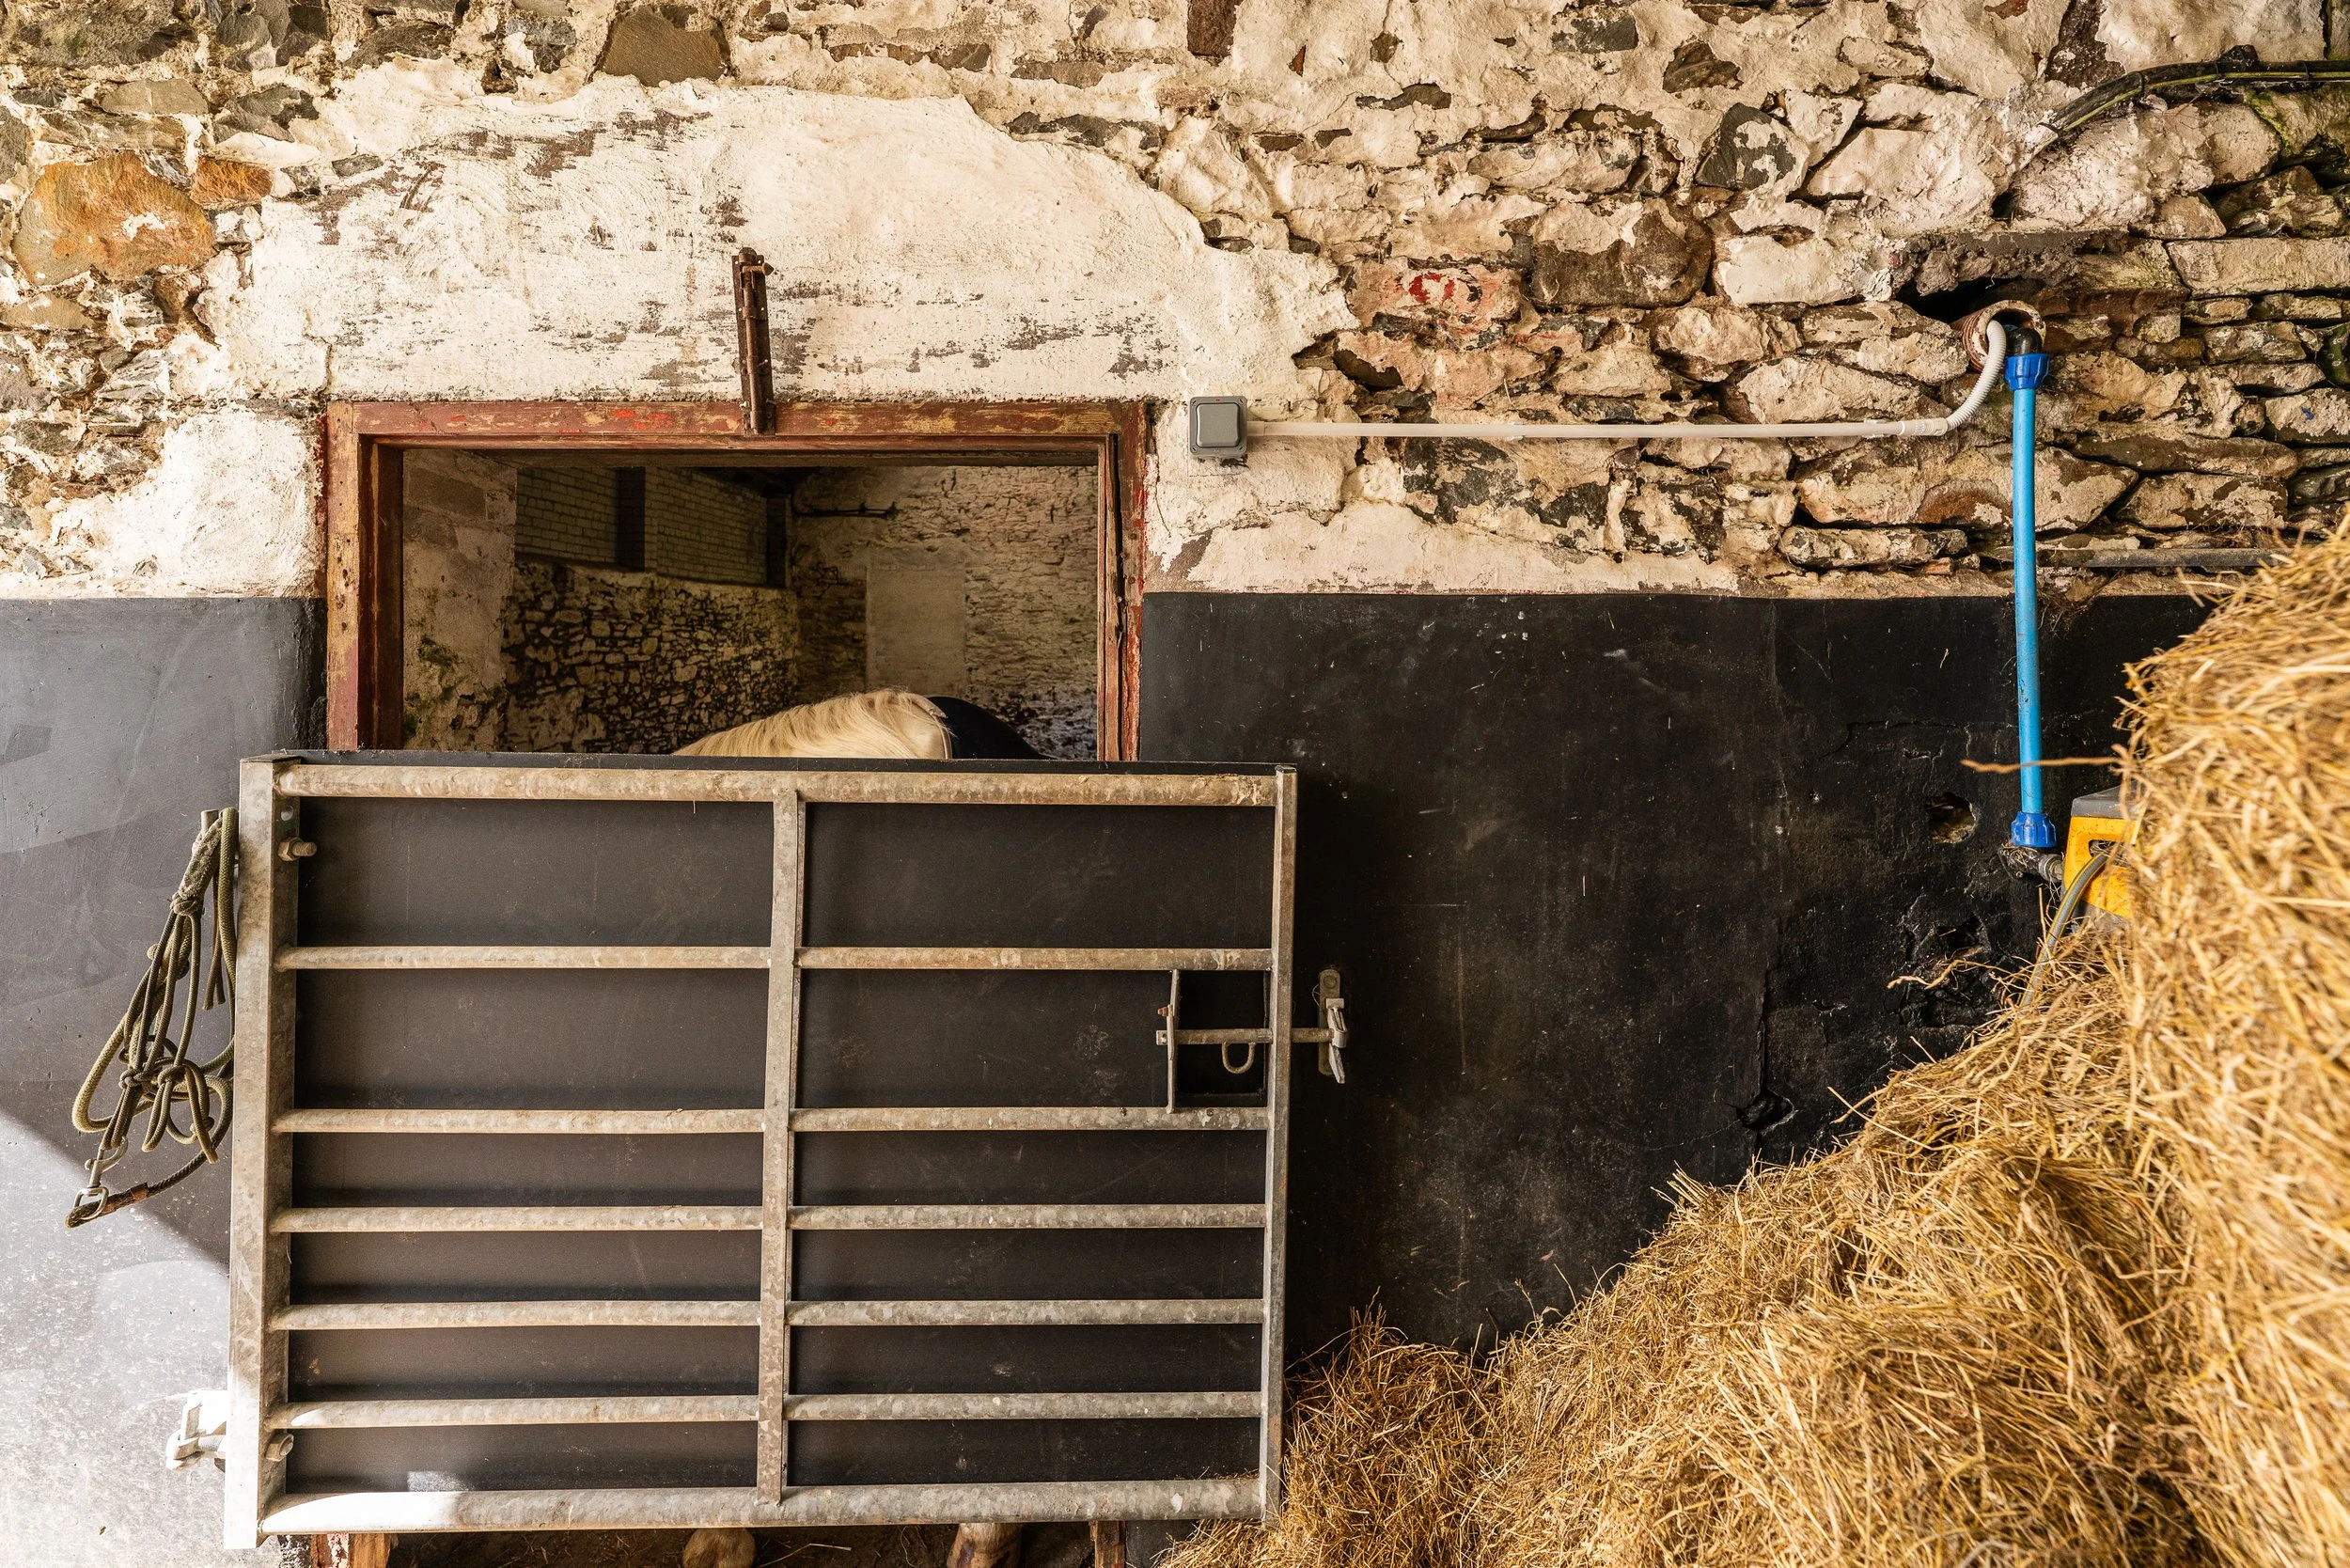
Because Velia had moved into Granary B early, Kenny hadn’t had a chance to put some lighting in there. That happened this week (see below). We also desperately needed to find some alternative forage in case our bales were the problem causing the stool issue. A temporary stop gap was fine and it started ok, but soft stools returned right at the end of Week 1. Found some bagged bales of haylage, switched to this, stabilised (ish) again. One test still outstanding, the encysted small redworm blood test, but medication ongoing throughout.
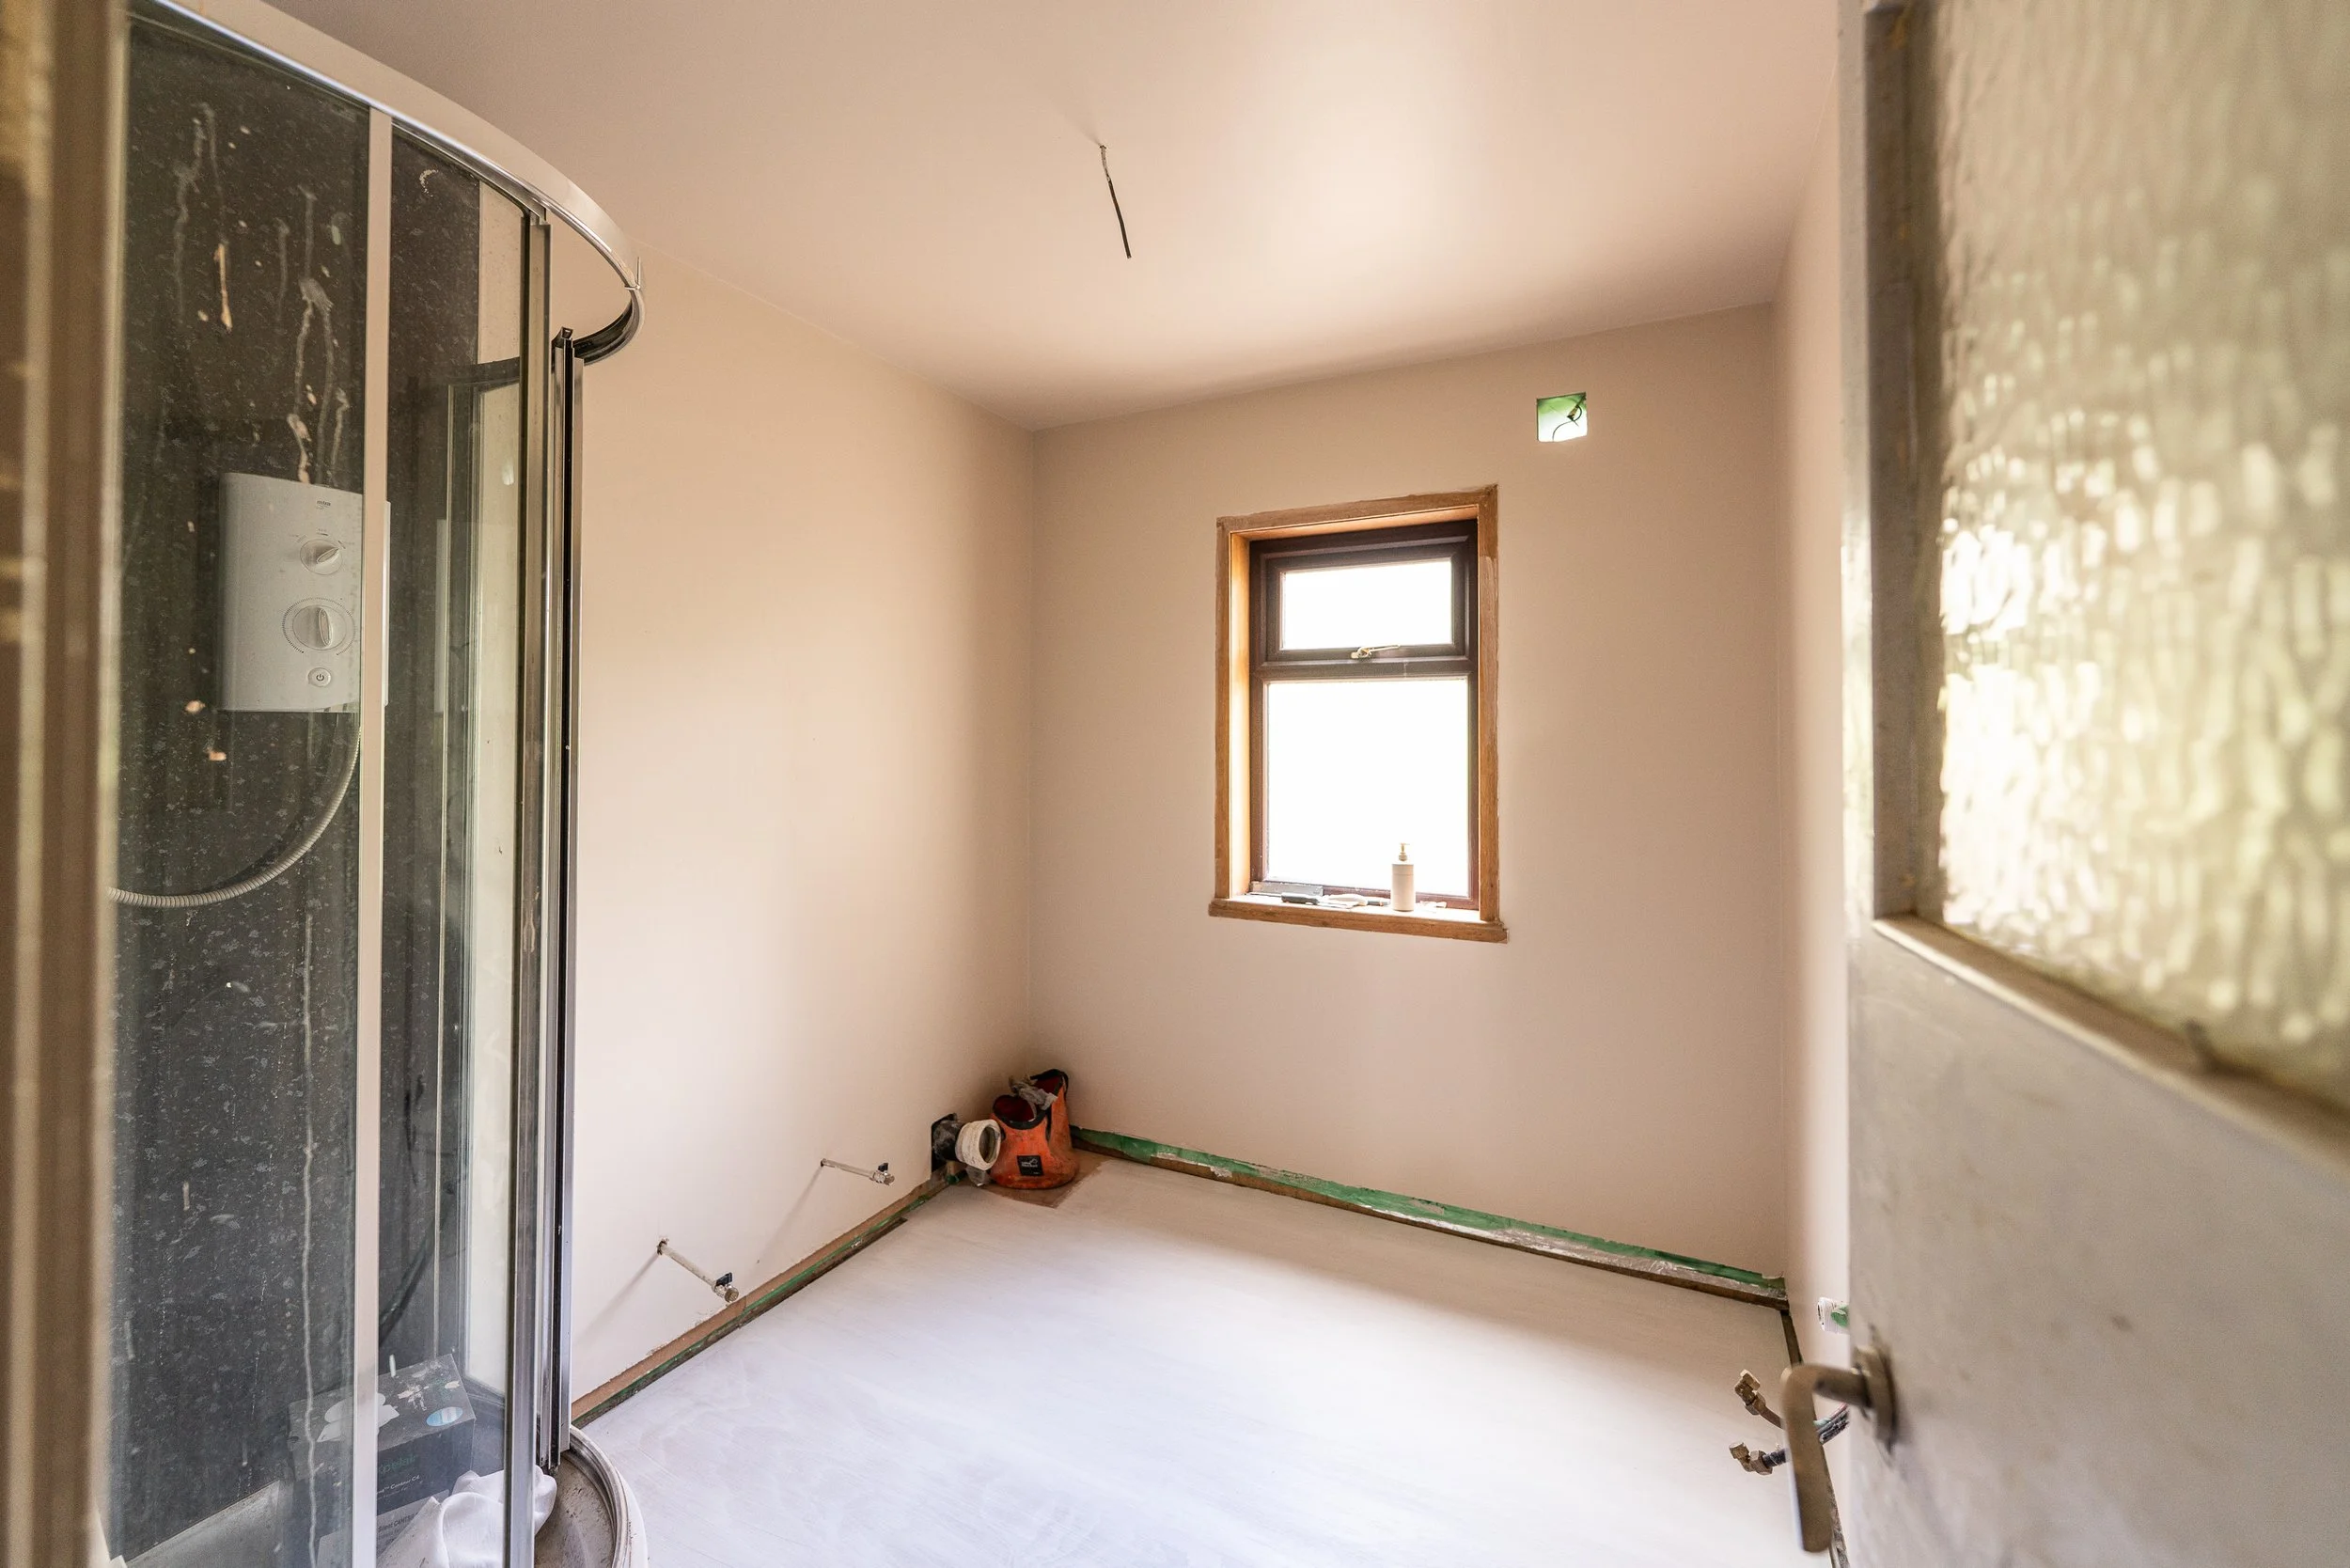
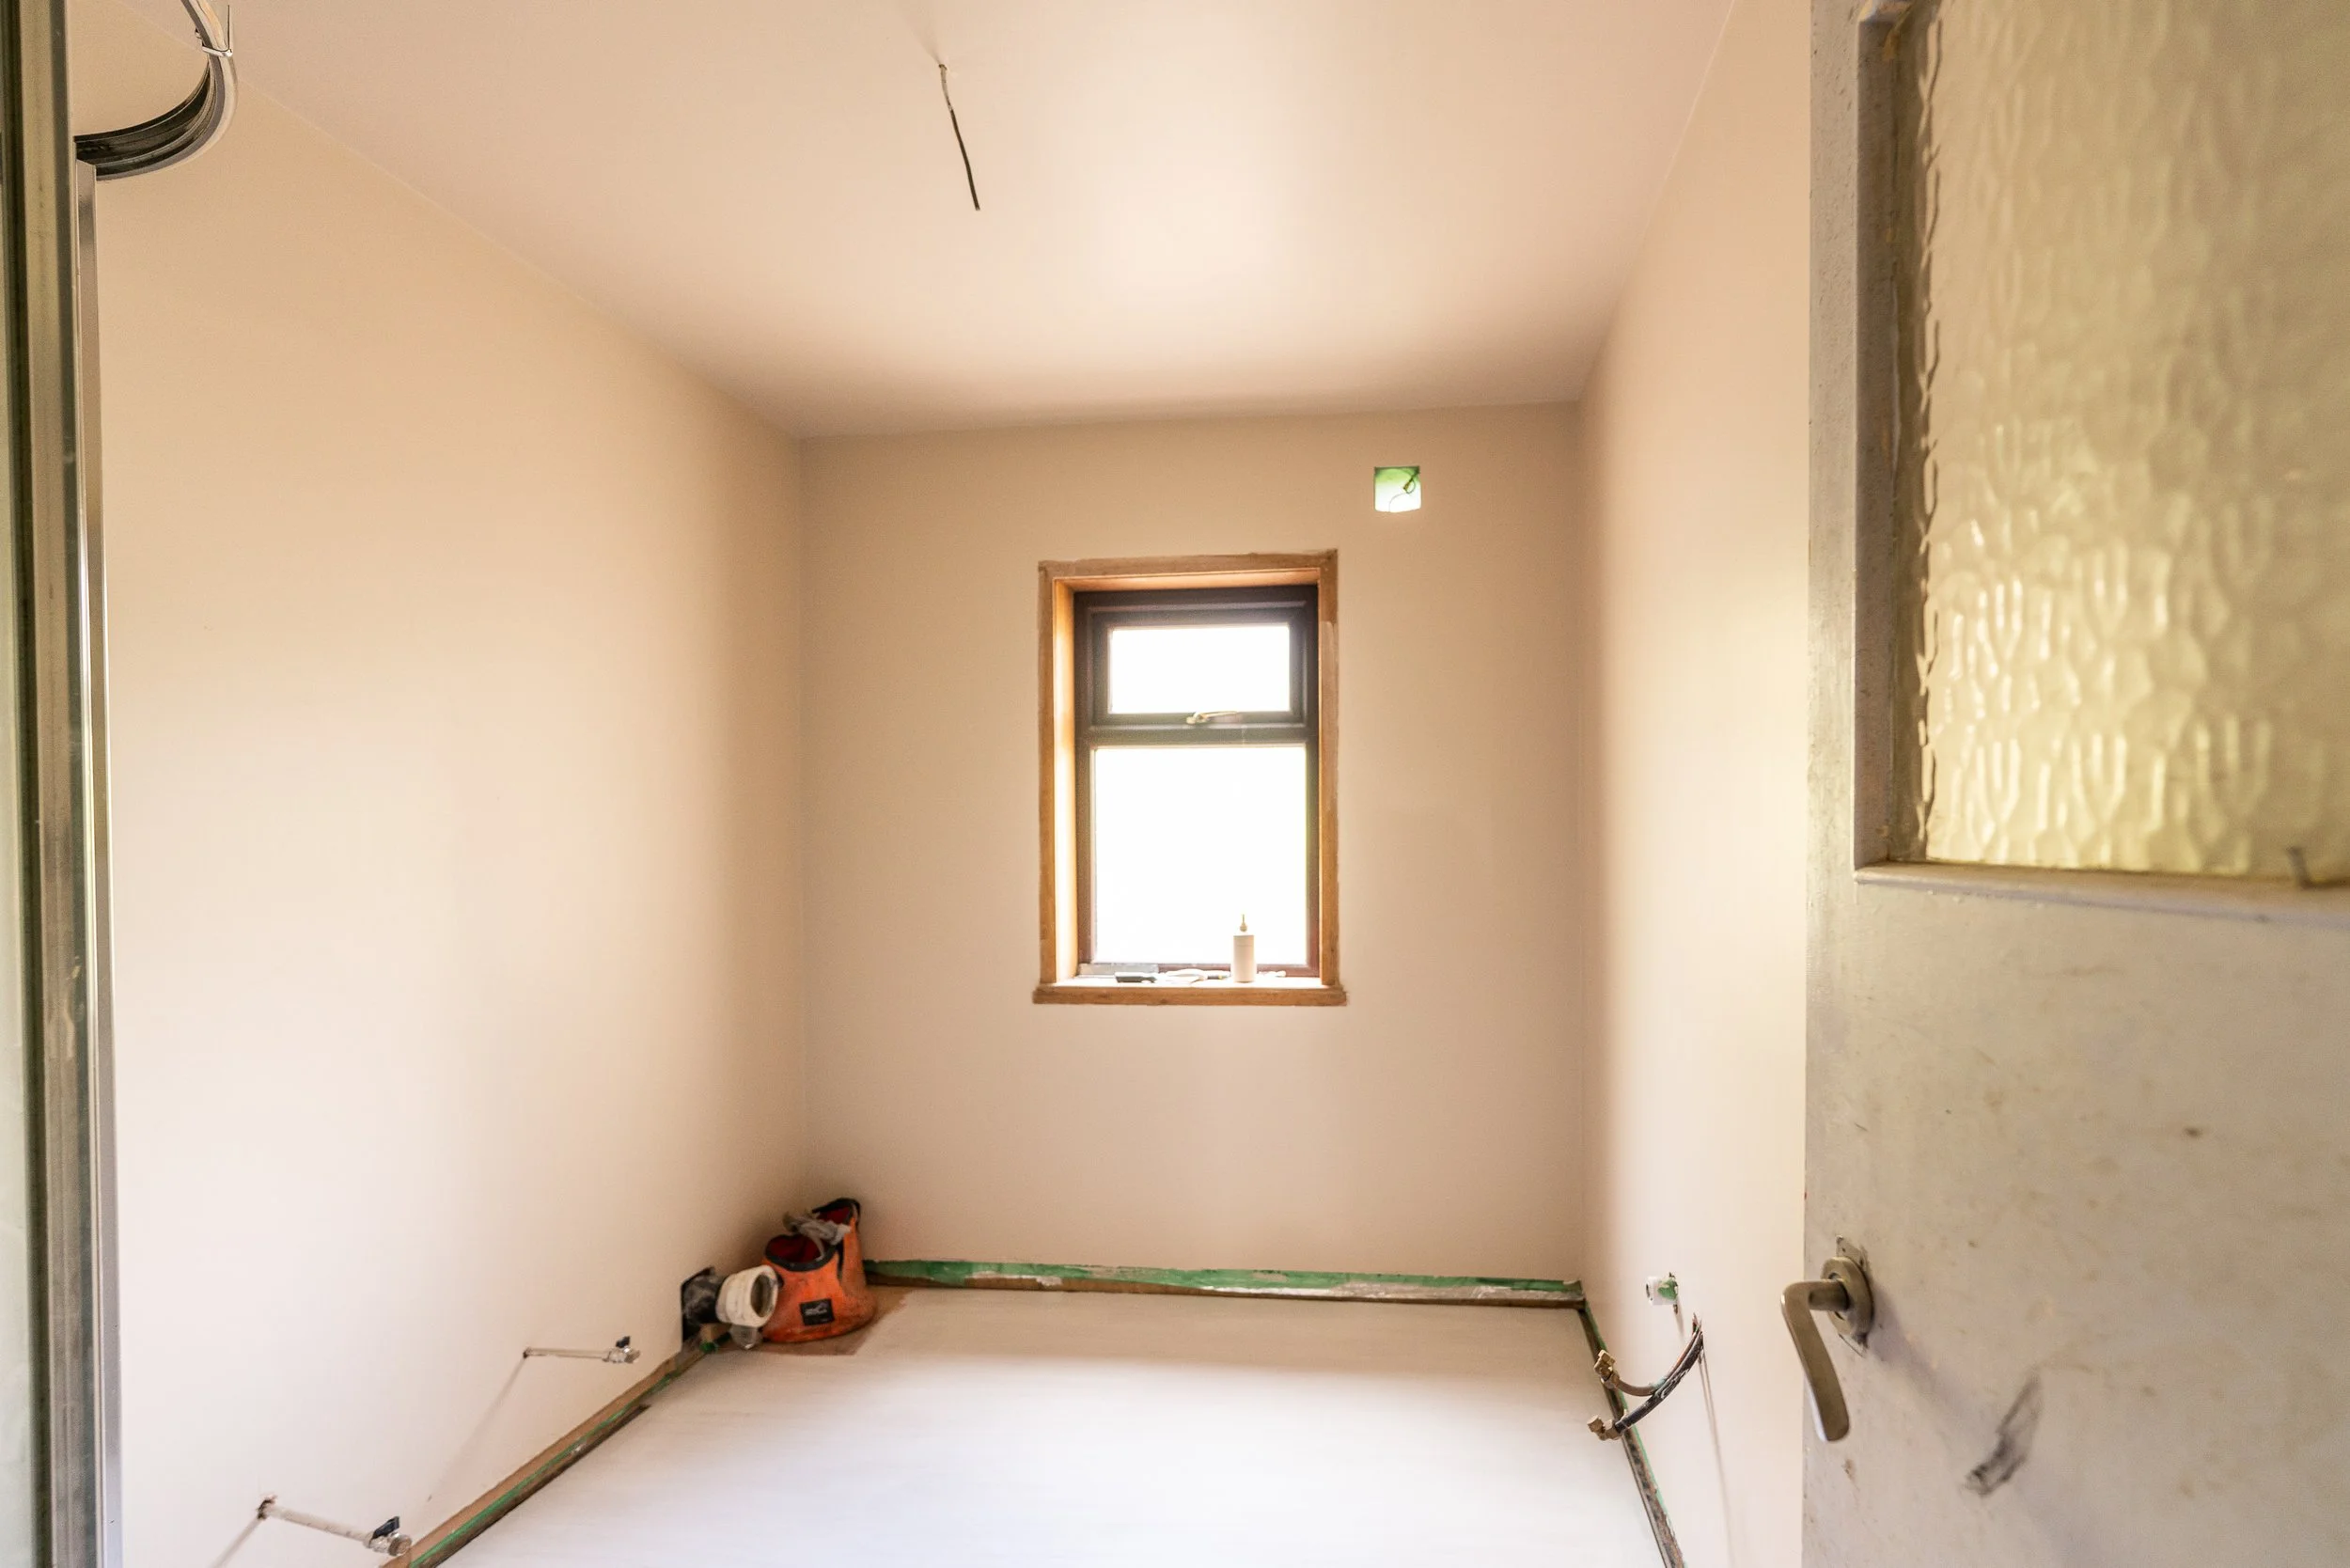
Given all of that, Dan was pressed for time. He did, however, manage to get the downstairs bathroom floor boarded, sealed, and primed:
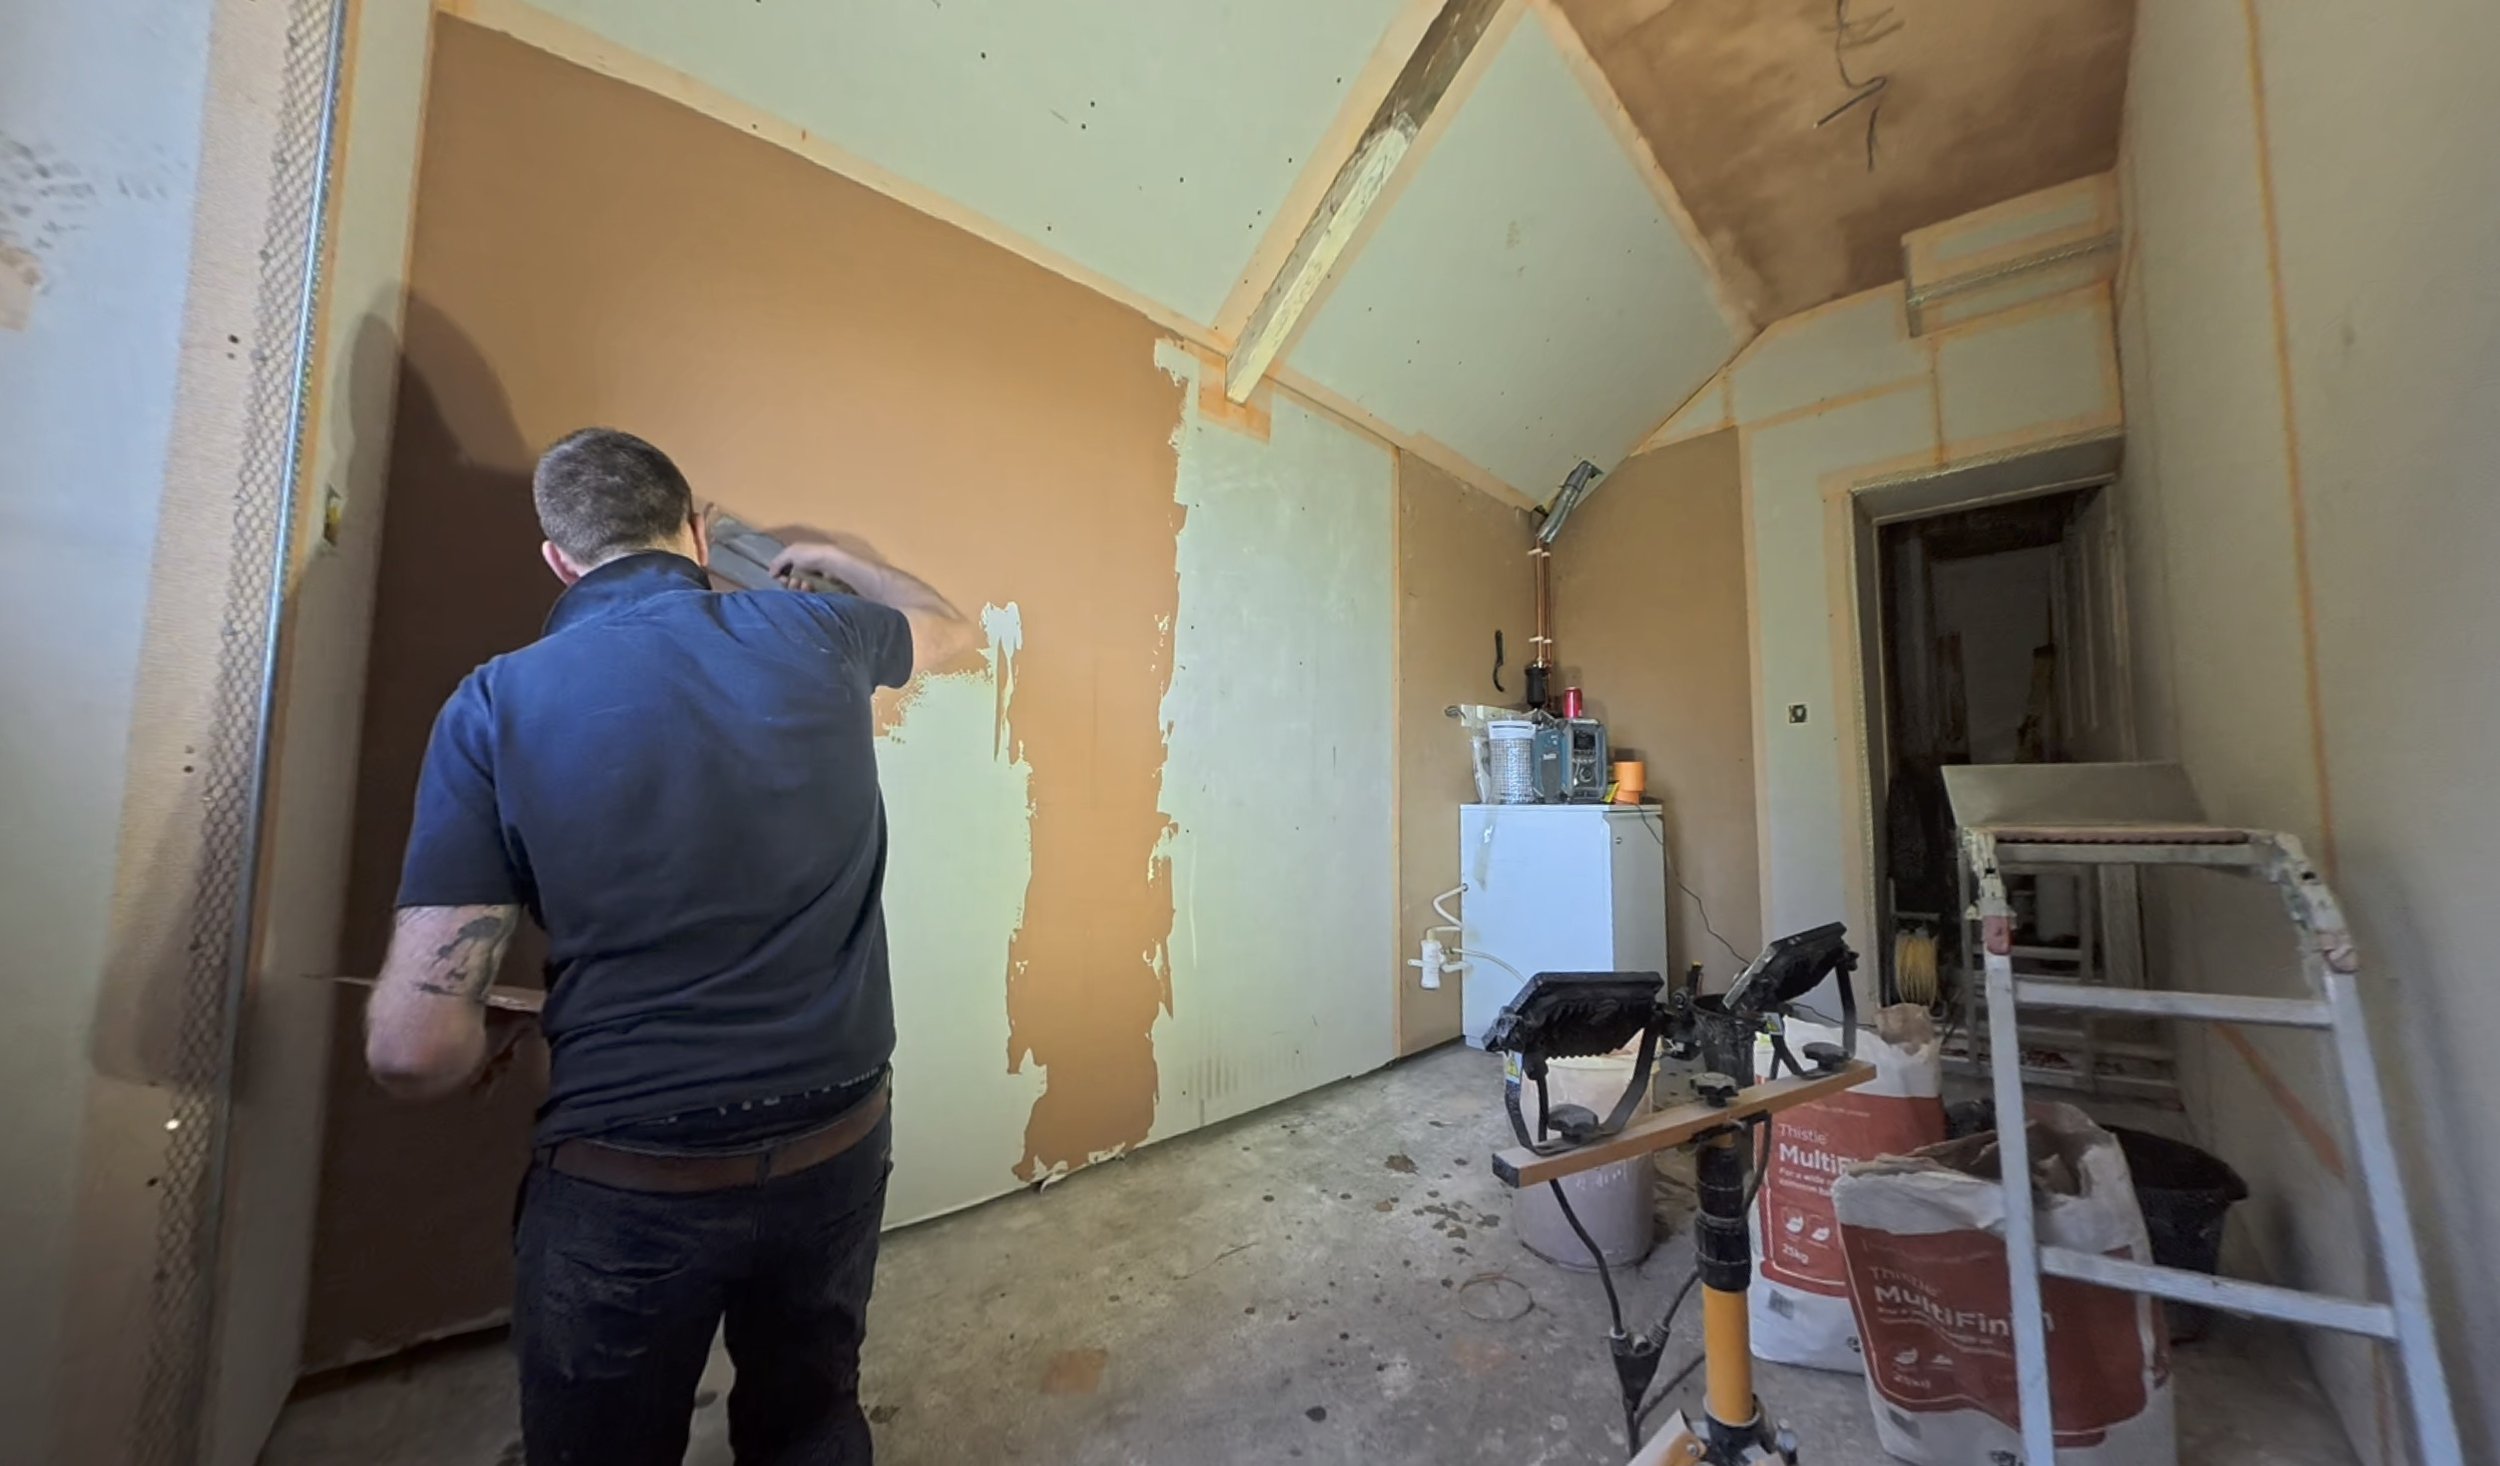
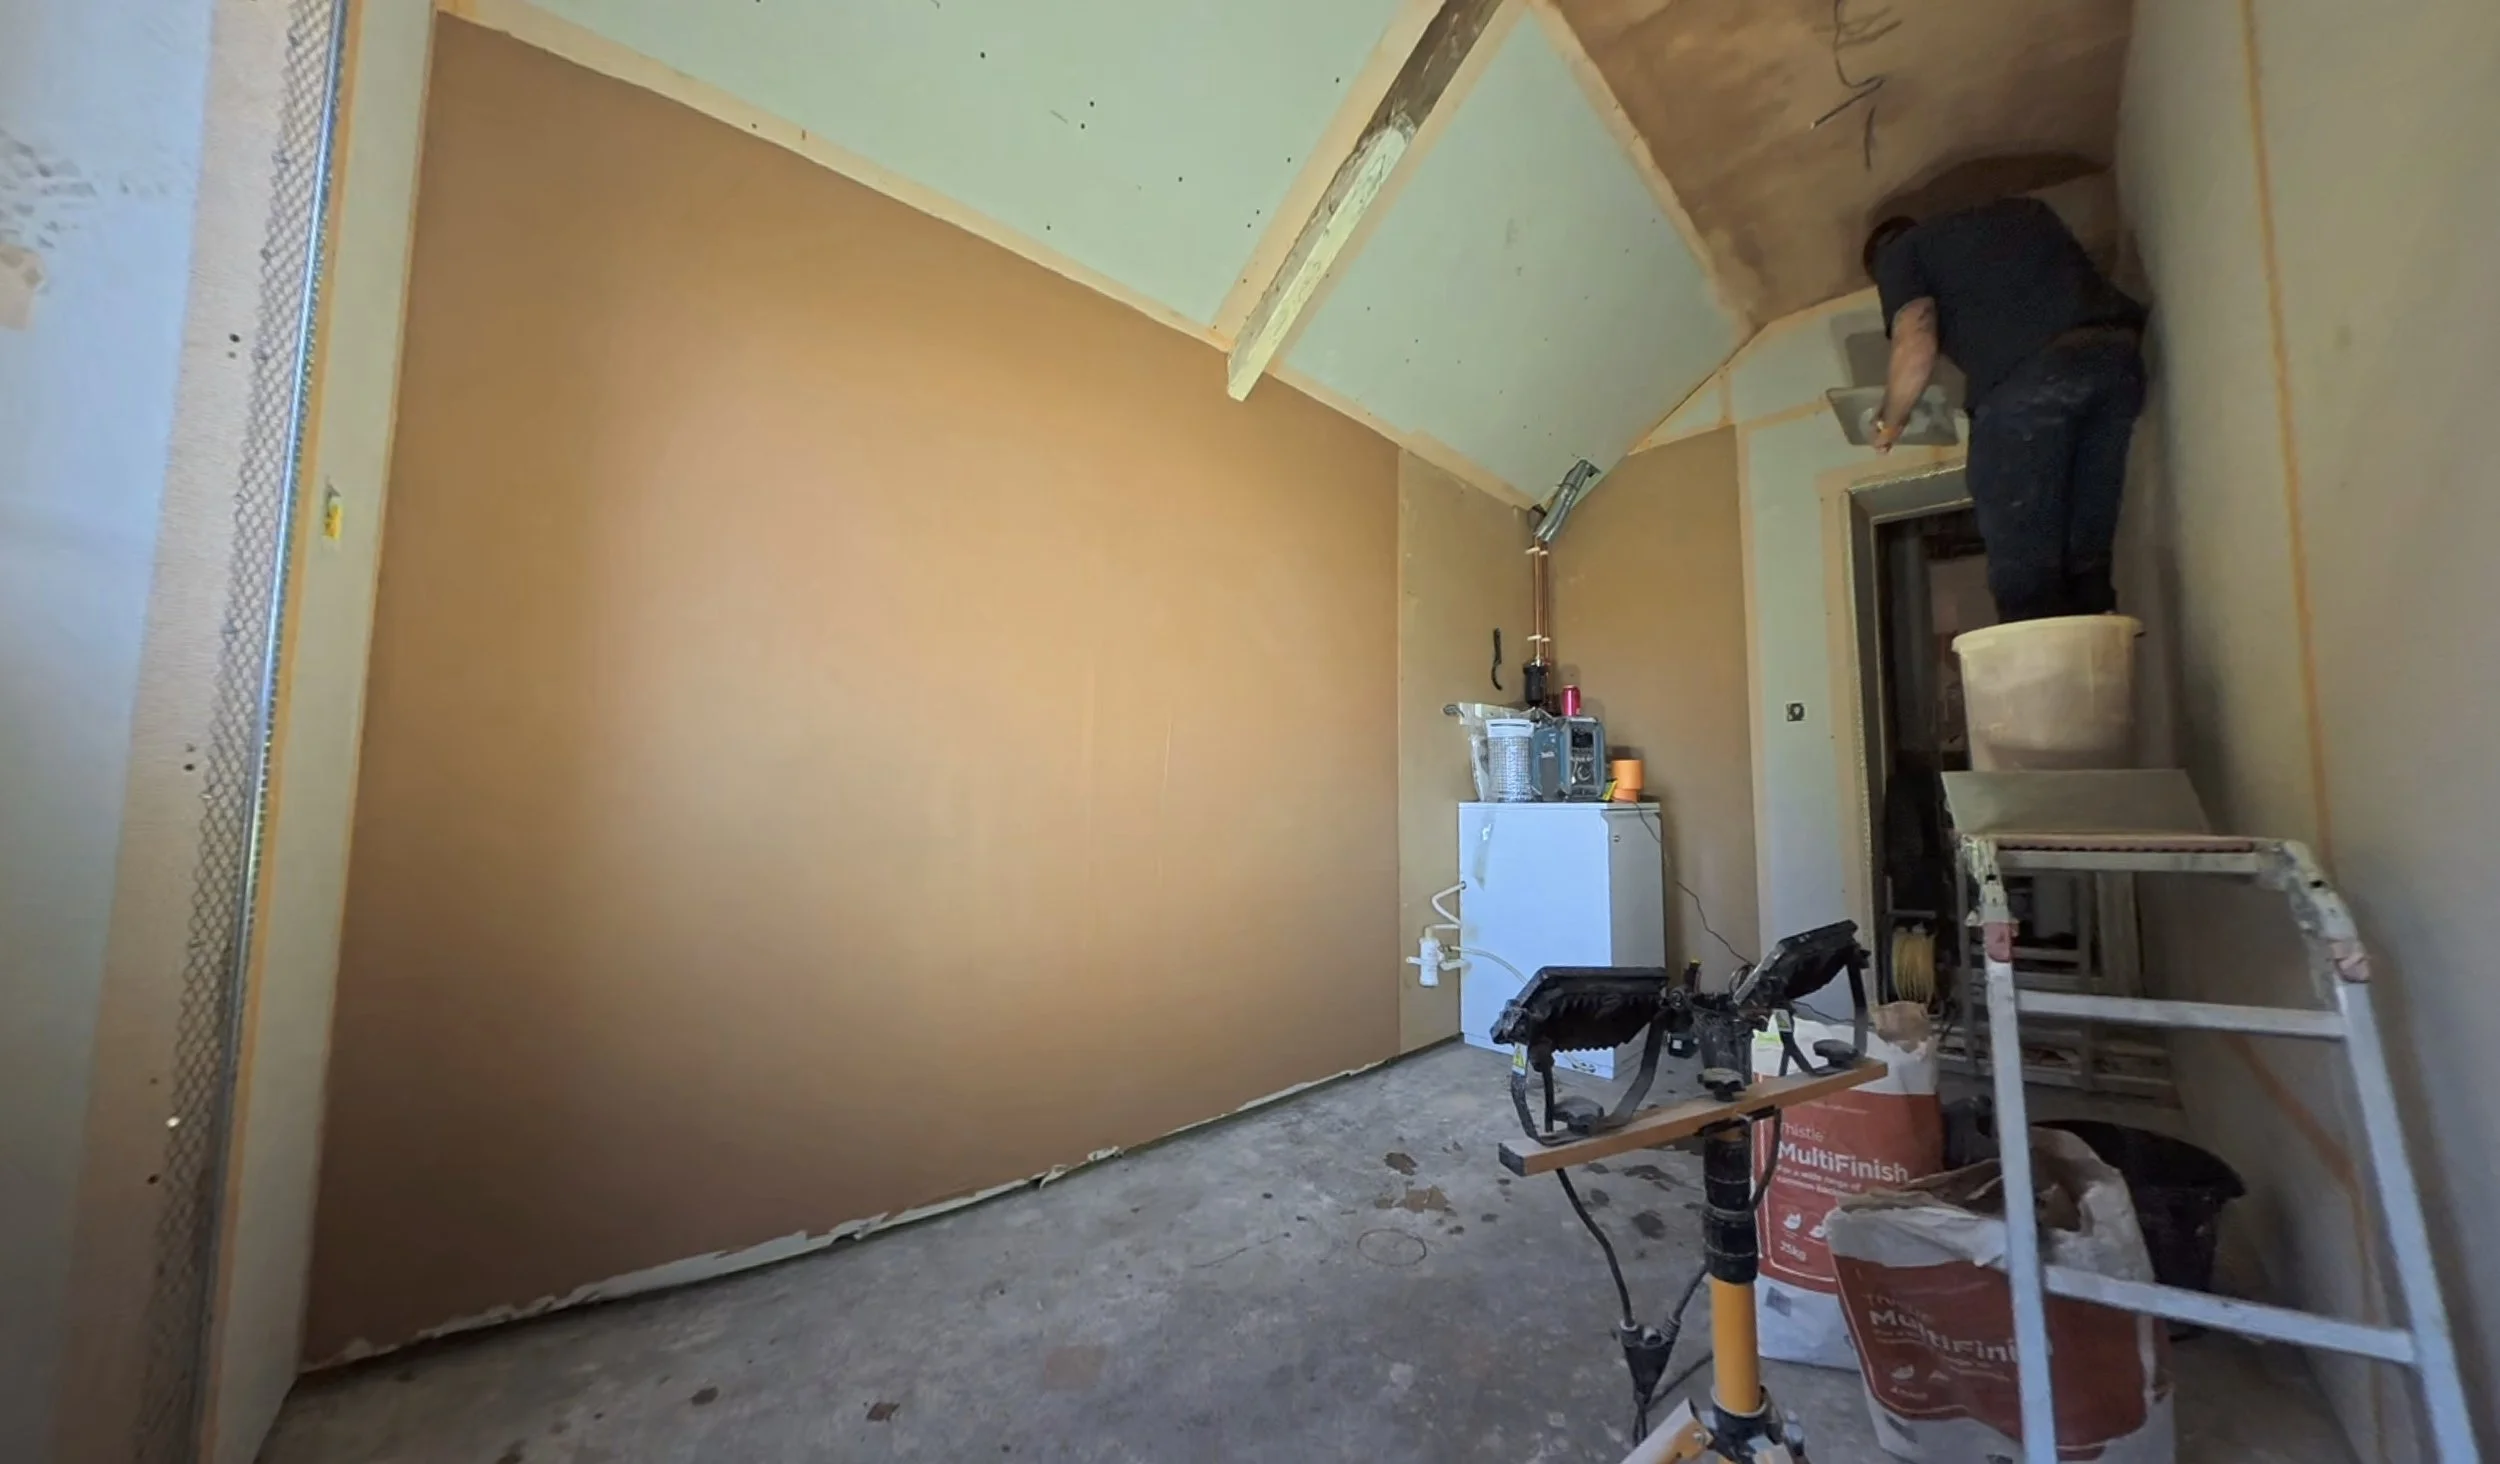
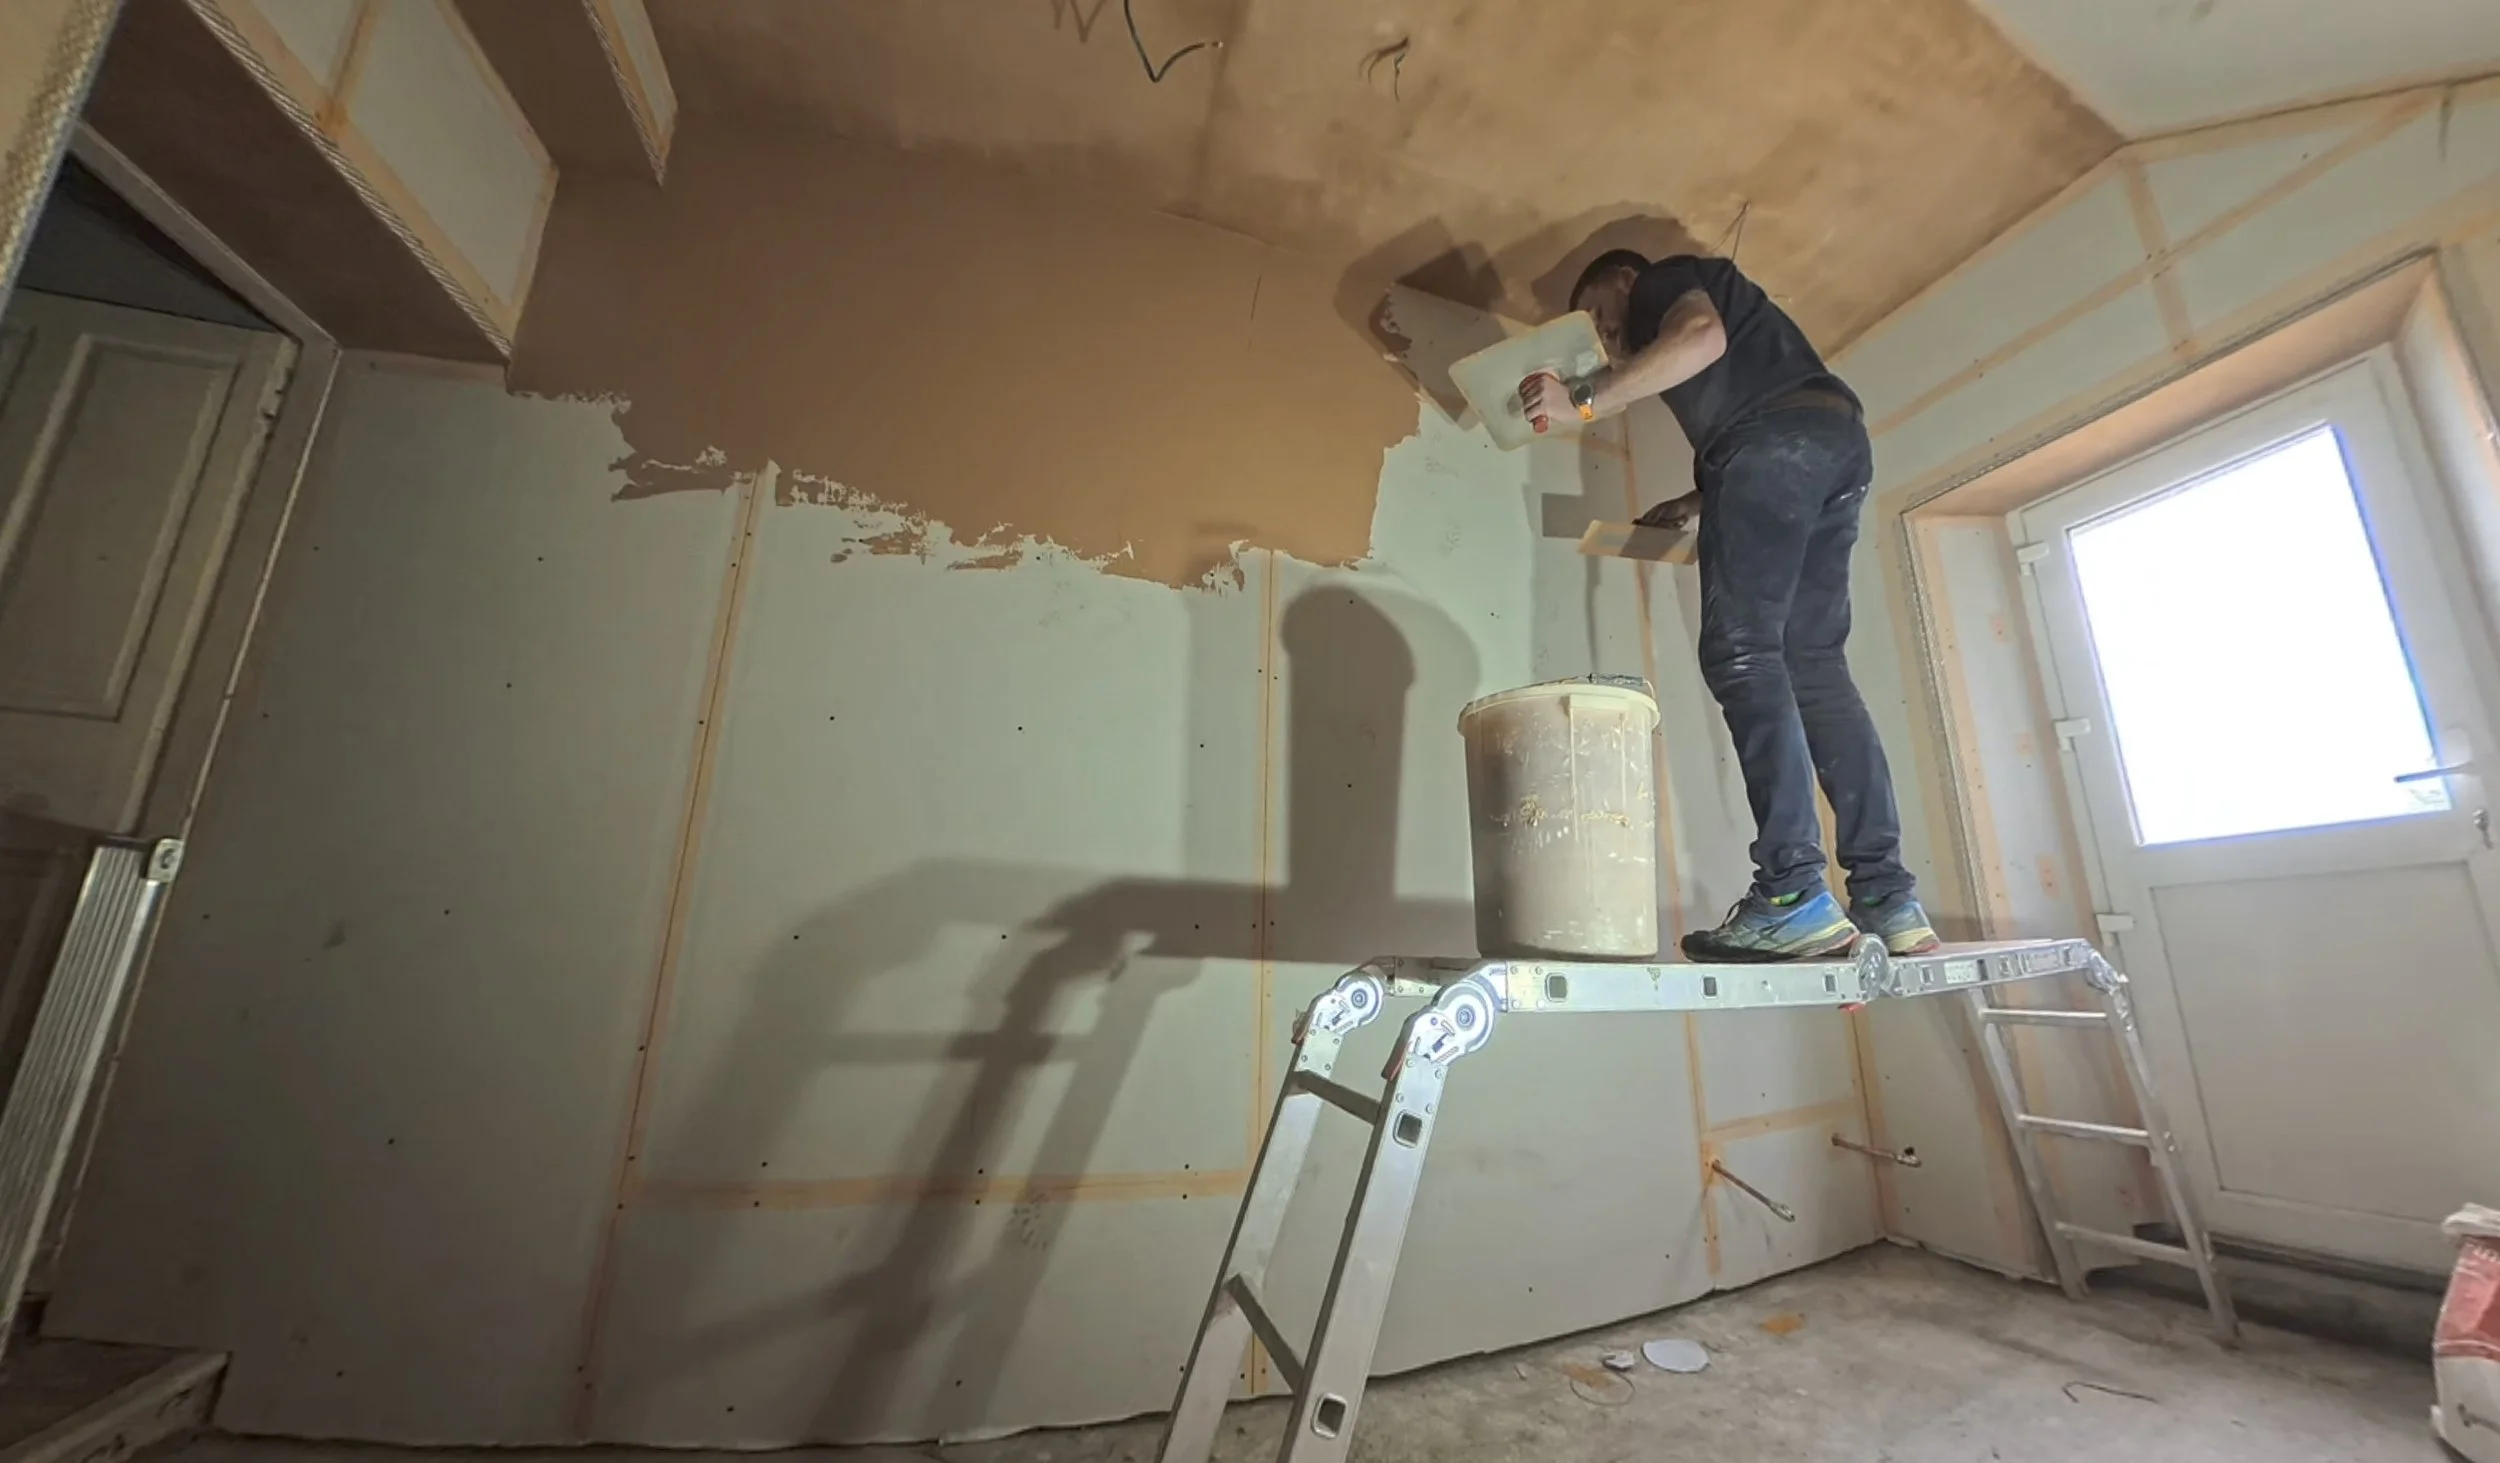
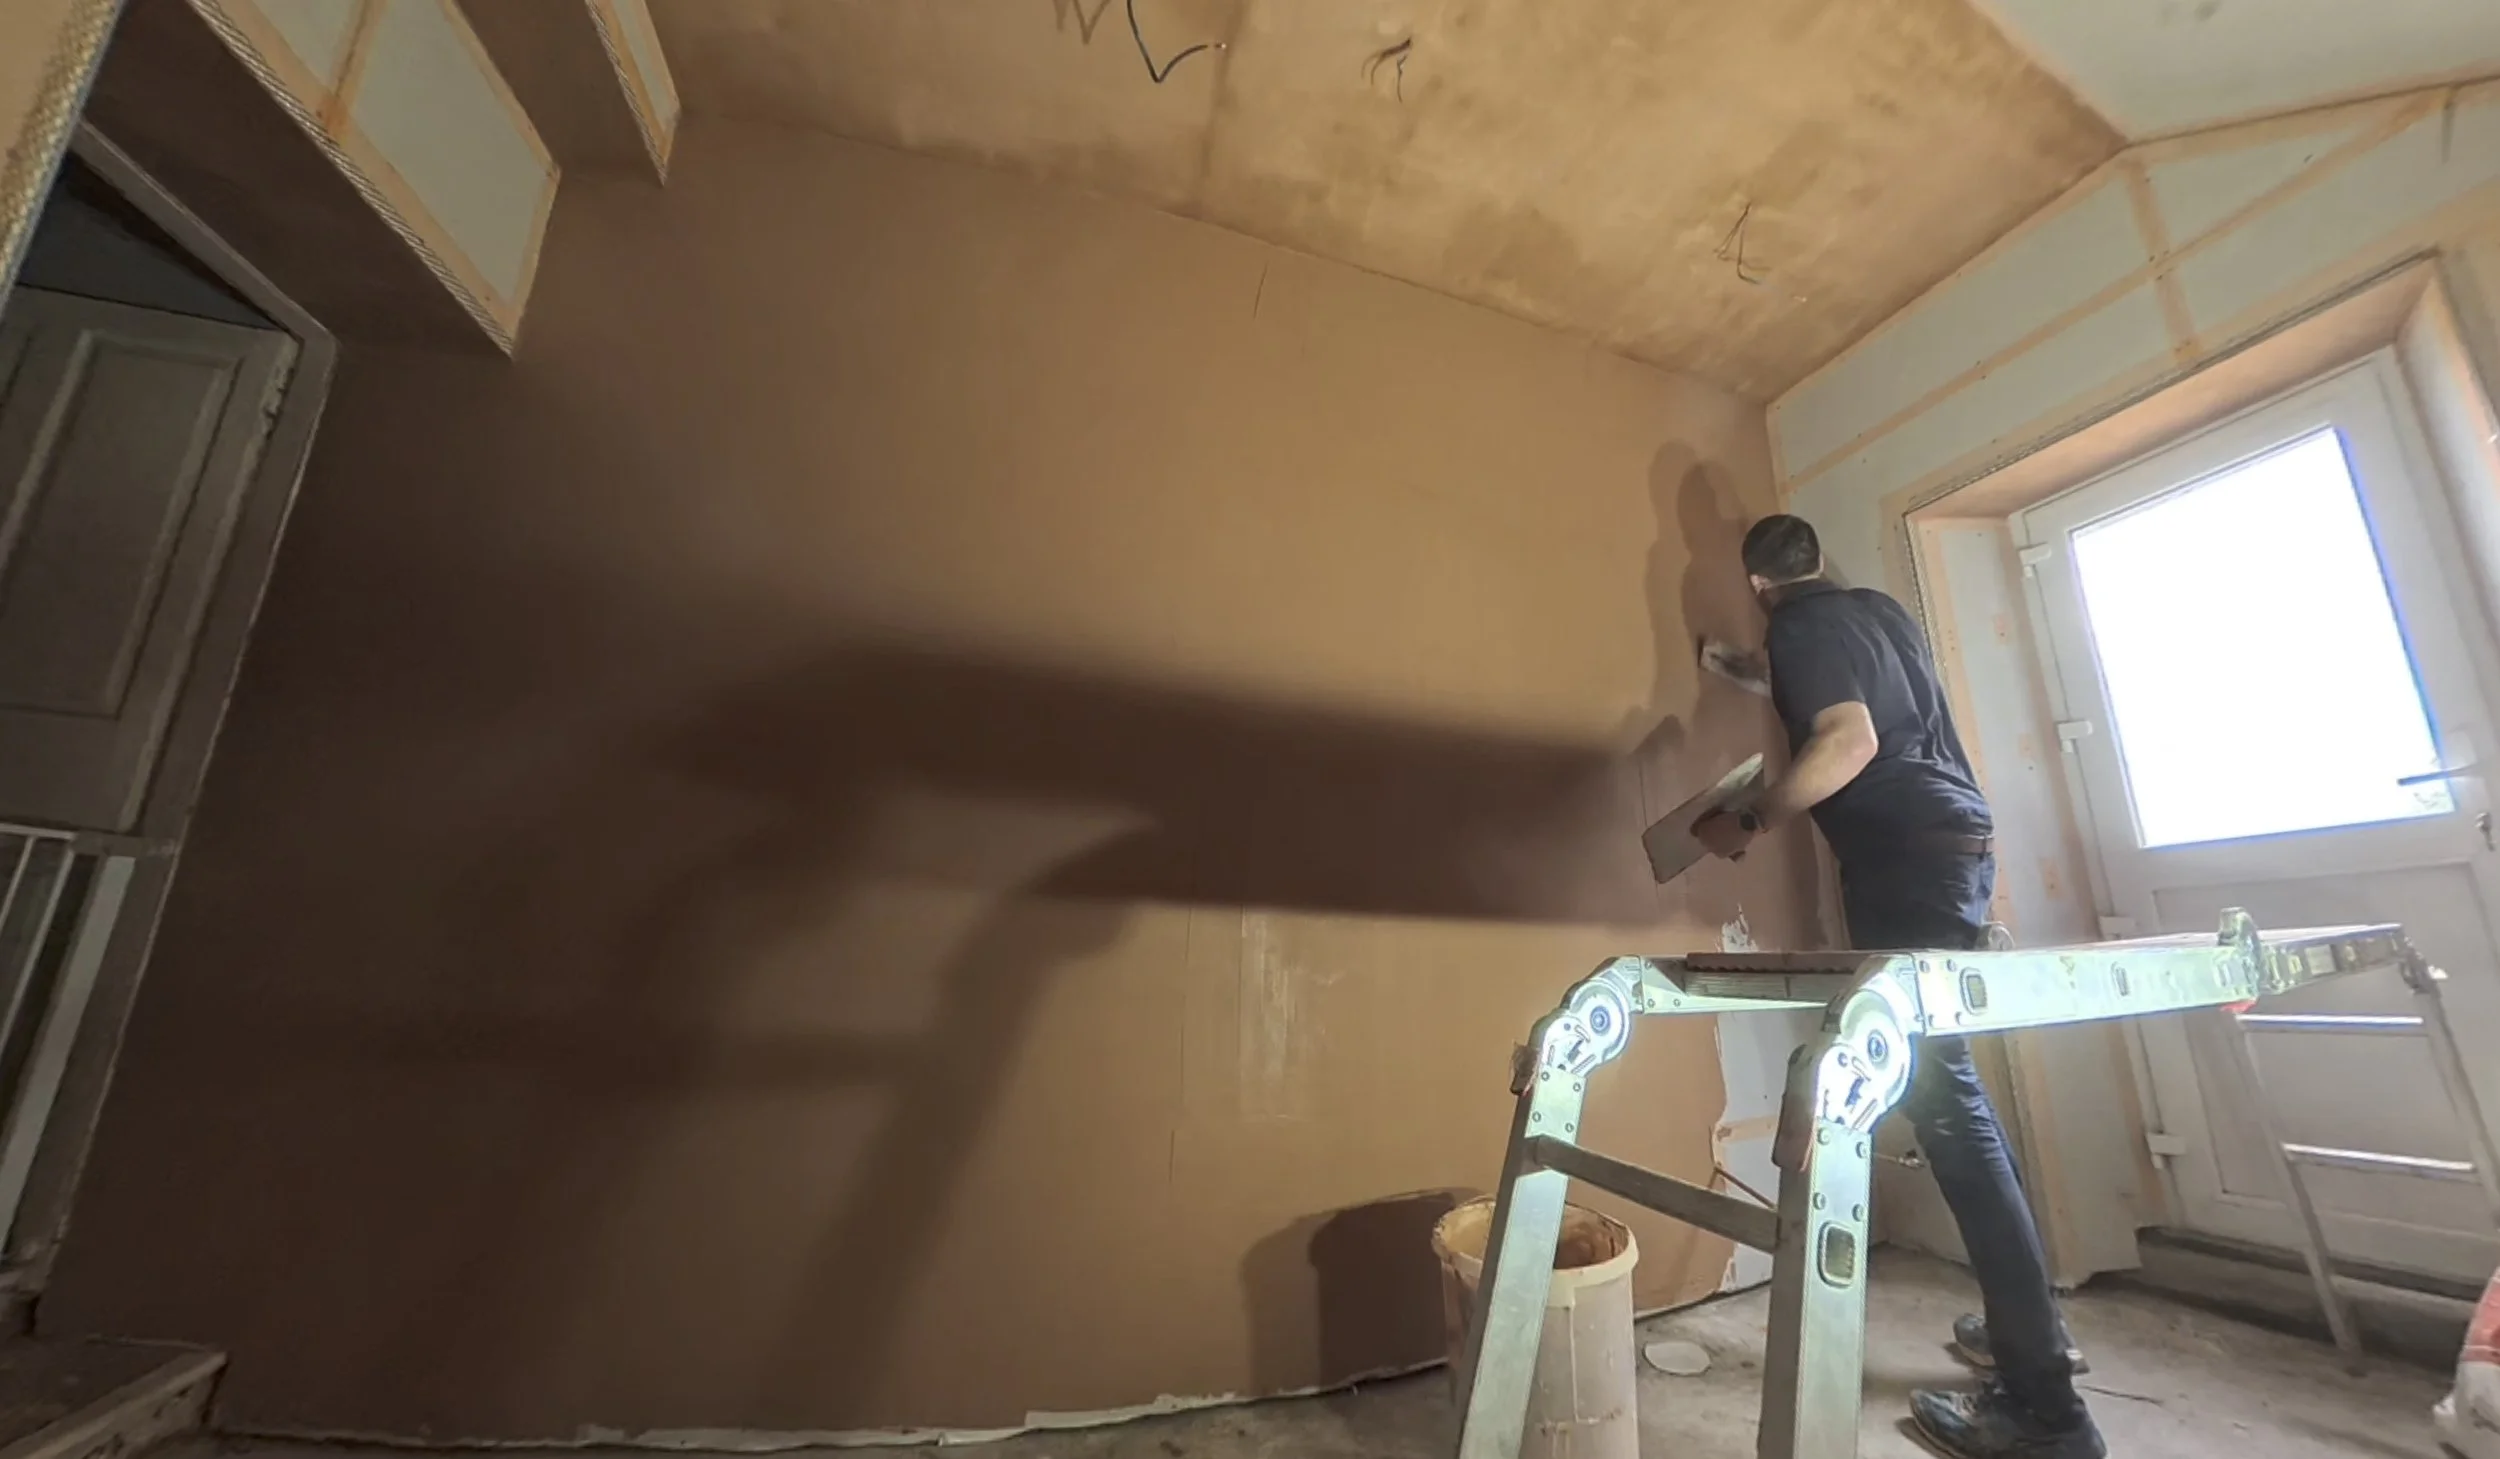
The biggest progress in the farmhouse this week was that the entire dog room got plastered 🥳 It started with prep, of course, so every joint was taped and then the beading went on.
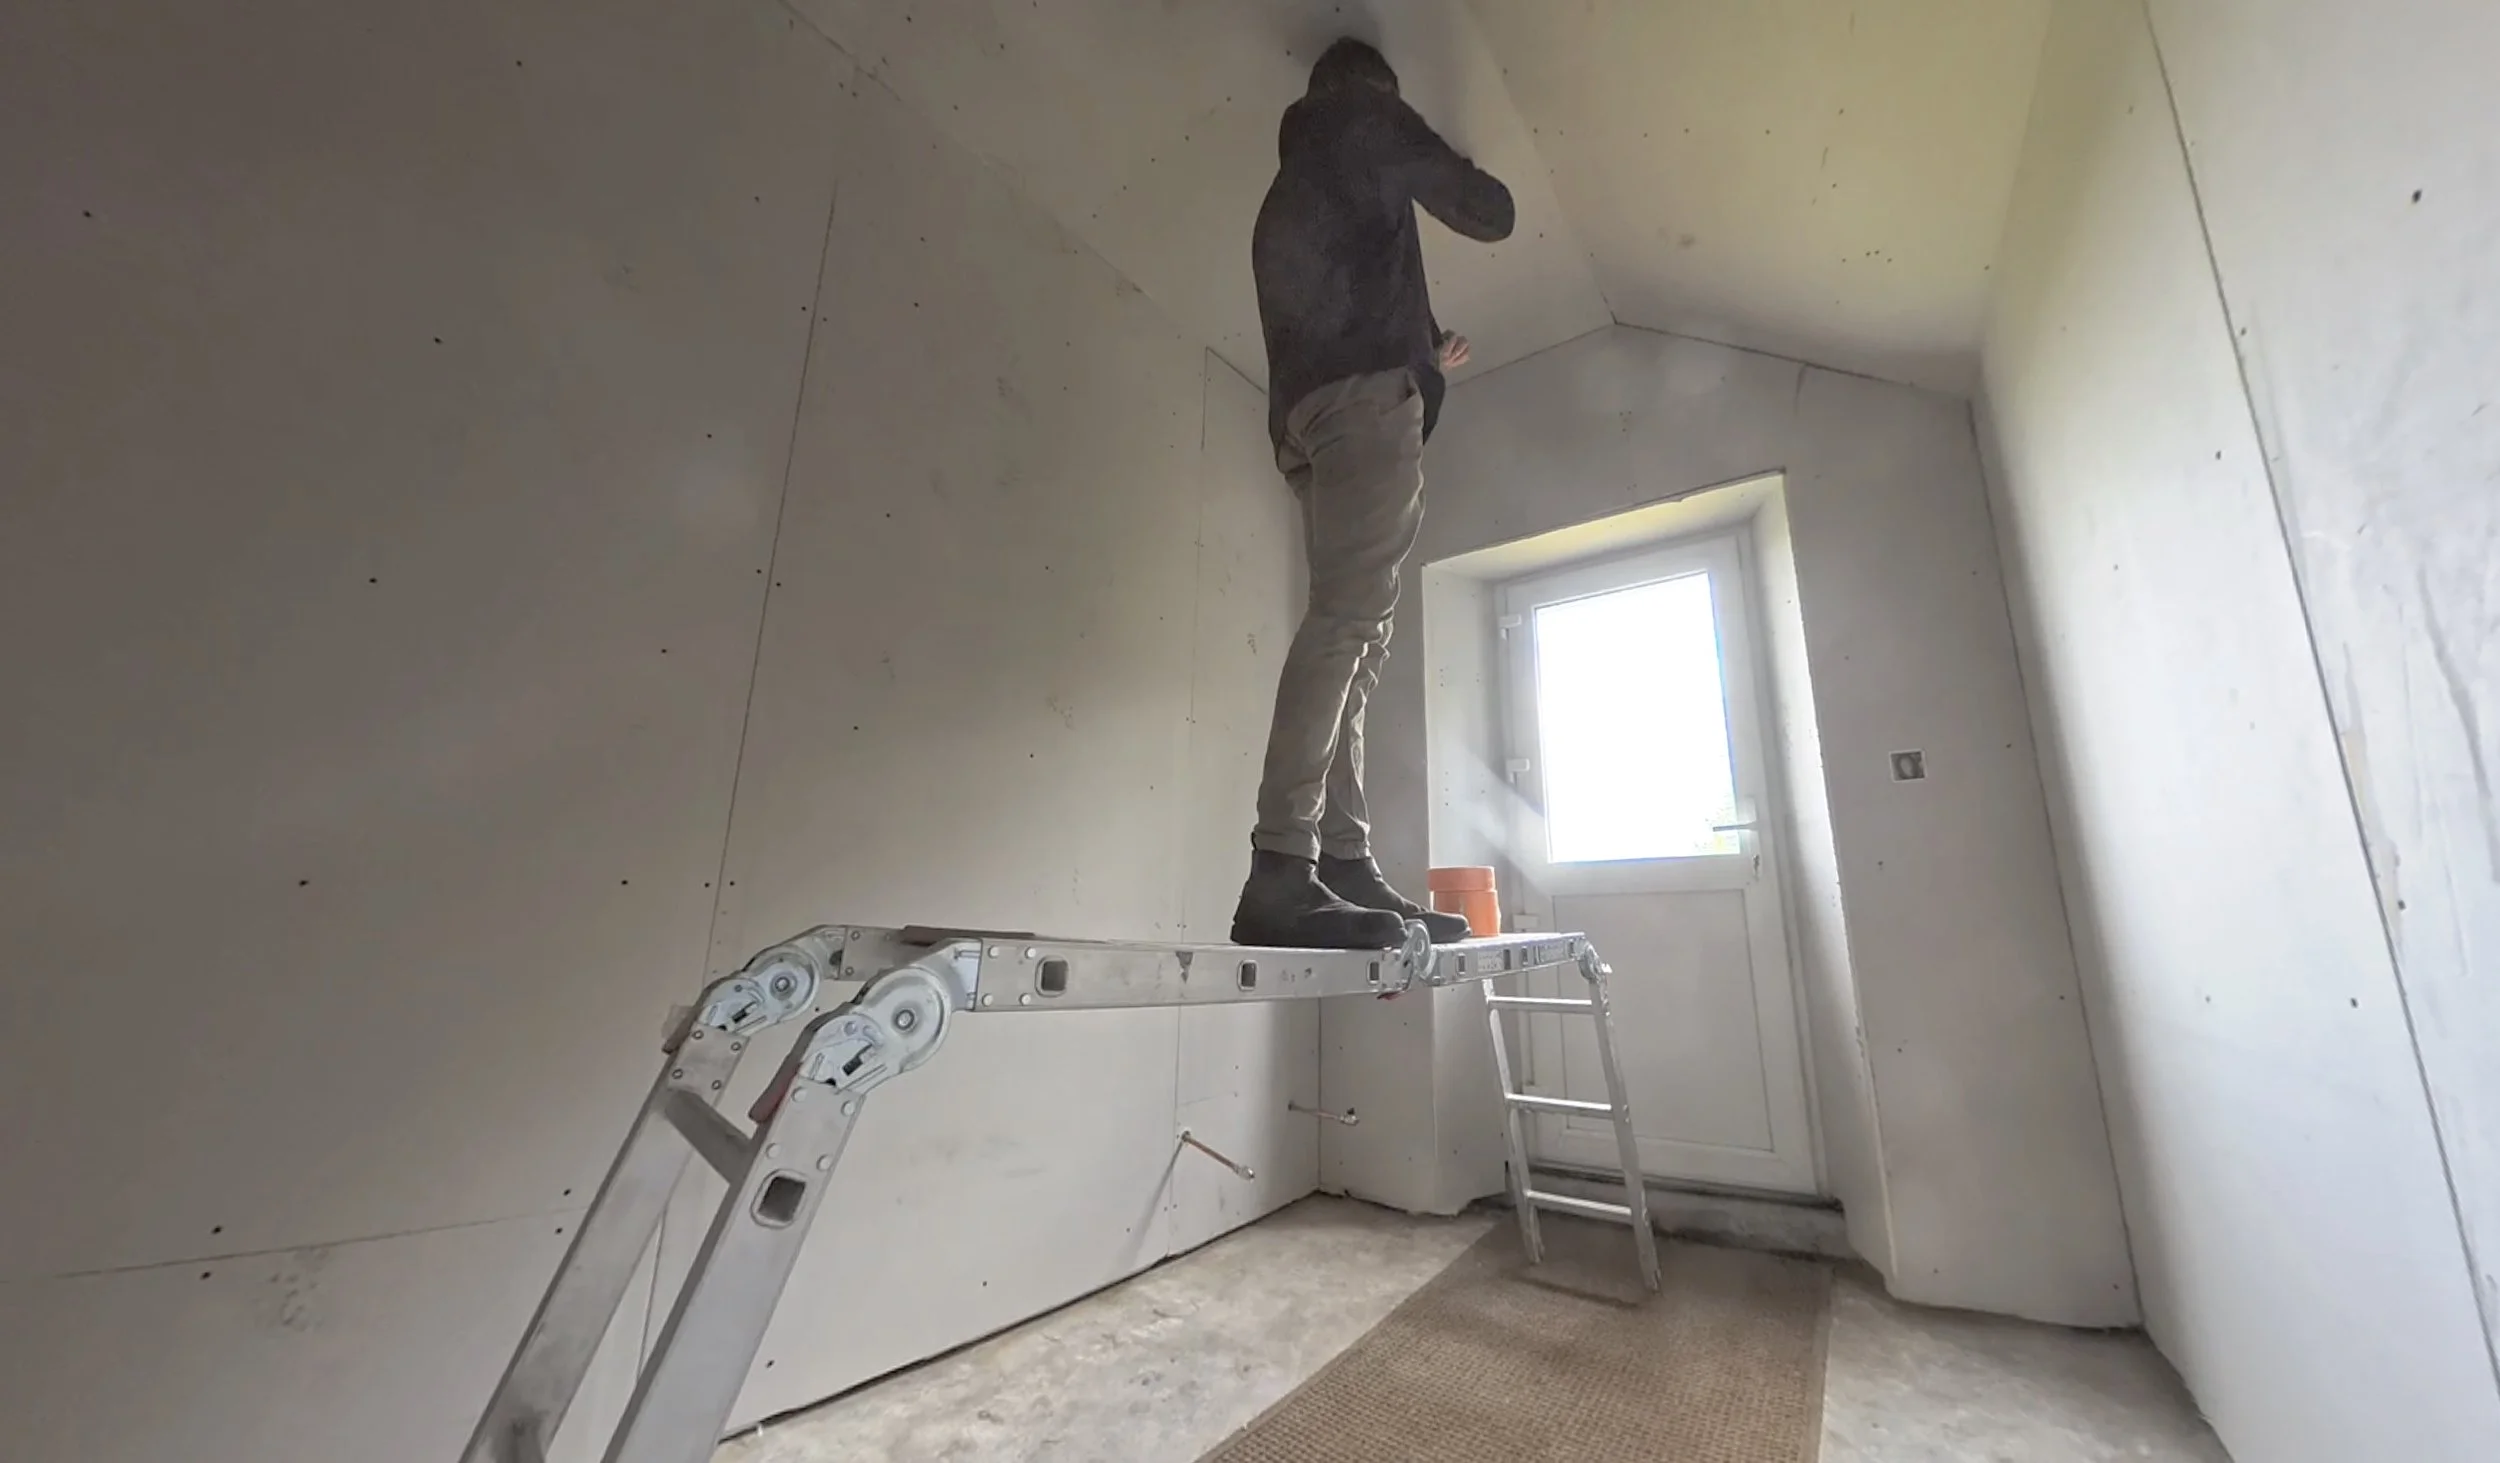
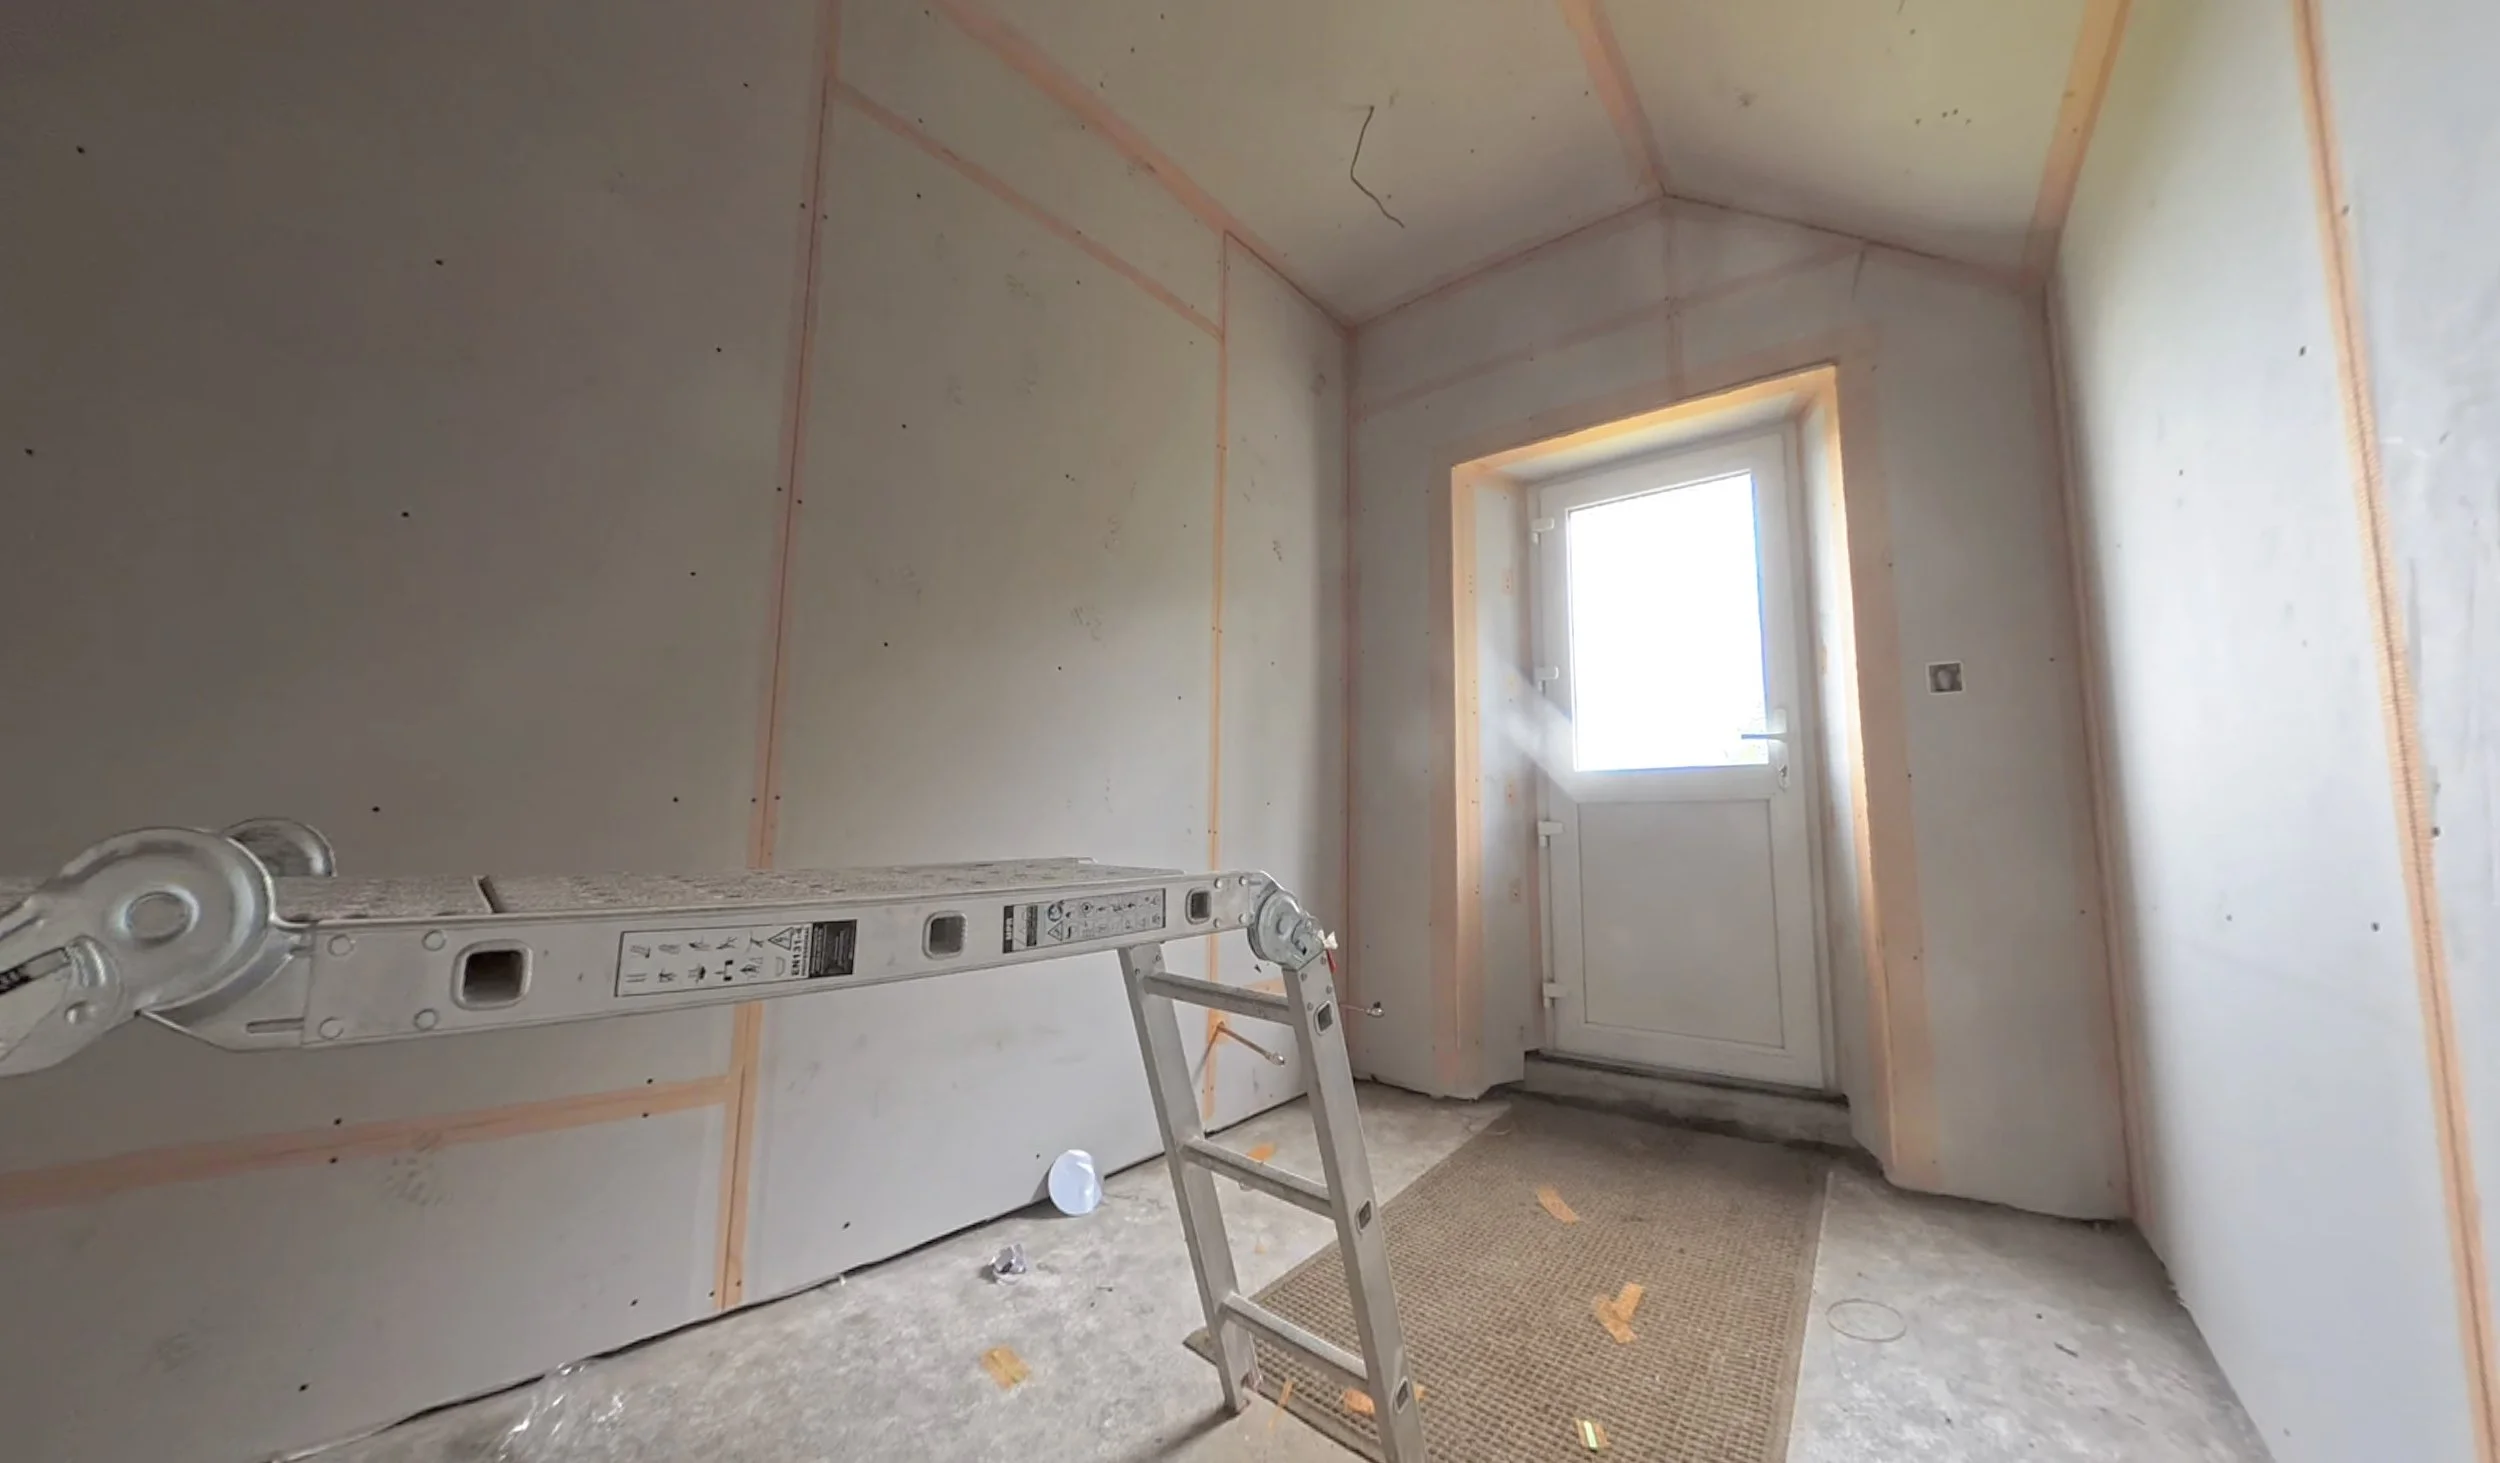
Over the course of three days with lots of animal gaps and a photoshoot to help with too, Dan then plastered the room from top to bottom:
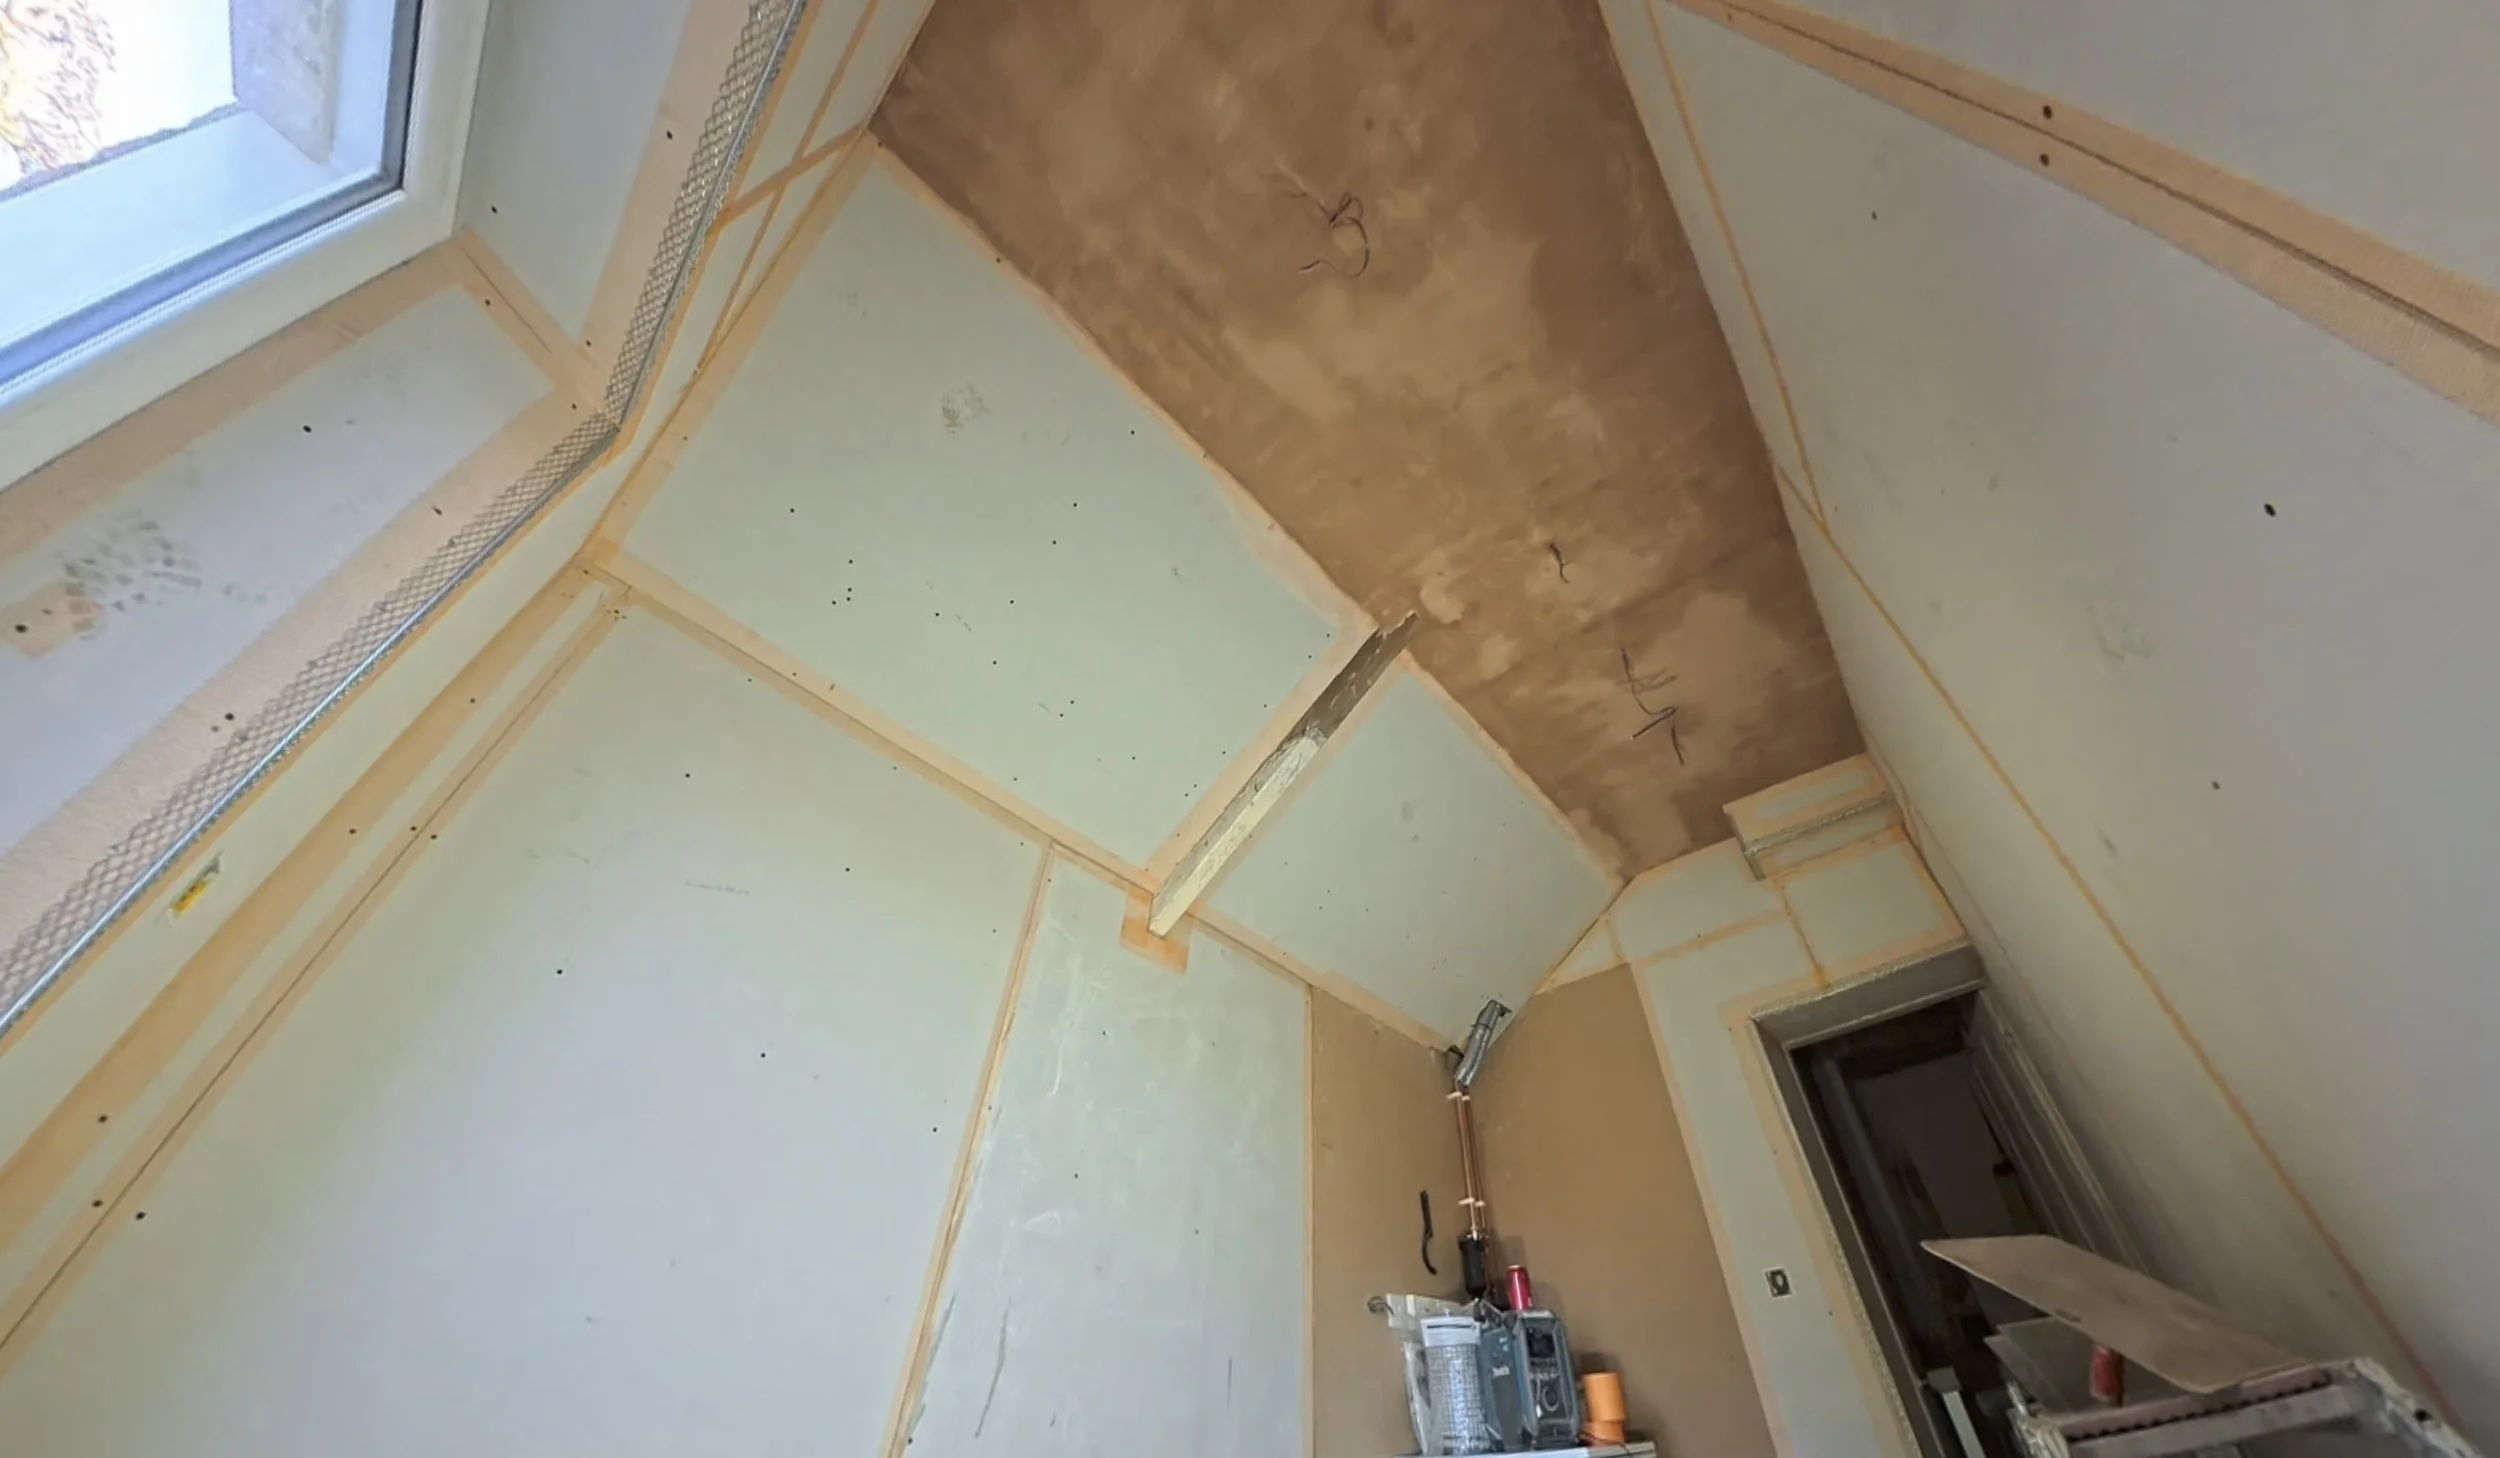
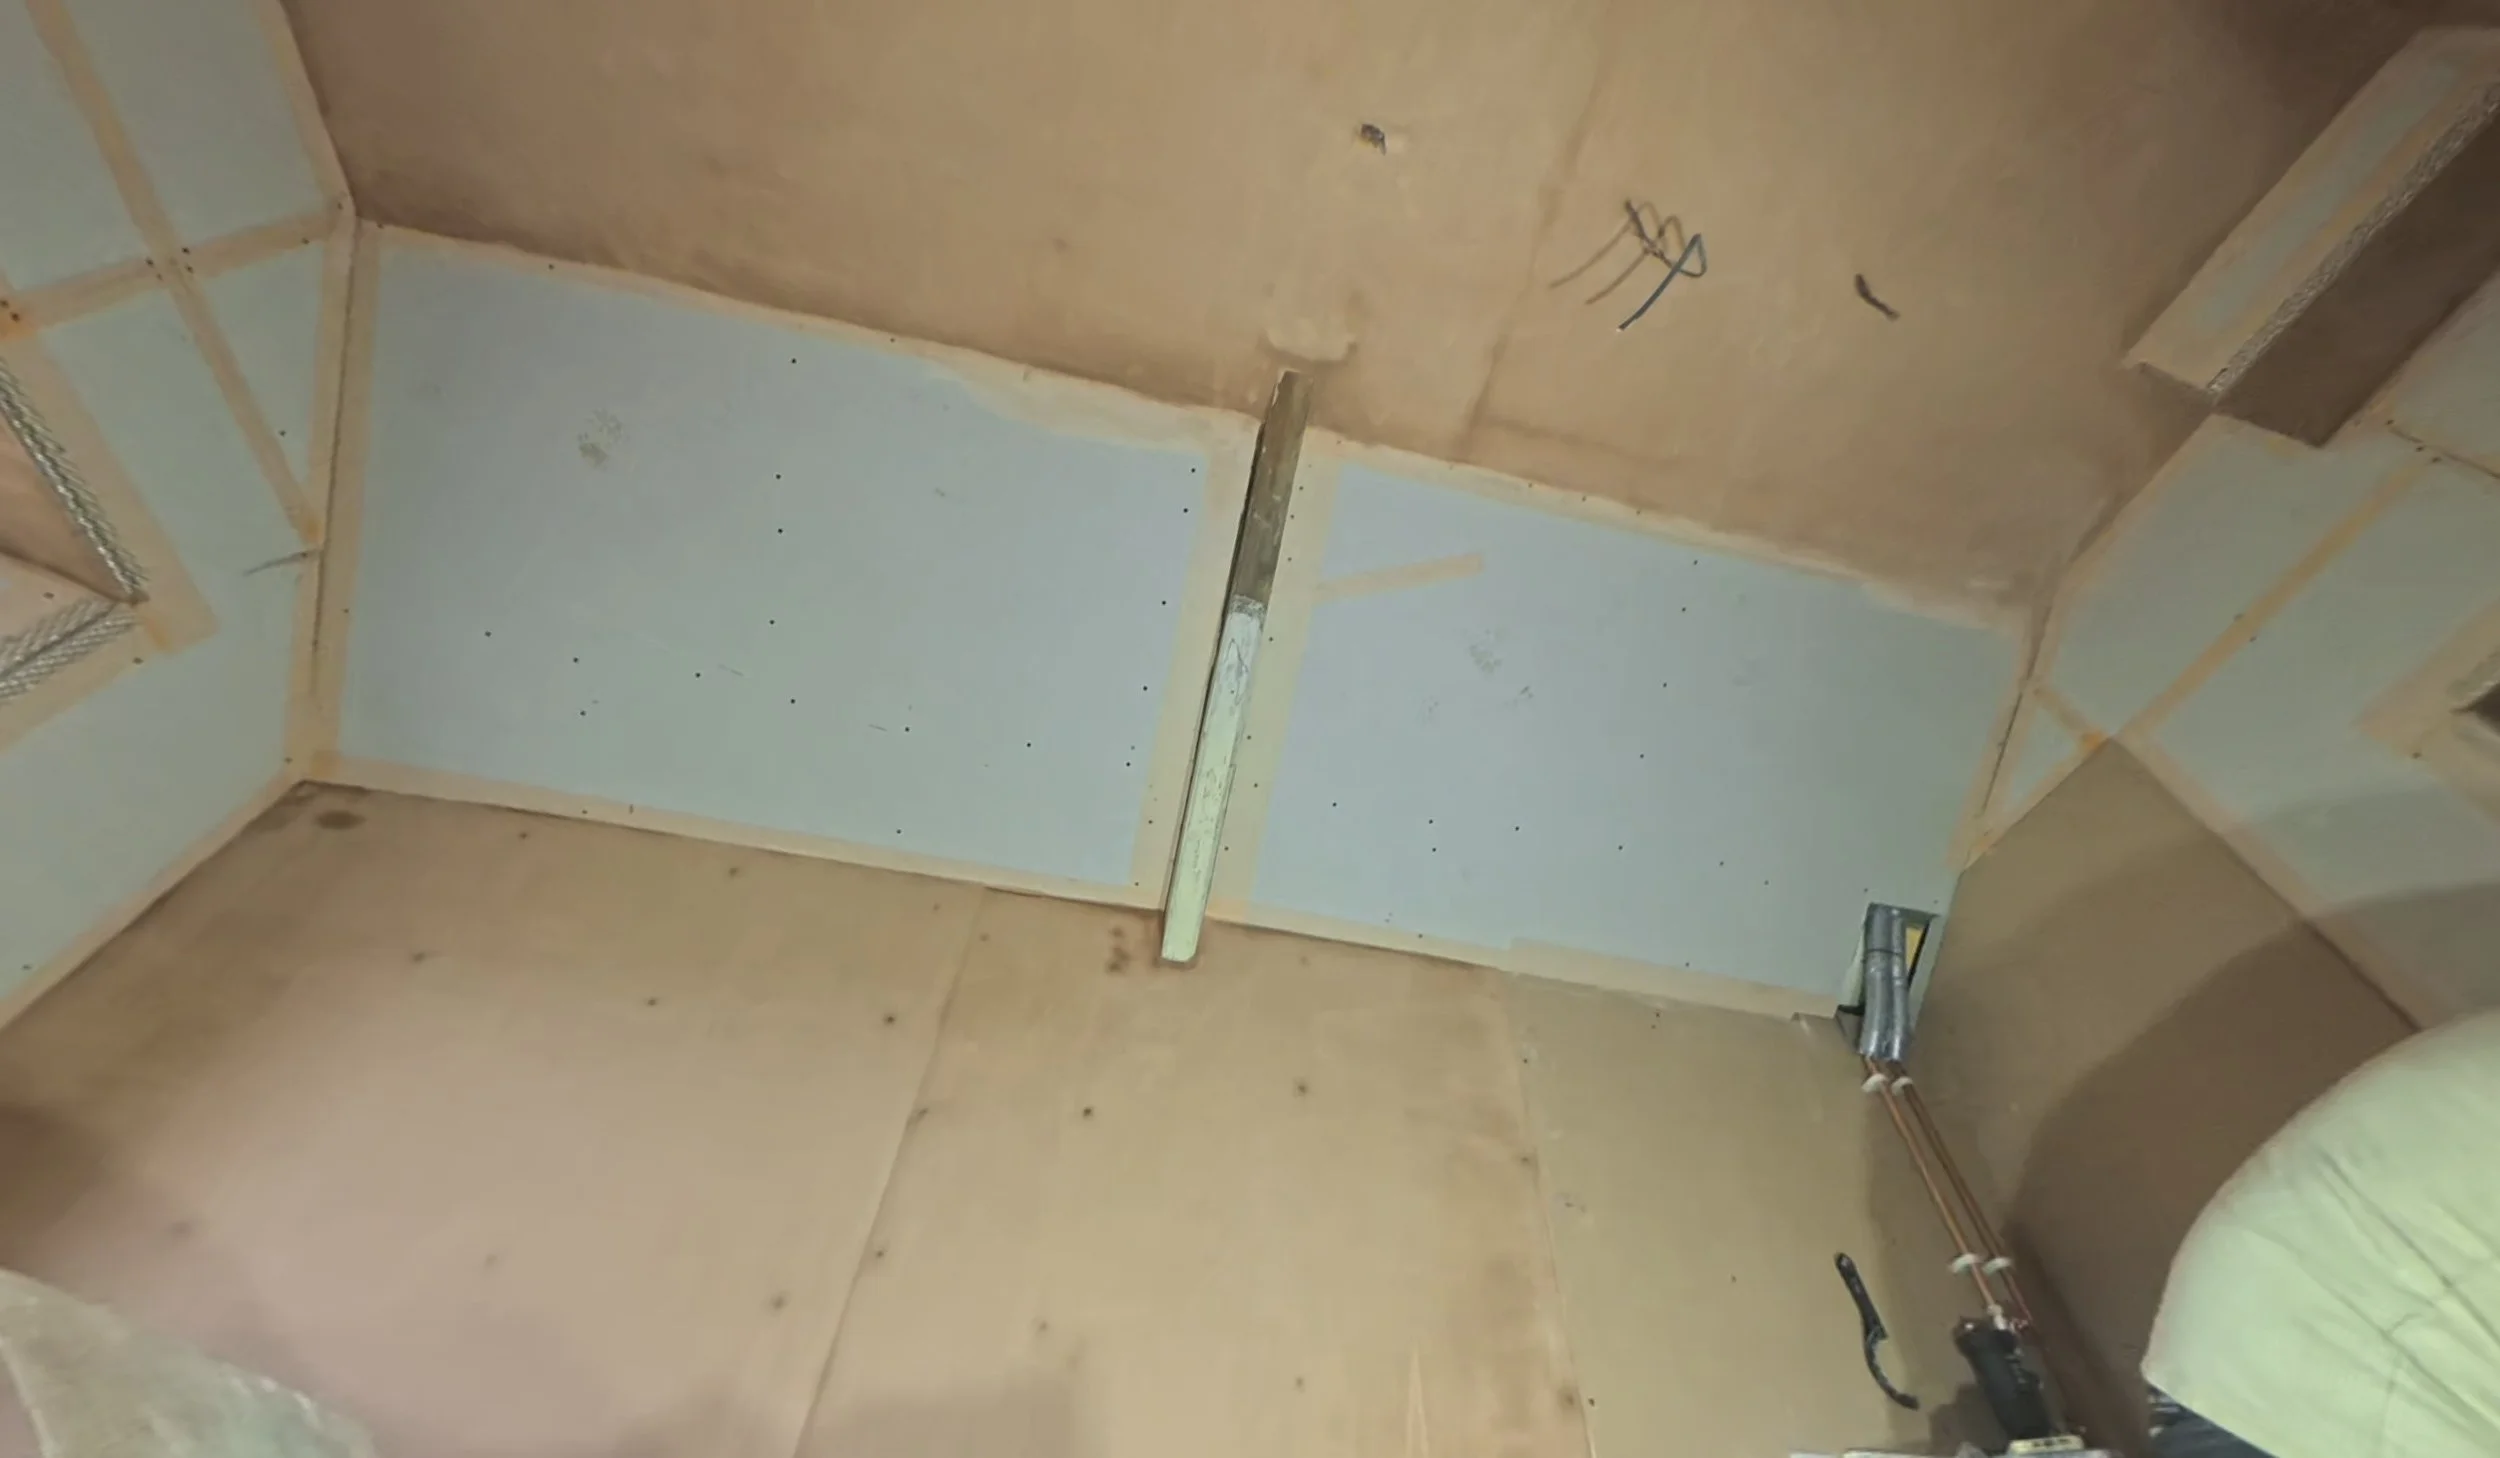
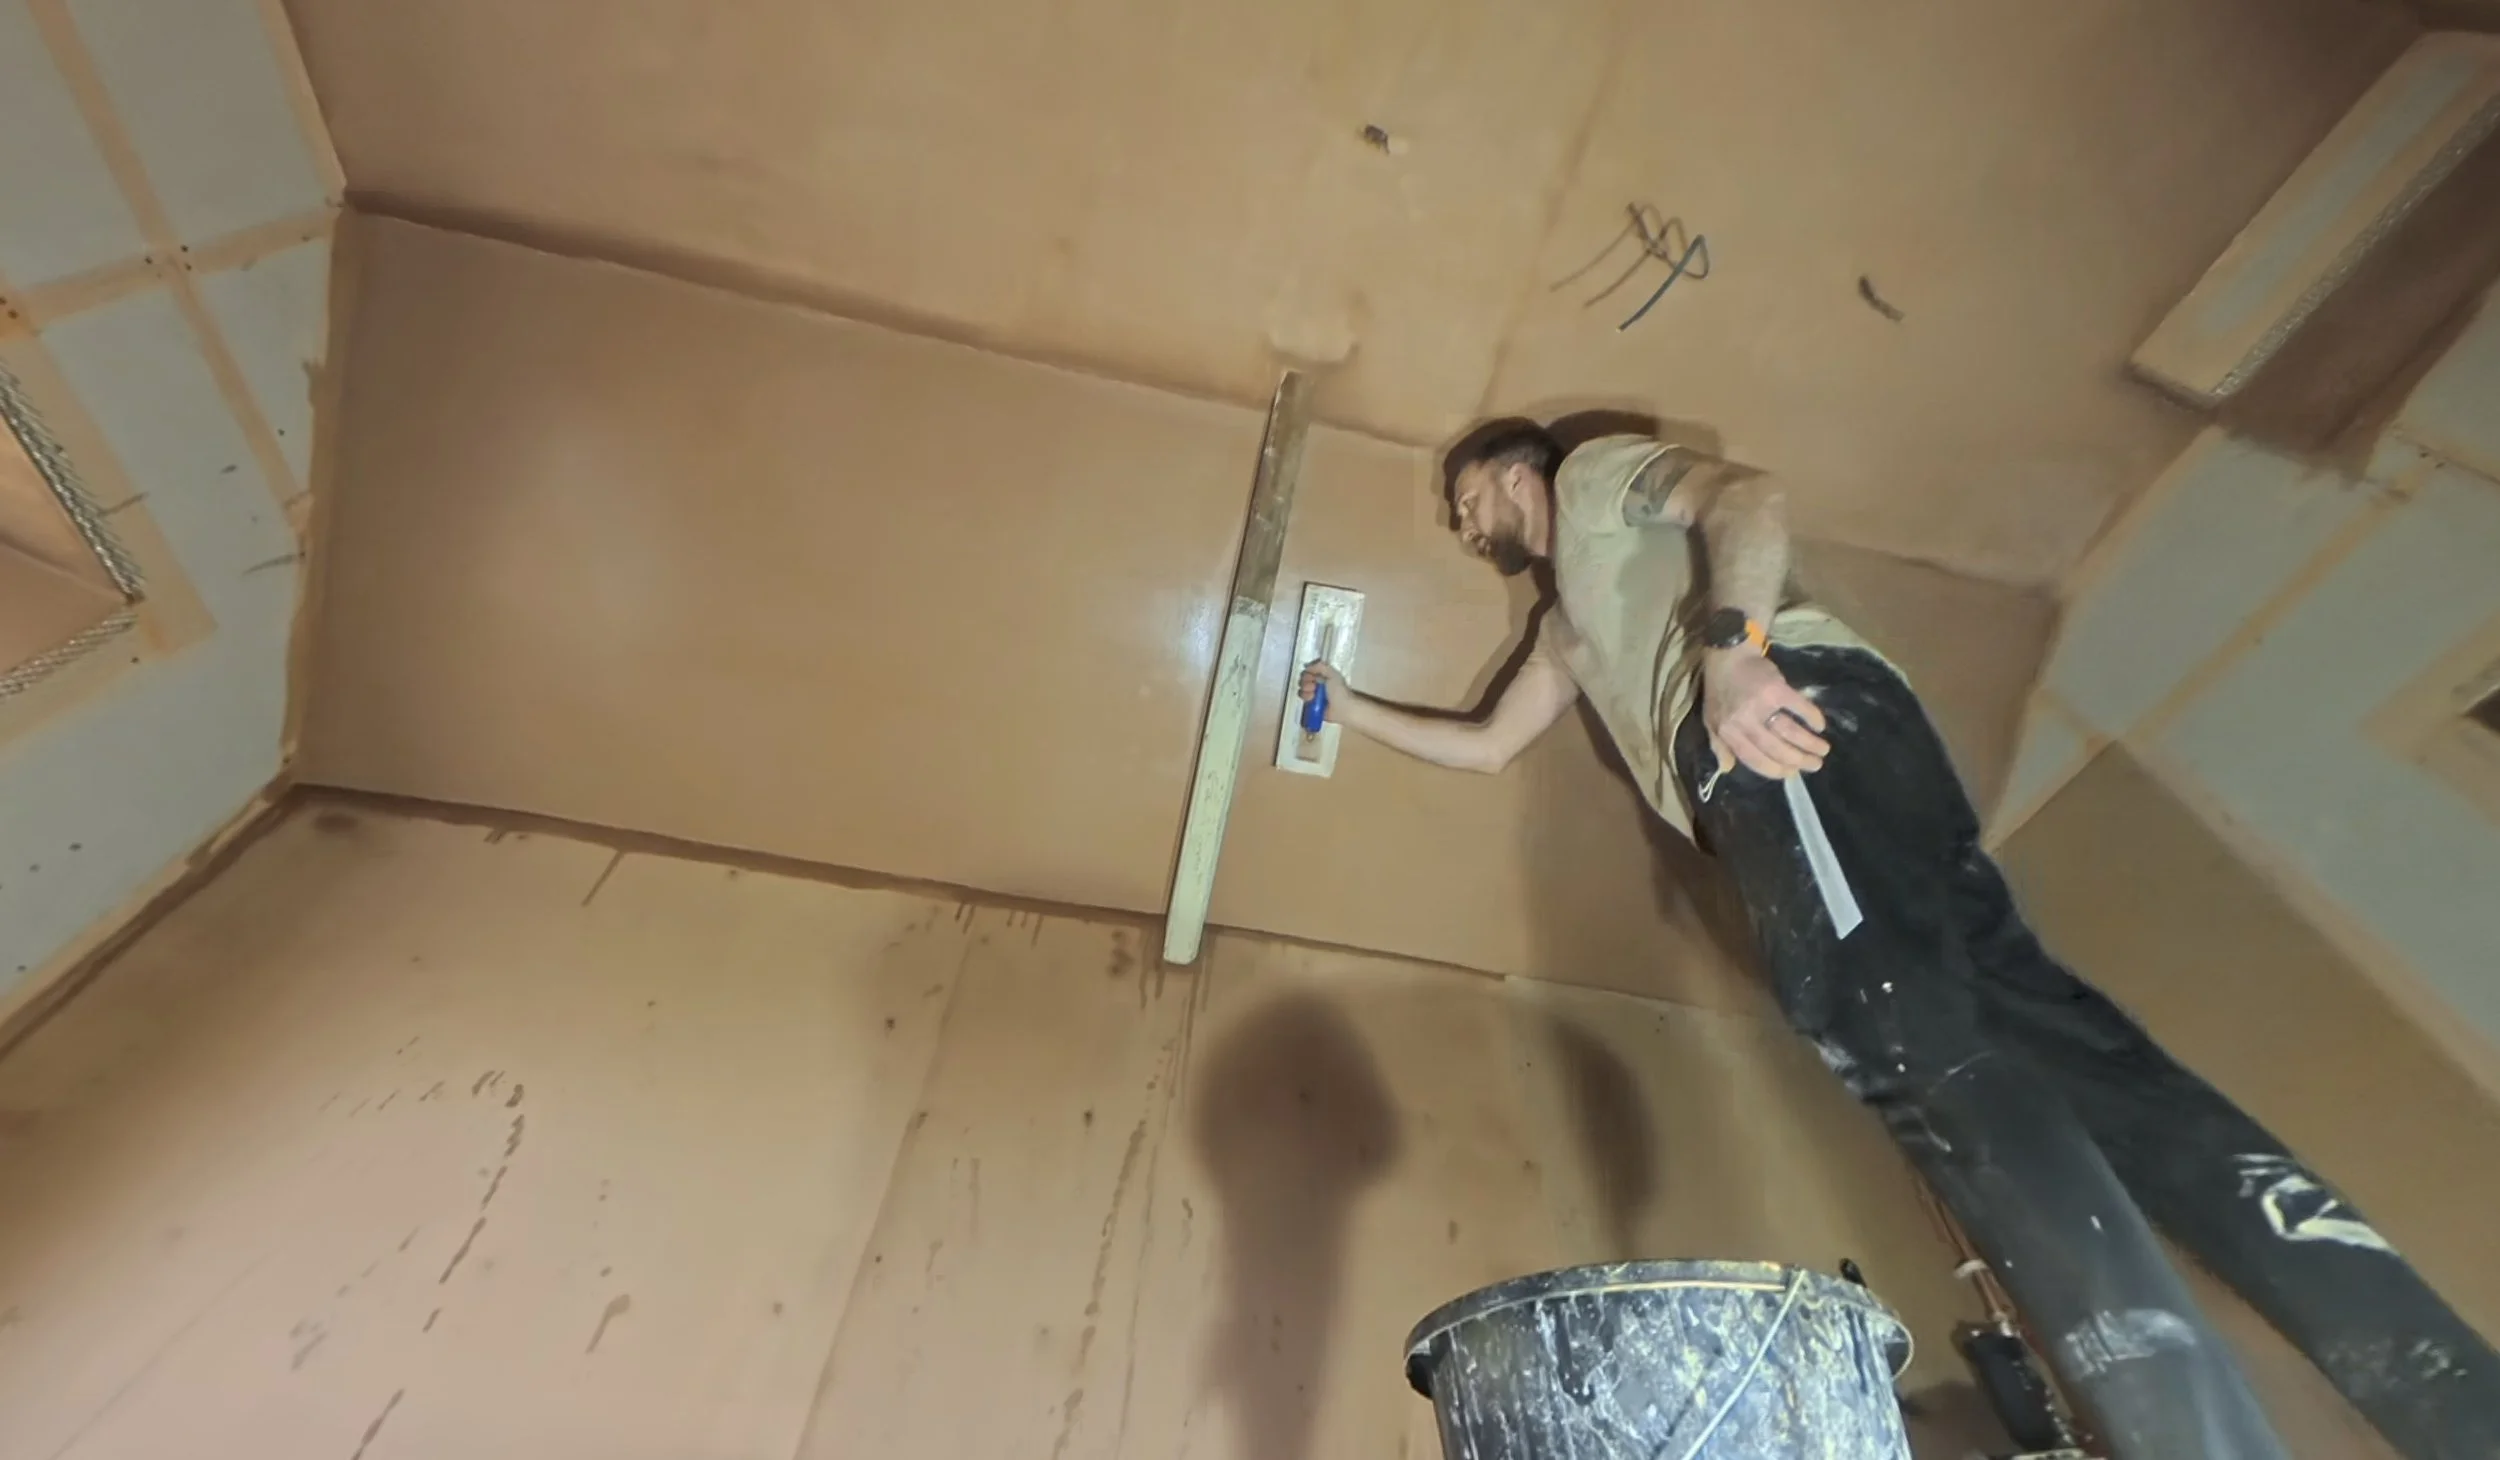
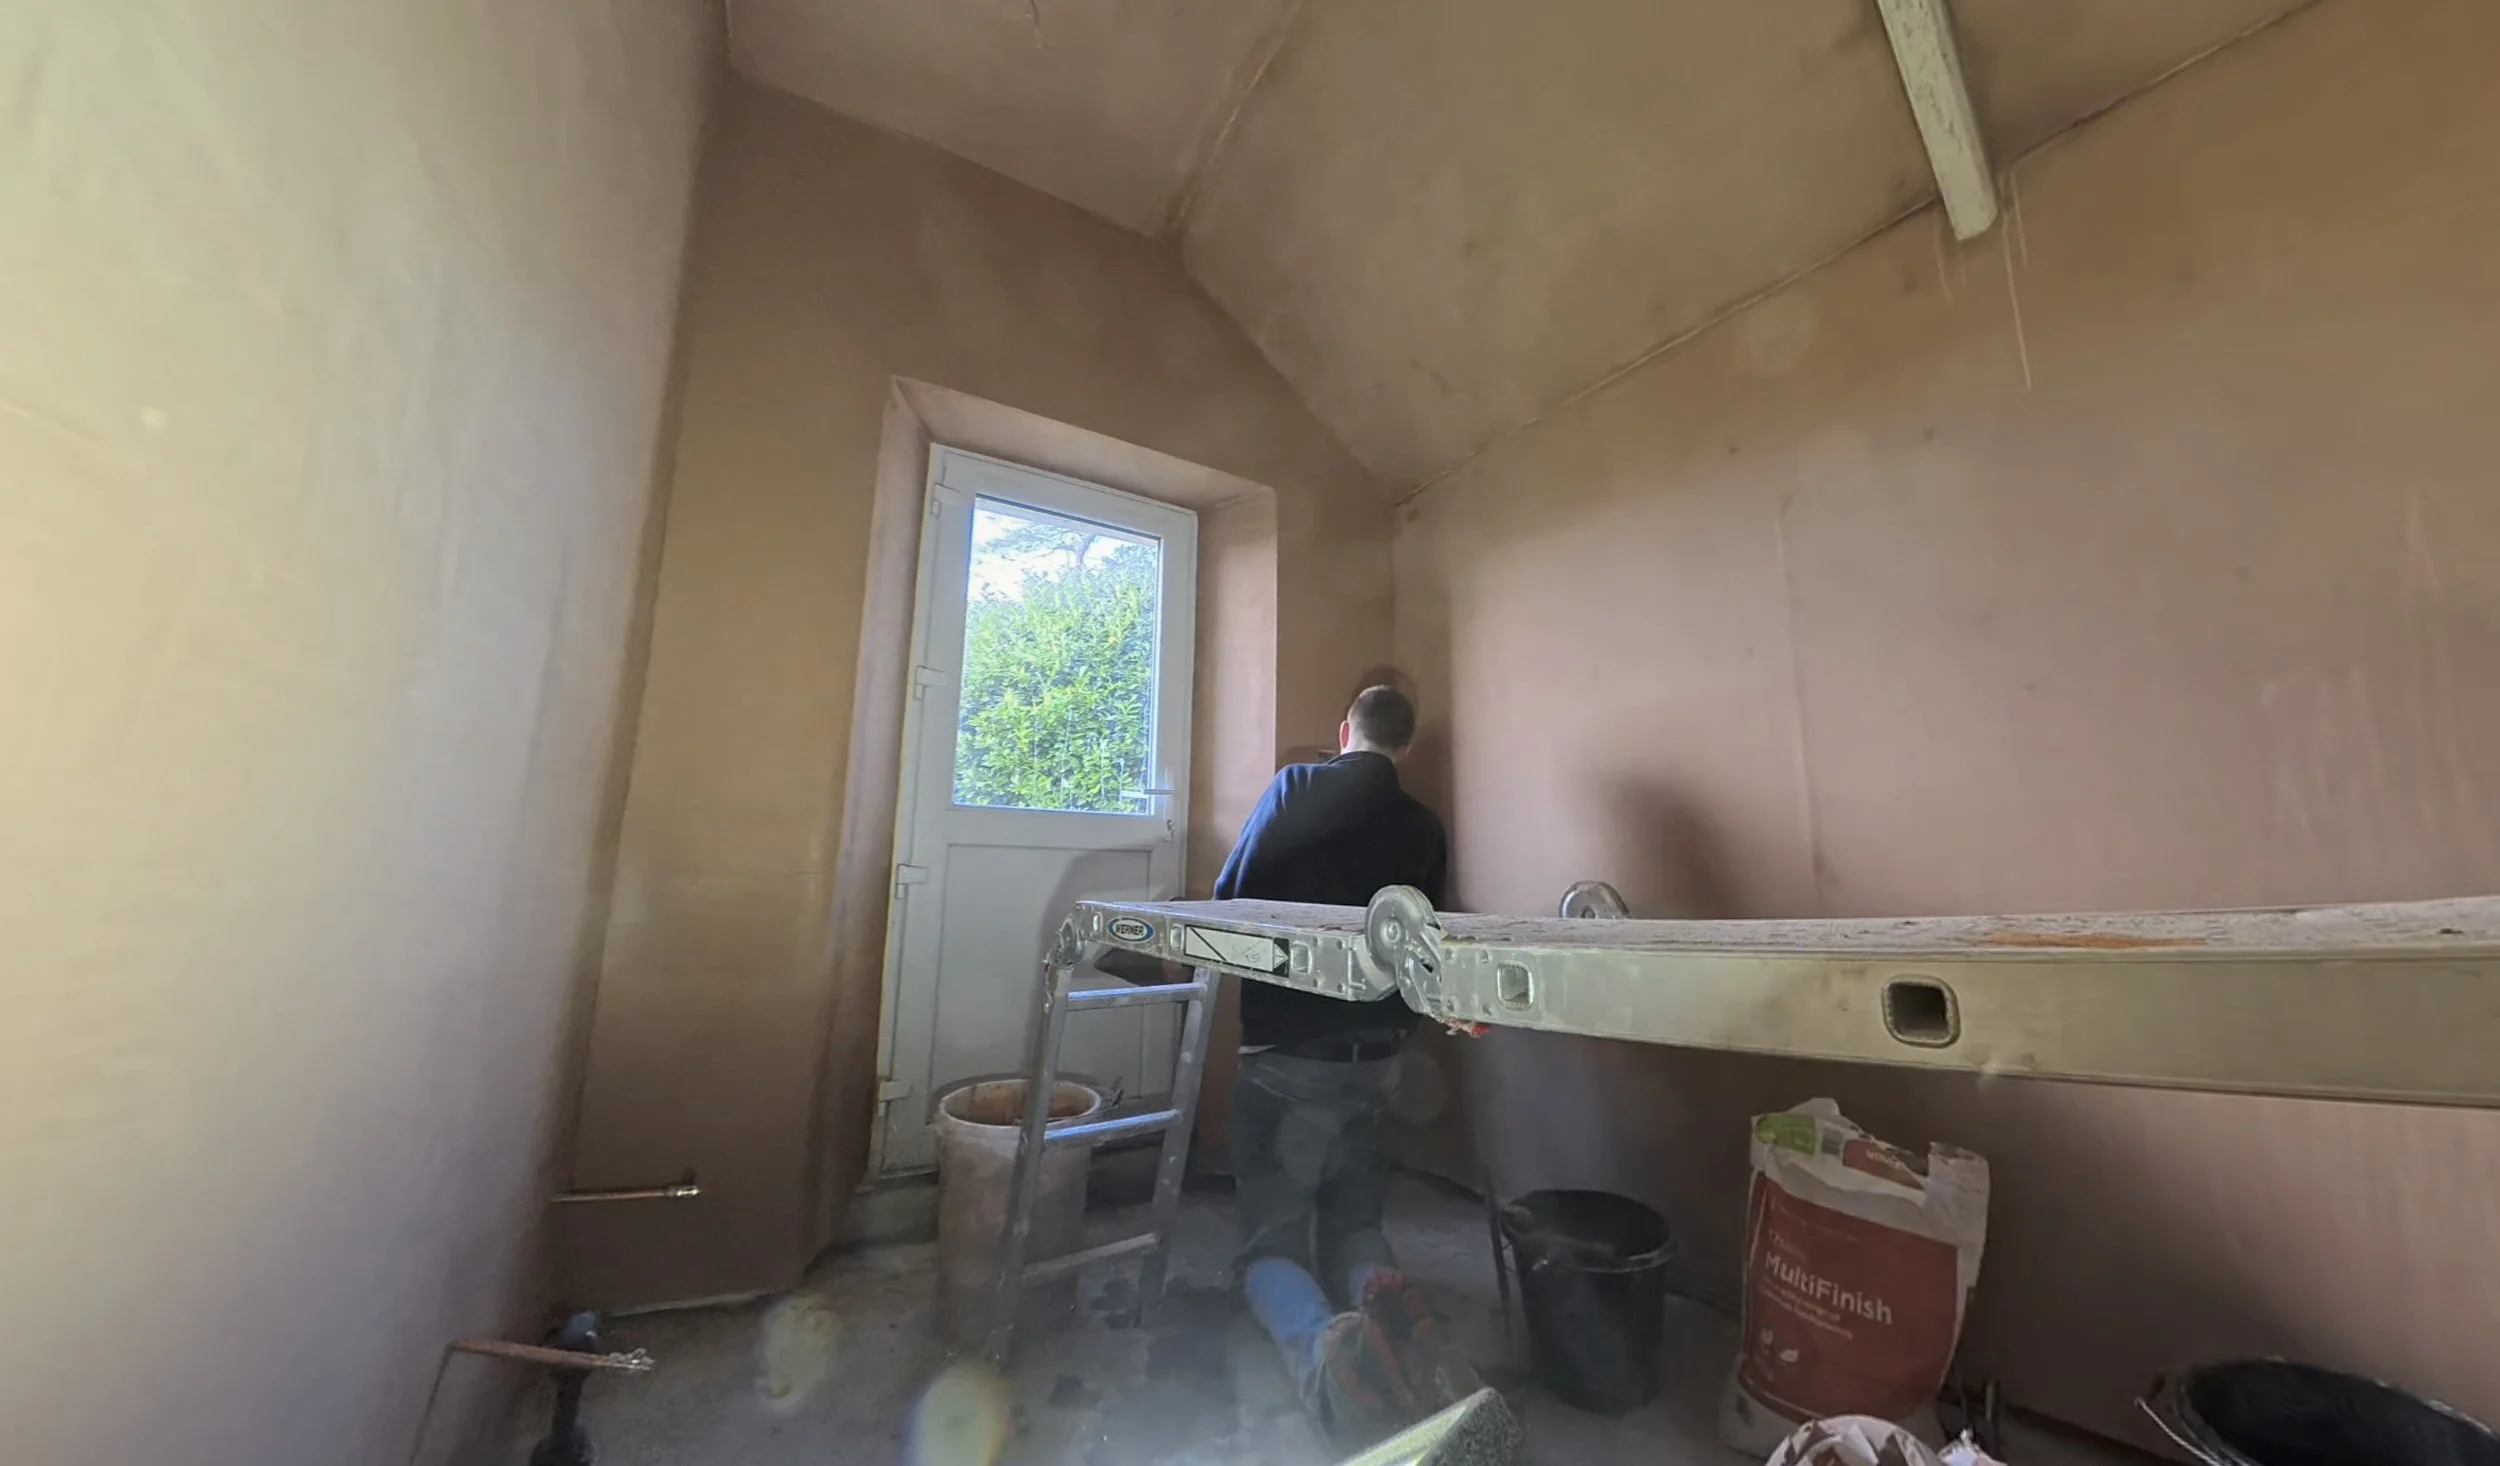
Technically, that wraps us for Week 1. FAR less progress than planned, but when you know the background things, it does make sense! It also explains why I’ve only added the week 1 update now, as I’m writing this at the end of week two. Speaking of…
April Week 2:
We may as well start with Velia again and in Granary B. We were still waiting for that encysted redworm blood test and it finally came back on Wednesday this week. She’s been ok over the weekend and generally much better in herself, and the bag had receded too, which is good! The test for her antibodies flying around fighting these tiny worms, however, showed almost critical levels. She came back with a 48, where 50+ is critical, and 35 is deemed high.
That’s good and bad news, because all of her symptoms could be explained by larval cyathostominosis, the random emergence of a ton of these tiny critters all at once in spring. It’s not great, obviously, but it suggests that perhaps placentitis isn’t here (which is GOOD), and that our treatment regimen could have been potentially lifesaving. It does mean that her burden is likely resistant to the wormers we used for these worms back in autumn and a different approach will be needed, but we at least have answers.
This result brought about a whole new resurgence of vet tests, because Connie & Tuna needed testing too (bloods and poop FWECs). Inside week two, I have their FWECs back already and neither are problematic there, and Velia’s repeat showed a reading of 0, so this wormer is not one that the worms are resistant too - YAY. Still awaiting blood results for the encysted type, which will probably take around a week.
Velia also had a scan to check the foal and placenta on Thursday, and the foal is moving with a nice big head visible on the camera, with the placenta looking ok. It is very slightly thickened but not to actionable levels so we have to hope the antibiotics took care of anything that may have been there, and that she’s ok to go to term. Of course, we’re prepared for other eventualities.
Of course, Dan lost time here again this week. I had a non-moveable zoom call right when the vet was able to visit, so Dan did horse things for 2 hours. We also got the delivery of our haylage from our new supplier, which I’d already organised before we new the encysted results for Velia, and Dan was roaming around on the quad helping herd escapee cows with the farm lads this week! He did also help get Velia’s barn a bit more horse-prepped by installing her hay bar and tie rings. She obviously appreciated this very much!
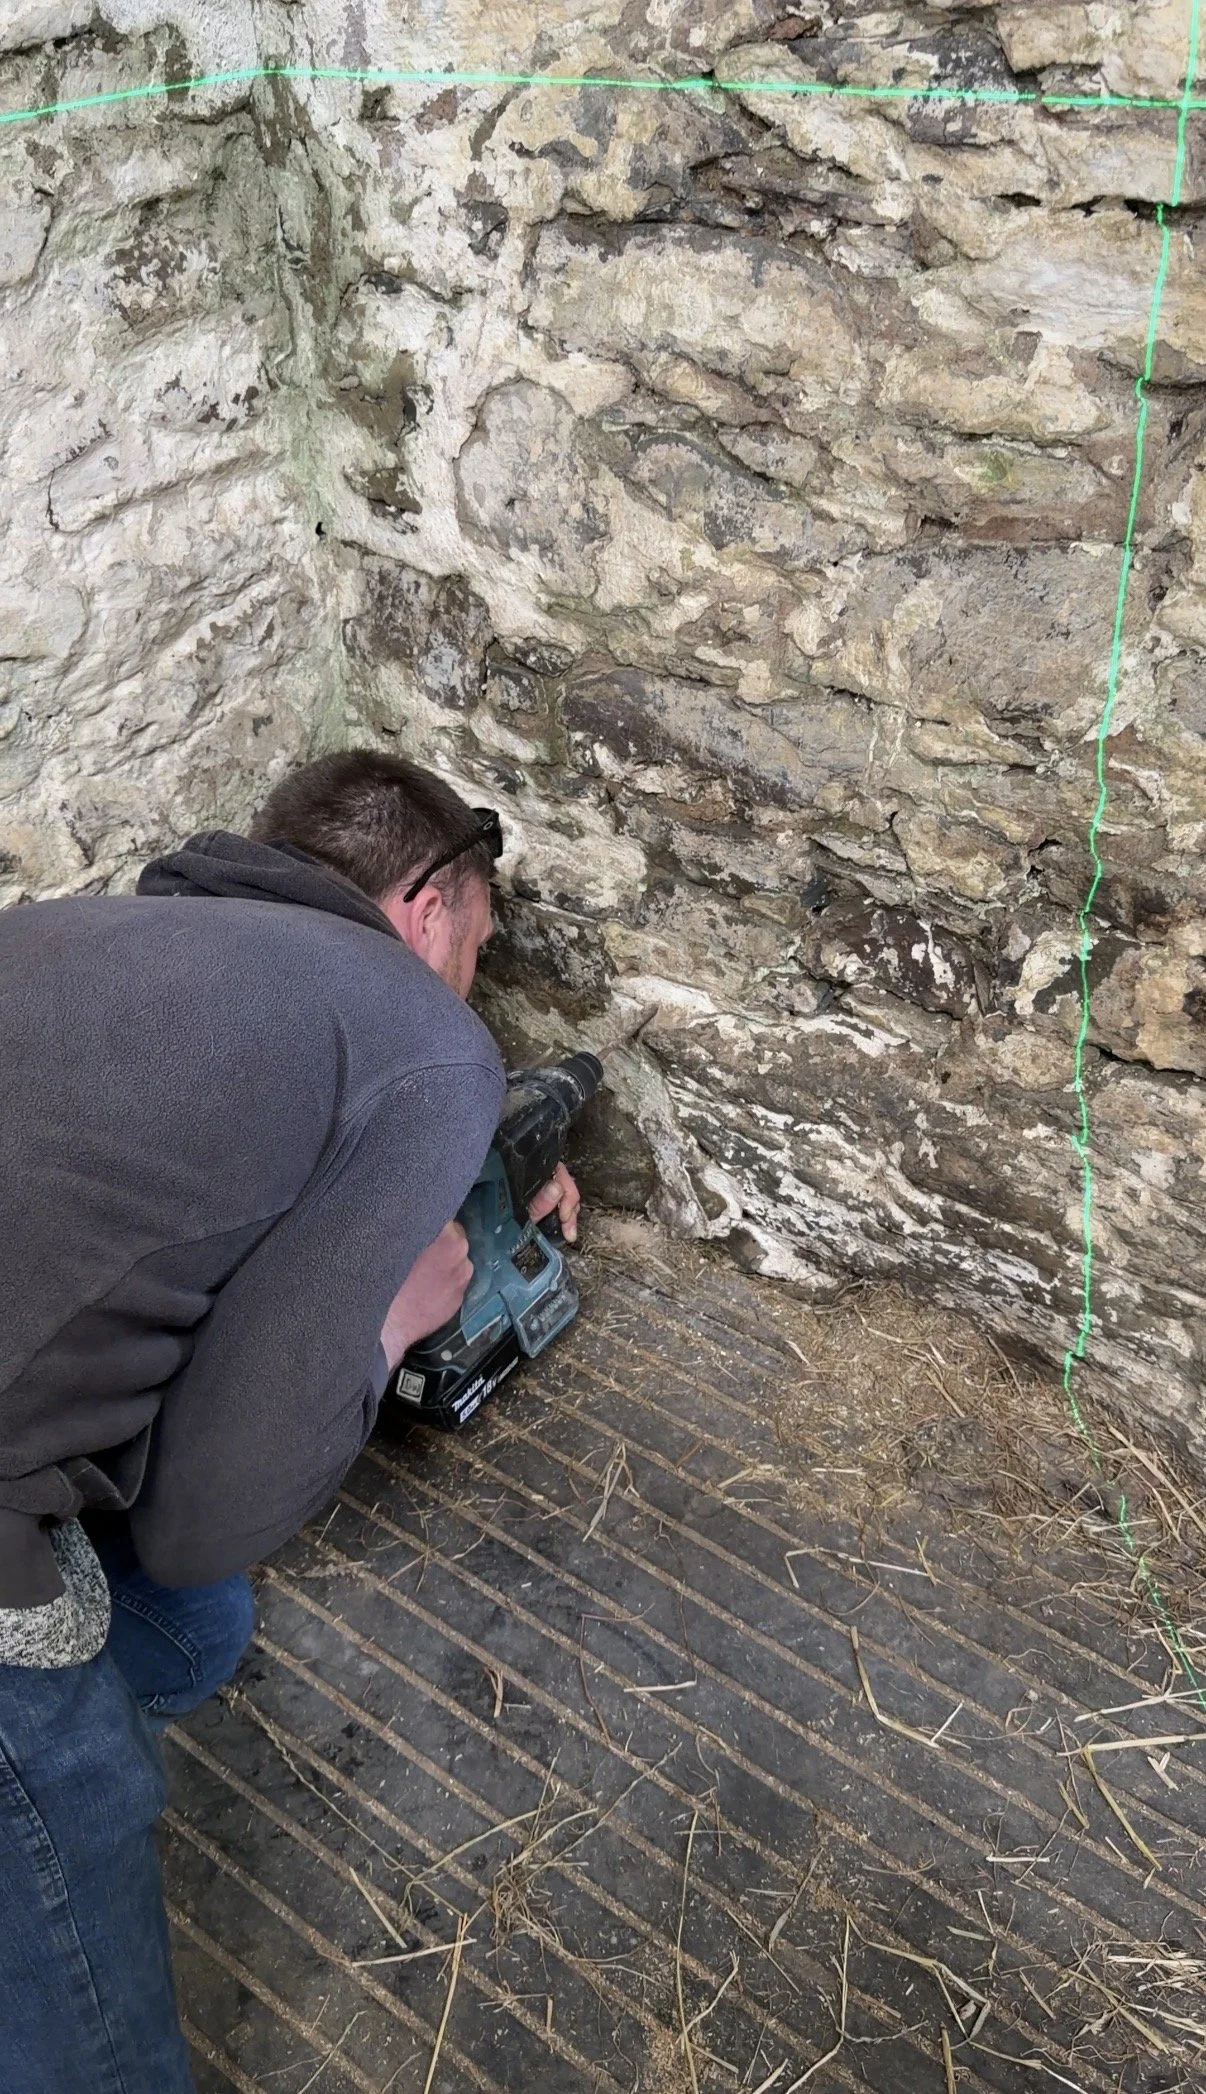
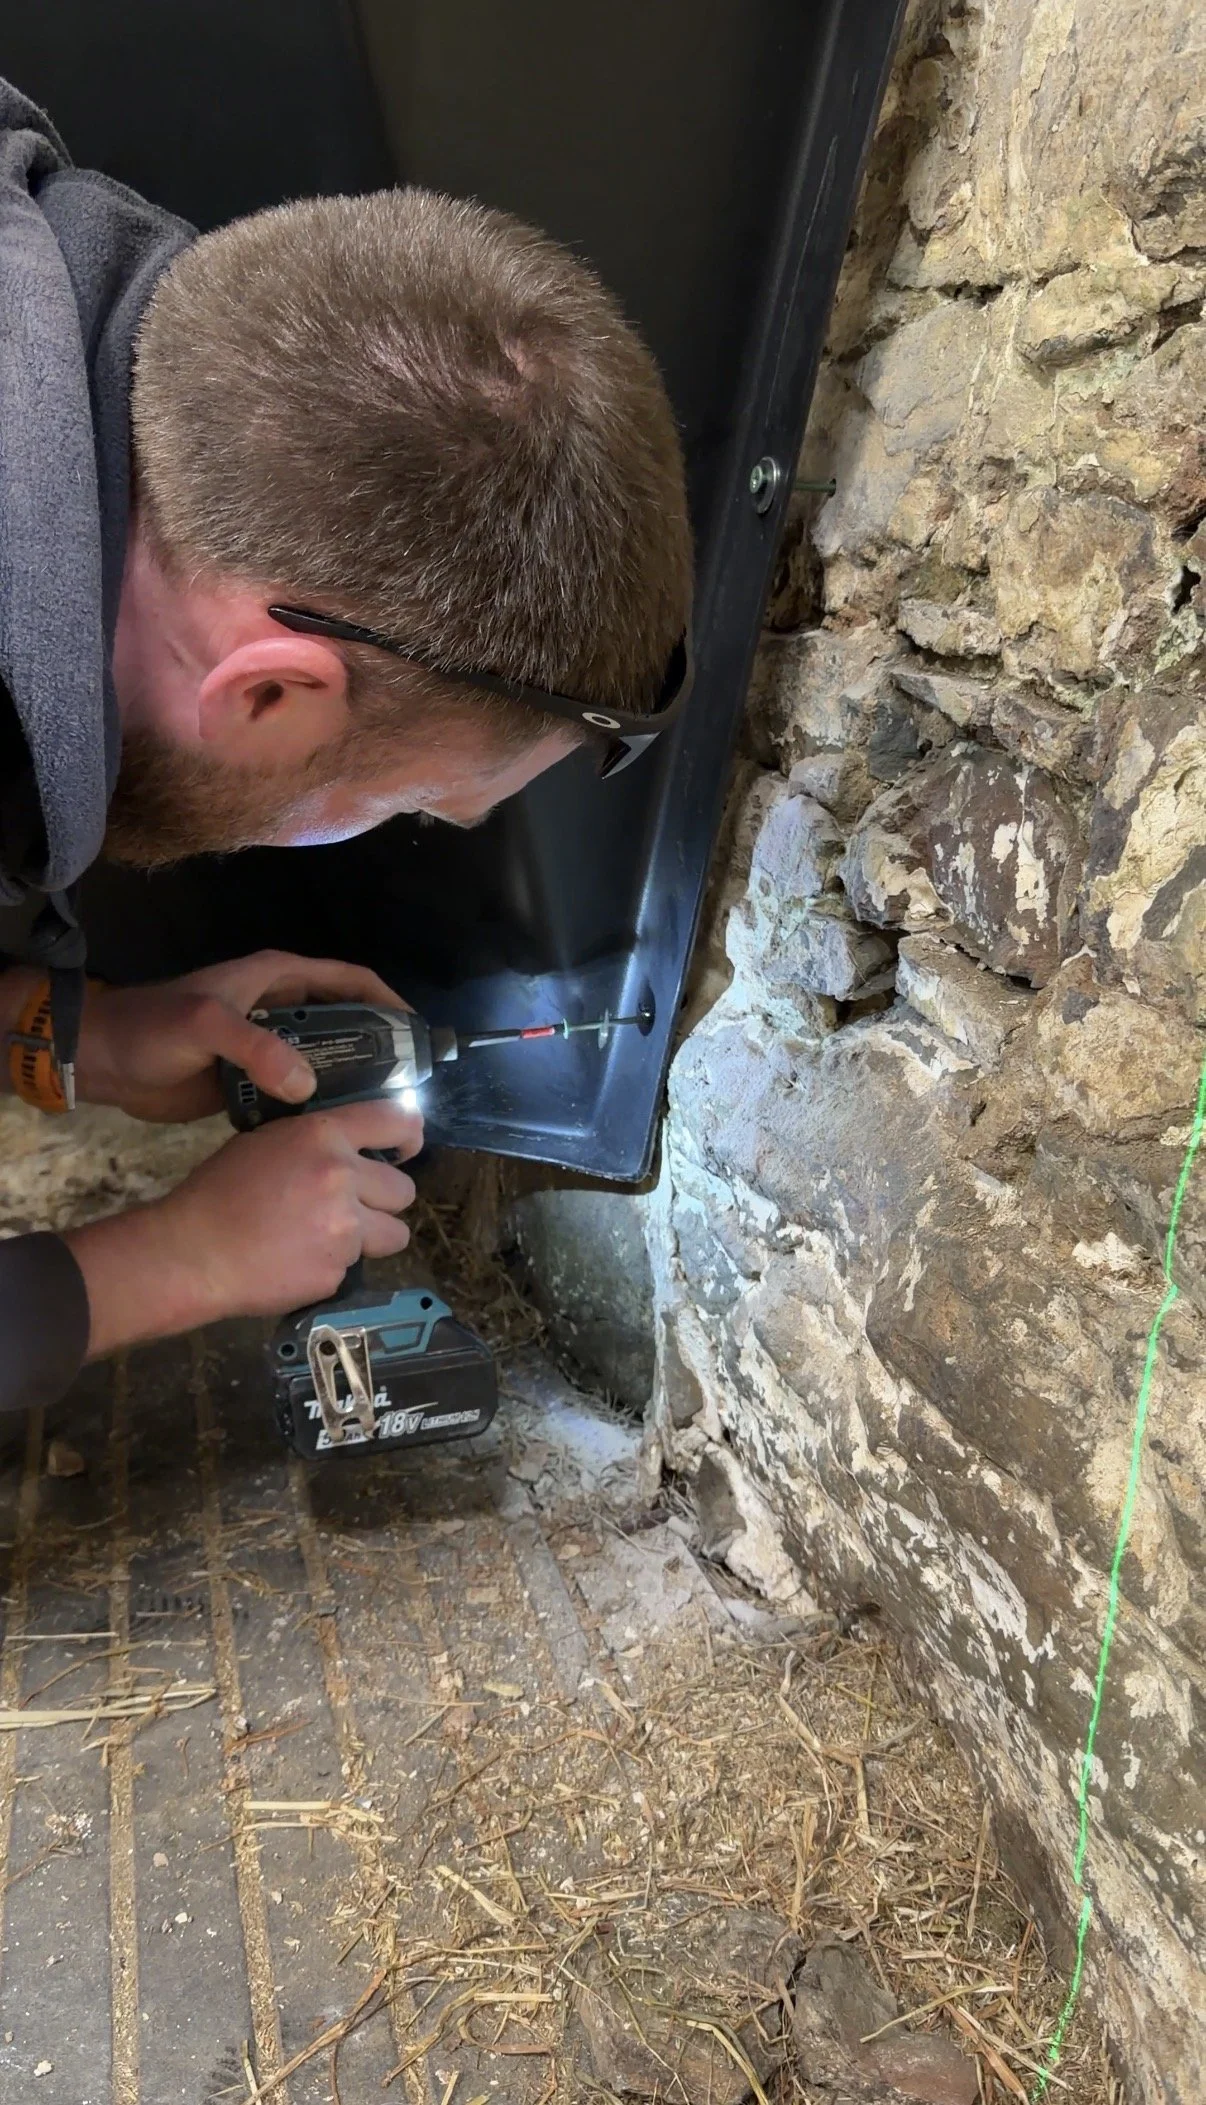
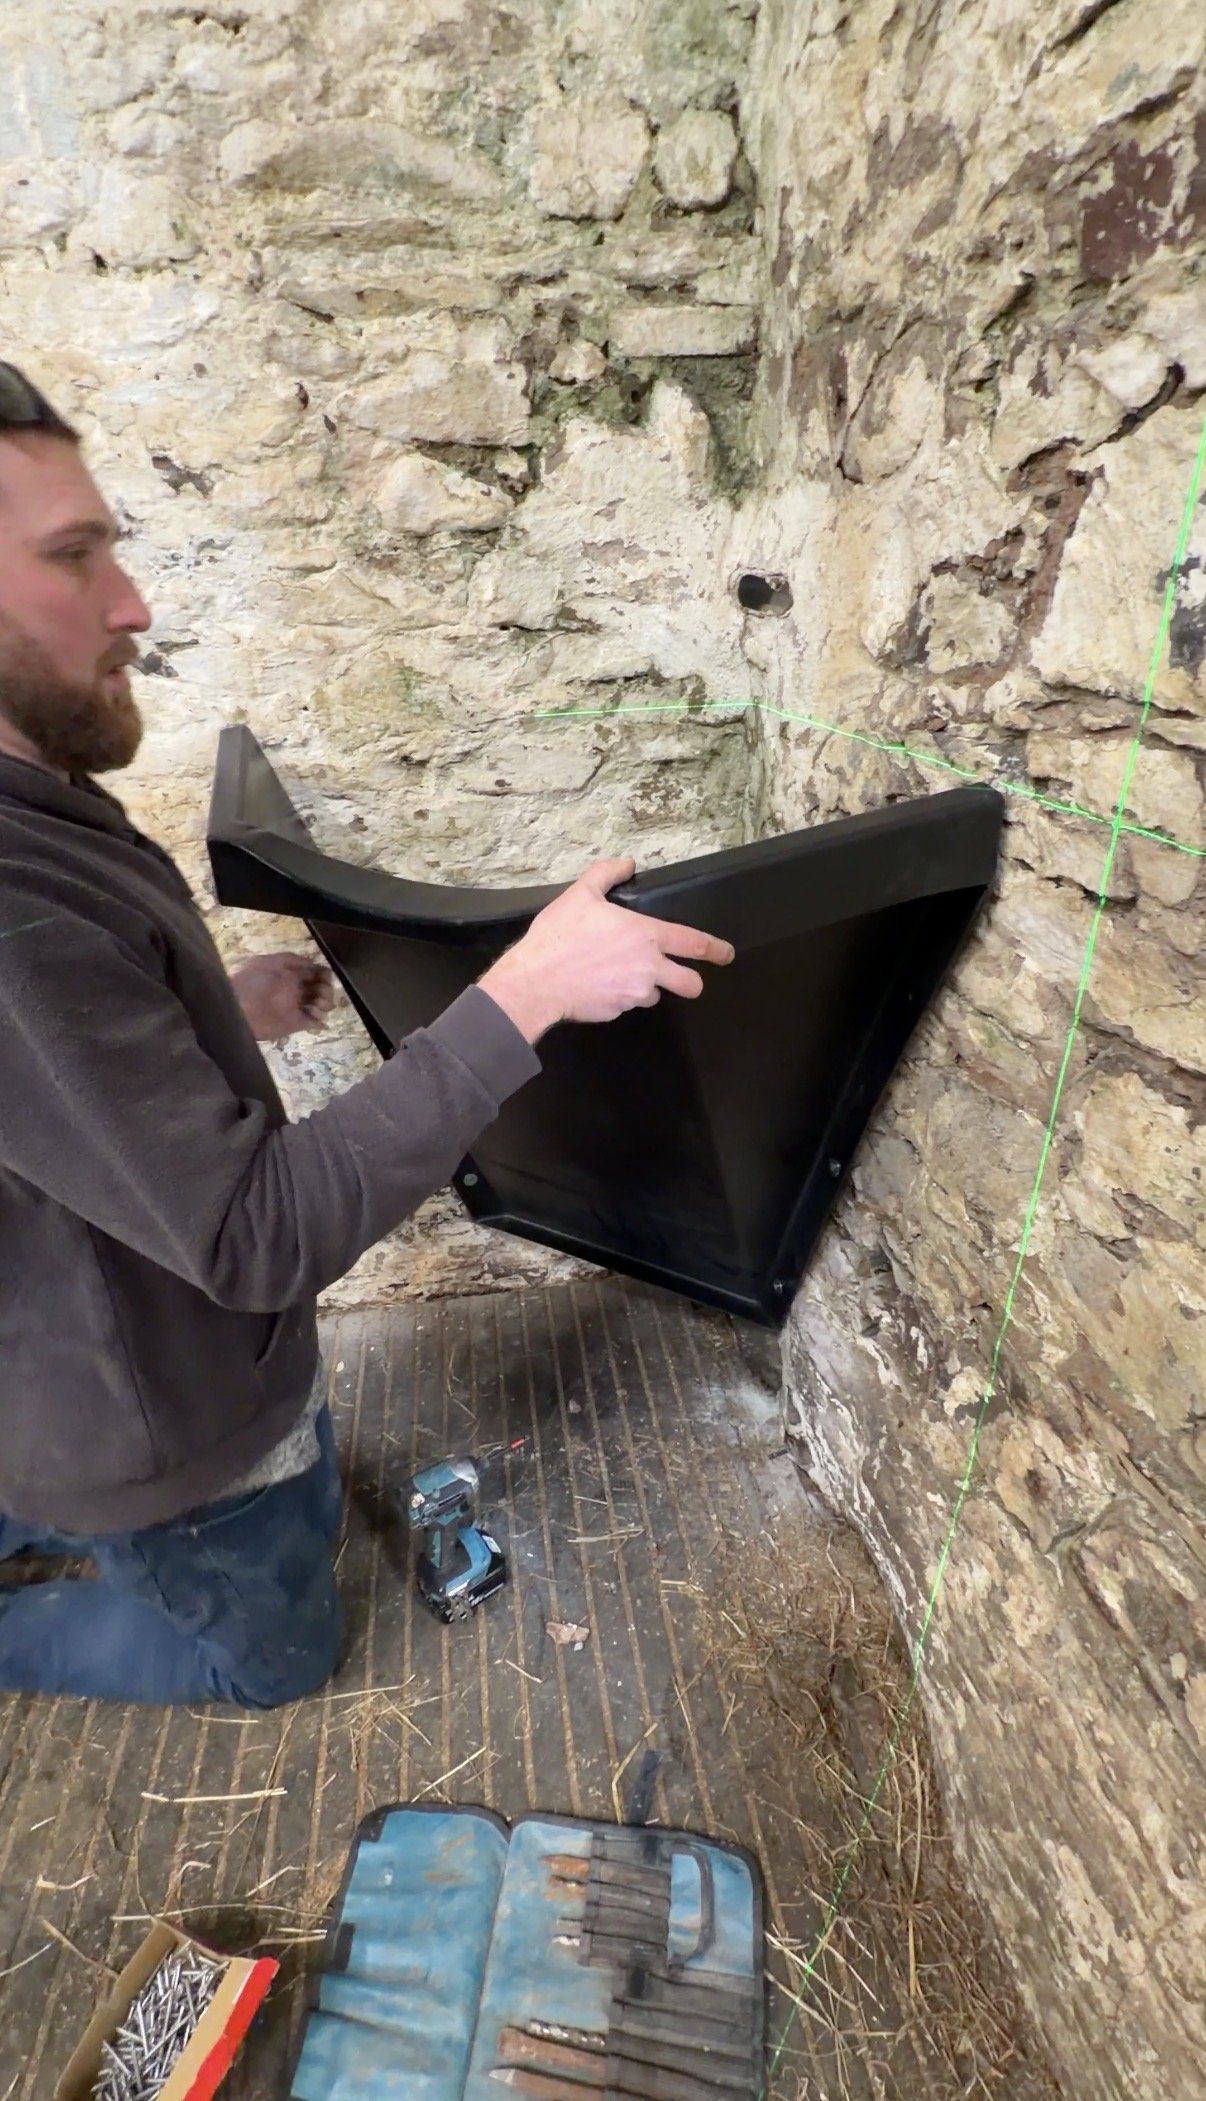
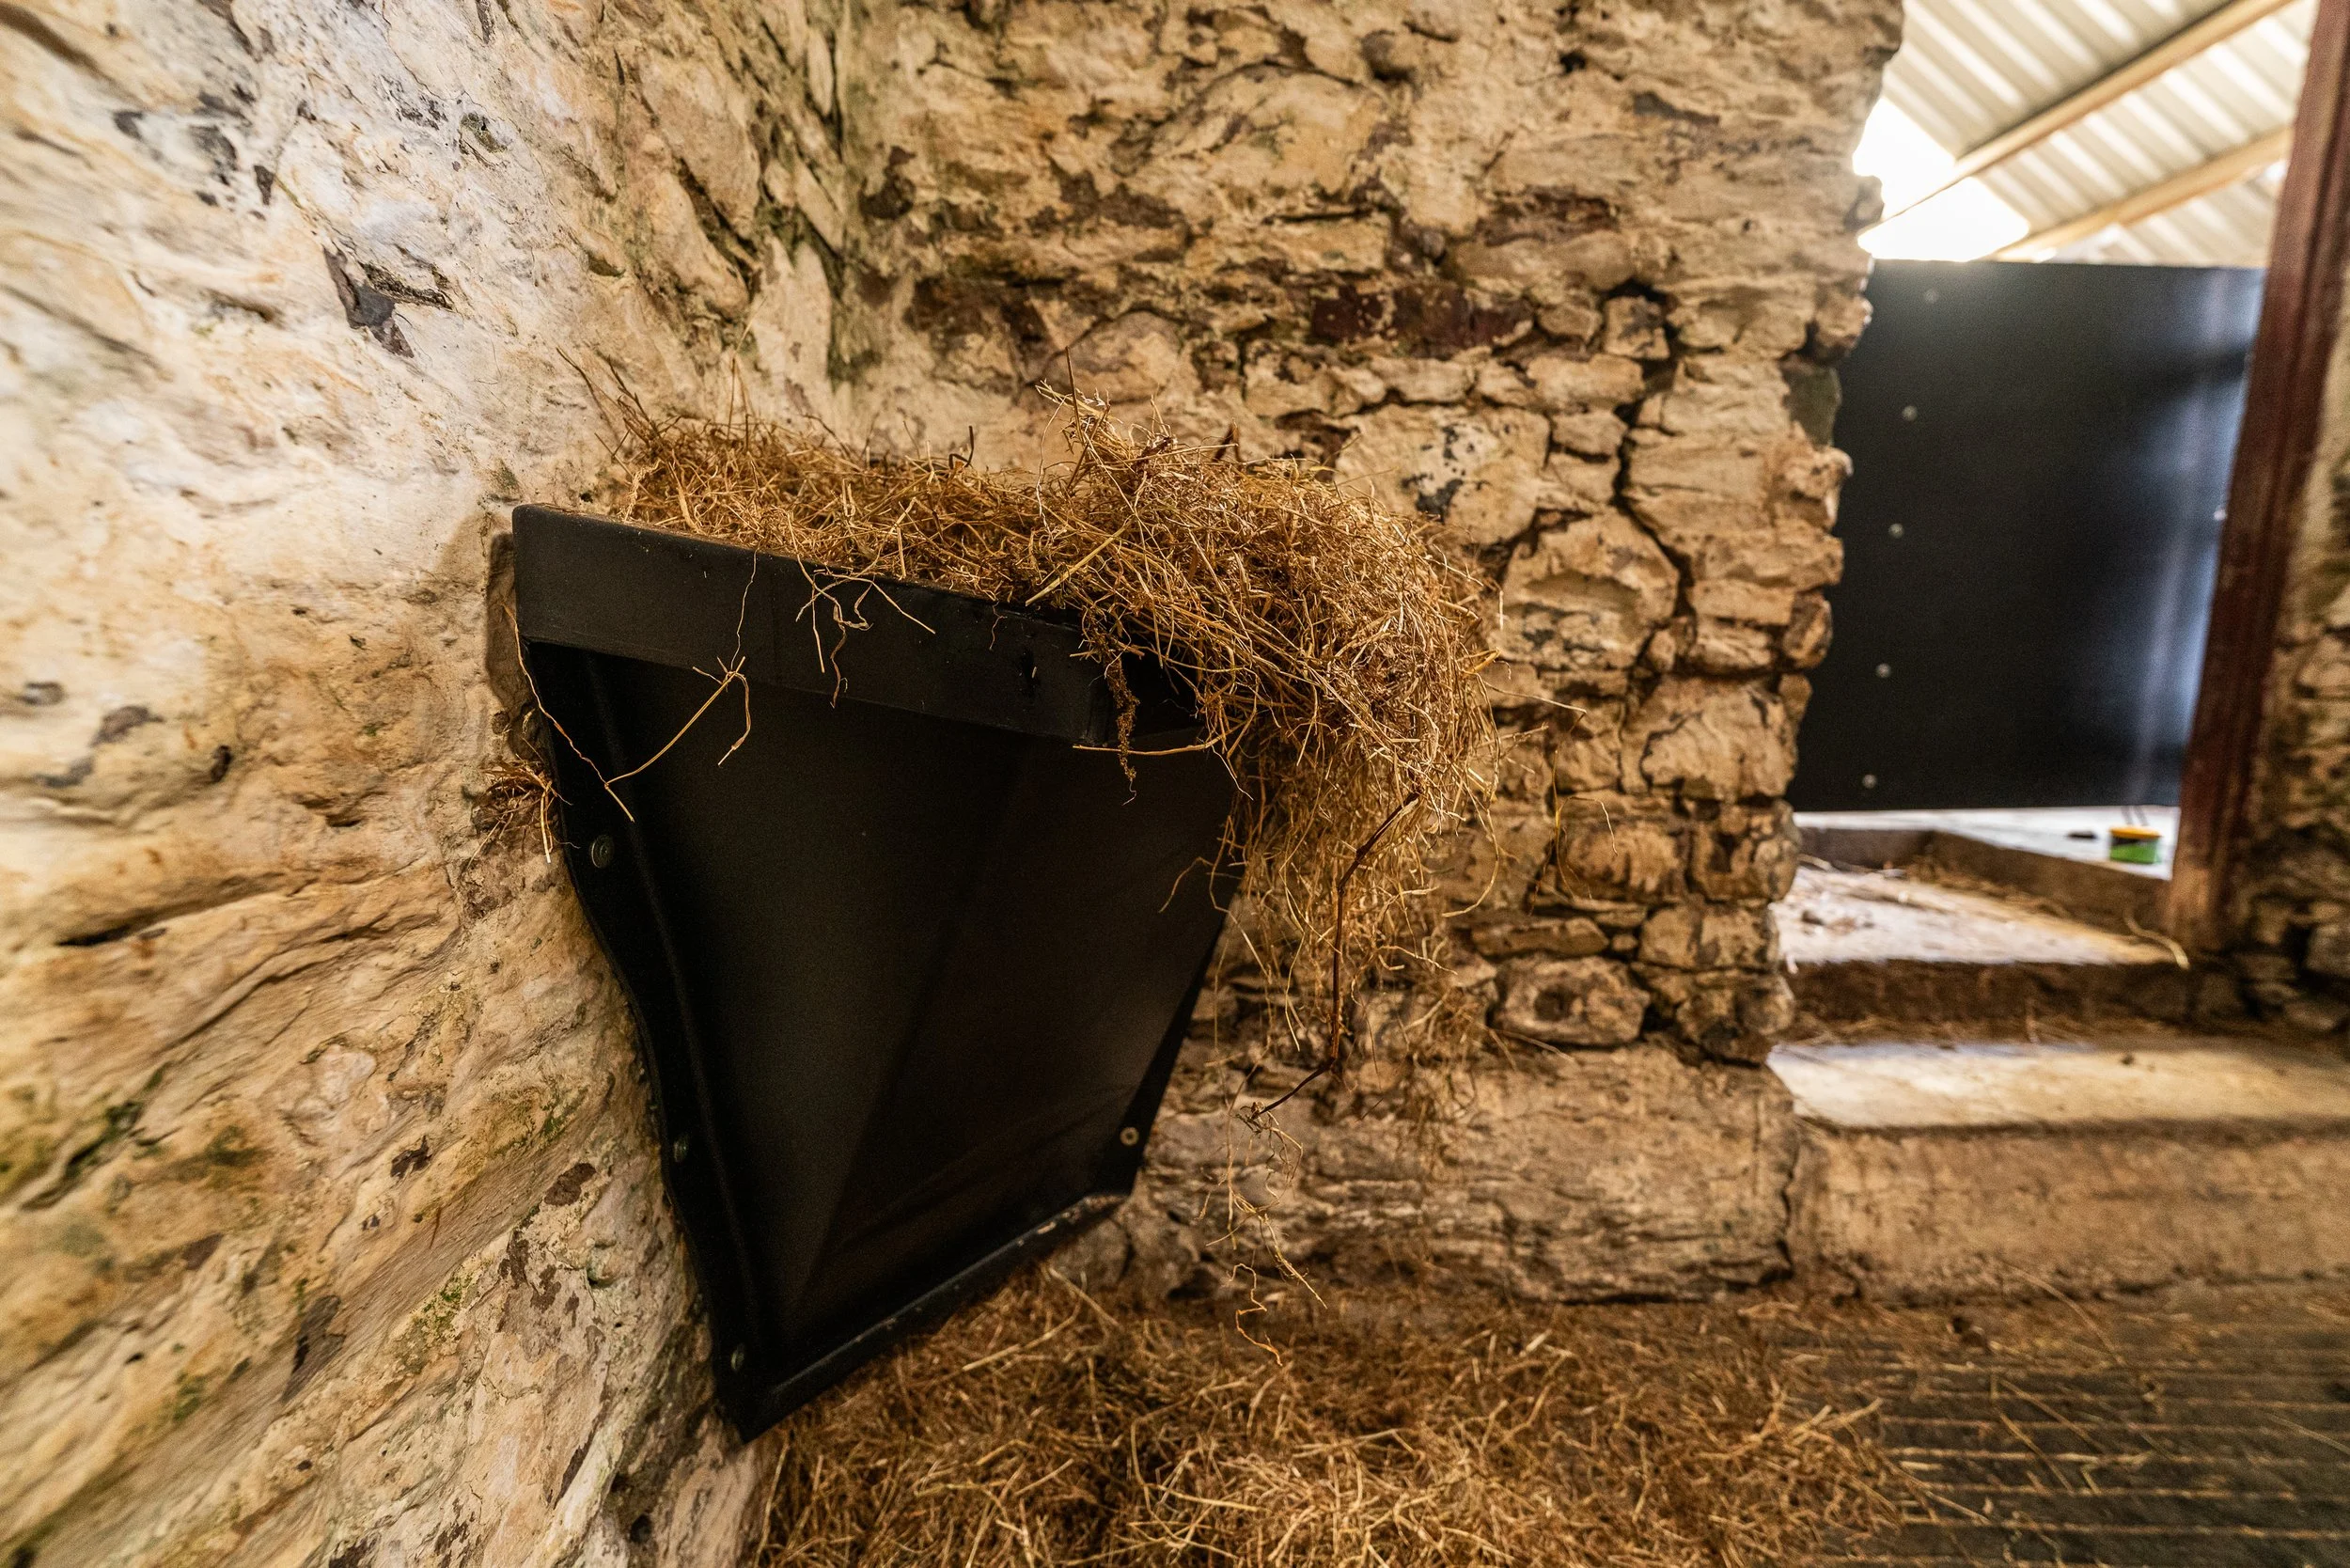
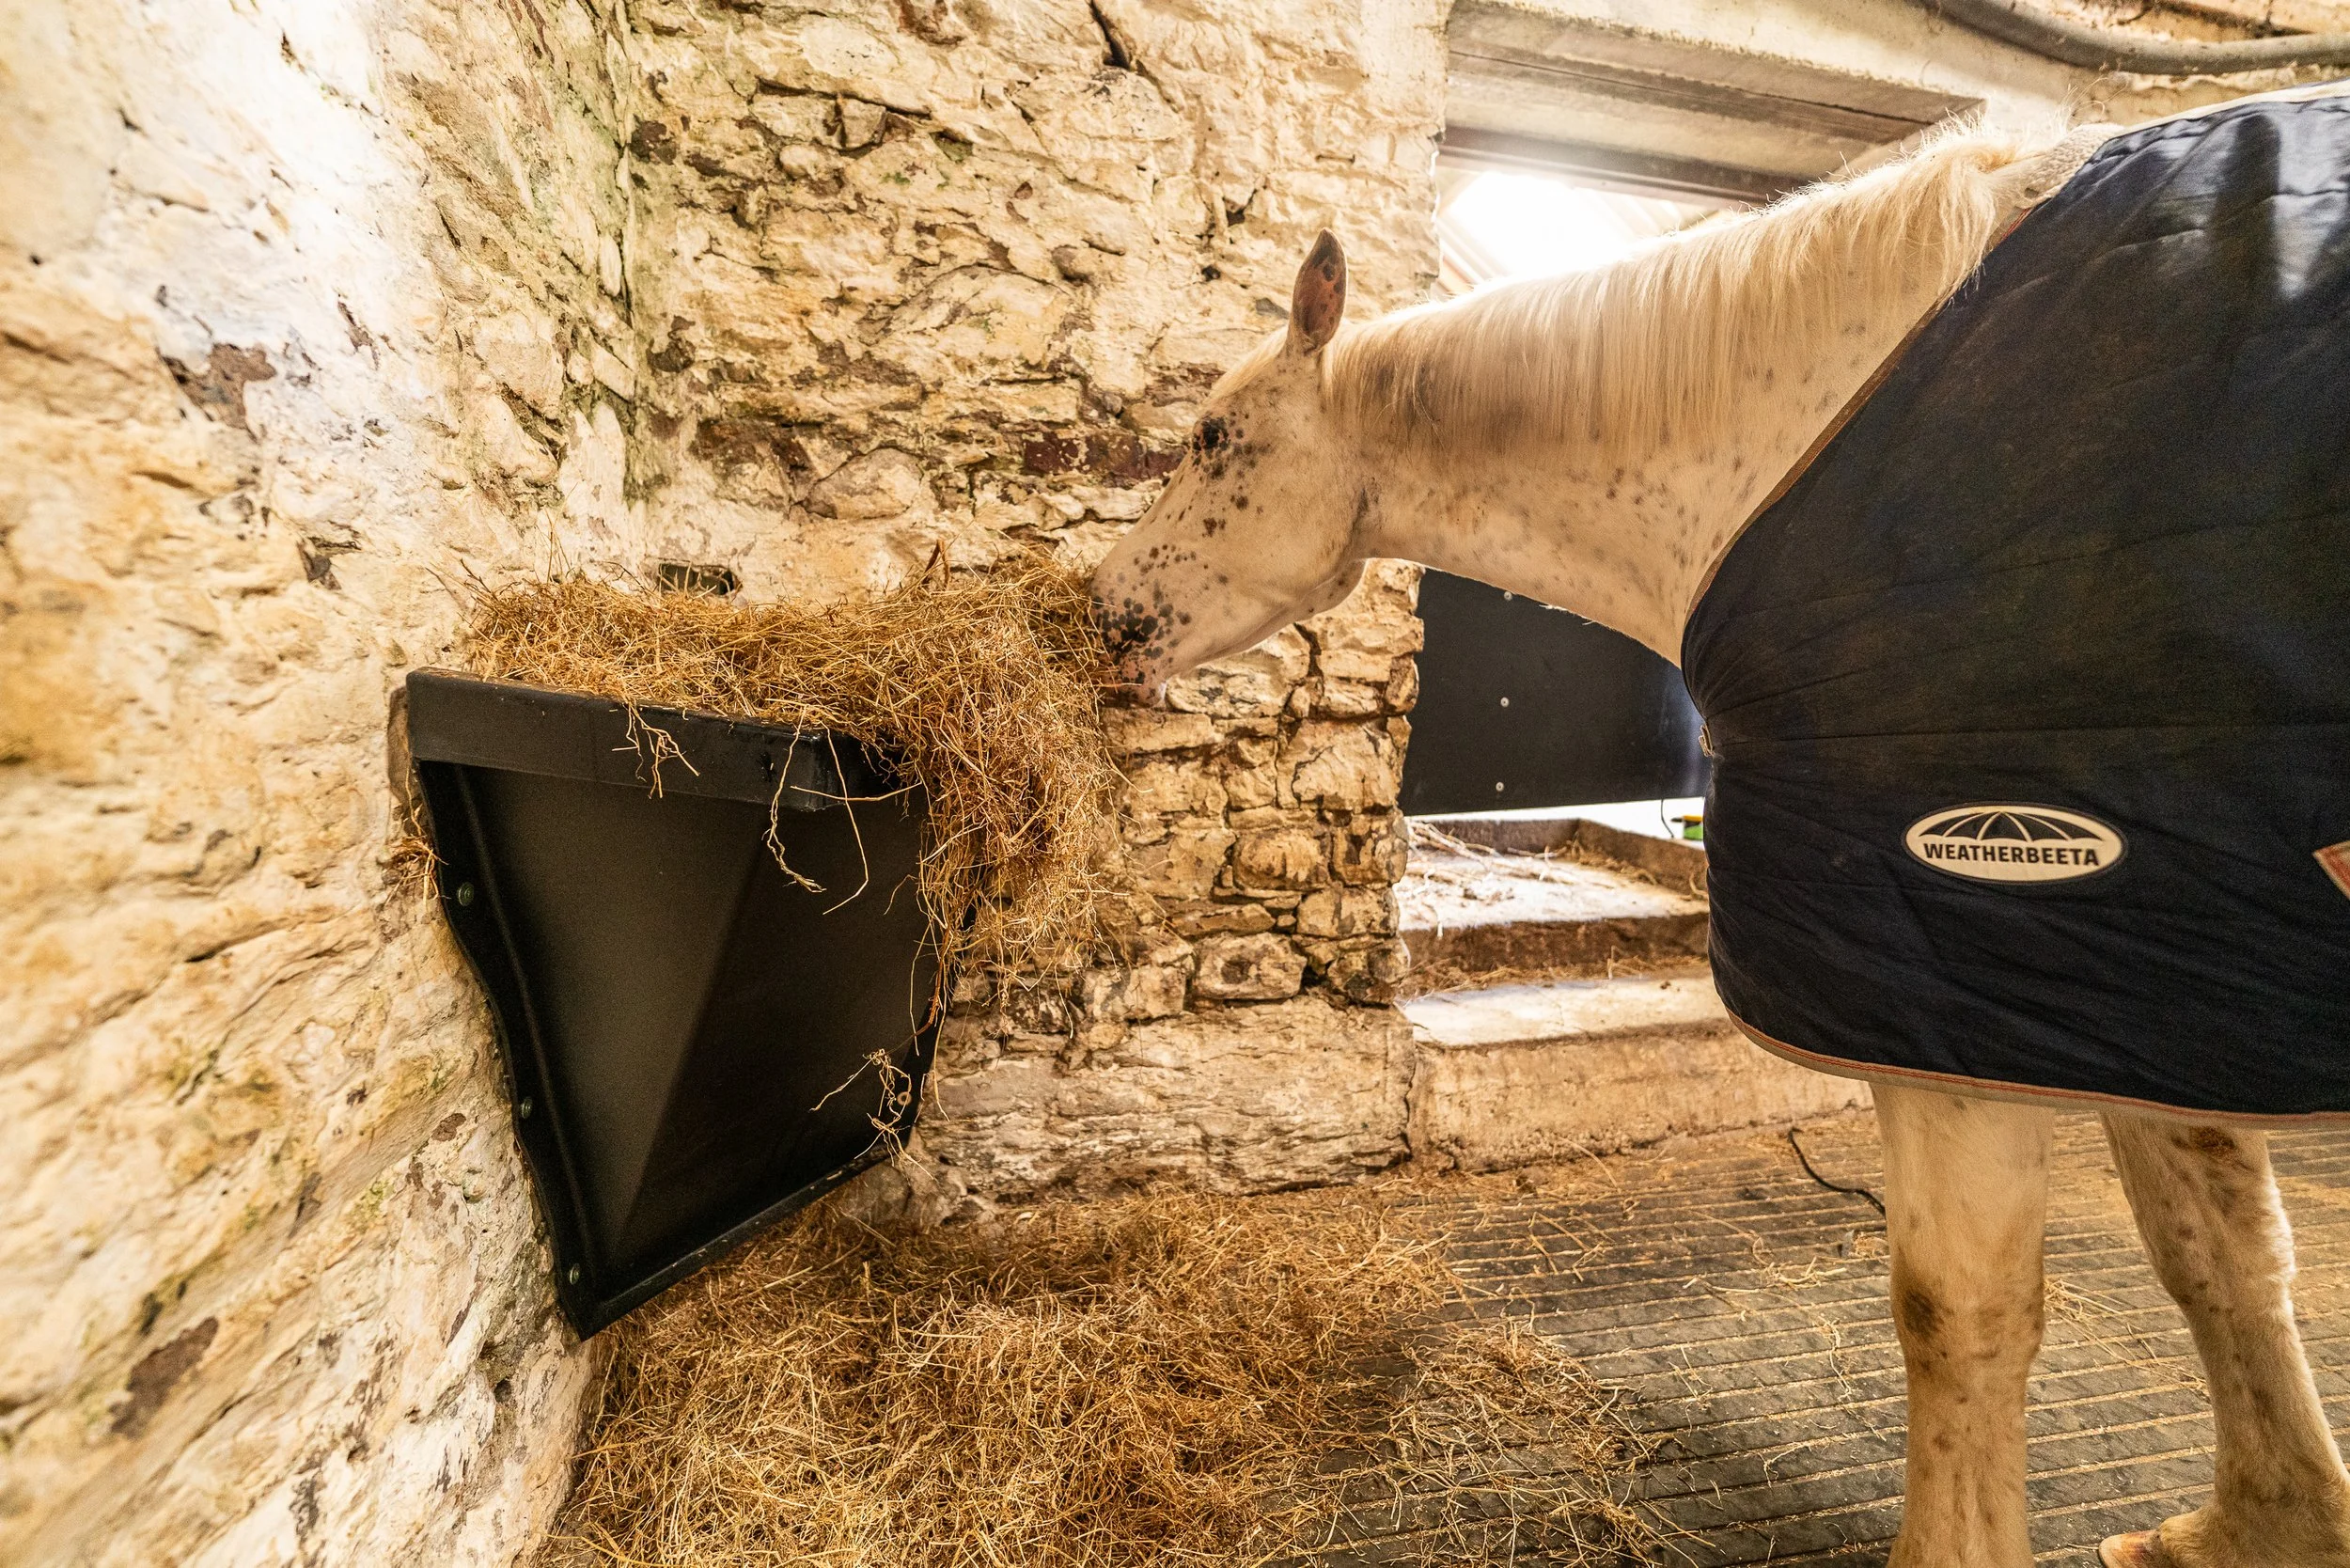
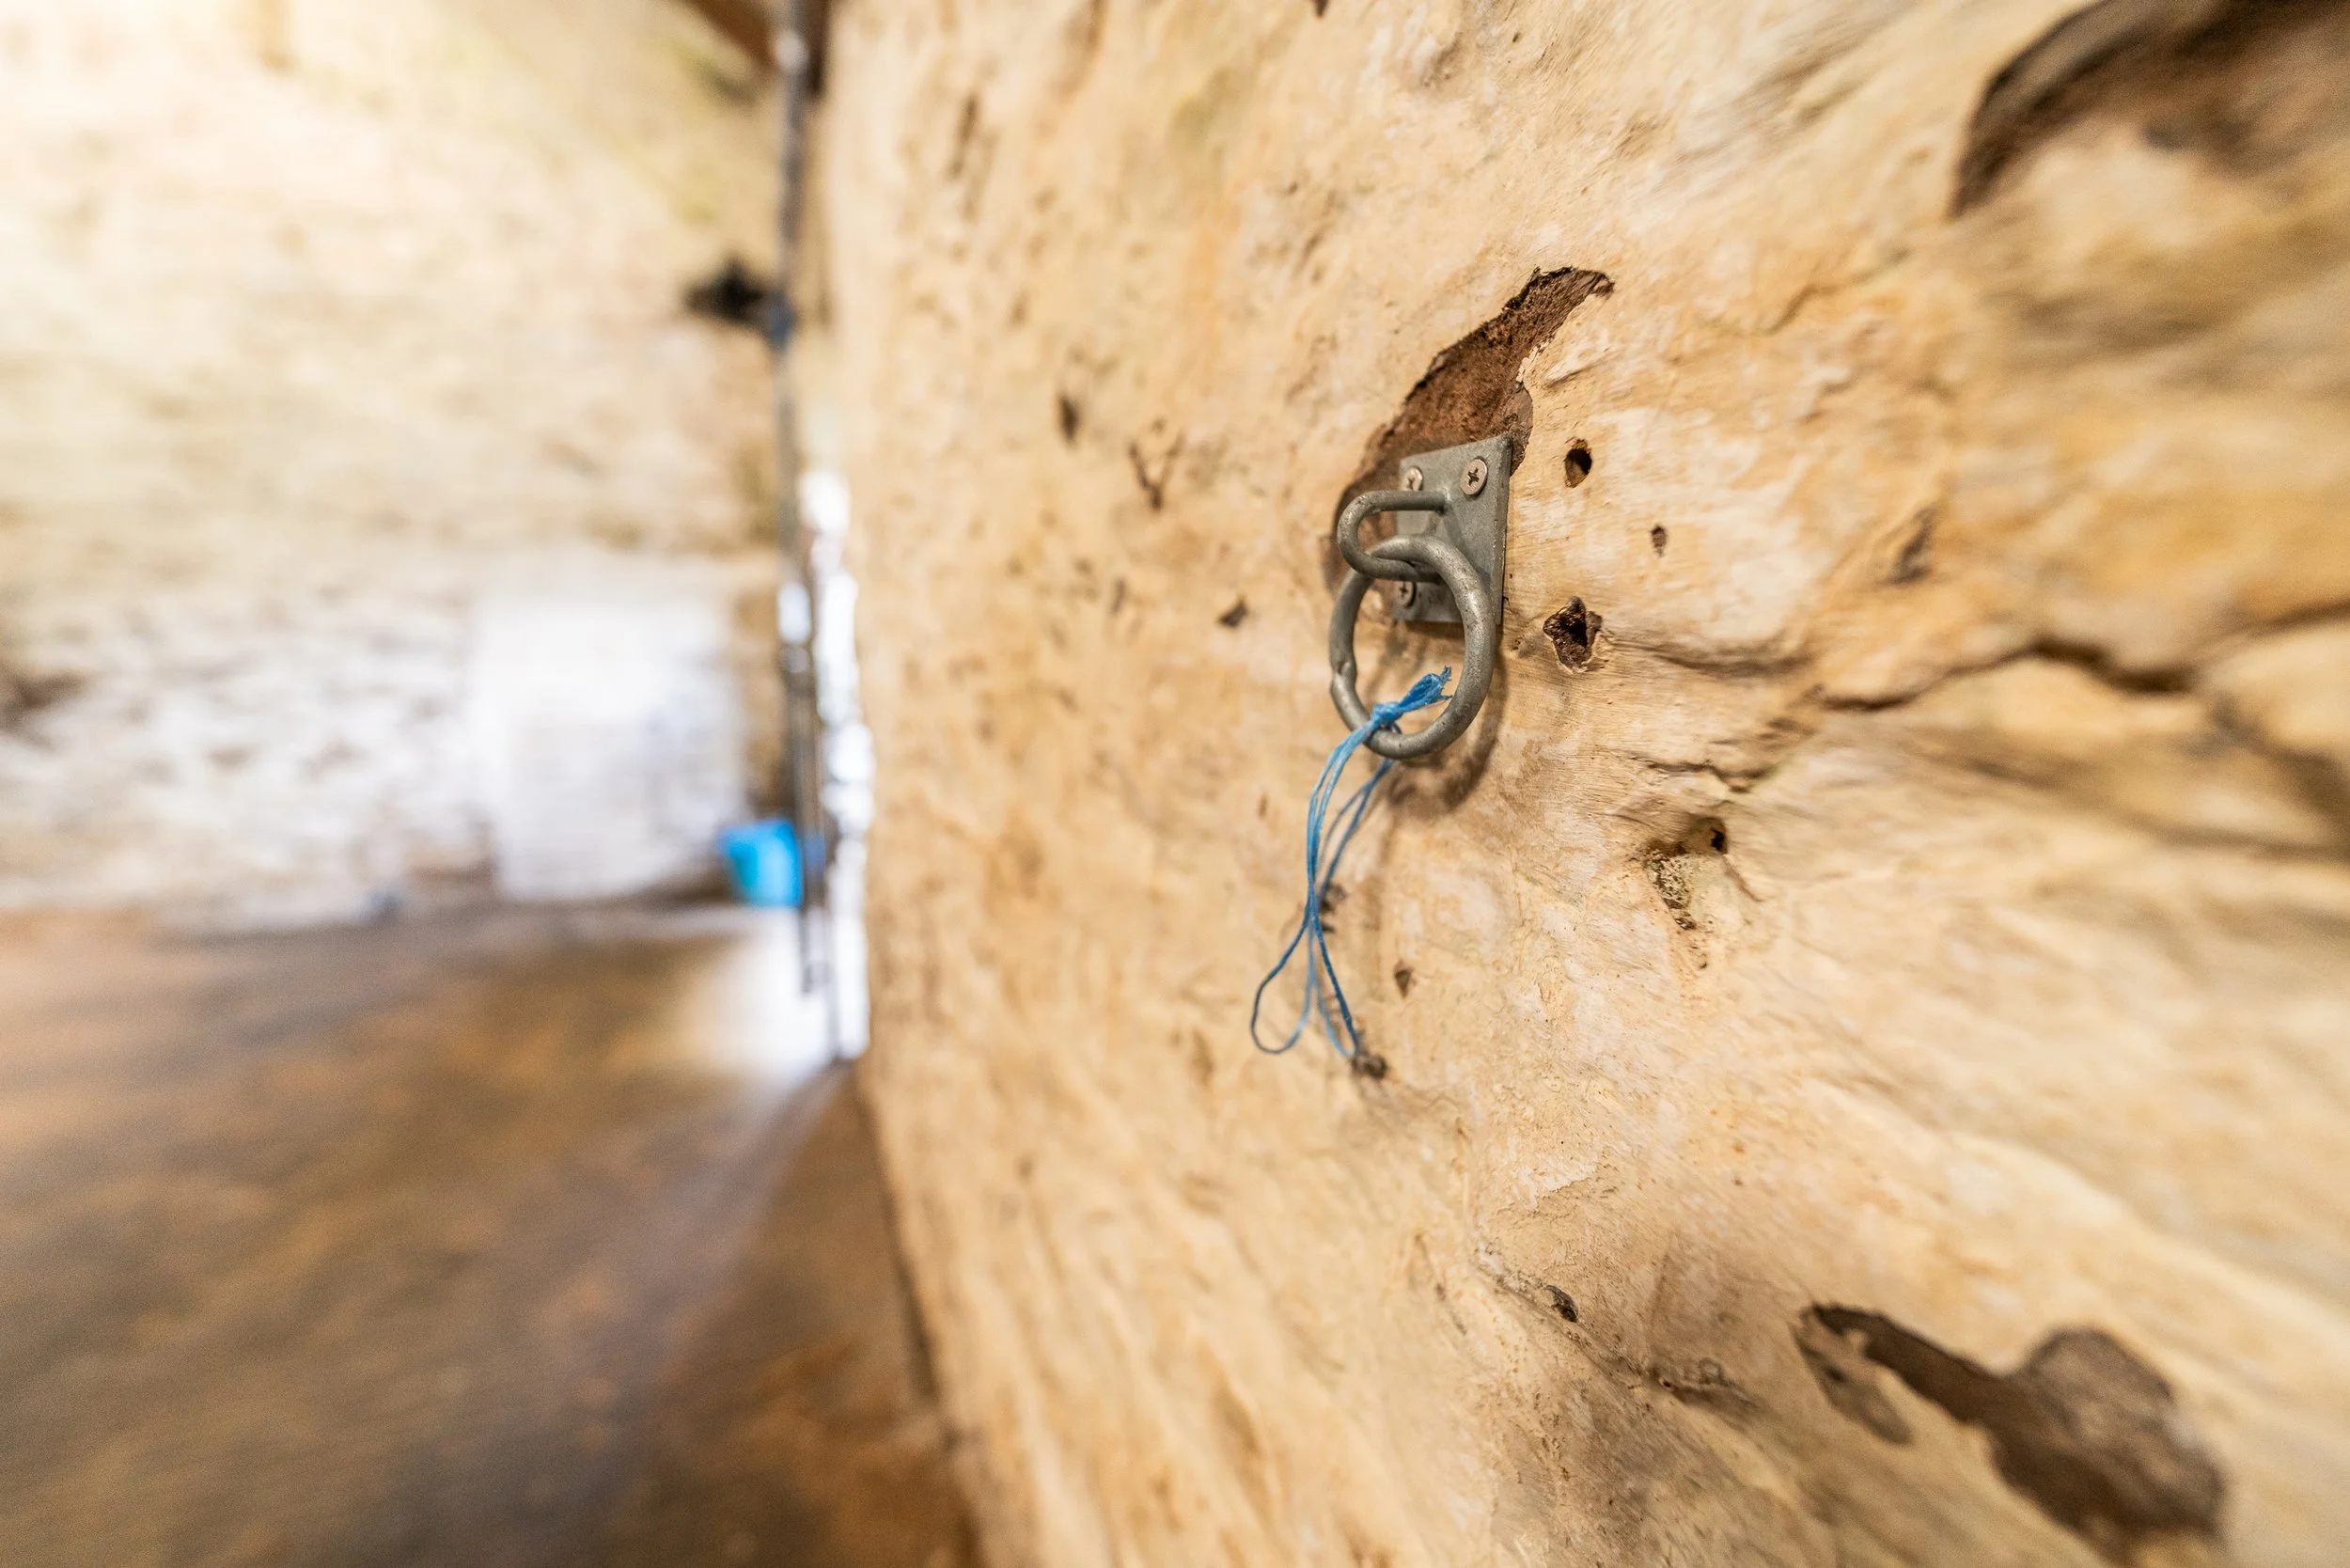
Again, another week heavily eaten into by impromptu horse, cow and vet things. Dan’s not having a clean sweep at April so far!
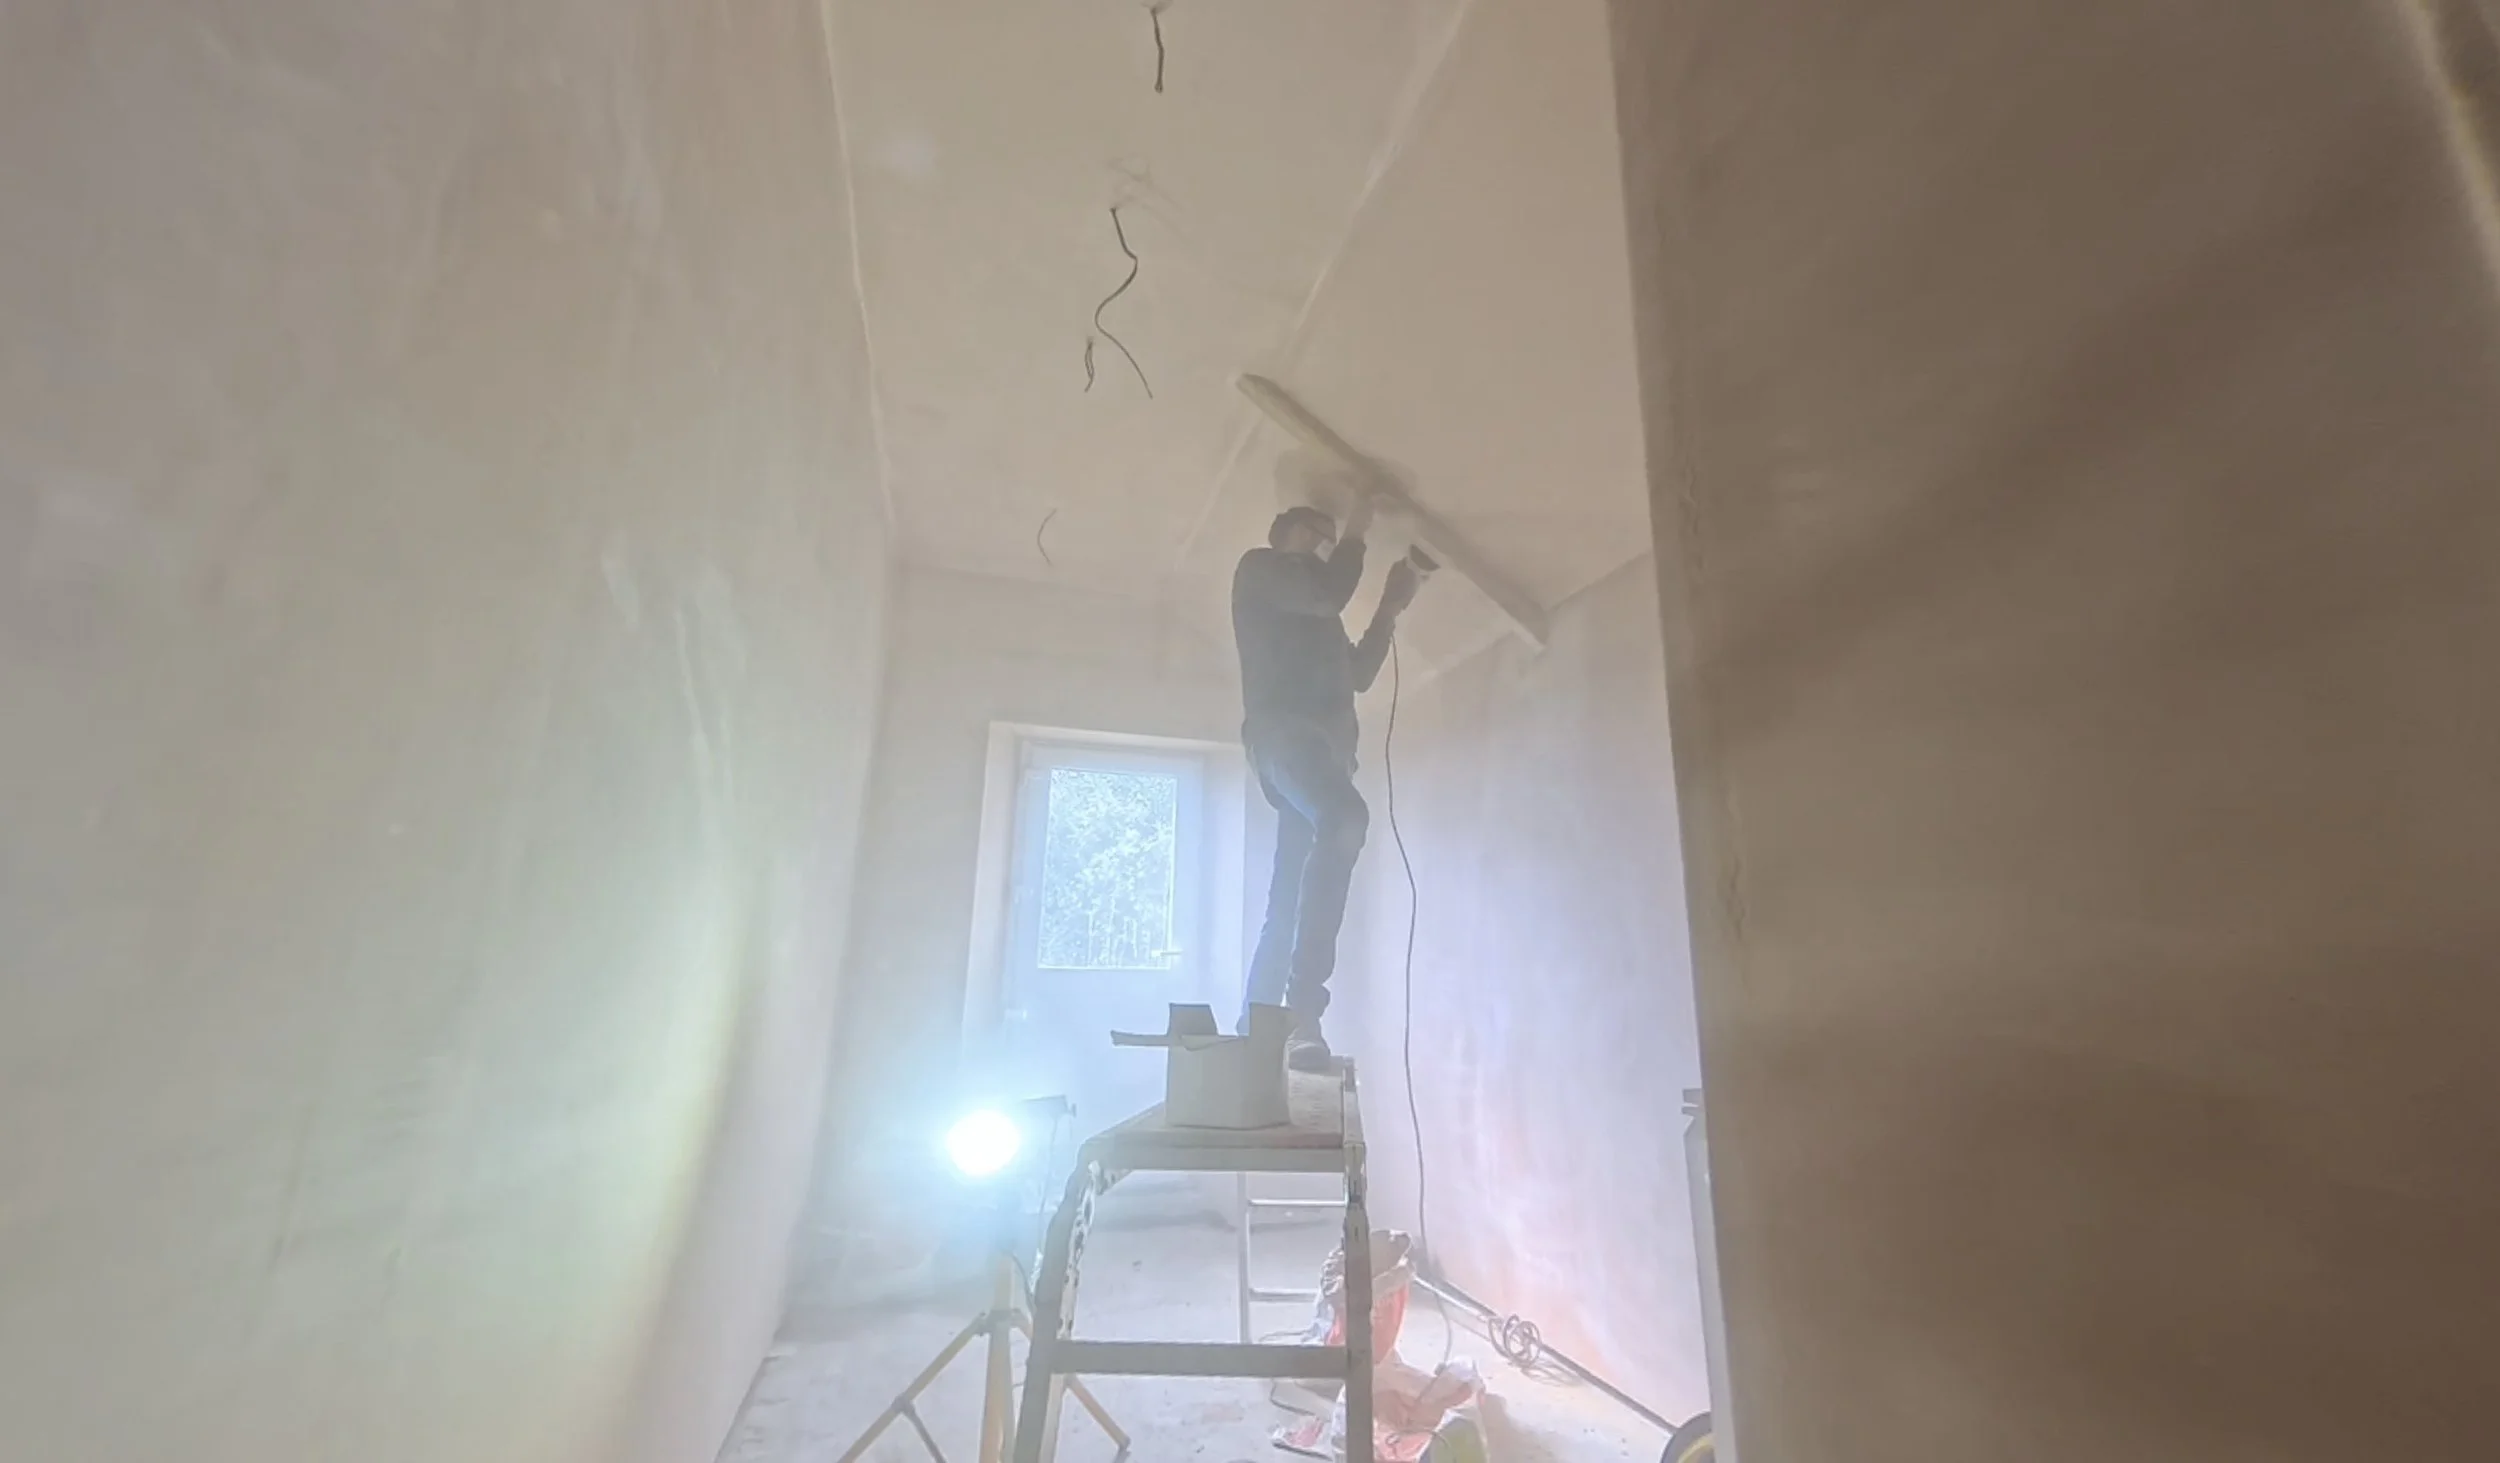
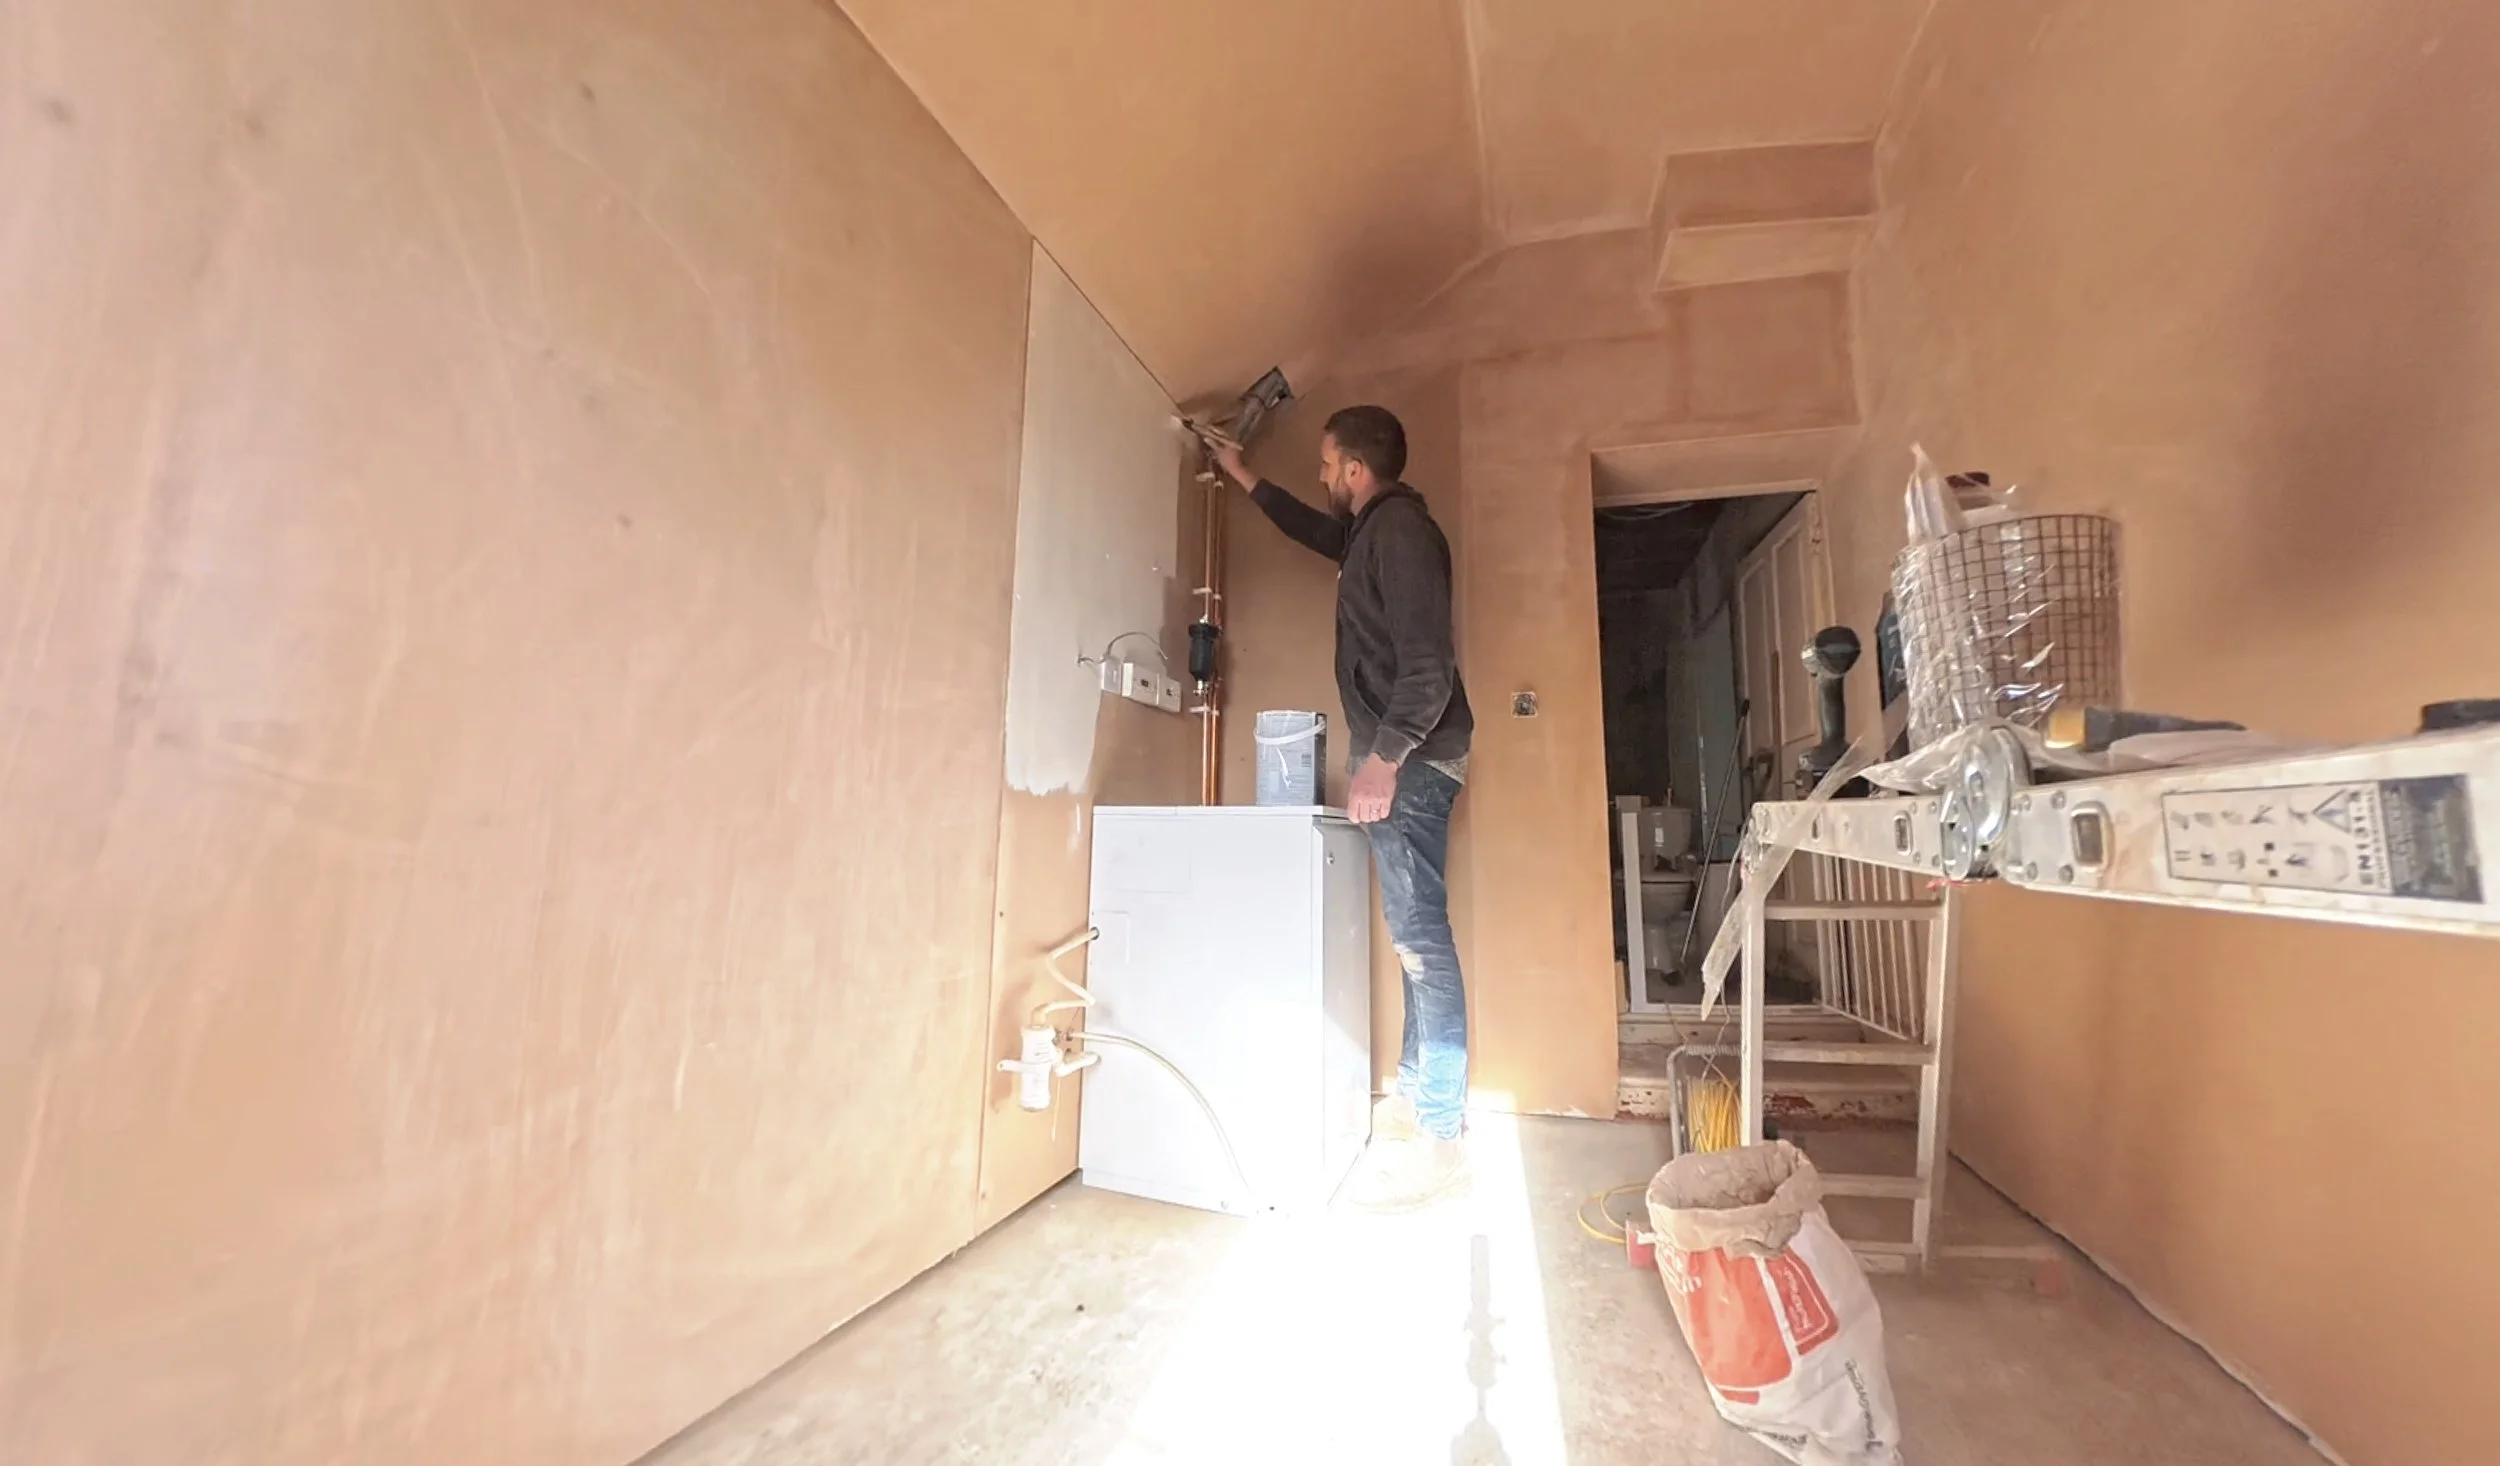
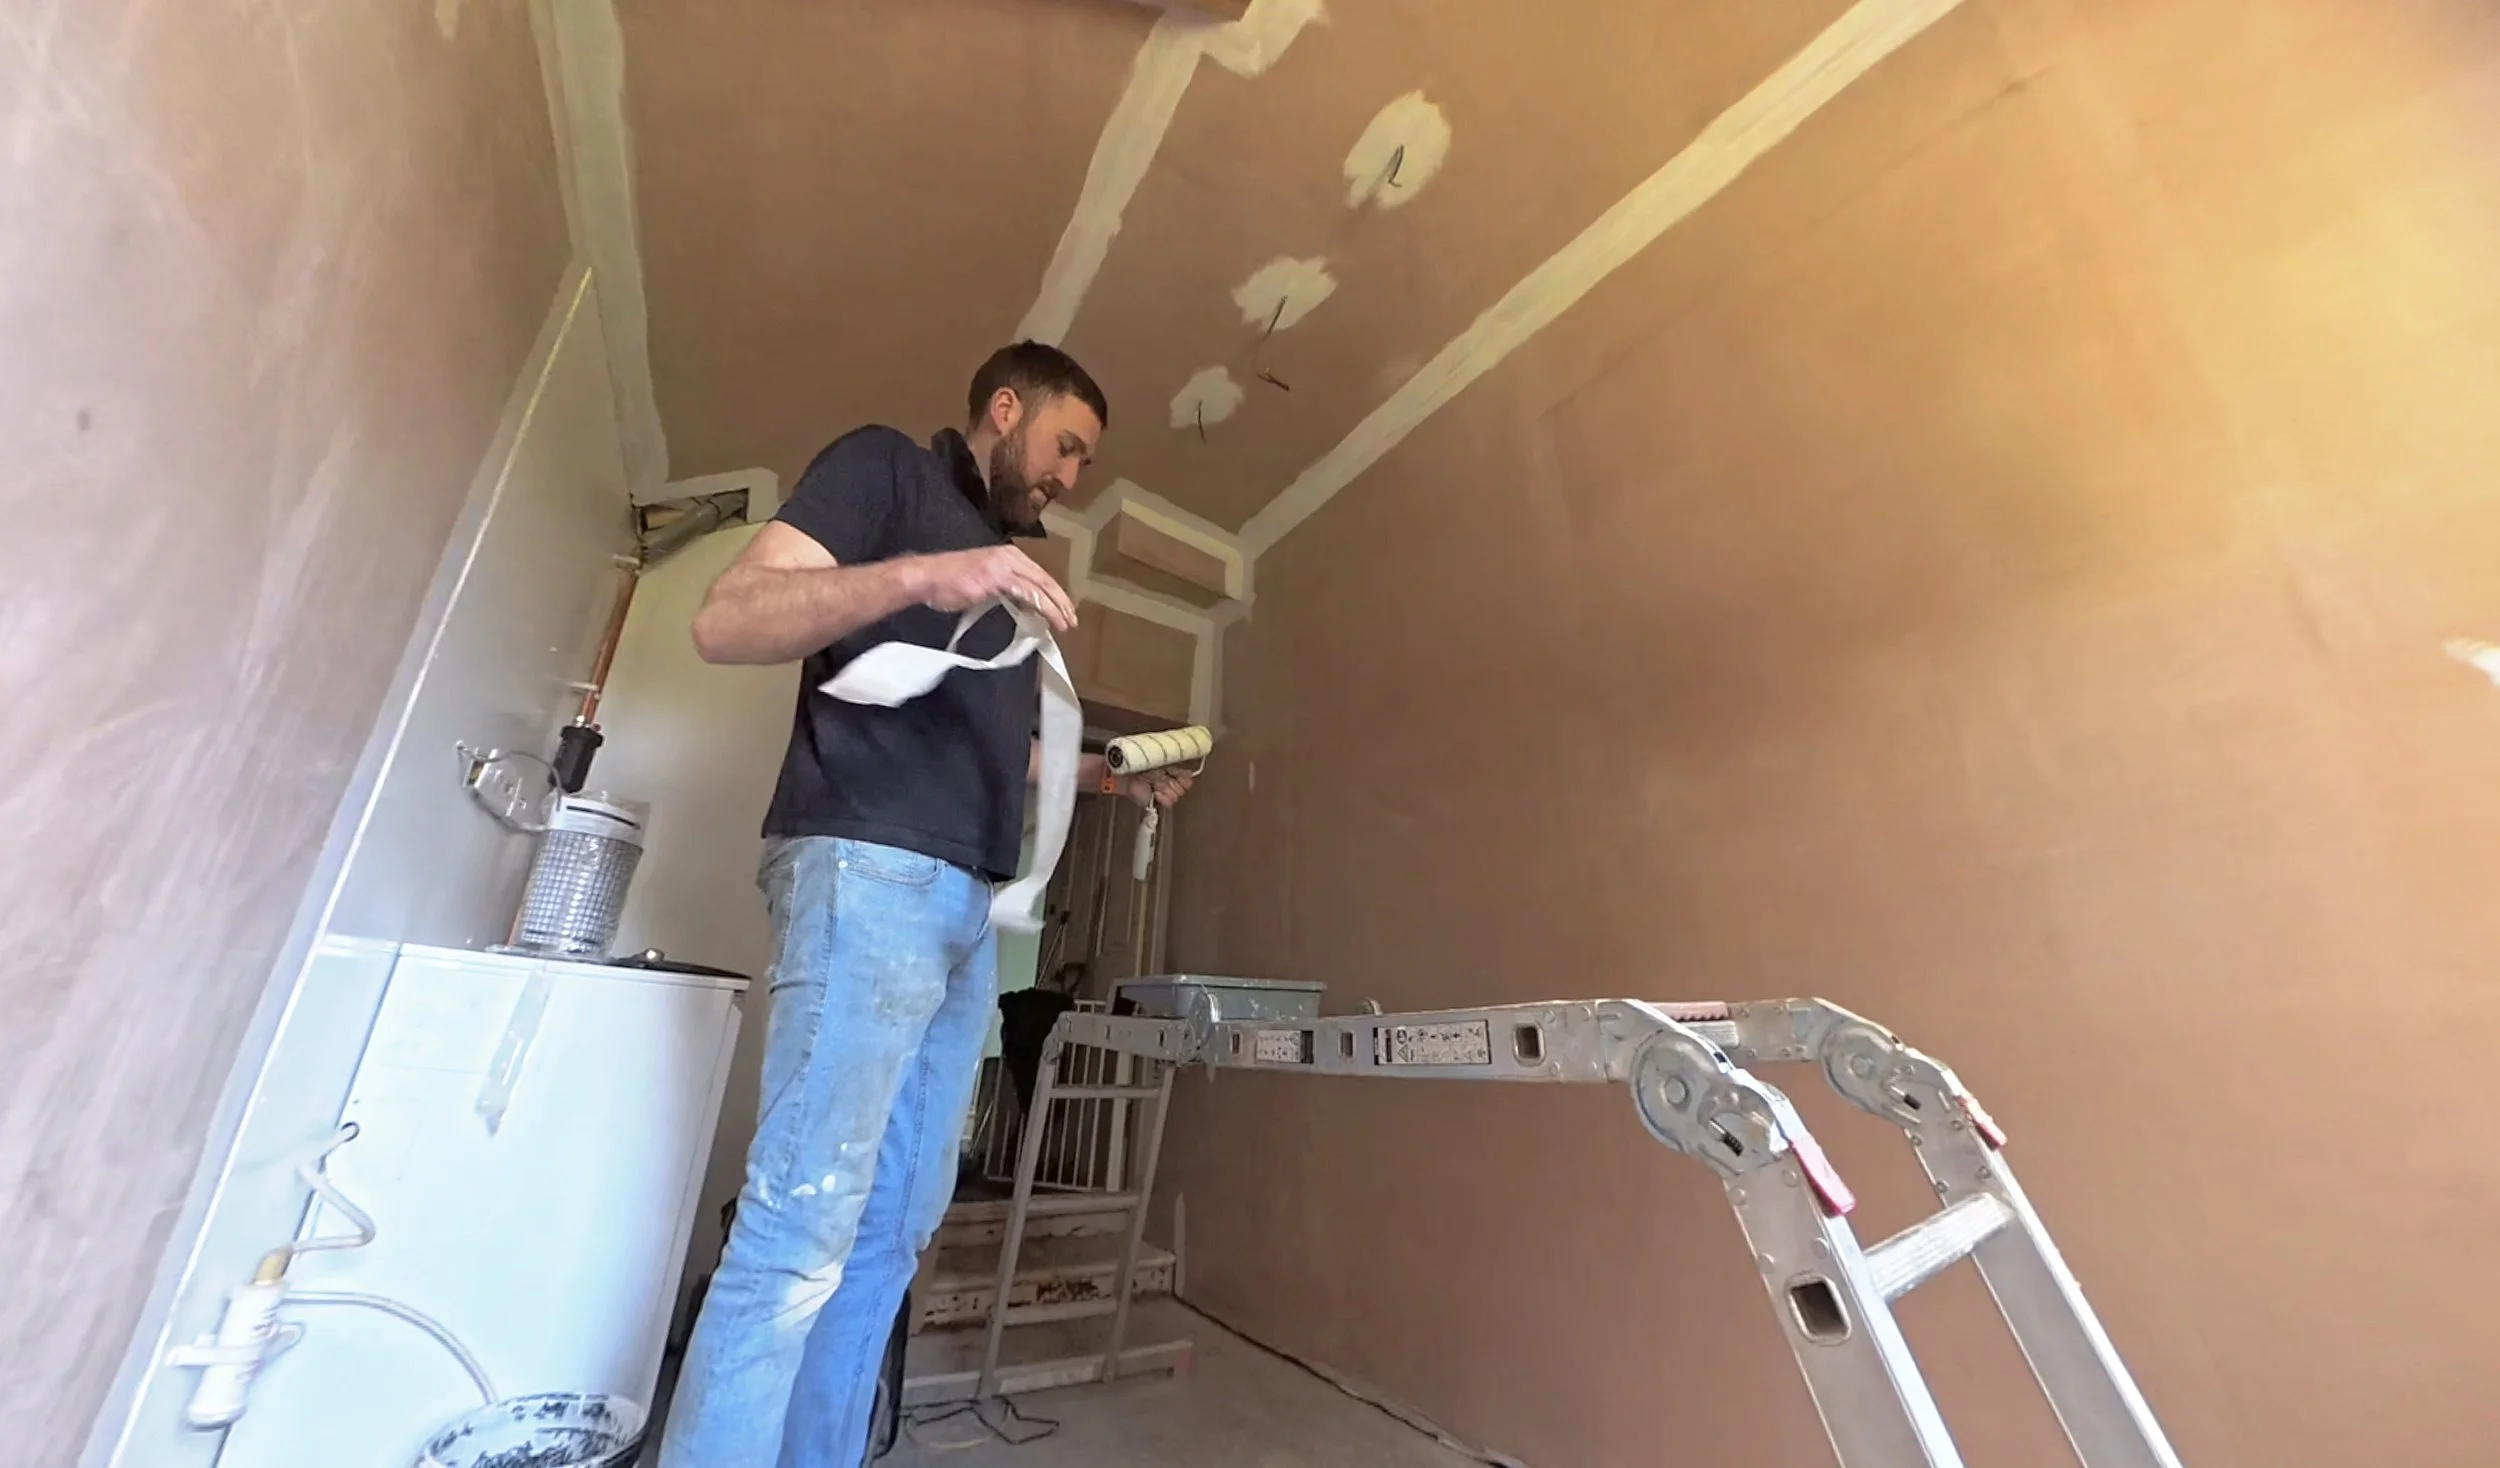
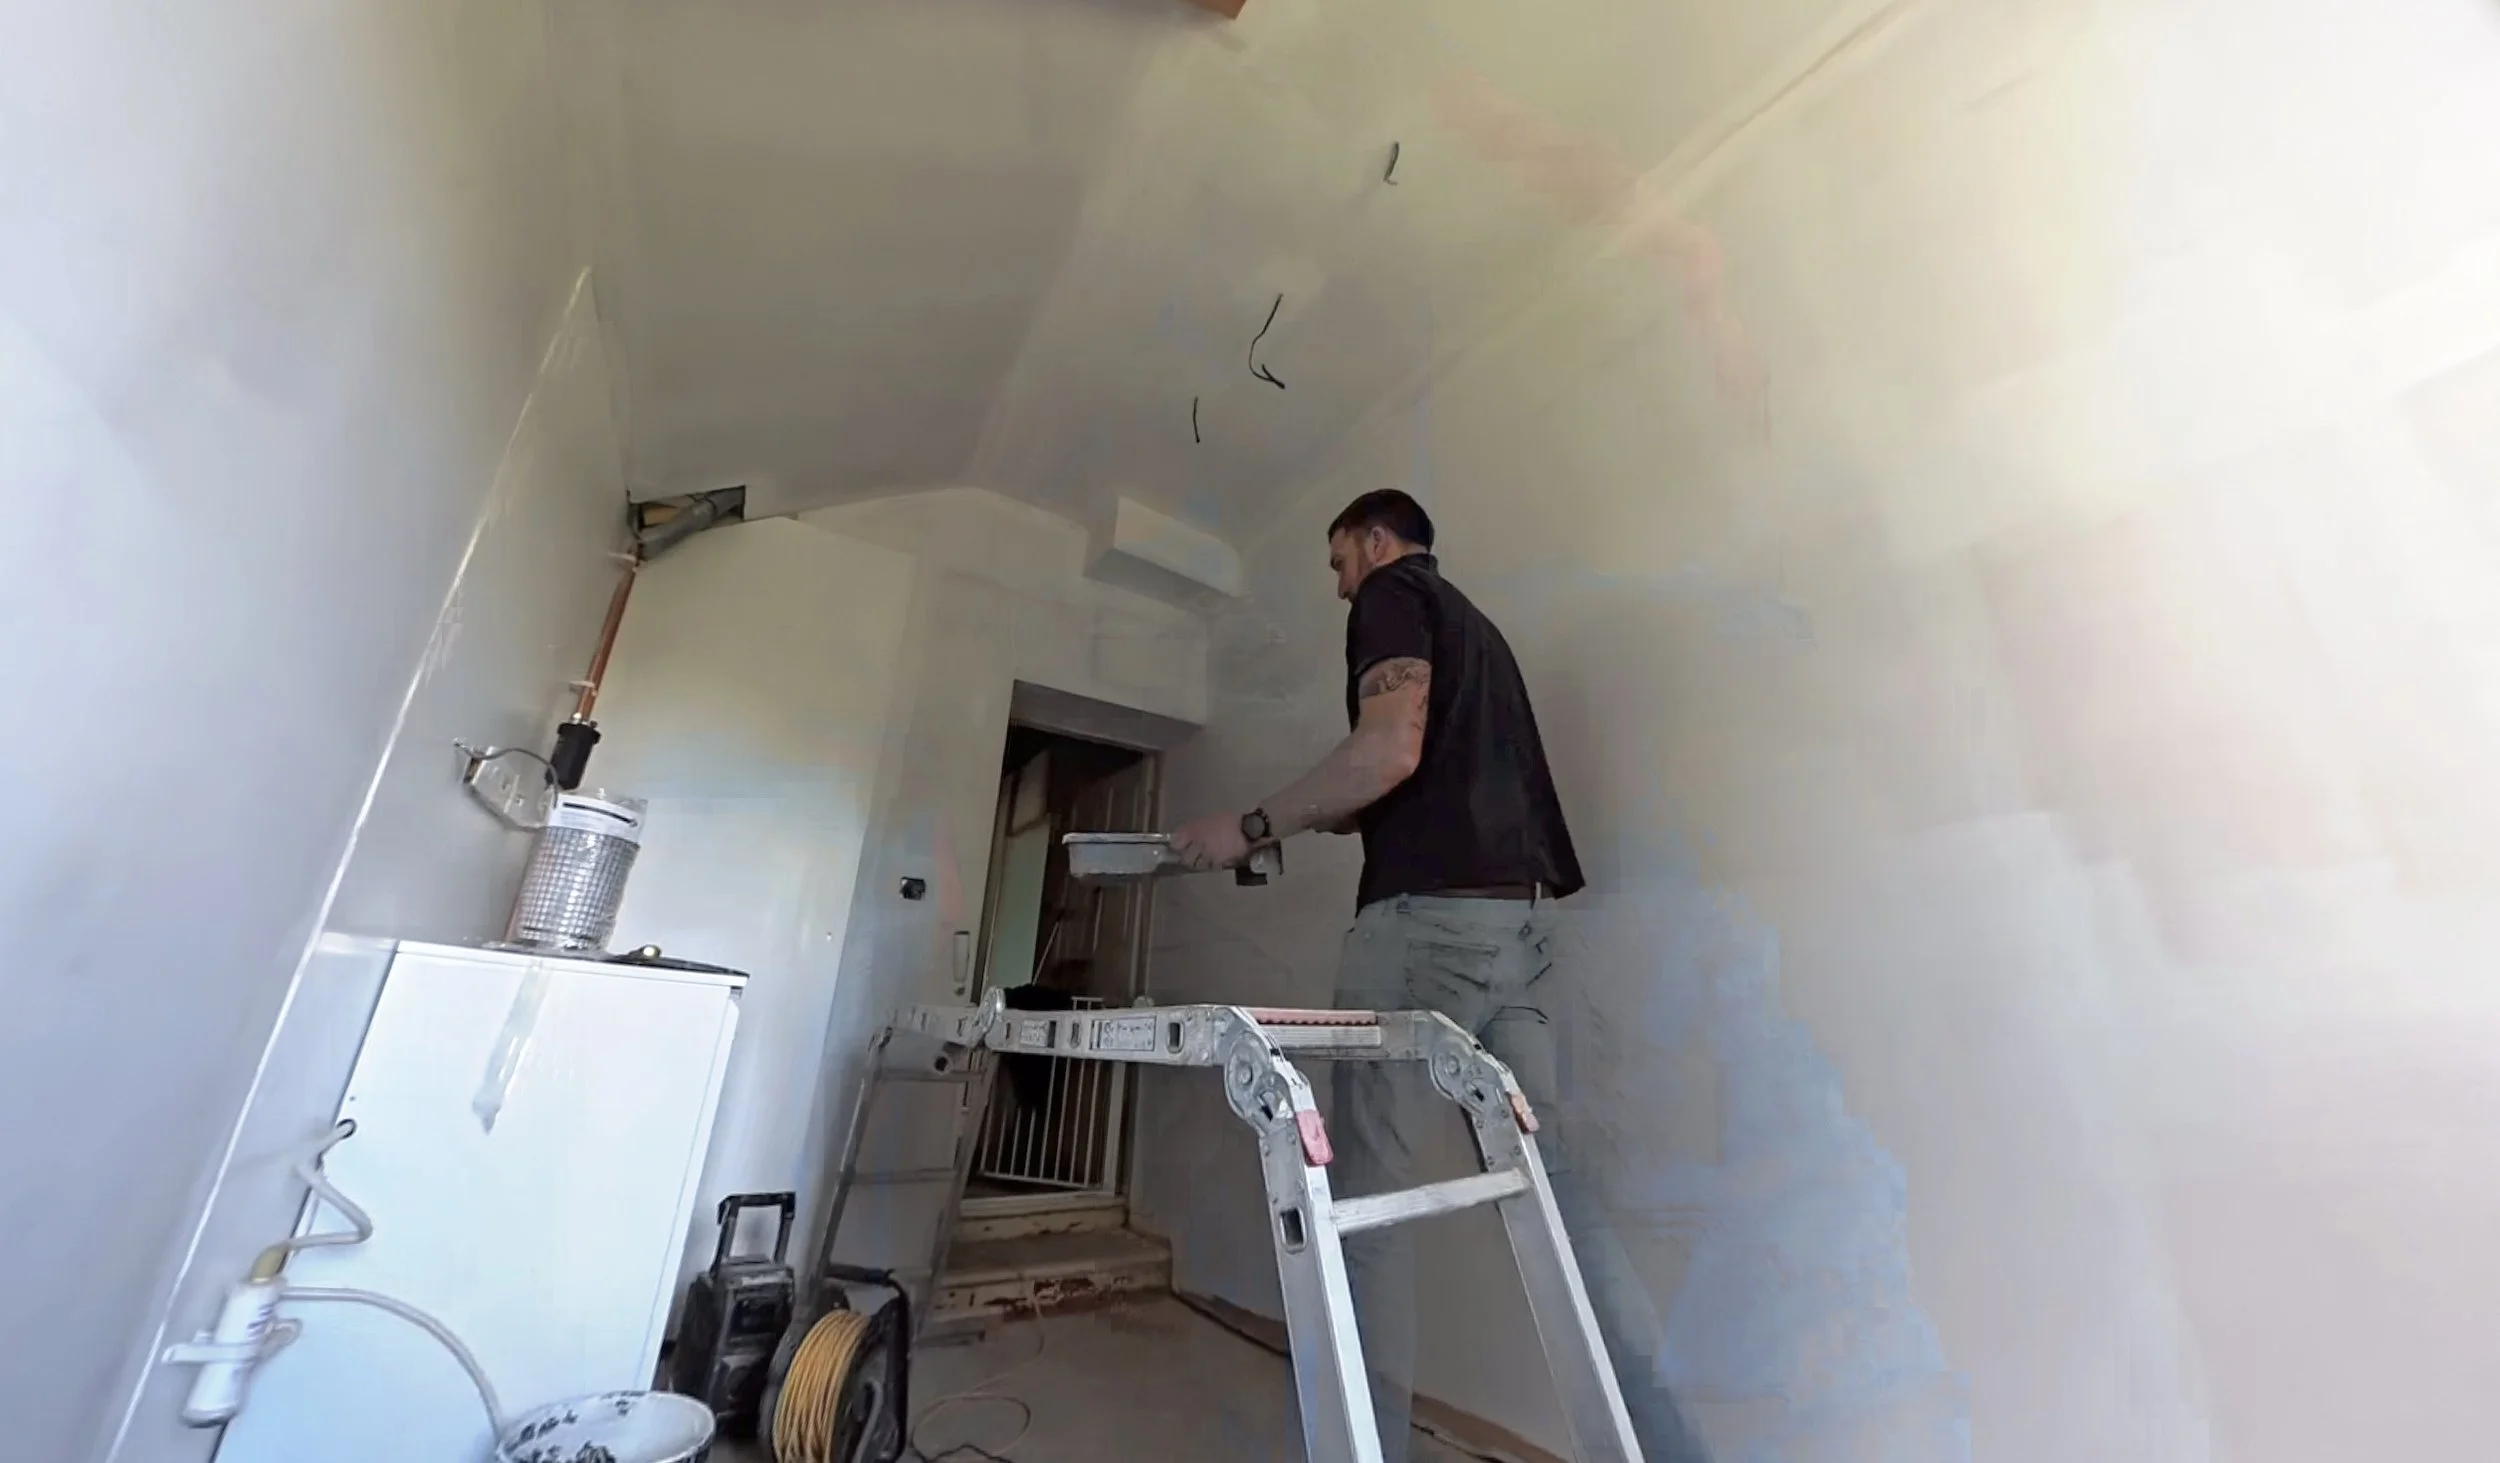
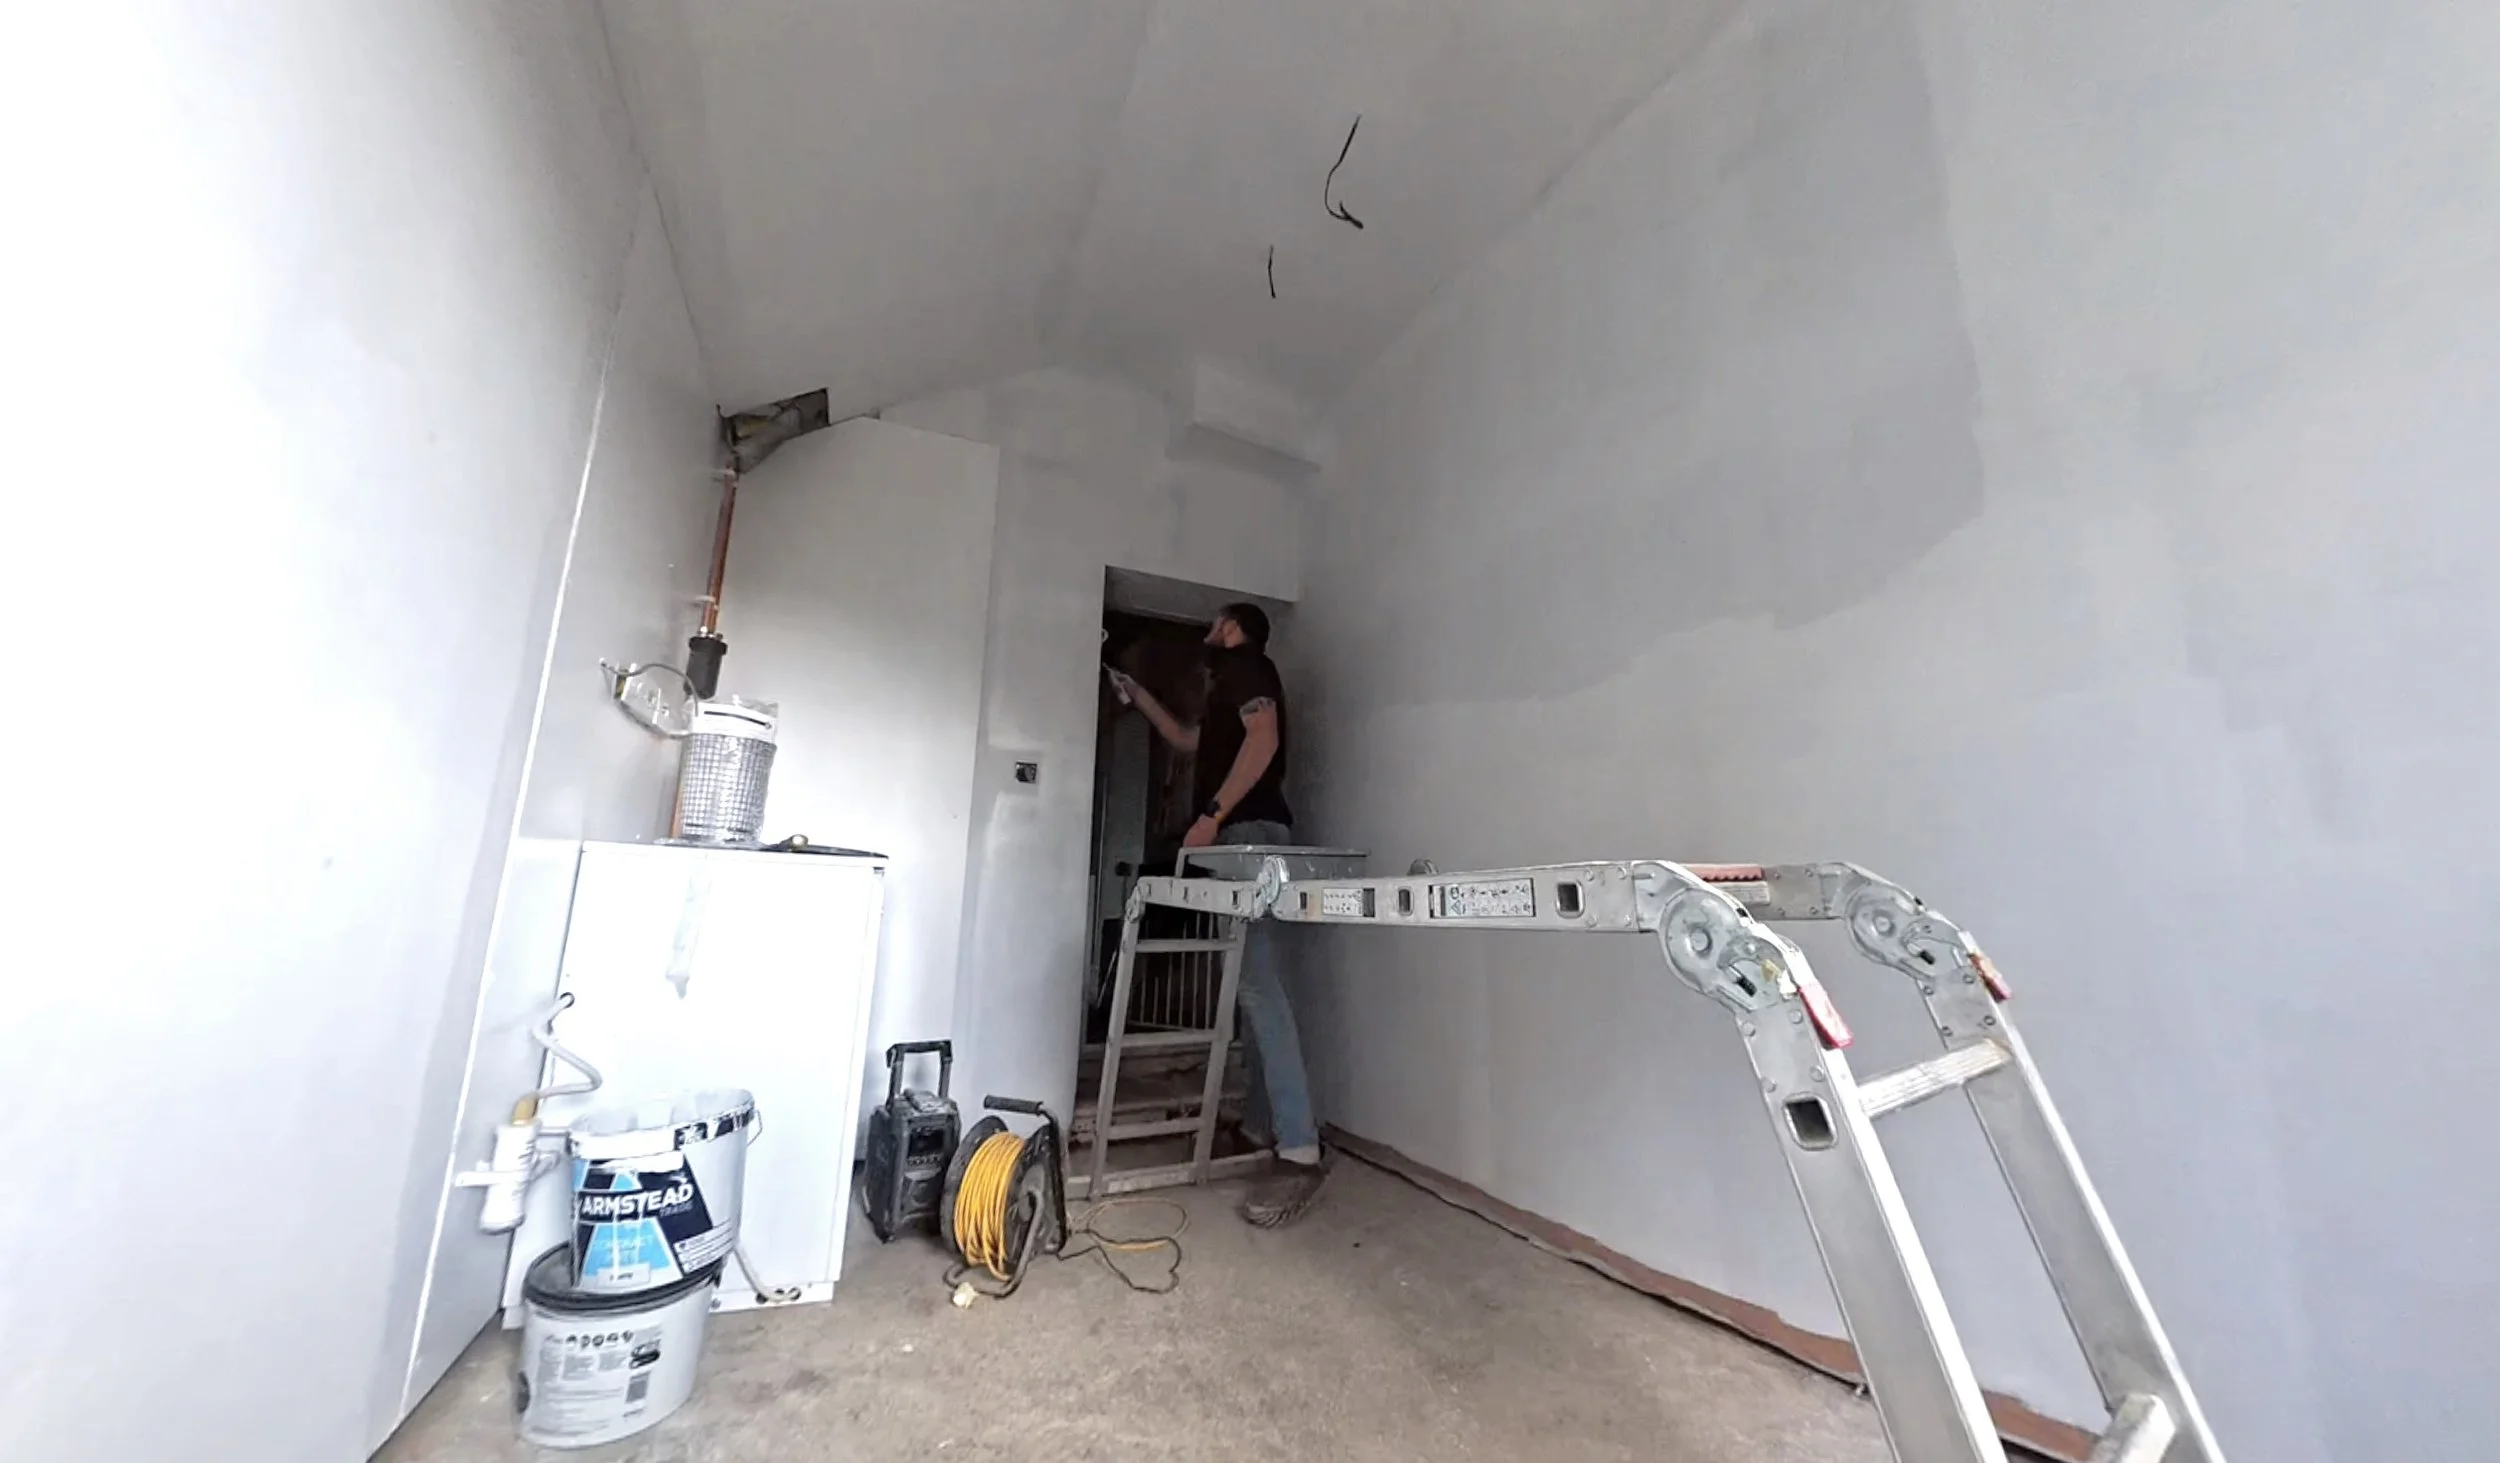
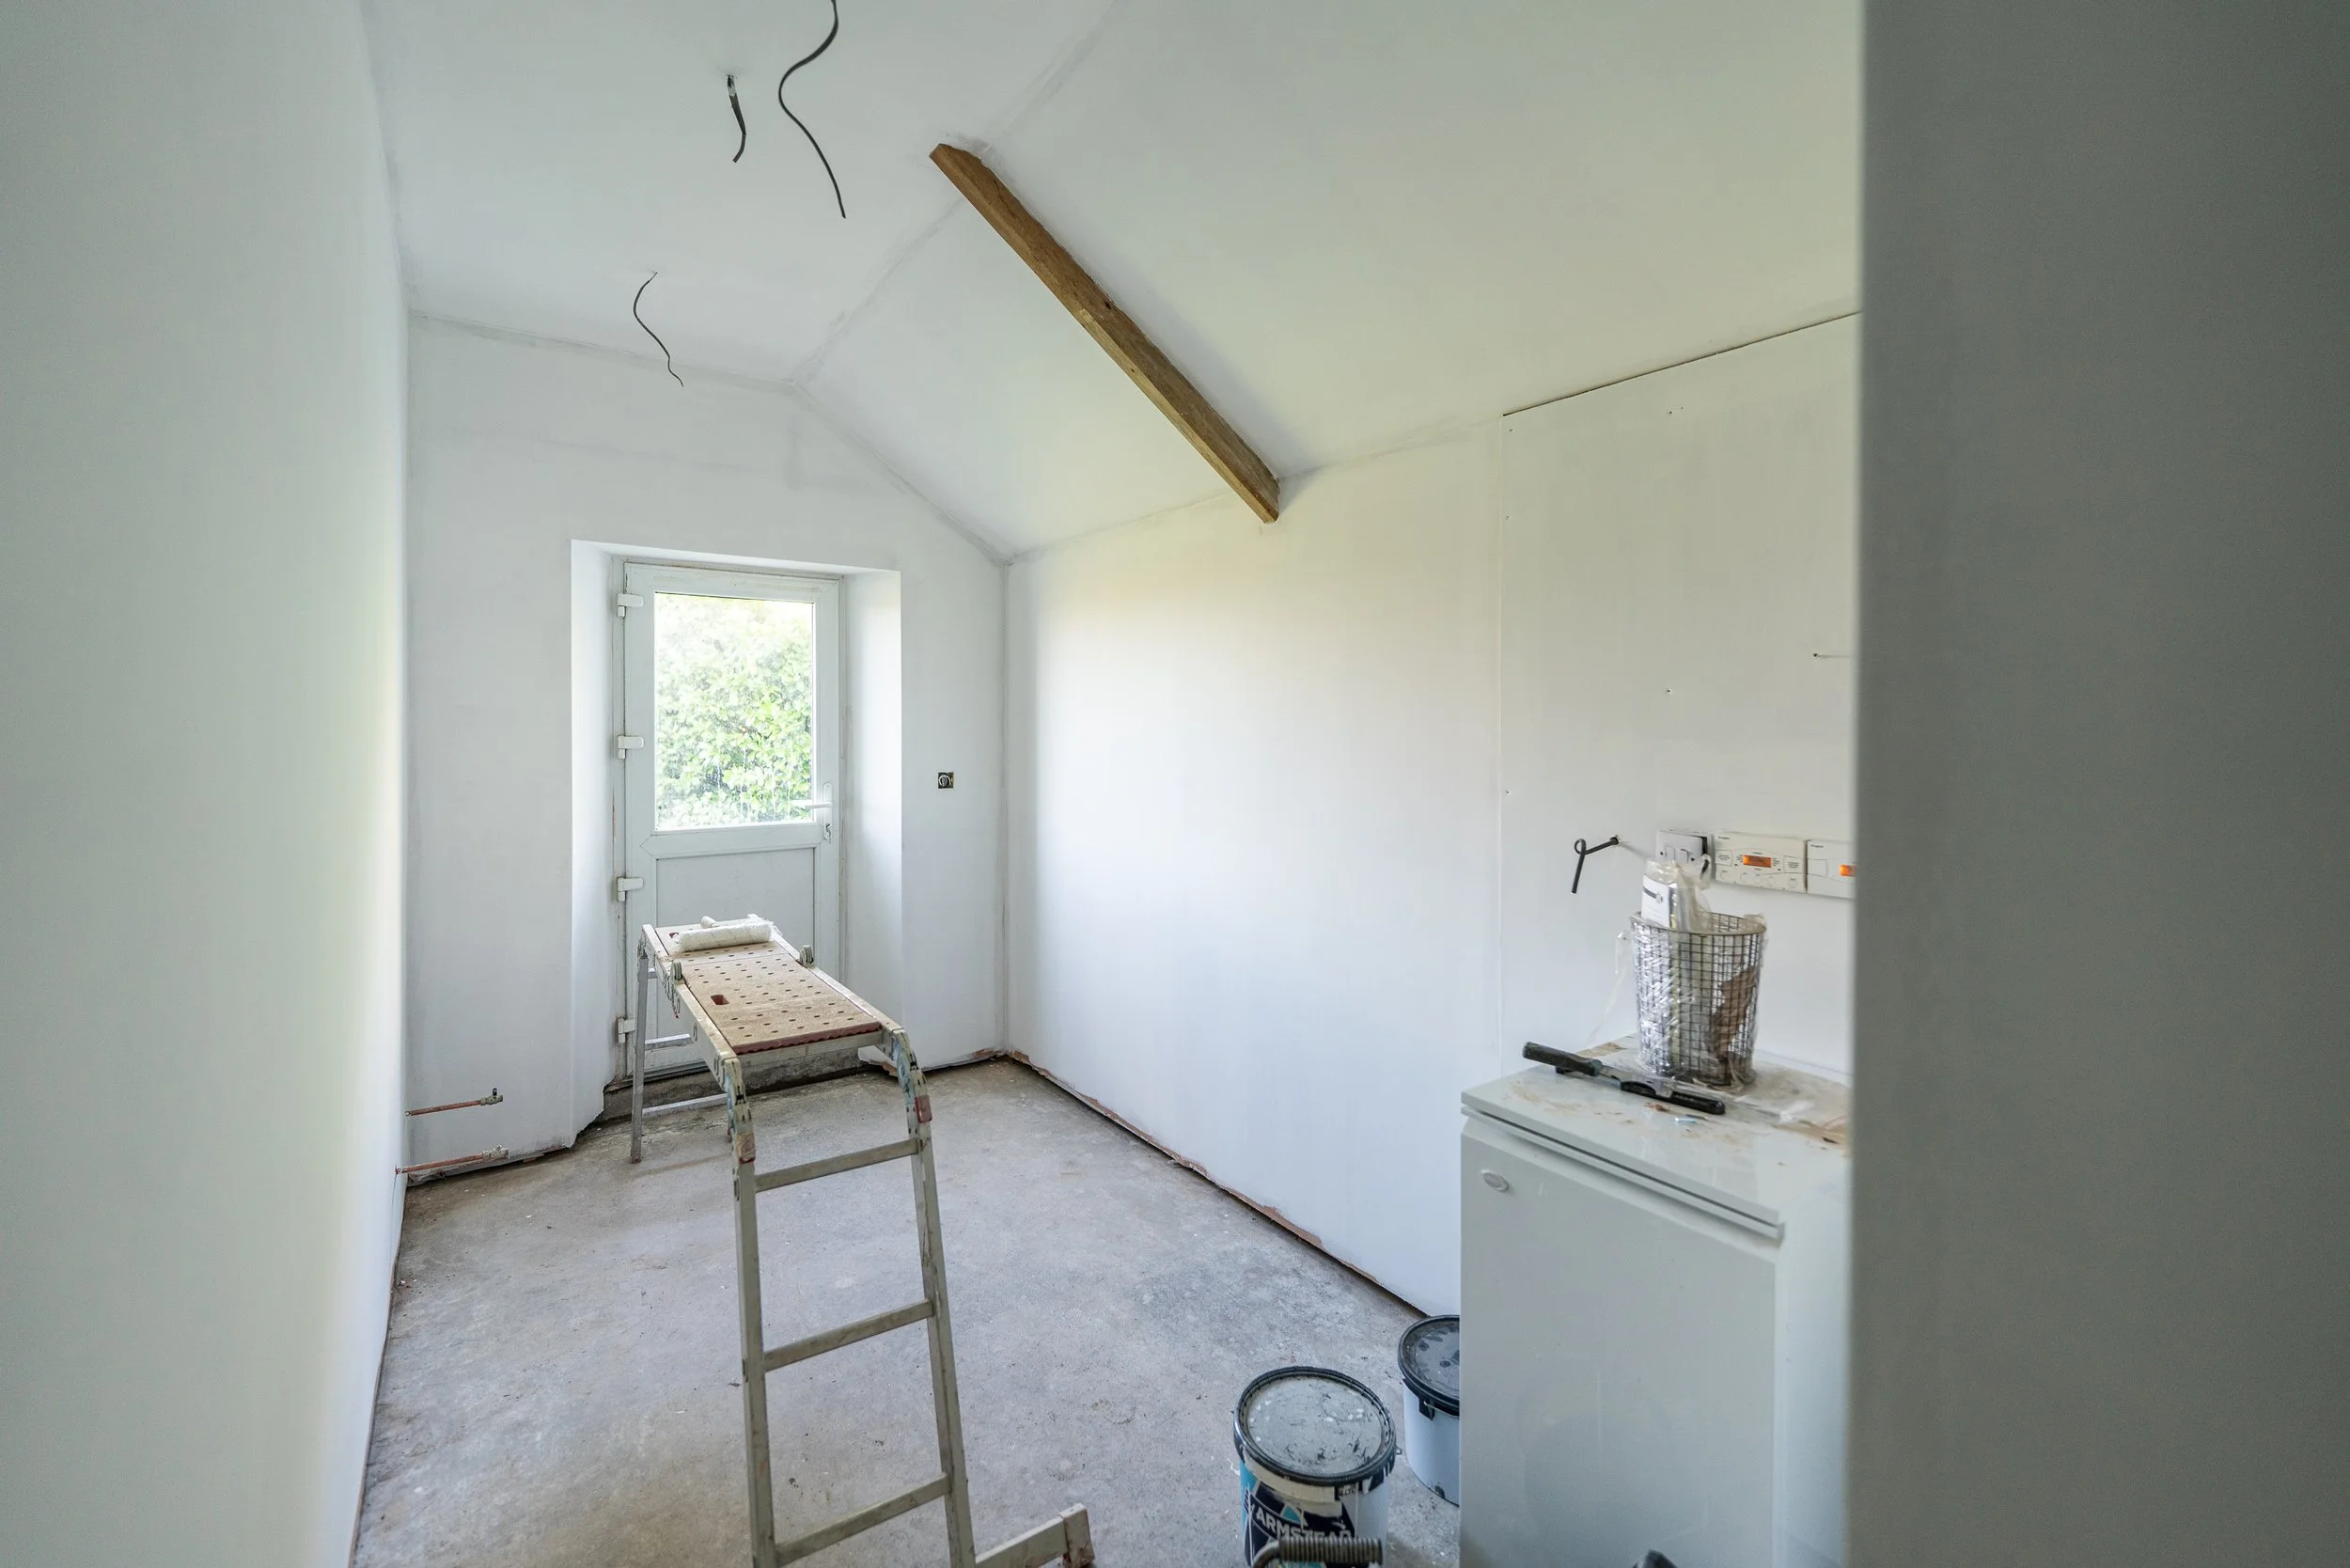
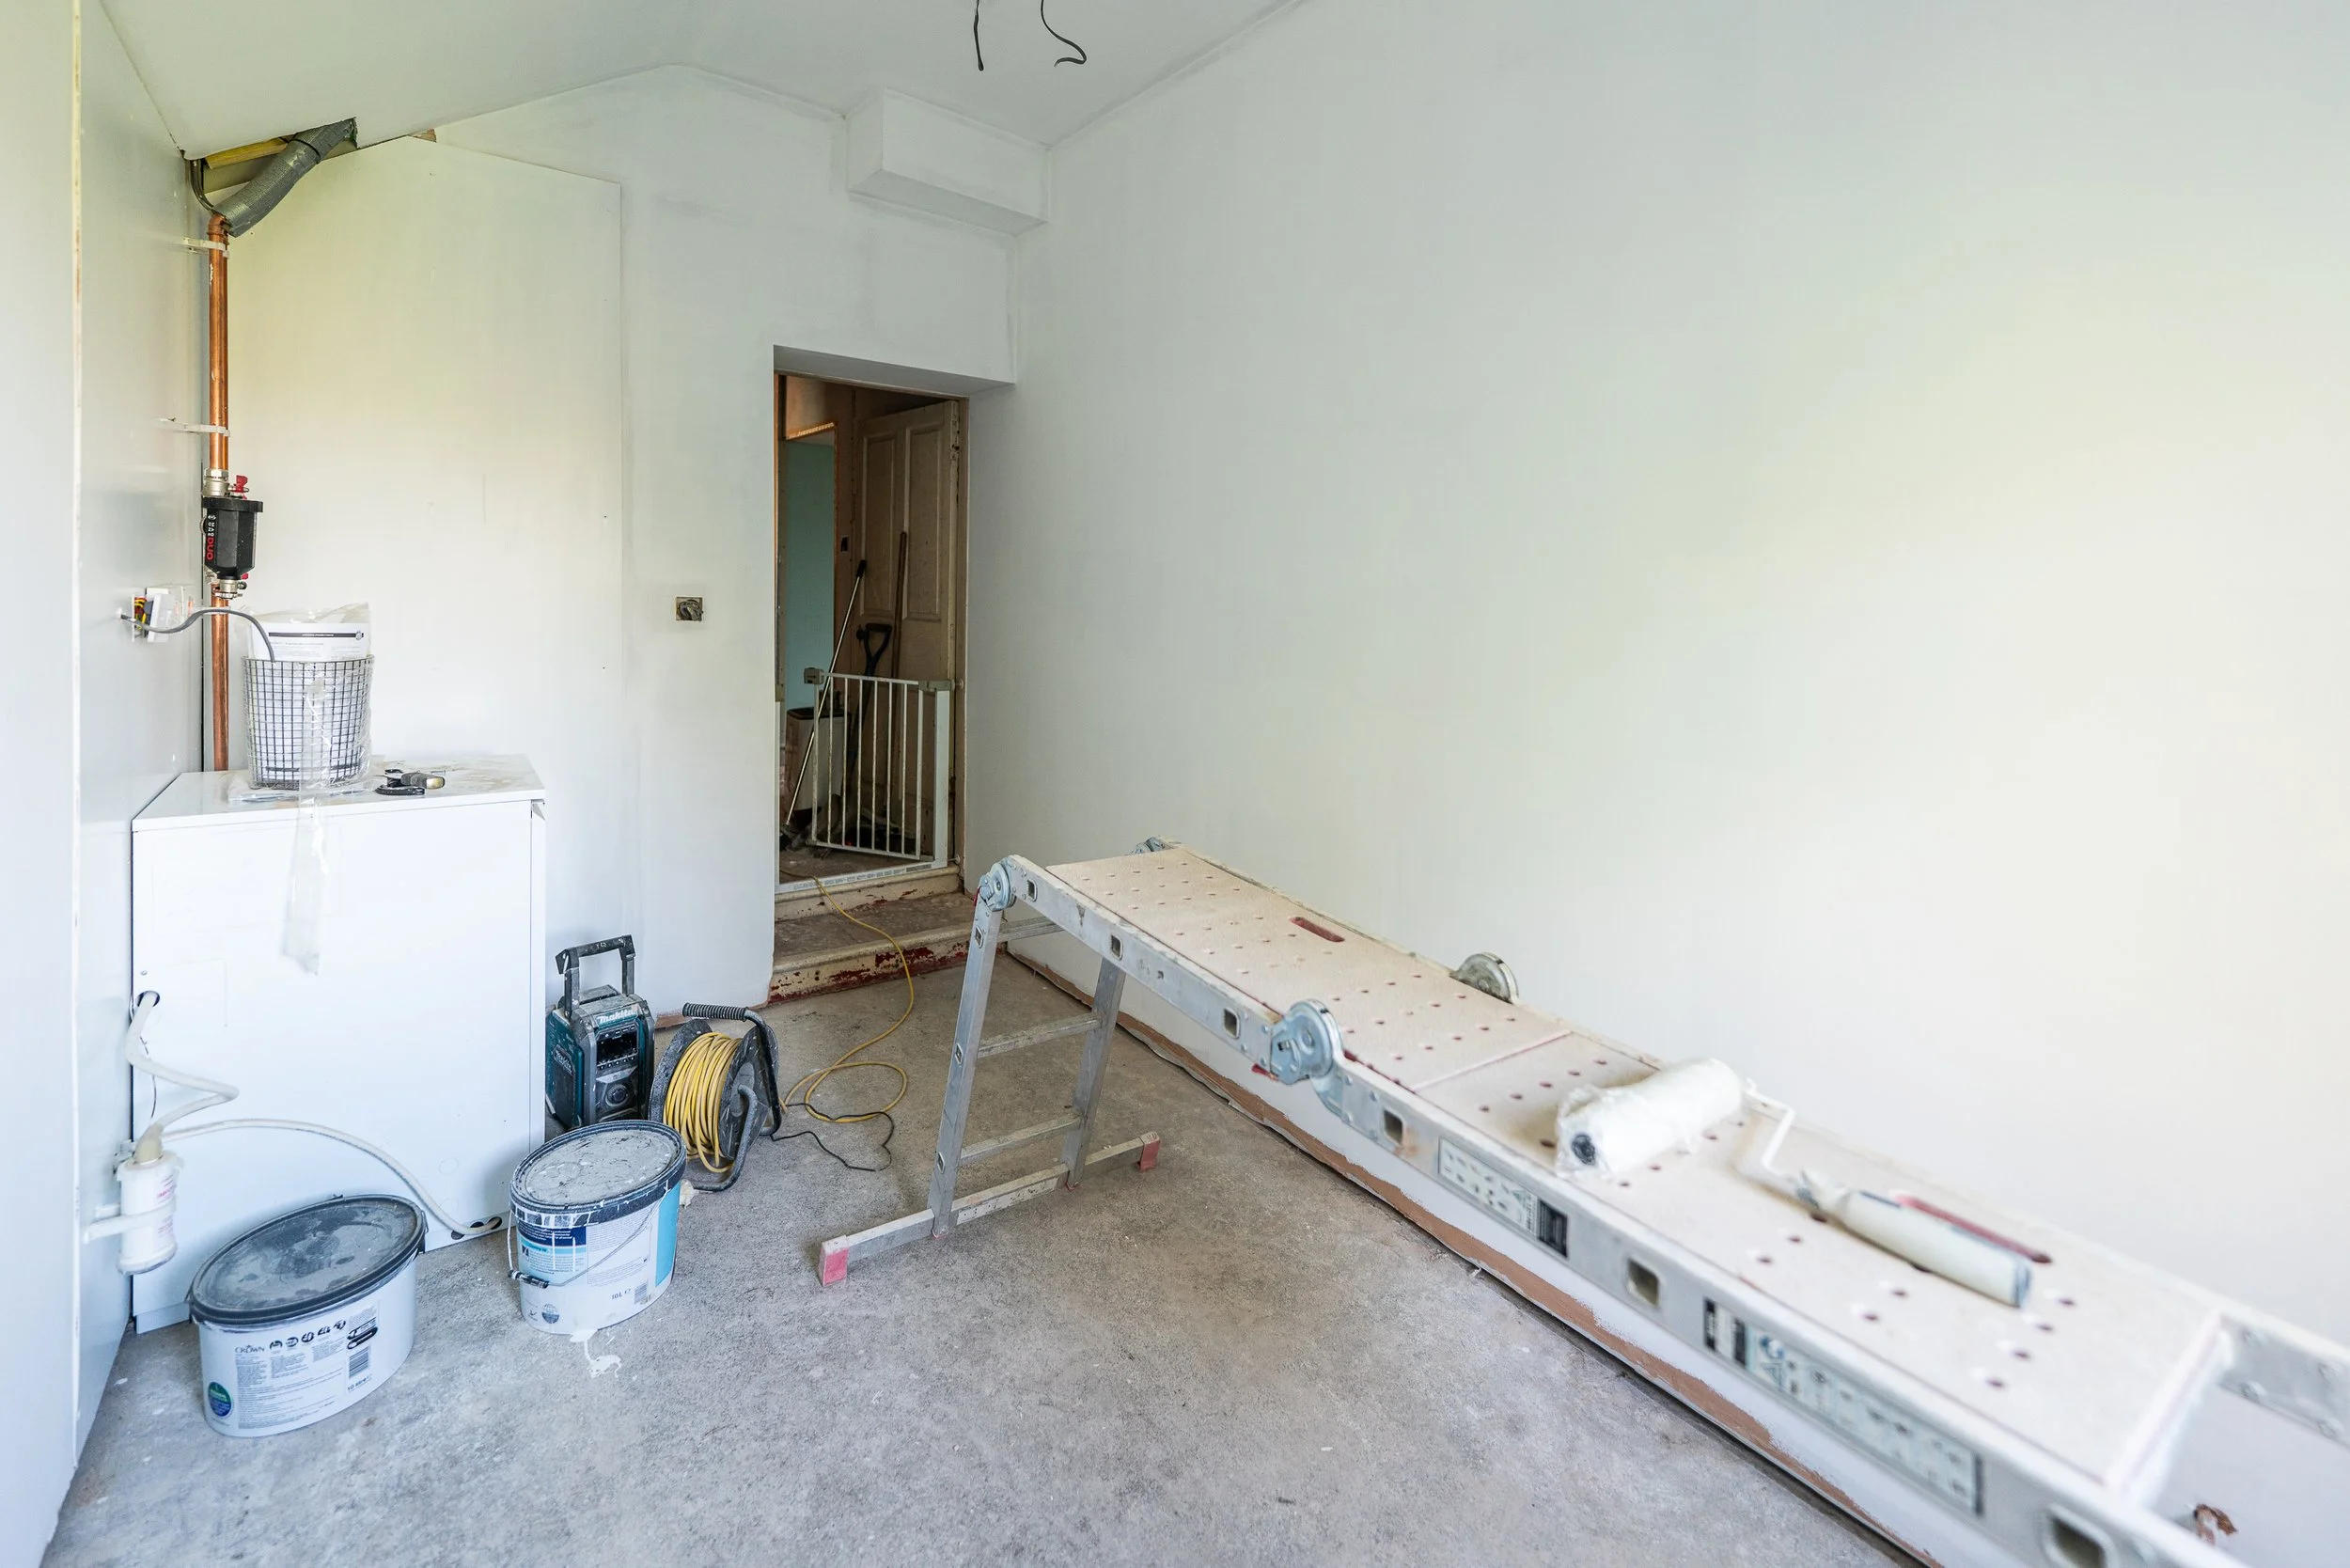
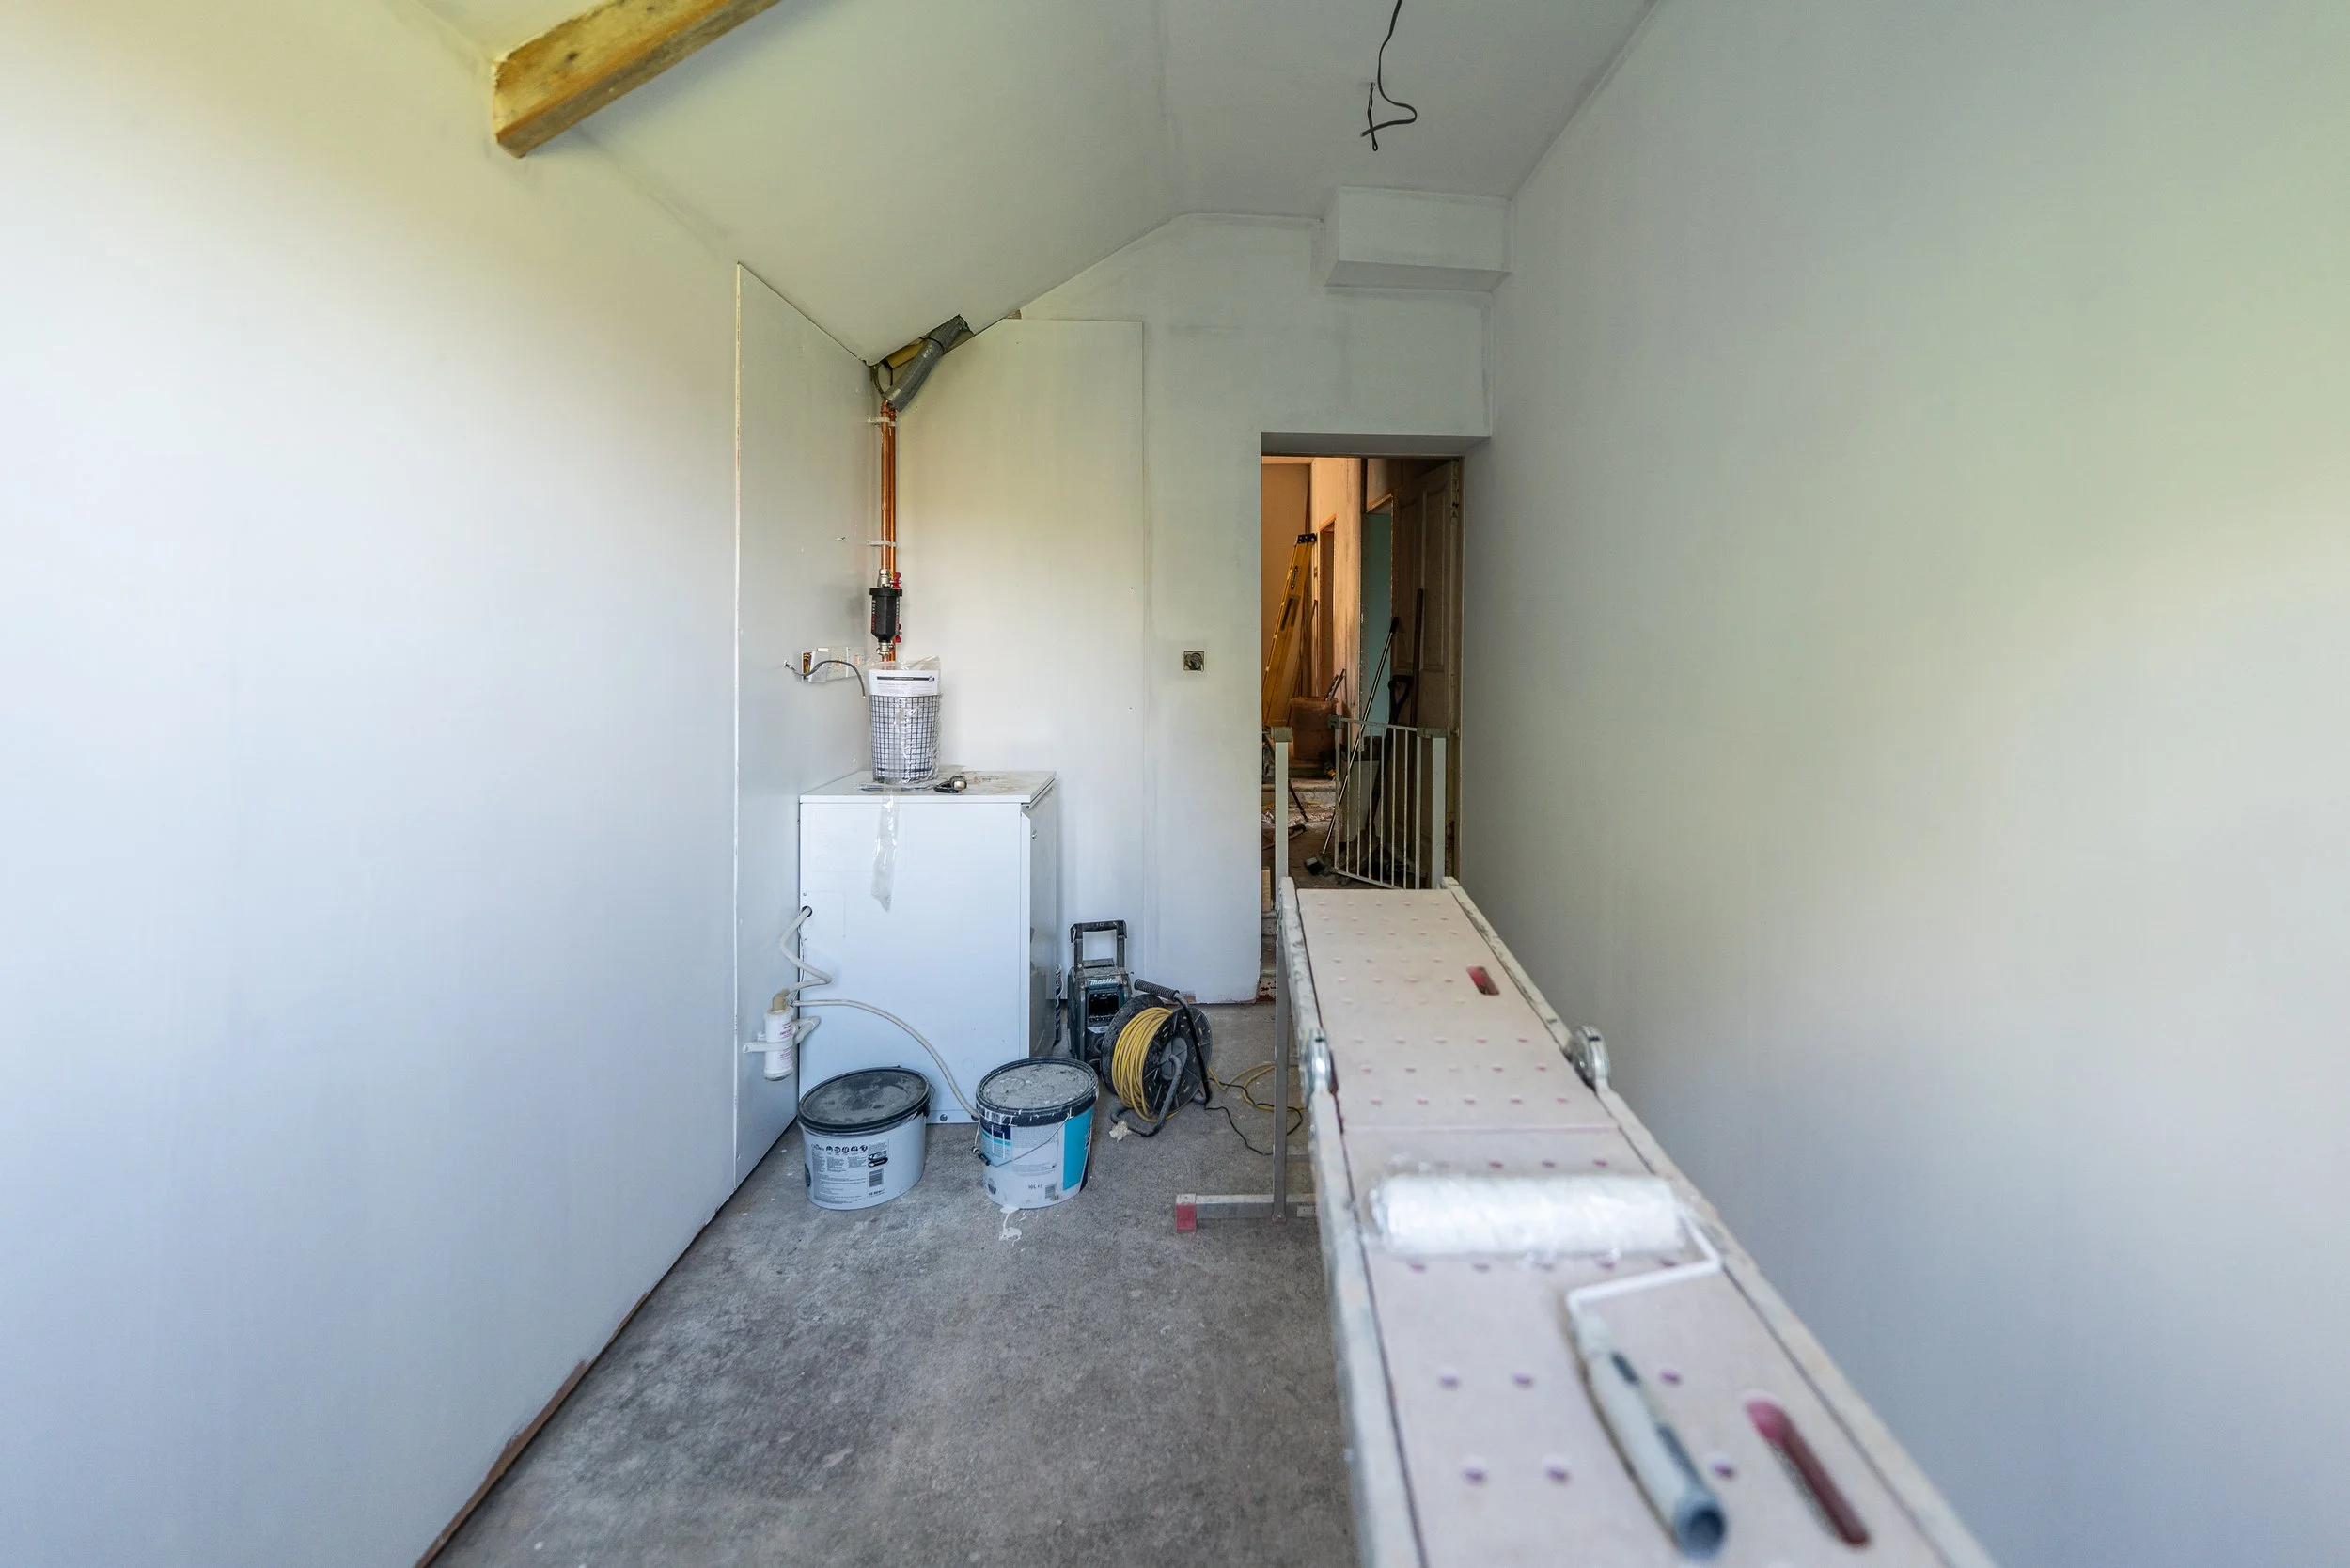
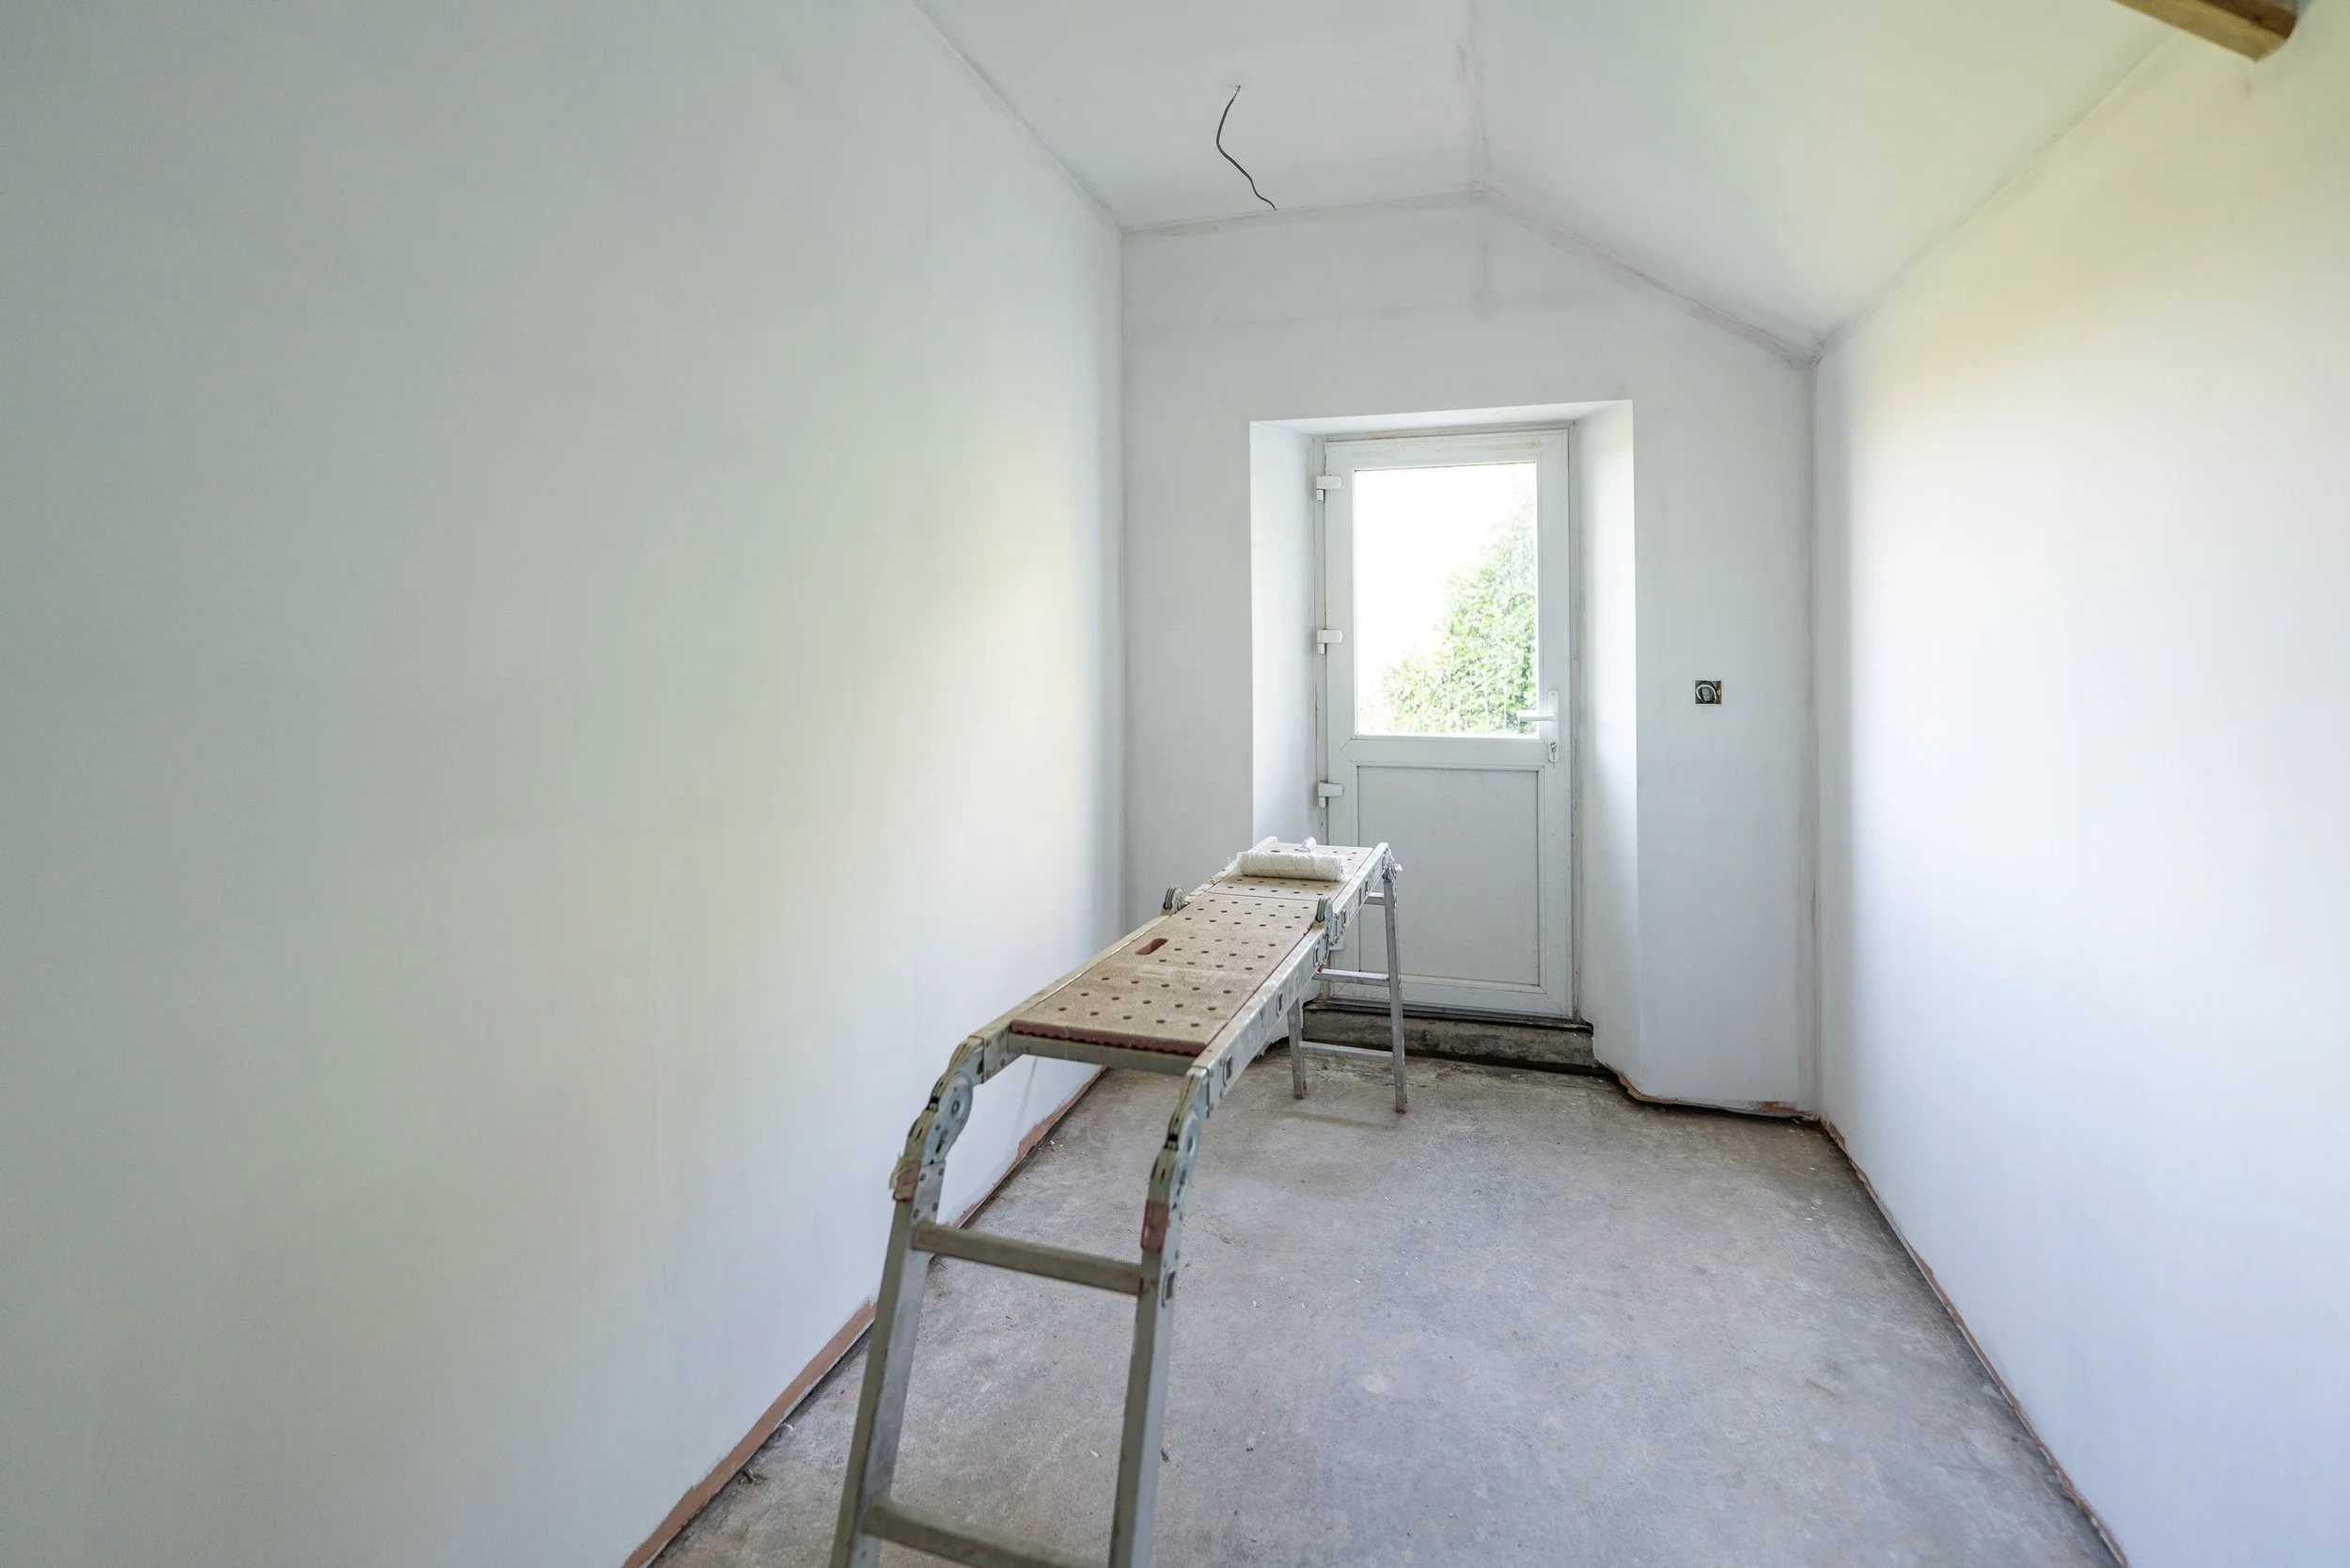
In the farmhouse, a few things of note happened that are well worth sharing. First in the dog room, where the visible truss got sanded and the room got mist-coated twice by hand:
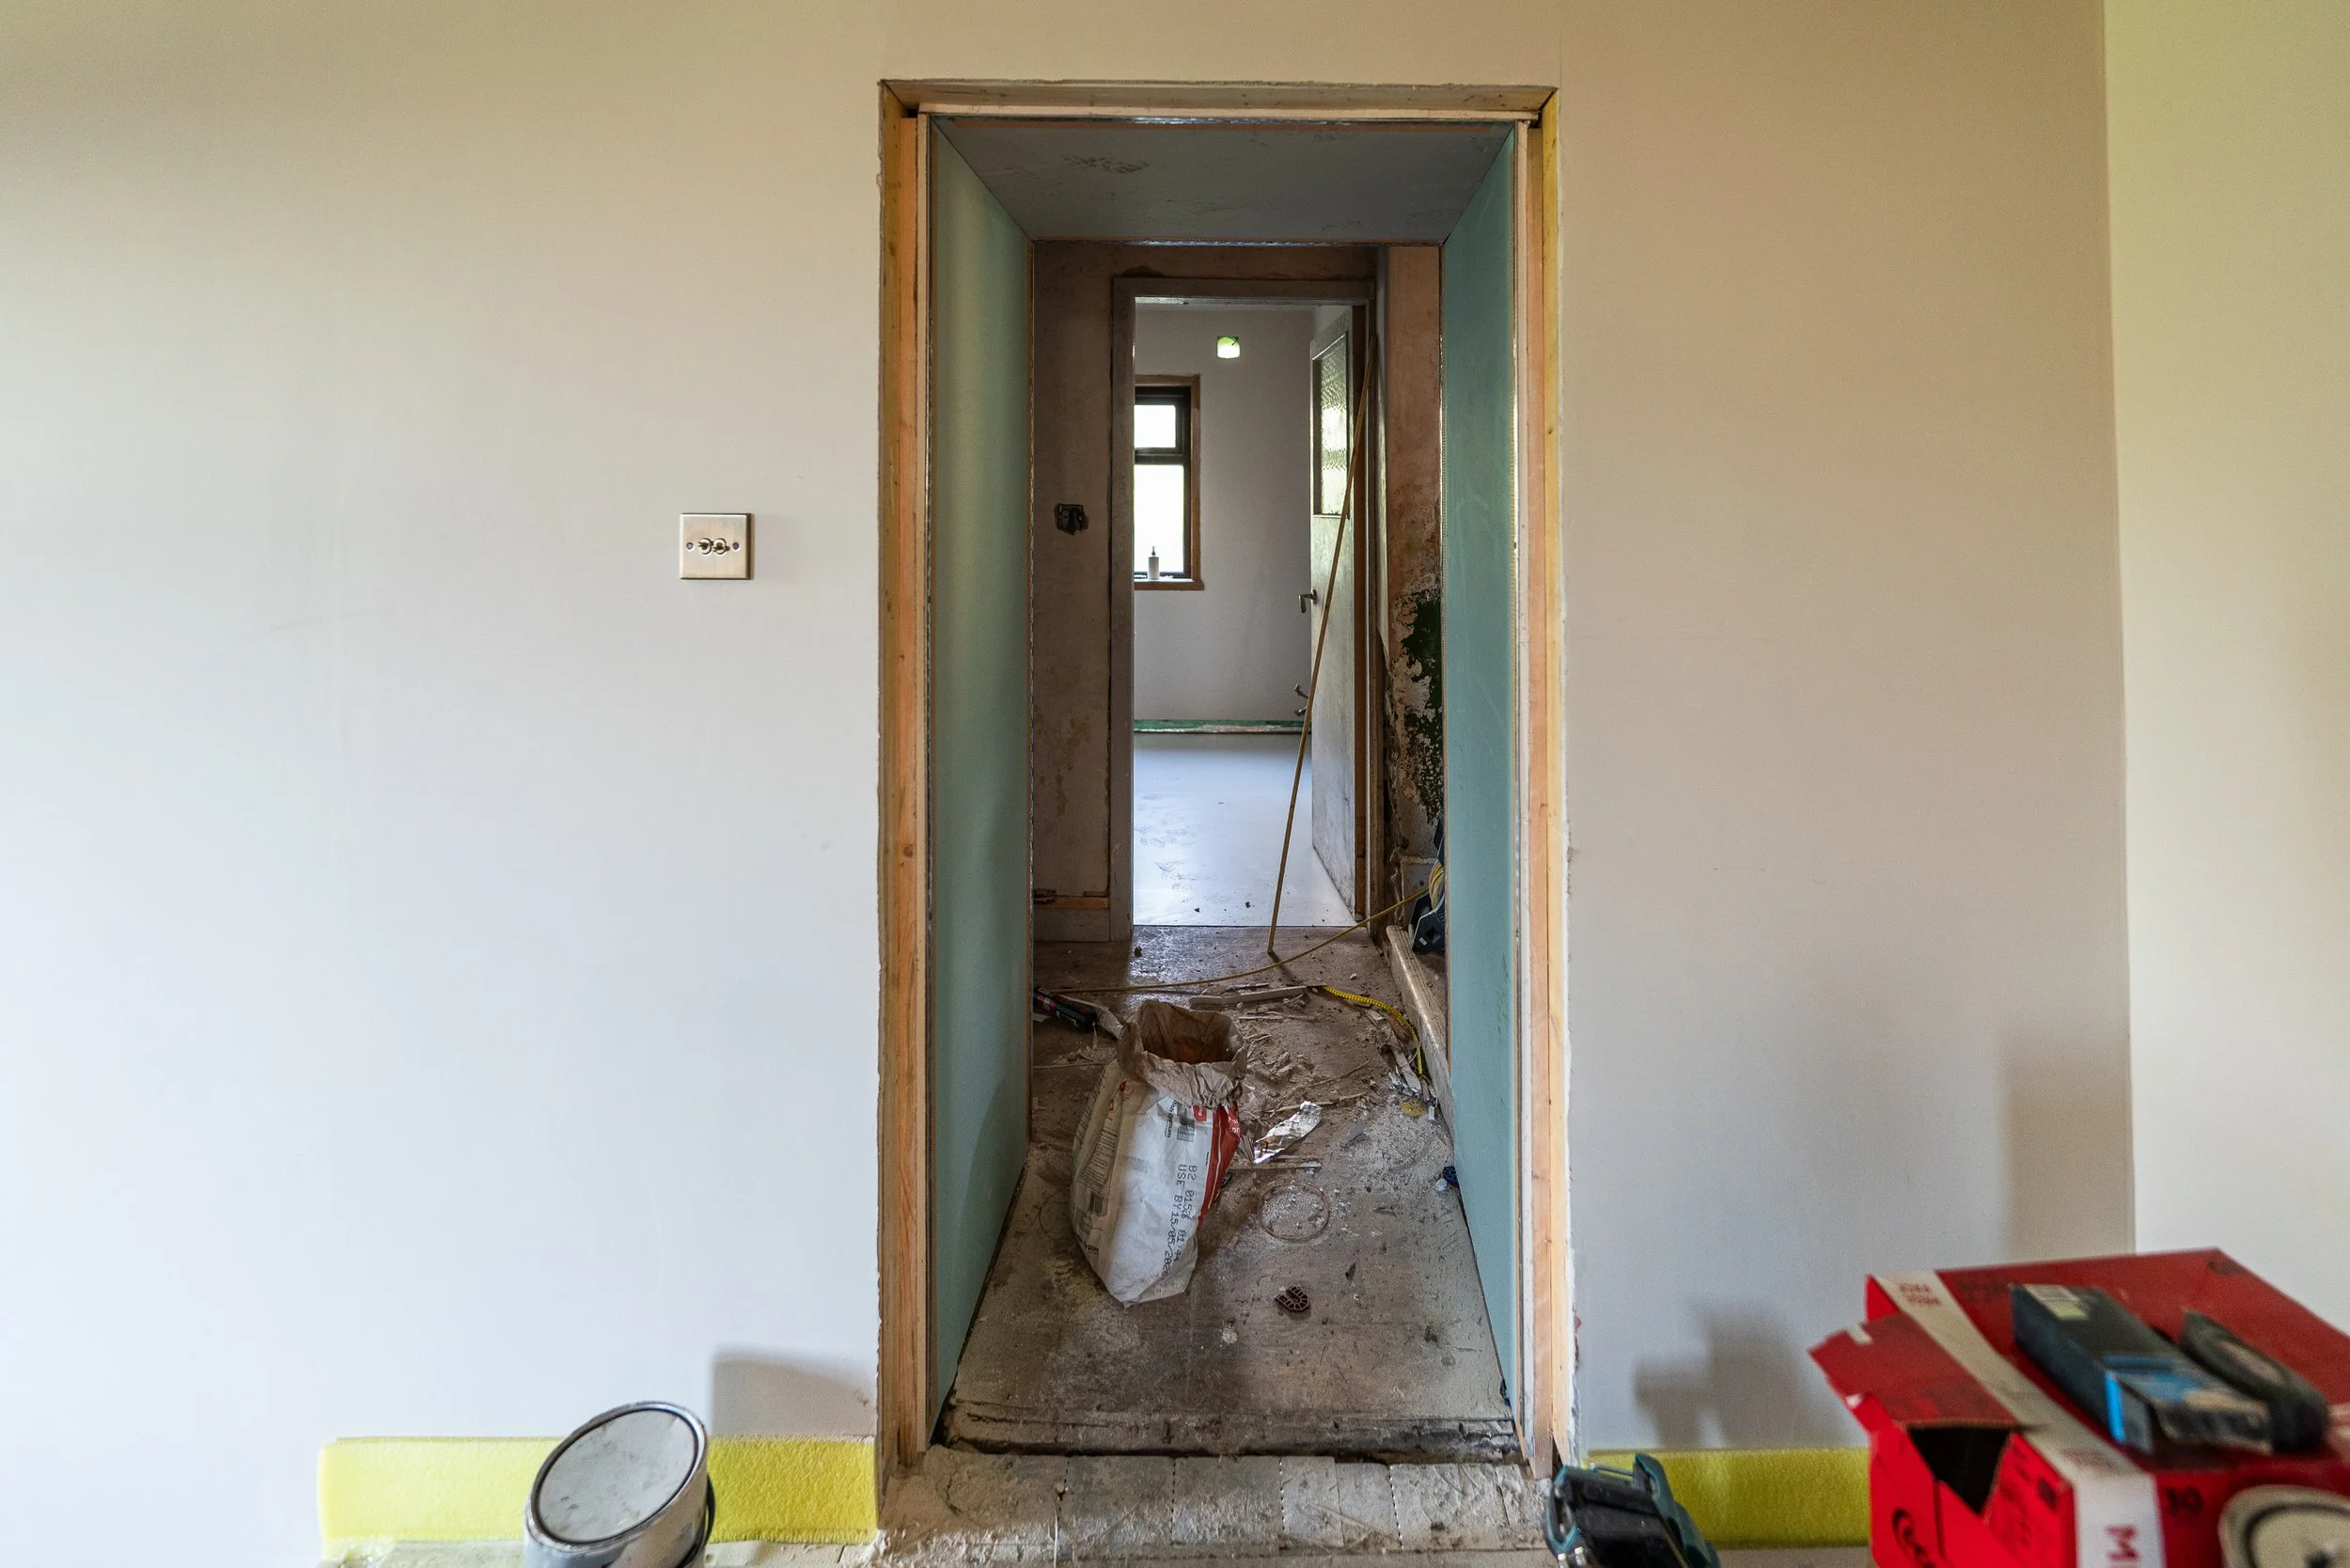
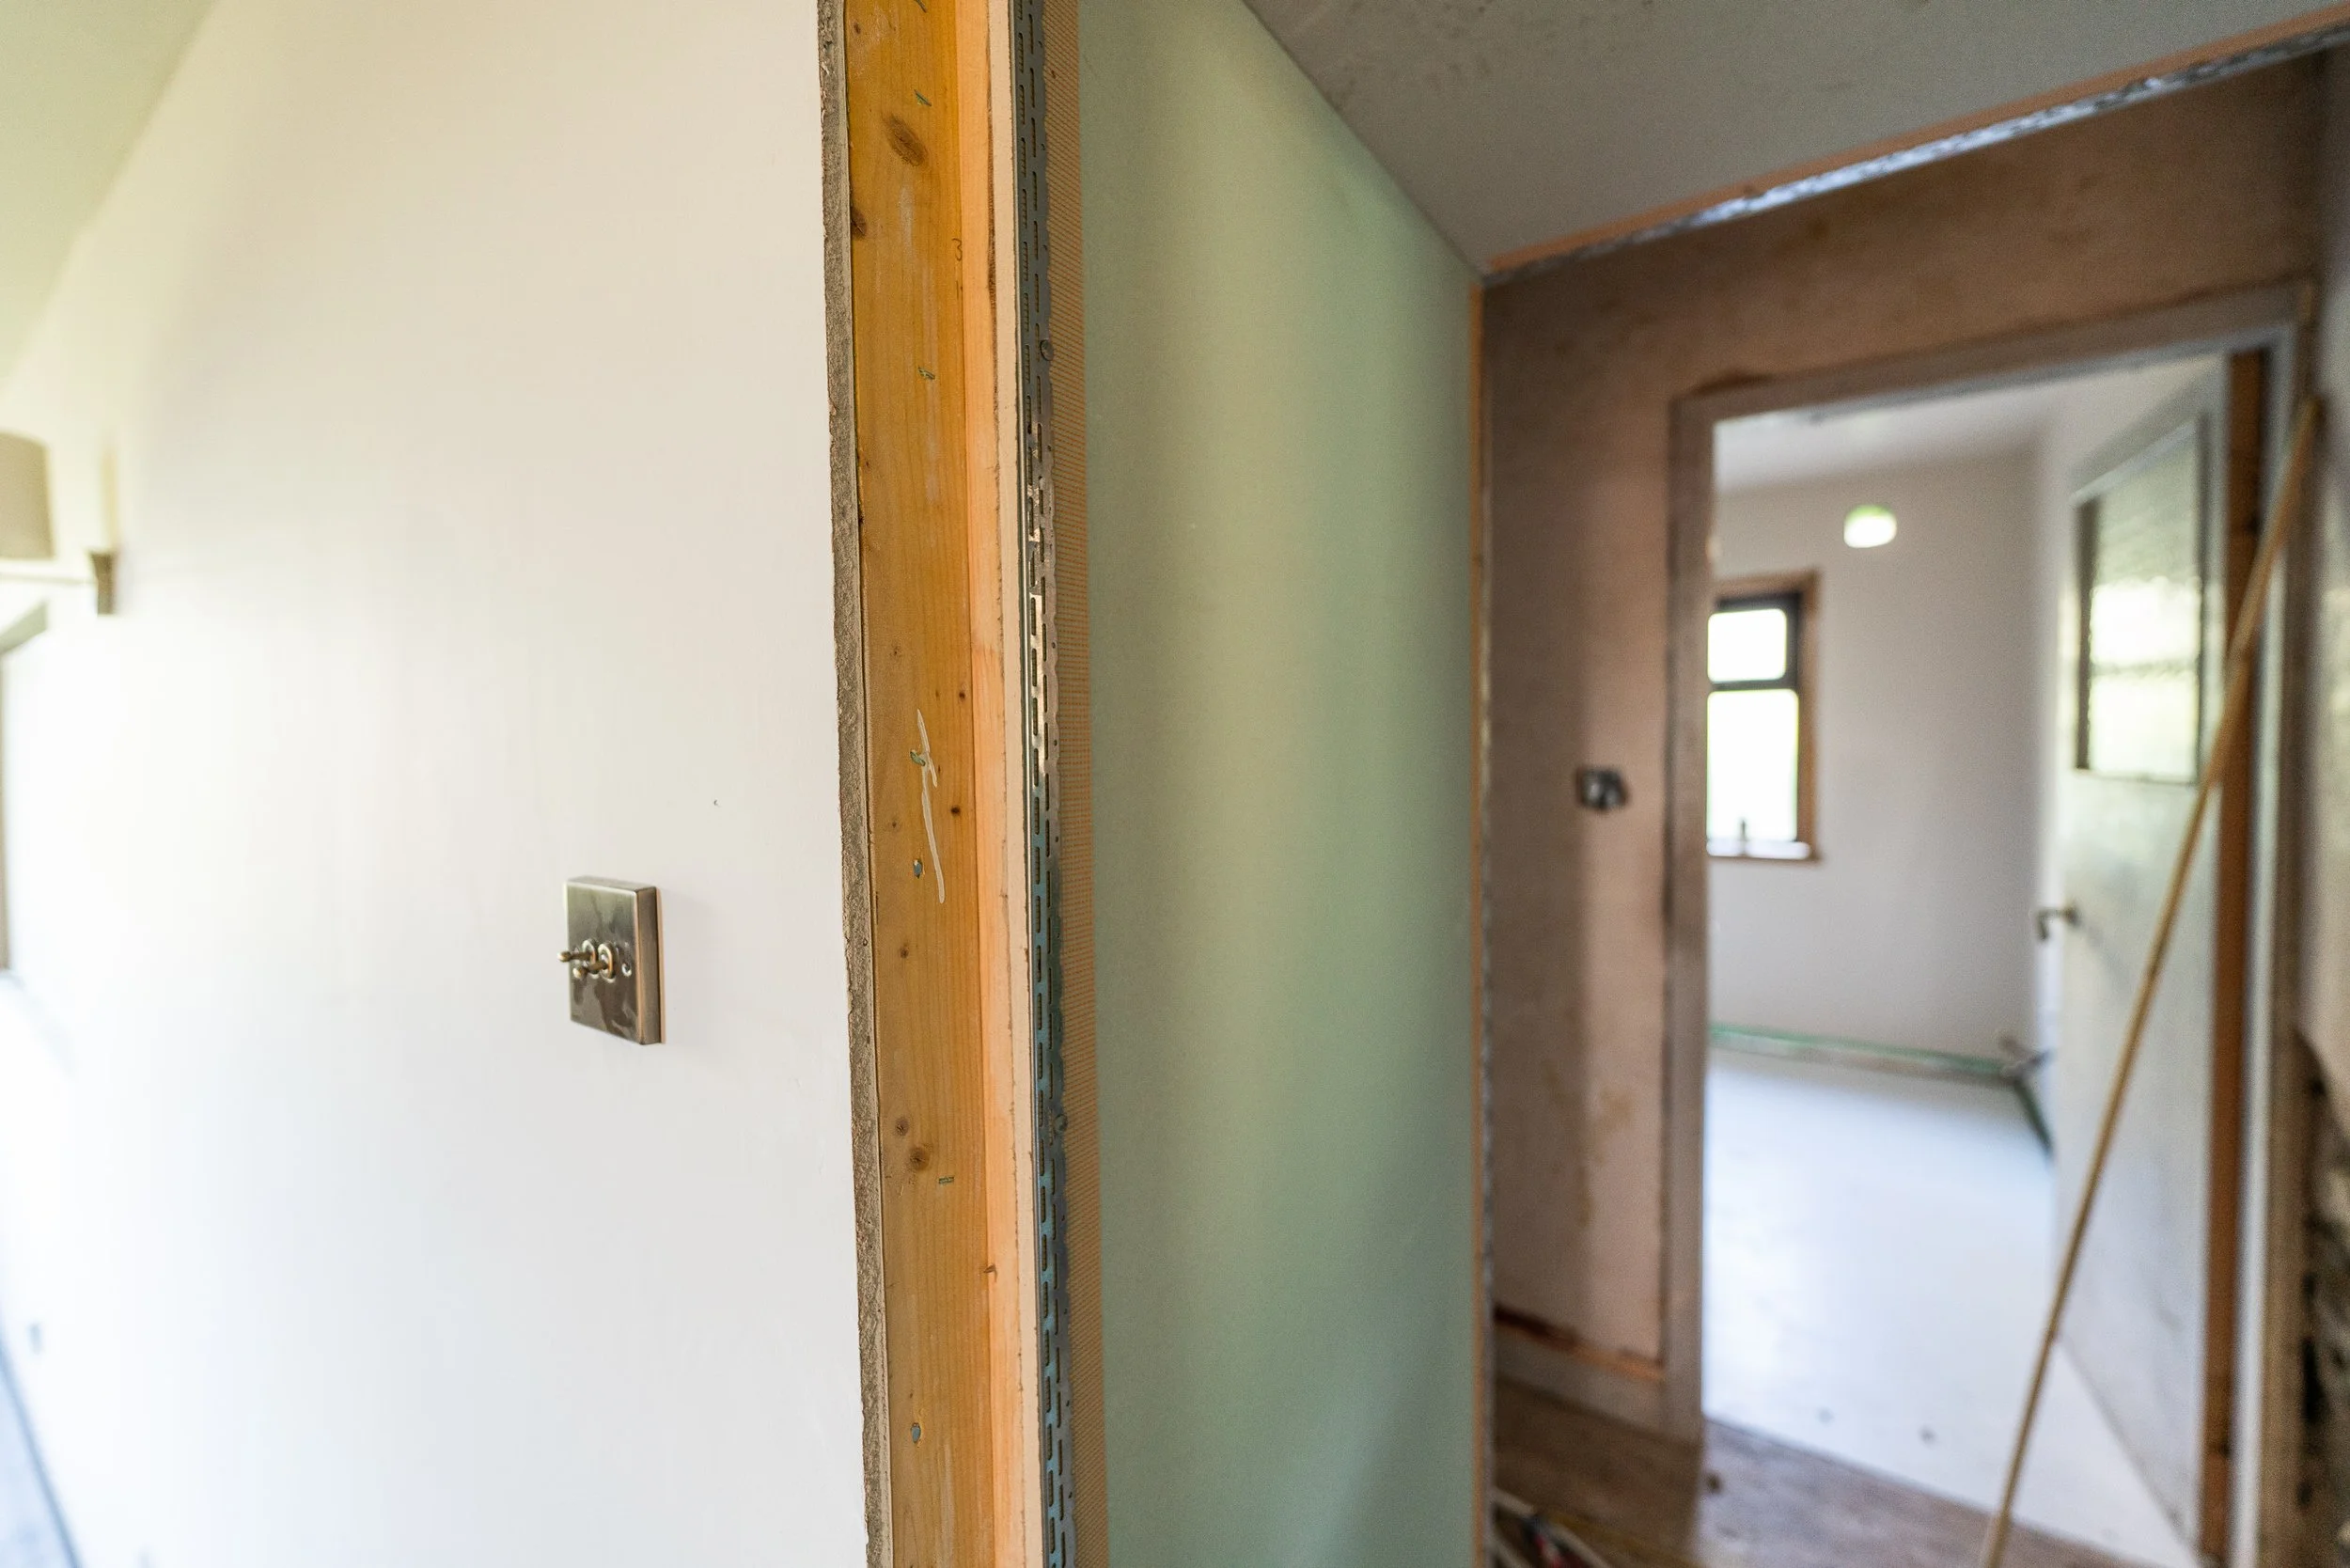
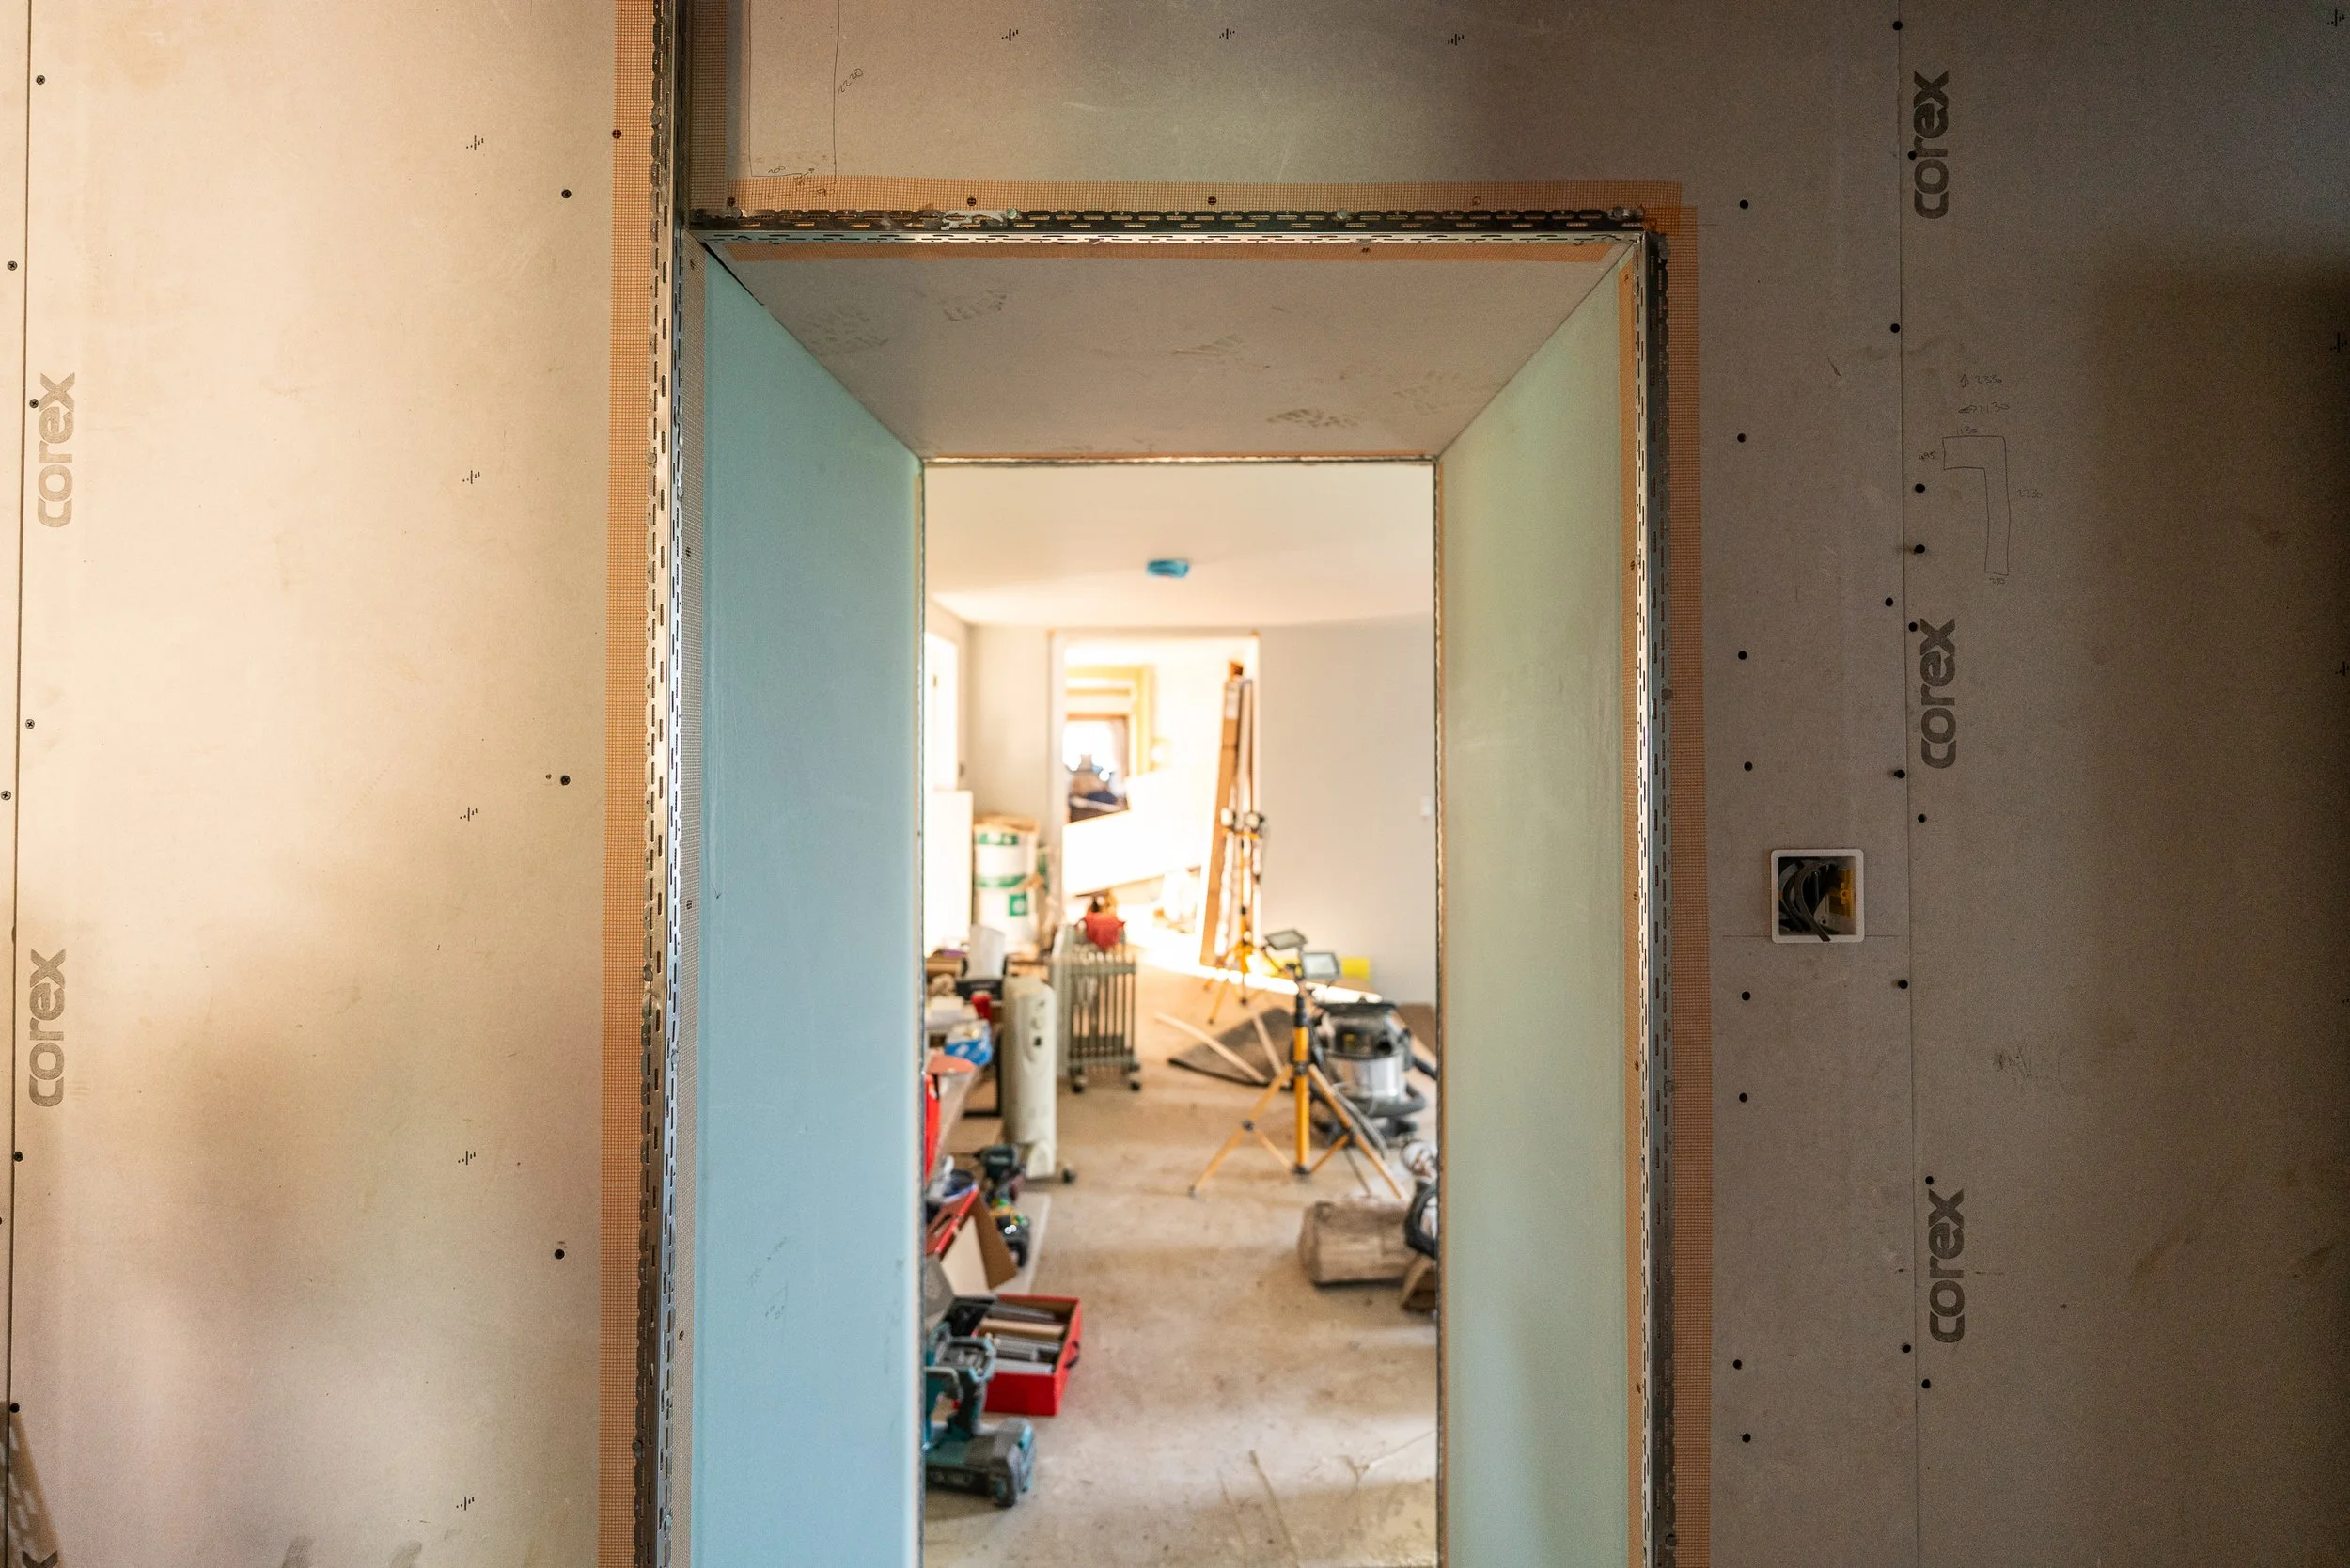
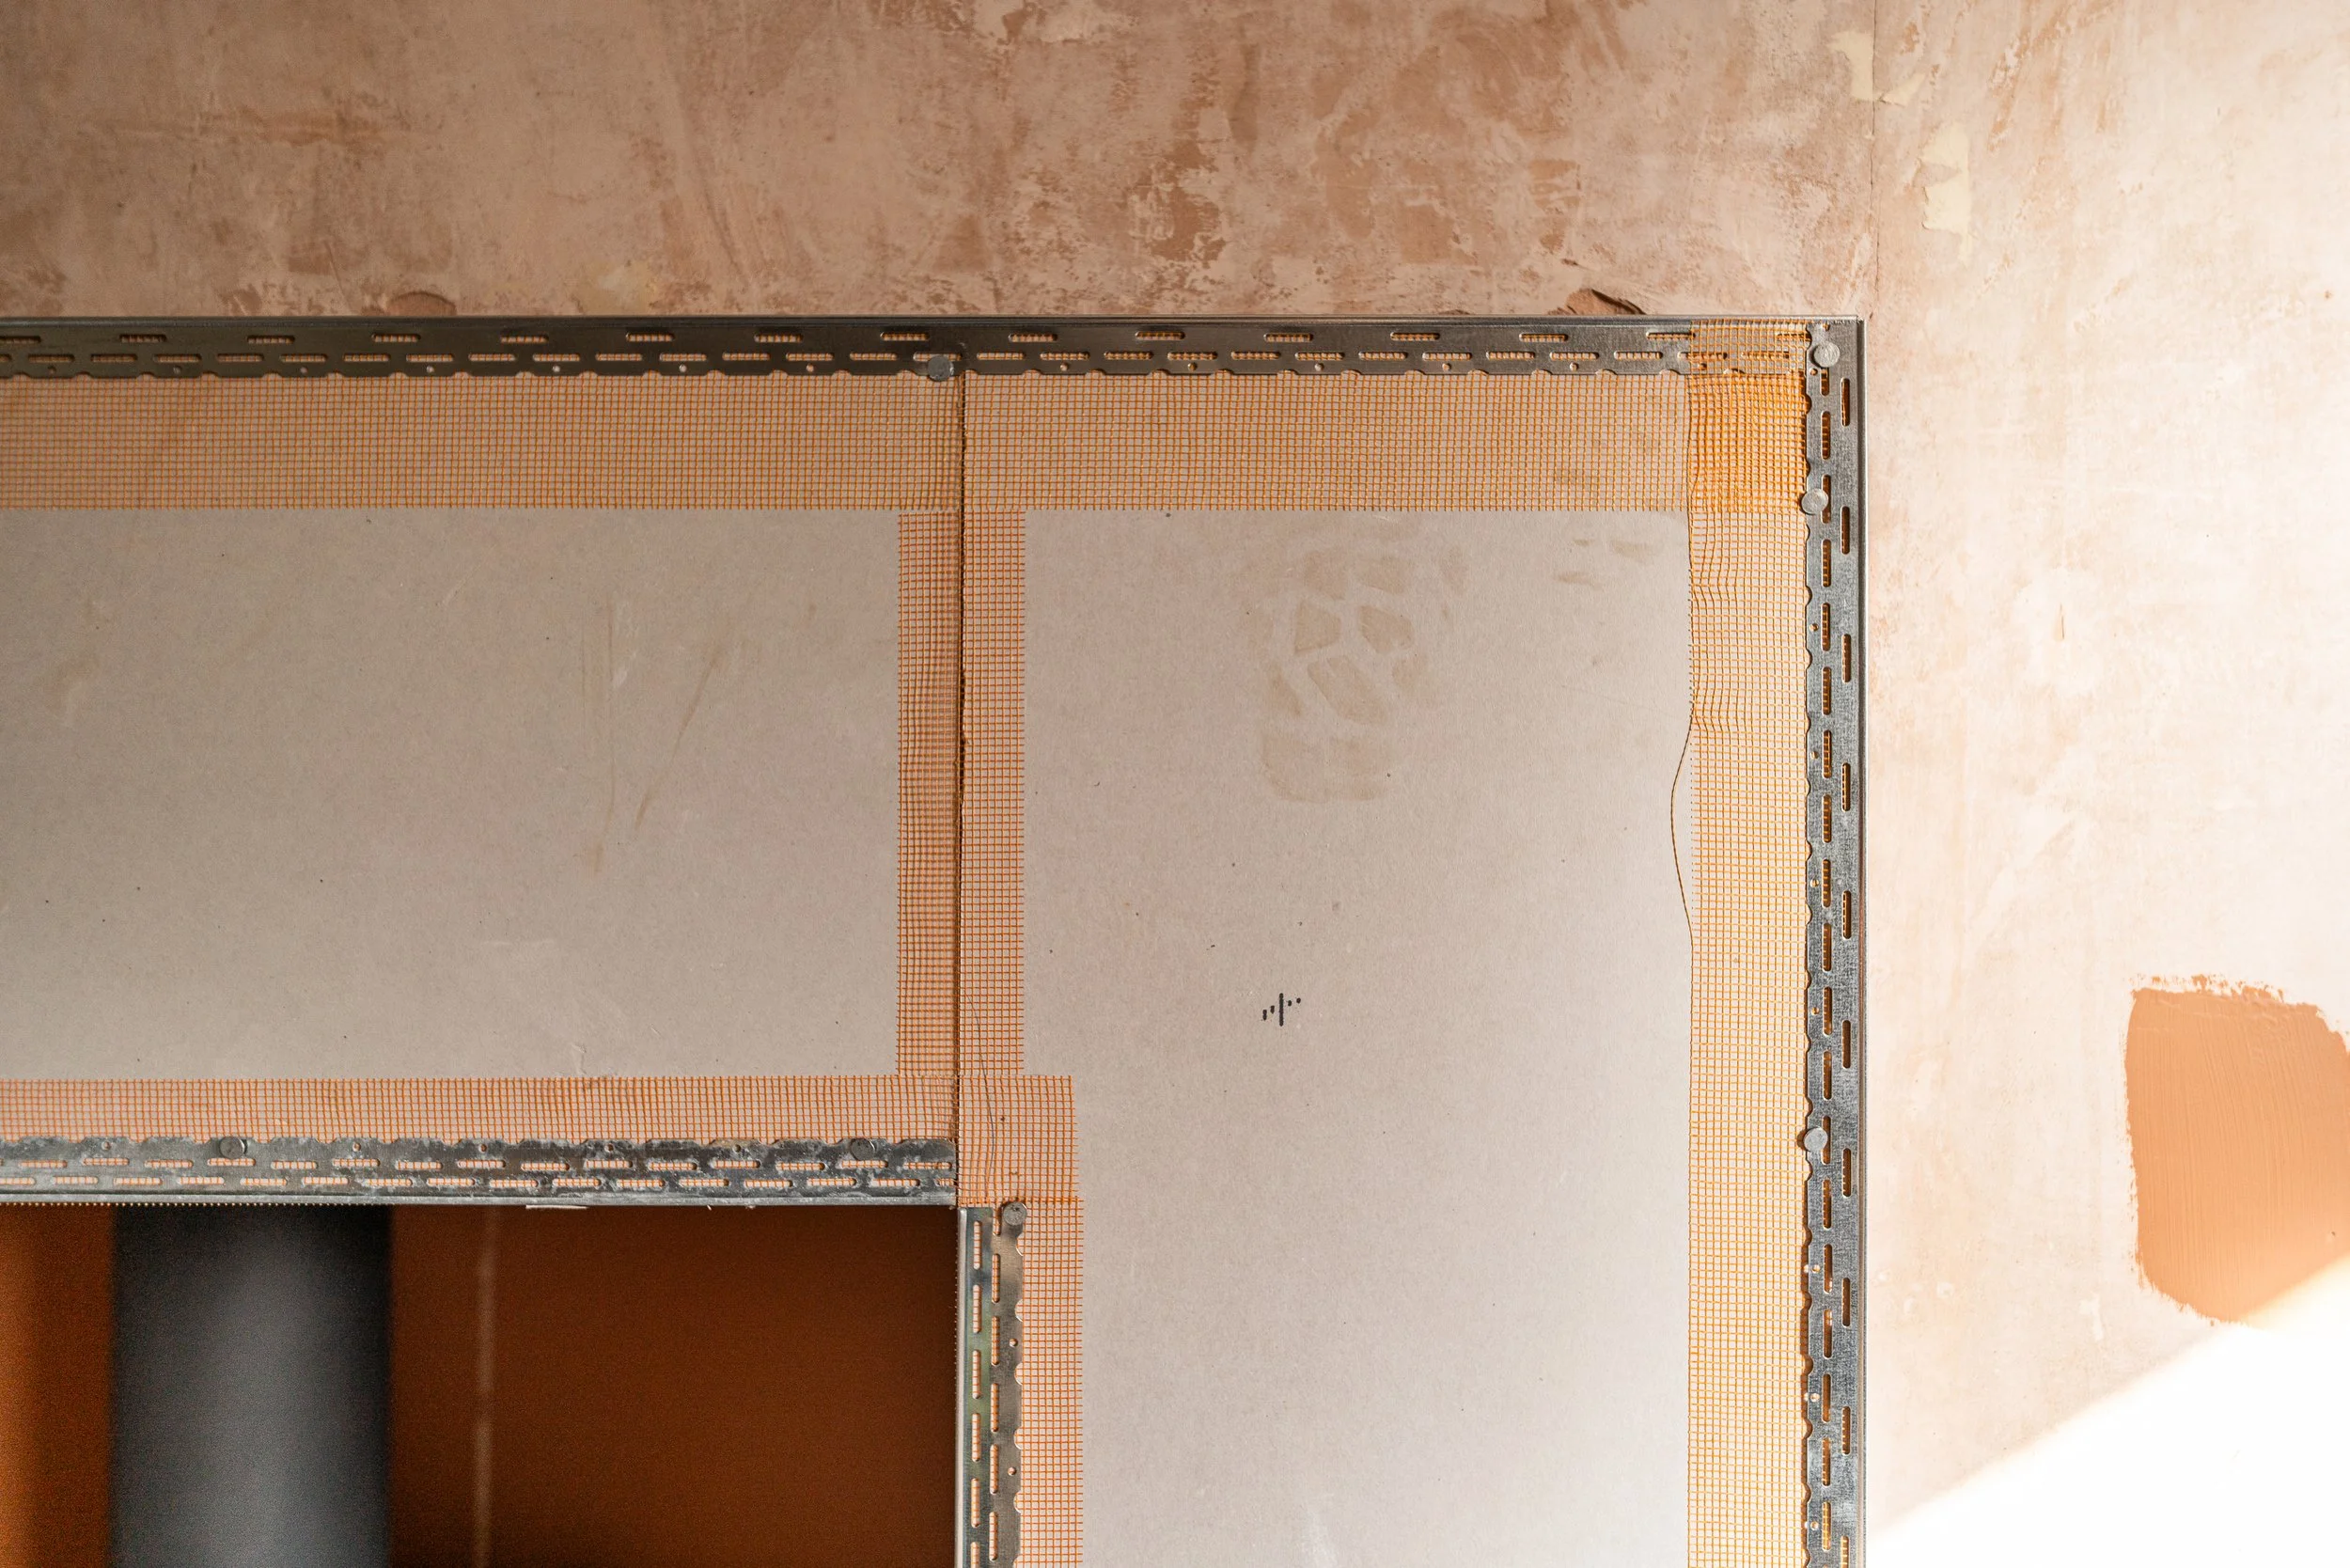
Next, in the hallway, where the last remaining door opening got studded and boarded ready for plastering, as well as (finally!) the front raised surround of the kitchen hearth:
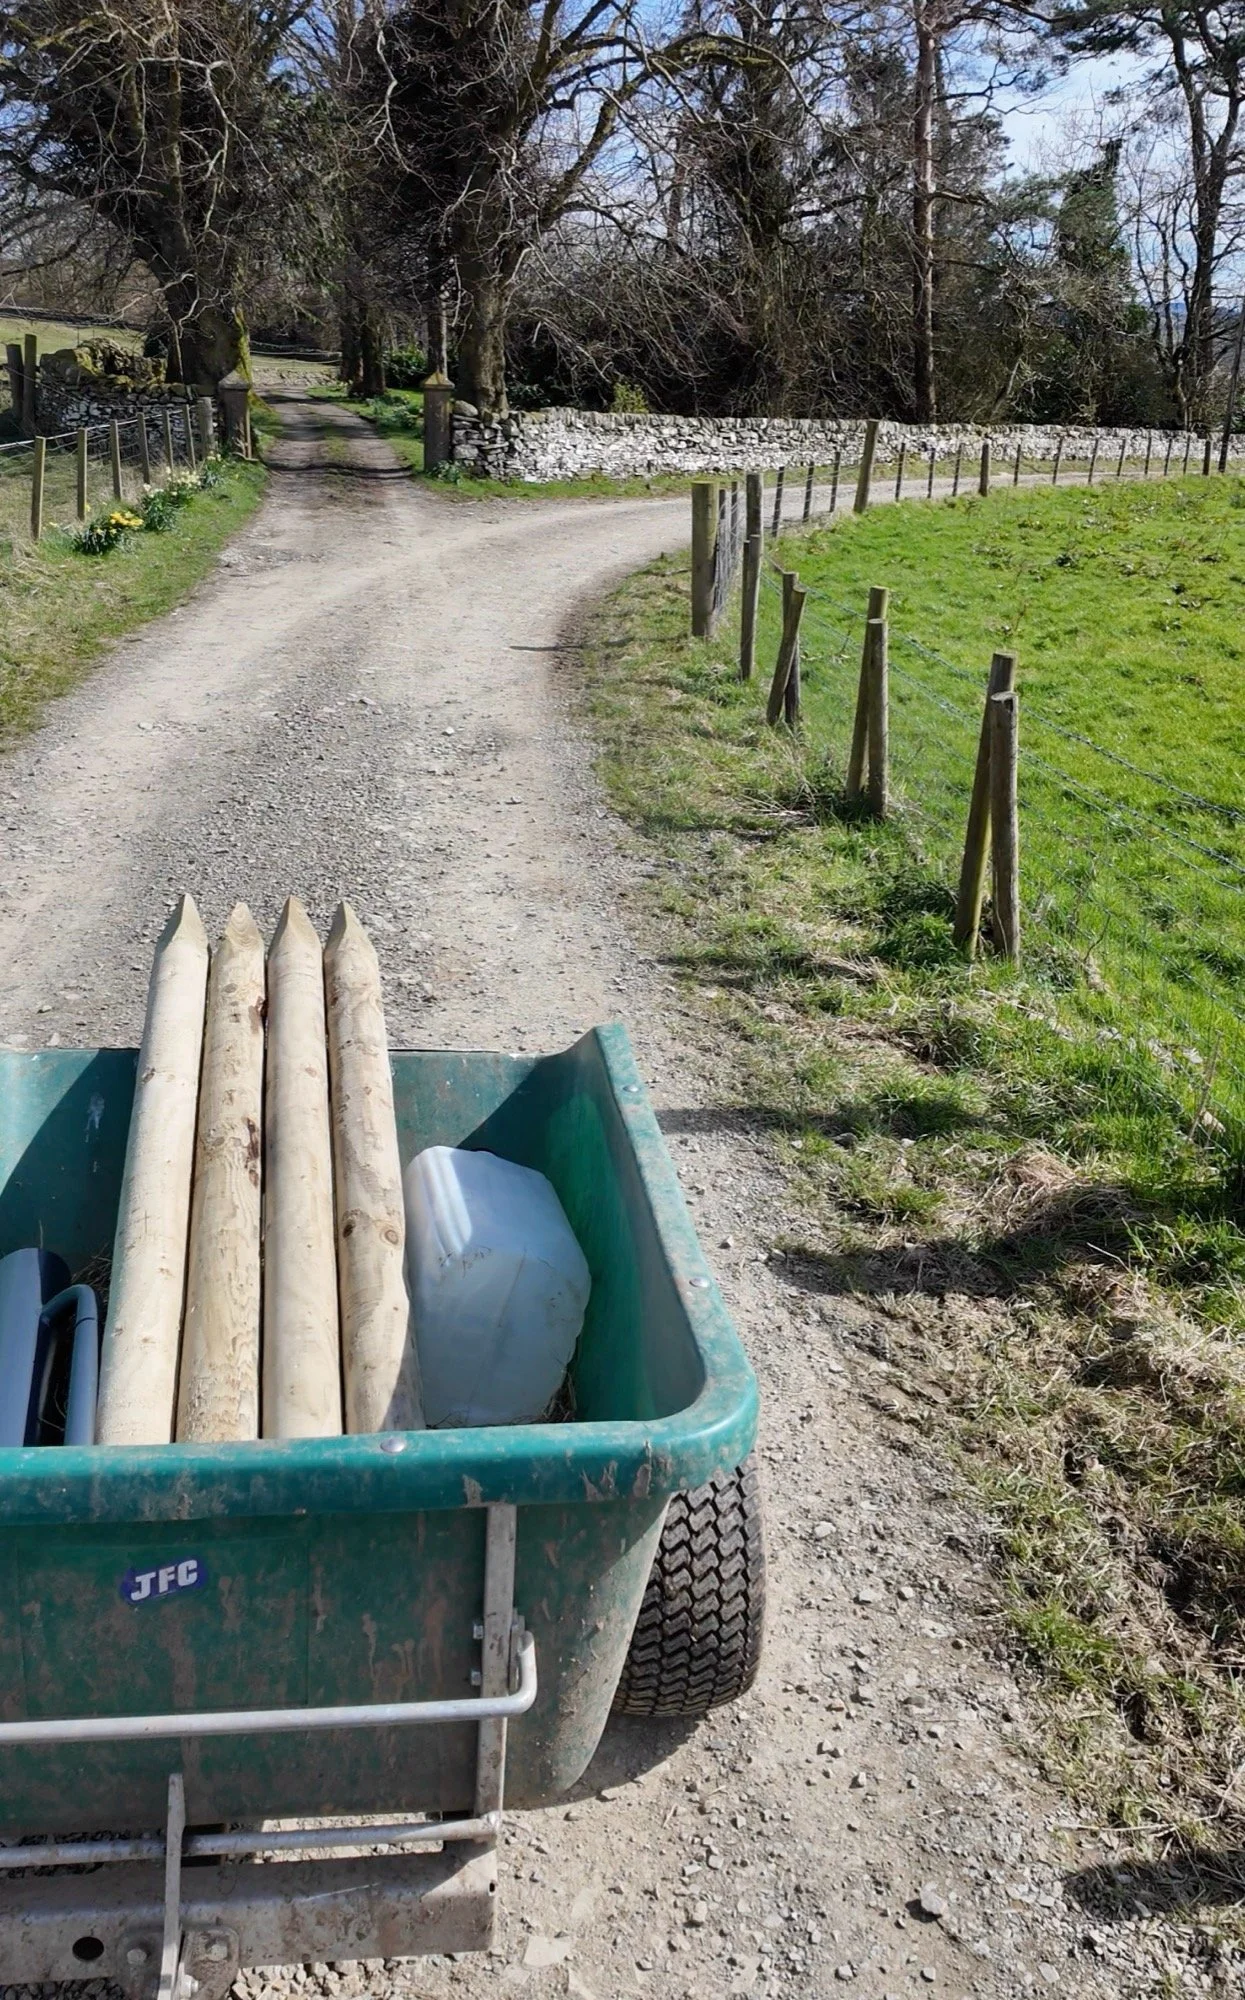
Outside, we also needed to start field sectioning again for nursery paddocks, so we got some round posts, a ‘man-breaker’ manual knocker and set out knowing we’d be fighting rock. These are not permanent posts, so they just needed to be ‘good enough’ to run light lines to on the corners.
All went in ok and straight apart from the last one in the bottom paddock, which could only find its way through the sheet of blue rock here on a slight tilt. Honestly, after the fortnight we’ve had, we just accepted defeat and left it a bit wonky - it’ll do! Permanent fencing will be peckered in and properly strained, but at least we can have straight lines of rope now without plastic sag!
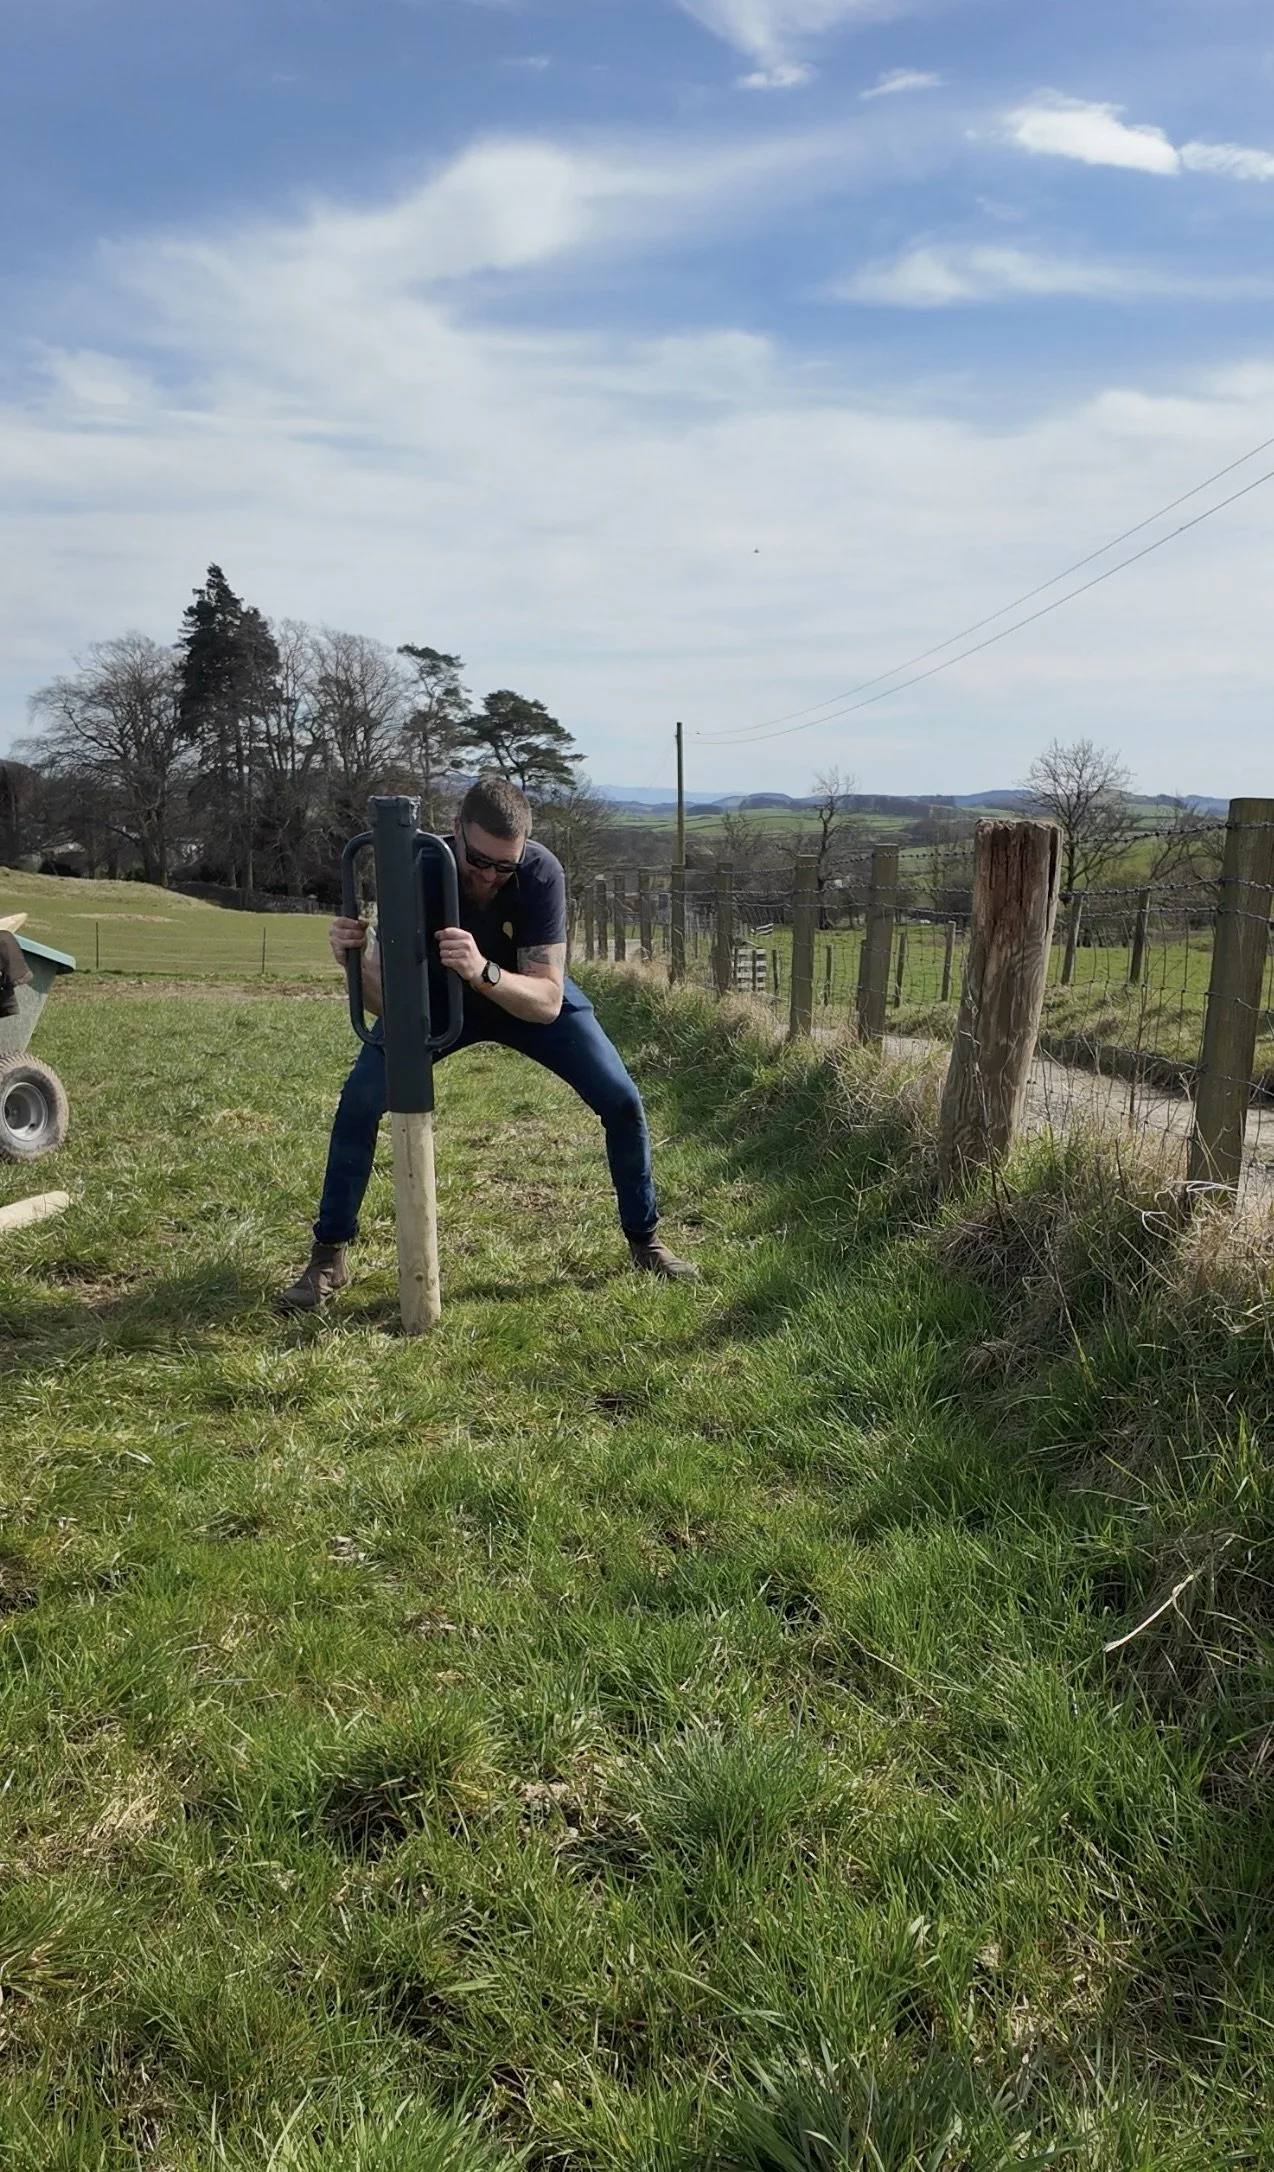
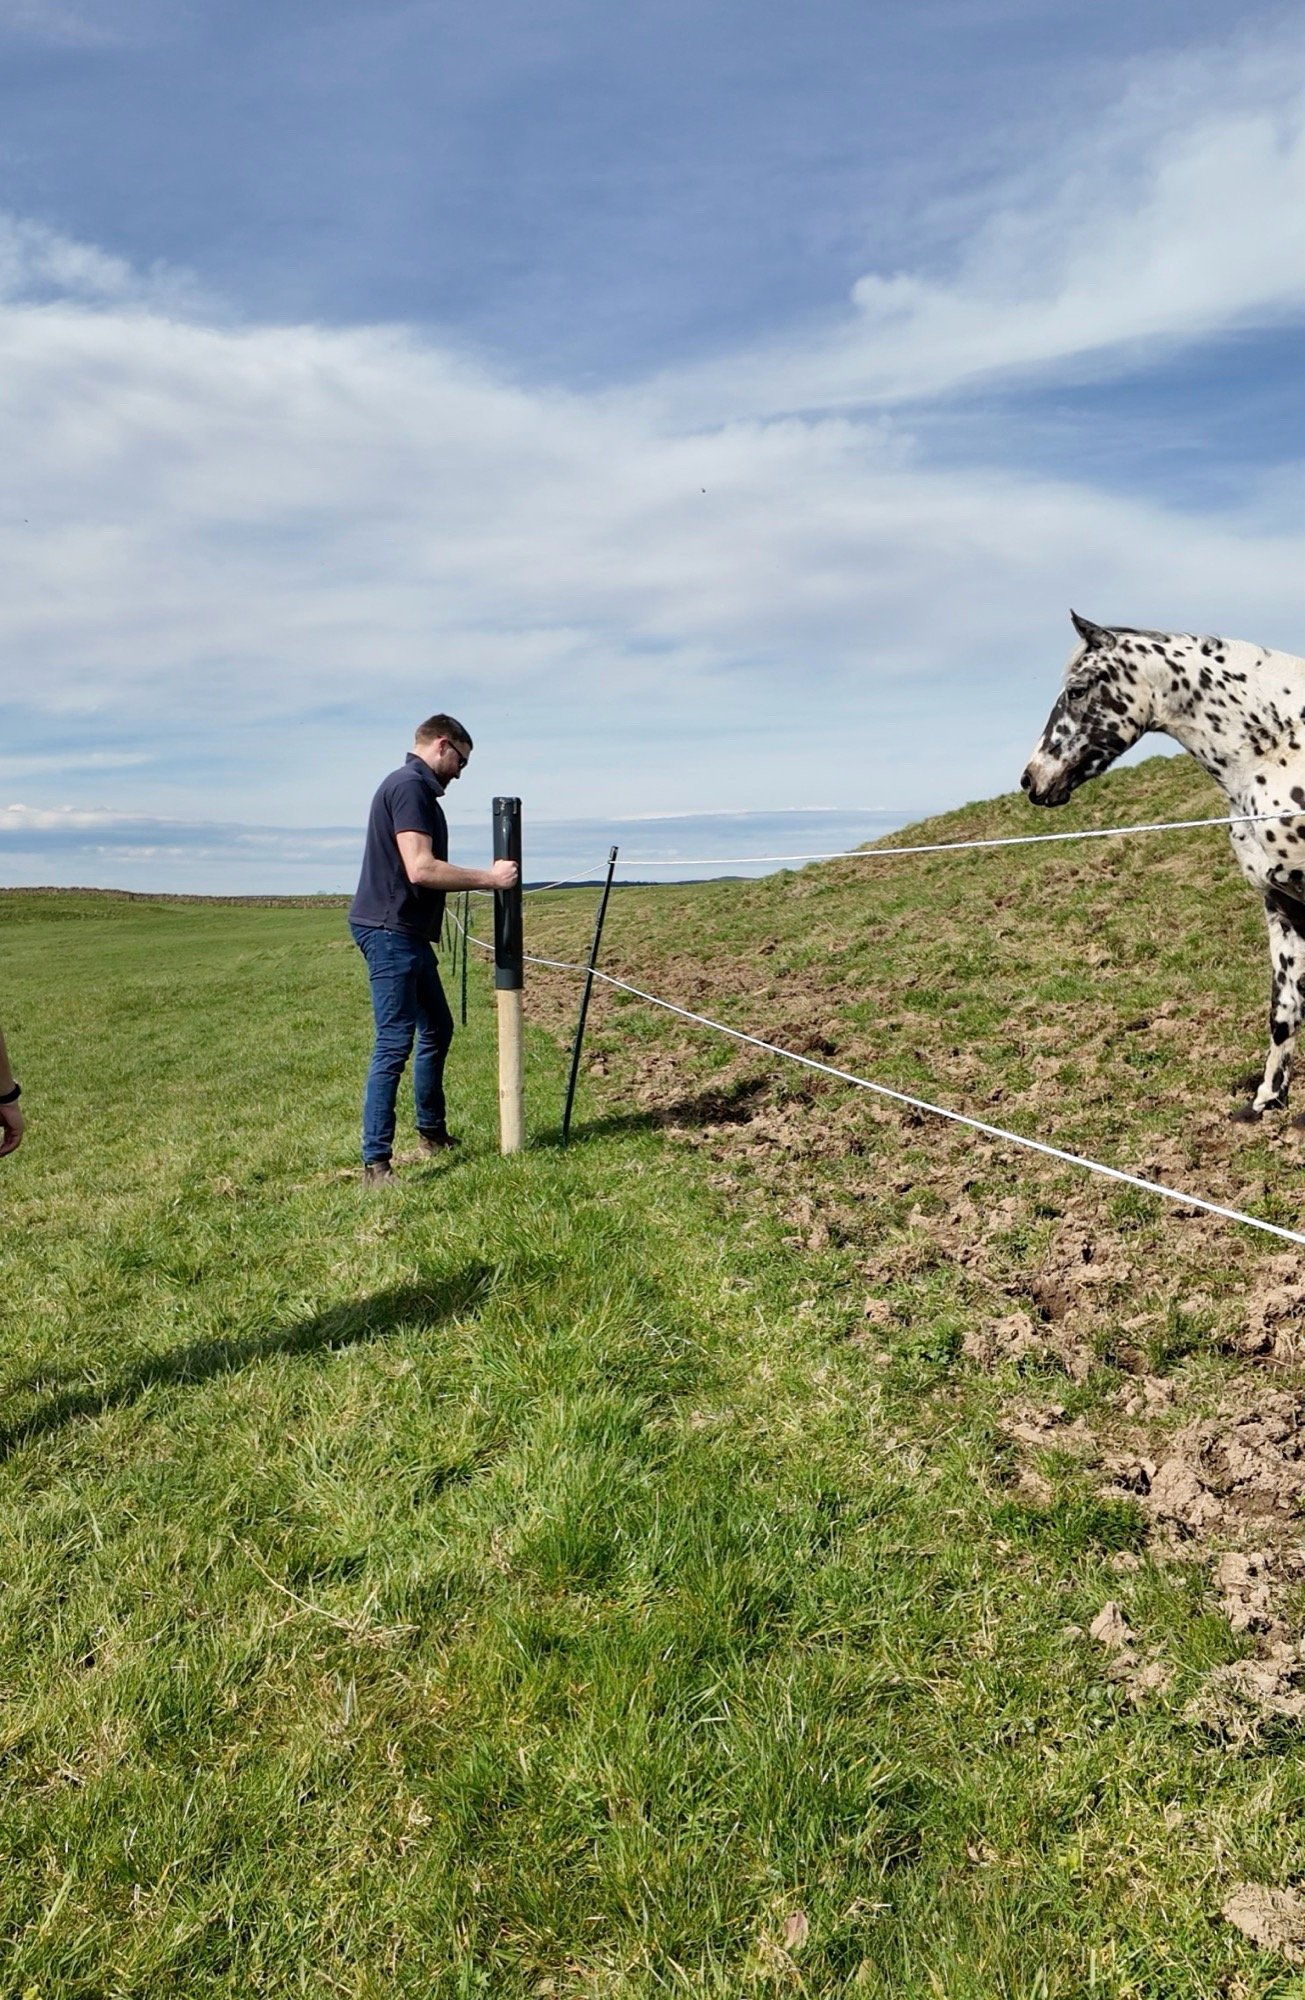
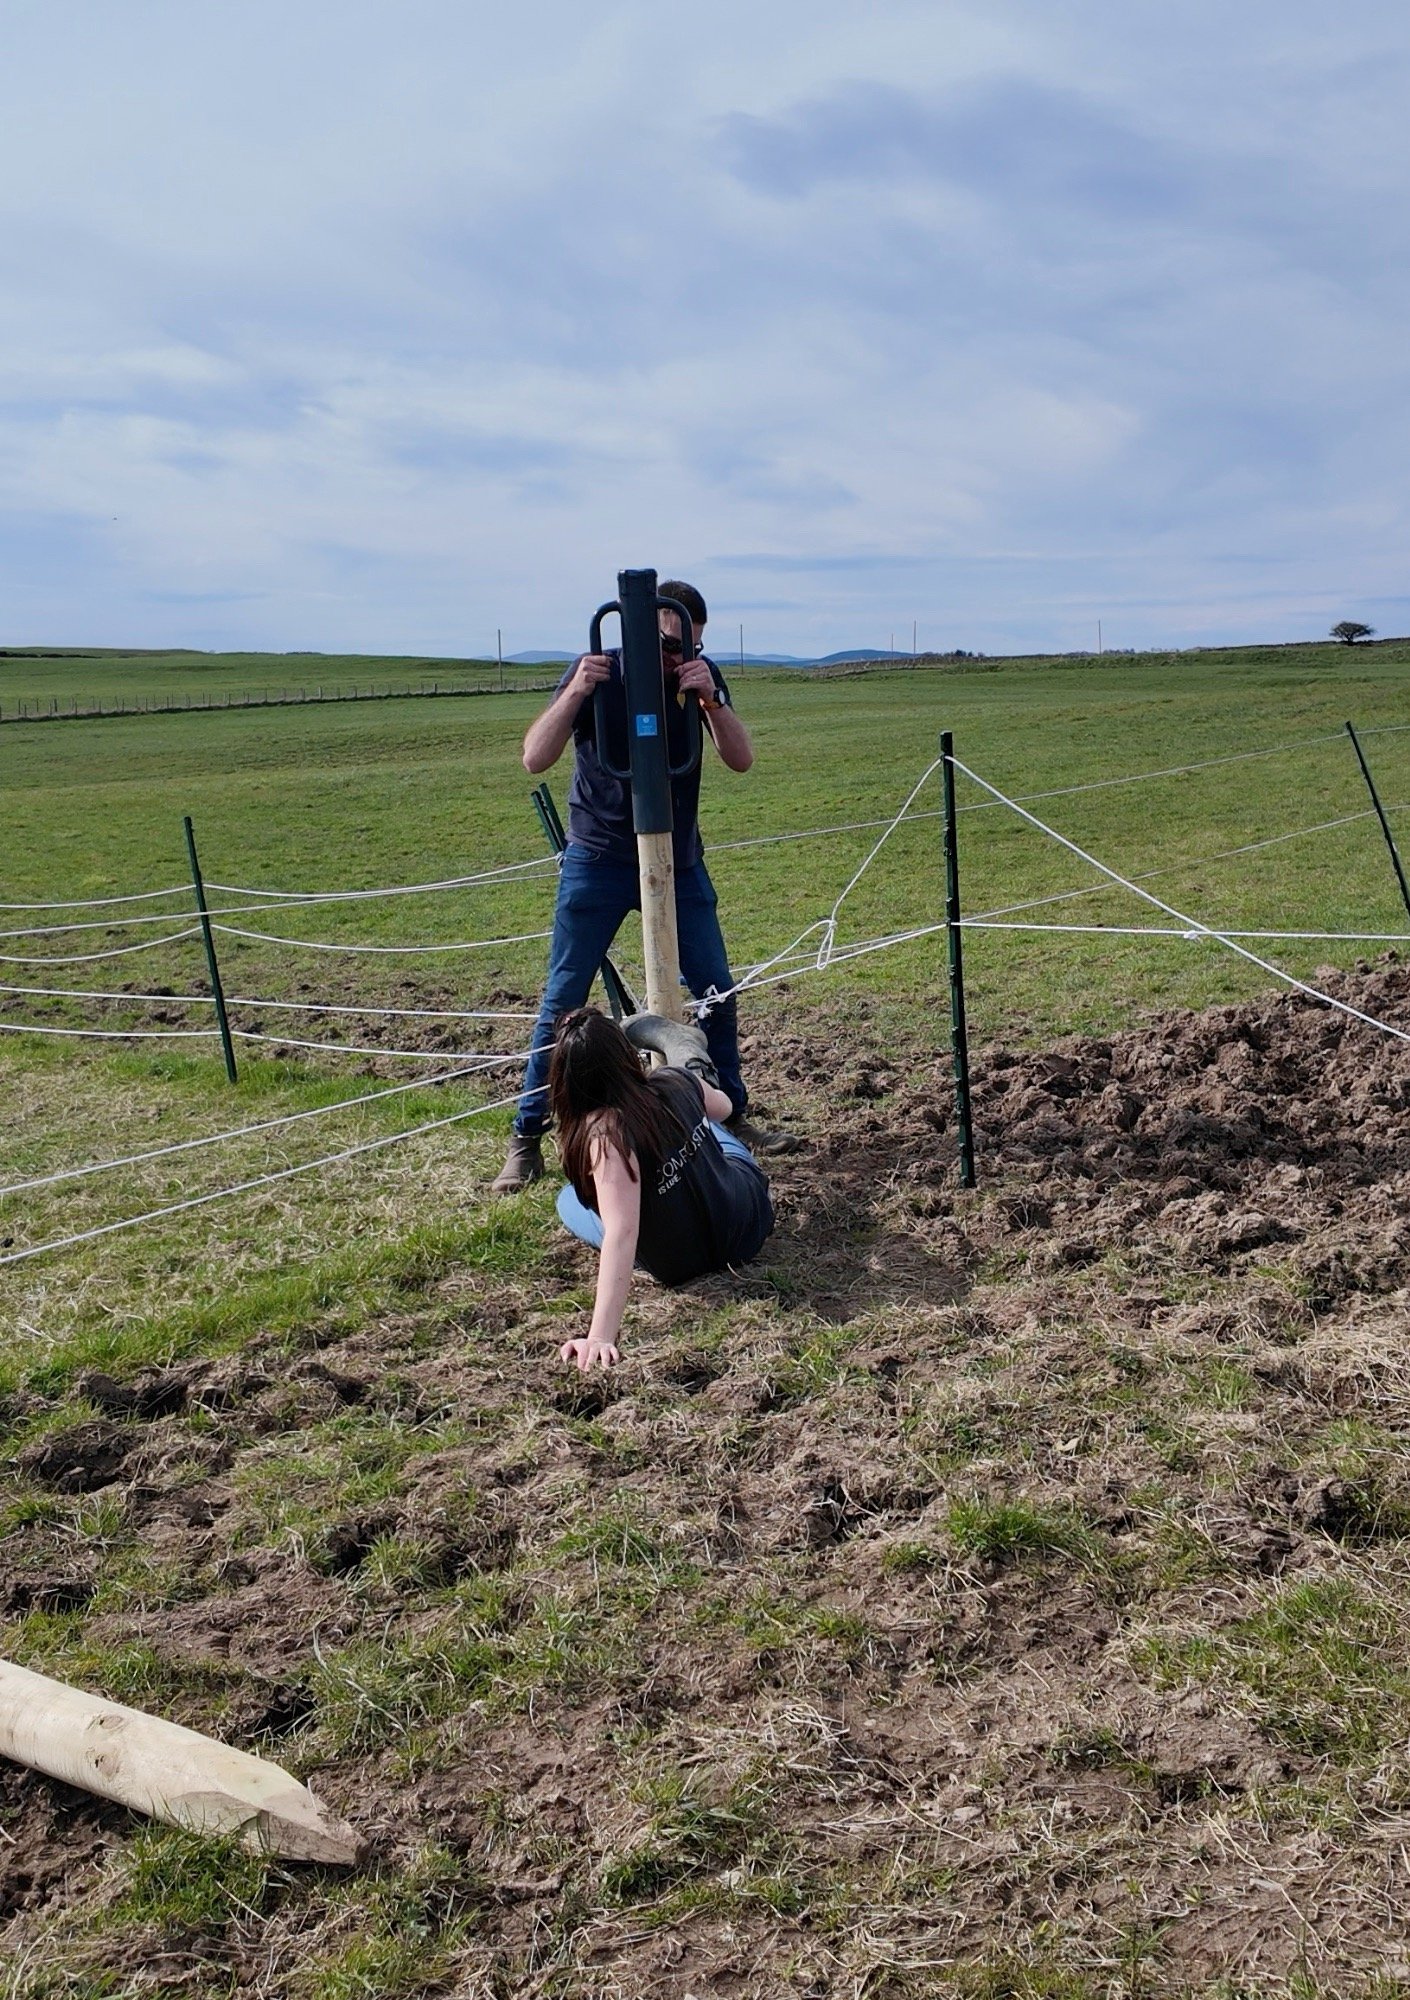
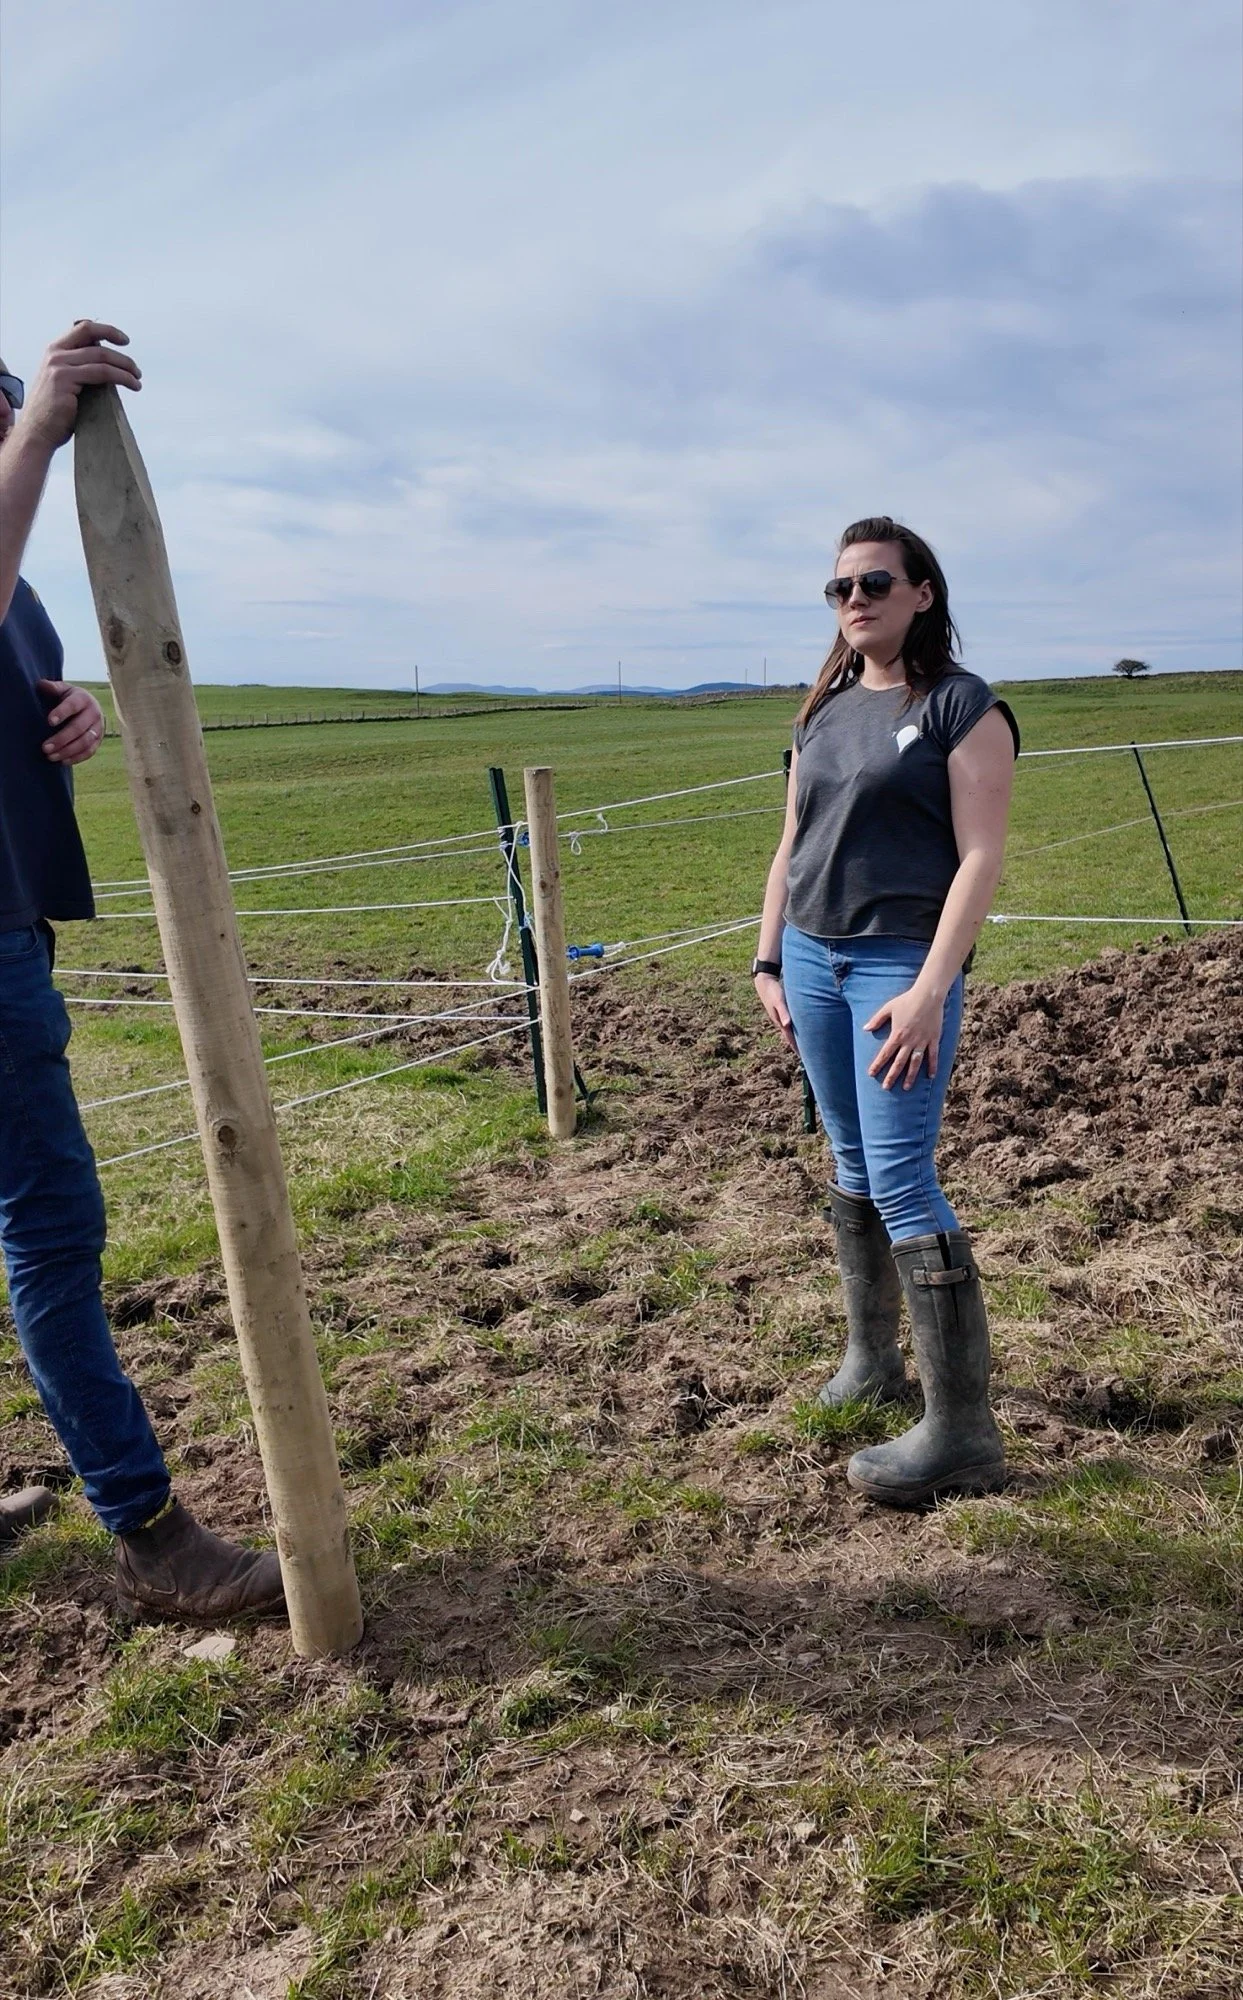
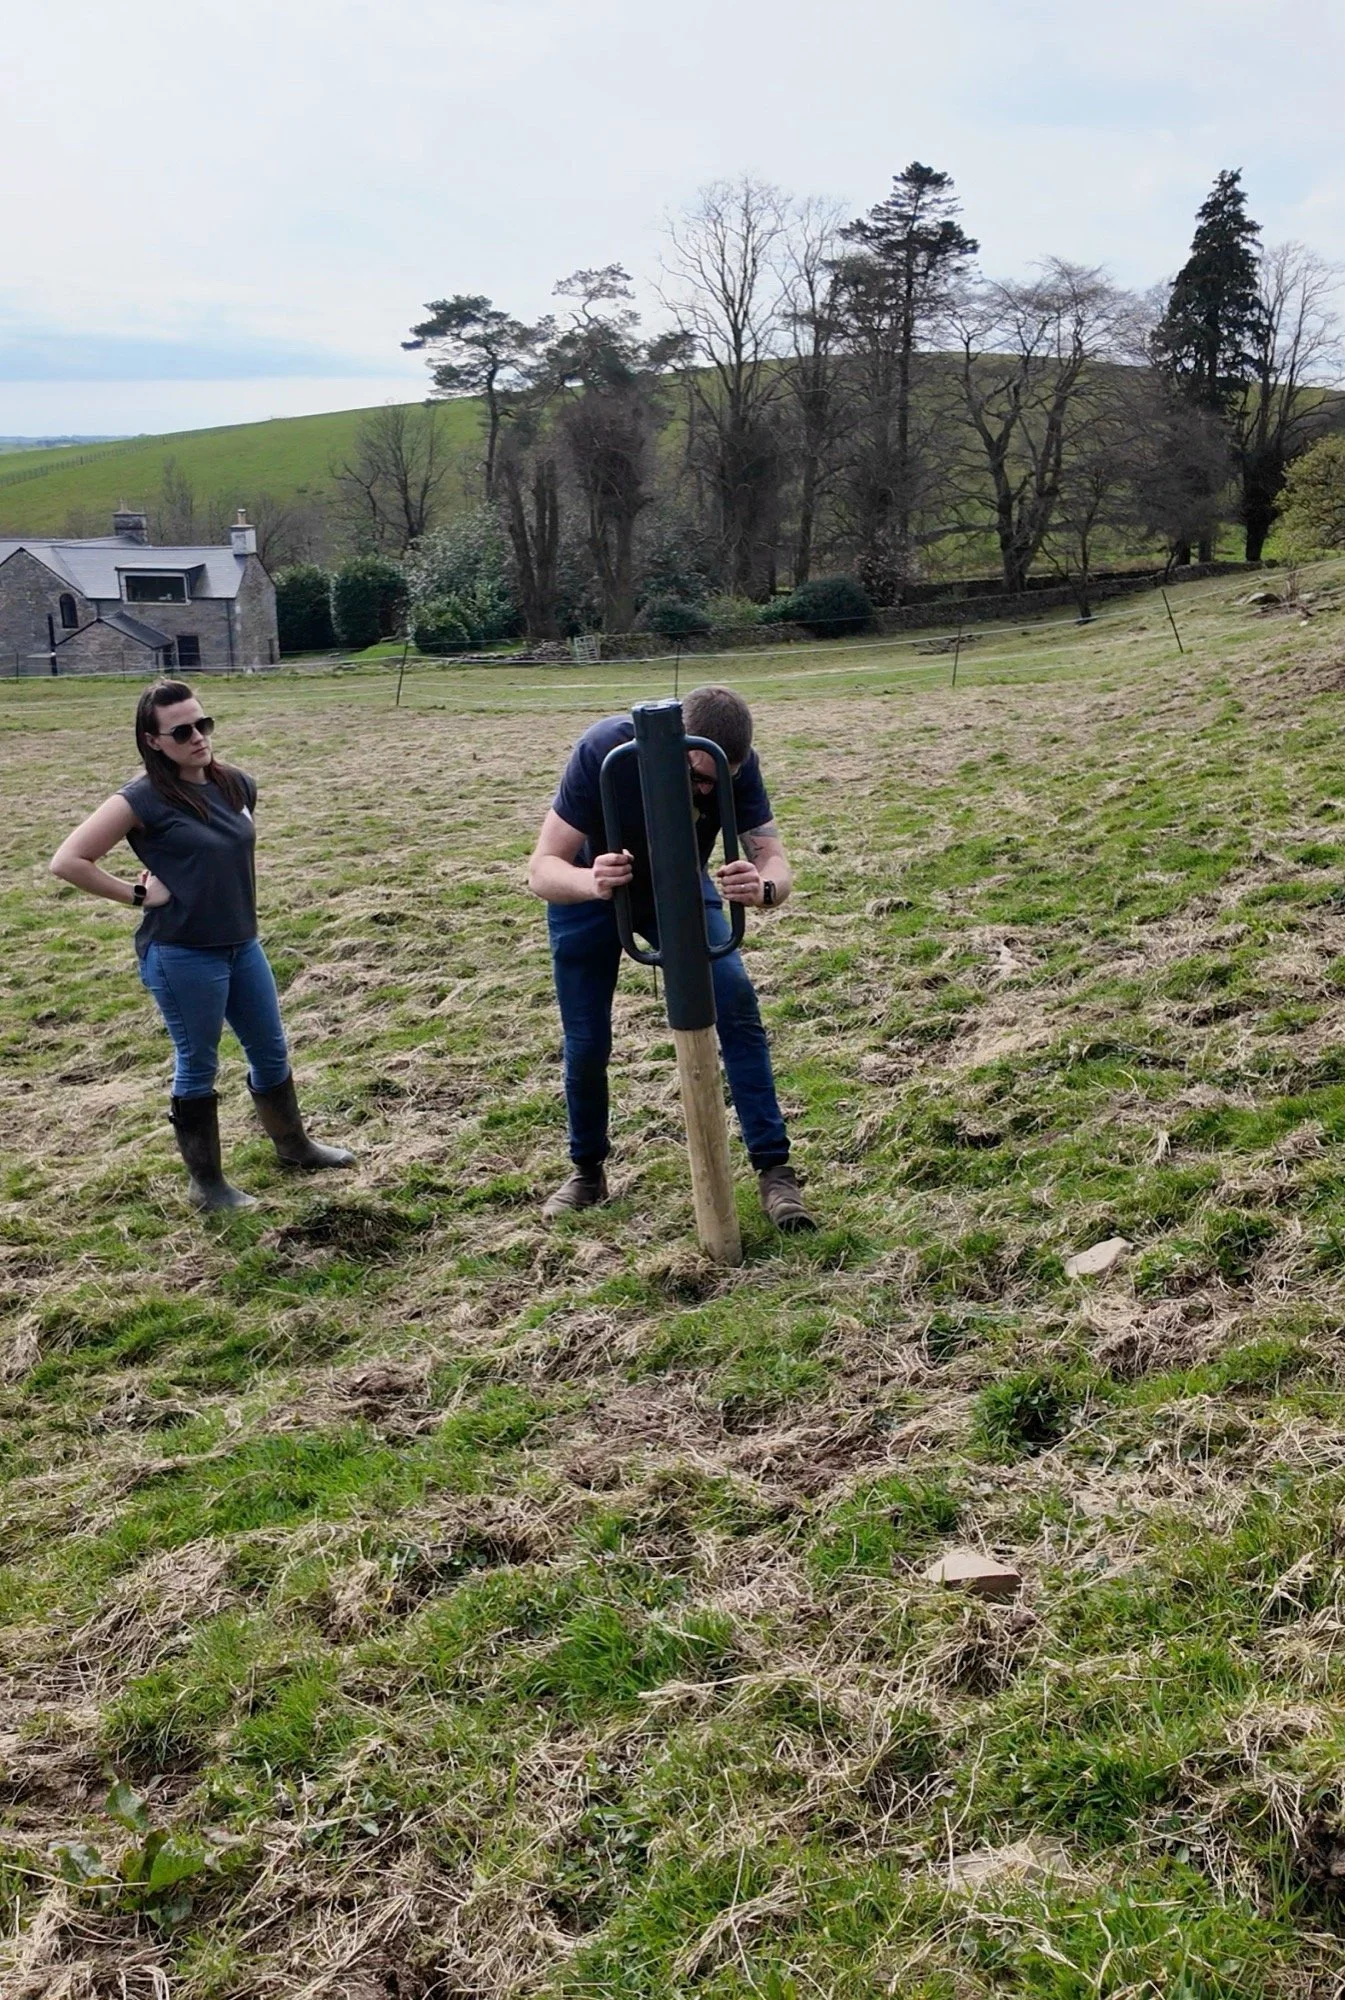
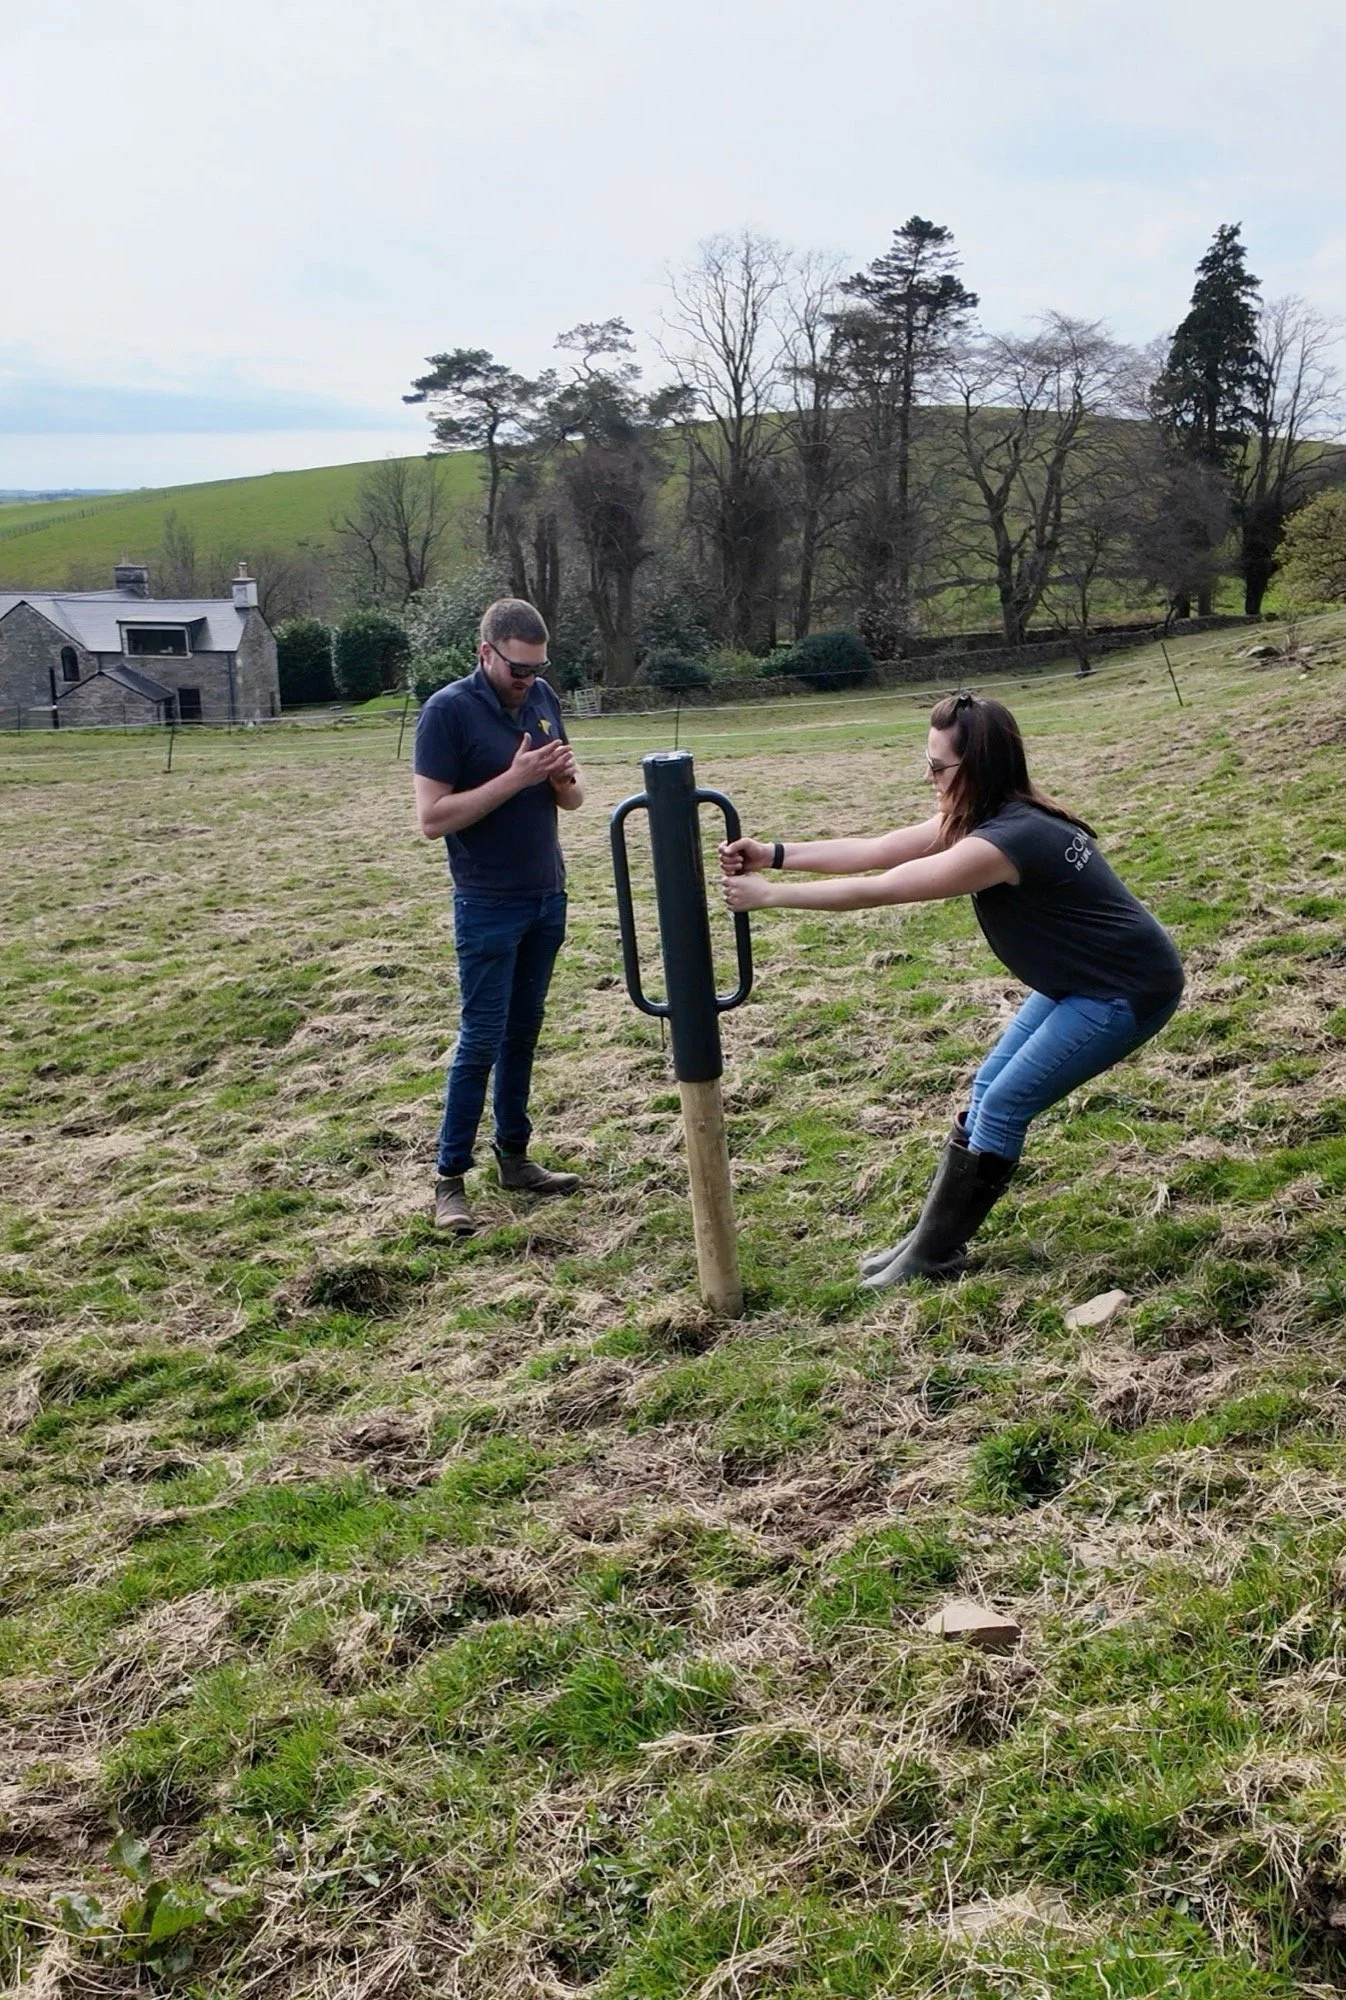
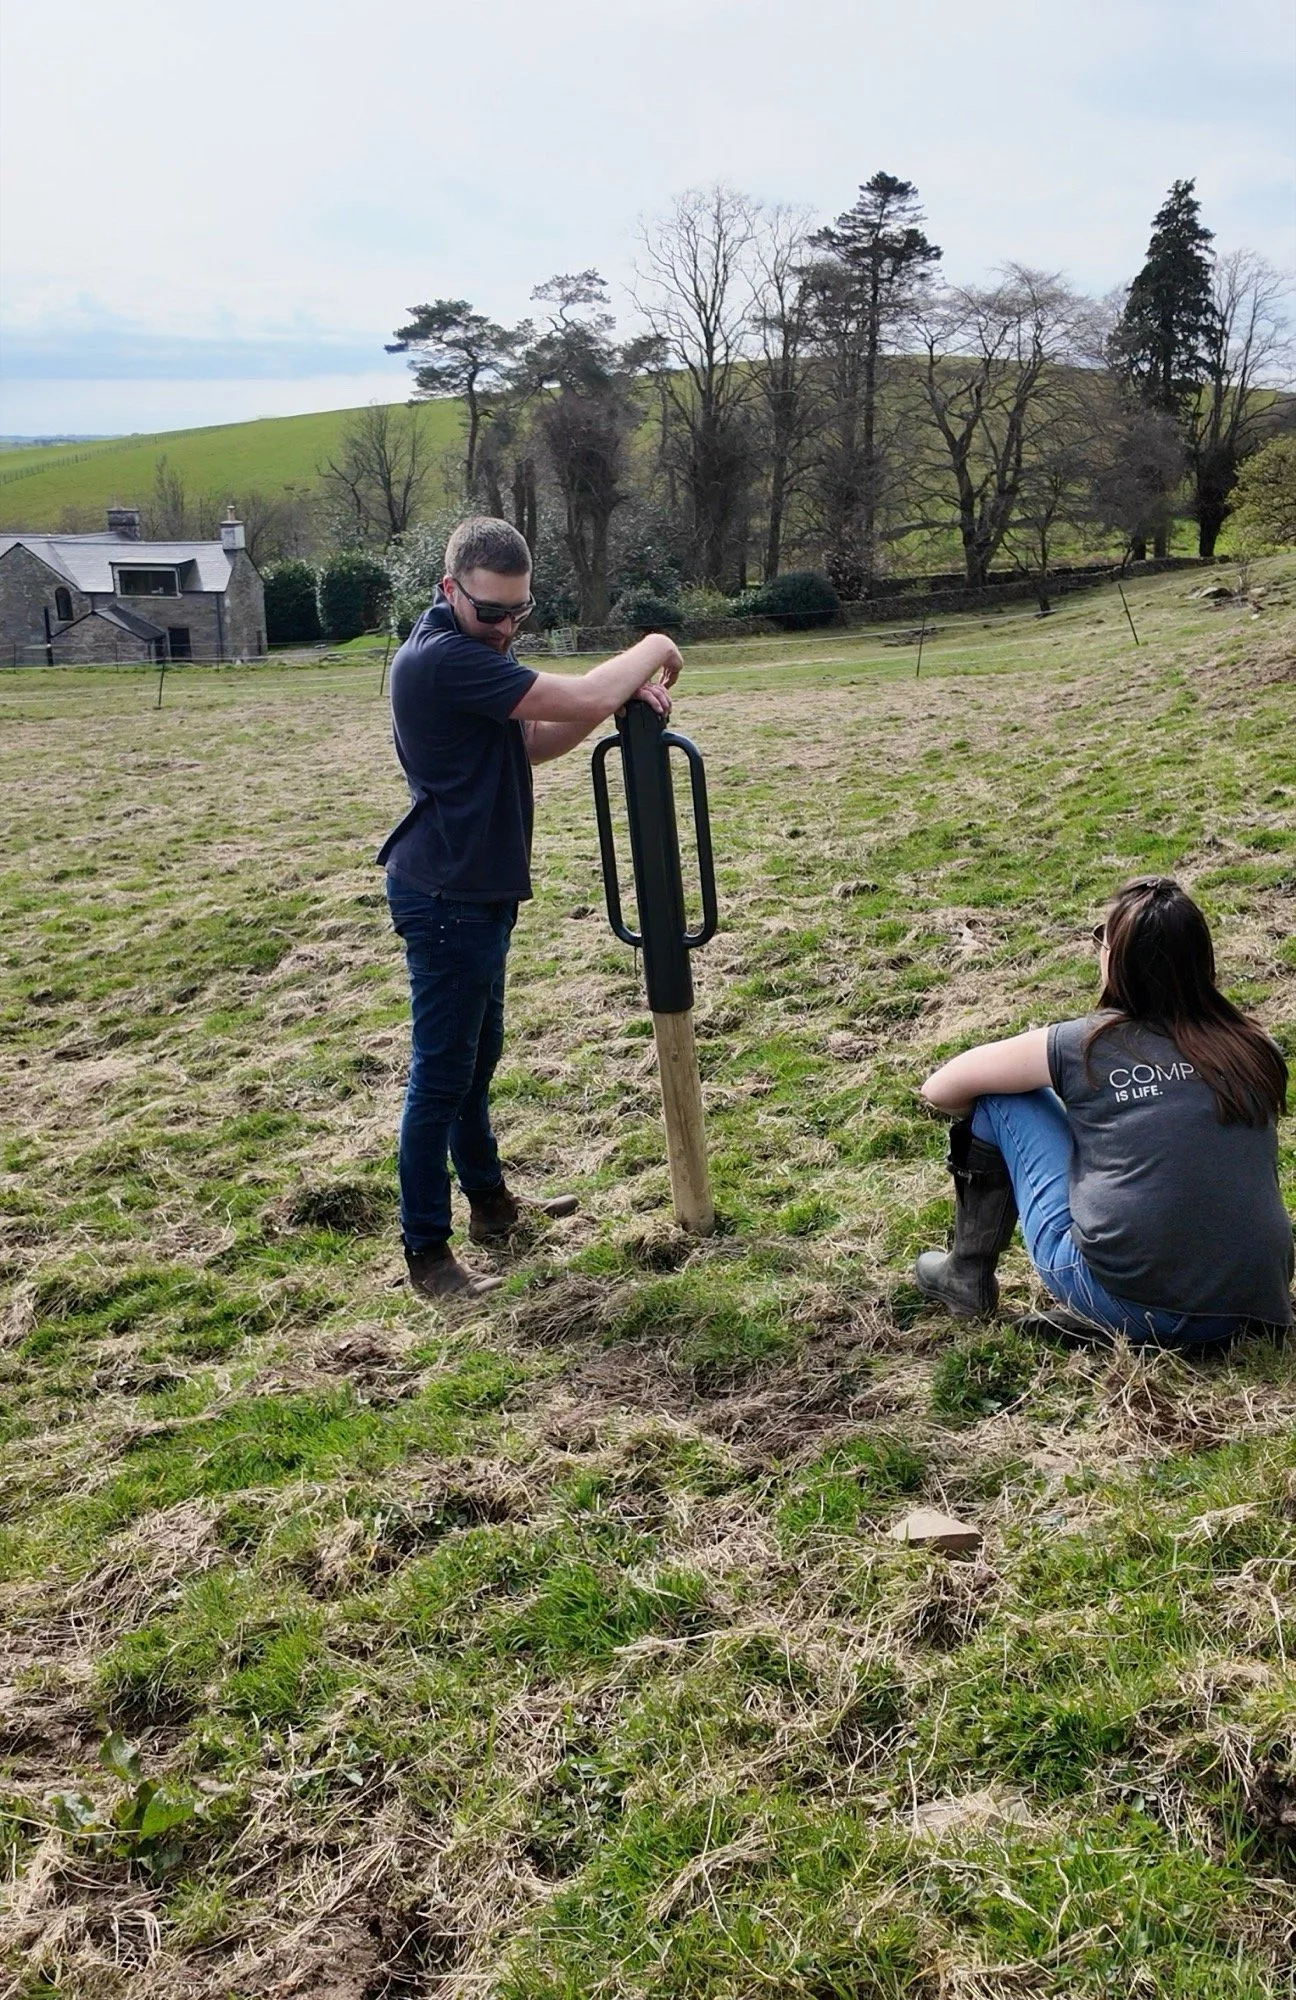
Dan ended this mission with 3 x open blisters on his hands, but the posts are in, and they’ll tide us through for now. Our permanent fencing was planned for this spring, but without finance in place it doesn’t make sense to invest in it just yet.
Finally, it’s been a really busy procurement period with lots of little bits and some big(ger) bits coming this week, including the lounge curtain poles, office & lounge window coverings, and foaling cameras too. Last week, Kenny prepped us with a decent consumer unit inside the west barns too, which means we can run cameras, internet APs and switches using PoE without a power problem.
I’m a still wading through PtP, switches, access points and cables… I will figure it out soon!
April Week 3 & 4:
I’m sandwiching these weeks together because two of the three main things span across the 14 days - it makes sense, I promise. Let’s start with the last thing I mentioned in Week 2…
The Networking
Honestly, let me just state for the record that I have never done anything like this before, I’m a complete beginner, and I have no idea what I’m doing. I spent about 8 hours learning as much as I could before trying to figure out what on earth we would need. Let me set the scene…
Aim: To somehow get one single Starlink to do the wifi magic in the farmhouse (despite all the stone walls), at the top of the yard, and the cottage, down the hill, whilst preventing anyone in the cottage from accessing the other things connected to the farmhouse router. Oh, and to be able to set up camera(s) that need wifi around the place.
All of this work needed to be done in this two-week window because we need wifi in the stables for a foal watch camera.
I had my brief, I have my site; however, I have no skills in any of this.
I drew many maps whilst trying to learn everything possible about this in the space of 8 hours, and I ended up with a pretty good (to me) plan. For security purposes, I can’t go into the details of positions, locations, network isolation, etc., but I can share the components and that I opted to stick within the Omada system from TP-Link. Omada gives me 24/7 access to the network from anywhere in the world and pretty much endless customisation/extension.
This is what hardware I’ve got:
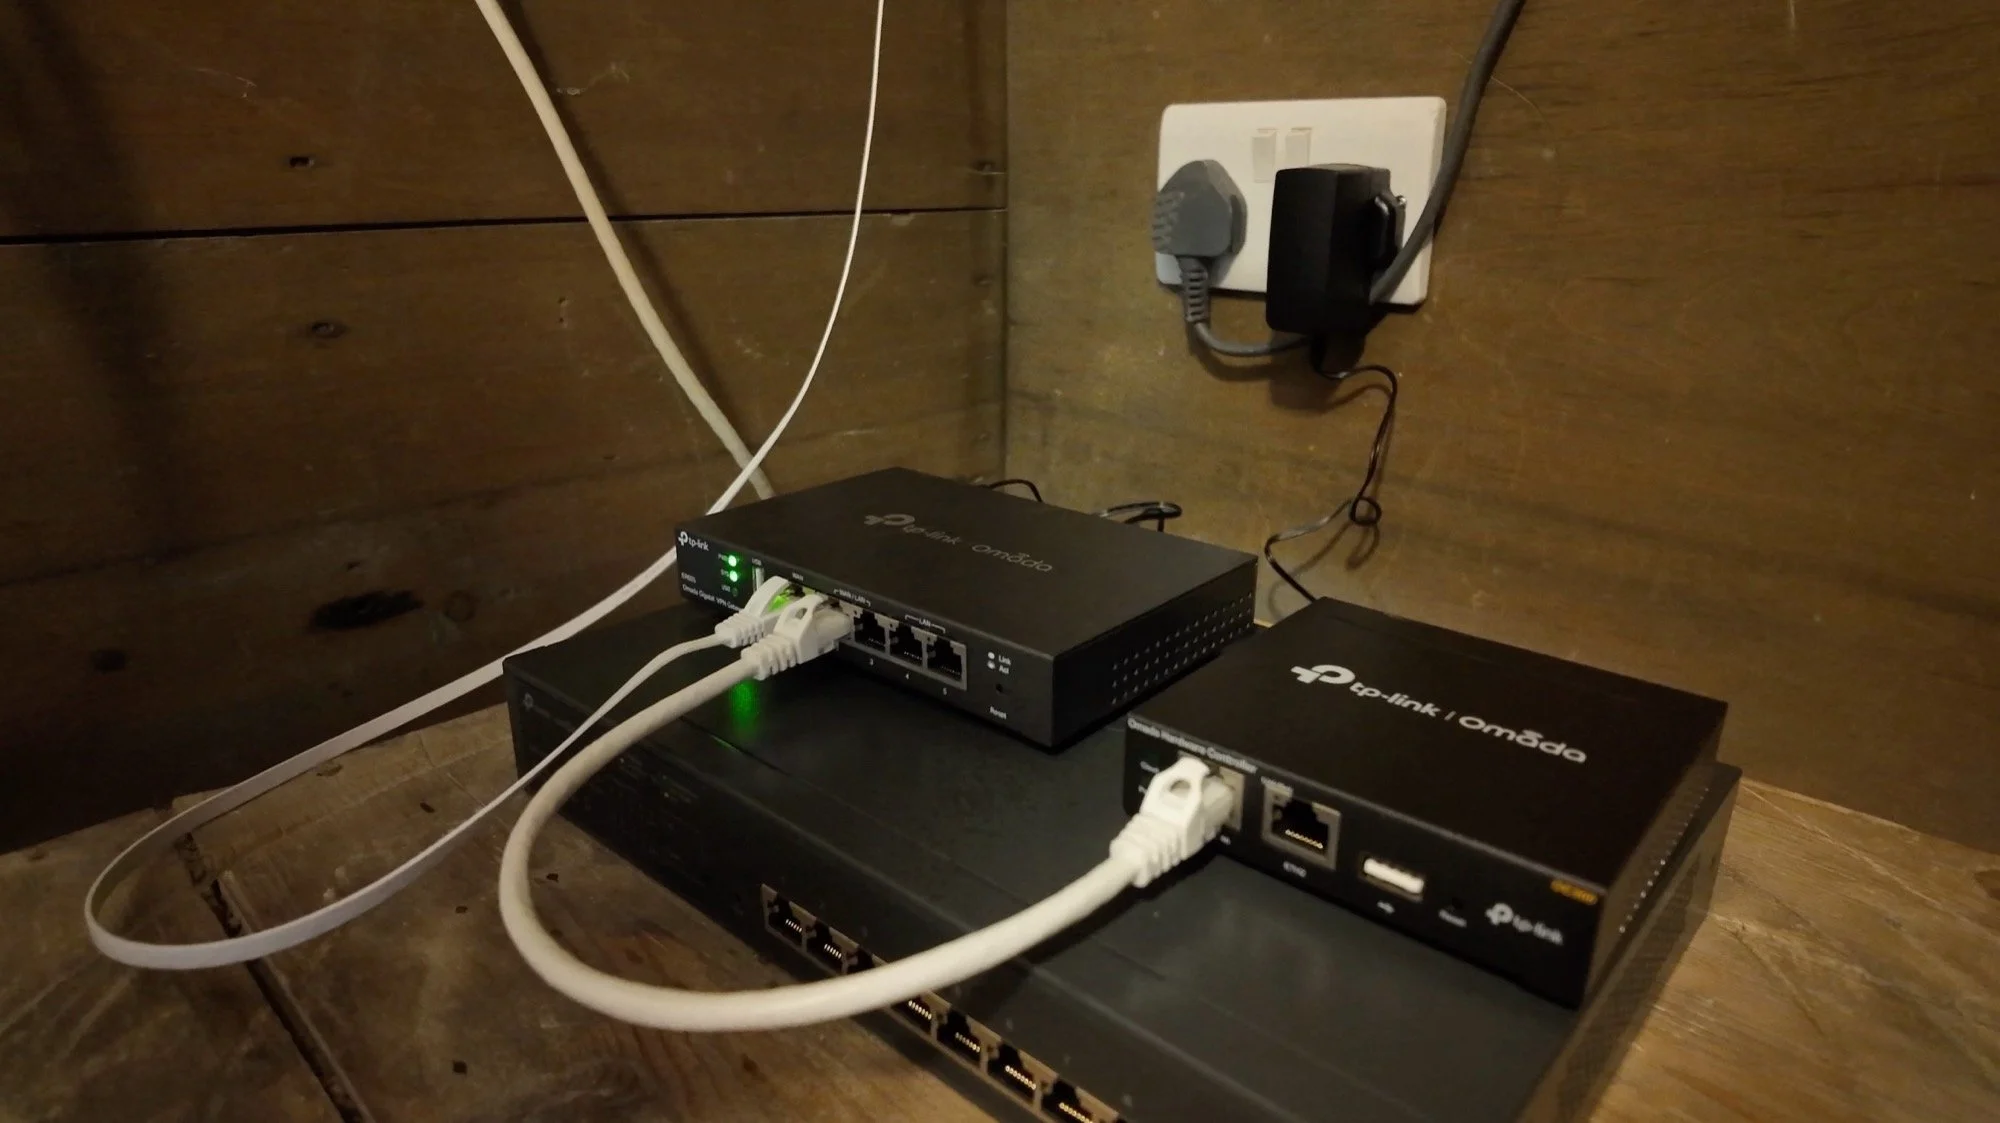
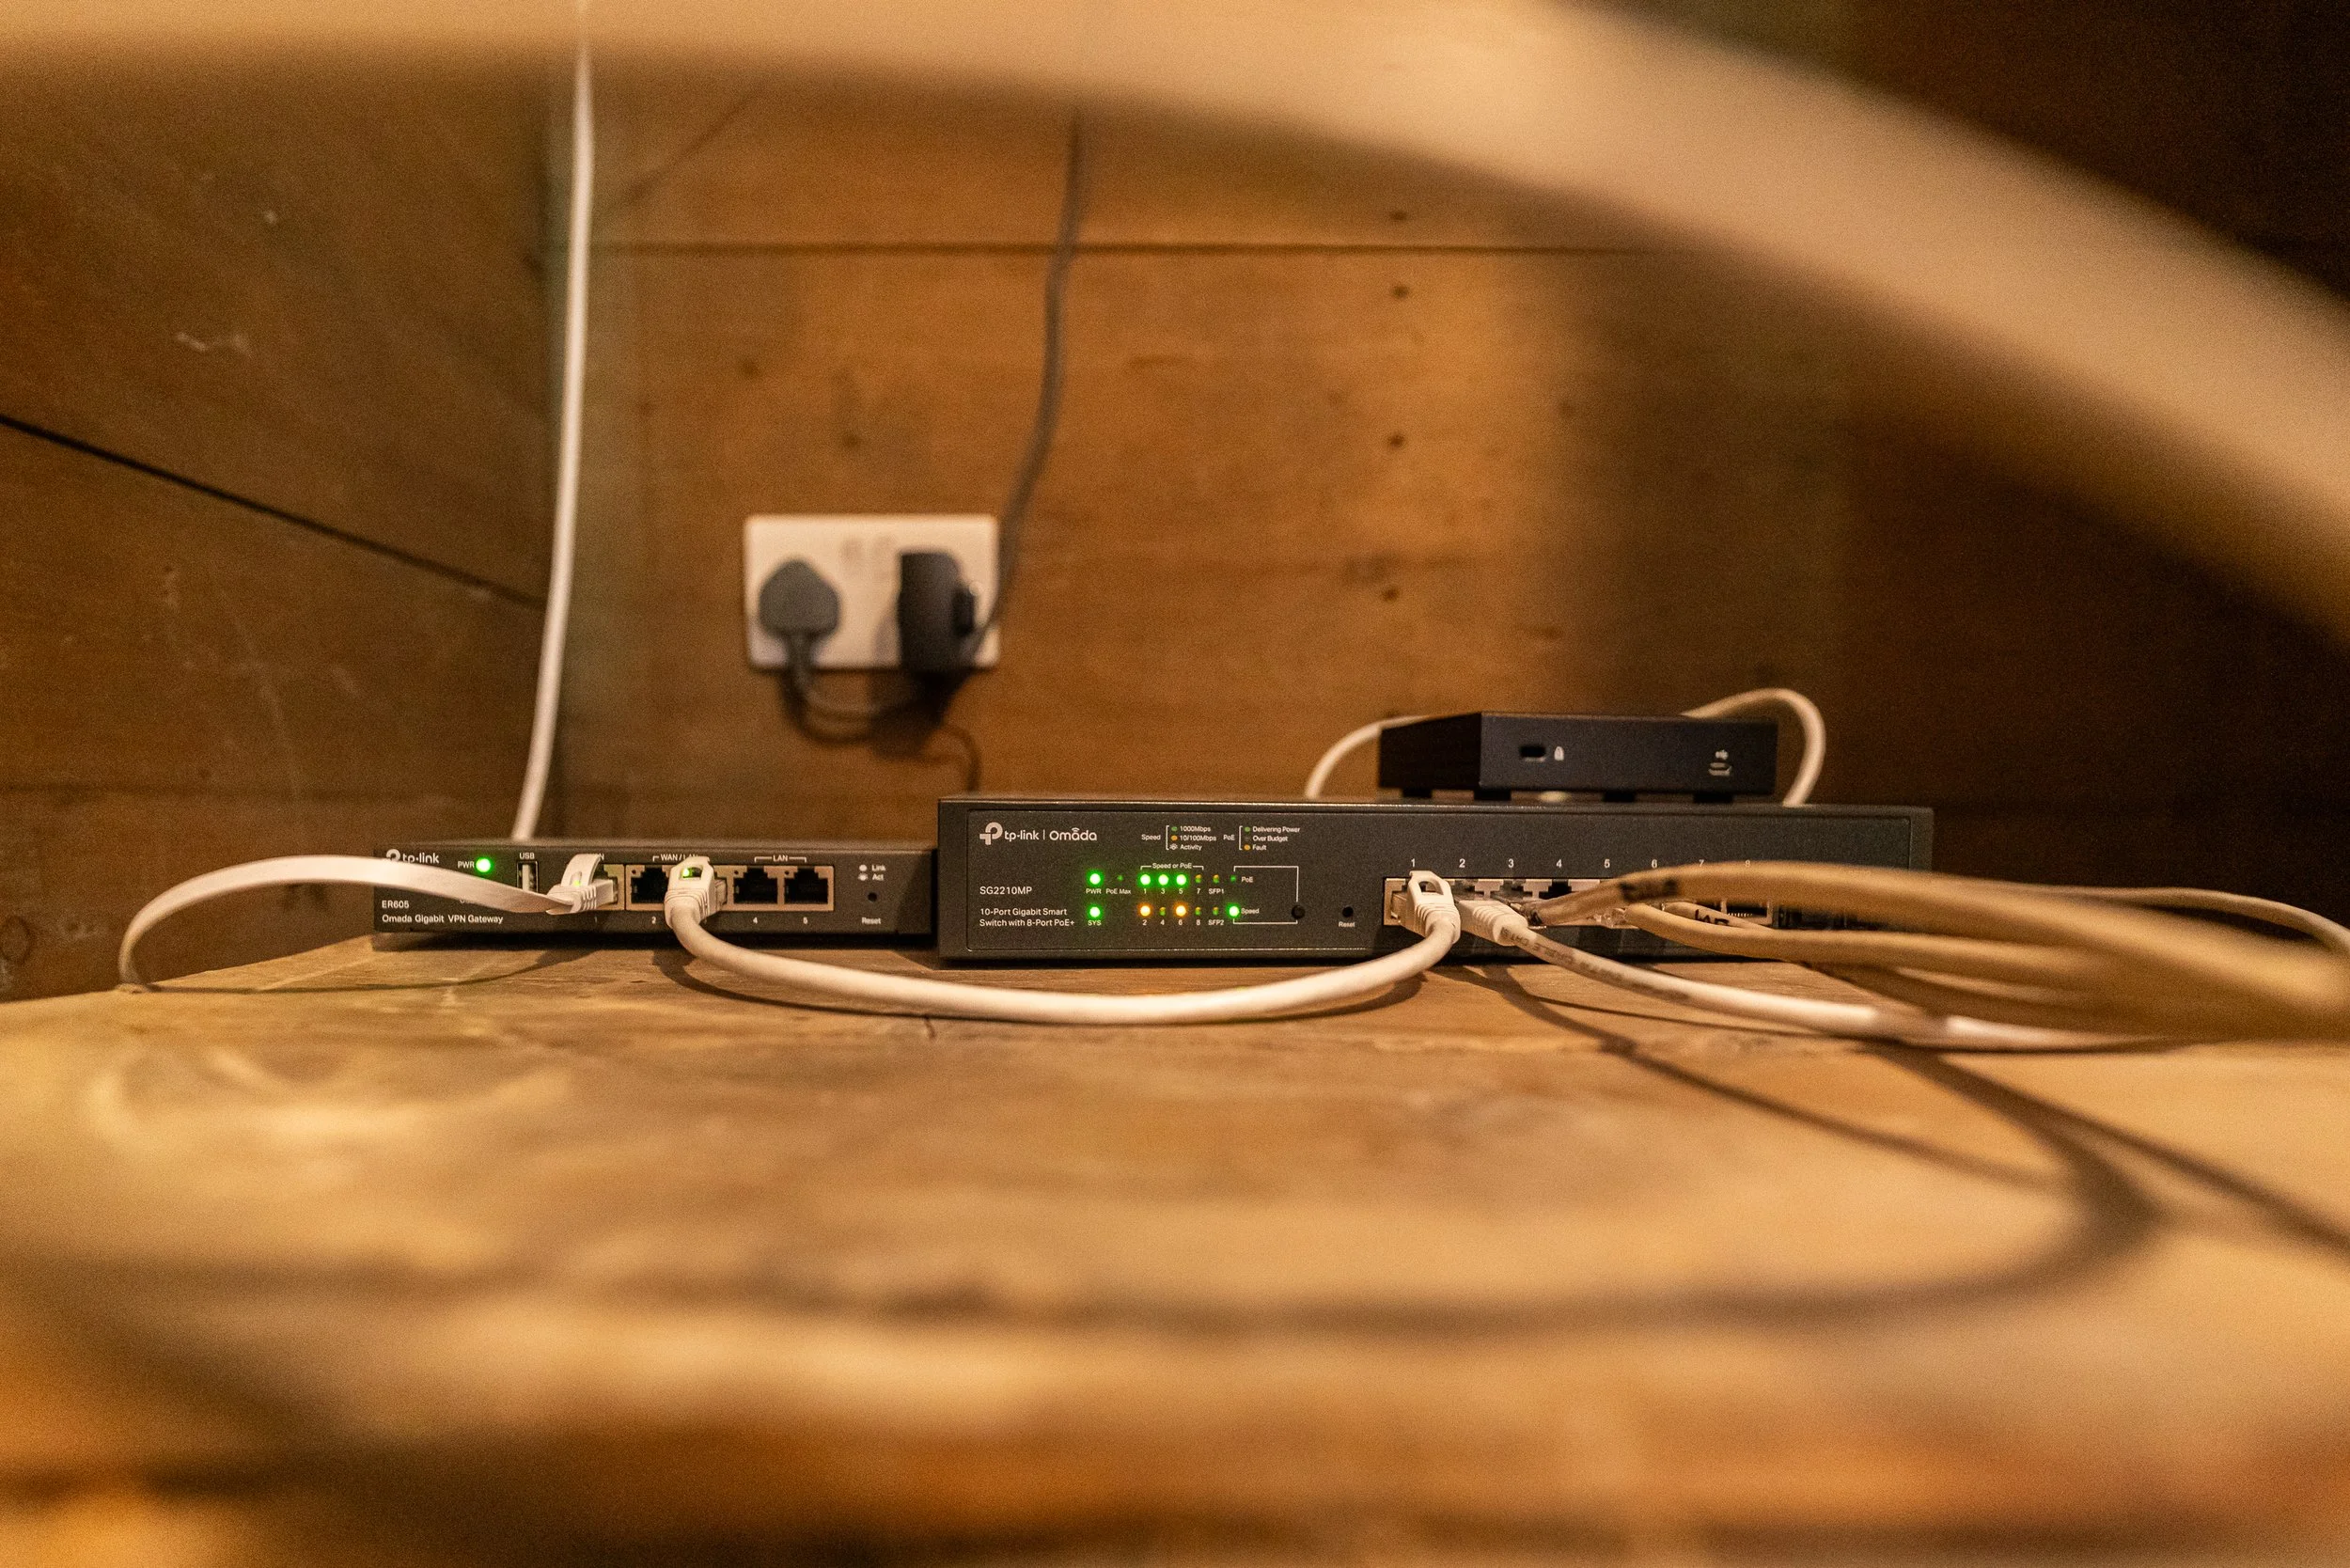
A VPN router
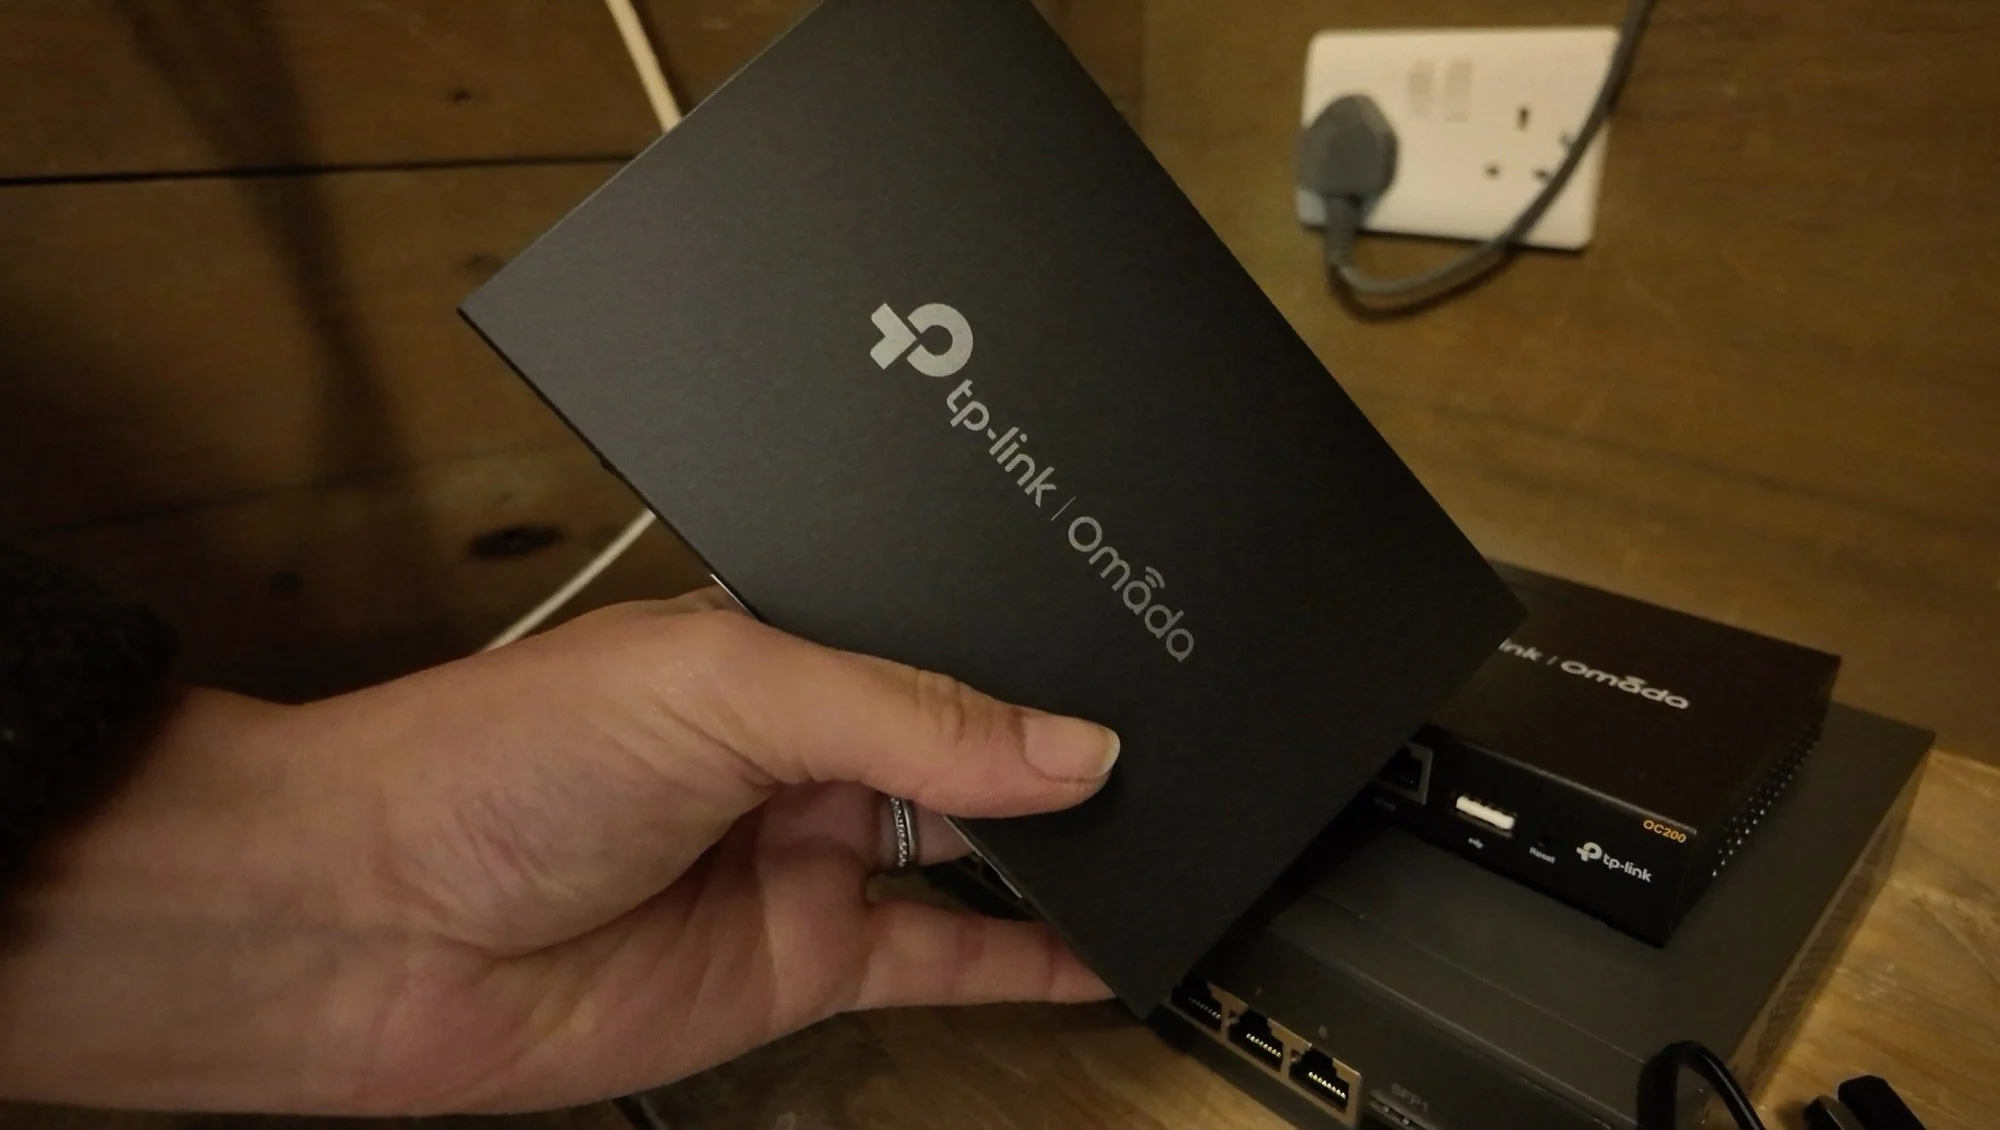
An Omada Controller
A managed switch
An unmanaged switch
Three ceiling-mounted access points
An outdoor access point
2 x Point to Point bridge kits
Pole mounts
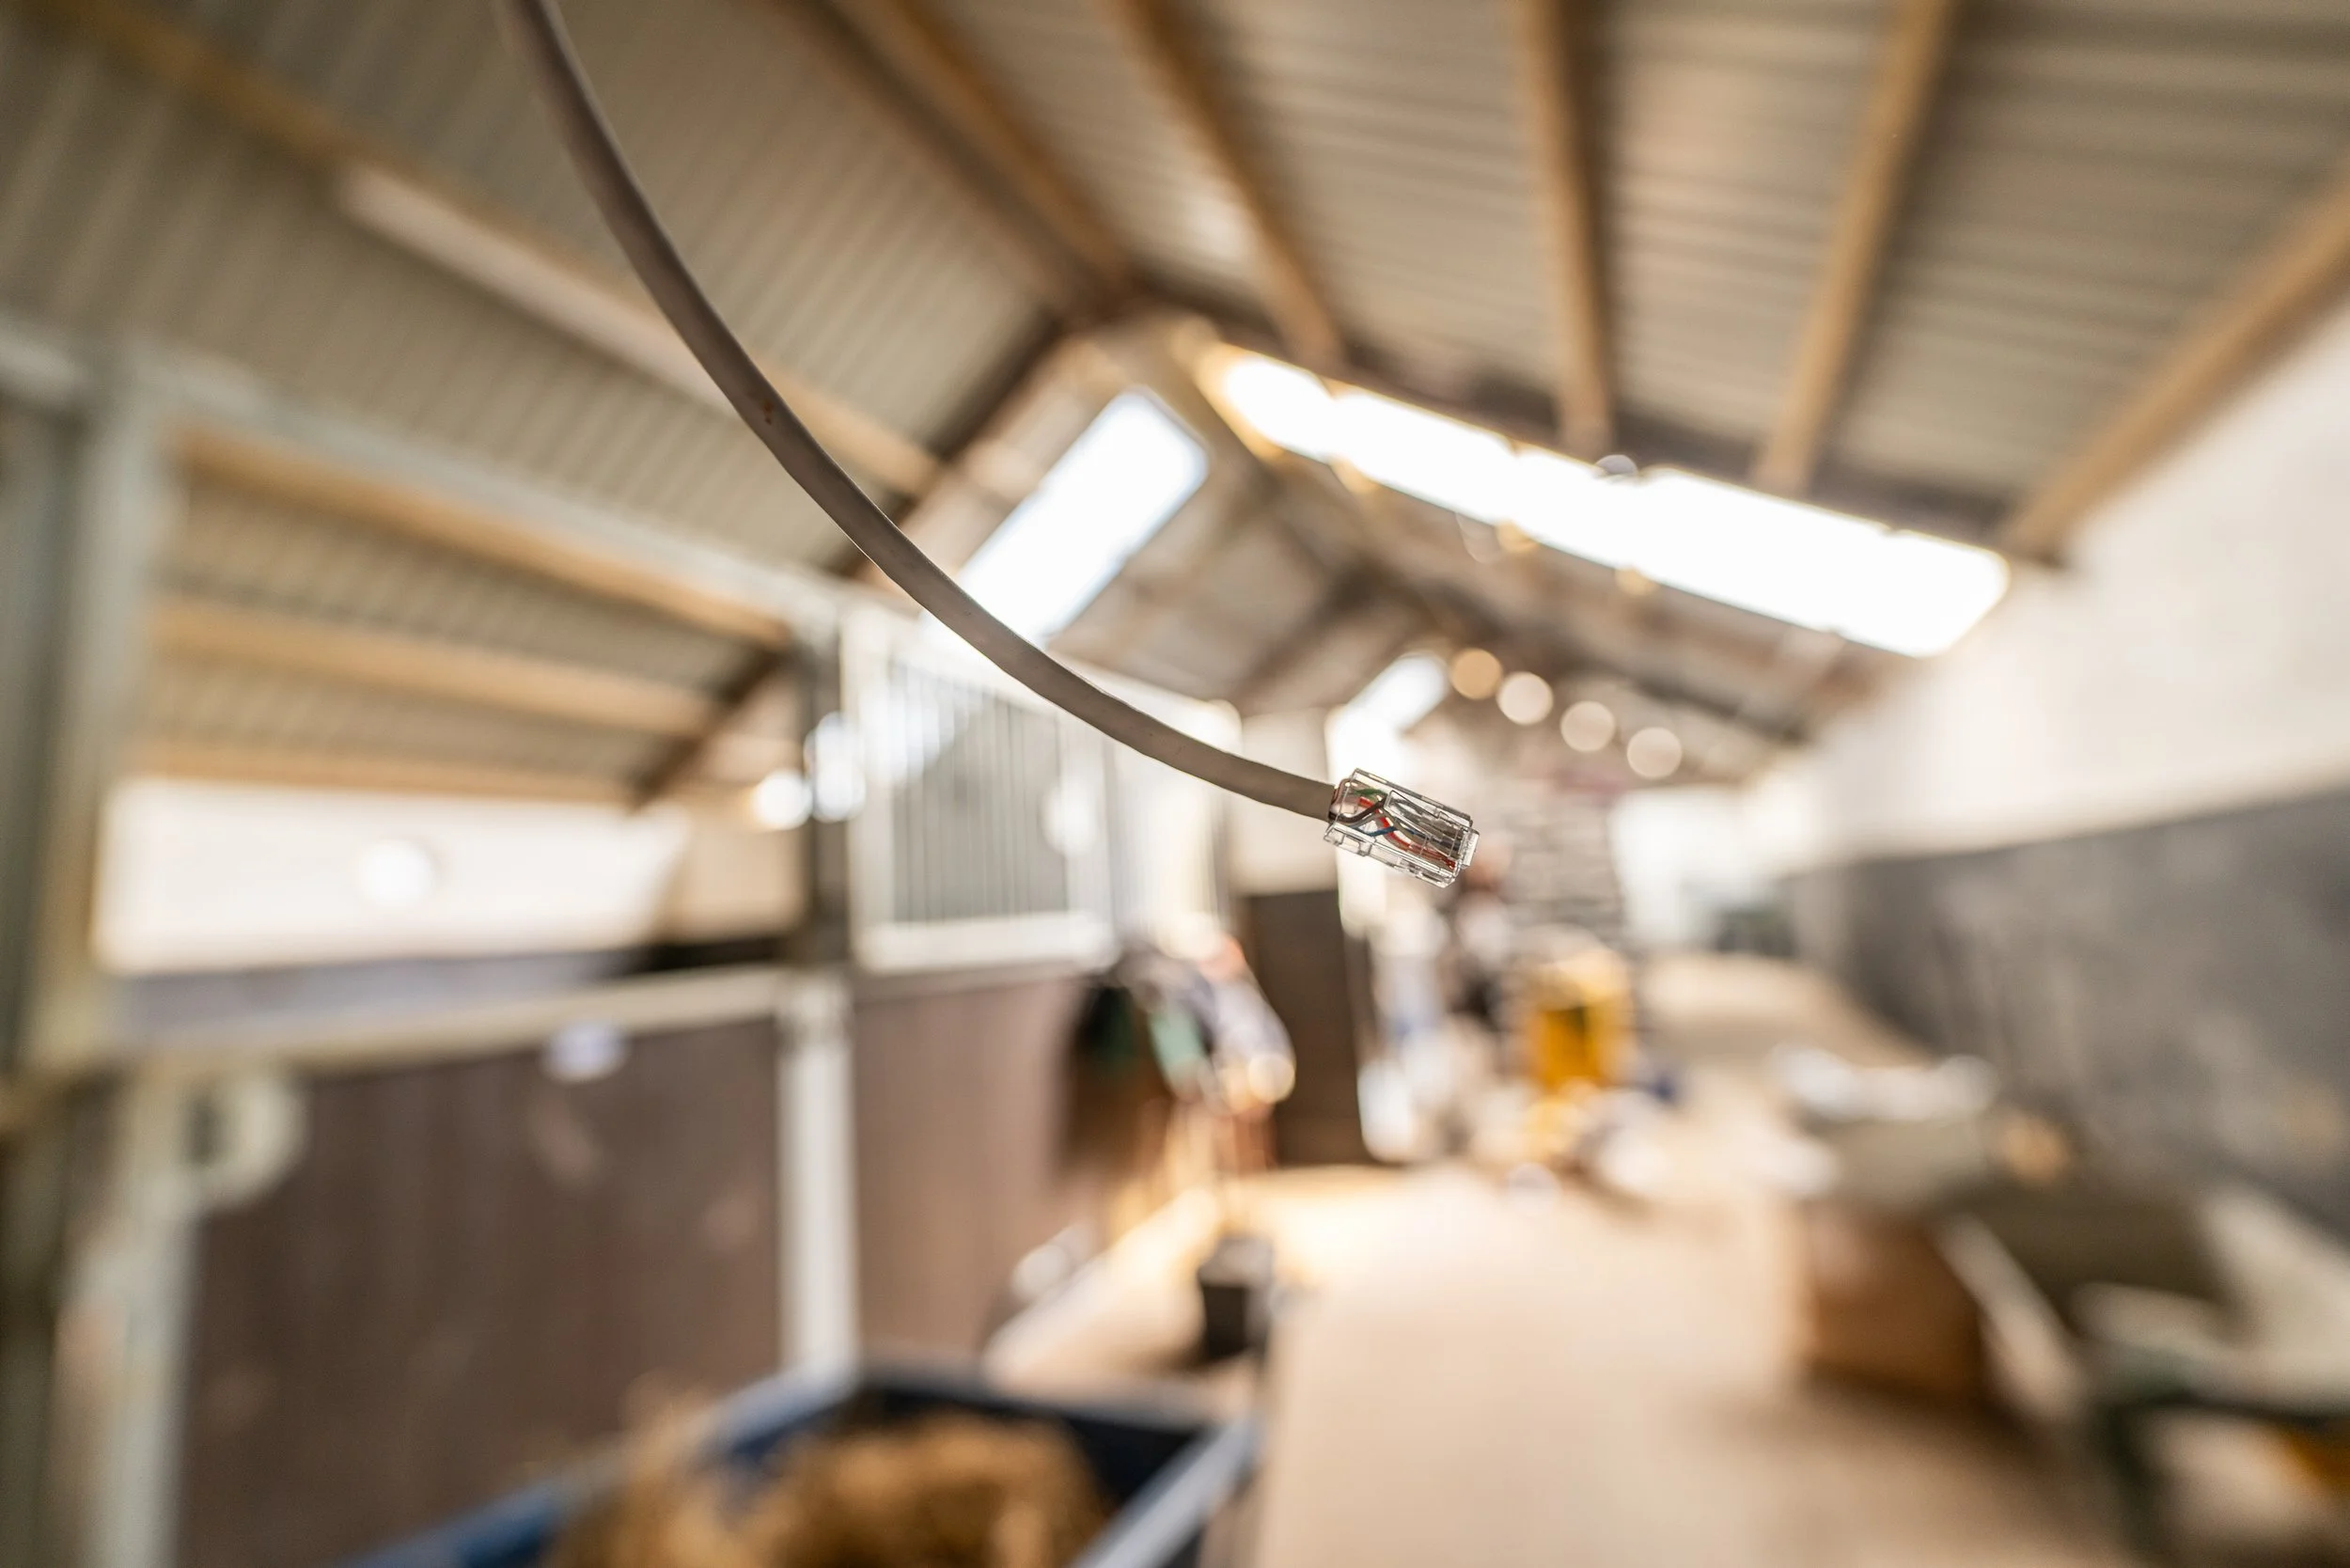
About 4,000 Cat6 ethernet cables
Cameras
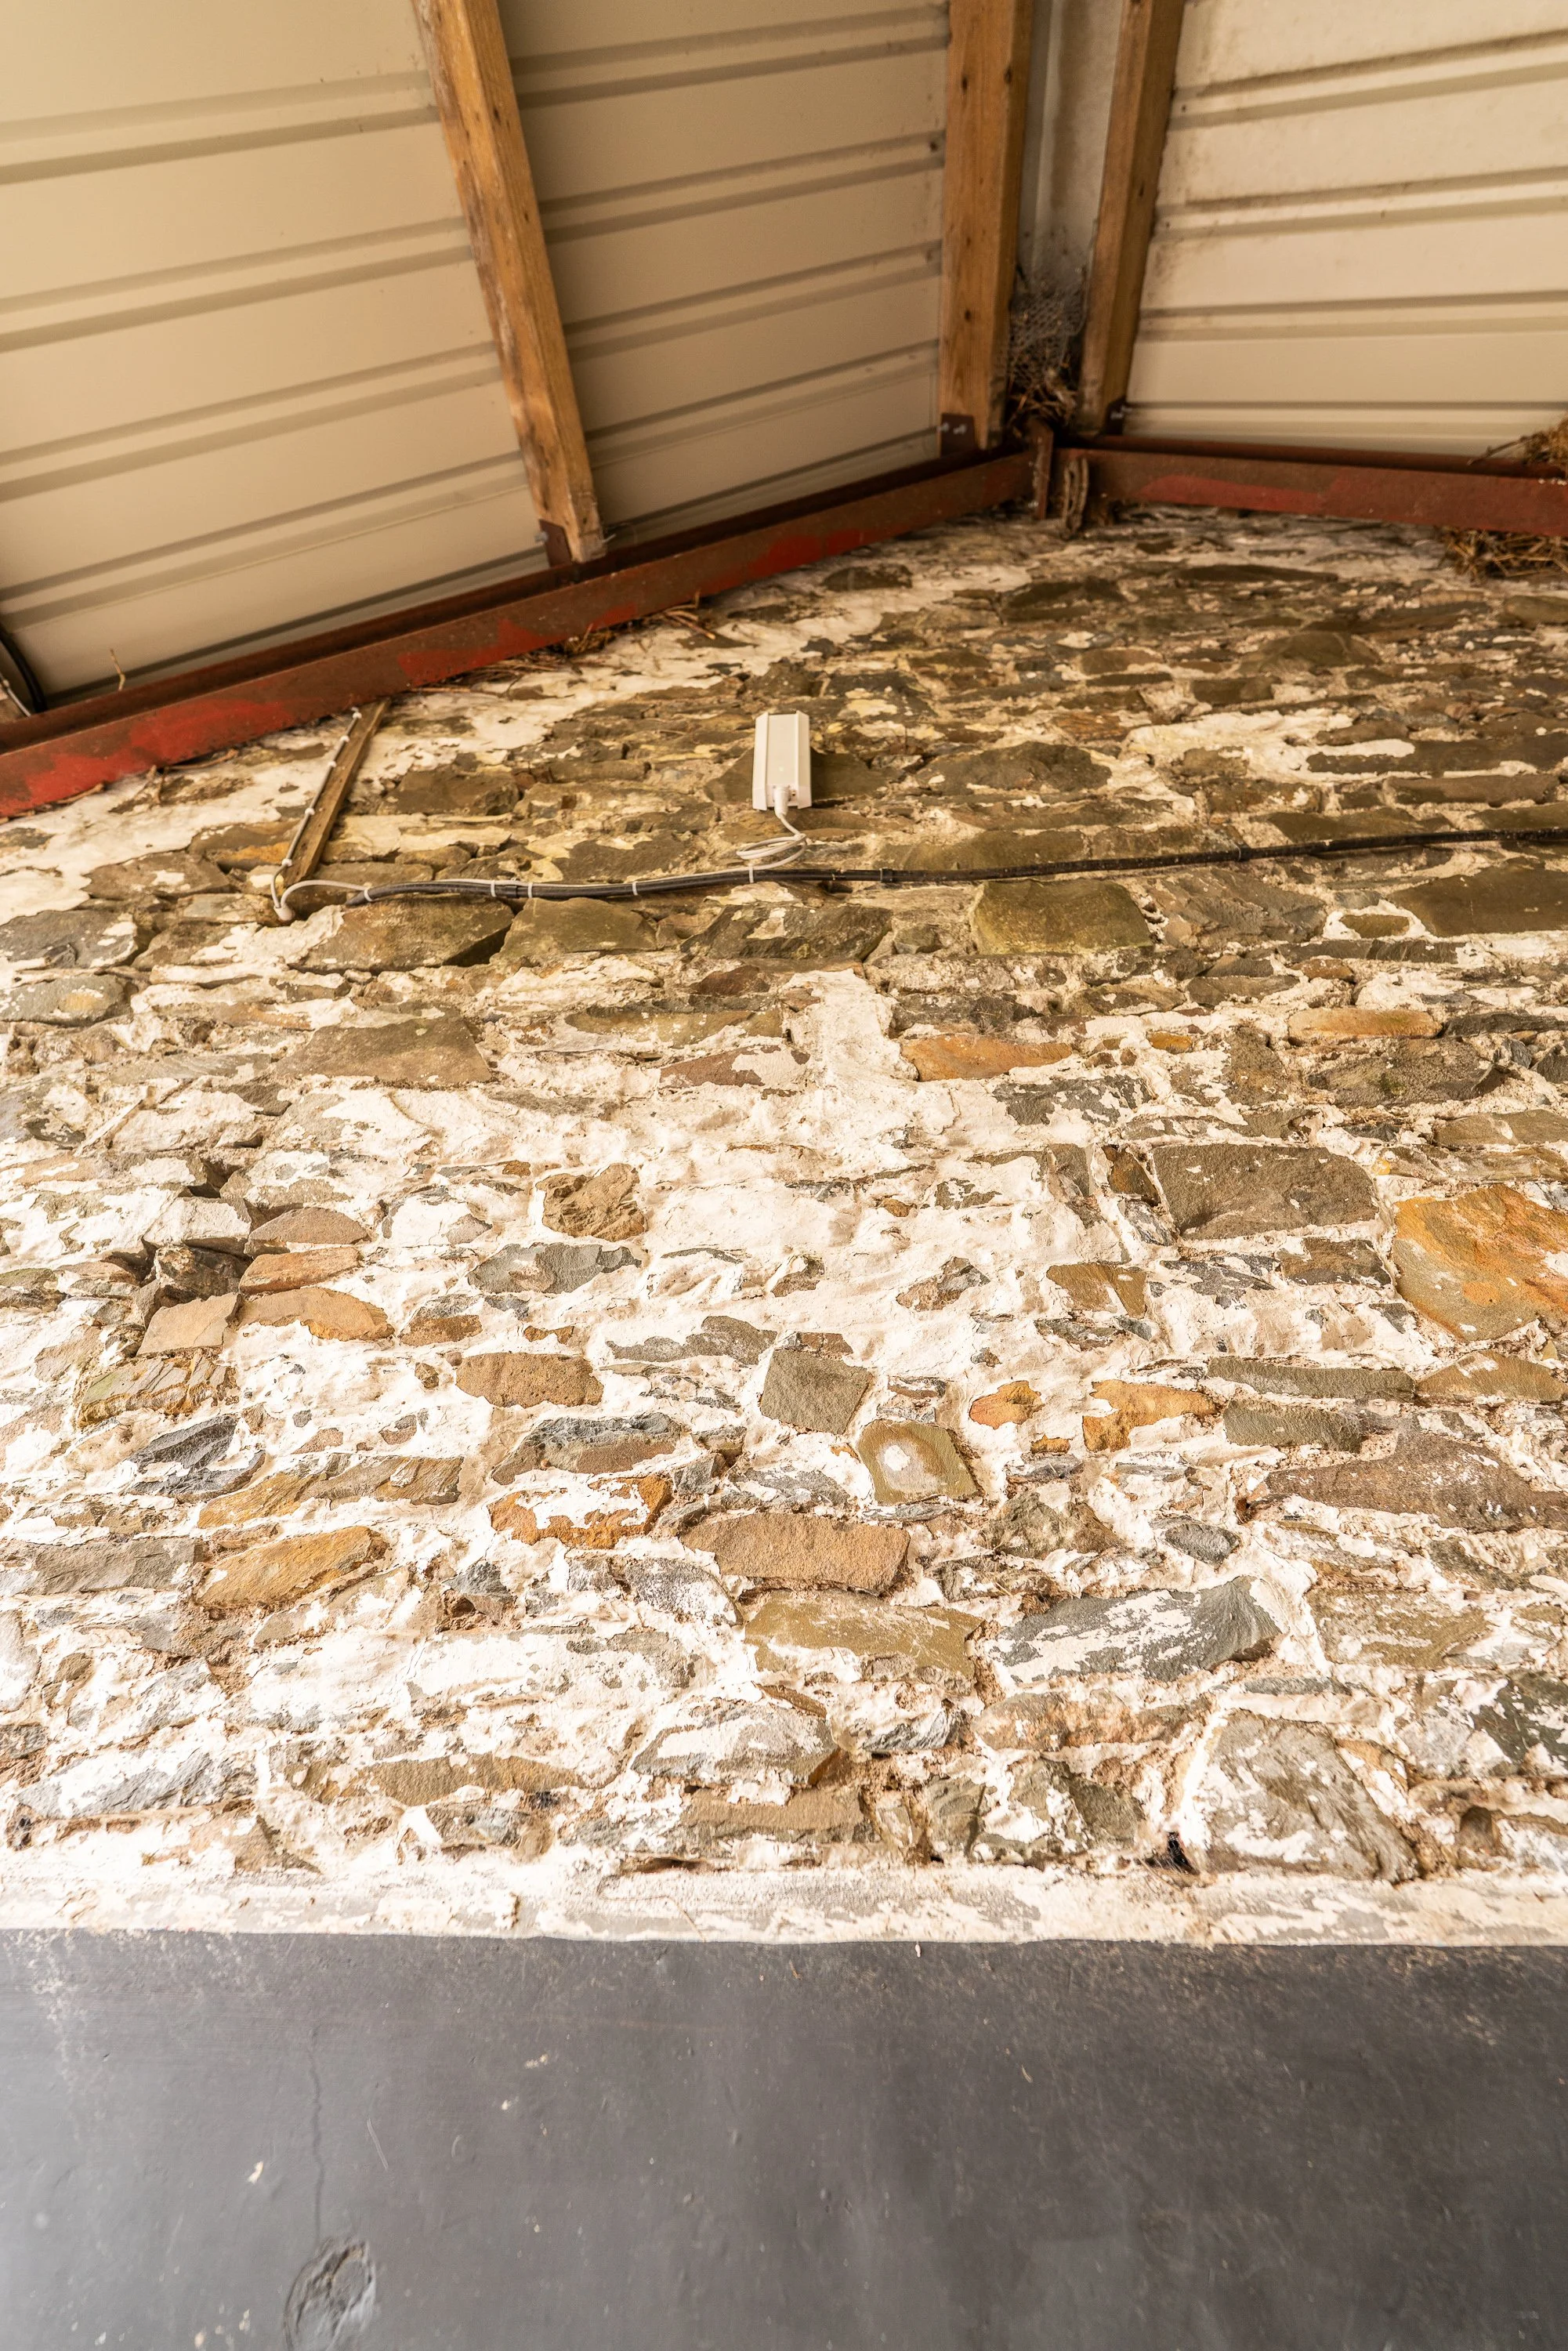
Work started in Week 3 with Kenny the Electrician putting in a solid shift to deliver us power to places where no power existed, including the newly designated “network hub” (an old cupboard). Kenny ran ethernet cables internally around the farmhouse to allow my access point plan to work in there, including a super-fast beast right in the office with the inglenook.
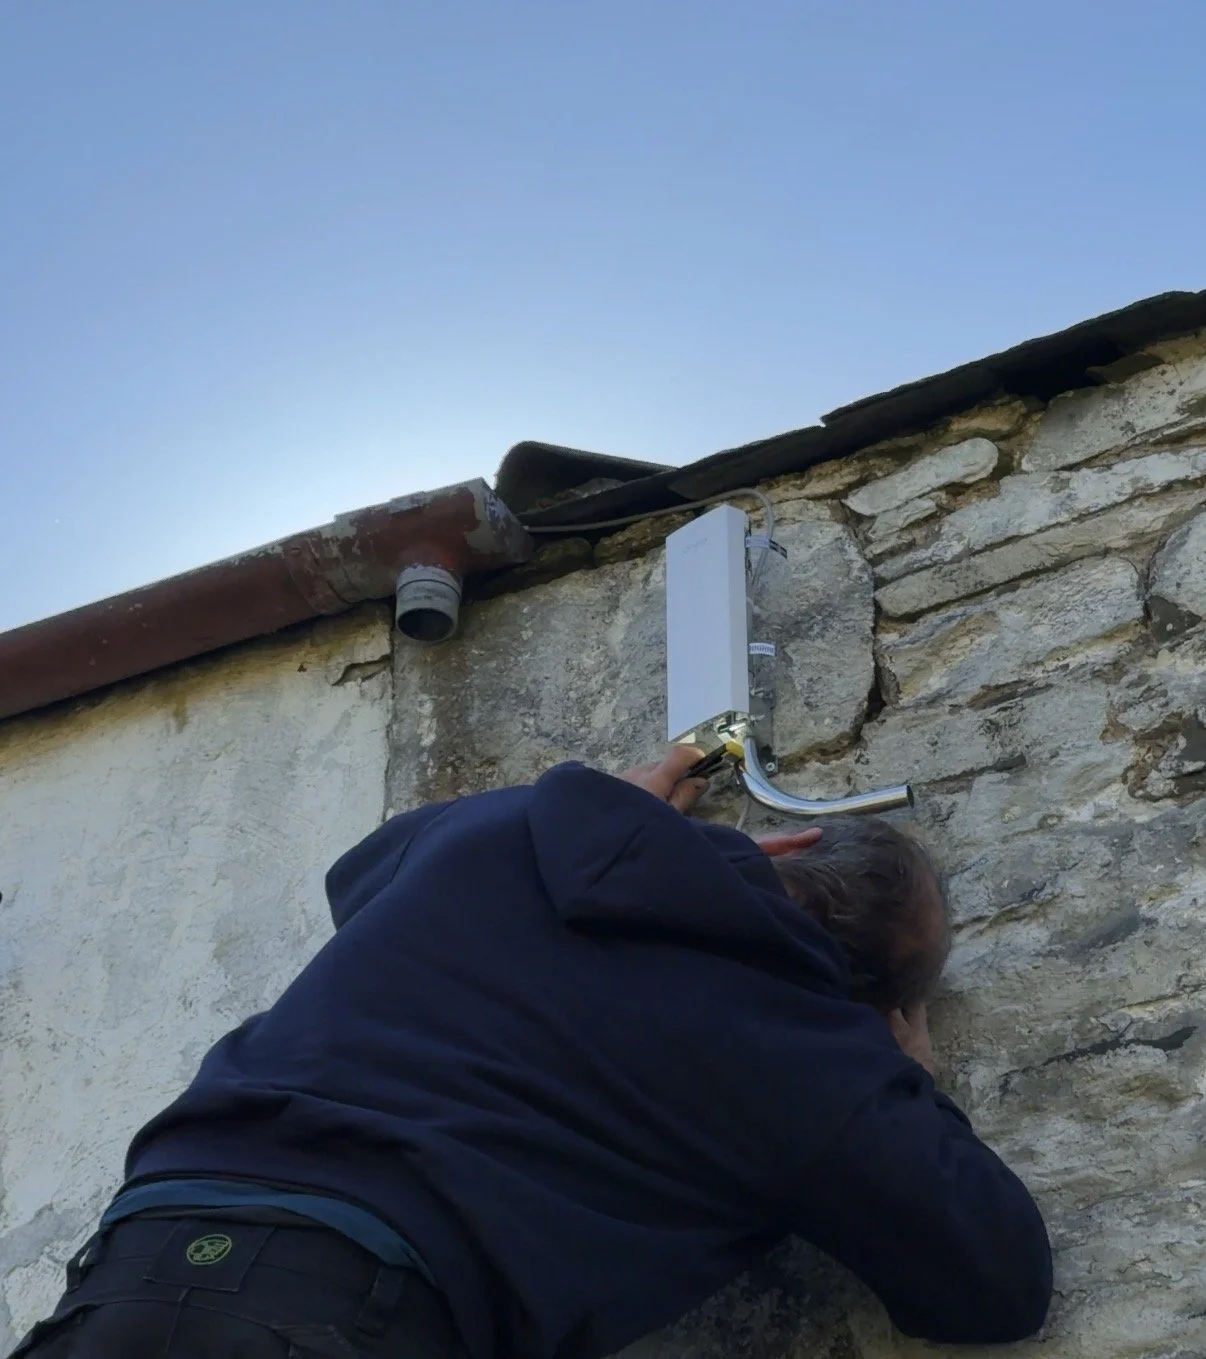
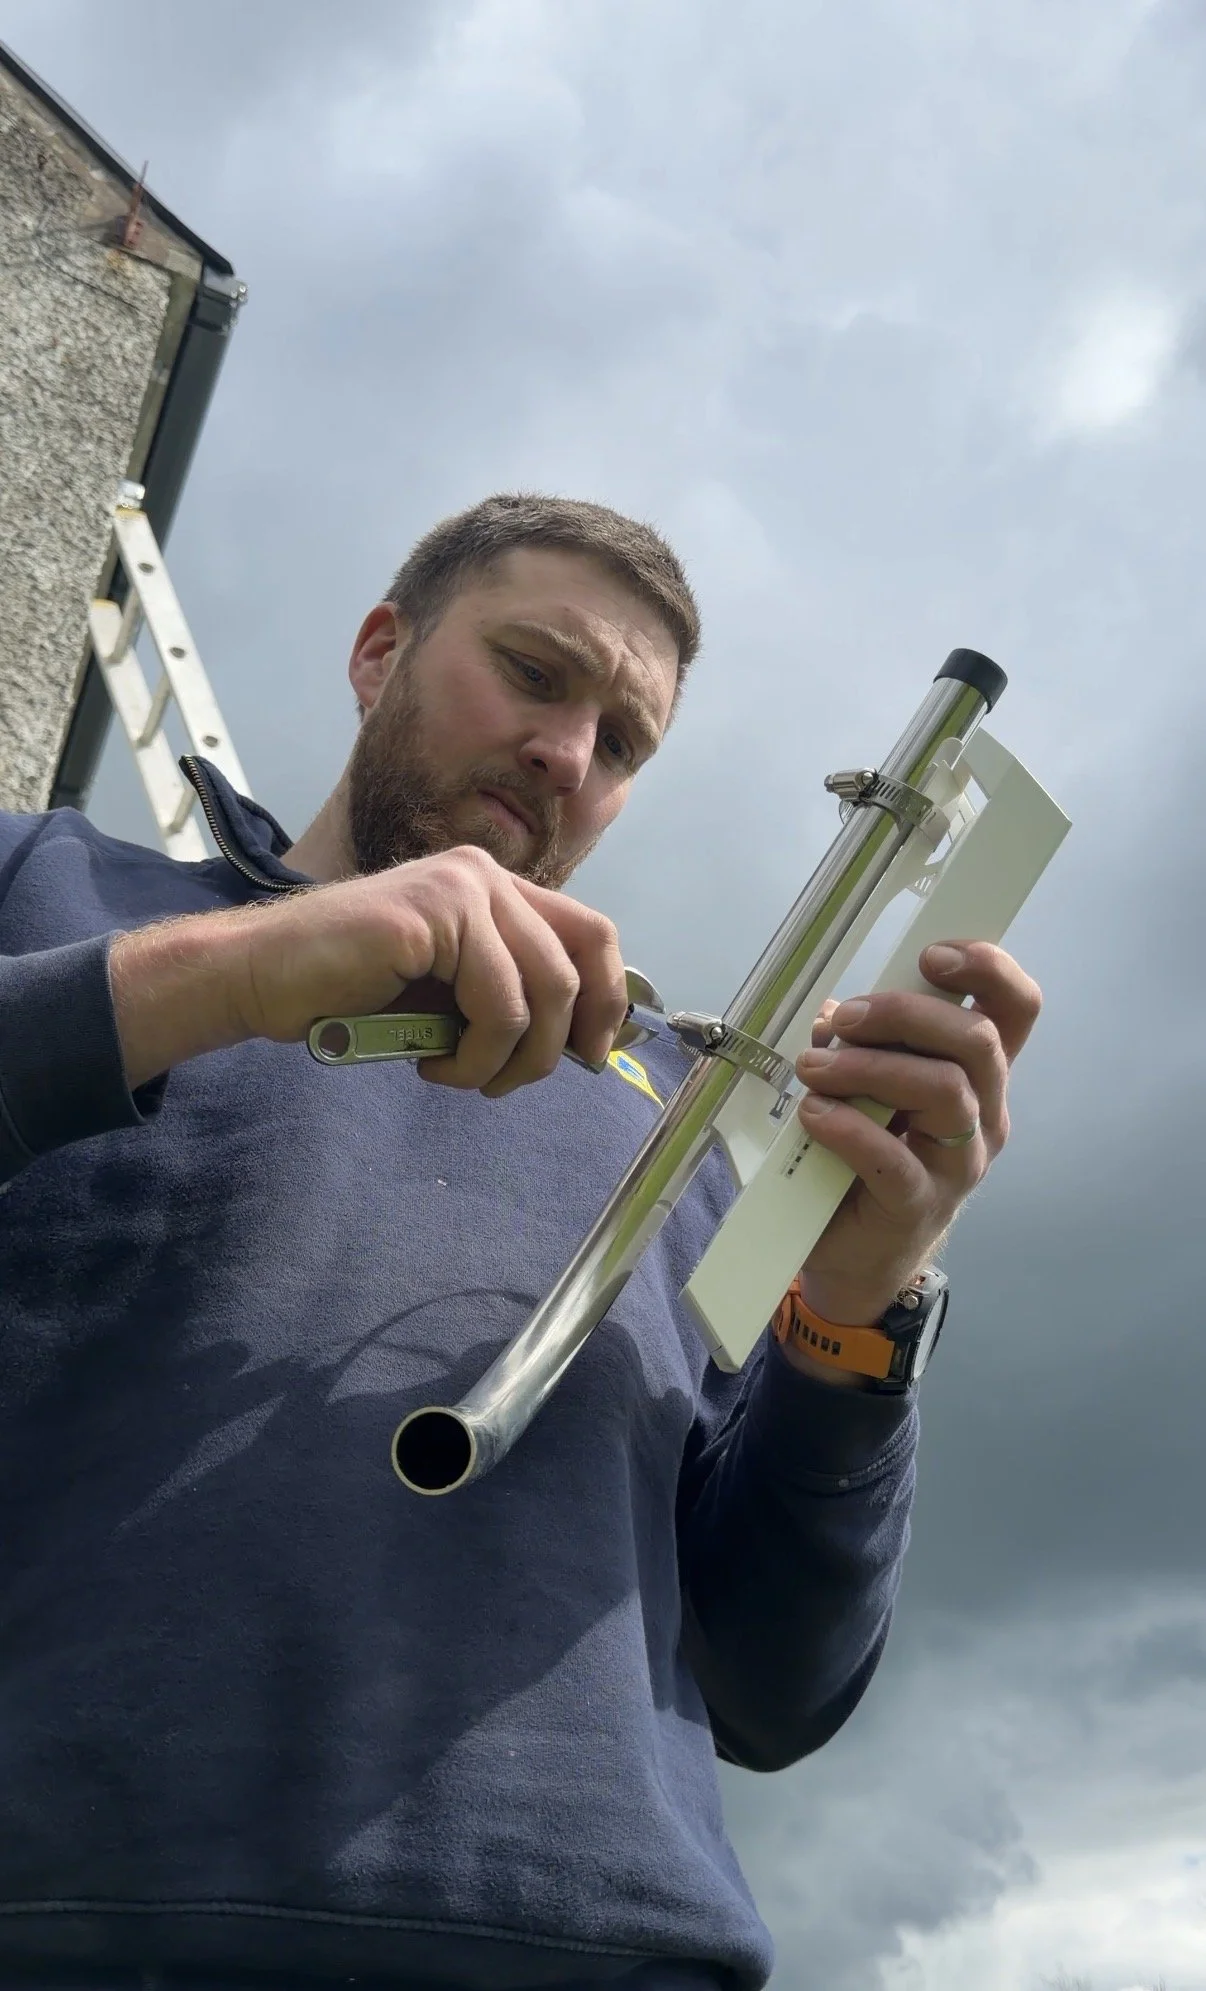
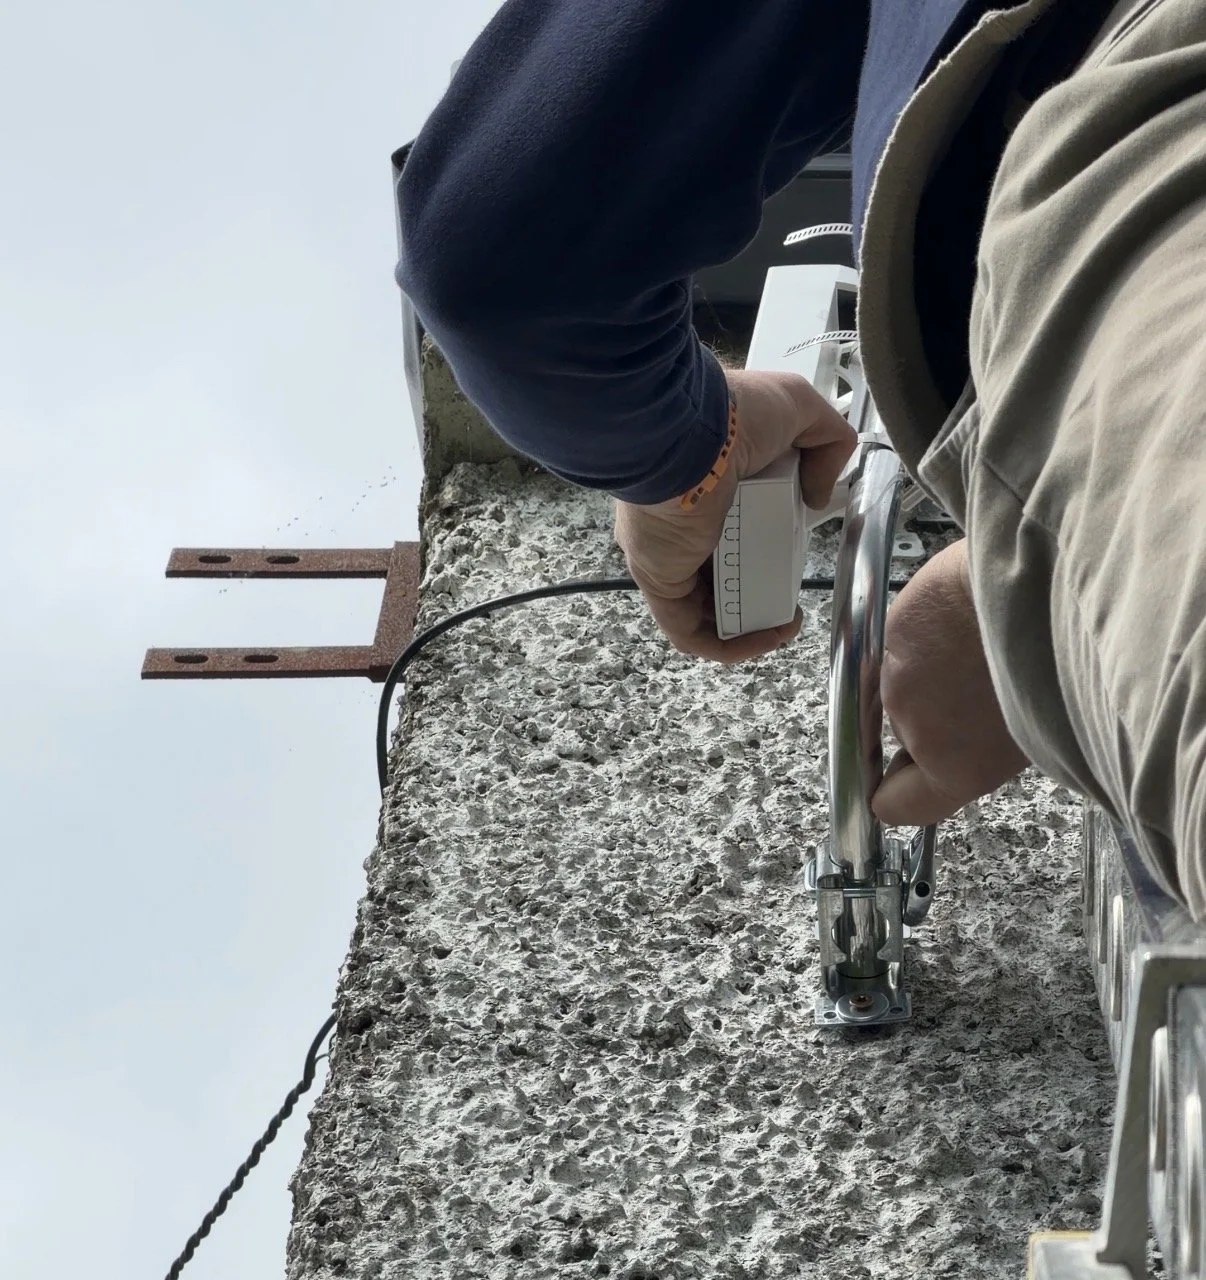
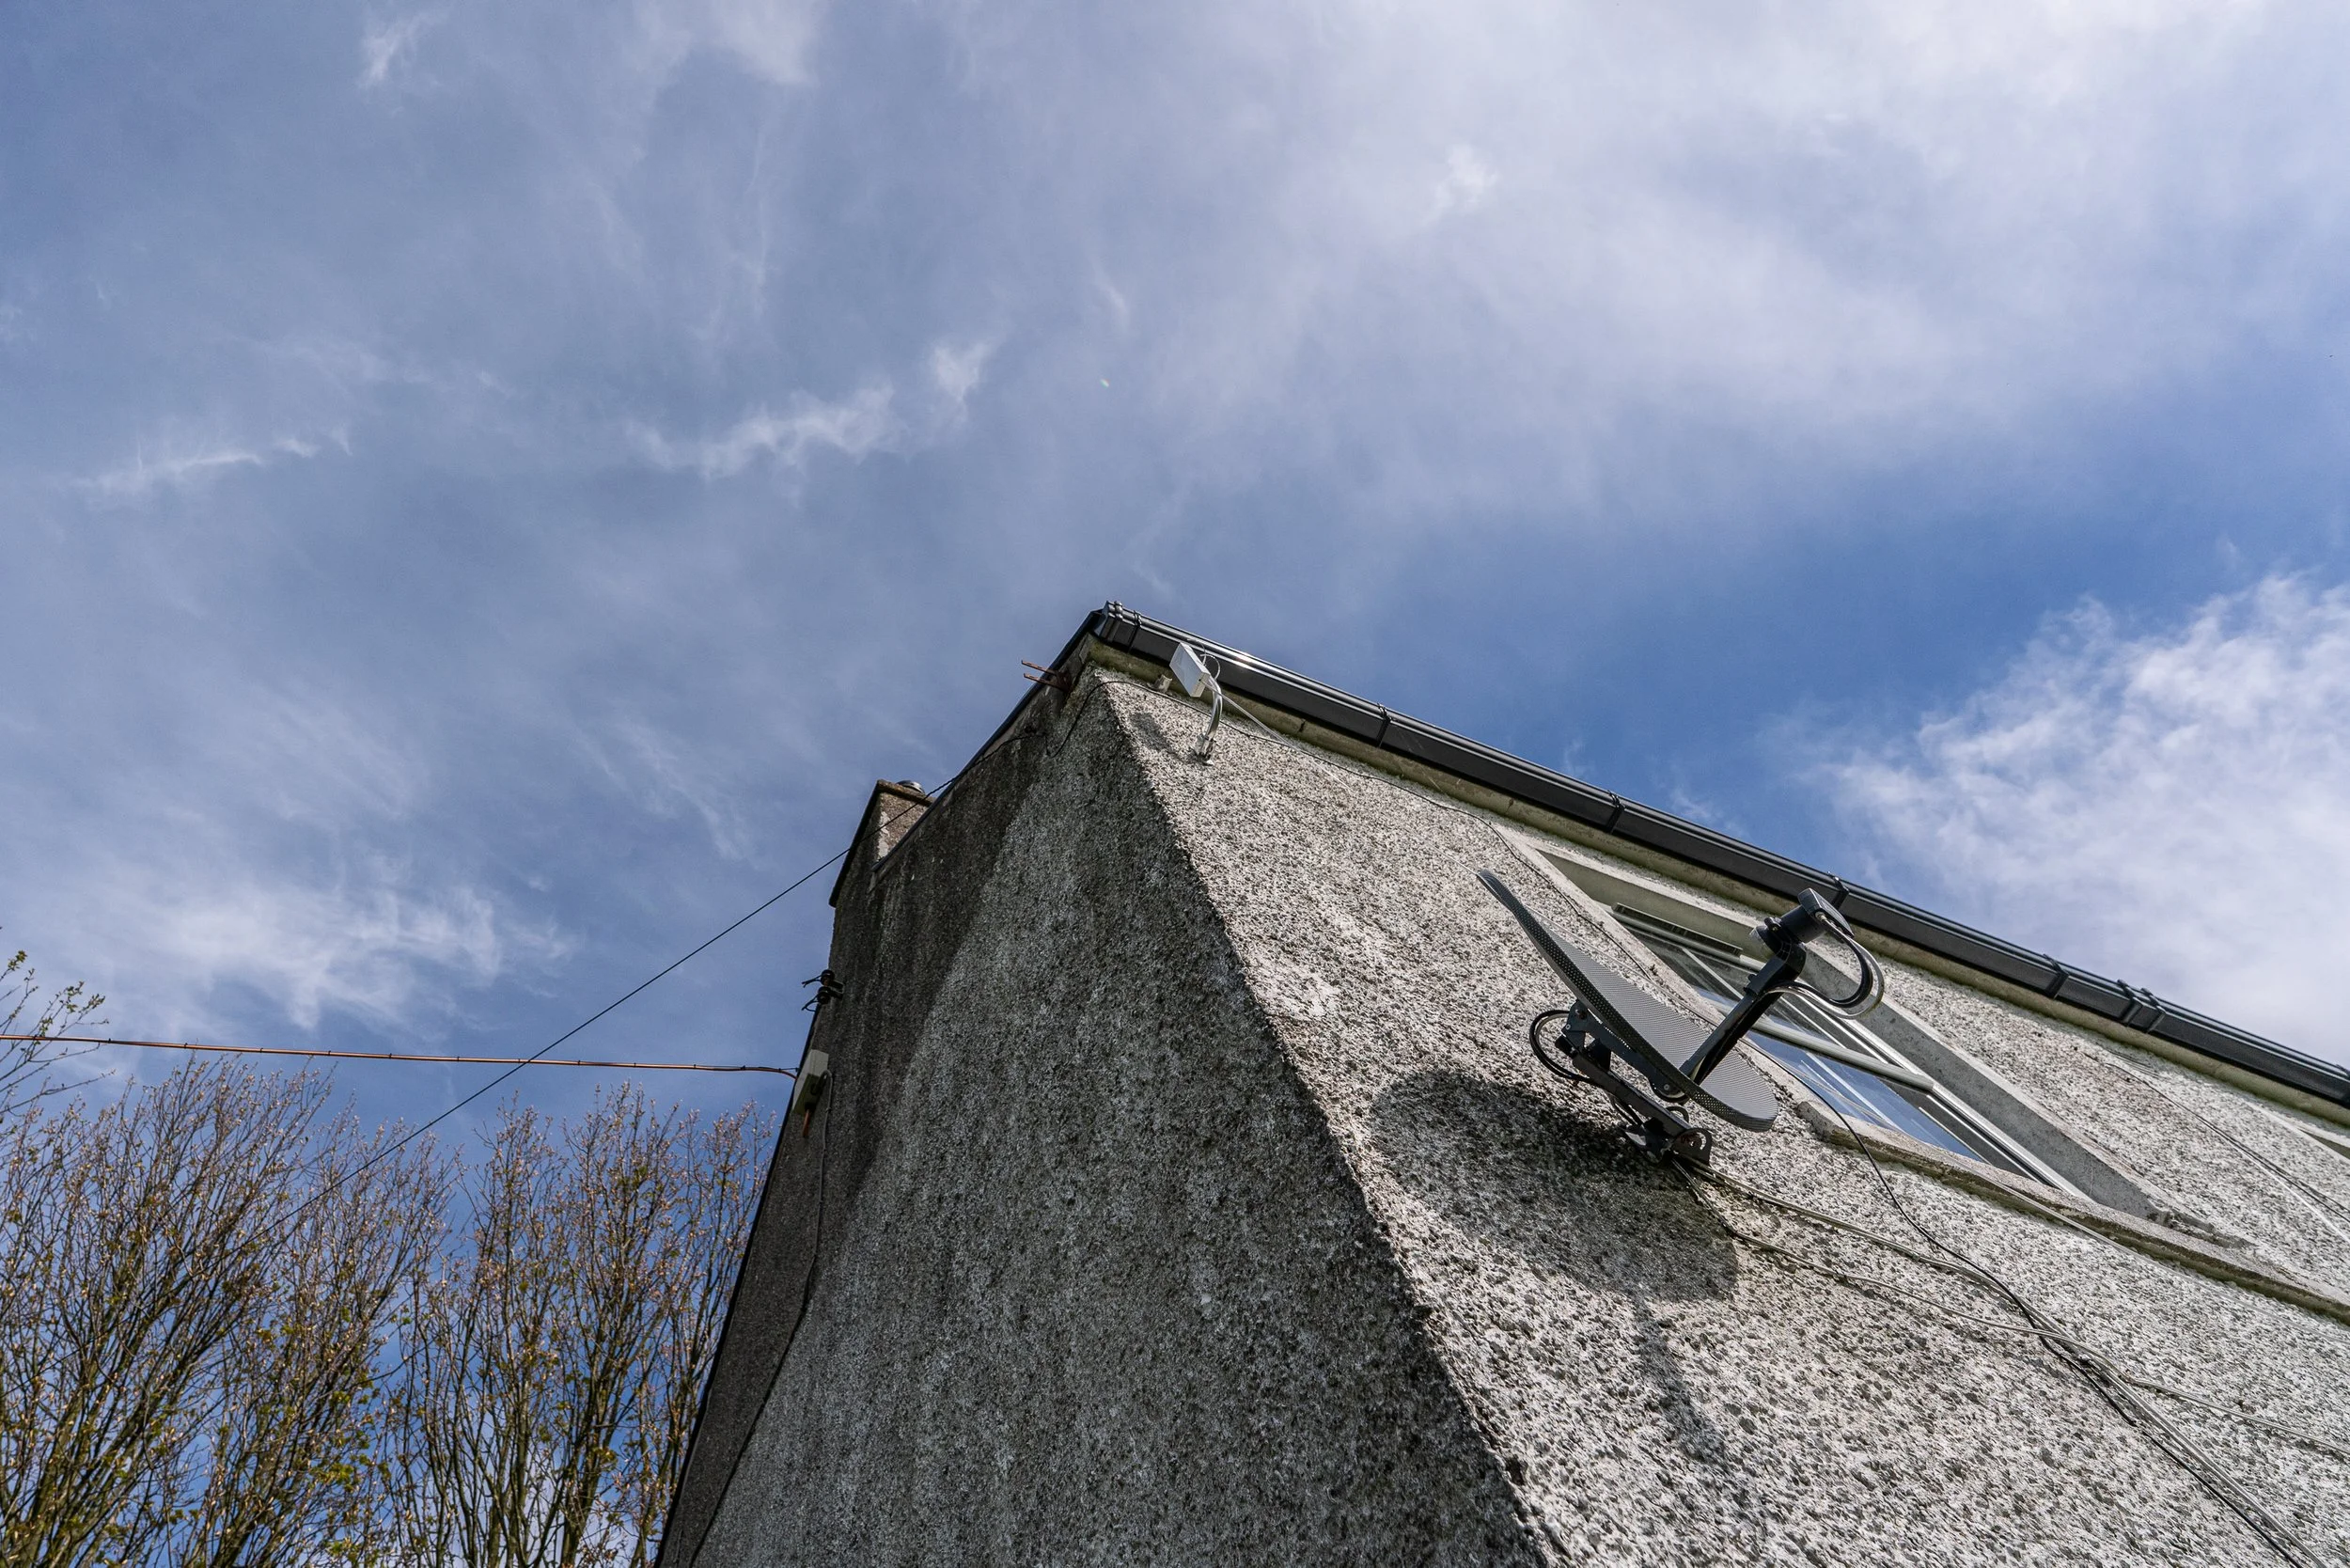
Week 4 picked up with the installation of all hardware, which at times was a painful and lengthy experience. Here’s how it all connects together:
Starlink Gen 3 Dish (now on the Farmhouse) with a long connection into the networking cupboard plugging into…
Starlink router (you can’t ditch this, sadly), set to bypass mode, connected by an ethernet into…
The TP-Link router, which connects into…
The managed switch. This connects to a lot of places via Cat6 cables, including:
The Omada Controller
The two farmhouse access points (APs)
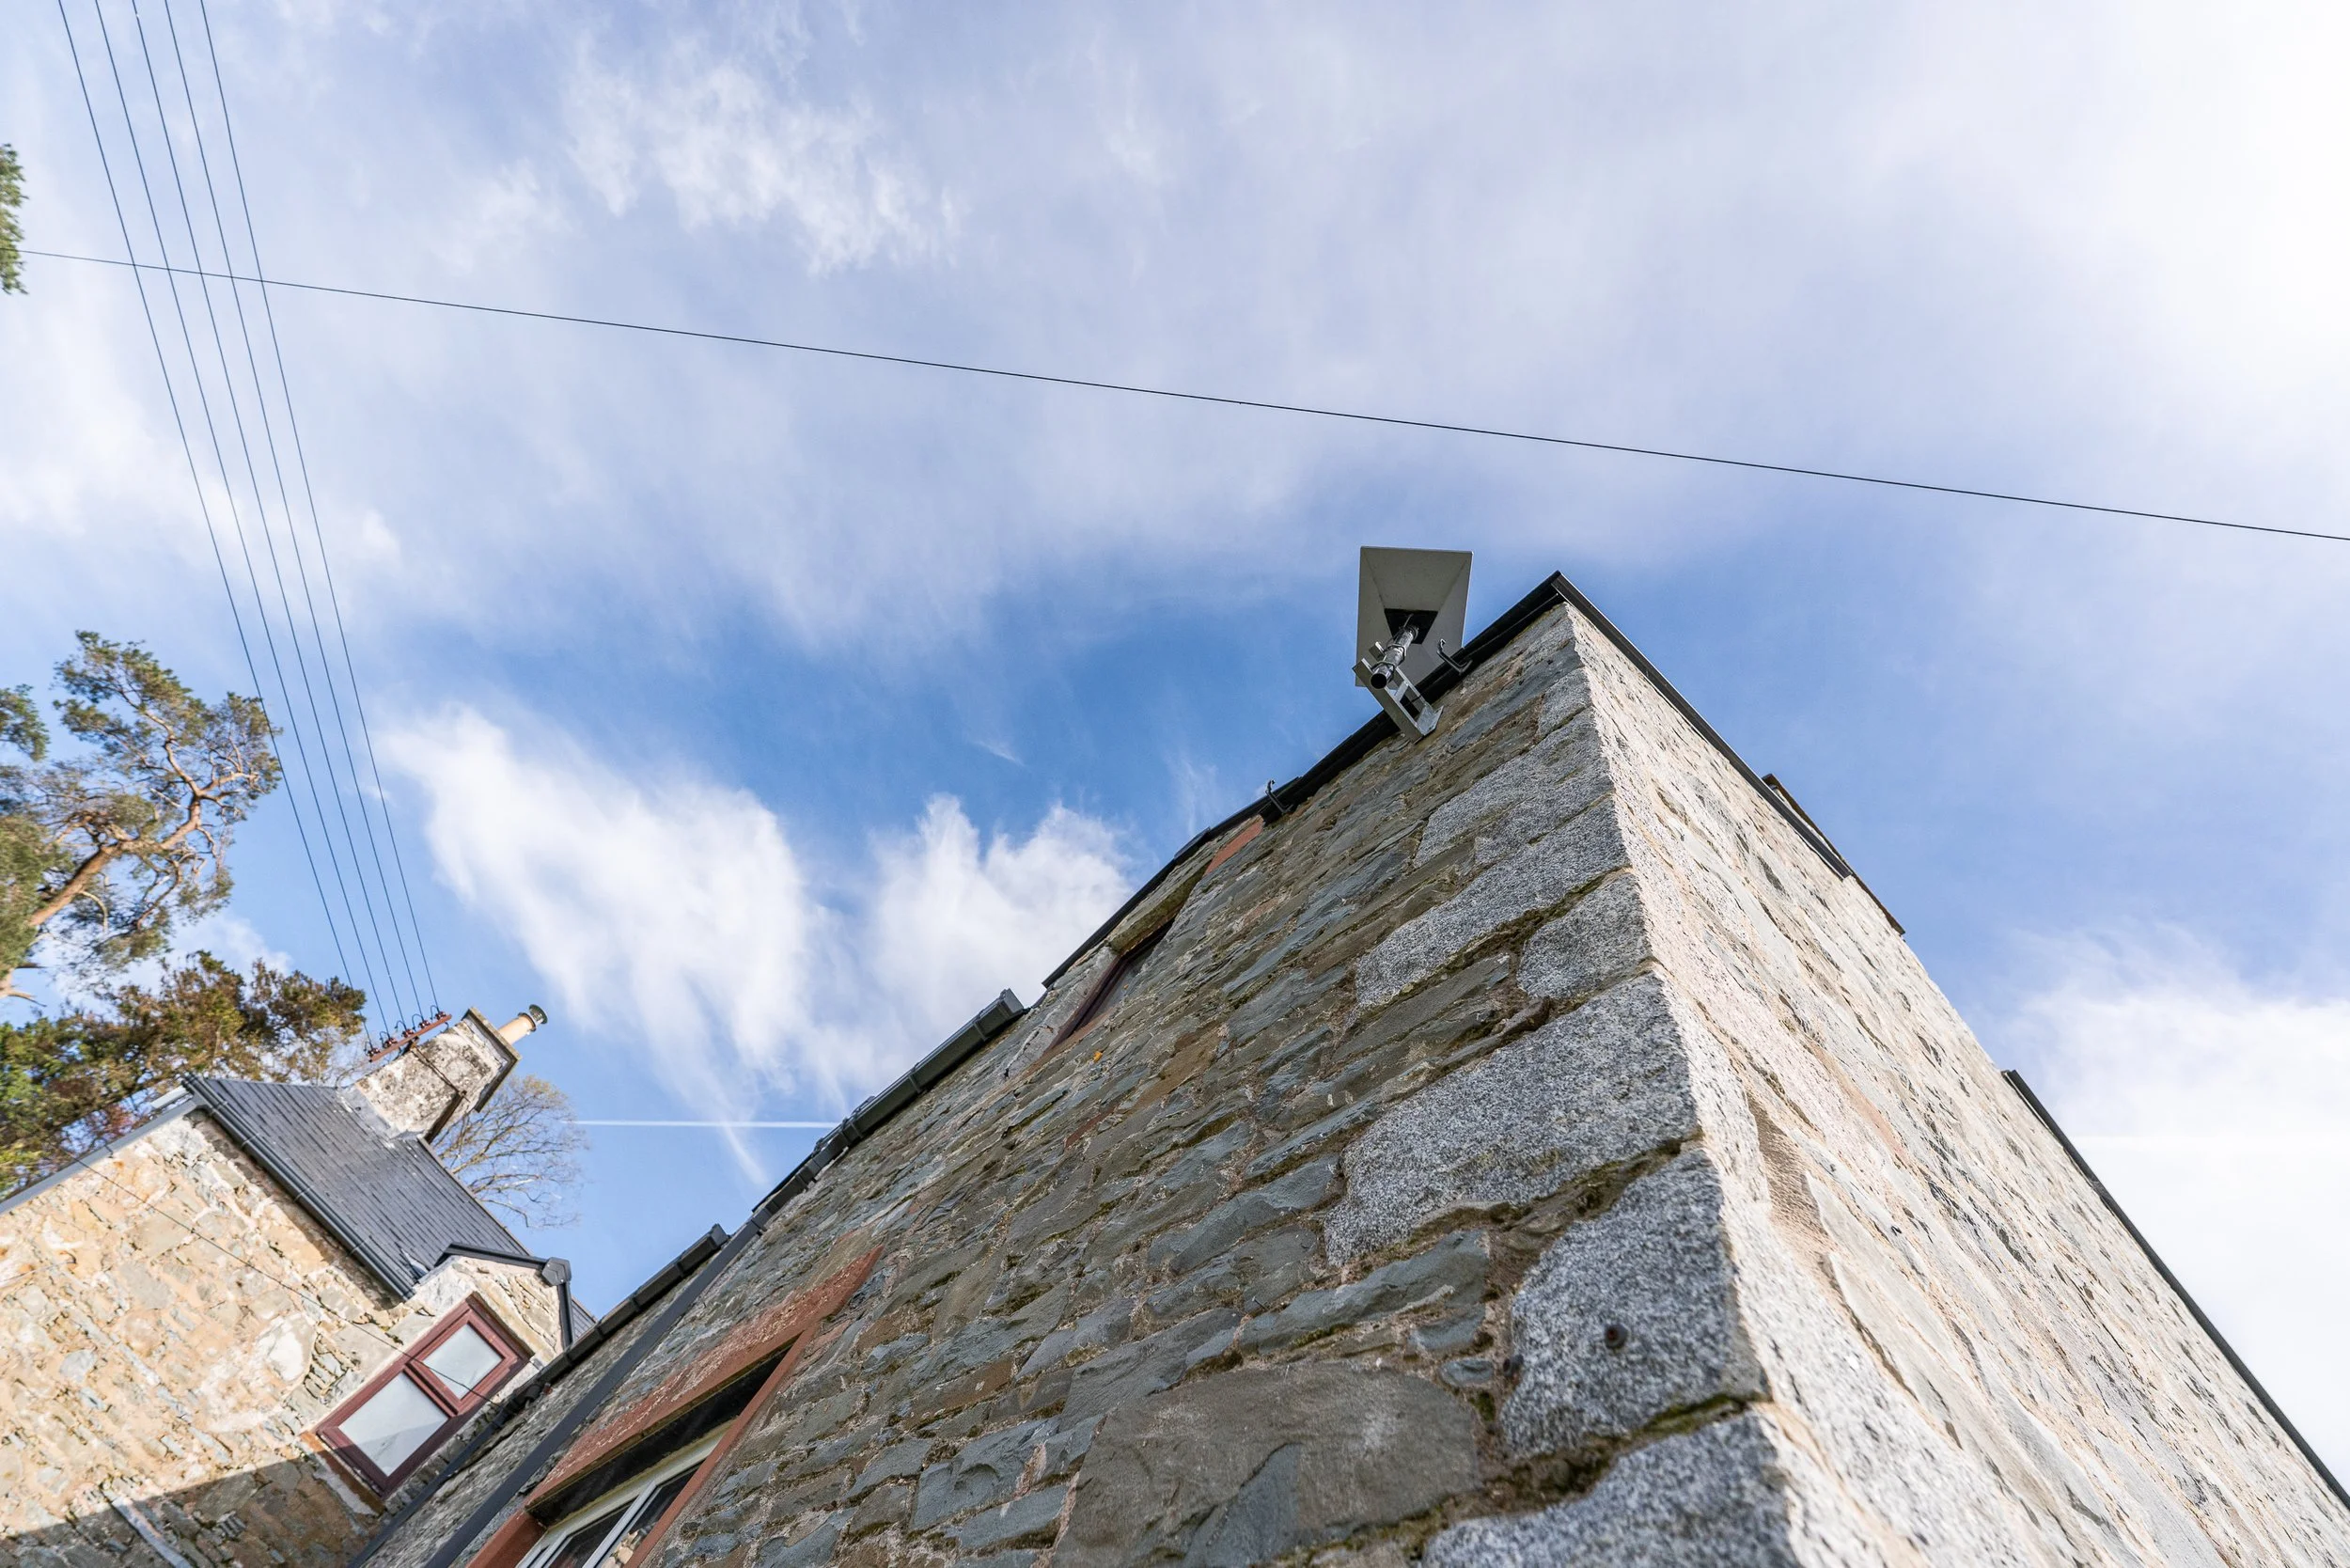
The farmhouse mounted Point-to-Point (PtP) dishy
A camera or two
There are a couple of ports free for another AP and our NAS drives that we already use for work
The PtP on the farmhouse sends the internet connection (kinda) to a PtP mounted on the front of Granary B (Velia’s box), which connects to…
The unmanaged switch (may upgrade to managed, tbc). This connects to a few things, including:
The outdoor AP, which gives super-super-super fast WiFi to the dairy - because we livestream stuff in here
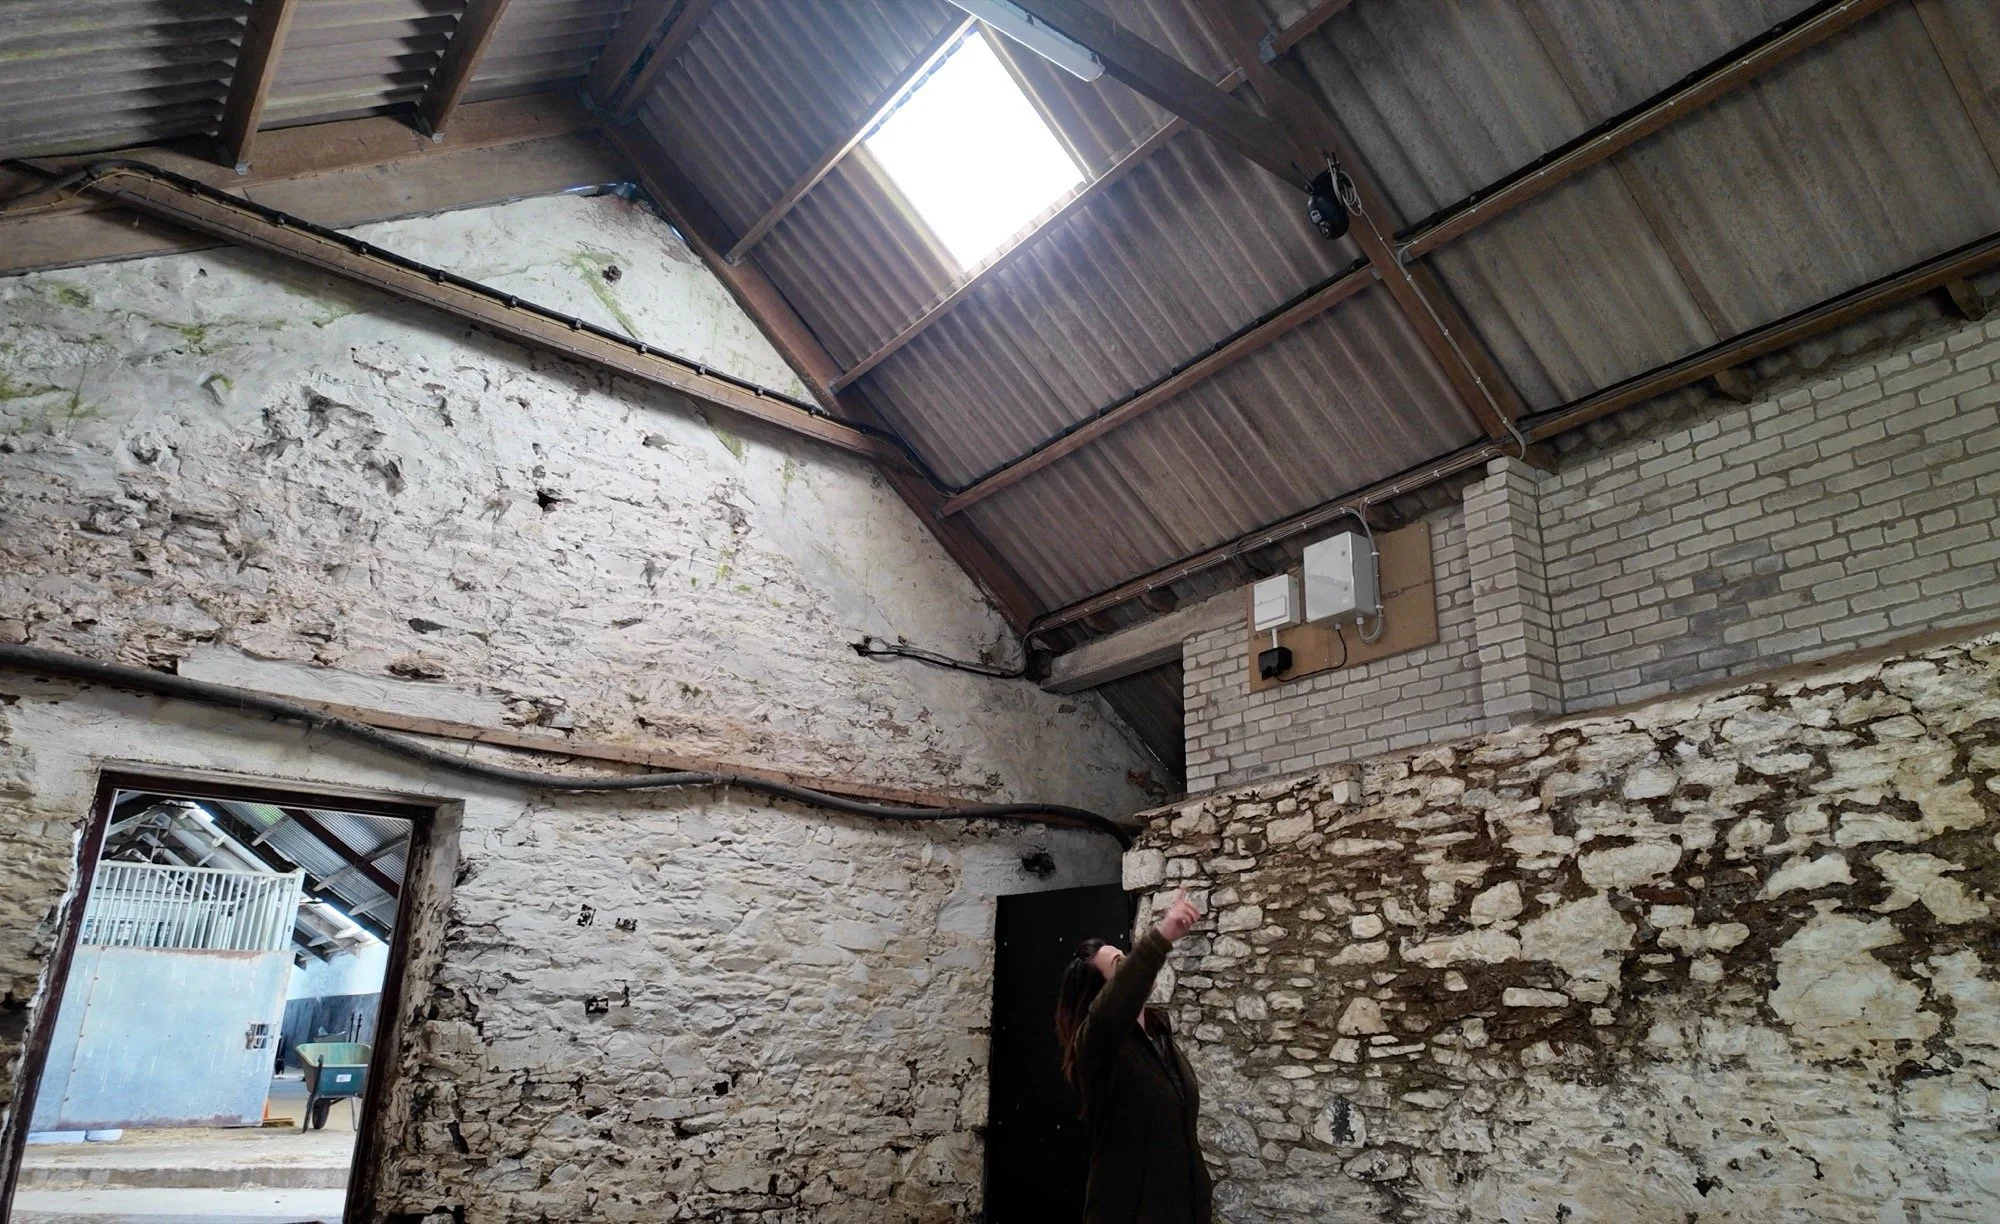
Foaling Cam
Stable Cam
Another PtP, mounted on the back of the dairy building
This second PtP link sends the internet connection via the air to a PtP mounted on the end of the Cottage at the back of the yard, which connects to…
A final AP, inside the cottage.
That means that we can connect to one WiFi network and walk around, into and out of houses, and we stay connected. It also means that I can section off parts of the network or bandwidth into virtual boxes, ensuring guests have great connections, but our stuff is safe and protected.
I’m not going to lie, the Omada setup was a brain ache. It took a long time, but the ability to troubleshoot cables and control everything from one login, wherever I am, is amazing. It wasn’t completely seamless; there were some snags, but at the end of Week 4, we have a reliable network with all elements working perfectly. YAS.
I think this whole installation deserves a YouTube video because I really wish there was one when I was studying. When the cables are all tidied, I’ll get on that. For now, here are some bits from the network:
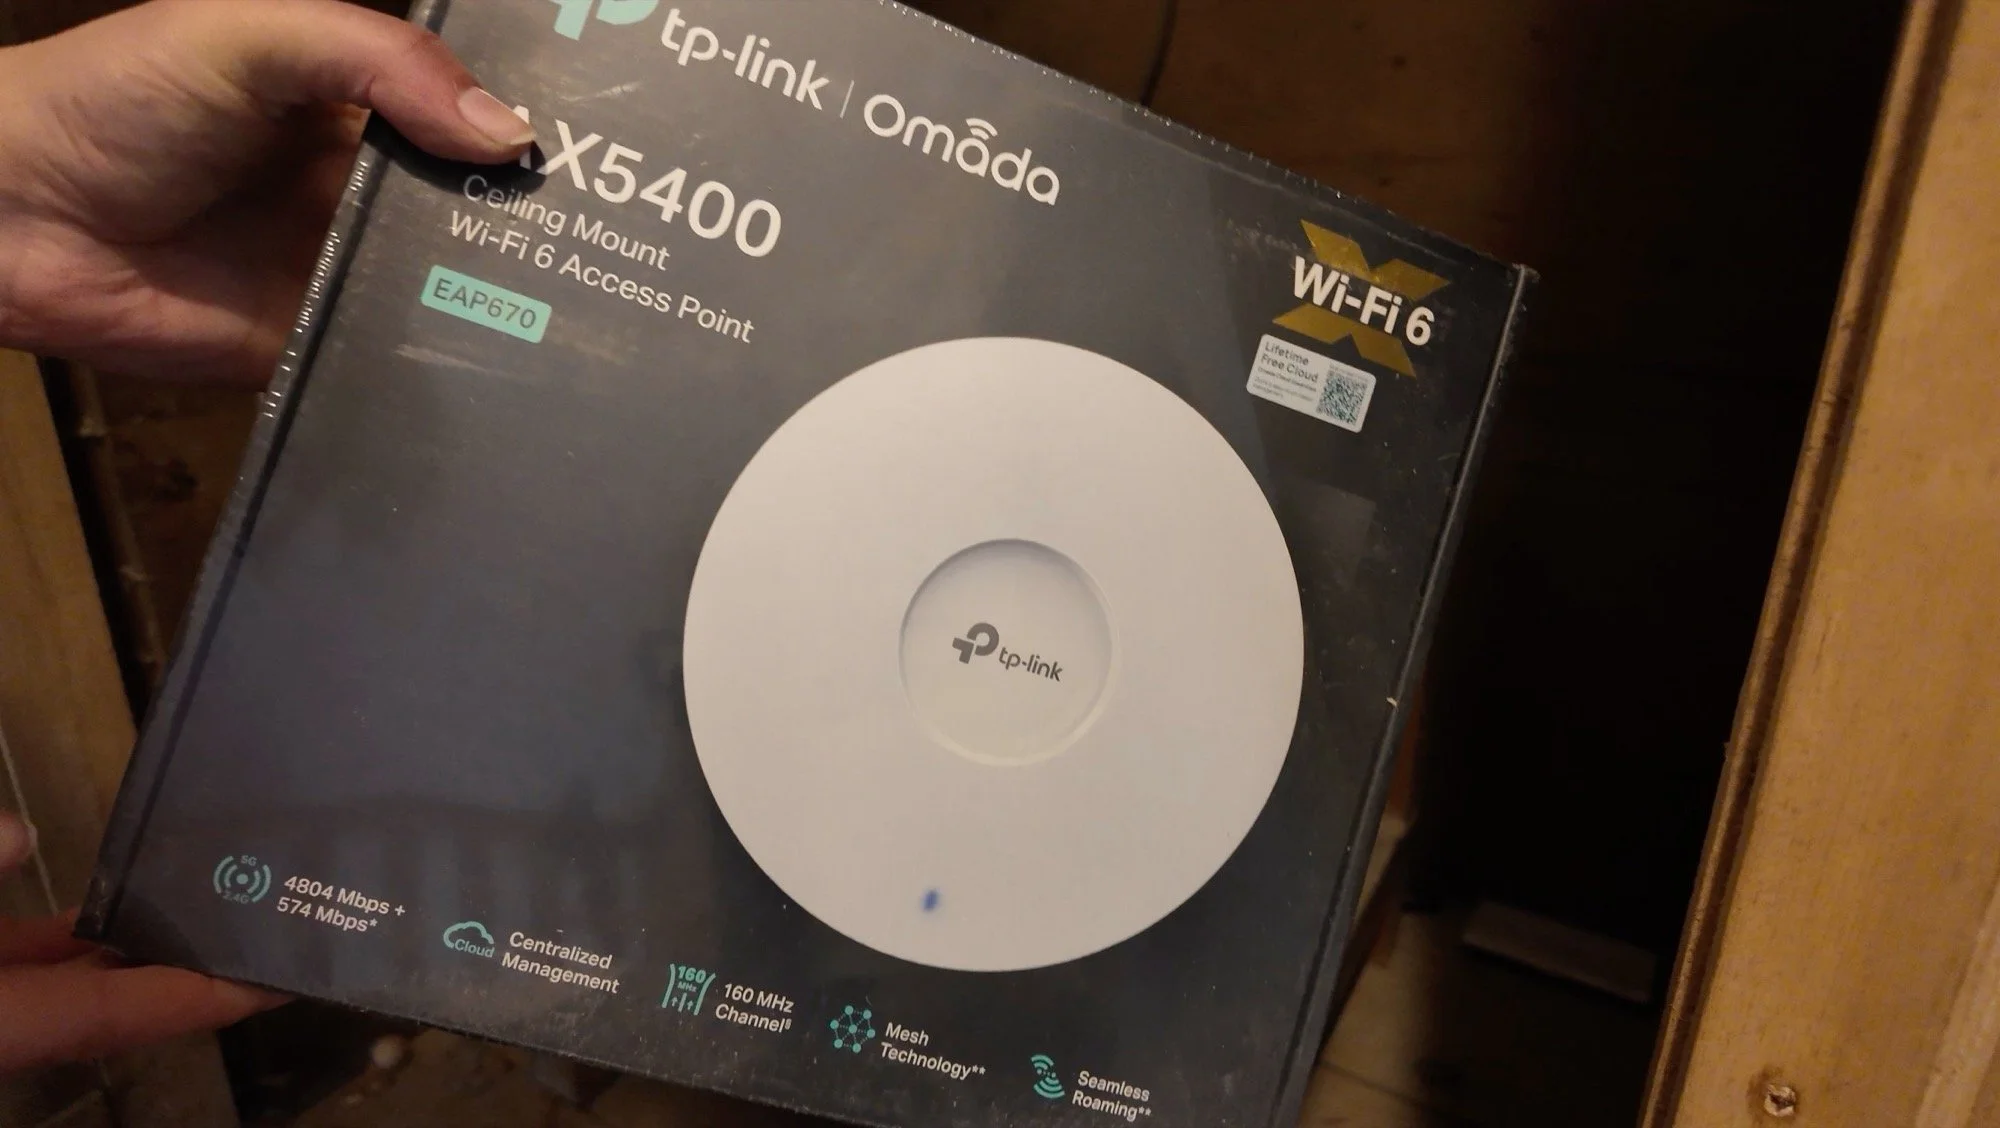
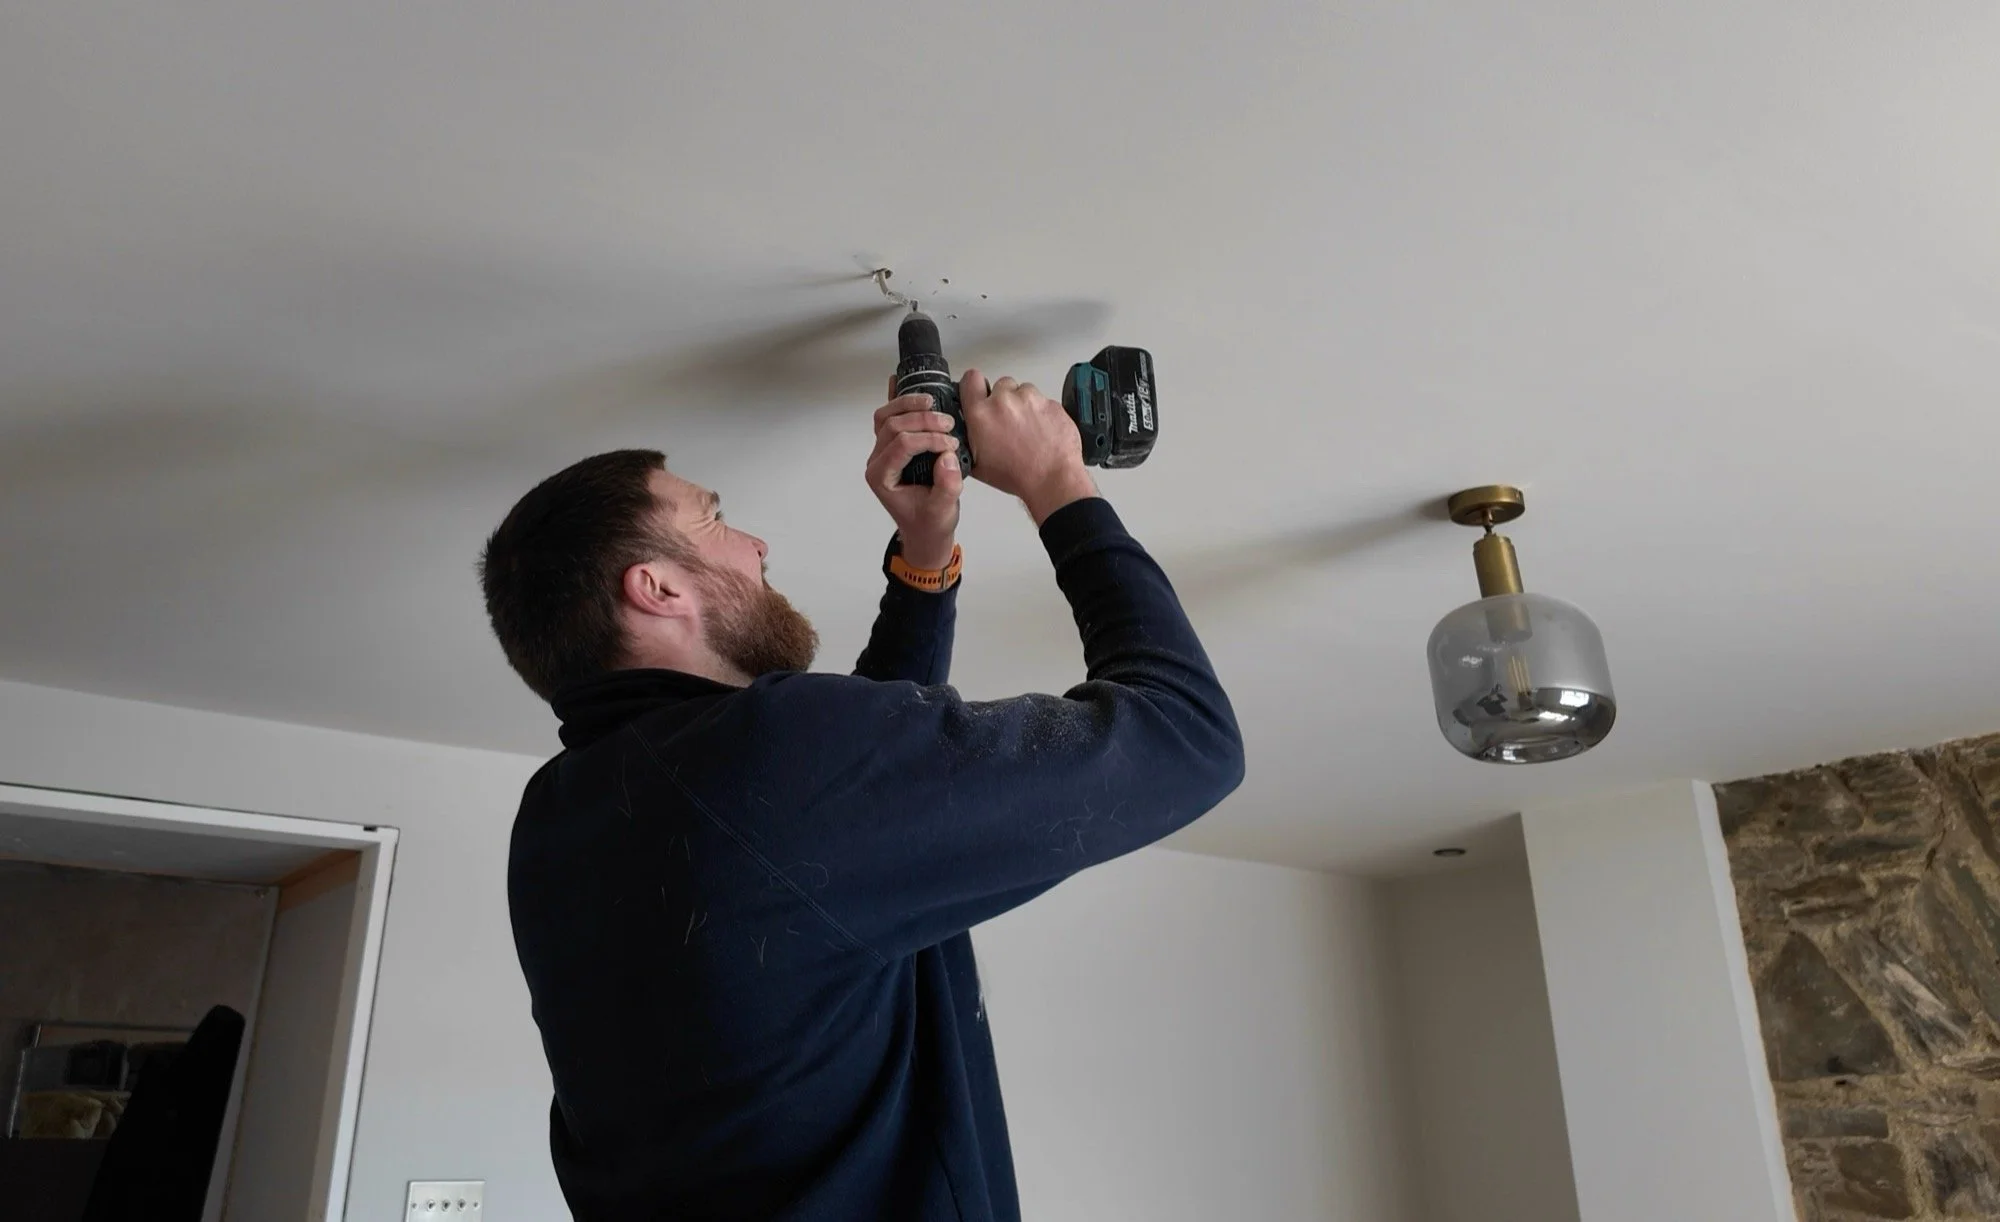
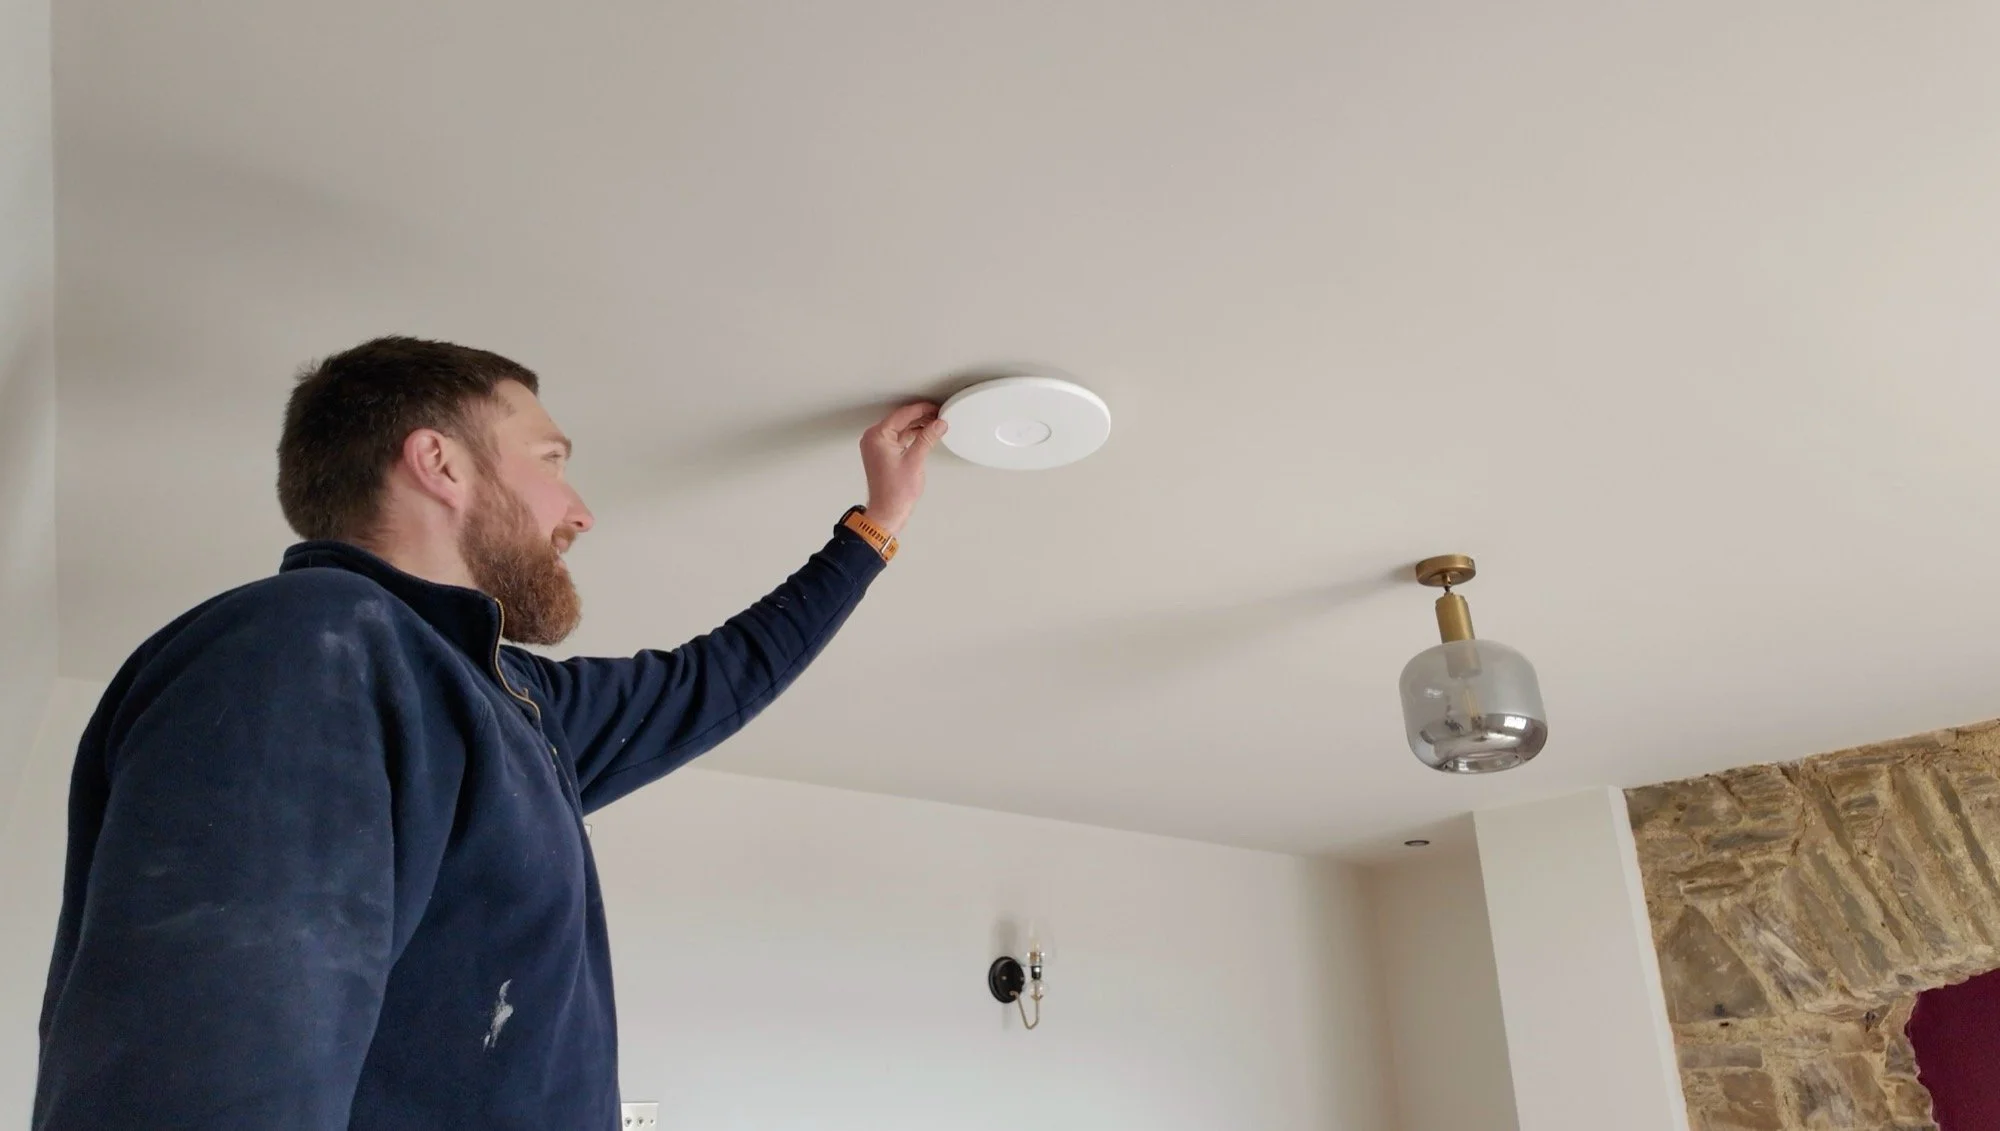
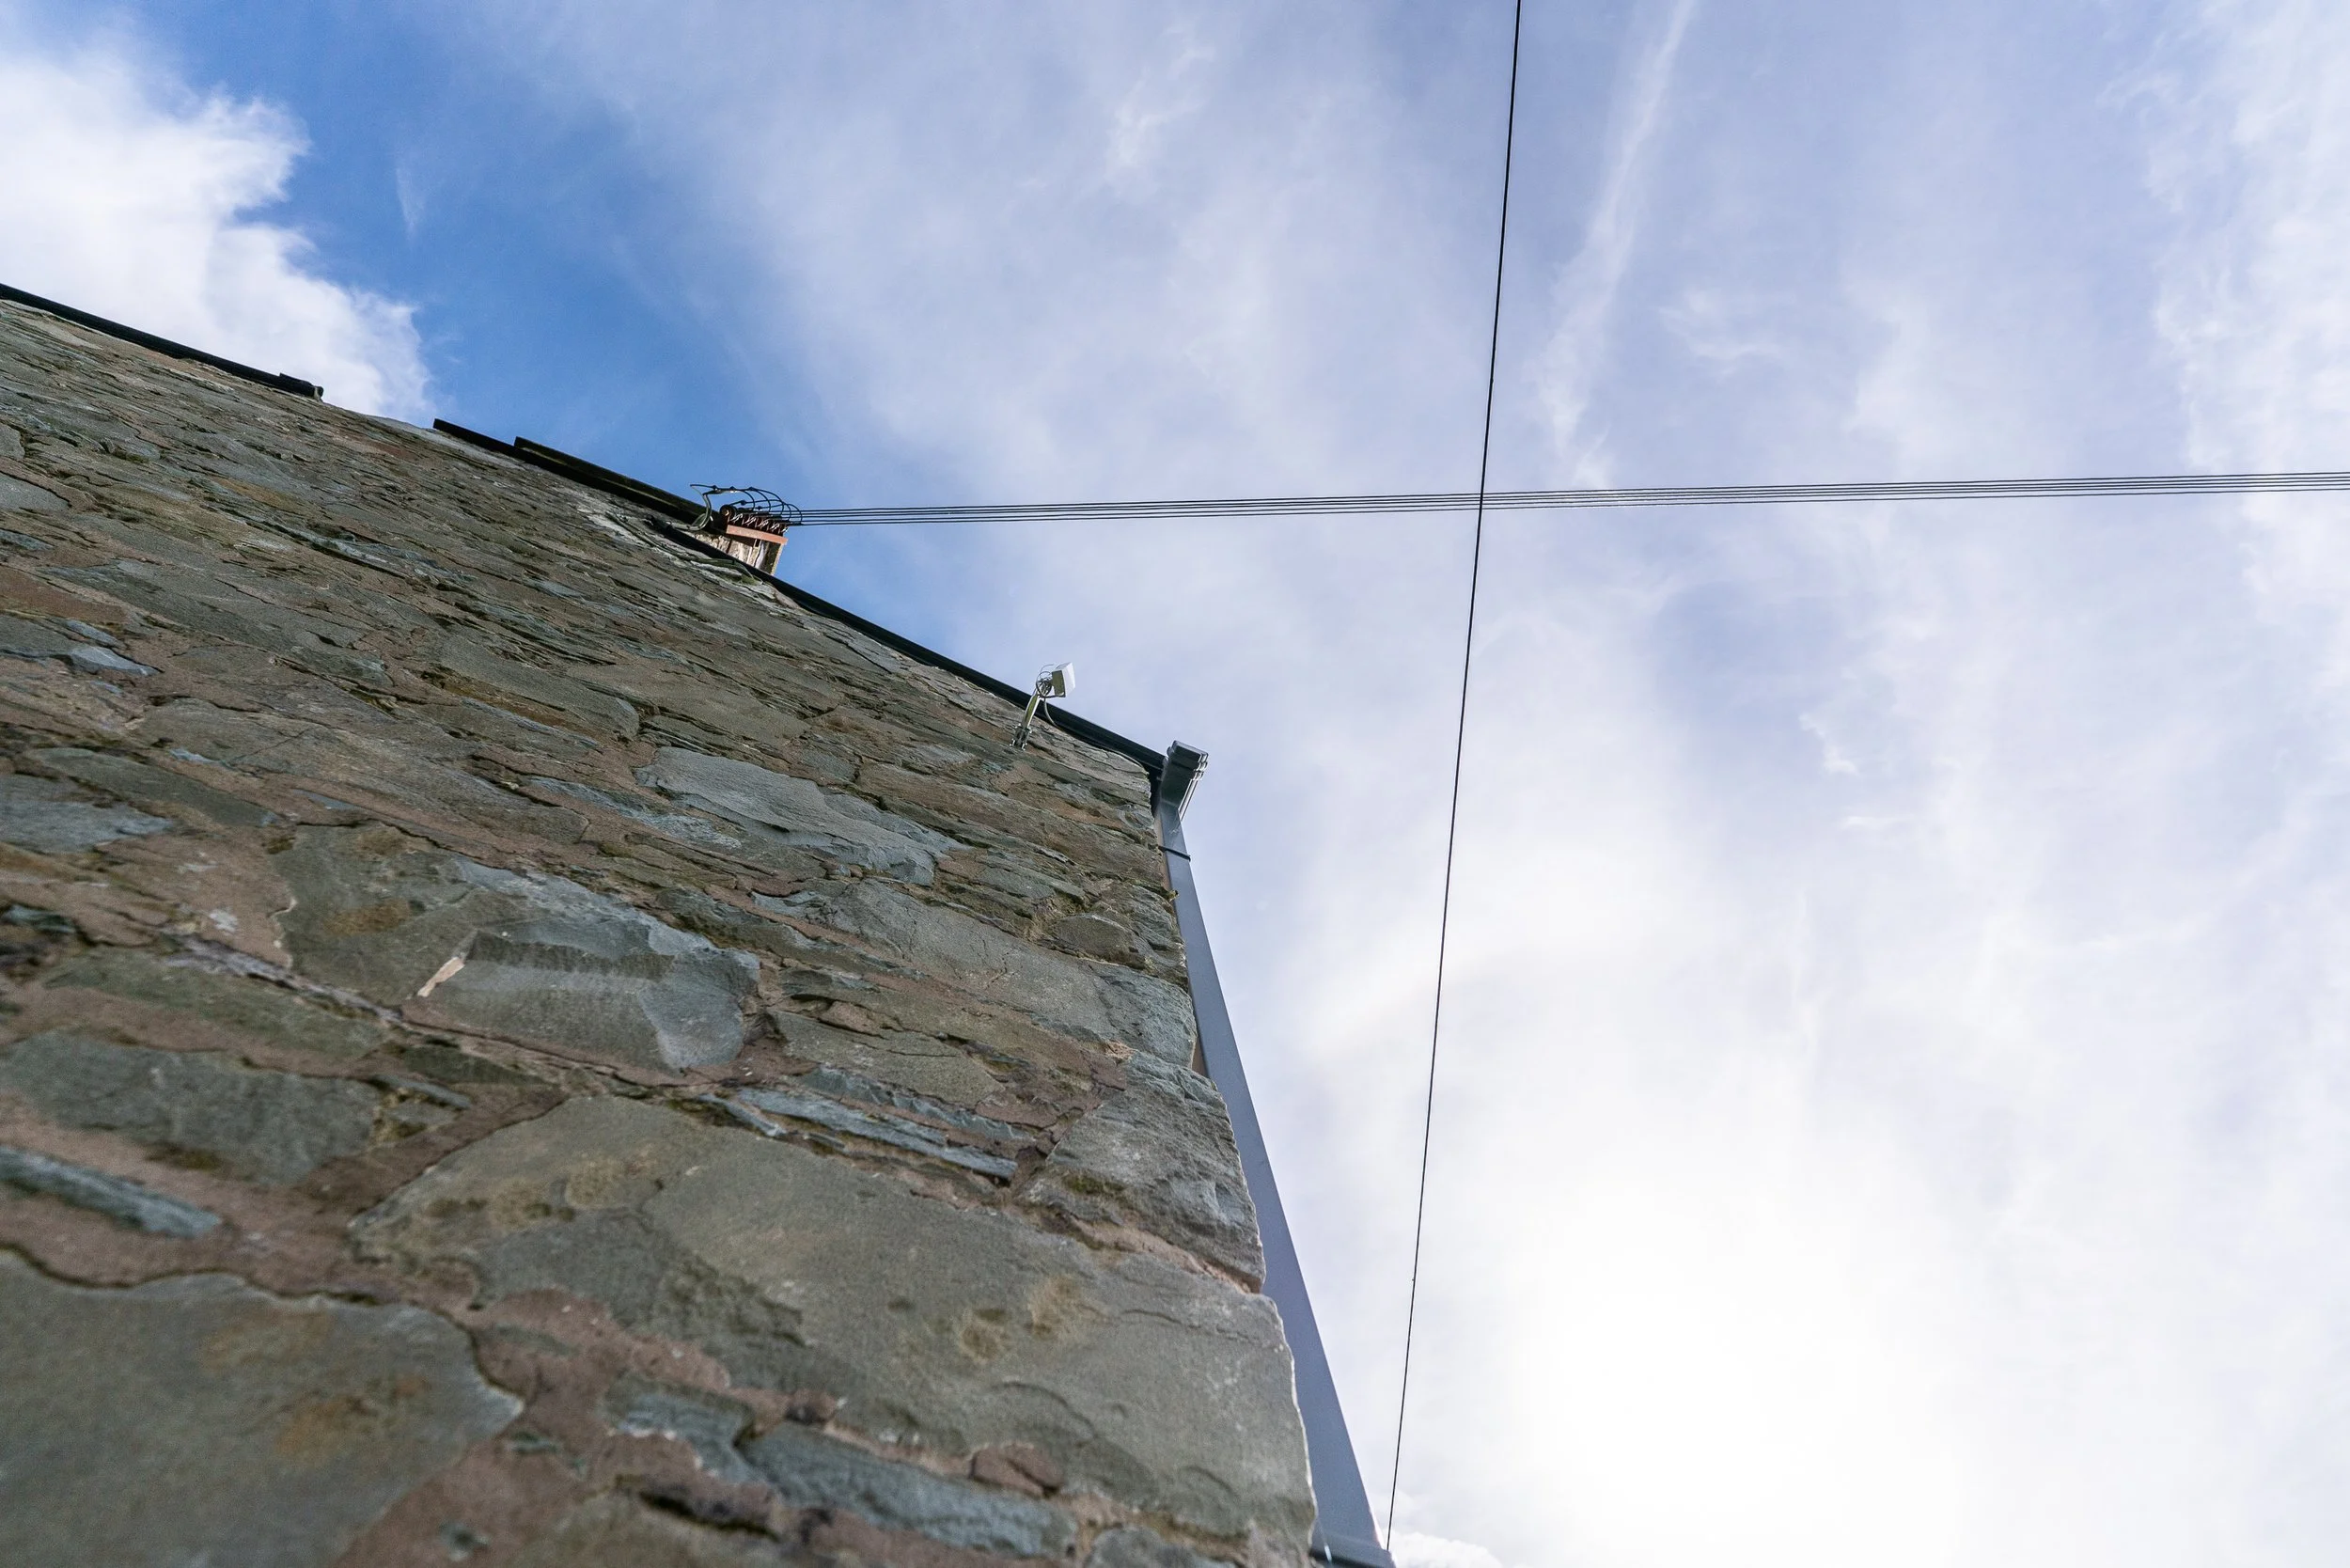
The Flagstones
The other major task last week was all about the stone for the farmhouse. Farmer Ryan did us an absolute solid by moving the pallets of flags up to the farmhouse from the silage clamps. Without that, this would have been next to impossible. We’ve had this stone on site since December (I think), but we knew laying it was going to be a major task, and we weren’t ready for that at the time. Instead, we prioritised other things like bathrooms and the wet dog room.
With both Dan and I suitably psyched up for this task, Dan started by sorting the tiles into sizes, and assessing breakages. Sadly, some were cracked as is to be expected, but they were all from the same pallet, which made the random lengths pattern tricky.
Second, Dan primed the underfloor heating boards with the approved primer, ensuring that everything was cleaned beforehand and that the primer went into every empty channel in the pipe mats.
The next step for us was to decide what our priority was, and which direction the tiles should lay. We both agreed that the hallway through the pocket door opening was the priority, and that this should be a straight run. So, we started a dry lay there.
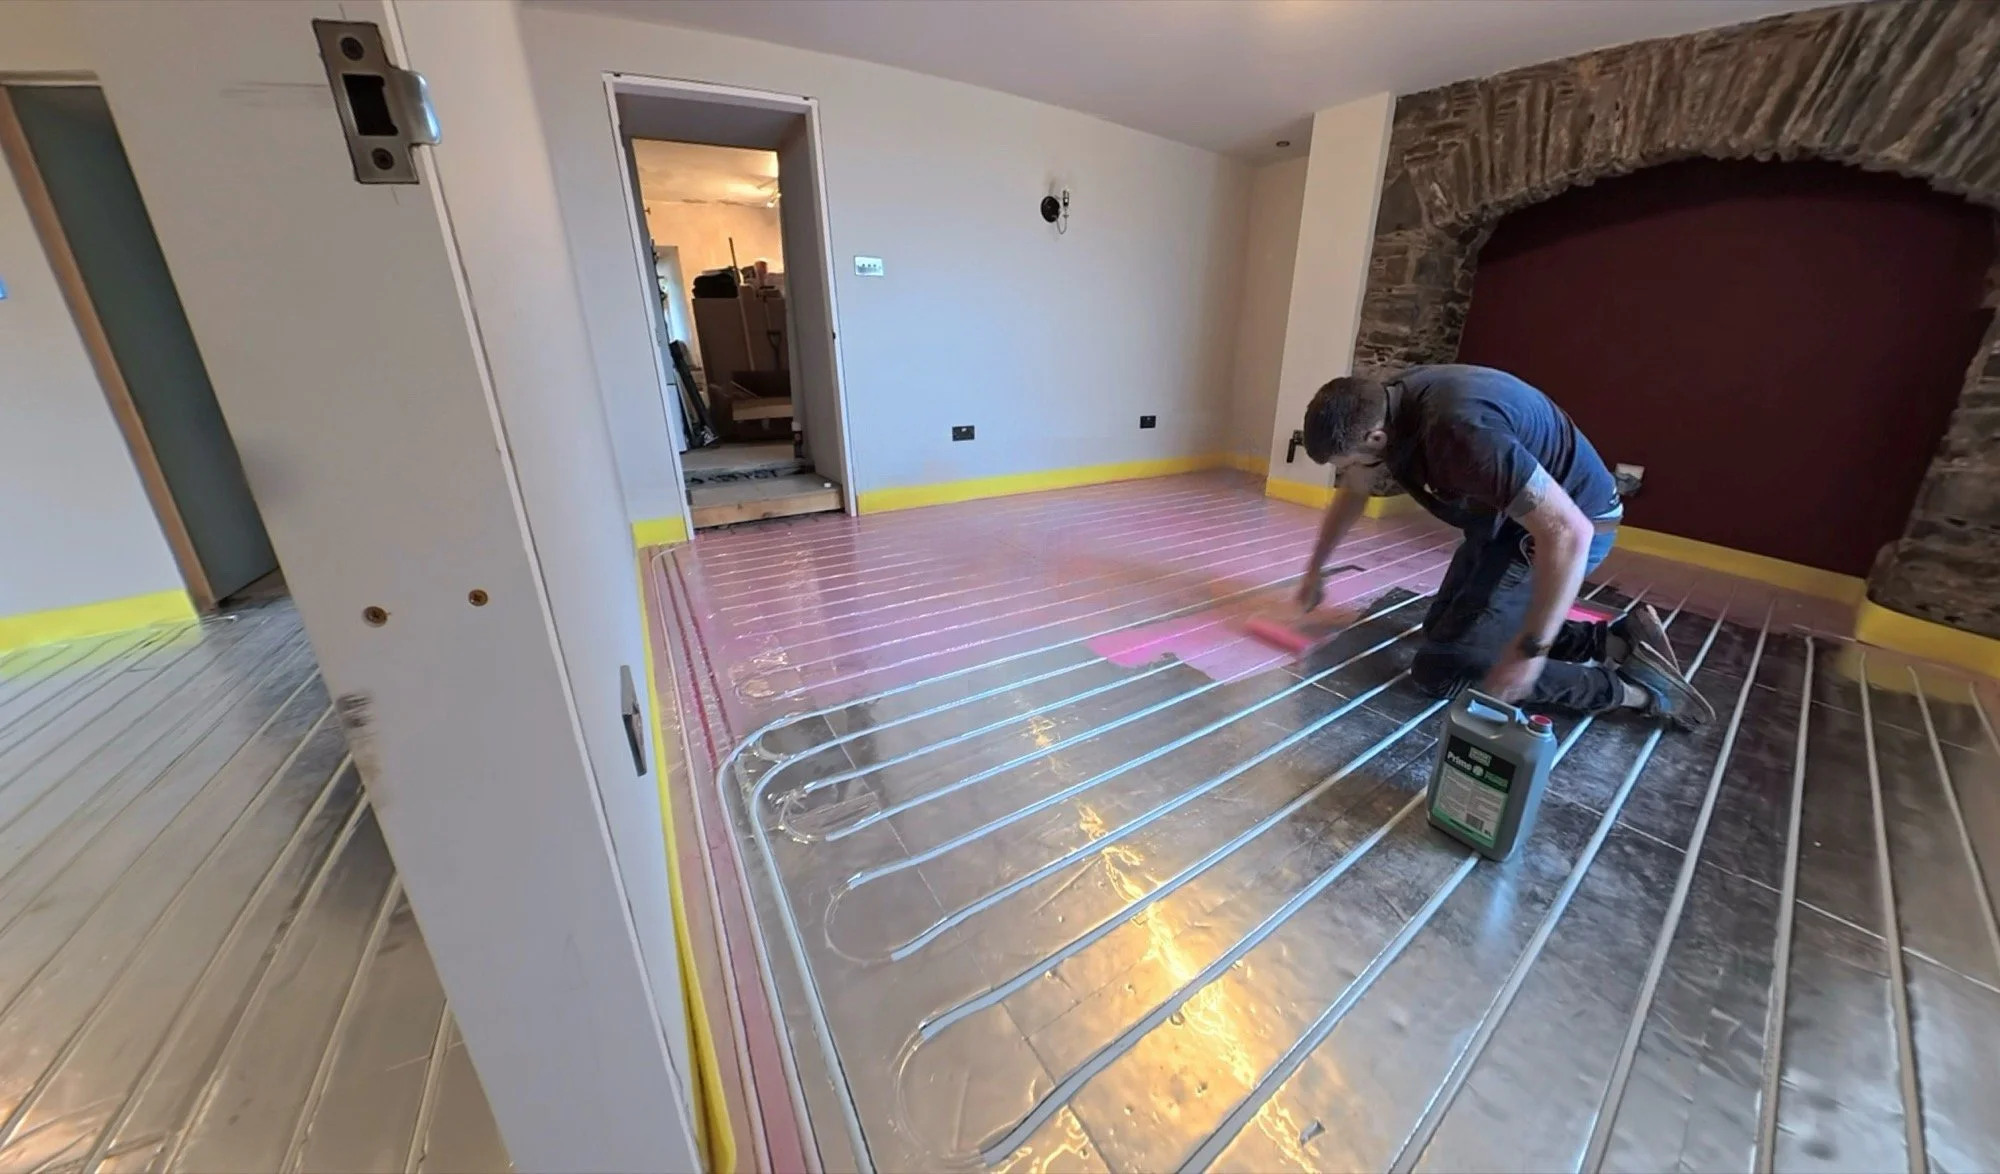
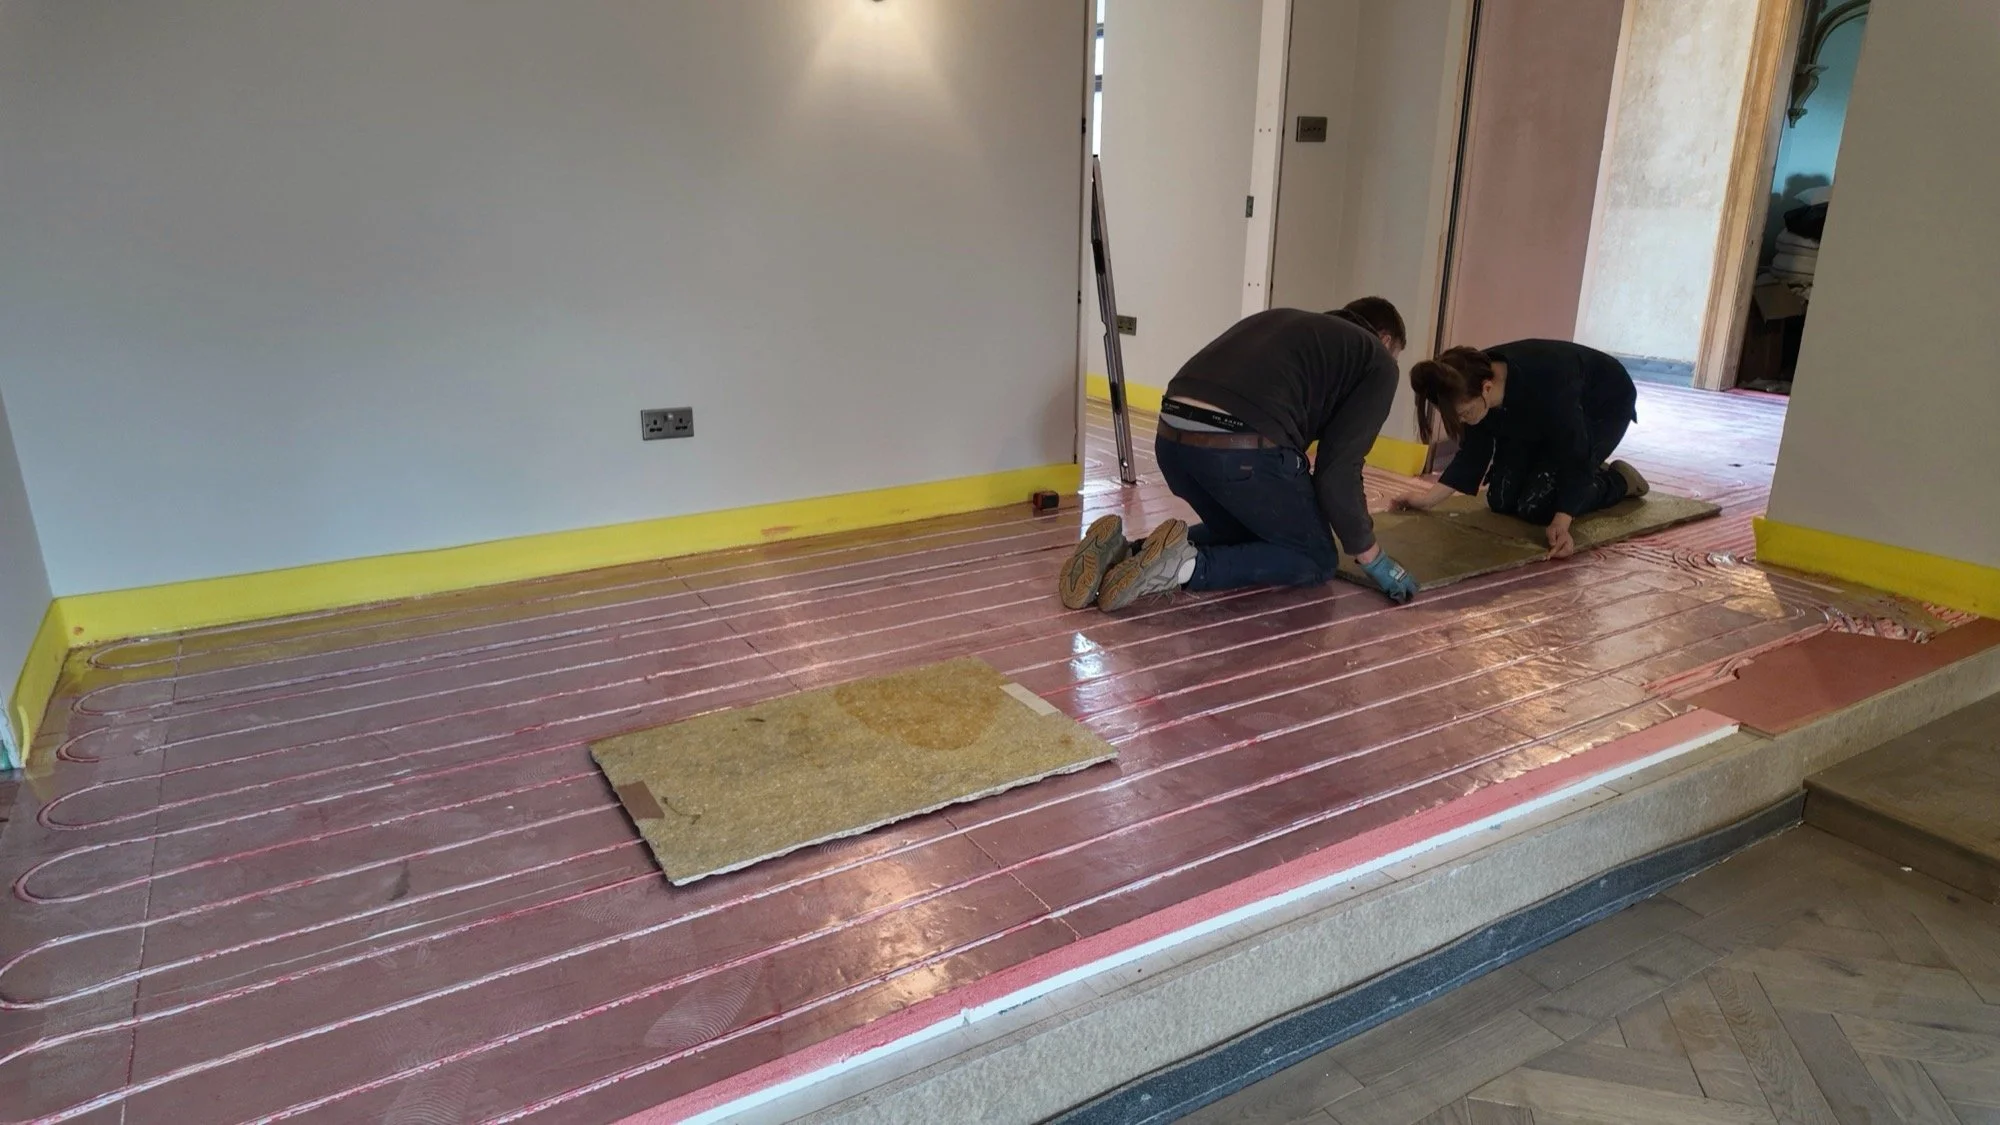
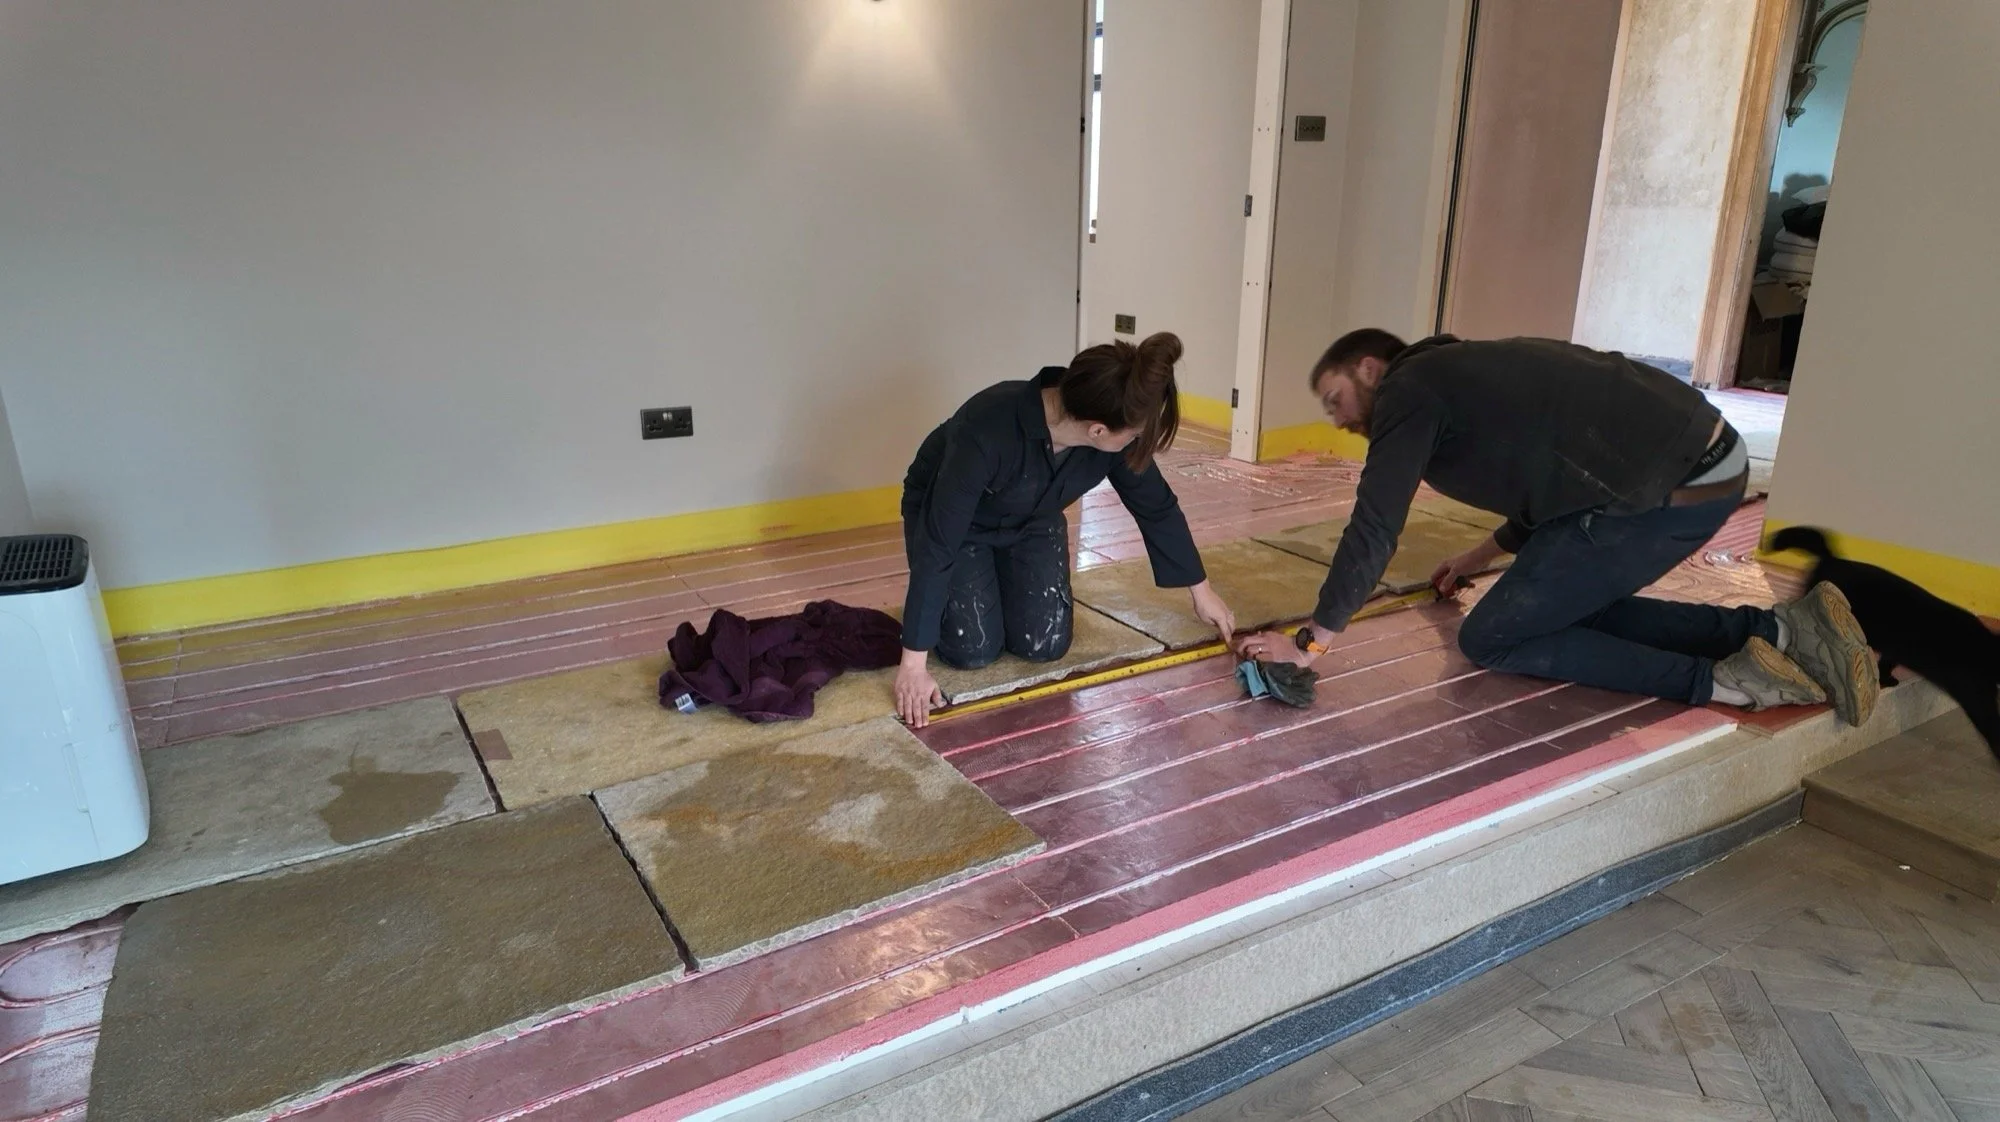
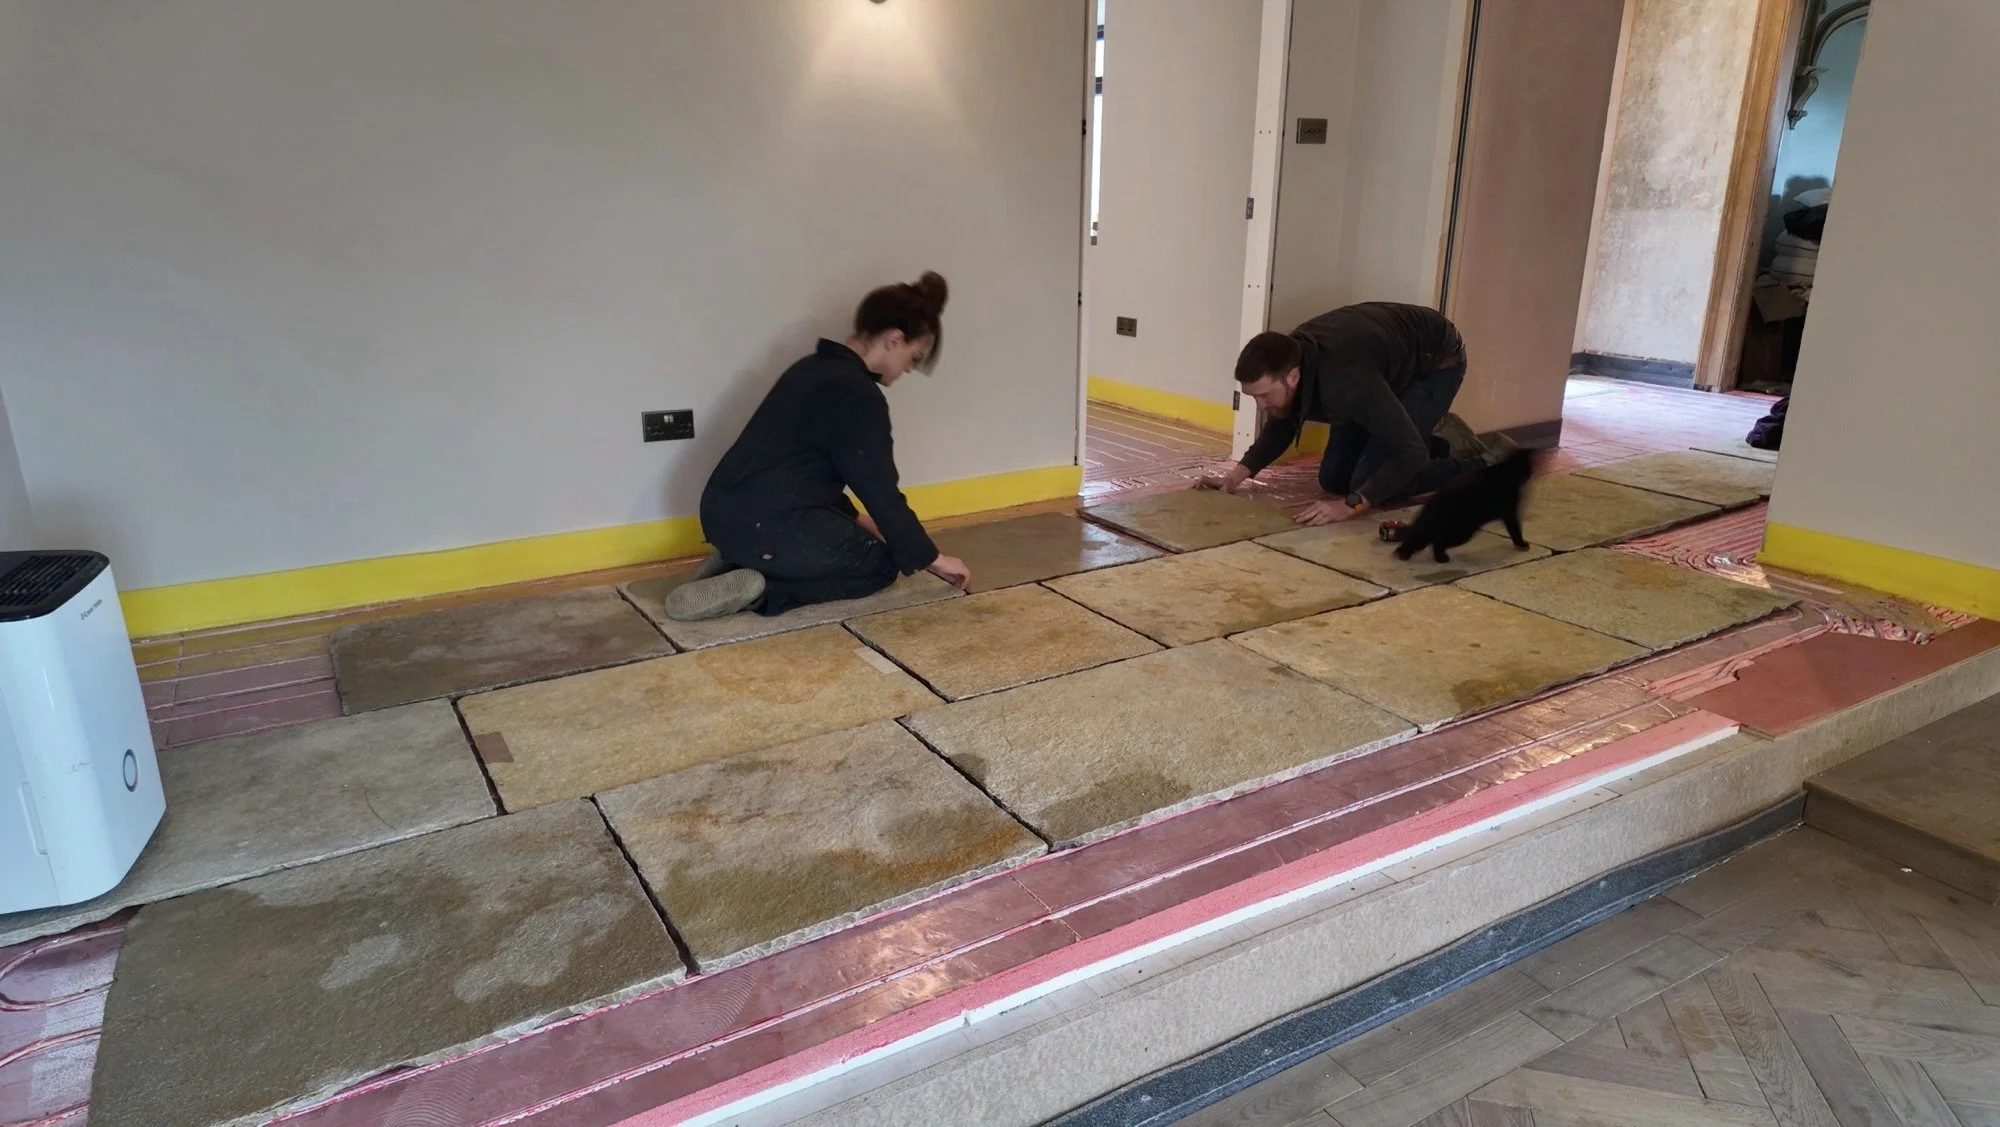
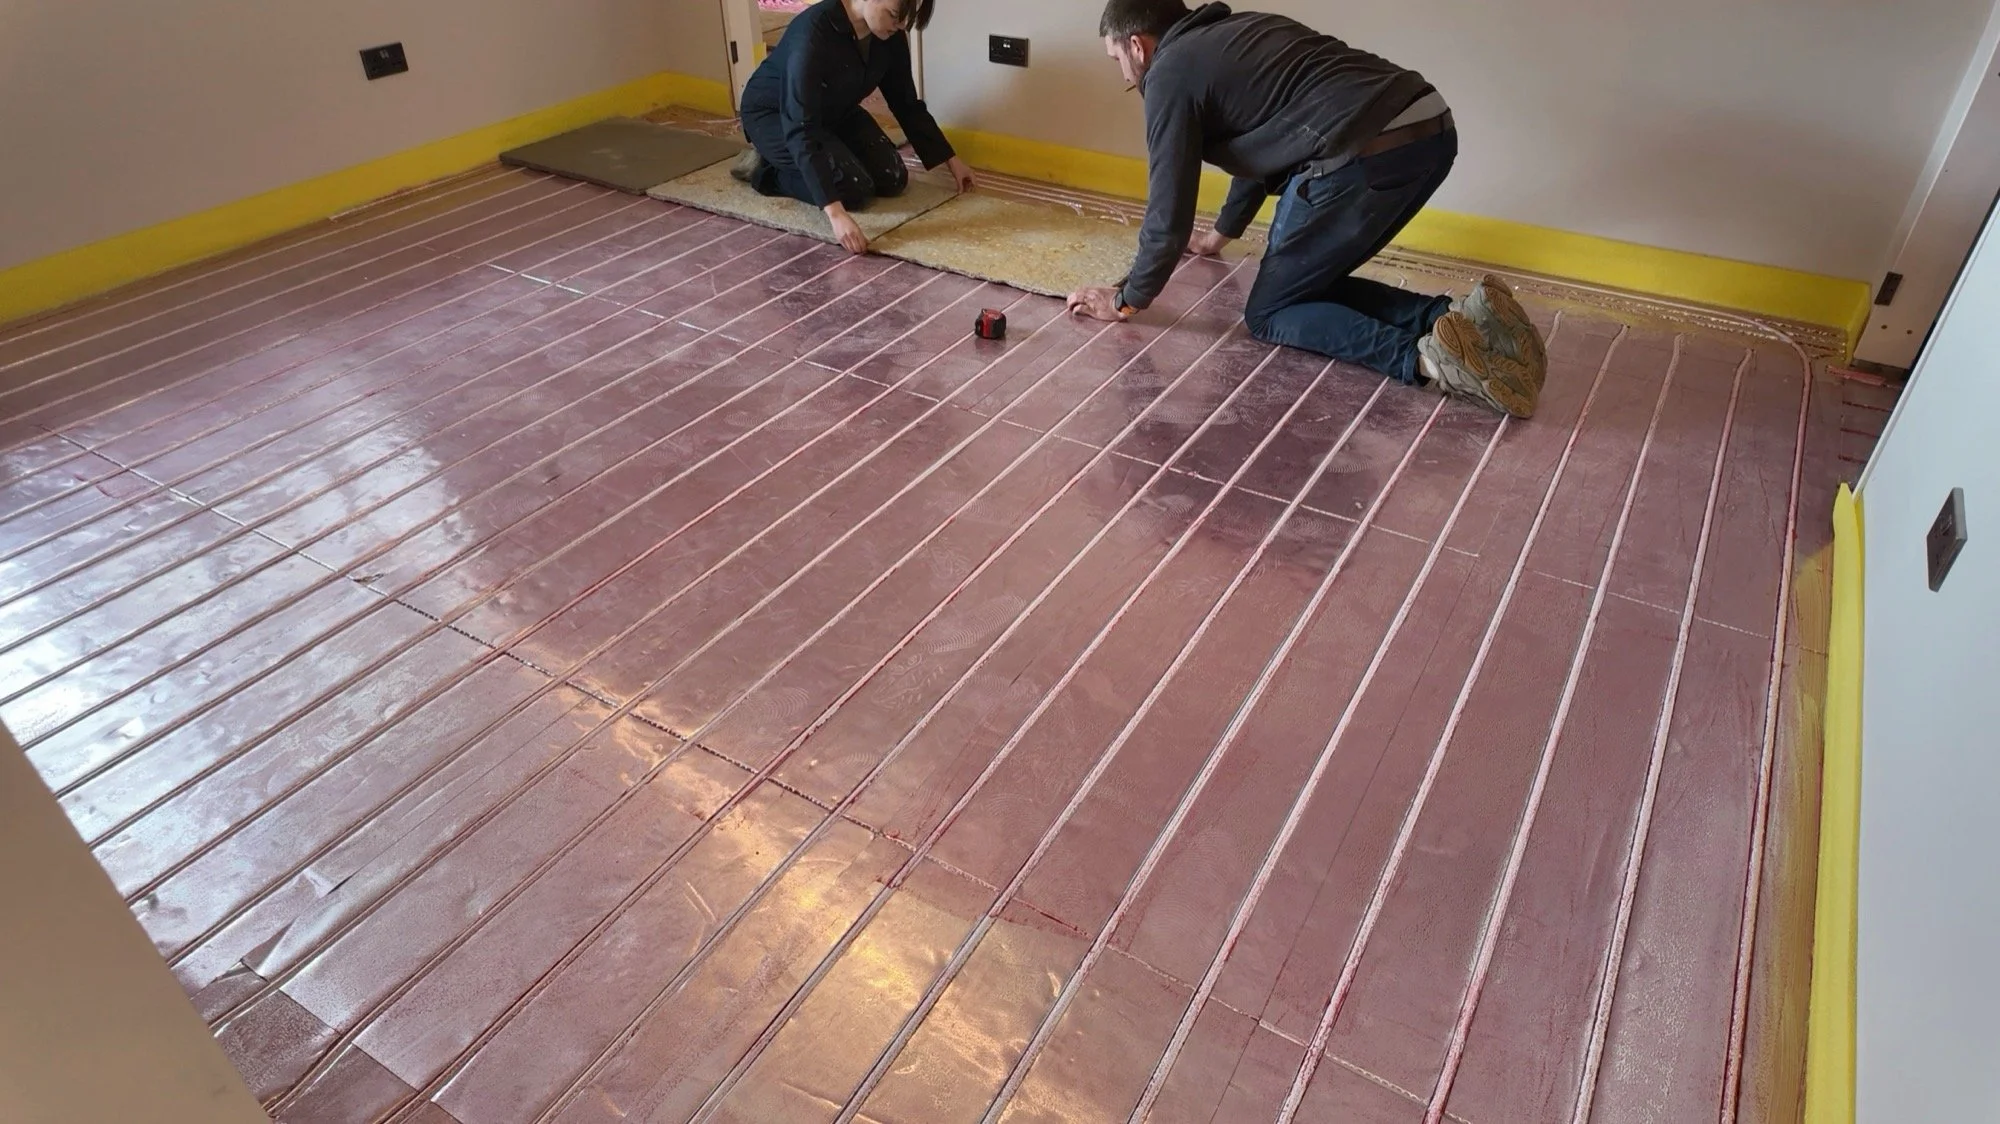
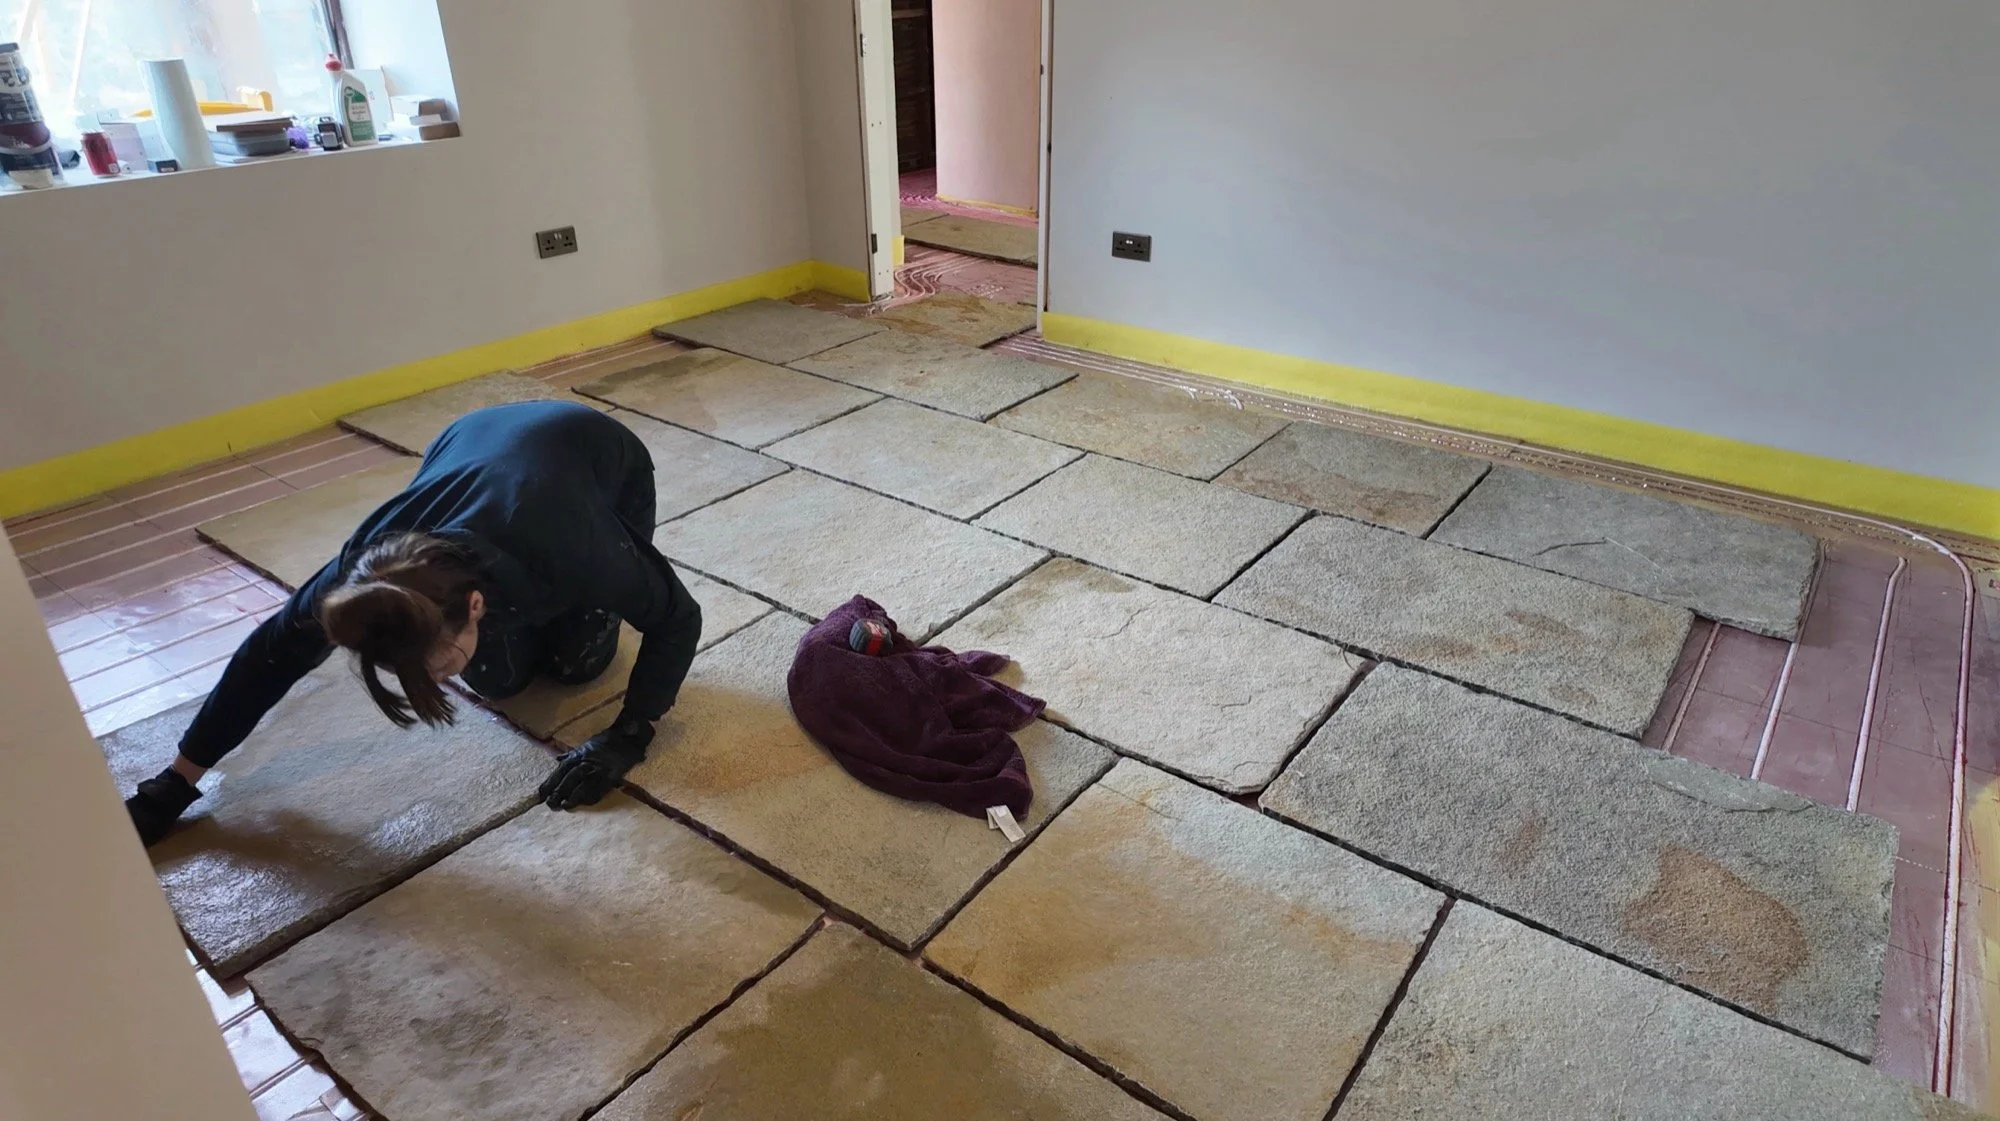
With all the full slabs dry laid, Dan started the cuts. These took a LONG time, but Dan was very, very good at it!
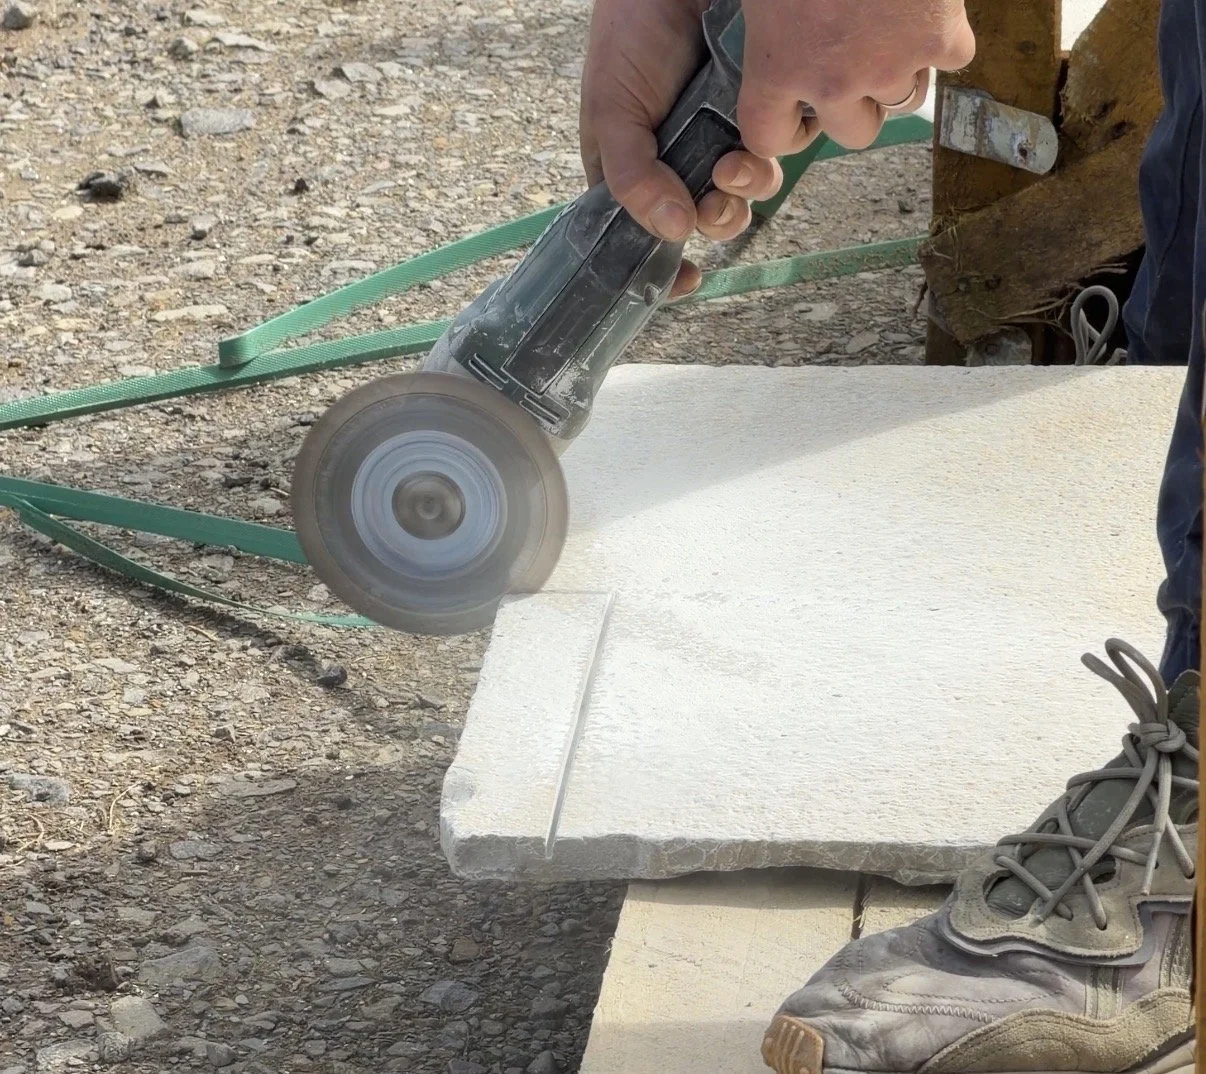
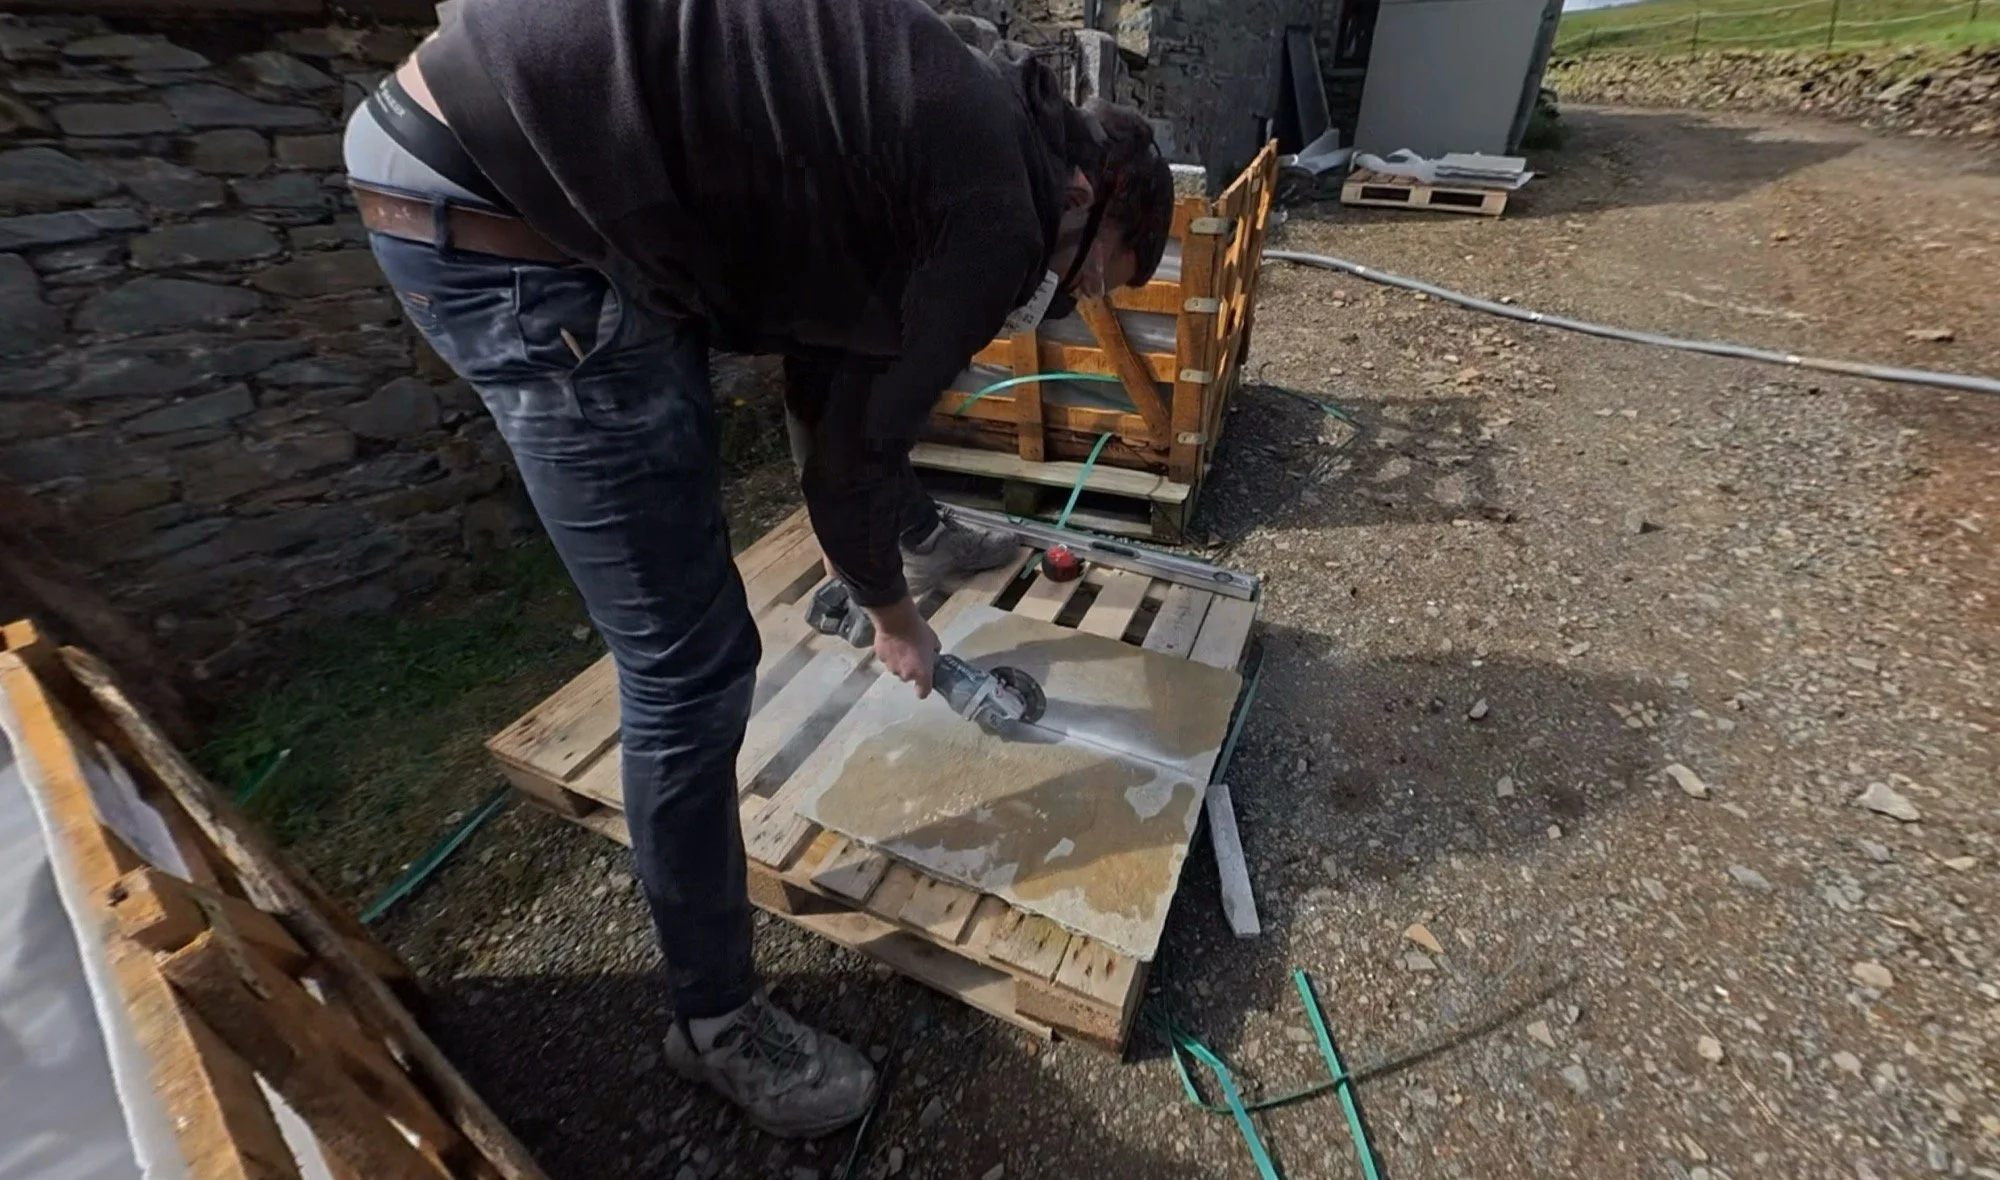
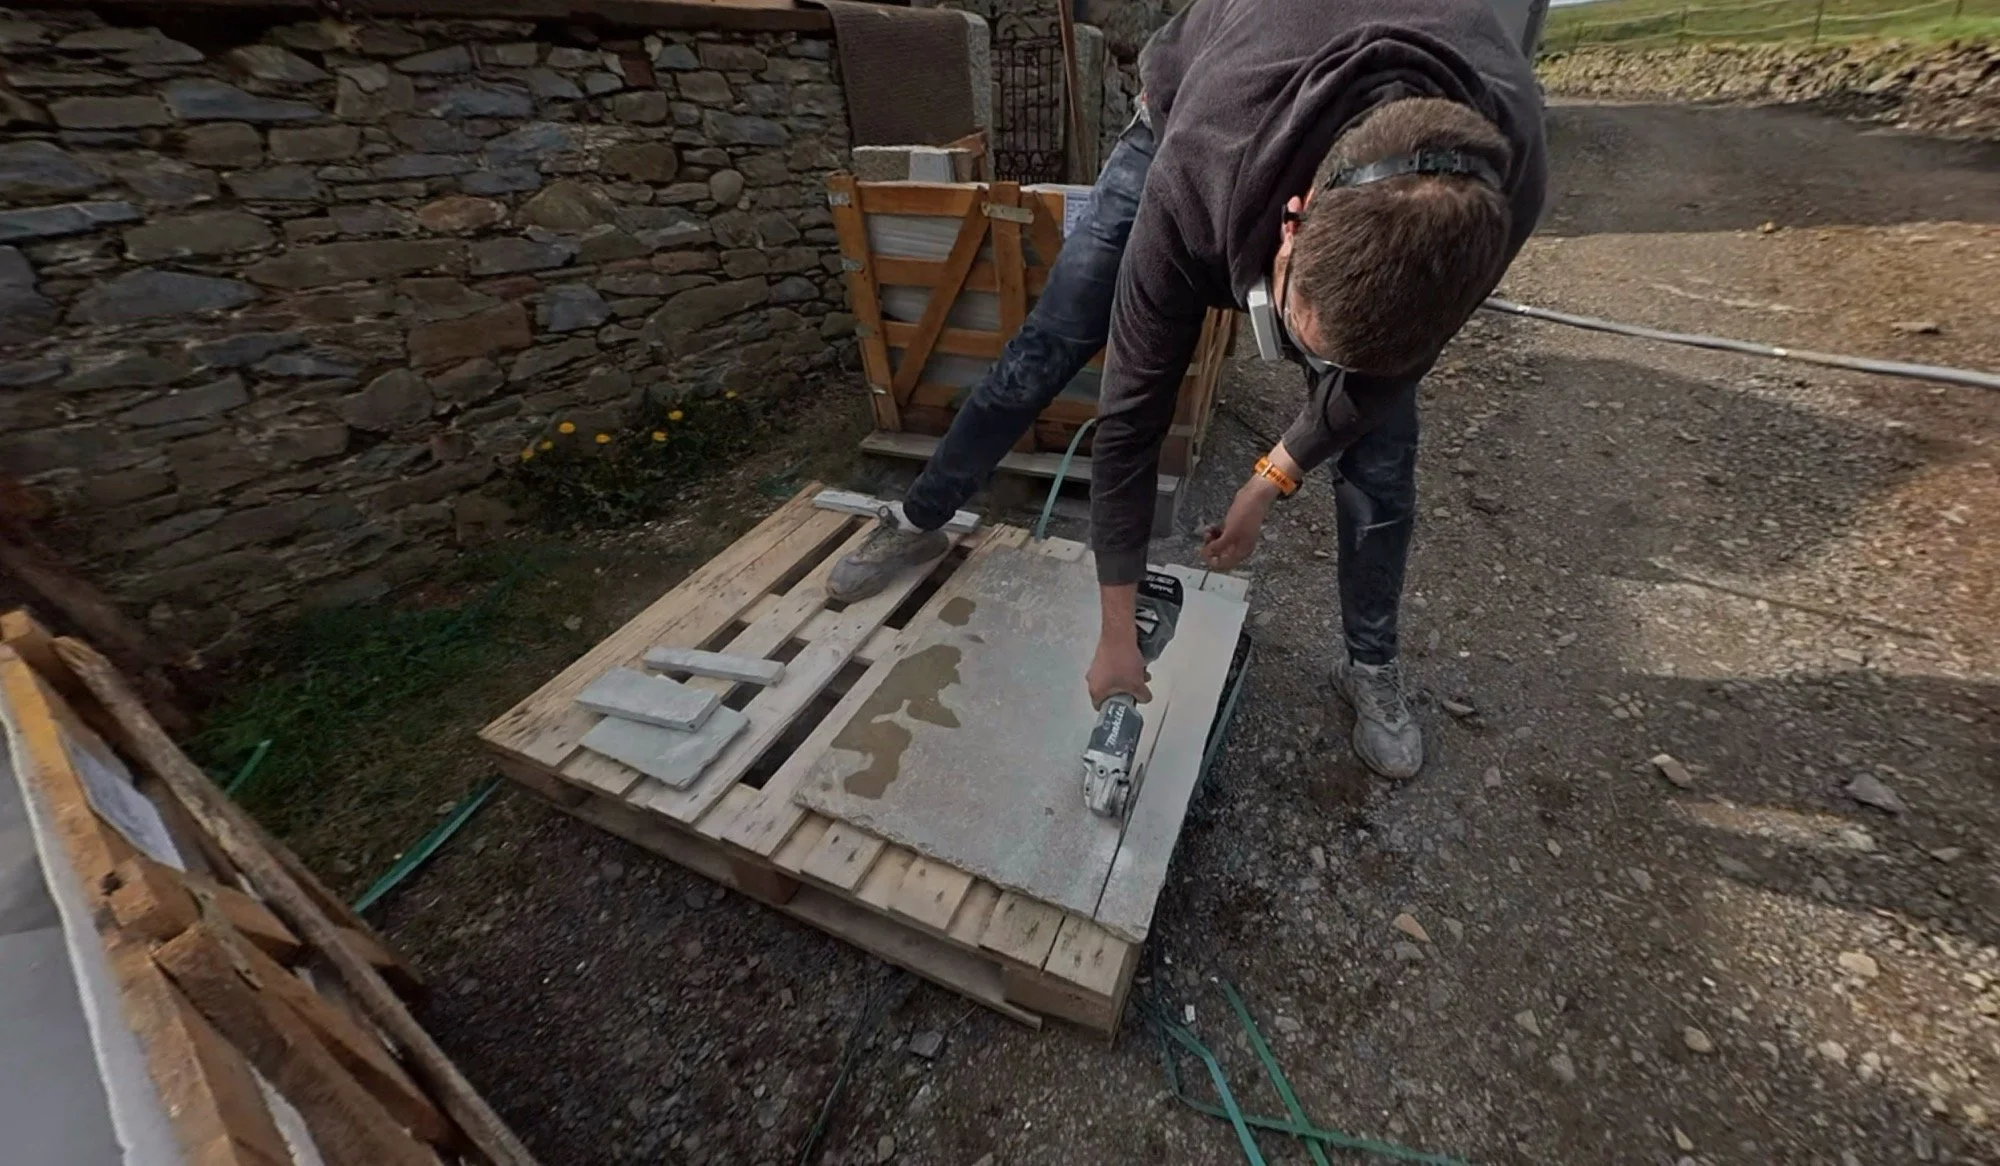
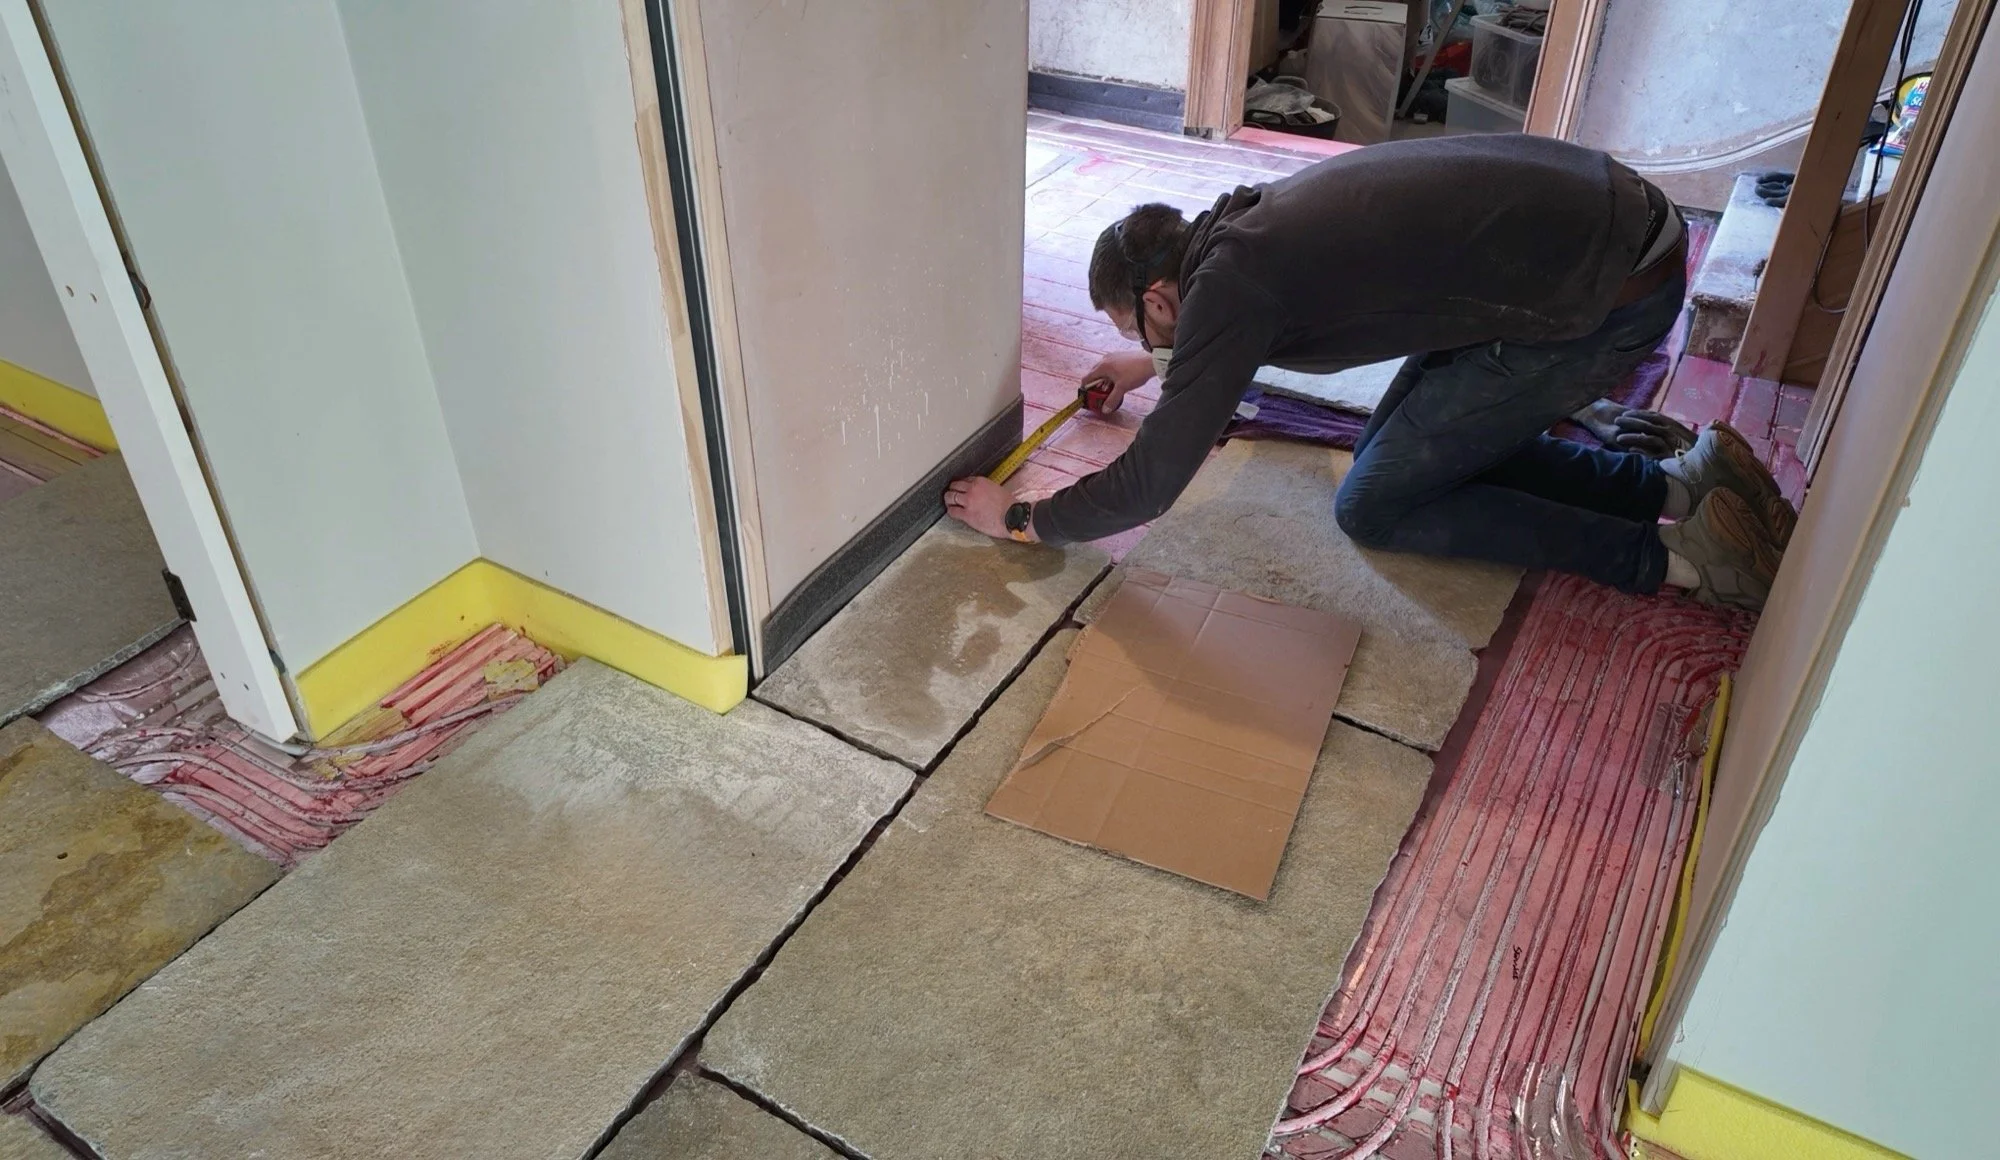
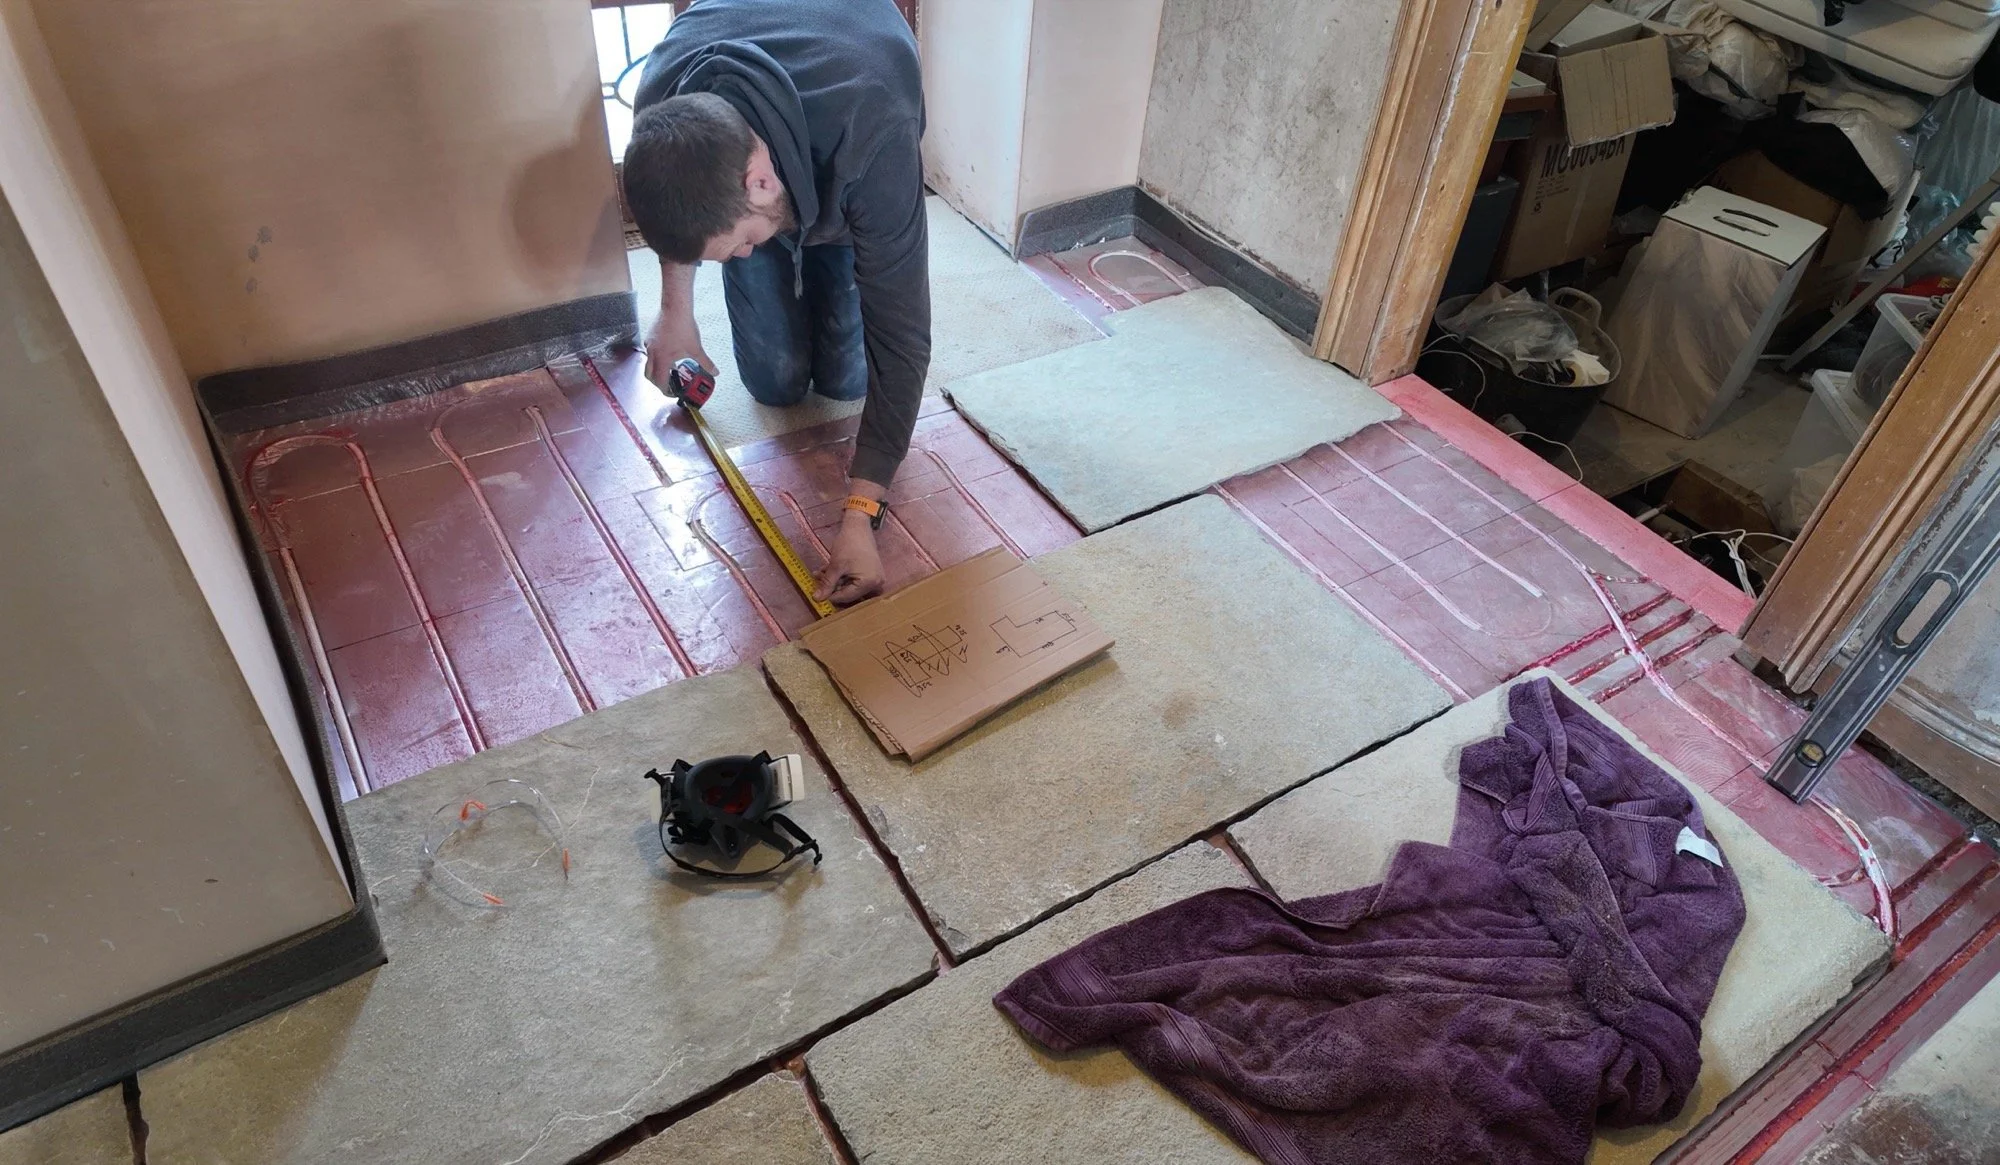
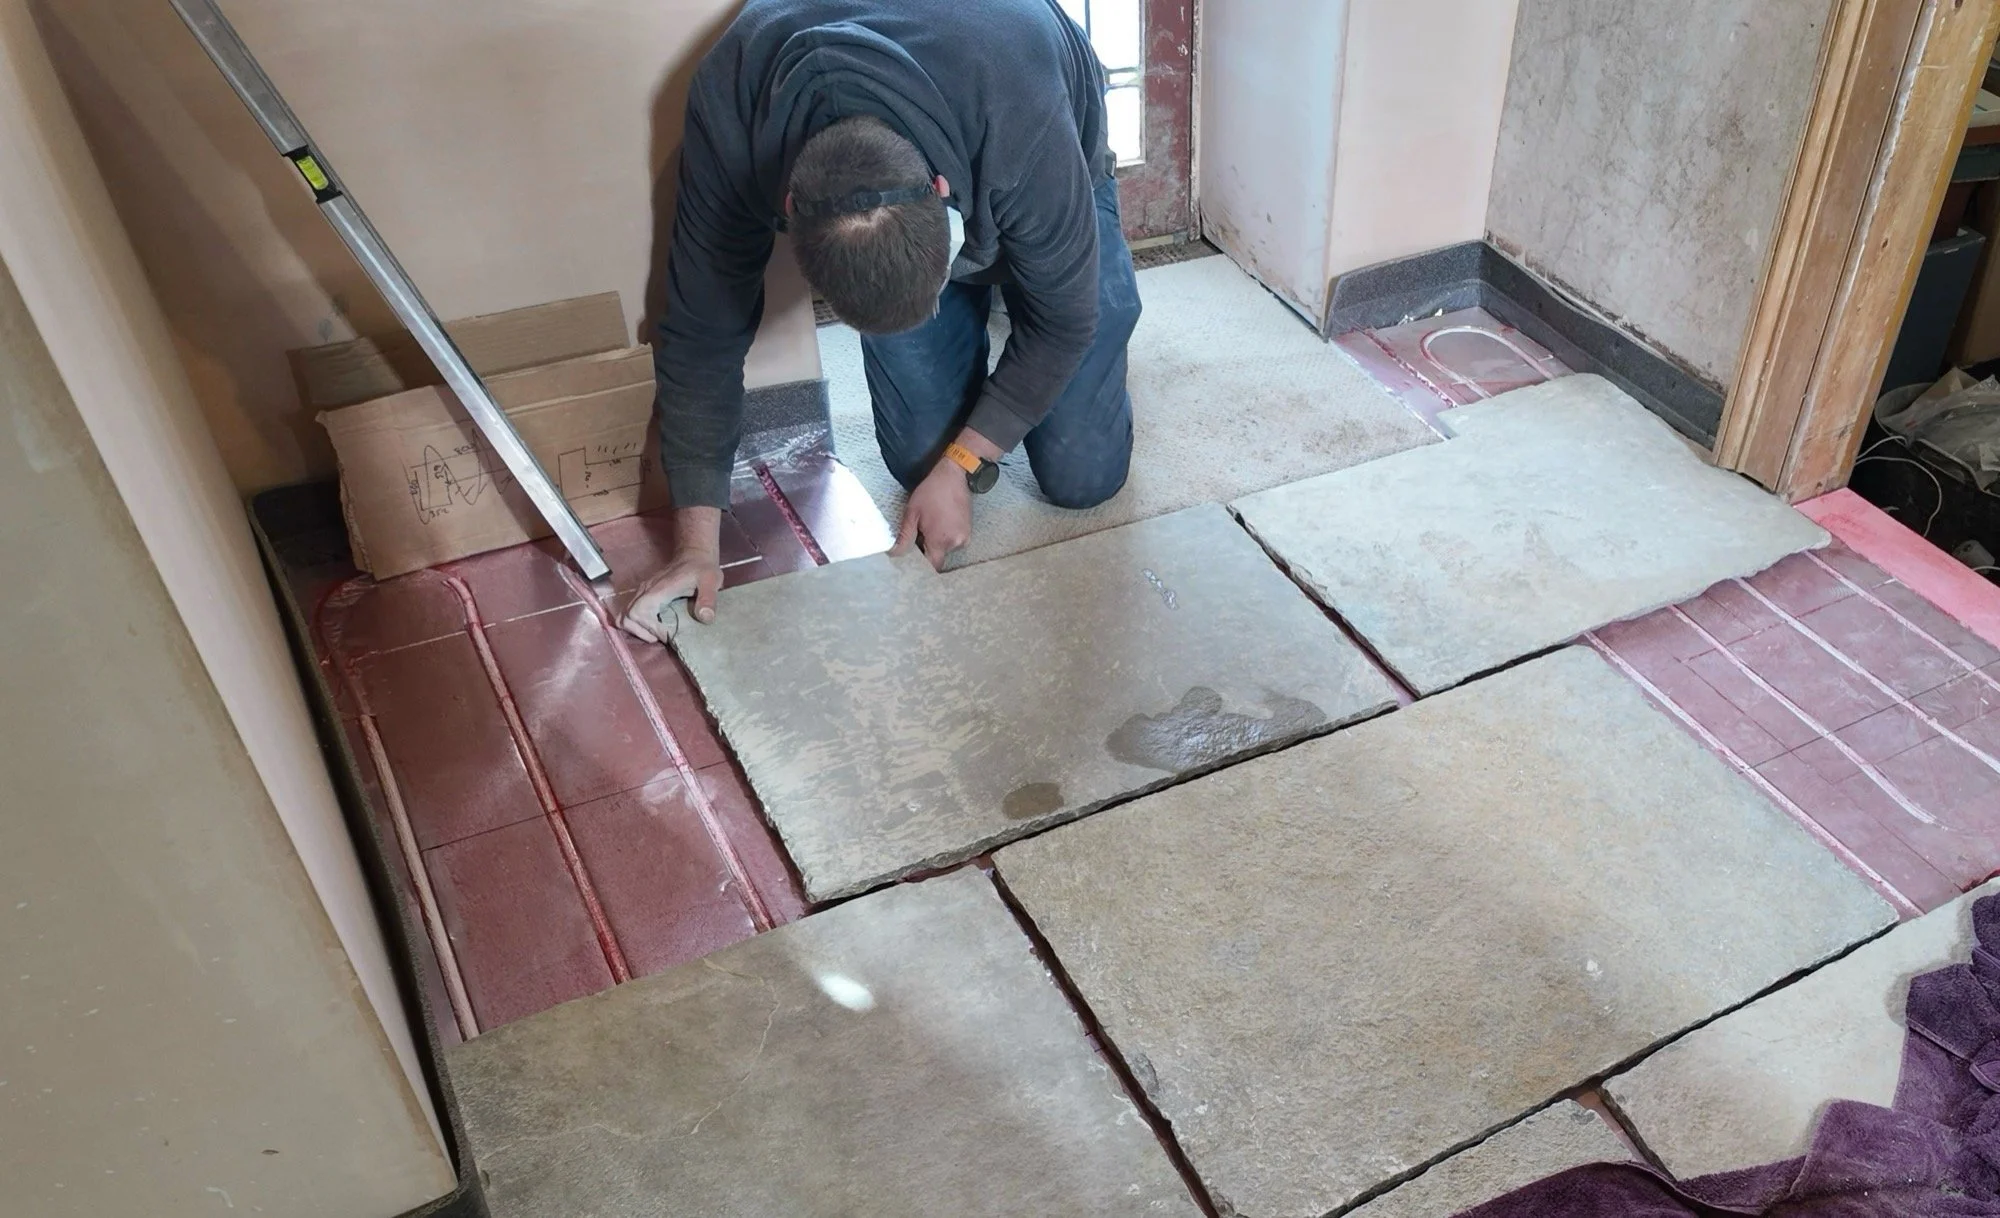
Sadly, we could see early on that we probably wouldn’t have enough slabs to complete the areas, and the insult added to this injury was that when Dan was carrying a large slab and stepping onto a dry-laid one underneath, the slab taking the weight of Dan + tile would sometimes crack, cutting our working pot even further. Therefore, Dan paused and focused on getting everything currently down actually laid with adhesive.
This was Dan’s first time laying tiles, ever, but armed with the instruction guide and me for information delivery, off he went with his brand new 12mm notched trowel and the recommended adhesive. Using spacers with these rugged-edged flags was never going to work, so everything was done to centres, and then by eye. A level was also only mildly useful, but Dan tried where he could.
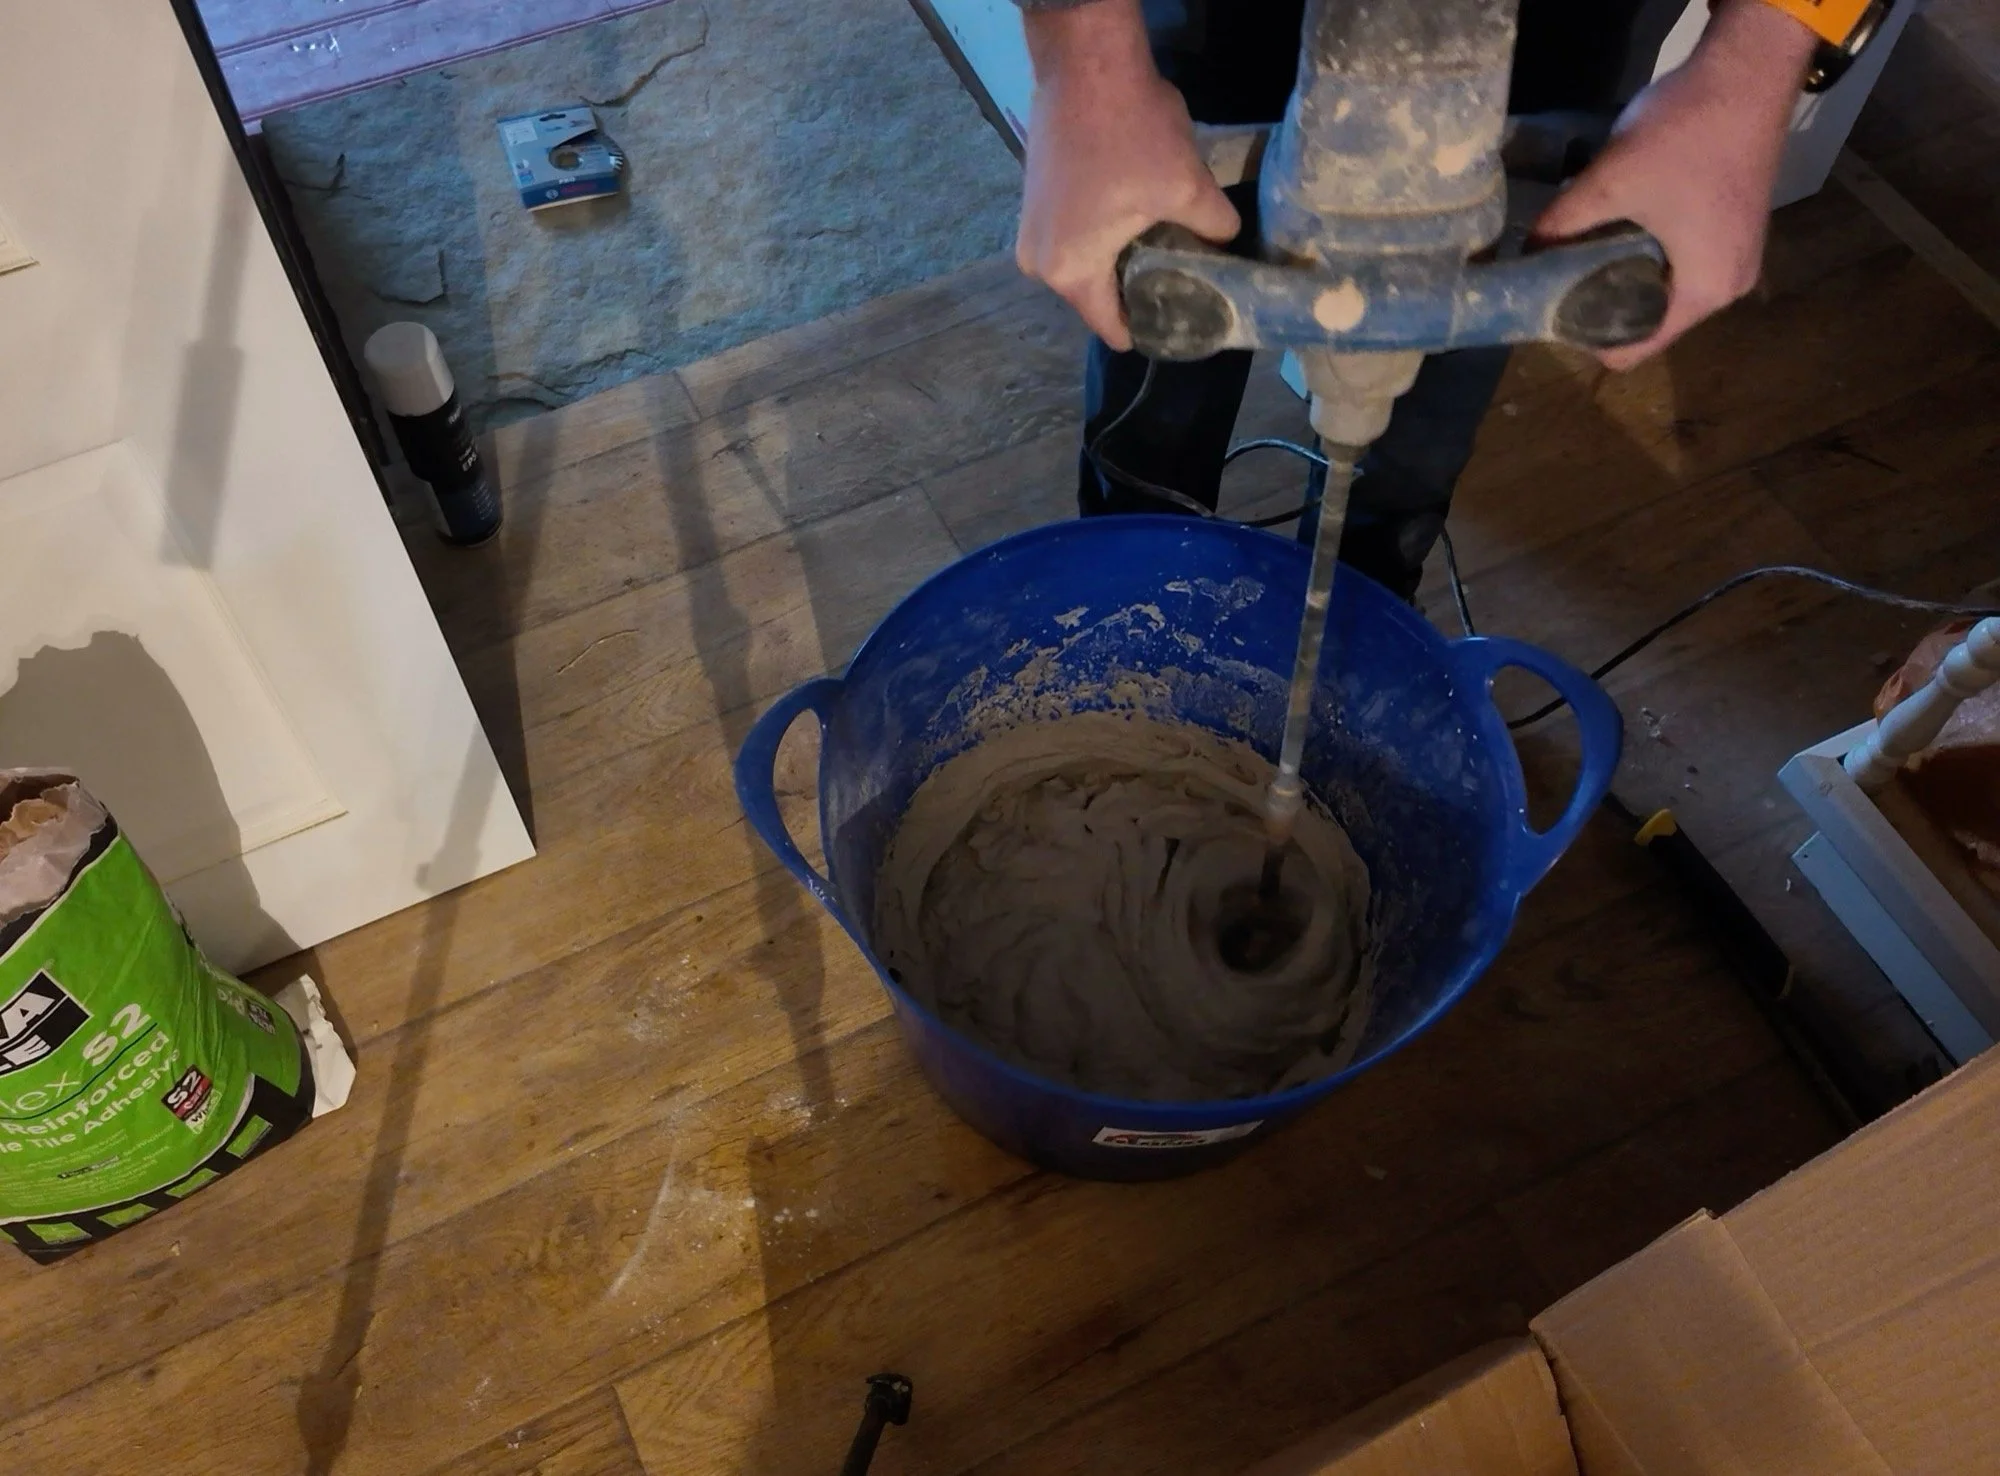
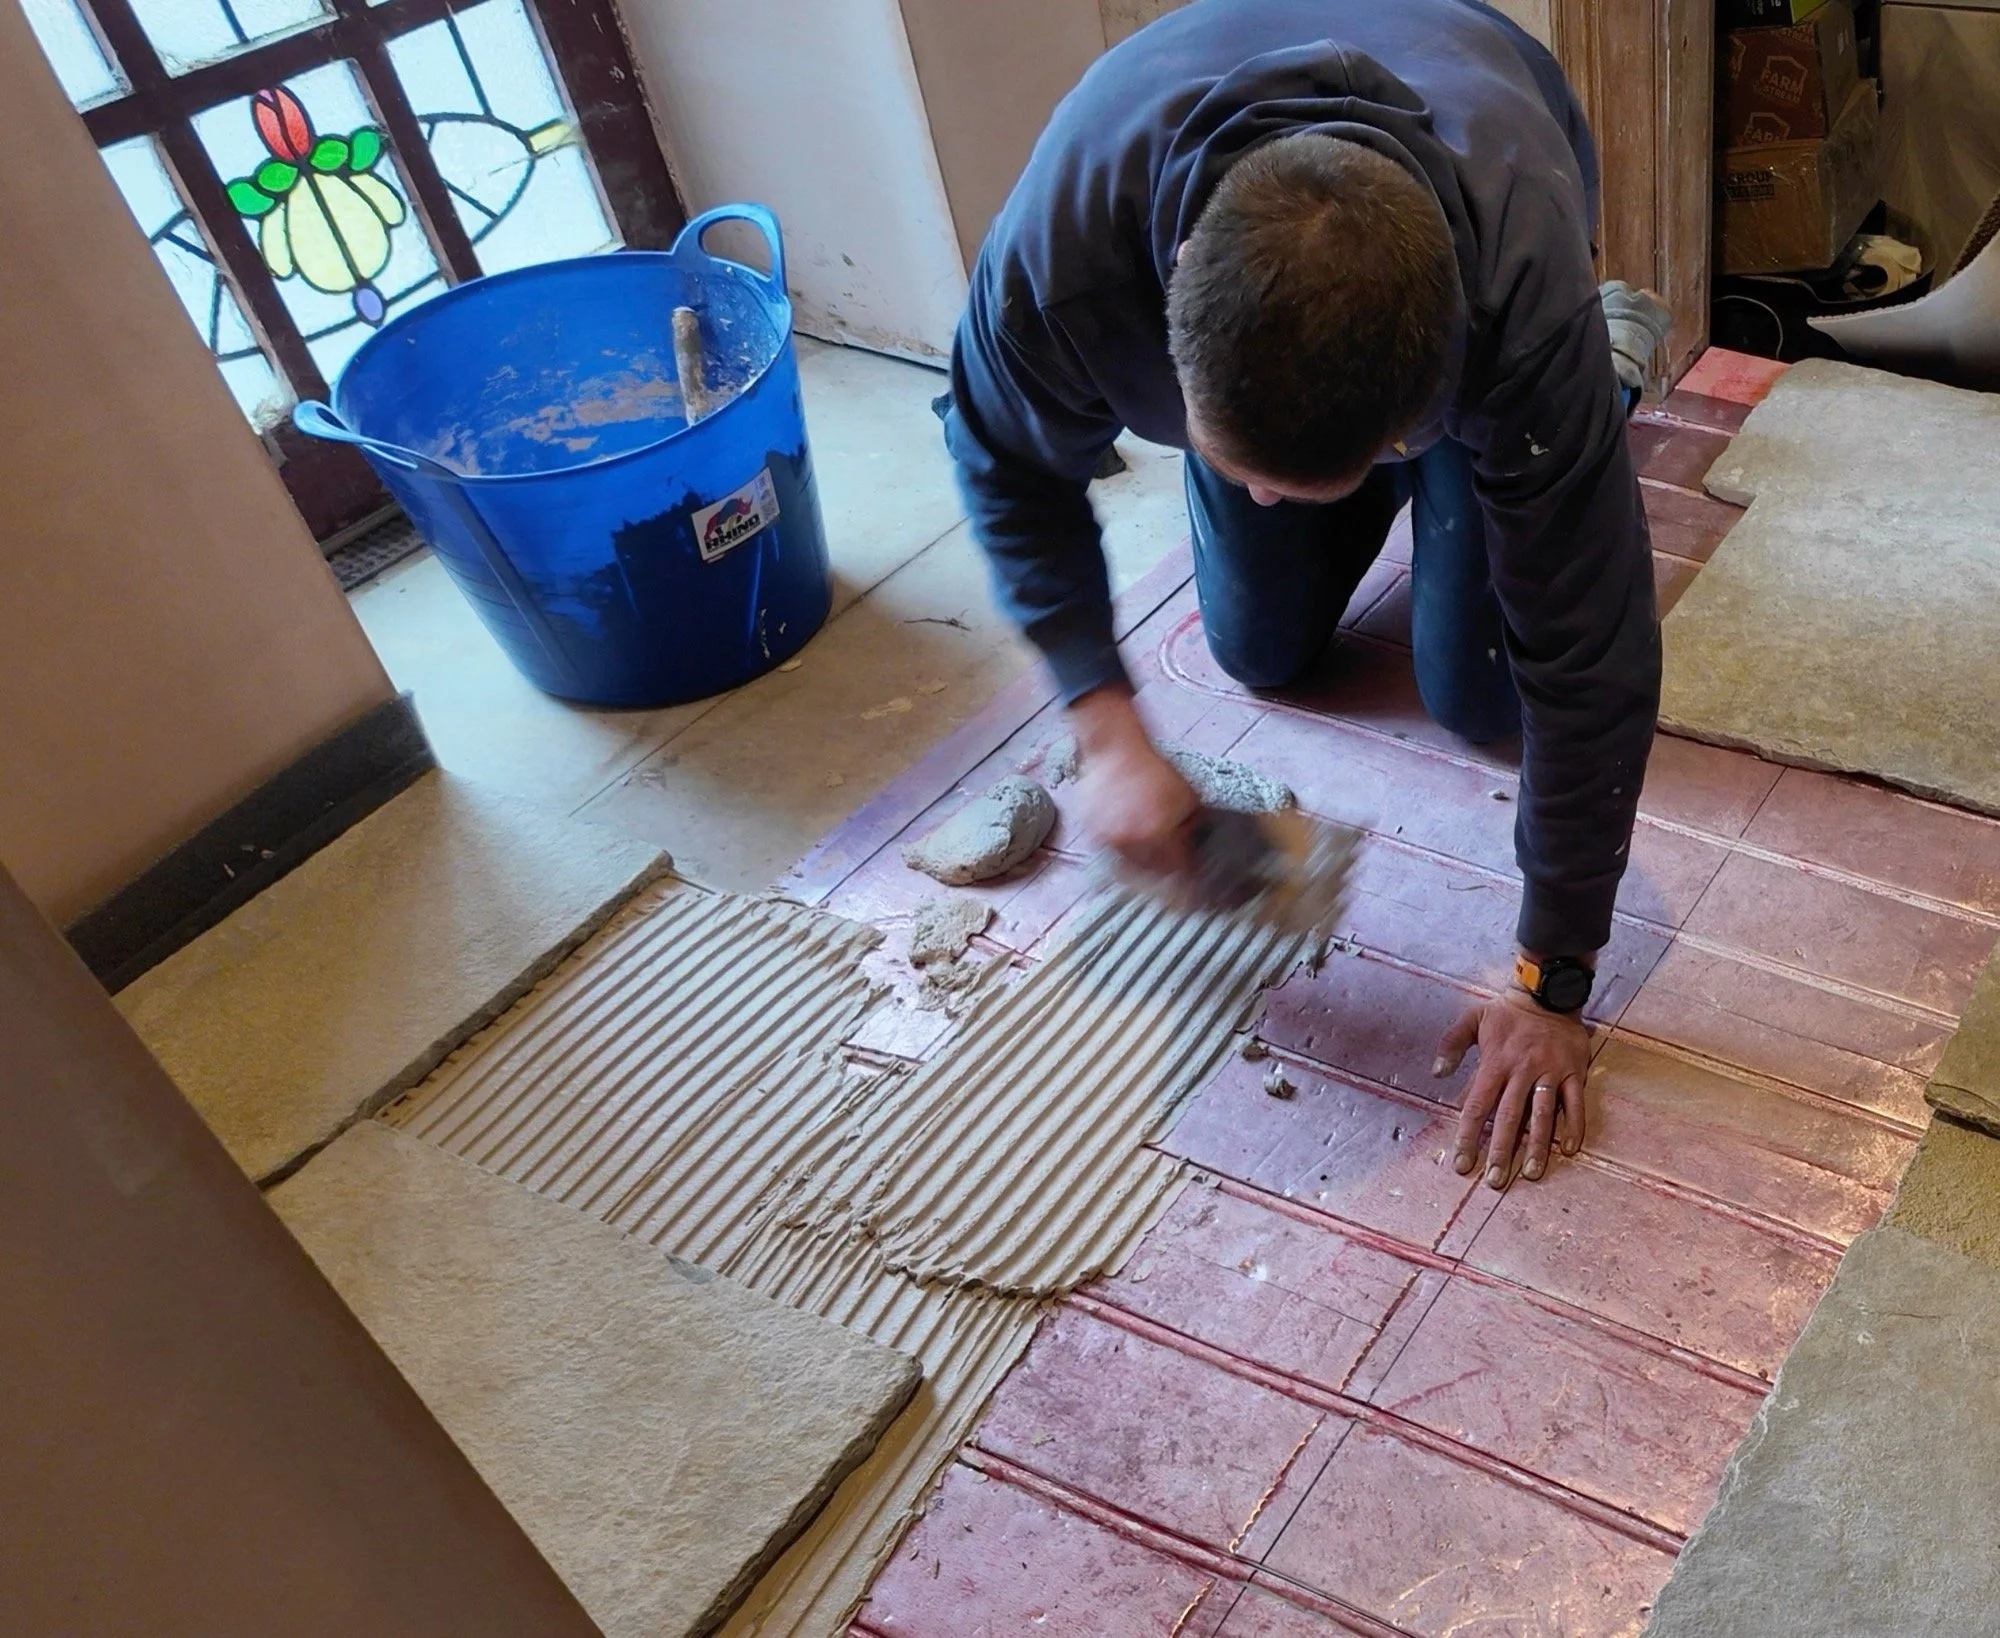
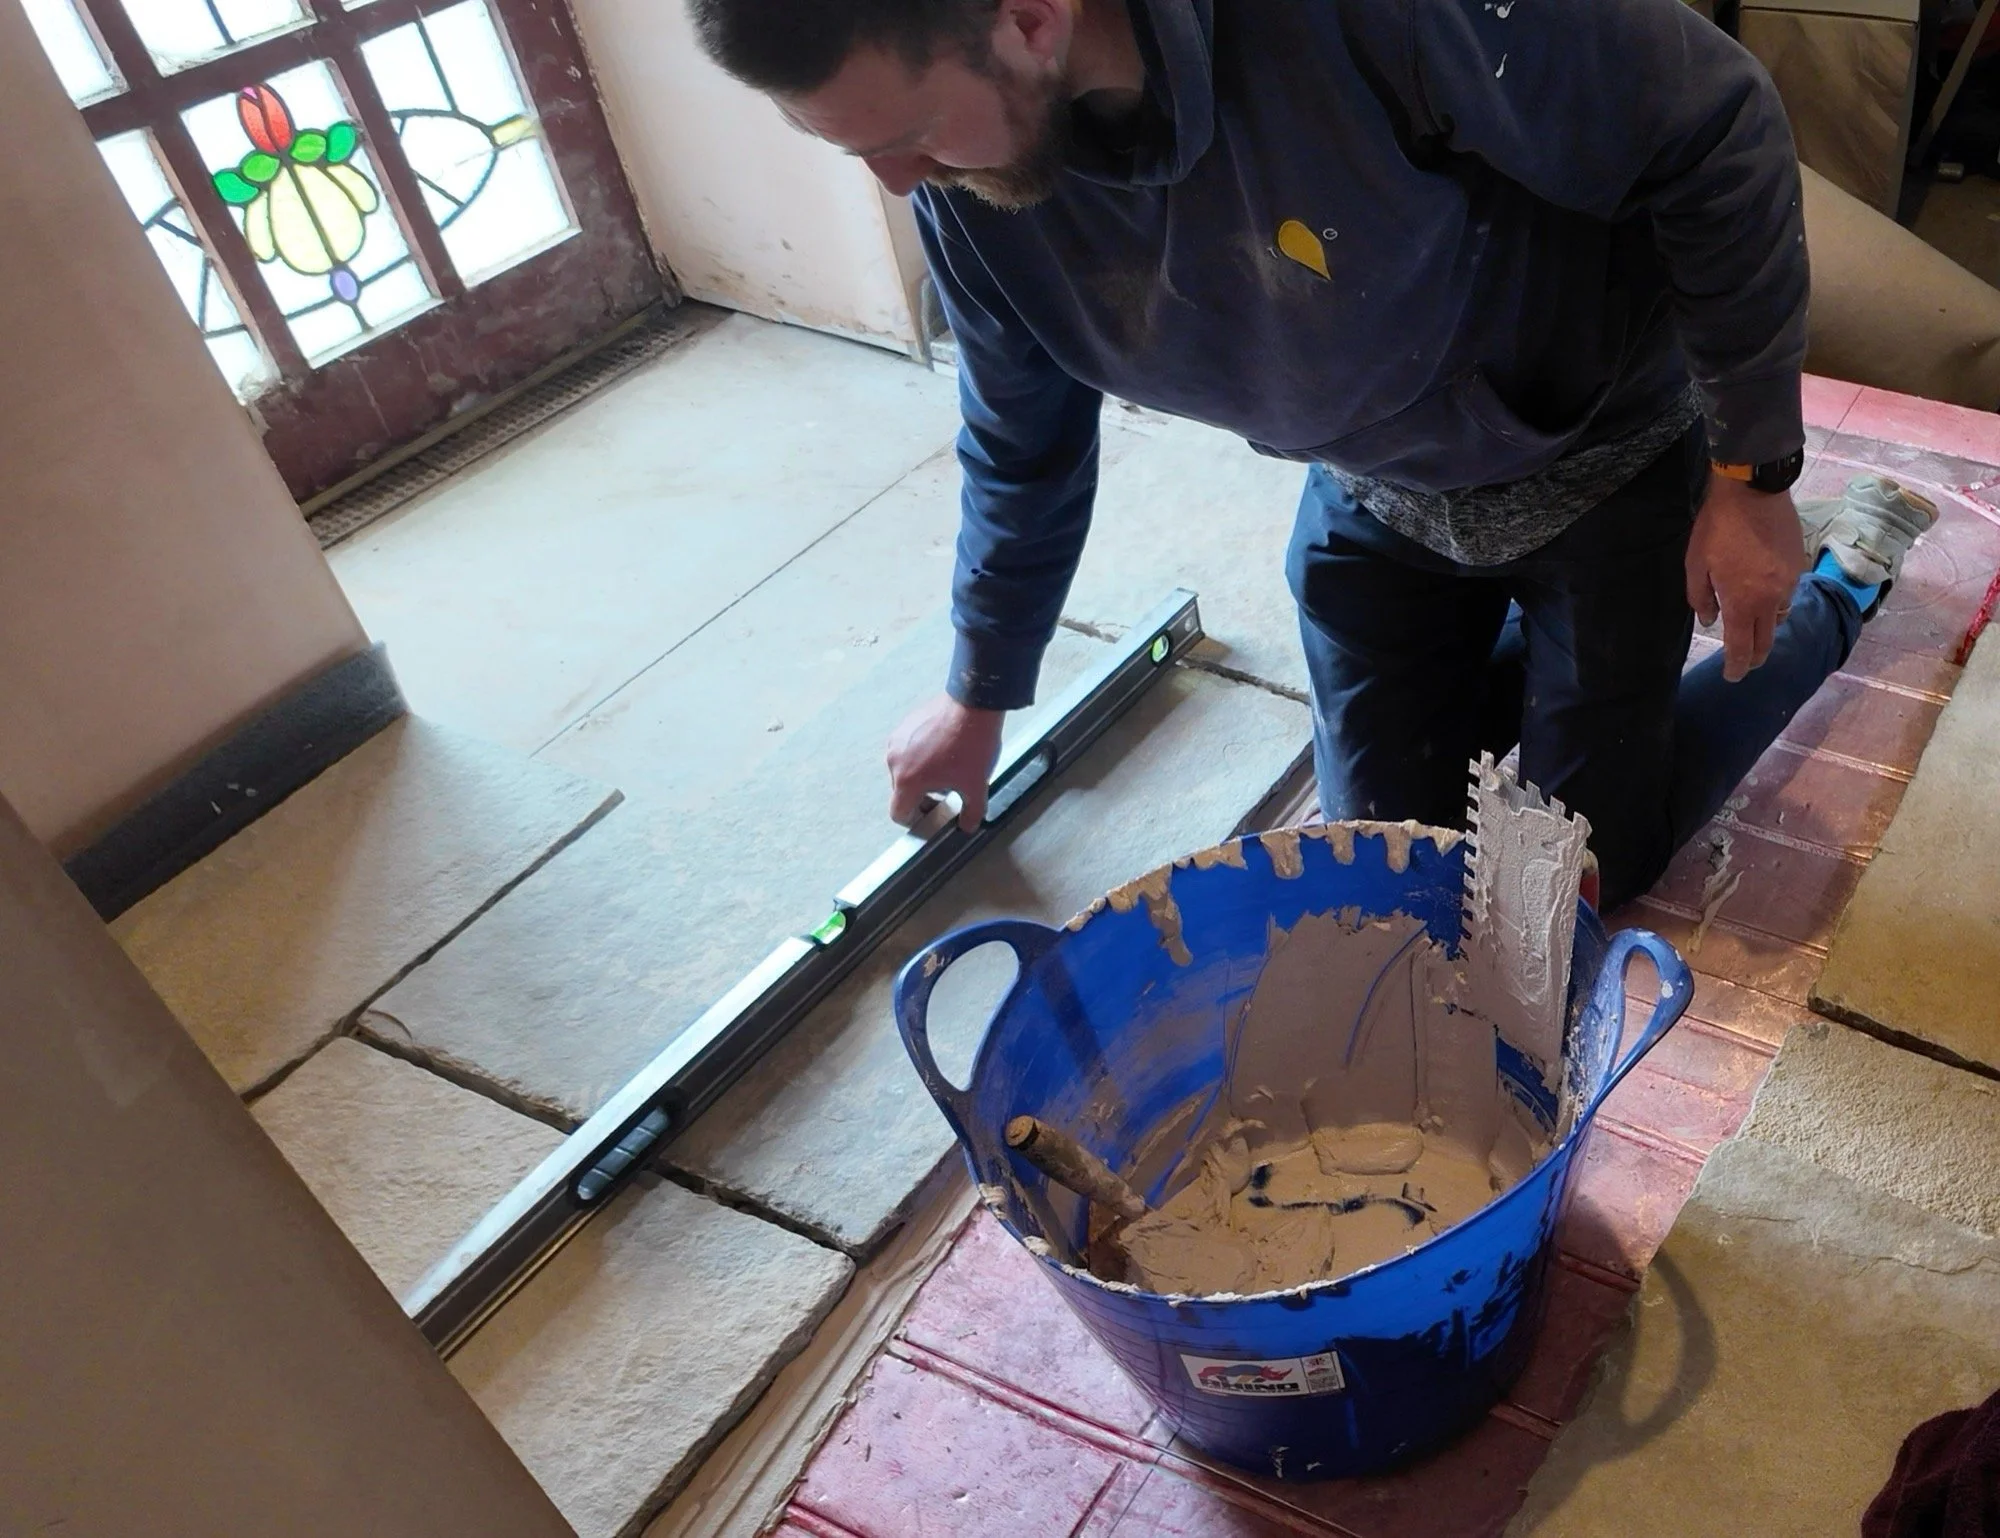
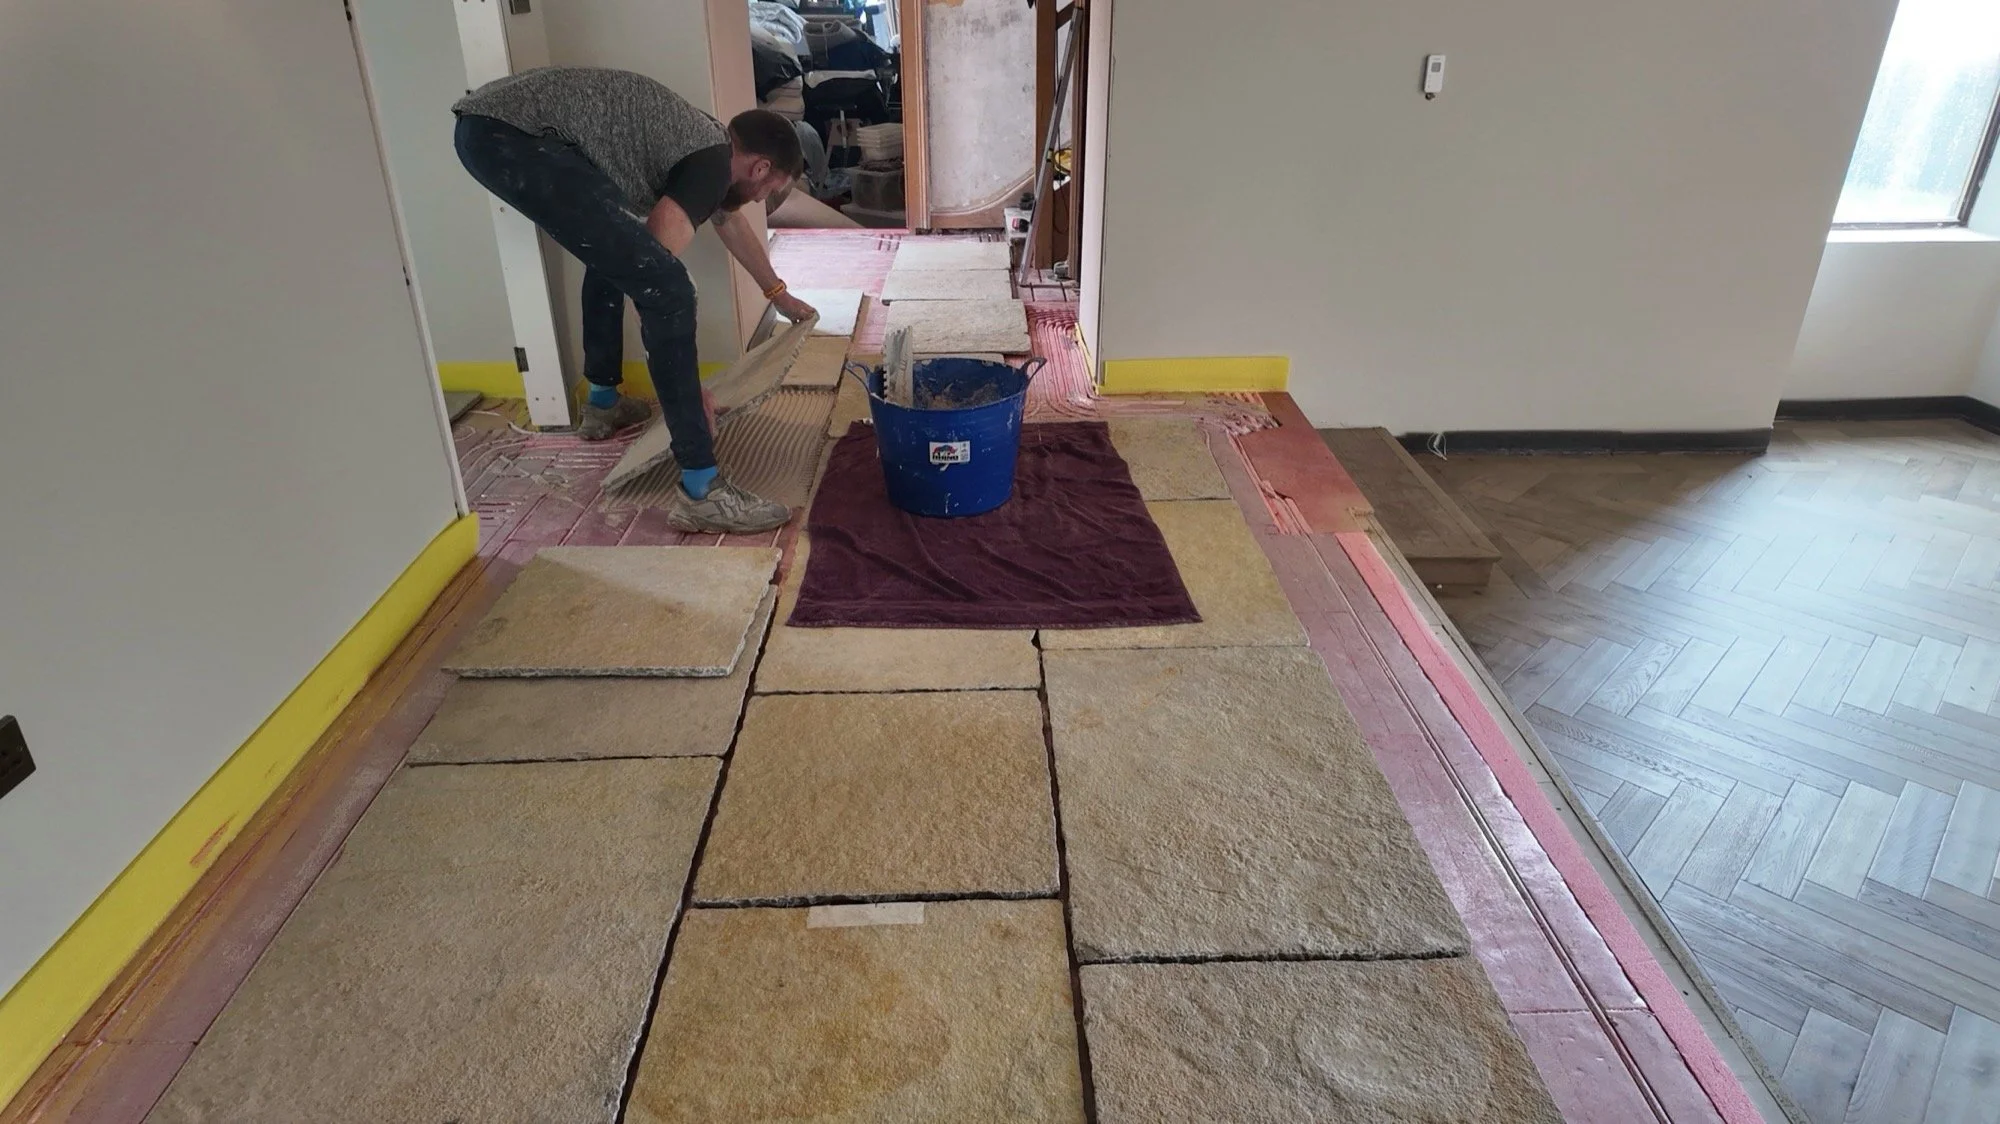
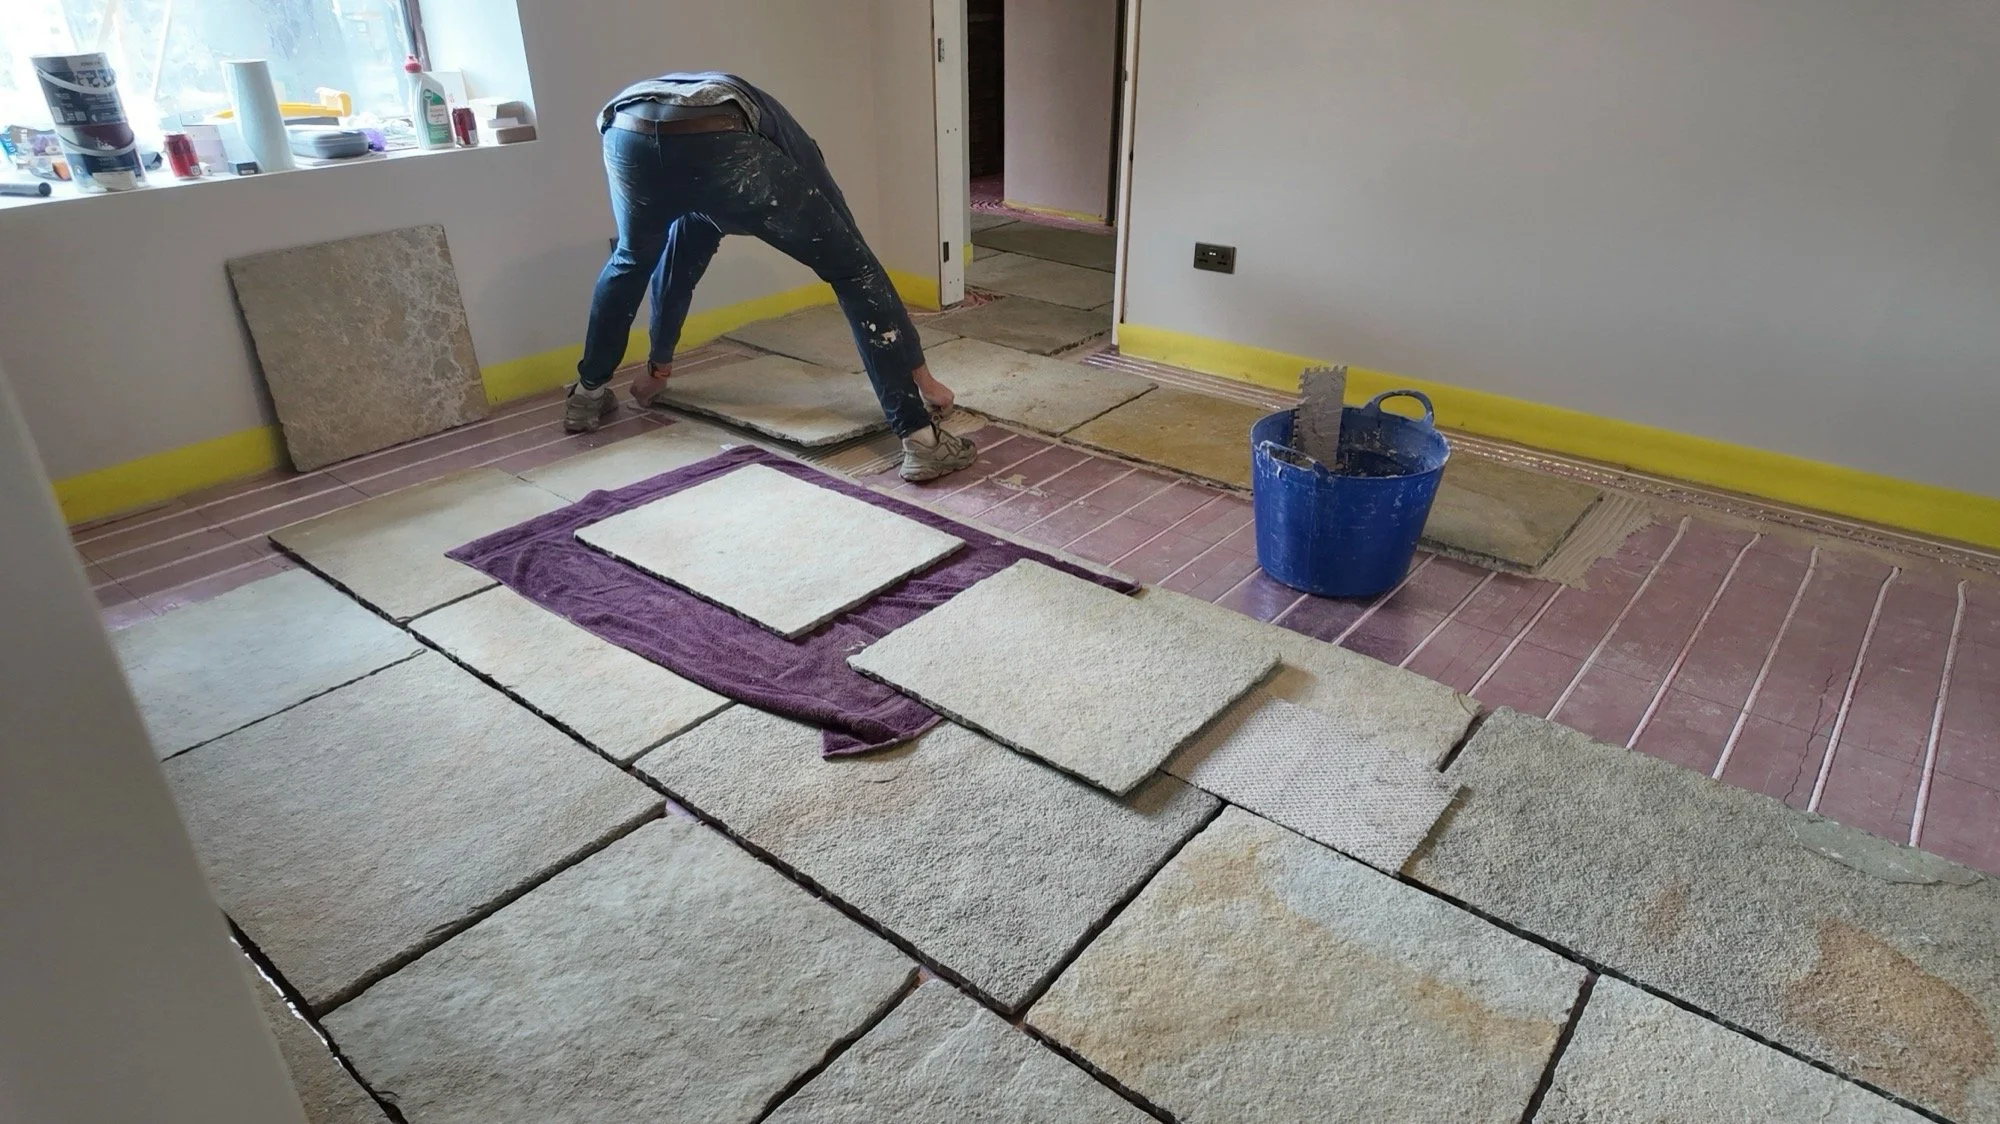
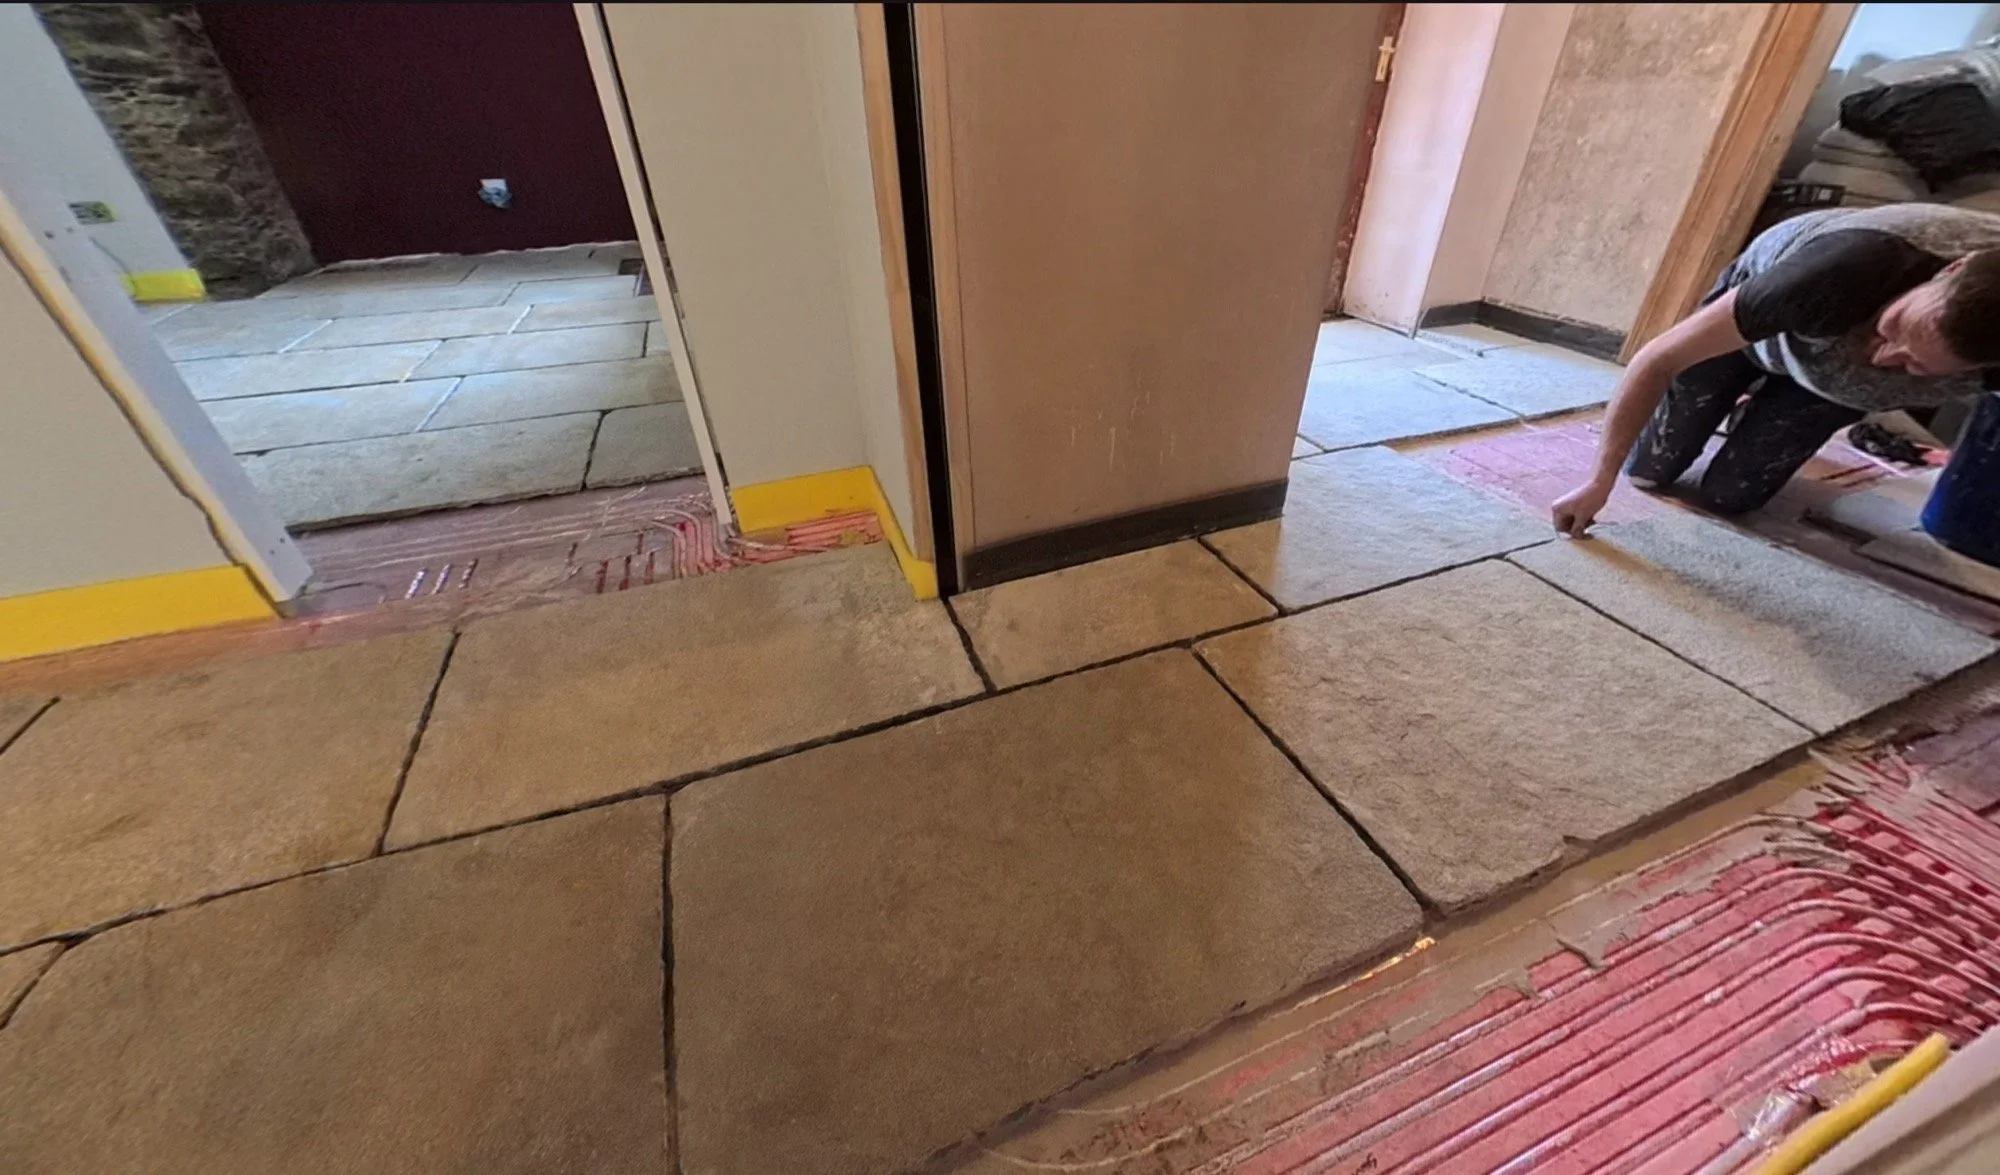
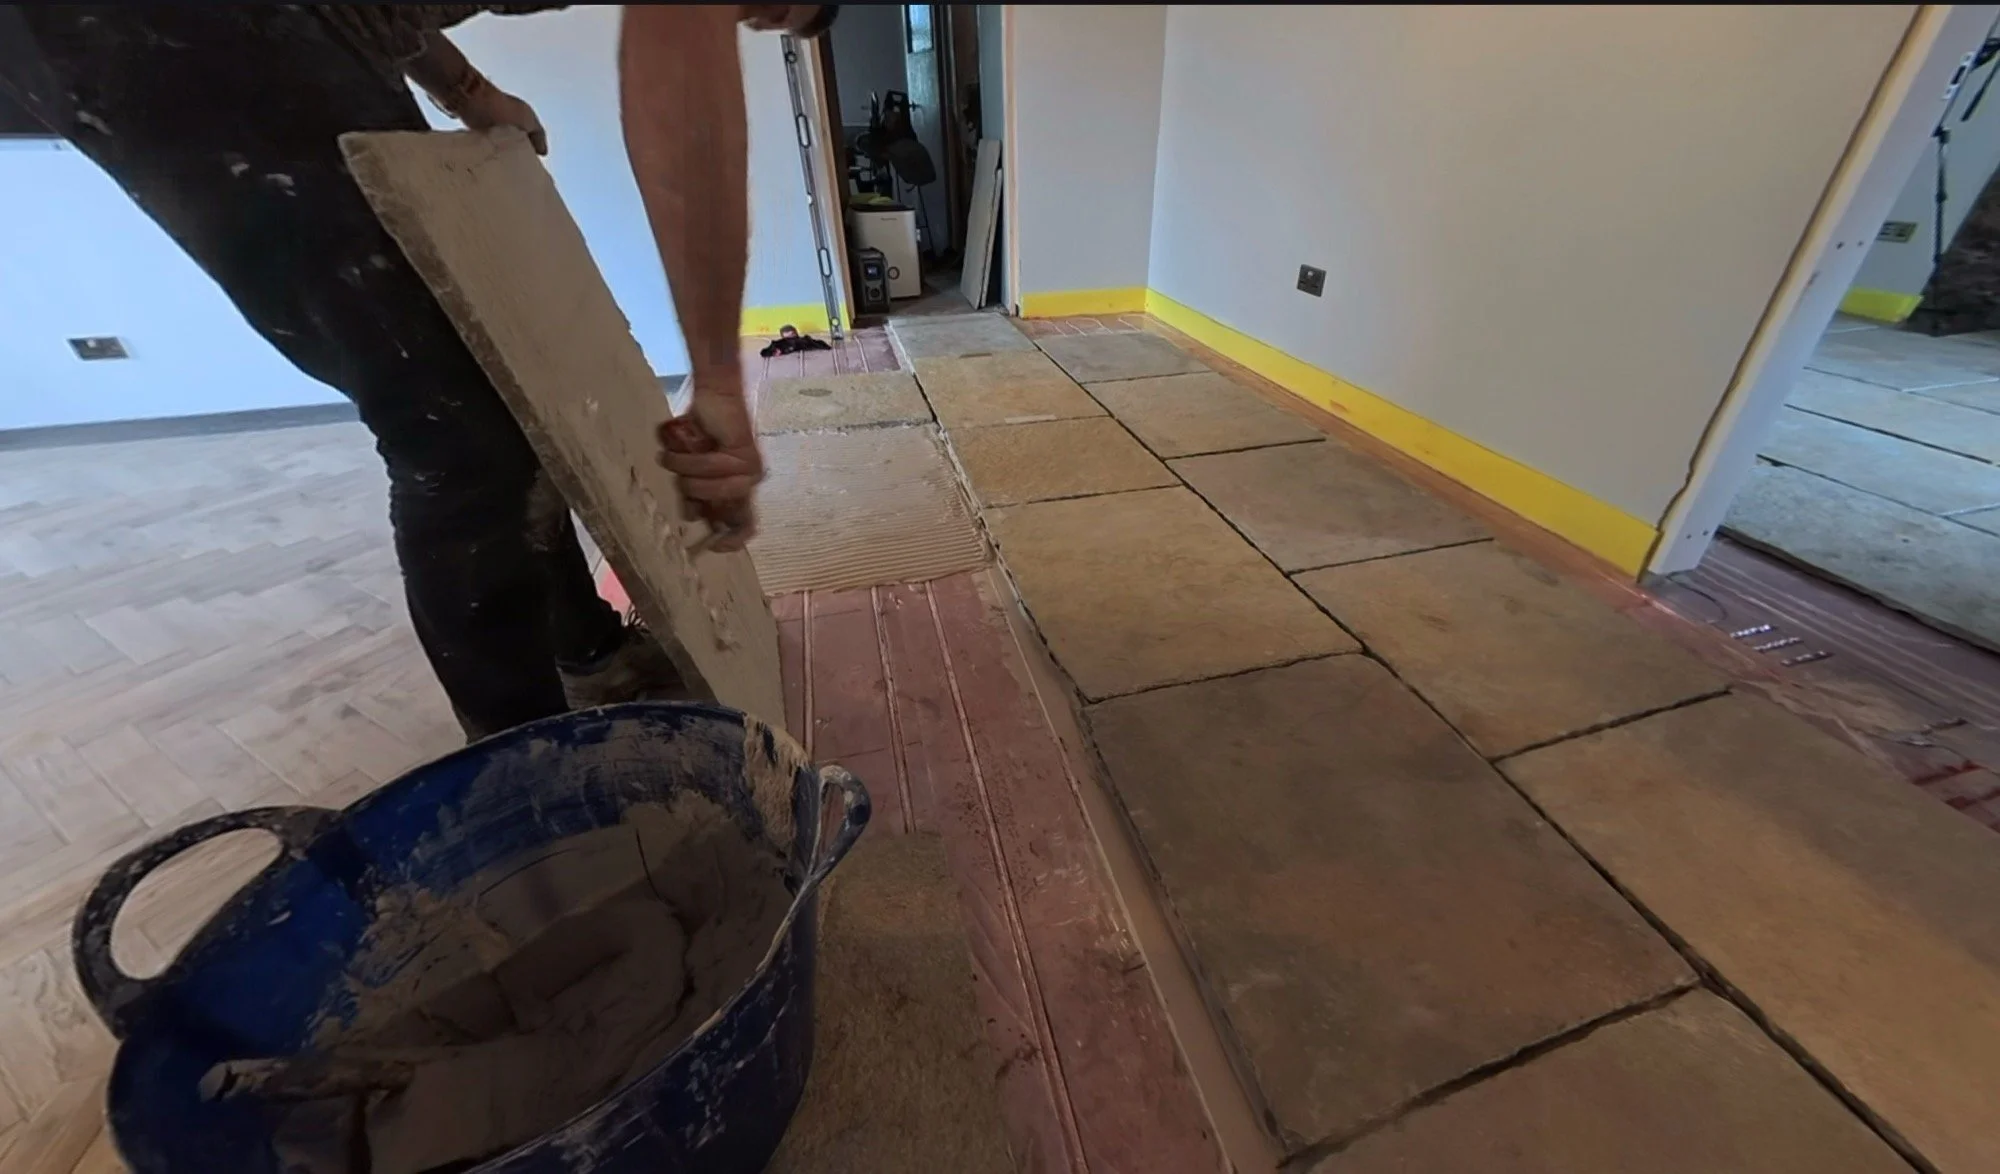
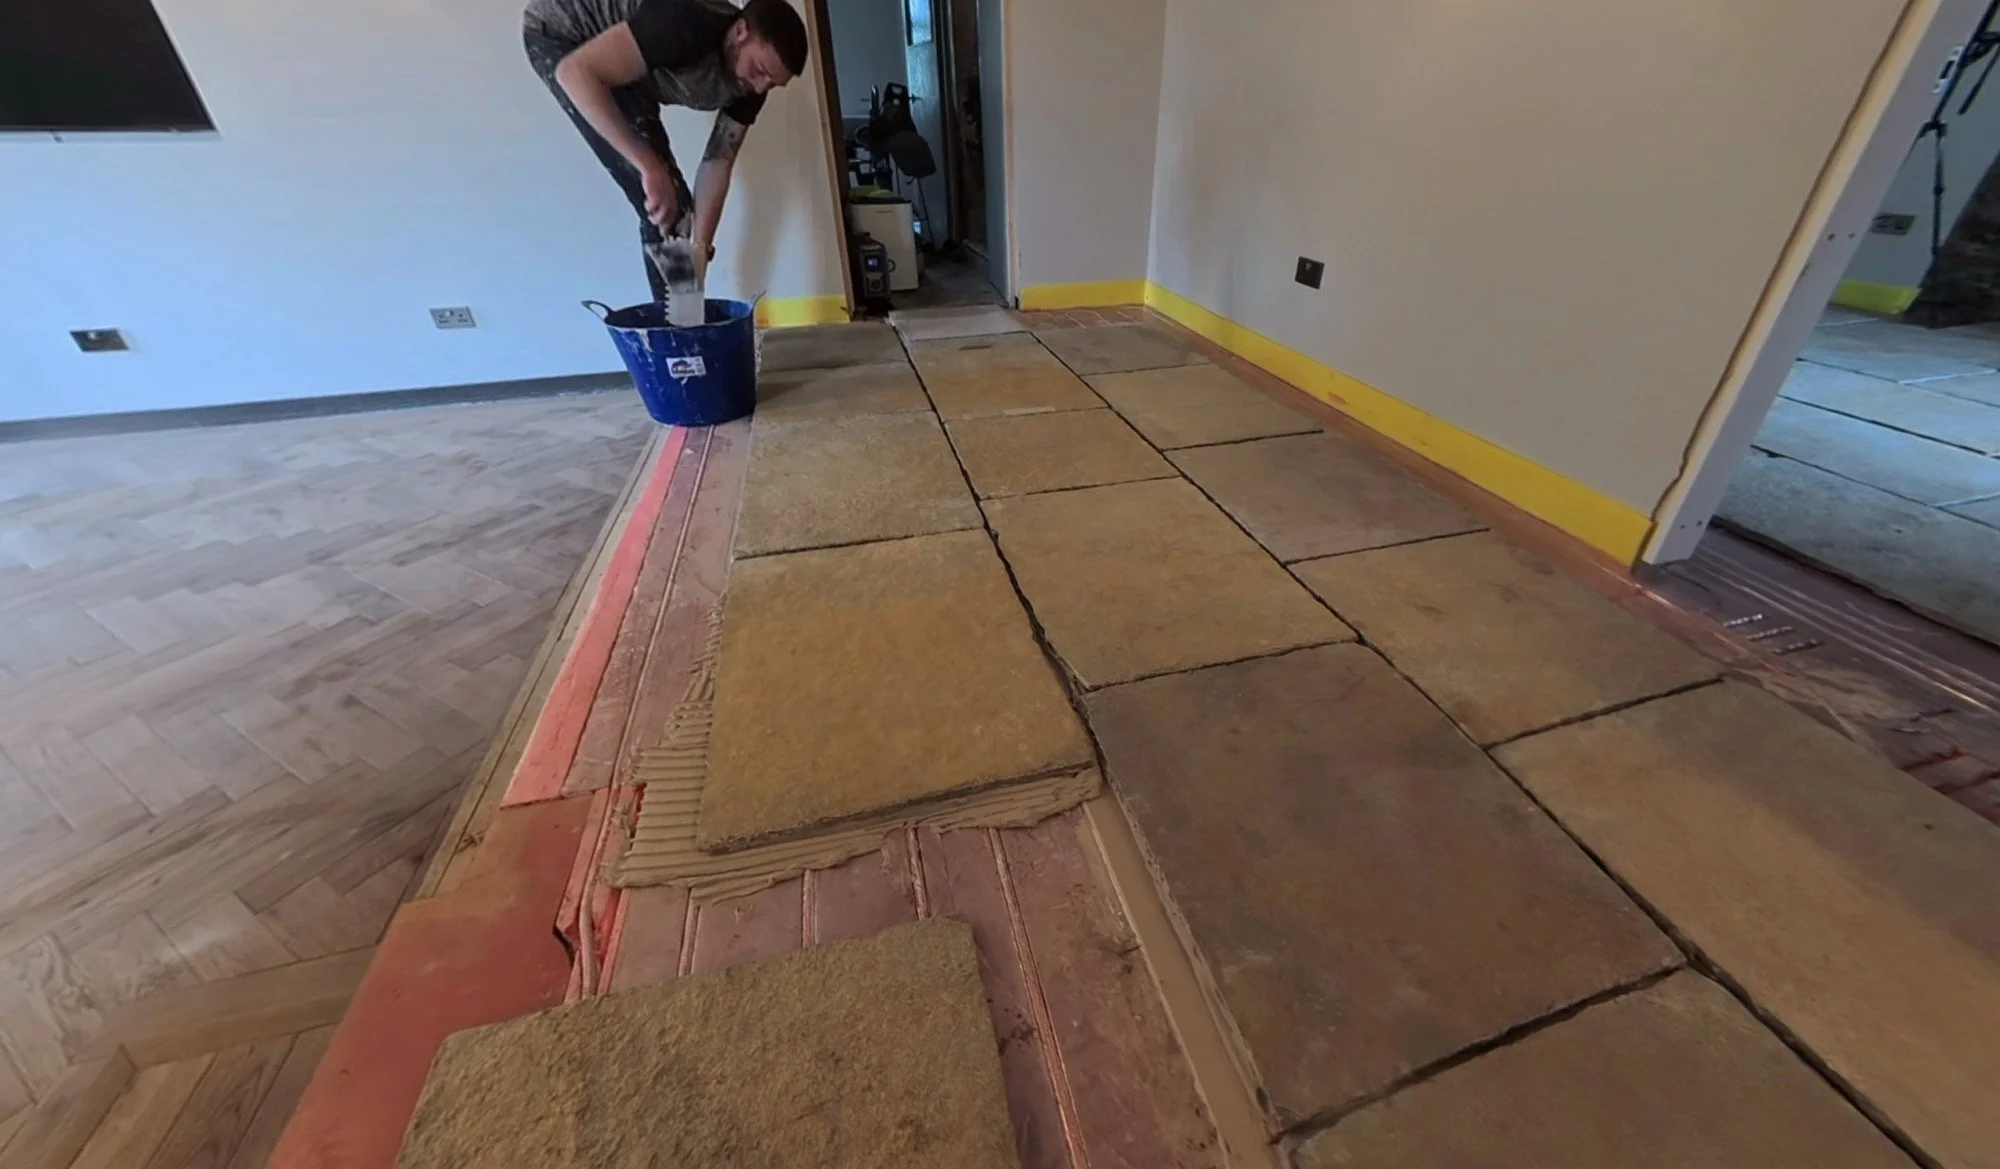
On Sunday in Week 3, the office looked like this:
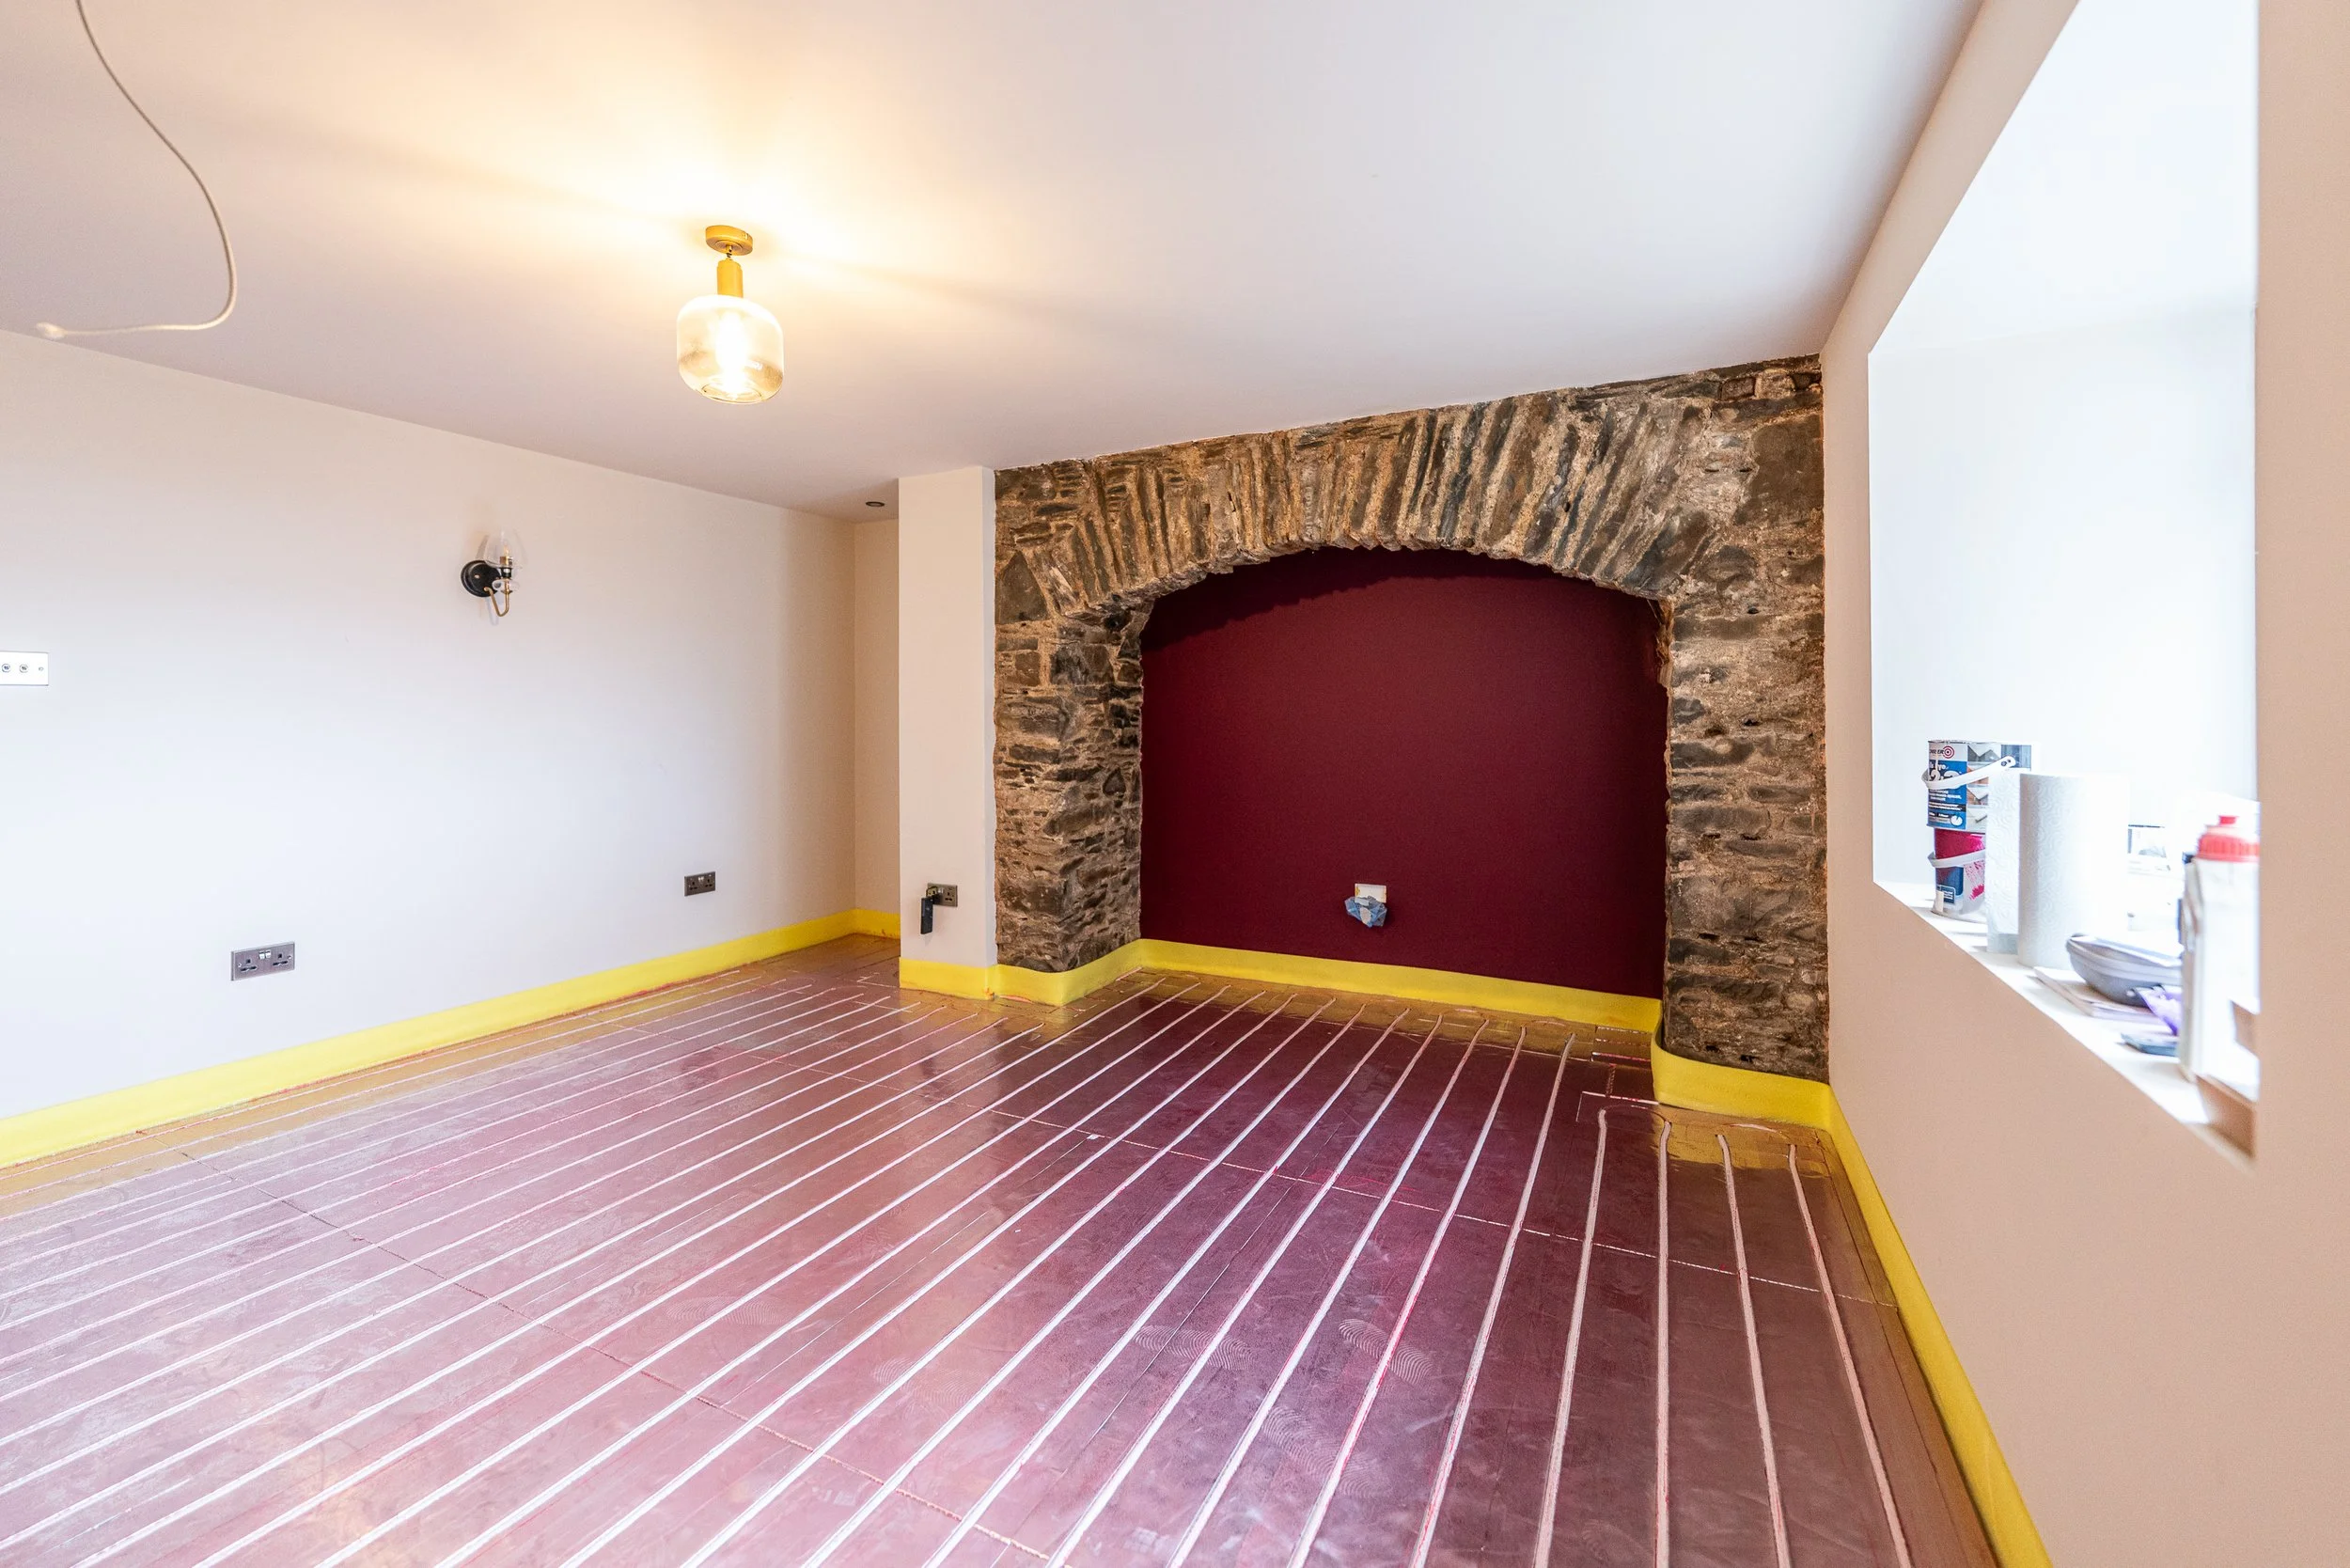
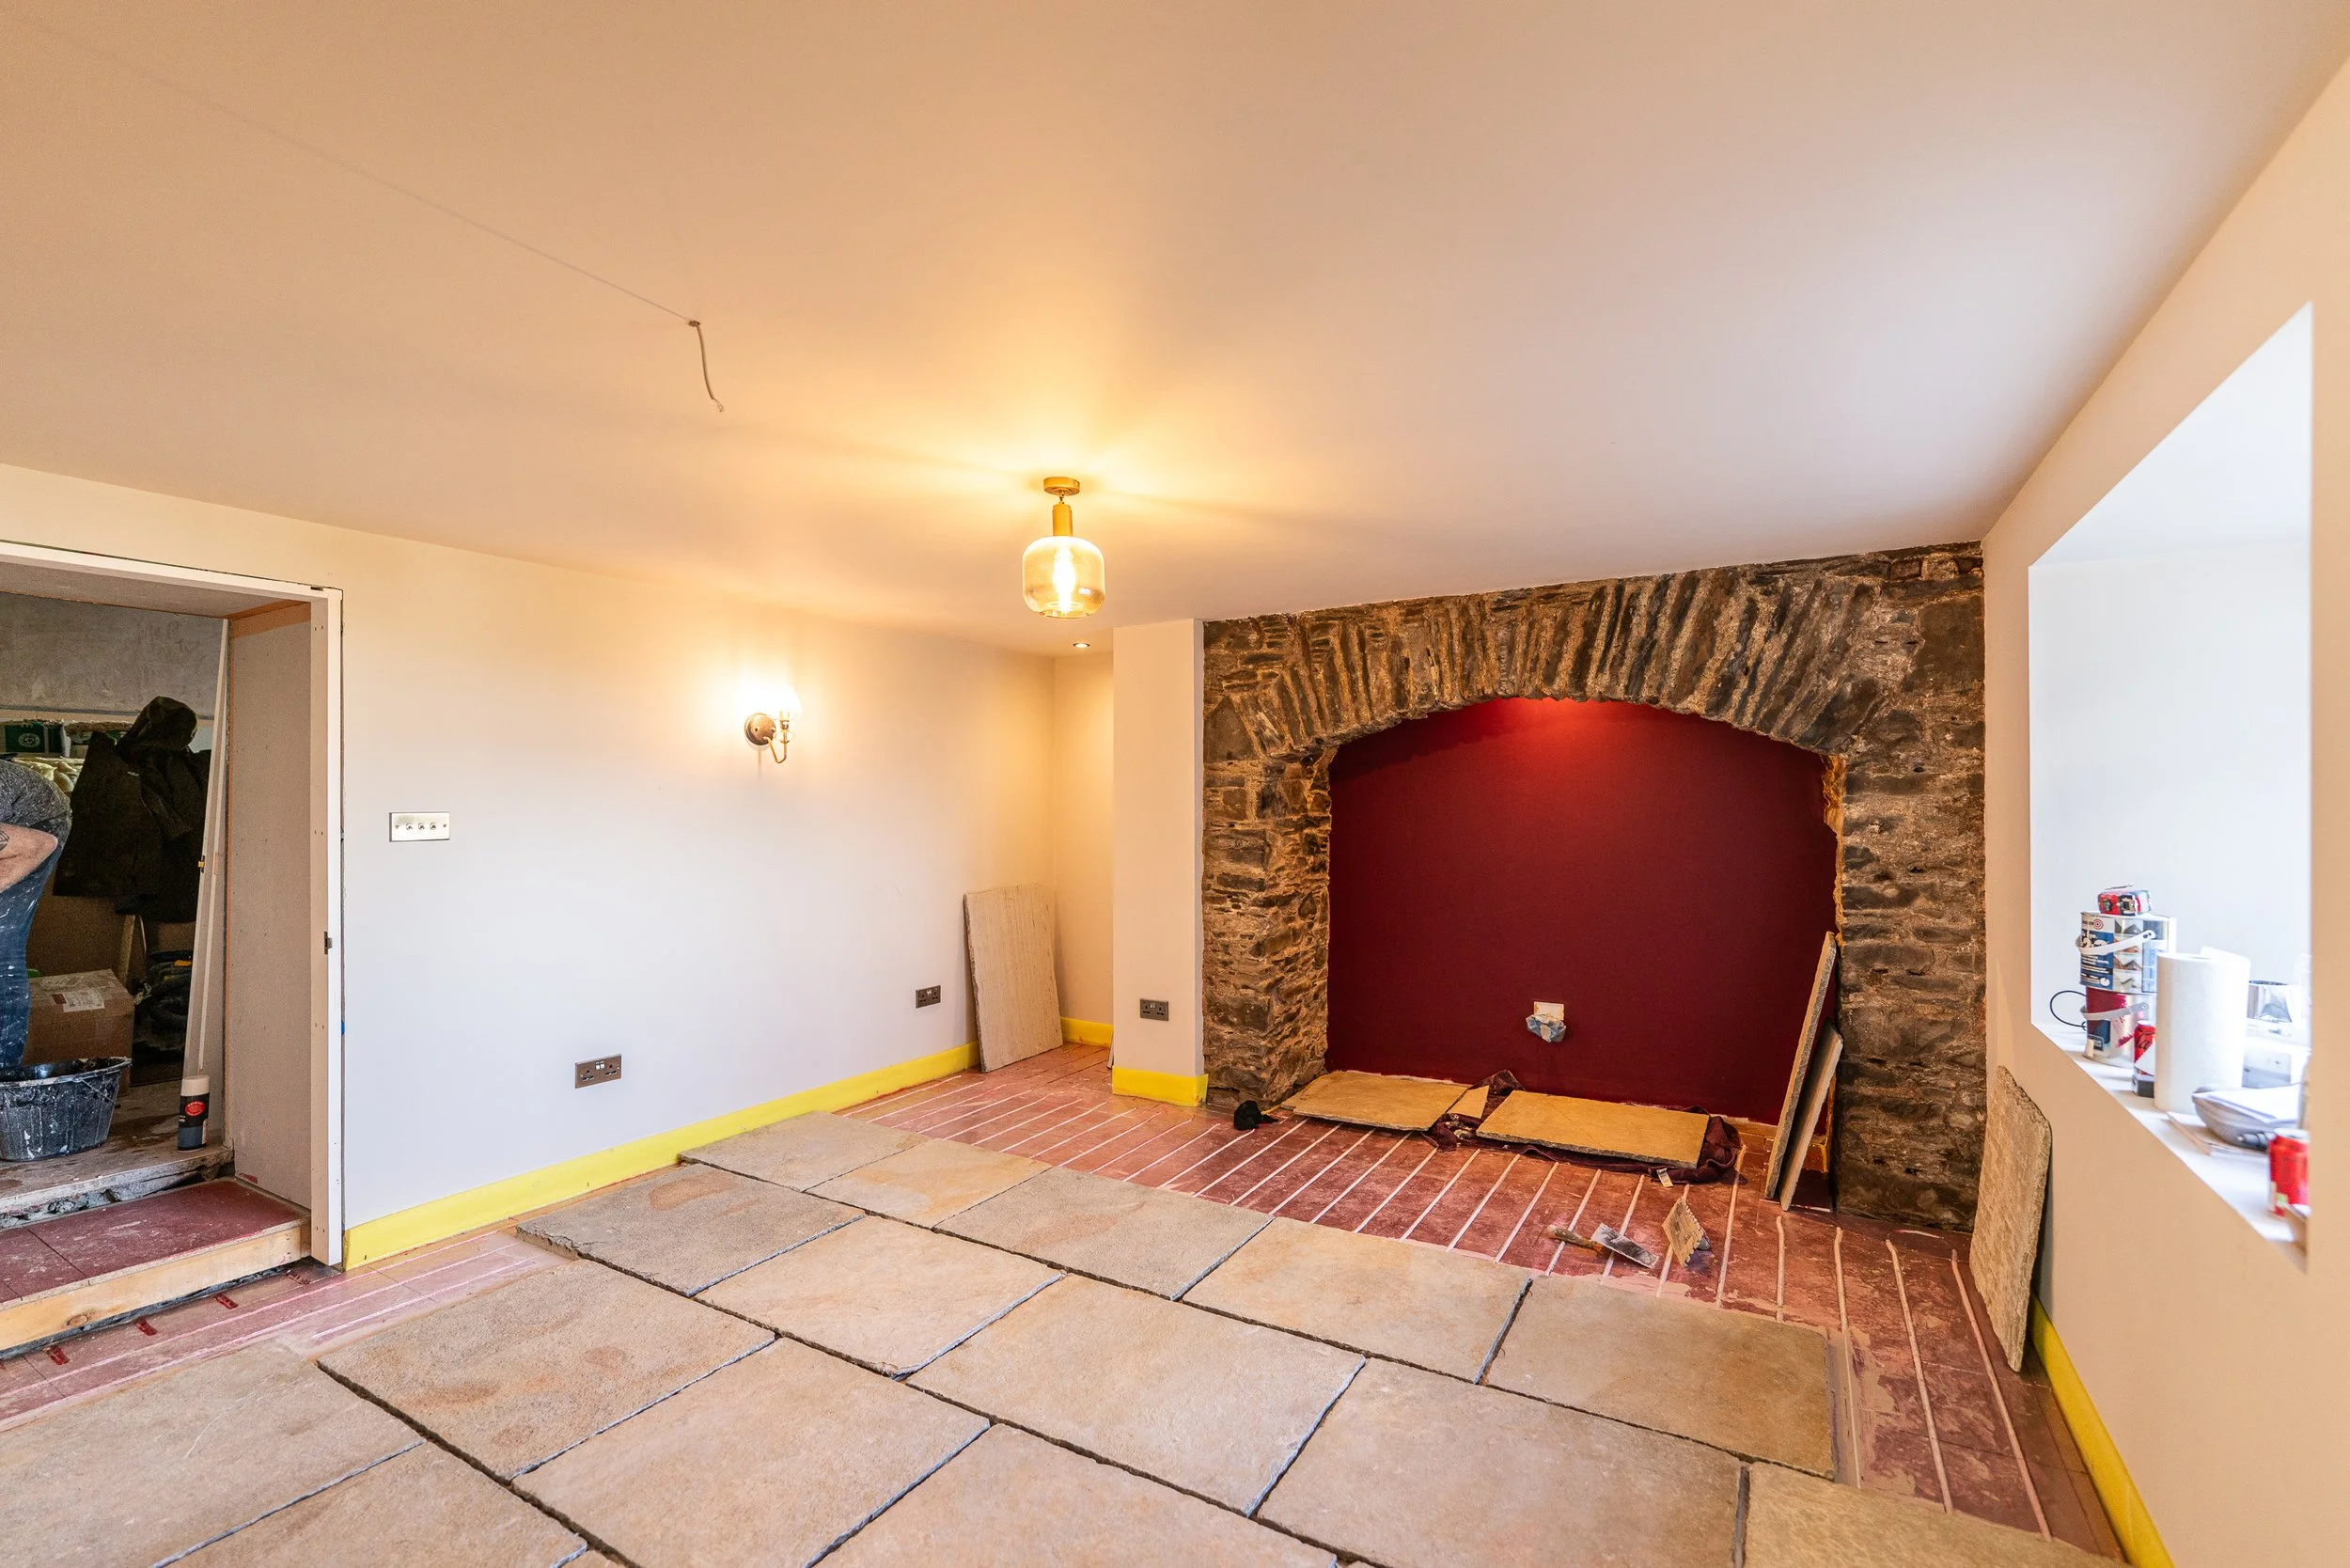
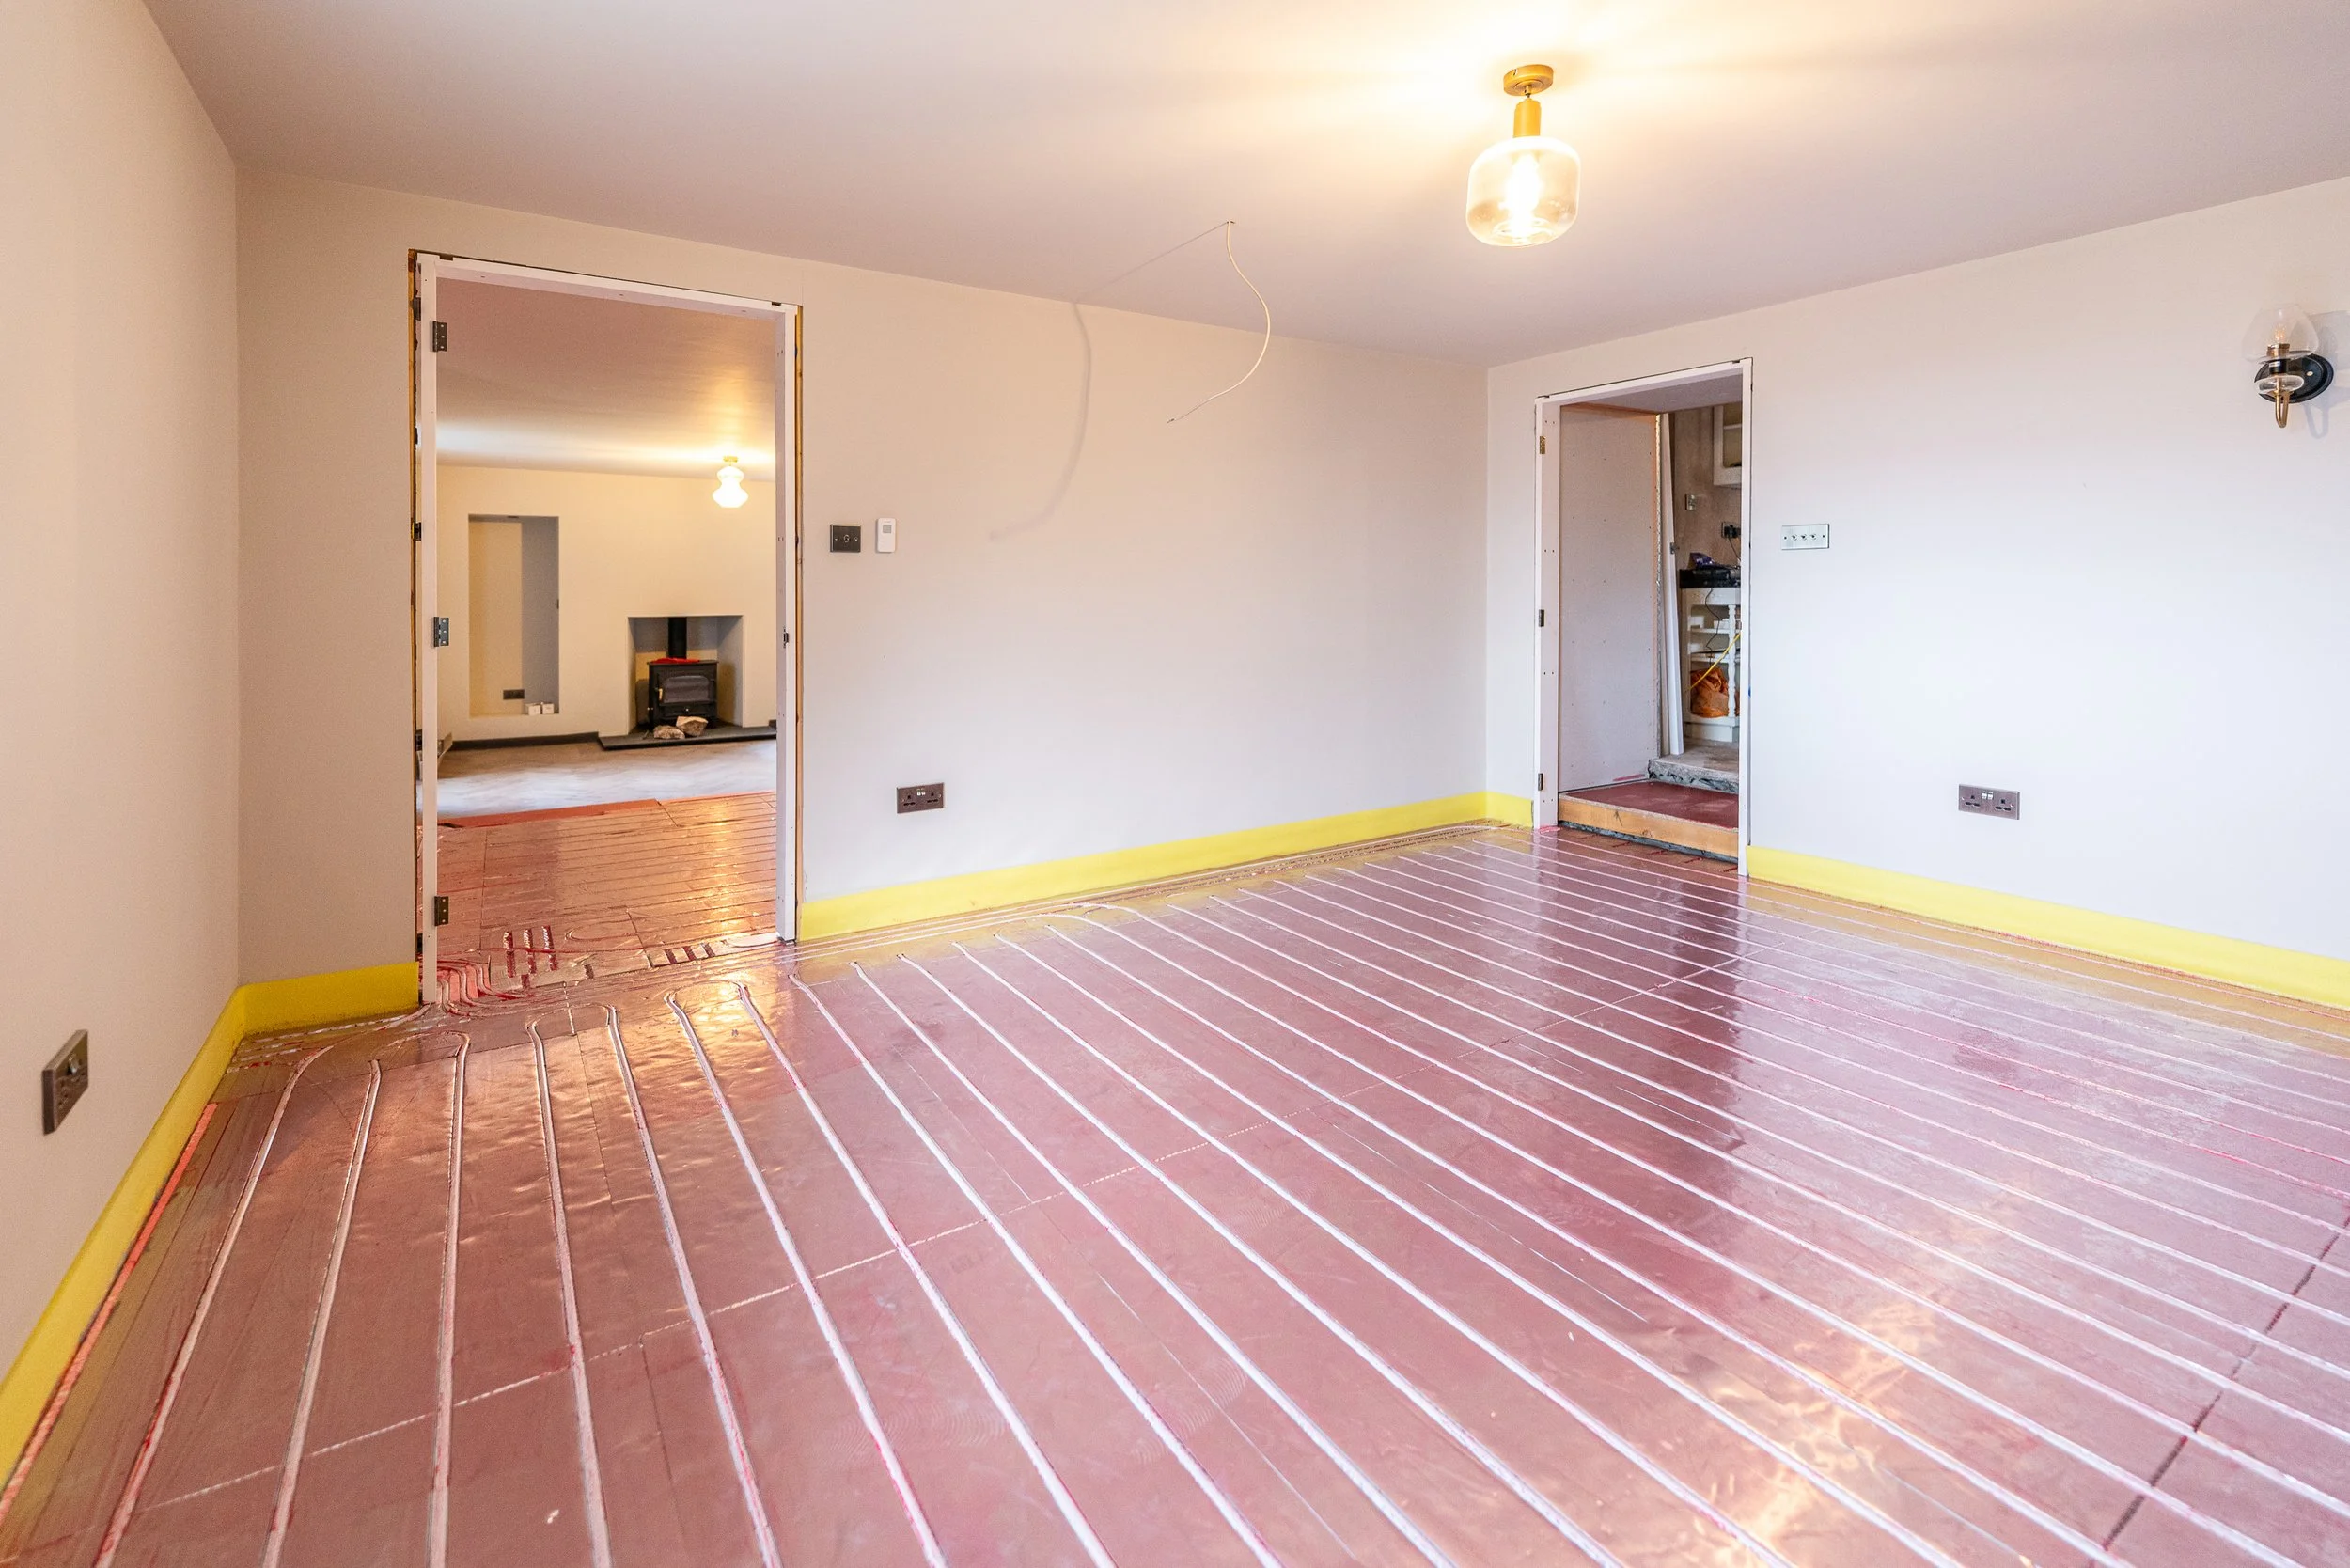
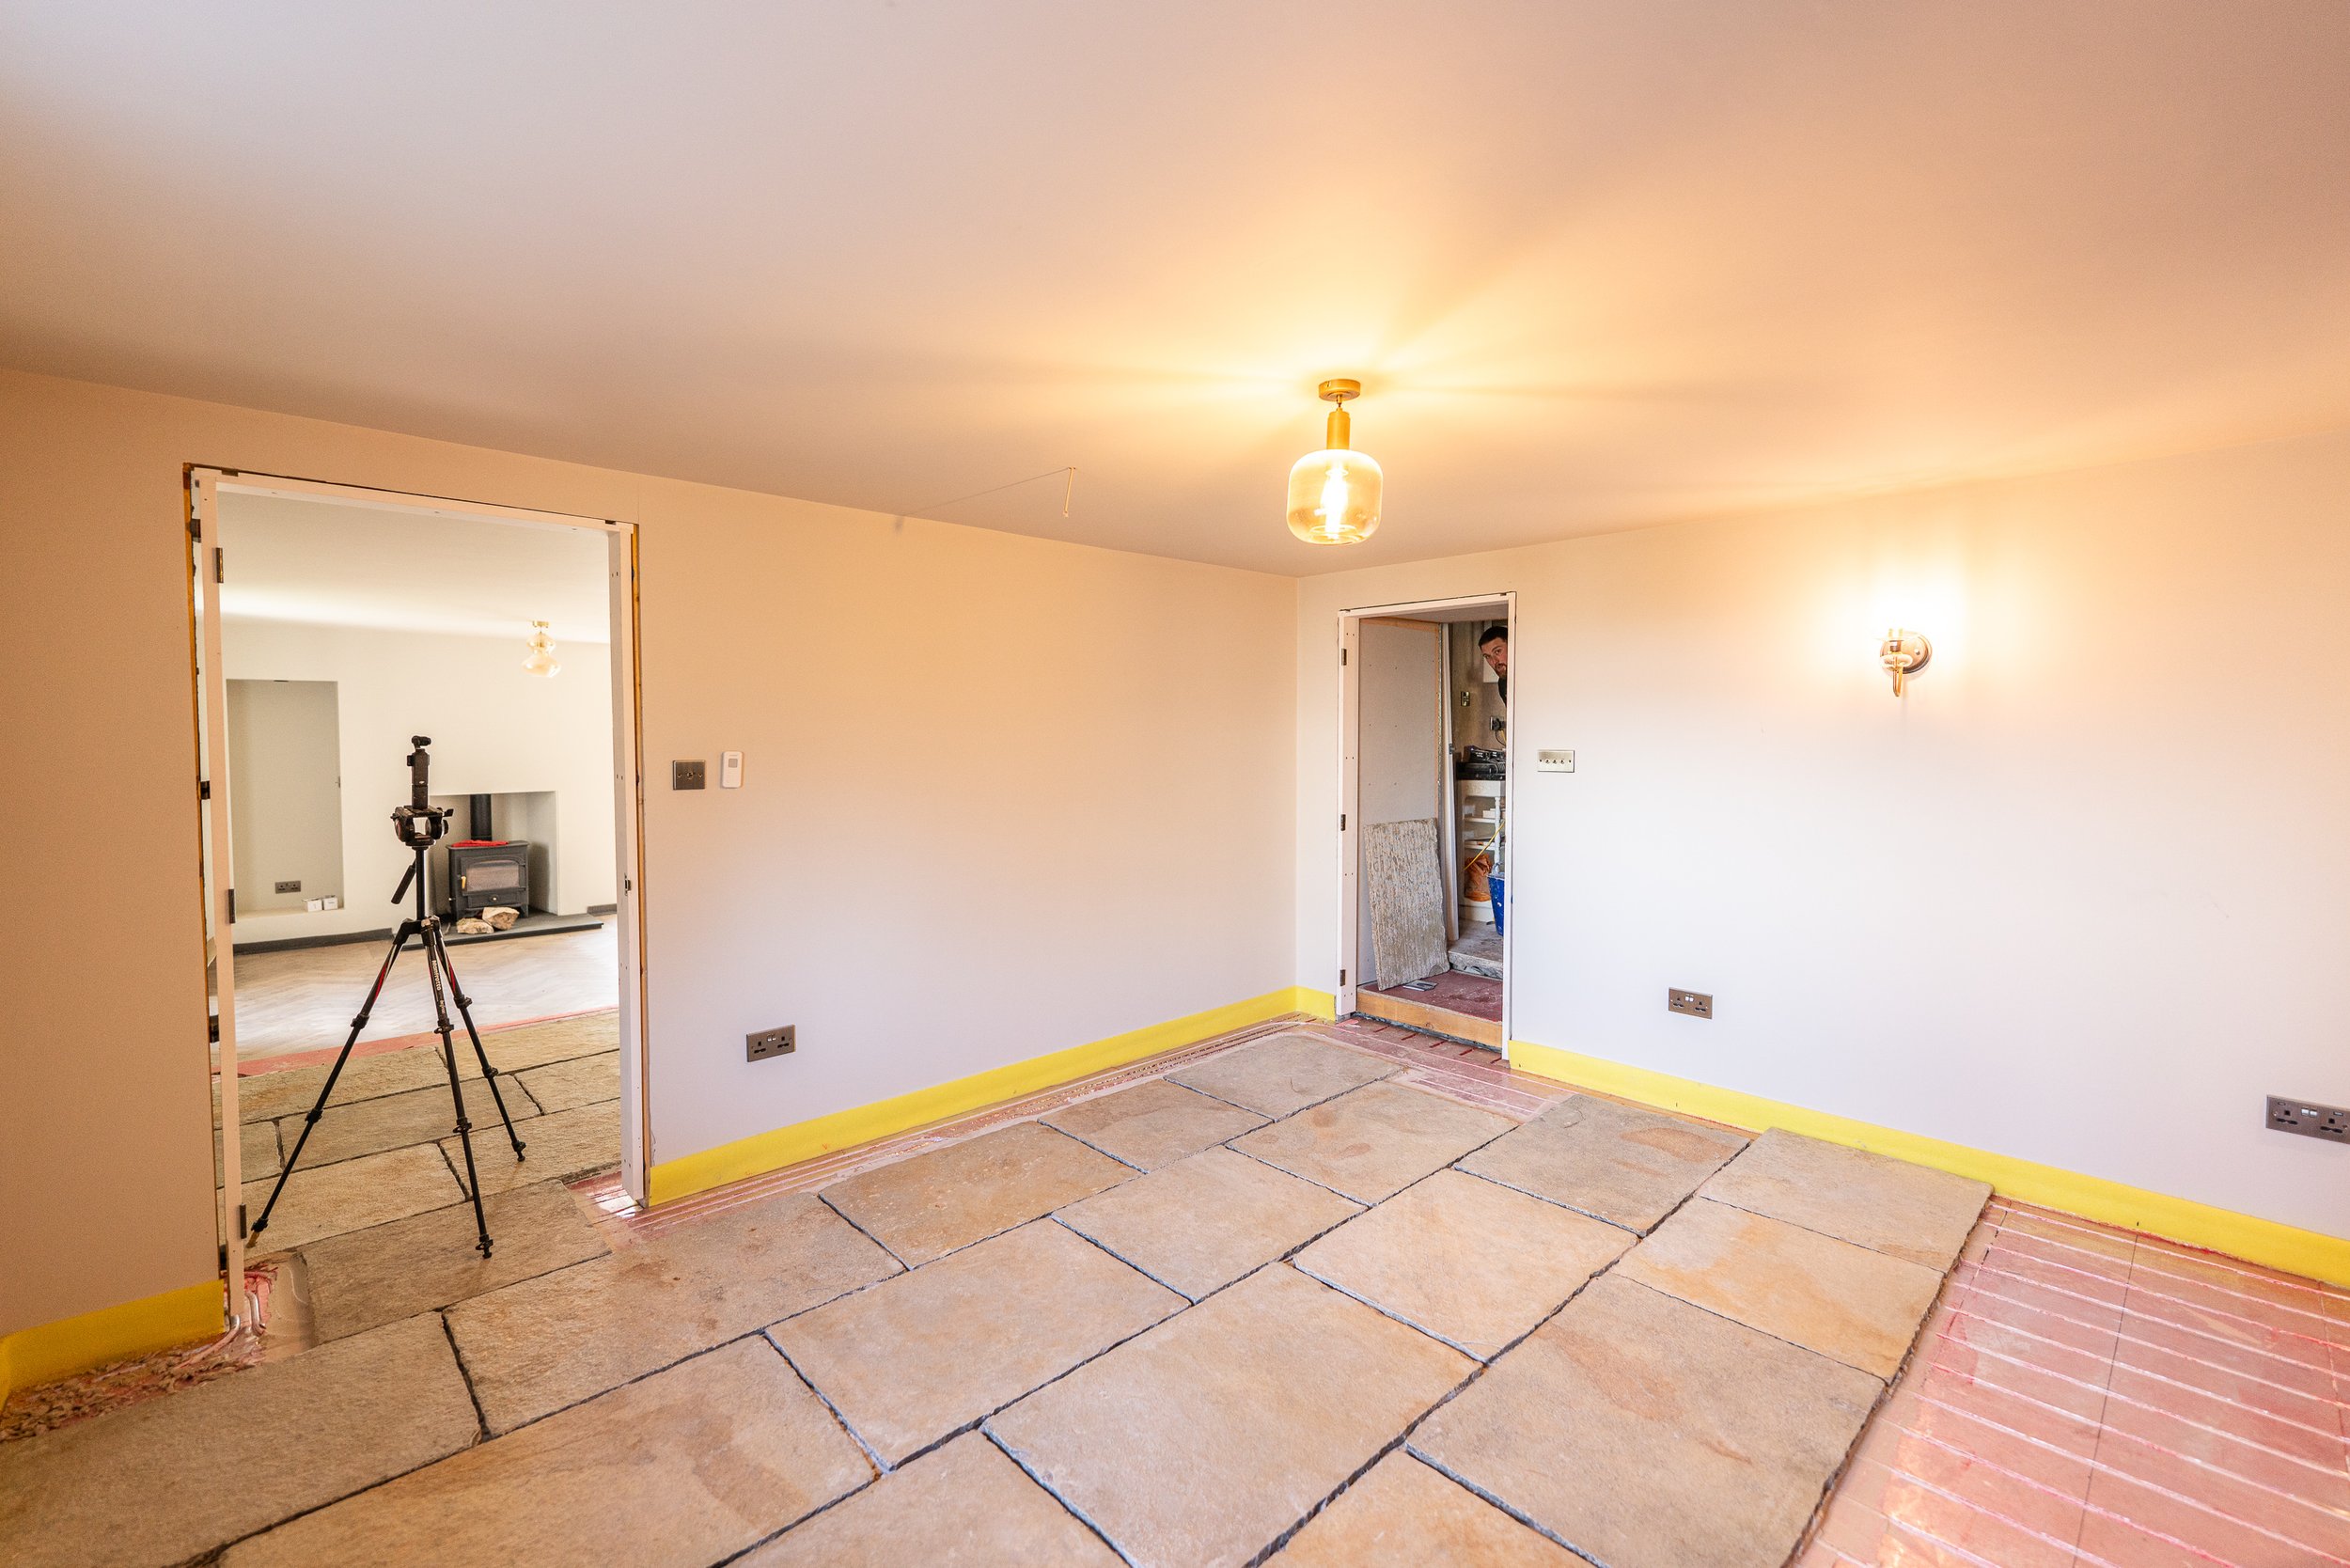
With those bits adhered down, Week 4 included the rest of the cuts until we ran out of stone. Of course, we have ordered more, but they’re special slabs and they won’t arrive until next Tuesday at the earliest. By the end of Week 4, this was where it we’d got too in the office (the hallway is similar), with some fully laid and some dry-fit tiles:
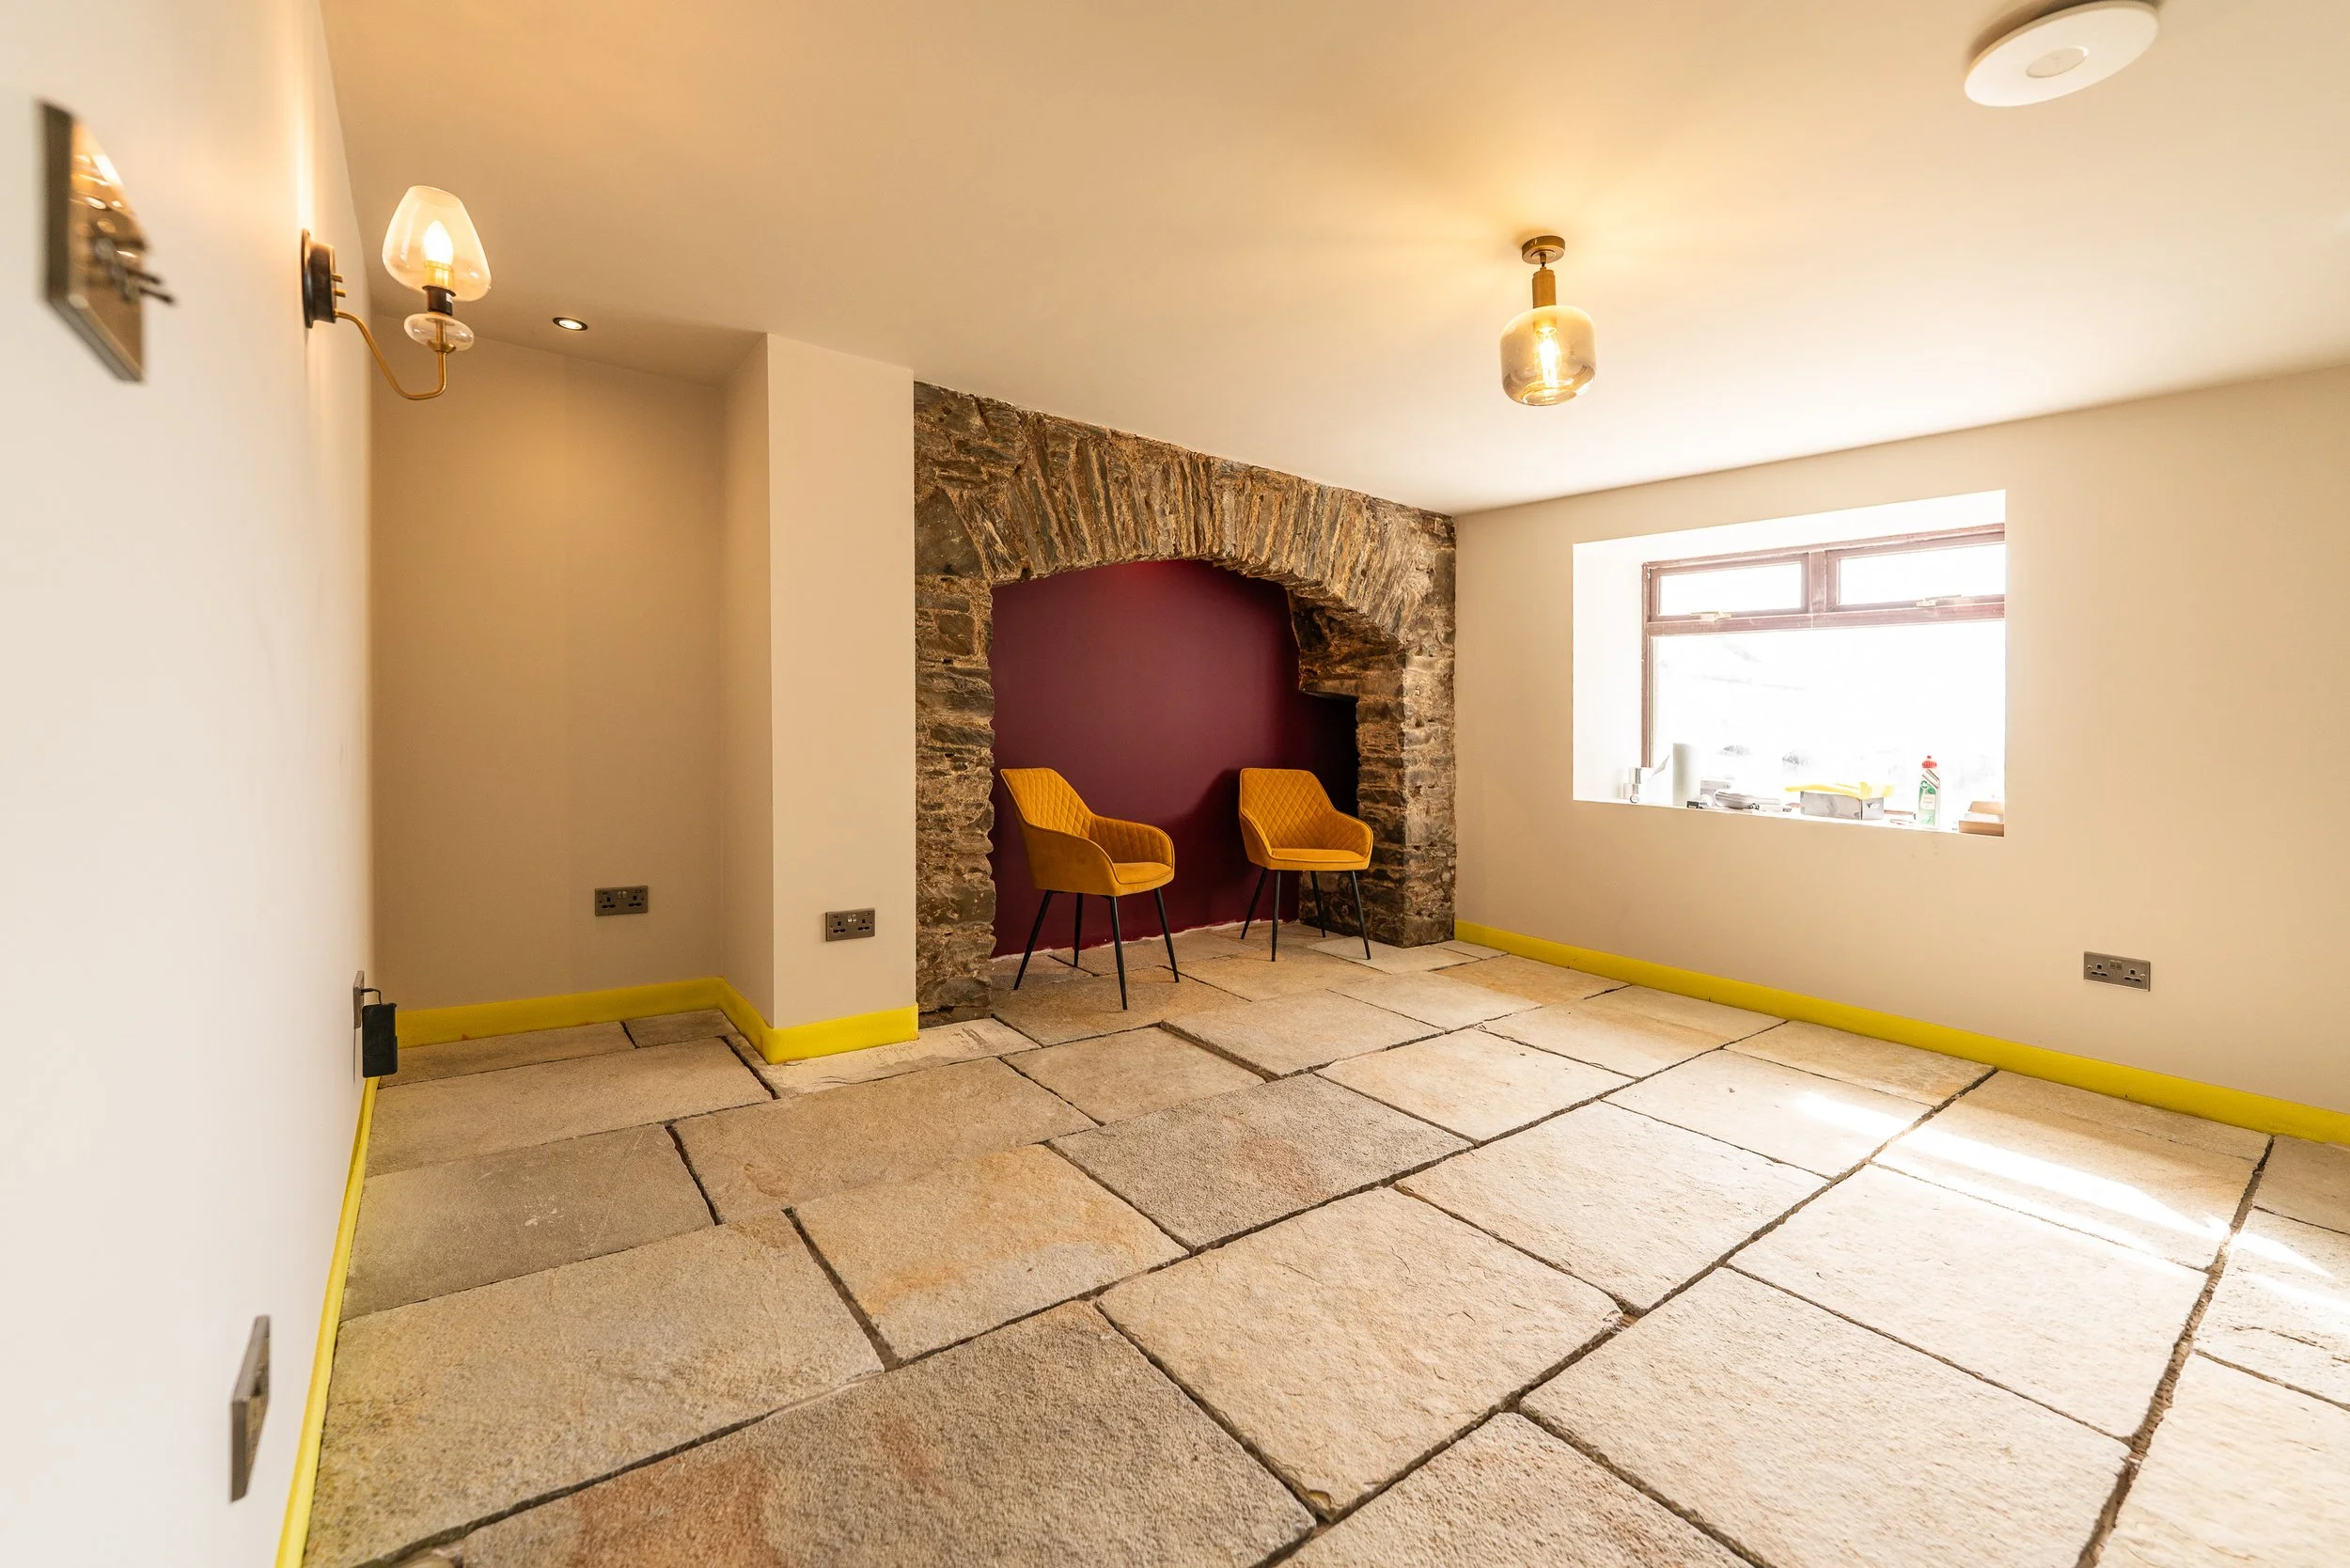
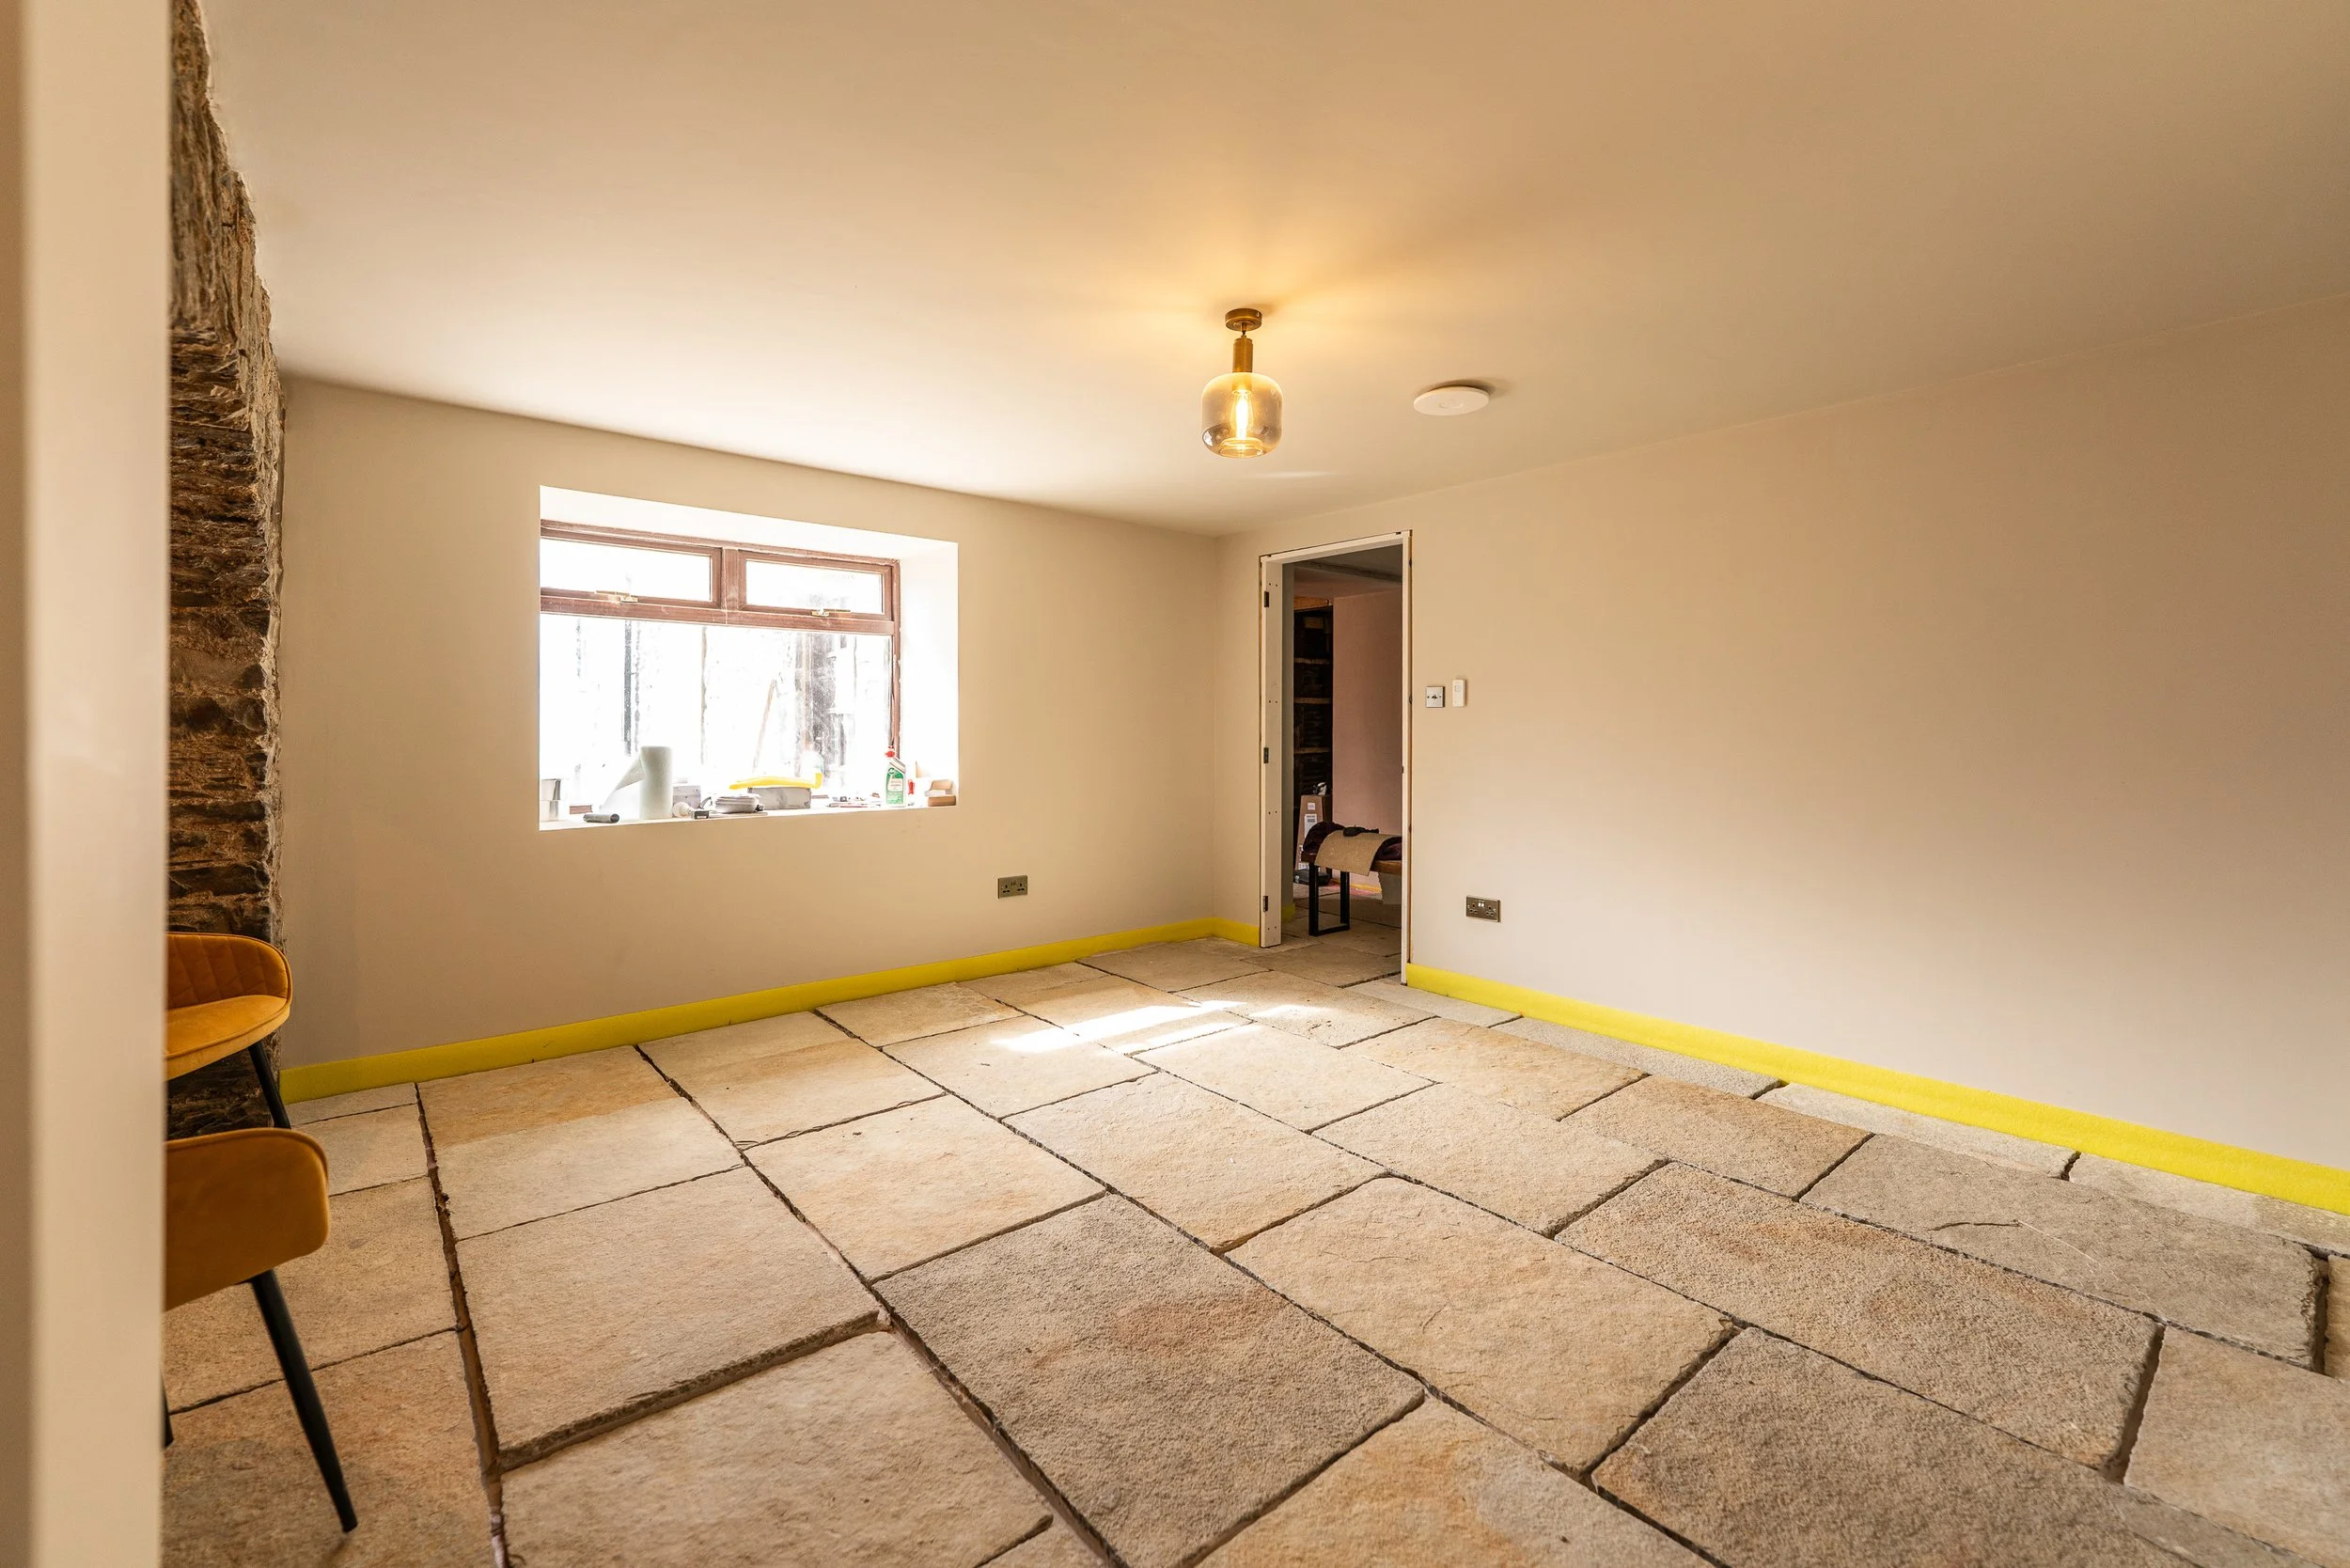
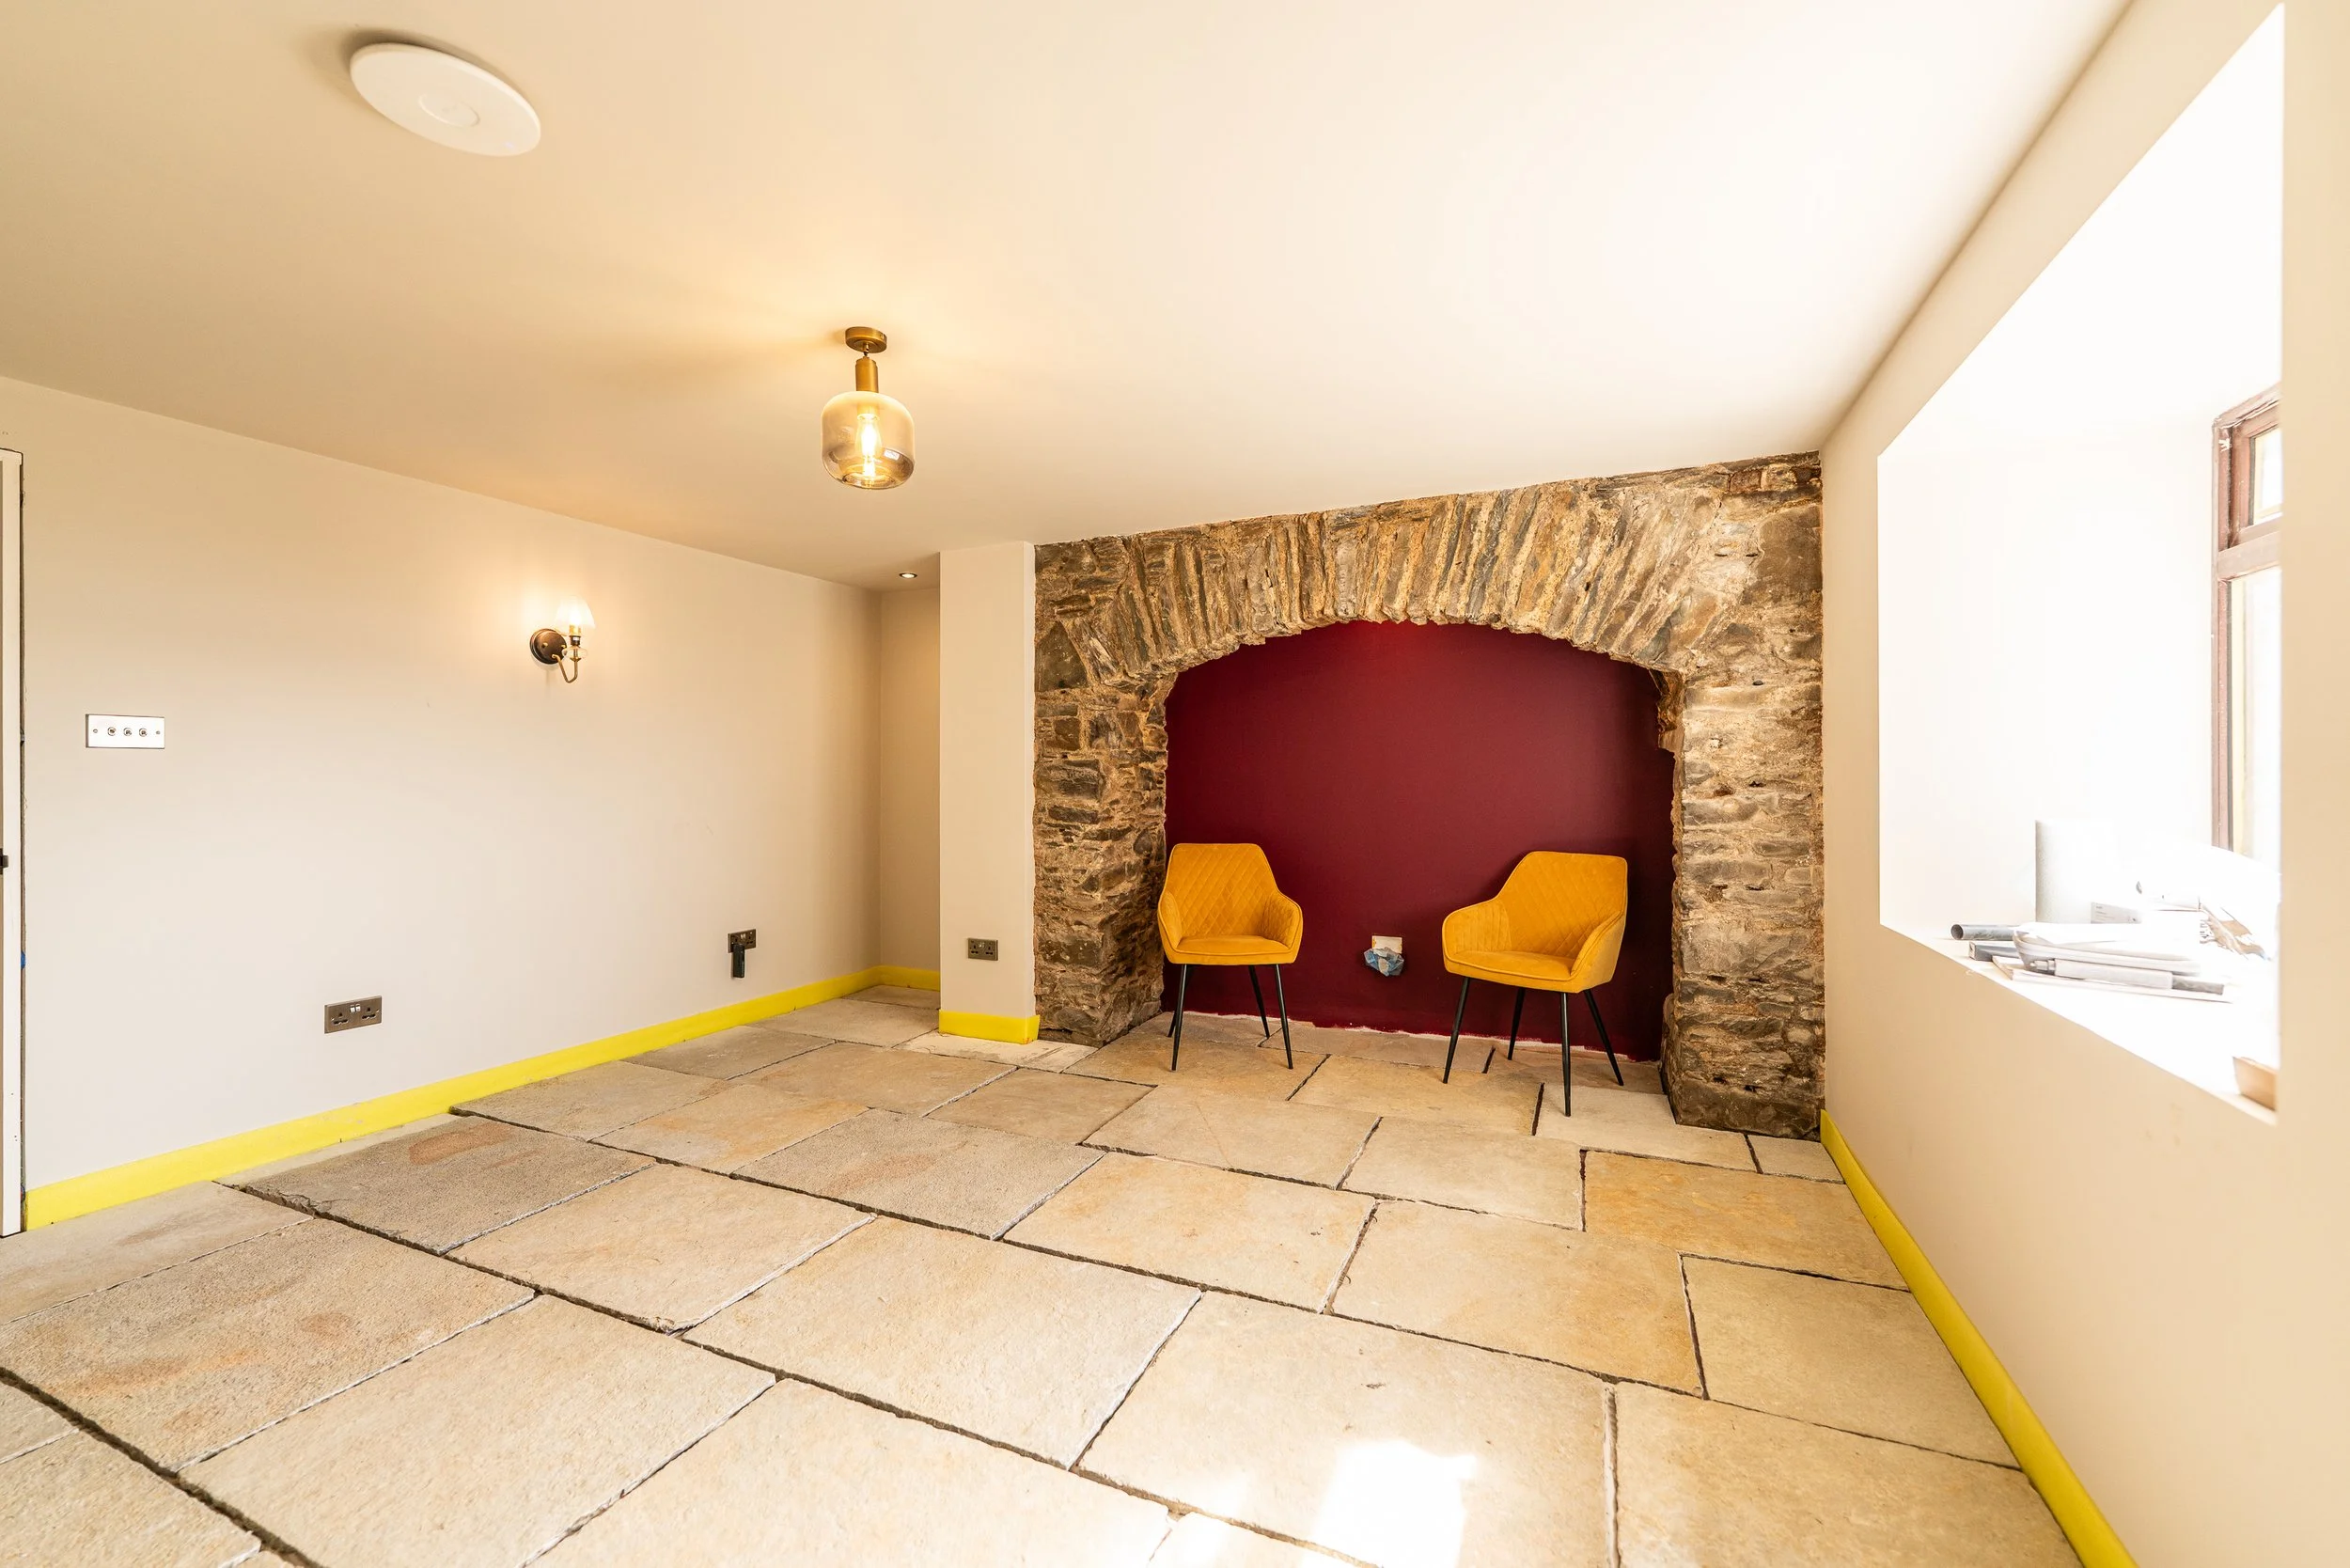
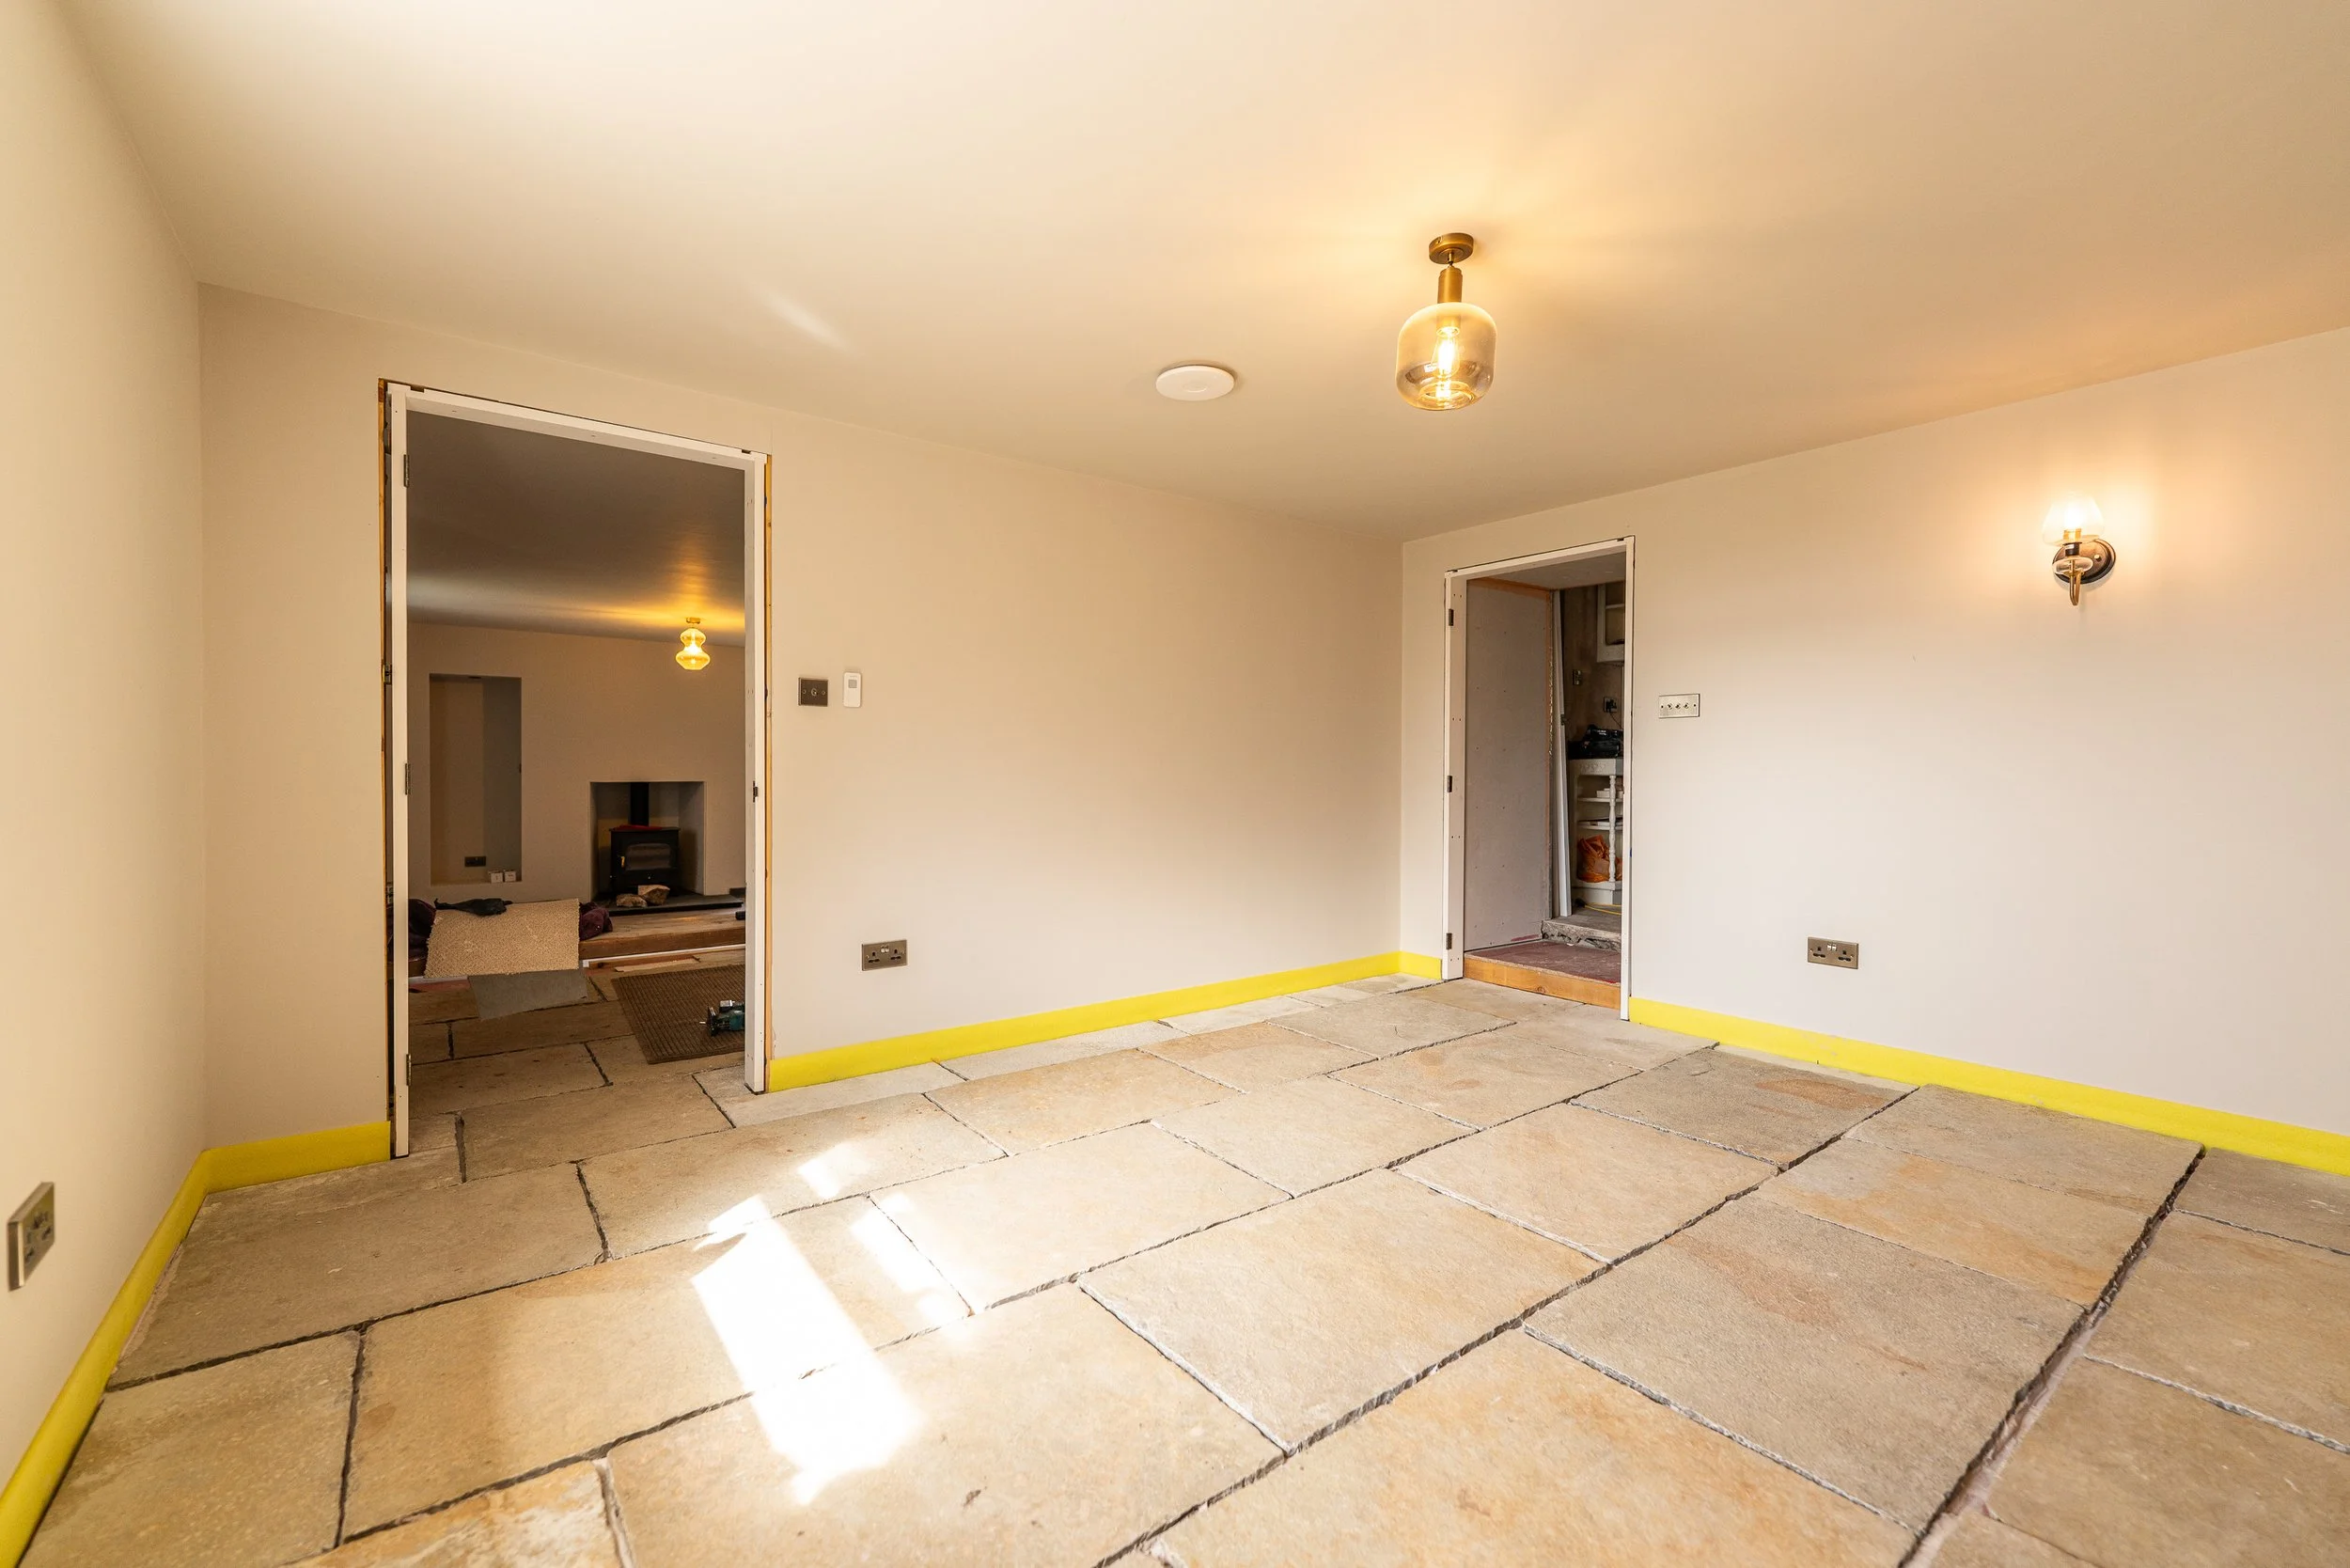
We’ll likely circle back to here next week.
The Wet Dog Room
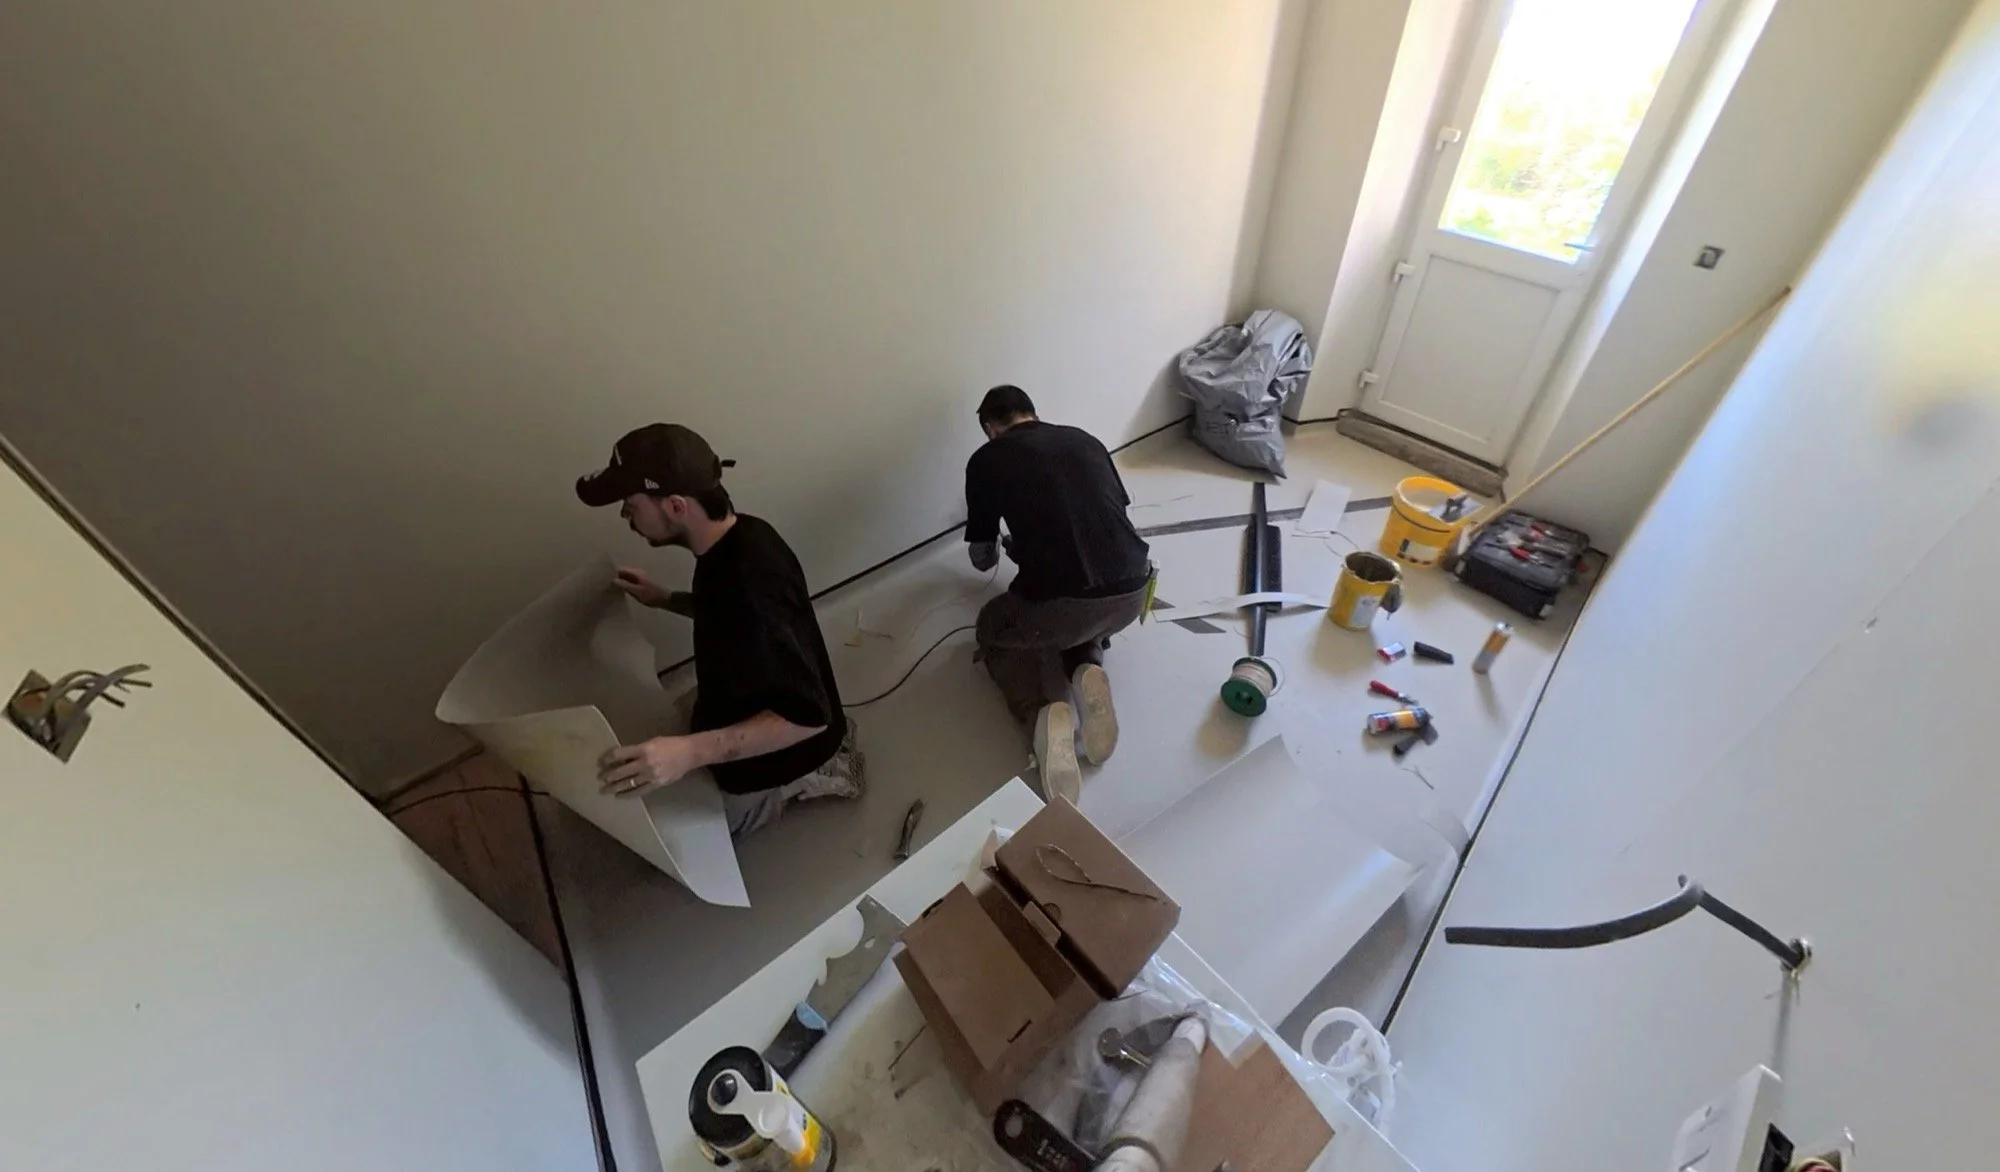
The next thing on the list happened in Week 4, back in the wet dog room. If you remember, it was painted in Week 2 as part of preparation for this weeks next step. The floor needed to go down and for this it was a professional-only job. First, a damp-proof screed was laid and left to dry:
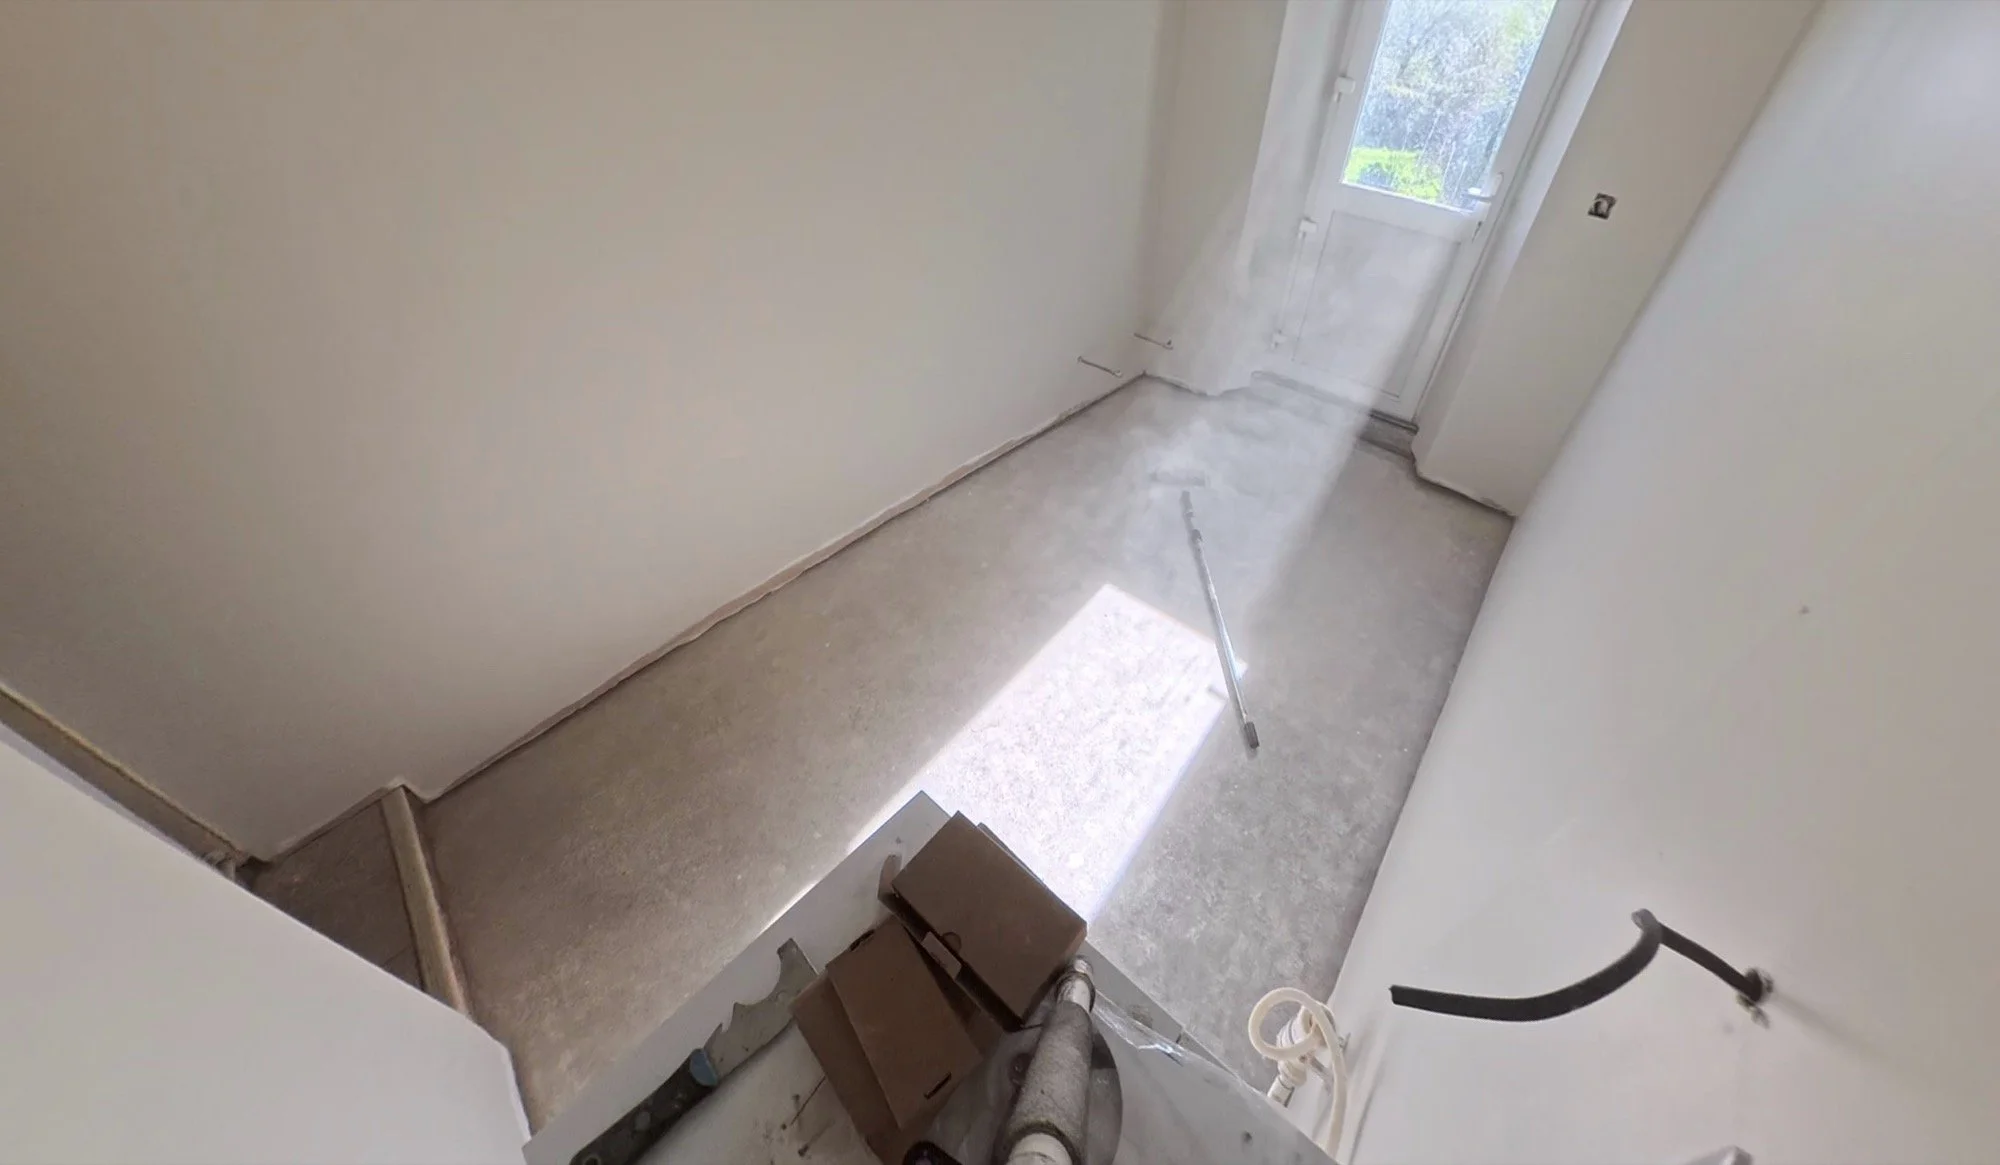
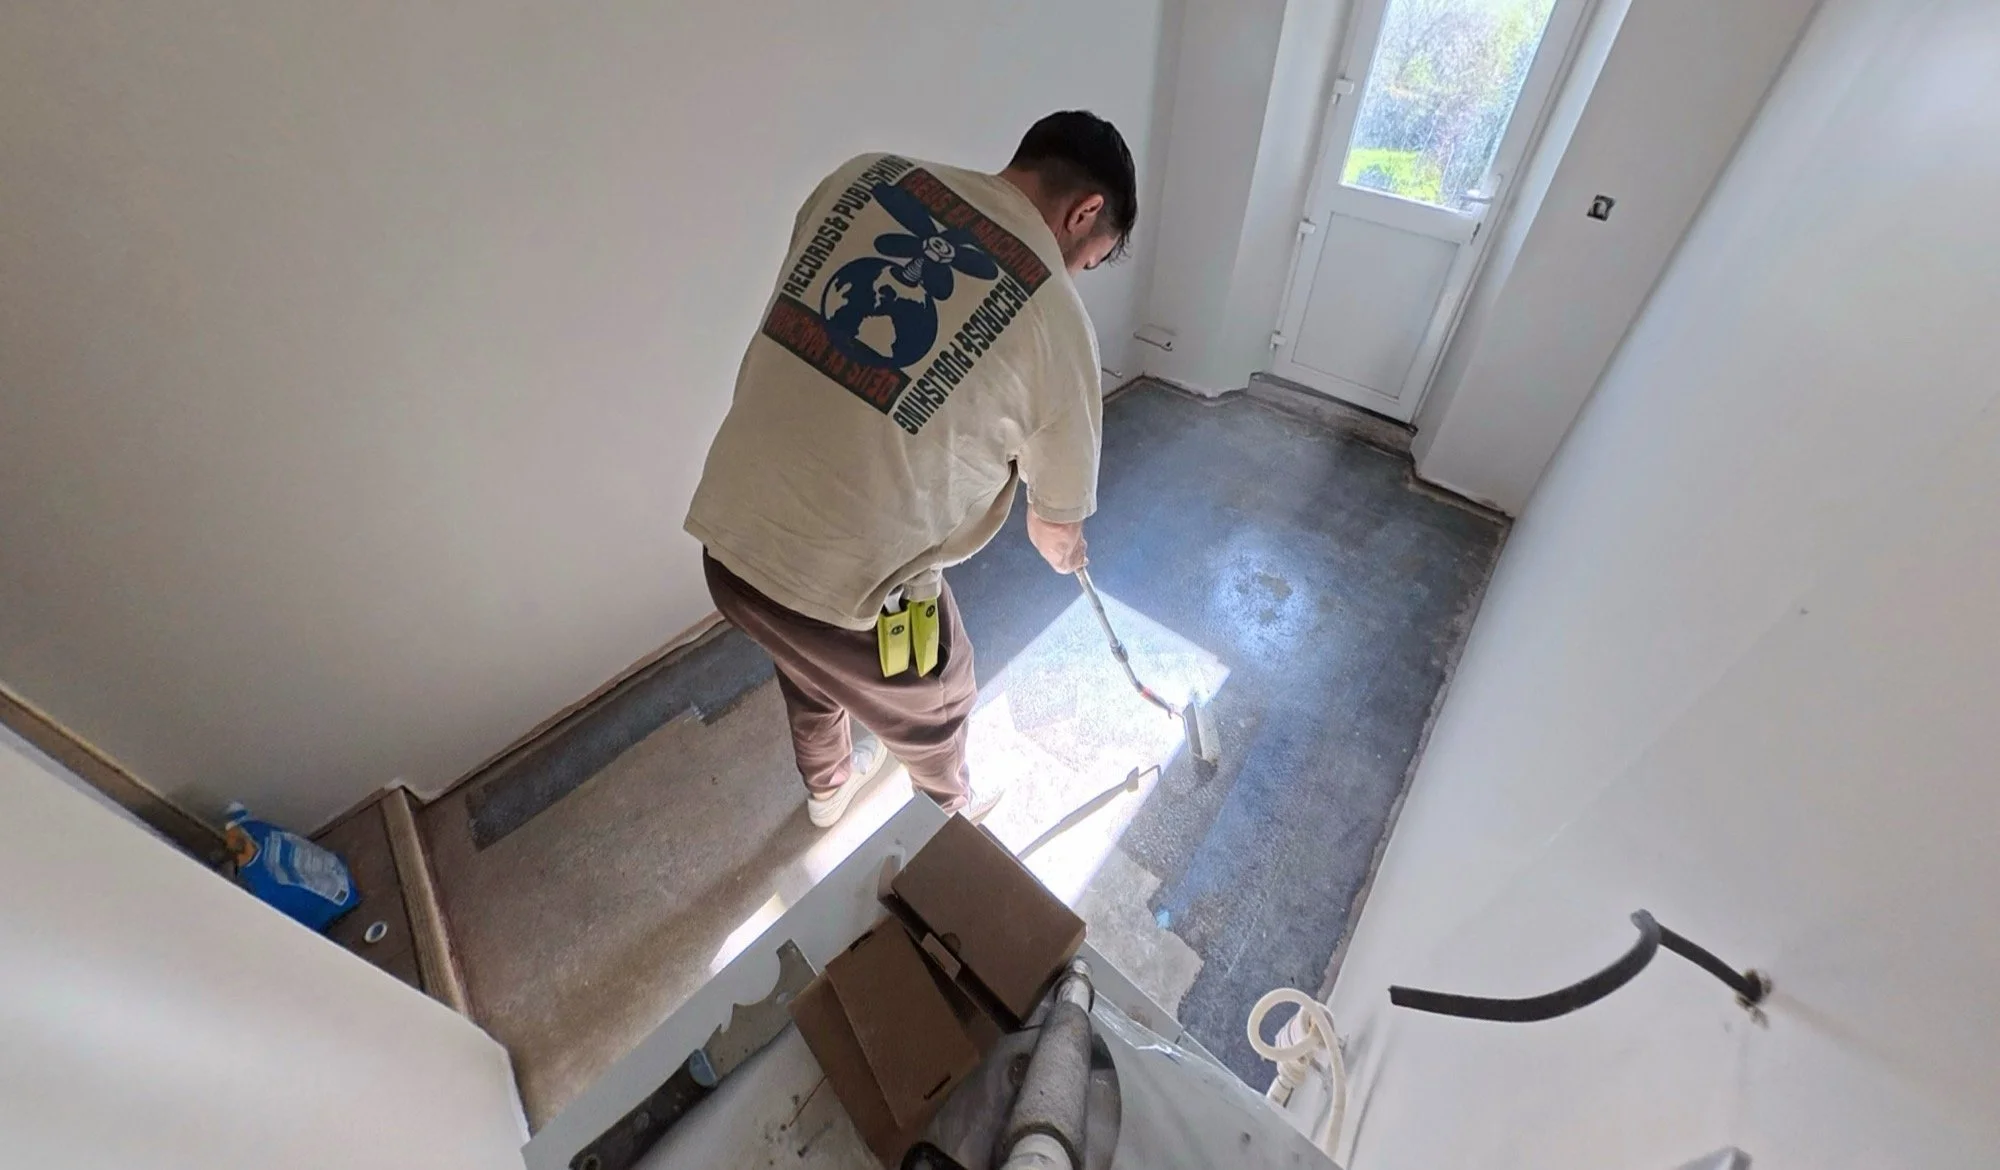
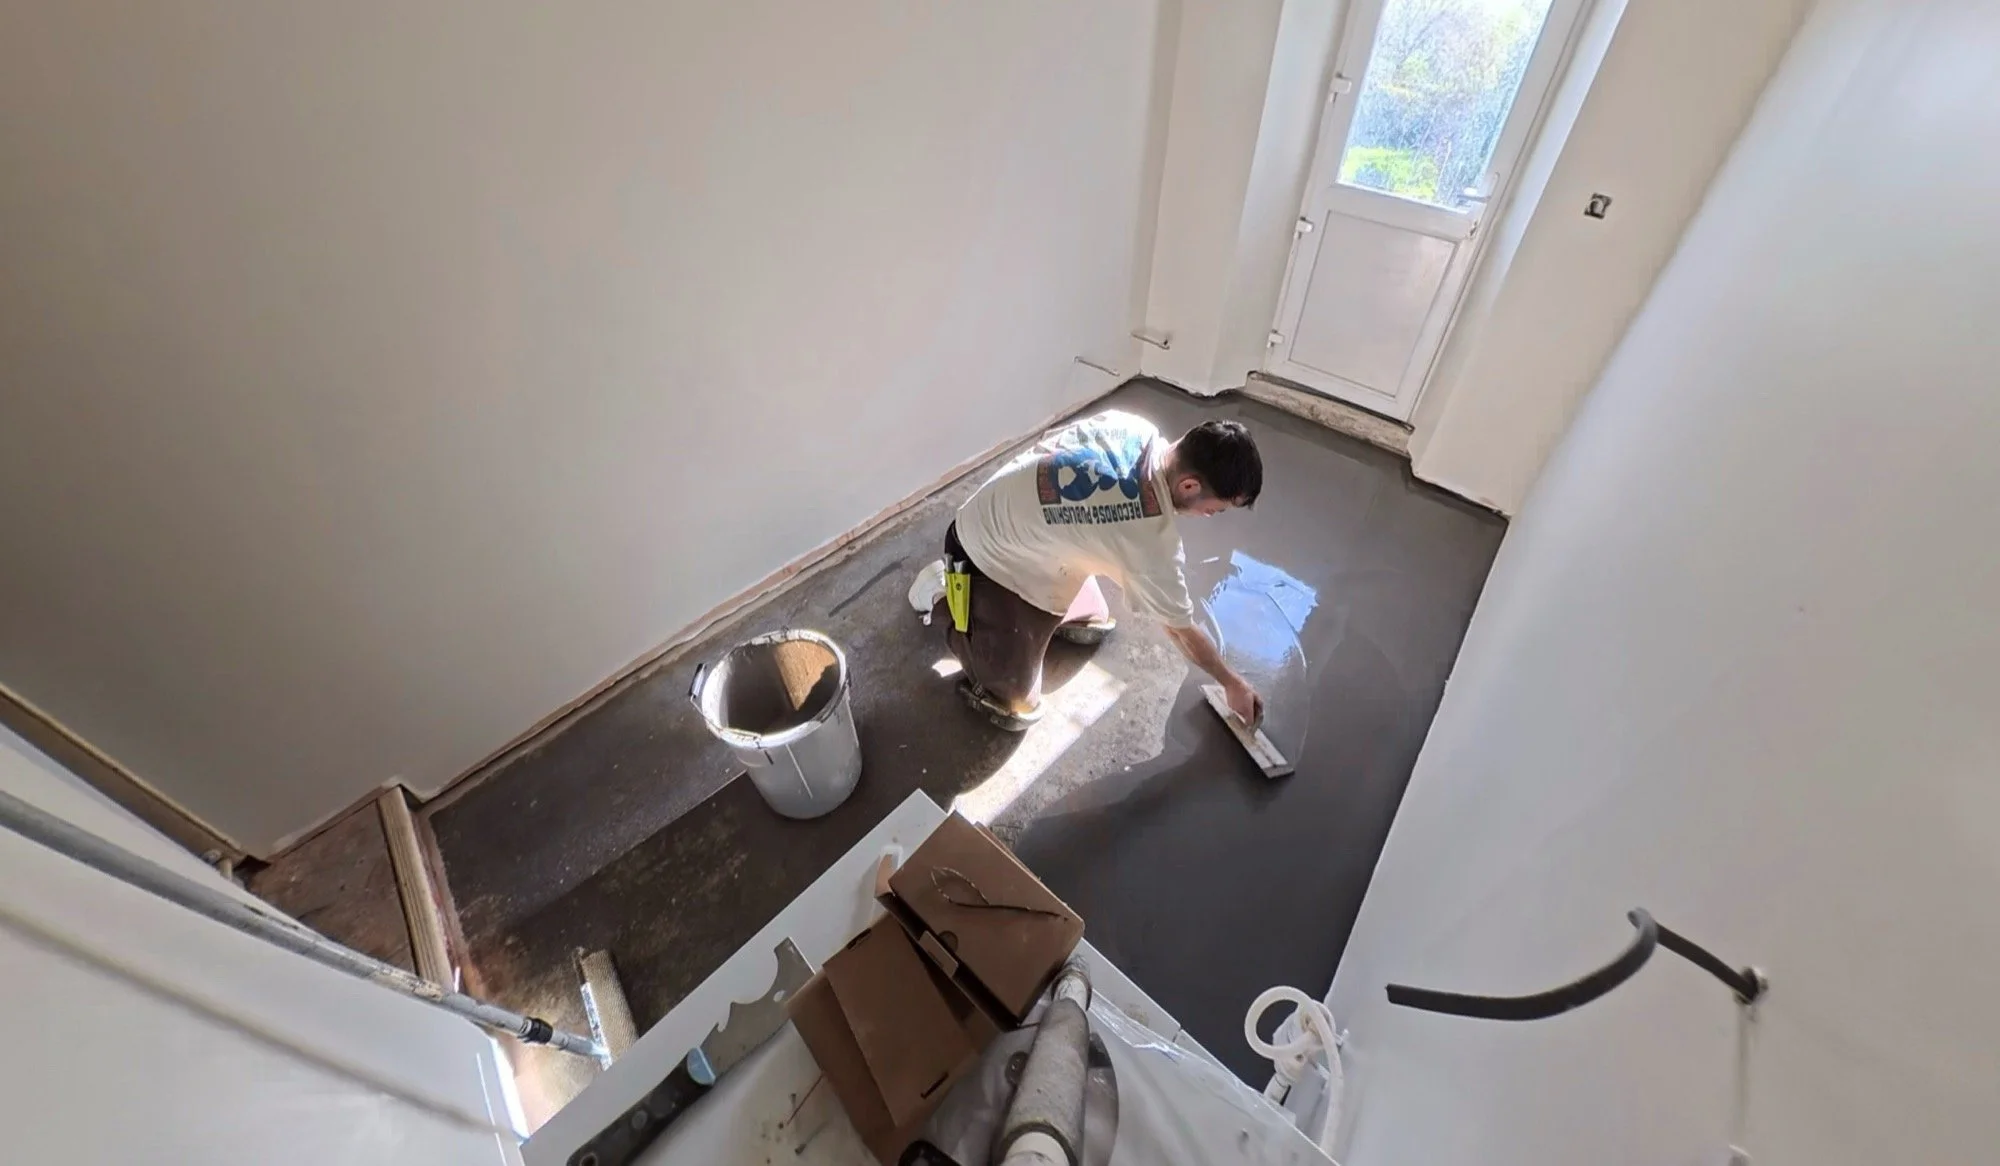
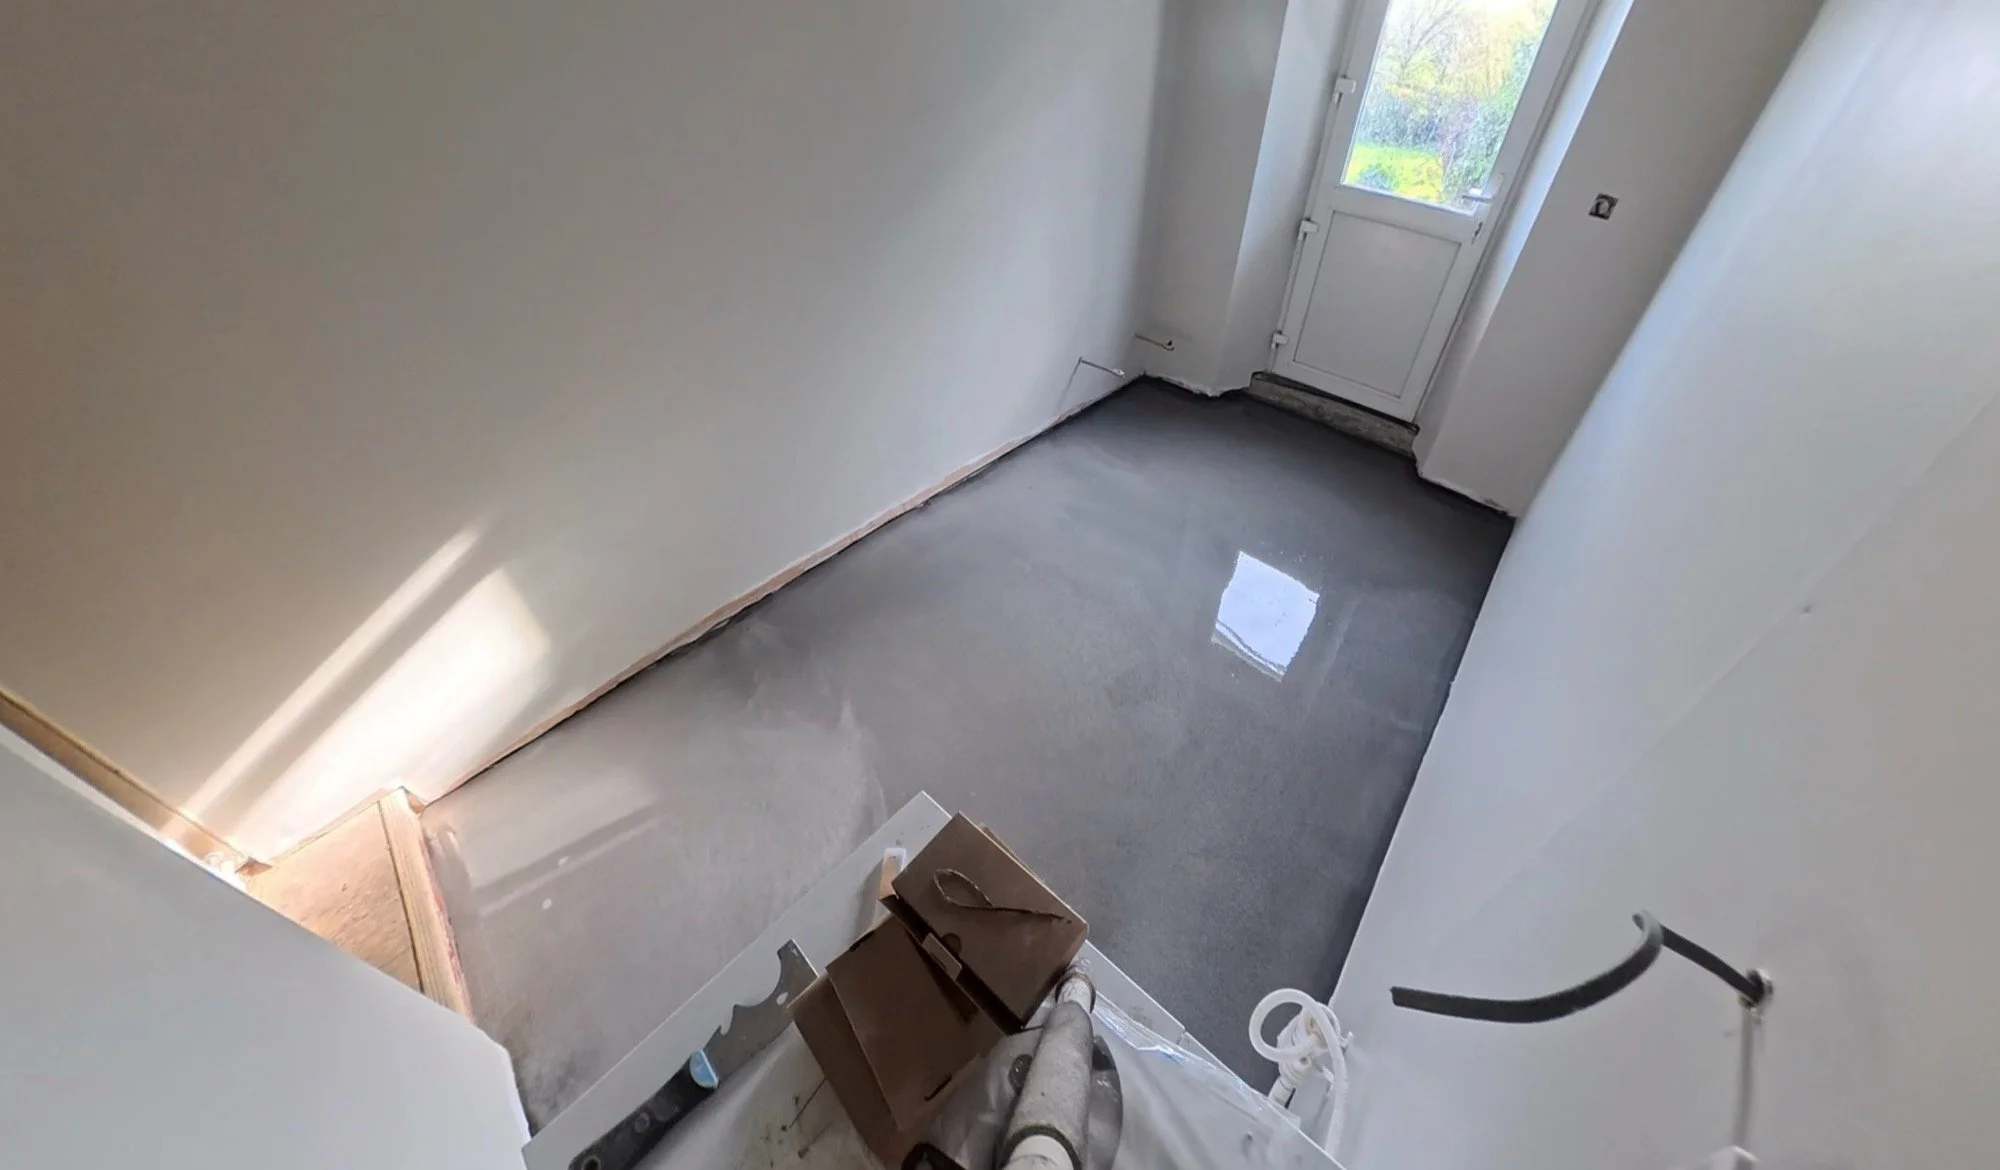
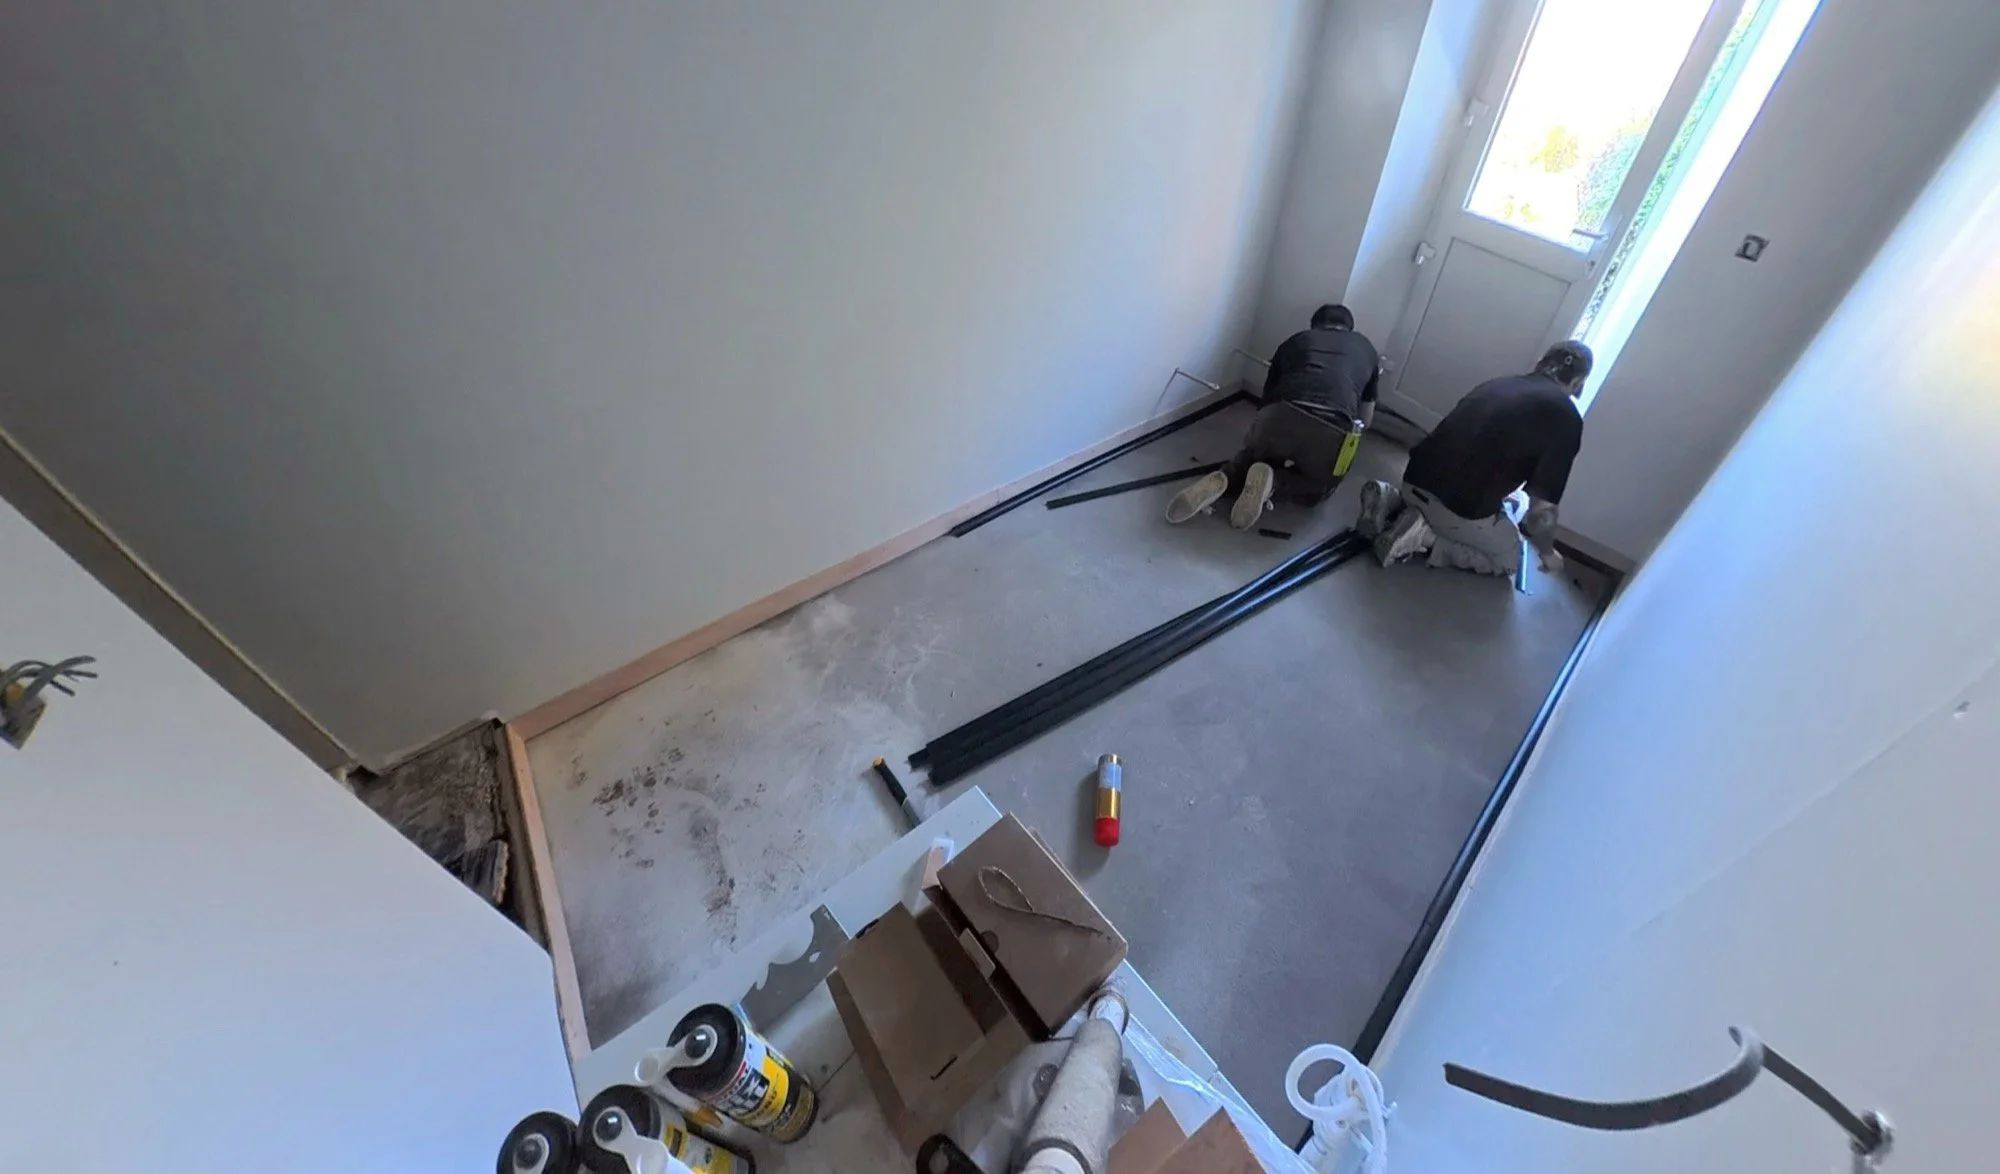
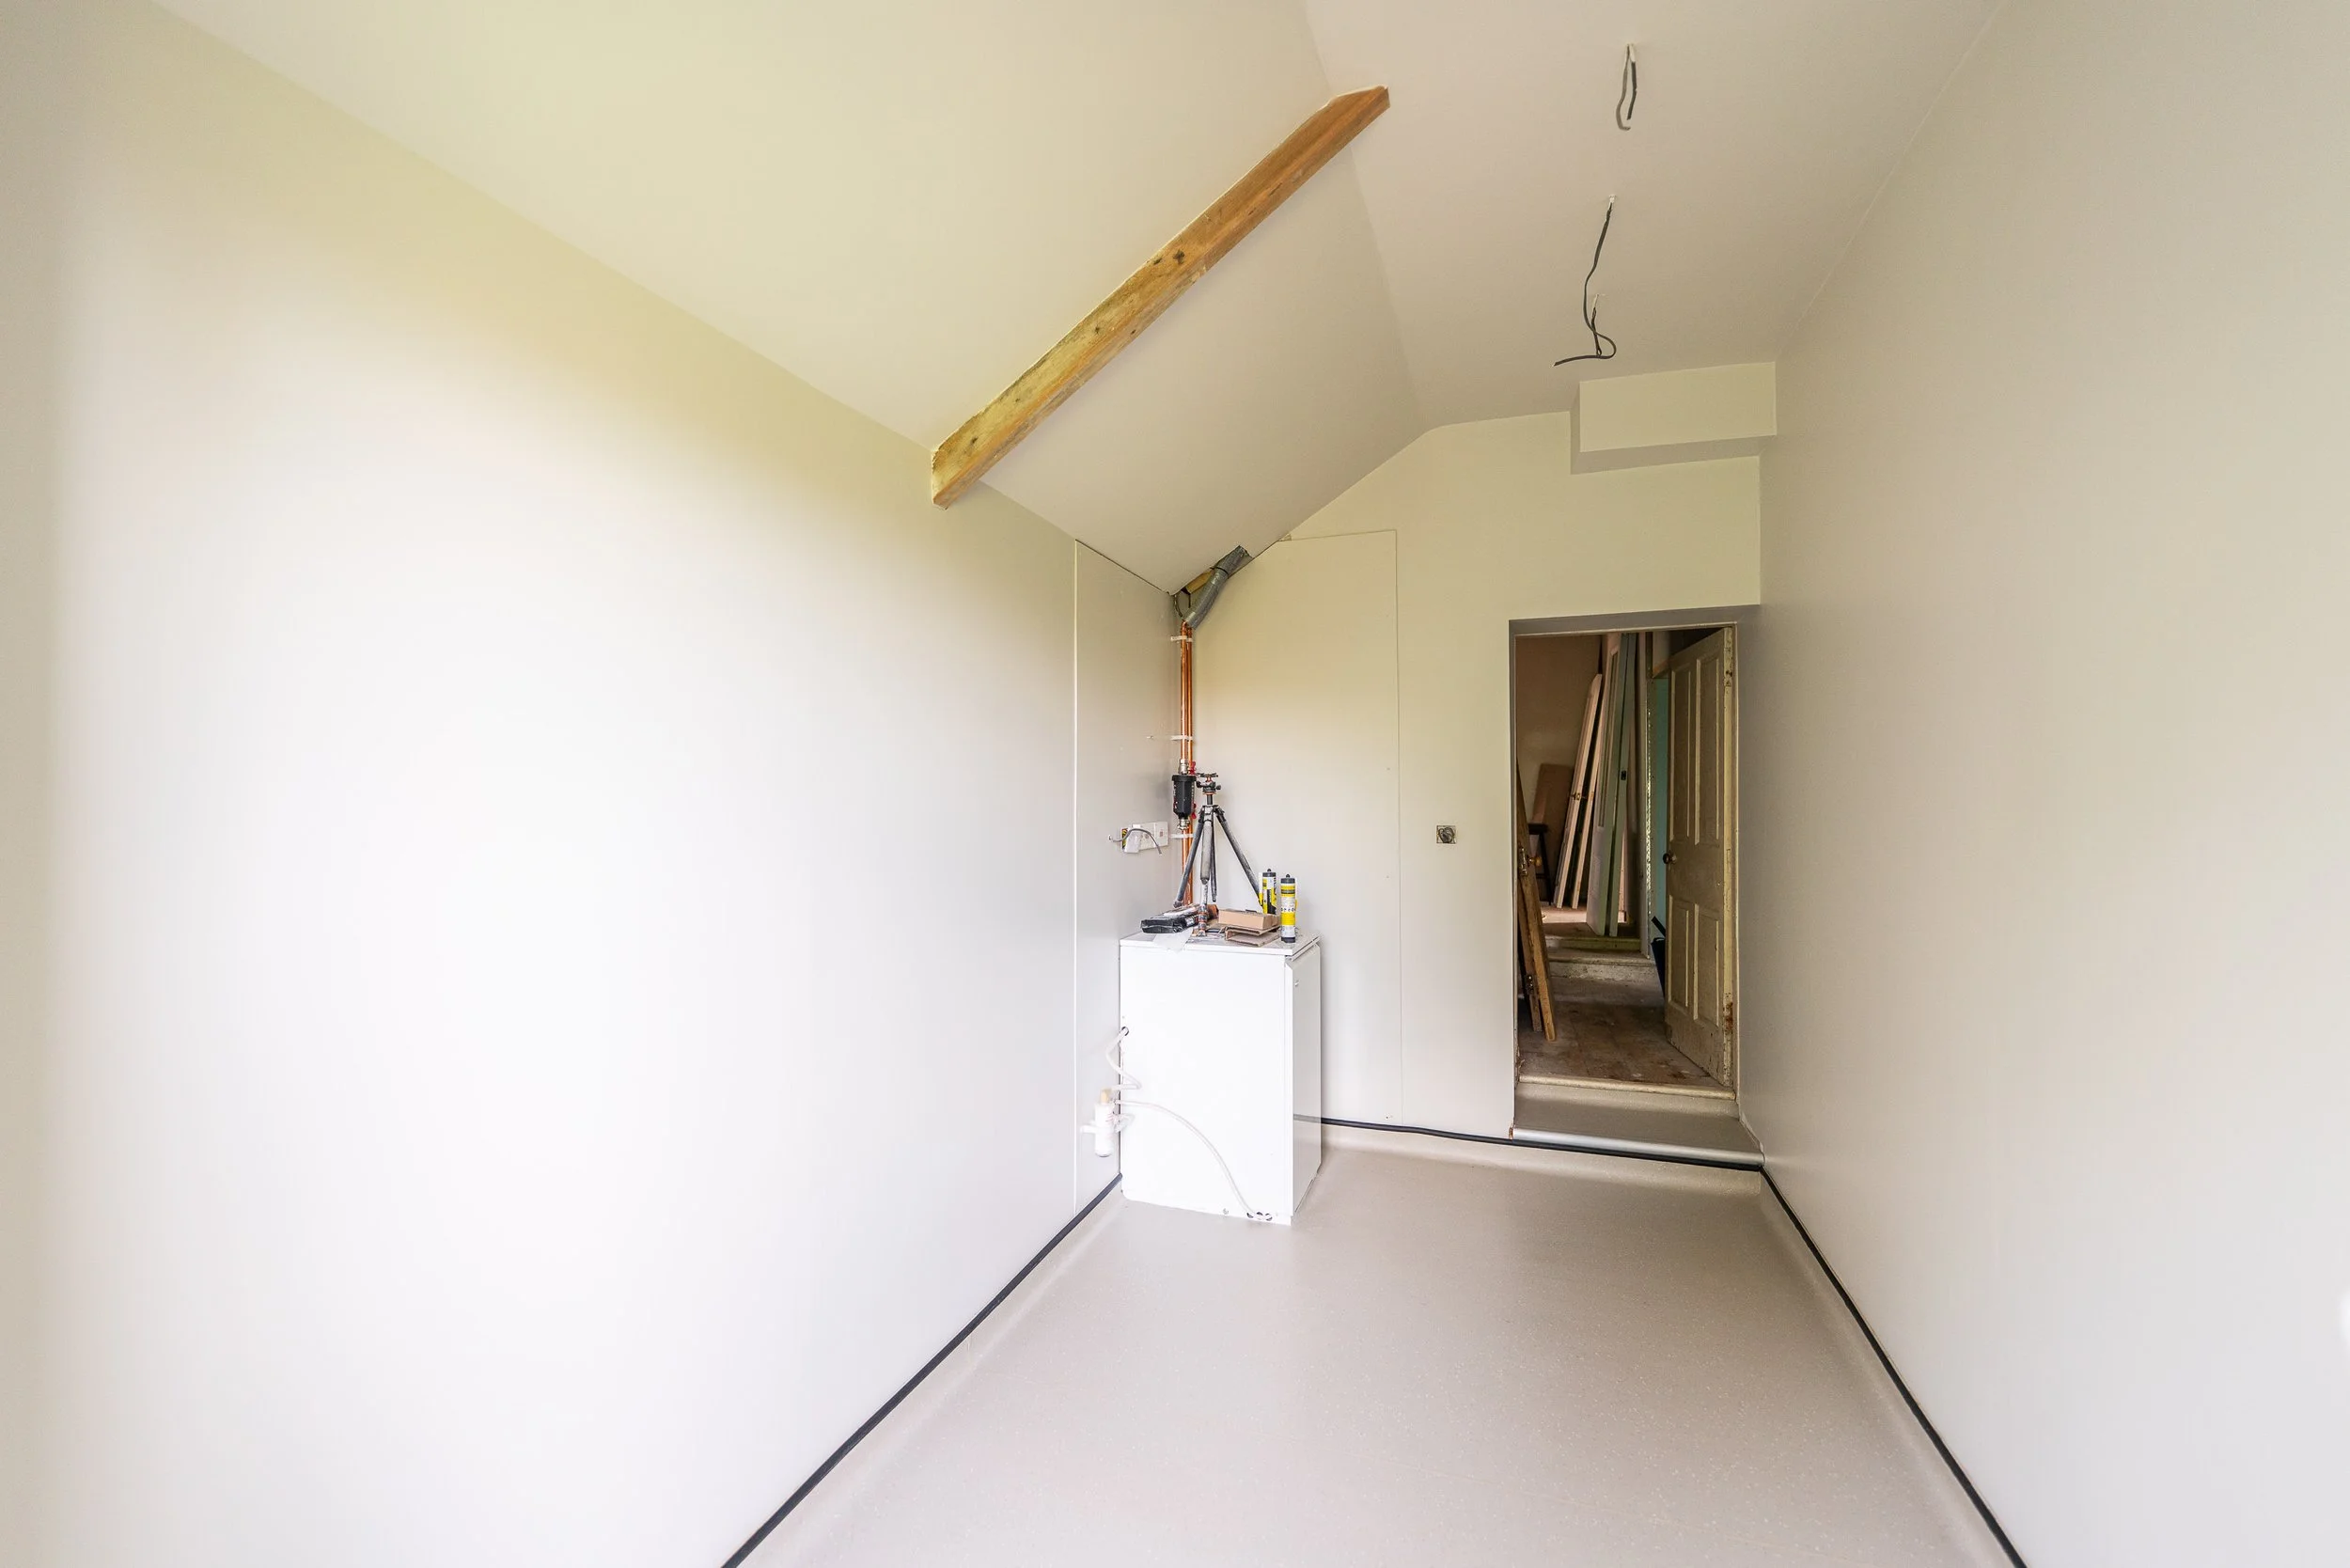
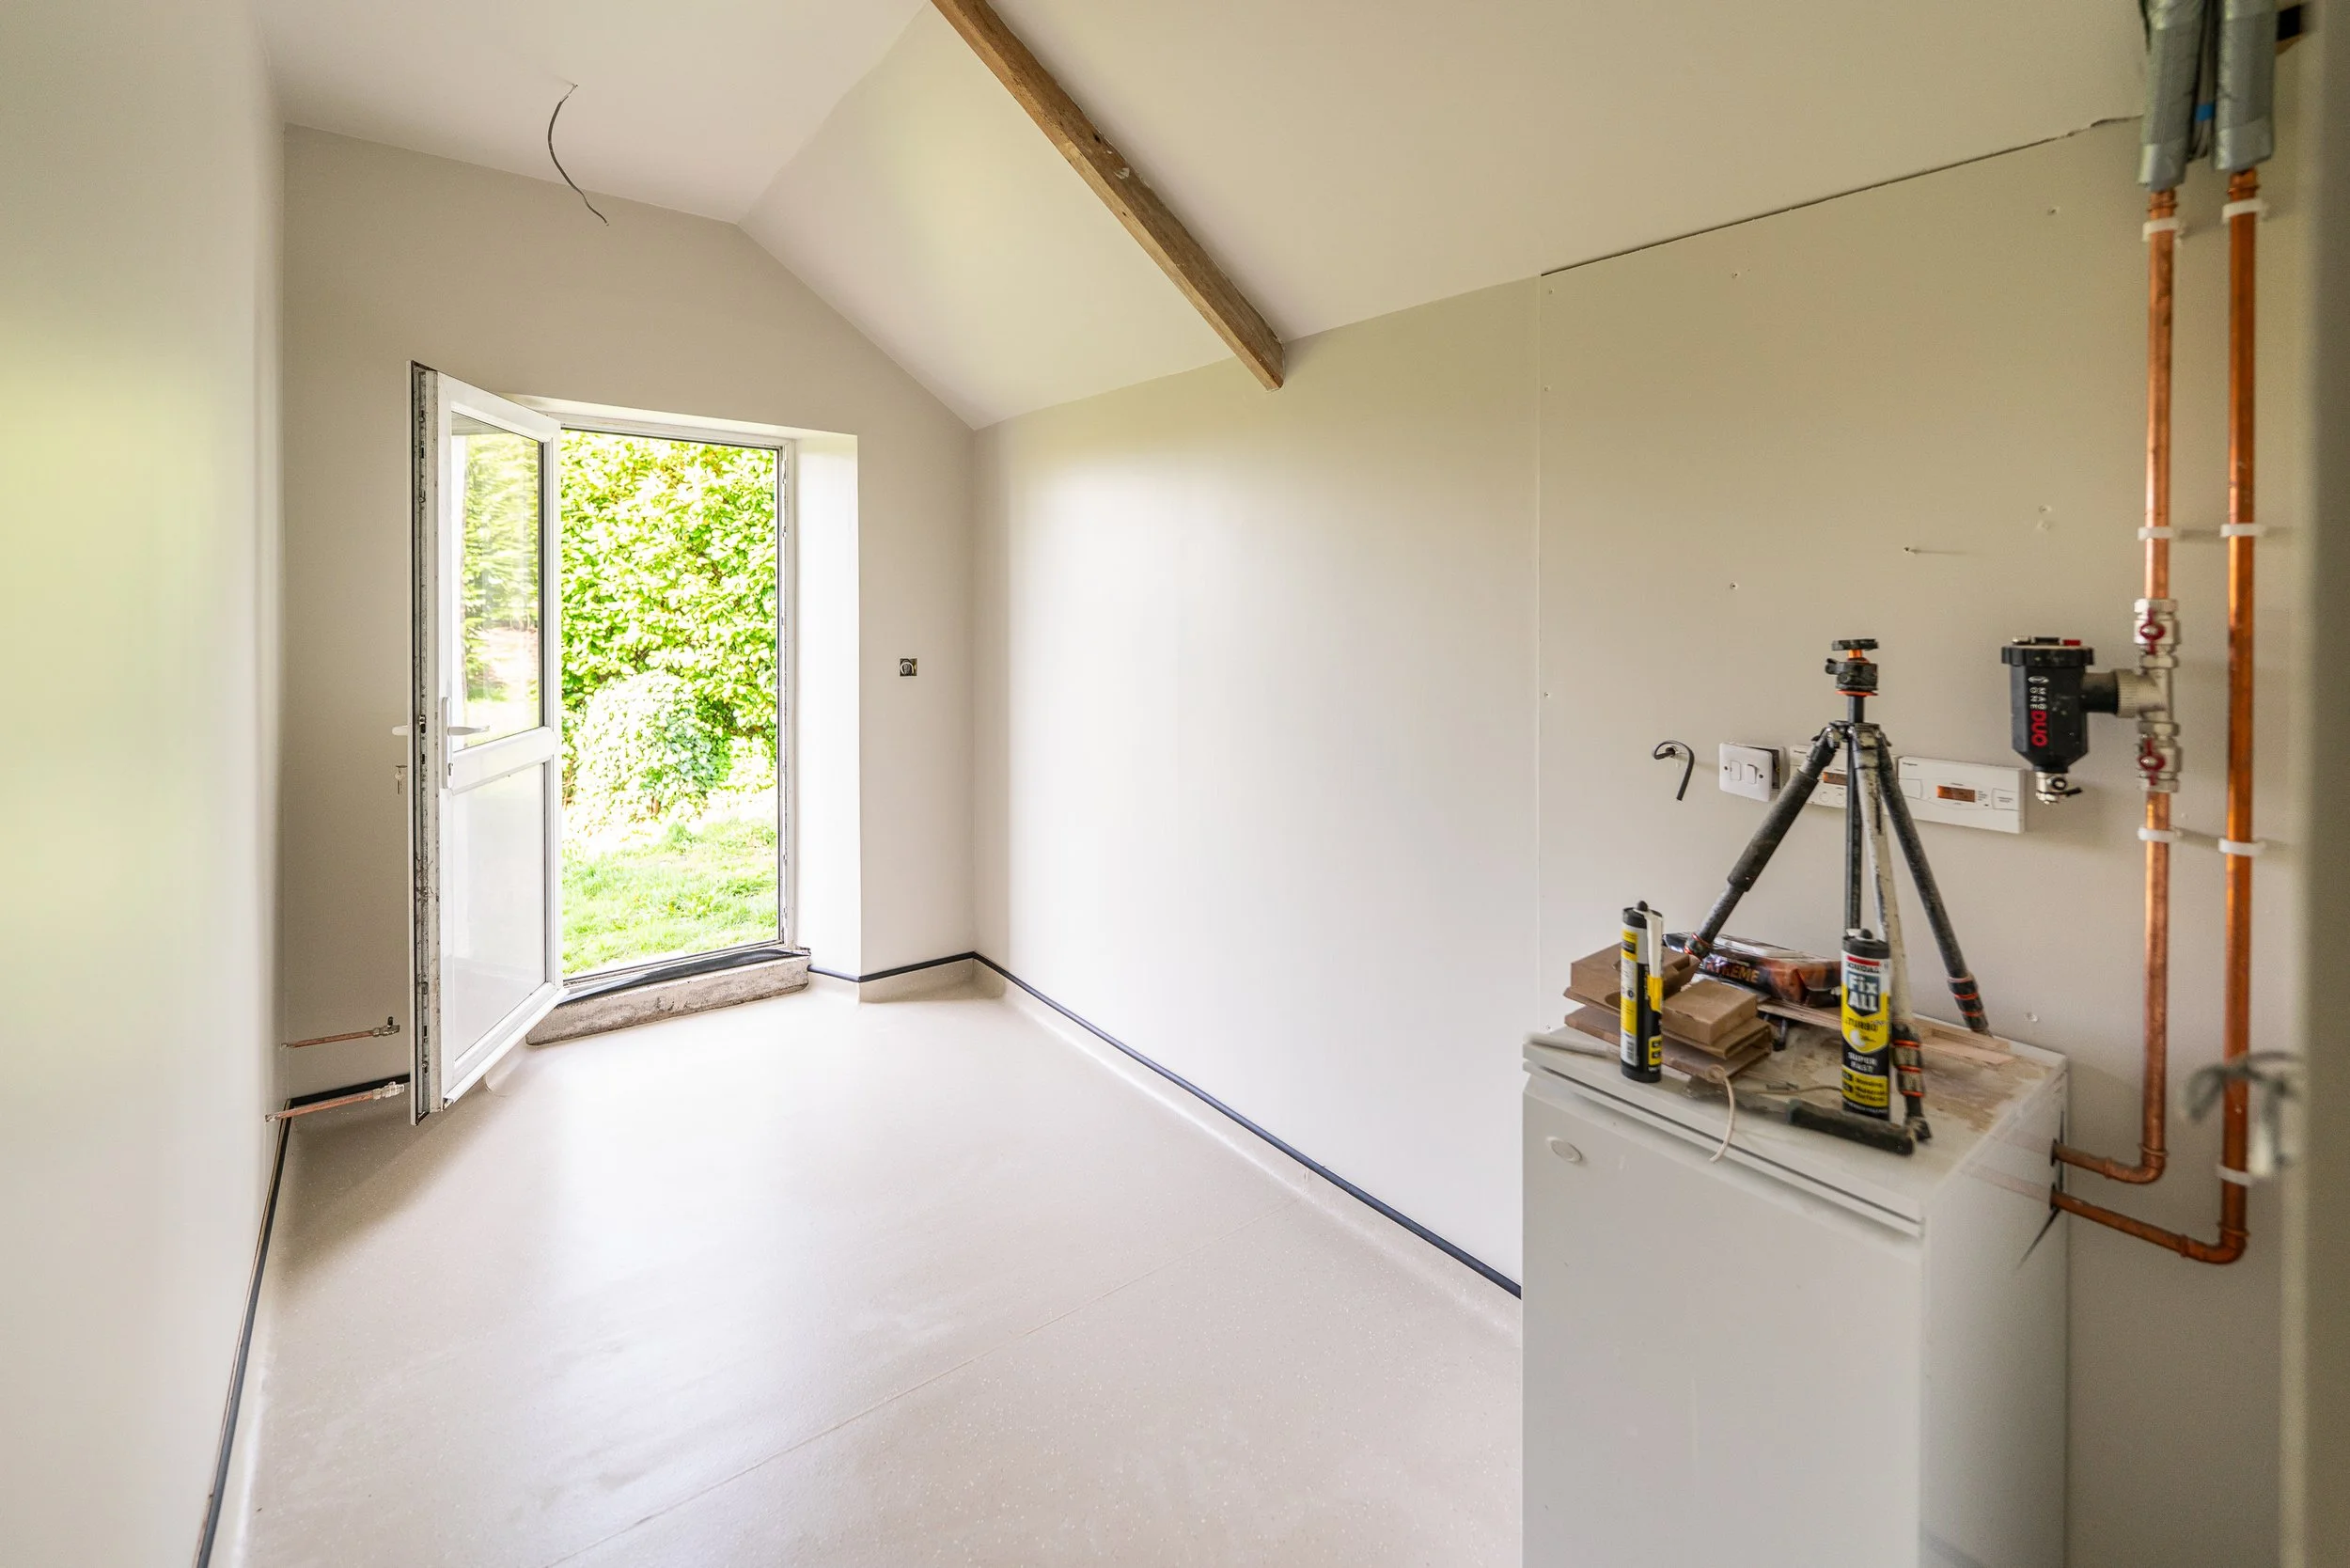
Next, the pros started to prep and lay the actual floor covering. The internet told us to get the safety flooring that wraps up the sides of the wall a little bit, and that needs some curved plastic things on the floor, and a cap profile higher up. Had I known that these would be black, I might have picked a different floor colour, but the cap will be almost fully covered with the wall panelling.
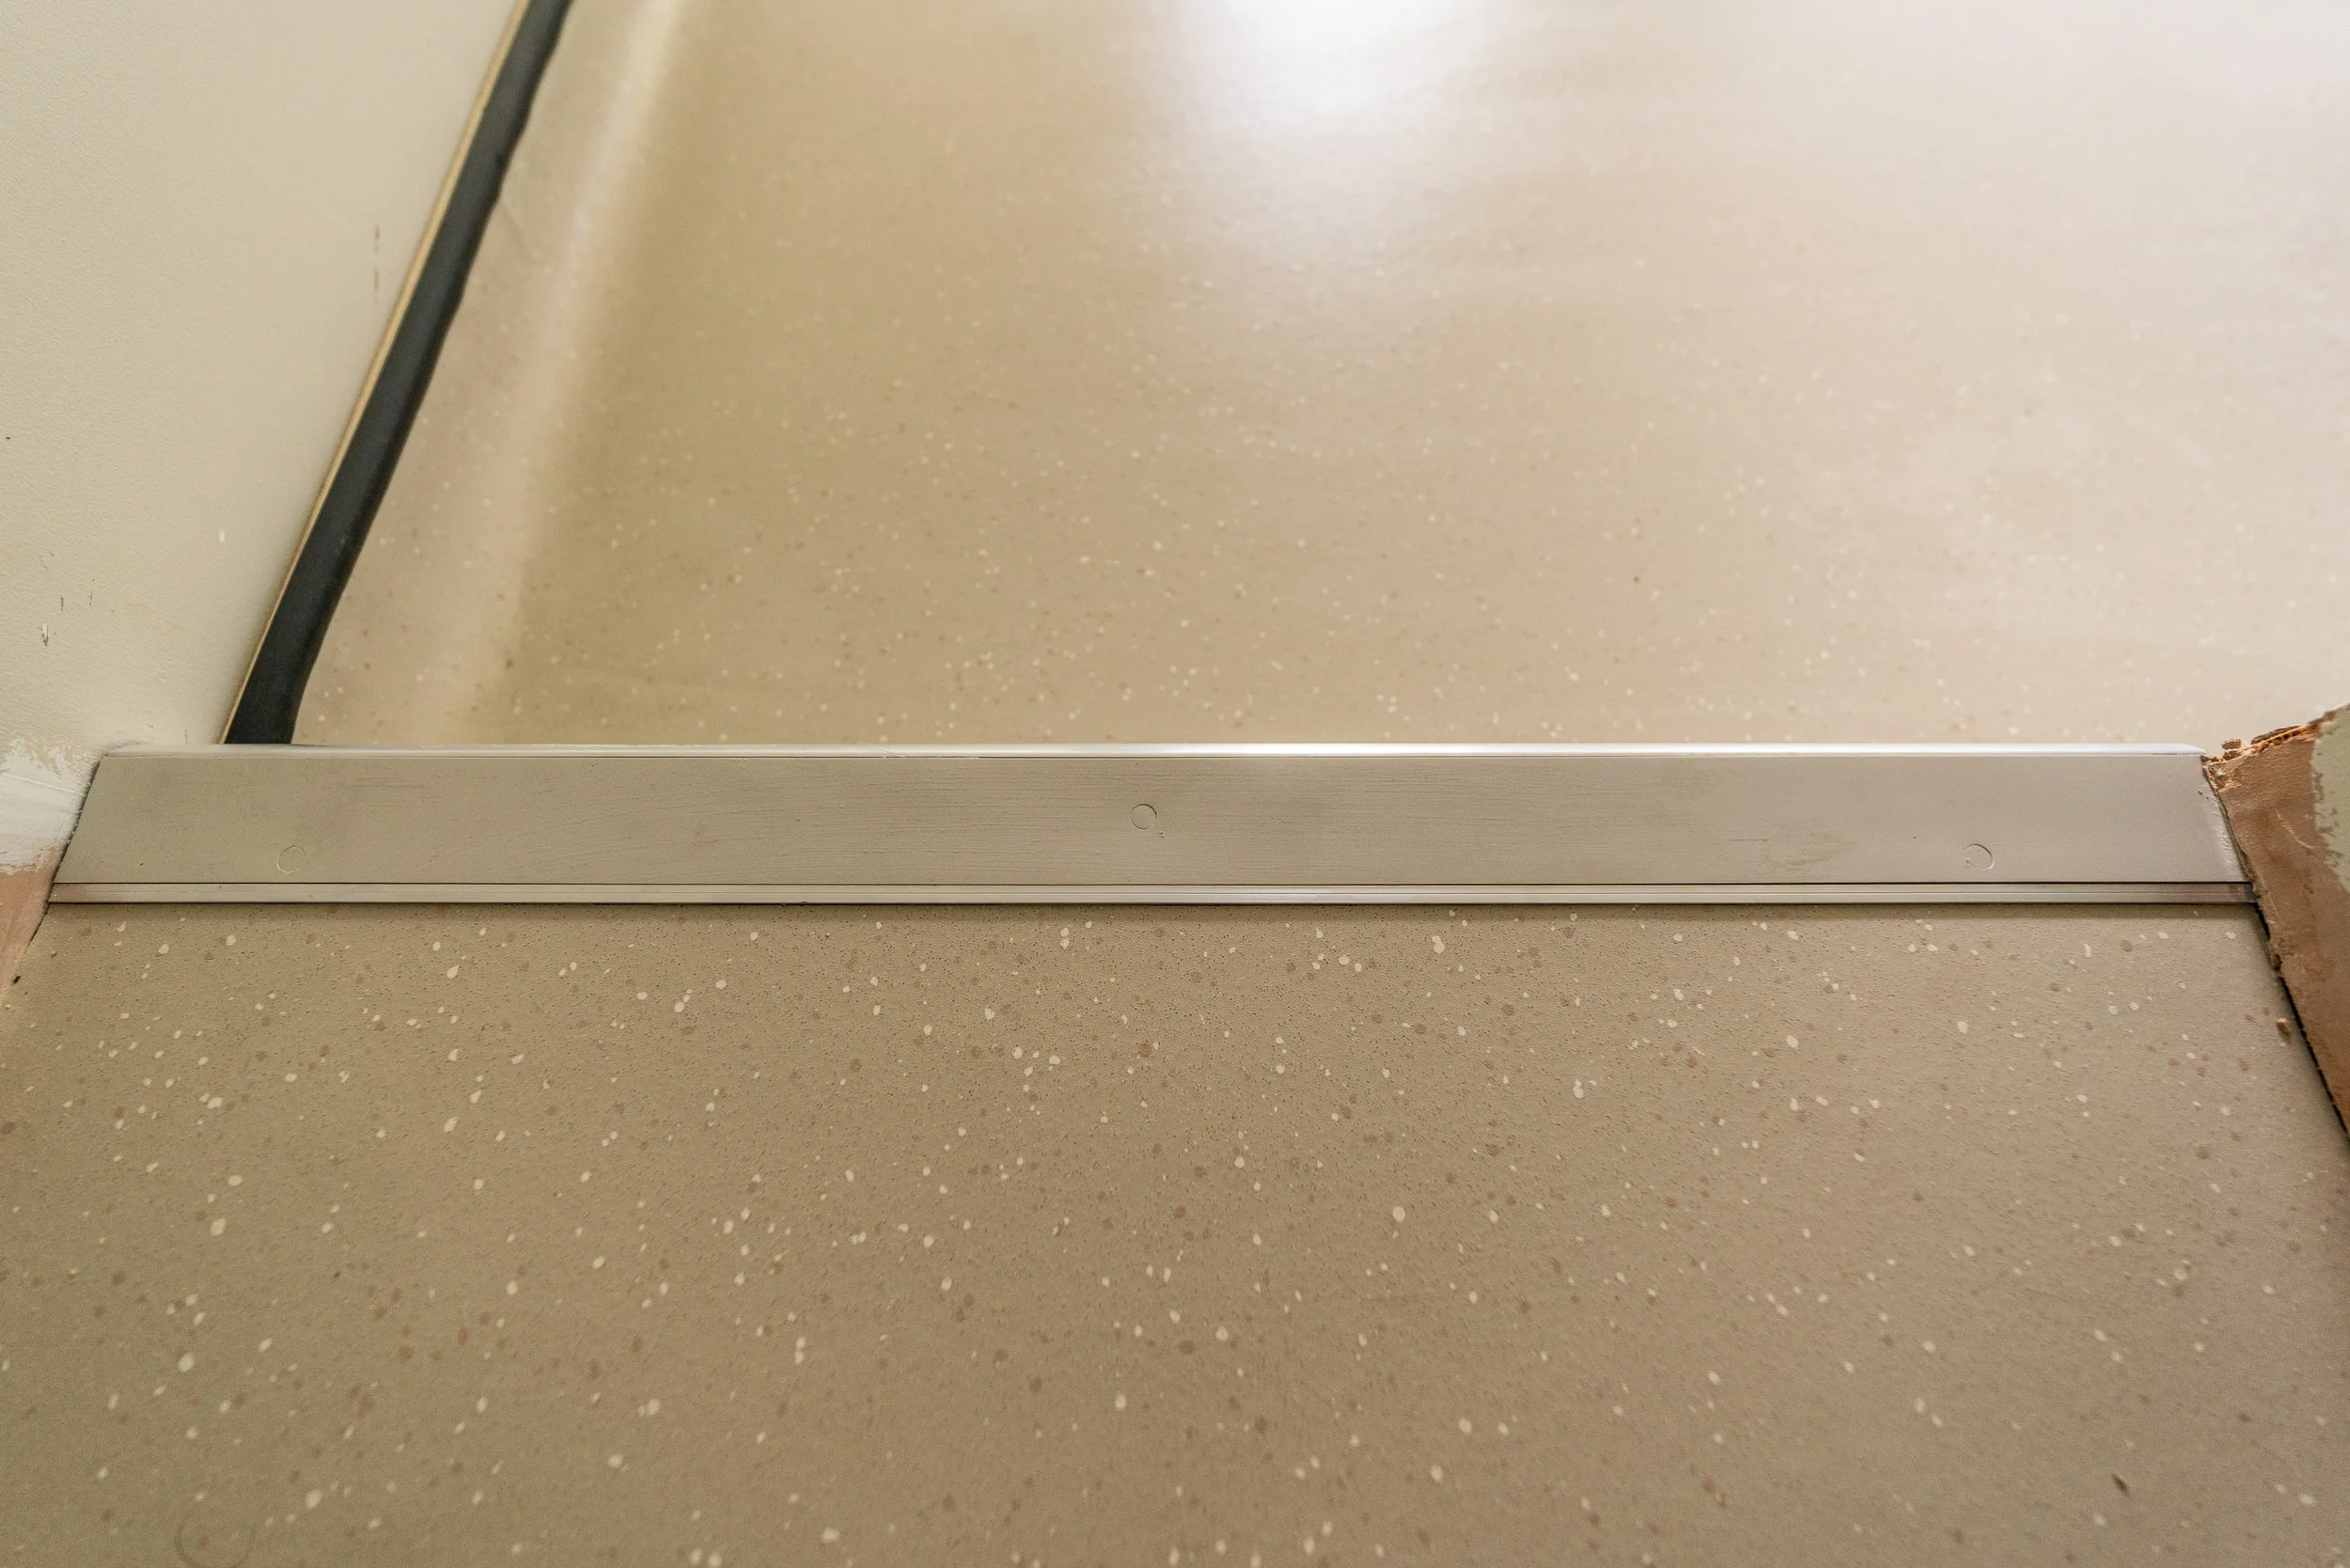
With the profiles on, the glue then goes down, followed by the vinyl, then all the seams are welded so that no water can ever get through. The lads also re-did the step and bullnose profile to finish the look.
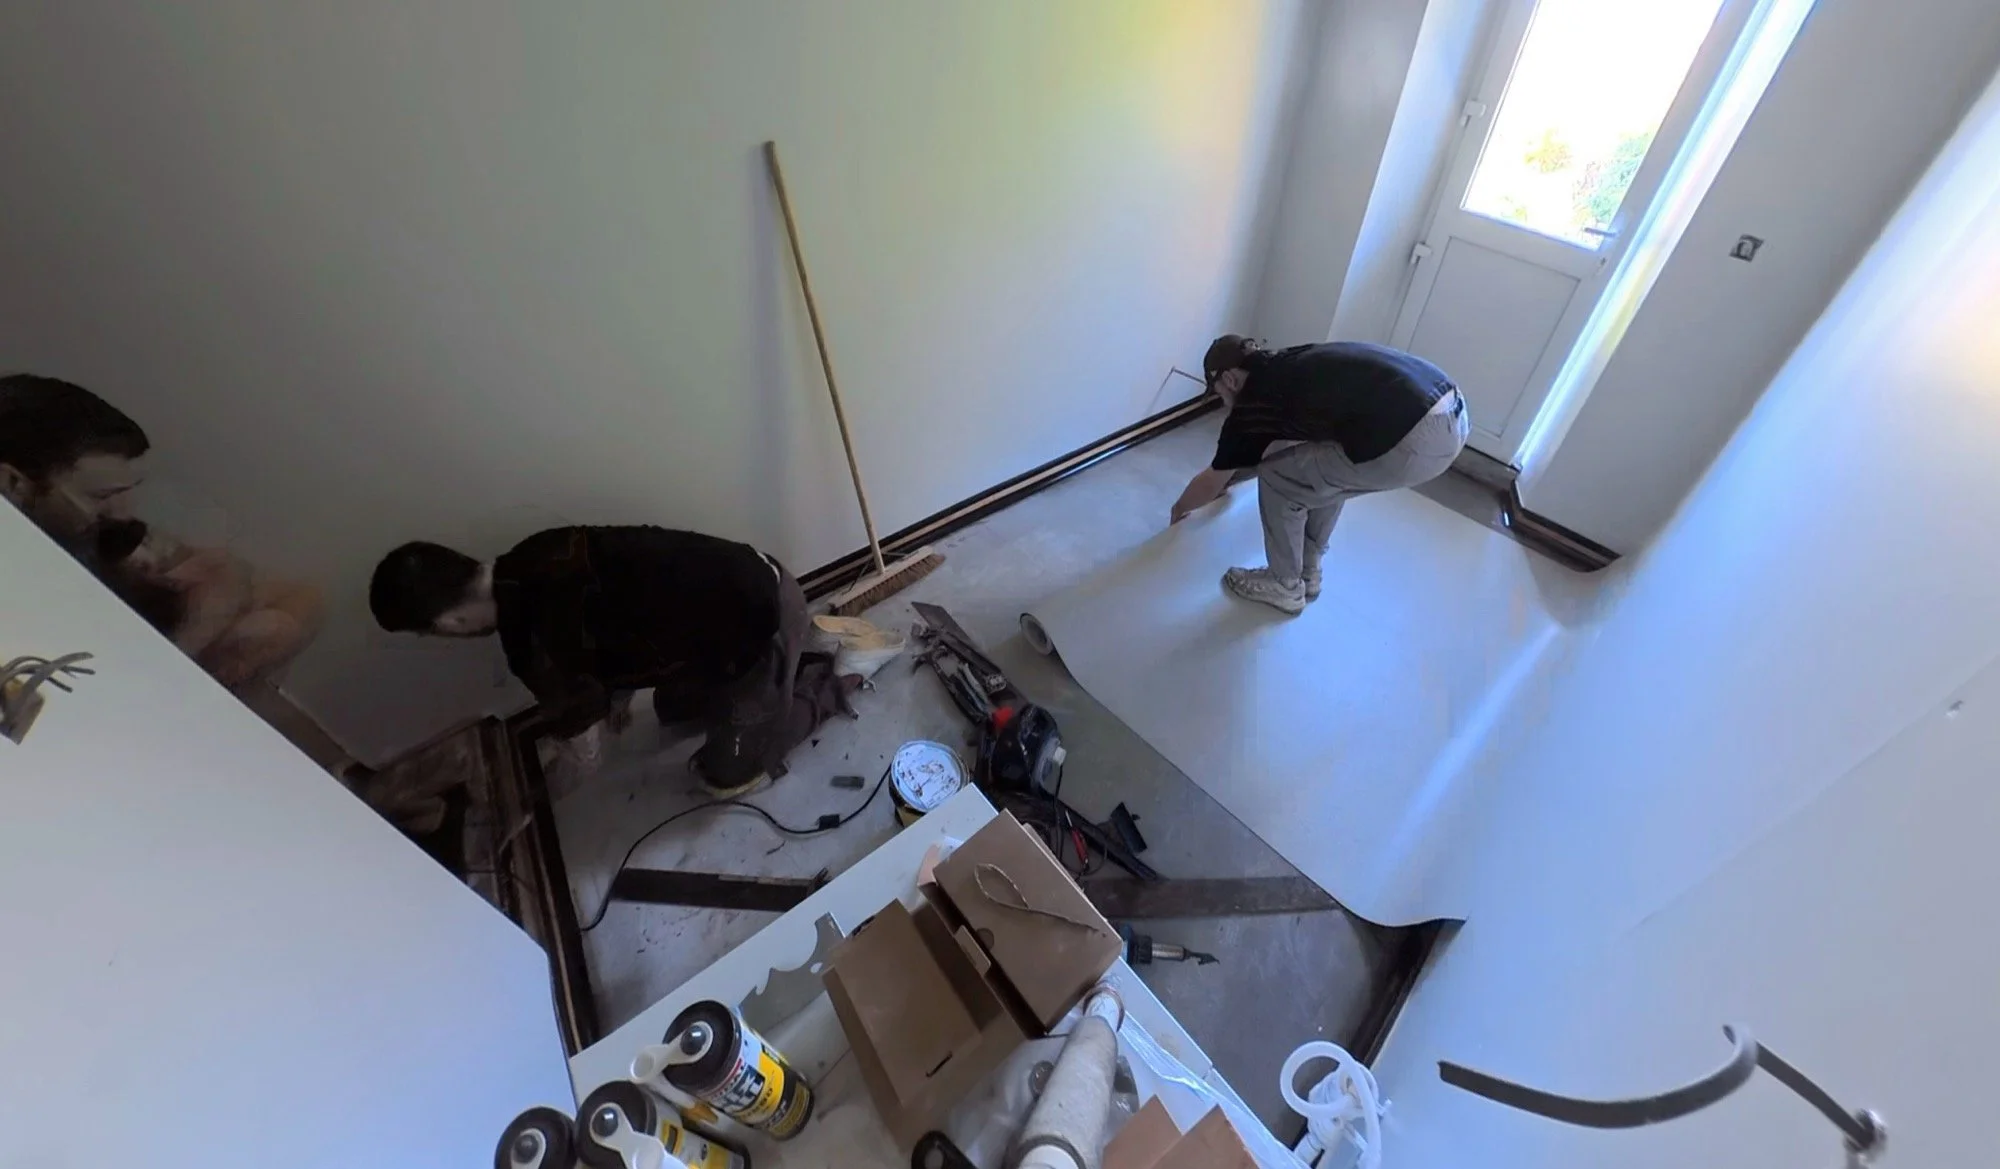
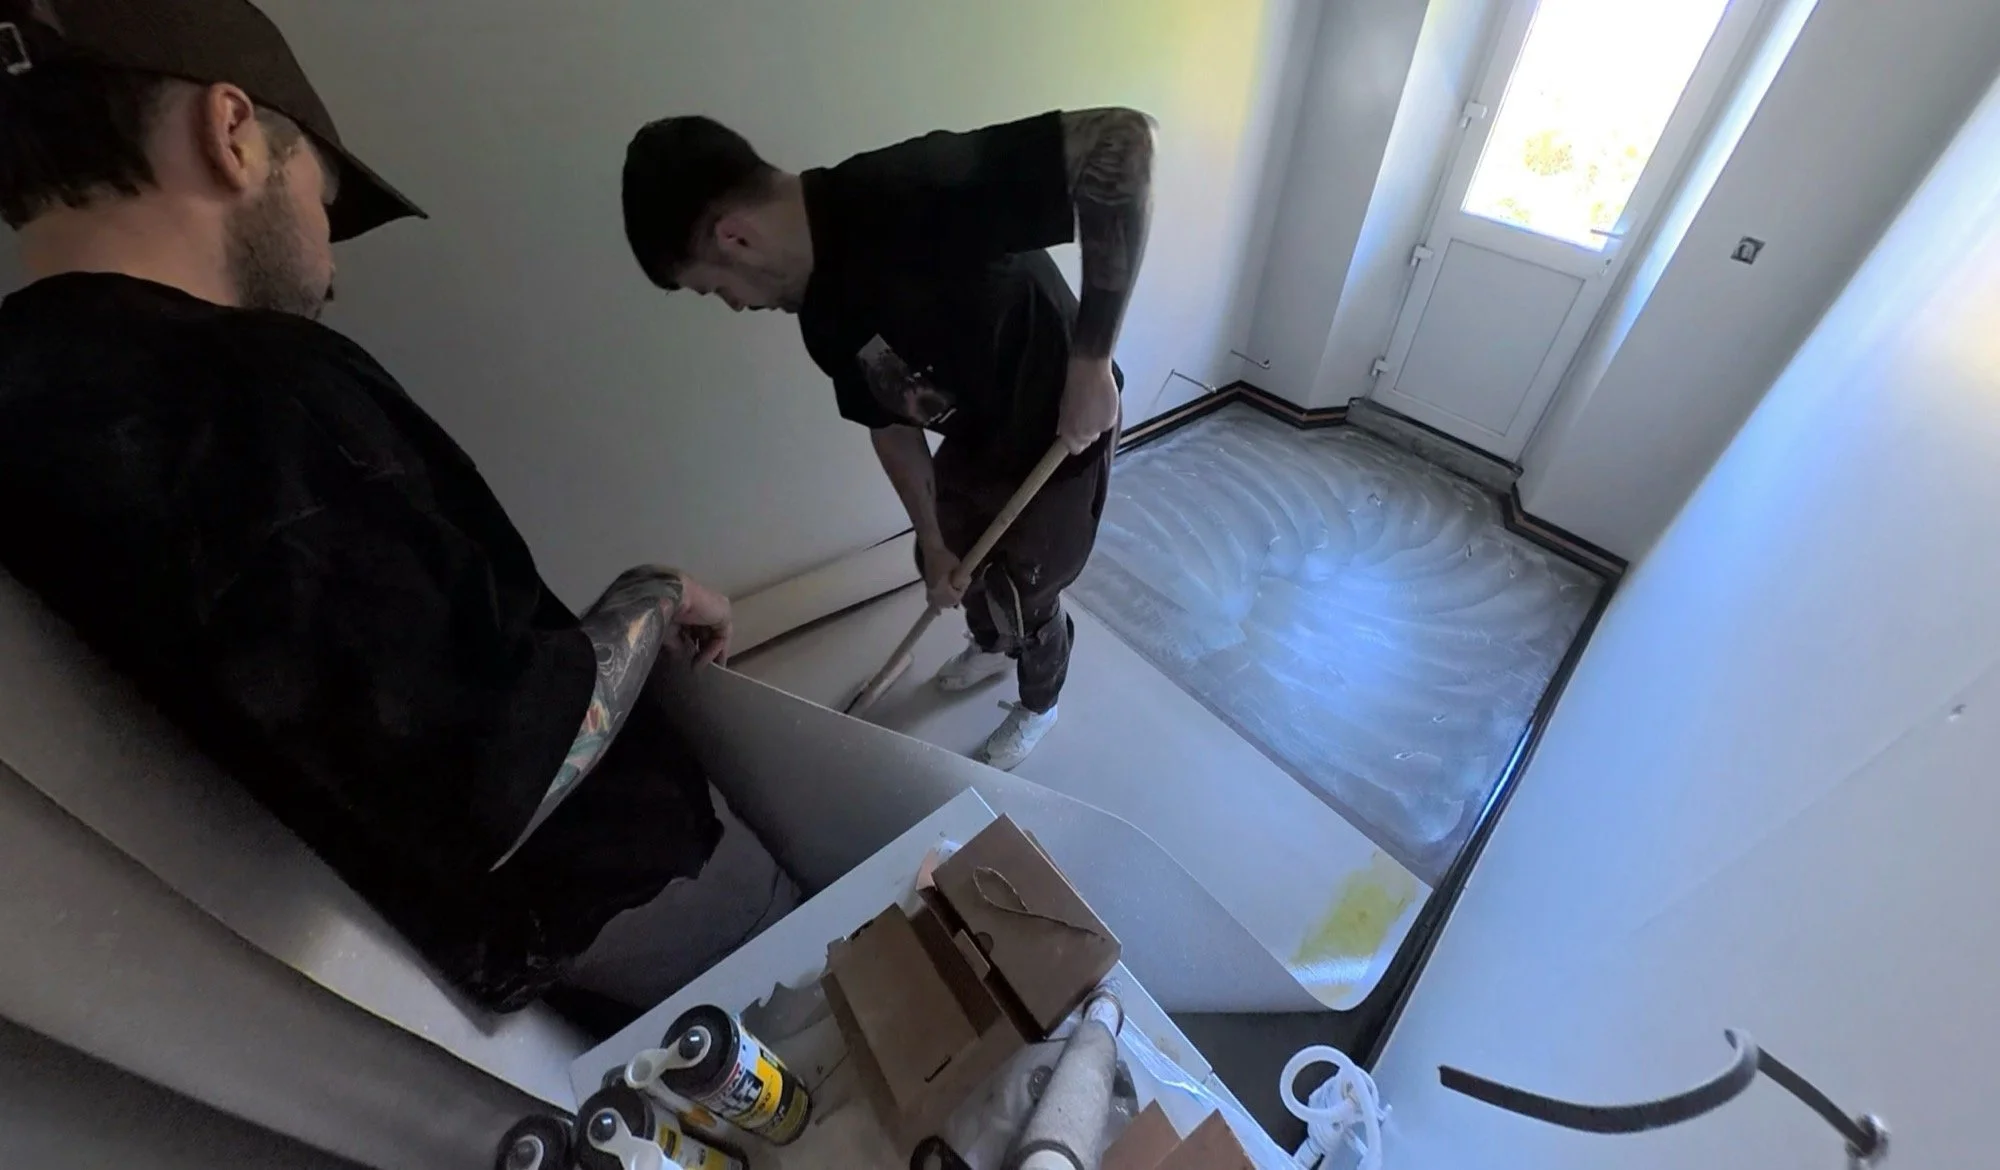
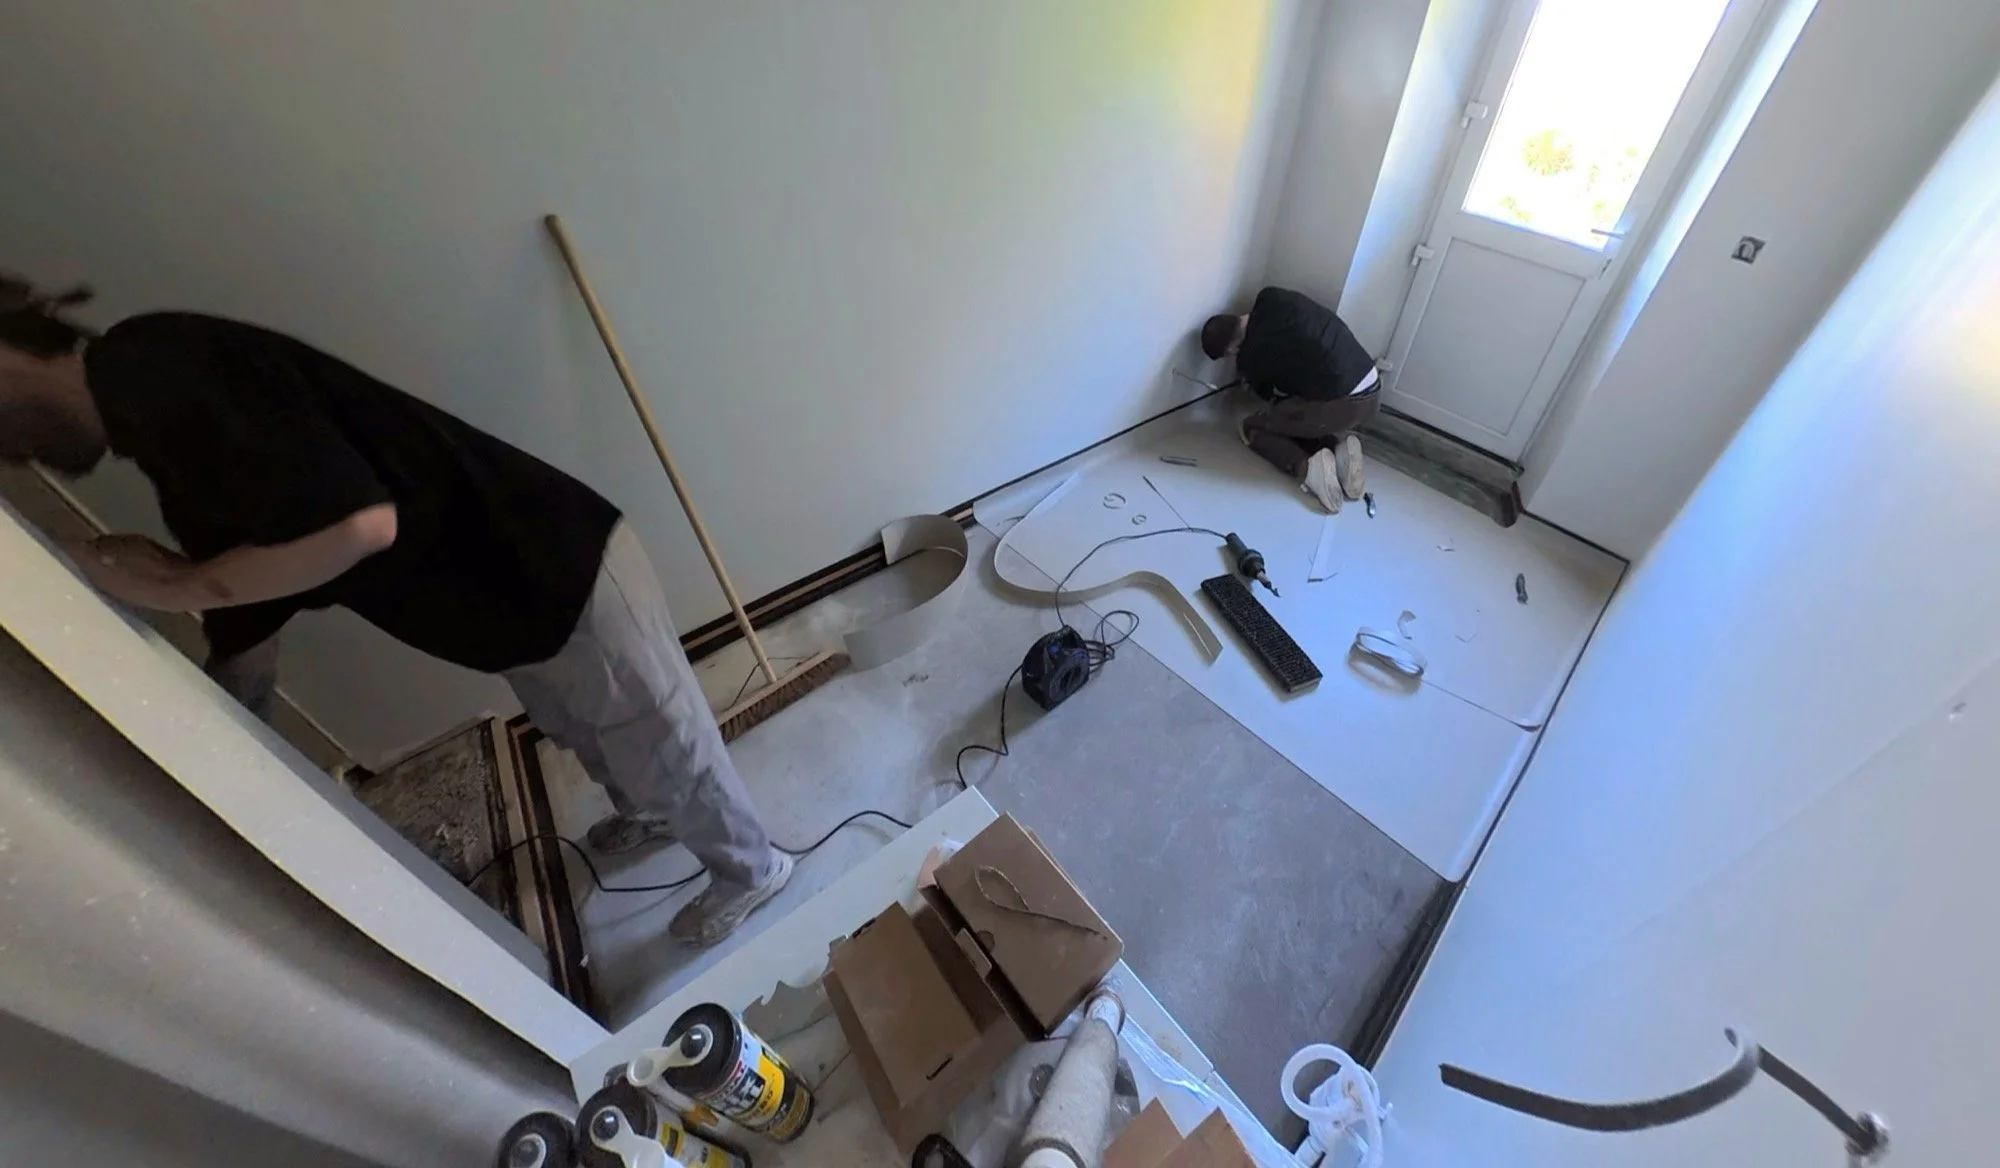
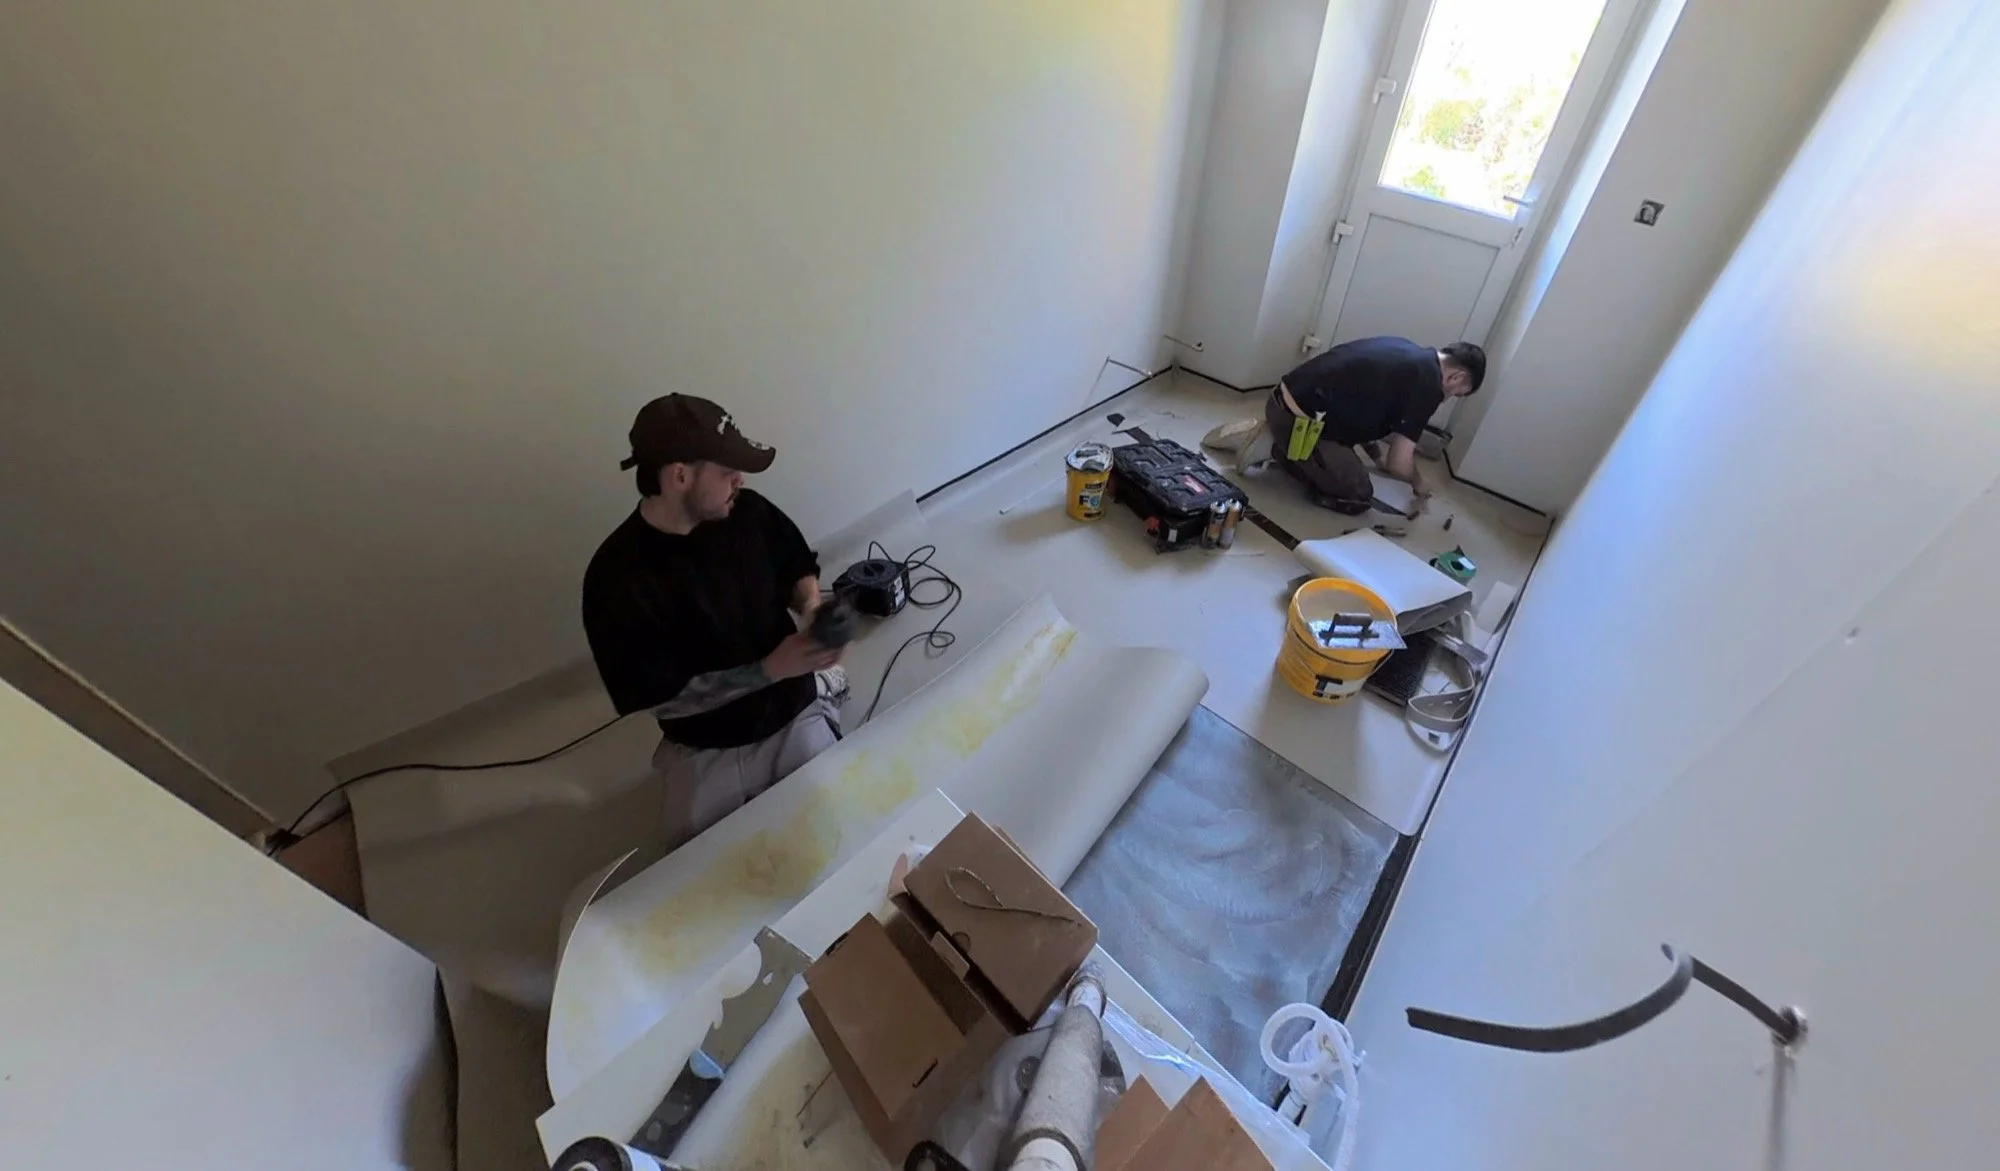
After a quick mop, and not enough time to let it fully dry, here’s what the wet dog room looks like now (with a close up of the pattern):
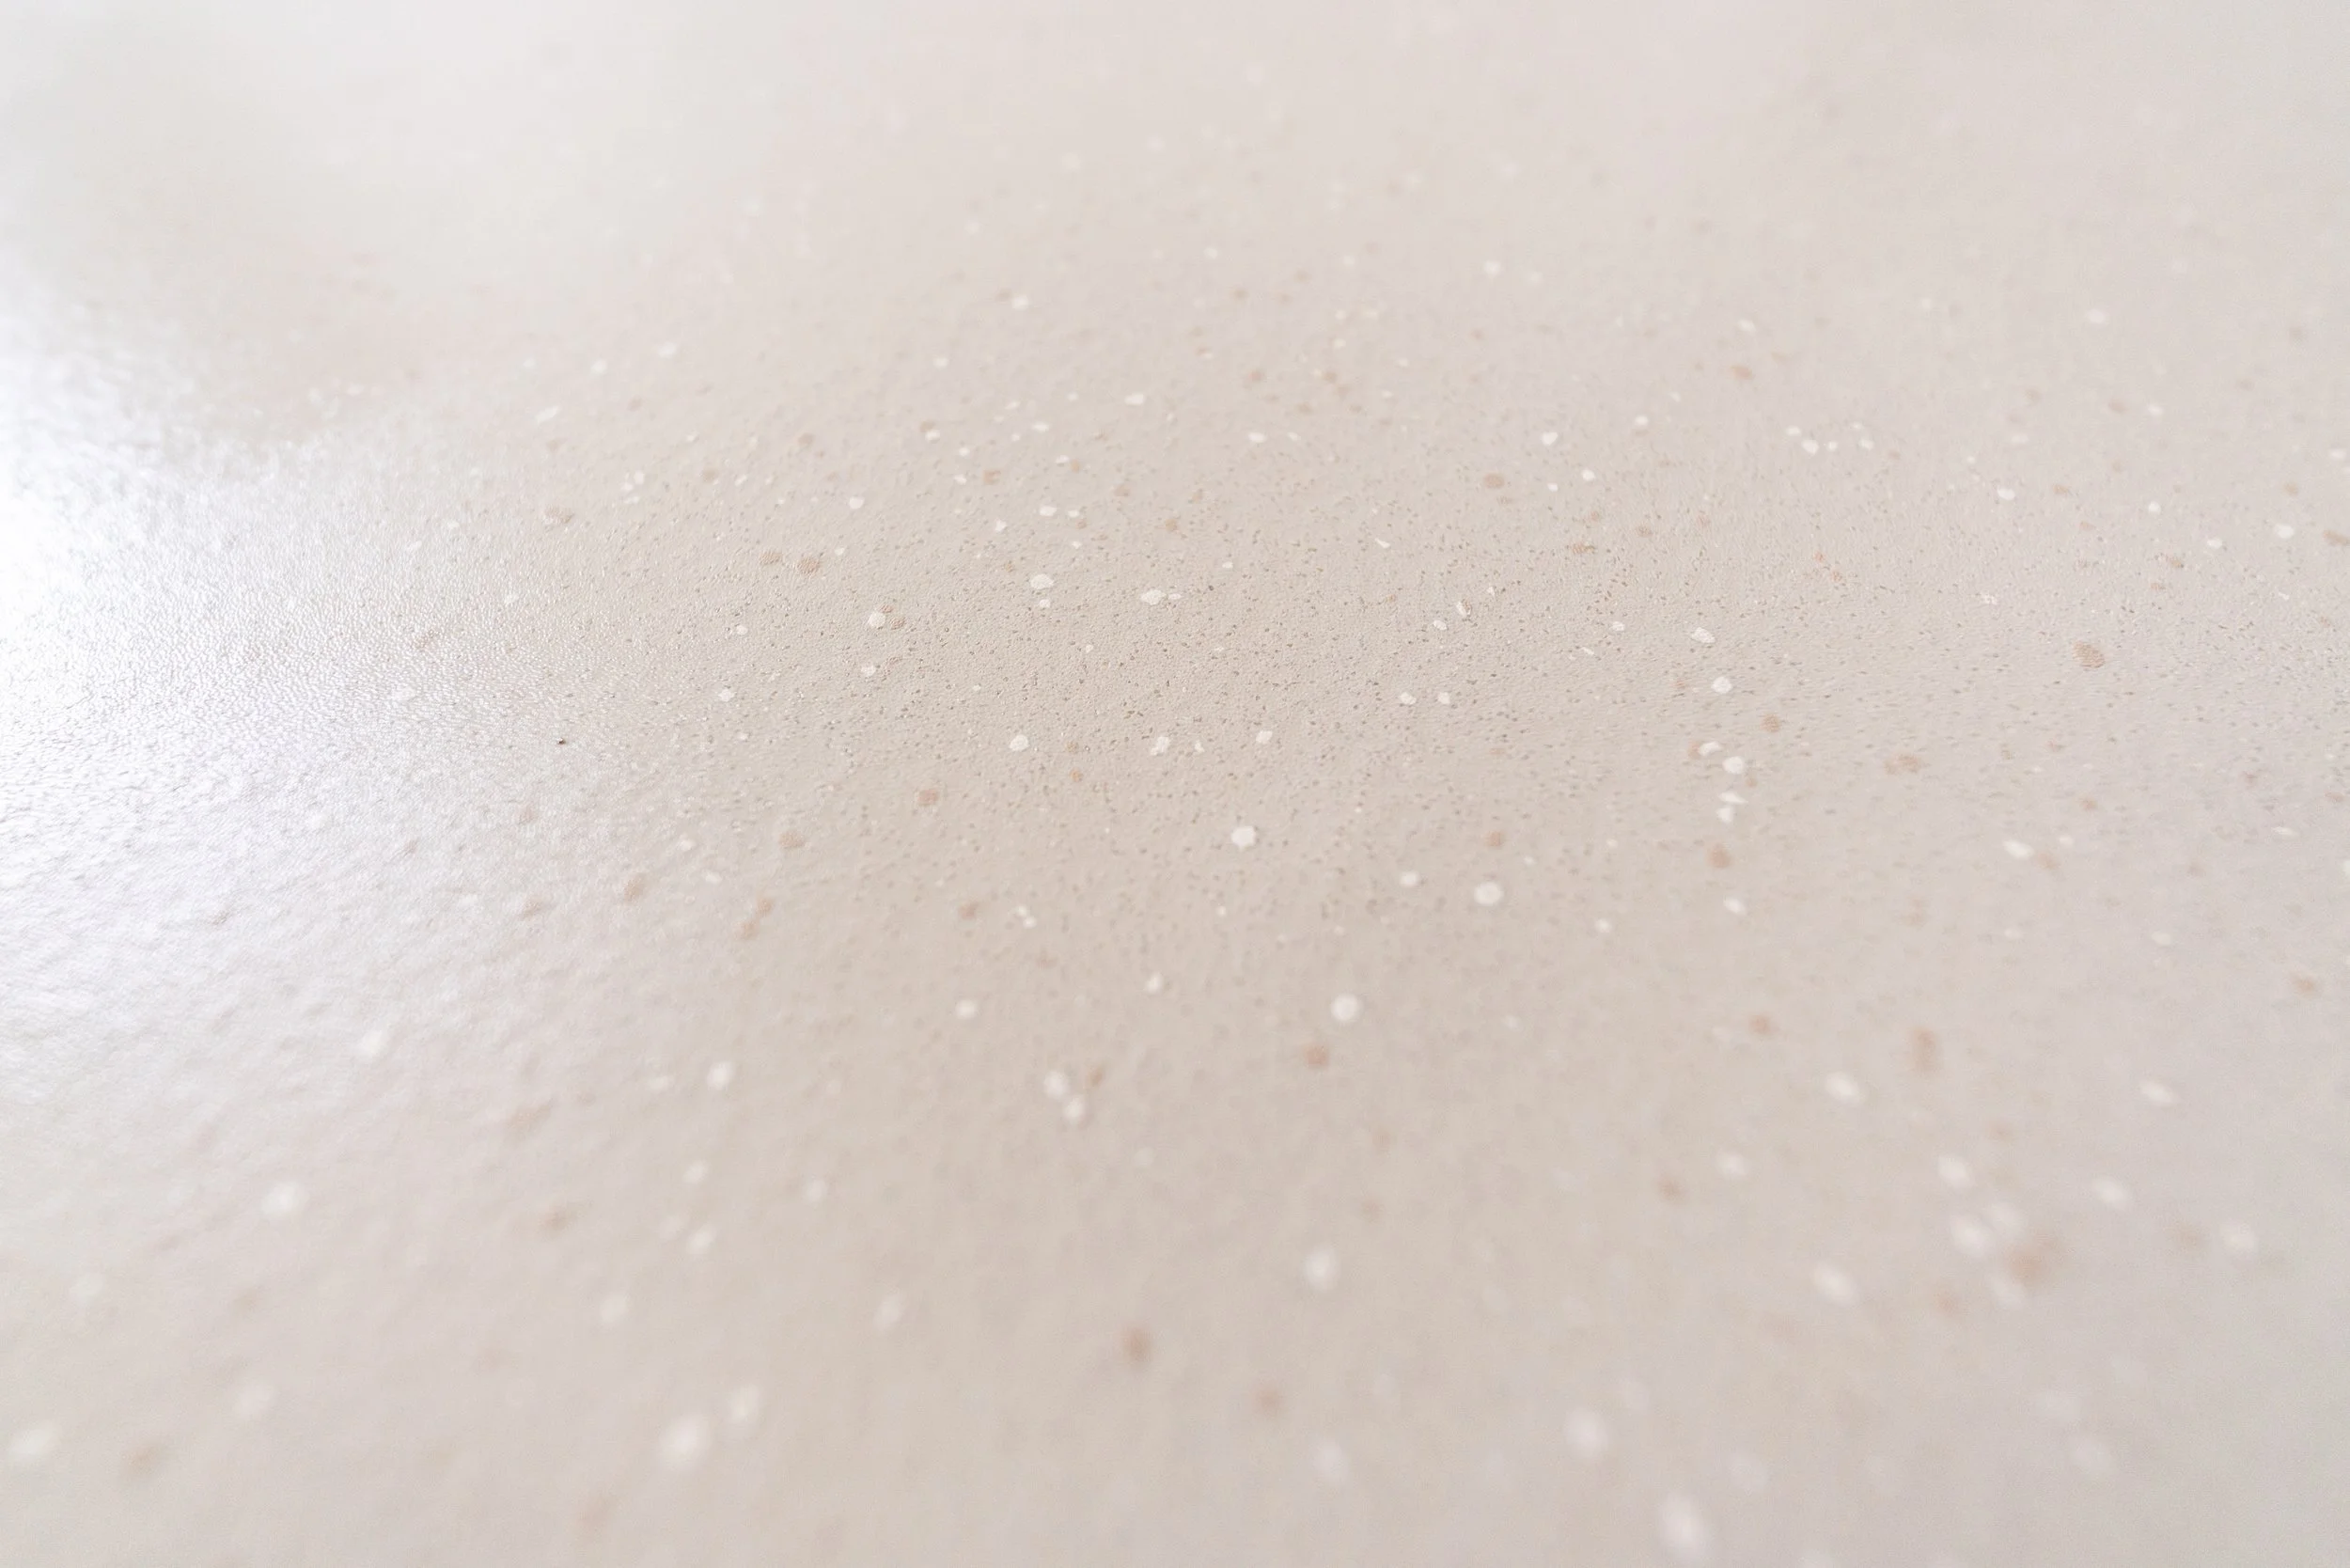
Next, we need to go briefly to…
The Downstairs Bathroom
Dan wanted to get a head start on the vanity prep. We need this to last a few years, but the veneer is shot and peeling off. Dan first properly installed the toilet again downstairs before taking apart the vanity.
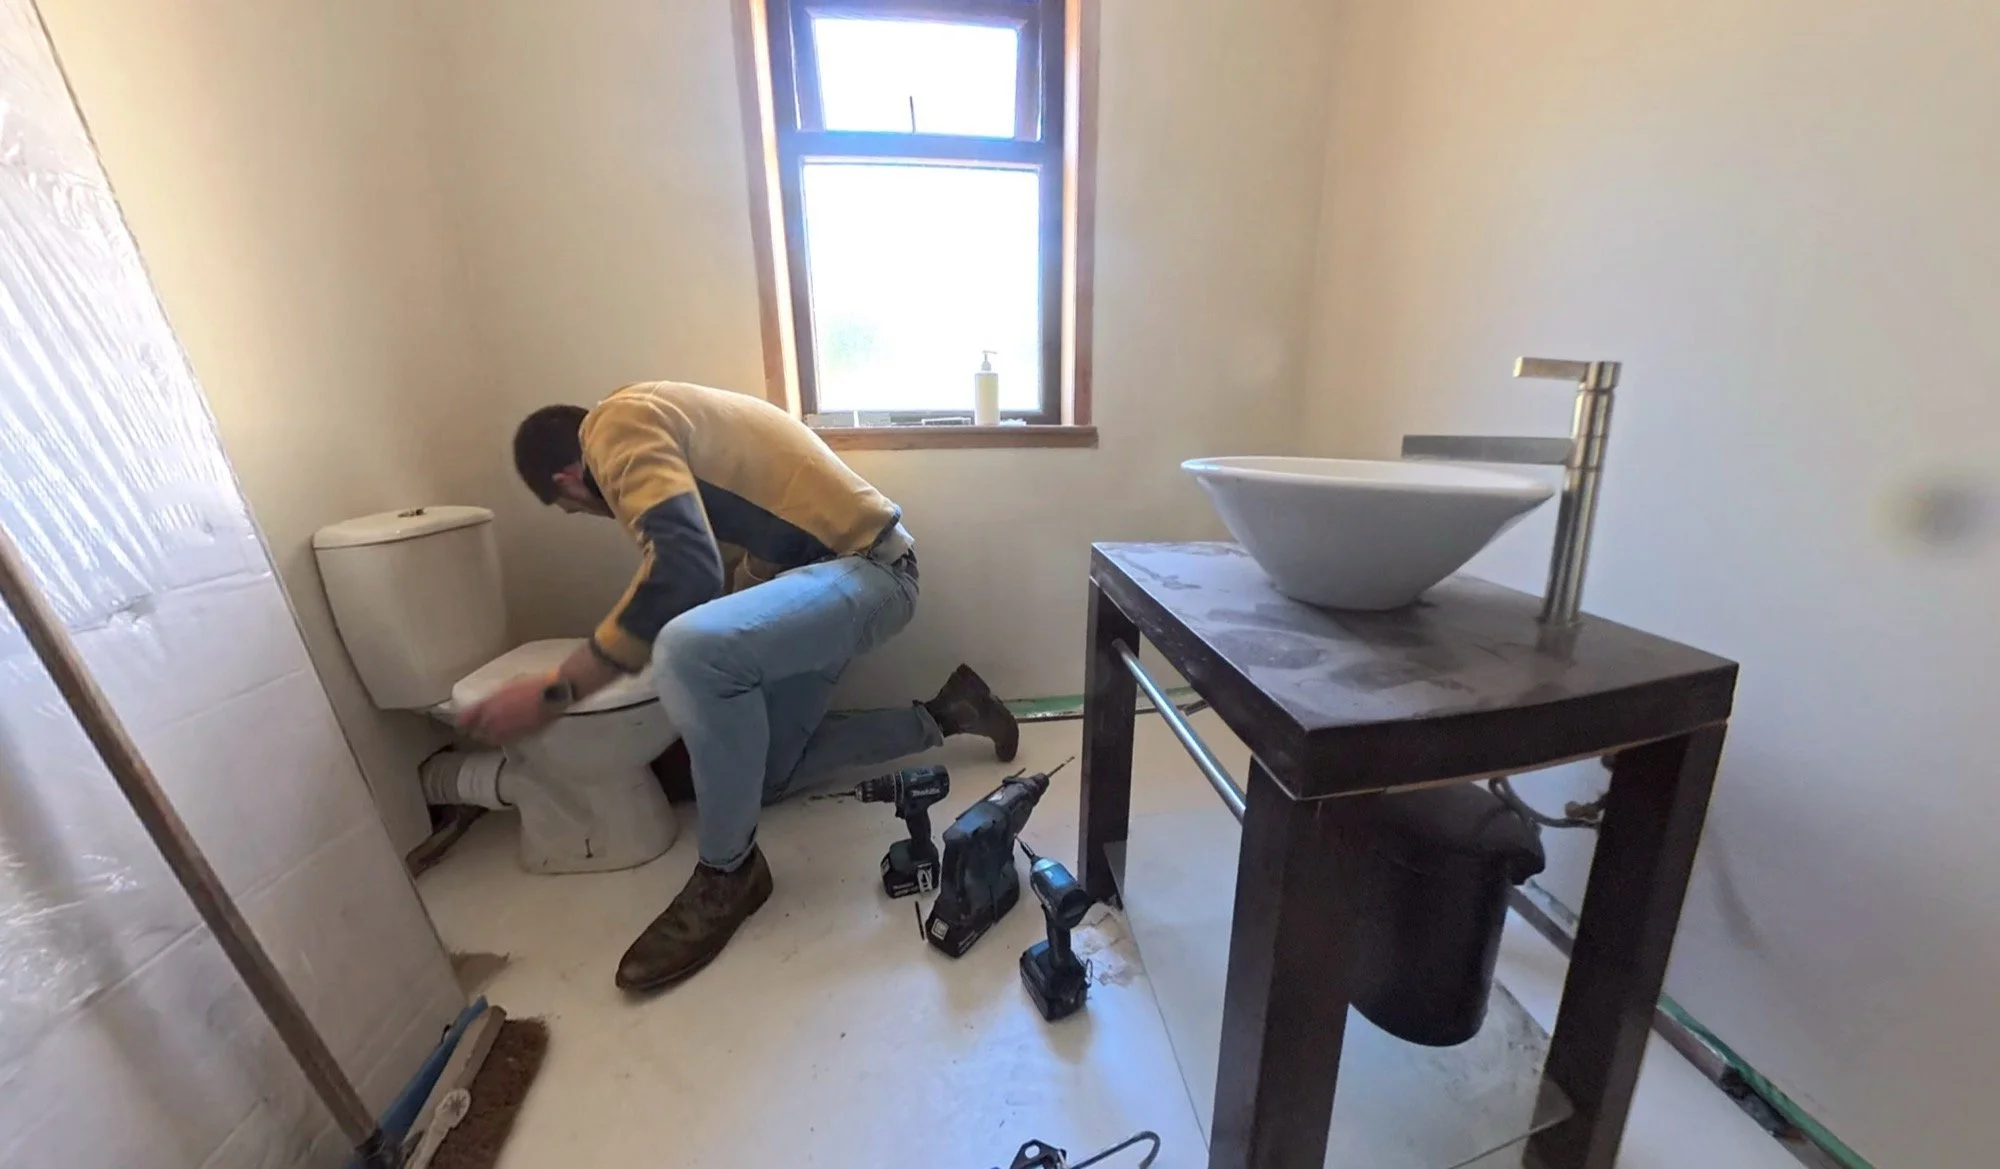
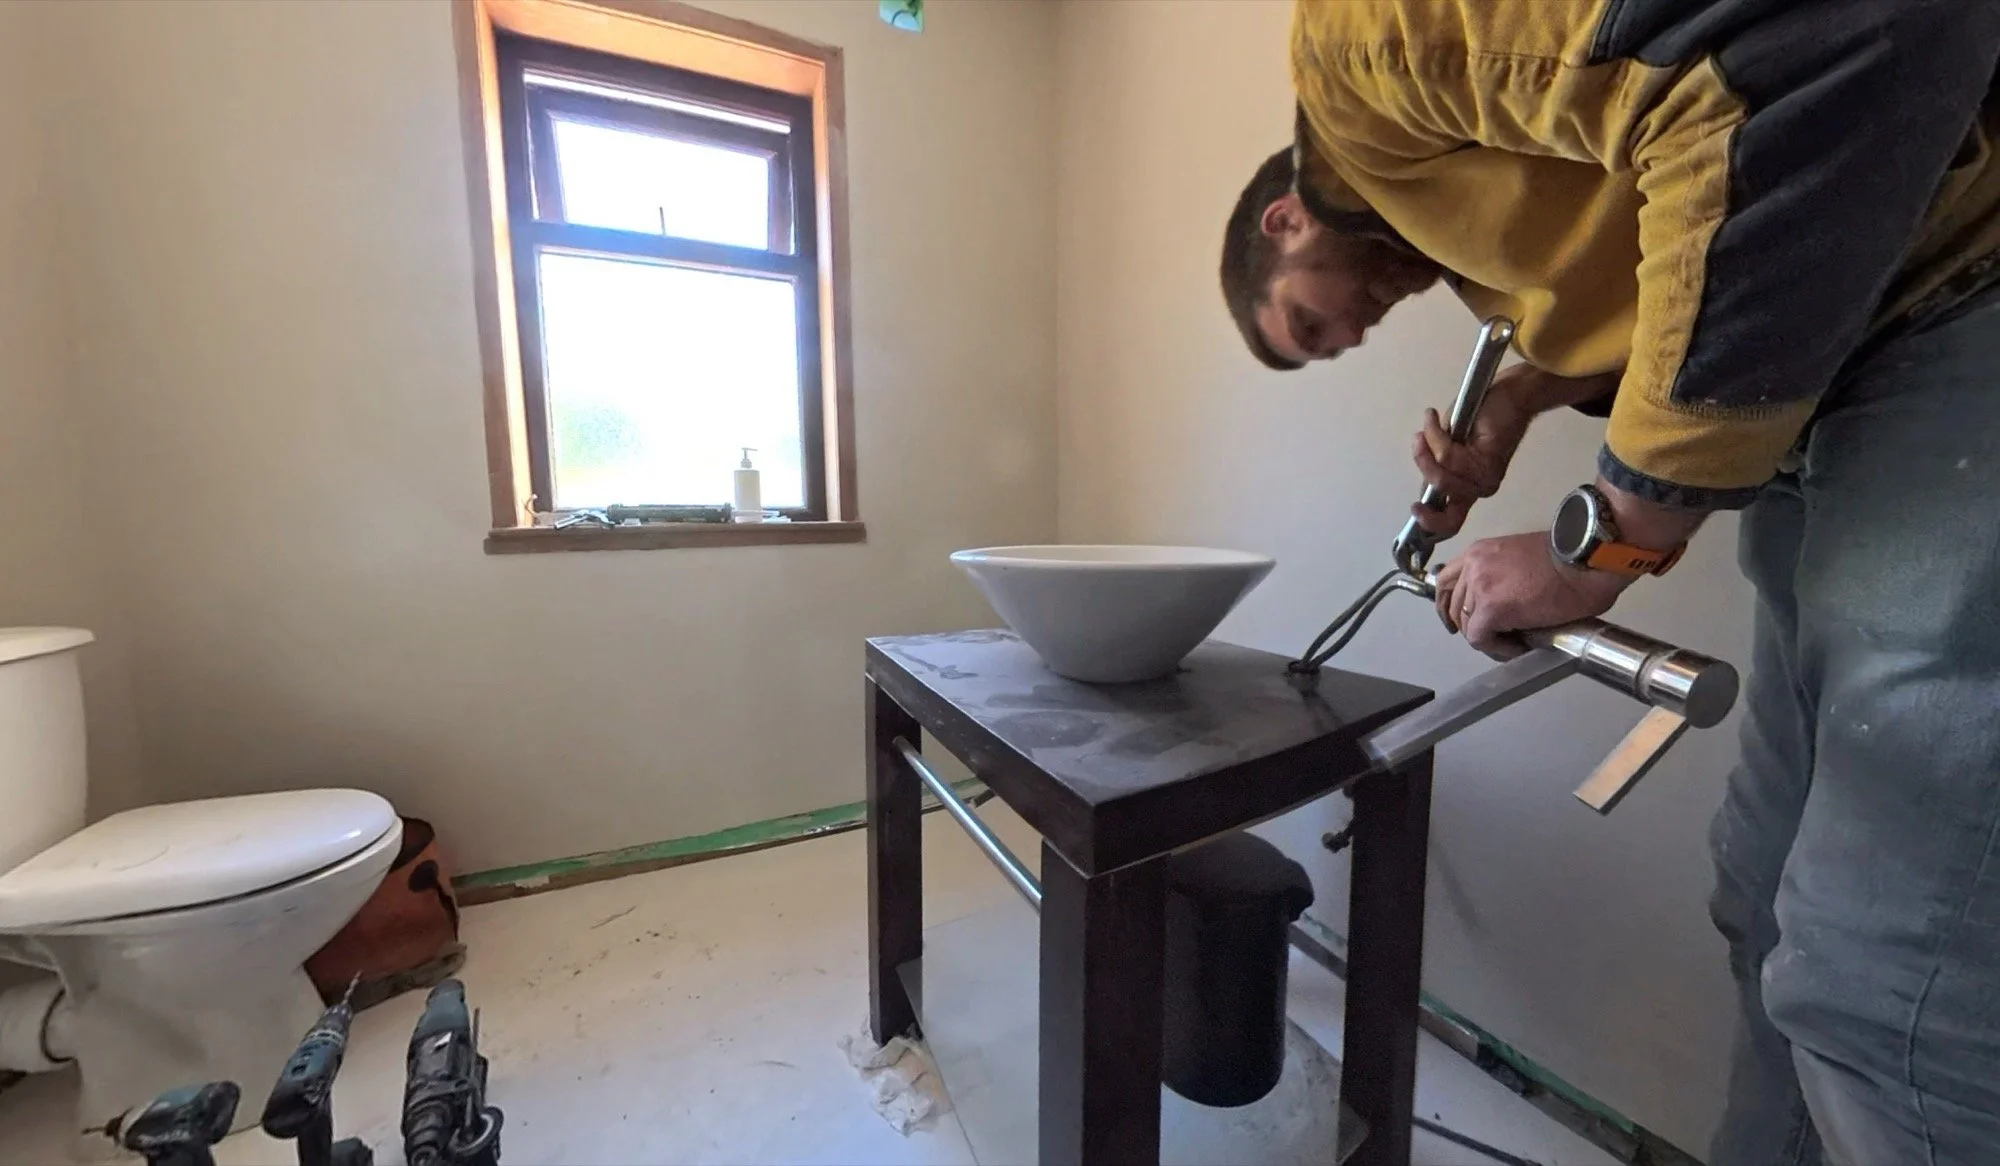
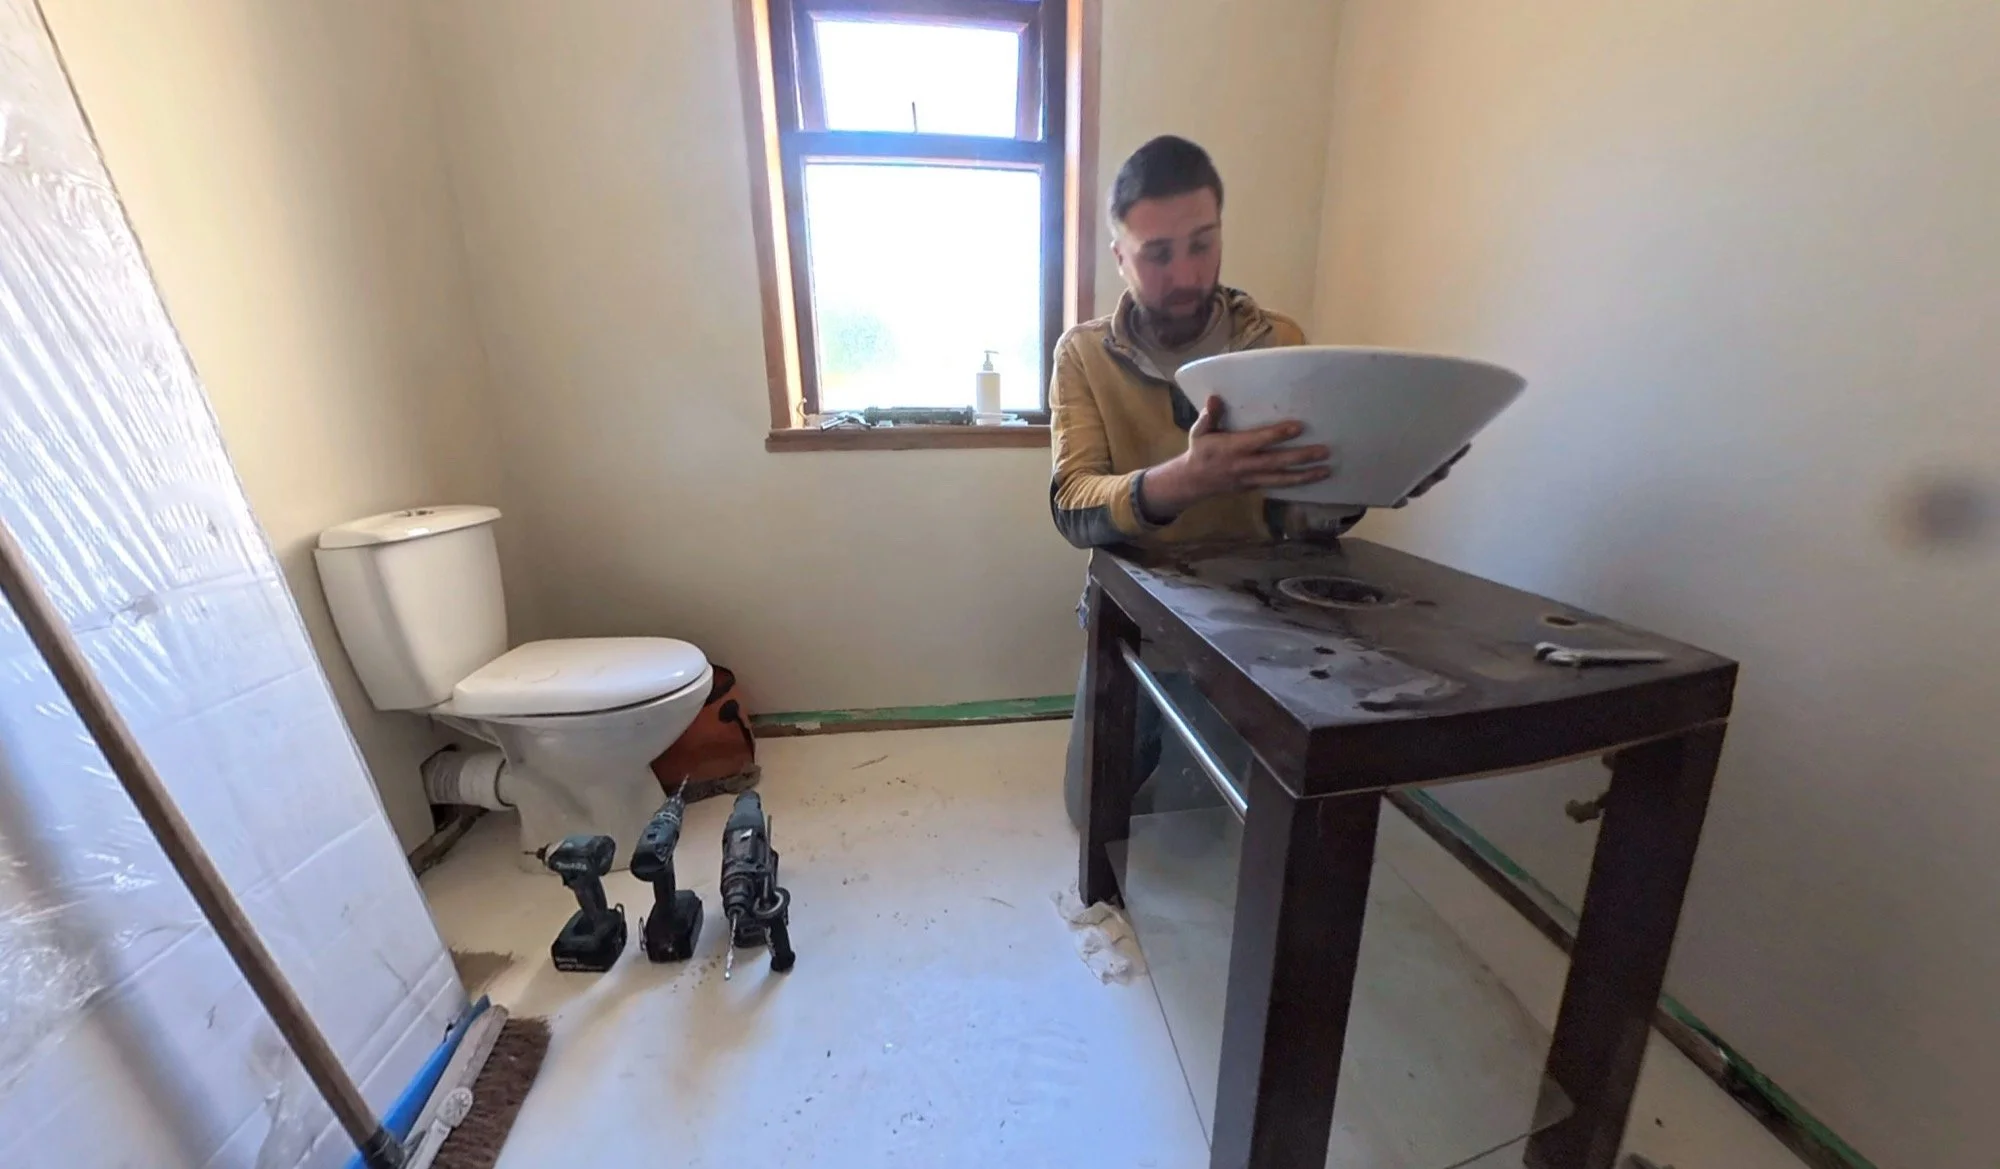
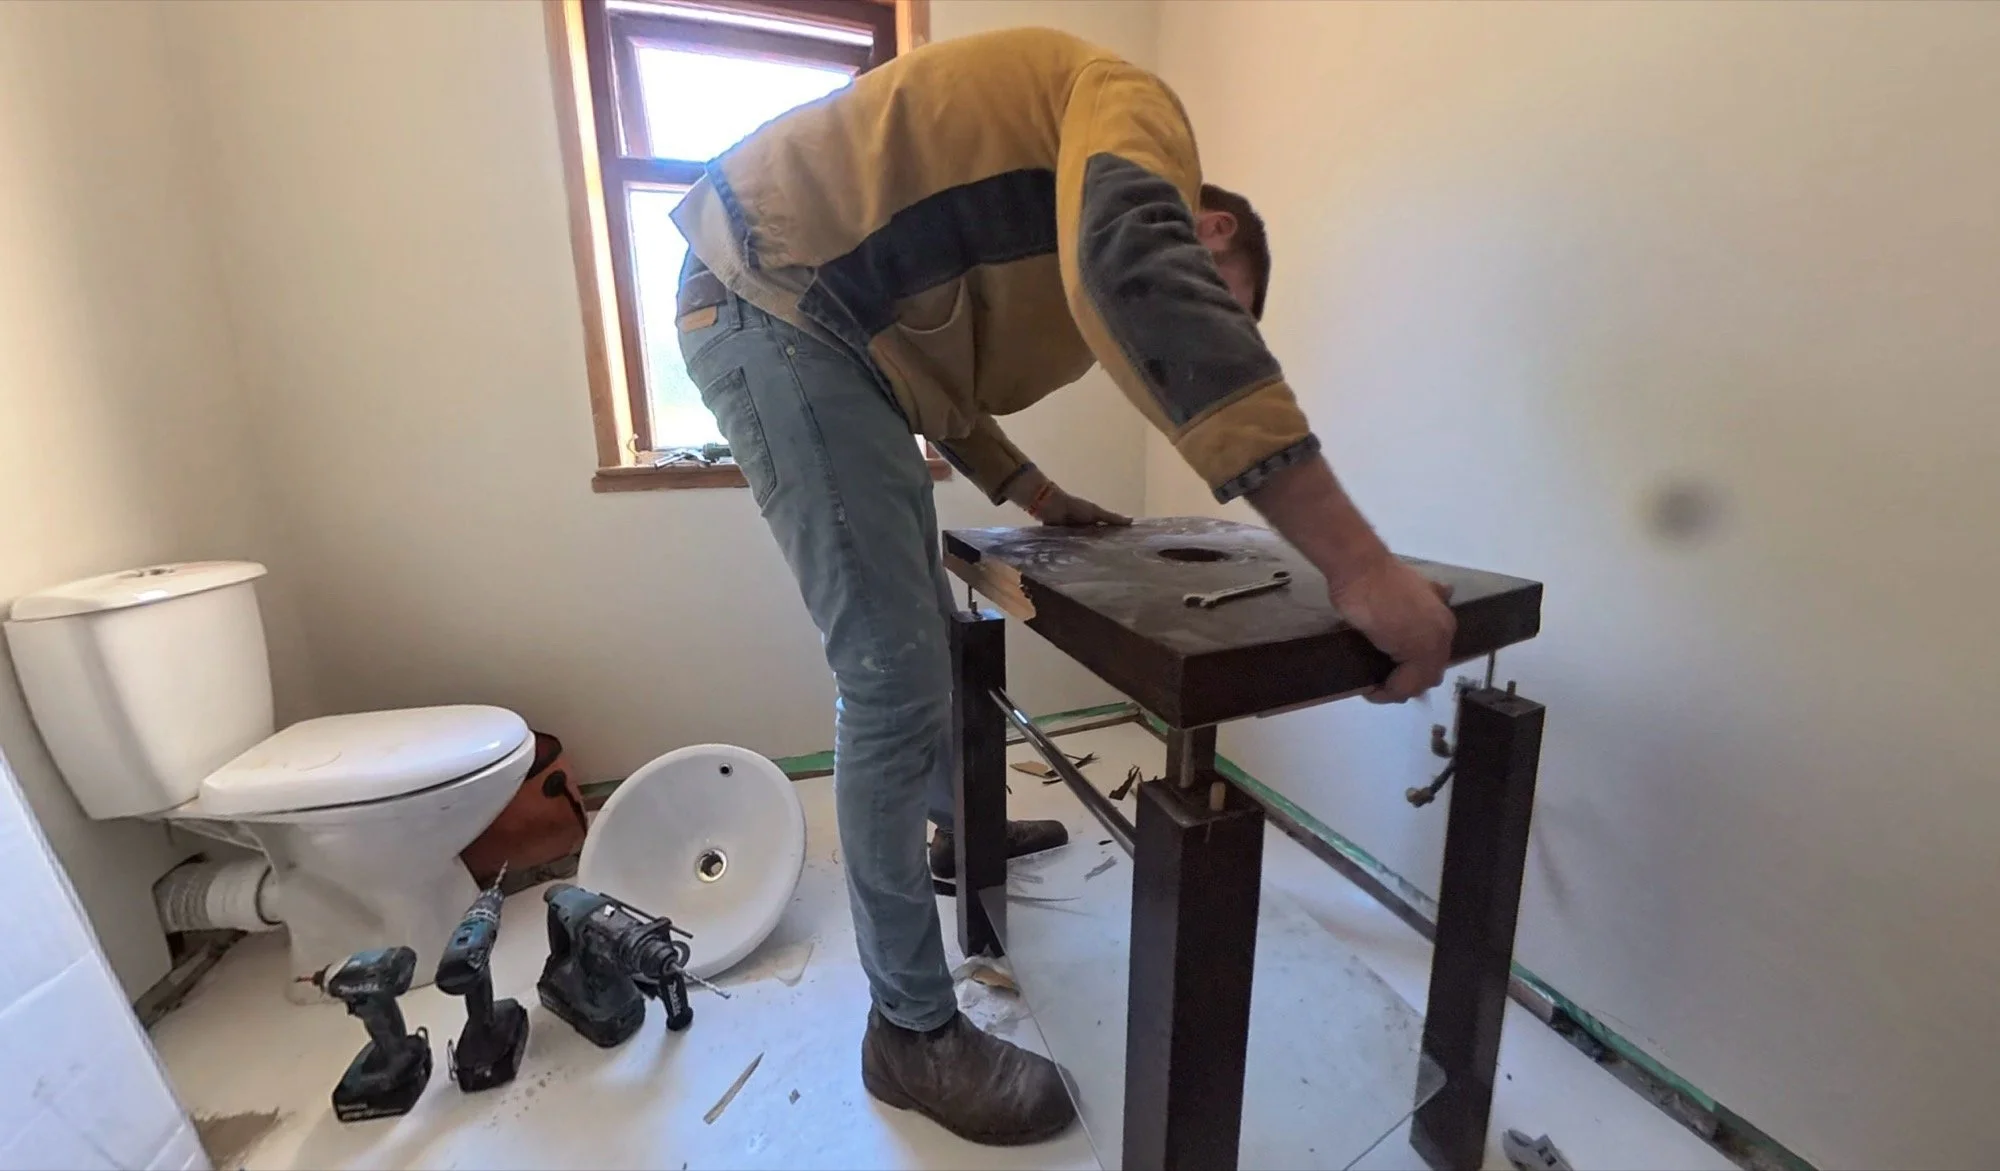
Then, he did everything else with no evidence. He stripped all the veneer off every component before thoroughly sanding and priming the wood. We’re going to paint the vanity (colour TBC) and reinstall it soon.
Finally, there’s one more stop on the update train this time…
Velia & Foal Prep
She’s doing really well! No negative signs, tests back all ok, Connie & Tuna are both also fine, so generally we’re all good there. Velia hit 300 days in Week 4, and that means the final countdown clock has officially begun. Therefore, we began doing the last major bits of foal prep, including the camera mentioned previously,
It went up on a truss but the angle wasn’t working, the 360 camera couldn’t spin fast enough to track Velia, and the maximum height the camera could spin too wasn’t high enough to see V’s bum height when she stood next to one wall. Dan and I moved it over to a corner, where the view is considerably better. However, we also damaged the ethernet terminal so Kenny has to come back out to re-fit it on Monday - oops.
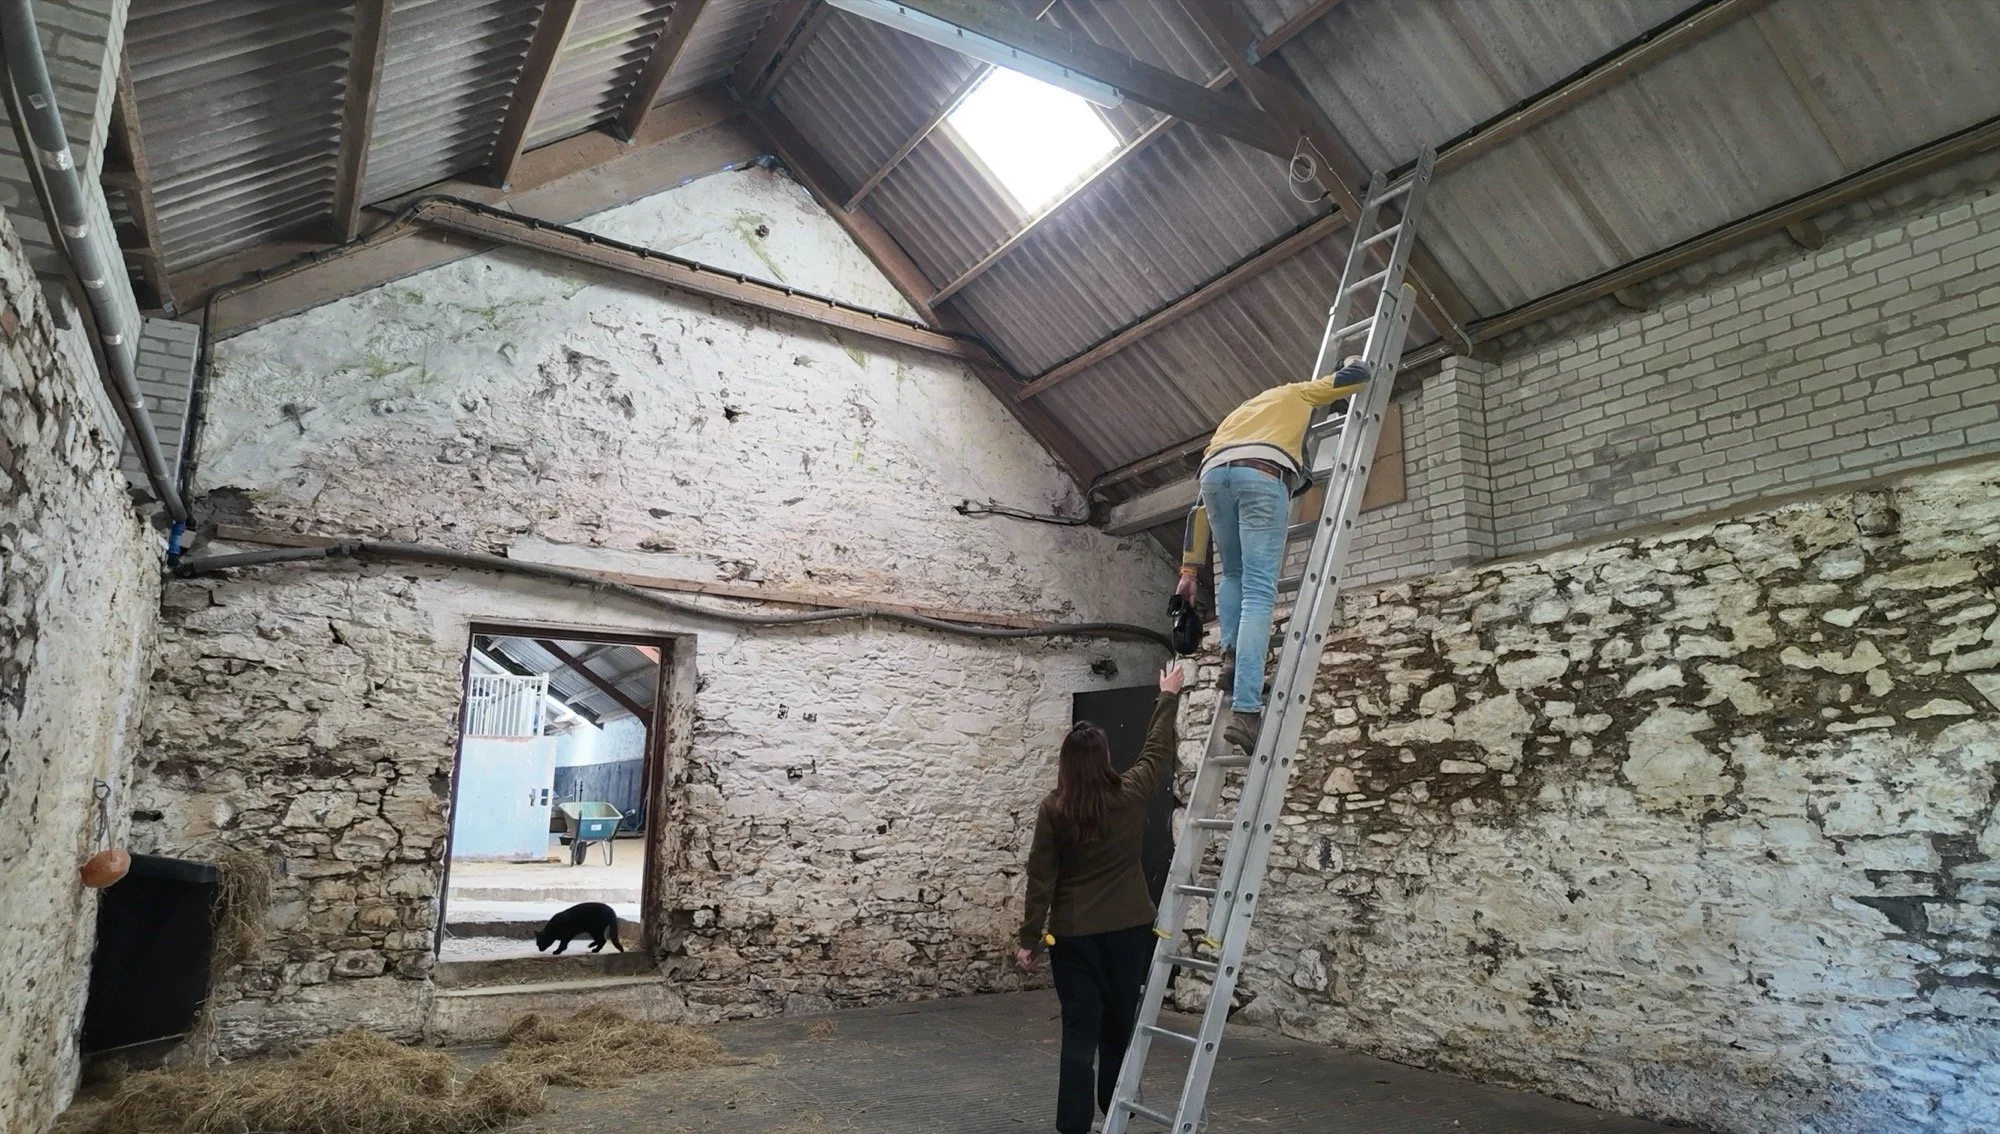
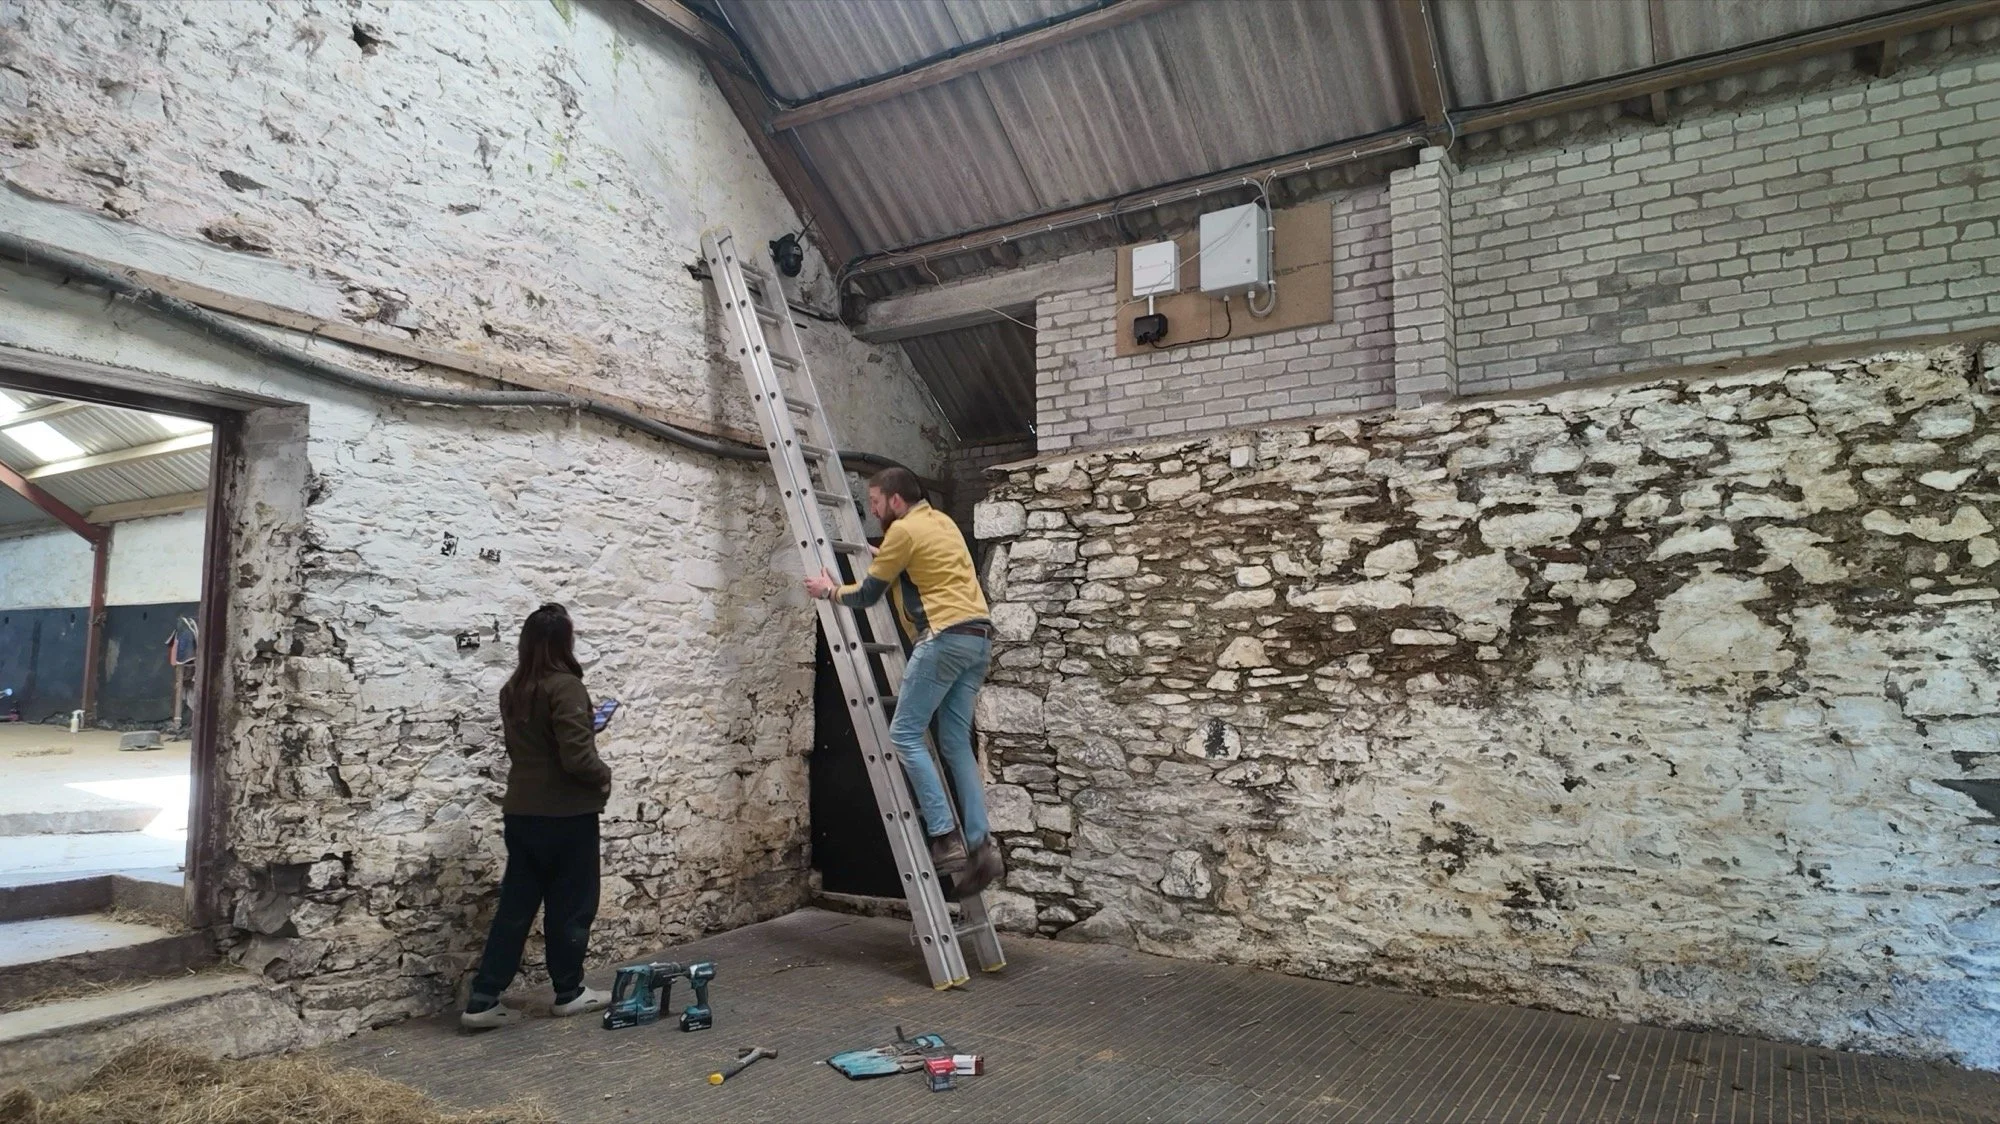
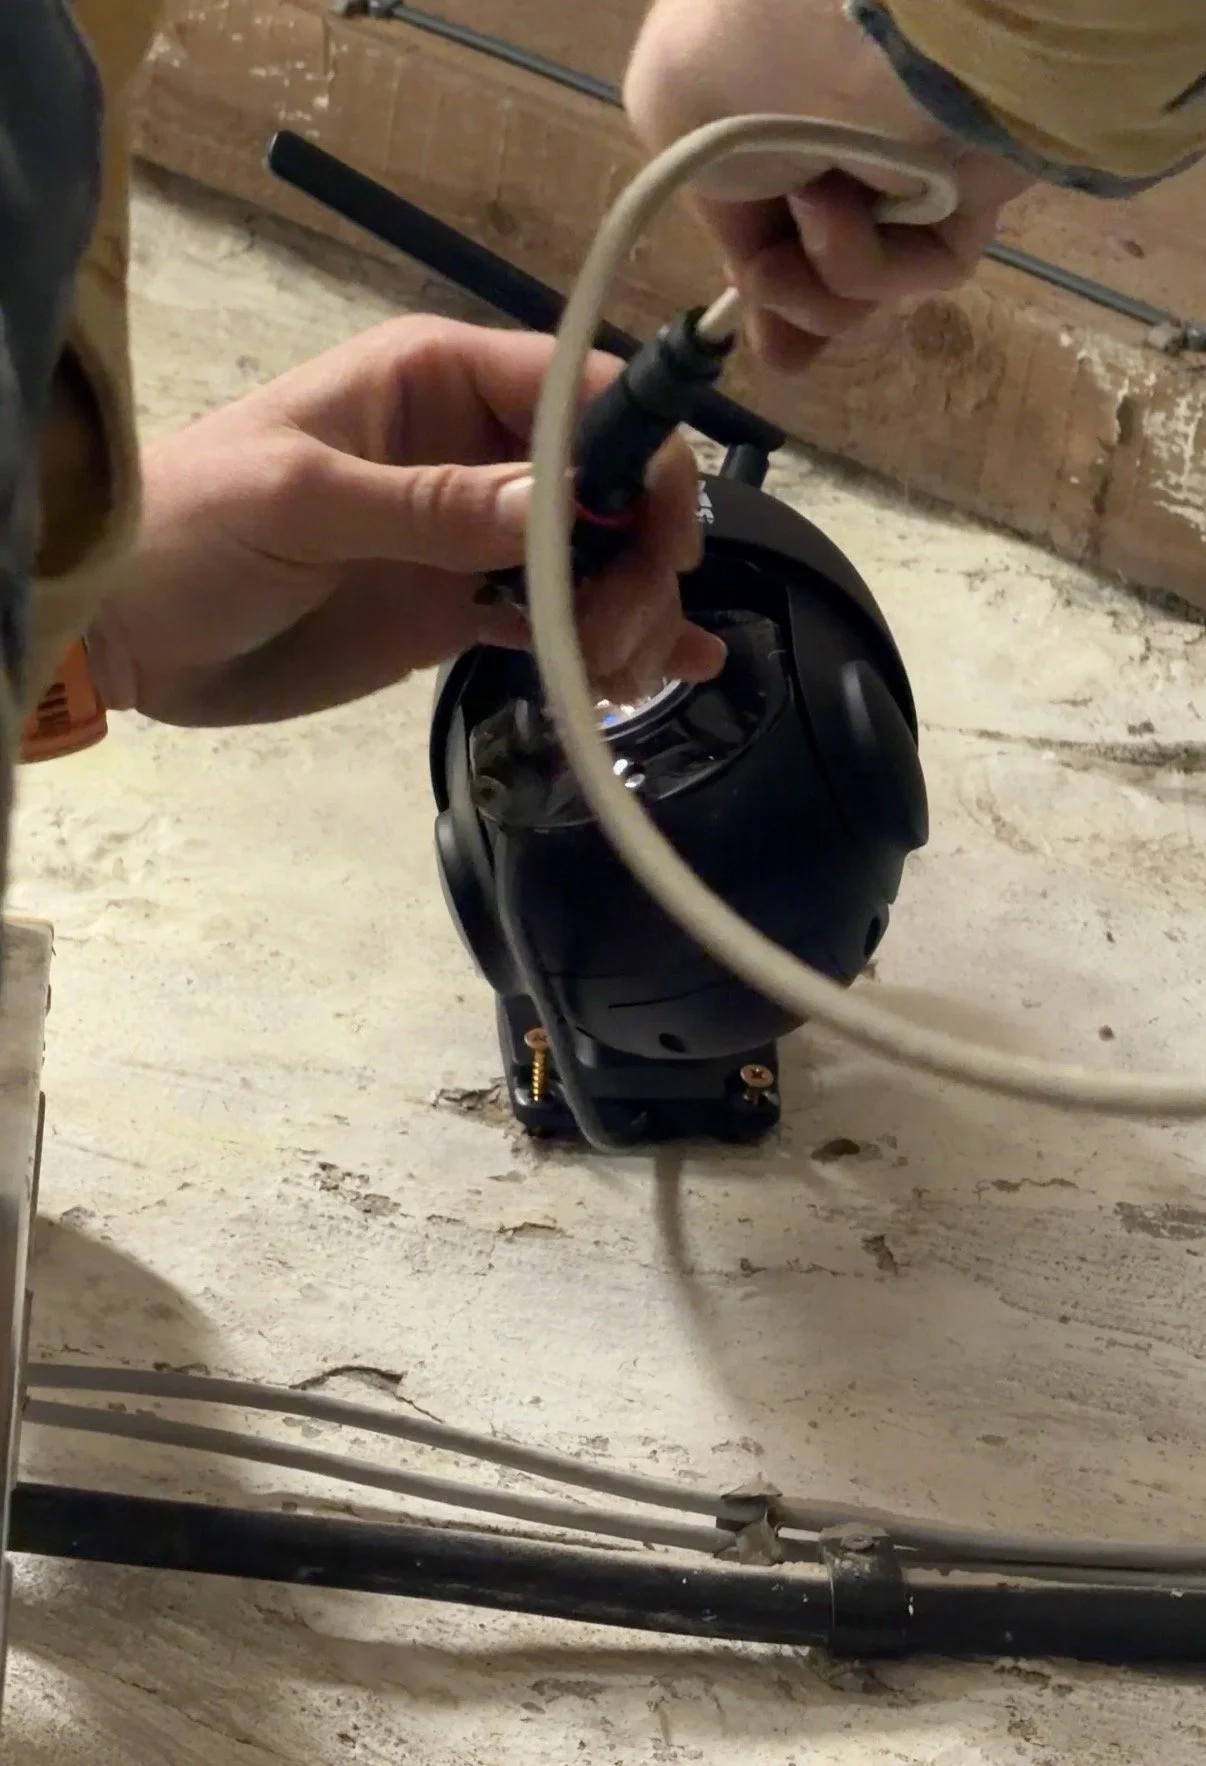
I also asked Ryan to drop a bale of straw round. Velia is 305 days and the universal safe date is 320+, this is the gestation milestone that means lungs, joints and intestines are formed to a viable standard. For foaling, the entire box will be covered with straw, but I wanted to get her (and Dan!) used to this bedding and comfortable with it ahead of time.
Working with straw isn’t my favourite thing, but making big beds is so much fun. We decided to leave a layer of pellets underneath to soak up the pee, then top it with a bed and big banks. It stayed neat for about 3 minutes, but Velia slept flat out on it so at least there’s that!
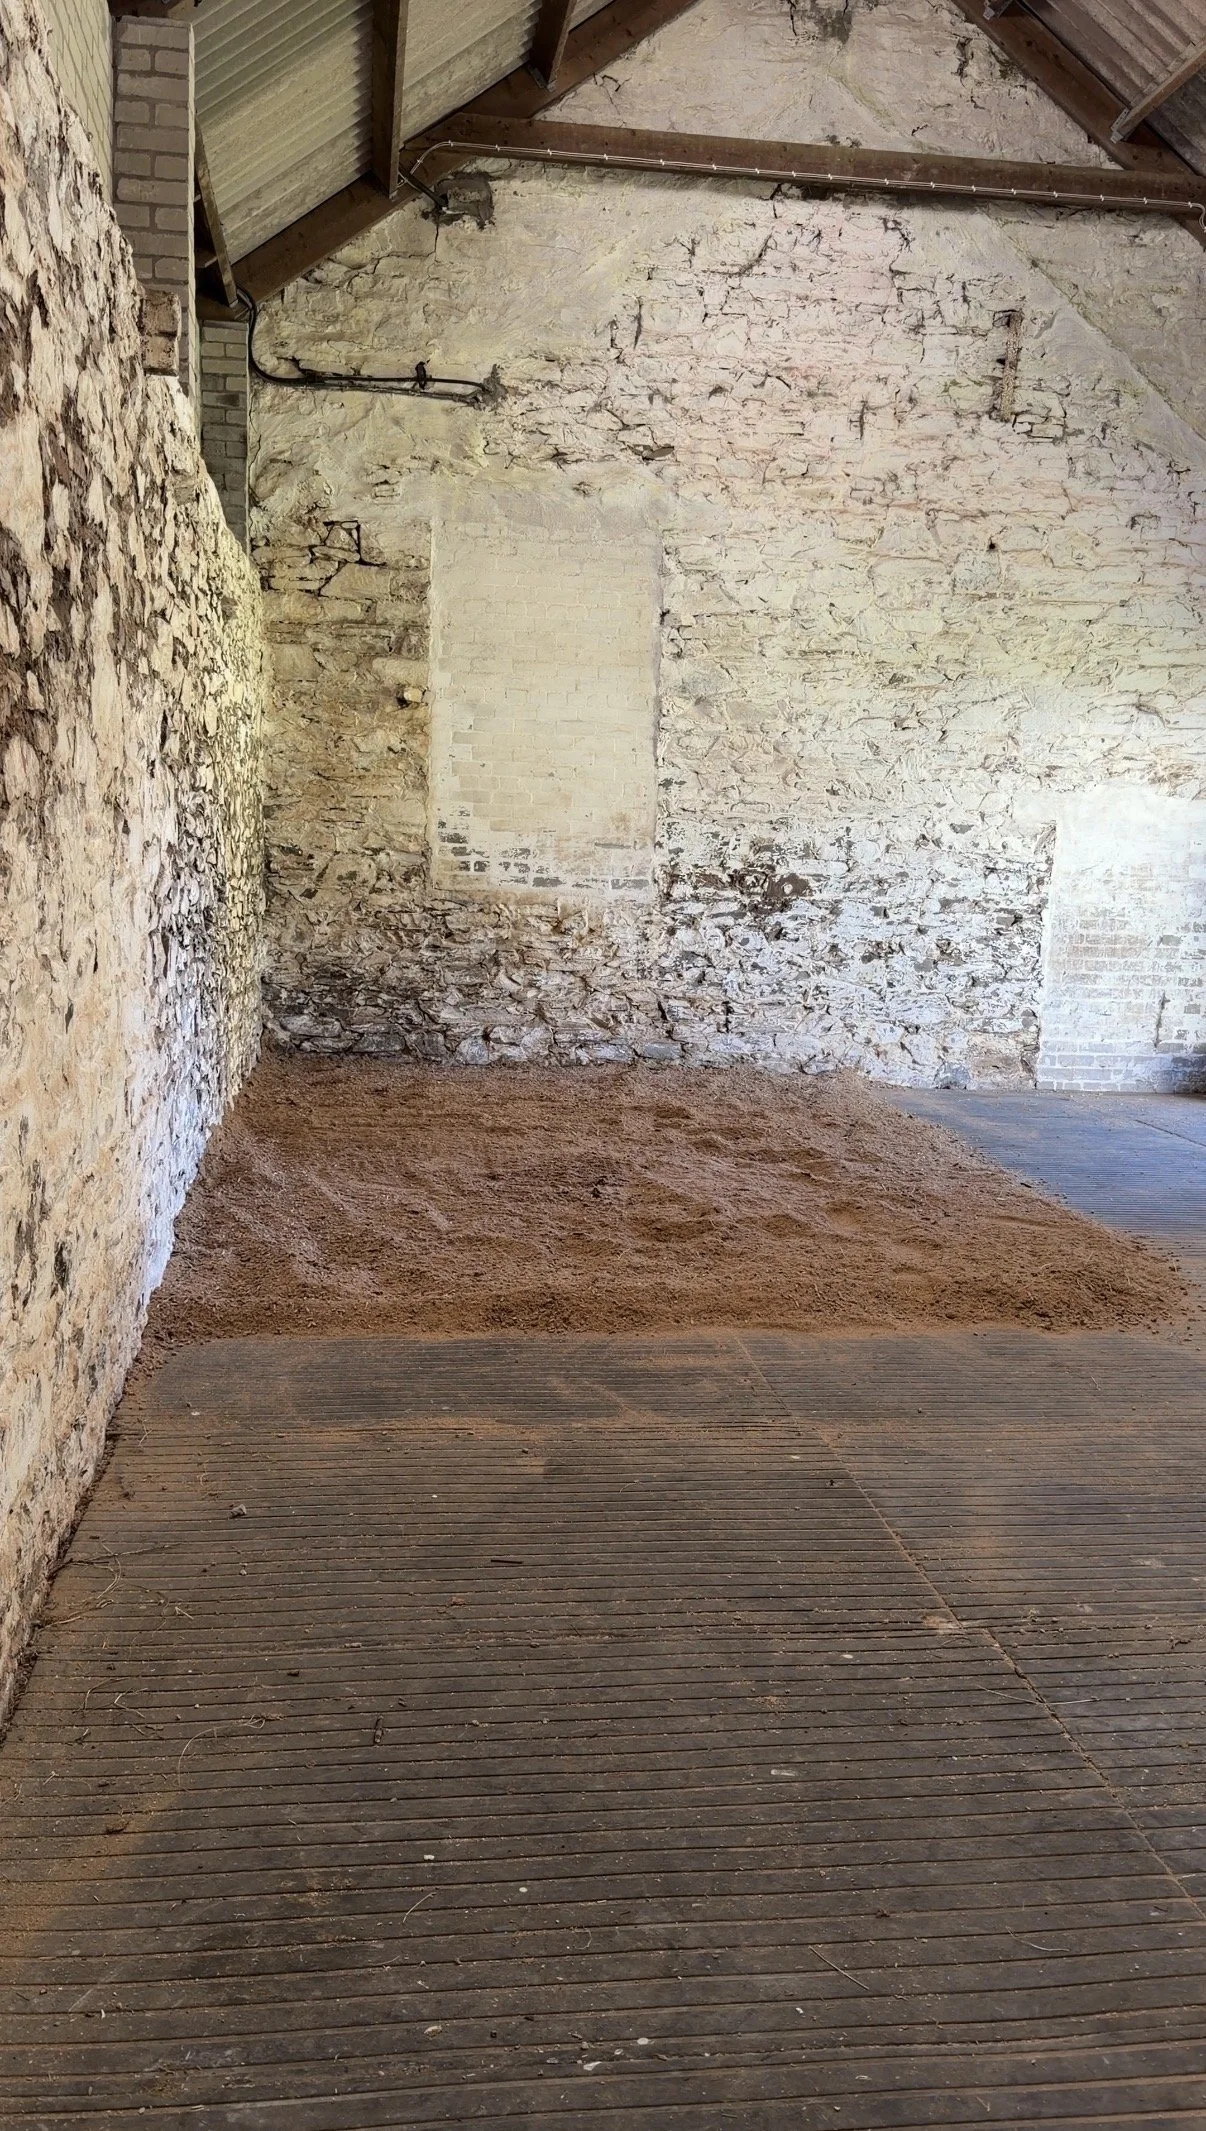
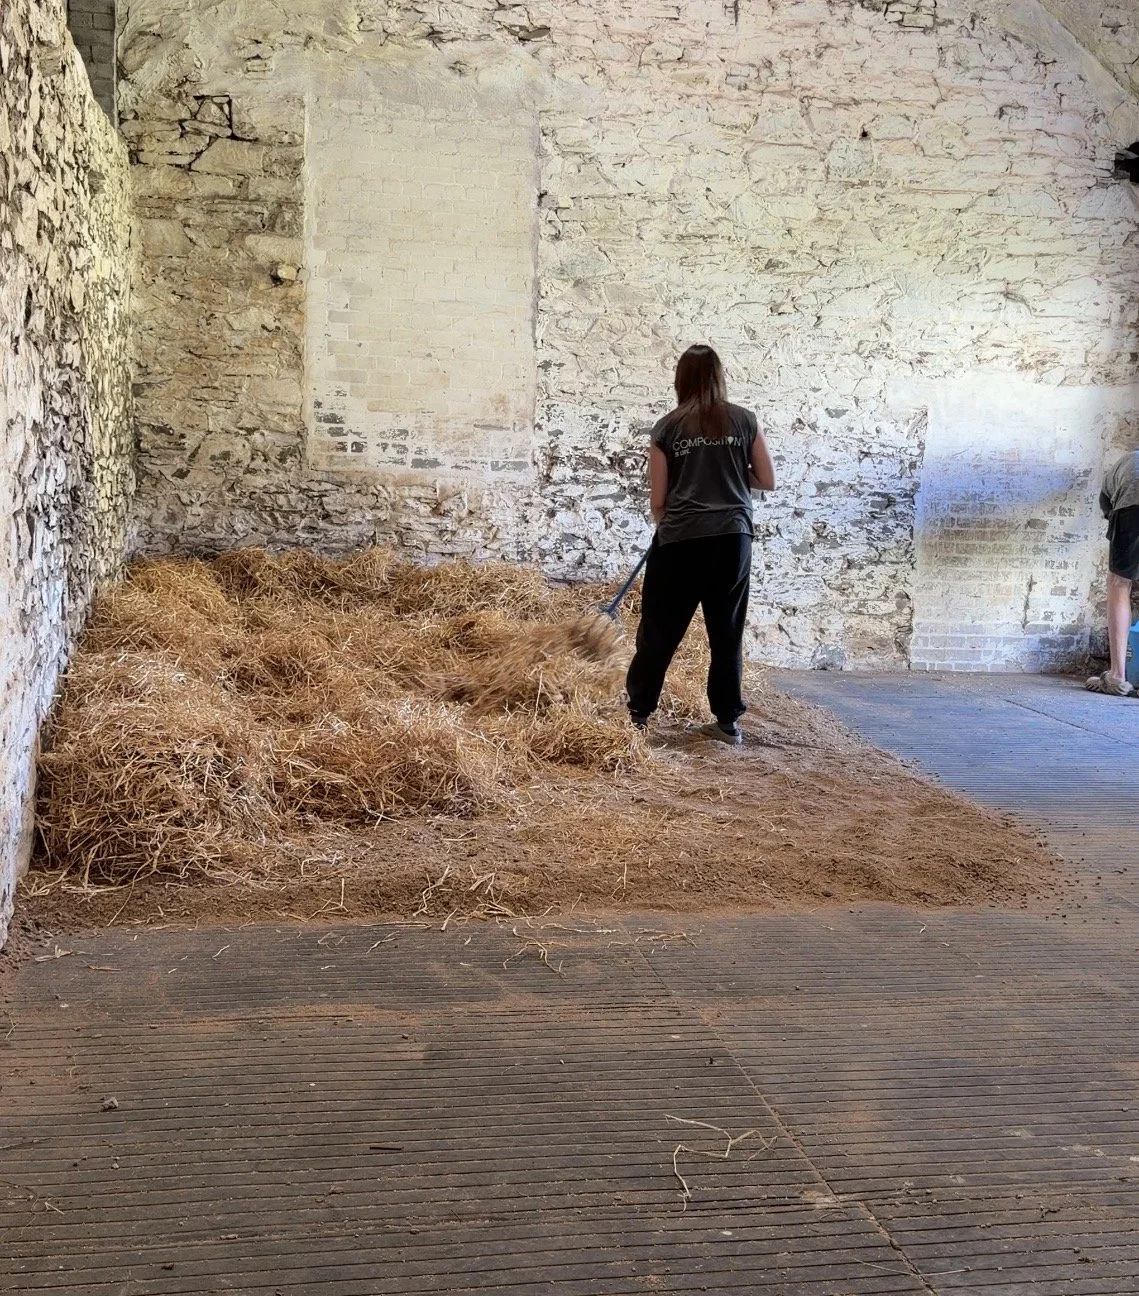
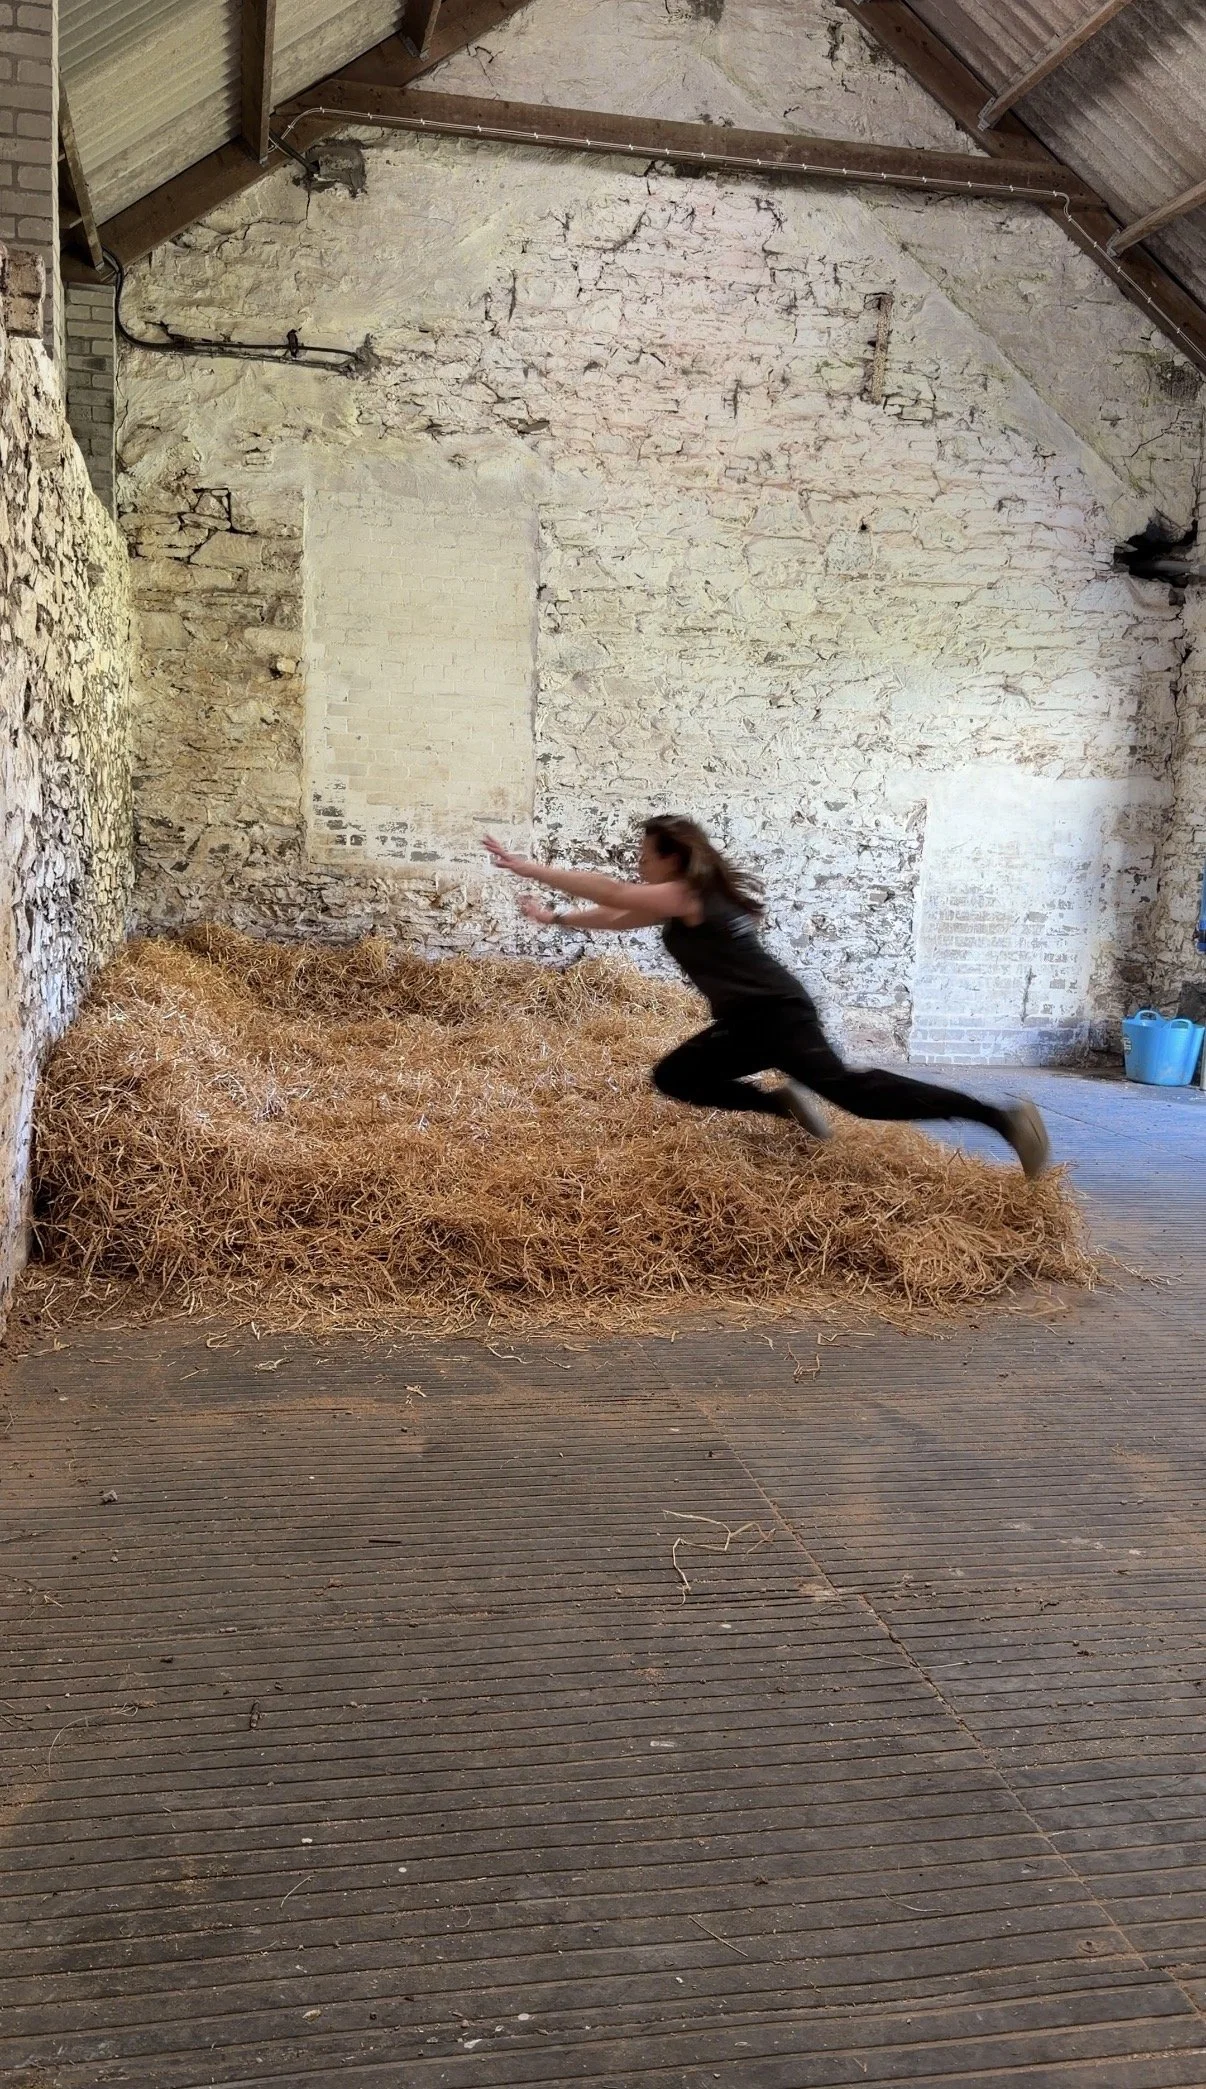
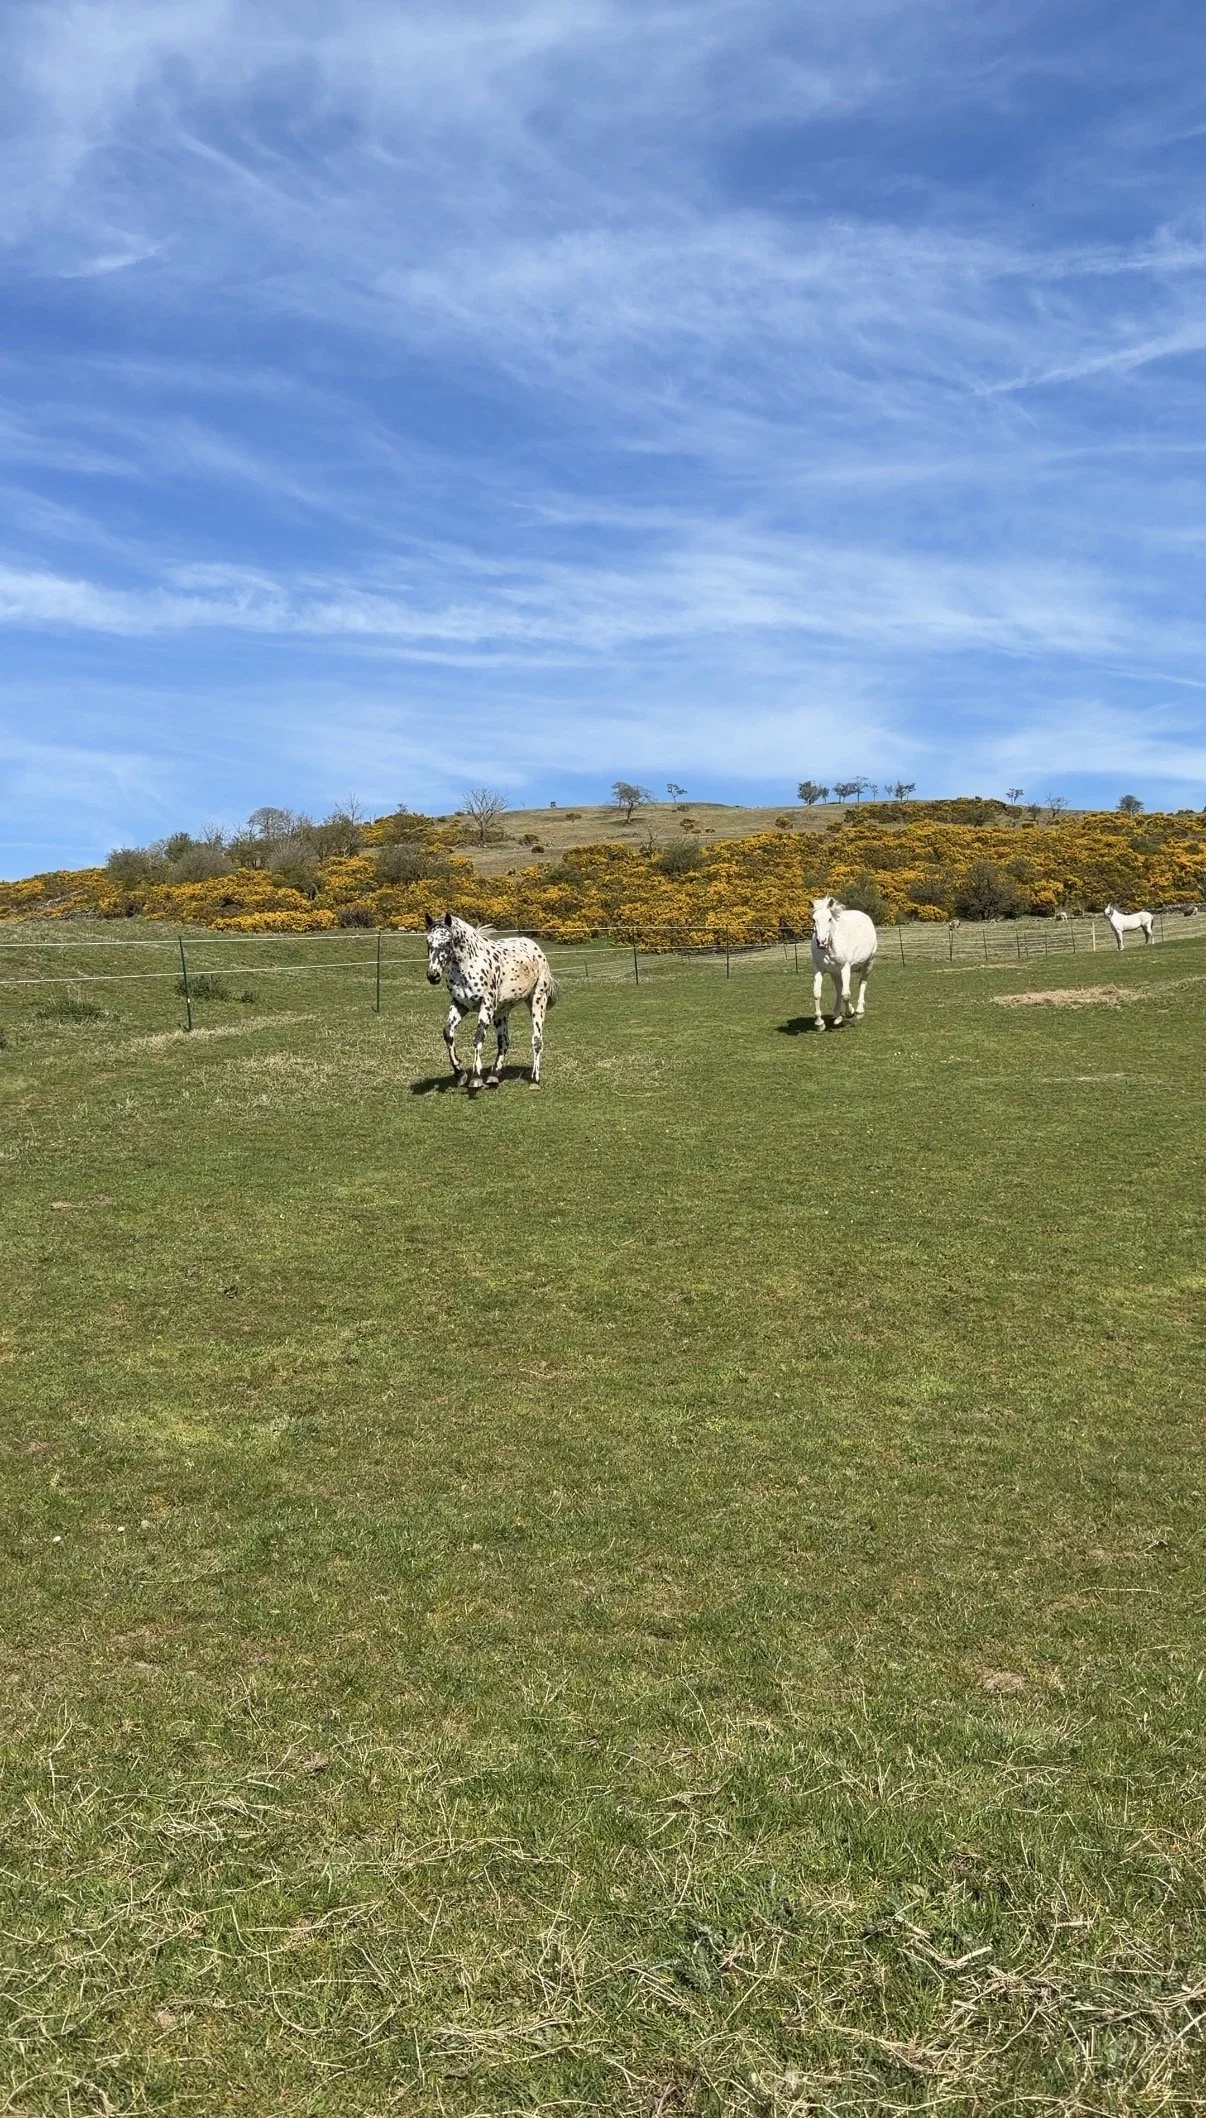
The next thing was to move the girls into their summer field now that the ground has dried up (to concrete). Considering we were still hosing mud off legs last week, the switch is insane. We’d already fenced their summer patch last week, but the move was delayed with more rain. This week was the move, and that also meant that I could pull out the winter fencing and re-purpose it for a gigantic nursery paddock:
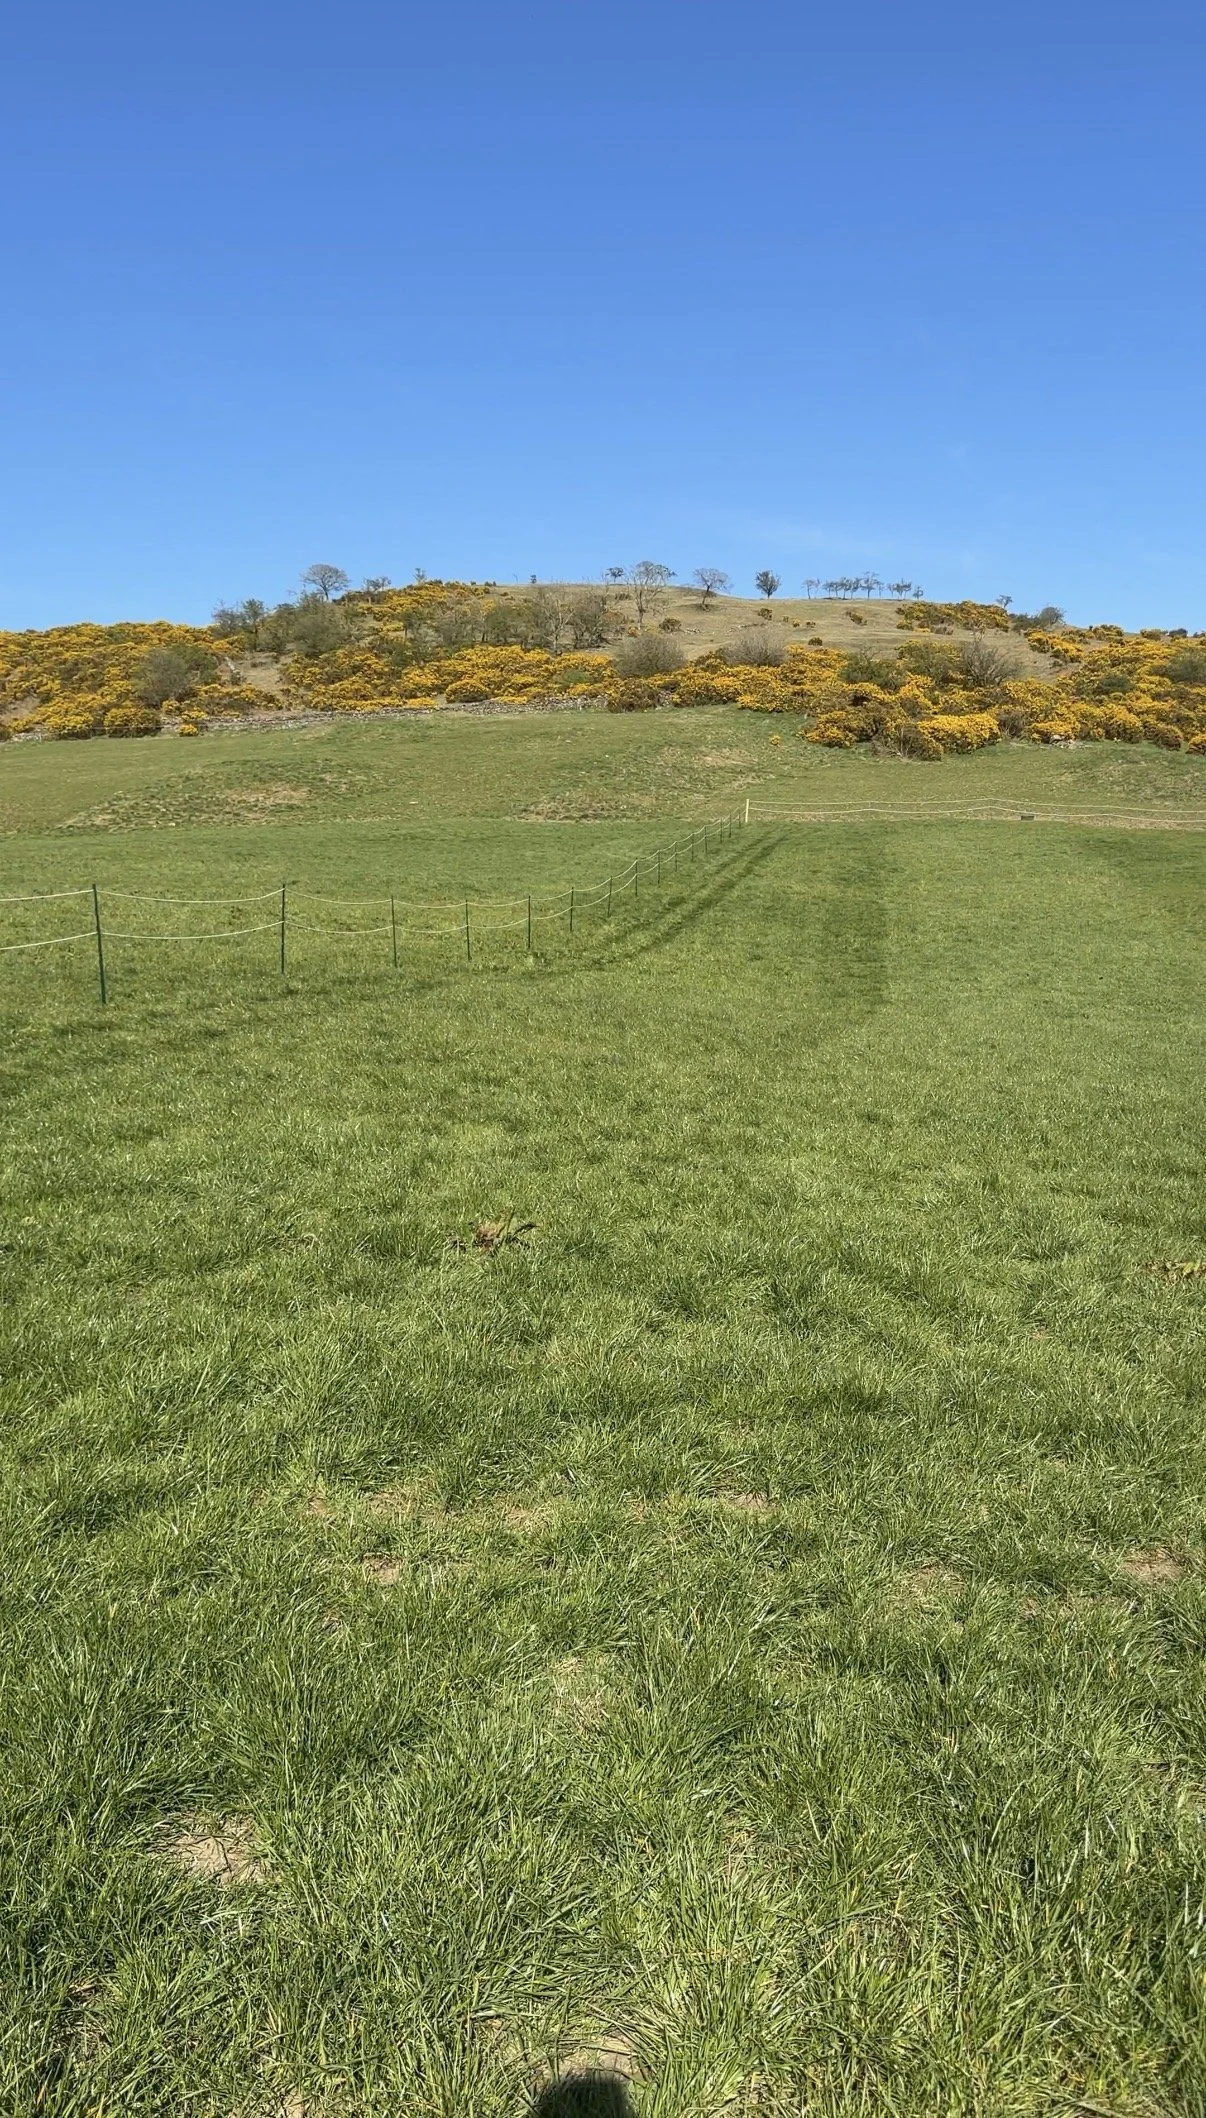
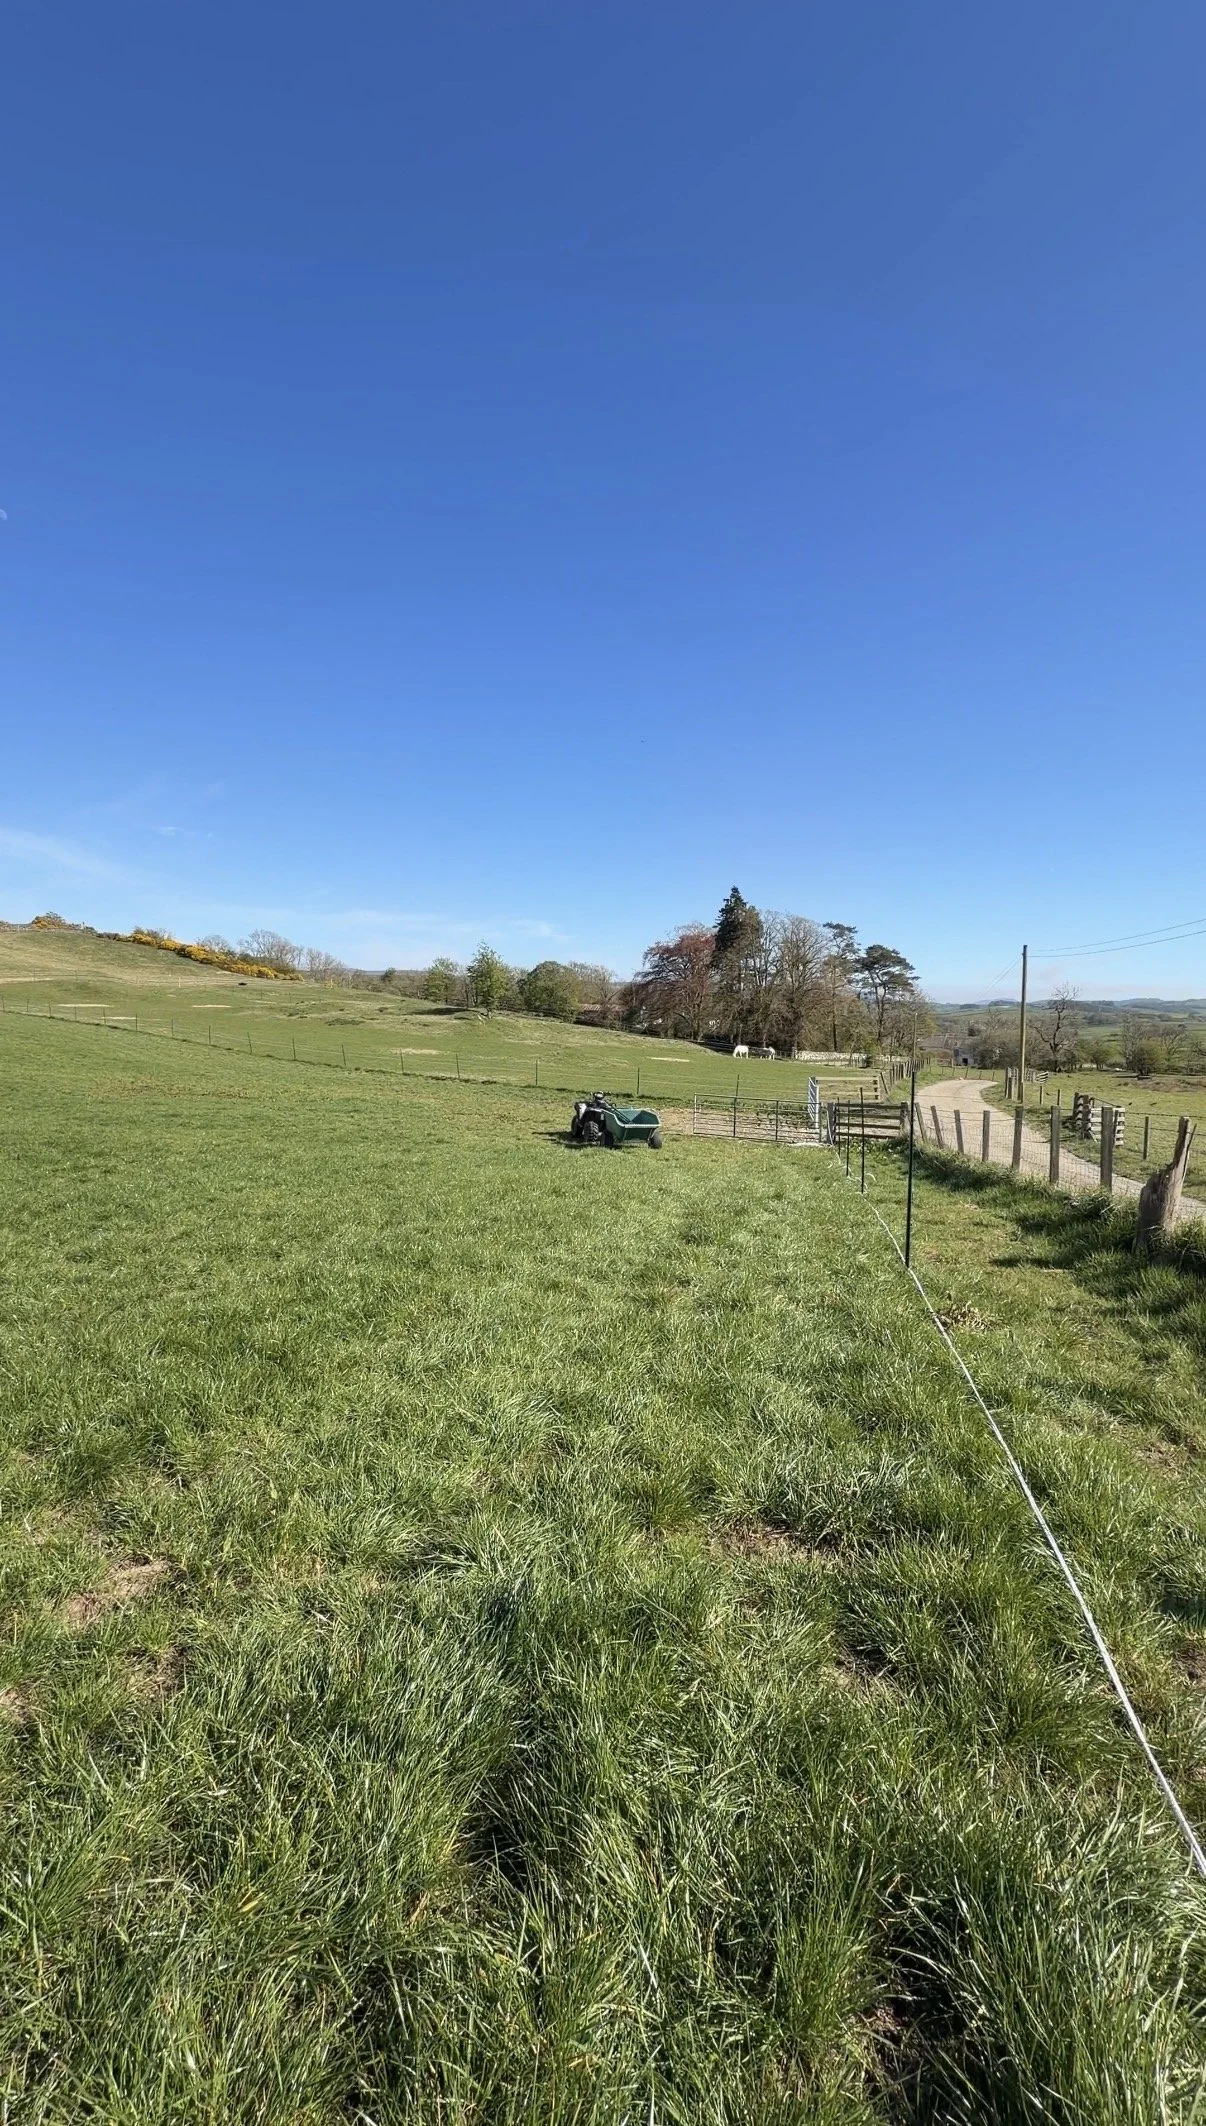
Another month of growth (hoping Velia holds onto the baby!) and this will be perfect for safe steps. Electric fencing with foals is contentious, but like many others, we don’t really have another option and this format has been ok for babies in the past too. I’ve put hand-tightened breaks in all around, so fingers crossed we’ll be ok here too.
The test strips for pH and calcium are on their way, and I’m doing ok with juggling plates at the moment. We’re both behind from Vel’s health scare, but catching up nicely!
That’s all for now 👌🏼
April Week 5:
Week 5 was only 4 days (realistically), and honestly, I’m certain that if I re-shot the place, you’d not be able to tell the difference.
The only actual difference is that some more flagstones are now stuck to the floor (all of the office is complete), but another delay on the adhesive has caused us to pause again. Dan cut all the rest of the flagstones now that they’ve arrived, but he can’t finish laying them until this delivery eventually turns up.
Therefore, because actual photographs will make no difference here, I’ll just add that I got to film my very first video inside the new office, with a temporary desk on the un-grouted floor. For that, we needed light control on set. I’d already got my samples, got my blind ordered, and waited 4 weeks for it to arrive ahead of time so this week, it just needed to get put up, which Dan tackled between laying some flags:
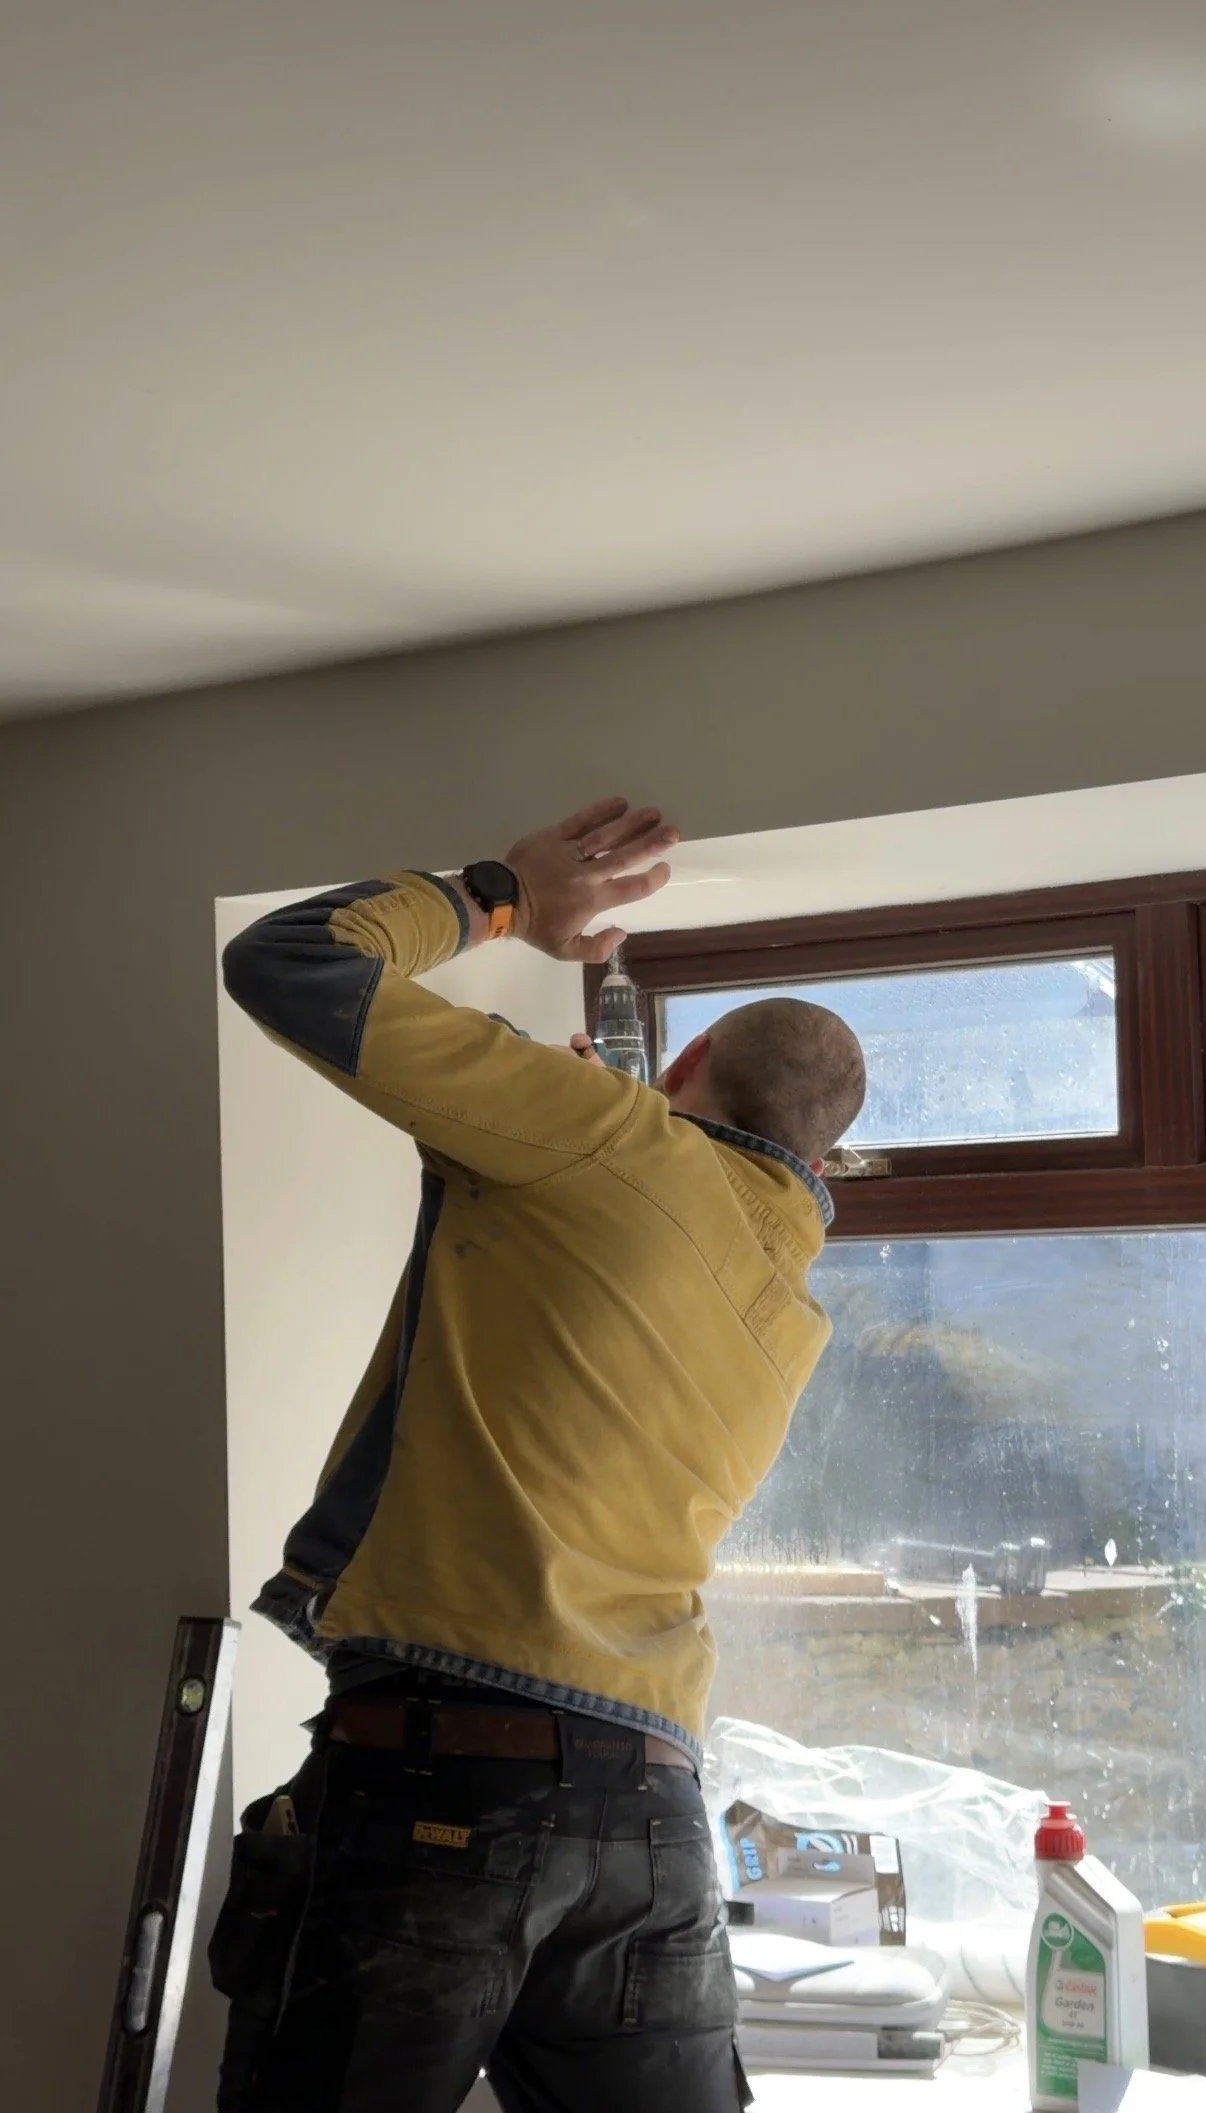
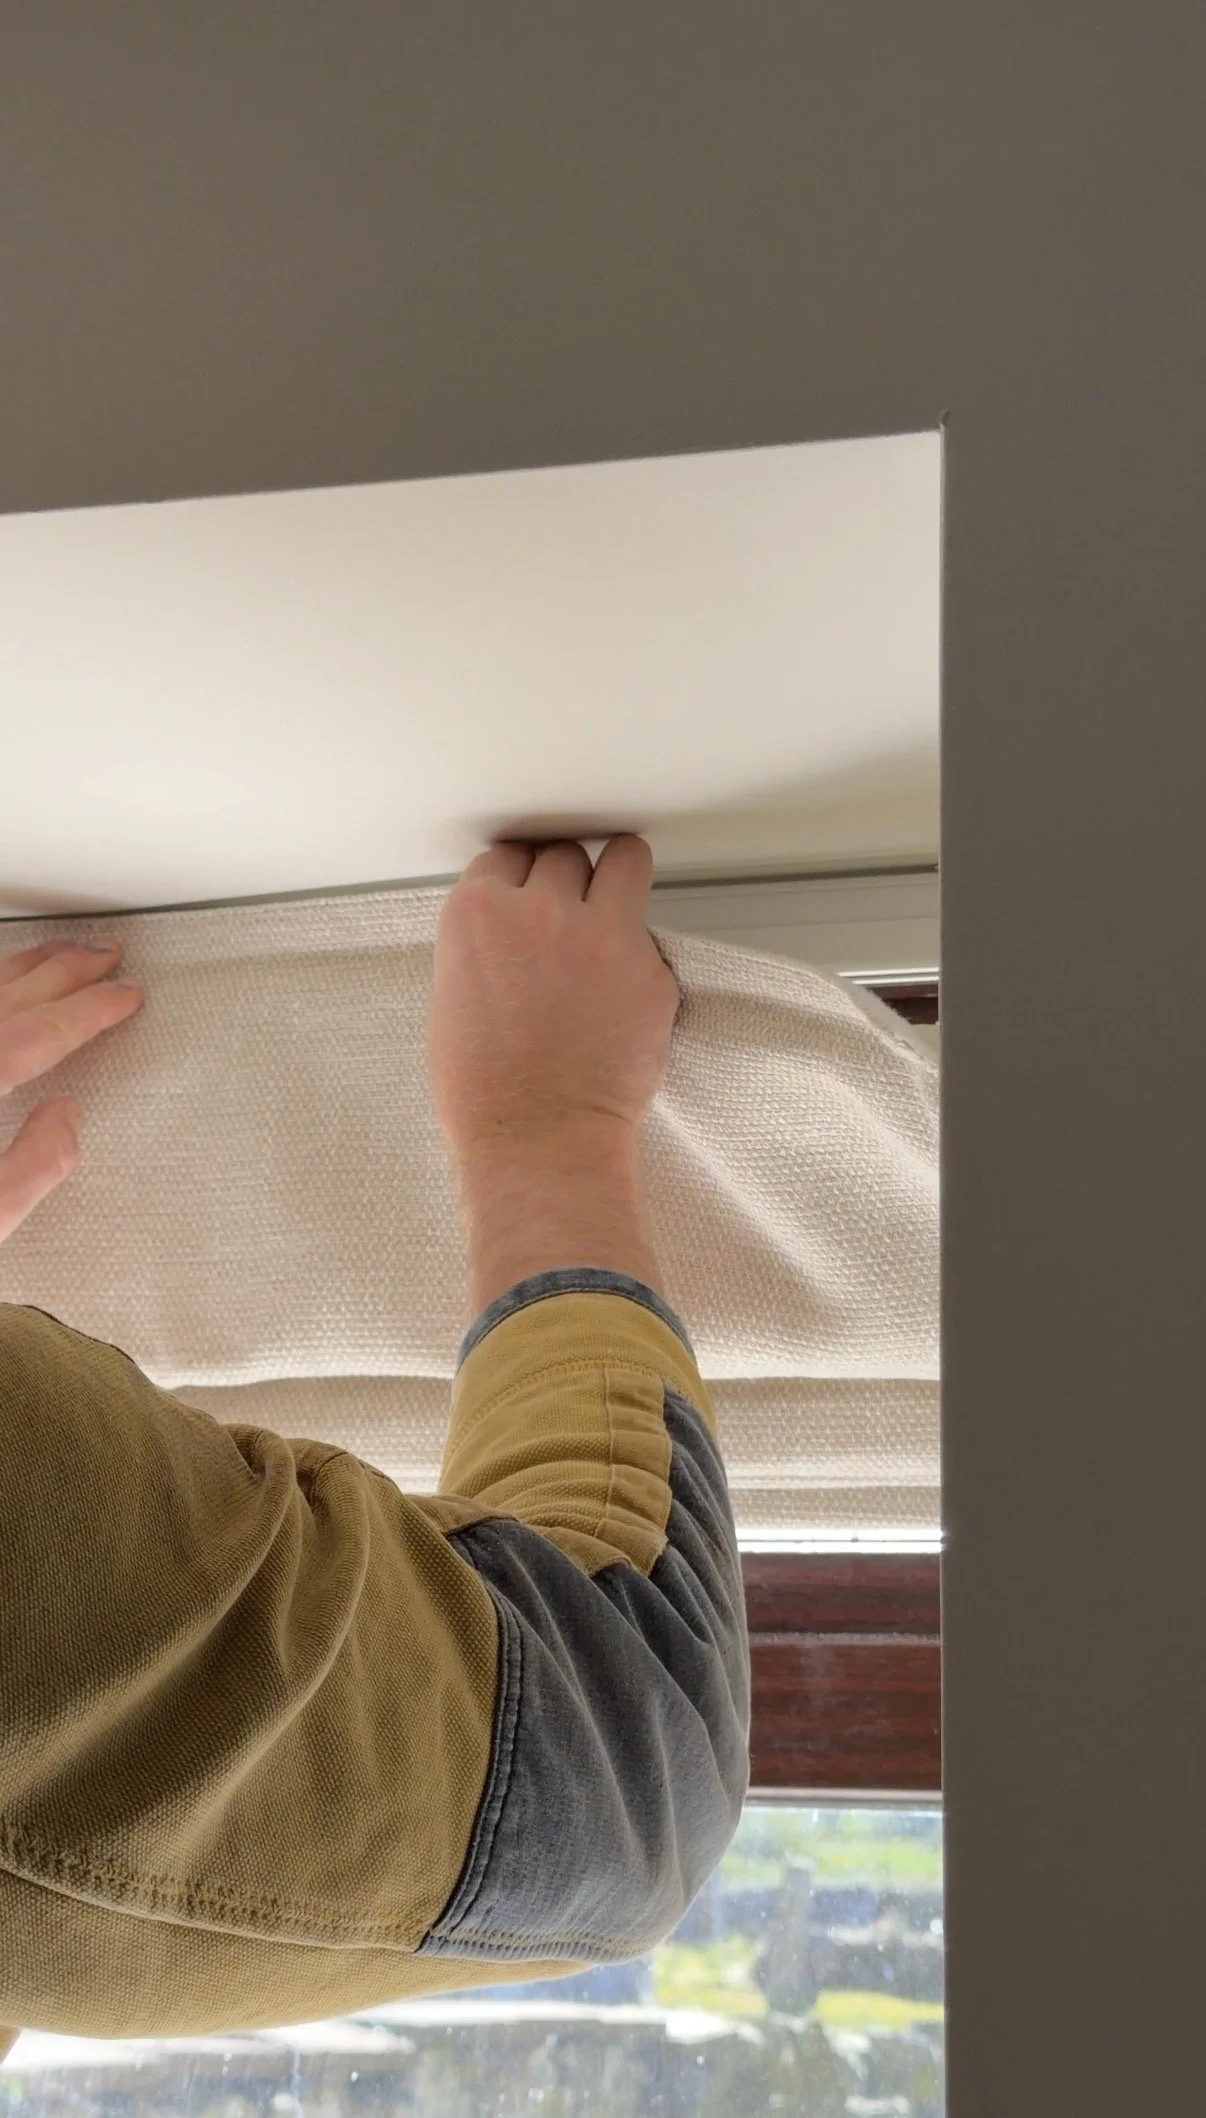
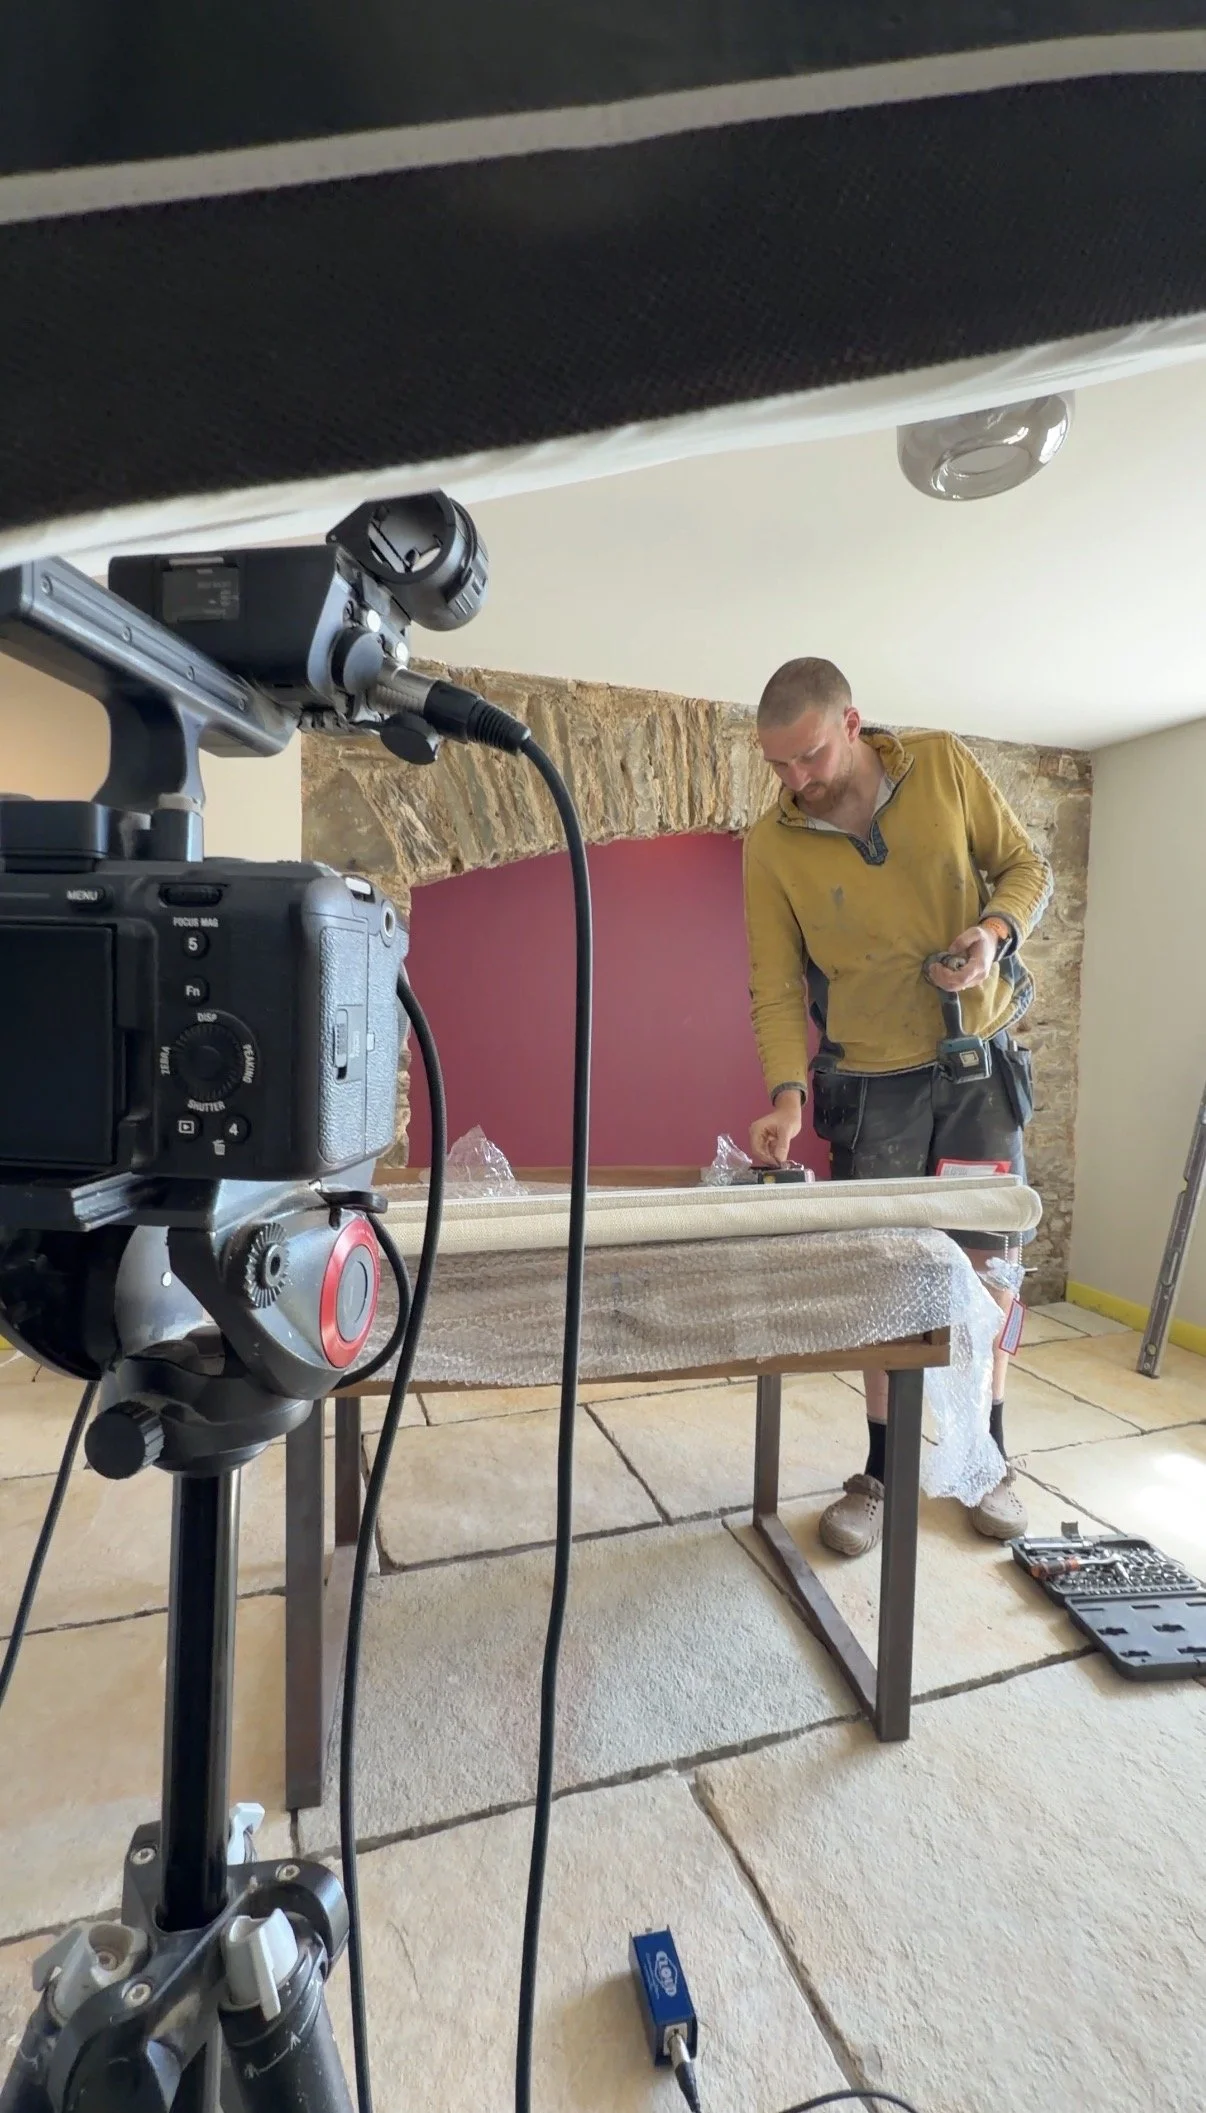
With complete blackout protection for light, I could film!
I know that most will not understand my excitement, but since we left our purpose-built studio back in Yorkshire, I’ve actually had nowhere to really ‘work’. I currently spend my days in the corner of a living room, having to move out every time anyone comes to stay, and I don’t have any of my kit ready to go. I don’t have a shooting ‘set’ (really), and I’ve been waiting patiently for an office space that’s done enough to film in. Now I do, even if it’s a temporary move-in to film two videos for YouTube.
Thankfully, the shot doesn’t include the floor, or the lack of skirting boards, the socket that still has a plastic bag on the end for painting or the fact that the room itself is empty with uncleaned windows and no windowsill in situ.
It does, however, film beautifully – like this:
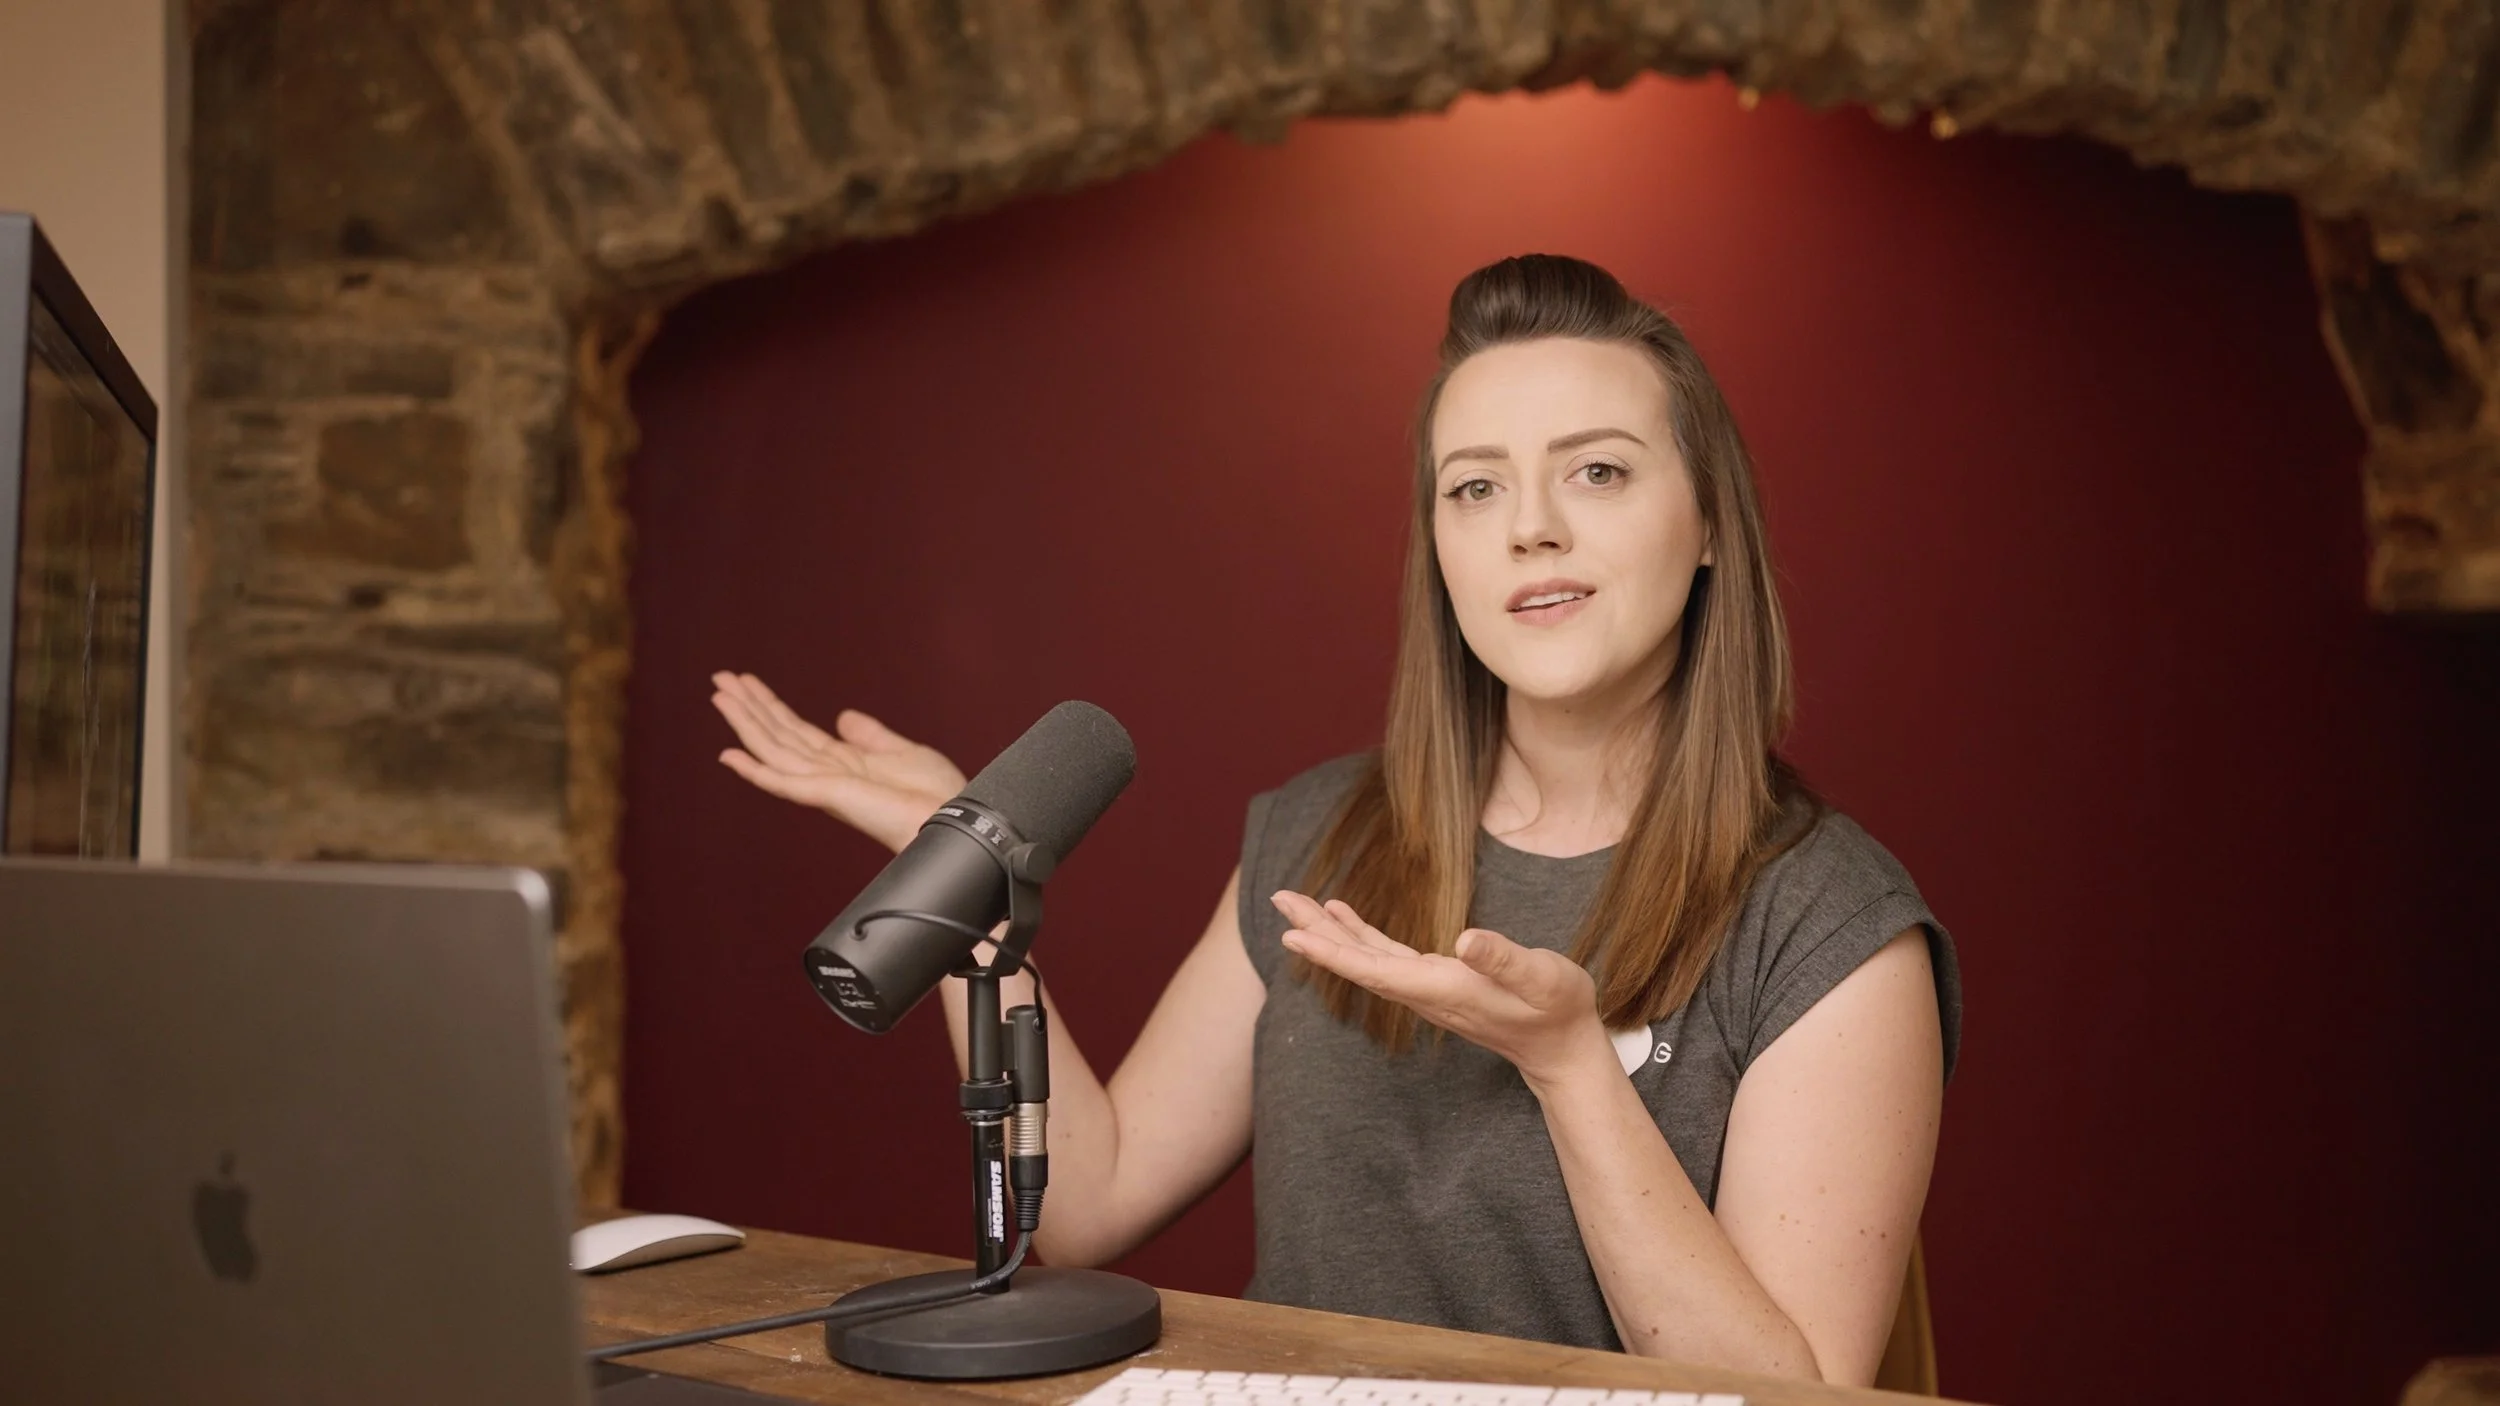
A screenshot from the video ^
I can change the colour of the Inglenook spotlight from my phone, so I might tweak it, and the main key lights white balance, to get the red wall to run a little more pink, but overall I’m incredibly happy with the most basic version of this ‘set’, with the old desk from the very first ‘YouTube set’ on our other (main) channel making a comeback too. (Photography followers, the first of these new videos is up on the TTS YT channel already.)
On Saturday this week (technically in May), we took delivery of the waterproof panels for the wet dog room. They are even more beautiful in the flesh, and Dan is already cutting them to fit. Because it’s a bank holiday weekend, we’re stuck without our now-heavily-delayed adhesive on the flagstone front. Dan is going to focus on the wet dog room panelling and see where he’s up to by the time Tuesday next week rolls around.
Velia Update
^ Because I know it’ll be wanted:
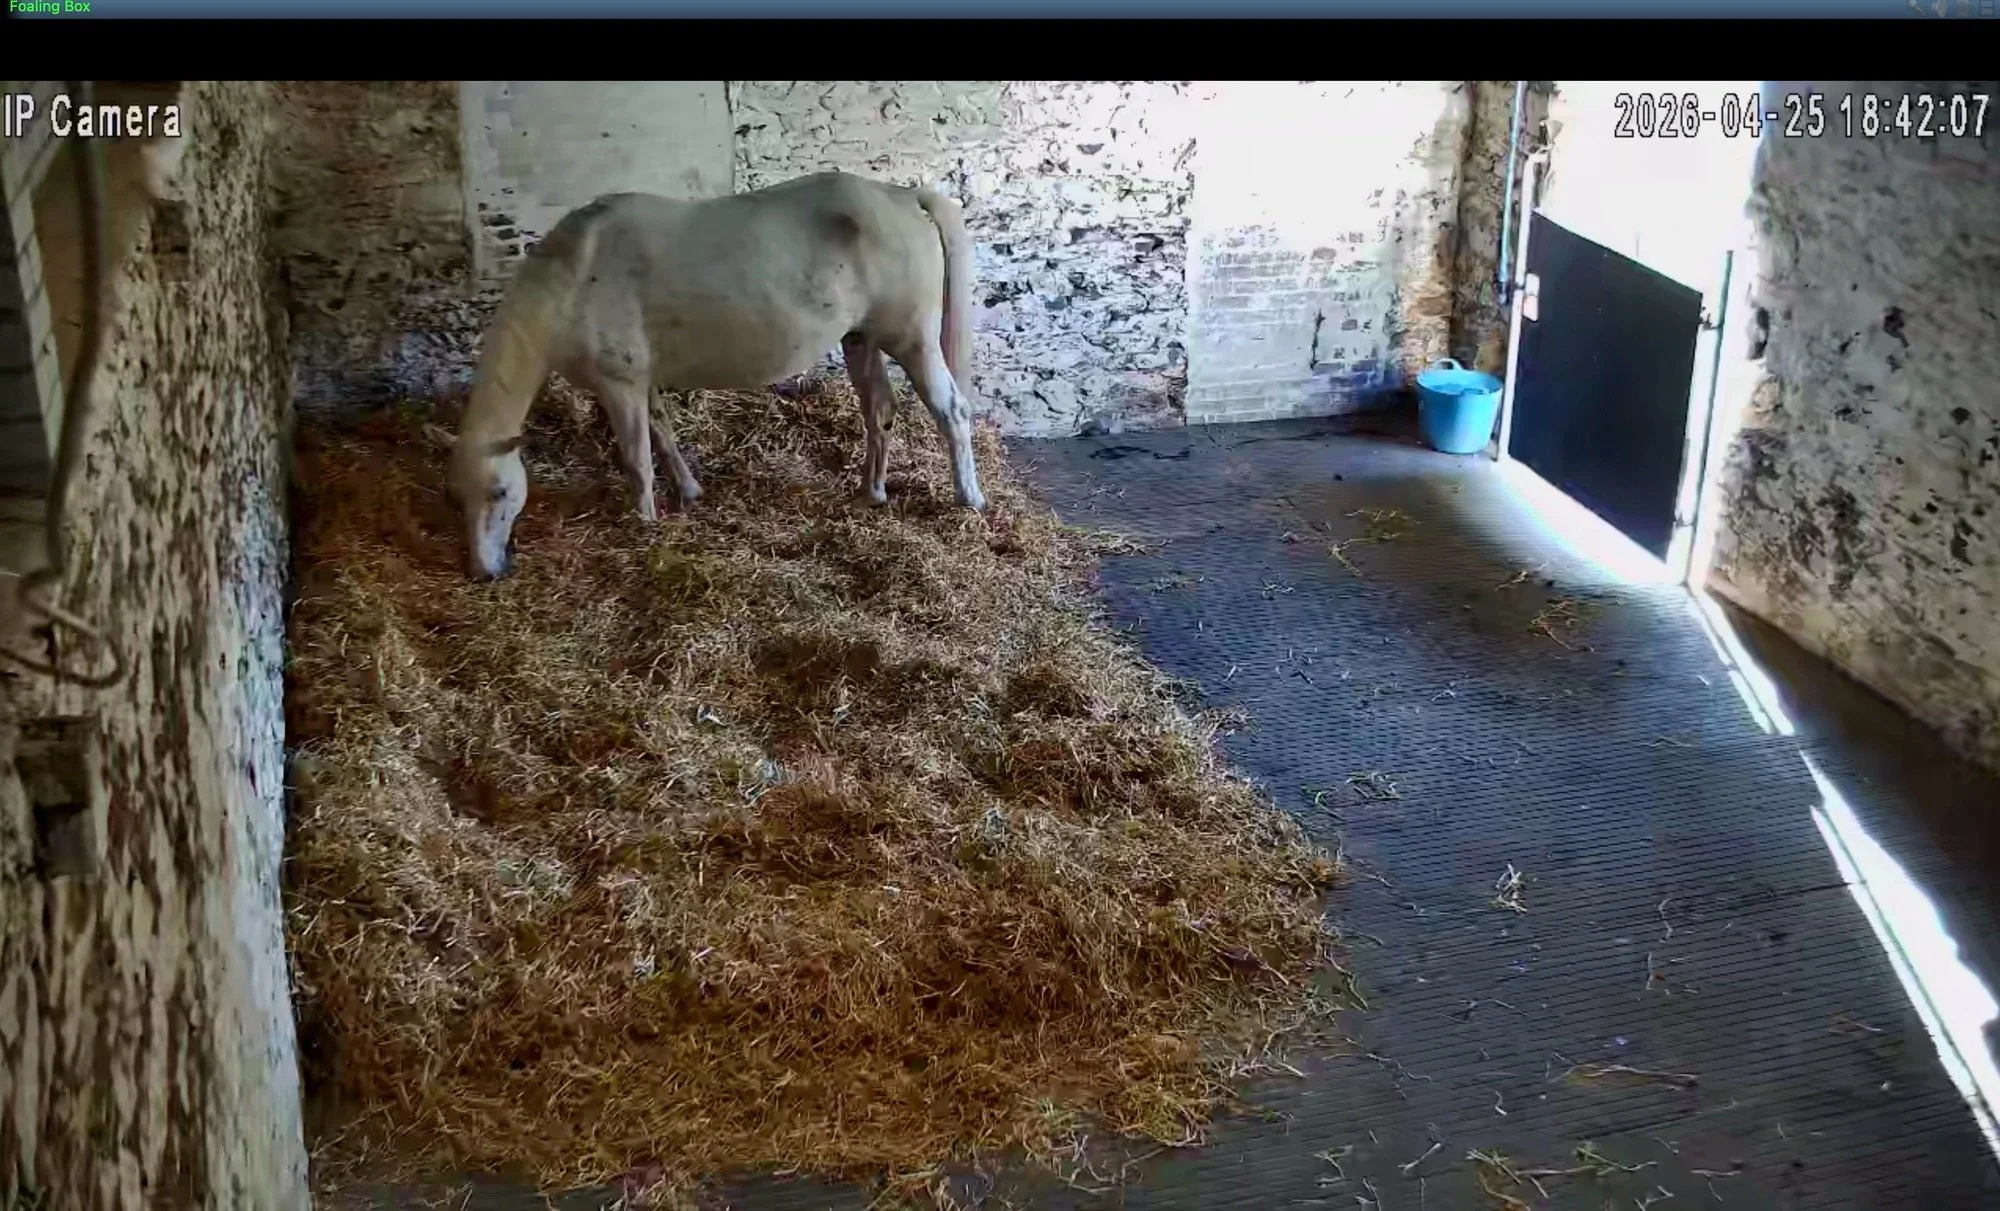
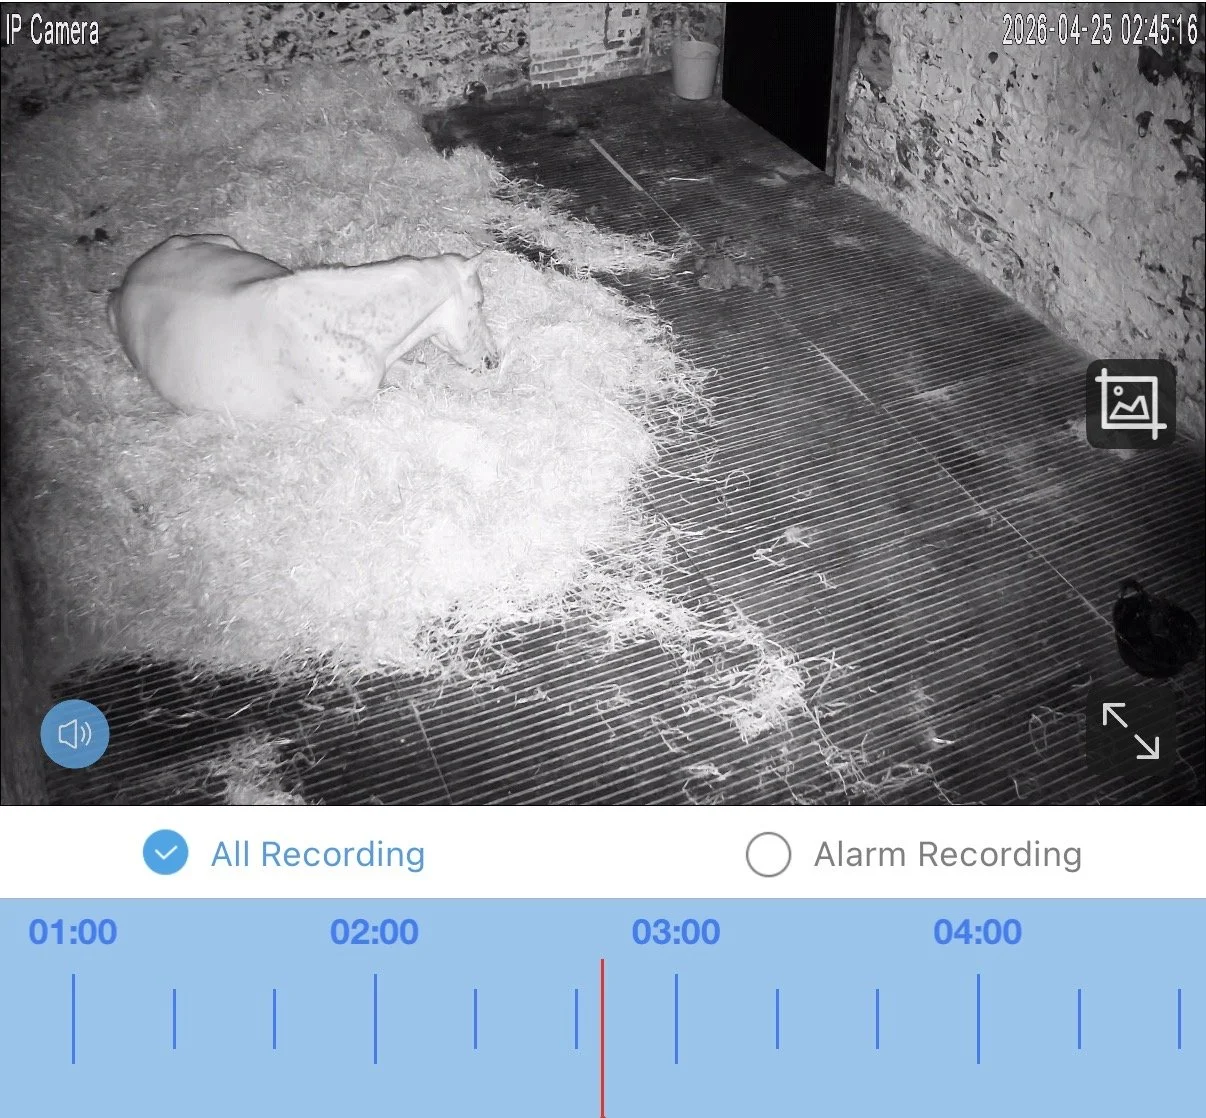
She’s had her pre-foaling manicure (trim) this week and we have the full seal of approval from the farrier that her feet are now looking 10/10. She’s had no other health concerns and has been napping well in the nighttime too. I check on her around 8pm, 10:30pm and 3am each night (don’t ask: me and sleep aren’t friends). This is what I usually see on the feed, all from Friday night:
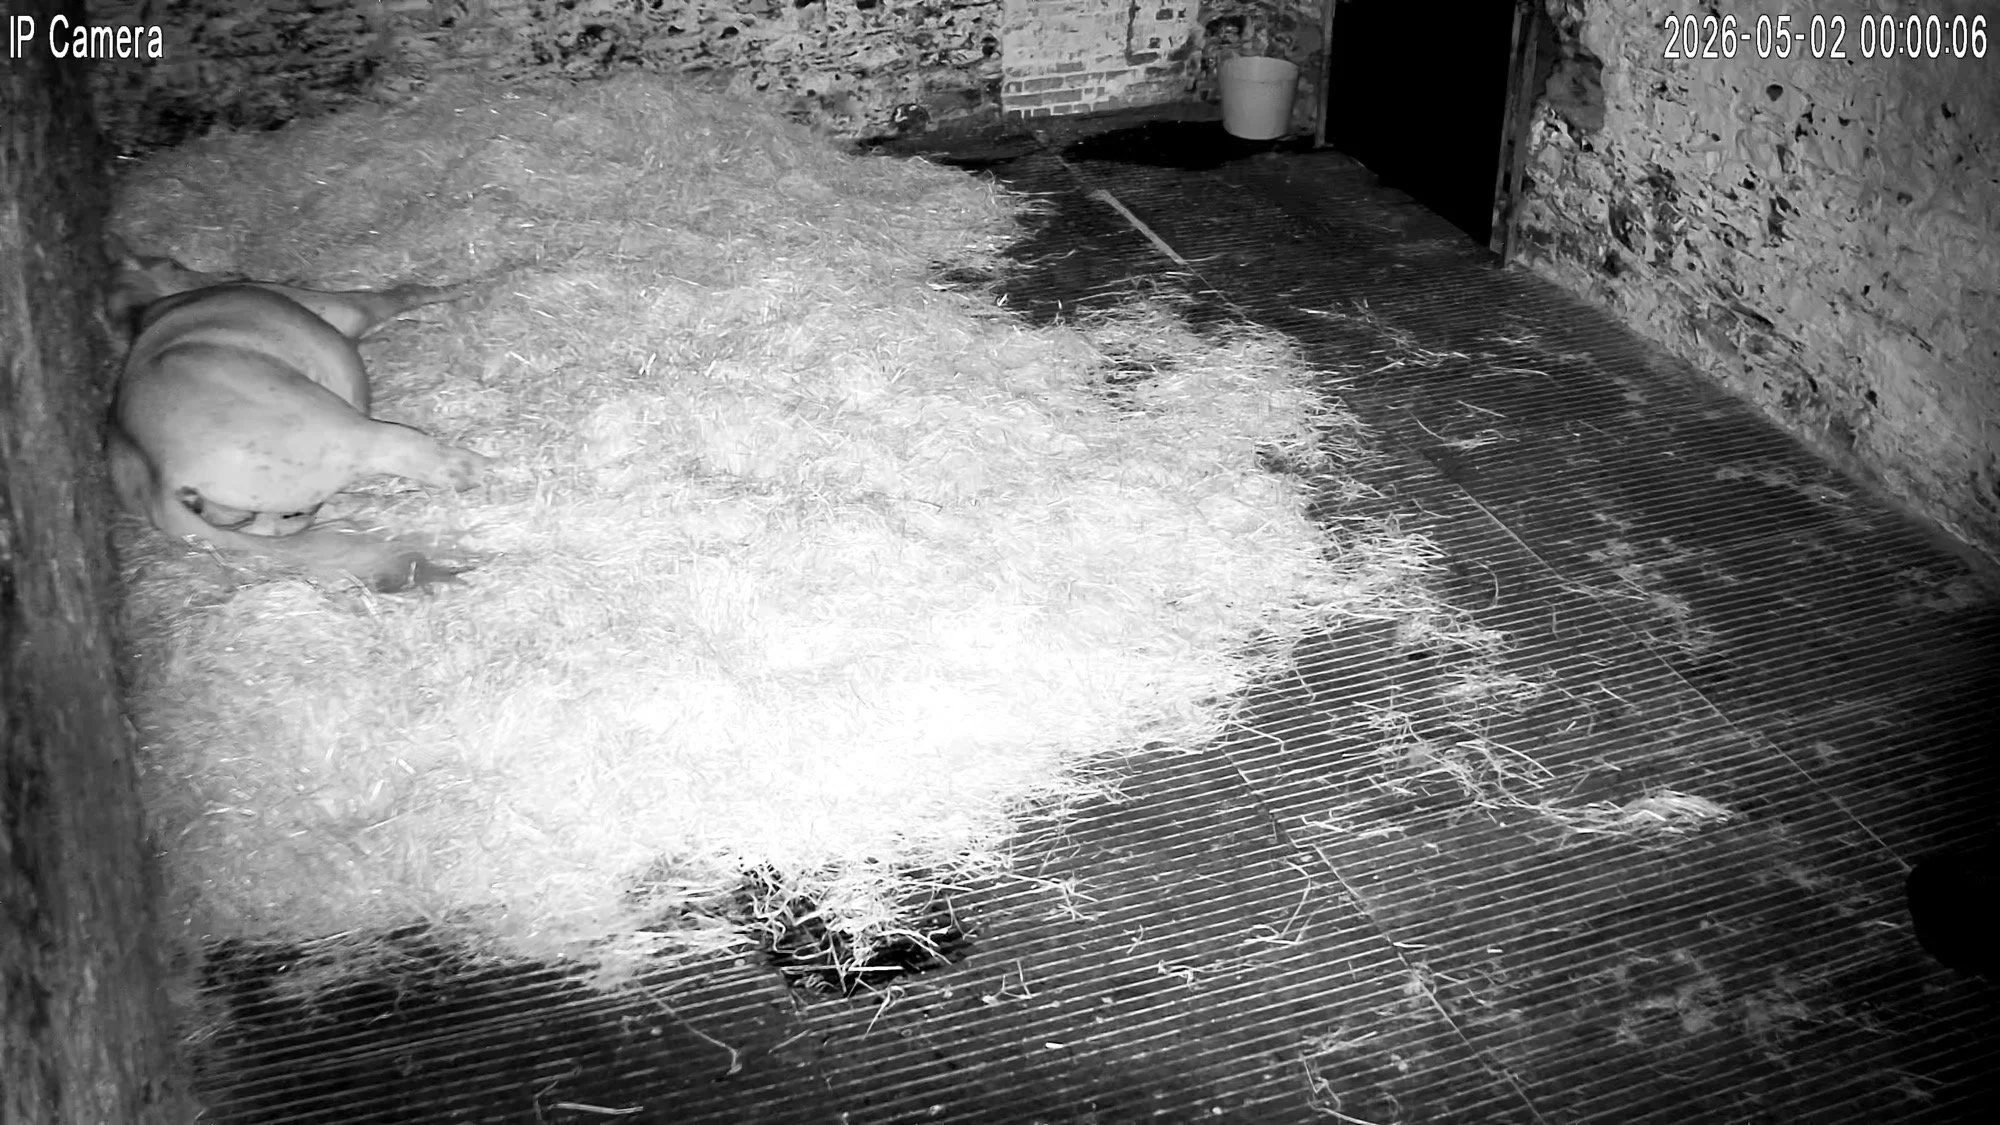
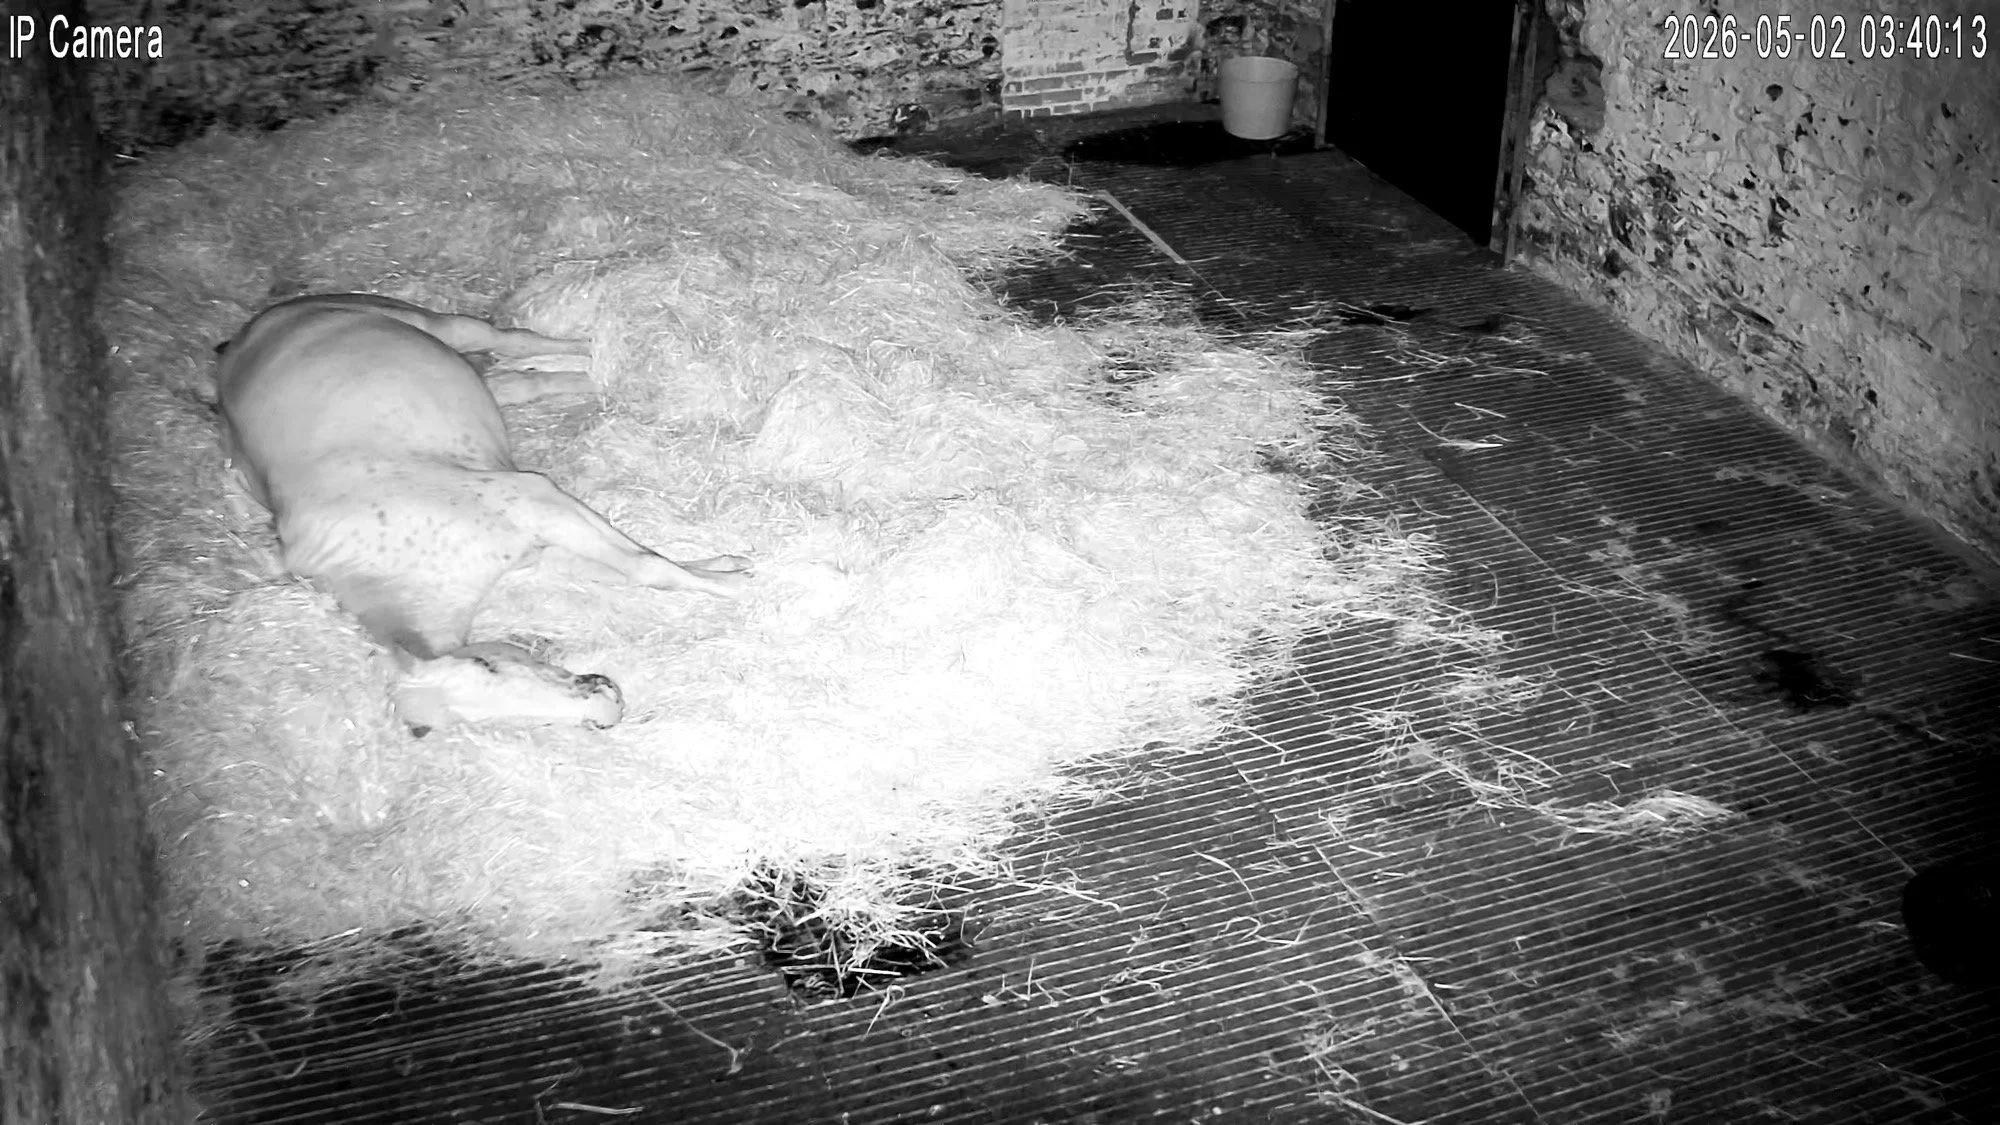
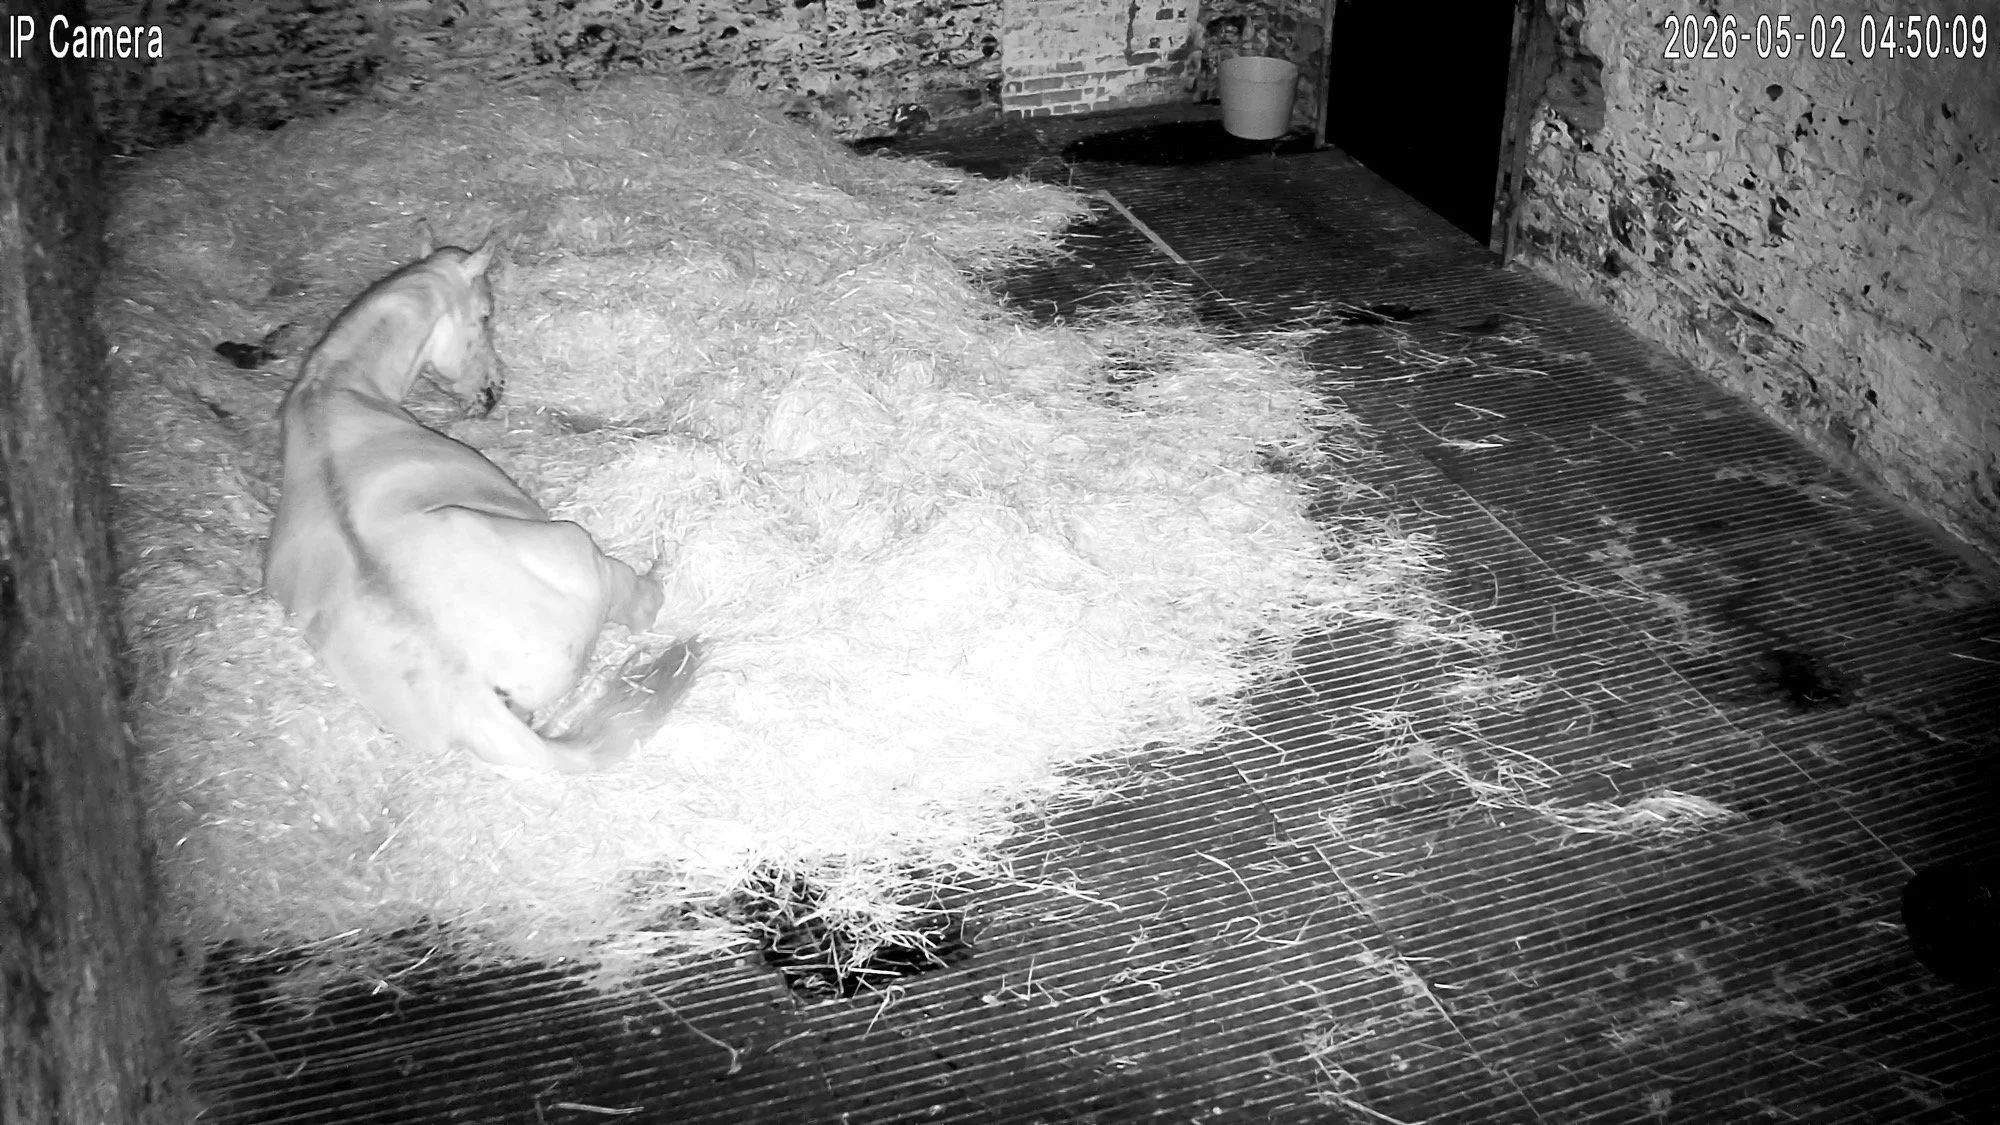
She has 17ft of straw bed there, and a good 10ft of width too, yet she still manages to lie on her poop every. single. night. 😅
I will admit, I’m concerned she’s losing weight. She doesn’t seem to want to eat very much of her forage indoors, preferring to sleep, and although she’s eating all of her hard feed and lots of good grass in the daytime, she still seems more ribby and pointy these last 10 days or so.
As she gets closer to foaling, the foal moves and drops, which can make the ribs more visible and create less room for food inside too. The muscles around her back end also relax considerably, making them more pointy and sunken. With her though, I’m not sure if she’s just giving a lot to the foal, if it’s the repositioning/relaxin hormone taking effect, or if she’s simply losing weight. I’m keeping a keen eye on it for sure now that we’re nearly at day 315 (Monday 4th May).
Technically, this wraps up April, so I’ll see you next time in May’s post!