
October Monthly Update
Although technically this post contains two days of September, we’re going to roll with it, because I wasn’t here on those days, so they don’t count.
Don’t worry, you can skip ahead to…
I’ll add why I wasn’t here quickly, because it’s relevant for the general mood of the Week 1 post and what’s about to follow 🫣
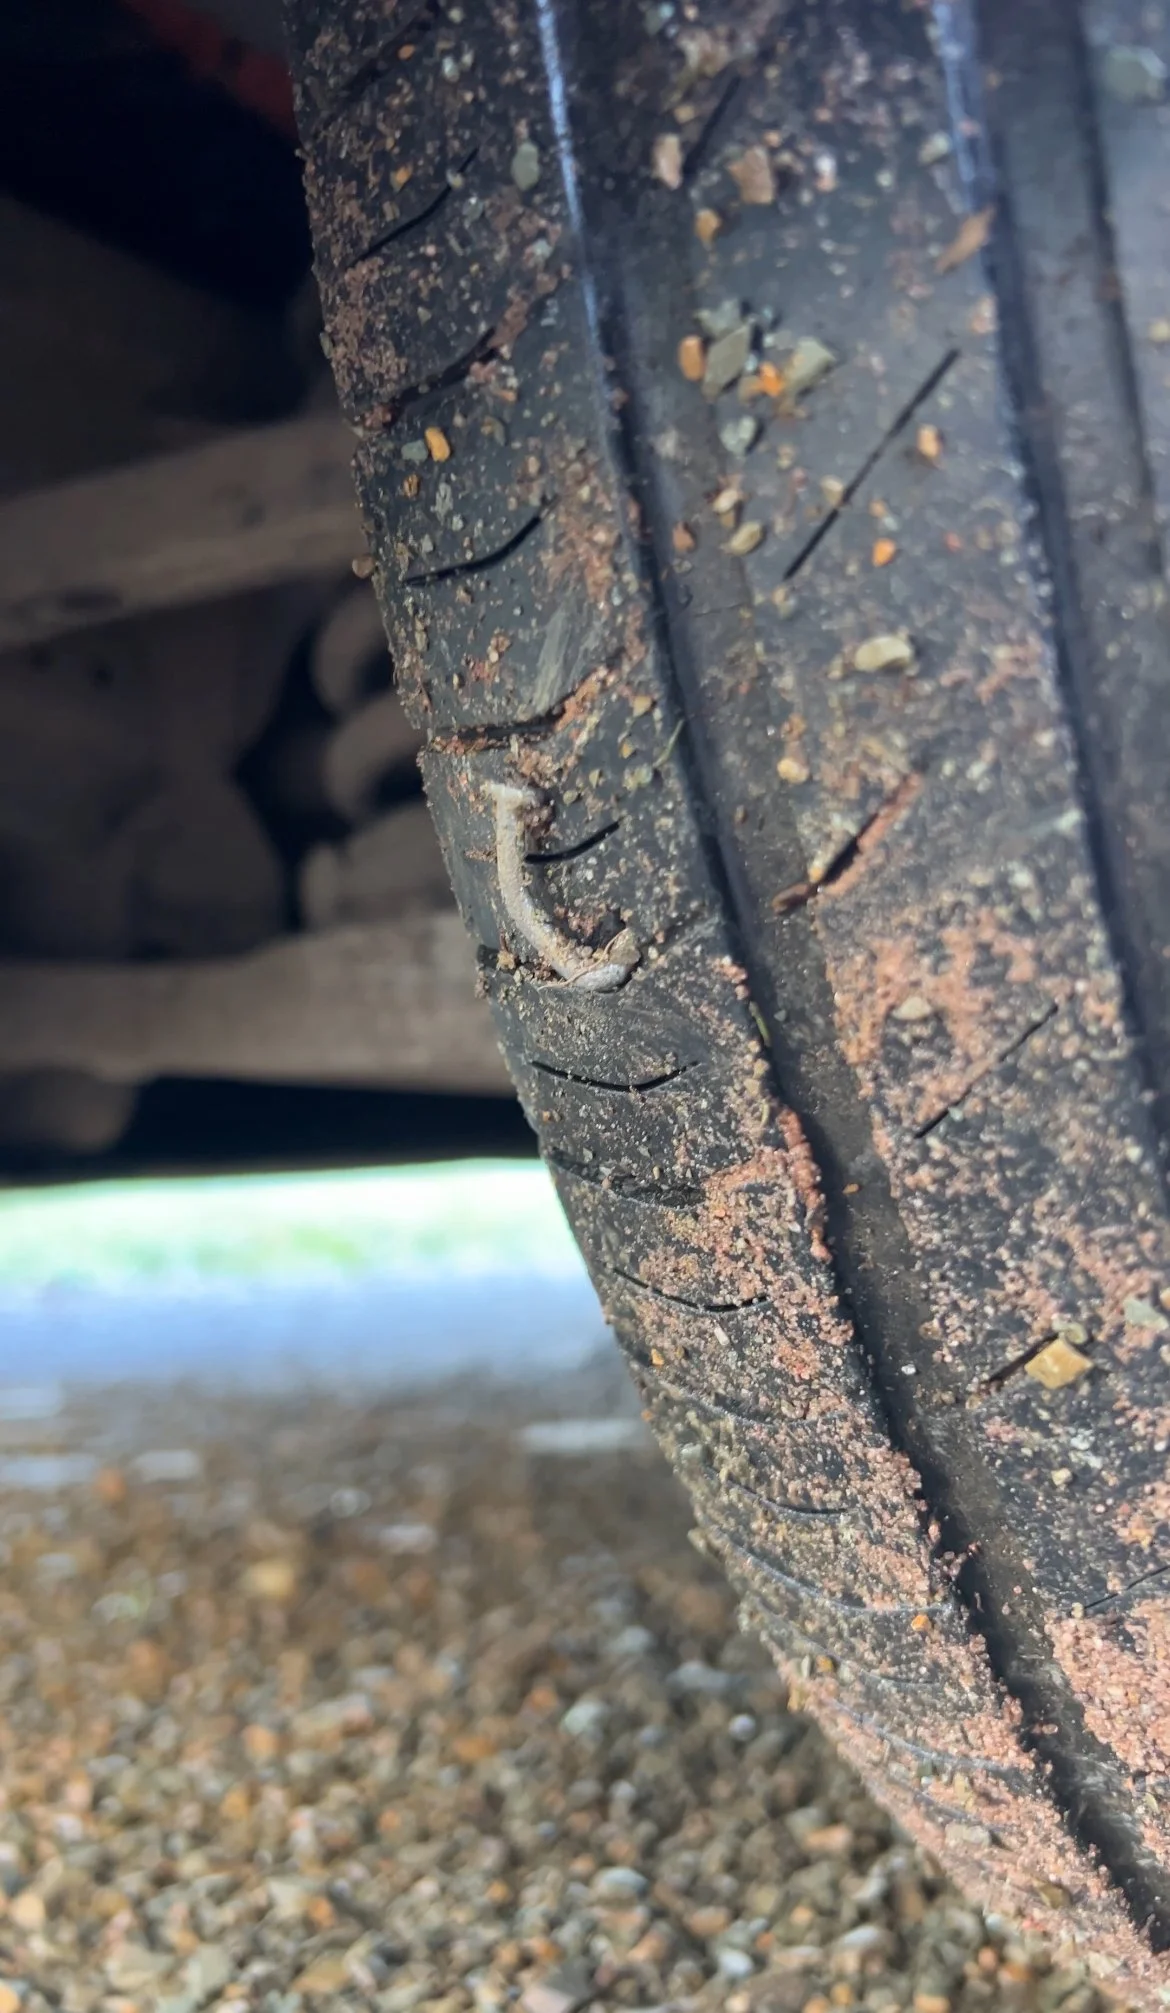
I headed away on the Sunday to work at an event I’d been booked to judge, teach and speak at: Click Live Lite. This was in Milton Keynes, so about 5.5 hours drive from the farm, and of course, I hadn’t even gotten off the driveway before our little car (the EV) threw a tyre warning.
I had considered ignoring it and adding some air at a petrol station on the road, but Dan came and checked anyway. Thankfully, that pesky nail was spotted, and to be safe, I switched to the truck for the drive south. That left Dan without a car until the tyre was changed. Remember that point.
With the prospect of parking a spaceship in the city centre, I headed on and got to MK in fairly good time. The event kicked off with a full day of print judging (printed photographs) on day one with entries from all over the world, then on day two, I tought a 3 hour workshop with wonderful students, then did a stage talk later in the day.


All in all, great event, but yep, I wasn’t here at the farm. I stayed for the awards presentation and headed back home the following day (we’re on Wednesday now).
That’s important context, because what happens next is a barrel of laughs…
October Week 1:
Alrighty, so I wasn’t here, but Dan was. Dan was on-off on tyre-replacement-standby as, within 1 hour of me leaving on the Sunday, the tyre was completely flat. The tyre place had tyres, then didn’t, every single day, and by the time I got home, the tyres were still not changed. Poor Dan was therefore locked at the farm with zero transport, so he kept himself as busy as he could with the tools and supplies he had available.
The meant progress was a little bit bitty. Some shelves got painted and hung in the cottage wardrobes, the clothing poles were put up, and other bits and pieces happened too. Alone, it takes about 2-3 hours a day to care for the animals, so with zero wheels, limited supplies and low time, Dan also got these bits done:
Progress bits:
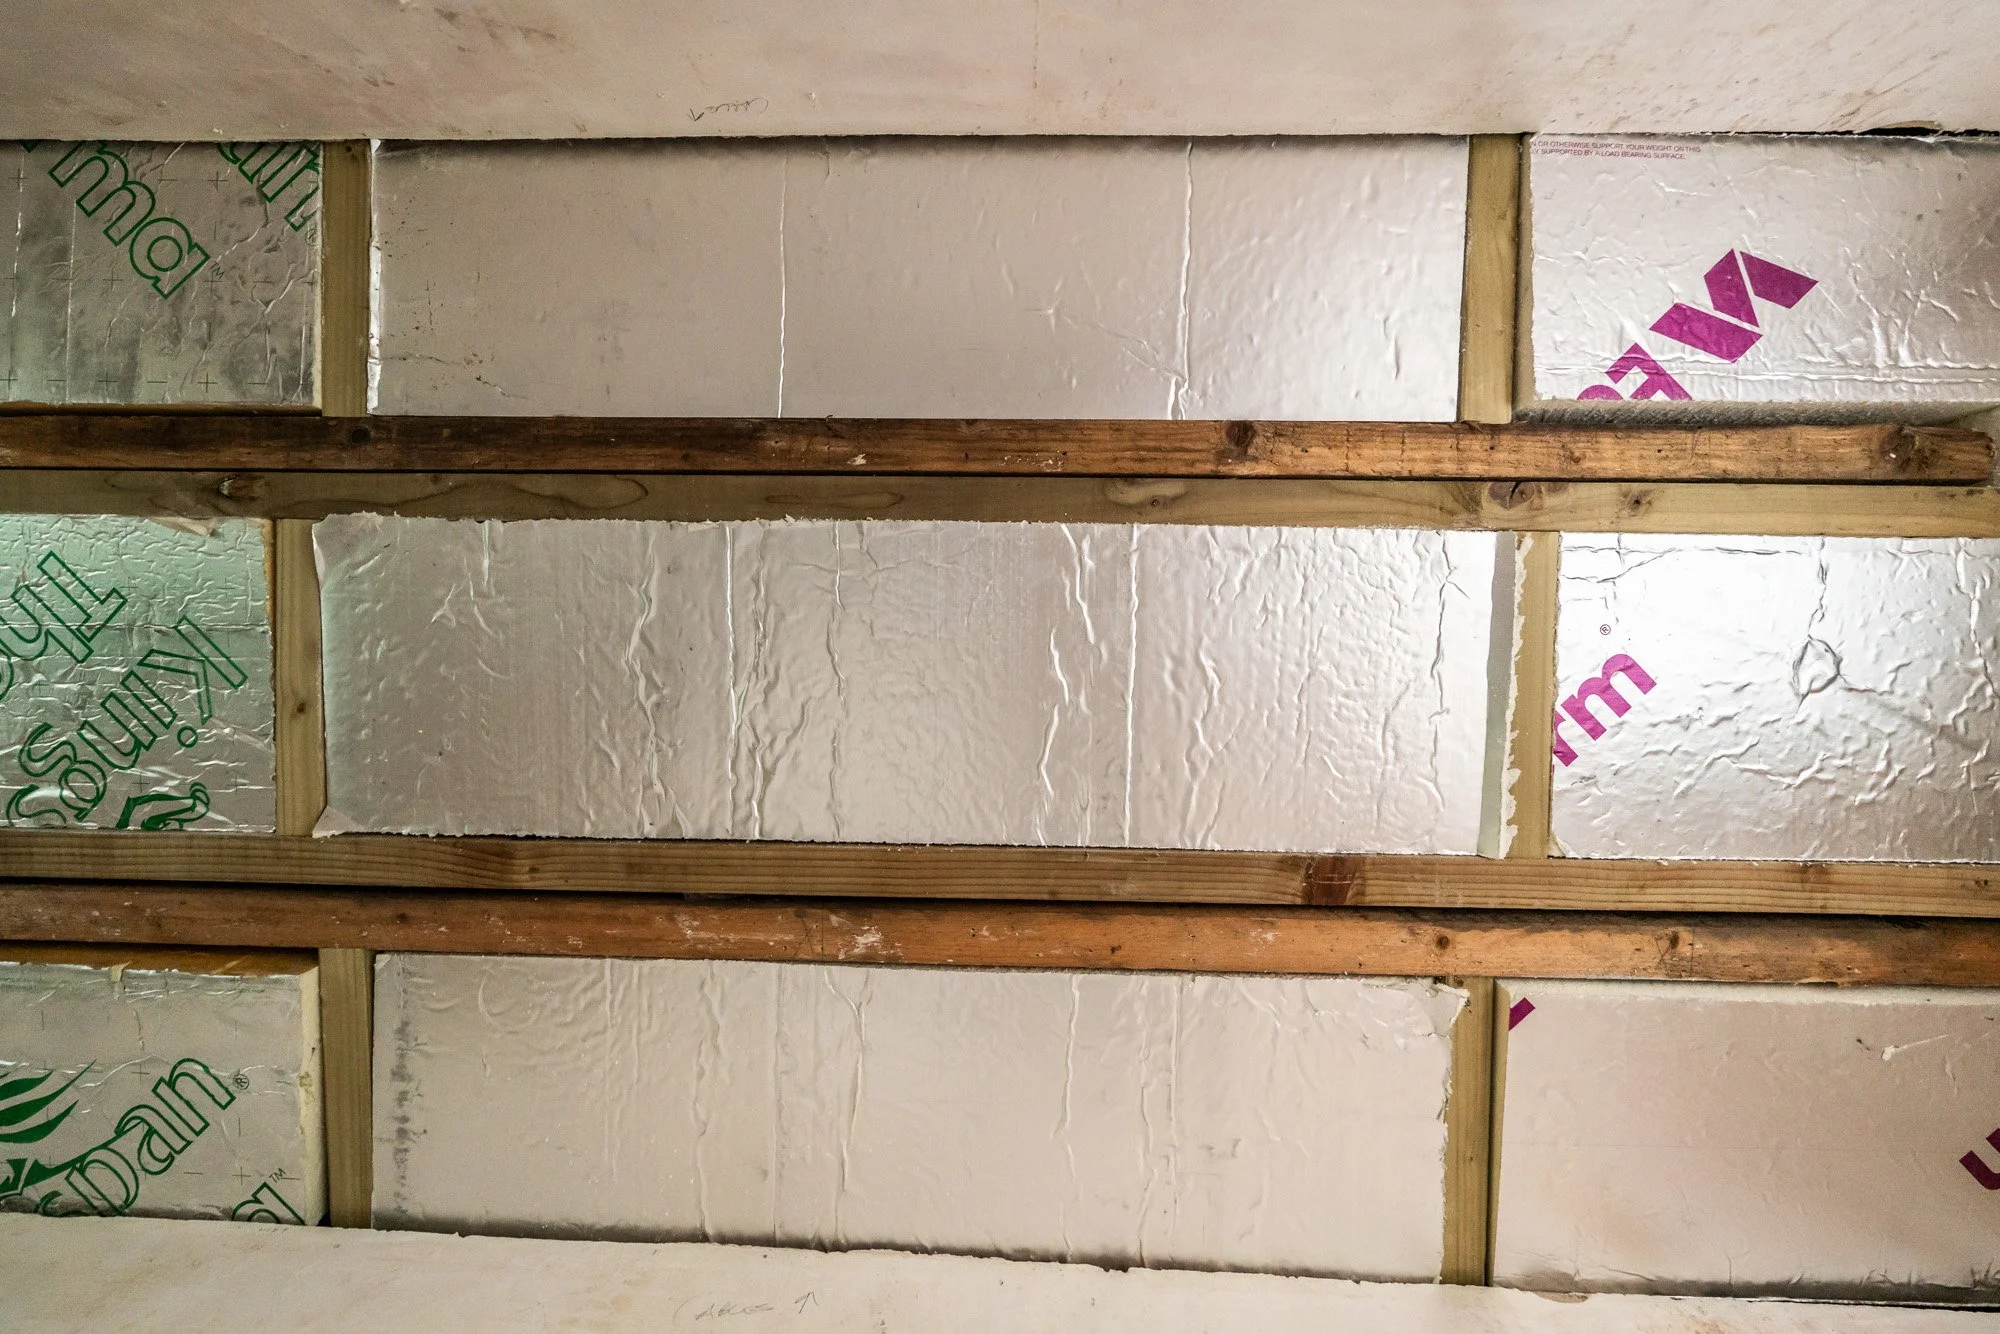
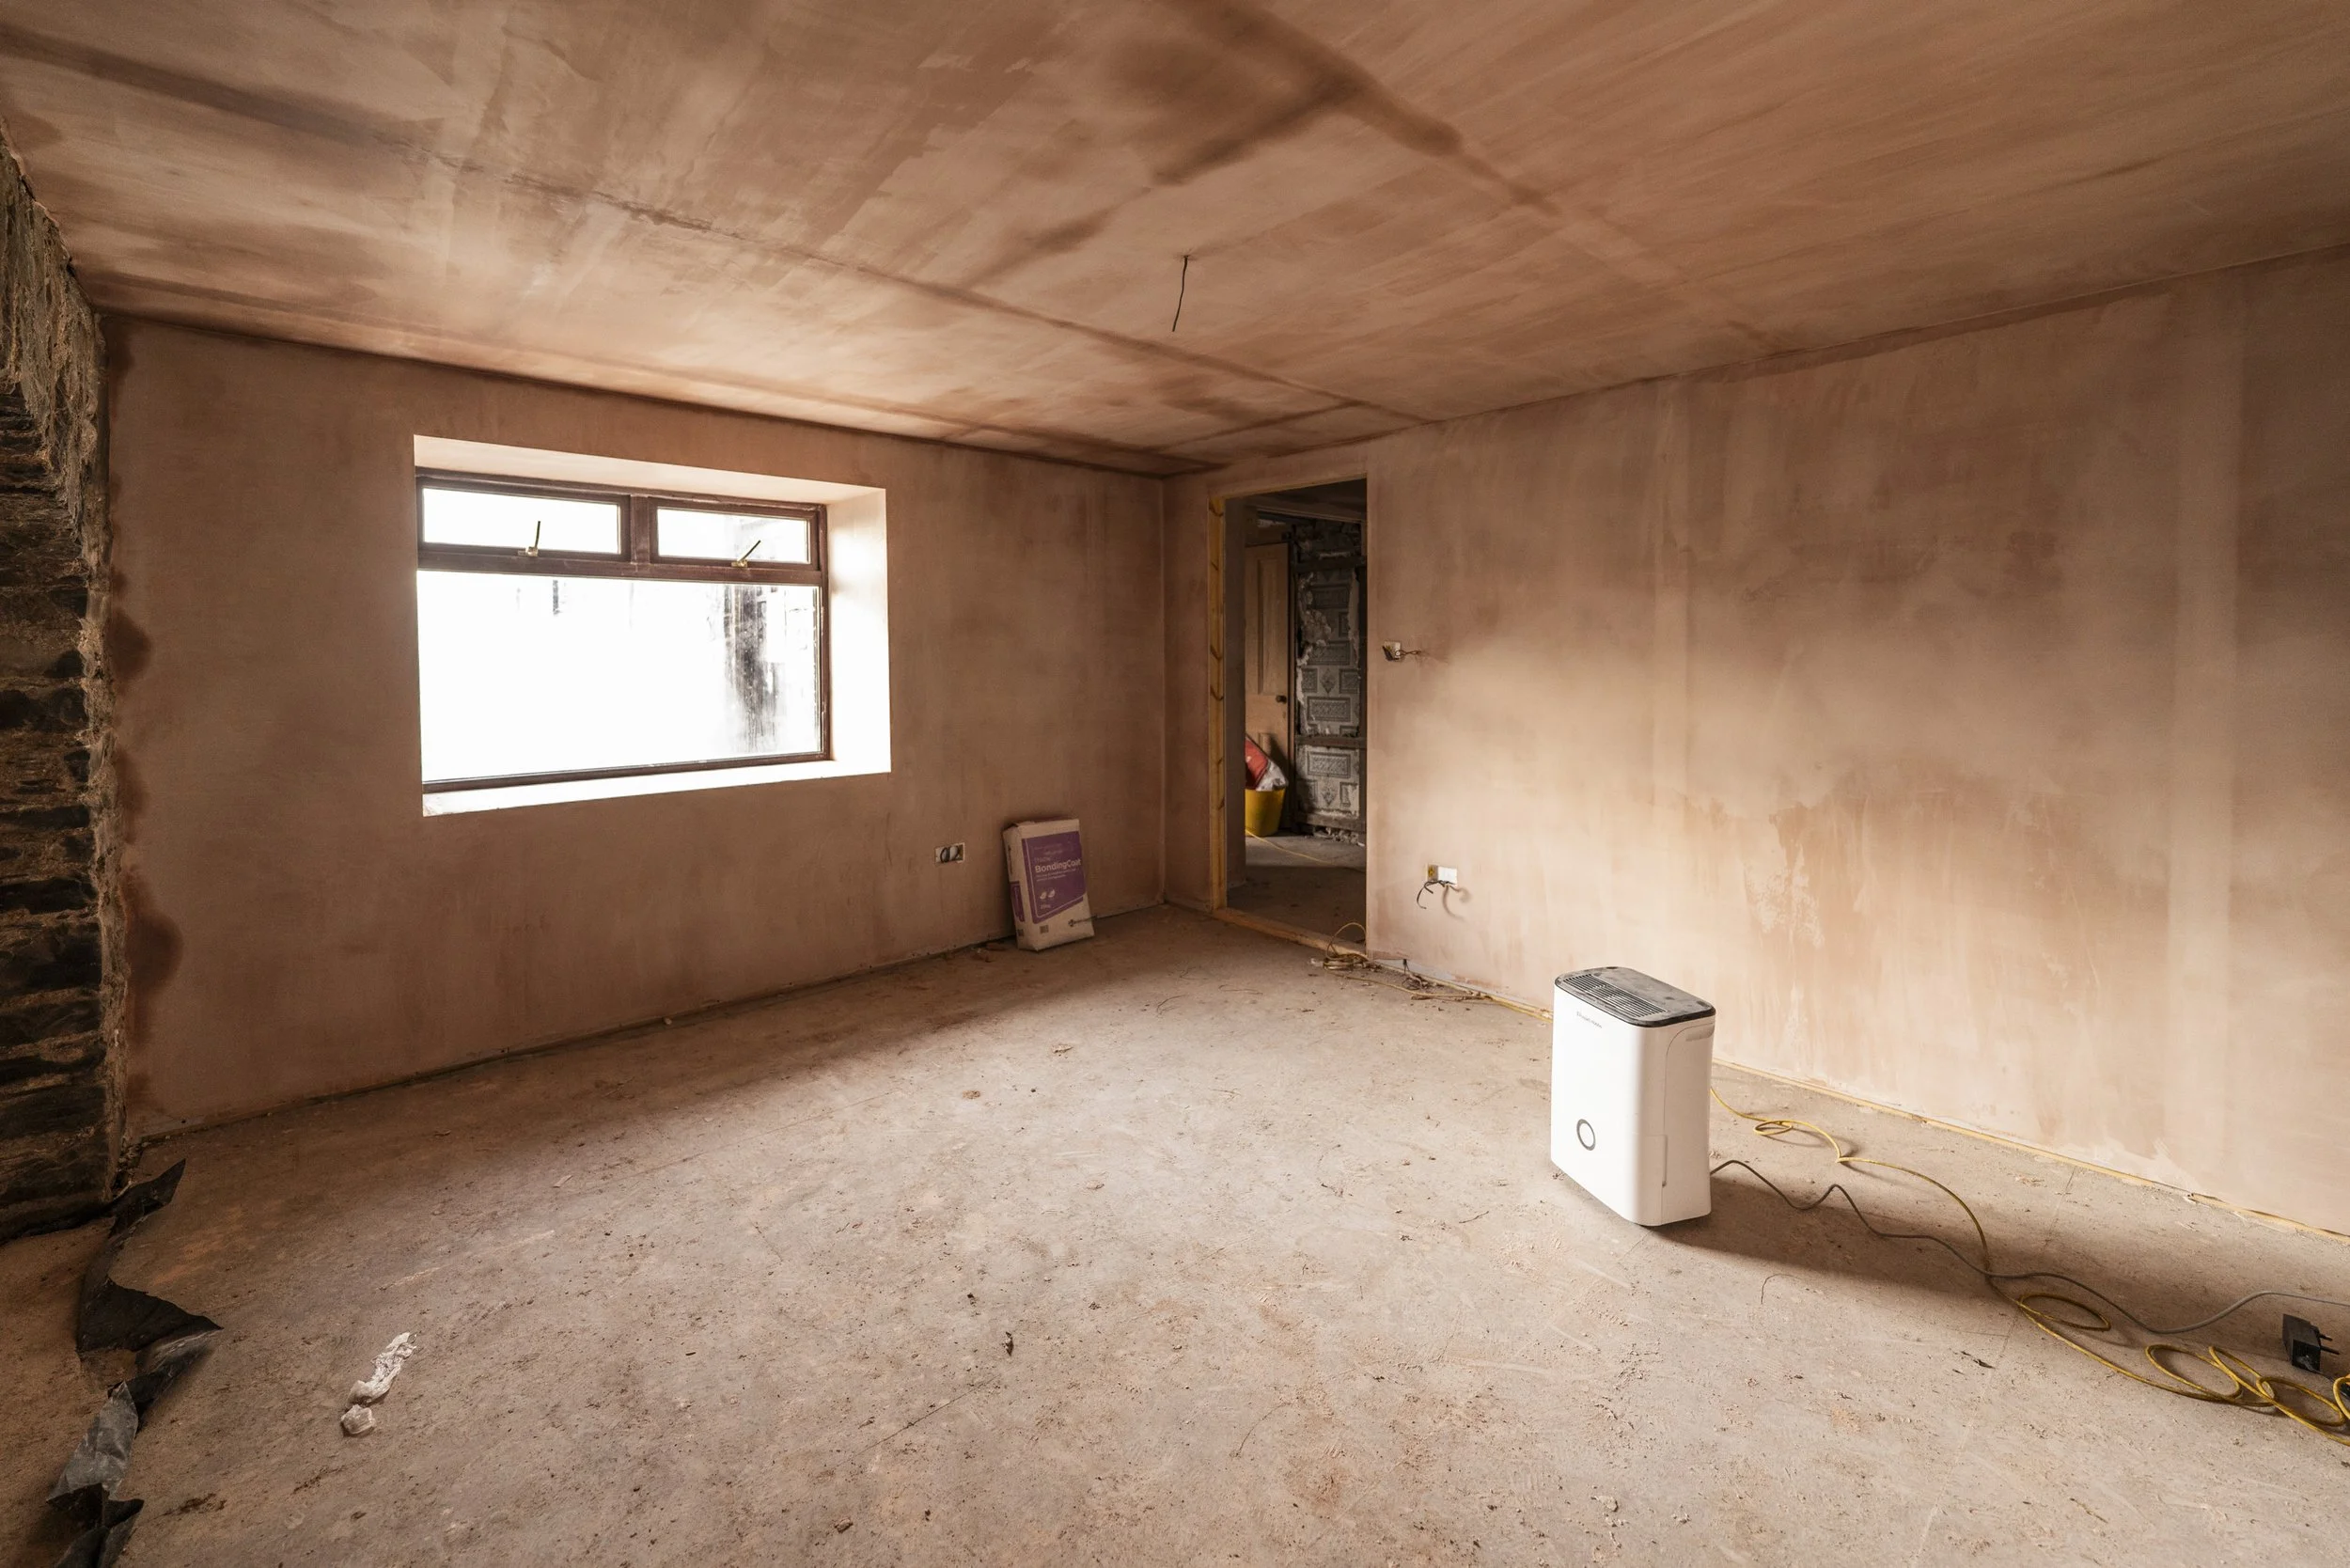
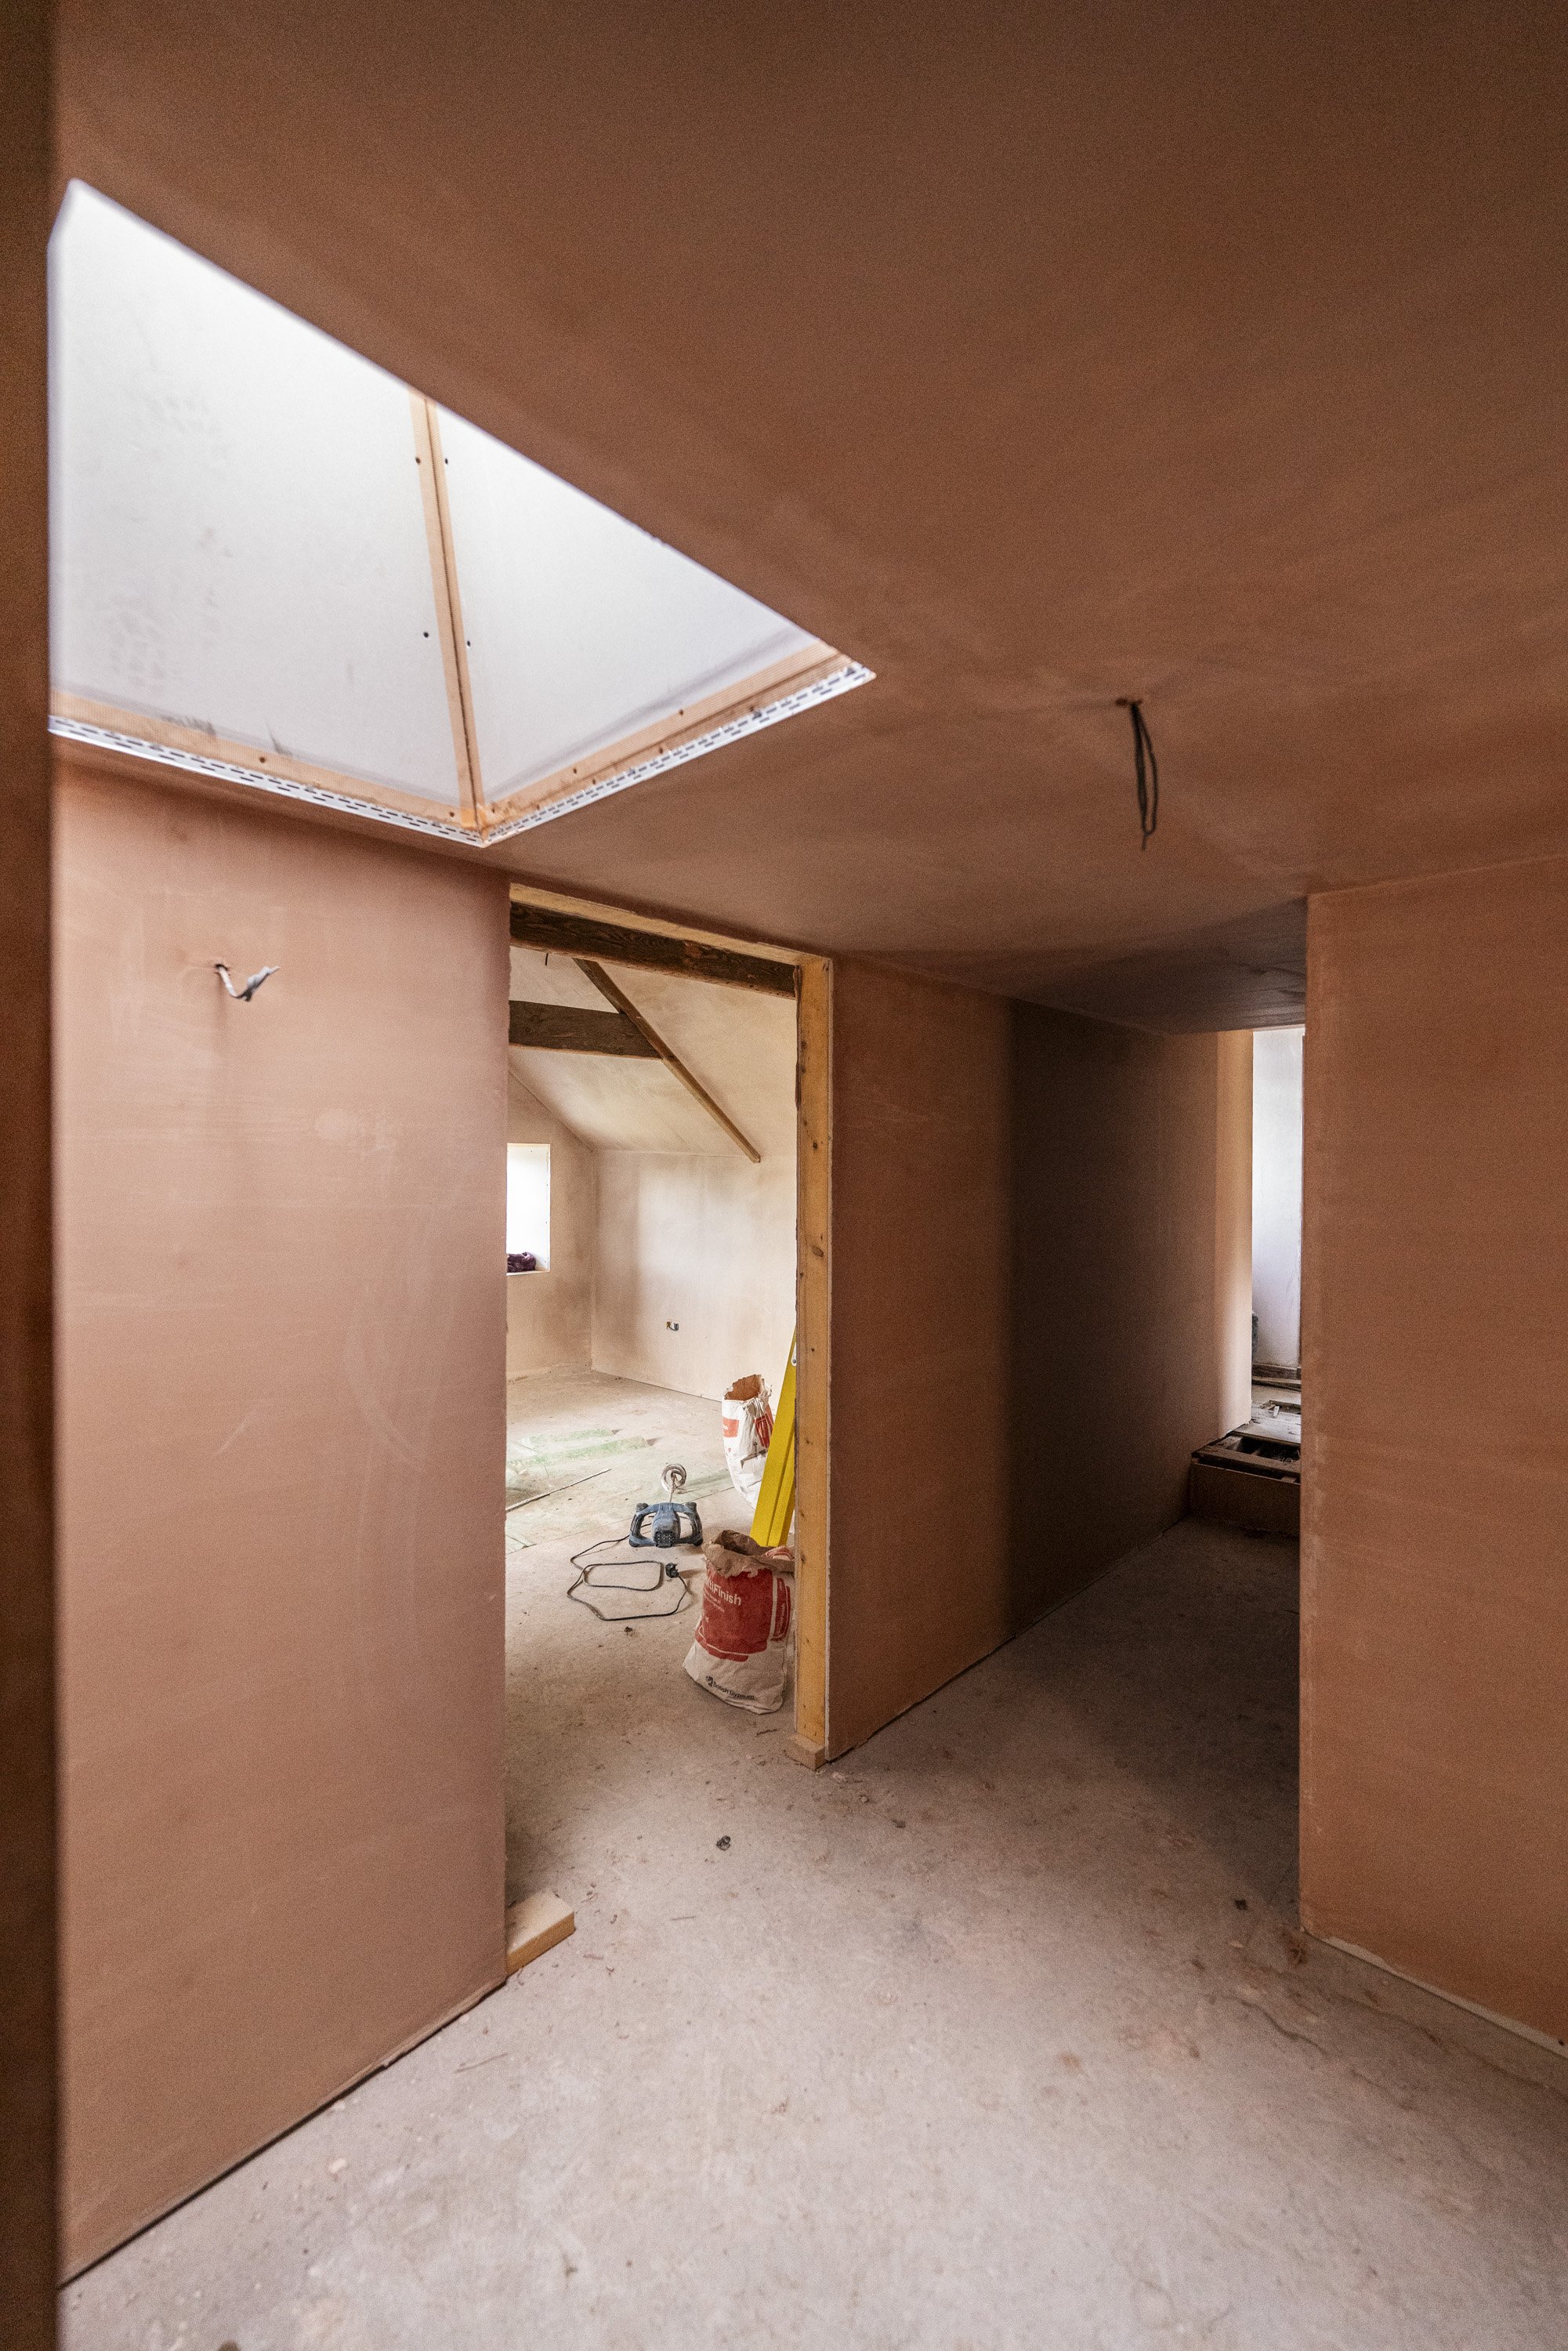
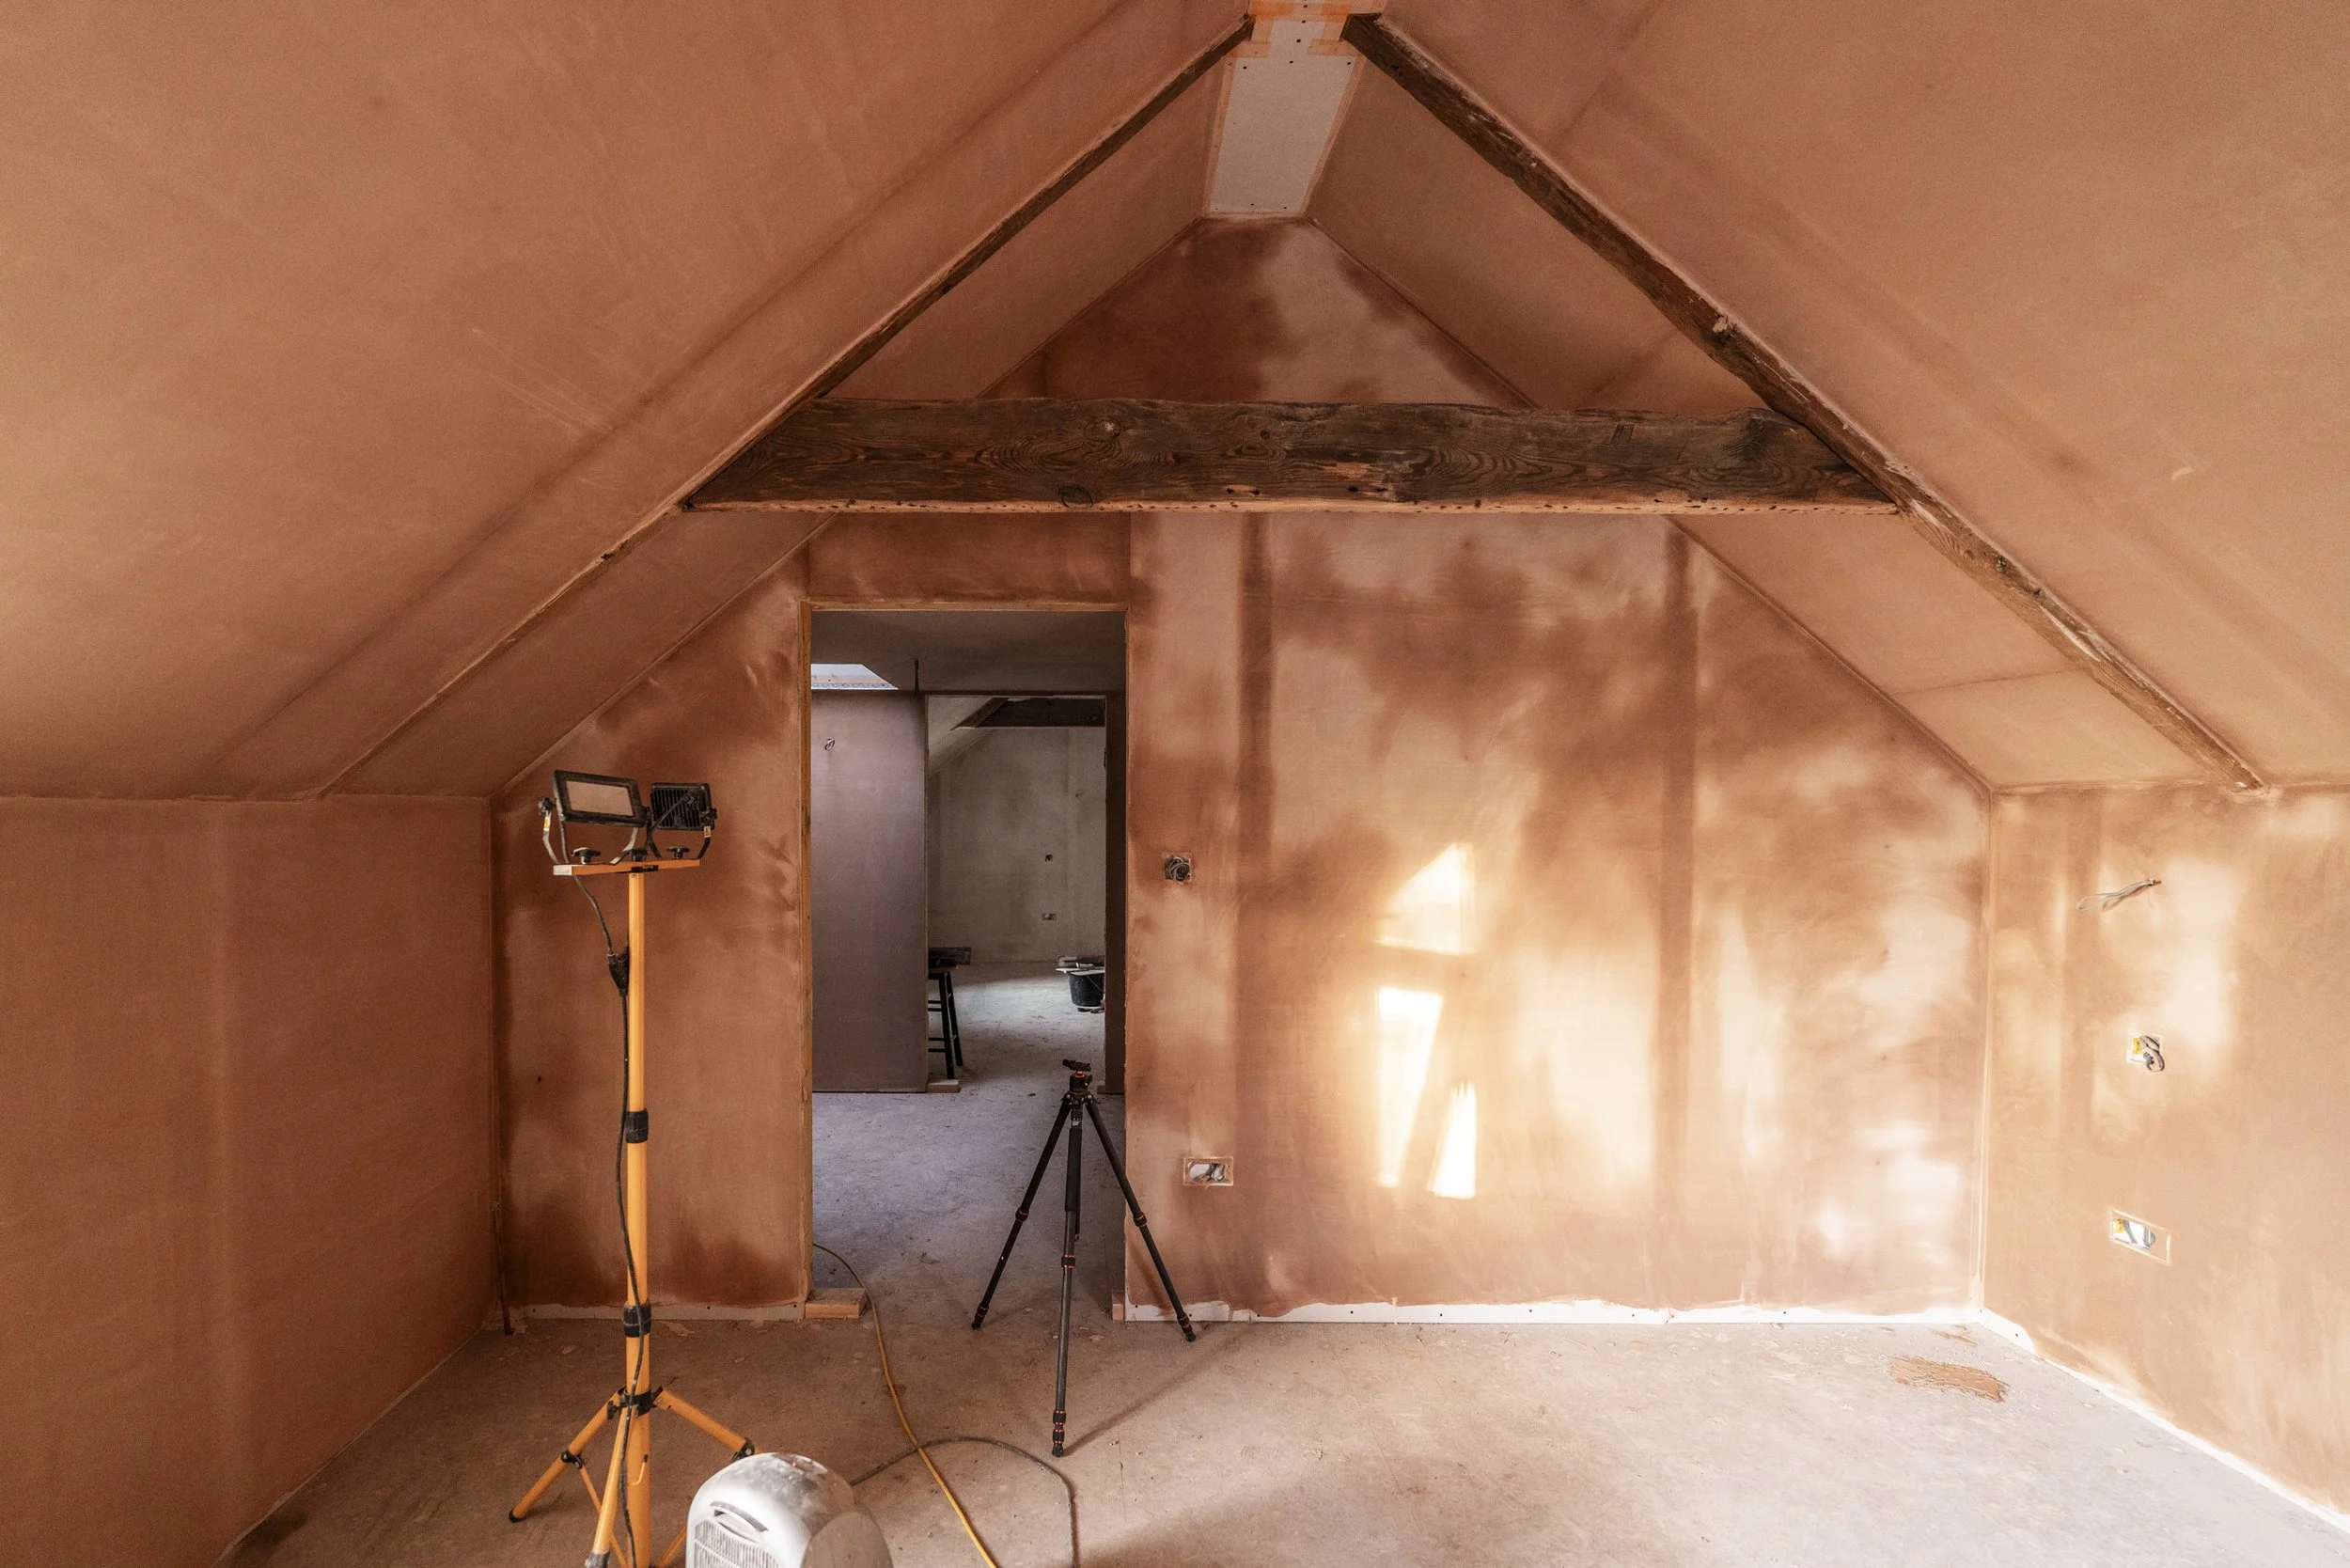
It was supposed to be plastering week, but that was not meant to be (stick with me here). However, he started with finishing up the insulation in the older parts (check September update for the plan here):
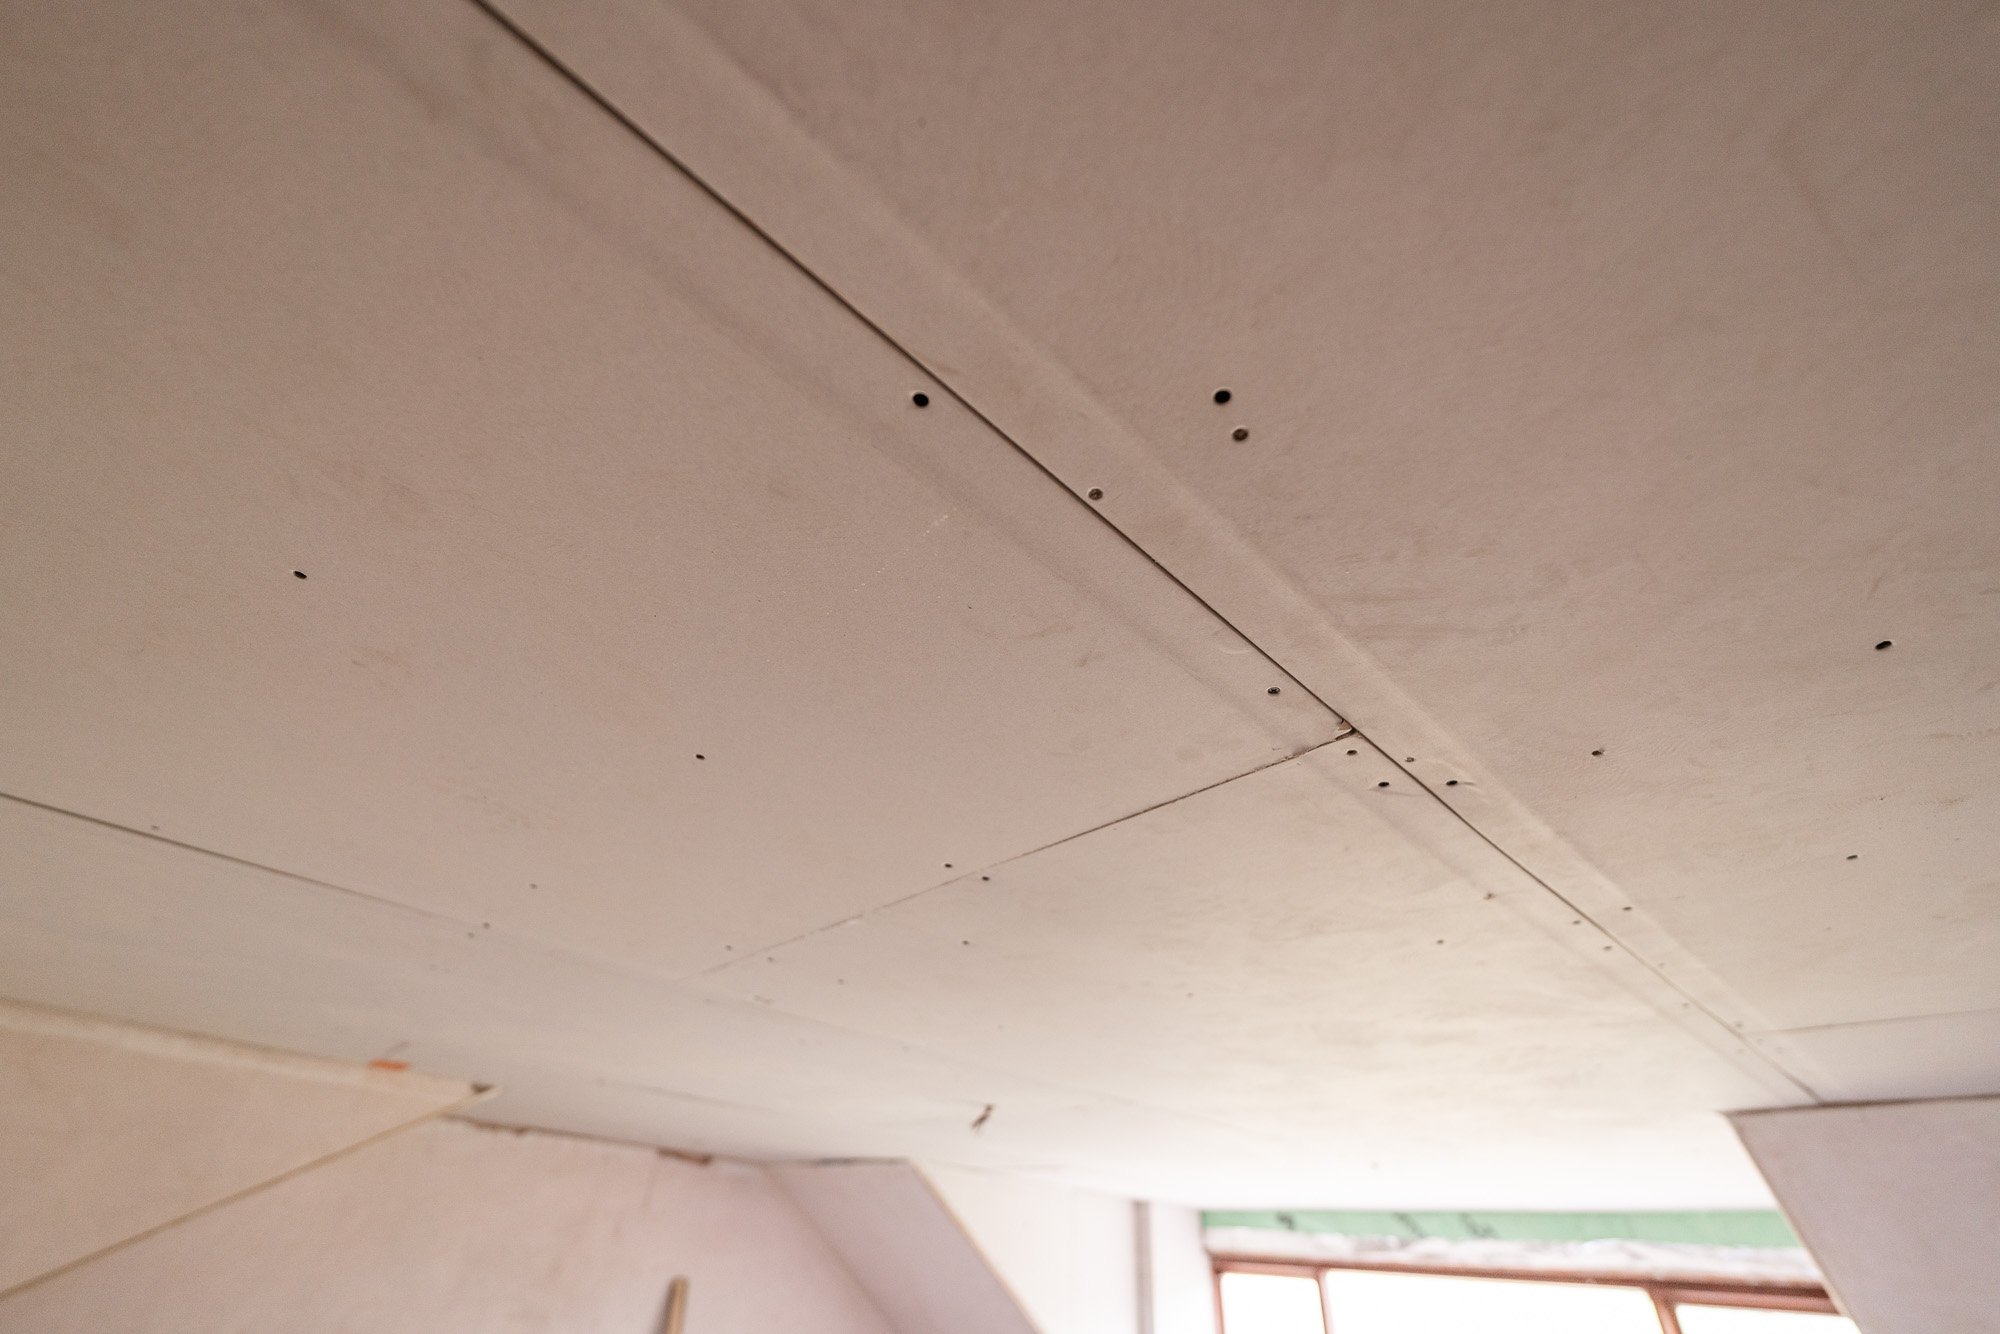
Dan also did have some scrim tape and beading already on site so he finished up in the middle section:


I need to circle back a little on what happened the week before, and I probably shouldn’t go through that here, but if I don’t, our random order of events and huge delays won’t make sense.
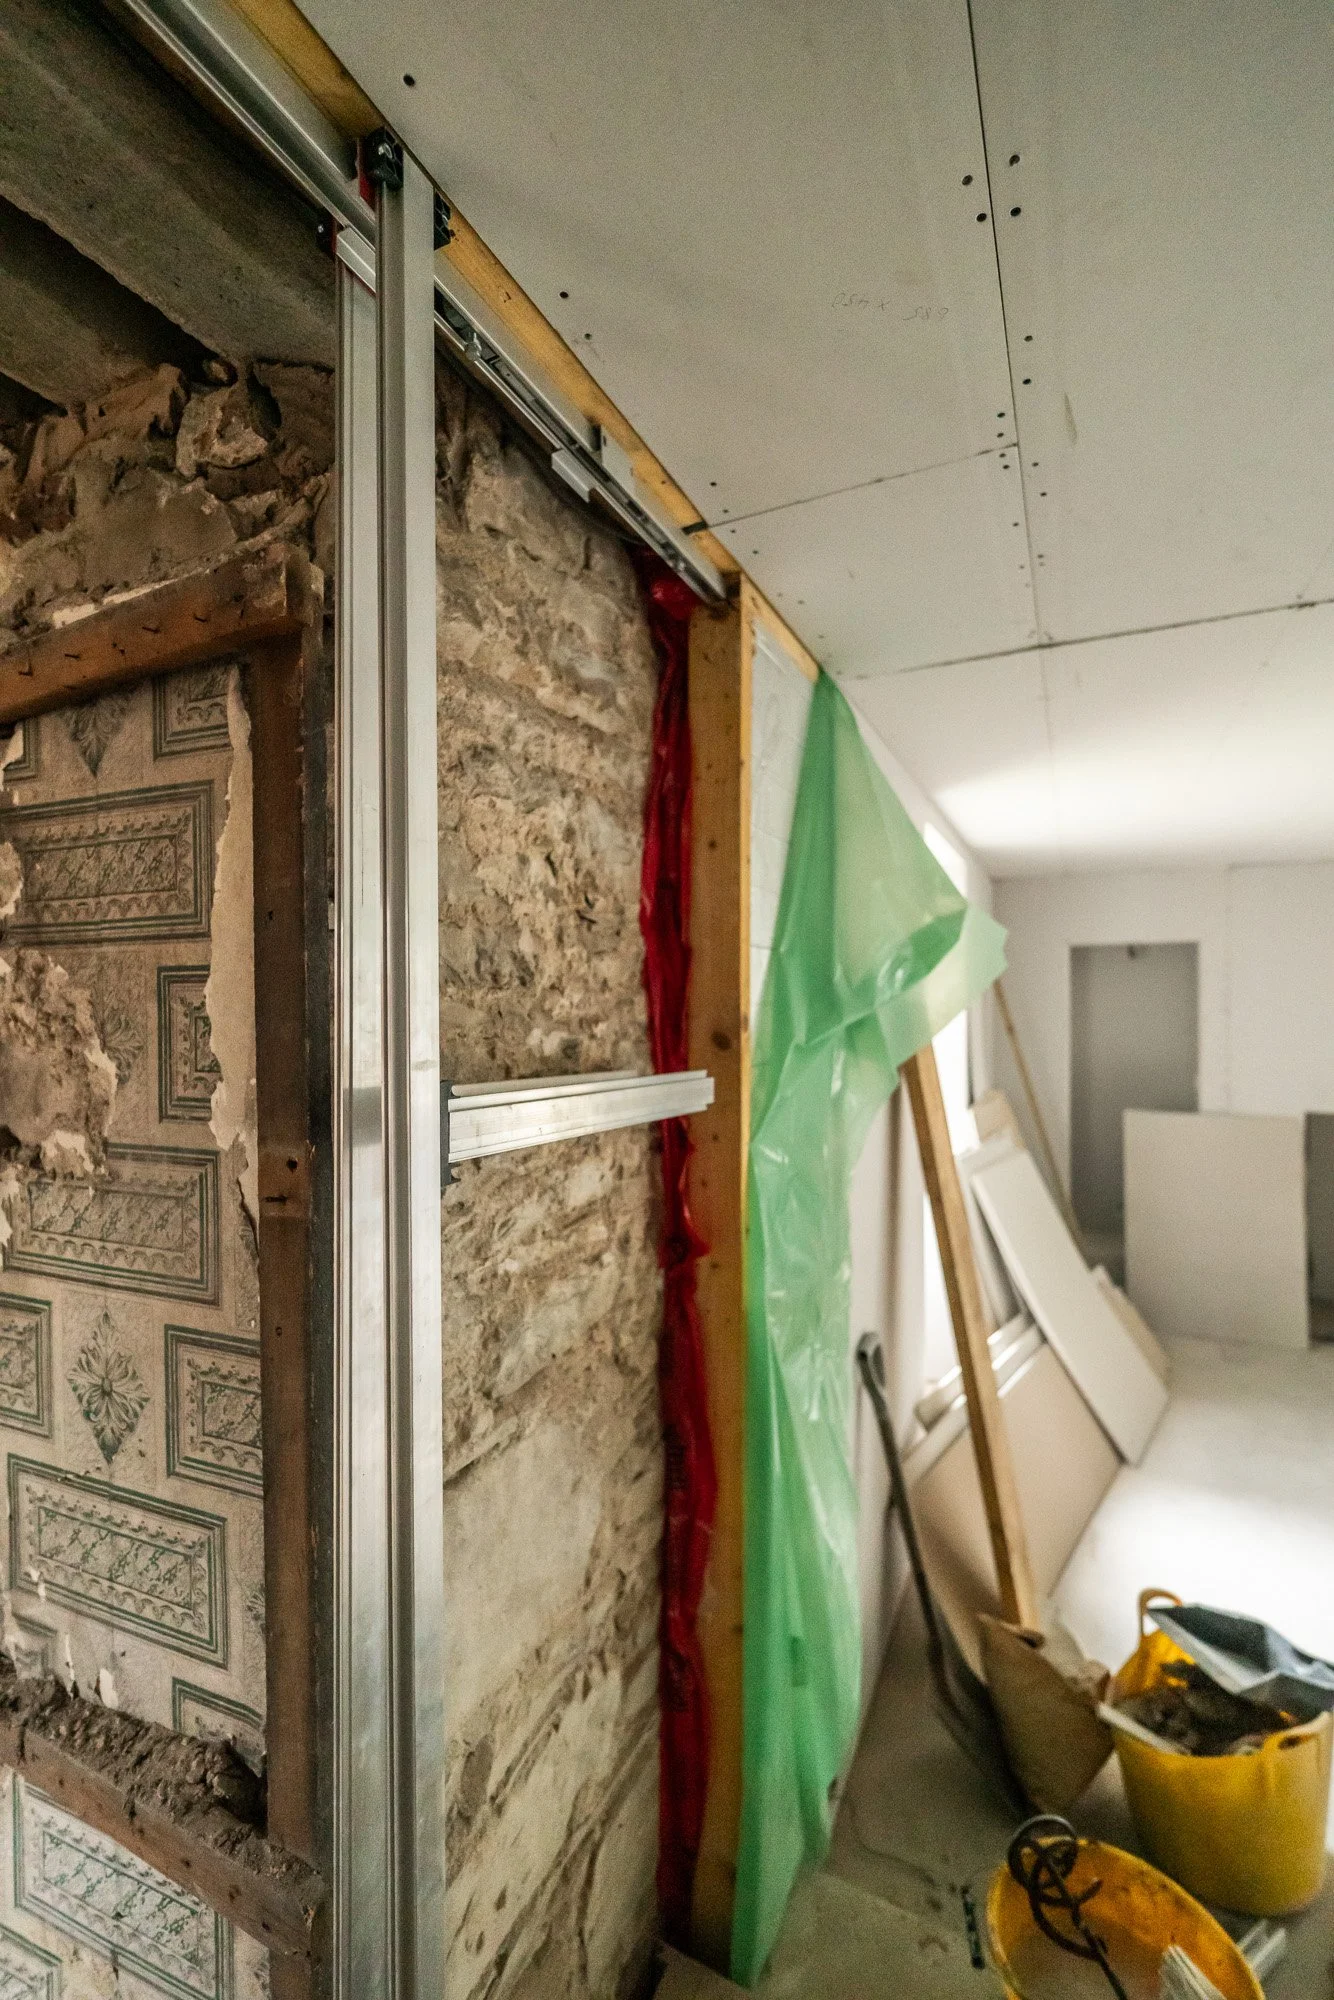
We went through the whole headache with the archway pocket door last time, but we hadn’t fully ended ties with the contractor. We have now, and I won’t get into that in too much detail, because I’m not here for that (not in writing anyway!), but my omissions should be clear enough.
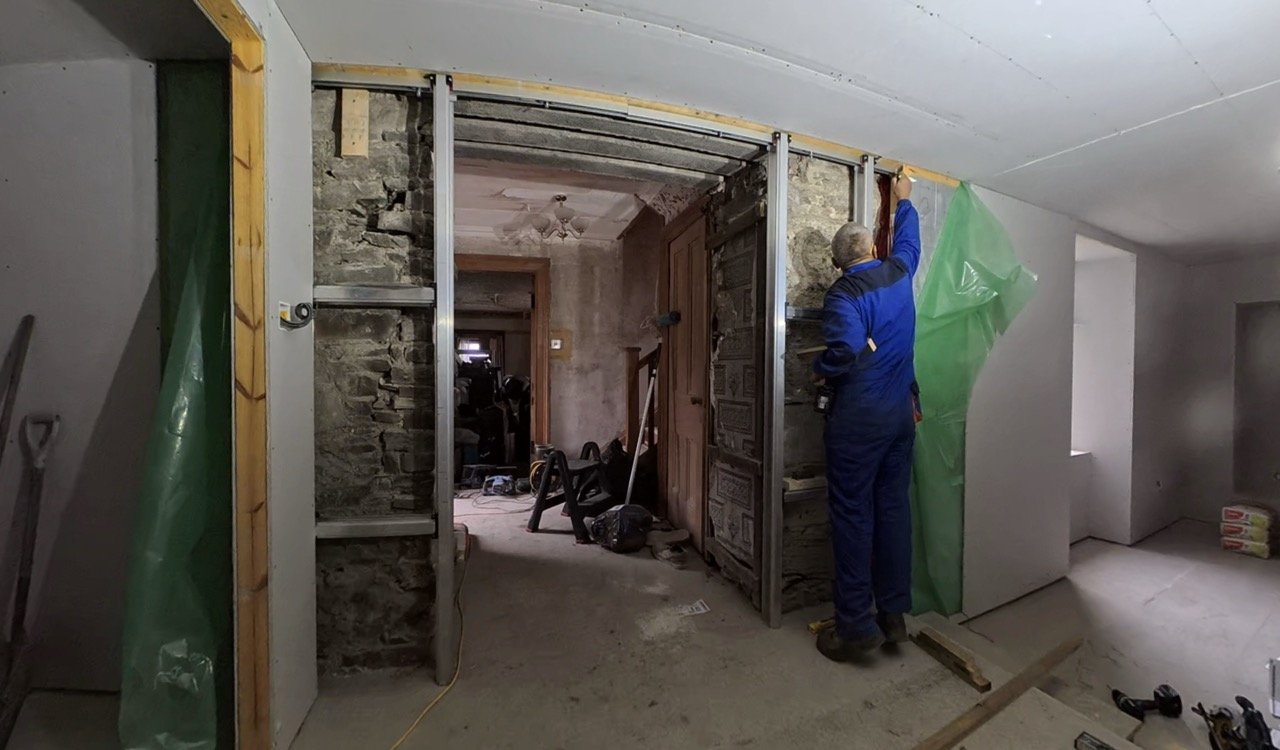
With delays and communication failings throughout, it shouldn’t really be a surprise that the lads cut one of the aluminium uprights a month or so back which meant the fairly pricey pocket door fixing kit no longer worked. Thankfully, the manufacturer, and the retailer, did us a solid and allowed me to purchase a replacement piece.
Dan did, however, fit as much as he could of the kit as he could until that upright was essential. We’ve been round the houses on sealing that cavity around this pocket system, because it’ll be an issue later on. Therefore, we’ve gone with a fire sock (is that the right term?!) on each side. The replacement upright arrived on Saturday, so we can get this ready ASAP.
The actual doors to go in here will not feature an arch at all, but they are really clean and simple, with extra little details, and they’ll get added in closer to Christmas. Because the arch won’t be an arch, we can do a retrospective door hanging ceremony, rather than have to wait. This is a mega win to the timeline given the absolute distaster this opening has been from start to finish.
I’m actually really glad to have a plan and a timeline for this, as well as some new suppliers locked in with made-to-measure doors ordered, all in 3 days on my end (Wed-Sat).
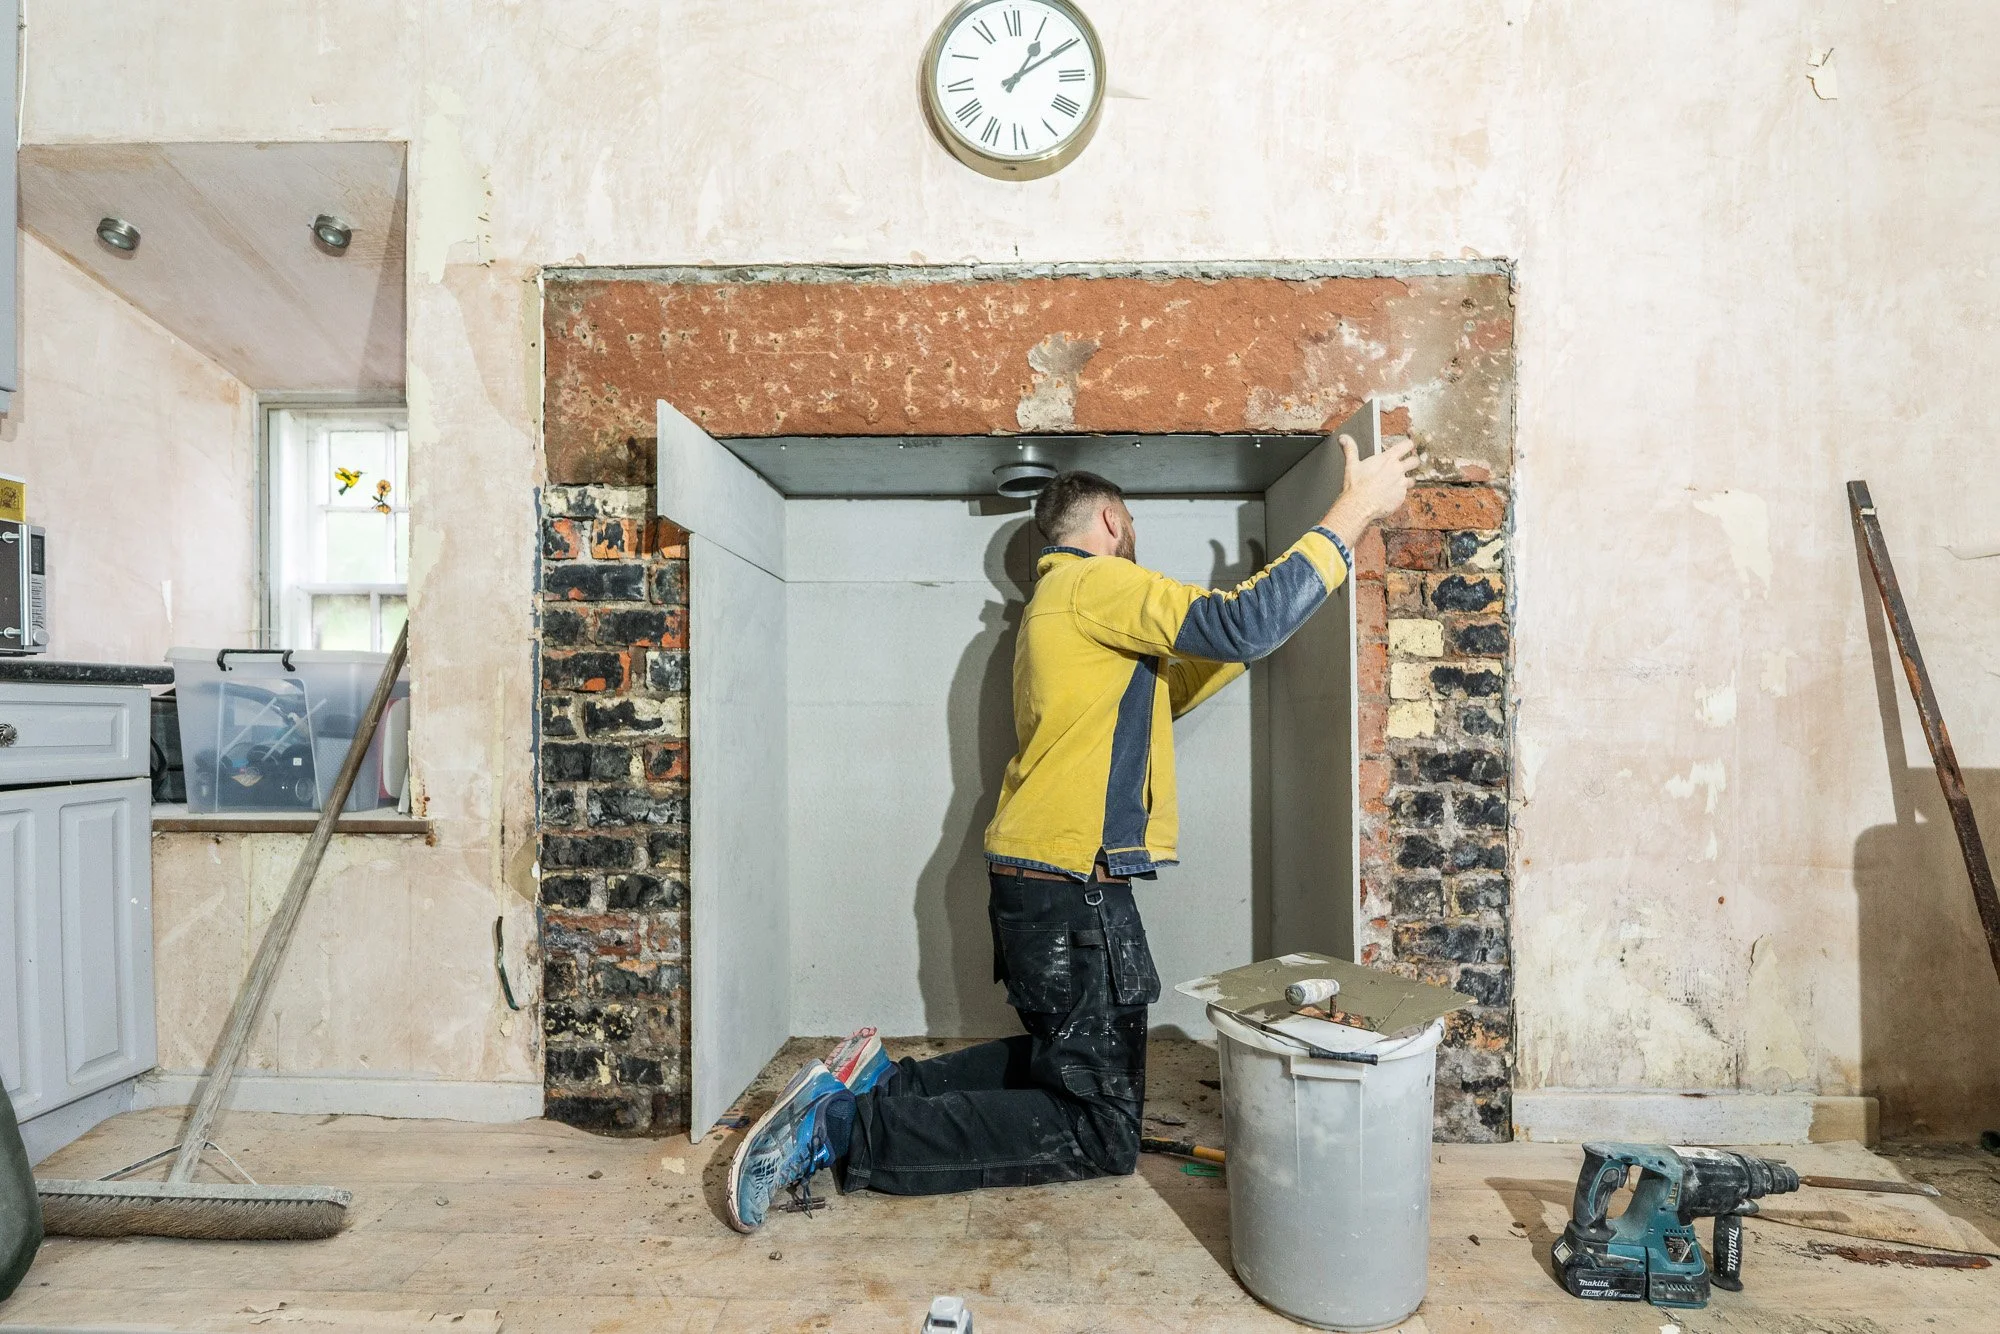
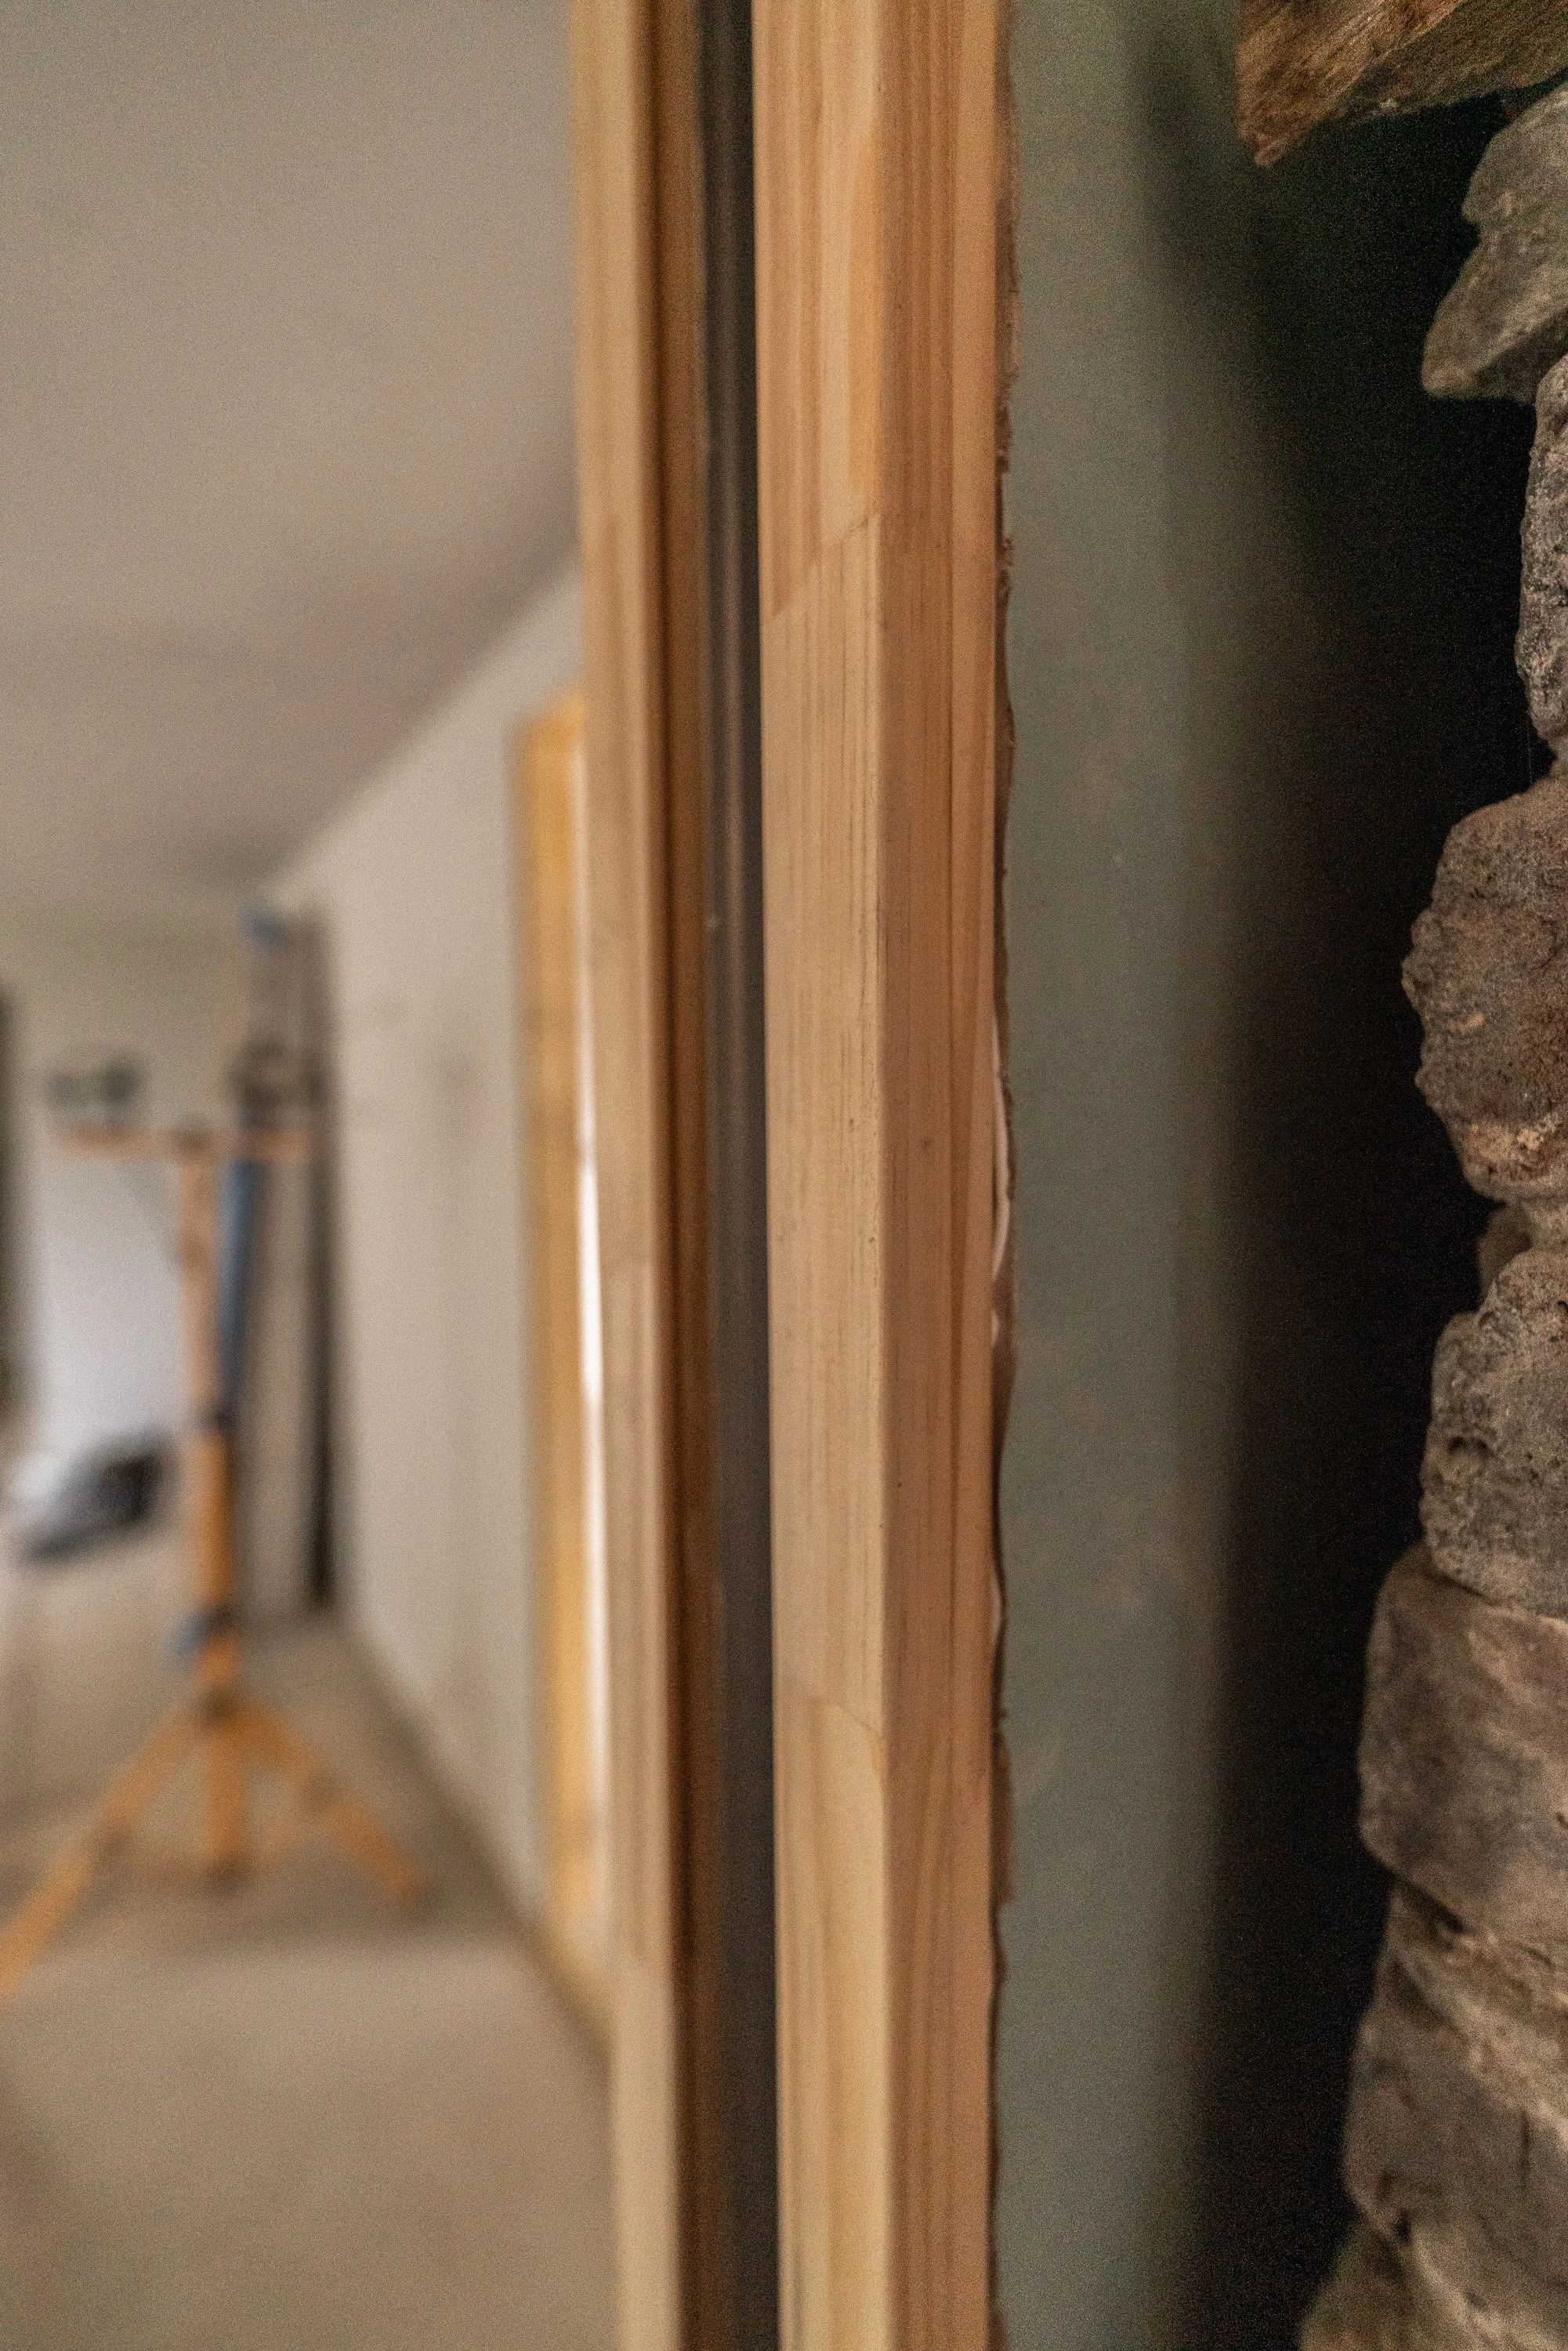
Another bit Dan tackled was the fire boarding. It needed some additional treatment, and Dan cracked on with this - it didn’t take very long at all. Because the opening is gargantuan, a single board wouldn’t do the job in the kitchen (future utility room), so a fairly haphazard method has been applied and to be fair, it’s finished up quite well! An earlier step in the process is shown here:
Undoing of progress bits:
And then, Amy came.
Storm Amy had to arrive and kill the party, didn’t she?! They could not have picked a more bizarre name for a storm that threw nearly 100mph winds at the west of Scotland, but where we were, the gusts were around 70mph. We’ve dealt with worse and to be honest, we came out unscathed. From the wind at least.
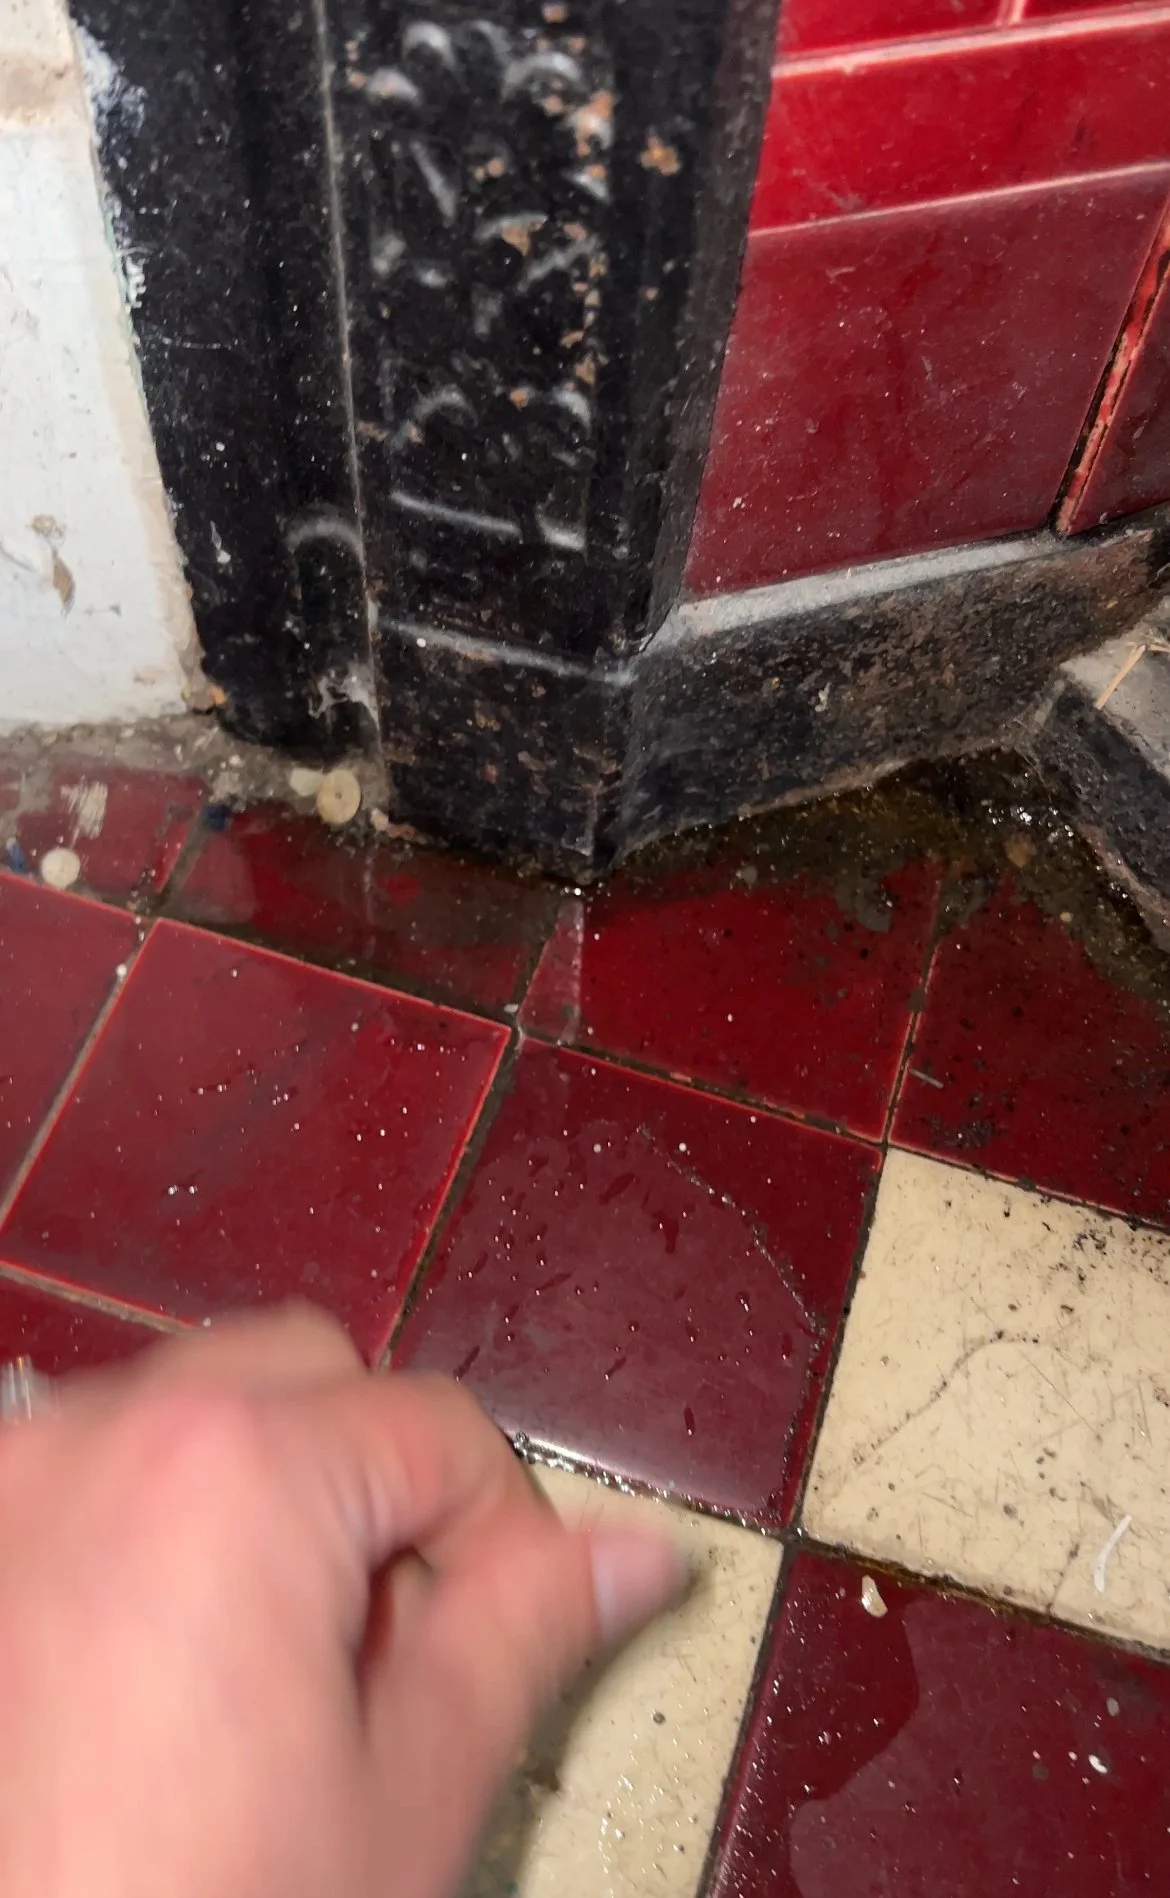
On Friday morning, after a deluge but before the worst of the storm was due to hit, Dan noticed water on the southernmost fireplaces. For a geographic reference, this is in the newer bit (later 1800s, not the middle section!), but the walls here all face the worst of the weather, and the weather was grim. Here’s a screenshot from a video.
This fireplace is upstairs, and there is no chimney for it on the roofline, but the flue is still connected to the main chimney stack. Water had come into the actual fireplace (down the flue) and we assumed that was it.
The contractors had added lead to the top of the chimney stacks with scaffolding that is still there, along with replacing some very, very, broken stone and cement on the top of the stack itself. We’d estimate that this entire wall, and specifically the chimneys, had been leaking for years, if not decades.
Alongside the stack work, the contractors were also enlisted to do repointing, which was, frankly, a disaster from start to finish. Both Dan & I, as well as the lead contractor, knew the work wasn’t right, so I don't feel that’s a secret I can’t share.
From the wrong products to incorrect application and lots of missed bits, we asked them to stop, and we’ll do it ourselves next year. That was about 4-5 weeks ago, ish?
^ That is all I’ll say about this whole part of the job (the repointing). It was started, it was a failed project, and we’re now sadly out of time to repoint properly this year.
That left us where we’re at now, which was that most of the holes were at least partially filled, or fully filled (some of them were HUGE, like 6-9 inches across huge) and although it really doesn’t look pretty, we figured we might just make it through winter.
I can confirm, without a shadow of a doubt, that south west driving rain at 20mm+ an hour is too much for the repaired bits, and some missed tiny holes, to manage. This is not a surprise for either of us, because we knew Dan needed to go back round the house anyway to patch up bits, but we weren’t quite expecting what happened next…
Meet the chimney that leaked:


The SPEED the water was coming in, it was insane! This, my friends, is what you need to prepare for it you leave some little holes in your walls. Clearly this path of water entry isn’t new though, because she’s travelling through very thick stone walls at speed and there must be a fairly well-worn path of no resistance to get inside this quicky. You have no idea how fun it was to change capture vessels at warp speed 😅
Honestly though, it looks bad, but it’s no drama (we’re getting good at this now, aren’t we?!).
With the scaffolding still up, a lull in the storm gave Dan the opportunity to check the stack, the cowl and the pots. The cowl was fine, though water was going into the pot, and the flue liner was slightly tipped, giving a straight line down for water to enter there. That ticked off one entry point, which is easy enough to fix. As a temporary measure, we did bag the pot to ride out the rest of the storm, so we’ll be looking at some different cowls to help us with water ingress there.
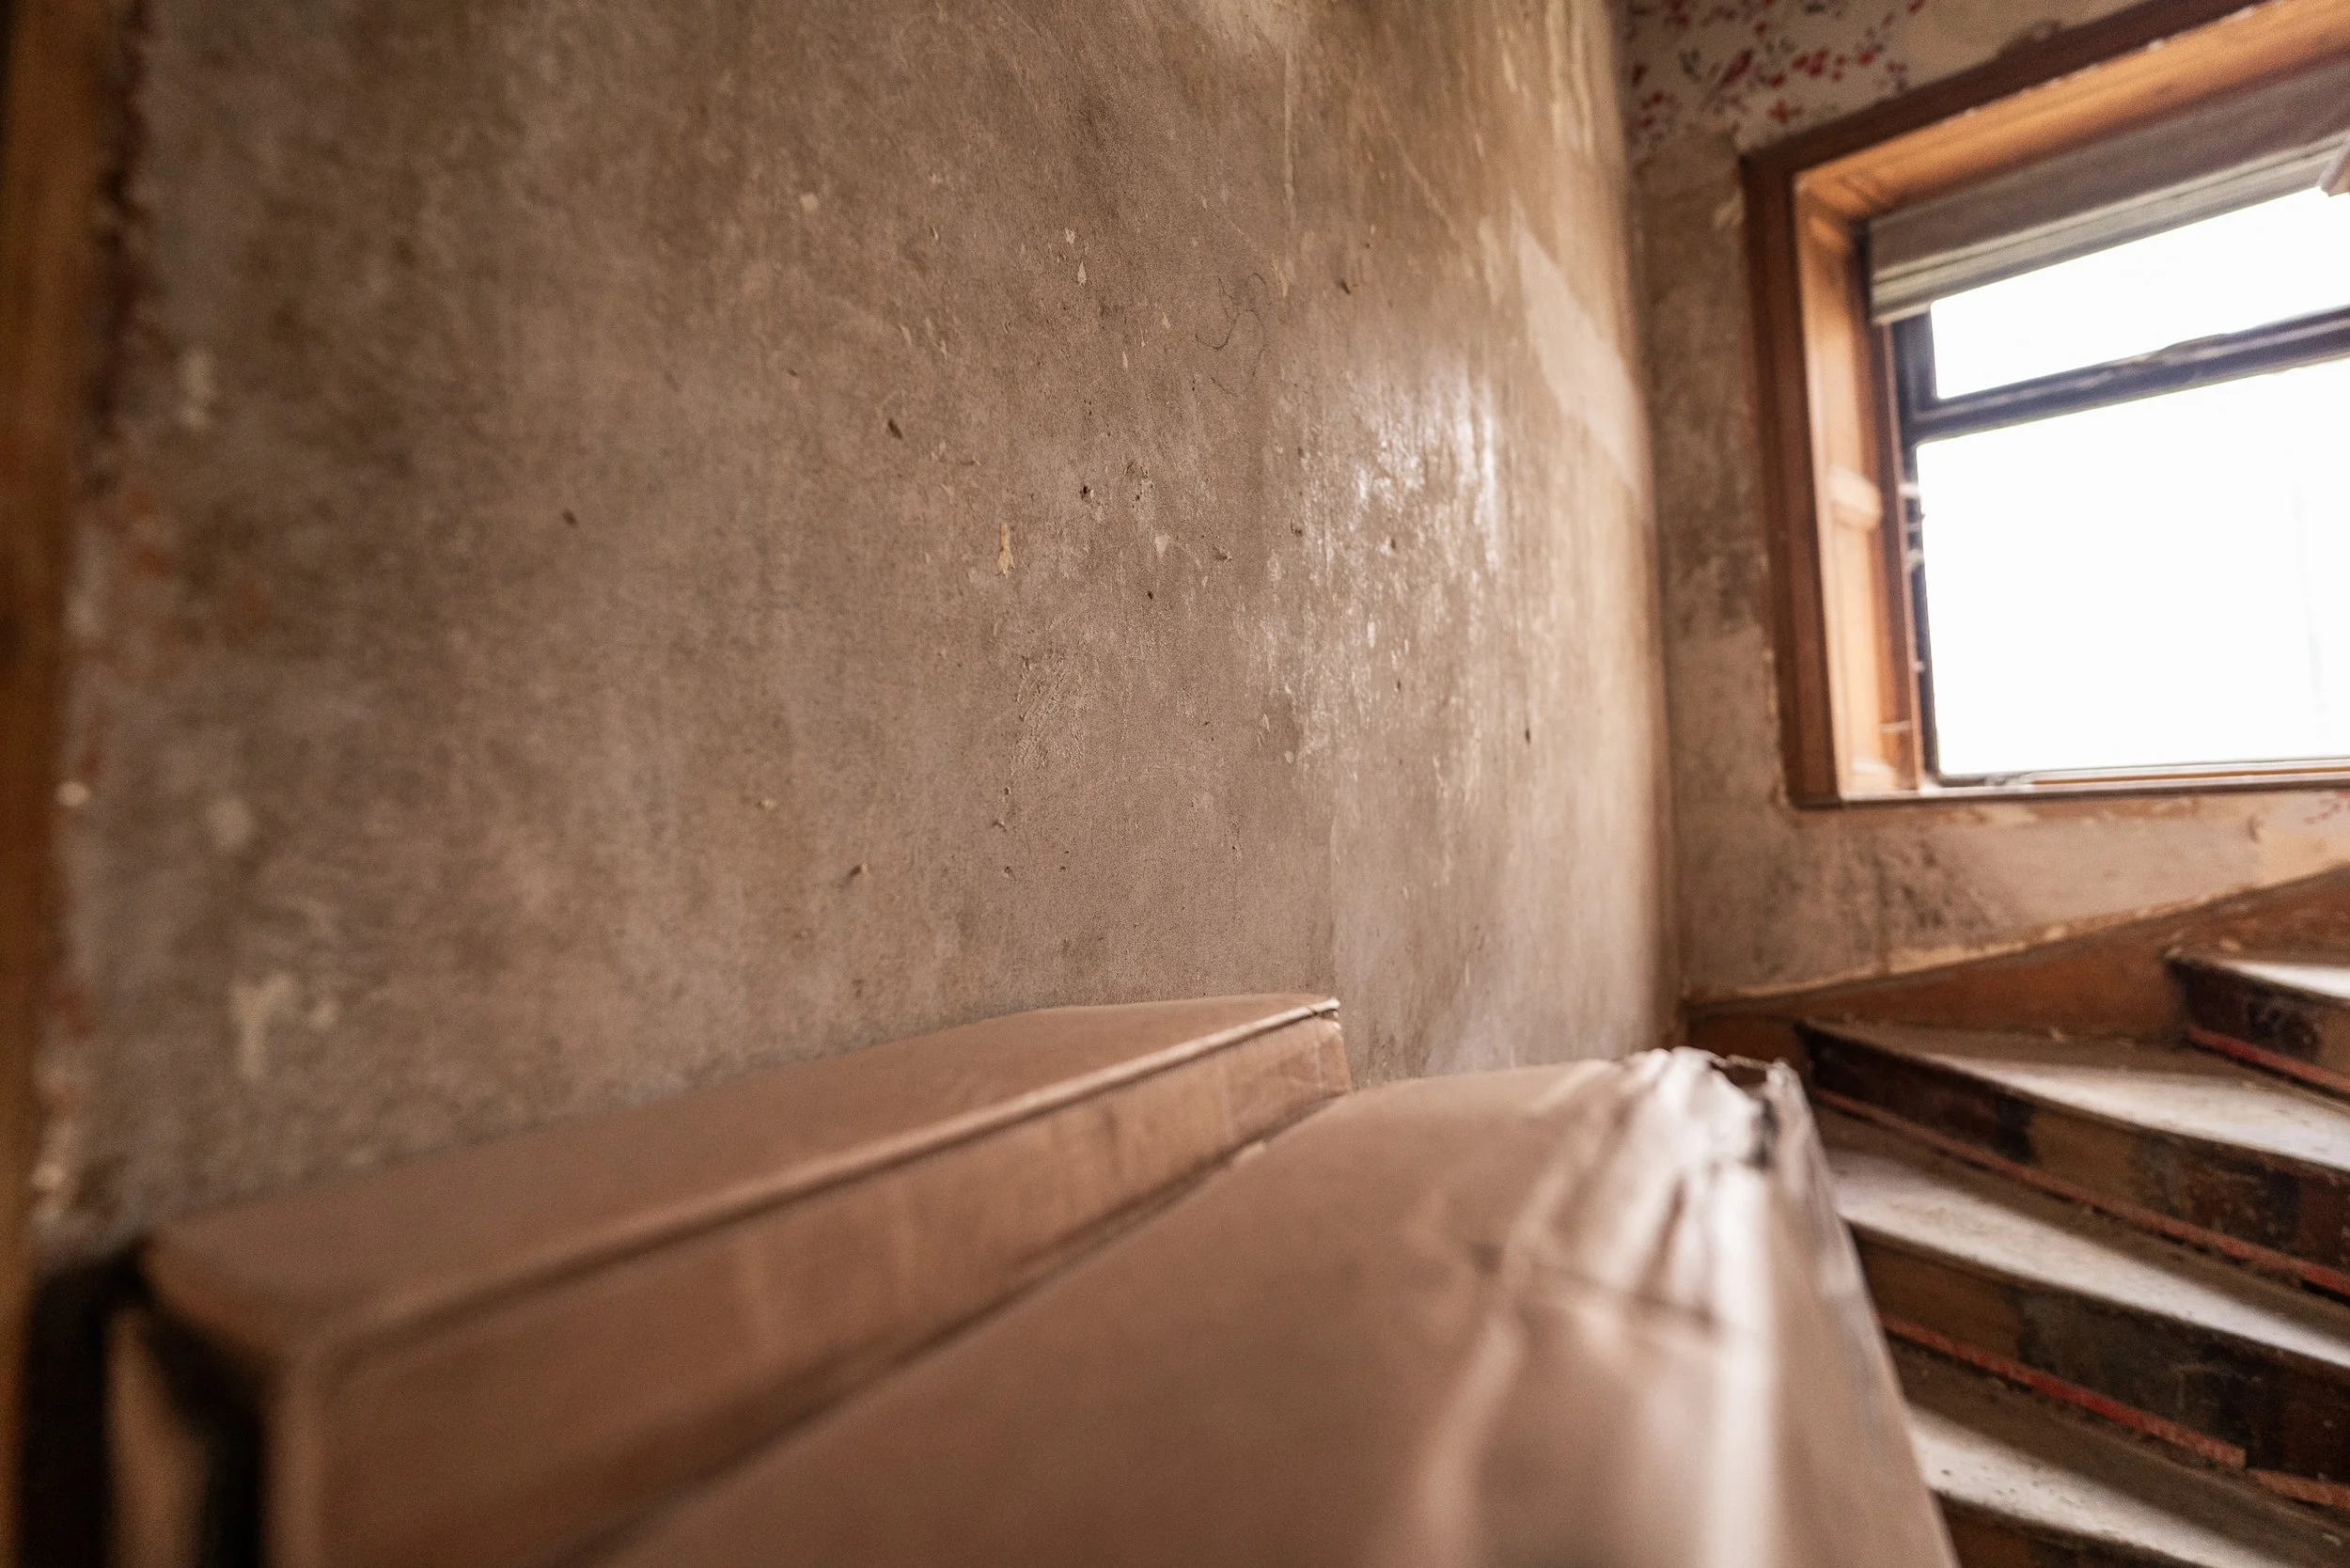
To narrow down the source to the wall and not the roof, Dan did some more demo to see if the internal wall upstairs was damp, wet, or otherwise compromised. There was a “tide line” on the wall, but we weren’t 100% sure if it was old or new. We can confirm that the tide line and mould was old (see the red paper near the peel line), the lath and stone were bone dry.

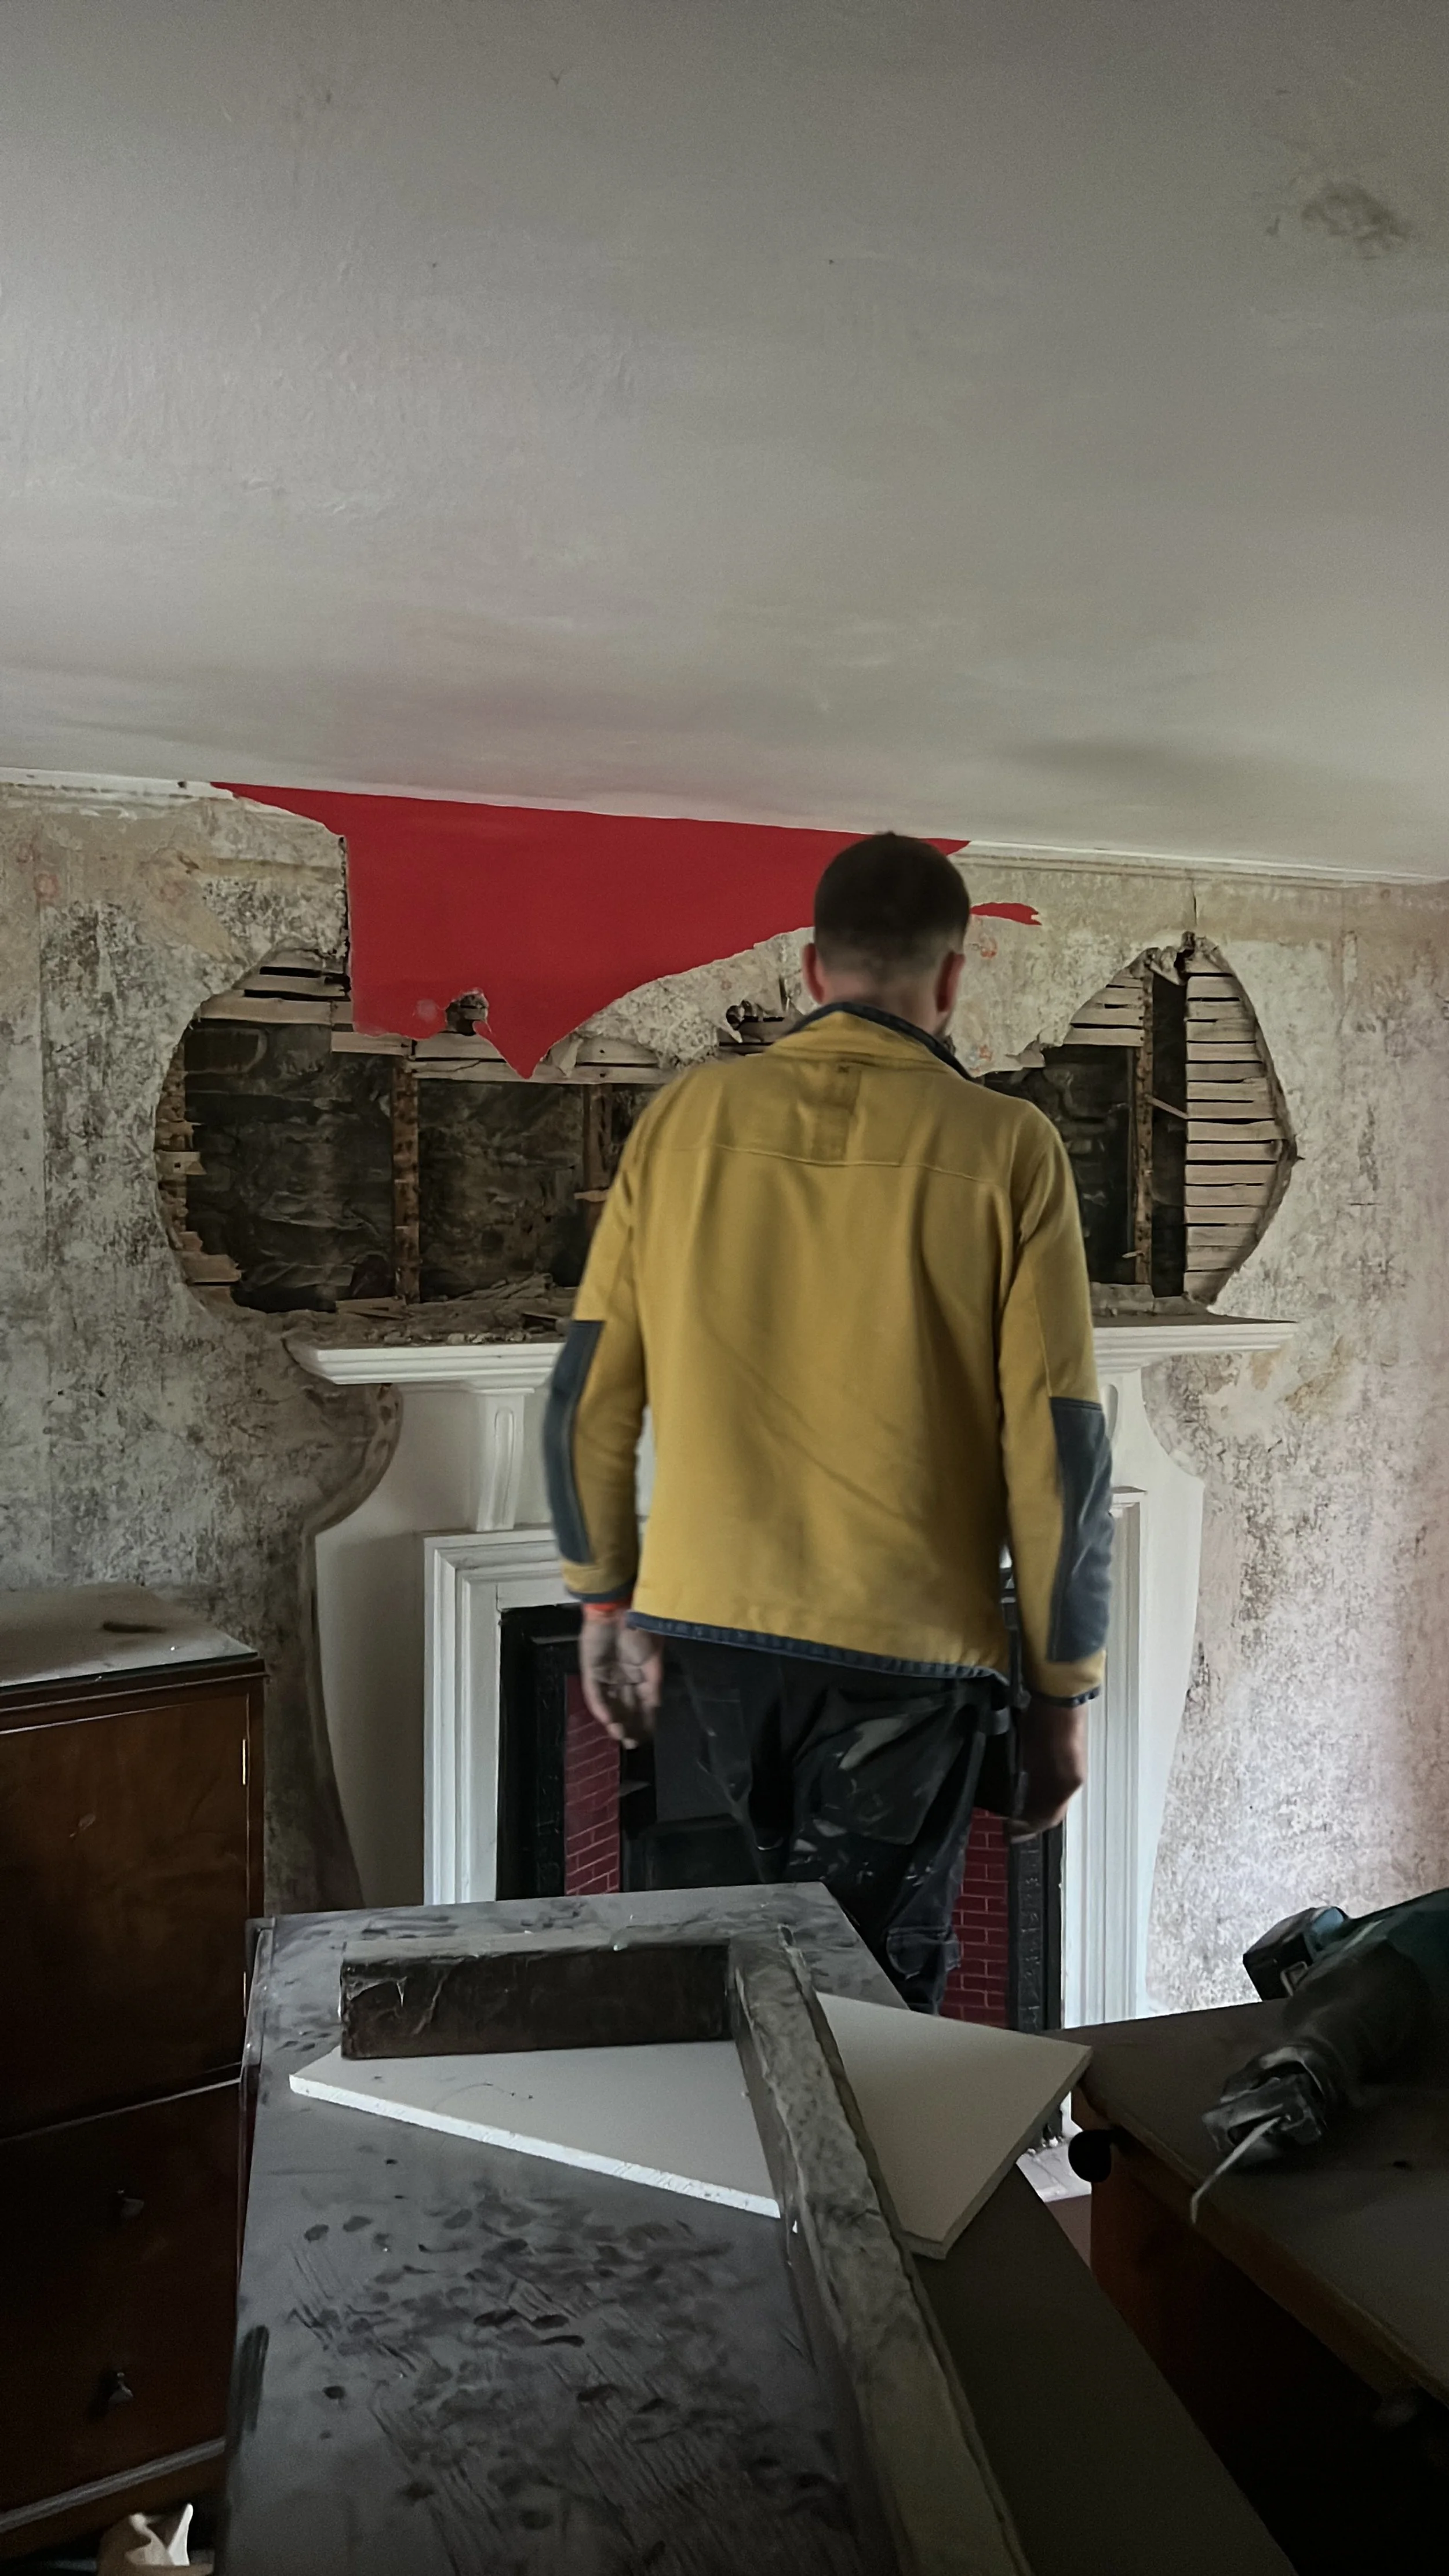

Kind of annoying that we’ve just lopped some of that wall out to see if the roof is fine, because we were going to use the existing wall lining for now, but hey, another patch up for Dan to do, no problem.
After the cowl/pot entry for a bit of rain, the second and main entry point is also no surprise really - the poor pointing on the south gable.
With the help of a hosepipe and post-storm dryness, Dan and I blasted the gable and stack in semi-controlled sections to find the source of our tap. We can confirm that it wasn’t the roof, or the upper stack, it was some poor pointing on the gable, conveniently located in a channel of stone faces to funnel all the water running down the wall straight into the building - hence the volume, and speed, of the entry.
In the gables defence, the rain was biblical: the bottom yard flooded, the local roads flooded, the fields flooded - it all flooded - in the space of 2.5 hours.
It’s unlikely that we’ll get rain like Amy’s again any time soon, but having holes in your wall where we live is a bit of a problem. Therefore, we’ve made some project adjustments, and Dan is on repointing the major emergency bits before the frosts with plastering passed to two of the nicest people we’ve met since being up here. Yay for us.
There is the constant question of “is repointing enough” up here, and we still don’t know - we’ll have to see. We said we’d give it the winter, and we will. It’ll either be a case of it survives the weather or not. And if not, lime wash, render or similar are all options on the table, but that’s a table we can leave alone for now.
Whilst running to empty vessels and checking on our internal water feature (downstairs fireplace only this time), Dan and I kept in high spirits checking the animals and posting on Instagram. Because why not, right?!

Weirdly, although this week sucked in project Farmhouse land, we both feel oddly positive. Dan wanted me to pick a colour for the kitchen fireplace (it will be painted for now) and we both joked that bright orange would be a good idea. Given Amy, I totally forgot about this mission and therefore when Dan was in the paint shop, he needed an answer there and then.
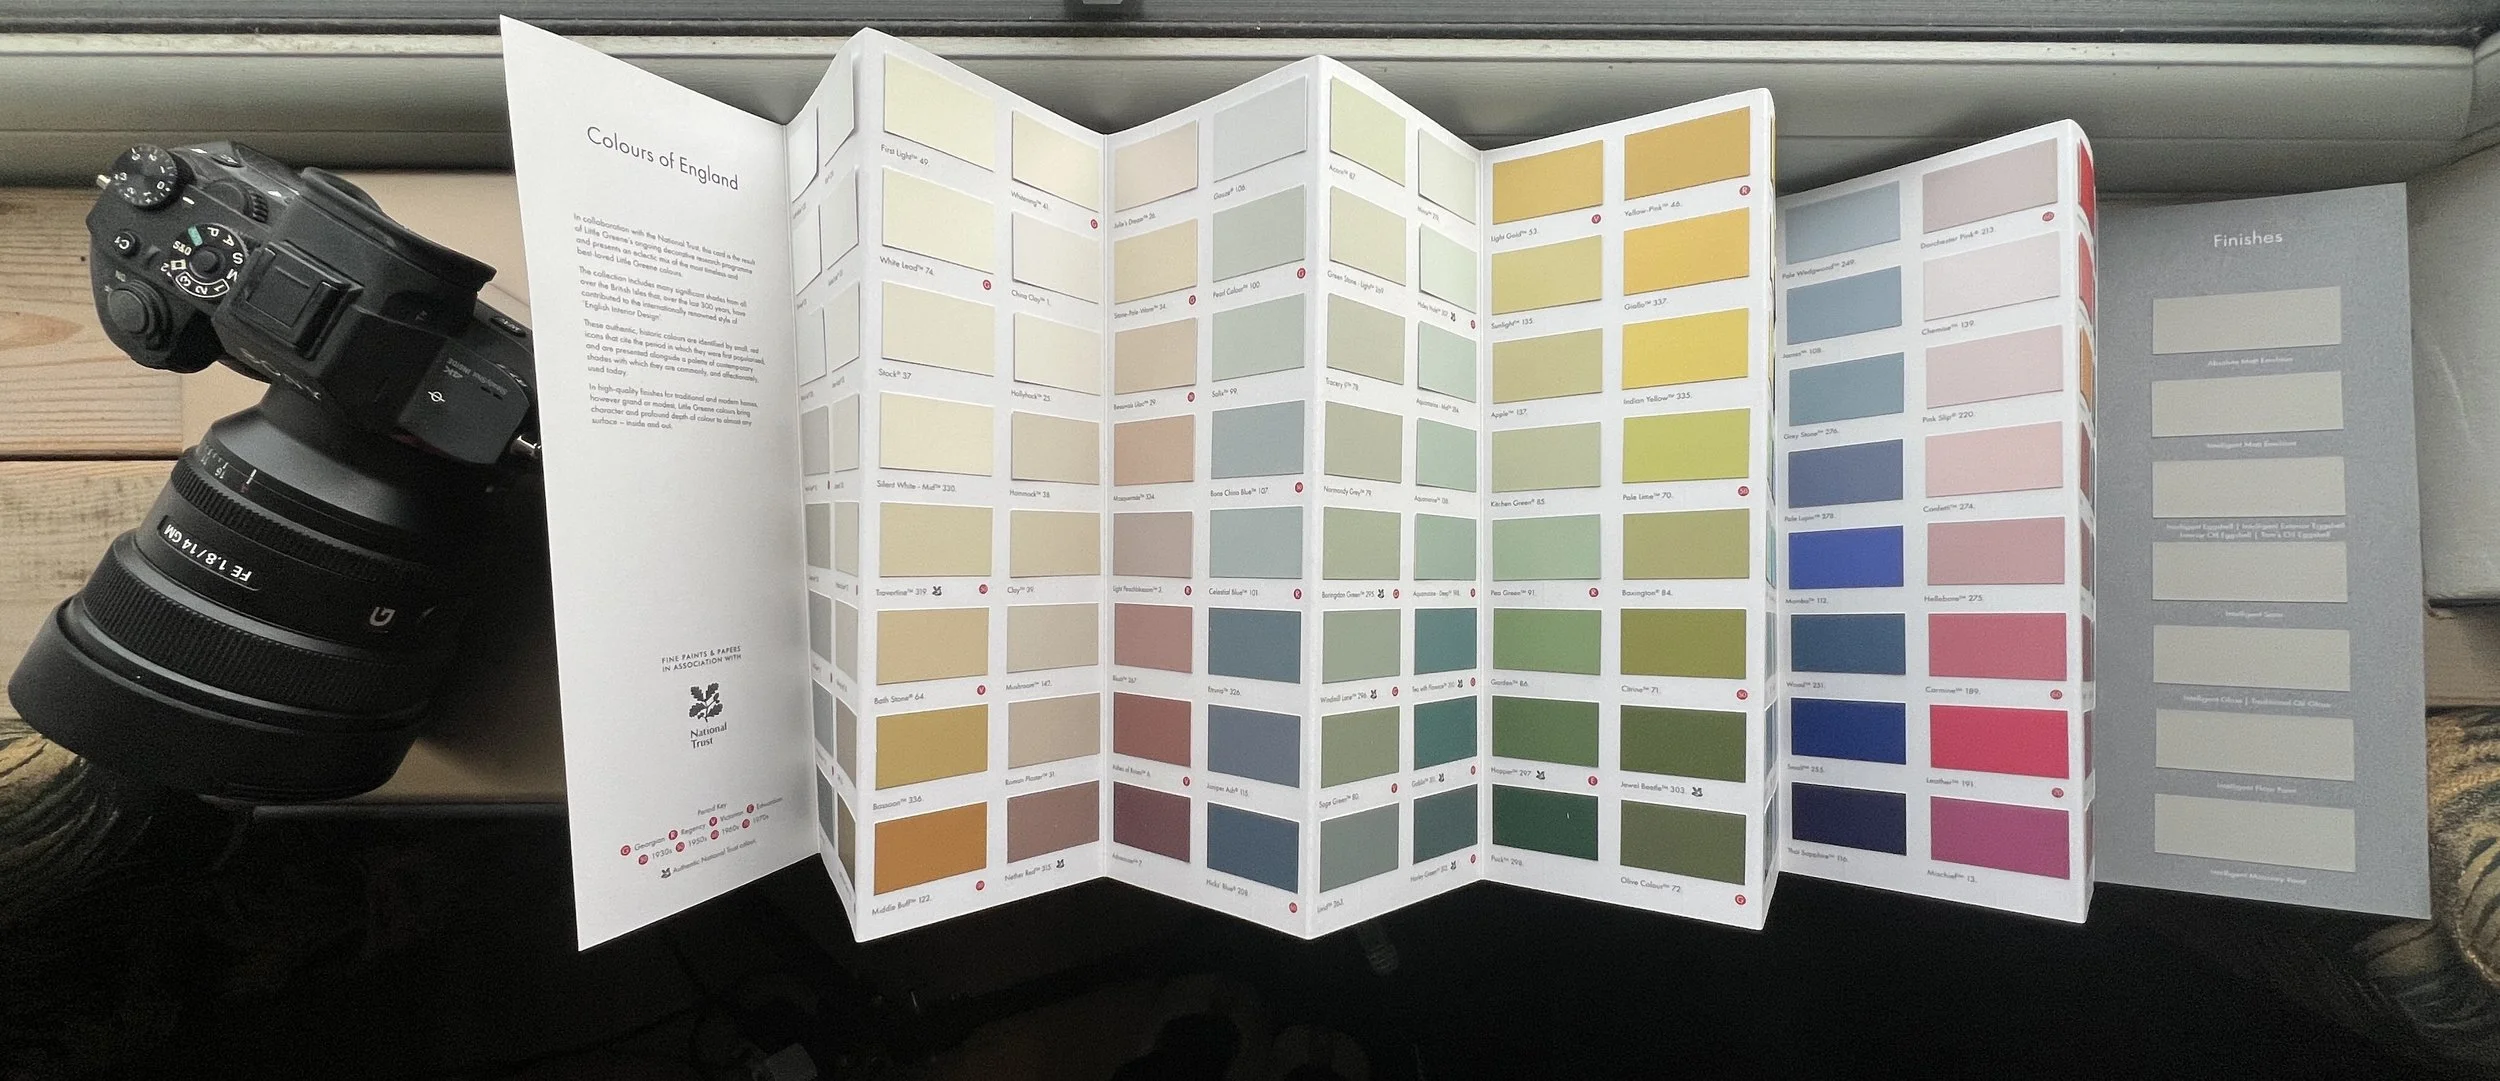
Therefore, meet our new fireplace colour, Marmelo, by Farrow & Ball - it looks a LOT more orange in real life (swatch on the old plaster to the right). A strange harmony exists between the red sandstone and this colour though, which is kinda cool.
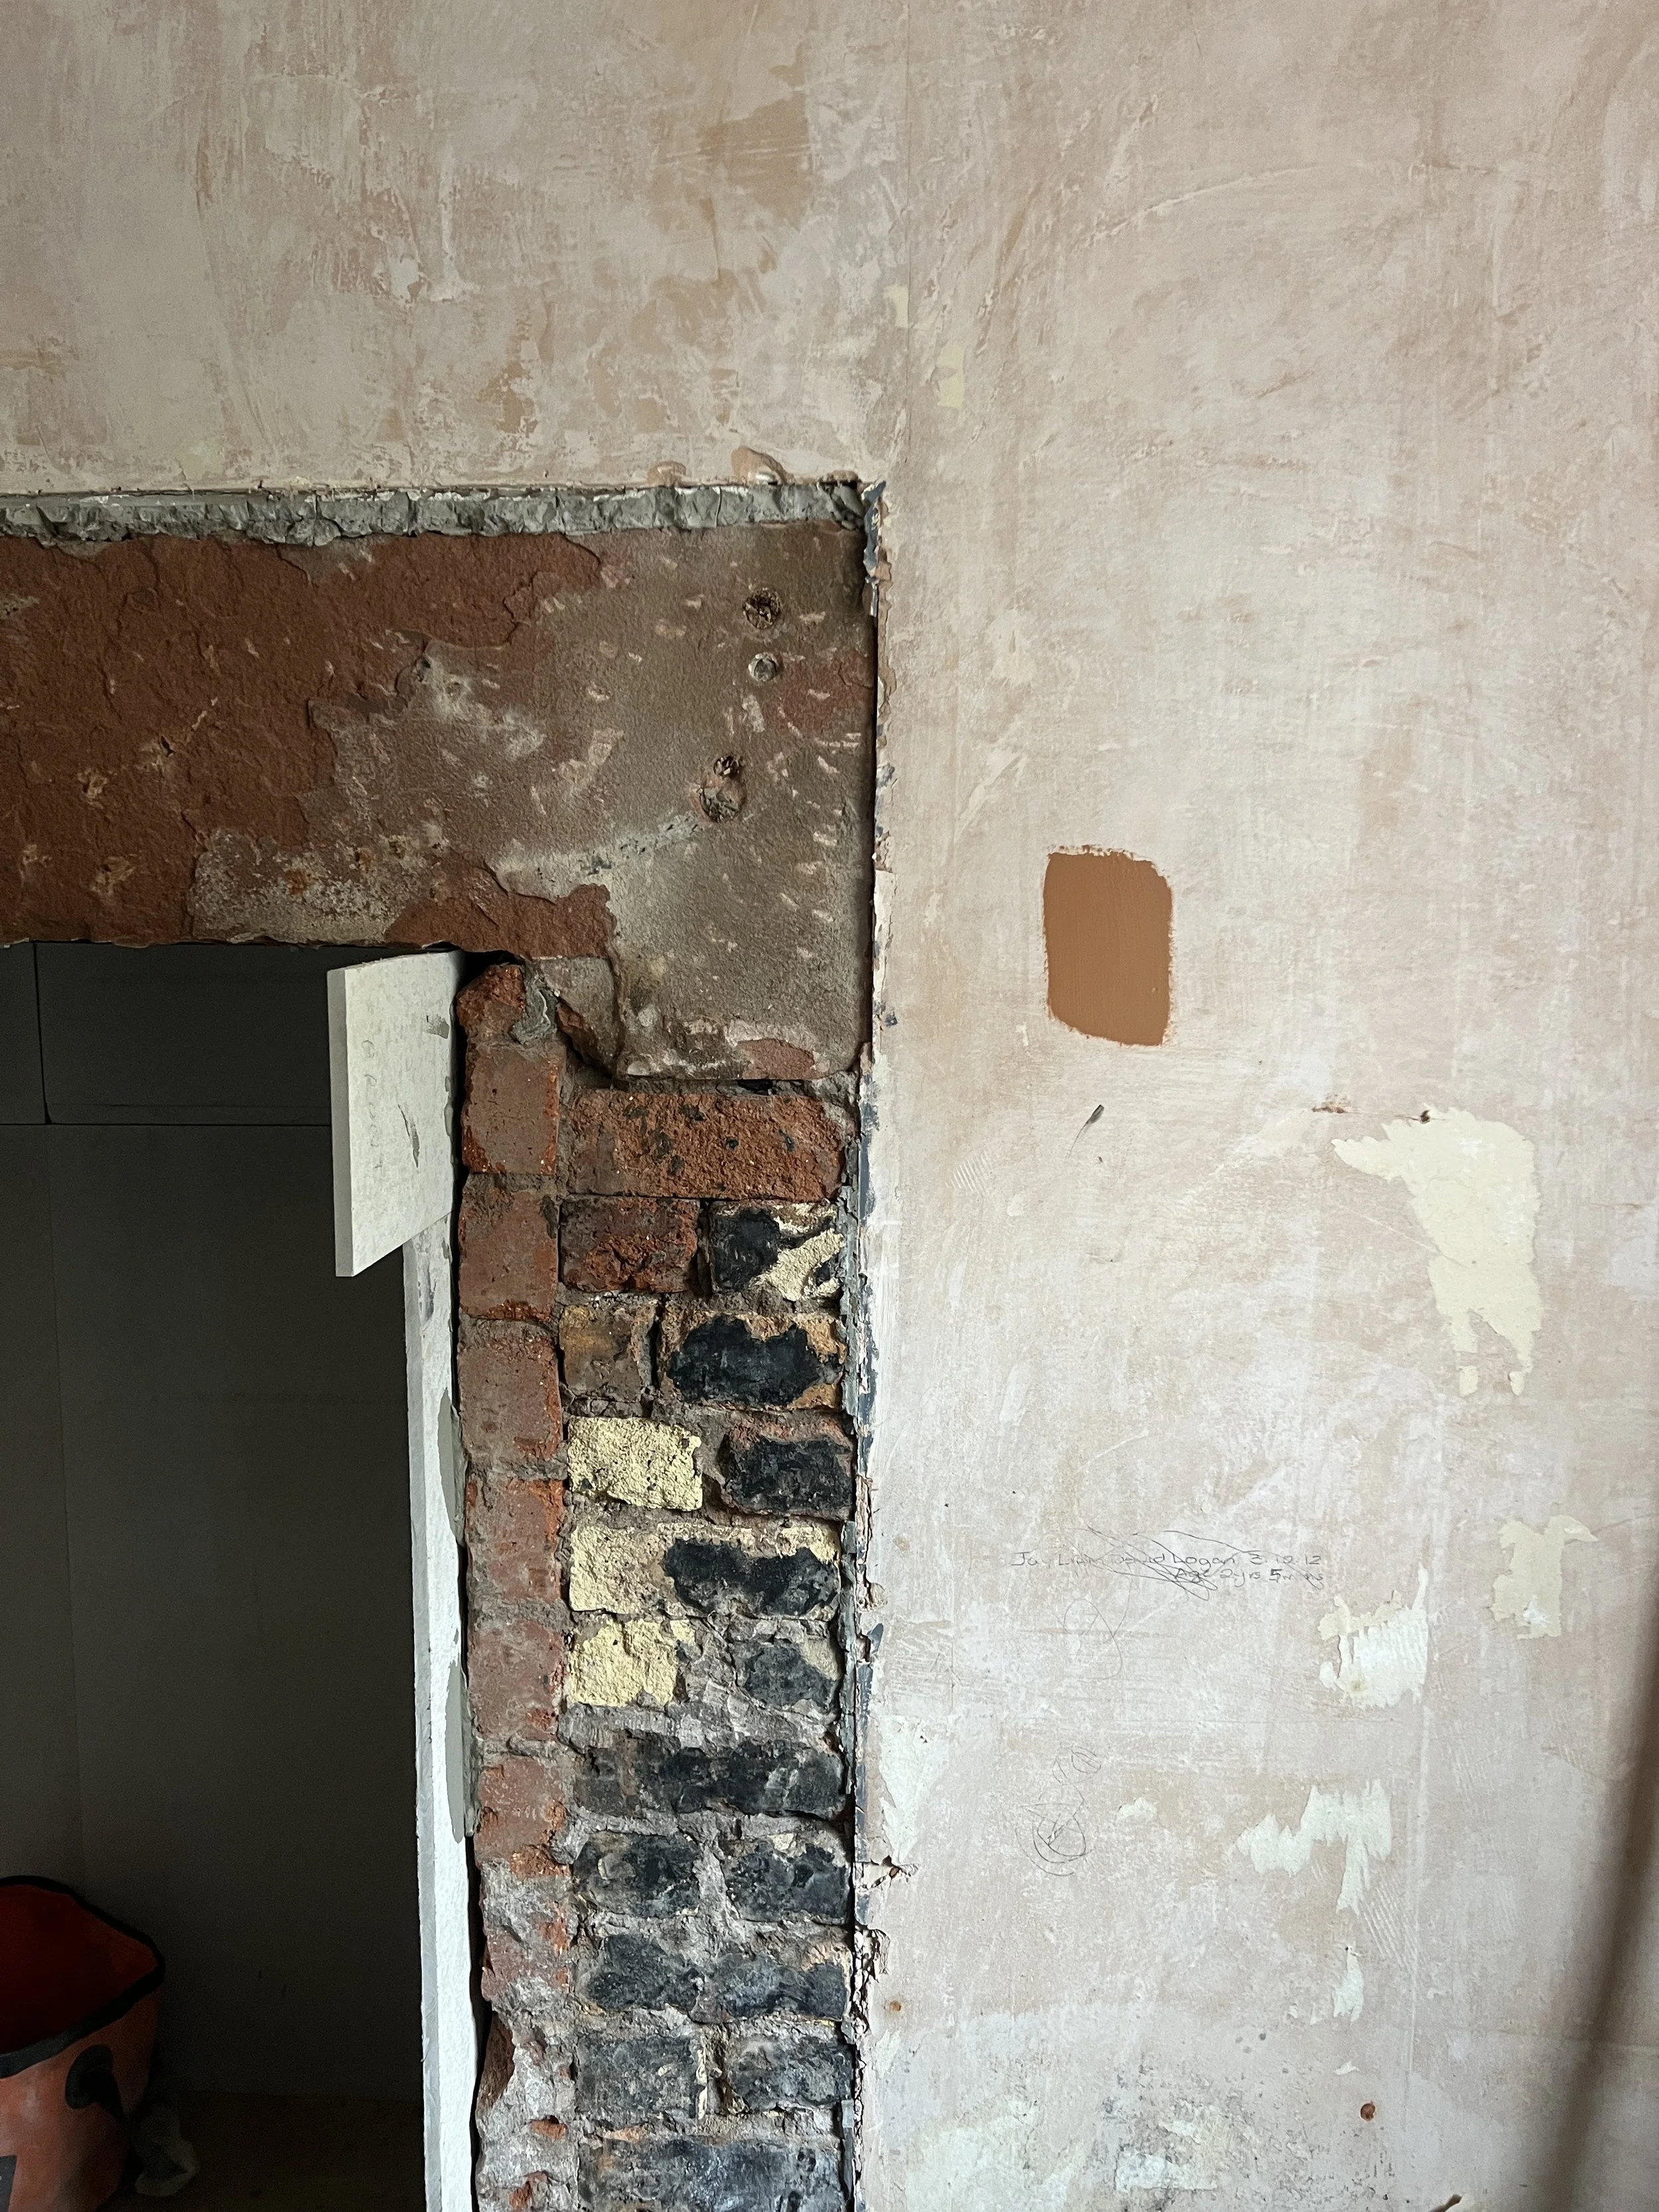
Because orange is now happening in there, and specifically THAT orange (in fairness it is still wet in the photo), I now need to find a light neutral tone to work in the darkest, coldest, green-tinted, north-facing room.
I wasn’t in the land of paint and furnishings yet, given I’ve only just ordered internal doors and picked skirting boards (loosely), but here we are. Swatch books at the ready, wish me luck!
What a weird week. I need a nap.
See you next time!
October Week 2:
Arguably, a good week! Although Dan was off of all other progress points and on project pointing, the days passed fast and it’s Friday already.
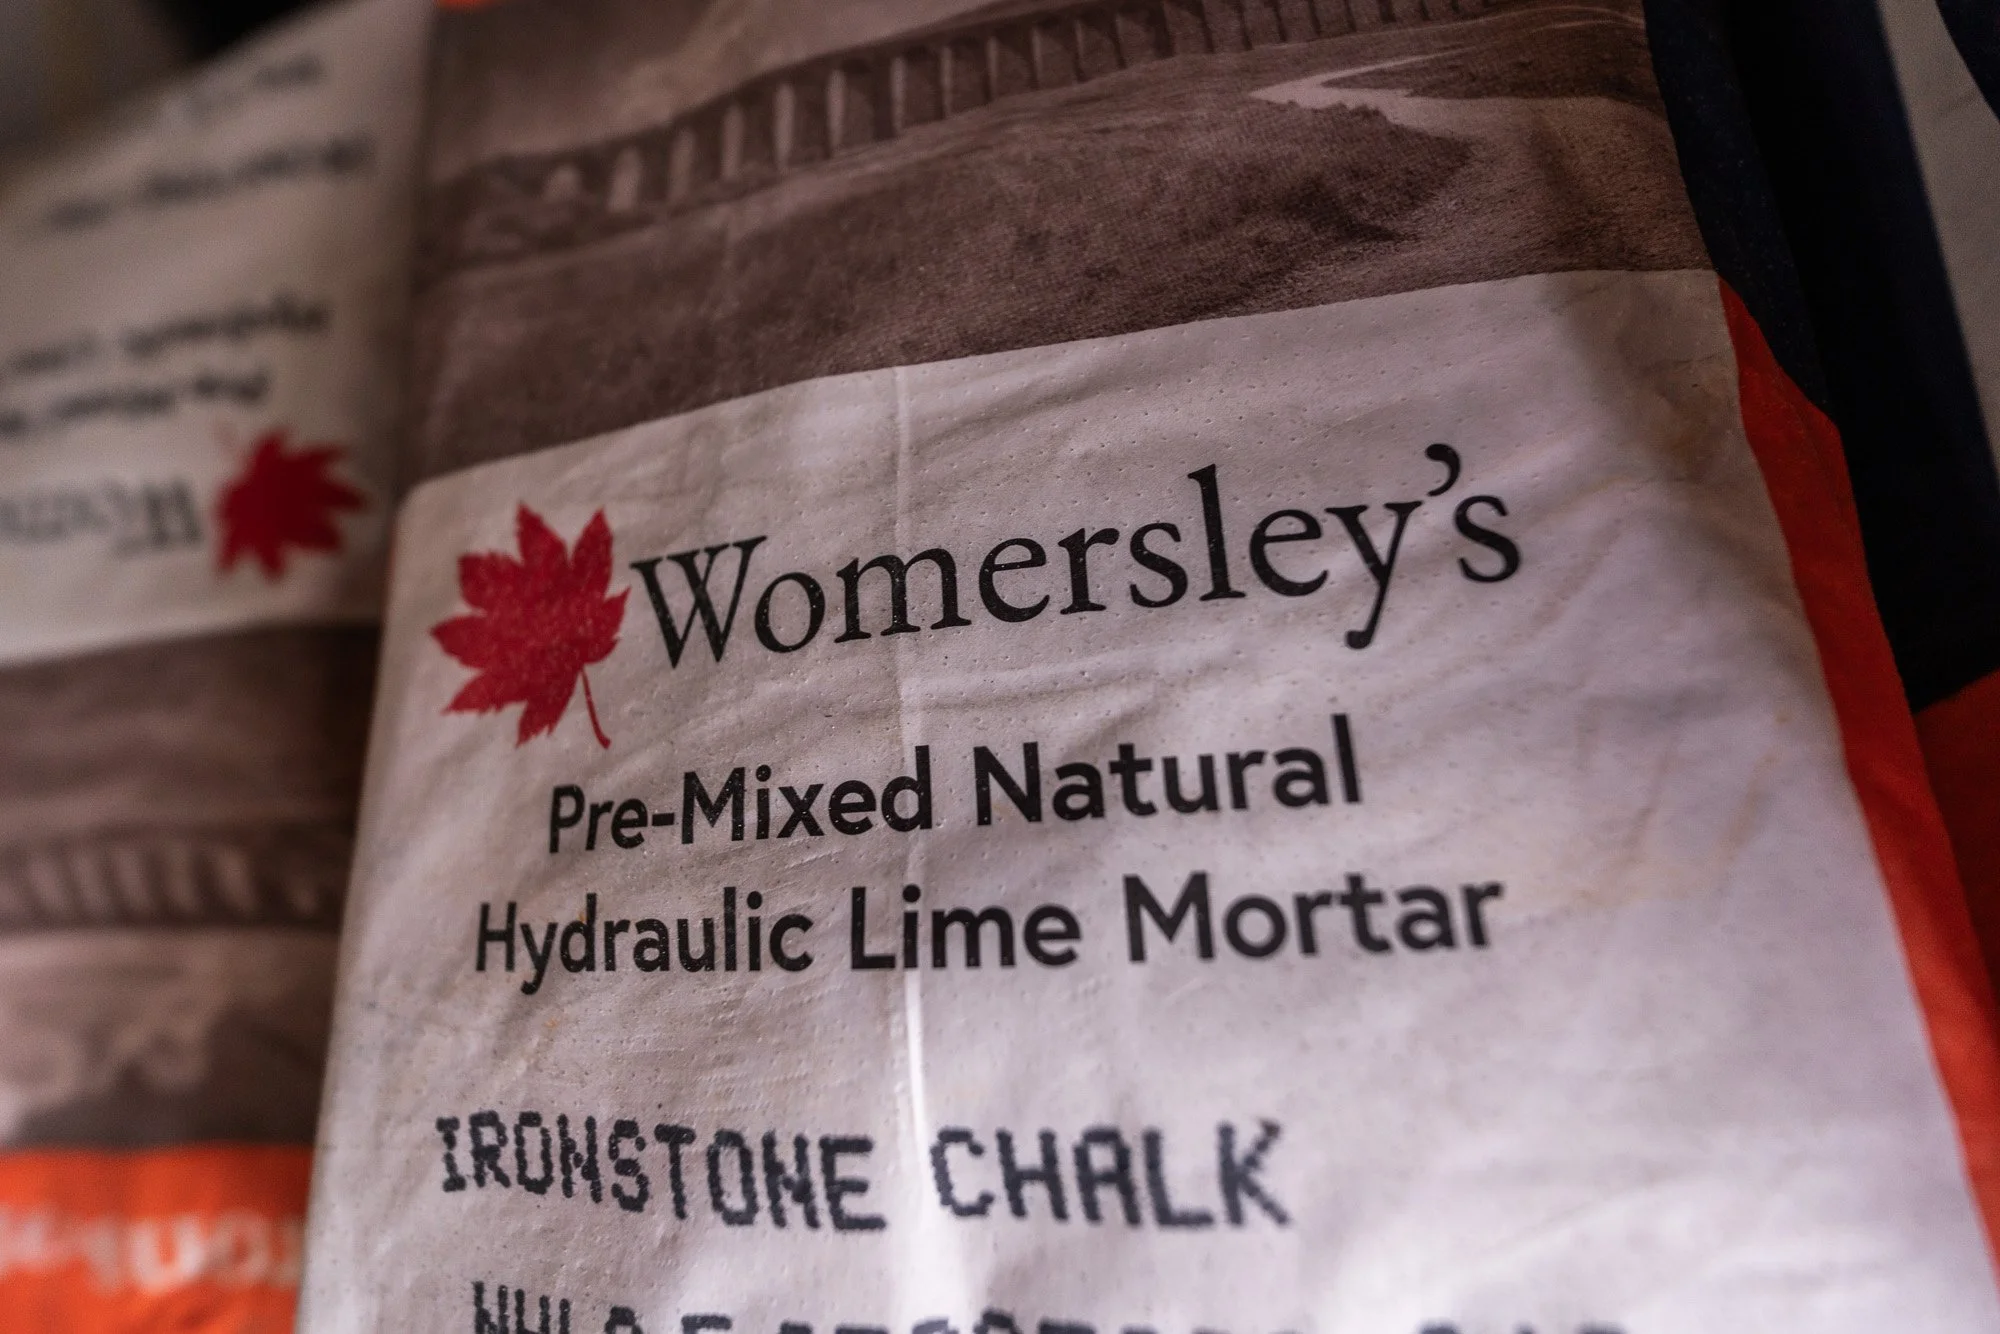
Let’s start on Monday, when I spoke with a lime expert about our situation. Because the house is a mixture of granite, whinstone and some softer shaley type stuff, and because it already has some signs of damage from years of bodged cement repointing missions, the experts said NHL 3.5 was still the right thing to use, despite the exposed location suggesting NHL 5 being the best for the weather. Never fear though, they also gave me a product that makes the lime mortar 90% less permeable to water, which should solve all our other problems.
Then, this company did the weirdest thing. They said instead of buying the lime from them, go speak to a competitor. I love that for the lime community! They directed me to Wormersly’s in West Yorkshire who were closer to us, and therefore the haulage would be cheaper. The guy there was another legend, and sorted me out with what we needed, shipped it same day and it arrived the morning after. We did have to pick a colour though, which was a bit of a stab in the dark. We have no idea what the original pointing colour was, but the render is light, the rest of the house exterior will be very dark, so we checked the existing lime that we can see, which is also quite light, and went with “chalk”.
There is no “backsies” on this decision, so it is was it is, and to be honest, we like it, so that’s what counts.
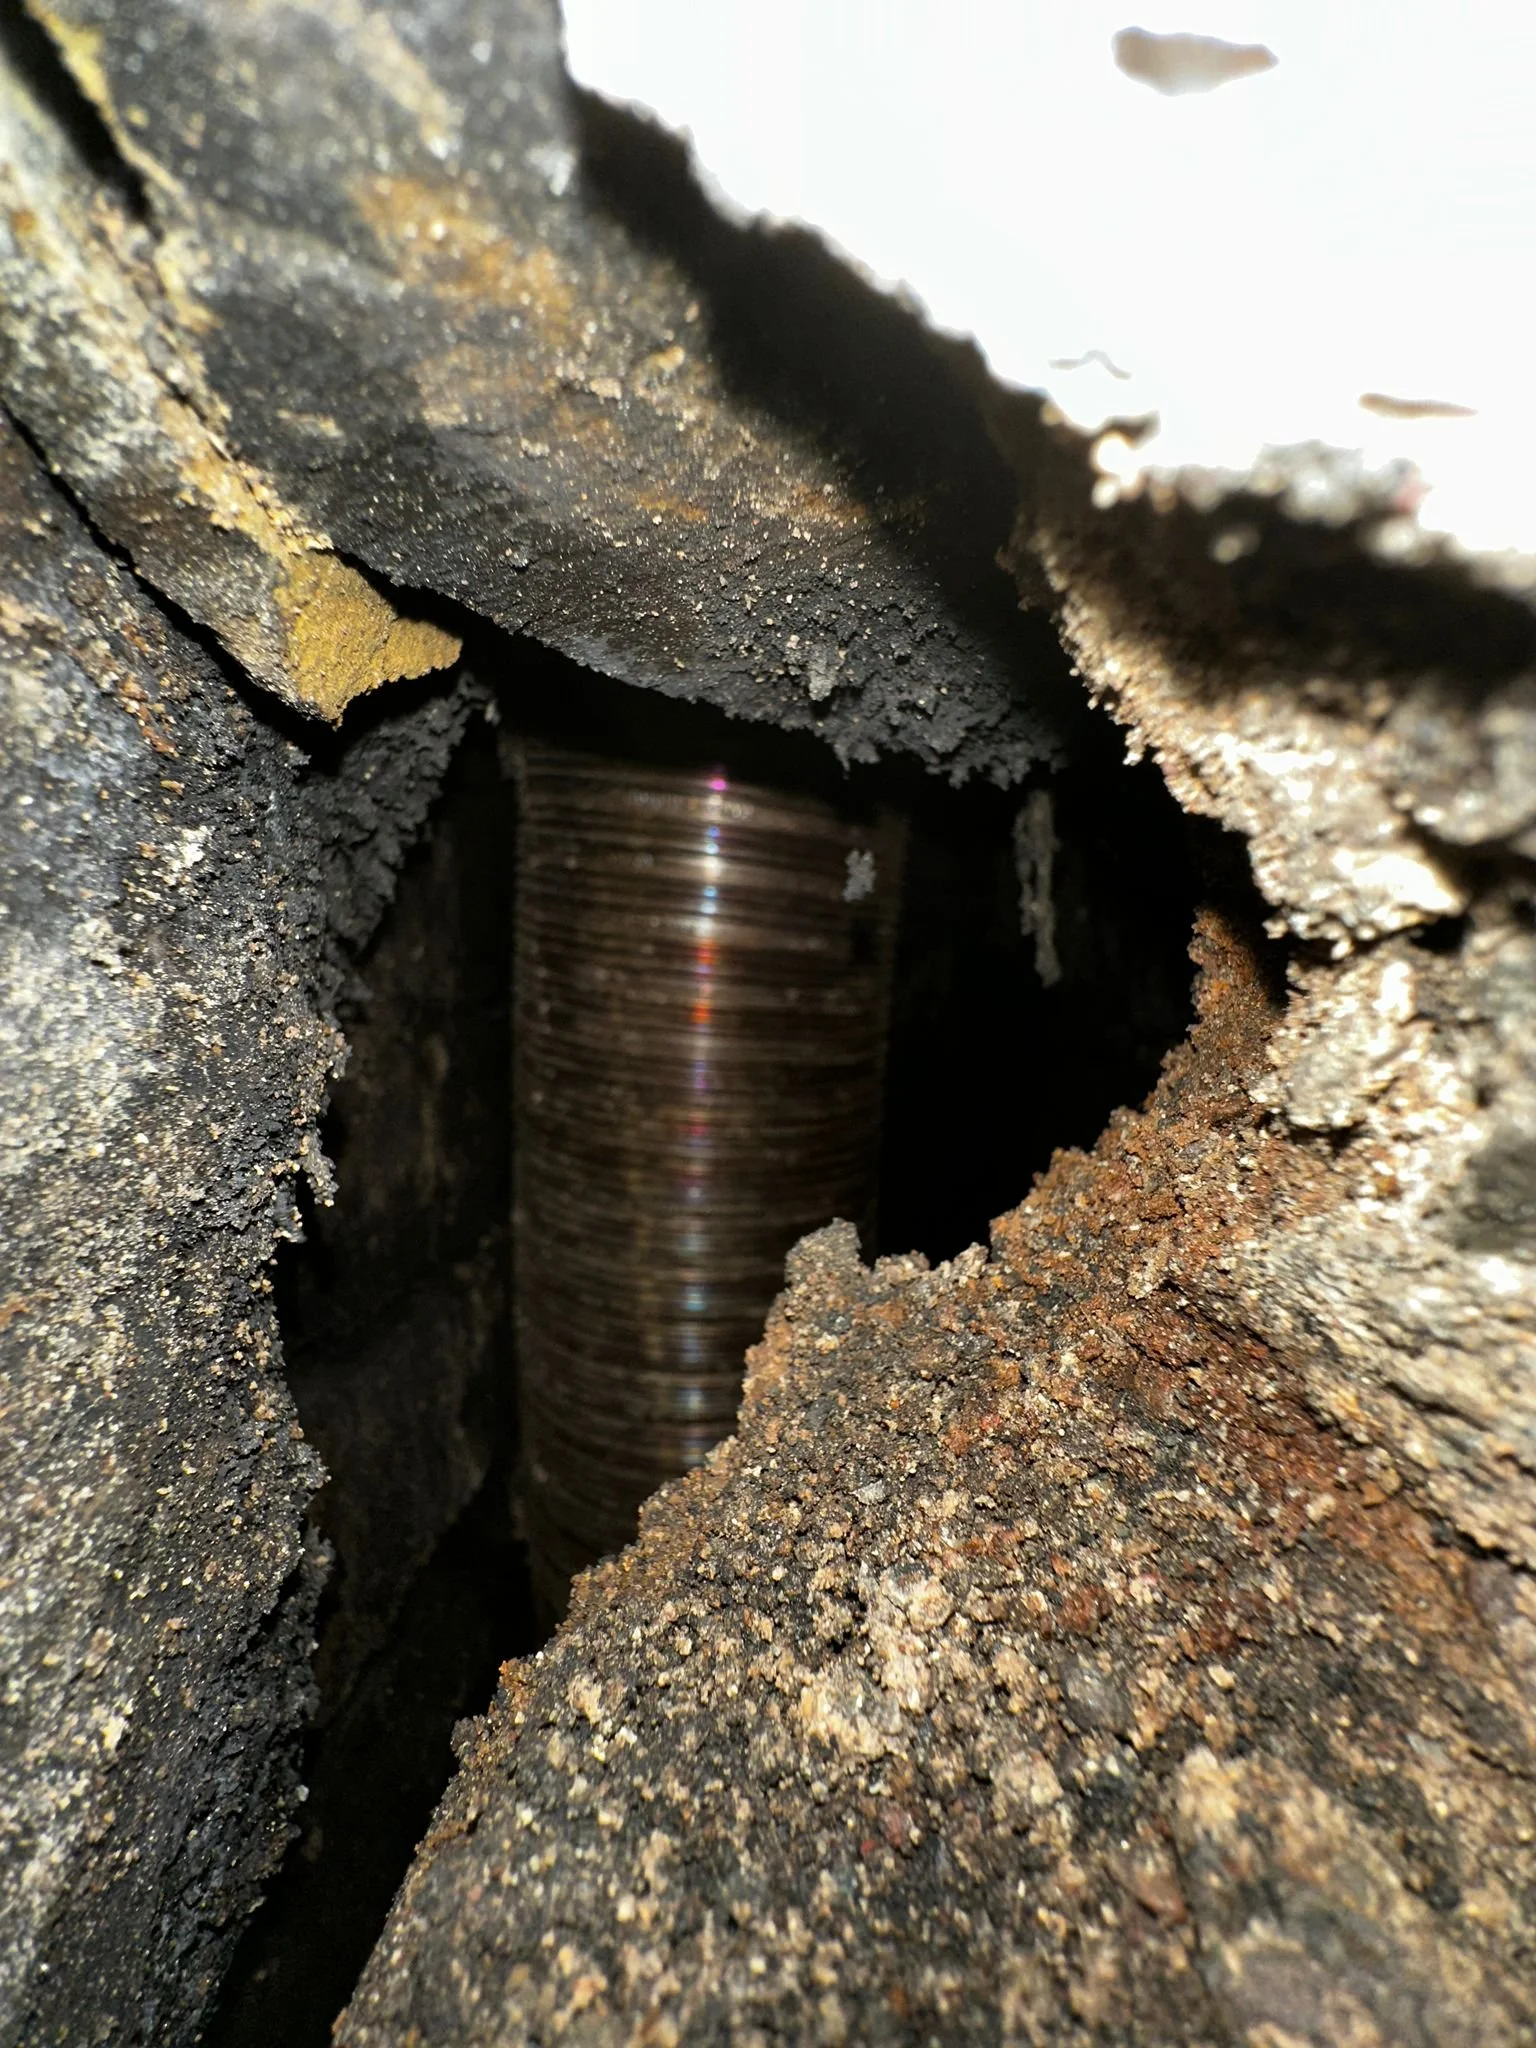
Dan started immediately, right at the very top, on the chimney stack. Fun find up here after raking out was a gigantic crater on the north side, over the ridge of the roof. This crater was covered partially with a bit of mortar, but behind there was nothing - no stone, no mortar, just a hole into the house. Here’s where Dan was, and what he found on the other side (yep, that’s the flue liner for the leaky log burner):

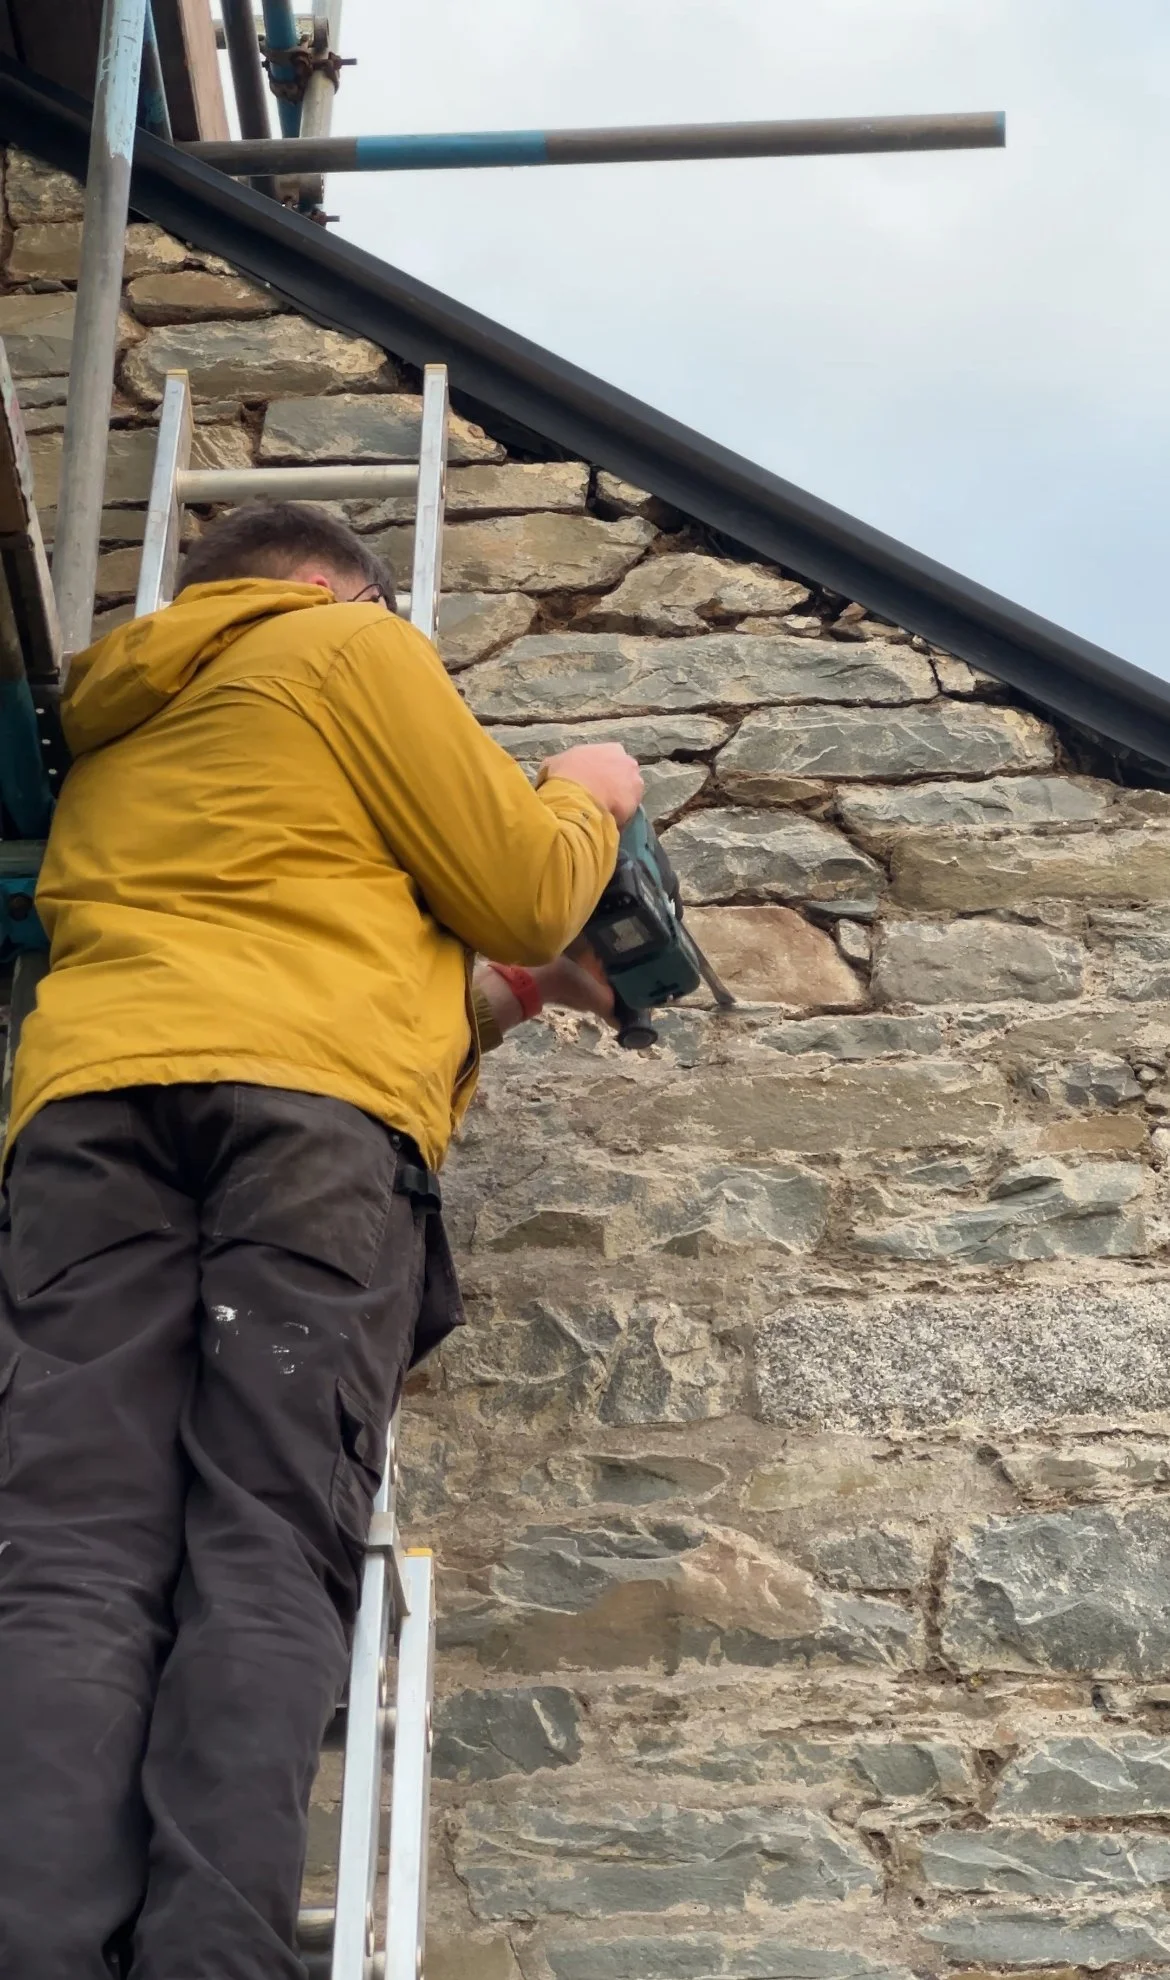
Thankfully, the scaffolding for some reason is still here, which helped tackle this part for sure, but after that, it was on to the ladders. Raking out was done mostly with the SDS drill because the stone is absolutely solid (except the orange ones) and the mortar is mostly cement (though not all).
Please note that raking out a section takes around 6 hours (2m high, 5m wide), pointing the same size section takes around 8 hours.
The chimney was much faster though, because the stones are uniform here, giant granite slabs in nice straight lines!
I have a nice little gallery of “progress” photos and no clear way of showing them, so we’ll just do show and tell.


Ok, so we’ve covered pointing, which is certainly ongoing. Dan isn’t going to be doing the entire house (yet), but he really wants to do this entire southern gable, and there’s no way of stopping him if he really wants to do something. Therefore, another week on pointing and the gable will be complete.
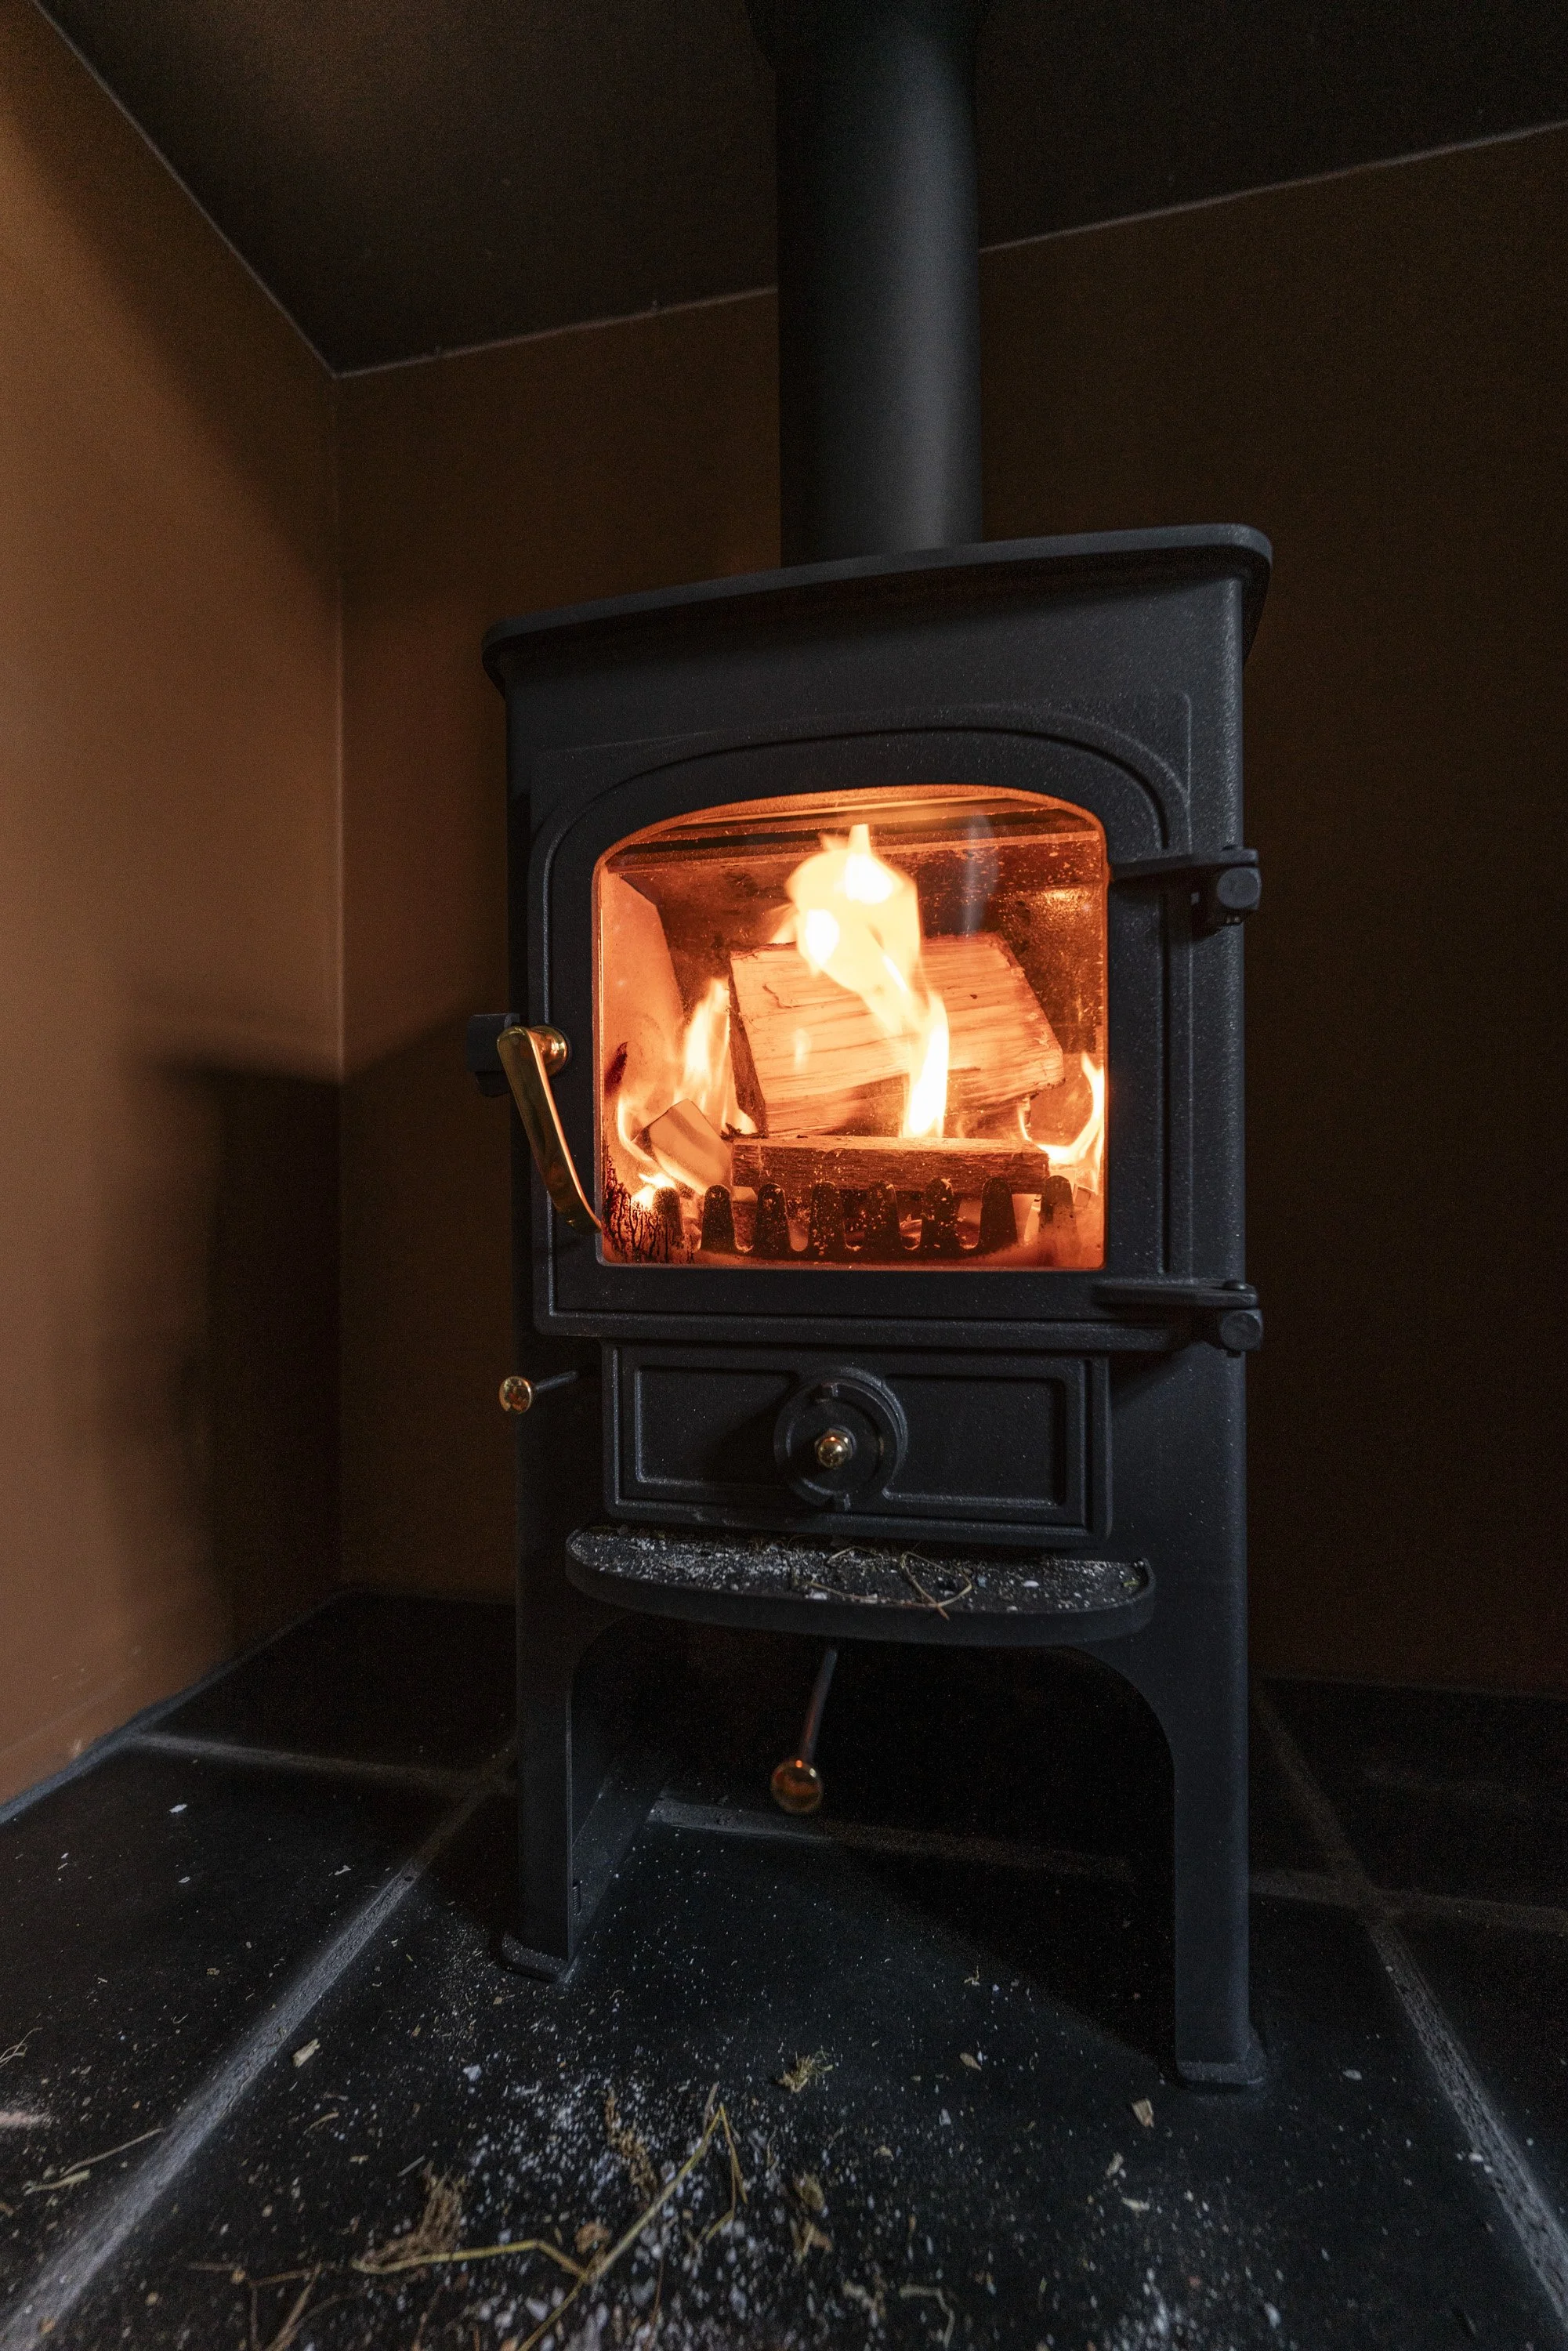
Also this week, the current kitchens fire got fitted by a local company, Fireplaces Direct. In the end we went with a new burner, the same model as the cottage living room but on taller legs to help it take up a bit more of the hearth. The hearthstone is slate sections. Please remember, this room will eventually be the utility room, a dog and boot room and it’s a very cold dark room in winter. This addition will be a game changer.
It’s very odd, seeing a “finished” bit amongst the absolute carnage of the room it sits in, but I also kinda like it. A good old juxtaposition in visual format. Of course, I have progress photos, so please do enjoy:


And look at that orange pop. The front of the hearth, the surround, will be plastered to a slightly raised finish off the main wall. The question now is:
Do we bring the orange around the front to cover the surround area, or should we leave the orange just on the inside, sticking with the planned off-white/cream (with a slight magenta tint to cancel out the green cast this north-facing room has) on the front?
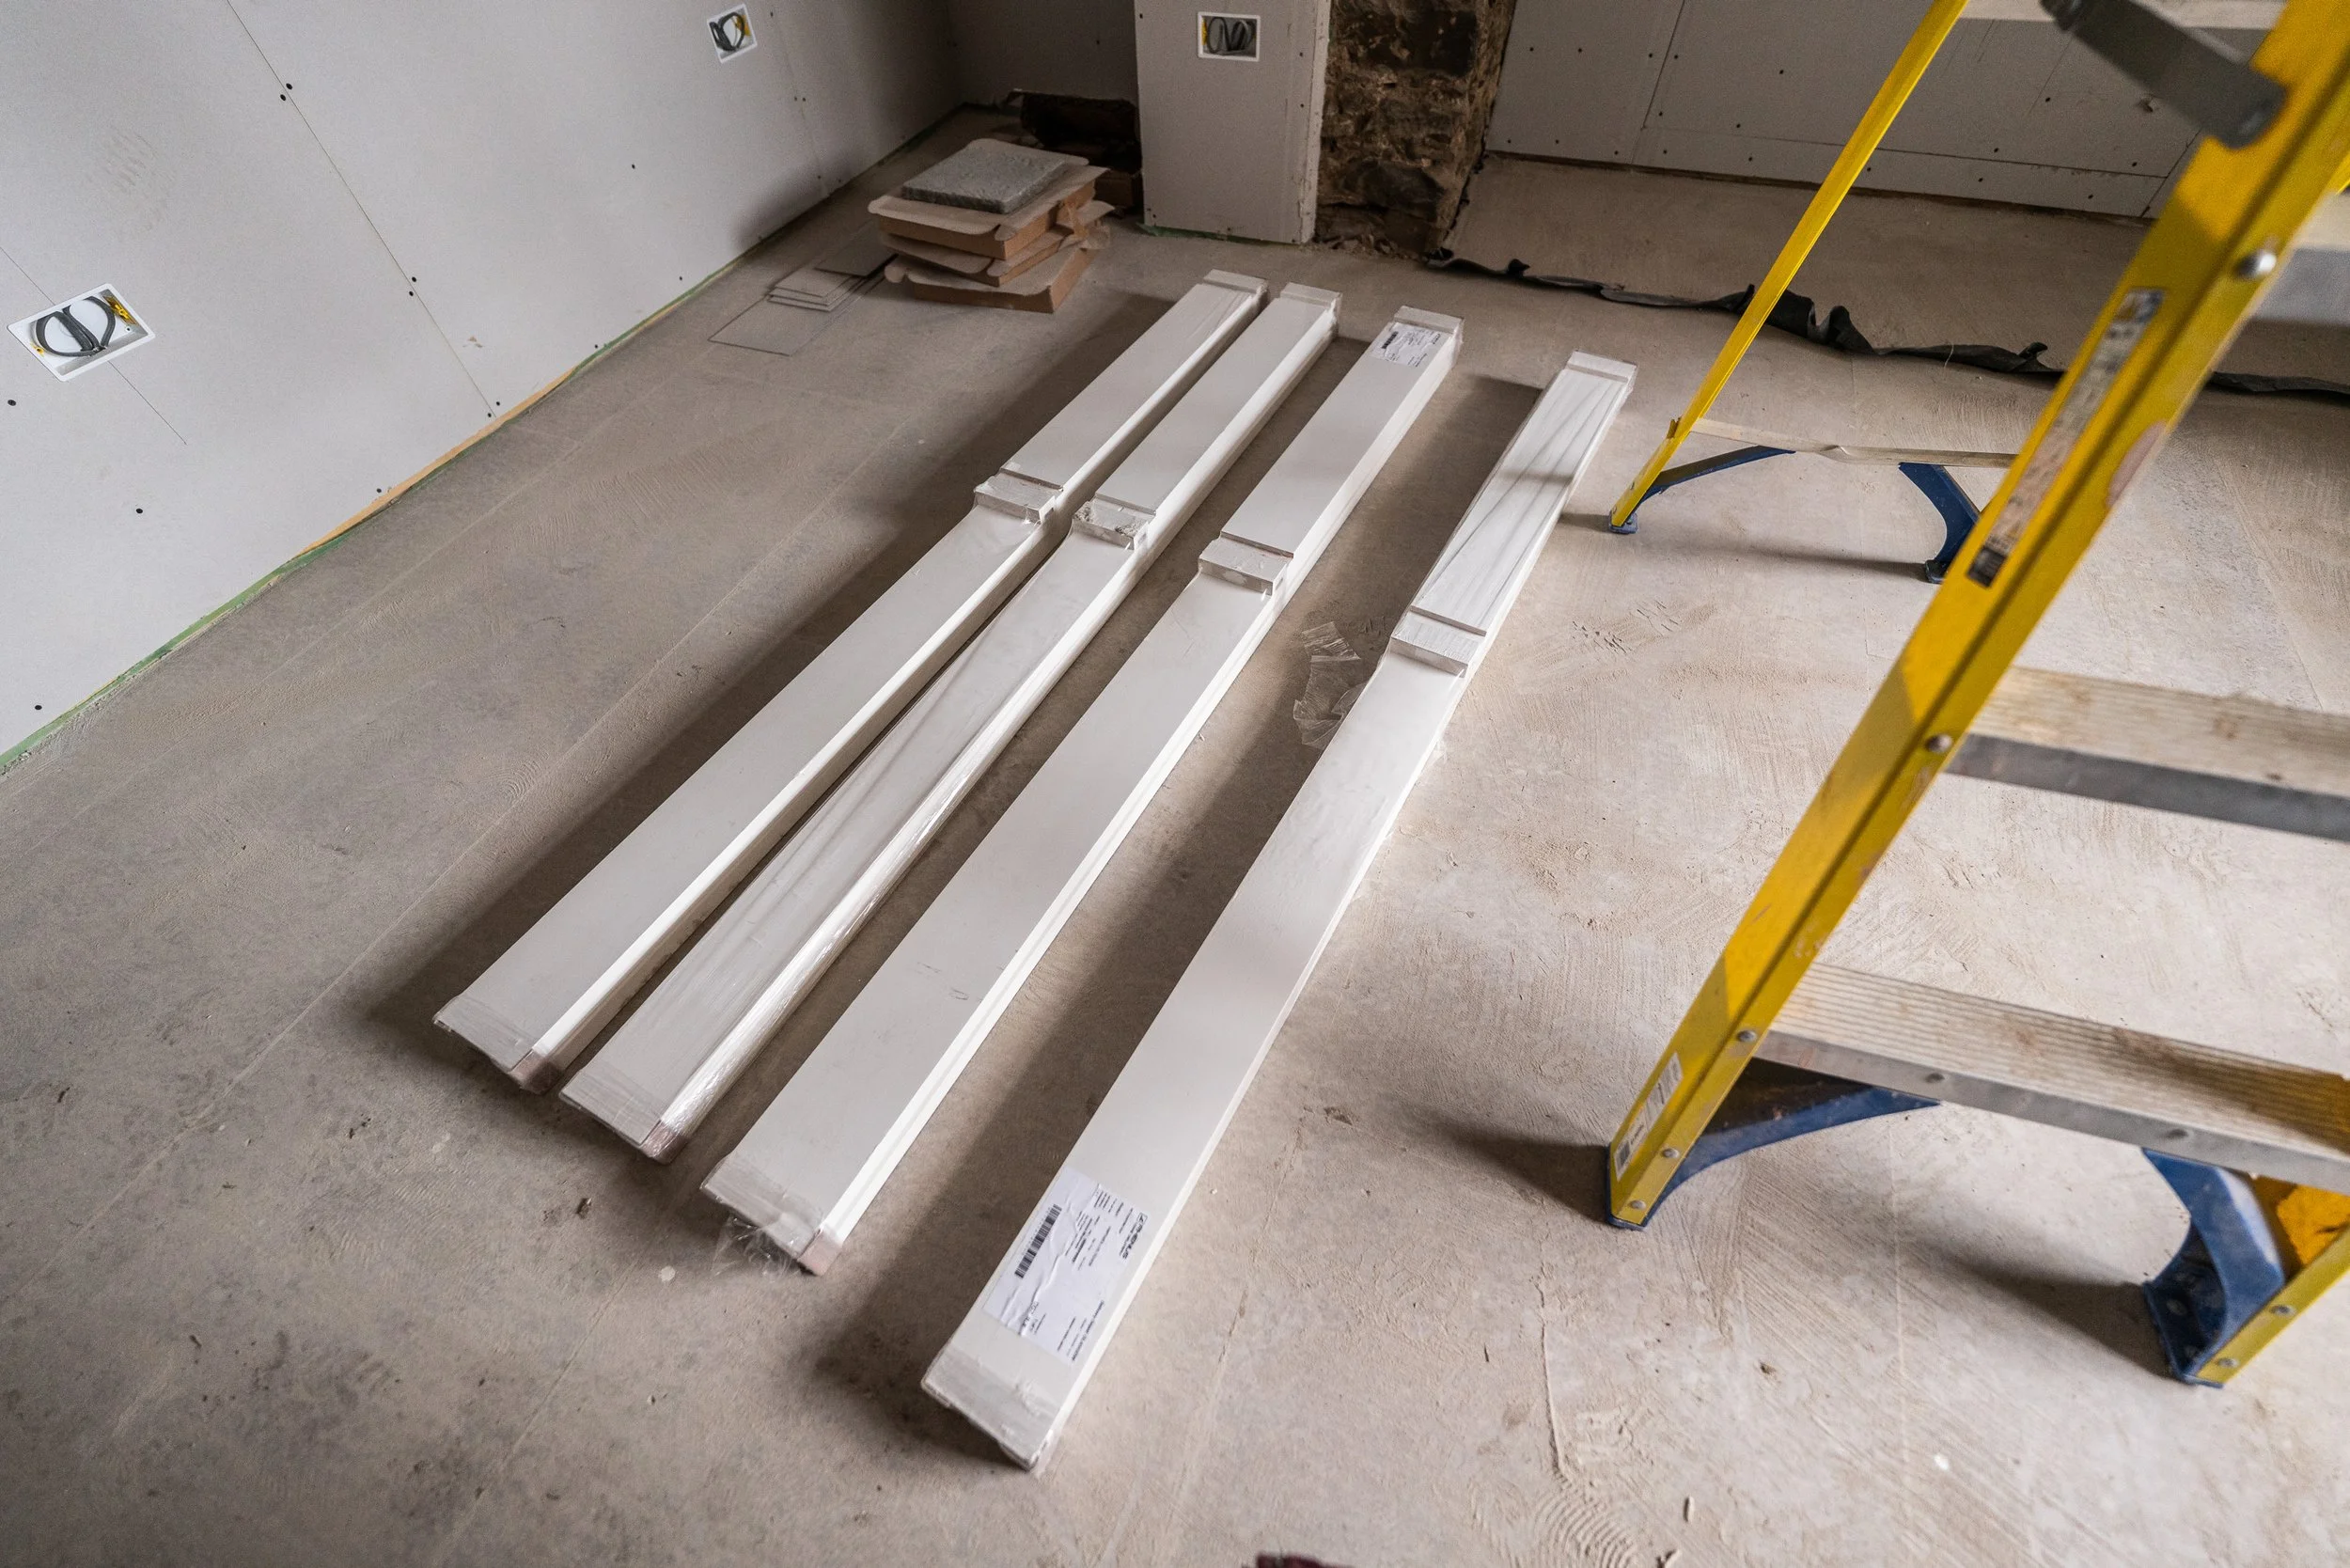
Although not strictly necessary to share, I am happy that this week we booked in the underfloor heating delivery, the double doors for the pocket where the arch was (RIP to the dream of the arch), the sockets and switches also arrived, along with the normal internal doors, and some of the light fixtures.


Final note to add here for those following along:
The “finishing line” for the house is plain walls, simple light fixtures and no “flashiness”.
No panelling, no wallpaper, no feature walls, no built-ins - no sparkle.
The finishing line is simply financeable, then we’ll take a breath and plan full schemes for each room thereafter.
In terms of that finance point, because I know many are keen to know what the situation is – I can give an update. Technically, we’re pretty good right now - not great but good (the bathrooms might need a bit of work!). The thing is, the mains water isn’t connected still, which is a binding point in our deal, so the end date for our contract flexes to accommodate this. Although we do not want to drag it out any more than necessary, and the water could be piped in at any time, the pressure isn’t truly on right now (it is for me, but Dan keeps reminding me that it’s going to be ok).
October Week 3:
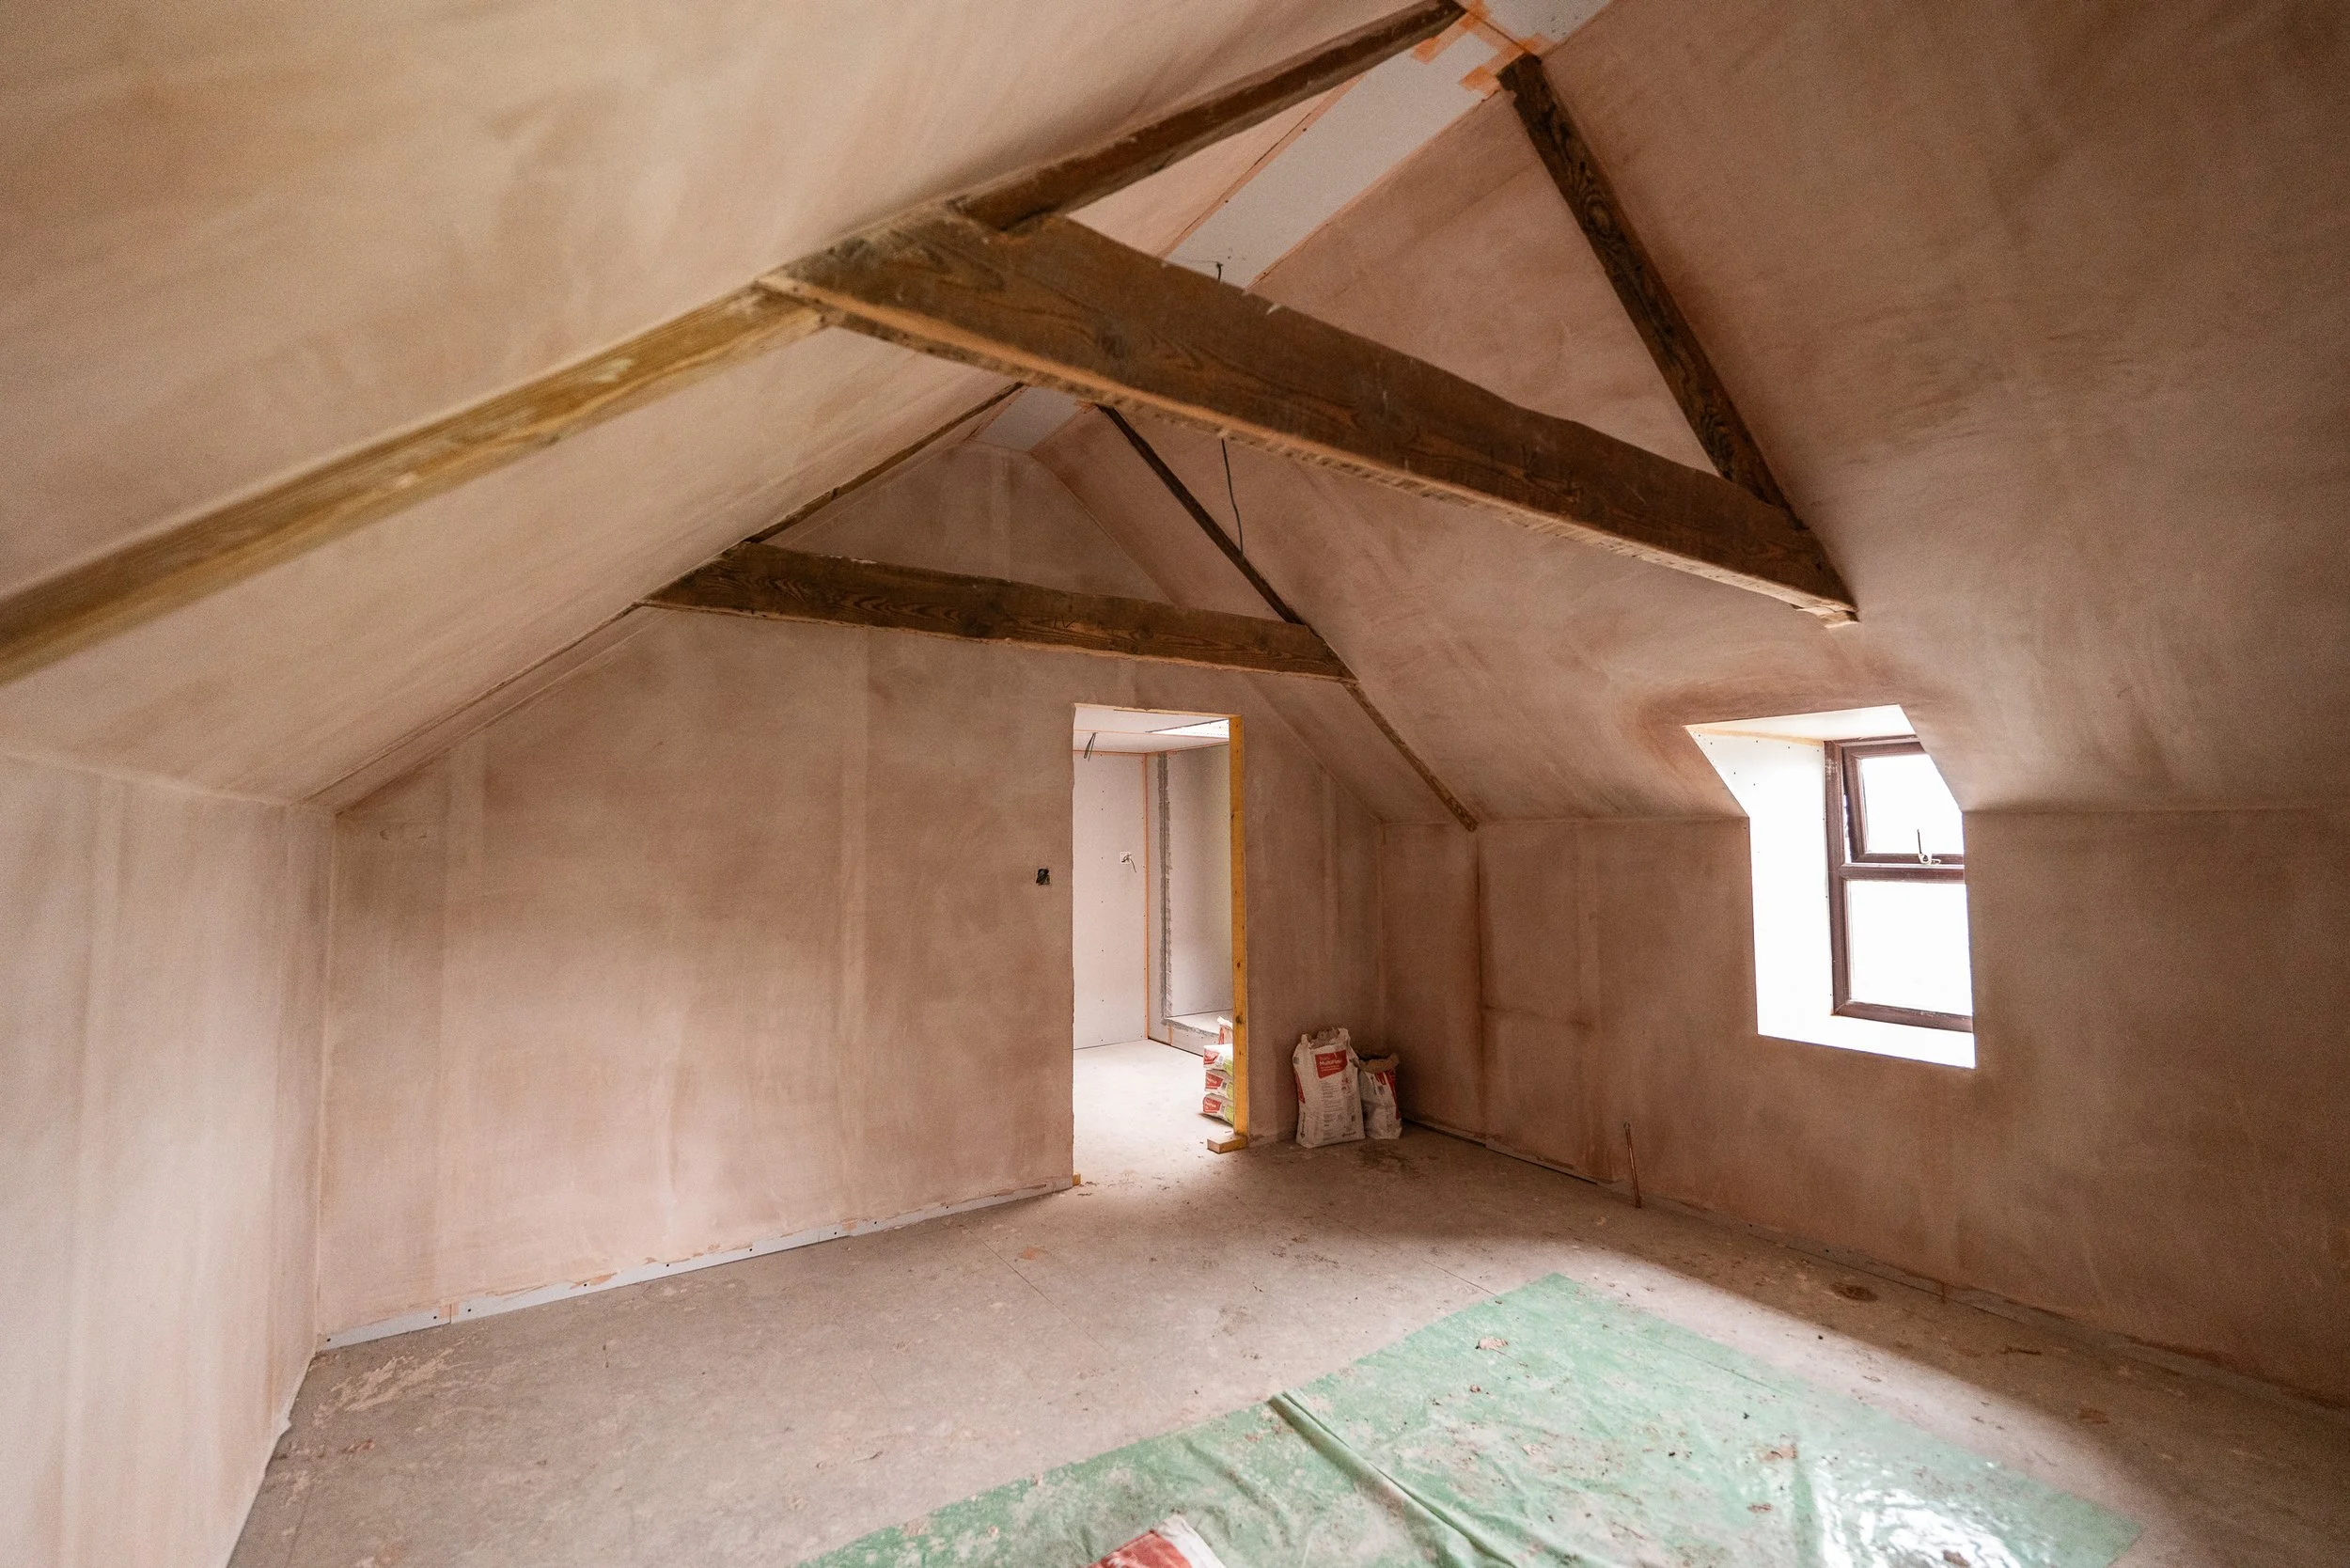
A couple of things happened that I don’t think are noted, so I’ll pop them in here, even though I’m 100% certain they happened pre-Monday. The first is the boarding for the new roof insulation in part of the north block, the oldest part of the building. If you remember, Dan ripped the ceiling down and added insulation to the entire upper section, giving much needed protection here against blazing heat in summer, and relentless cold in winter. Even though this isn’t strictly necessary for the project, it is important for us as we slept here last winter, and it was nearly unbearable! Should anyone sleep in here between now and this sections remodel in the future, they need insulation!
Dan asked for my help with this so we spent a half day popping plasterboard up above our heads. Dan can reach the ceiling from the floor, but sadly I can’t! Steps were needed, but we got the job done.
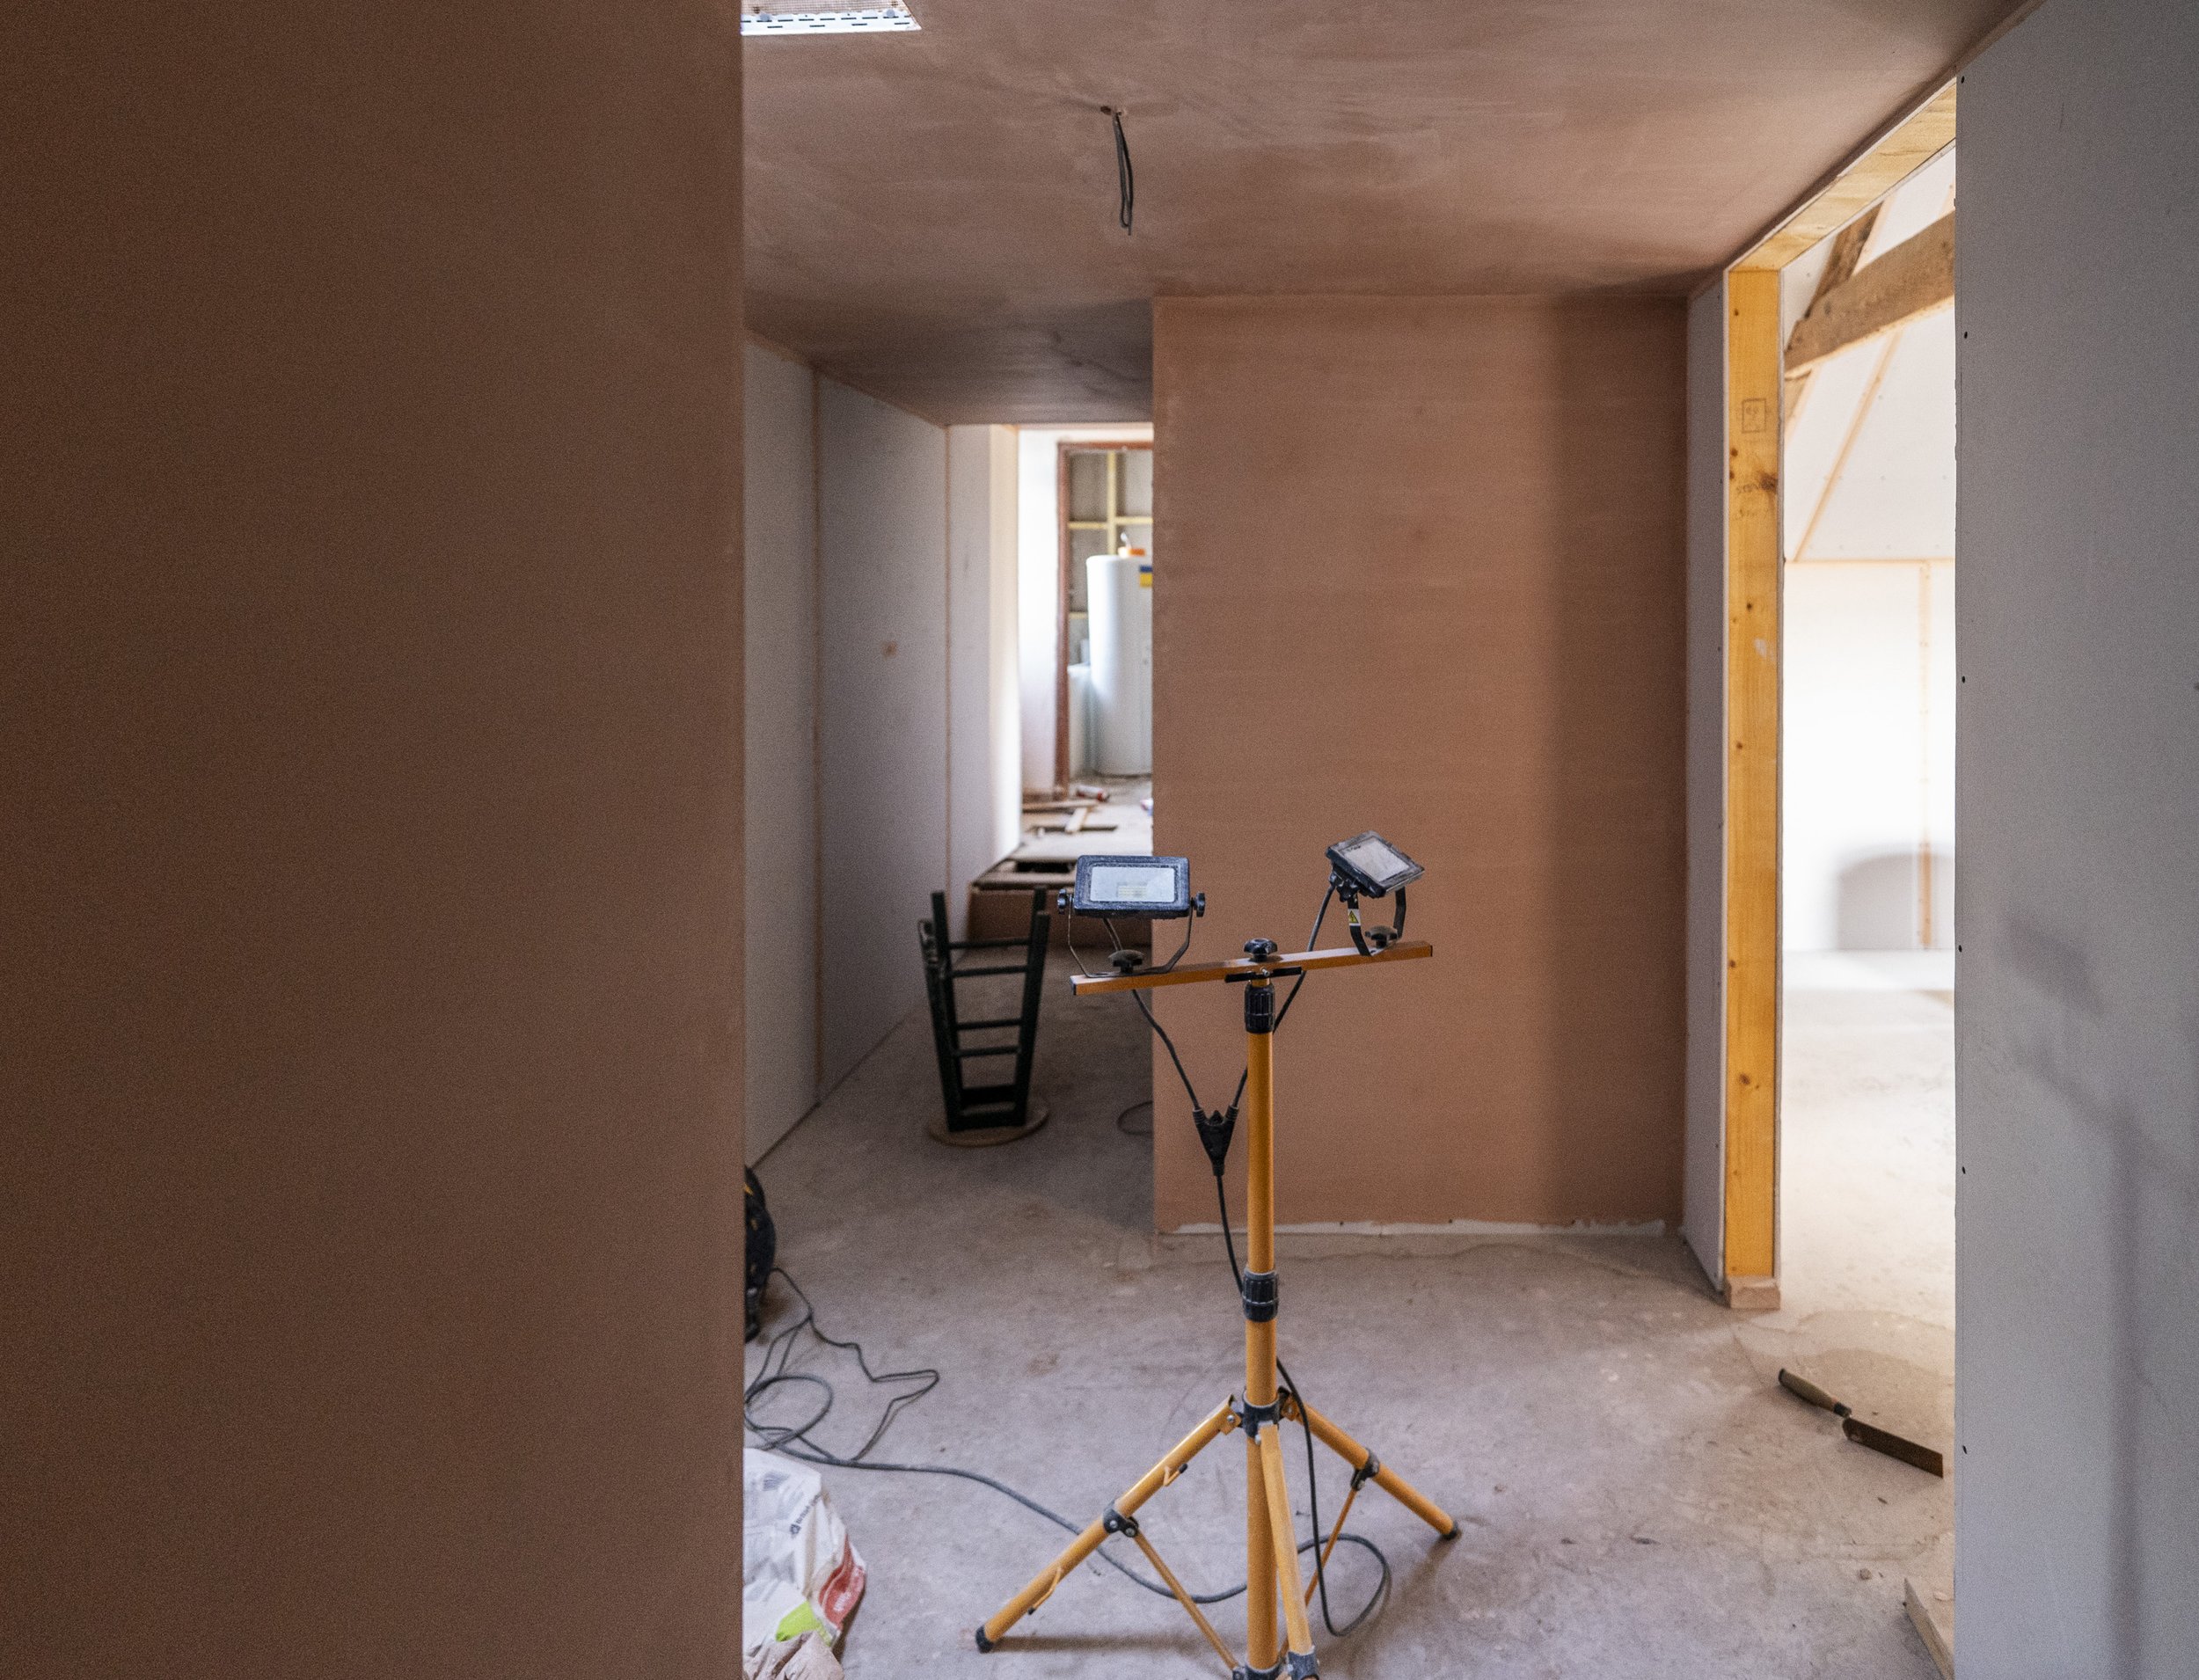
Next up was the plastering, which did indeed begin! I have so much footage and stills from this, but the lads only did a half day to get the project started, so at the time of writing (Friday, again!), this is what is currently plastered, it was done last Sunday, so it’s nearly had a week of drying out. By the end of this weekend, MUCH more will be done (spoiler alert, it wasn’t)! This is particularly exciting, because it means the end is in sight (for this section!). Another spoiler alert, it isn’t.


I gained a half day because of photoshoot reschedule, so I began wallpaper removal. Without a steamer, I used the soak method and I am a total convert. It’s great! The men had the ladders, so I did as much as I could reach this time, but it came away easily. It takes about 30 minutes to strip a full section of wall, so I have high hopes for the south bedrooms when I can eventually get to them (they’re barricaded right now).


It’s so odd to see the walls without that loud pattern on them - it’s really, really strange! Without the paper on, Dan and I both really like the architrave that’s on the downstairs store room door (snooker room), so I’ve managed to find the exact same profile to run through the house, and I’ve switched the purchasing plan to include this throughout.
Next up, reinforcements arrived!

^ Gromet ‘greeting’ Dad on Day 1
Oh yes, pops came to help us because Dan was confined to urgent repointing given a storm coming through this weekend (Sunday), and with the frustrating delay from the previous build team on the archway-not-archway, the downstairs cannot be plastered yet. Still. So, Dad came to the rescue.
Handily he’s a damn good engineer, fantastic DIYer, proficient self builder and all around good egg. He also is happy to be paid in sausage and bacon sandwiches, coffee, chilli con carne, pub food and cans of Coke Zero. Armed with all of the above, he came to stay from Tuesday through Thursday.
His main project was the pocket door, which, had we known how difficult this entire thing was to do, we would never have purchased. If someone could figure it out, especially given the lack of adequate preparation for it in the now very much present structure, Dad can.
He’ll also do it to a very, very, very high standard, which is an absolute win for me (for those who know me, this is where I get it from).
Dad had a few things to solve:
A depth discrepancy, with the stud work not suitably allowing room for the jamb kit
The lack of the jamb kit install, working instead with non-conforming studwork
Very wonky lintels behind (these are the only lintels that are very badly placed)
A wall that is right where some fixings need to be
No doors, because they were supposed to be made by now but are not (on order from elsewhere), which makes building the pocket incredibly difficult
A load of parts with fairly vague instructions
So yep, Dad was the absolute best person for this job. He expected it to take a day.
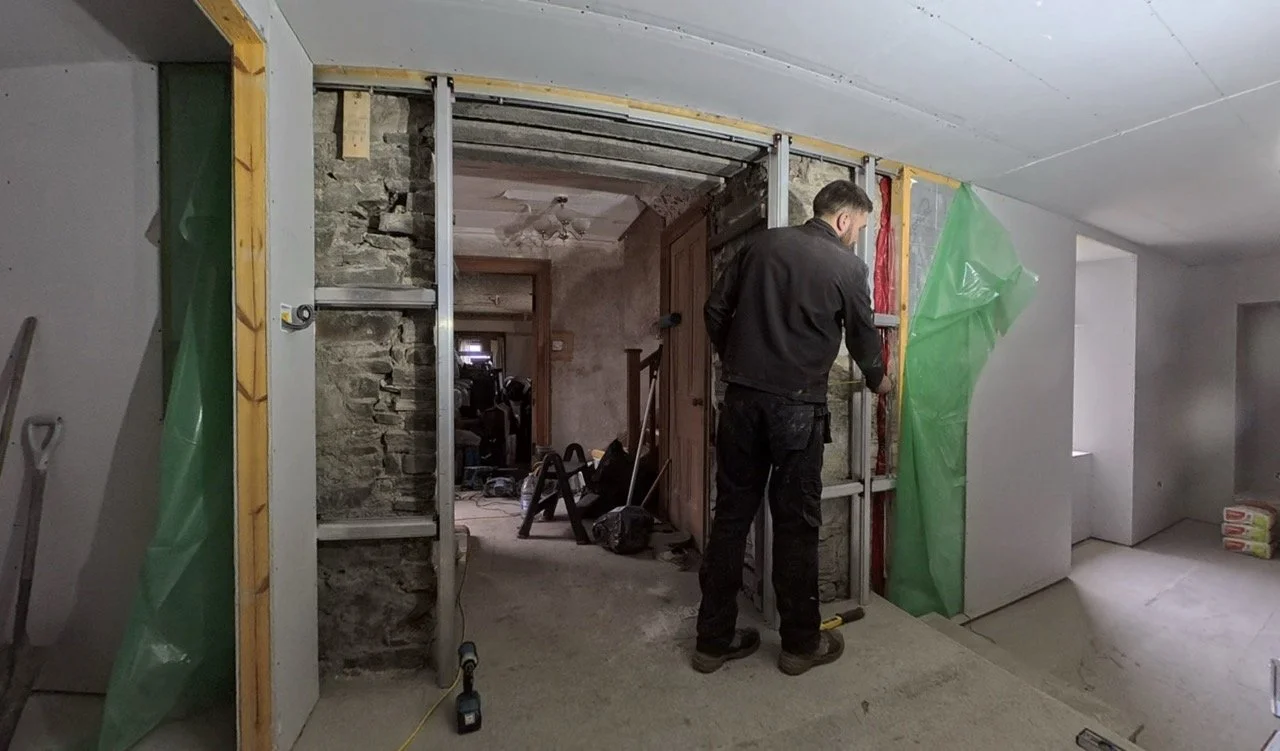
It took a bit more than a day, but every single one of those things was ticked off, complete with two bits of wood acting as pretend doors. Here’s the process, after Dan loosely dry fit the framing before Dad’s arrival (you can click to open larger and then tap through):

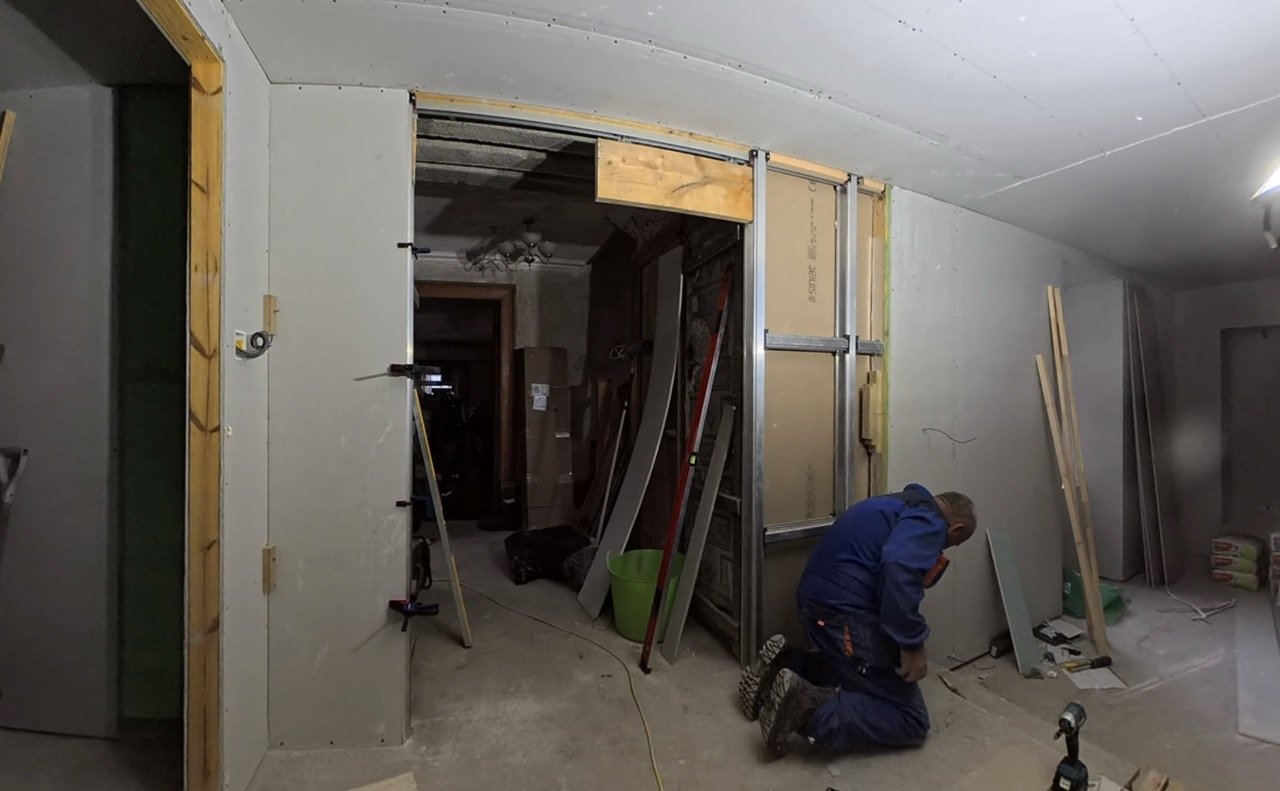
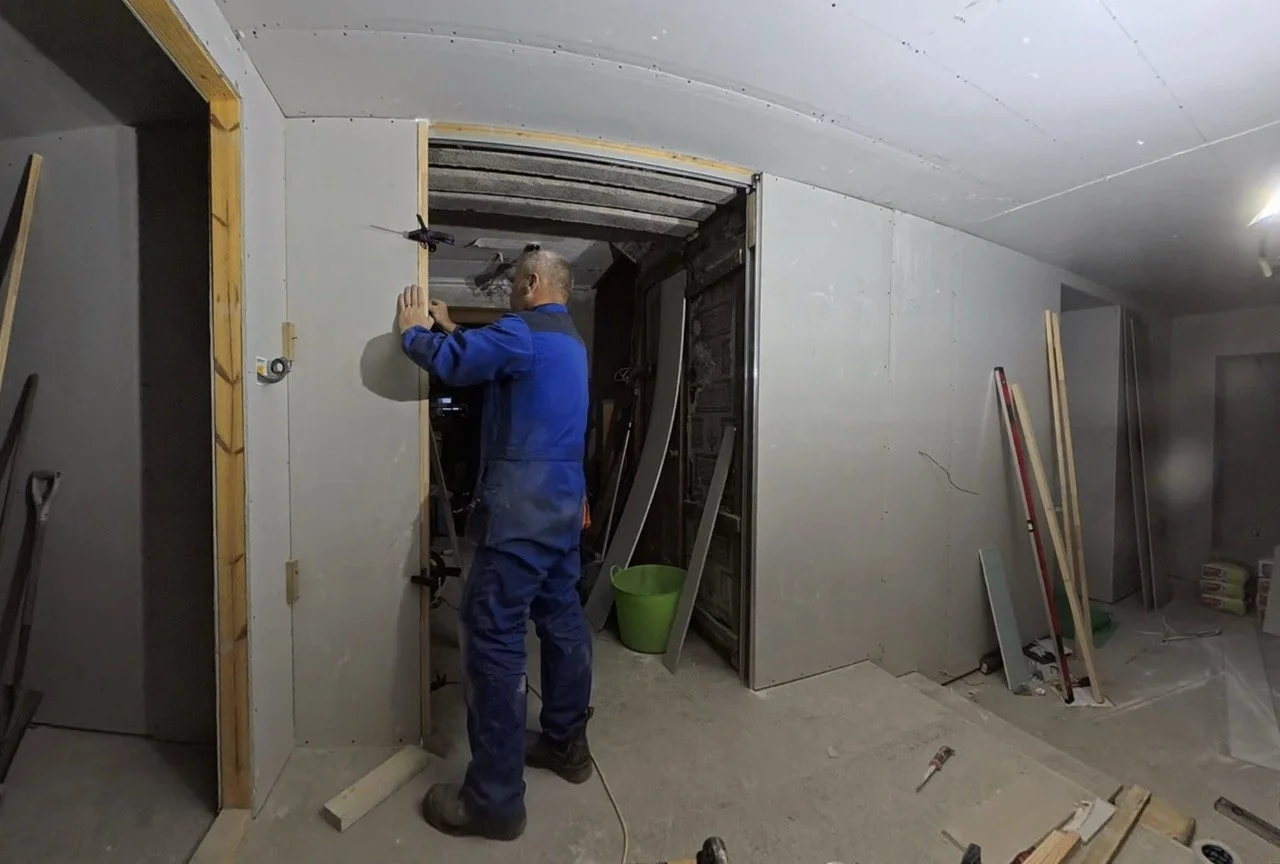
Right now, the status of the pocket door is:
The soft close and soft open system works perfectly with the dummy doors
The air gaps are all sealed all around.
The back of the structure has boarding for stability and draught exclusion.
The “push to ping open” system is built and ready, right at the back of the pocket.
The beading/jamb edge is applied.
The plasterboard is up and complete.
The room can finally be plastered!
It did, however, take 2 days, which frustrated Dad because he wanted to get even more done whilst he was here. For us though, it’s perfect and it works, and we can add the doors later, so yep… an absolute win for us!


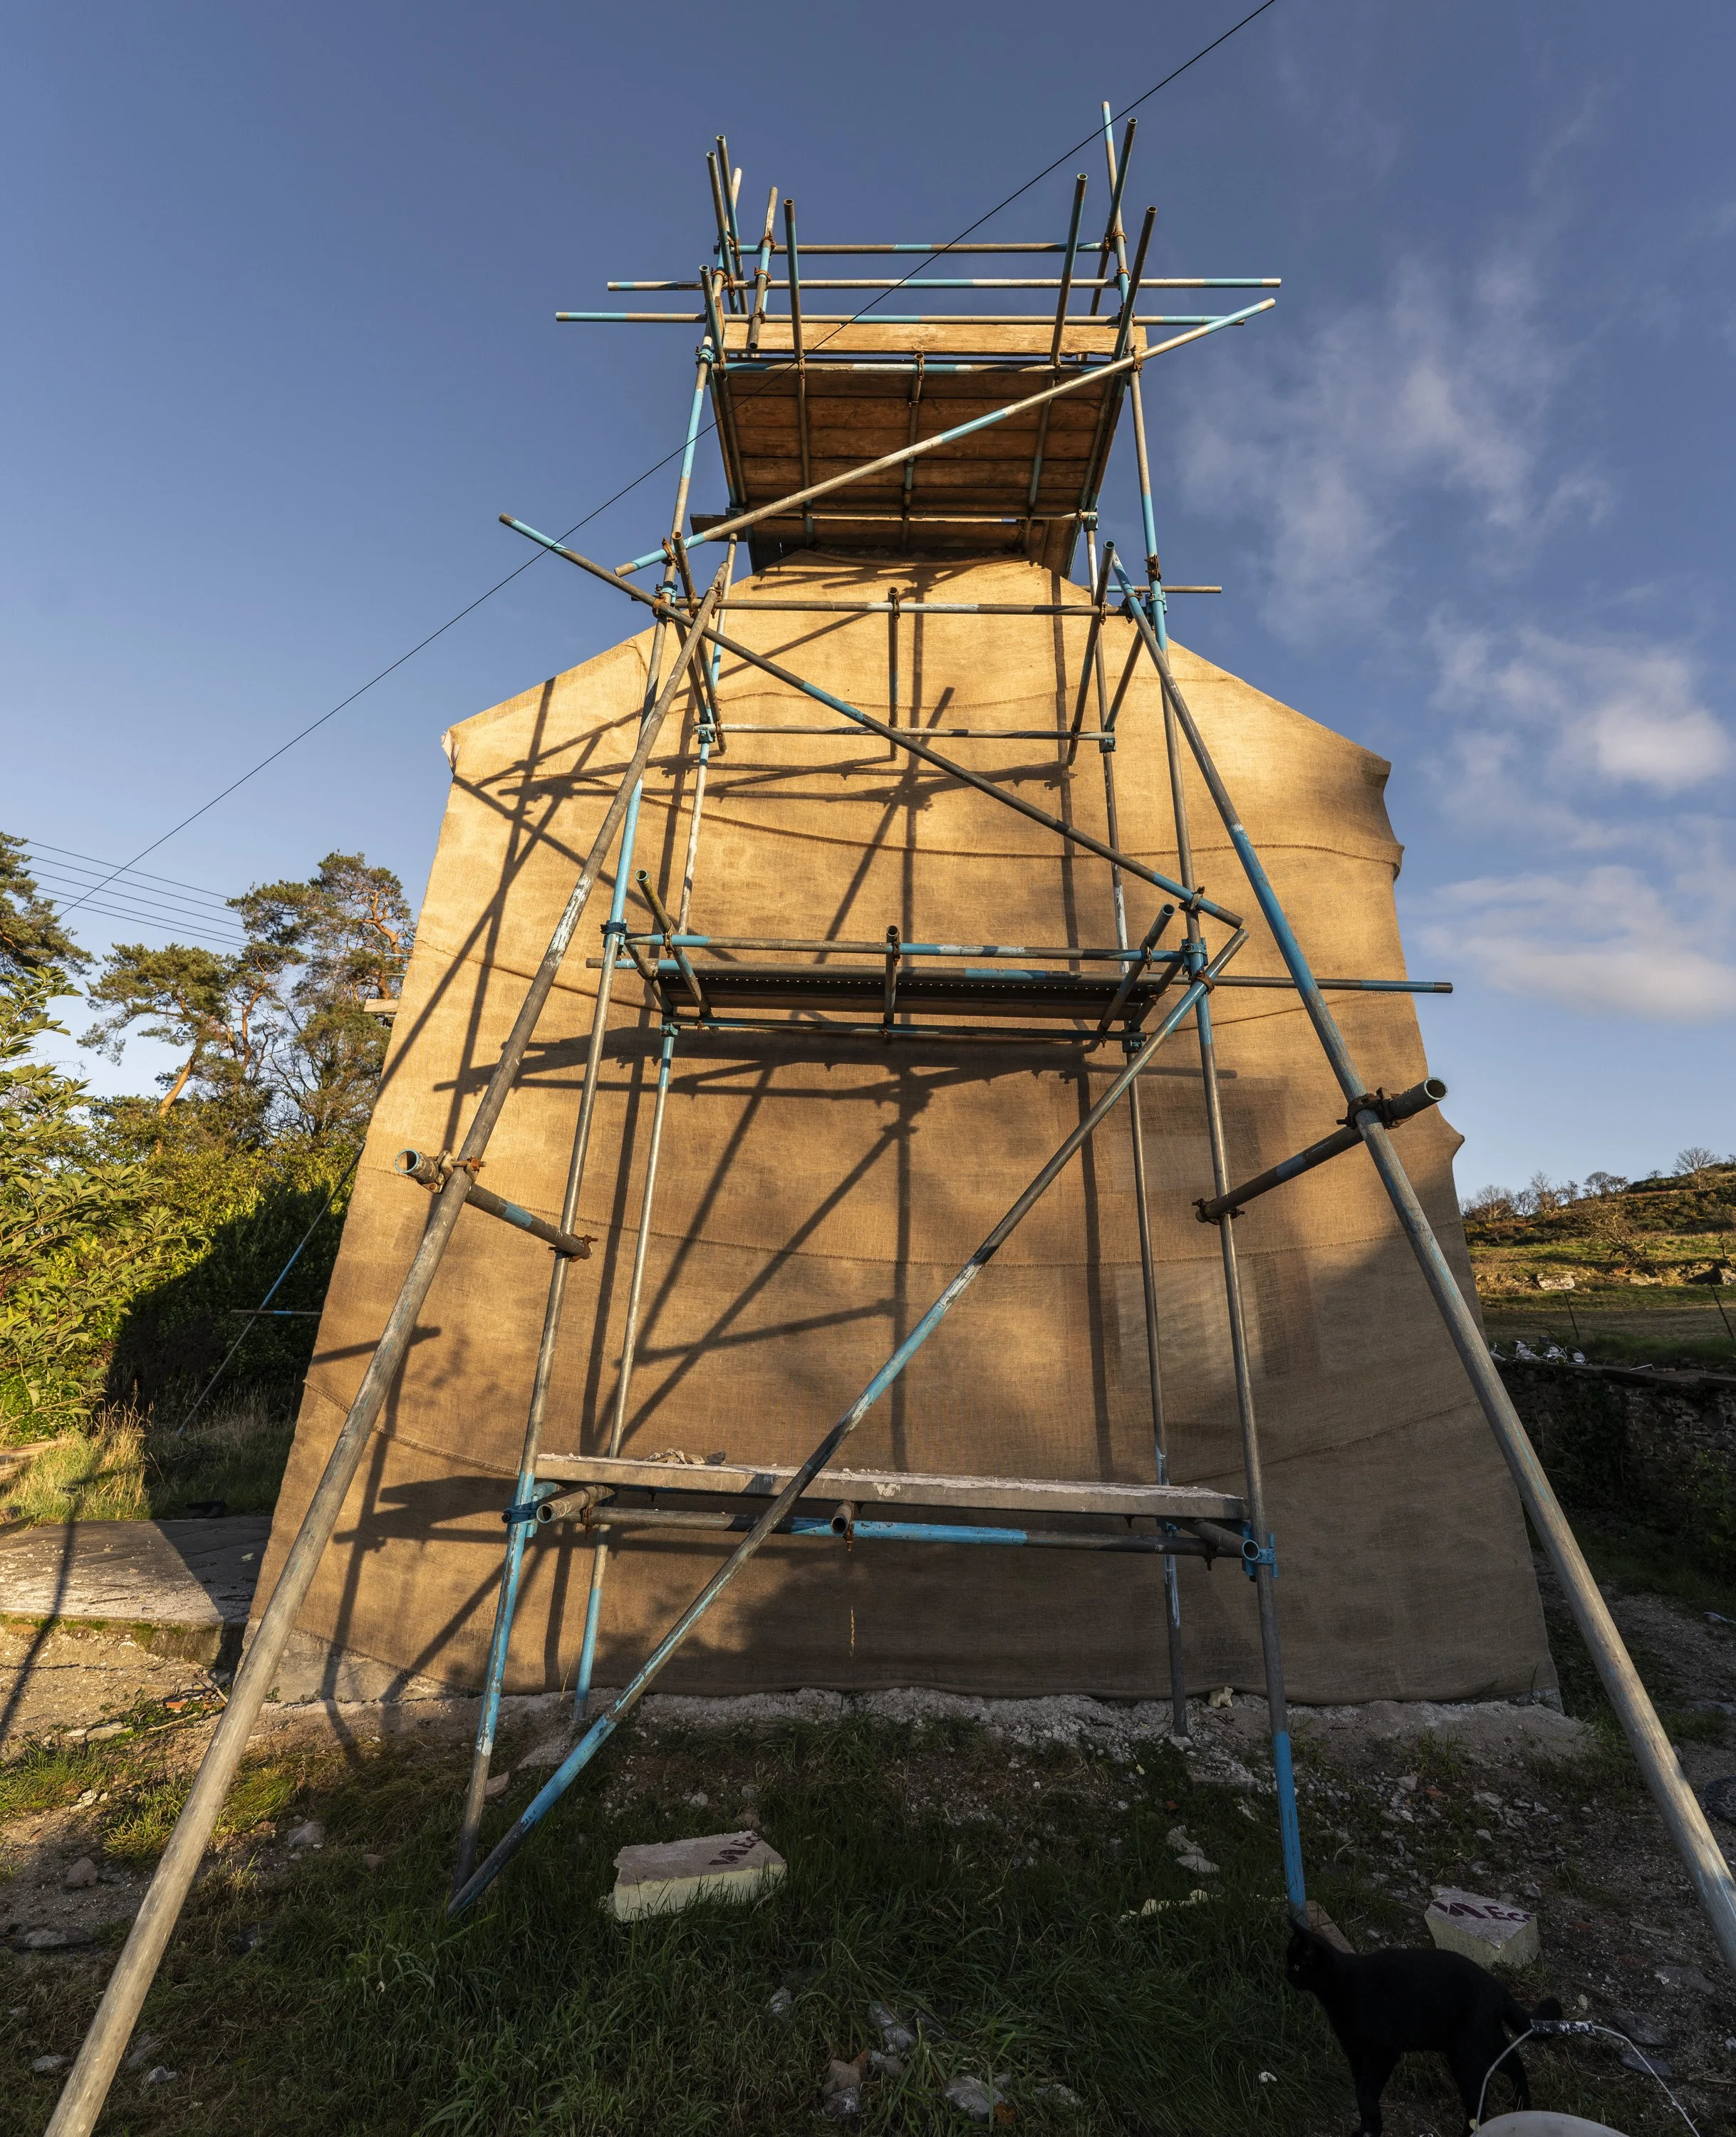
Amidst 3 very large photoshoots this week, Dan was also pointing away whenever he could. That included via floodlights until midnight on one night. We can confirm that the gable end is now complete 🥳 I grabbed some photos on the last day of the gable, before the final joints were pointed and before it has been fully tapped back too, but the difference is astounding:


This has raised a fairly obvious issue though: This wall is absolutely perfect.
The flush pointing will allow water to just run down to meet the floor as quickly as possible, there are no ledges, no cracks, no craters, no irregularities, and new lead bits to boot. It is perfect, which, coincidentally, is absolutely nothing like every other wall on the building. And that difference is now painfully visible to anyone who happens to glance at this wall then another in the same visit - because this wall is so good, everything else looks 100x worse! It’s highly unlikely that any other pointing will be completed this winter, because you can’t point with lime when frosts are due. Therefore, everything else will have to wait for next year, and we’ve just got to survive the winter!
This gable will be coated with Beeck SP Plus, a compound recommended to us by the two lime companies we spoke with last week, because it’s so exposed and gets hammered by the weather. SP Plus is a highly breathable and hard-wearing clear water-repellent coating for stone and lime stuff, and it’ll stop 90% of water from penetrating the lime mortar. The only issue is that the pointing needs to cure for 8-10 weeks and then the coating can only be applied with zero rain and no low temperatures for 24-48 hours, which kinda wipes out winter up here! So that’s a next spring job too.
The only other thing to add is the door lining kits and swanky door knobs came, which made Dan’s day, as he picked them out. An unexpected delivery also came, one that was due next Monday because the rooms would be more ready, and that was the underfloor heating. Dad took the delivery whilst we were out shooting on Thursday, and he popped it into the only available non-working space; the chaos filled kitchen.


Onwards!
October Week 4:
Dan was fairly solo this week as I headed to Preston to judge some photography stuff for the BIPP from Tuesday through Thursday night. Whilst I was away, Dan made a mini list of bits to do but the first stop on the list was an exciting moment for us.
The Lighting Ceremony for the burners, including the brand new one in the utility/kitchen, happened on Monday. Because the temperature dropped quite a lot in the past few days, the indoor atmosphere has turned winterous. With zero connected pipework for central heating right now, the damp cold air was worrying both of us, as it’s an ideal mould climate. To try get ahead of the situation, especially with our stop-start plastering routine that releases a huge amount of water into the spaces at random weekly intervals, we set up our trusty array of dehumidifiers and got fire starting.


Humidity was 88% on the heating mission, which is lower than our 94% running maximum (the first few weeks of February 2024), but far higher than our 60-65% running average that we’re targeting and indeed achieved at the back end of last winter. Internal temperature was around 12 degrees, which is actually our mid-winter average for last winter, and that was with central heating!
We can confirm that after 36 hours and a few litres, the humidity was down to 67%, and the temperature was sitting at a balmy 21 degrees.
Considering the absolute maximum we’ve managed in the farmhouse to date is 18 degrees, with the heating absolutely flat out and 6 human bodies plus Christmas Dinner cooking in all the heating vessels, 21 degrees is insane. A total win!
Next up was Christmas Wrapping practice, on the gable end. With the weather turning and bad weather forecast, Dan and I spent a few hours wrapping the gable in hessian strips. Hessian lets the wall breathe and dry (it specficially lets carbon dioxide get to the lime), but it protects the pointing from driving rain, drying winds and frost. All of these are imperative.
Again, because that weather was due, Dan whipped around the house with some expanding foam and mastic to block up any major gaps around the reveals. These don’t need to be pretty or perfect, because within two years the windows and doors will all be replaced anyway.

A heavy rain day came and absolutely no water made it inside, which is a major win compare to the fortnight prior with Storm Amy. Yay for us.
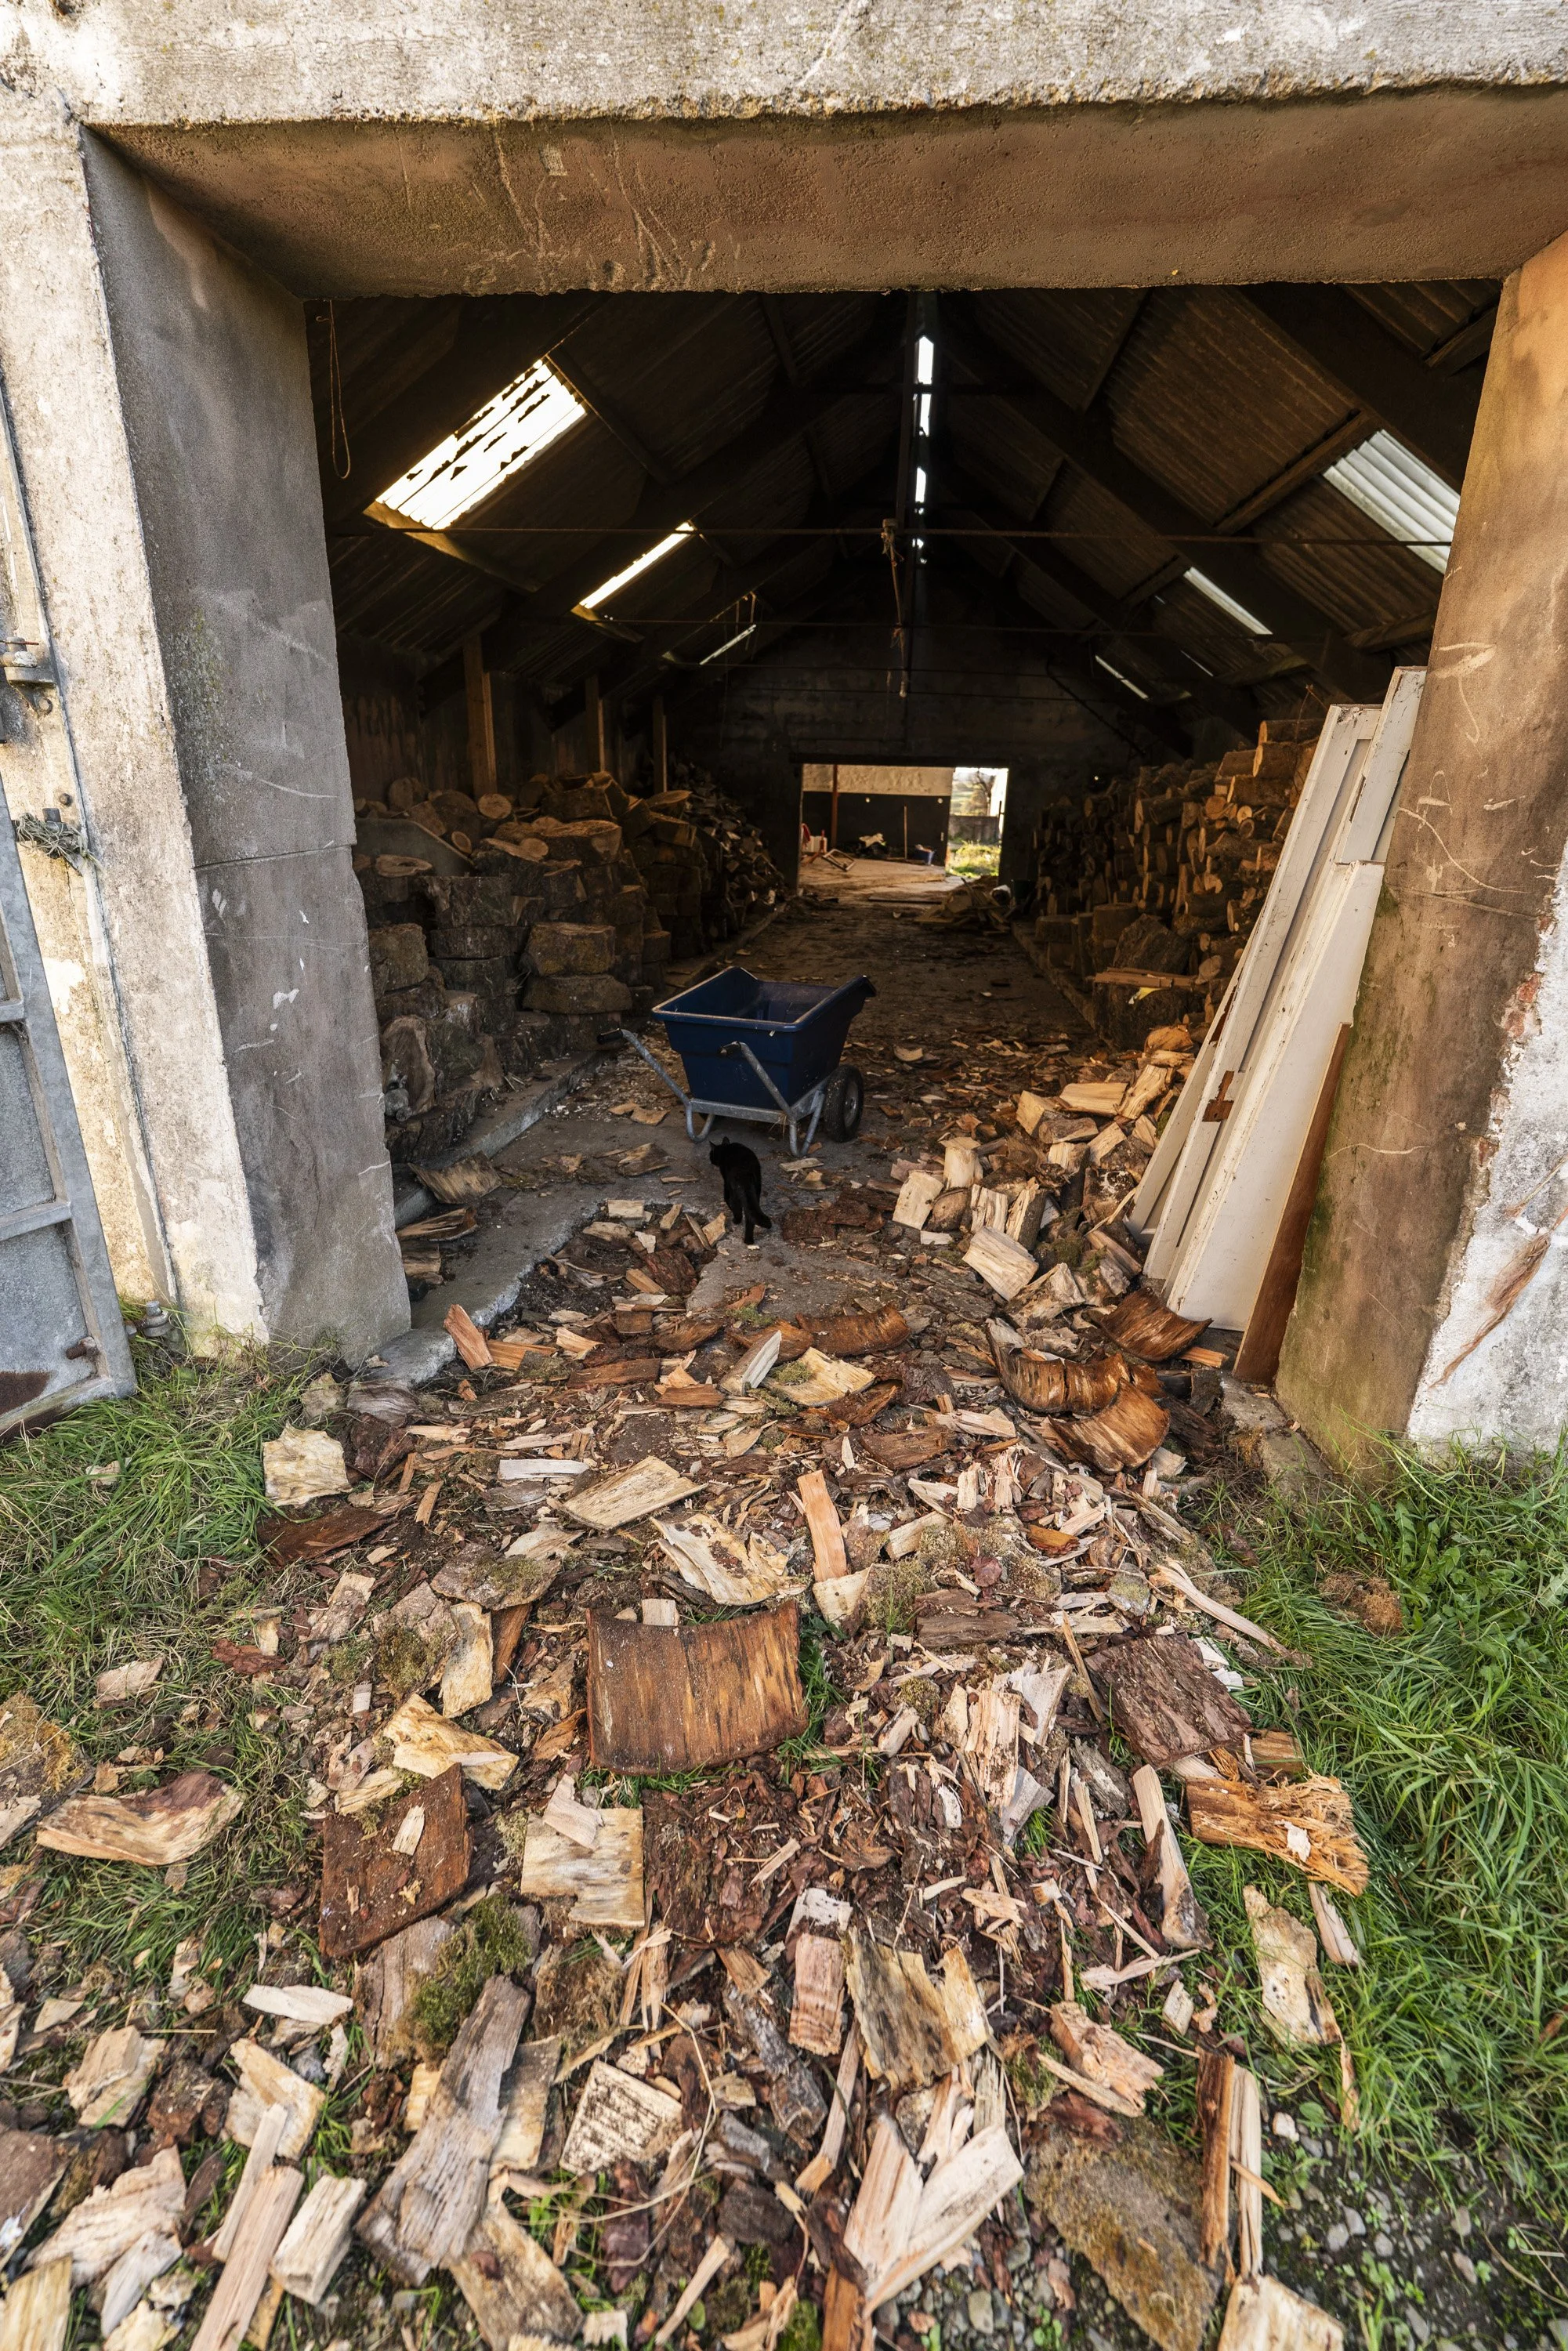
Then I disappeared and left Dan do it. Farmer Ryan did us yet another solid and dropped us off a tractor and log splitter, which we were now in desperate need of. After a full day splitting, Dan had a mini mountain of split timber, which filled a couple of bays in the log store. The strange part for me is that this mountain is huge, and the log volume looks considerably larger than it did before it was split. Not quite sure how that works, but thank goodness a huge chunk of this is split, as it means Dan doesn’t need to split logs with an axe every other day to keep the fires stocked.

Ok, on to what you all want to know about - the plastering. Last weekend wasn’t positive, frankly. It turned out the lads had a holiday that we didn’t know about, and as a result, we expected them to be here and had a mini panic when nobody arrived. This might not seem like too much of an issue, but we need the heating on ASAP (please see the point above about mould and icky things), and we can’t do that without the utilities cupboard plastered. This was supposed to be done two weekends ago, then last weekend, and anyhoo, here we are.
So, Dan switched roles and picked up the float (or whatever the plastering tools are called) and got stuck in.
After a day, the utilities cupboard was complete, plus the hallway ceilings (there are three sections), and a couple of vertical walls:

Give it til Monday and the cupboard can have a mist coat, ready for some connections.
Are we behind, yes. Are we calm, cool and collected about that? Mixed.
October Week 5:
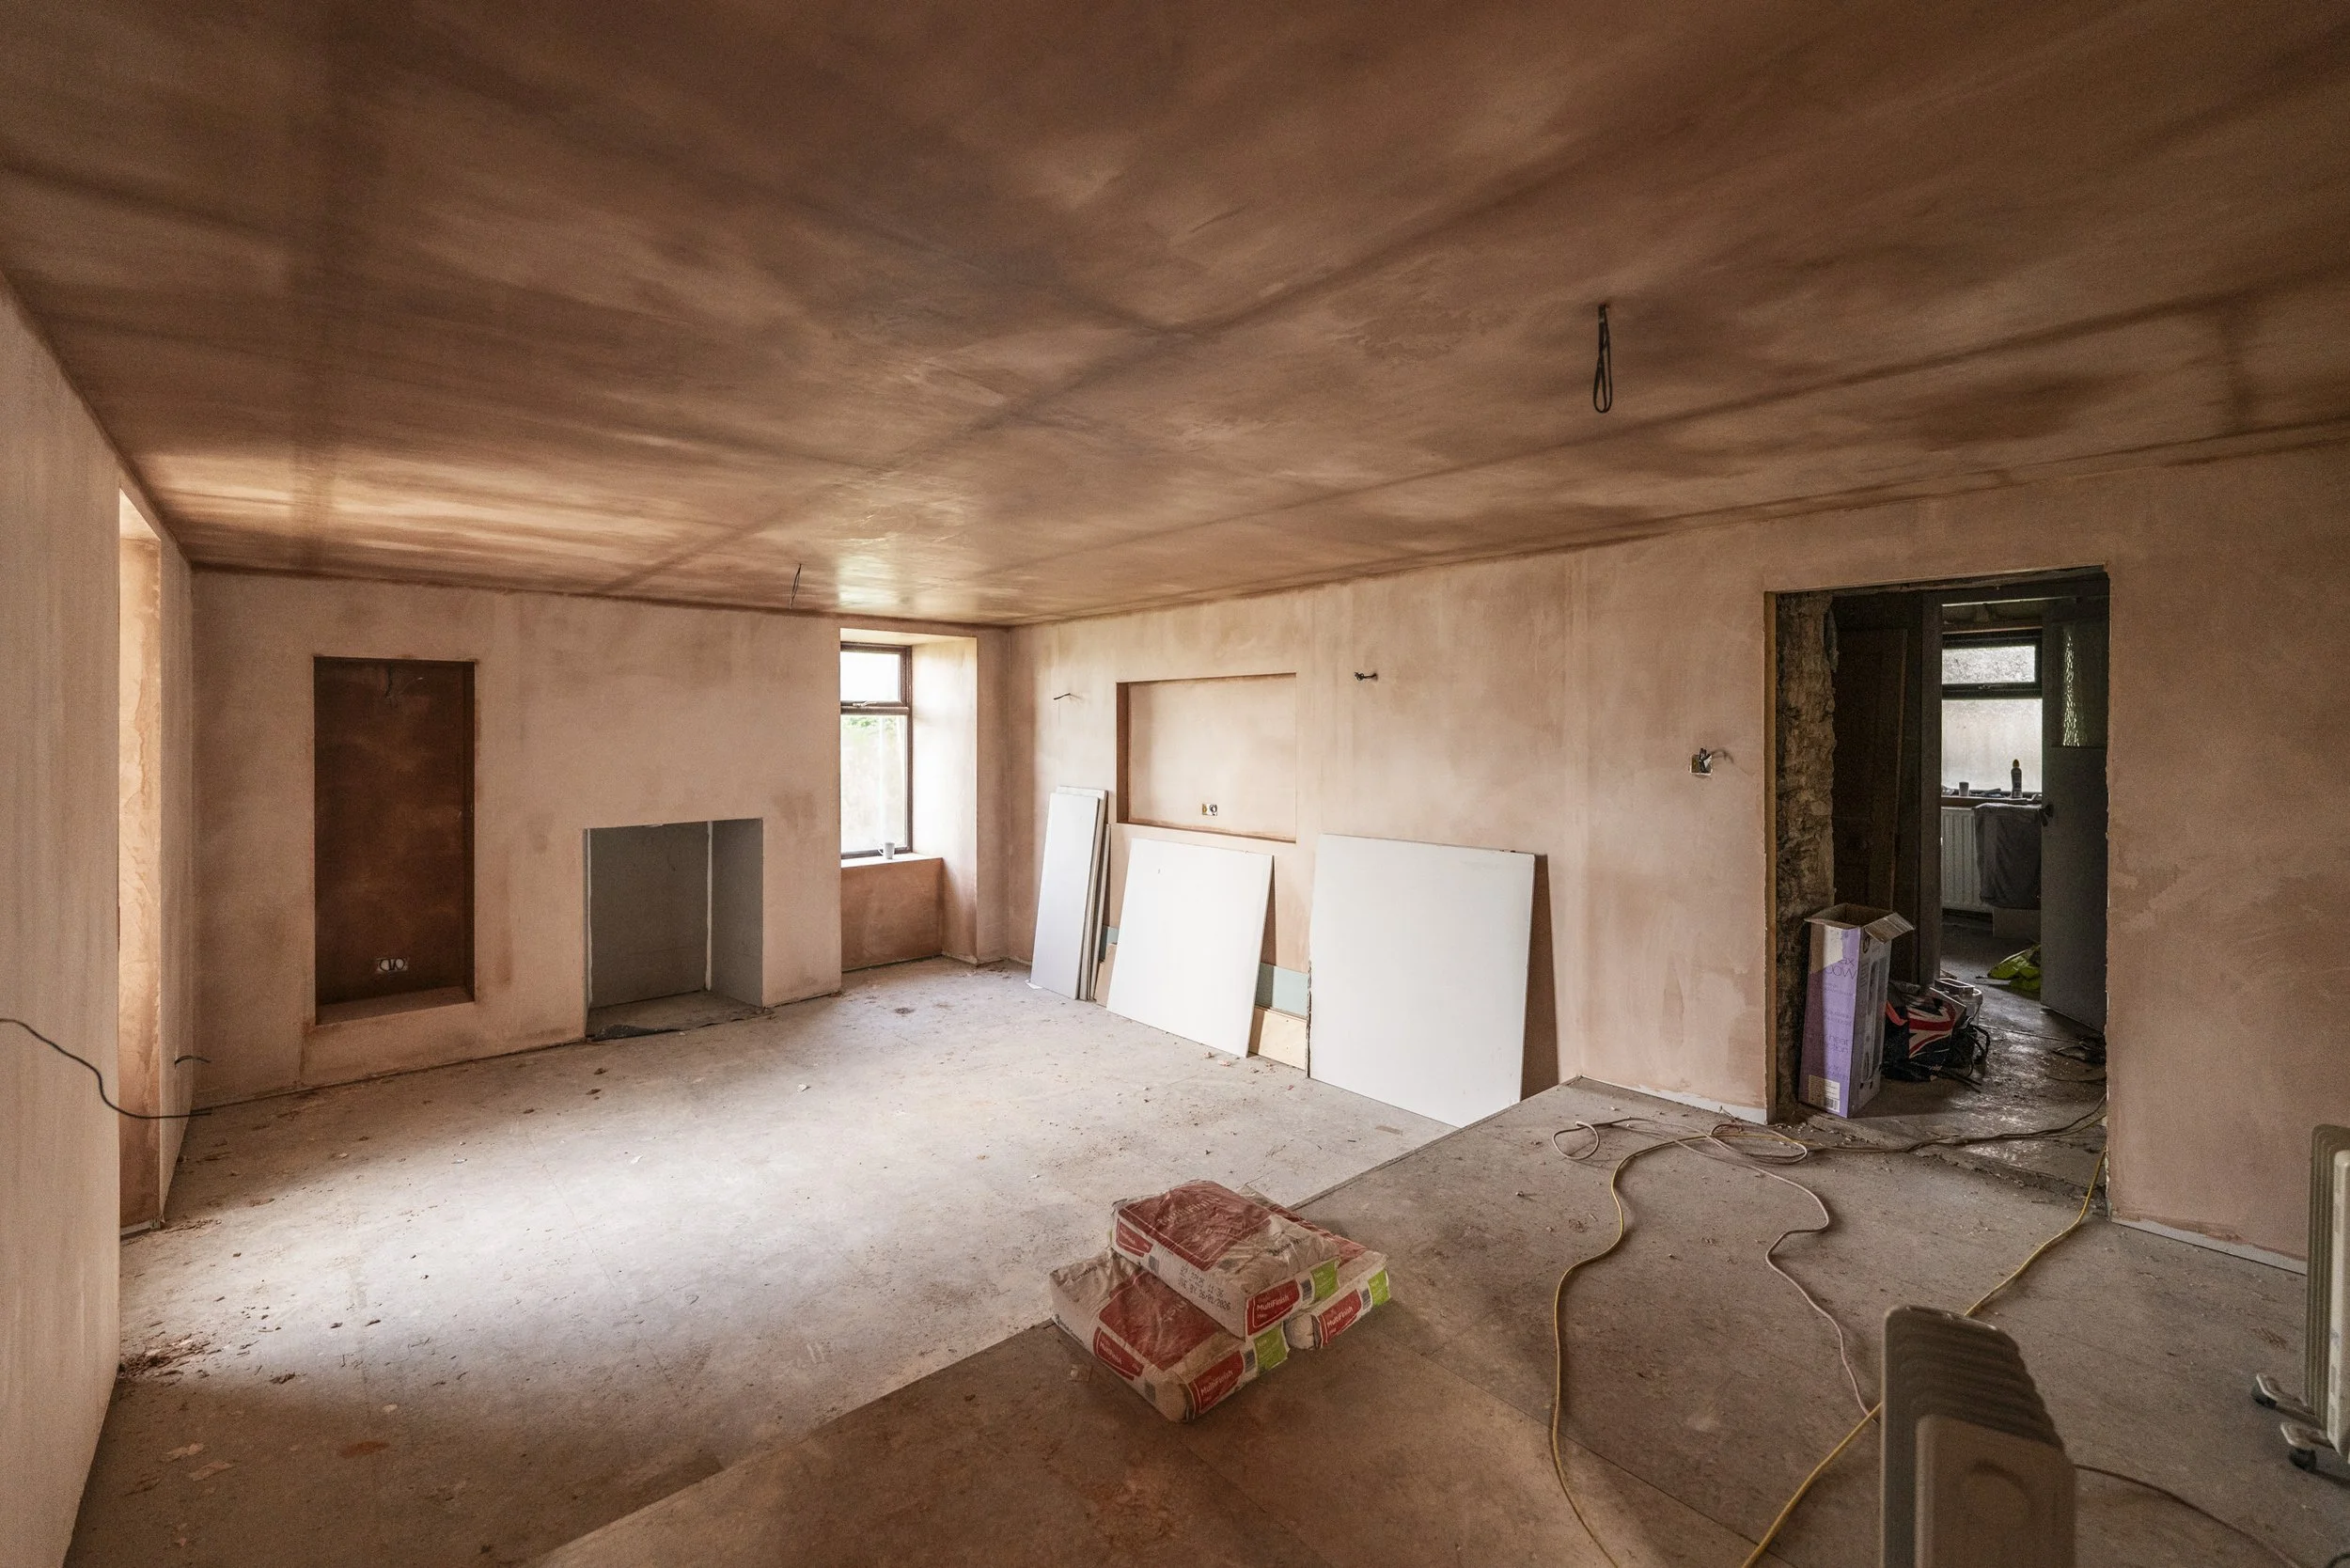
We were about at breaking point this week with the slow progress happening in the farmhouse due to delays. There was supposed to be a full weekend of plastering last week and it ended up being just a few hours, albeit to do the big walls in the living room – and the finish is very good!
Dan wasn’t coping well with the lack of progress so early this week he did a bit more of his hallway area that he’d made a good start on the week before, and then he tackled the other two sloped ceilings in the currently unplastered bedroom.


On Wednesday one of the plasterers came back on site and put in a good shift, making progress in some of the nooks and crannys as well as tackling the inglenook back. The promise was for a Friday completion, but the offer of a second person on Saturday took priority and yesterday (technically we’re in November but we’ll keep it here), the two of them tackled the big ceiling sections, the second bedroom walls and some smaller details.


Sadly though, a full day was not on the cards, leaving some small areas unplastered. Dan will take over and finish these bits ASAP. The good news is that the walls are all complete to the point that second fix can begin. We've already booked those trades in, so it’s just a bit of a wait until then. In the meantime, we’re going to see if there’s a possibility of getting some of the underfloor heating pipes down ahead of the plumber, but we might opt to hold until we’re a little further along with the other areas of the house too.
Inside, the situation now looks like this, and you can click these images to make them larger:
The Living Room


The Office


Dan’s Hallway

The Second Bedroom (technically this is Bedroom 3)


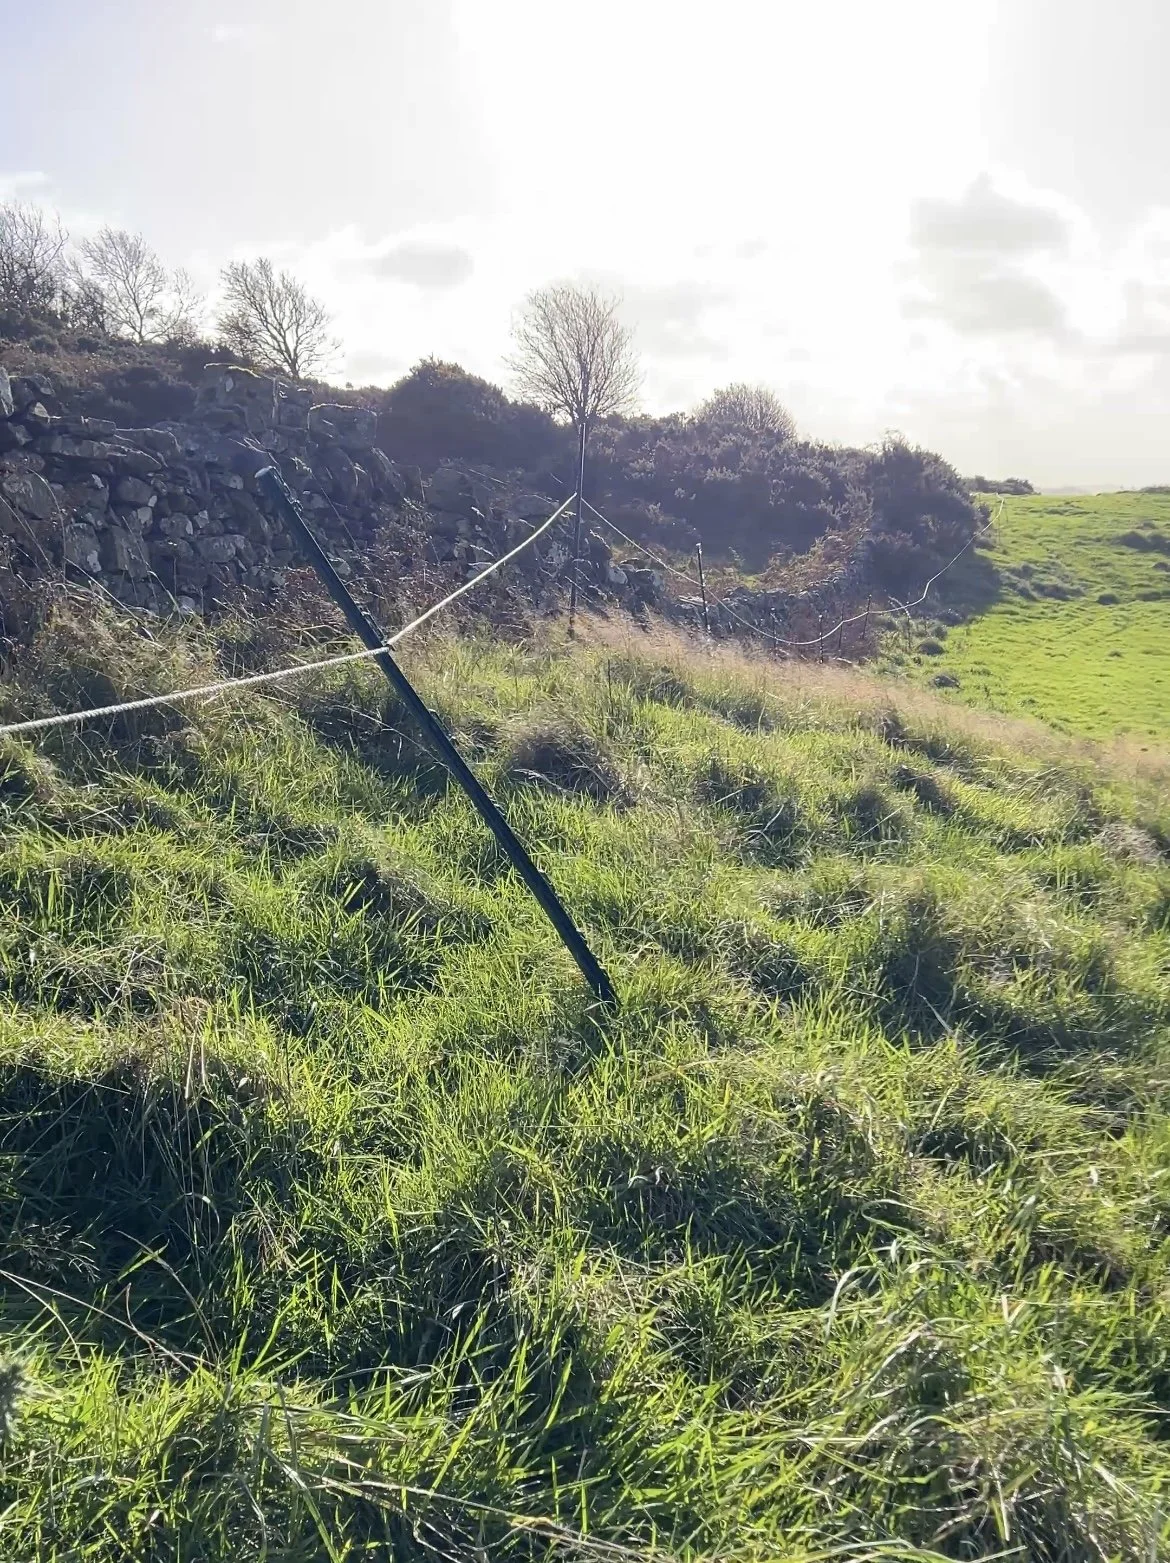
This week I had horrendous flu but we needed to do some outside jobs, so on a good-flu-day and with no rain forecast, Dan and I headed out to run the winter fencing. There really couldn’t be a delay with this task, because in the space of a week, the girls field looked like this:
Sure, it’s not a boggy mess (except at the gate), but there isn’t any new grass growth now and the soft wet ground is already causing hoof softening. I want to try and keep their feet ok, discounting the fact that Tuna is currently wearing a duct tape boot due to an abscess caused by a stray stone, so a move to the top strip is imminent.
At the same time, moving too soon is unhelpful. That strip is all they’ll have when the lower levels turn to wetland, so we need to hold for as long as possible. Thankfully, there is 8.5 acres of very good grass standing in the haylage field, below the protected winter strip (which is 7.3 acres of mixed grazing on an almost constant gradient). This haylage field section is currently a little bit too rich for full-time turnout, it’s been well managed for high quality forage and as such, it’s kind of rocket fuel. It is, however, usable for shorter 3-5 hour turnouts until it gets too wet to handle the hooves.
With a plan of equine movement, and winter sheep grazing too, Dan and I went for it. Armed with the quad, trailer, 50 fence posts, electric rope, Lemon and Bryt, we started by laying out posts, checking the old top line which has been battered a bit by the wind, running the new rope and then removing the original partition that the girls had in place last winter:


The secondary gate up here helps us out if the winter gateway on the back track becomes too wet, and also gives the quad safer access into the field. This strip has a cliff where it meets the lower holding area near the farmhouse, and although it probably is passable by quad, any breaking for a horse in the way or a loss of momentum gives this bank a high risk of a quad flip. Farmers know how dangerous this can be, especially on such a steep incline, so another access point is helpful!
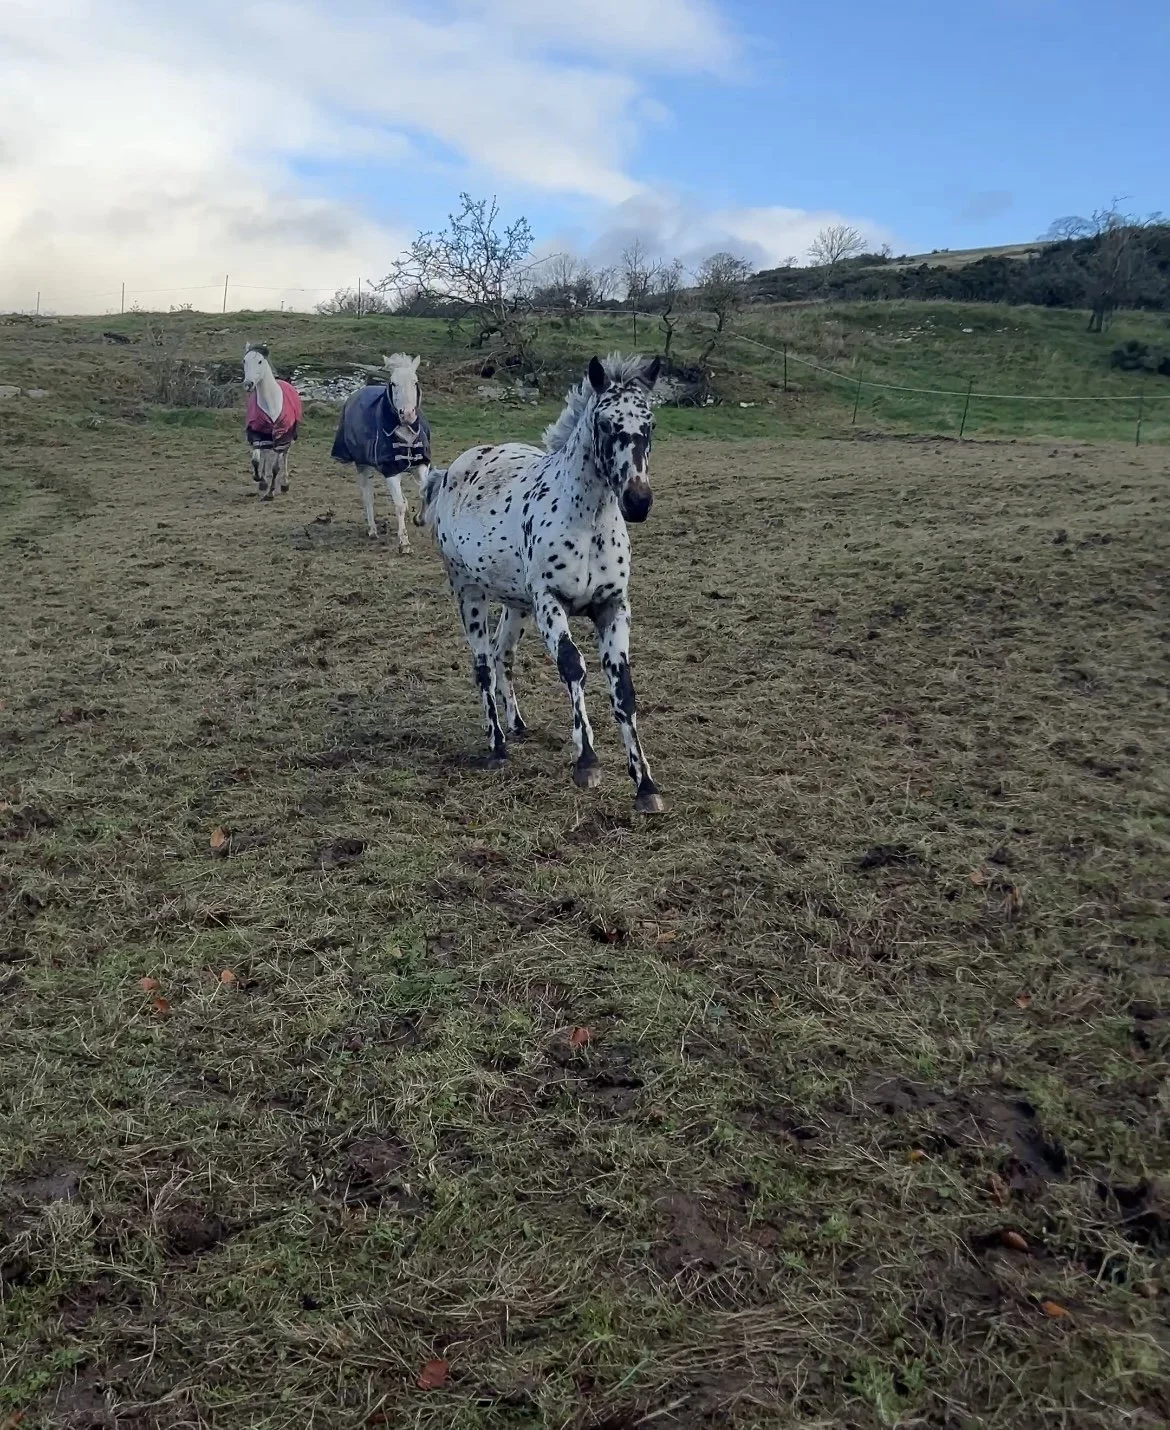
We then began the mud monsters introduction to the much richer, fertilised and slurried grass. Eating was their priority, but Connie did have a small blast in this big space. She’s very hairy already and enjoys rolling in the muddiest, wettest parts of the fields! She also doesn’t really need any good grass, but we’ll manage her weight as the weather turns.
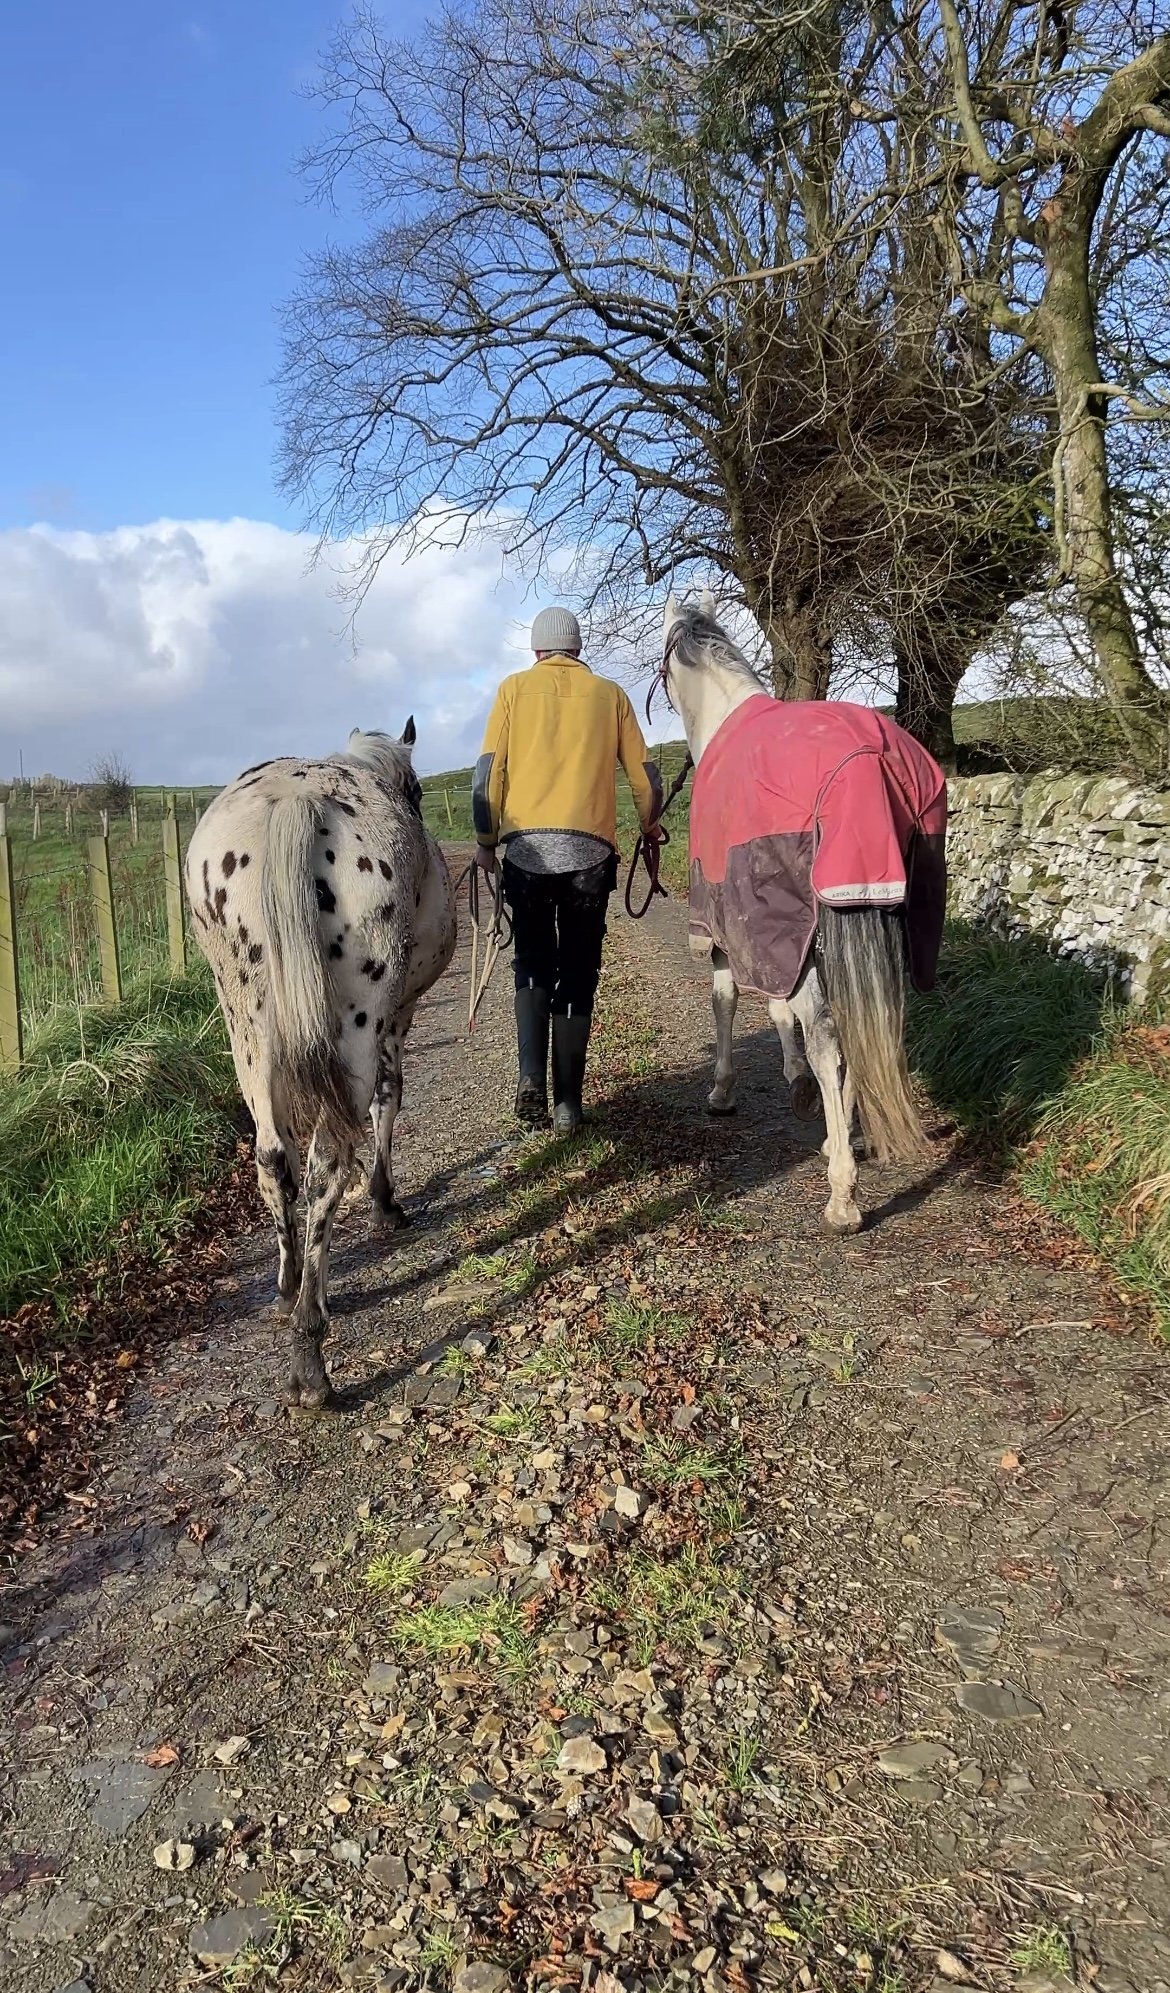

So far they’ve had 5 days of acclimitisation to this field, and whilst Tuna has shown no adverse reaction, and Connie 99% fine too, Velia hasn’t coped quite so well. She tends to be slower to adjust to forage changes of any type, but this one will take us a lot more time. Thankfully, no signs of early colic, likely because we’re managing the transition, but her poop even with just a couple of hours on the good grass was very watery, near-black and had an extremely sour smell. These are all signs of a hind gut in distress, so she’ll spend more time with Connie on the old summer field and move a bit slower with the switch.
There will be a question over why they need to get used to this grass if they’re just getting moved to the top strip later. The reasoning is that a large part of their winter strip contains this rich grass, we know the horses will want to eat it more than the rougher stuff, so it’s important she’s adjusted to it before they move onto the top of the field full time.
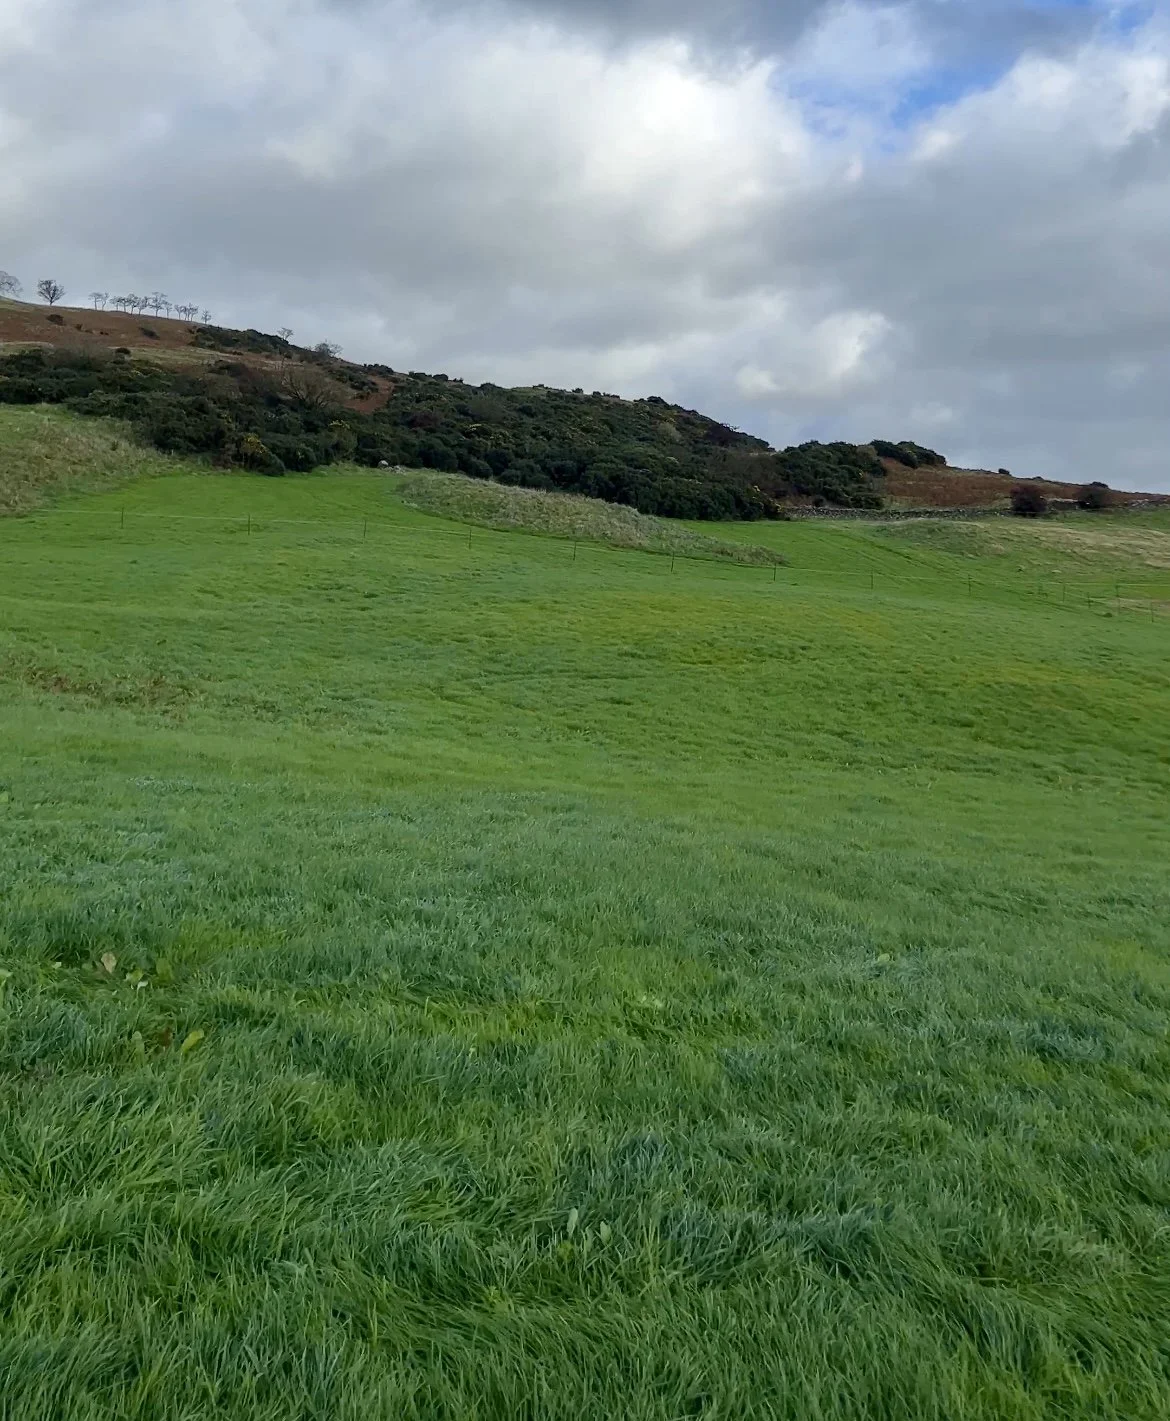
Here’s a shot from the bottom of the haylage field, that includes some of their winter strip at its narrowest point (there is a fence there, I promise):
That’s all for this week, hopefully I have something to share next week as we move into November!