
March Monthly Update
March is here, and spring is springing. The sun is starting to warm our bones, and March means that I personally crawl out of my annual SAD spell and become a much more chaotic, excitable and productive human being. The change for me is almost overnight, and it startles Dan every time. Speaking of Dan, for him March means wondering which day of the week he can squeeze cutting the grass into. The answer is none but it’ll get done anyway!
As always, there’ll be a lot in this one, so use the links to skip to each week as we move through the month:
March Week 1:
I am writing this on Friday as we have a full weekend here! This week was all about the wet dog room, and after asking you on socials what the type of flooring is that I have in my head, you all delivered. I found an installer, the flooring, the wall coverings and we were all systems go on finishes, until we came to replace the back door. I’ll circle back to this point and it will make sense then, but just know, this room might not end up being how I want it to be this year - which will suck. Put a pin in that!
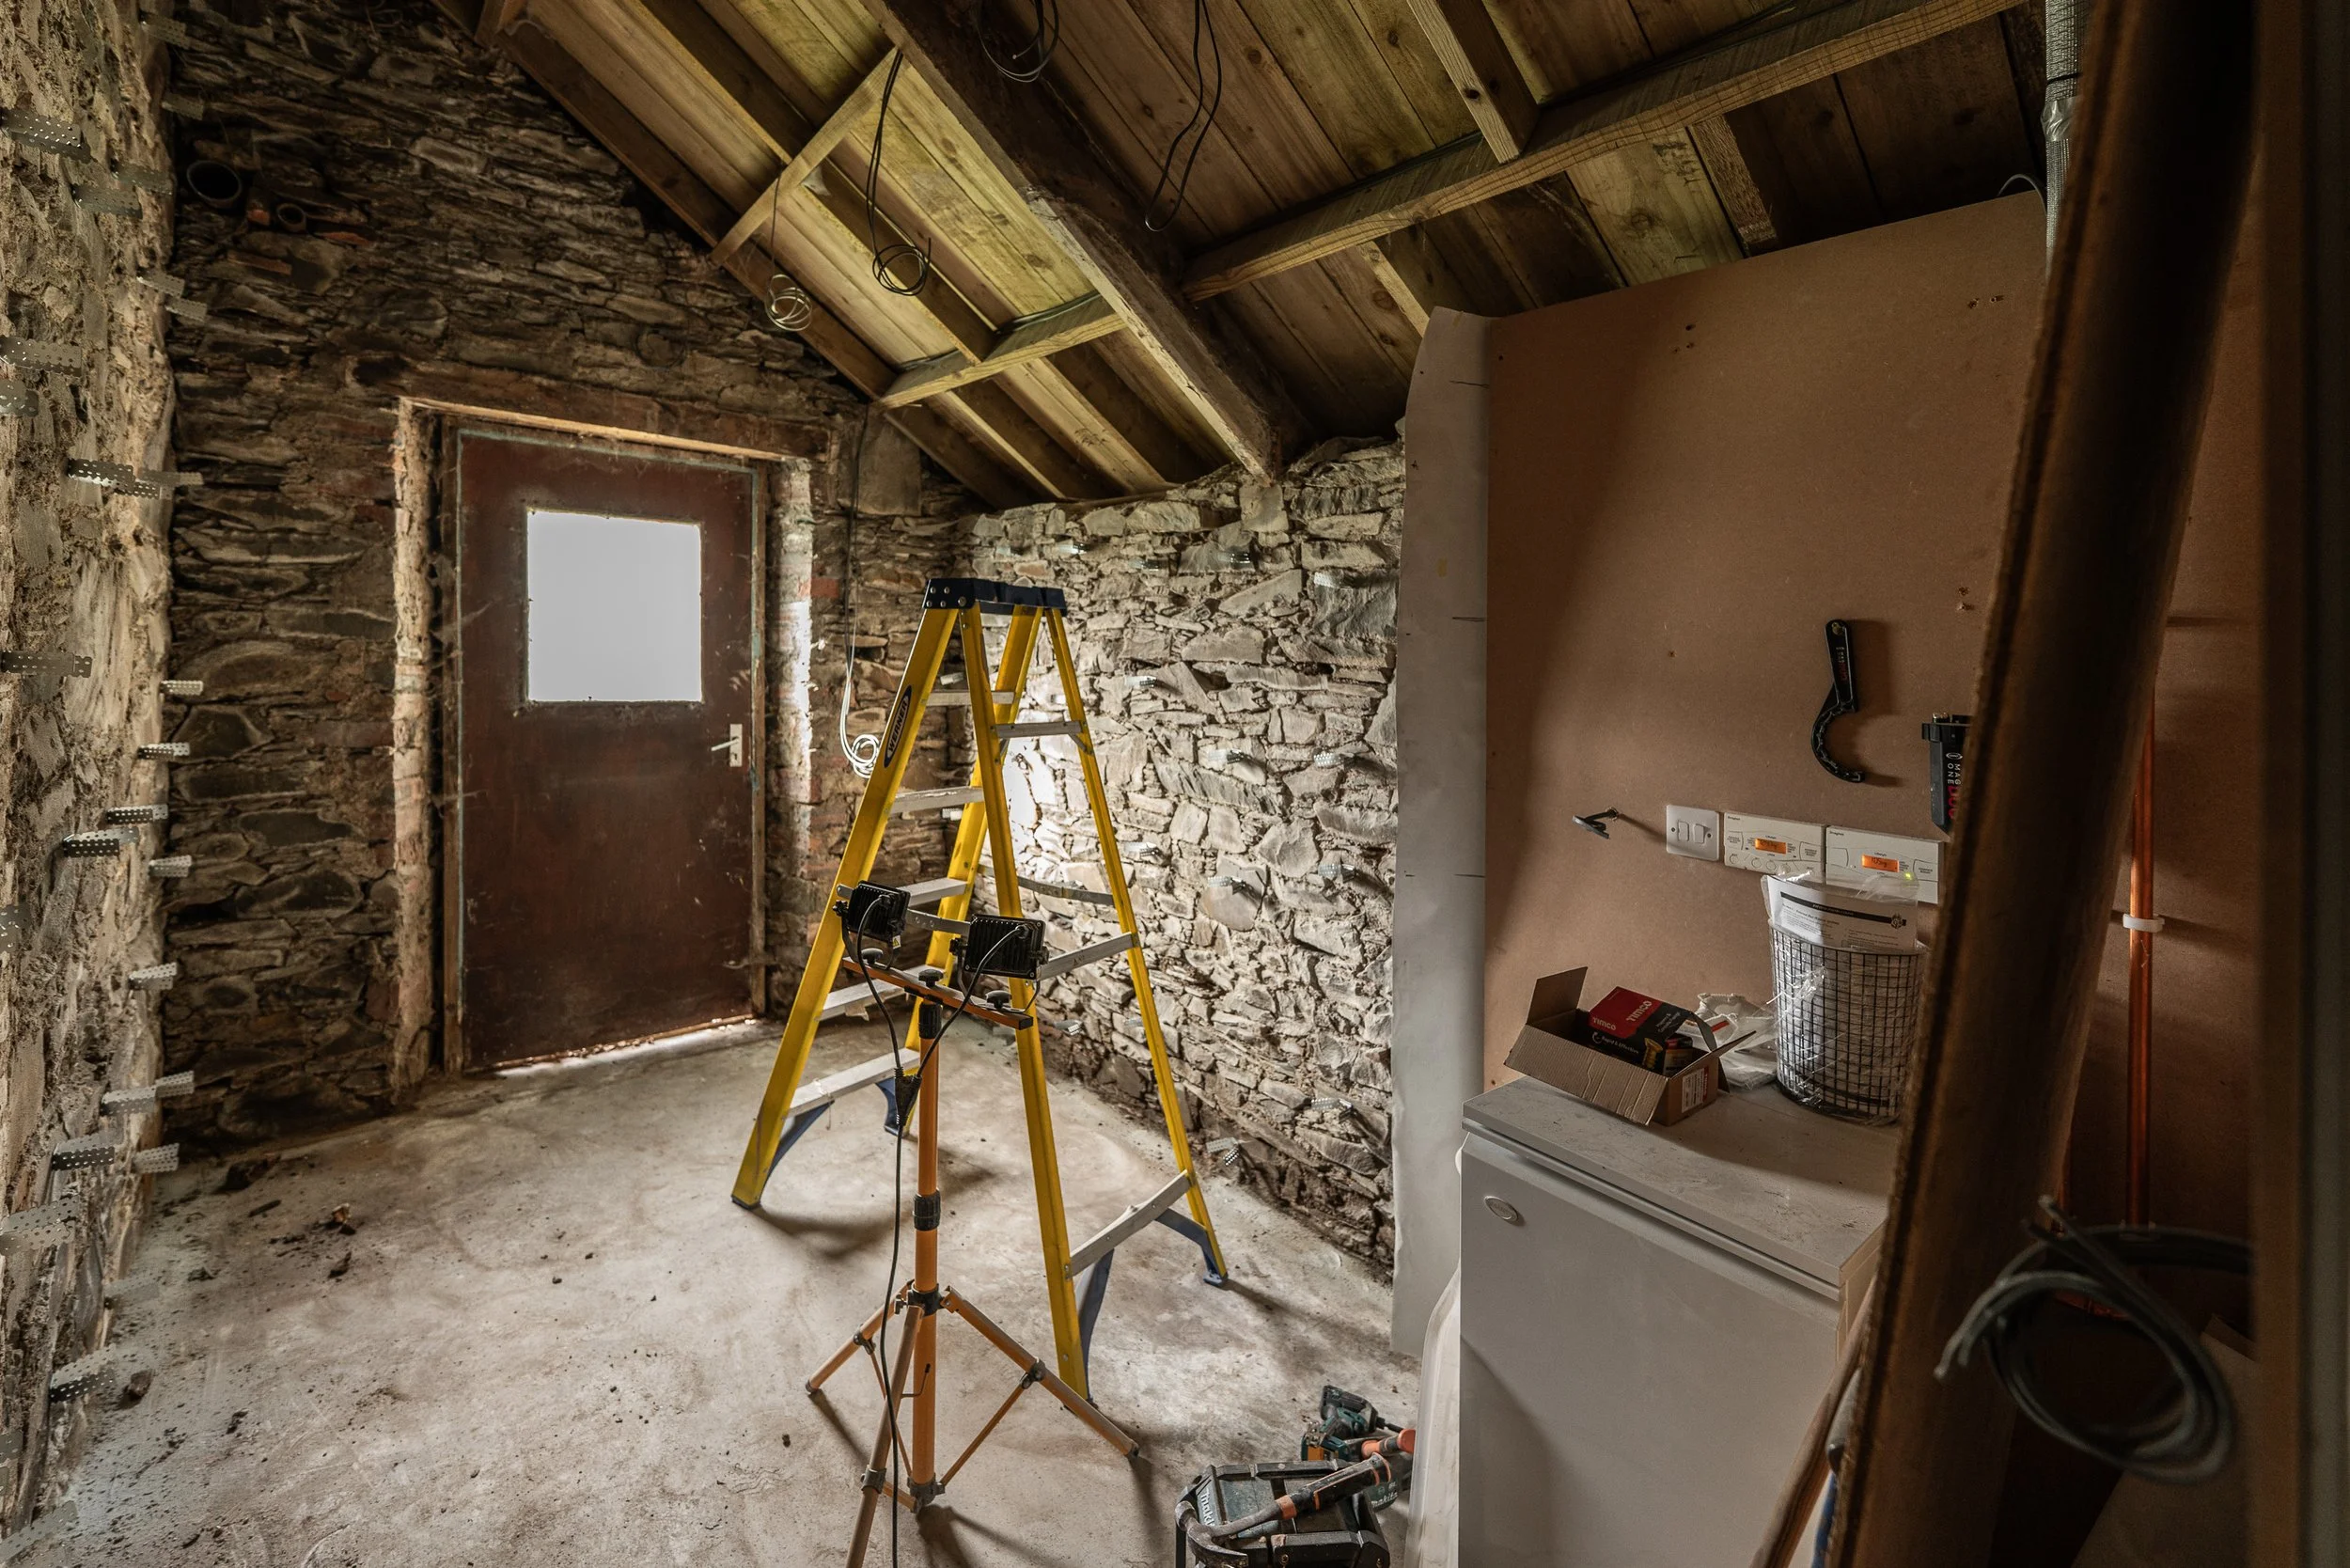
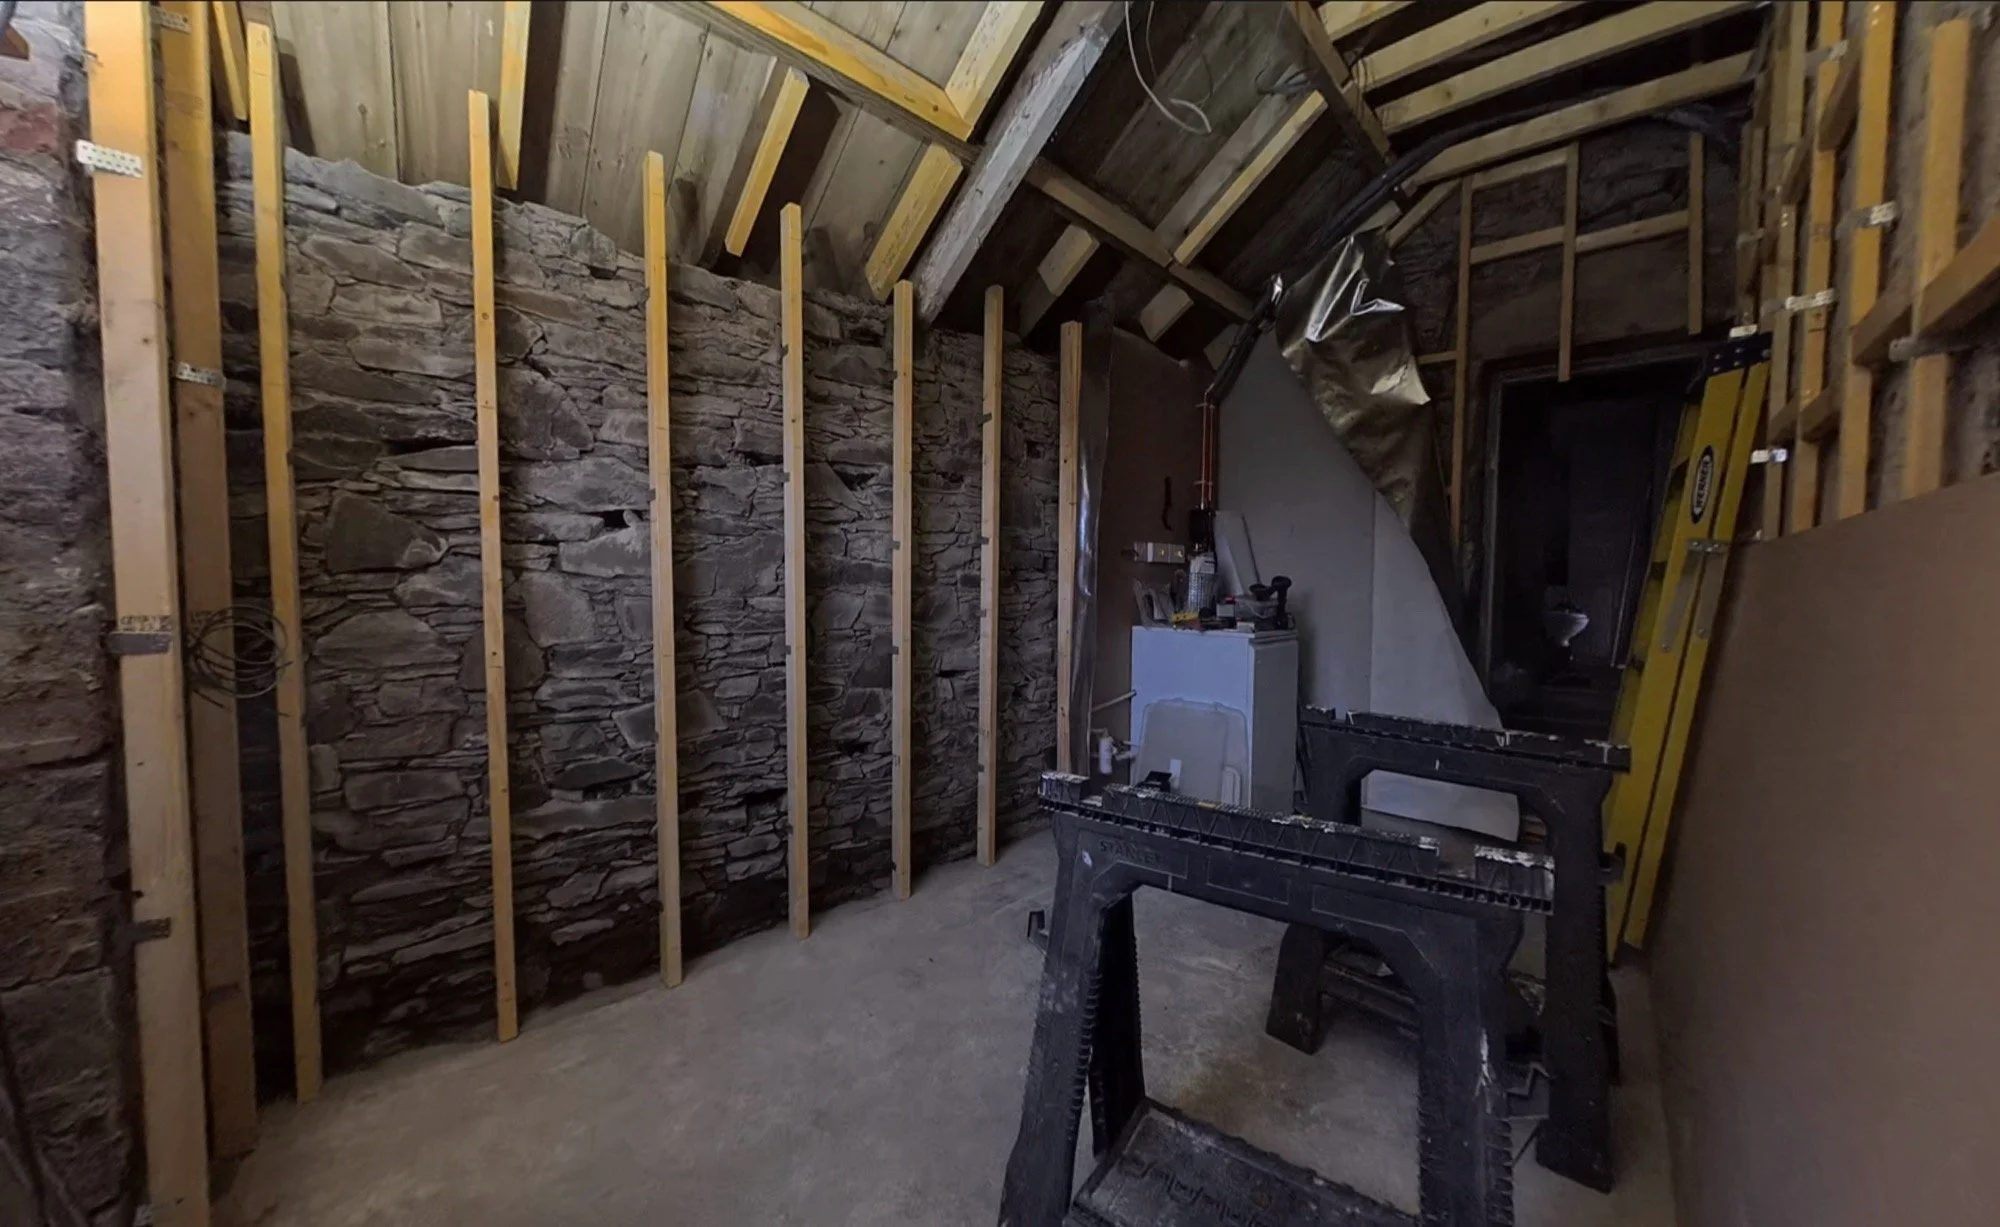
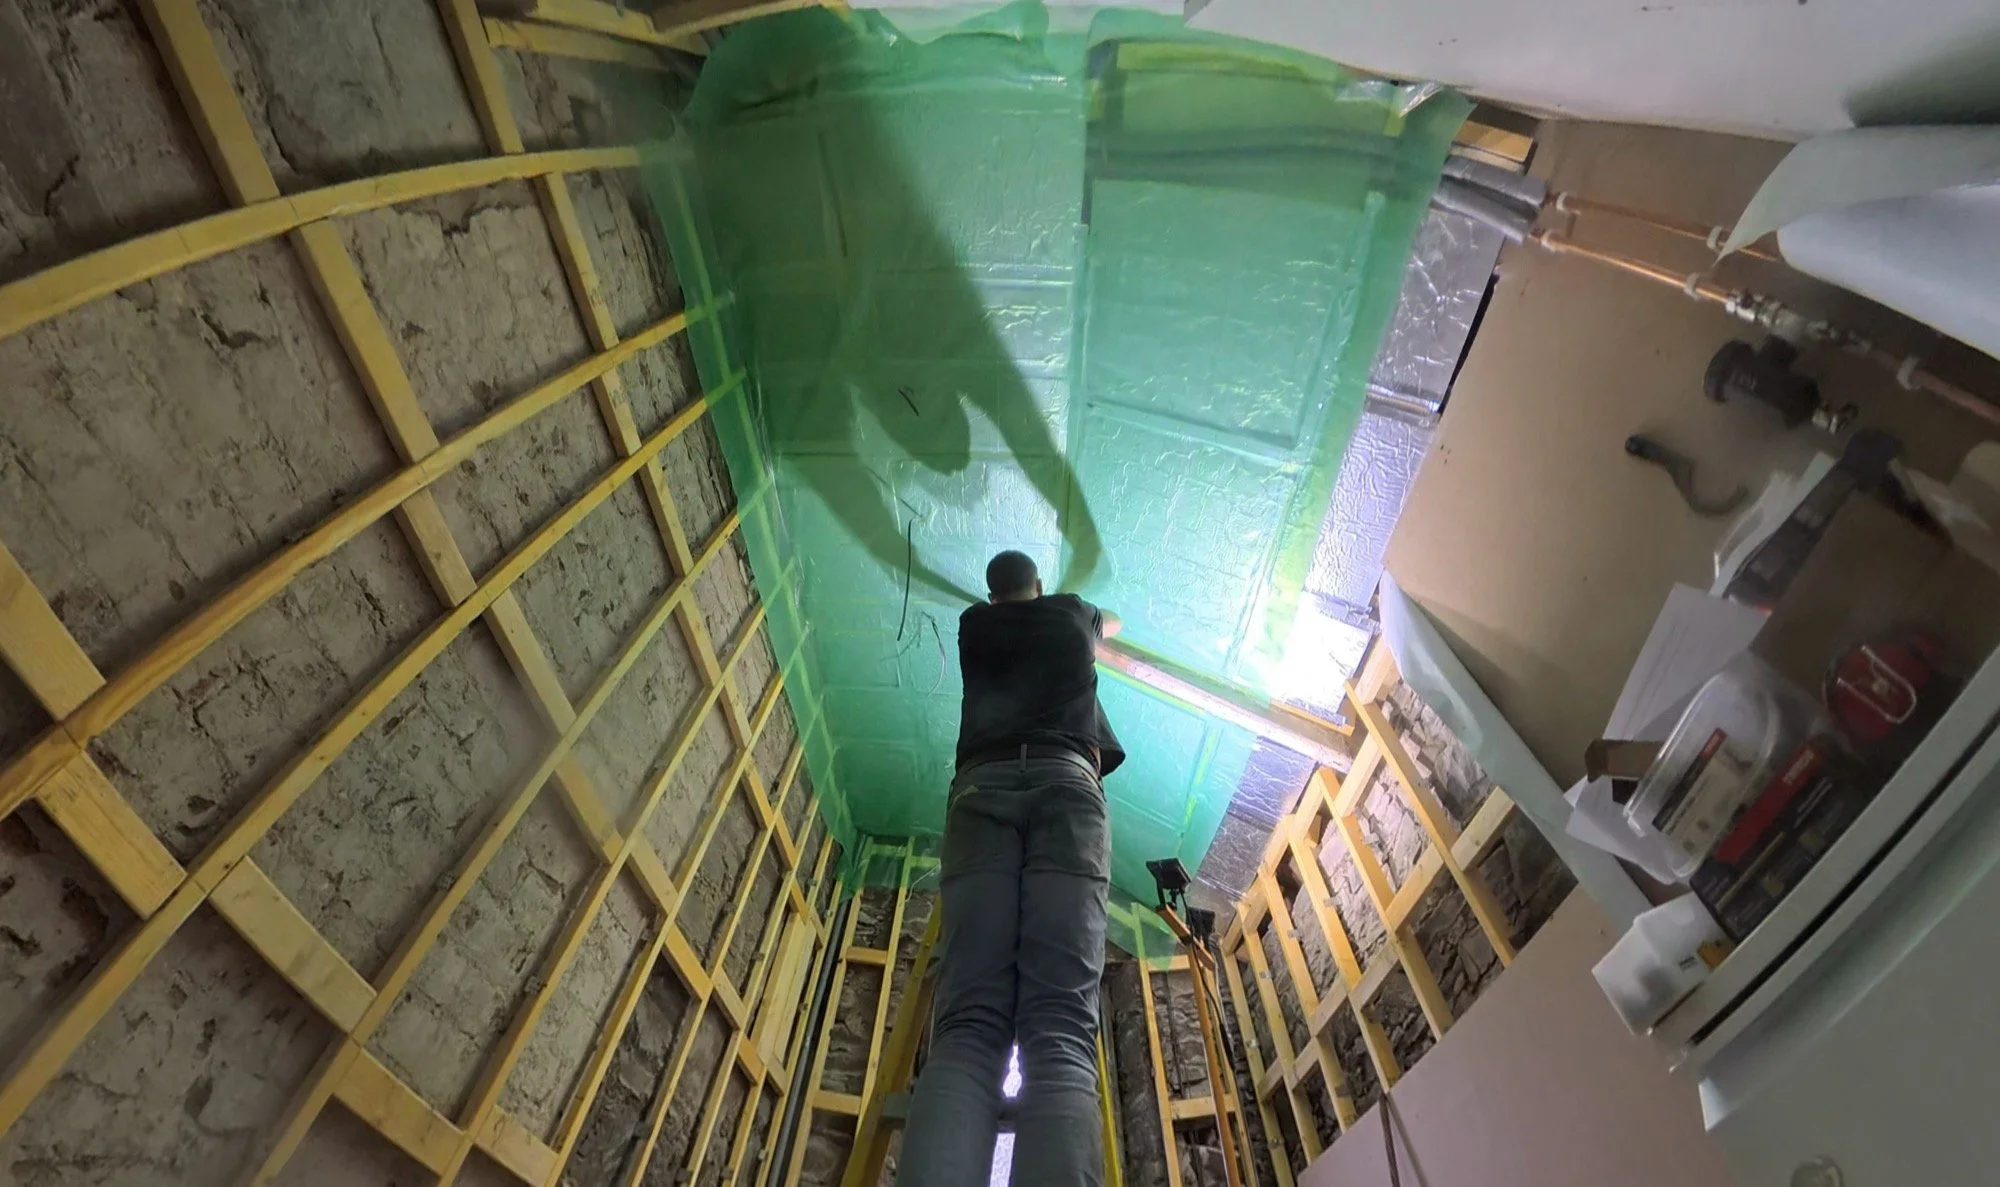
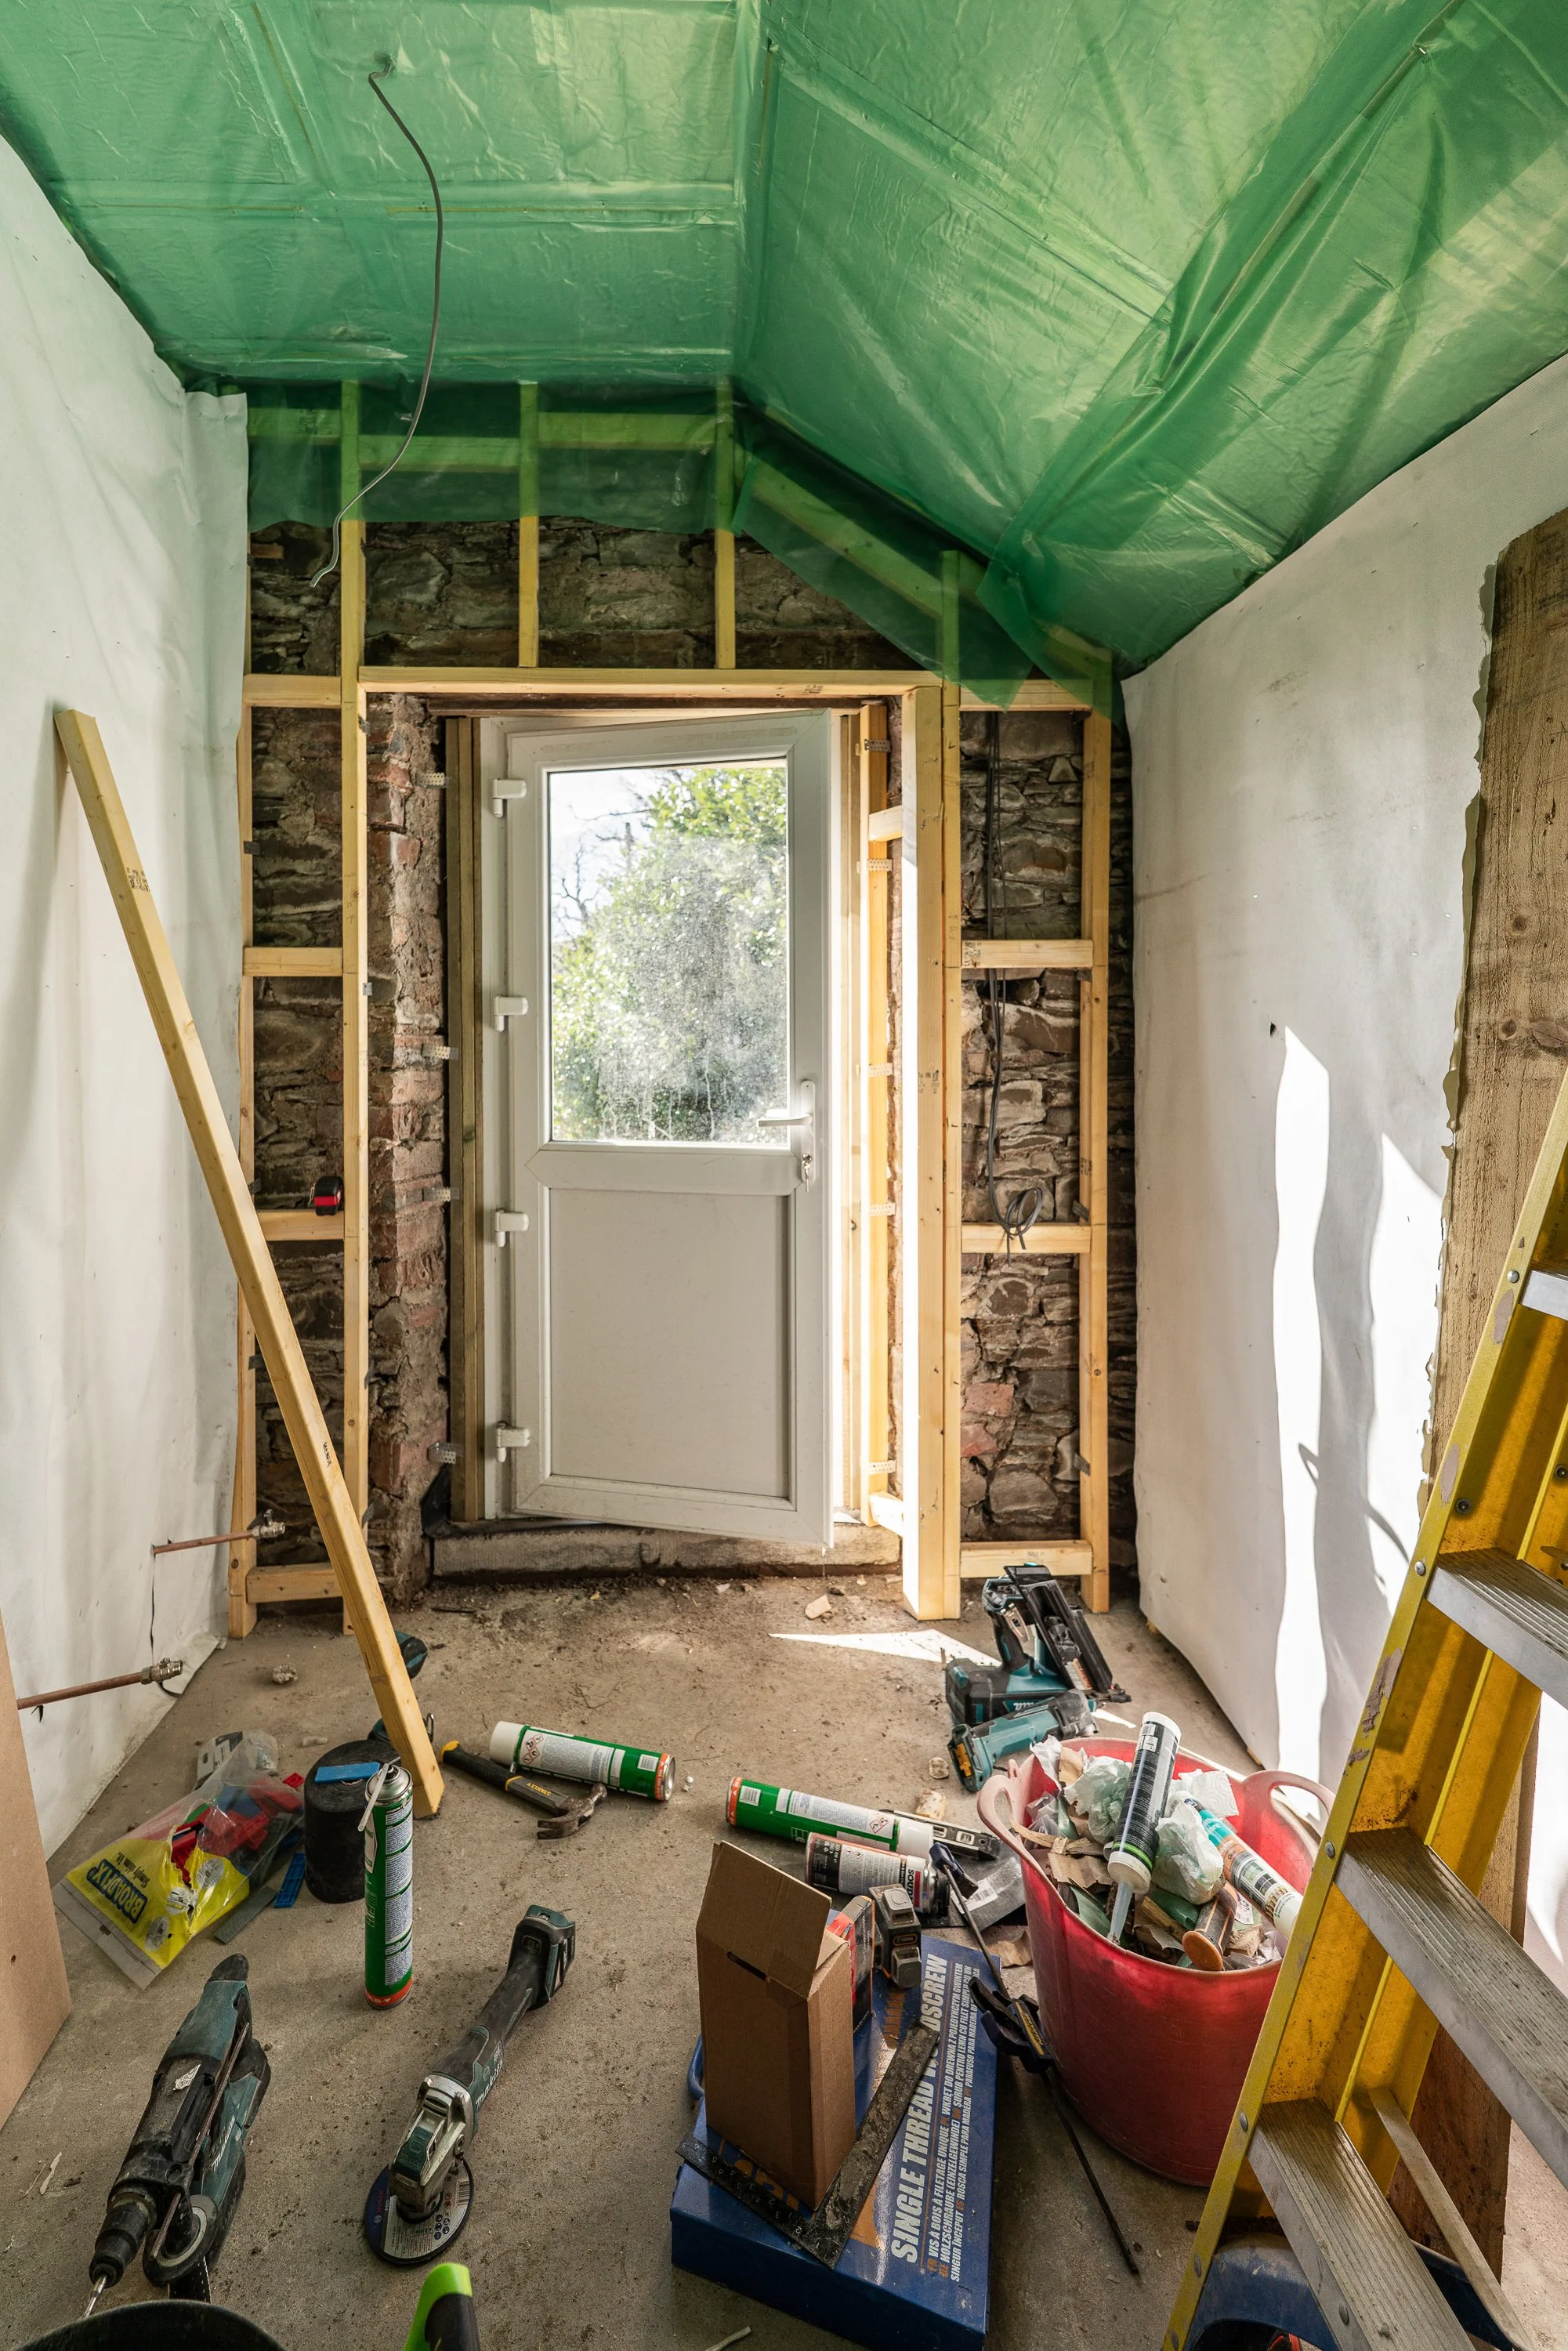
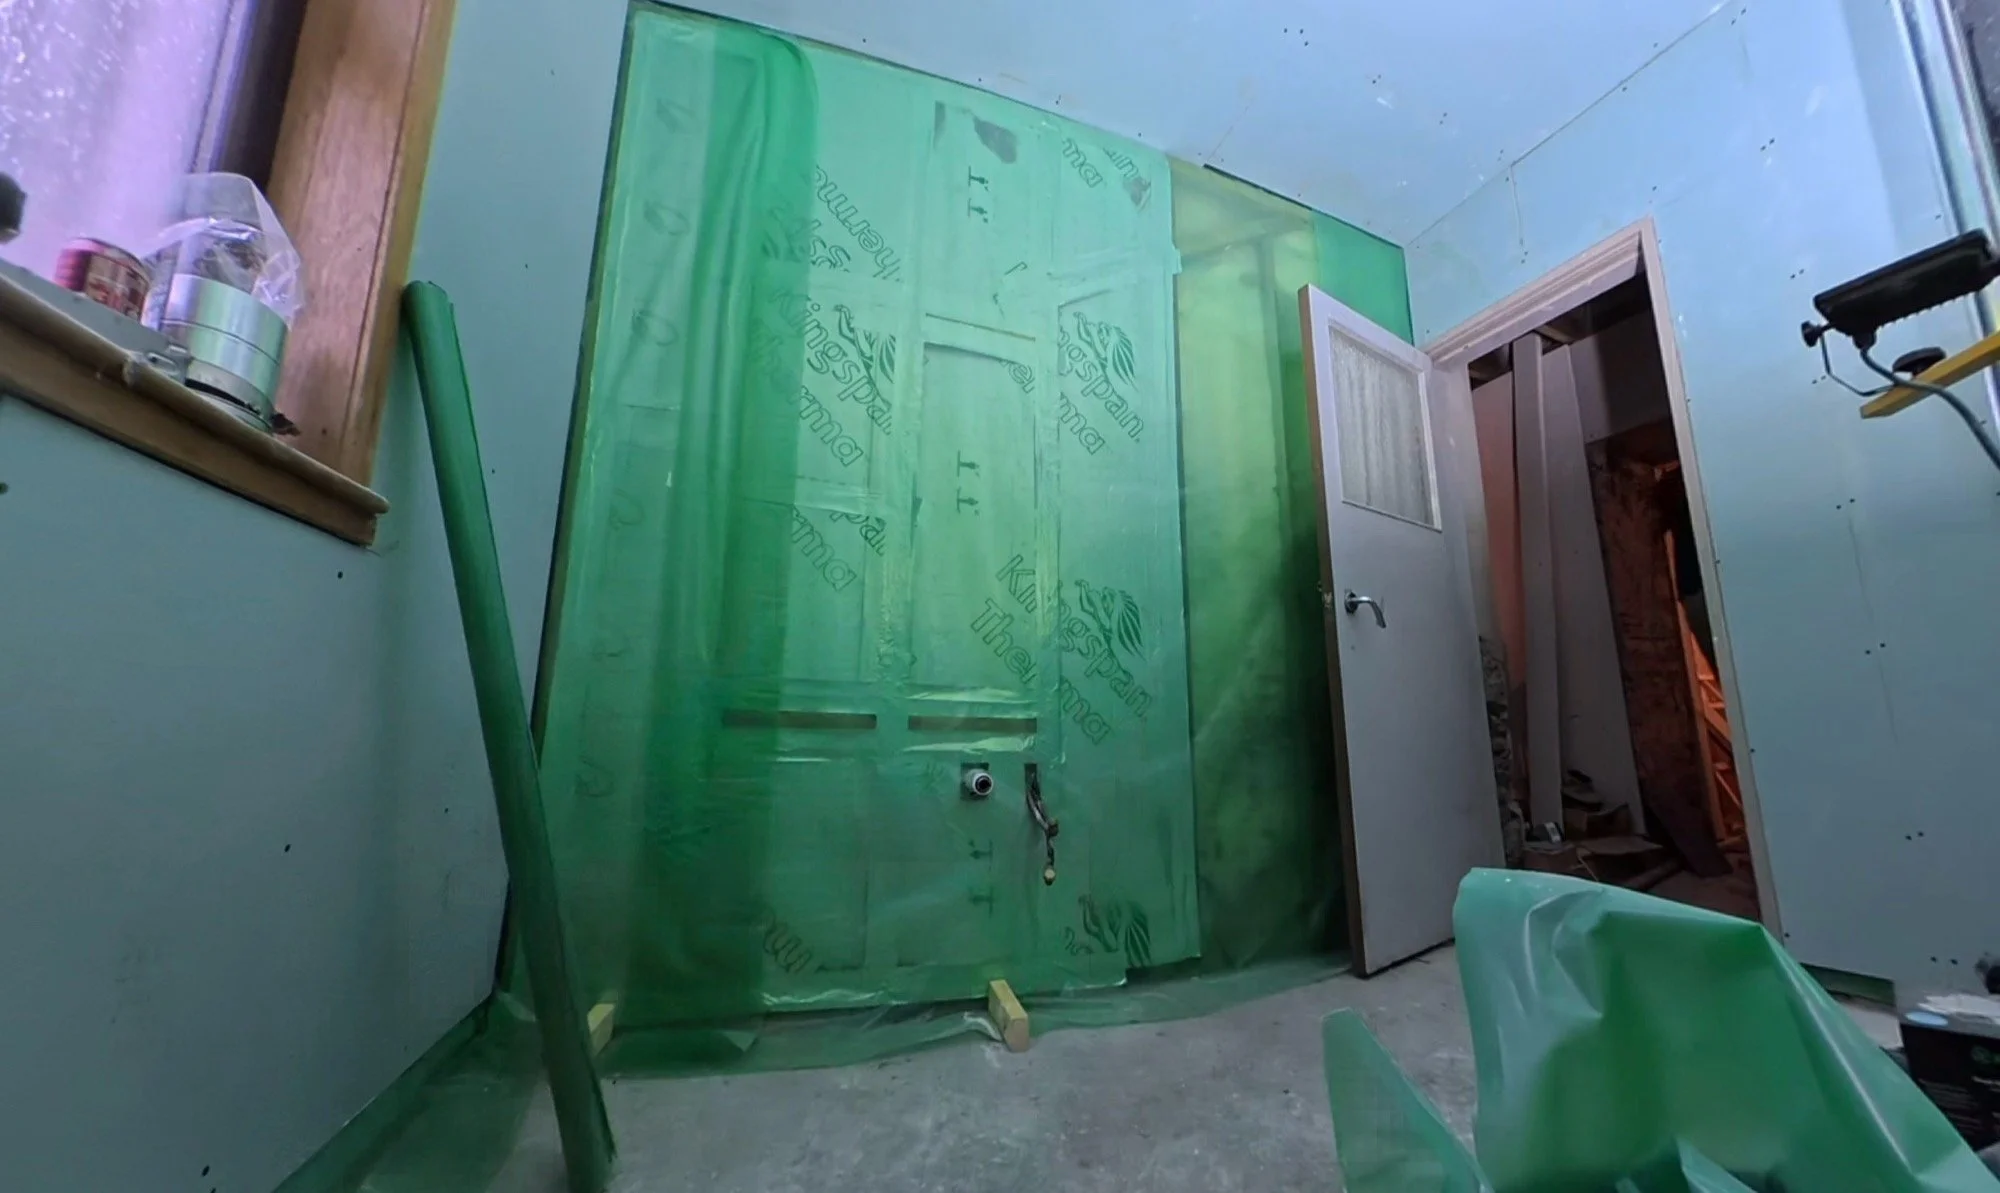
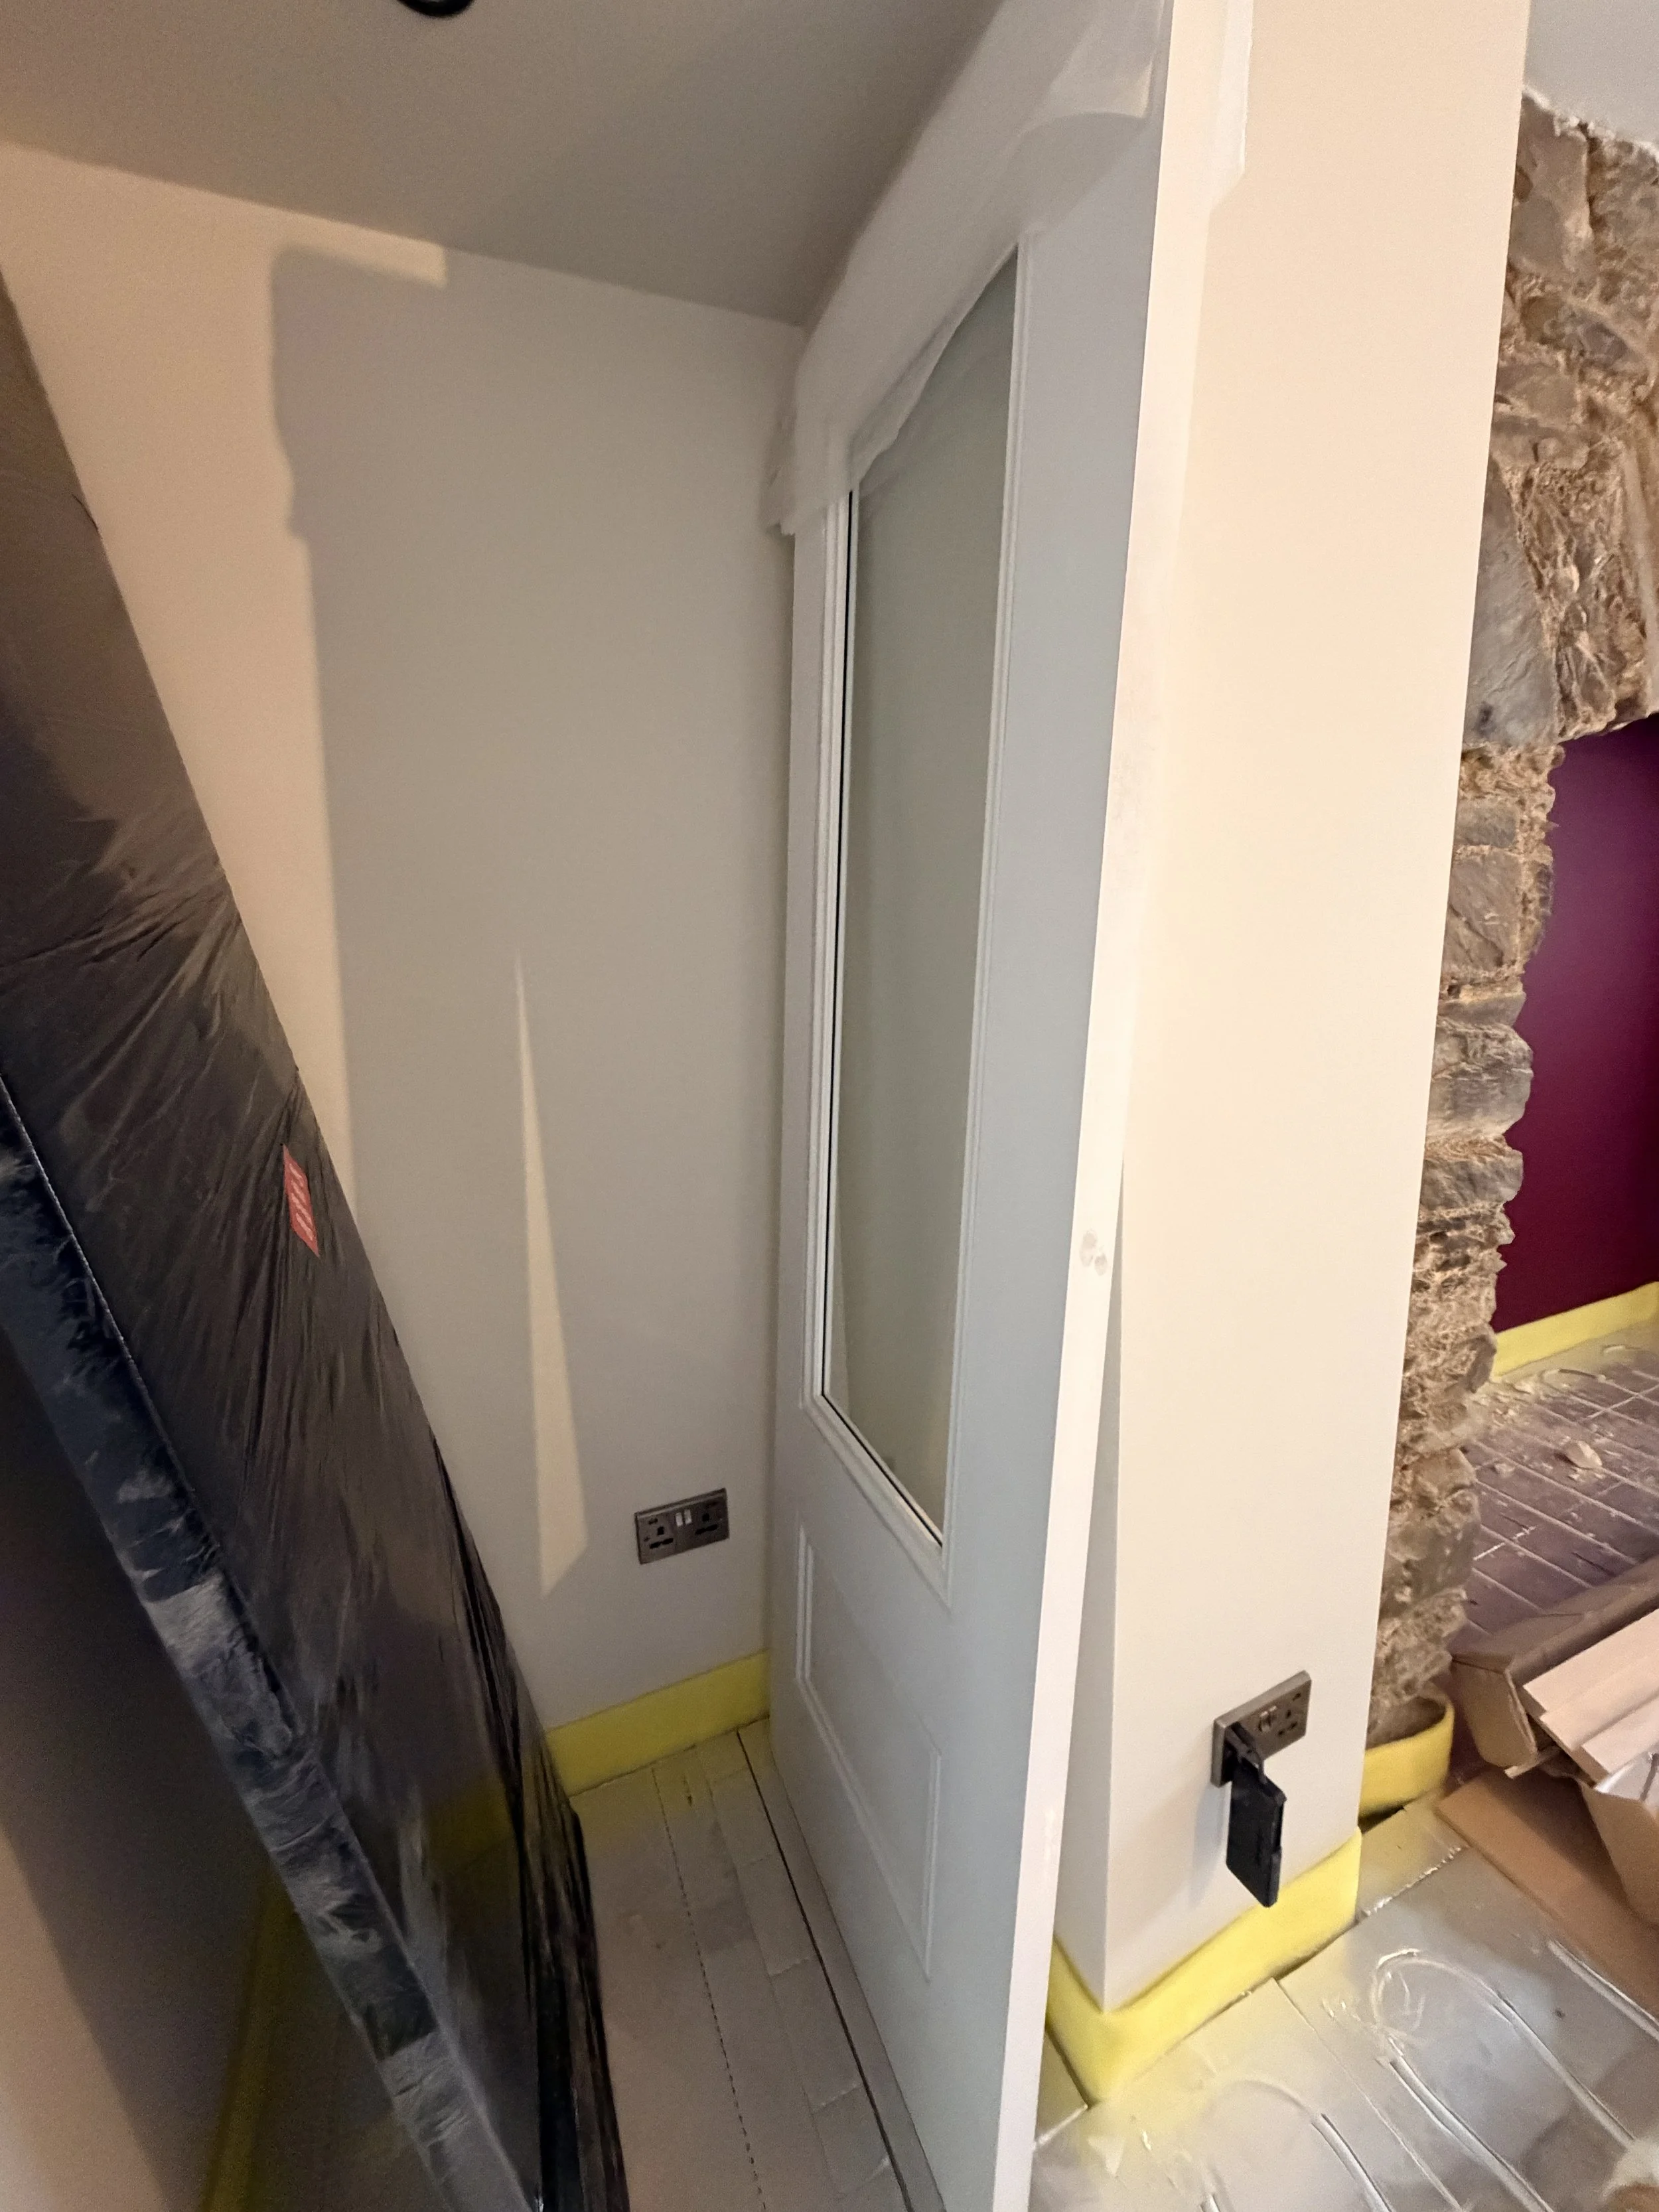
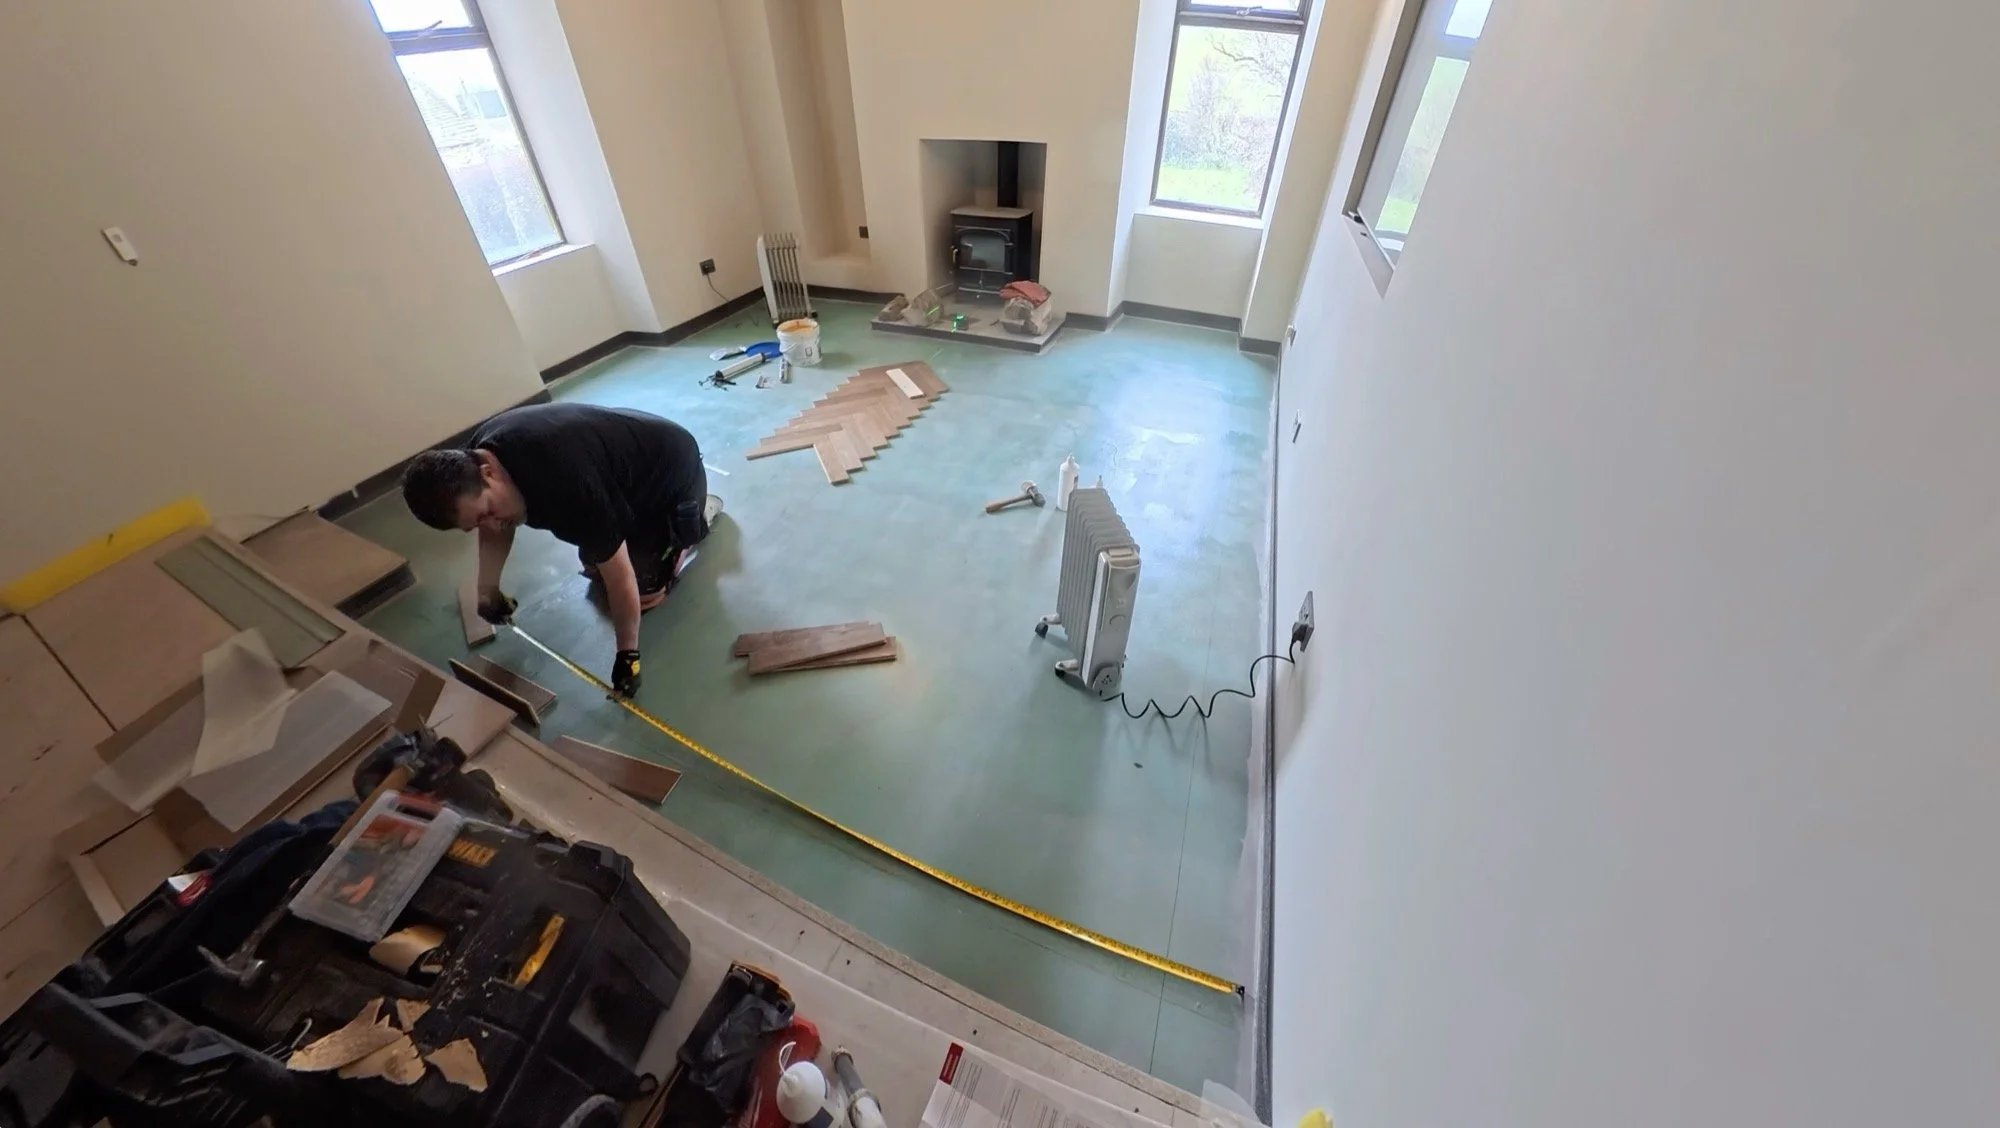
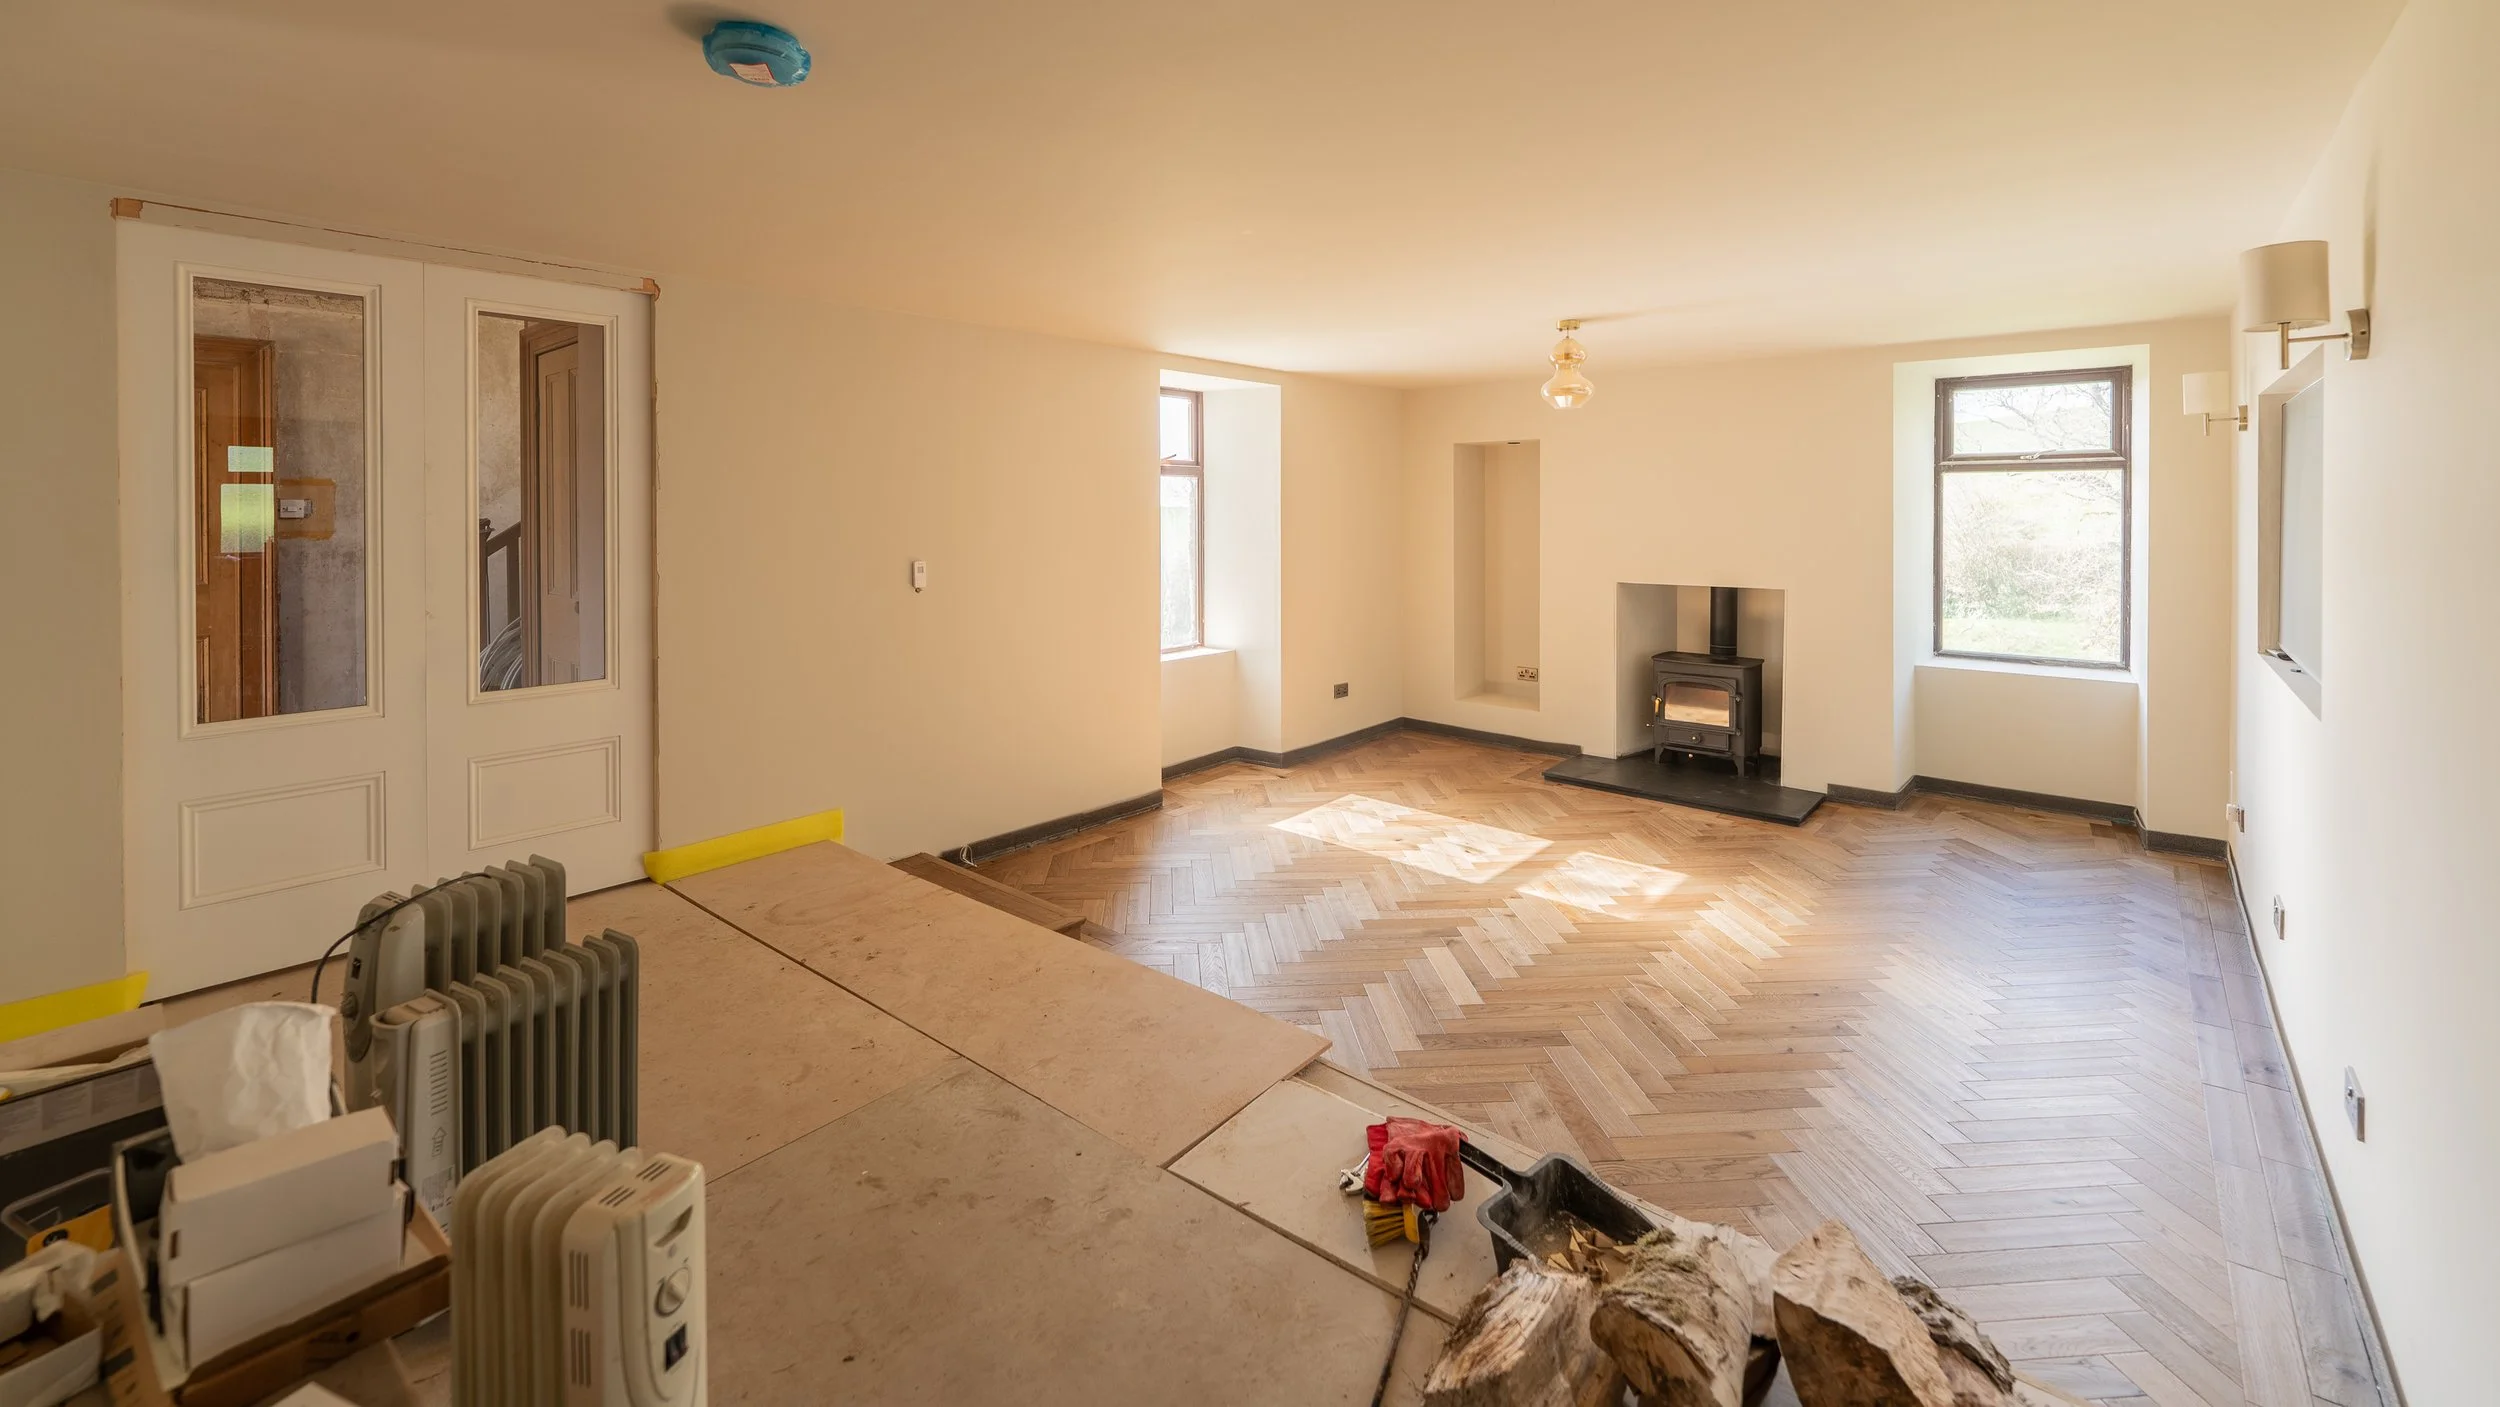
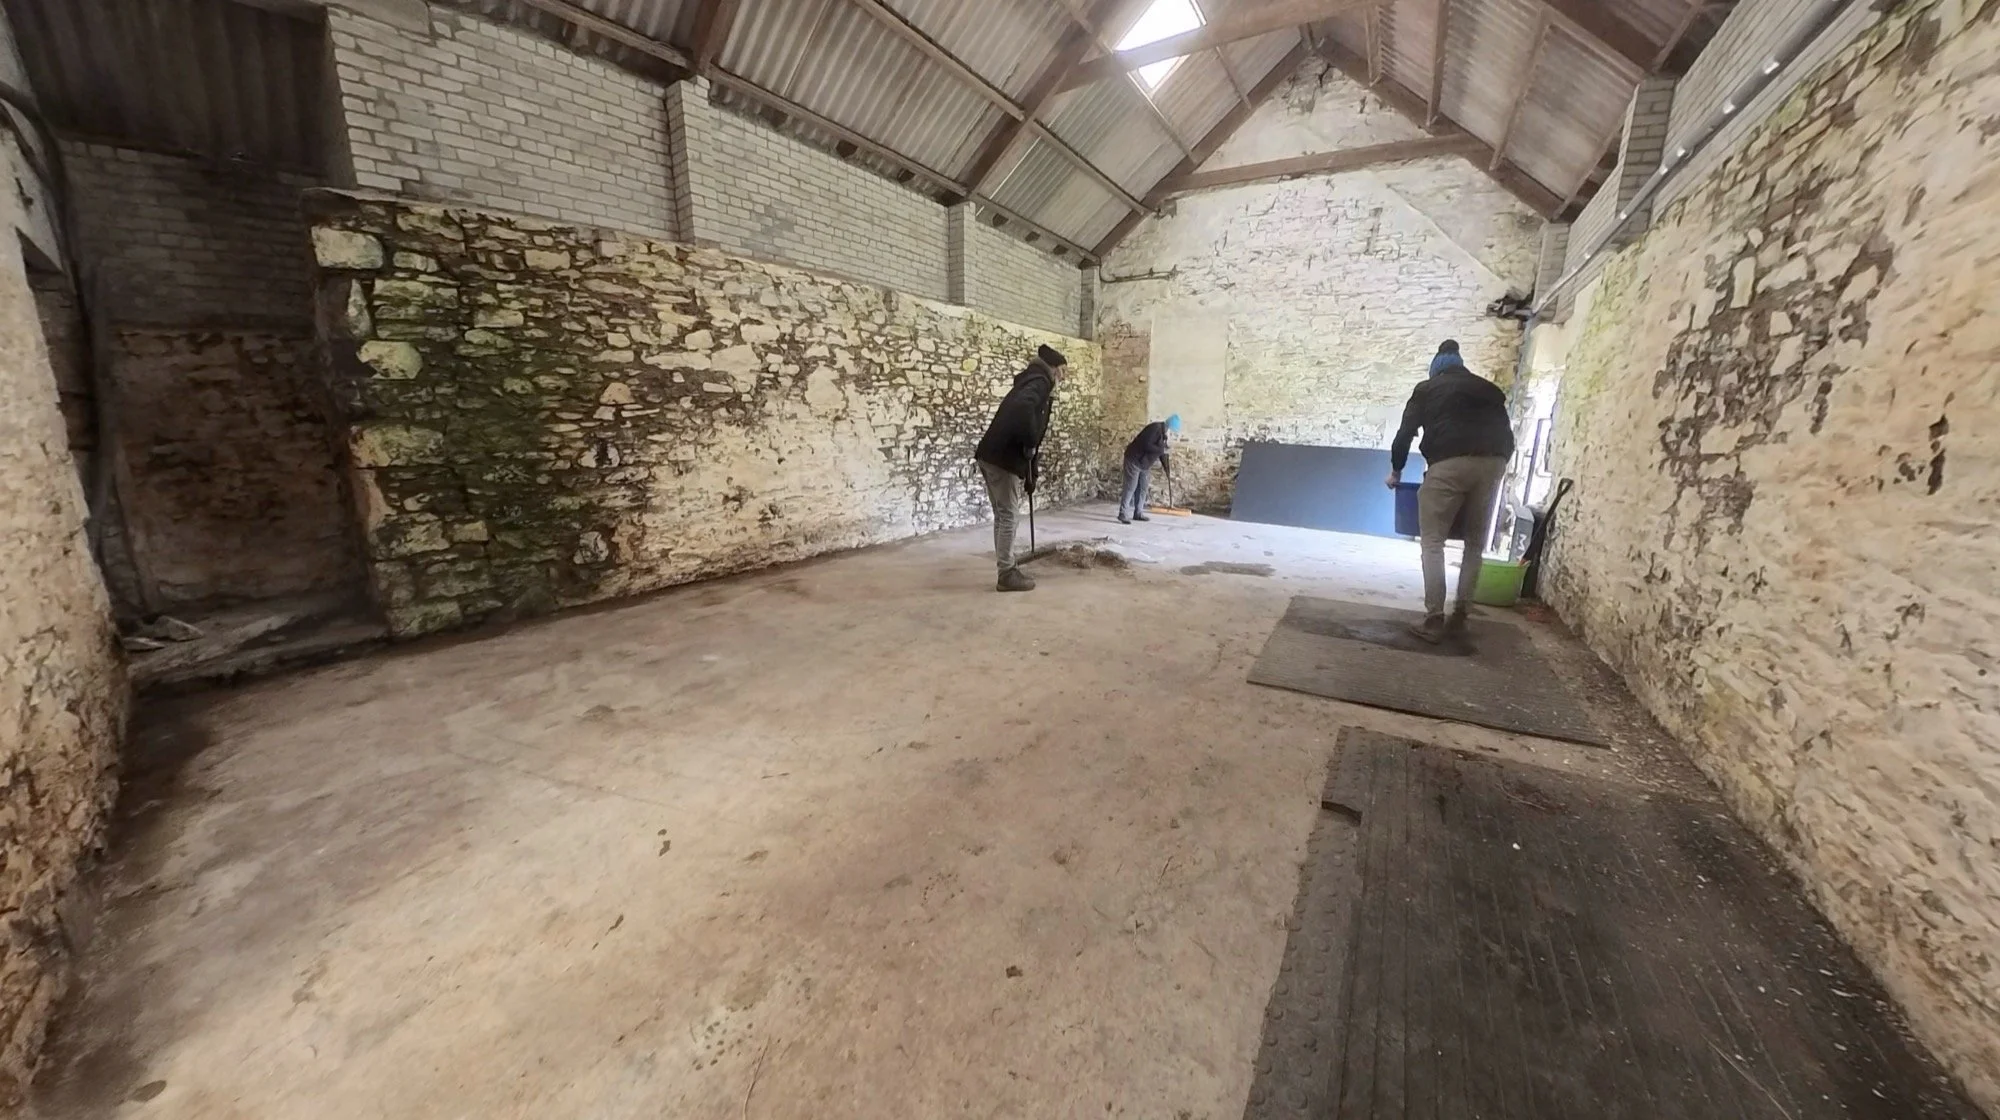
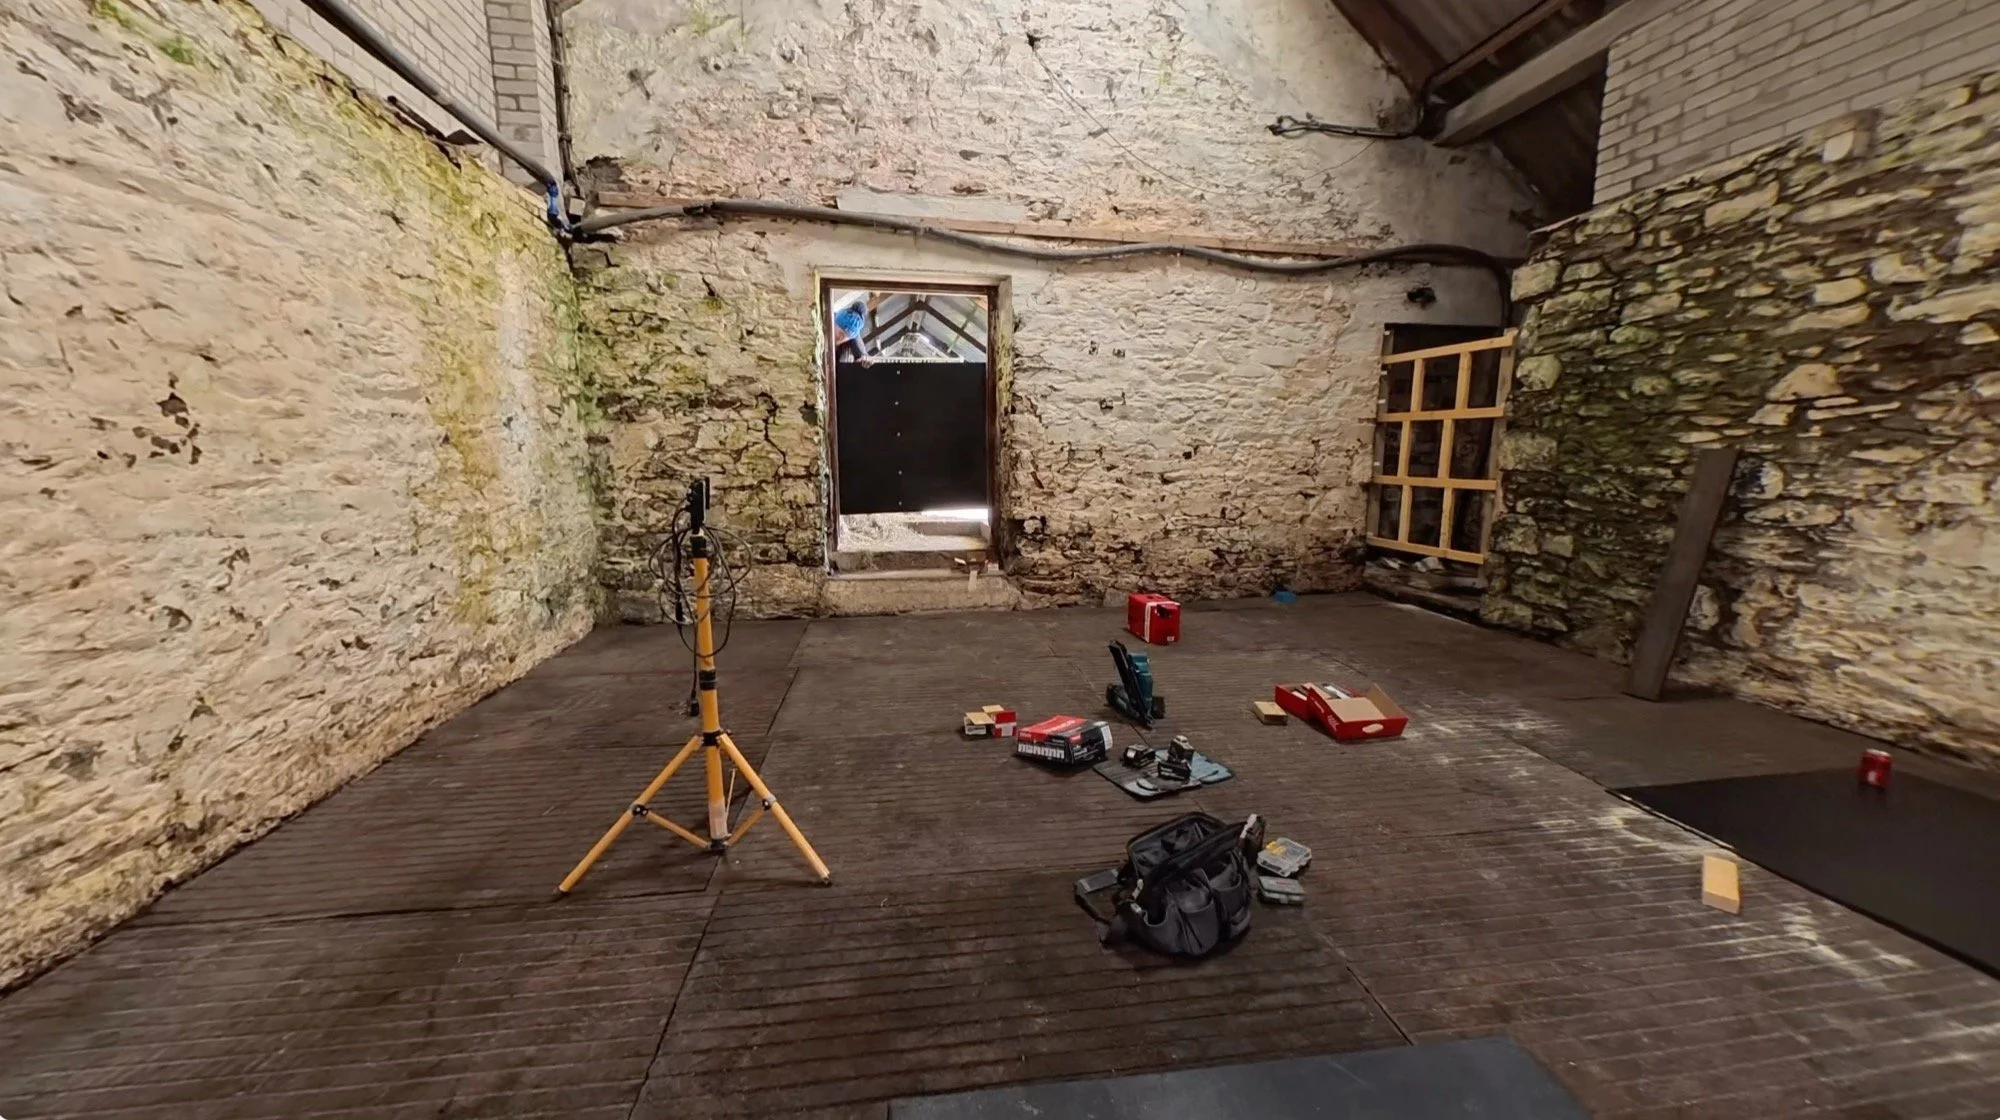
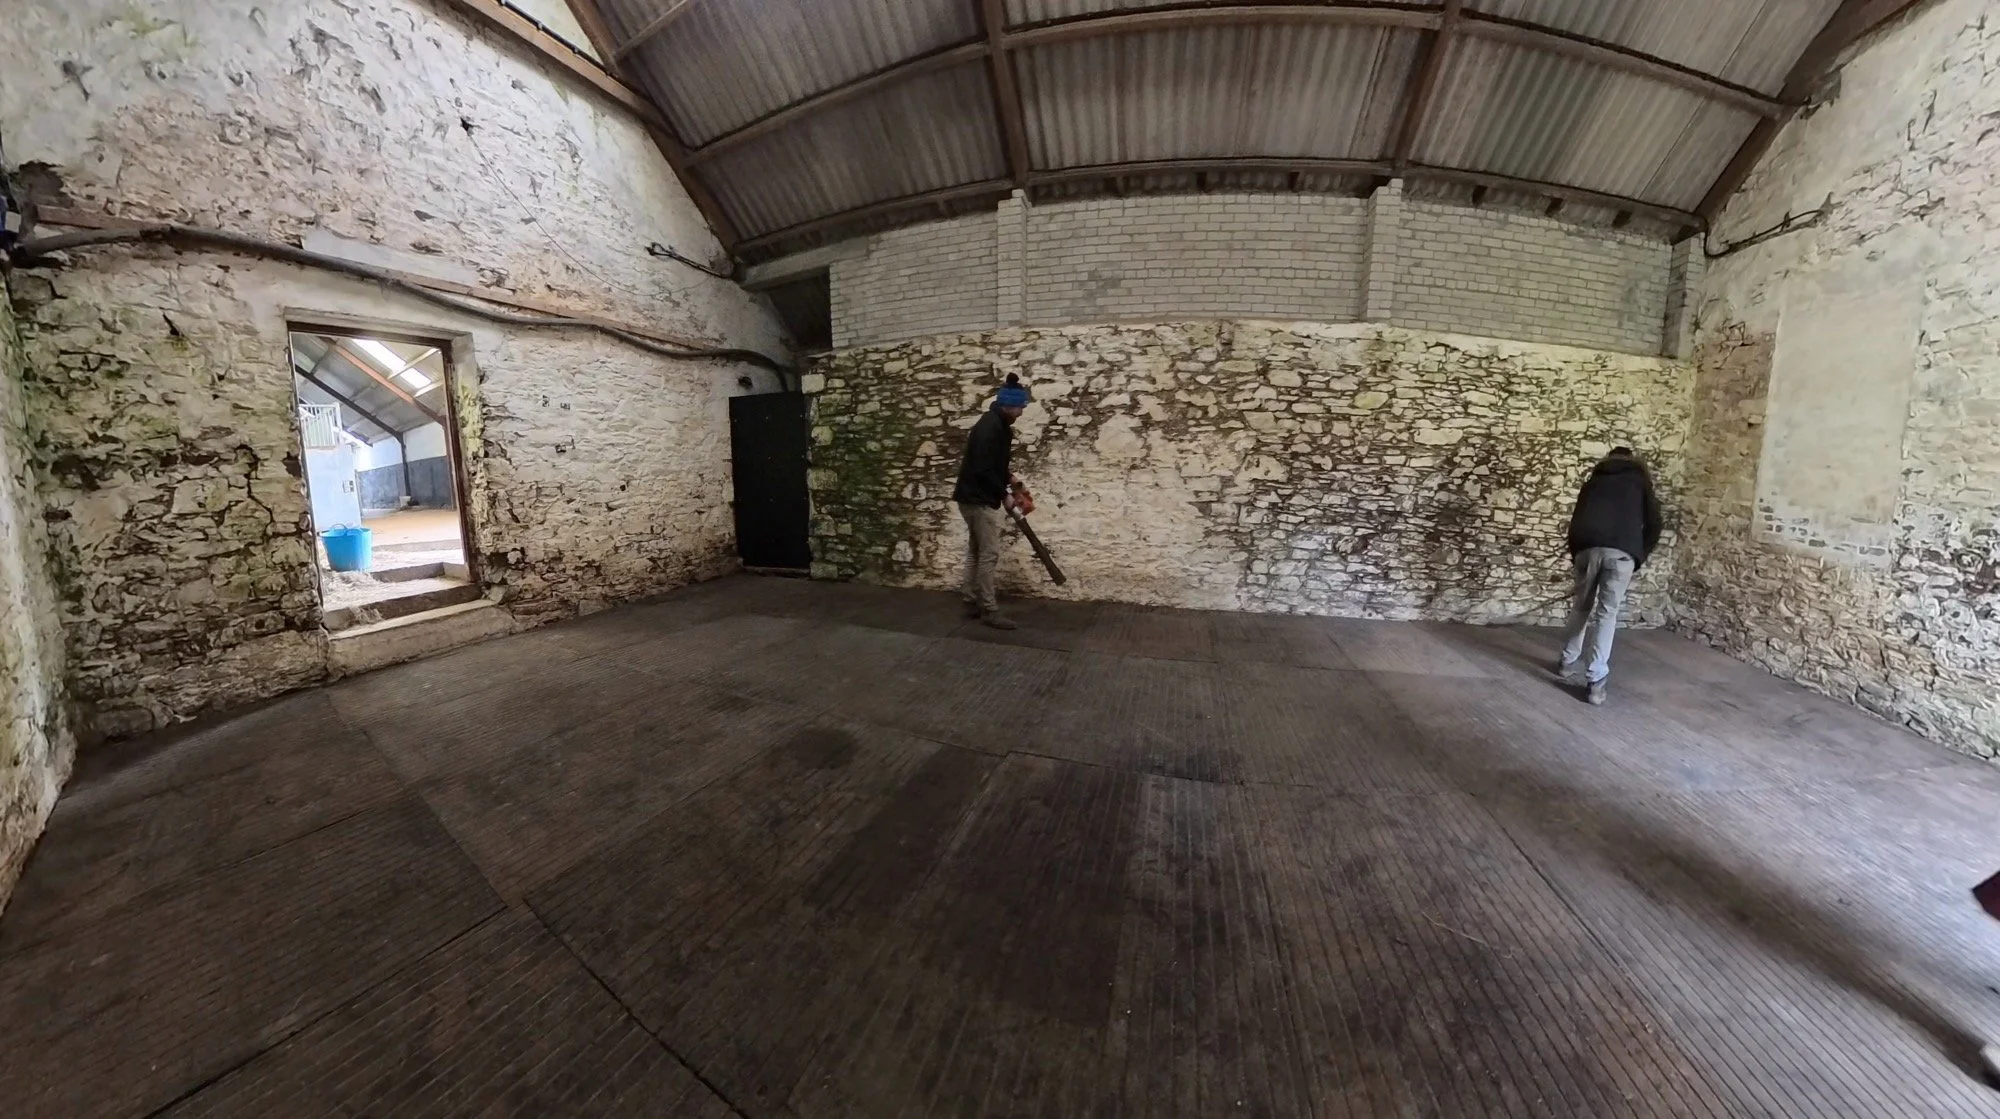
Alright, so - exactly 1 week ago (Friday), the wet dog room looked like this:
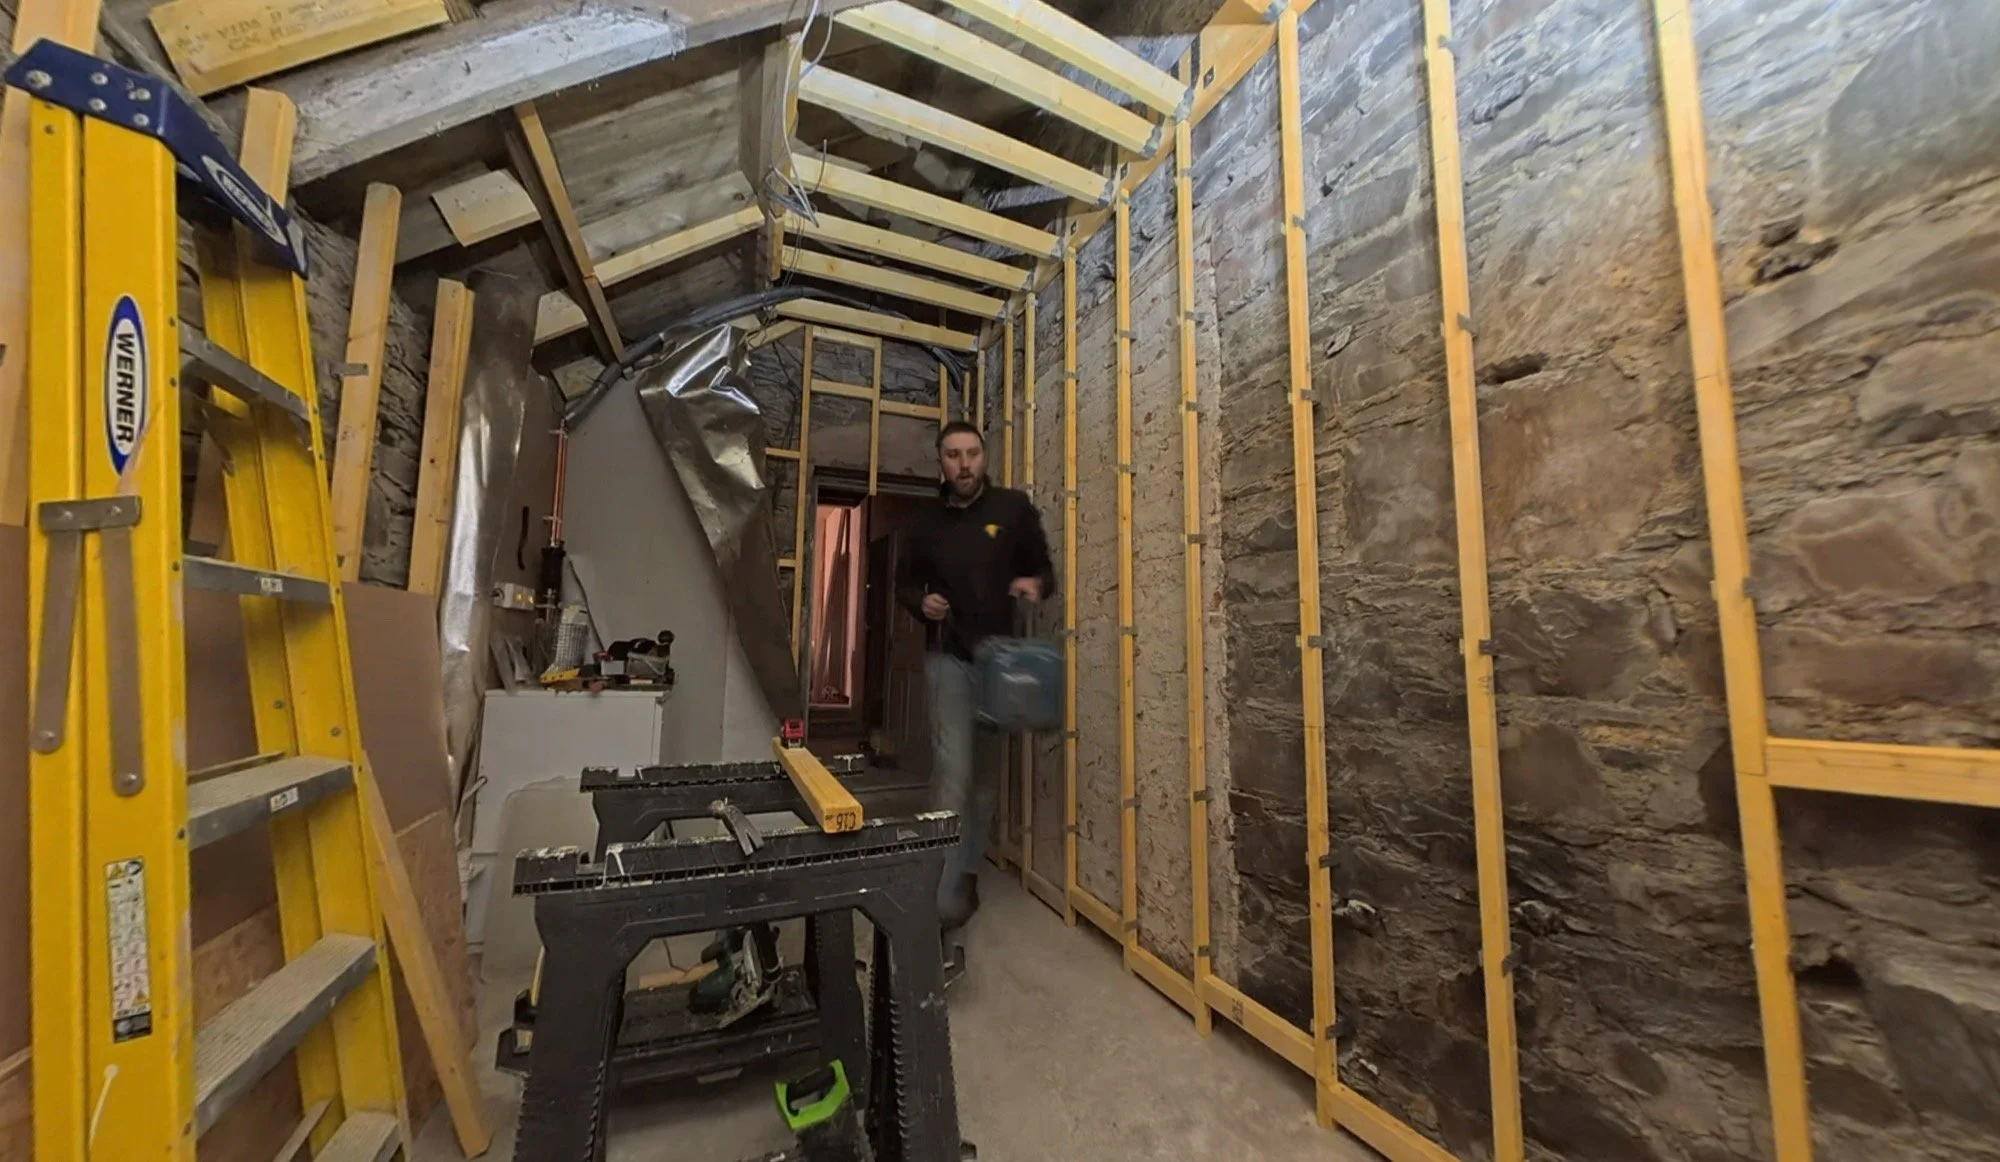
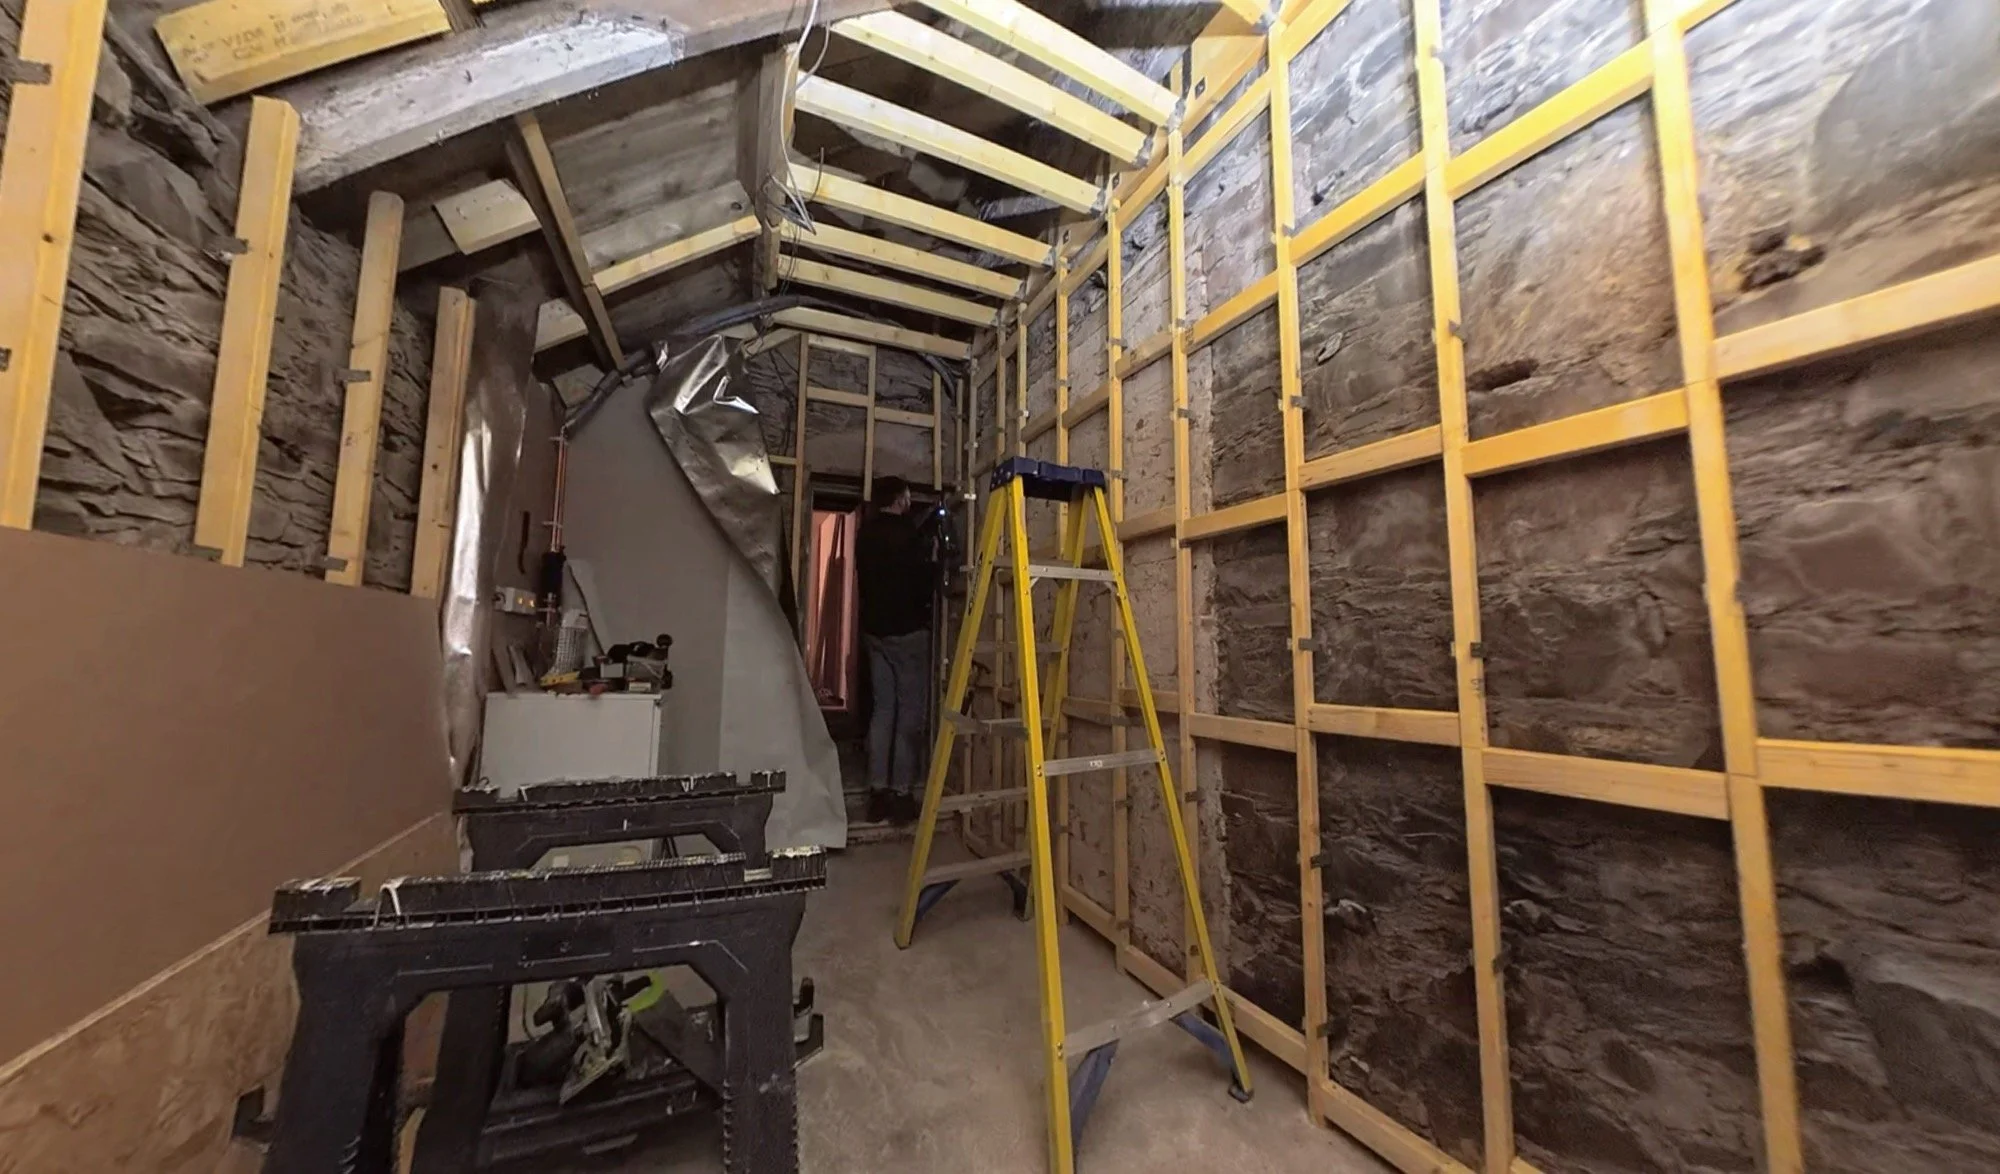
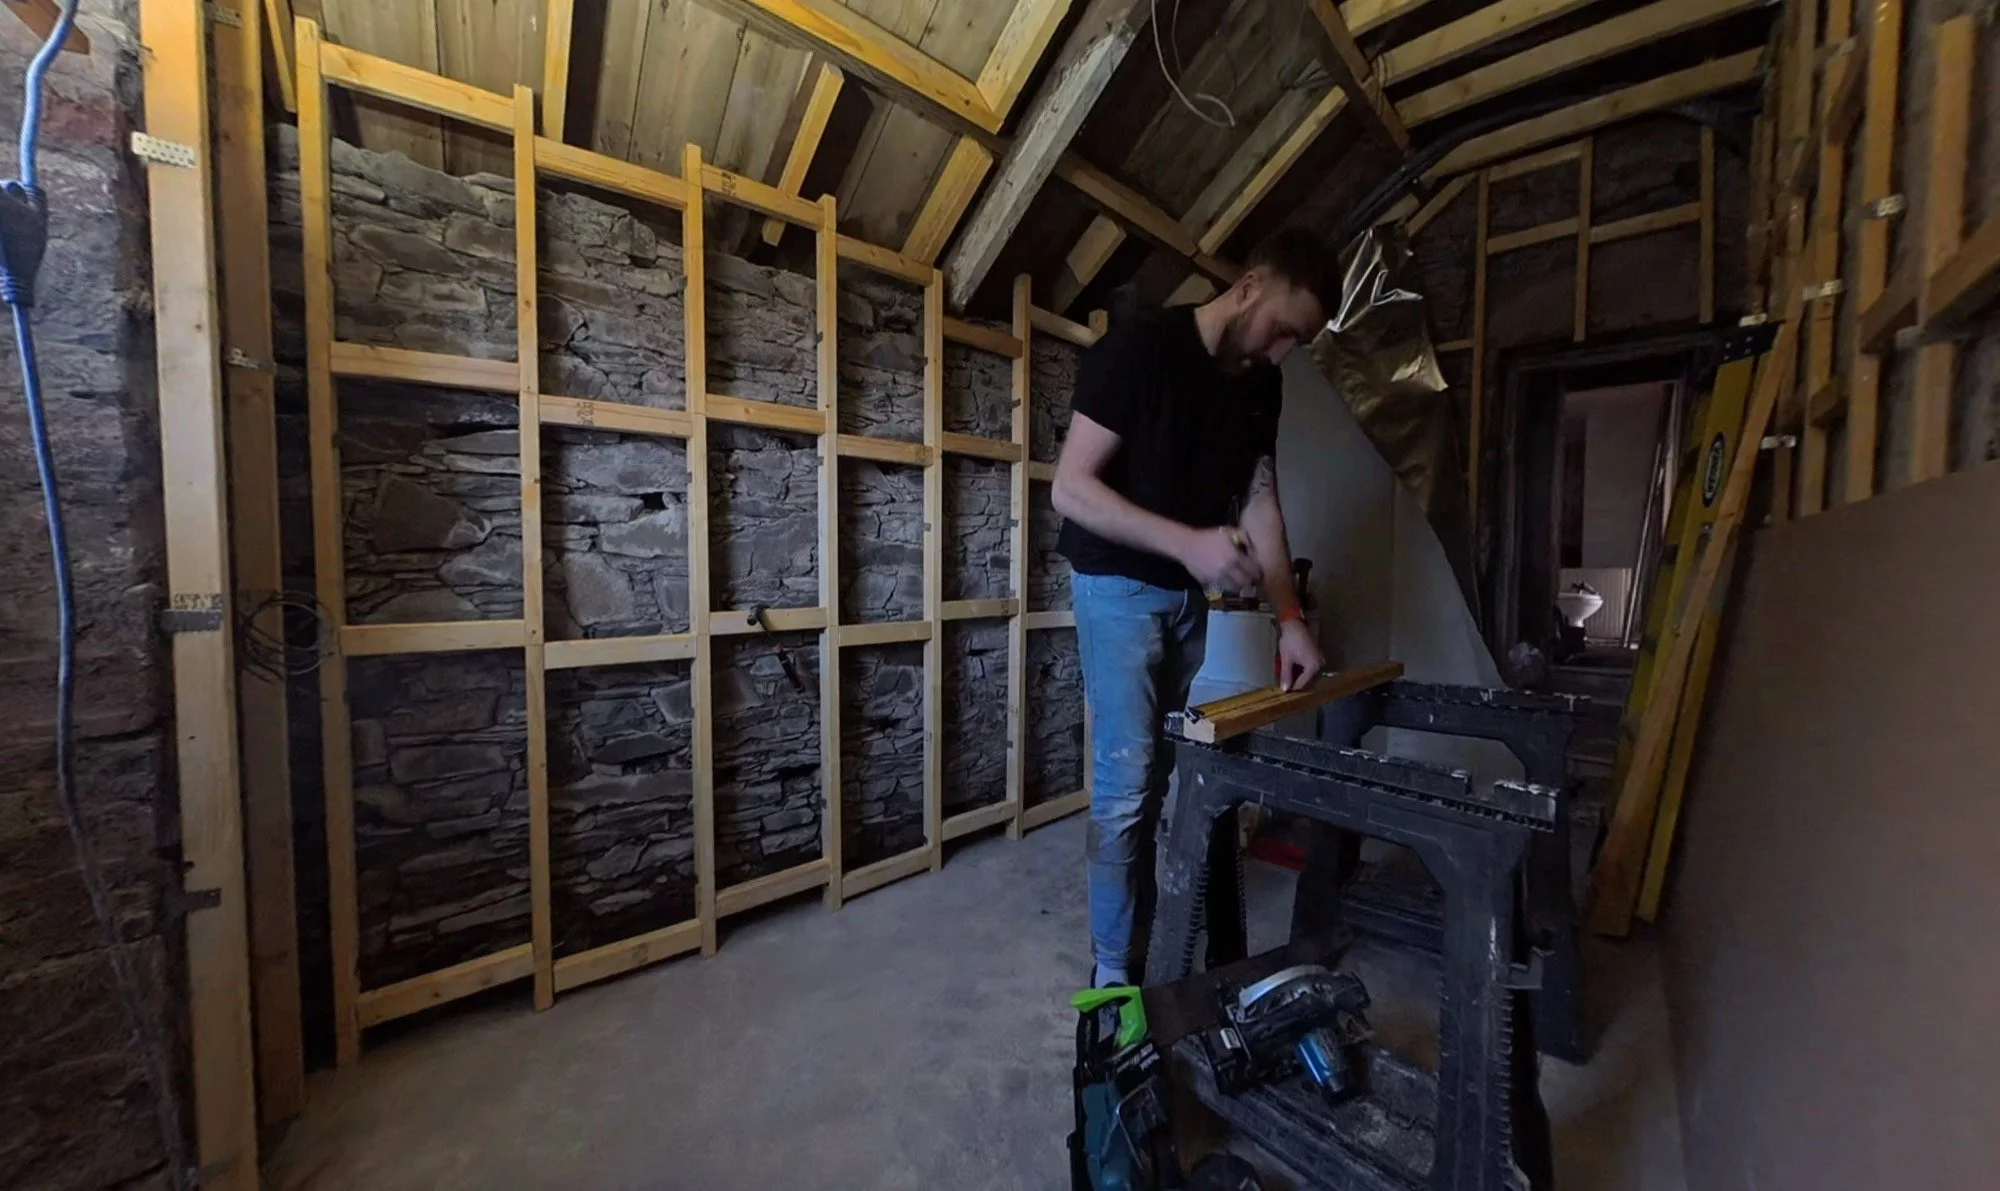
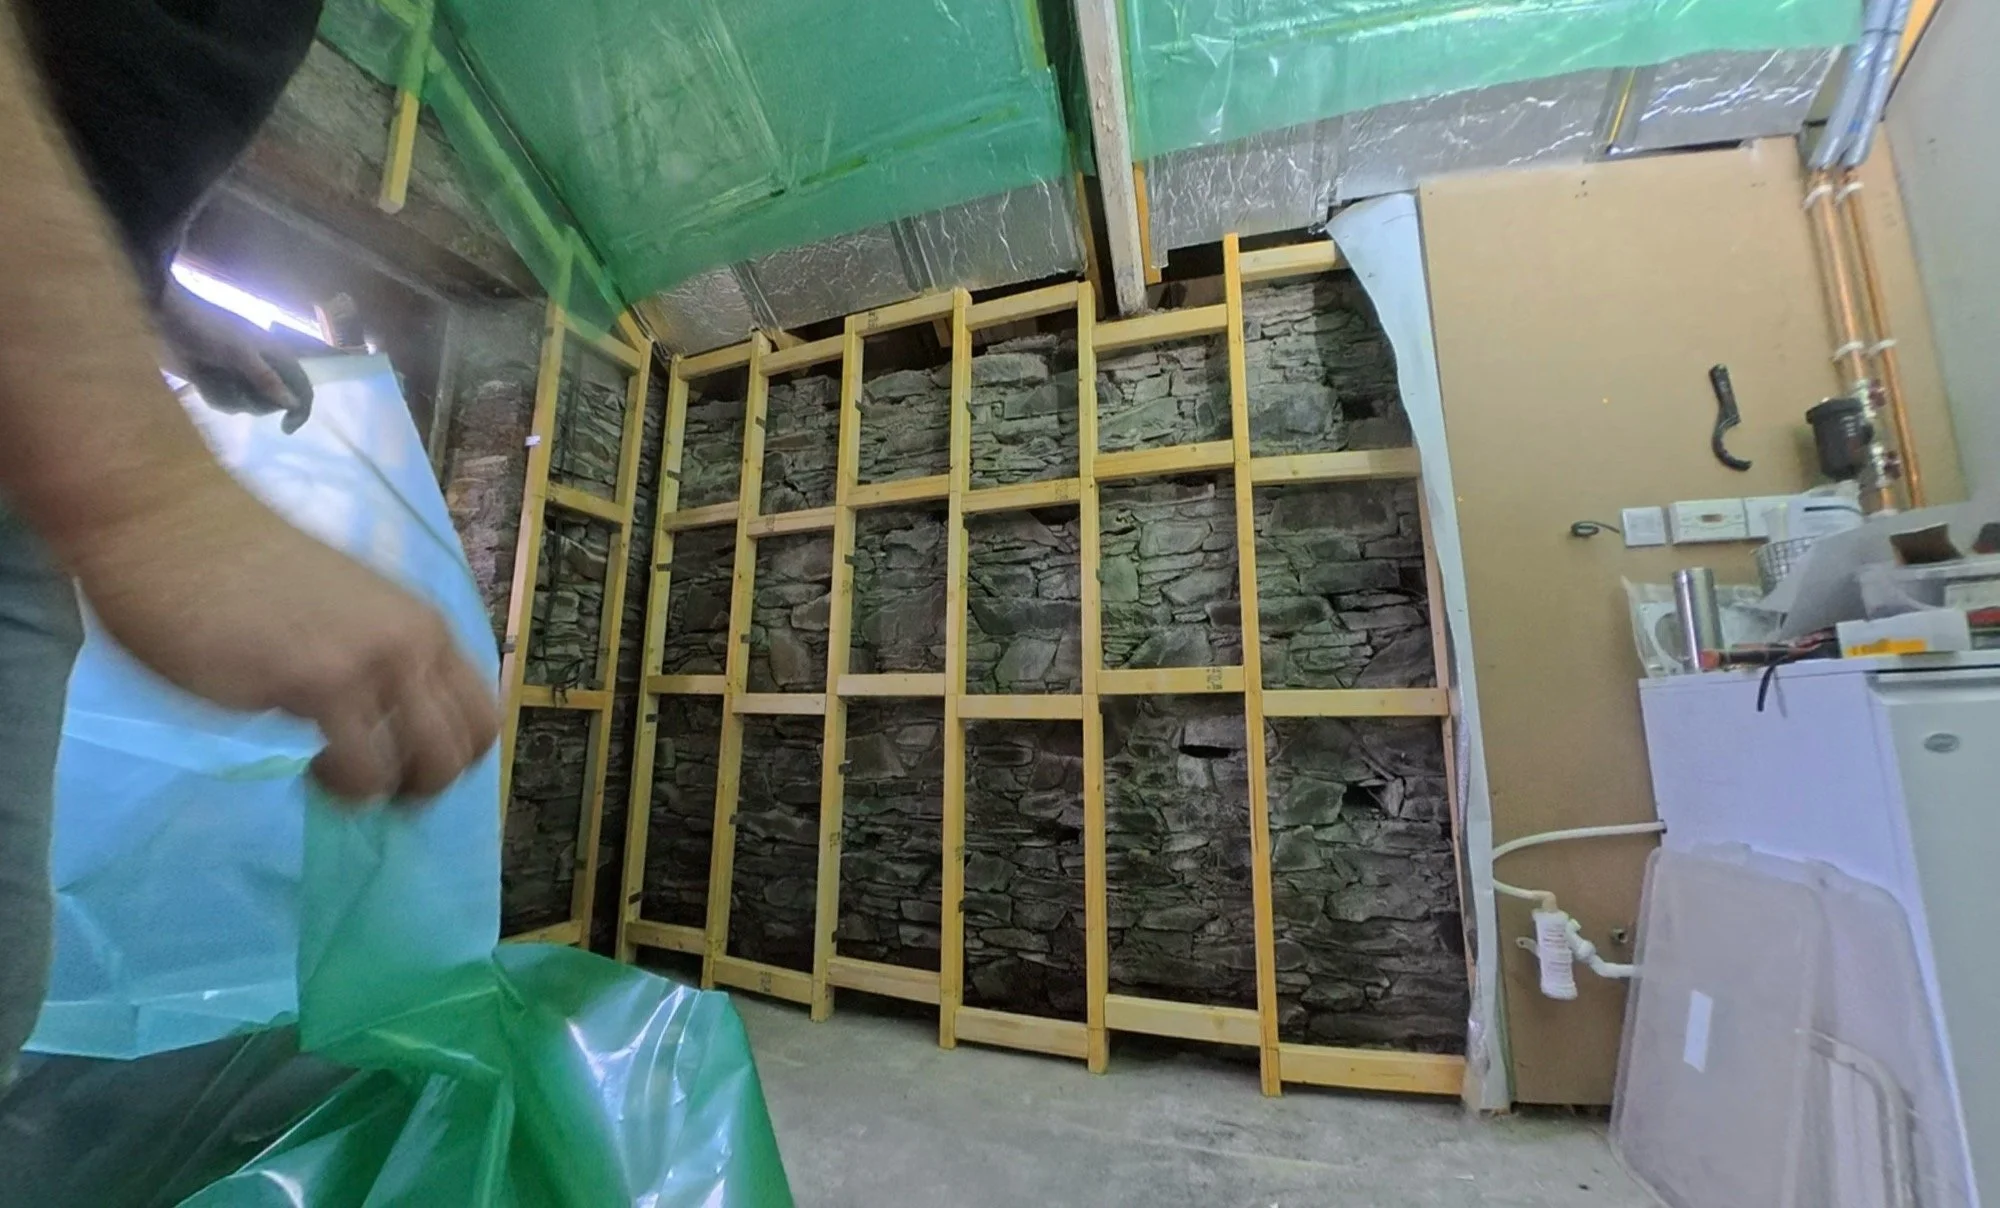
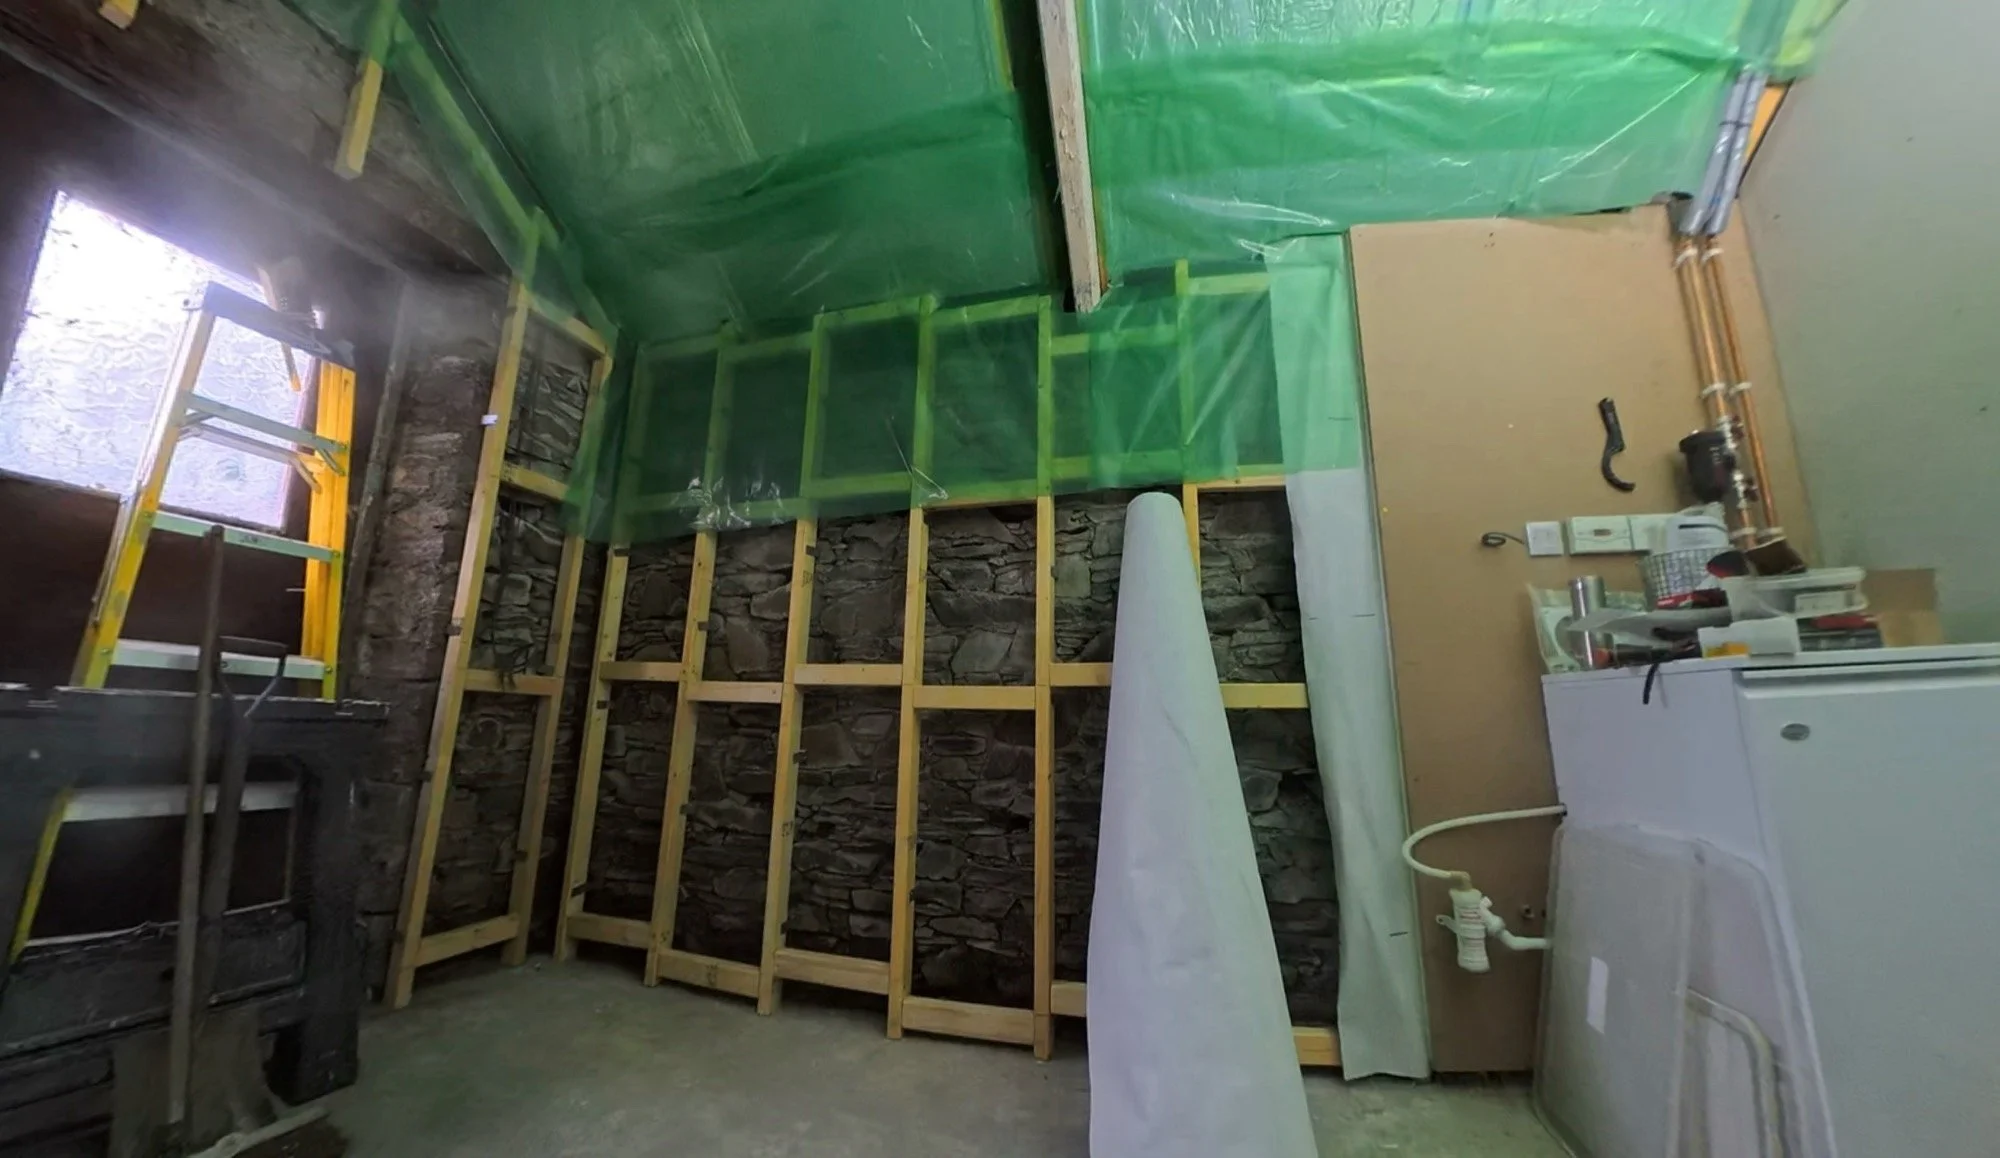
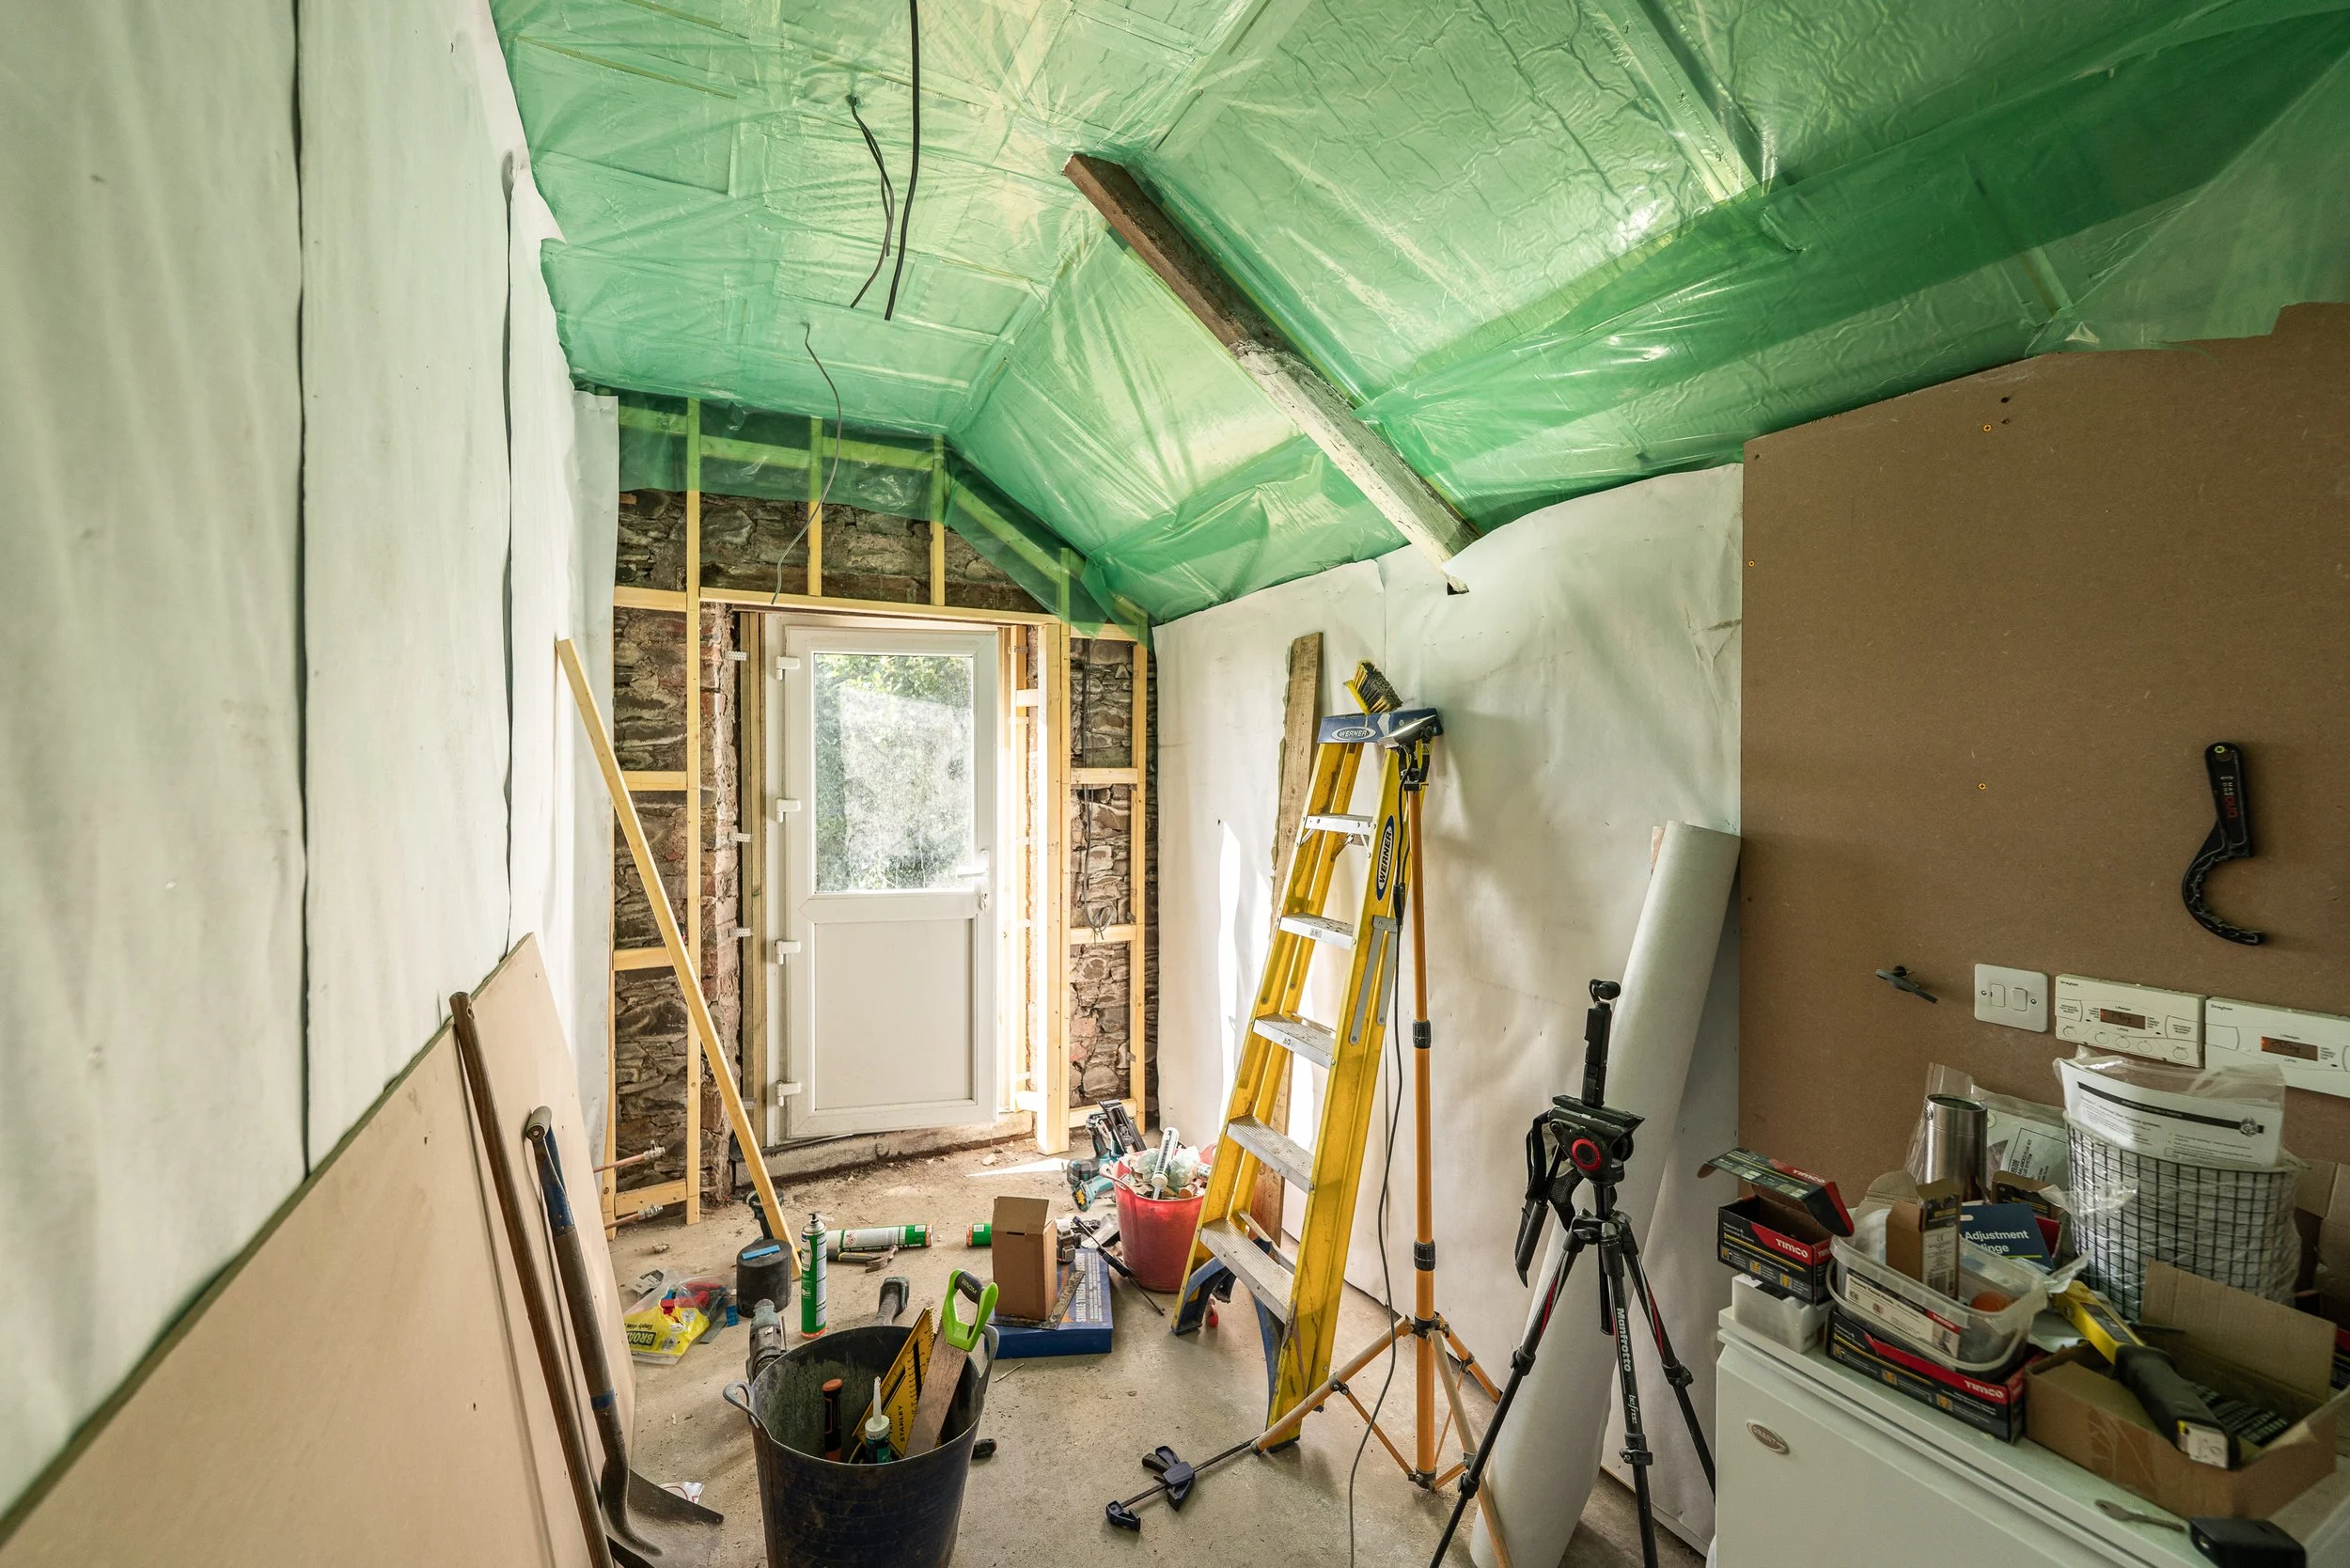
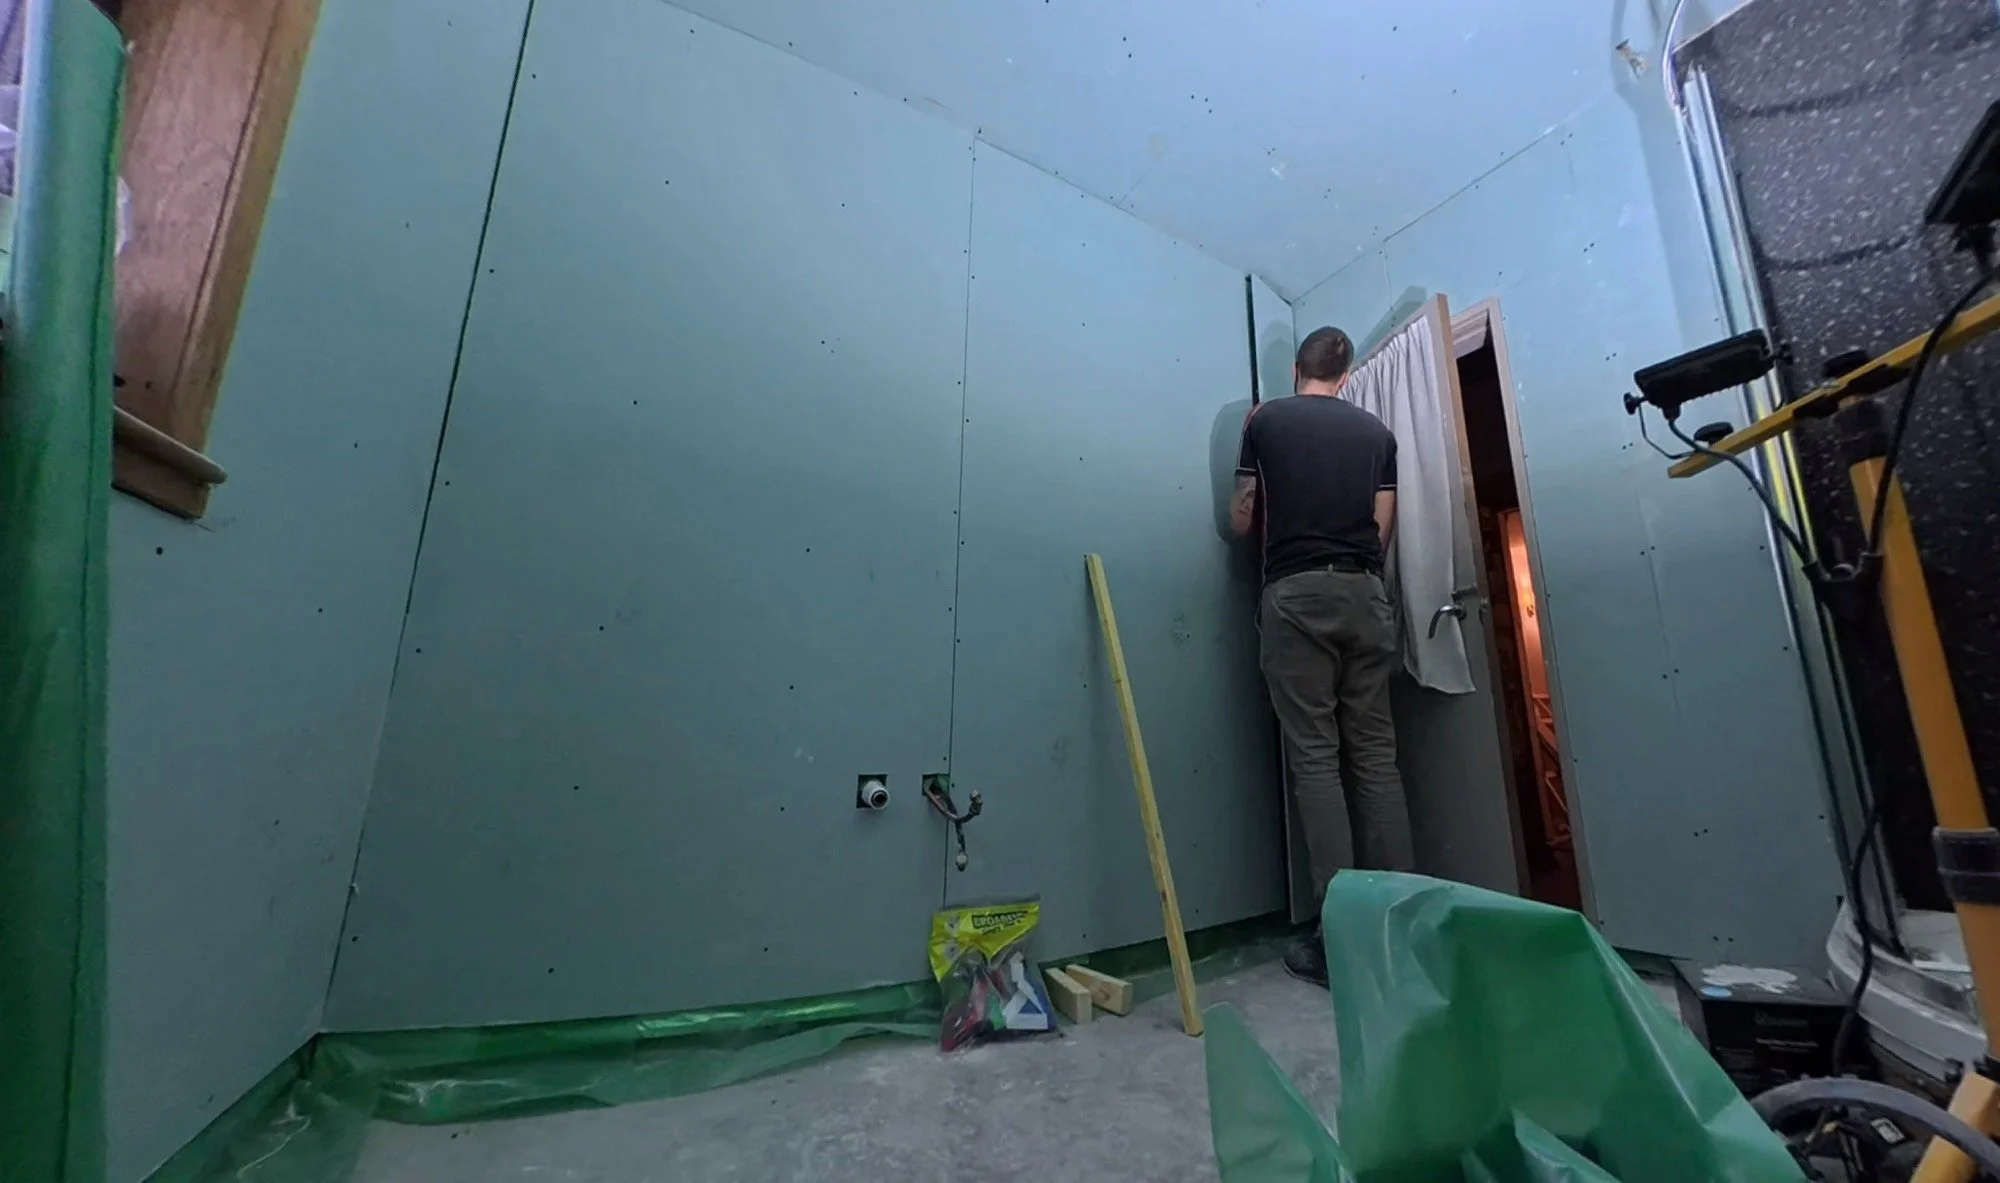
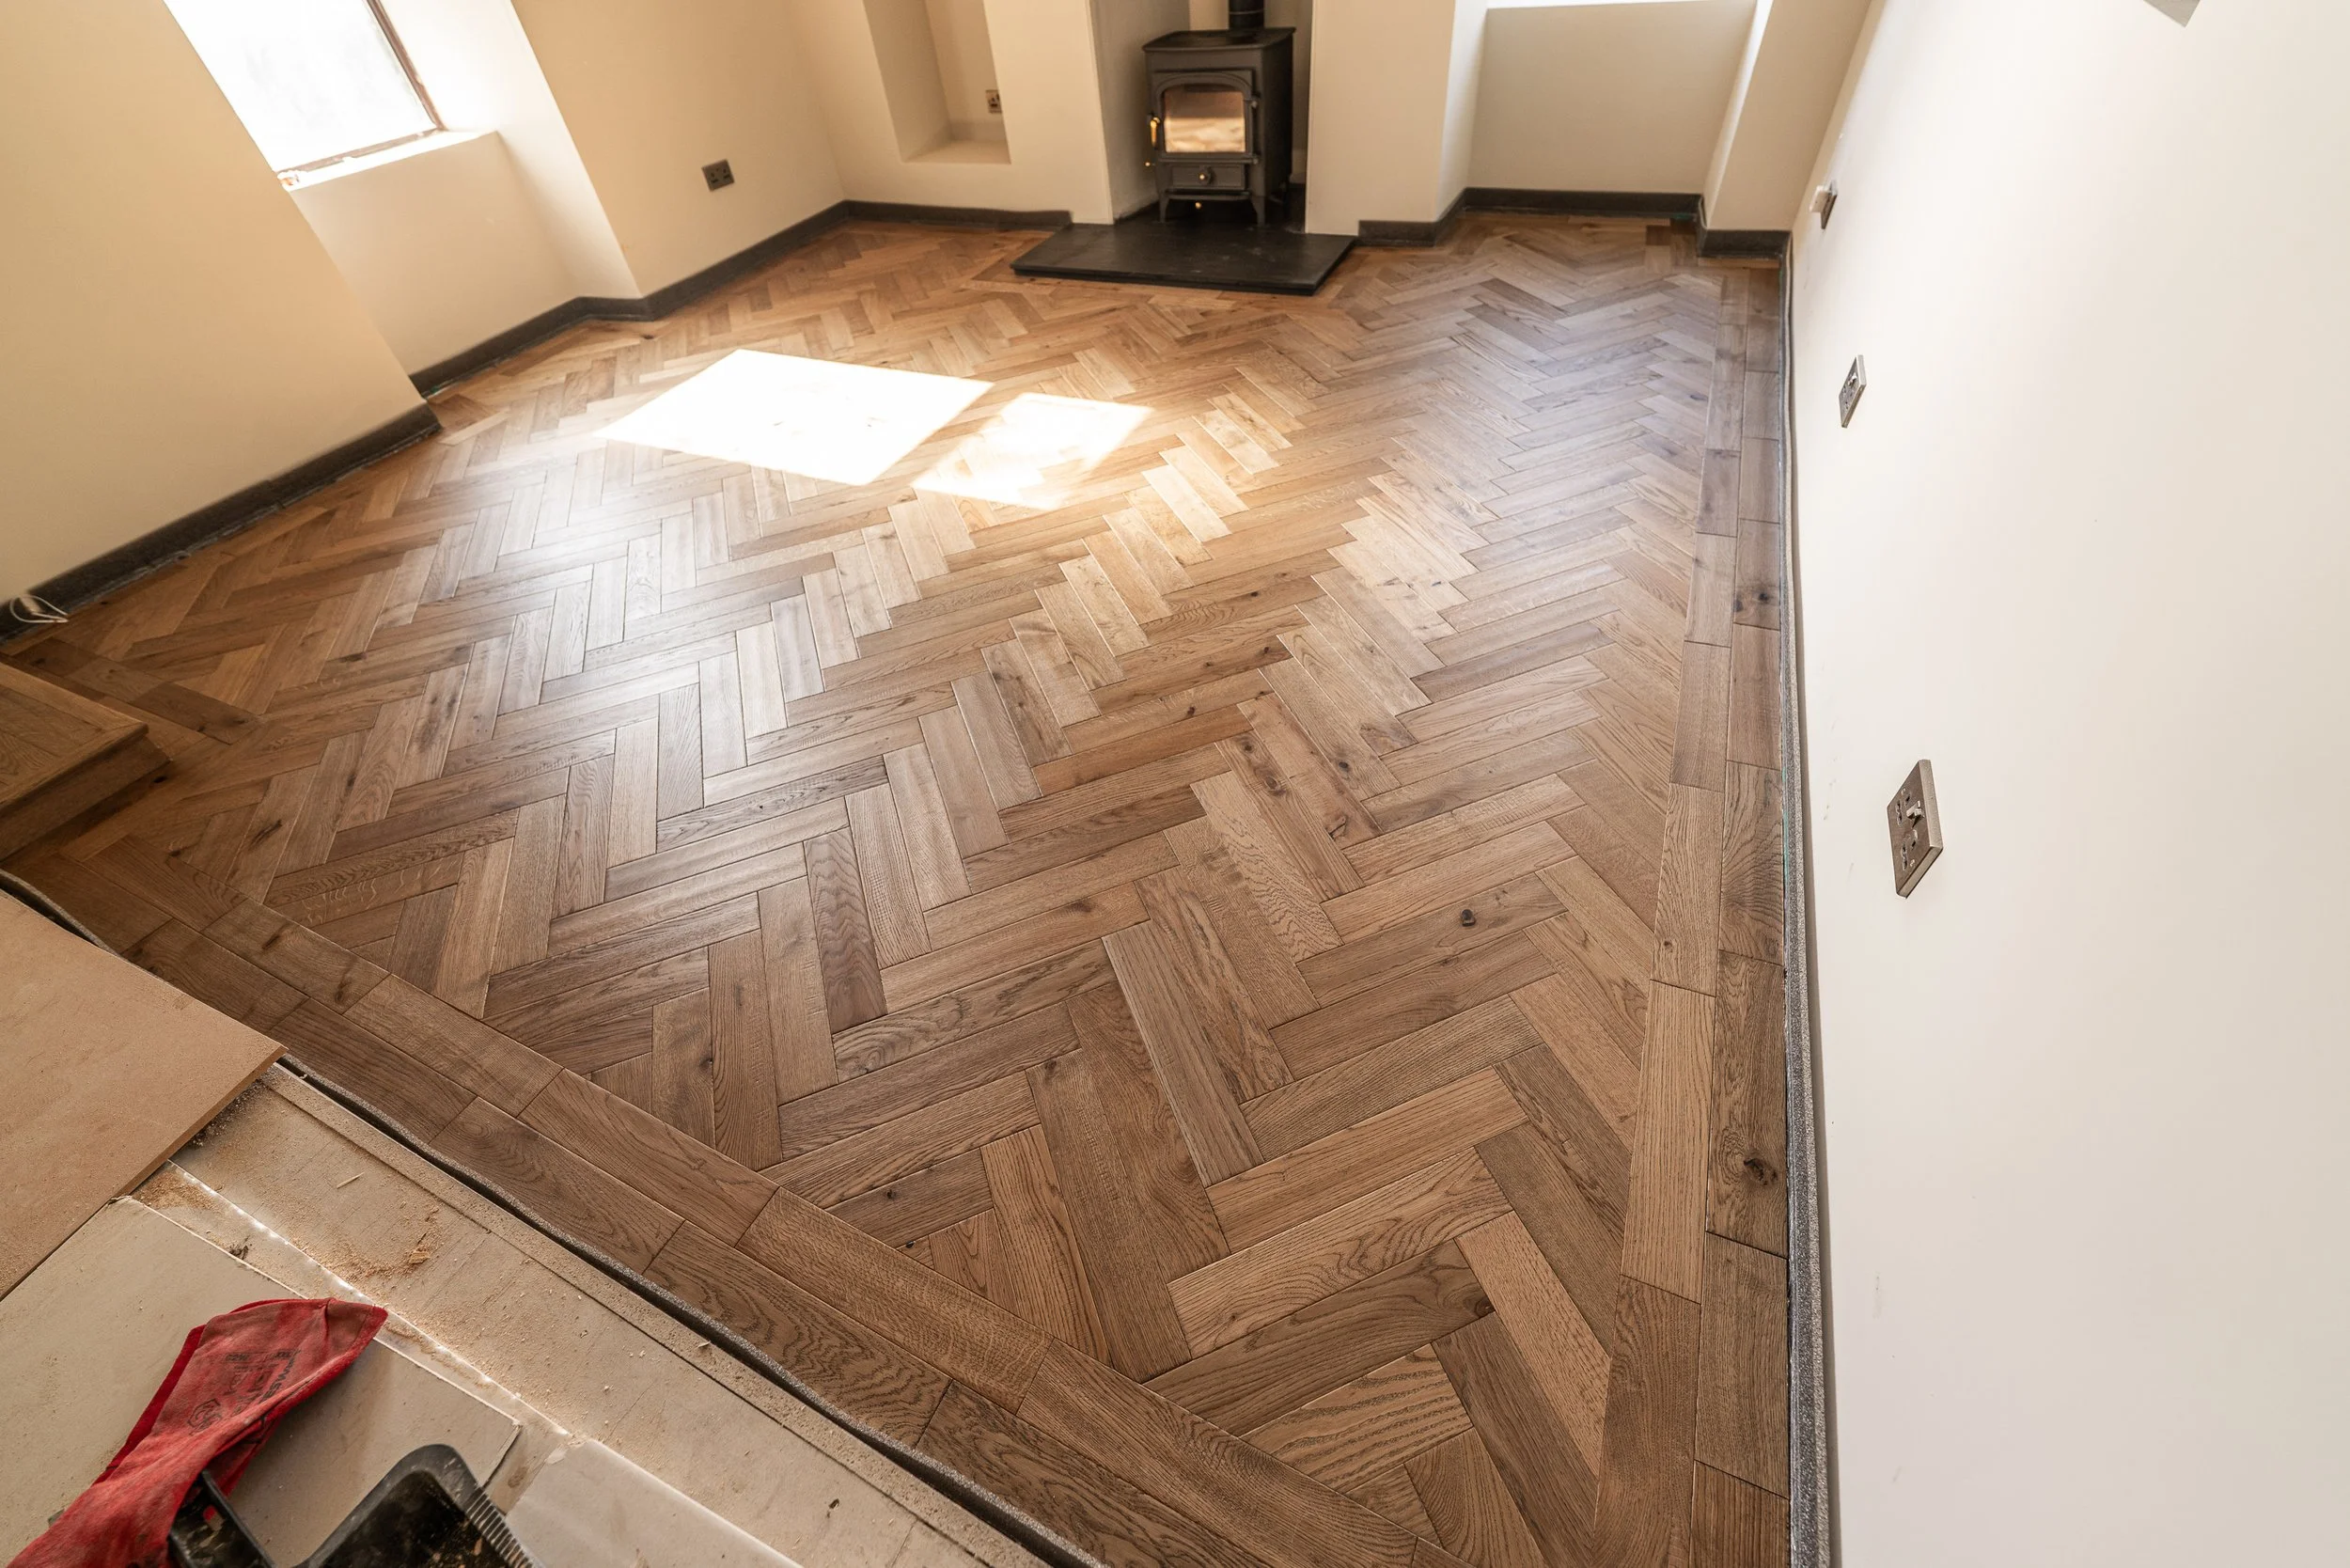
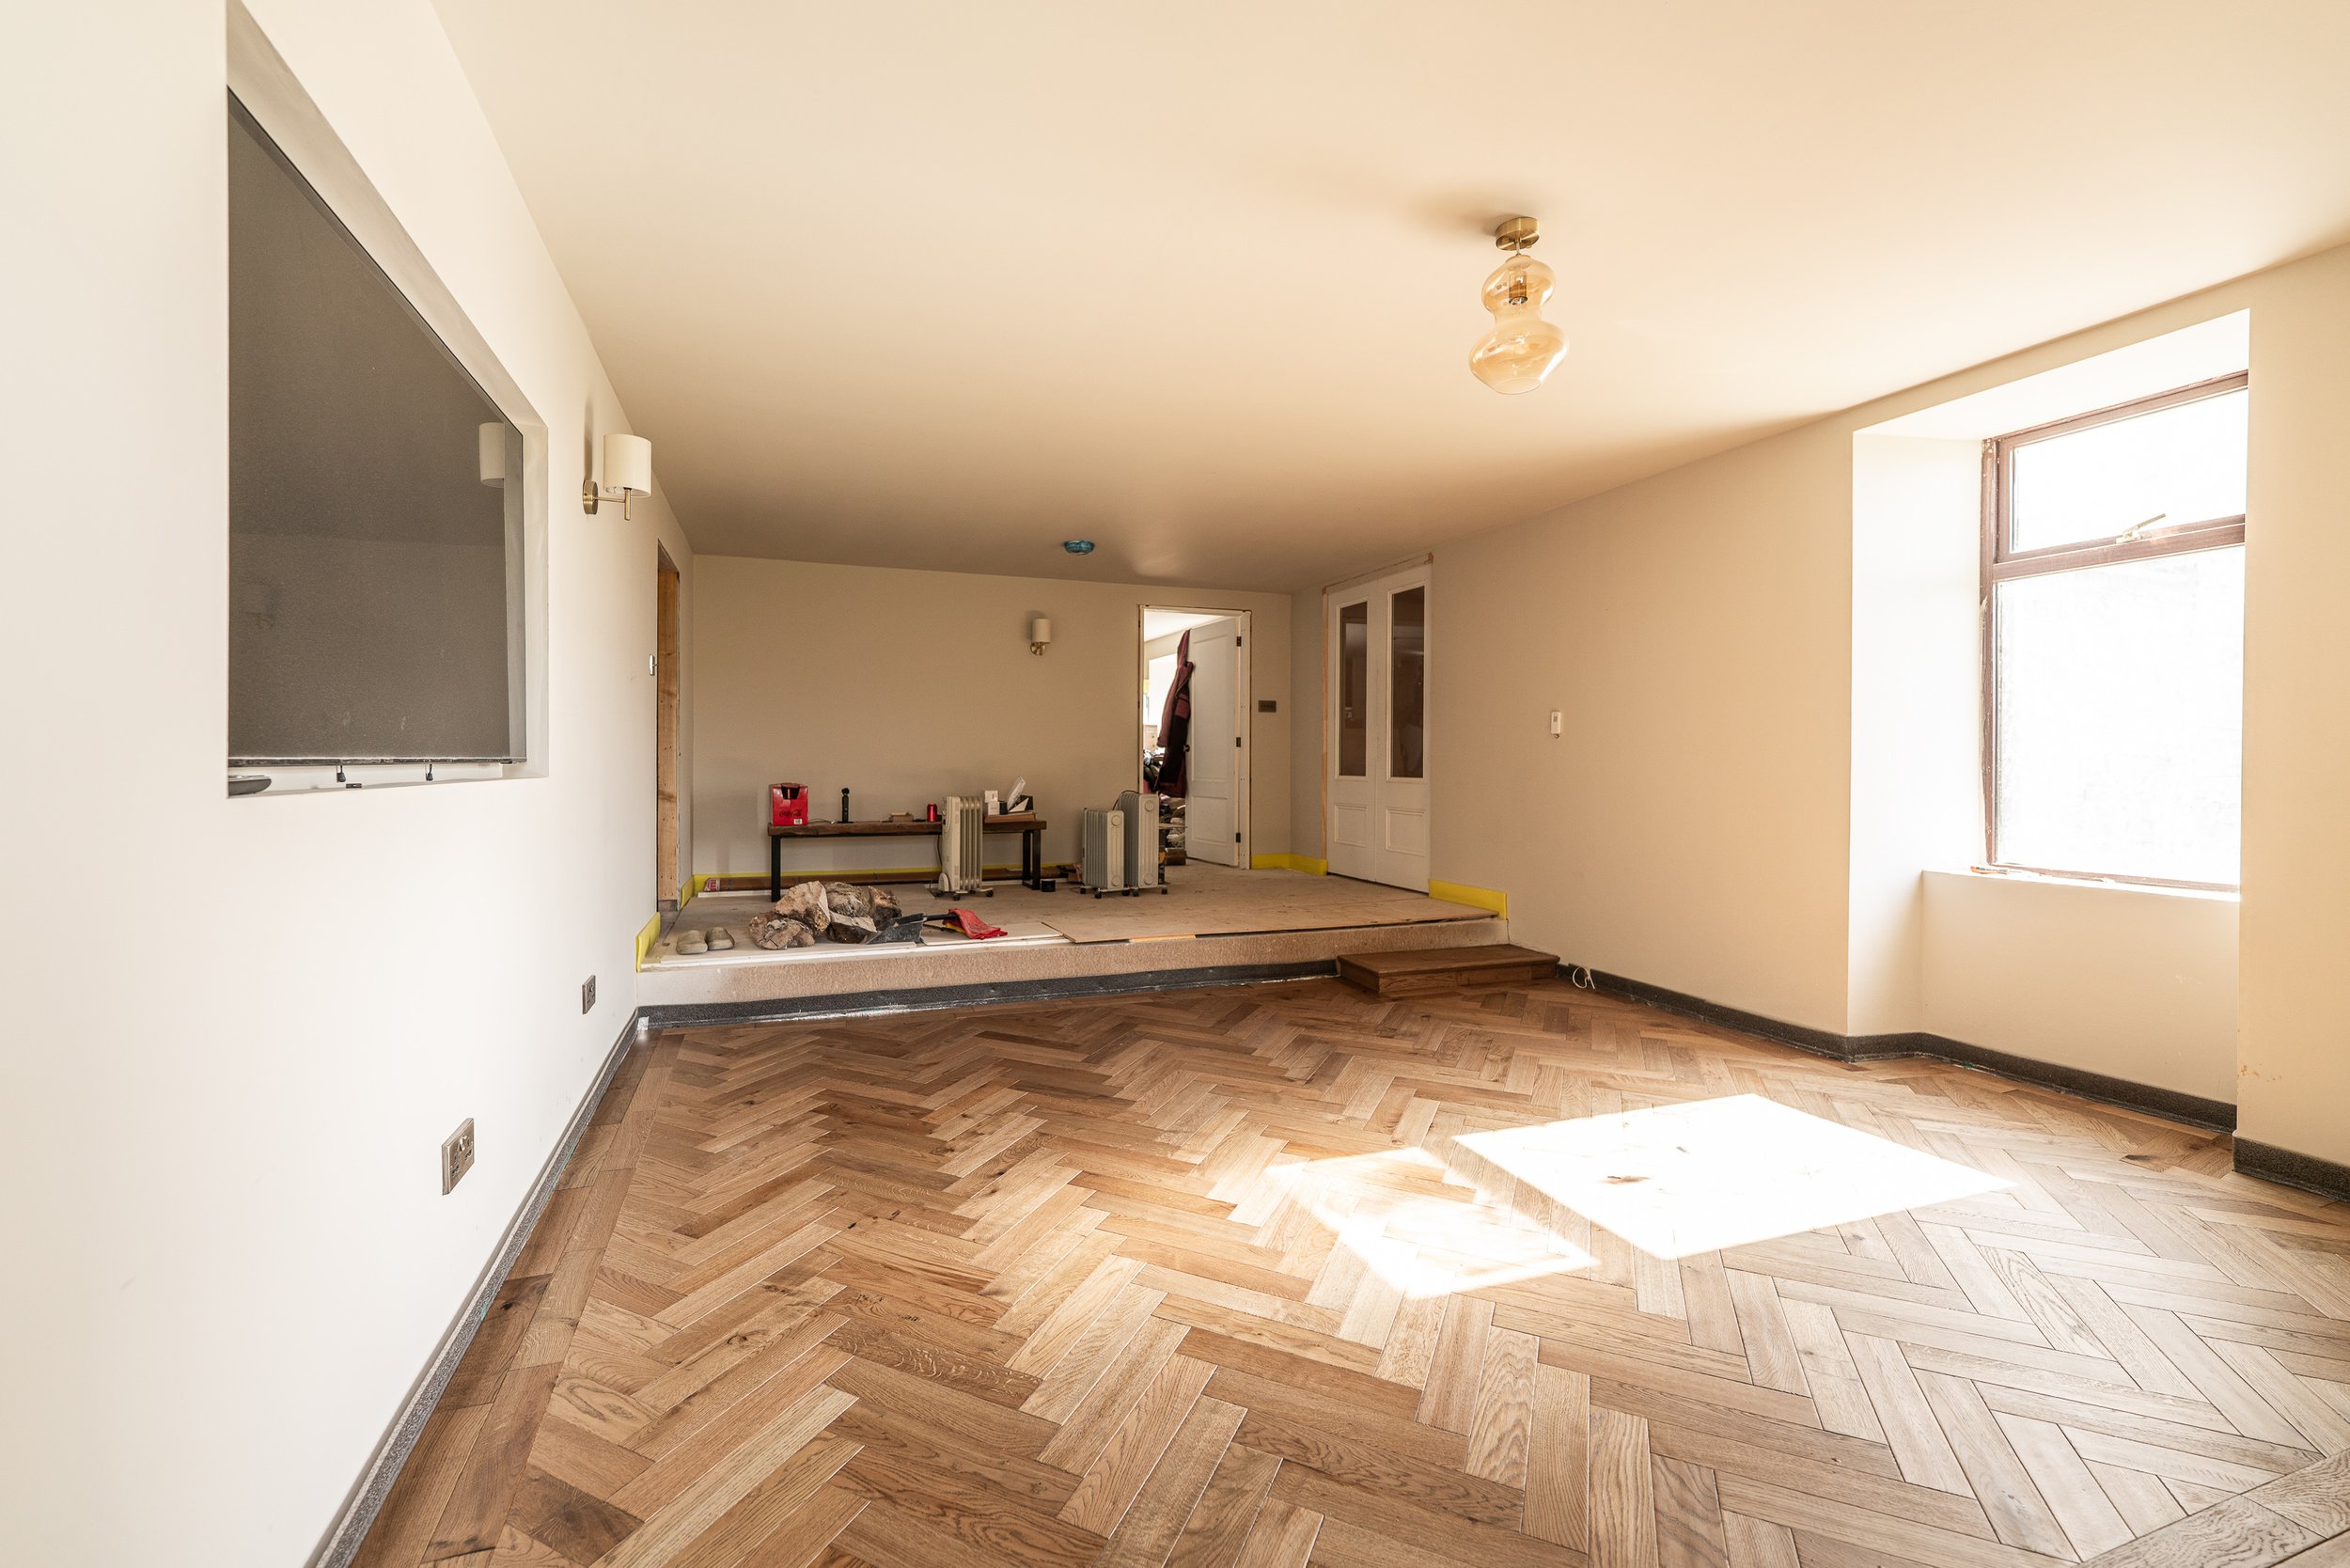
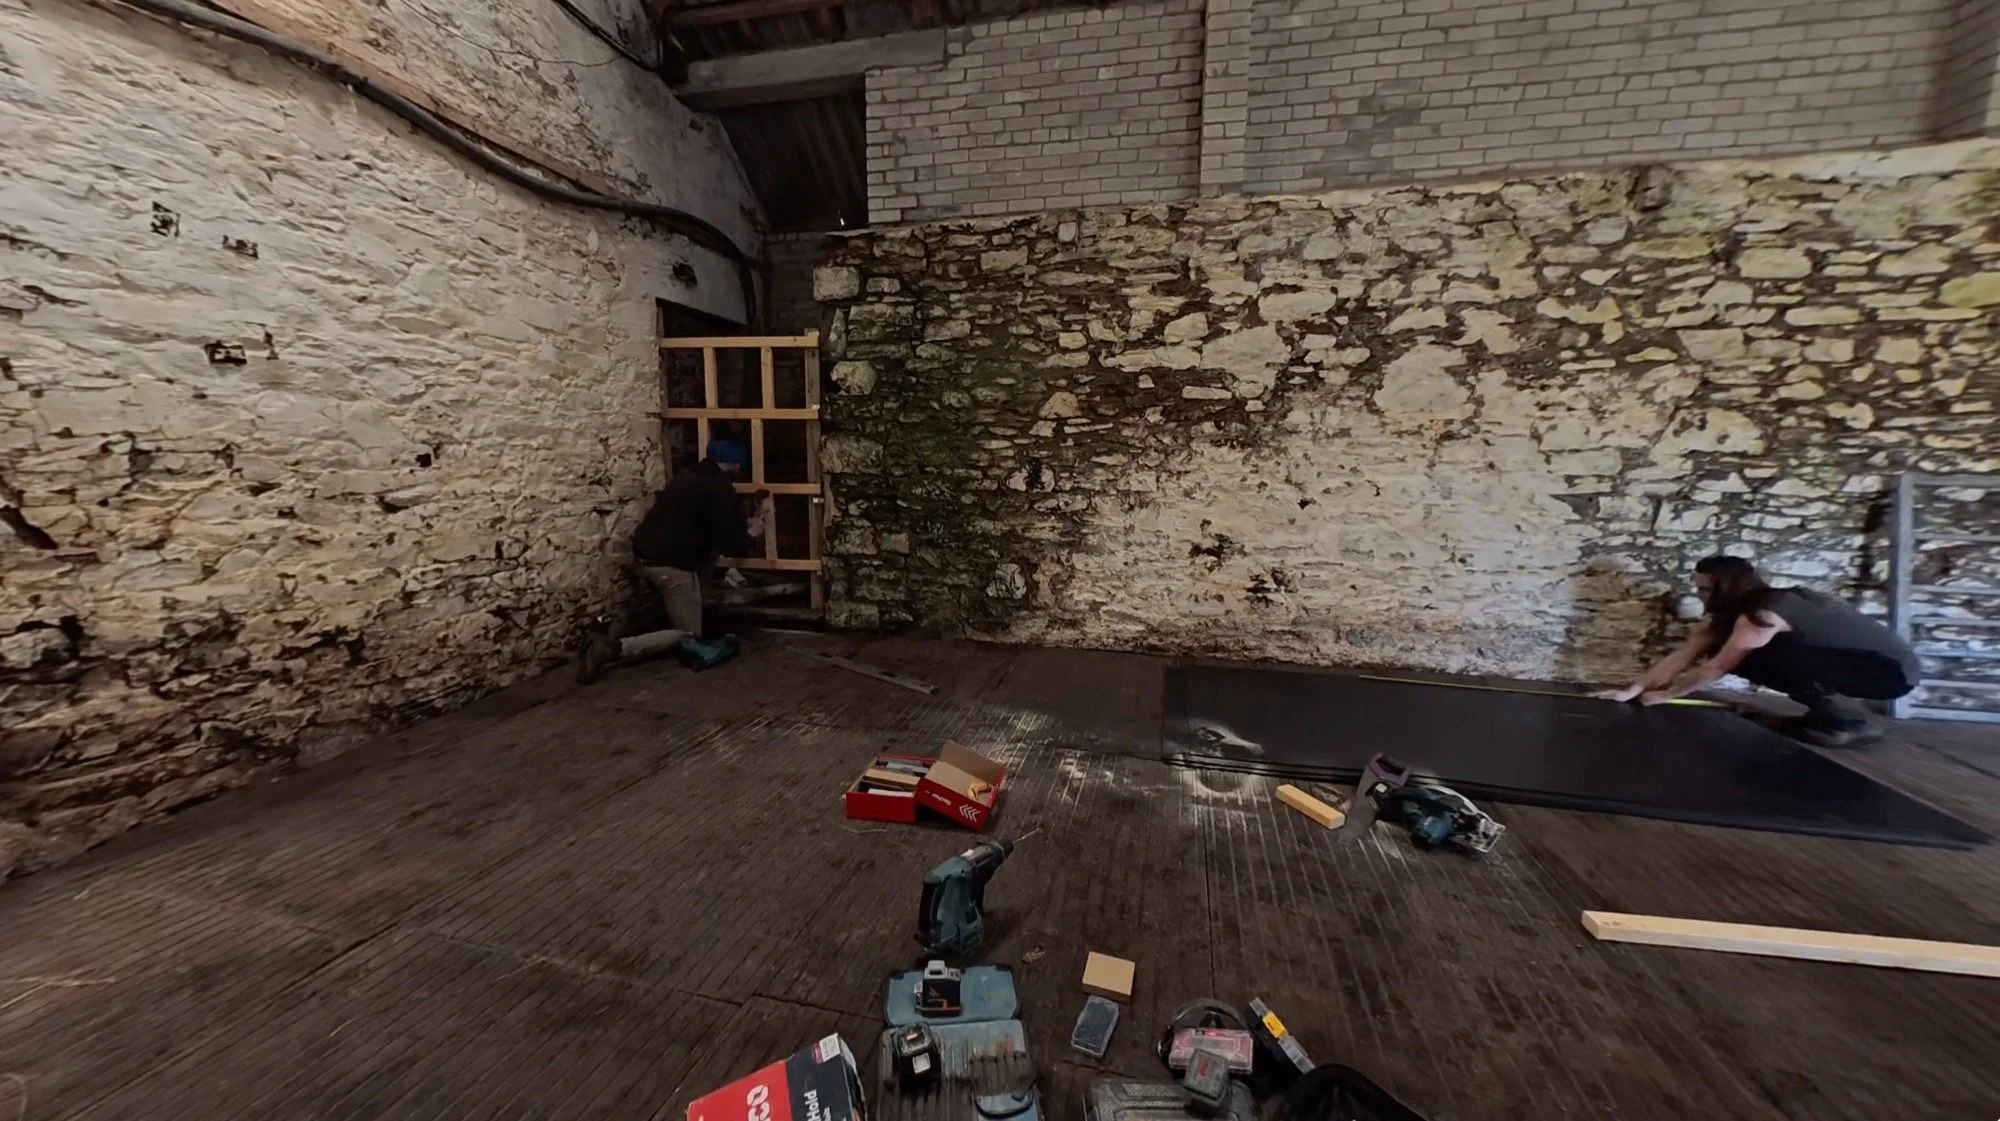
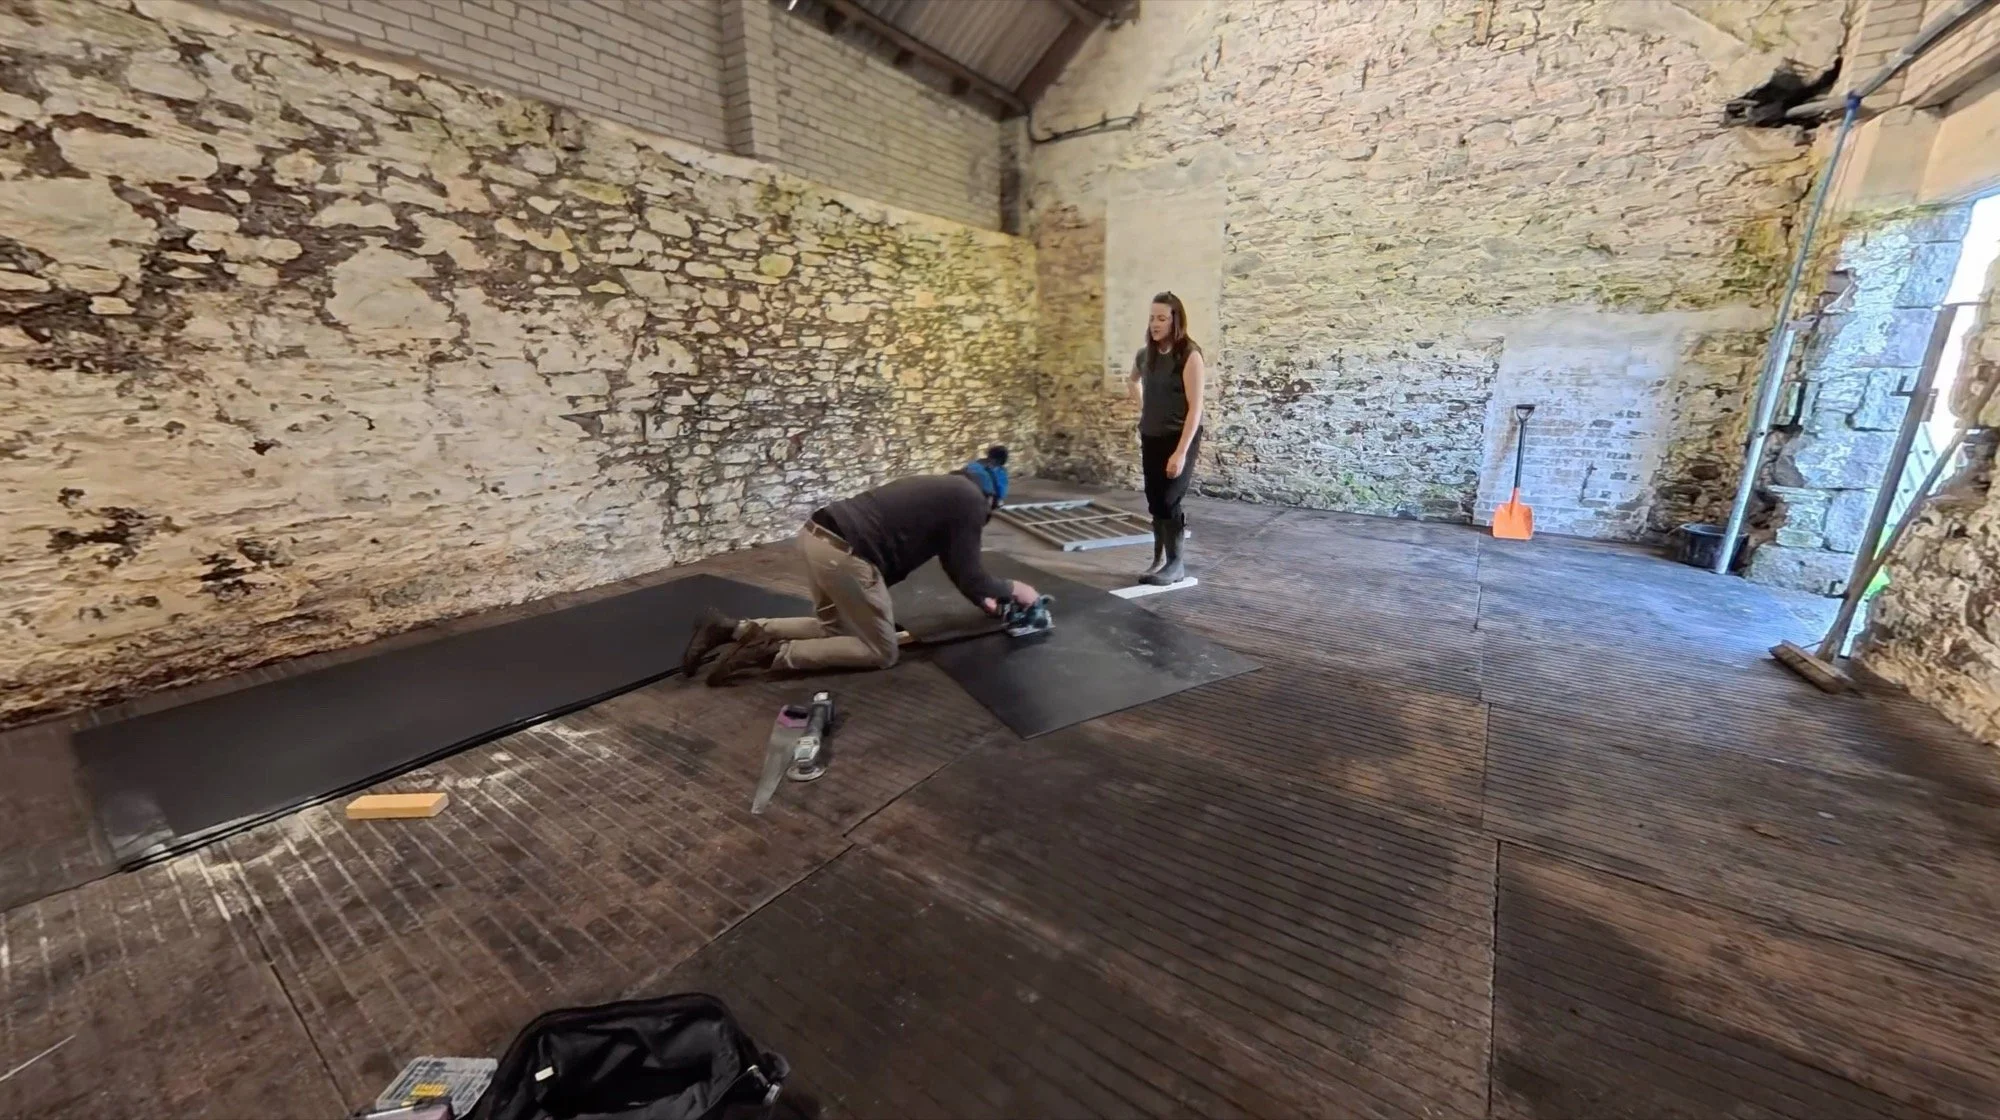
At the very end of last week (Sunday), the only stills I have of where we ended up are here:
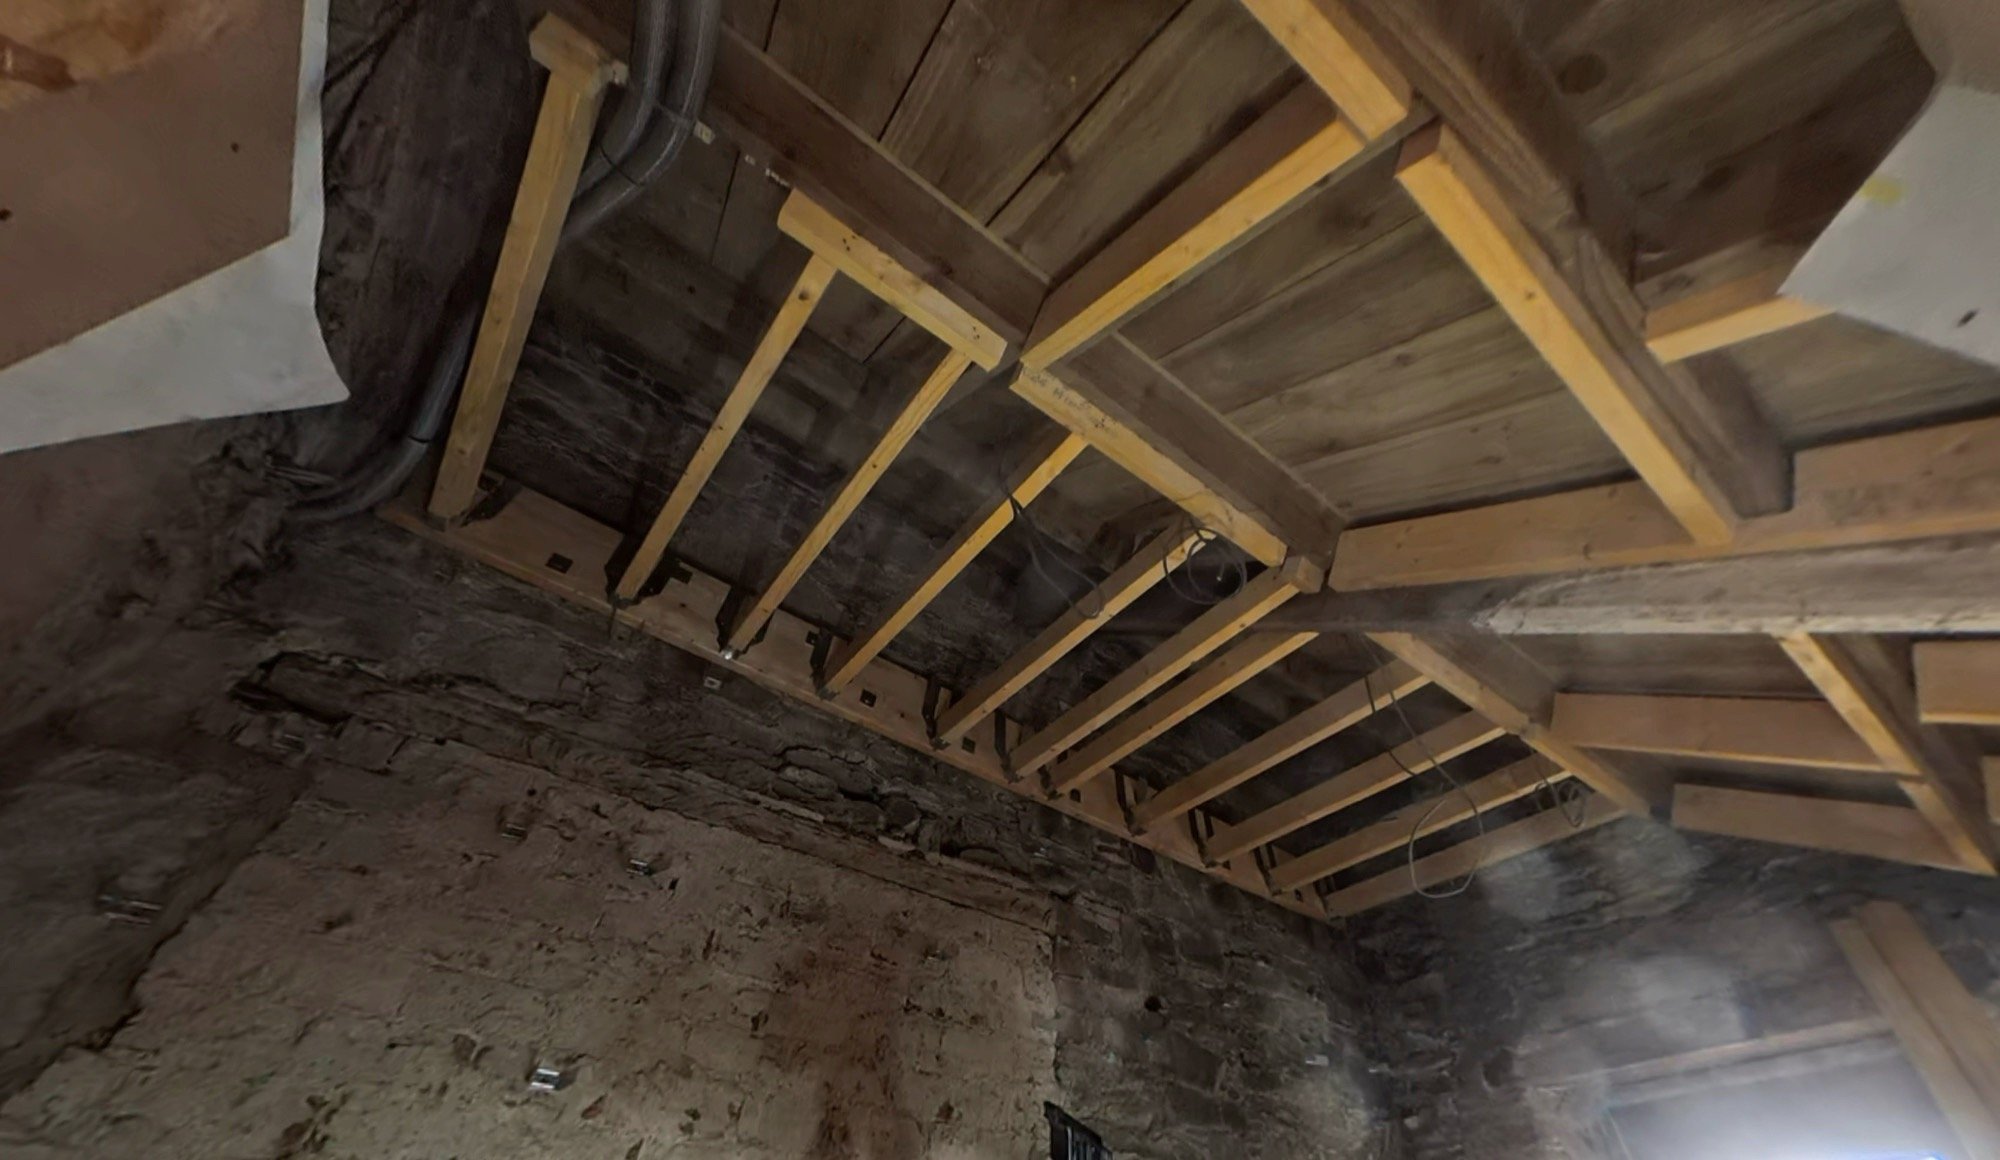

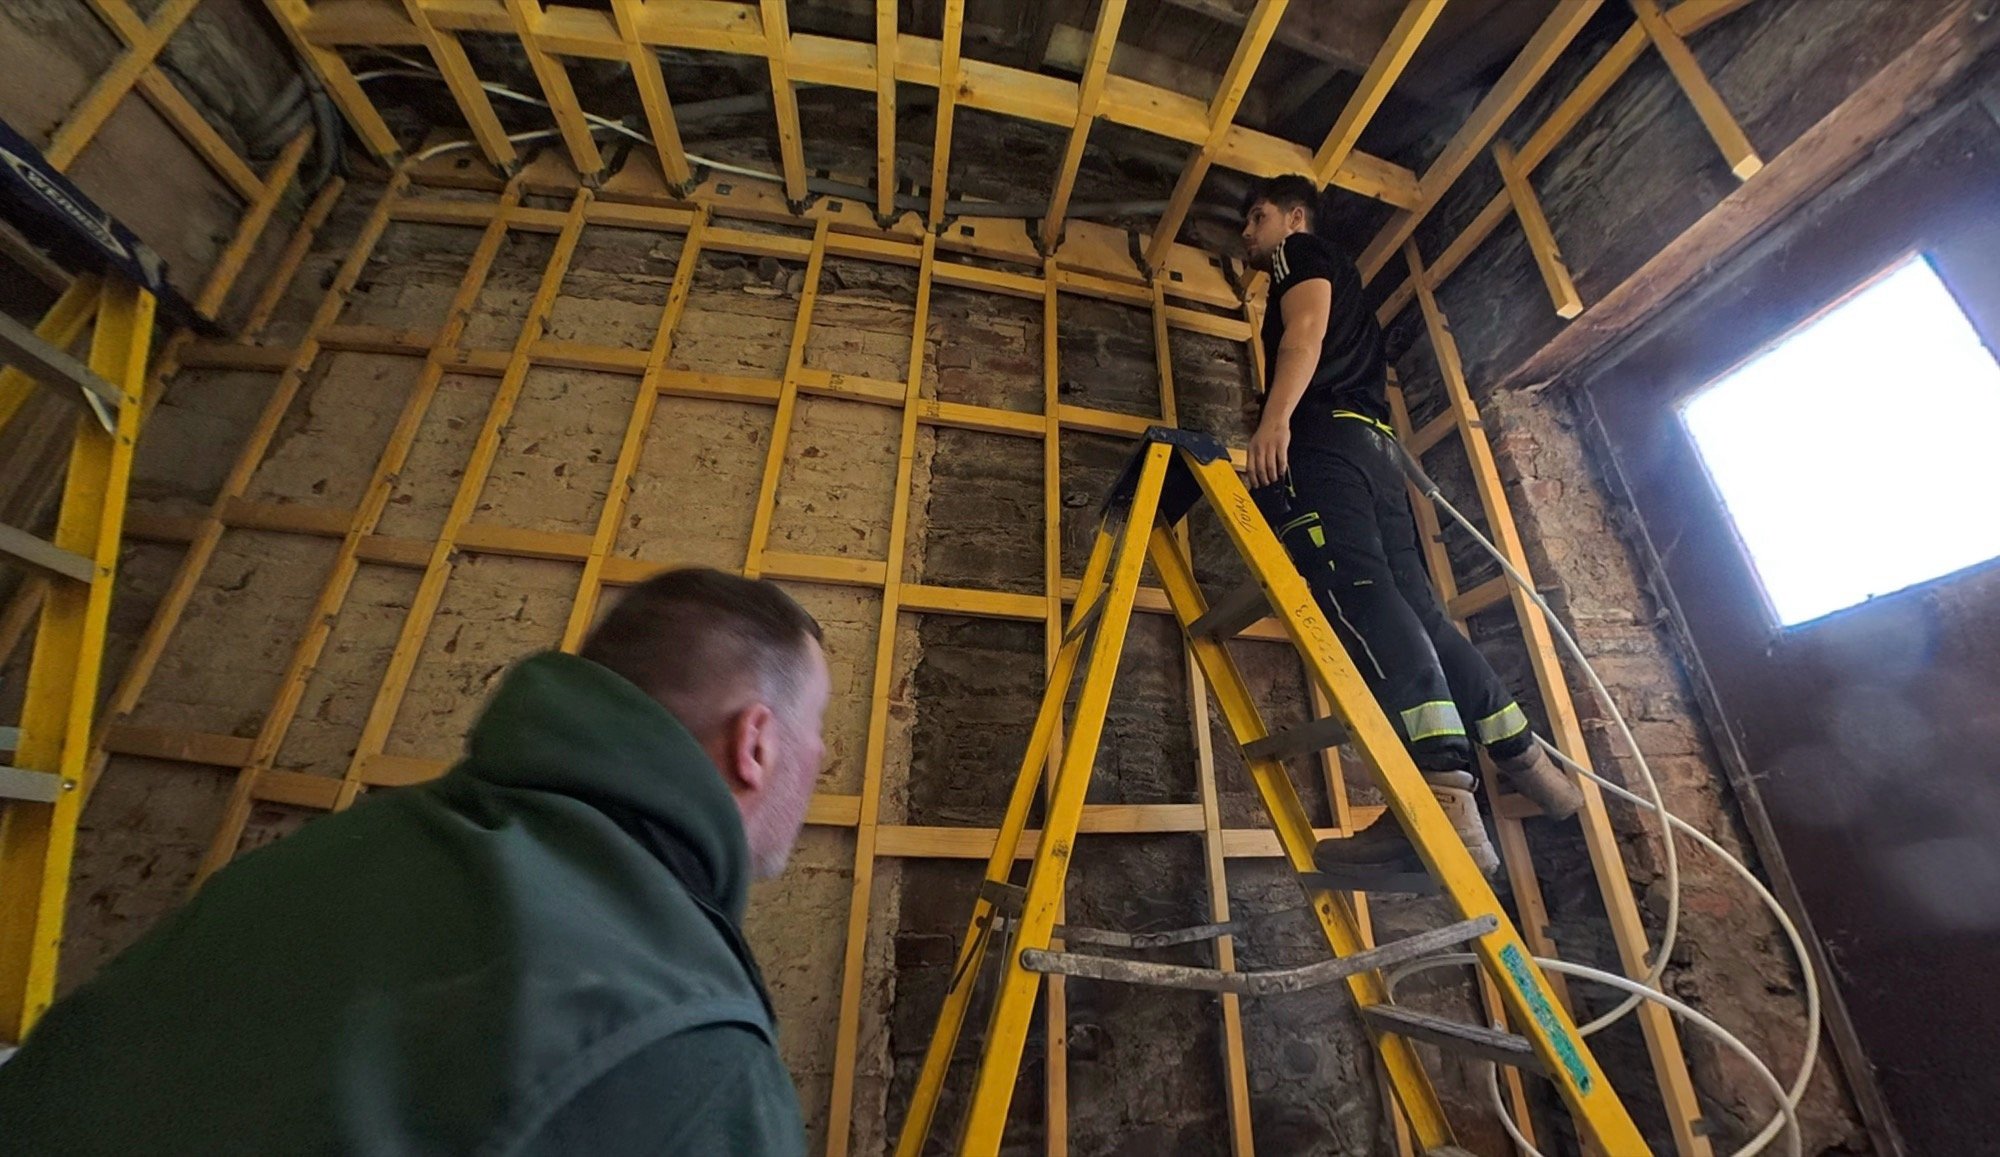
Dan continued with adding the stud work to the wall brackets
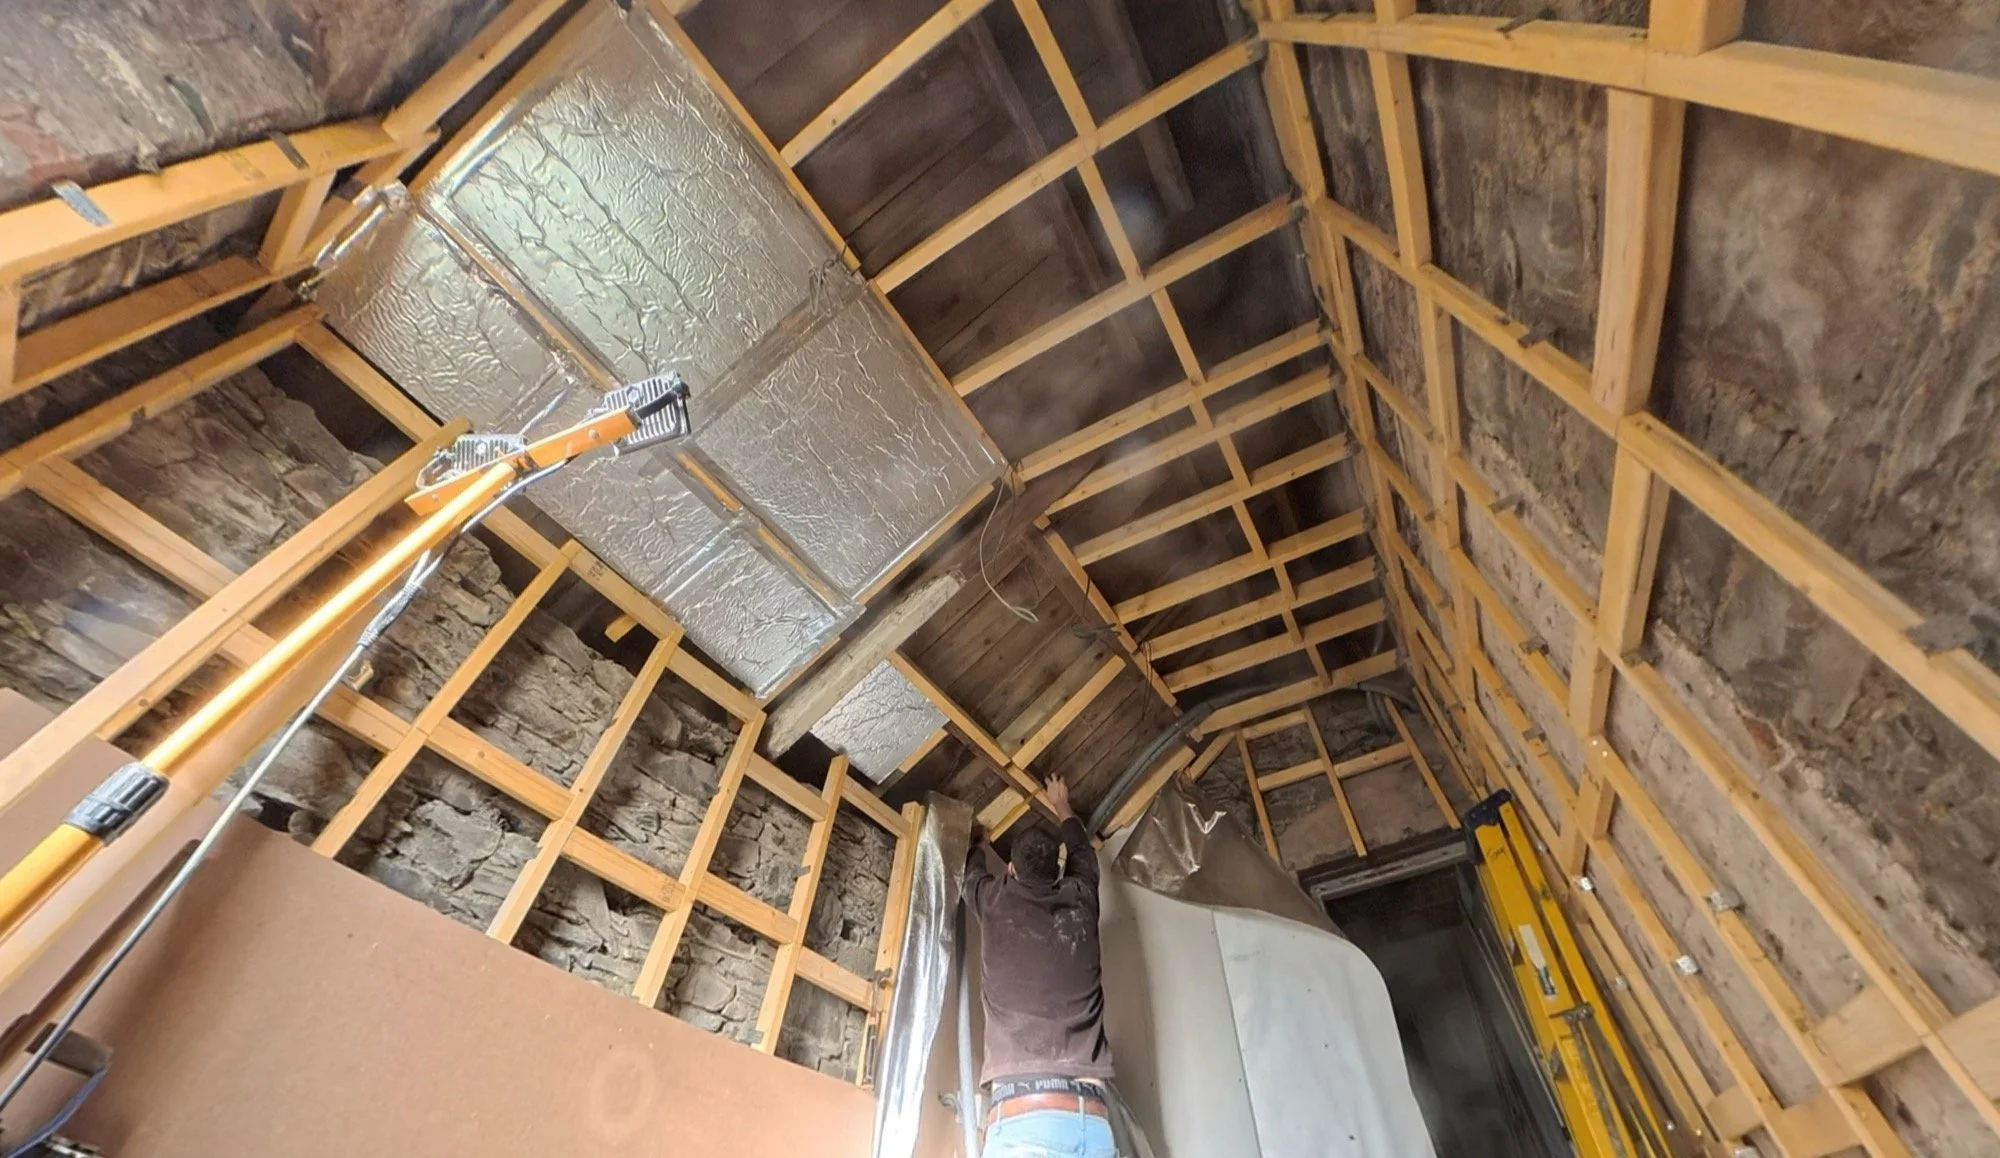
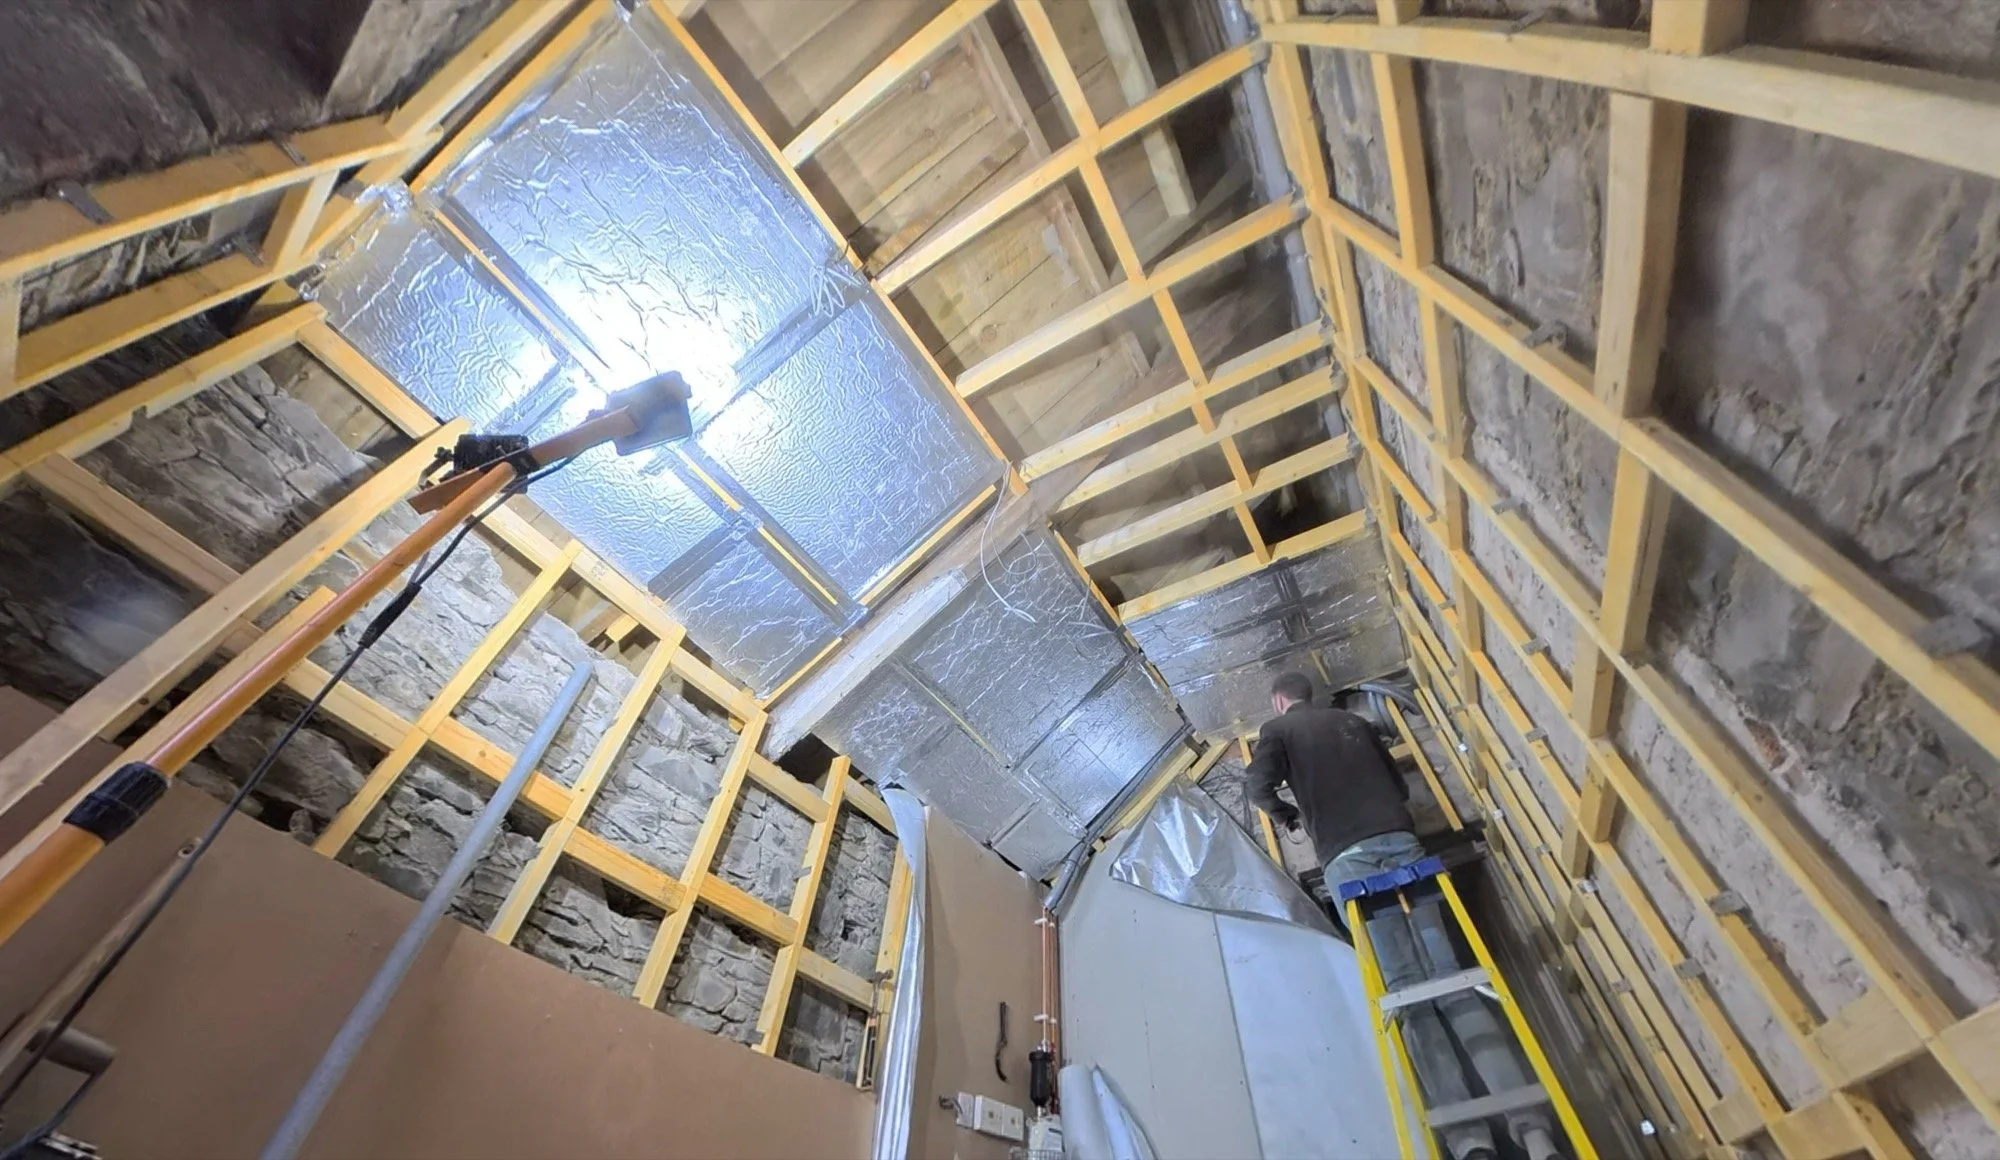
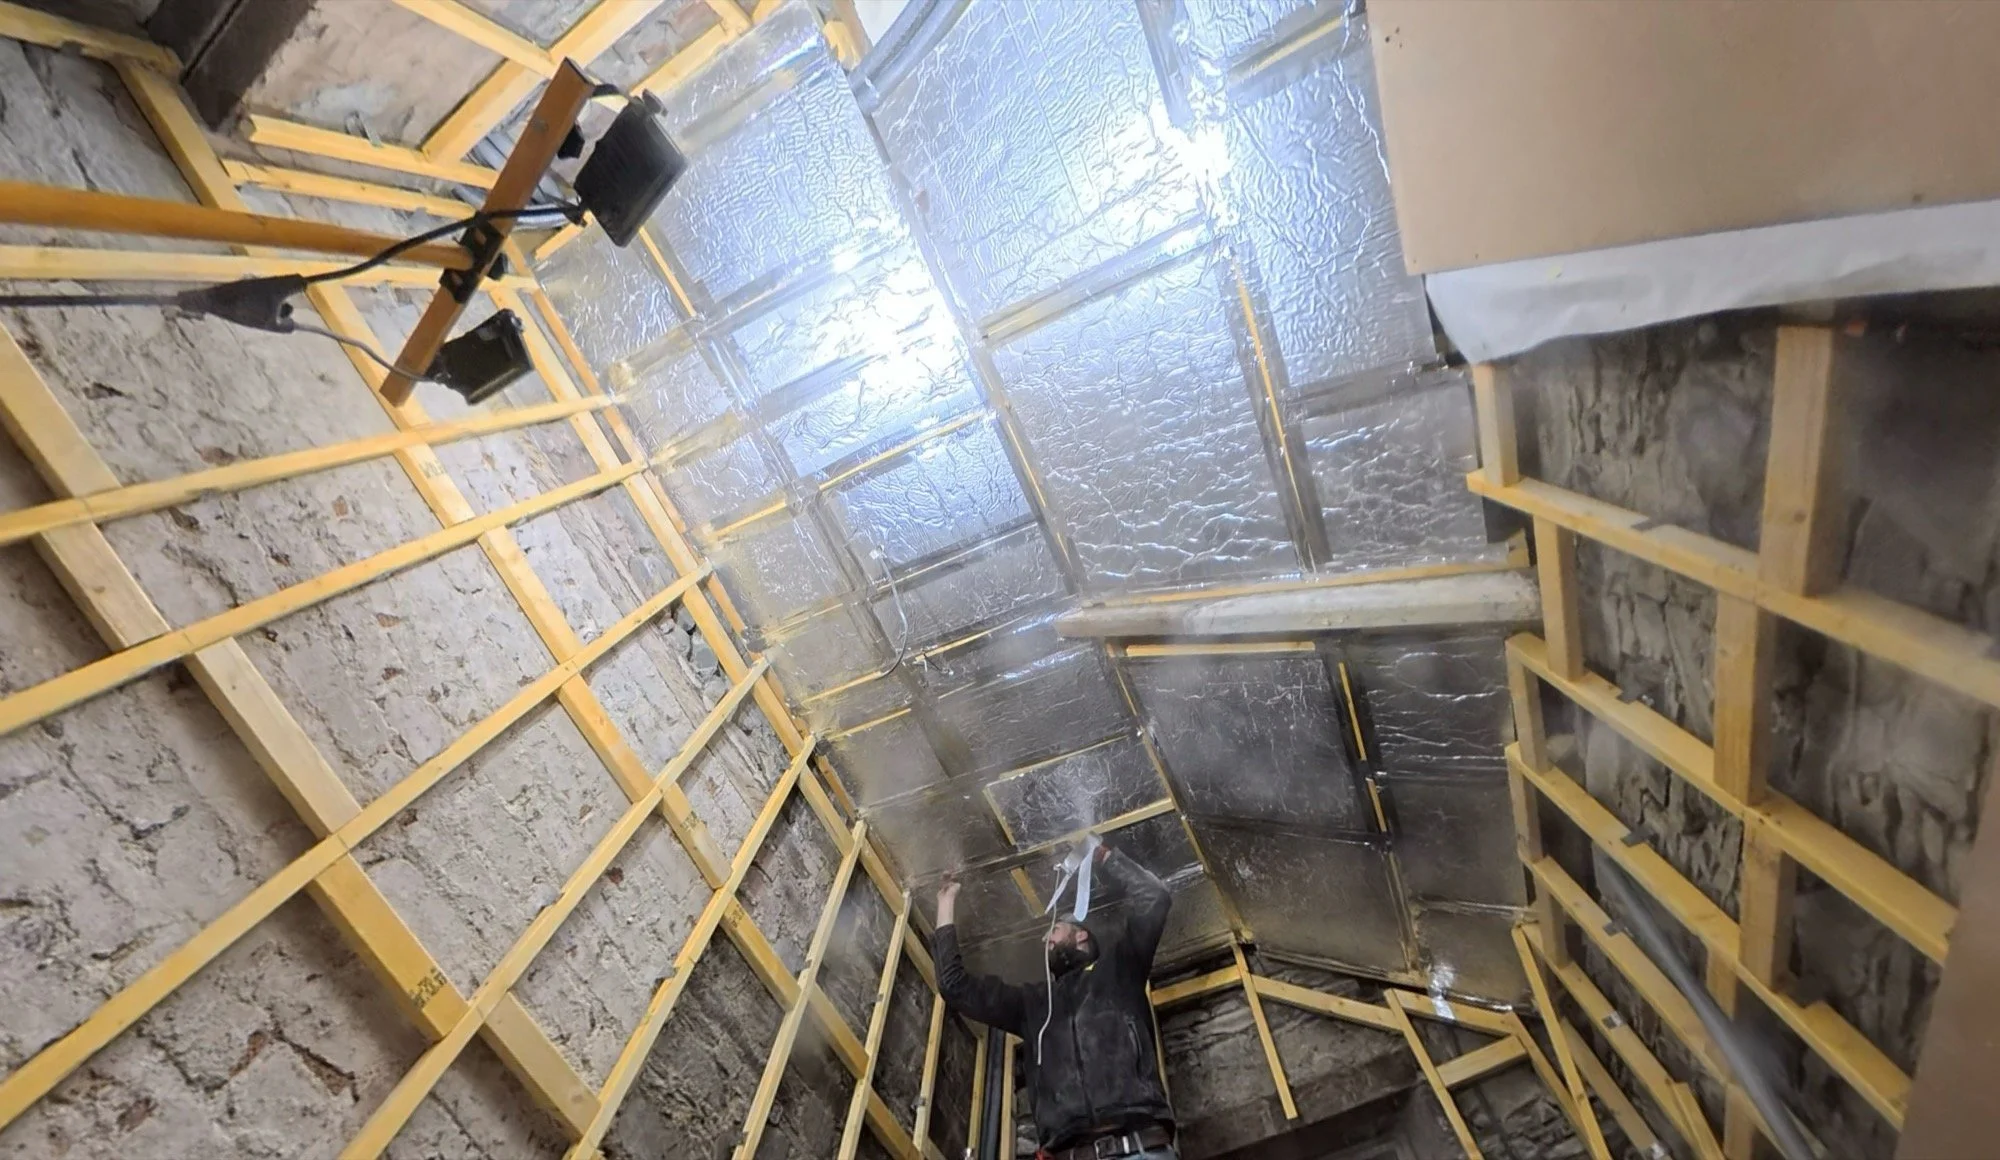
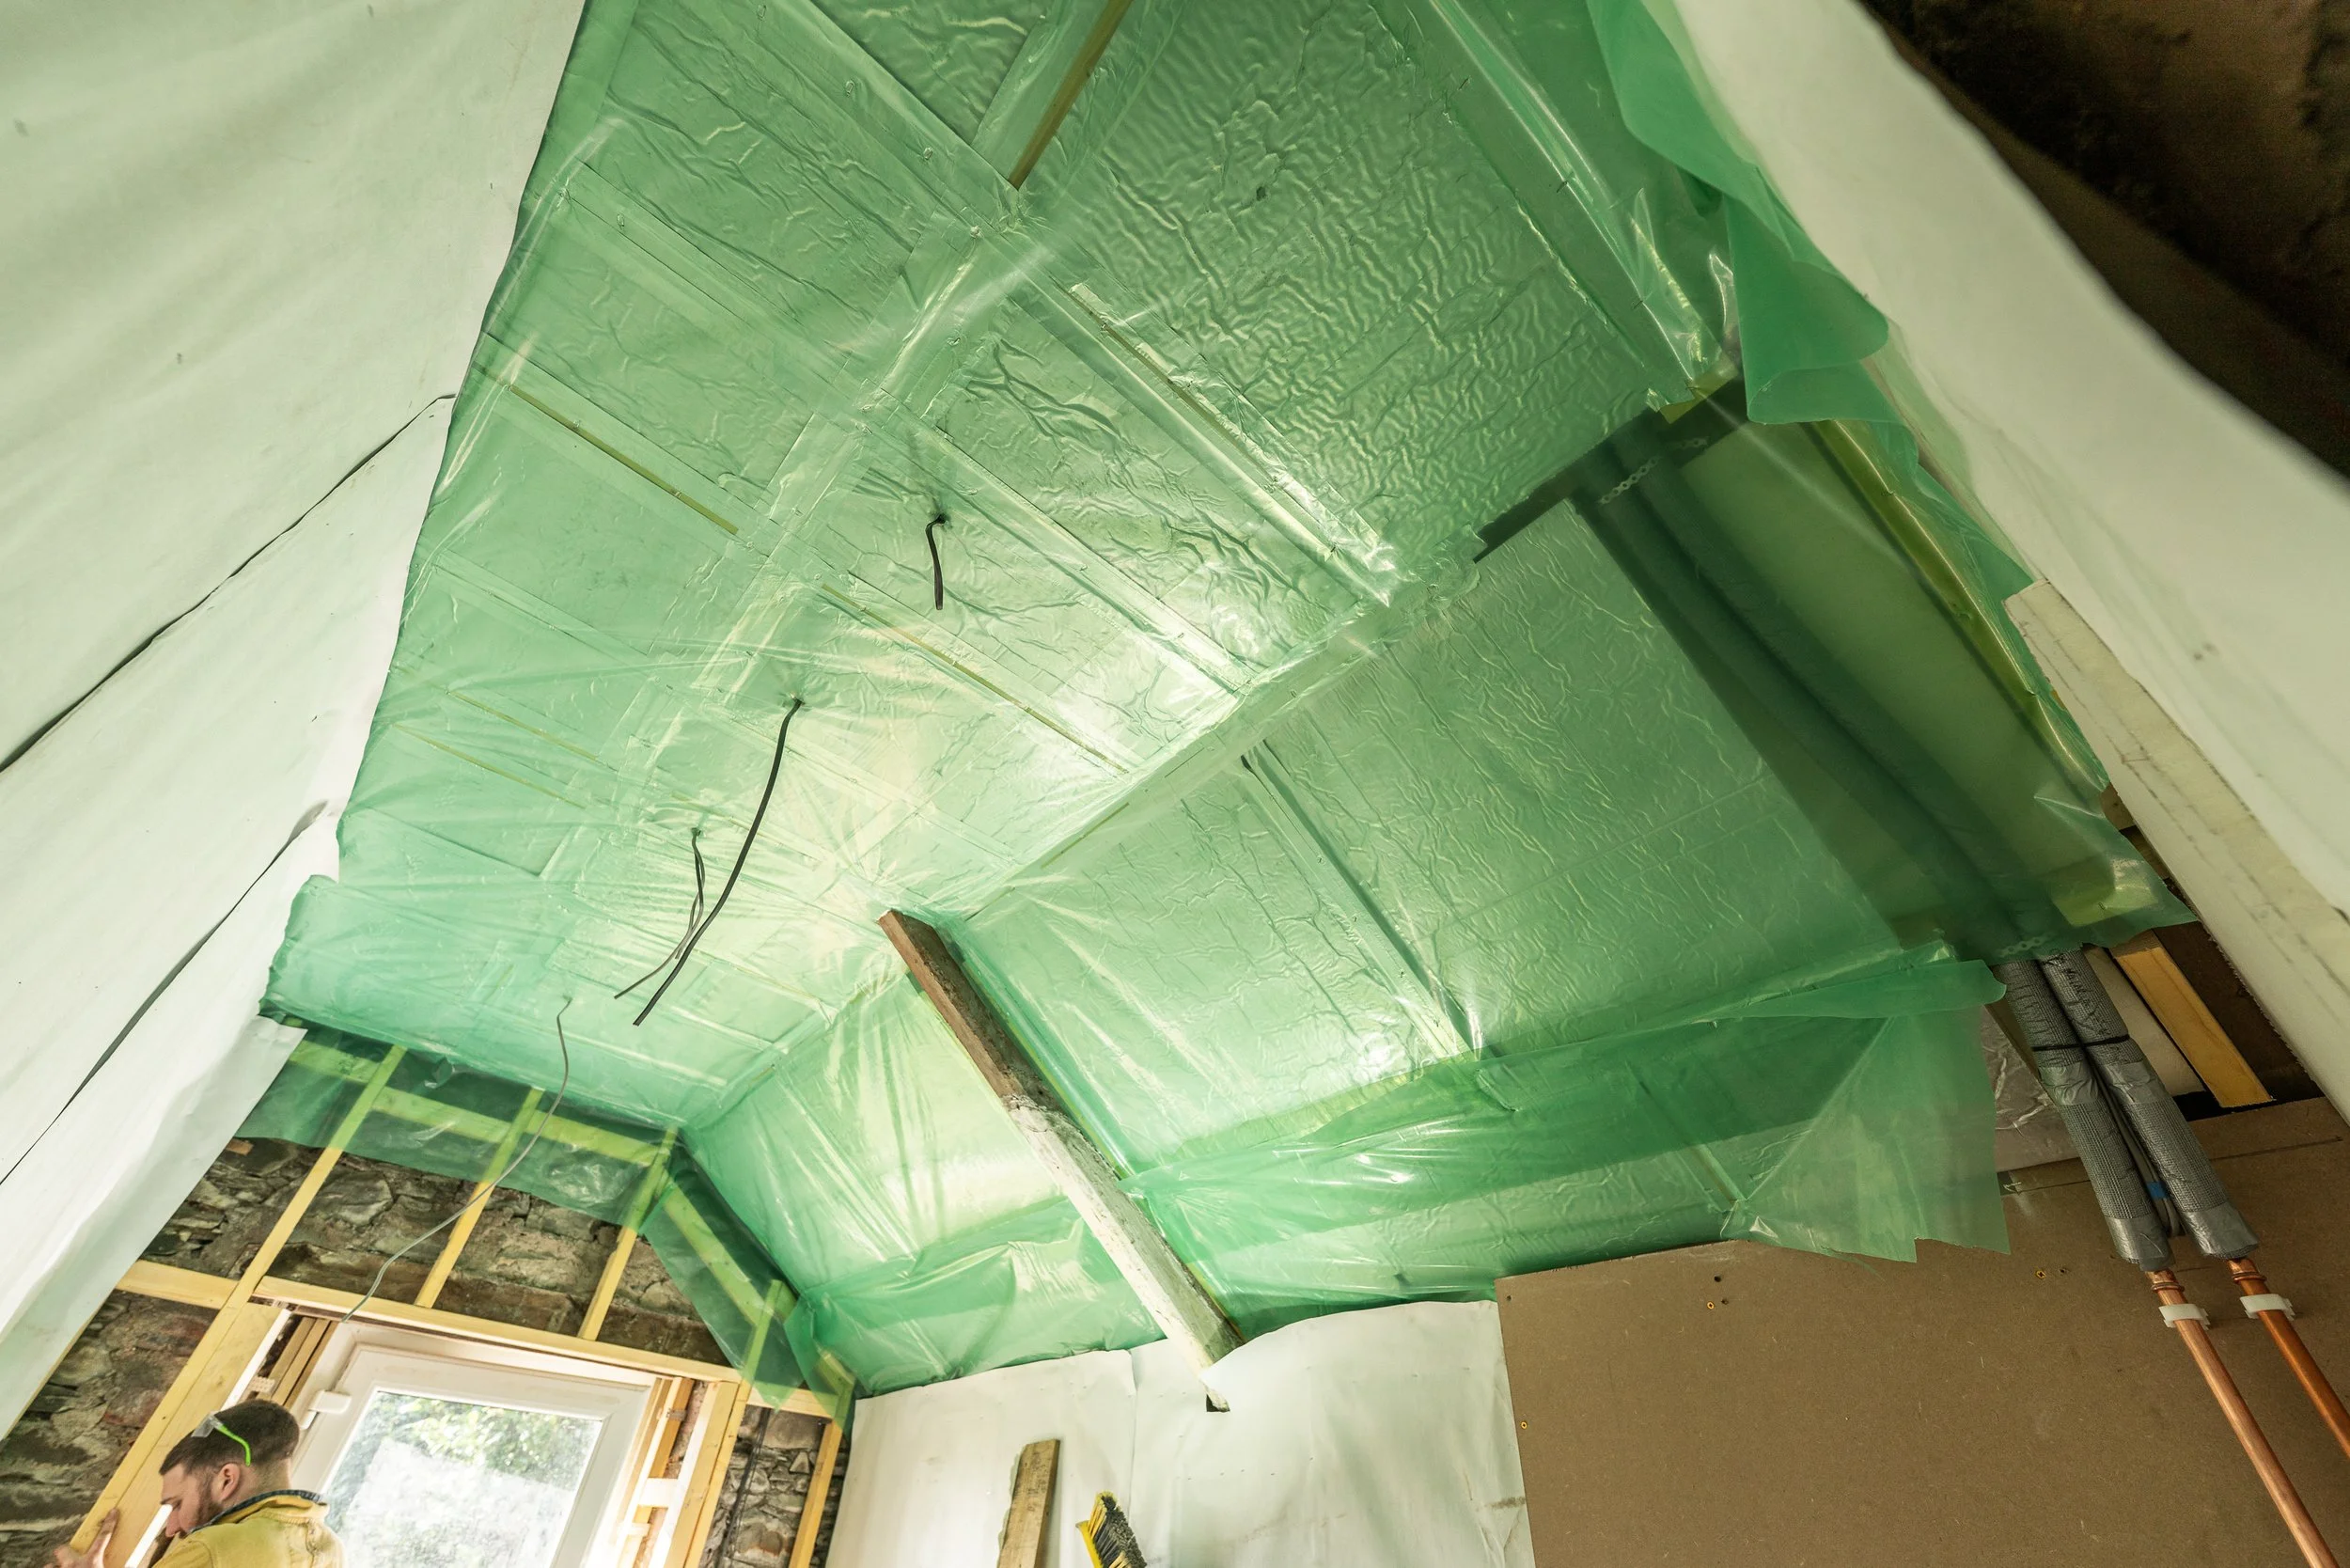
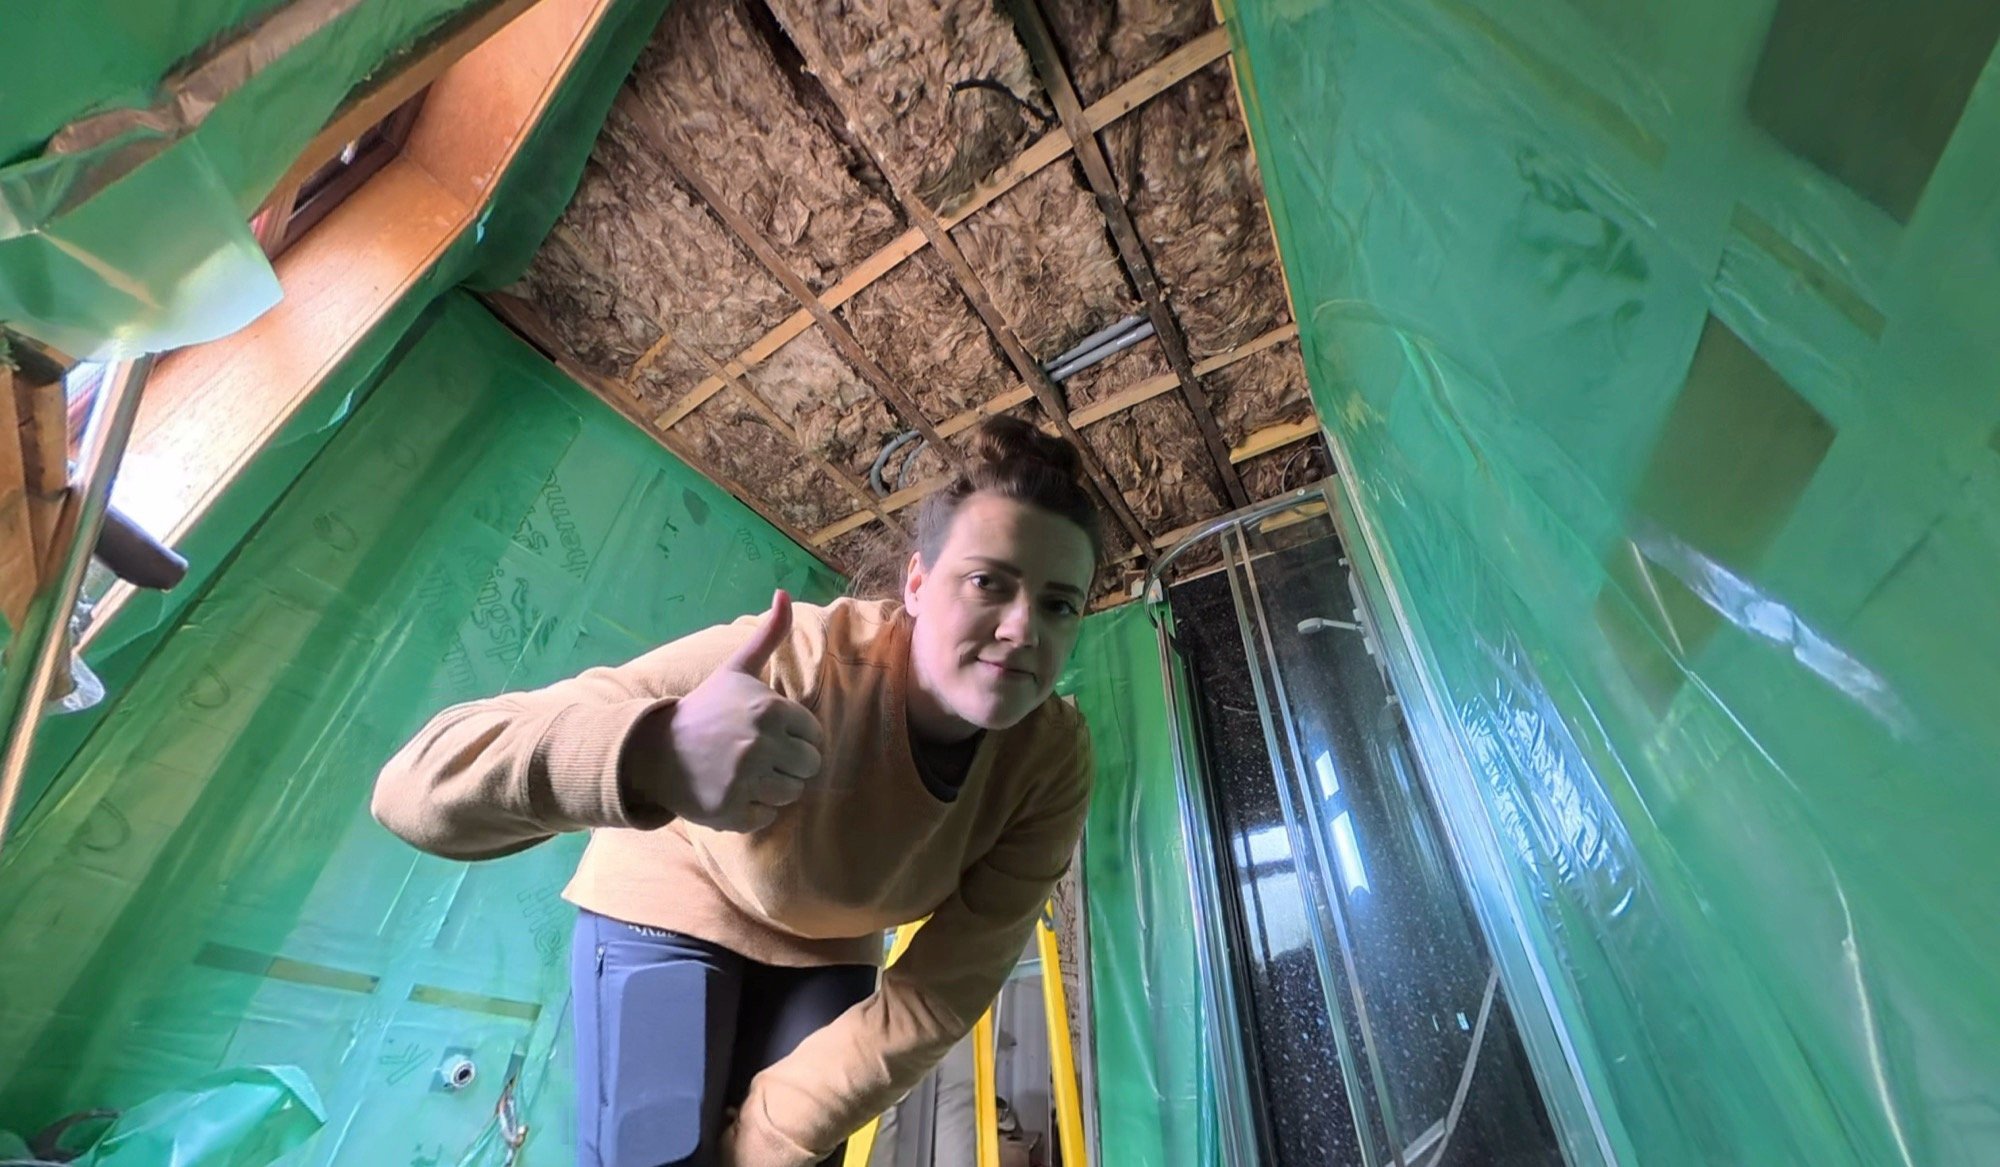
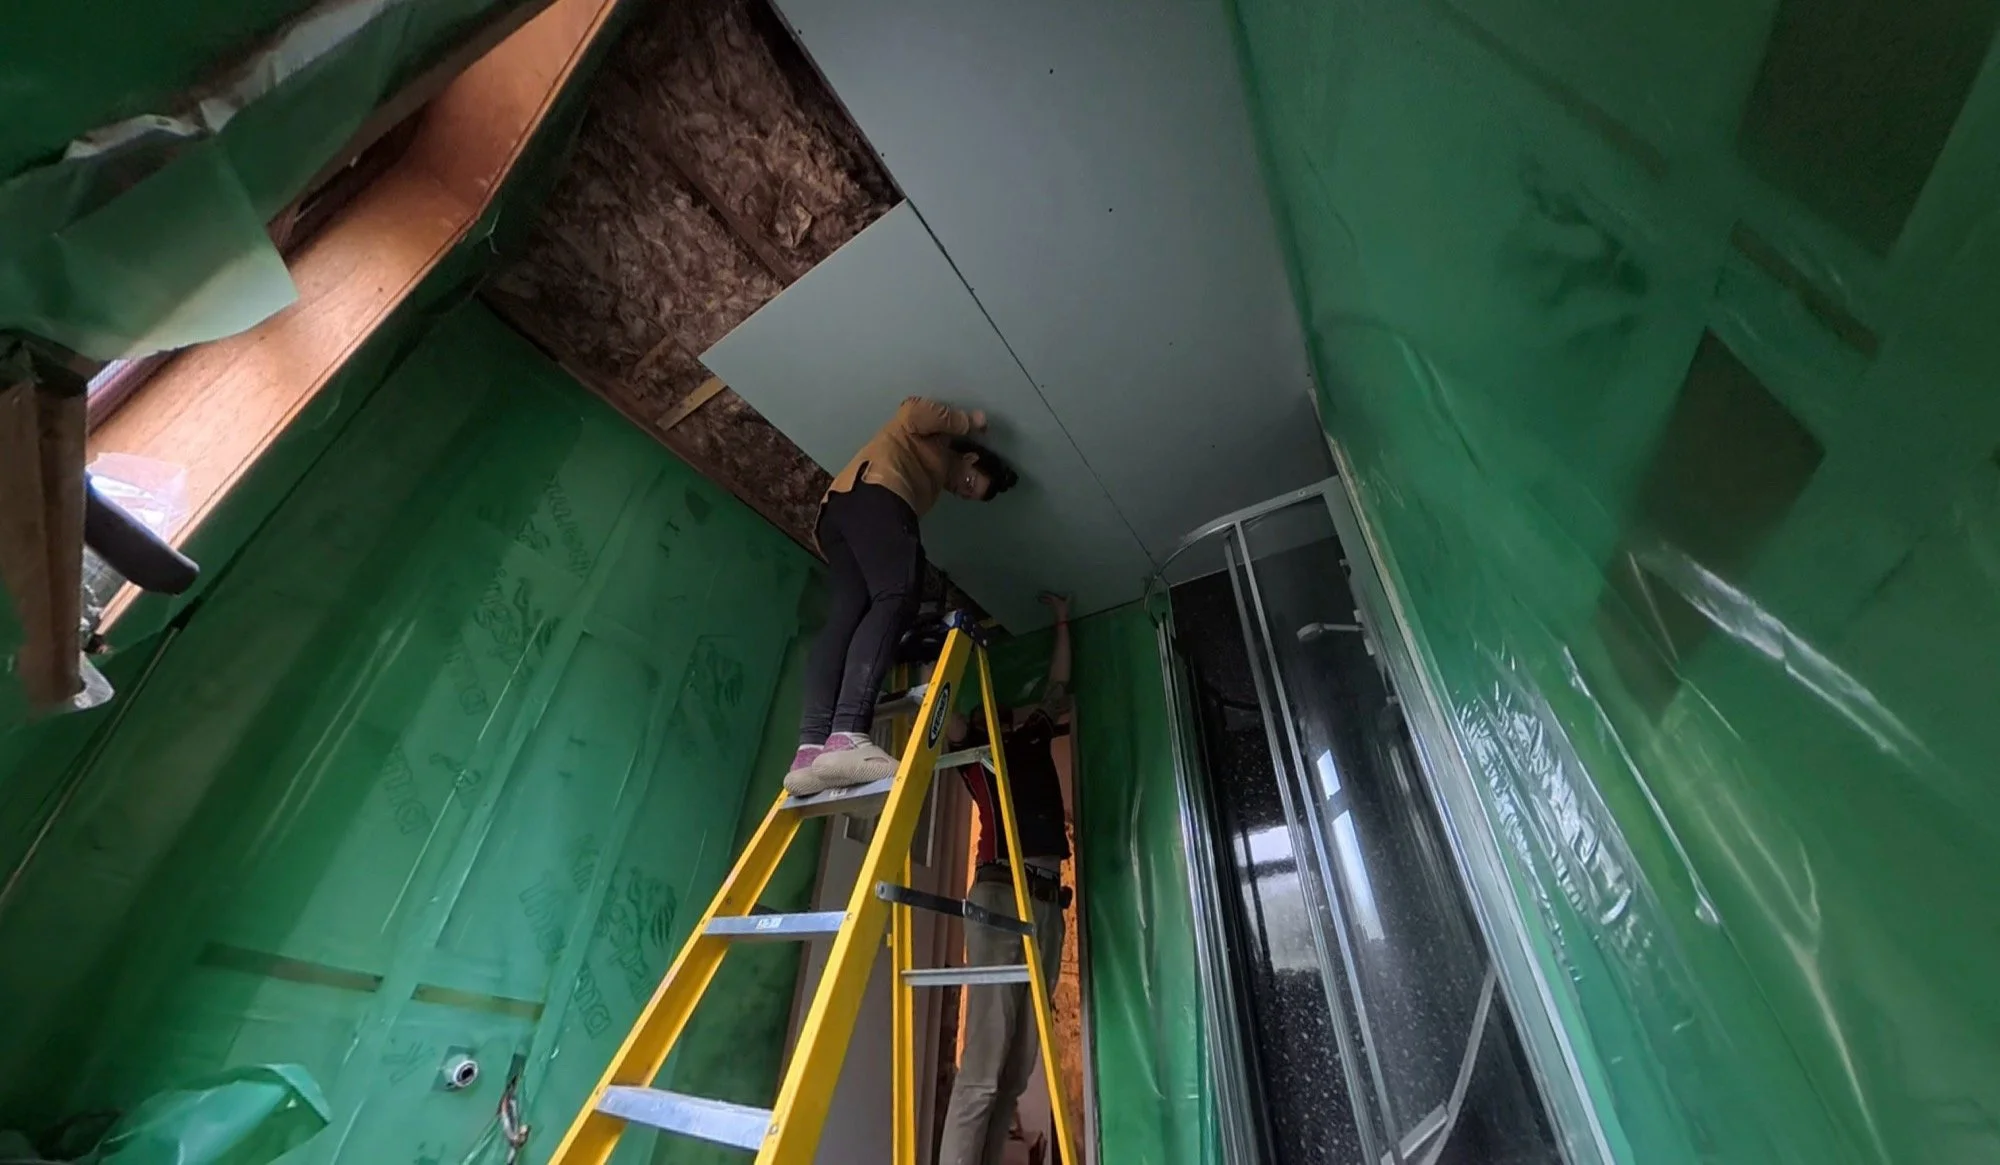
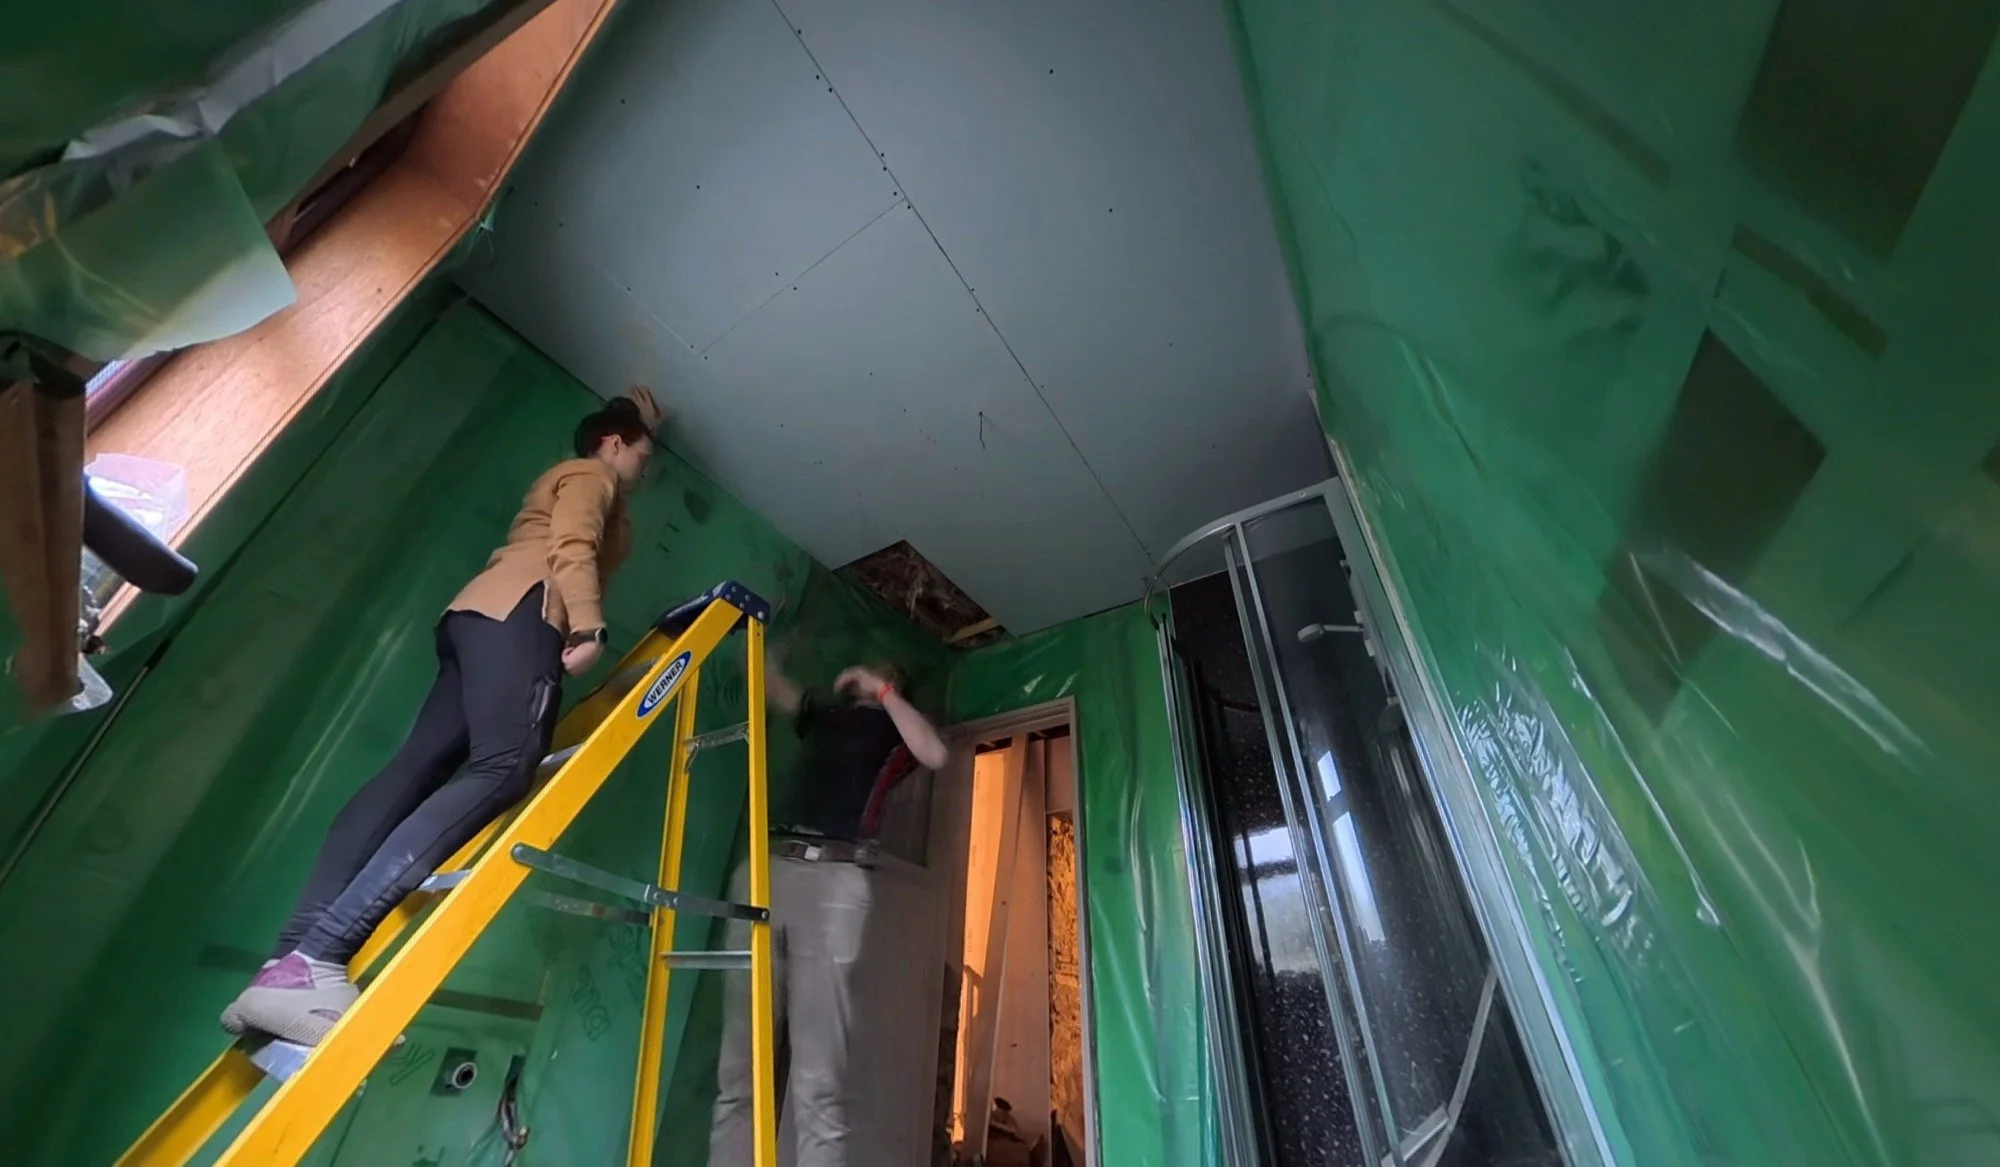
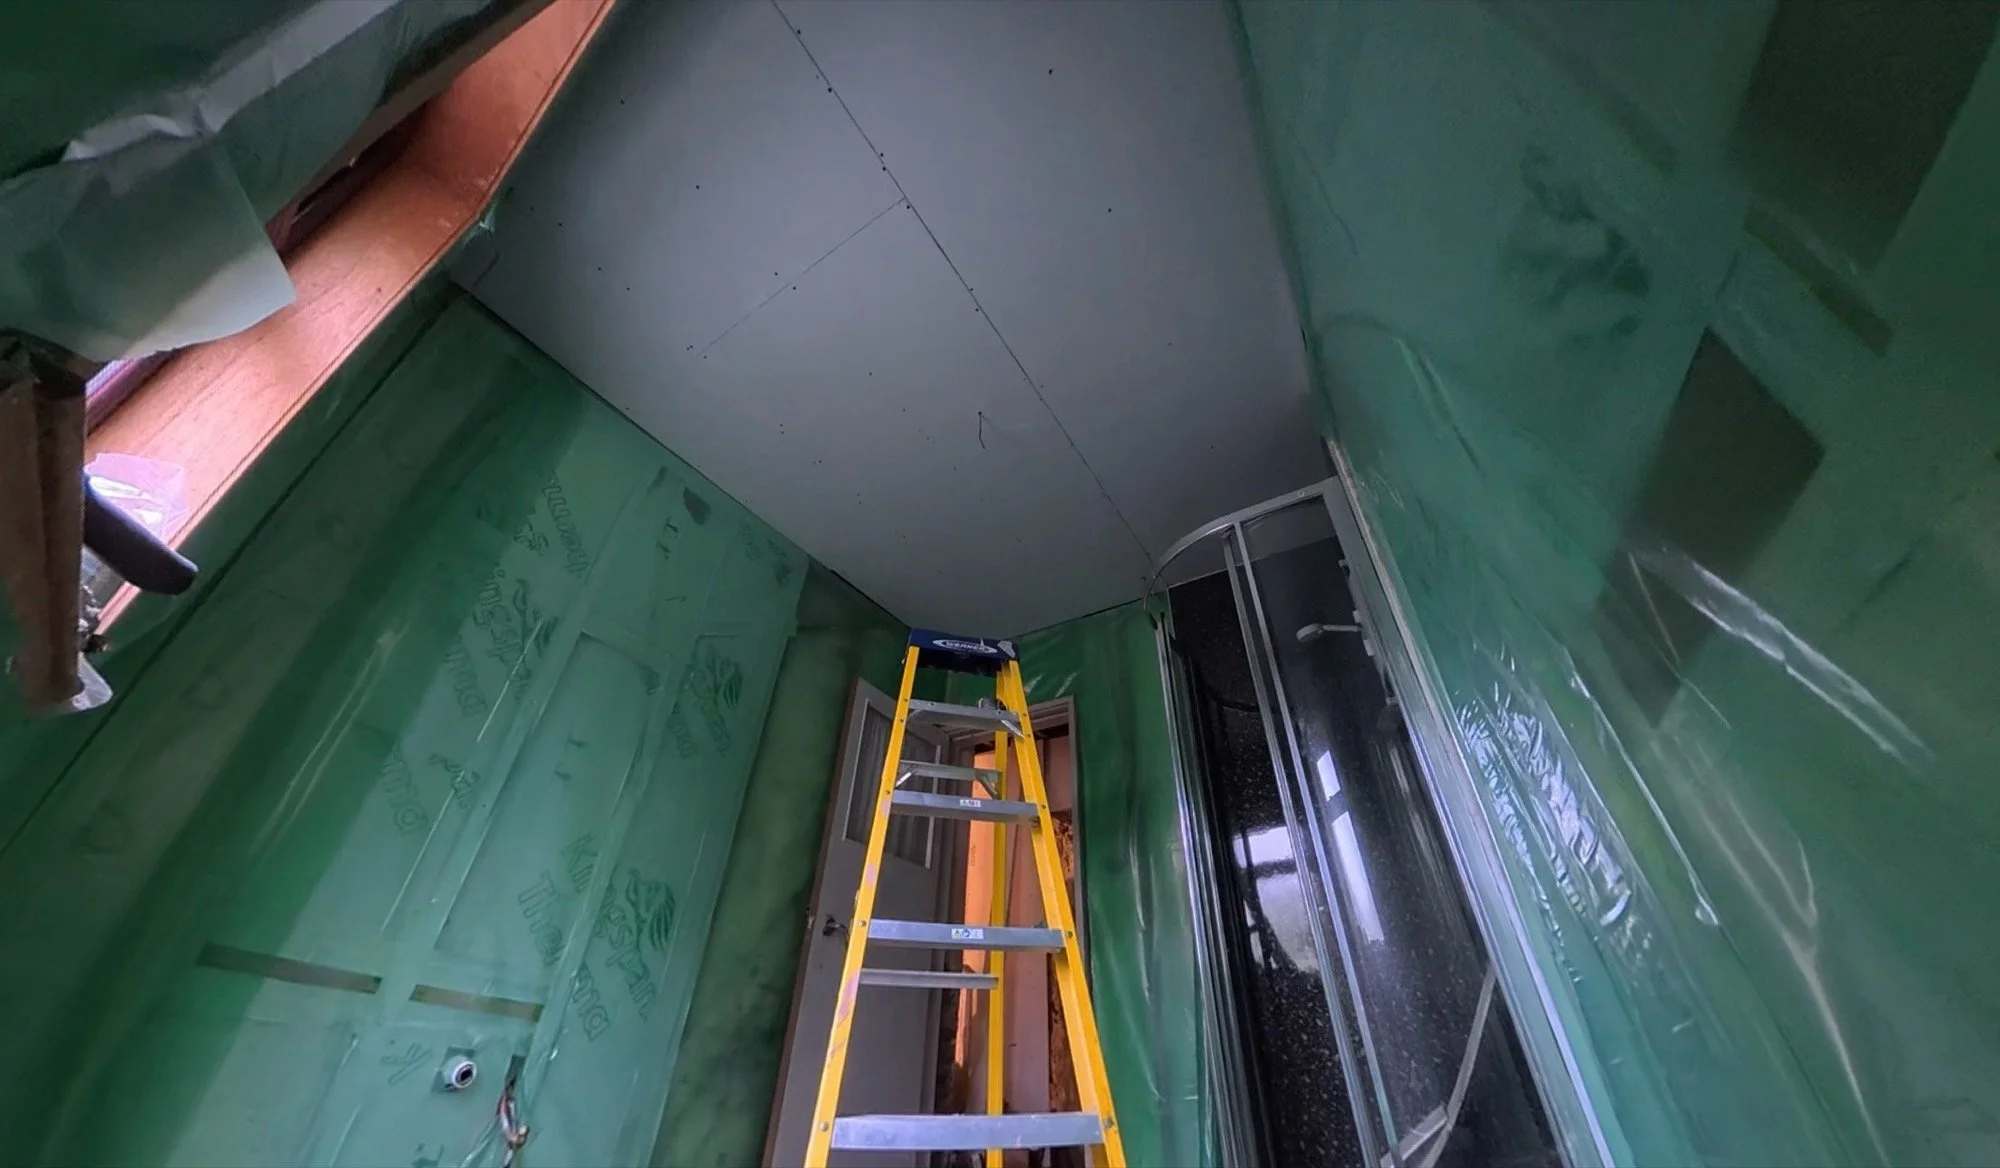
Next was insulation in the new ceiling and along that roofline. Dan had already extended to perlins with wood to allow for 150mm PIR up there, along with the required air gap behind. It was a case of cutting, push-fitting, chasing the wires through (3 spotlights, a carbon monoxide alarm and a smoke alarm), and then taping the joins:

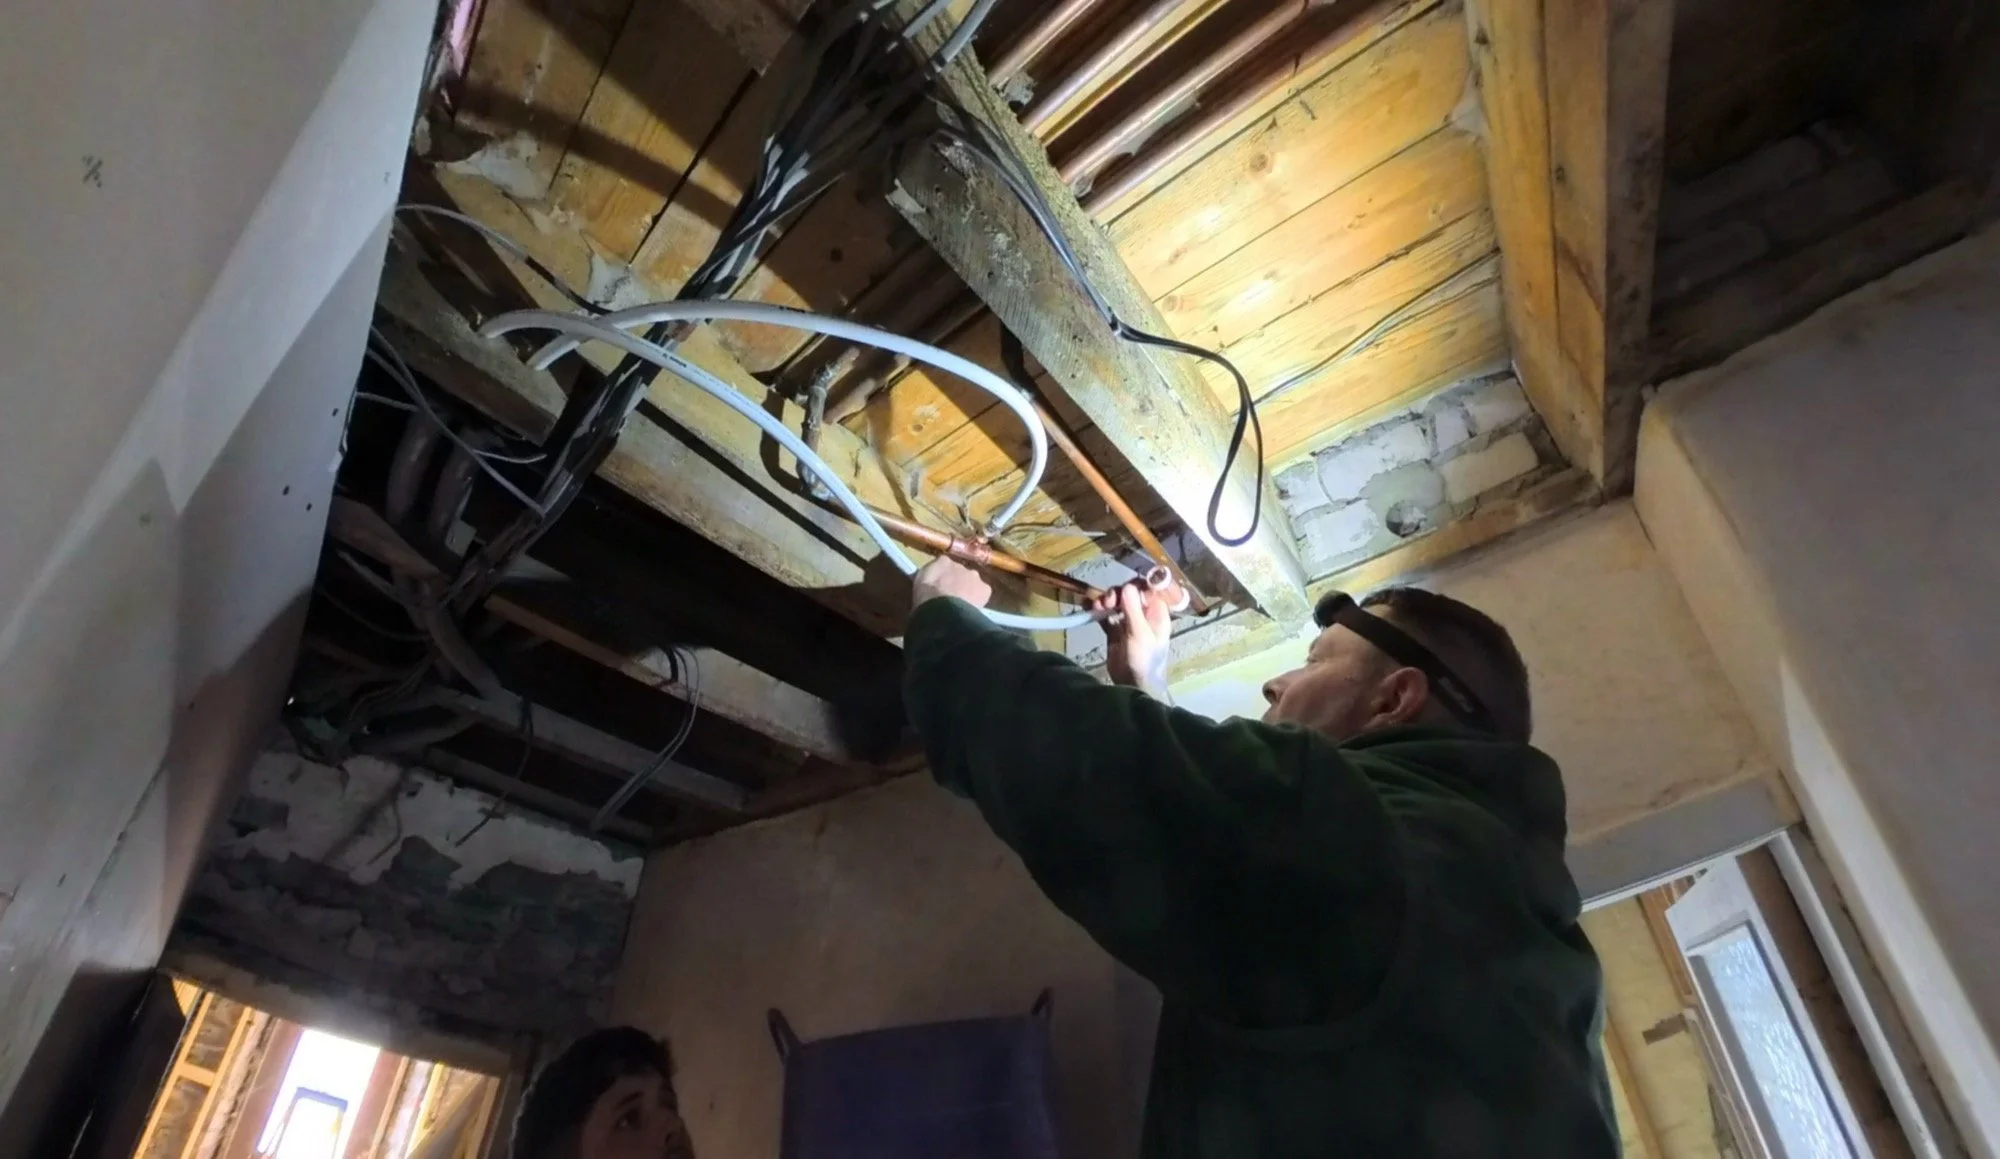
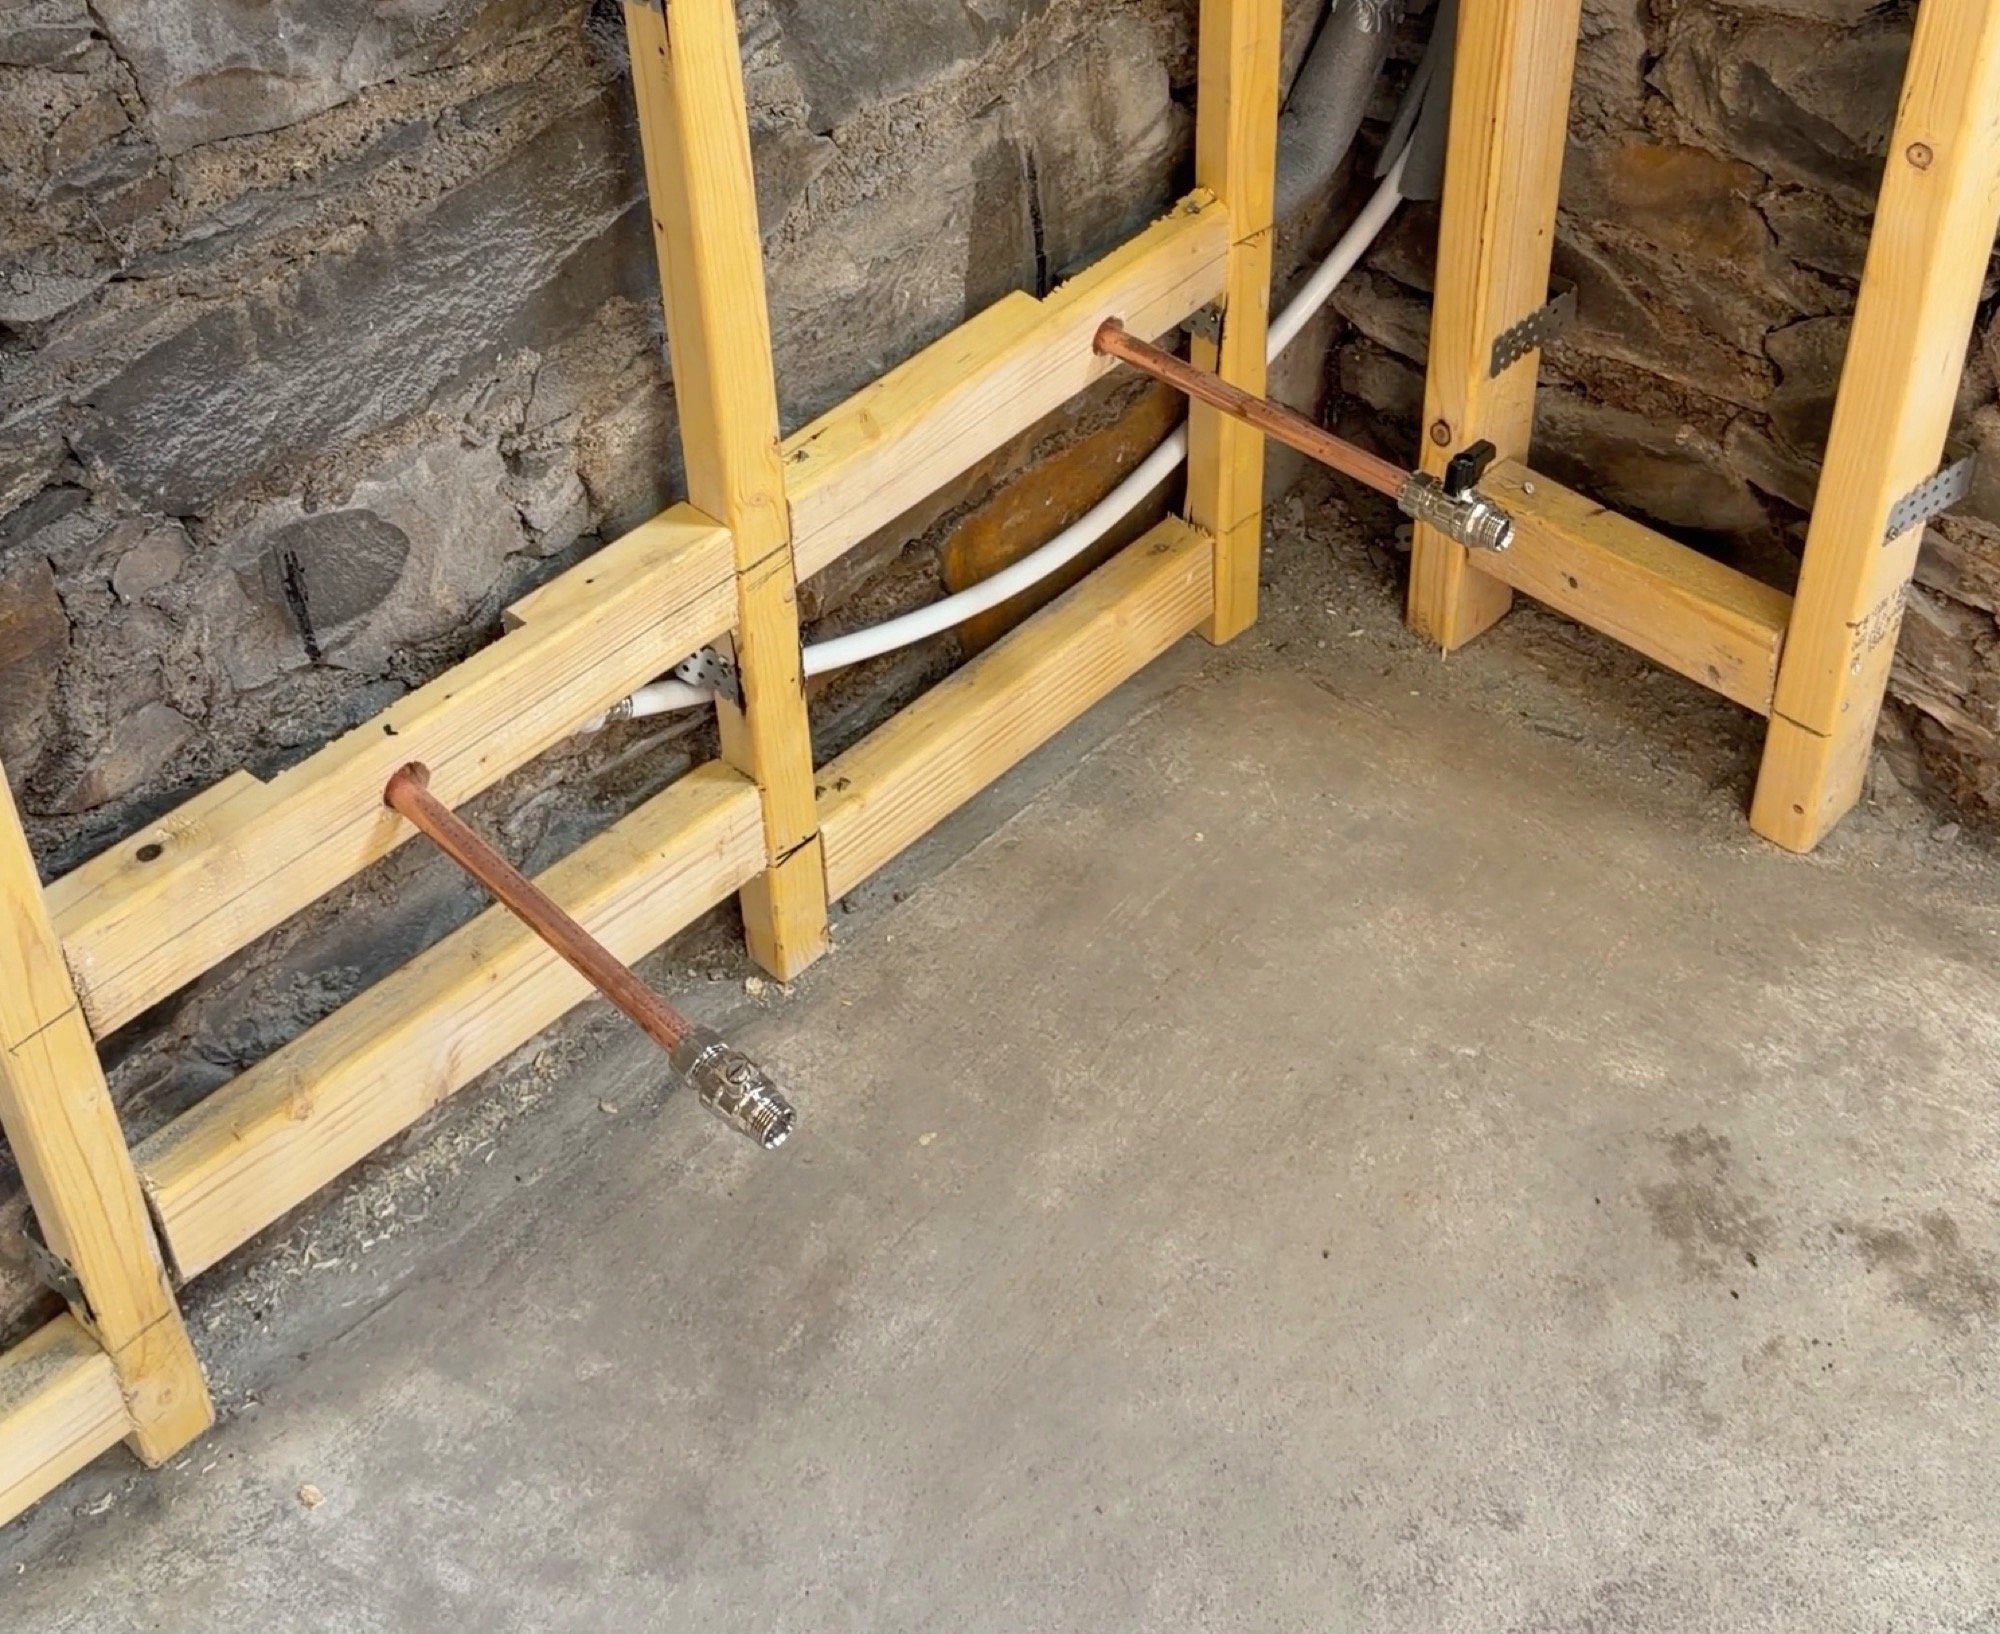
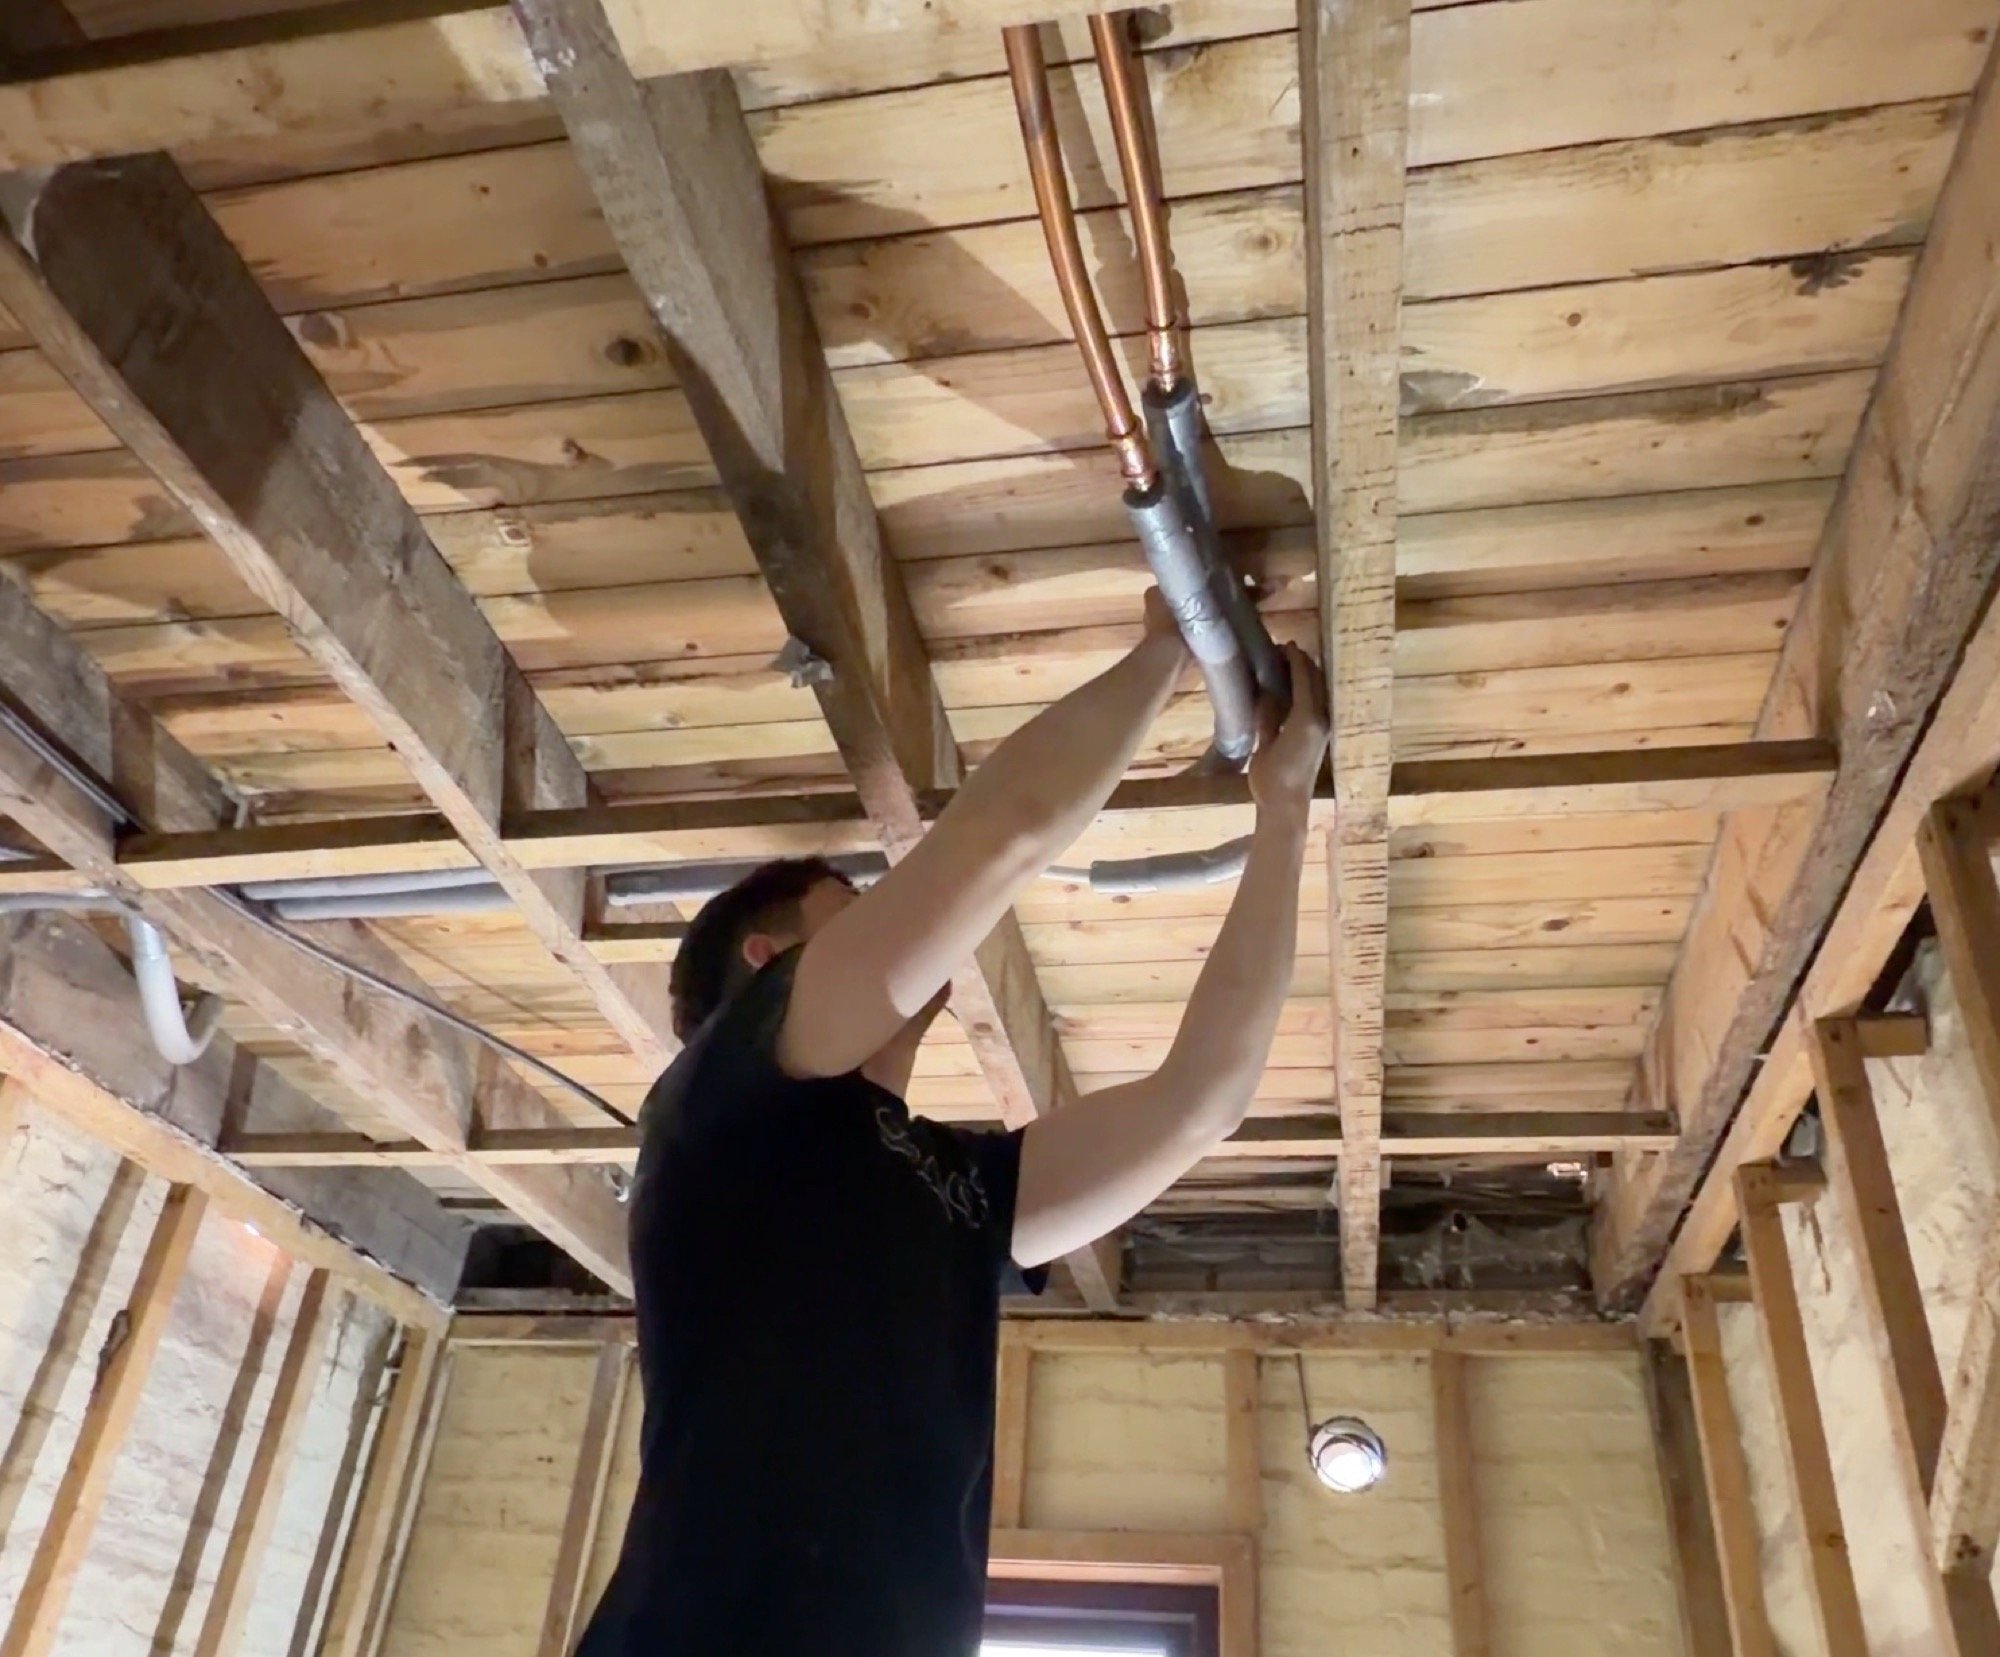
Pausing on the room work here because at this exact point, the Plumbers arrived (Tuesday). They were here to do three things:
Add pipework to install a radiator in the wet dog room that has never existed before
Remove the downstairs shower room's crappy radiator and move the pipework to allow for a 1800mm towel rail next to the shower
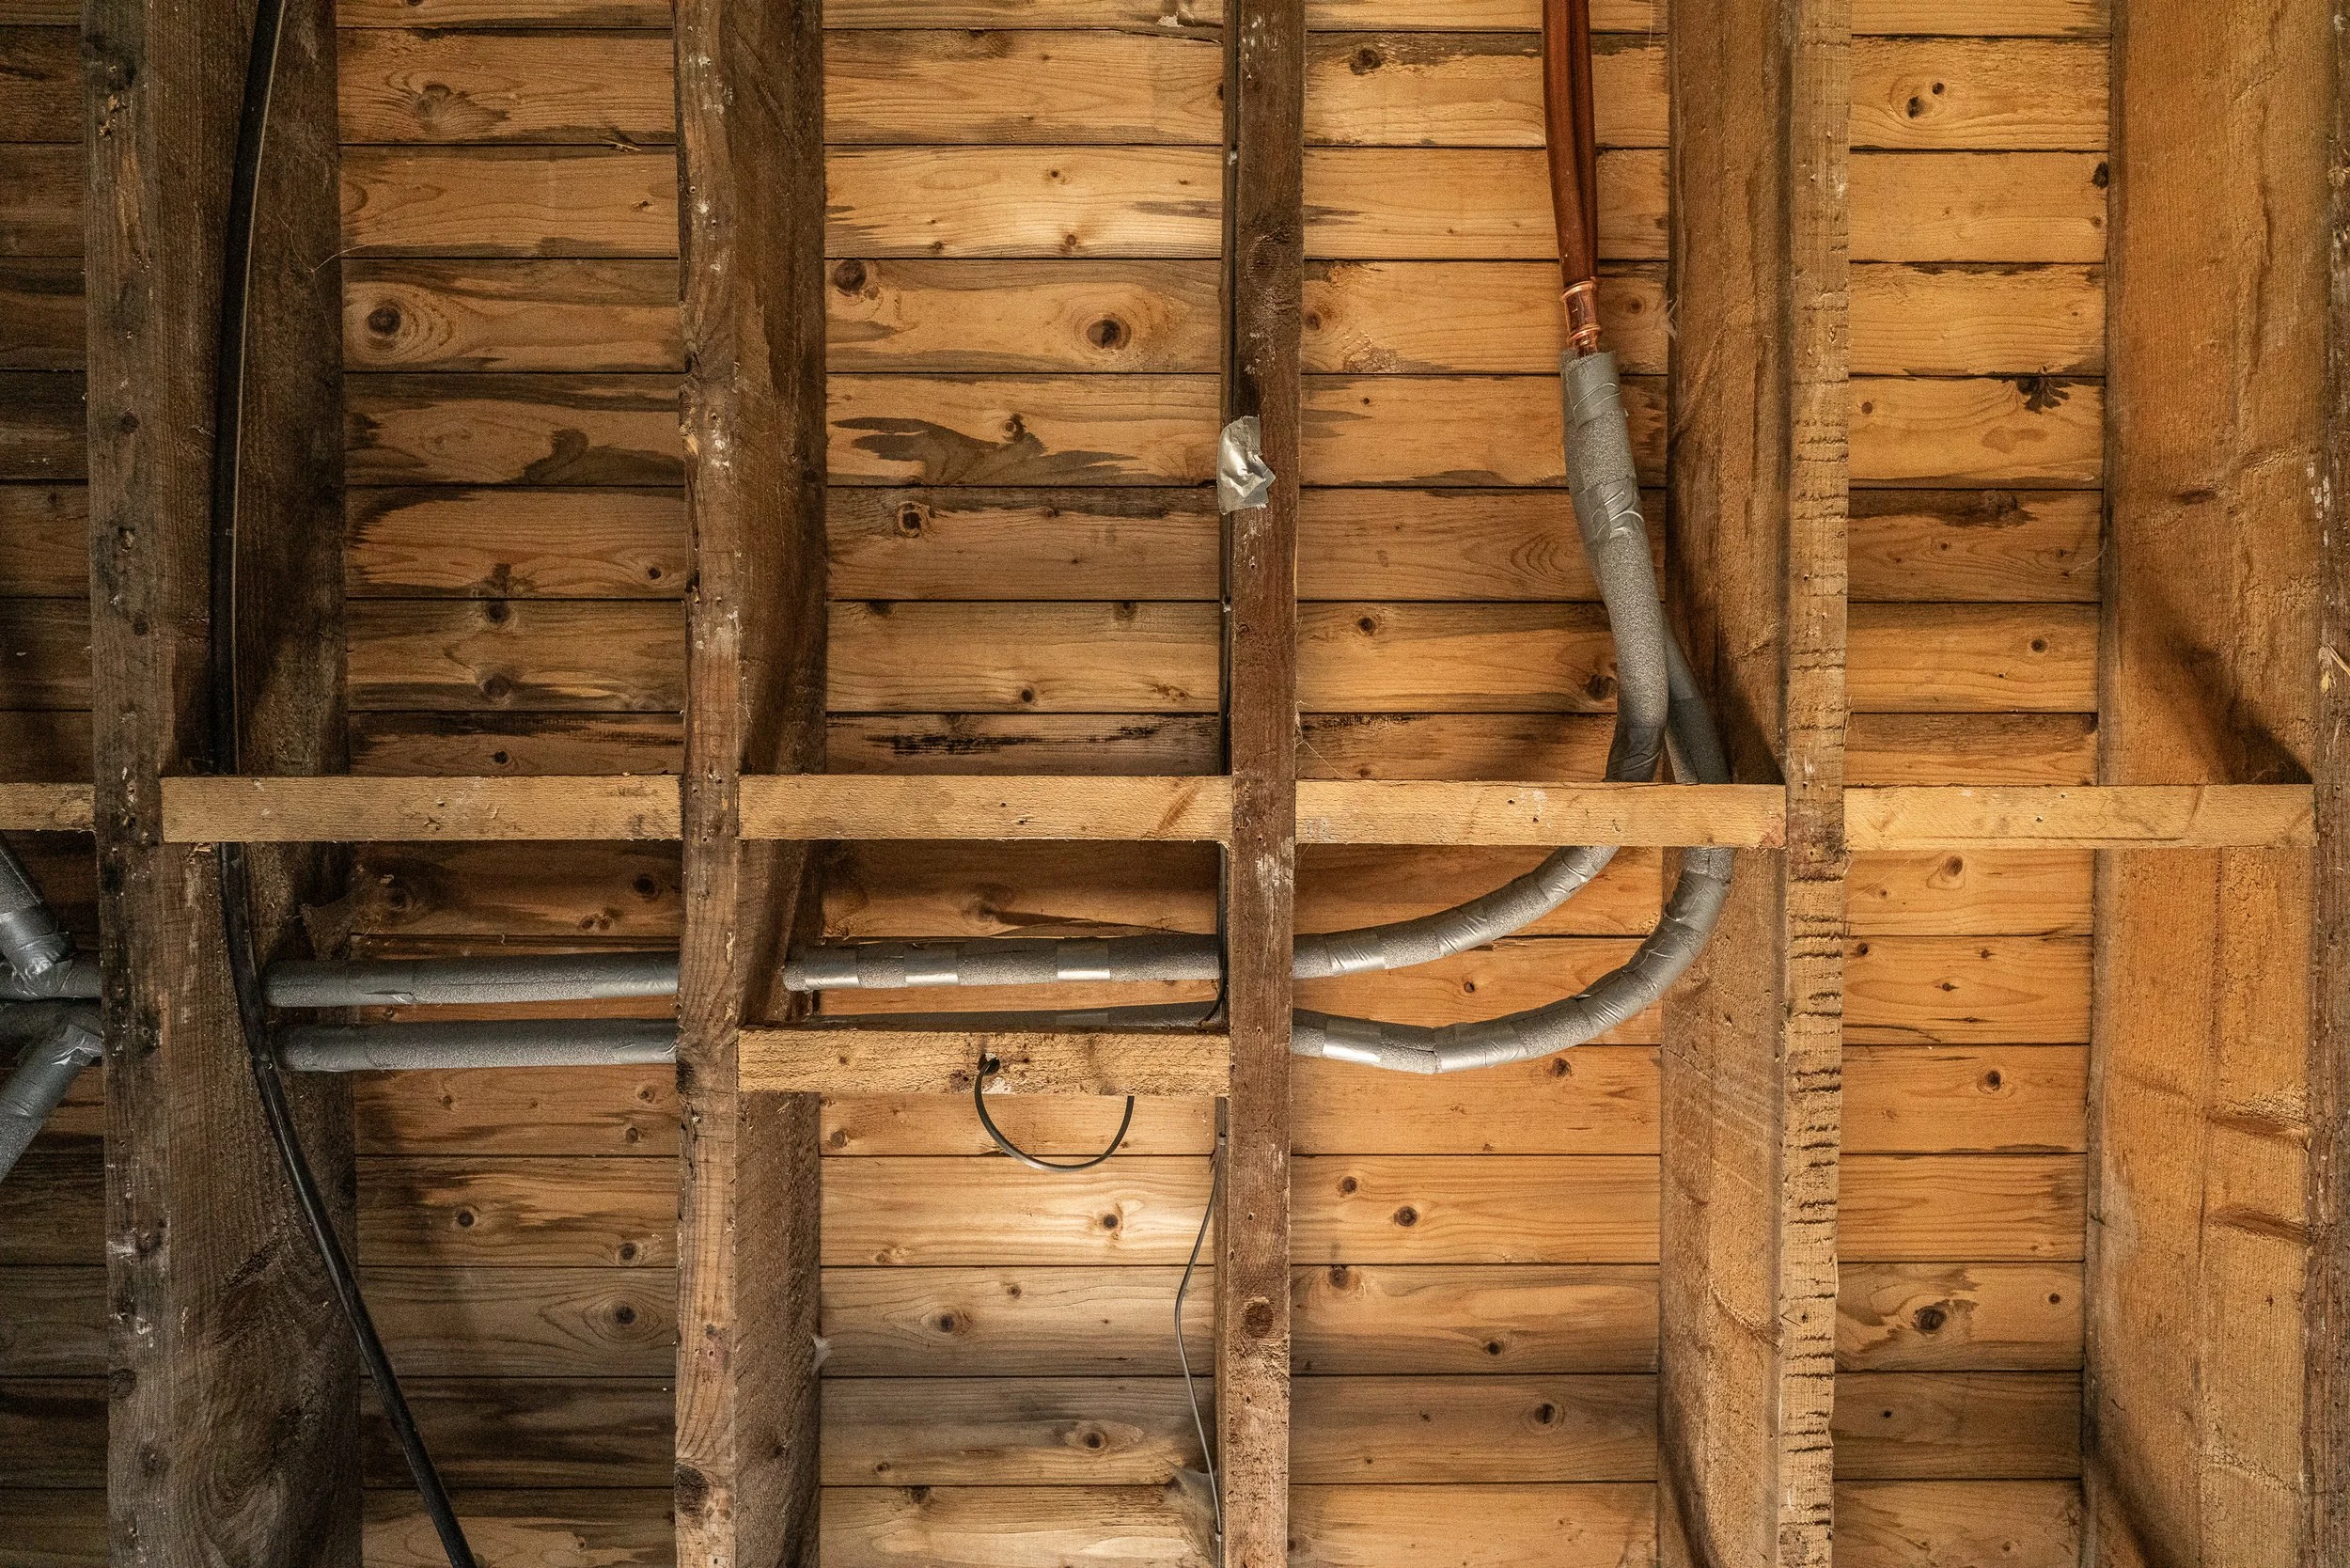
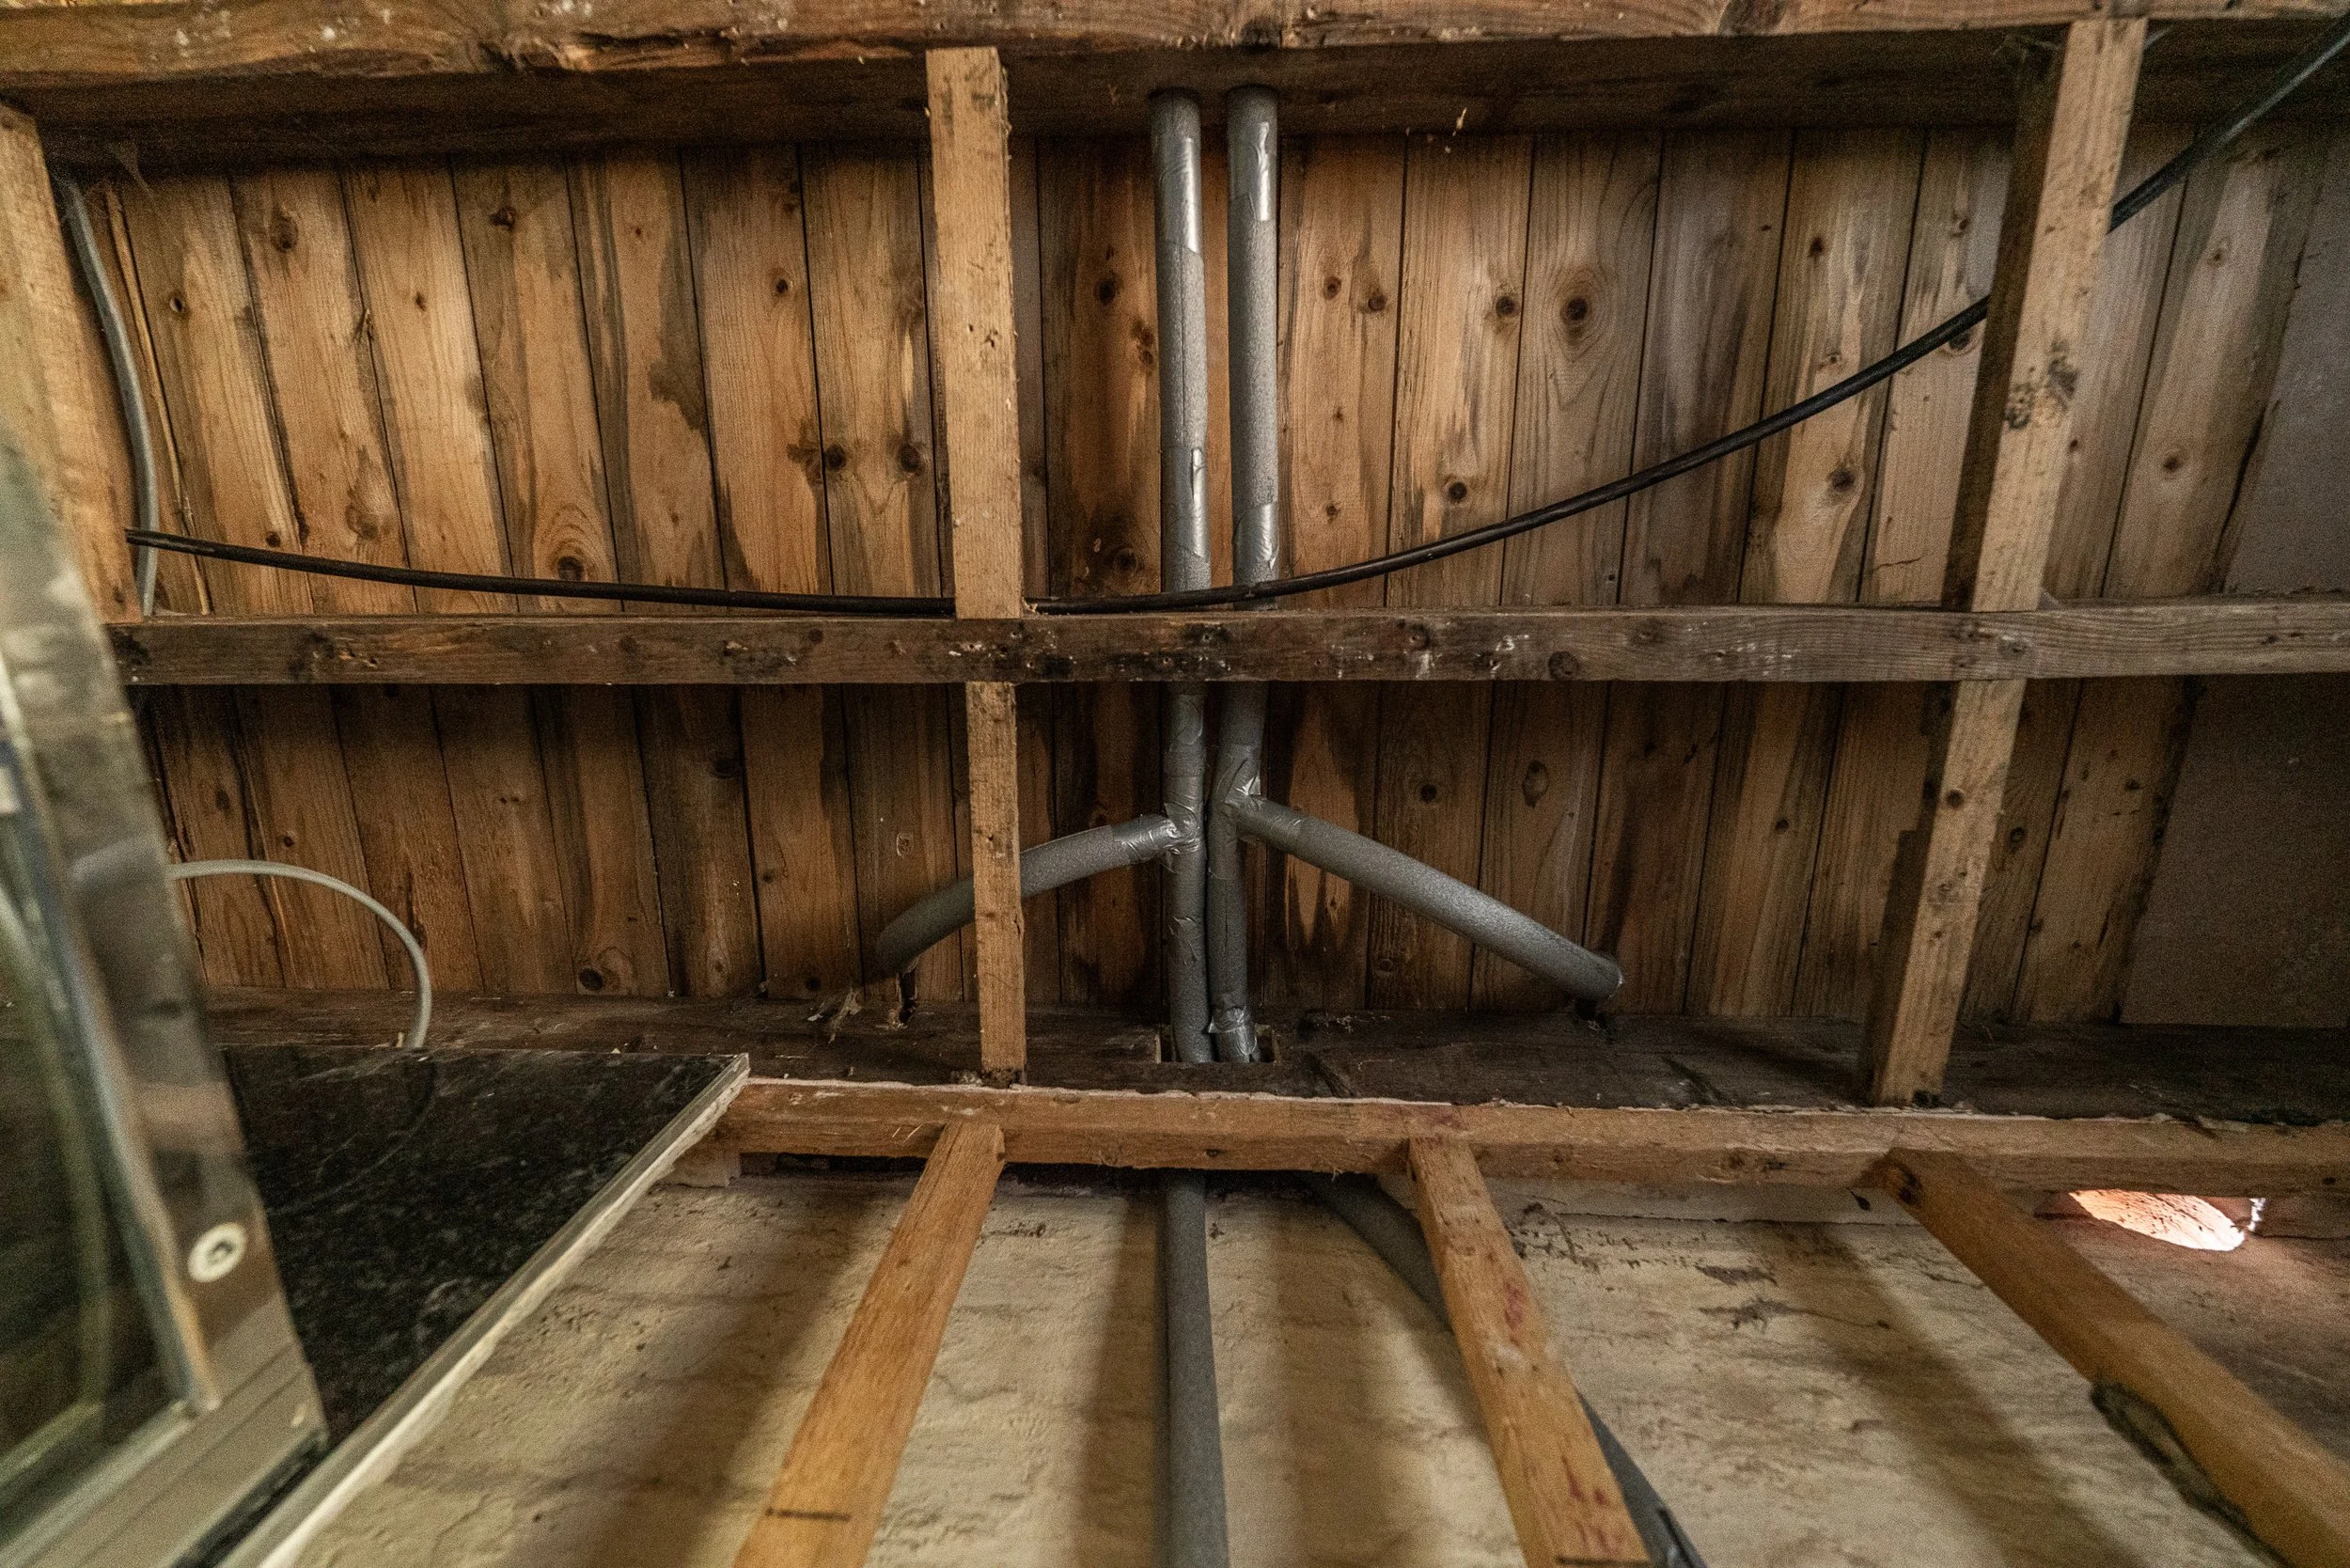
Re-do the connections to the upstairs bathrooms radiators from microbore pipe (awful stuff) and lag everything.
This involved chopping up end-of-life bits, removing redundant bits, creating entirely new bits, and fitting them all around very uneven stone walls. They did it all perfectly, then refilled the central heating system. We’re all set for the wall build-out, and both new radiators are now also on site.

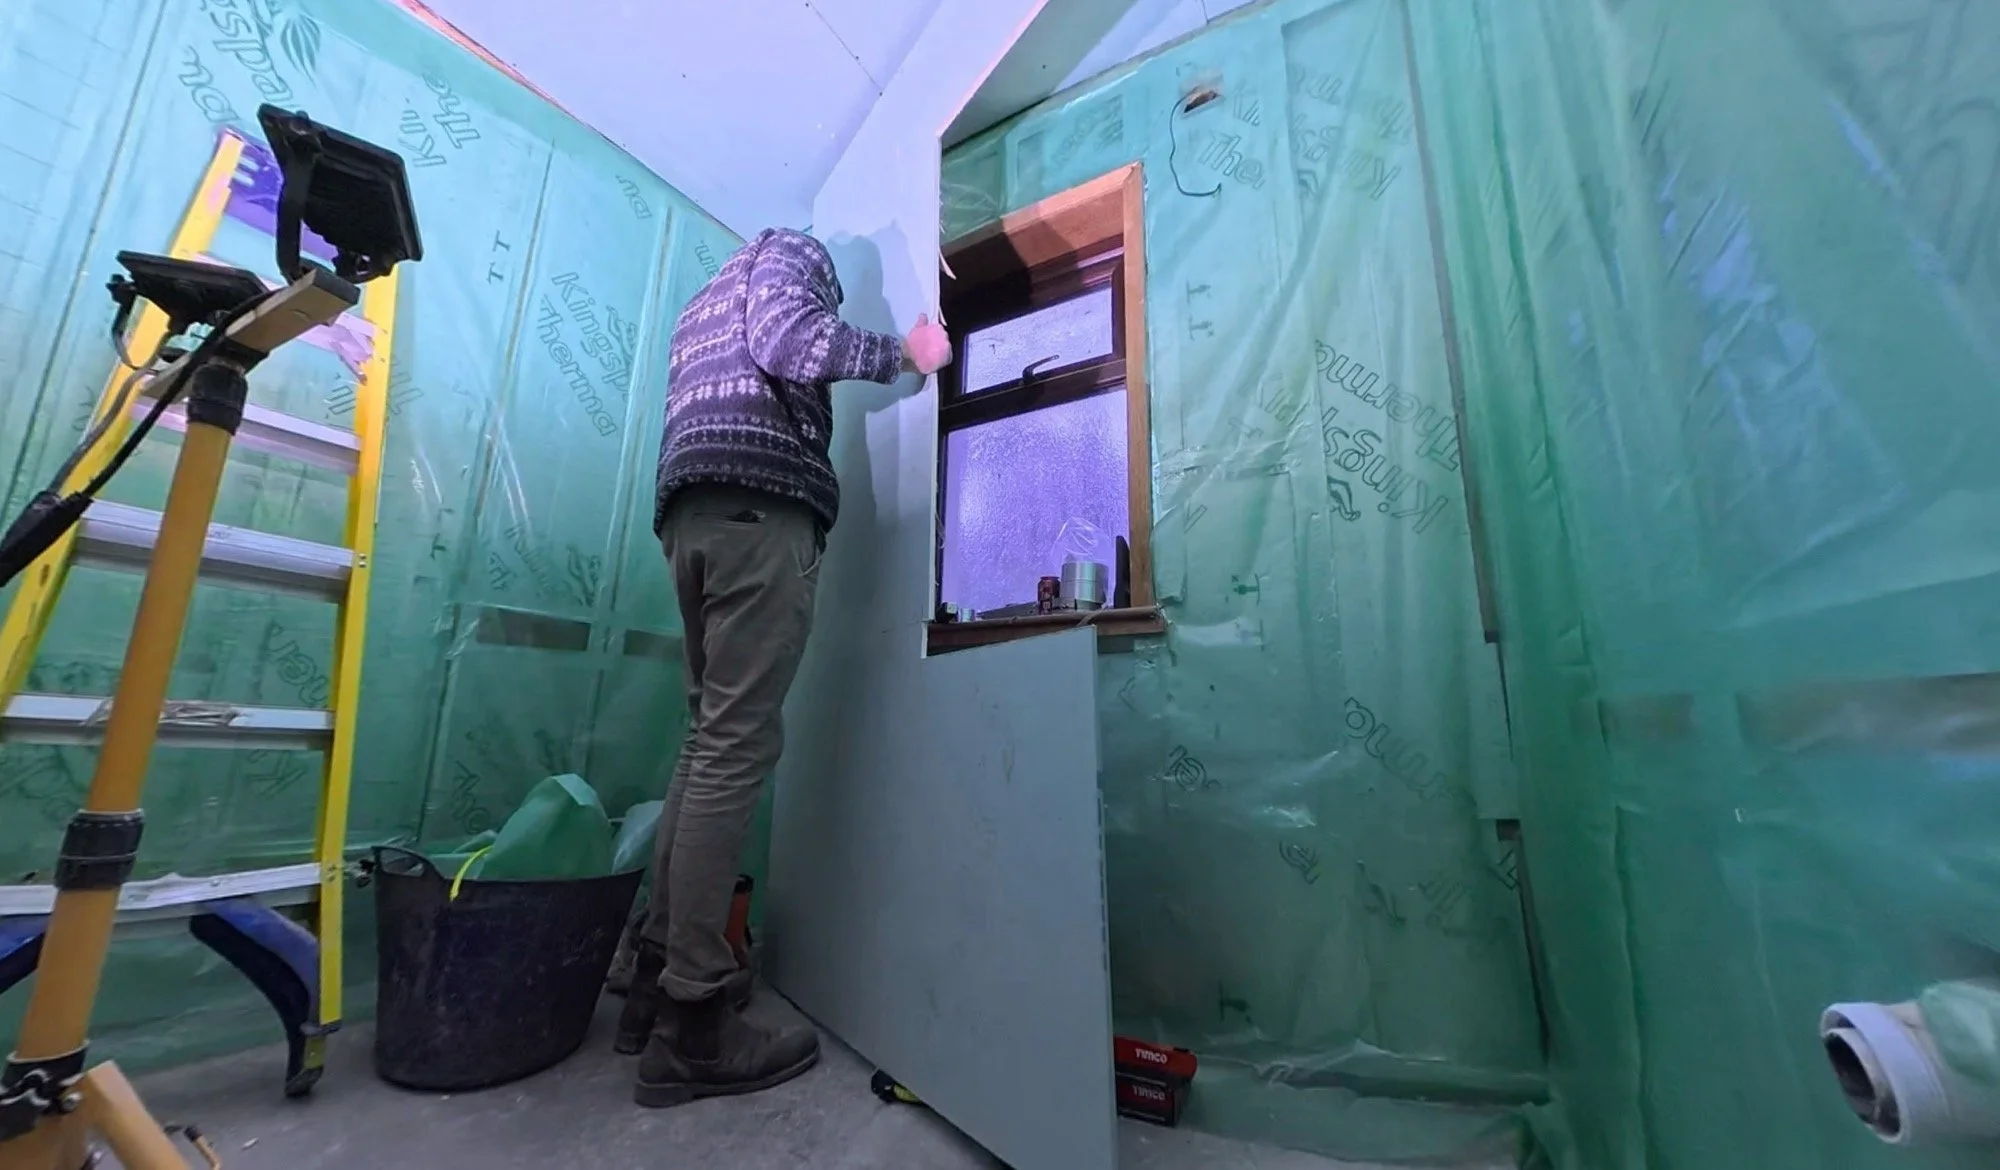
Back into the wet dog room, next up was protecting that insulation (and the ceiling void) from any rogue moisture from the internals with a vapour control layer. The external wall is having insulated plasterboard on, so it too had a VCL, and then the internal wall and external wall also got another internal rain jacket with a moisture control layer too:


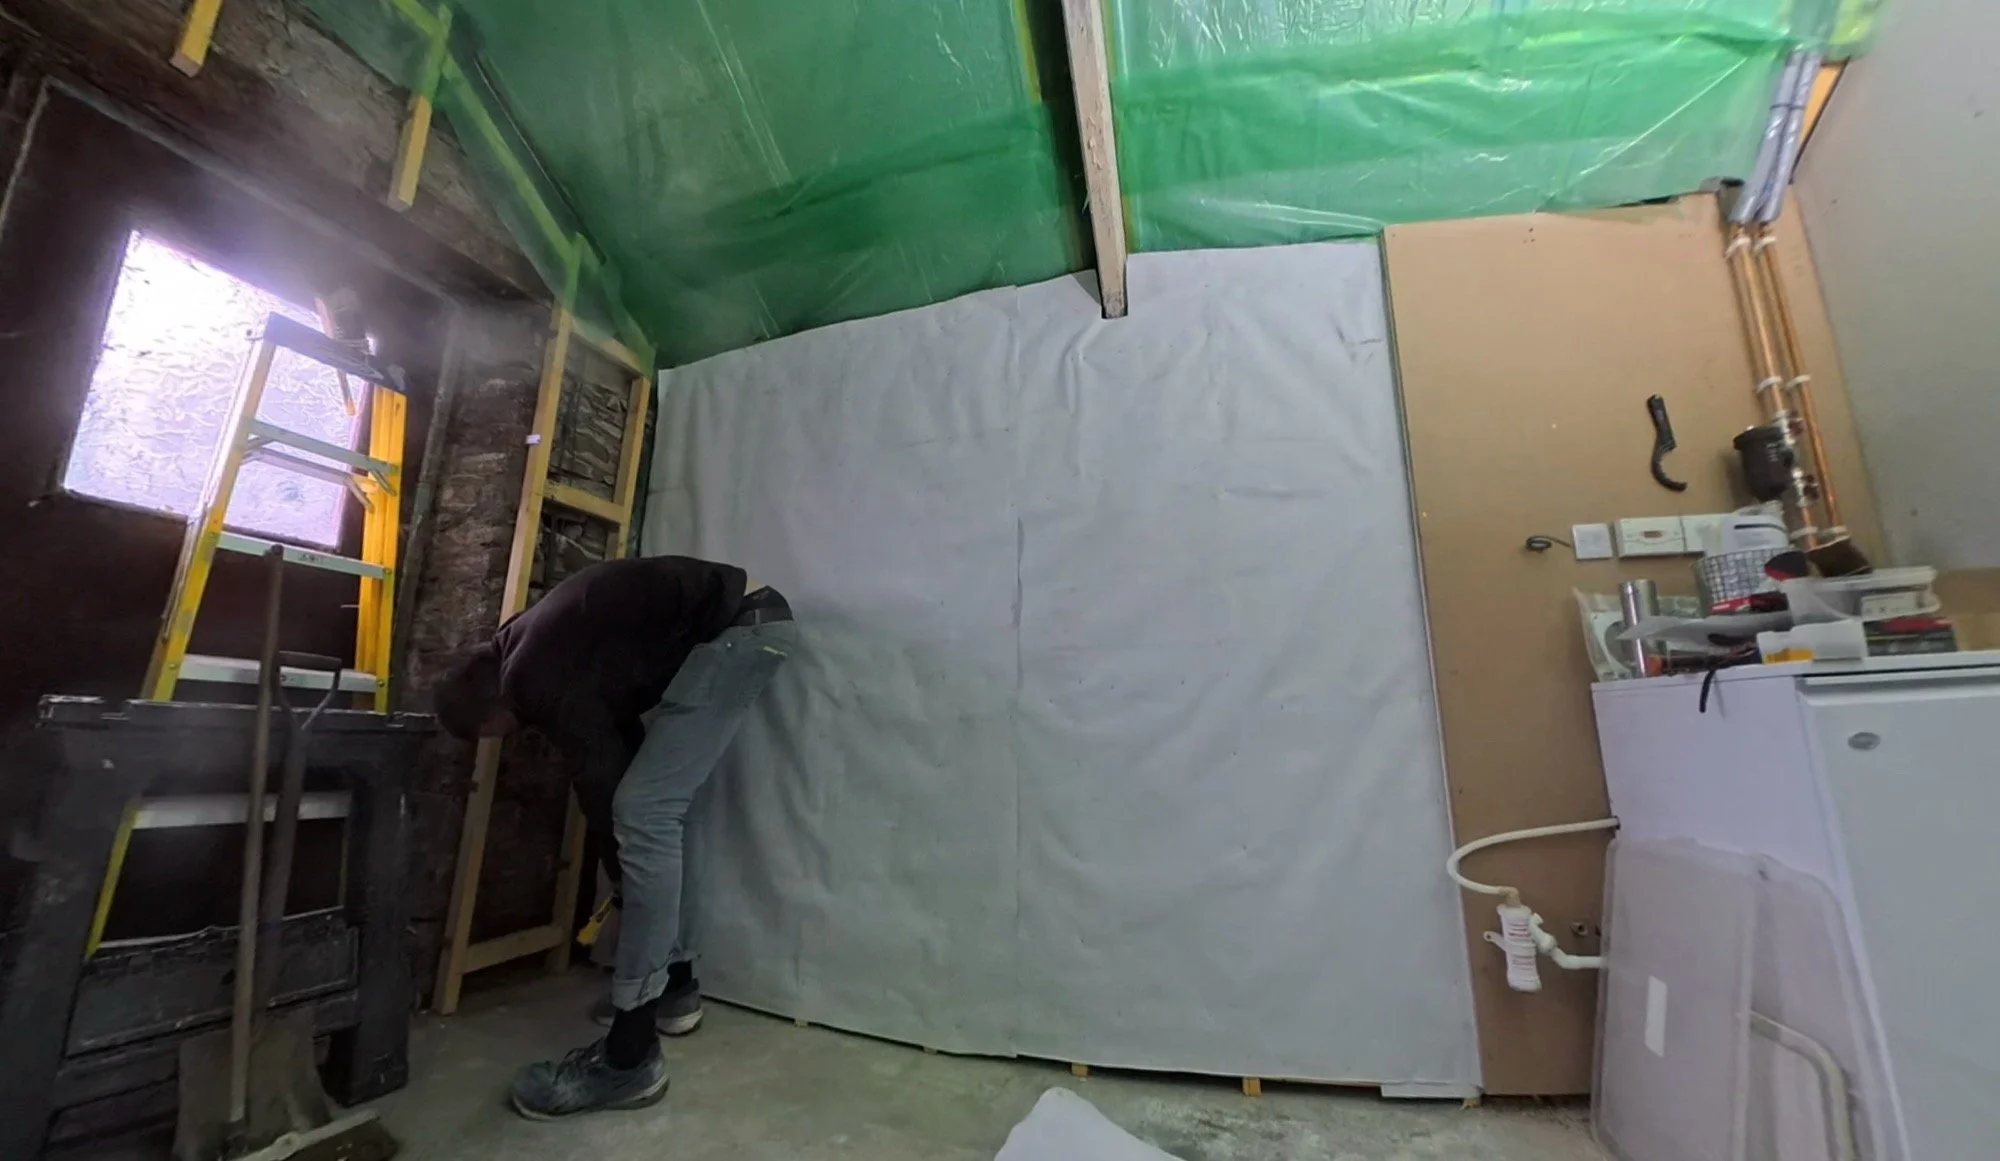
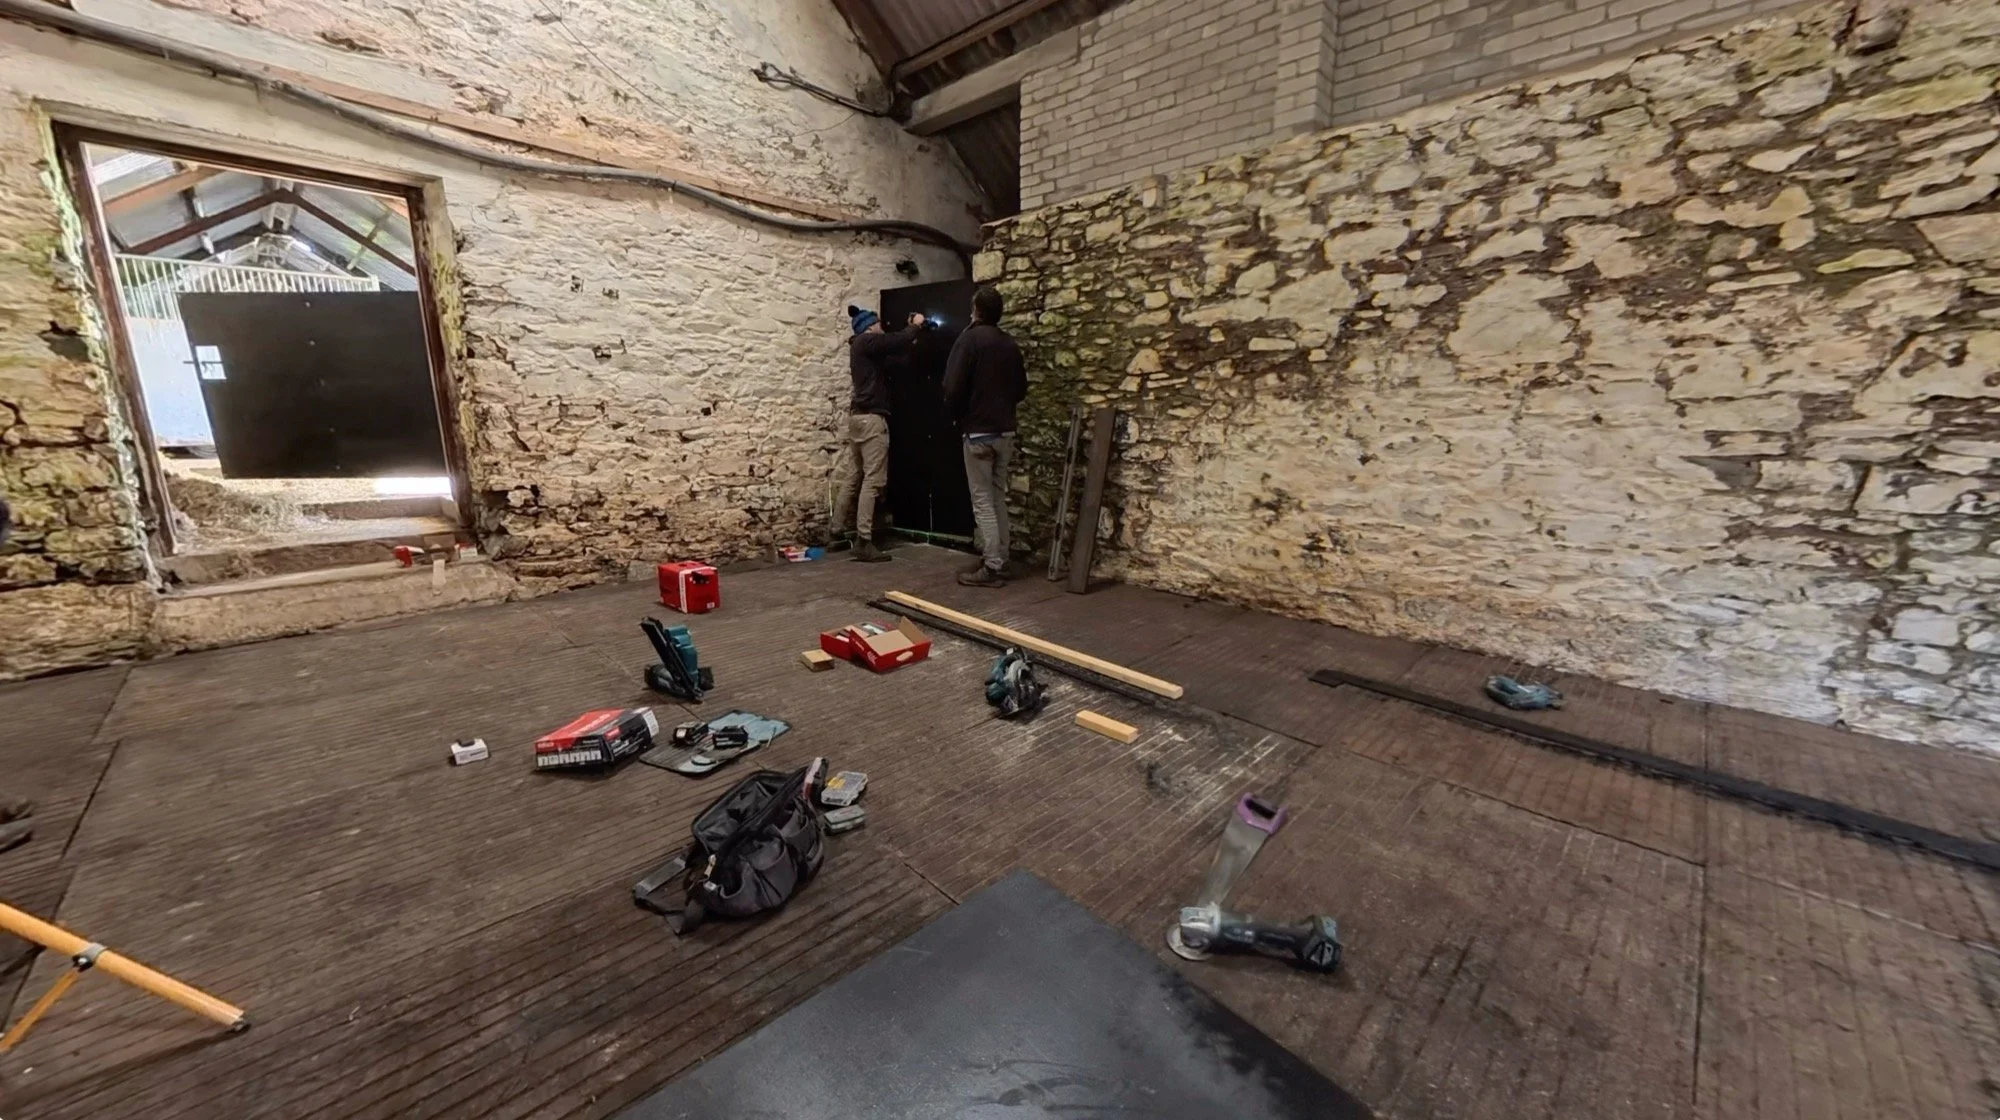
Then Dan had to stop because it was time to stud the last remaining wall - the external door wall.
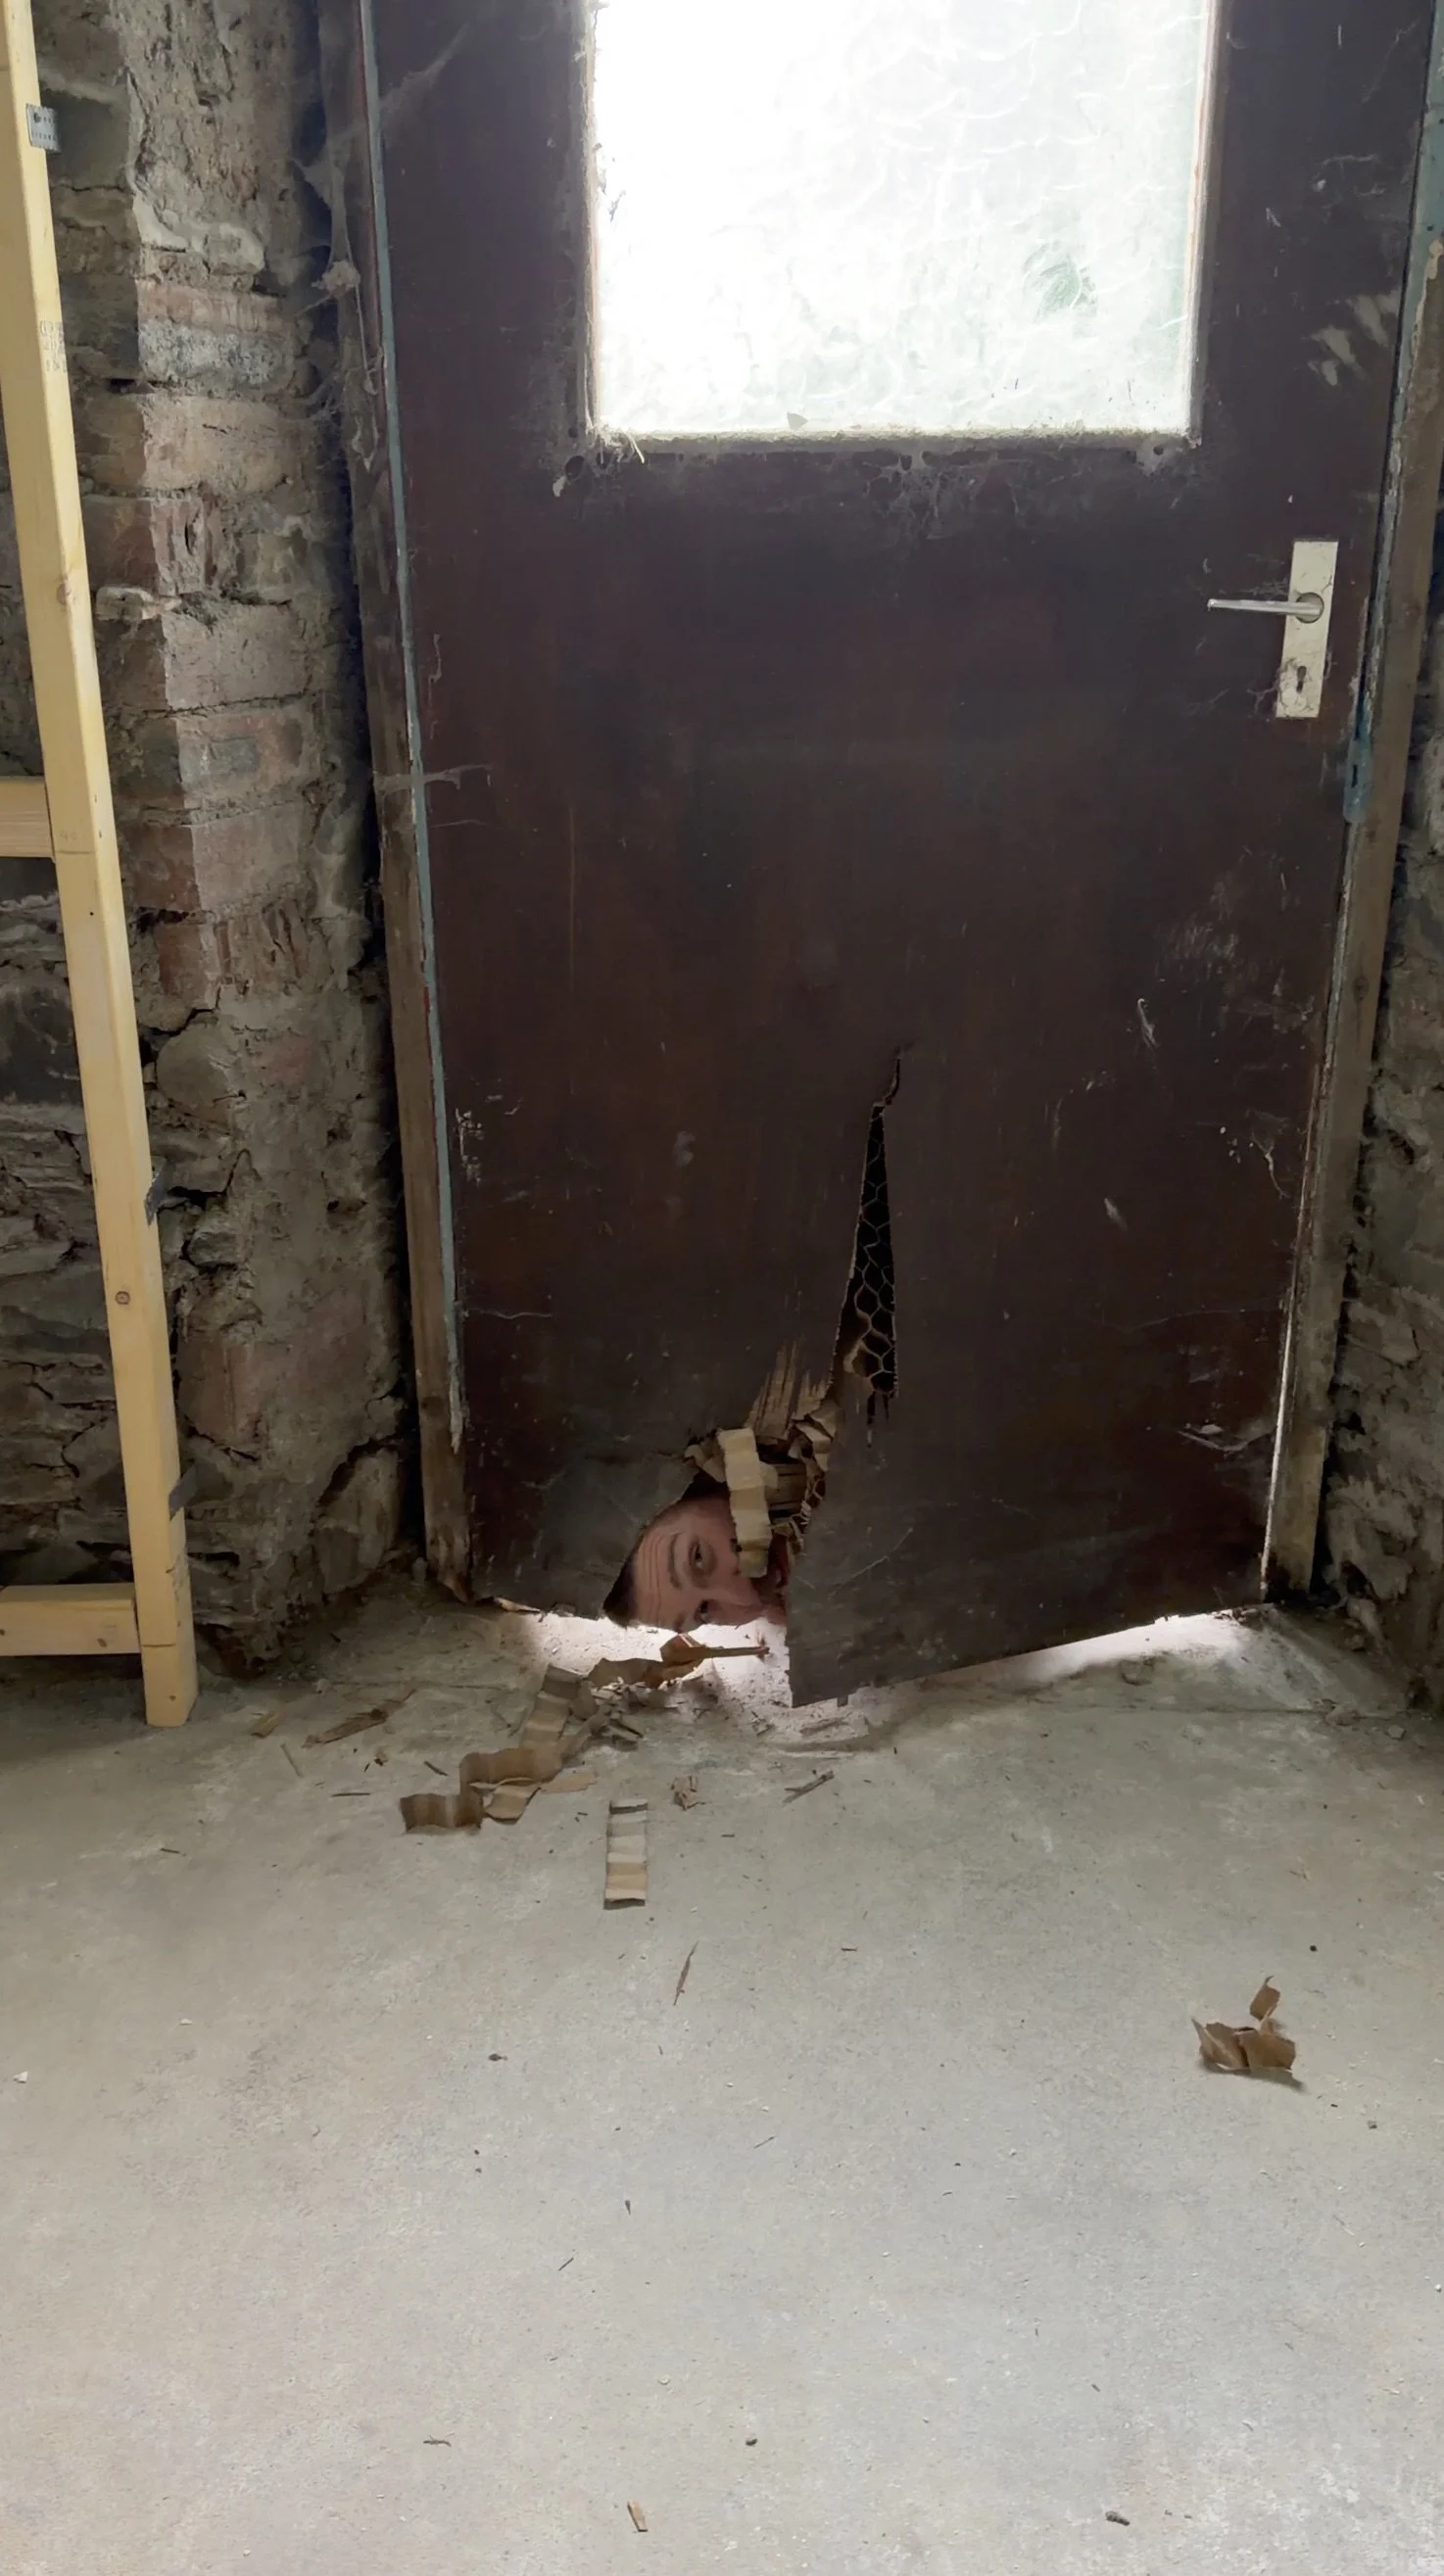
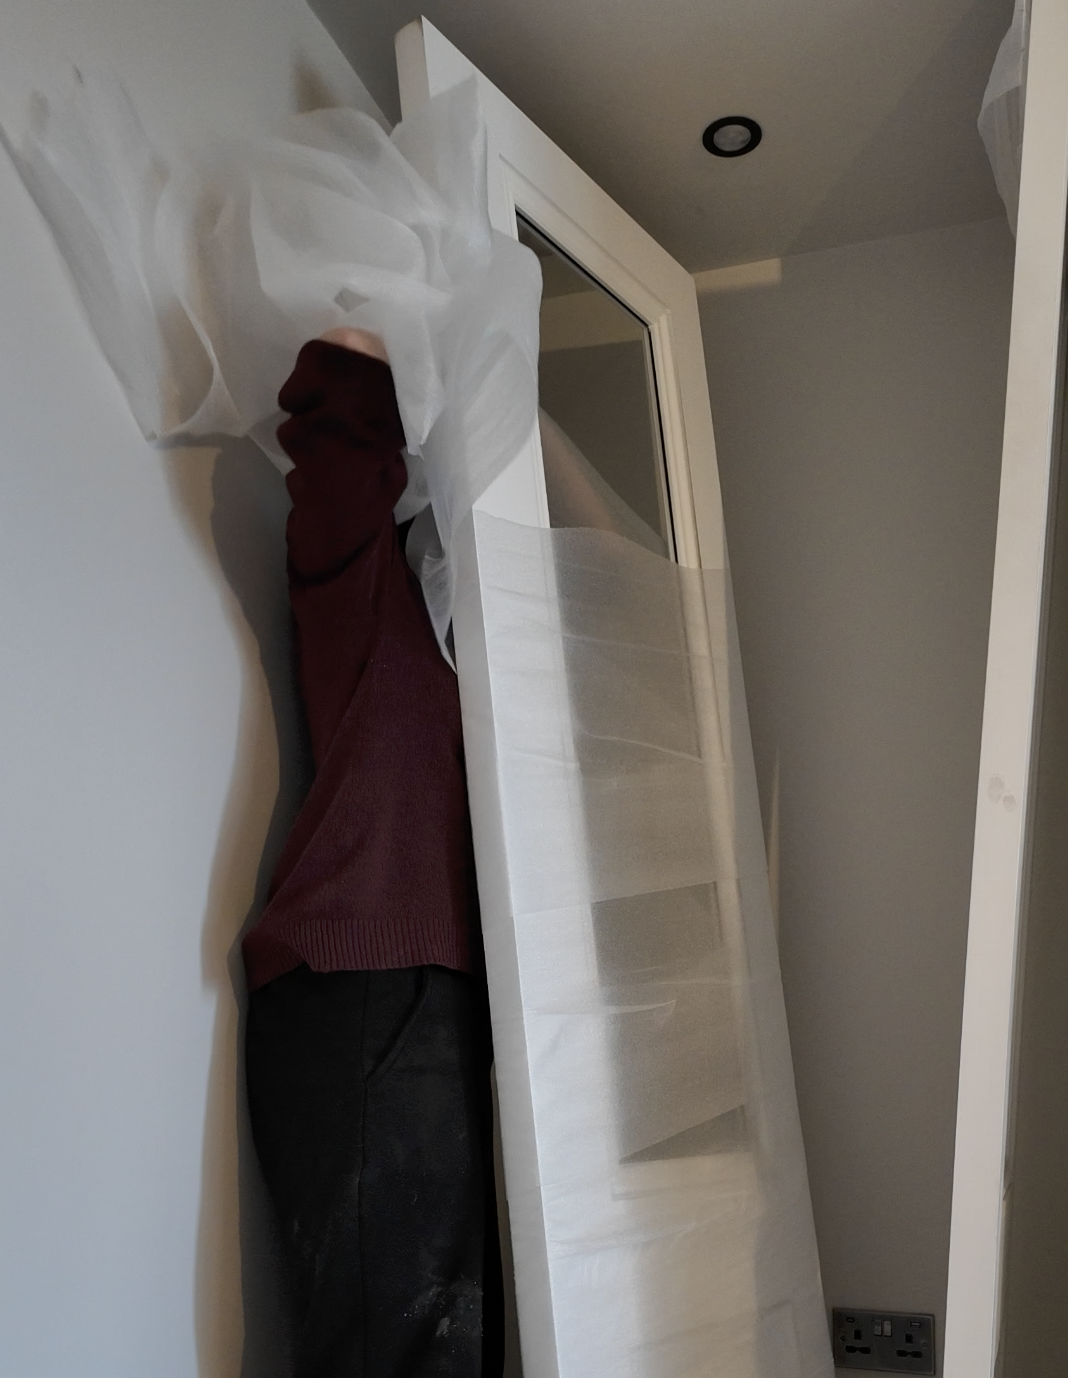
This external door has very rarely been shown because for the last two years, it’s been the least secure element of the entire property. As you can see below, it was end of life, and there’s zero way a Malinois (Ren) could be in the same room as a piece of flimsy cardboard that she could literally just run through.
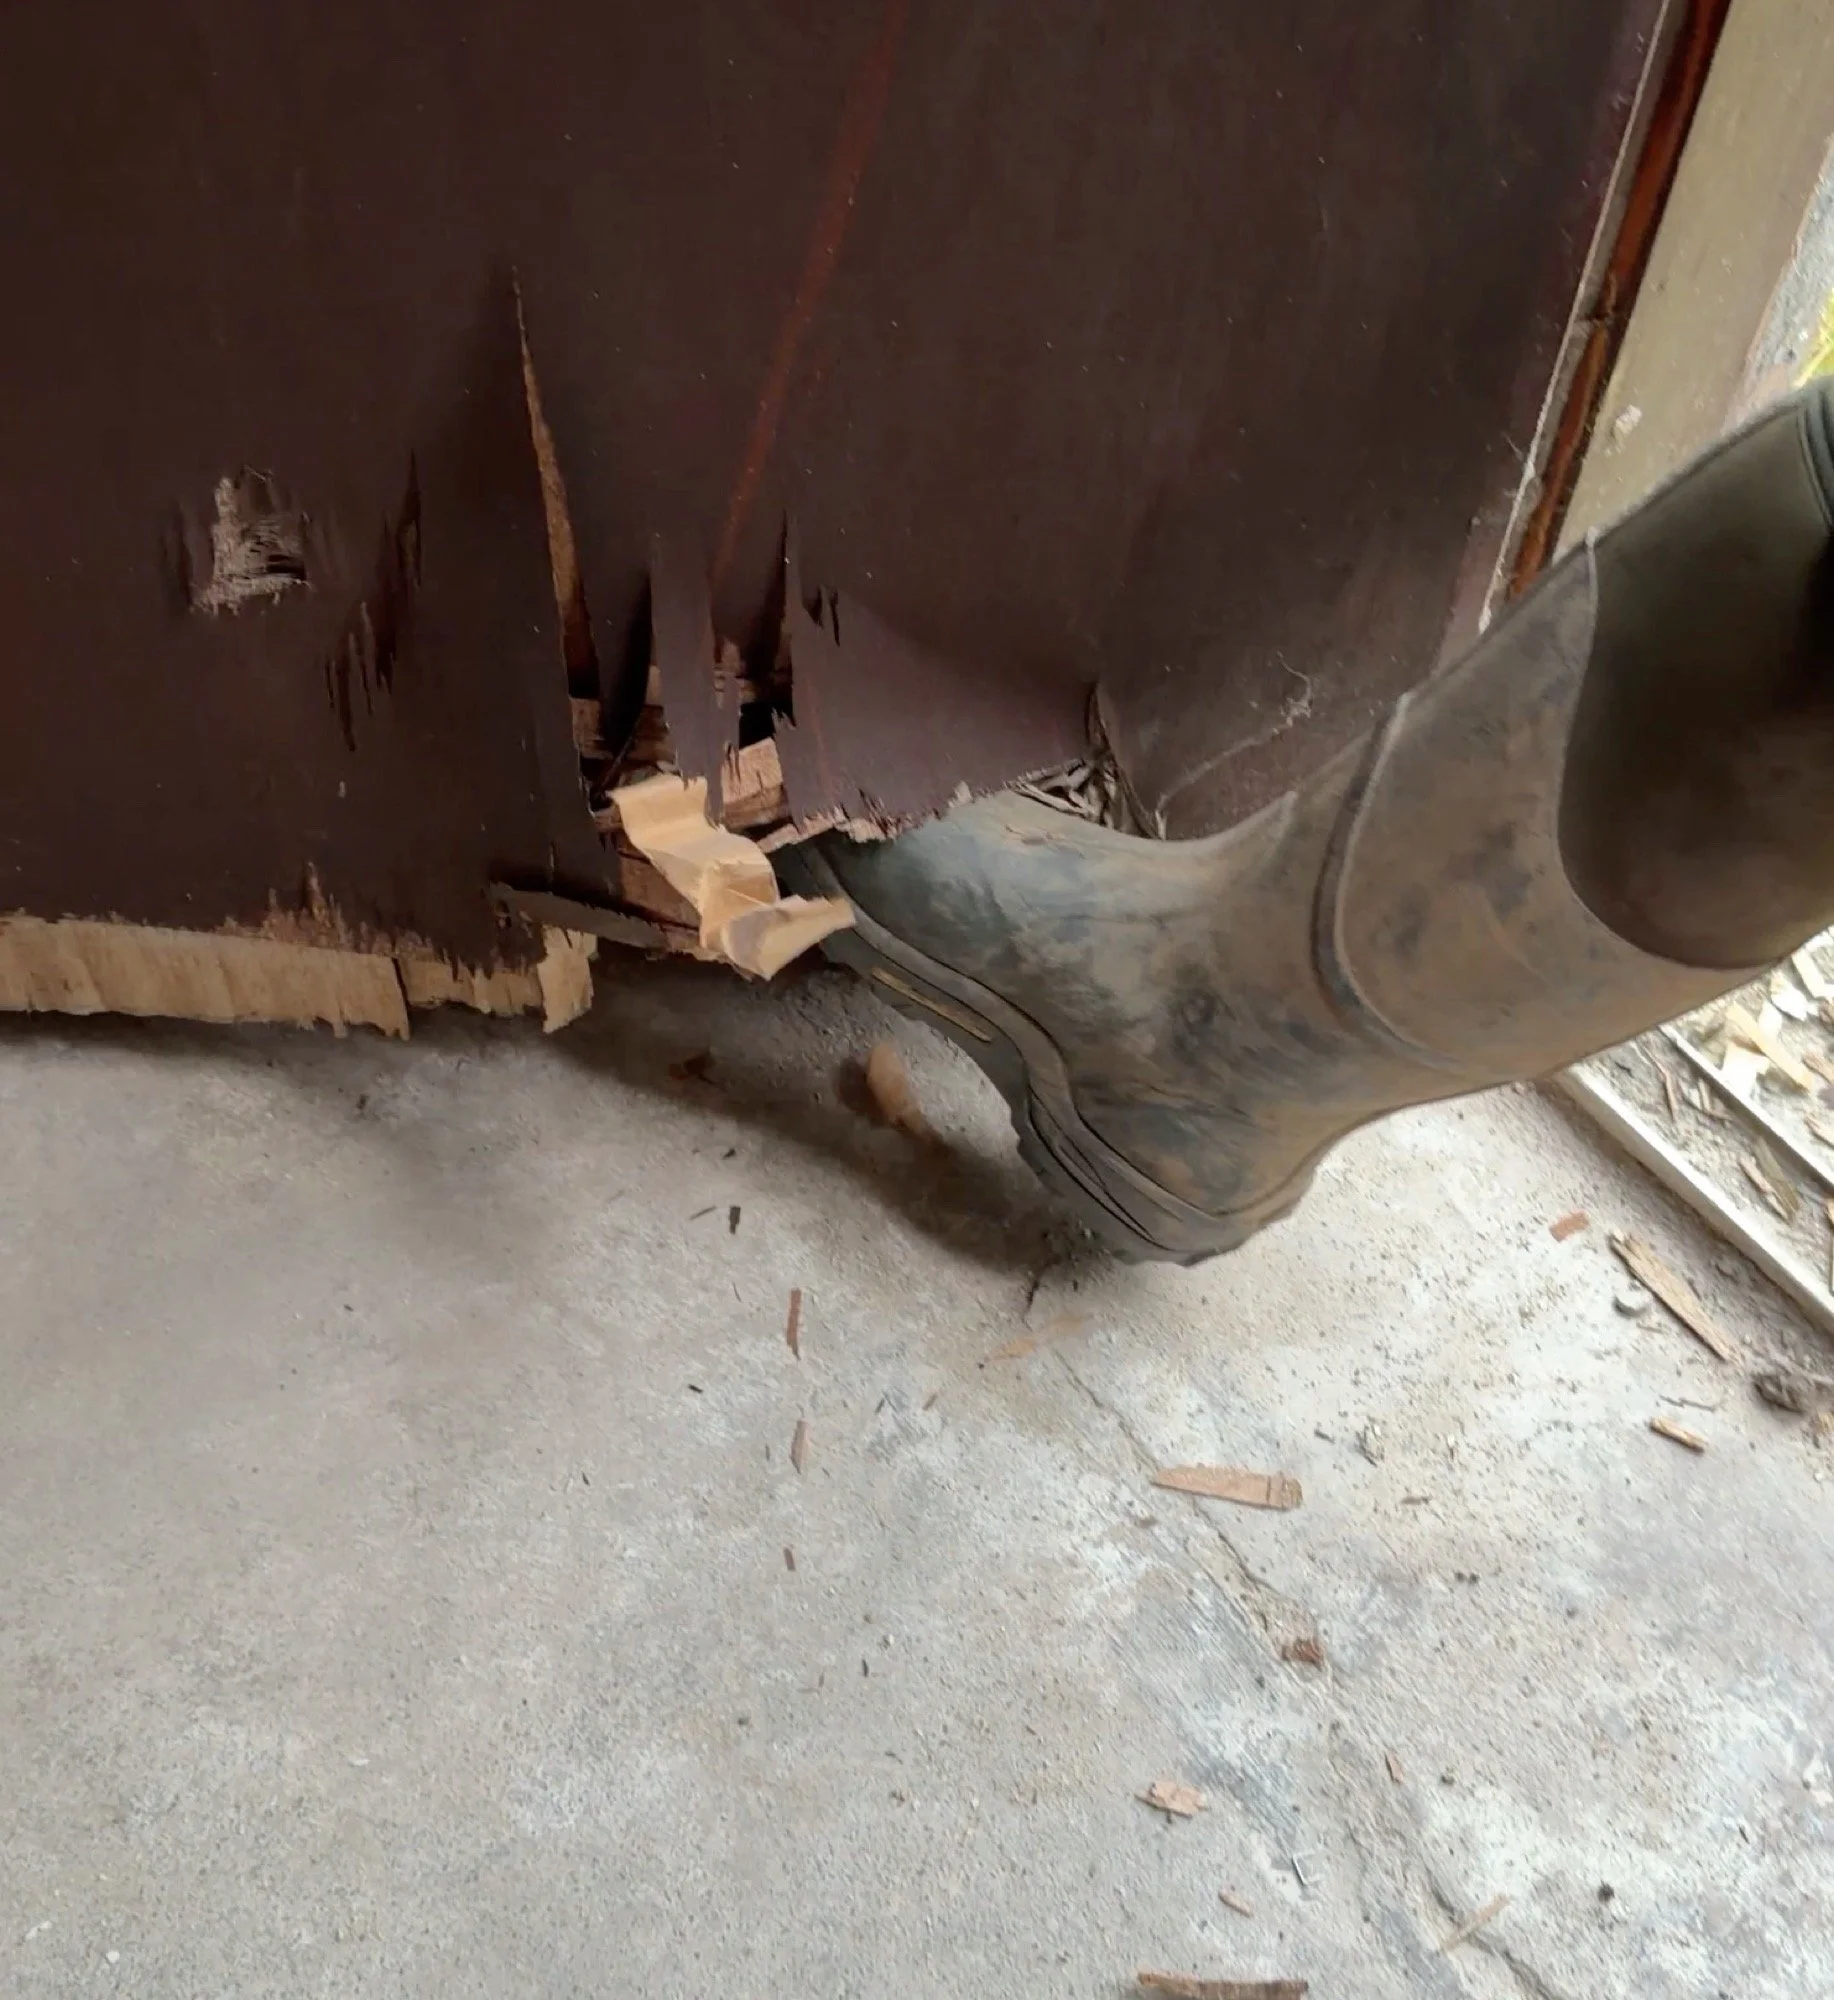
^ a visual of the condition of the old external door…
This door needed to be changed now, because it would have been a big question mark for mortgageability. It is not secure. At all. This is where we need to unpin the bit we pinned from earlier about the flooring and things…
Explaining the decisions:
On the farmhouse, there are 23 windows (most quite large), and 4 external doors, including one which is actually double French doors. As a comparison, the cottage has 13 windows and 2 doors, with 2 windows of comparable size. The most budget-friendly windows & doors for the cottage (we did upgrade from PVC to composite for the doors) cost around £12,500. The cost of putting what we want into the farmhouse will be at least triple that. Brand new doors and windows for the farmhouse are not a 2026 job. They can’t be, we’ll need to save for a fair while!
The windows and doors here (except this door) didn’t need to be changed for finance, so they were put further down the list, even though every room will be disturbed again when they all do get changed. We knew that – we know that. That’s not so much of an issue elsewhere, but this specific external door is problematic, especially when considering fairly spendy floor and wall coverings like the ones we all picked together last week.
We ummed and ahhed about purchasing just one brand new external door for here, but we have other pressures which mean this can’t wait until a door on order arrives, and we also want to get all 4 doors at the same time. The French doors on the same elevation are white PVC. We have a second-hand (possibly third-hand?!) white PVC door sat in a shed (the cottage’s old back door), which is perfectly functional and locks well. Given all the things happening right now (some you know, most you don’t), we opted to just fit the door we have.
Even though it’s white PVC.
^ For everyone who knows me and my bizarre love of nice doors, you’ll know this cuts me deep.
Circling back to this specific door opening, the old door is 110mm taller than the door we have to hand, but otherwise the same dimensions. This elevation gets absolutely battered by the weather but the top of the door opening isn’t shaped particularly well to allow for a shorter door to remain fully protected without a 115mm slab of white PVC and some very irregular mastic to try and protect it all with hopes and prayers. Advice we’ve received from pros who know the property was to not attempt to fill a gap above the door; instead, we should lift the door and fill/mortar over that instead for now. So that’s what we did.
This will be incredibly controversial, but frankly, we do not care (sorry!). All the elements considered equally, it’s the best of a sticky spot and will tide us over perfectly well until the new doors in 2027 (maybe, could be 2028).
That year gap means that the floor line will change then too, as the new door will be set back by 50mm ish, maybe more. If we go with spendy flooring now, there’s no way of fixing that bit neatly in the future without ripping the floor and the spendy wall coverings off too, which is silly. I believe the floor will have joins in it anyway (only comes in 2m wide rolls), so we may as well just have an offcut ready to go and re-weld this bit in the future? Dan disagrees, and thinks we should just do a temporary standard room config for the short term of bog-standard plaster, skirting and probably vinyl on the floor given soggy dogs in here and then do it all again when the doors get fitted.
We’re currently not on the same page, the jury is well and truly out. Decision TBC.
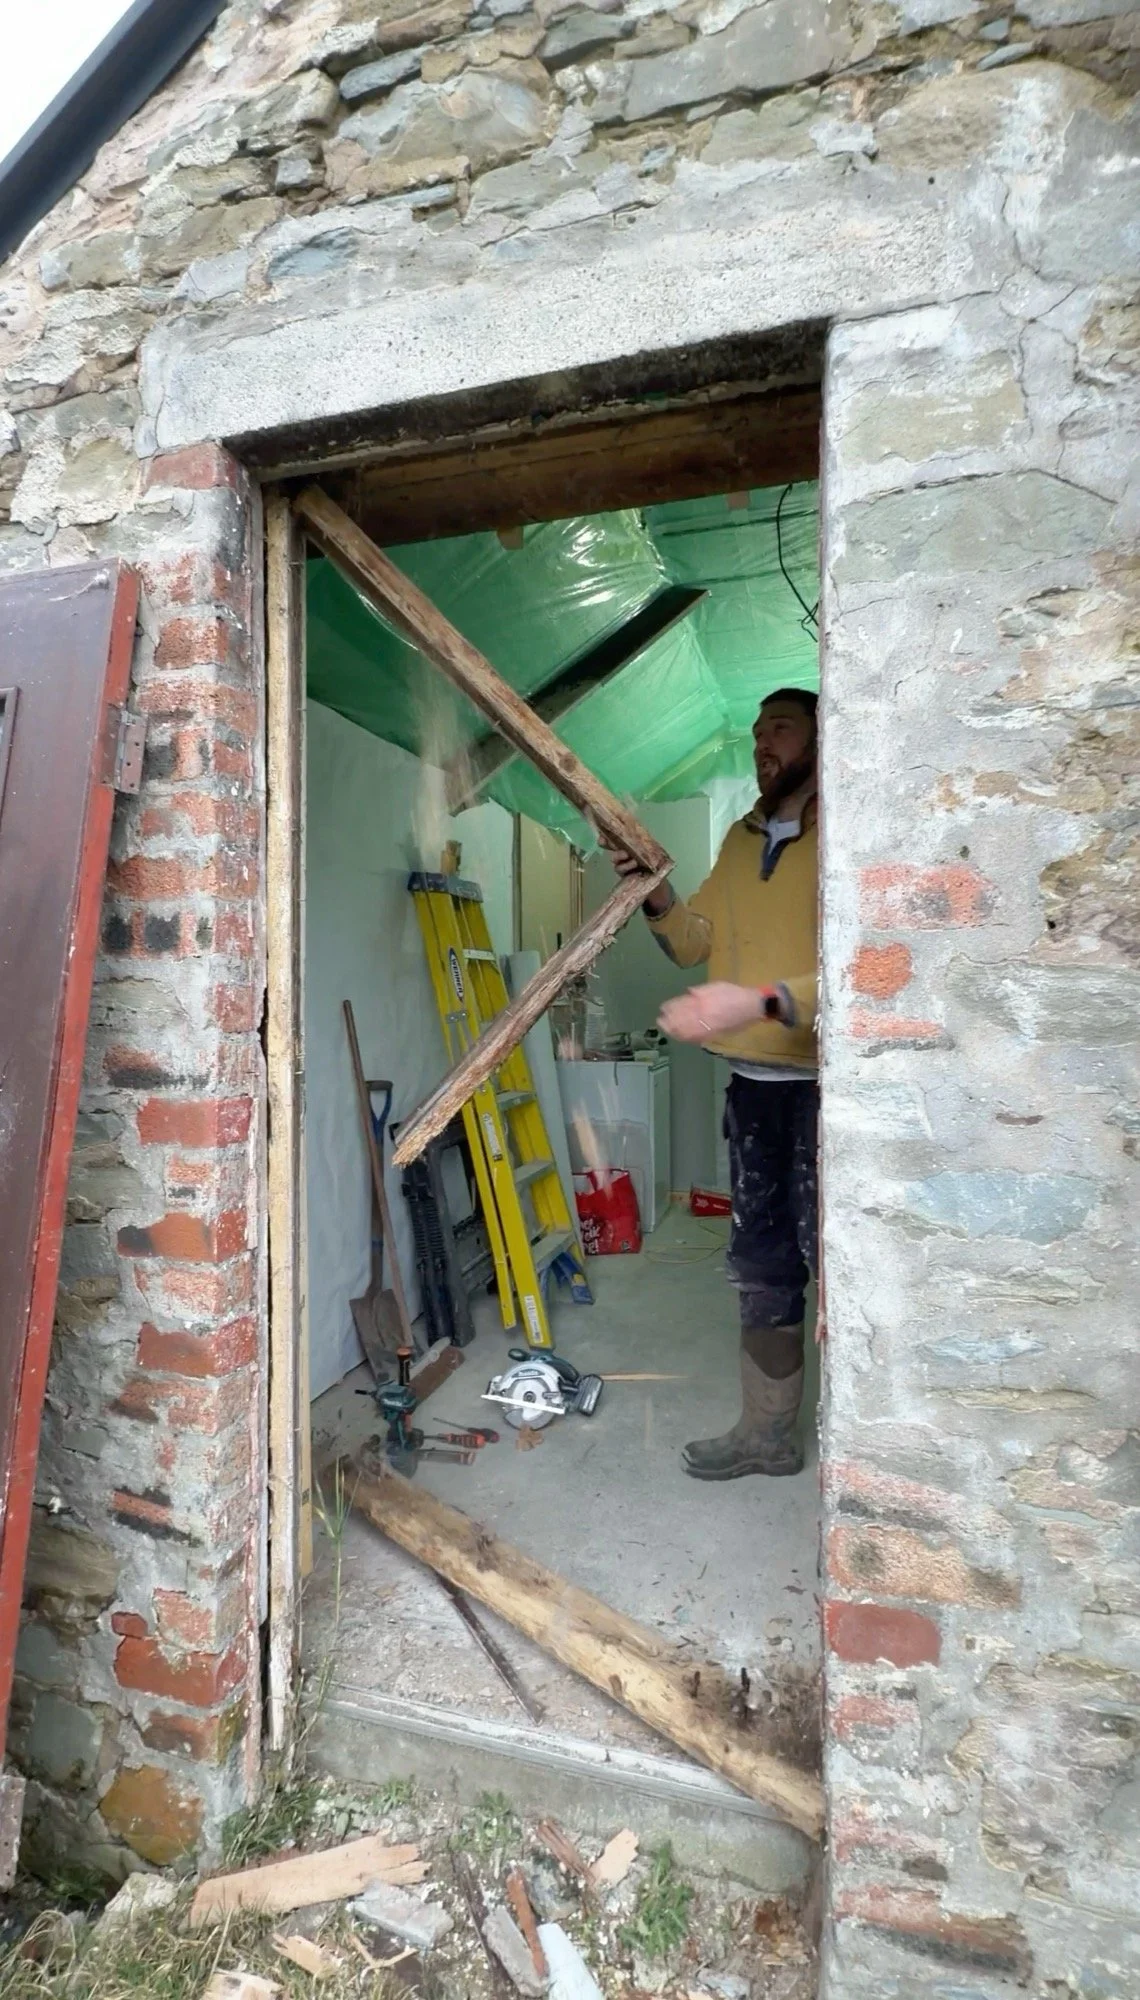
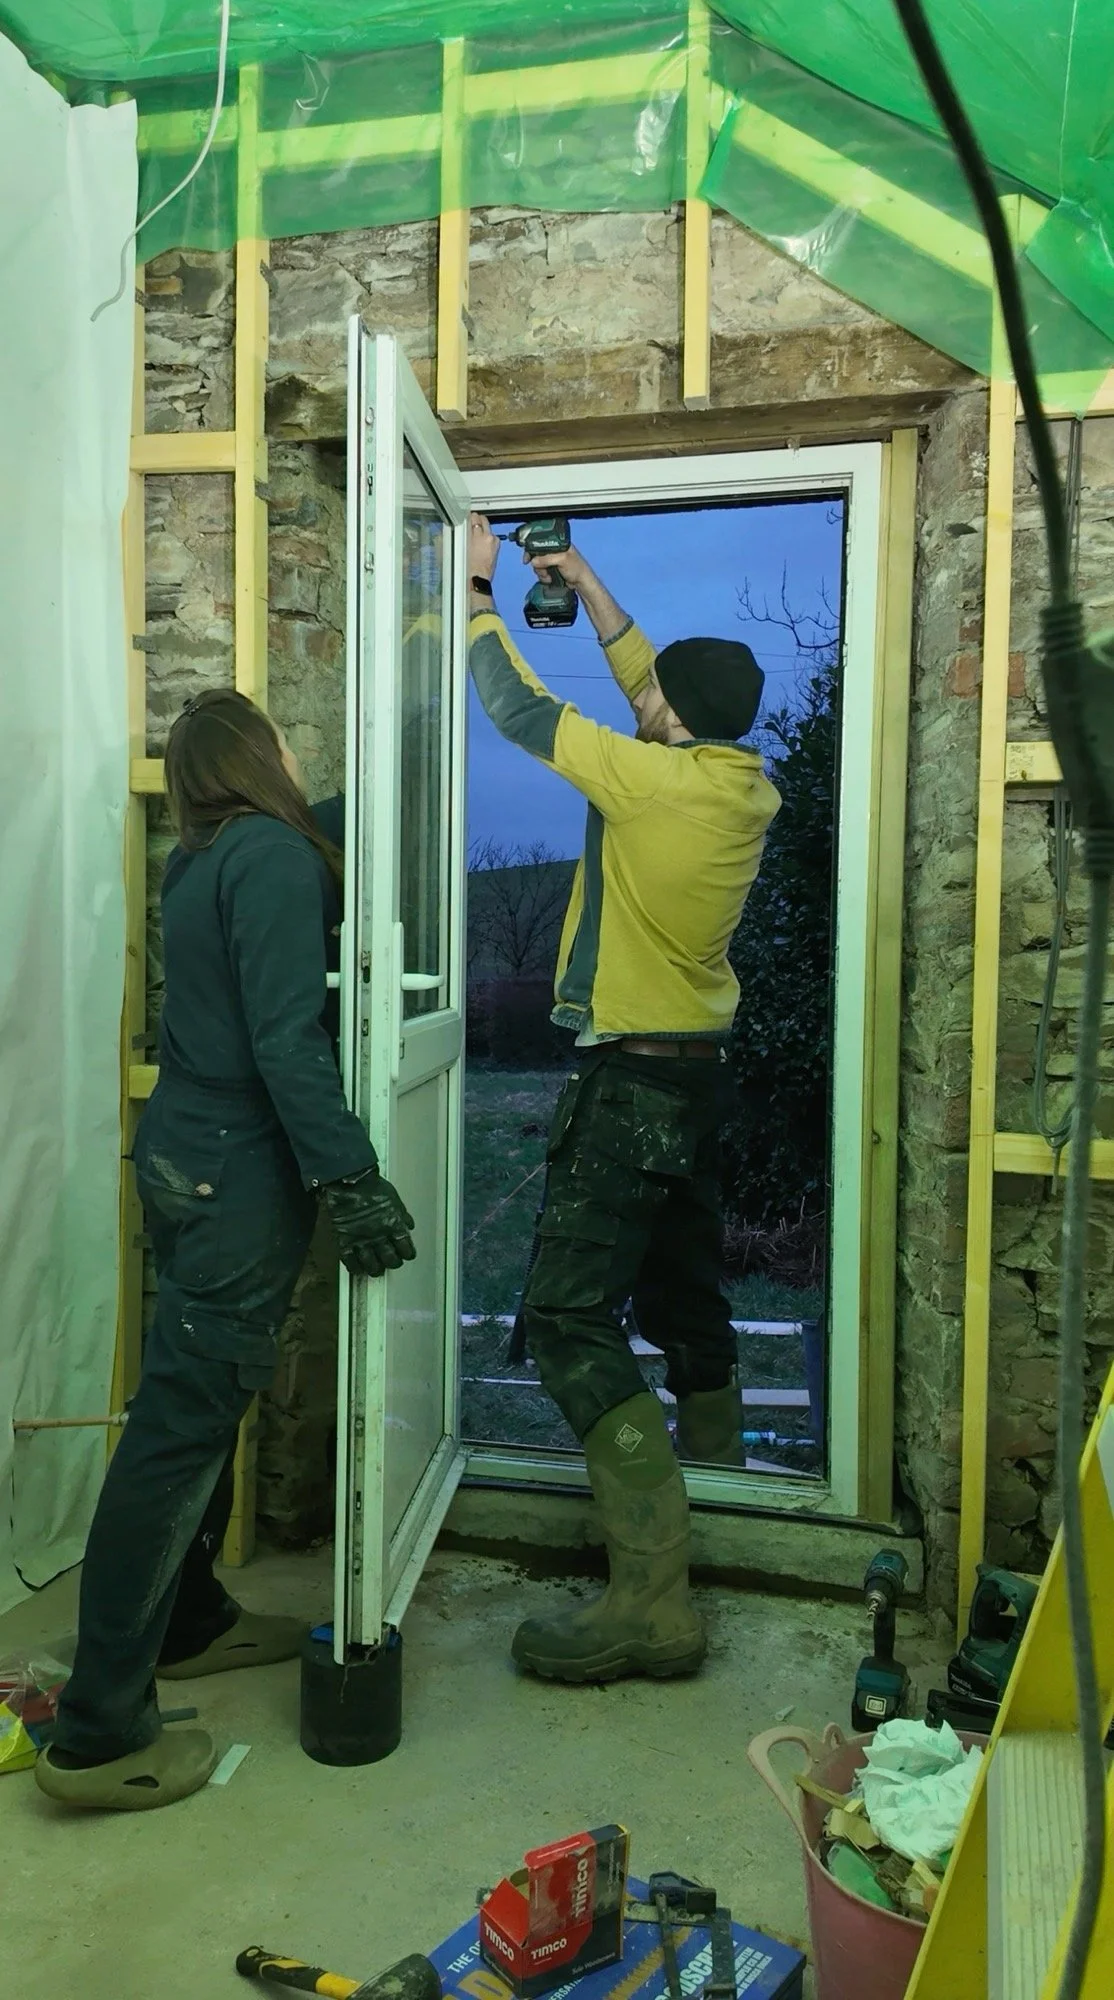
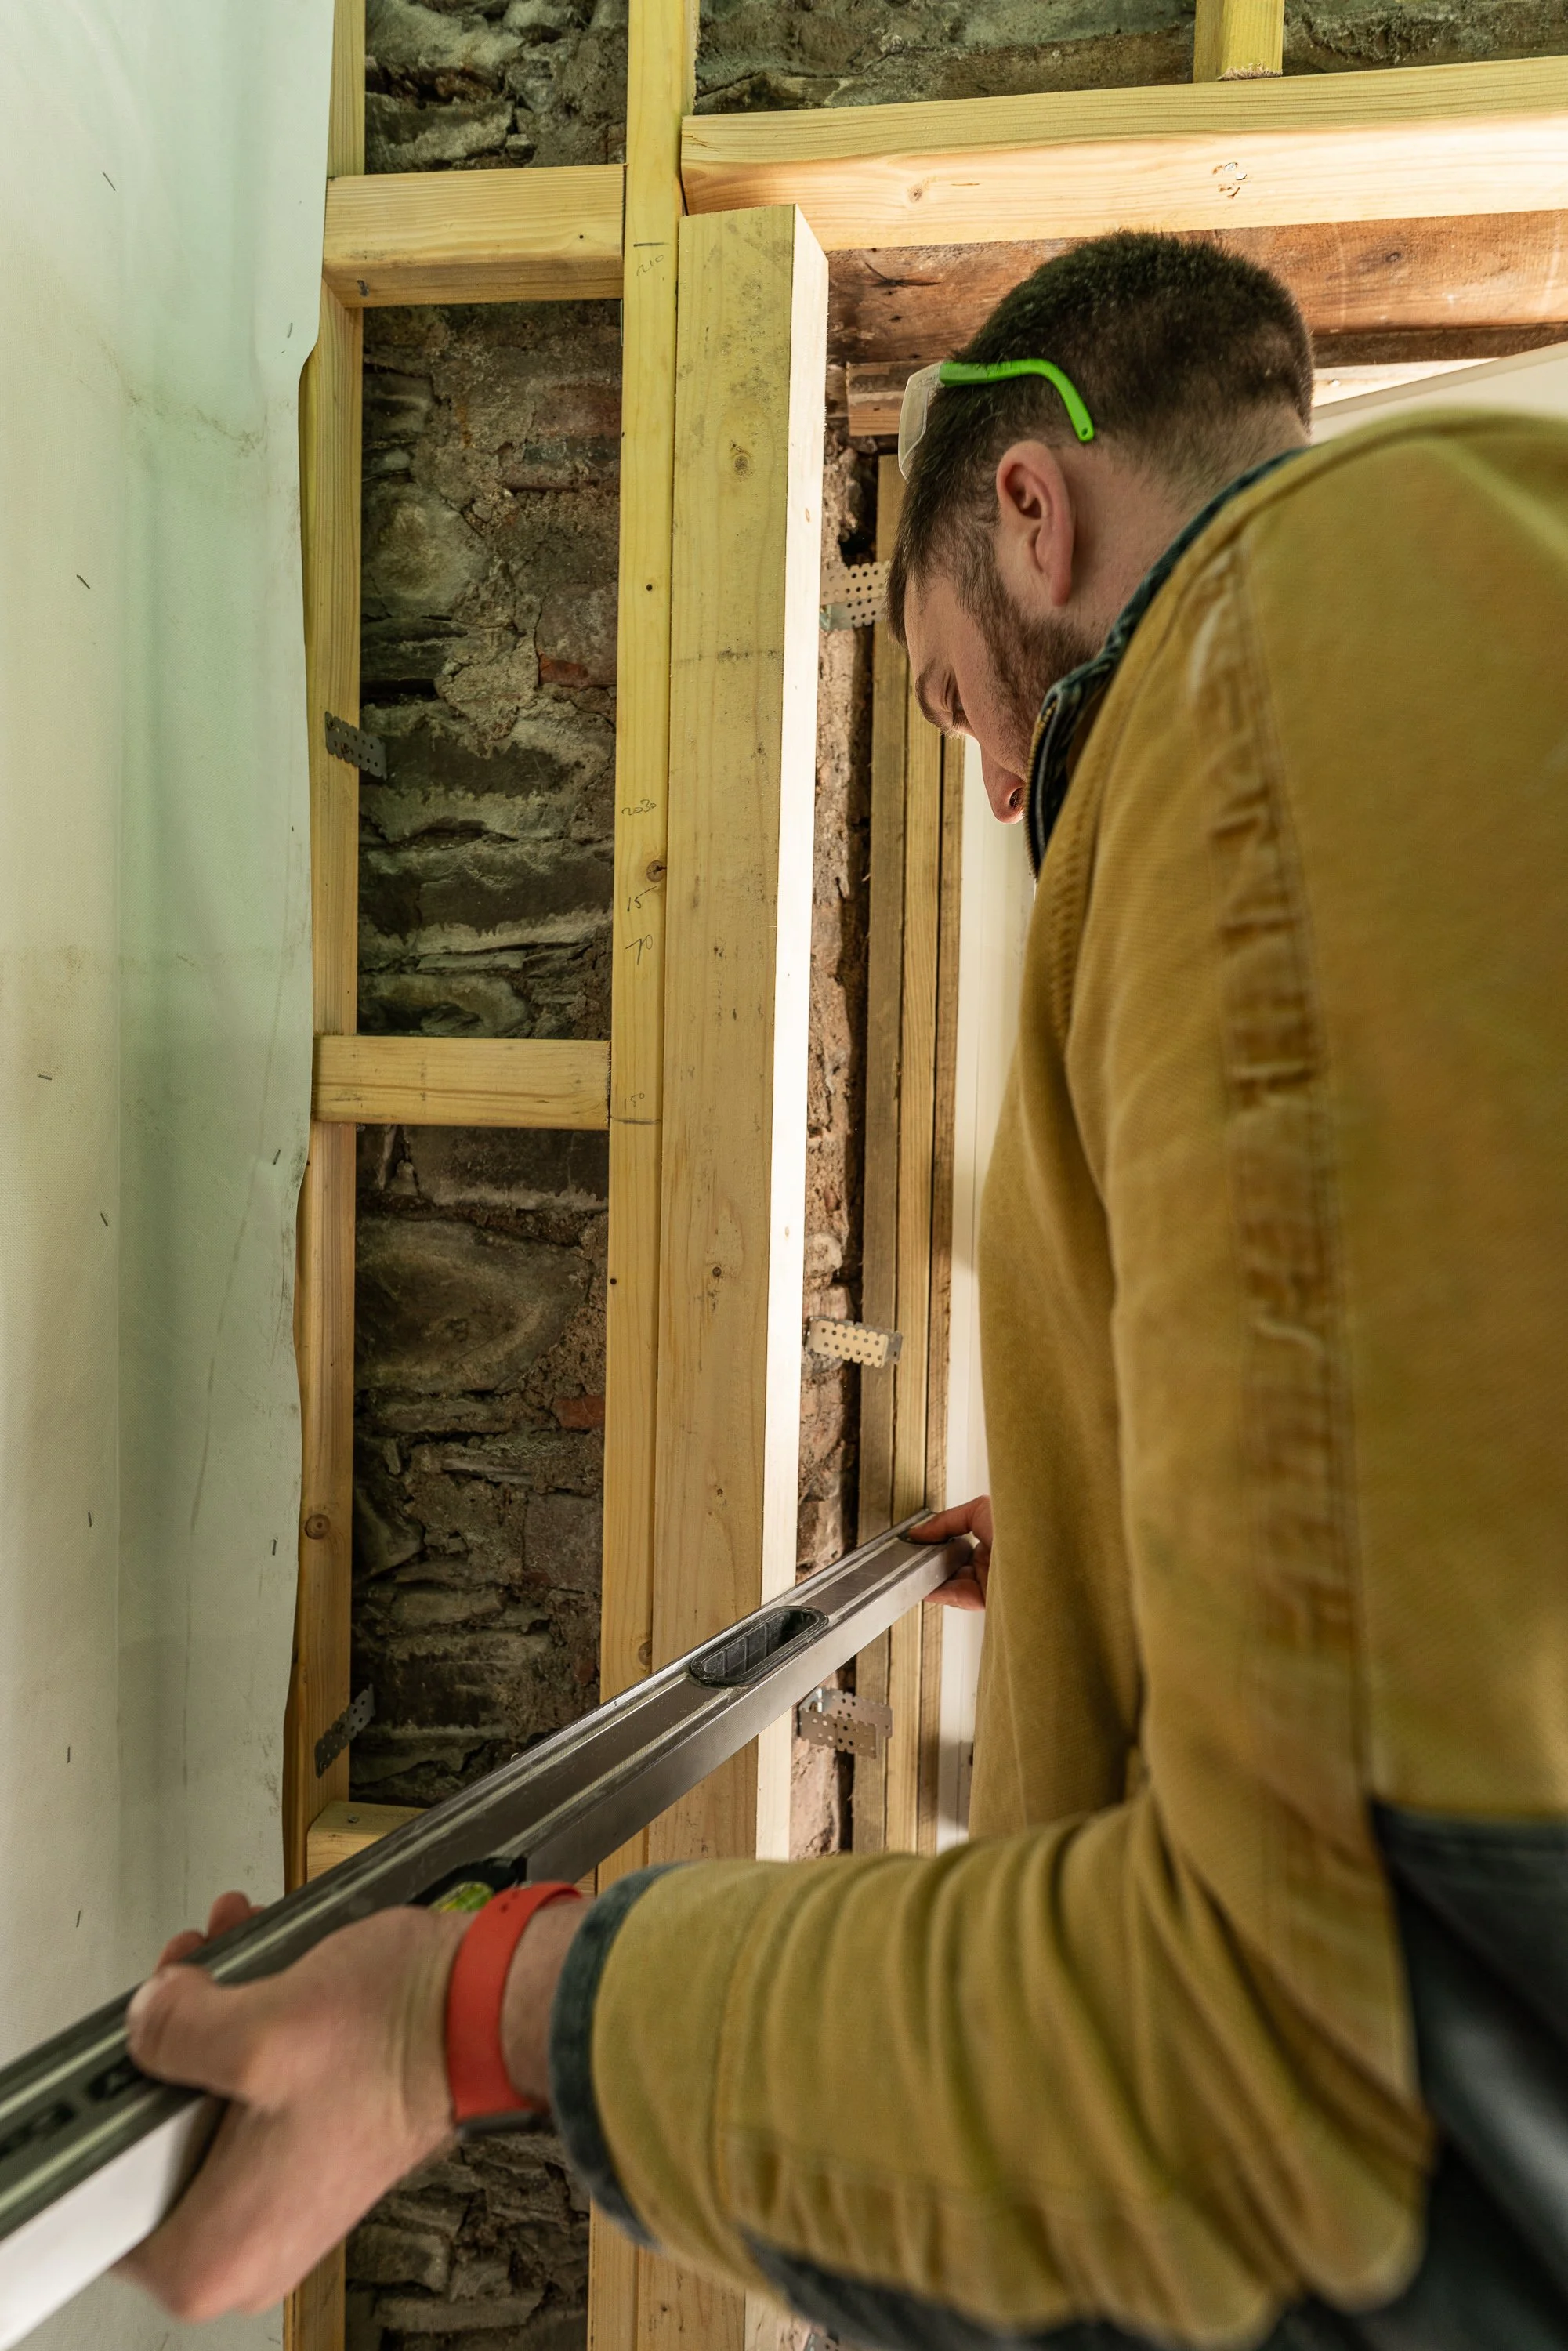
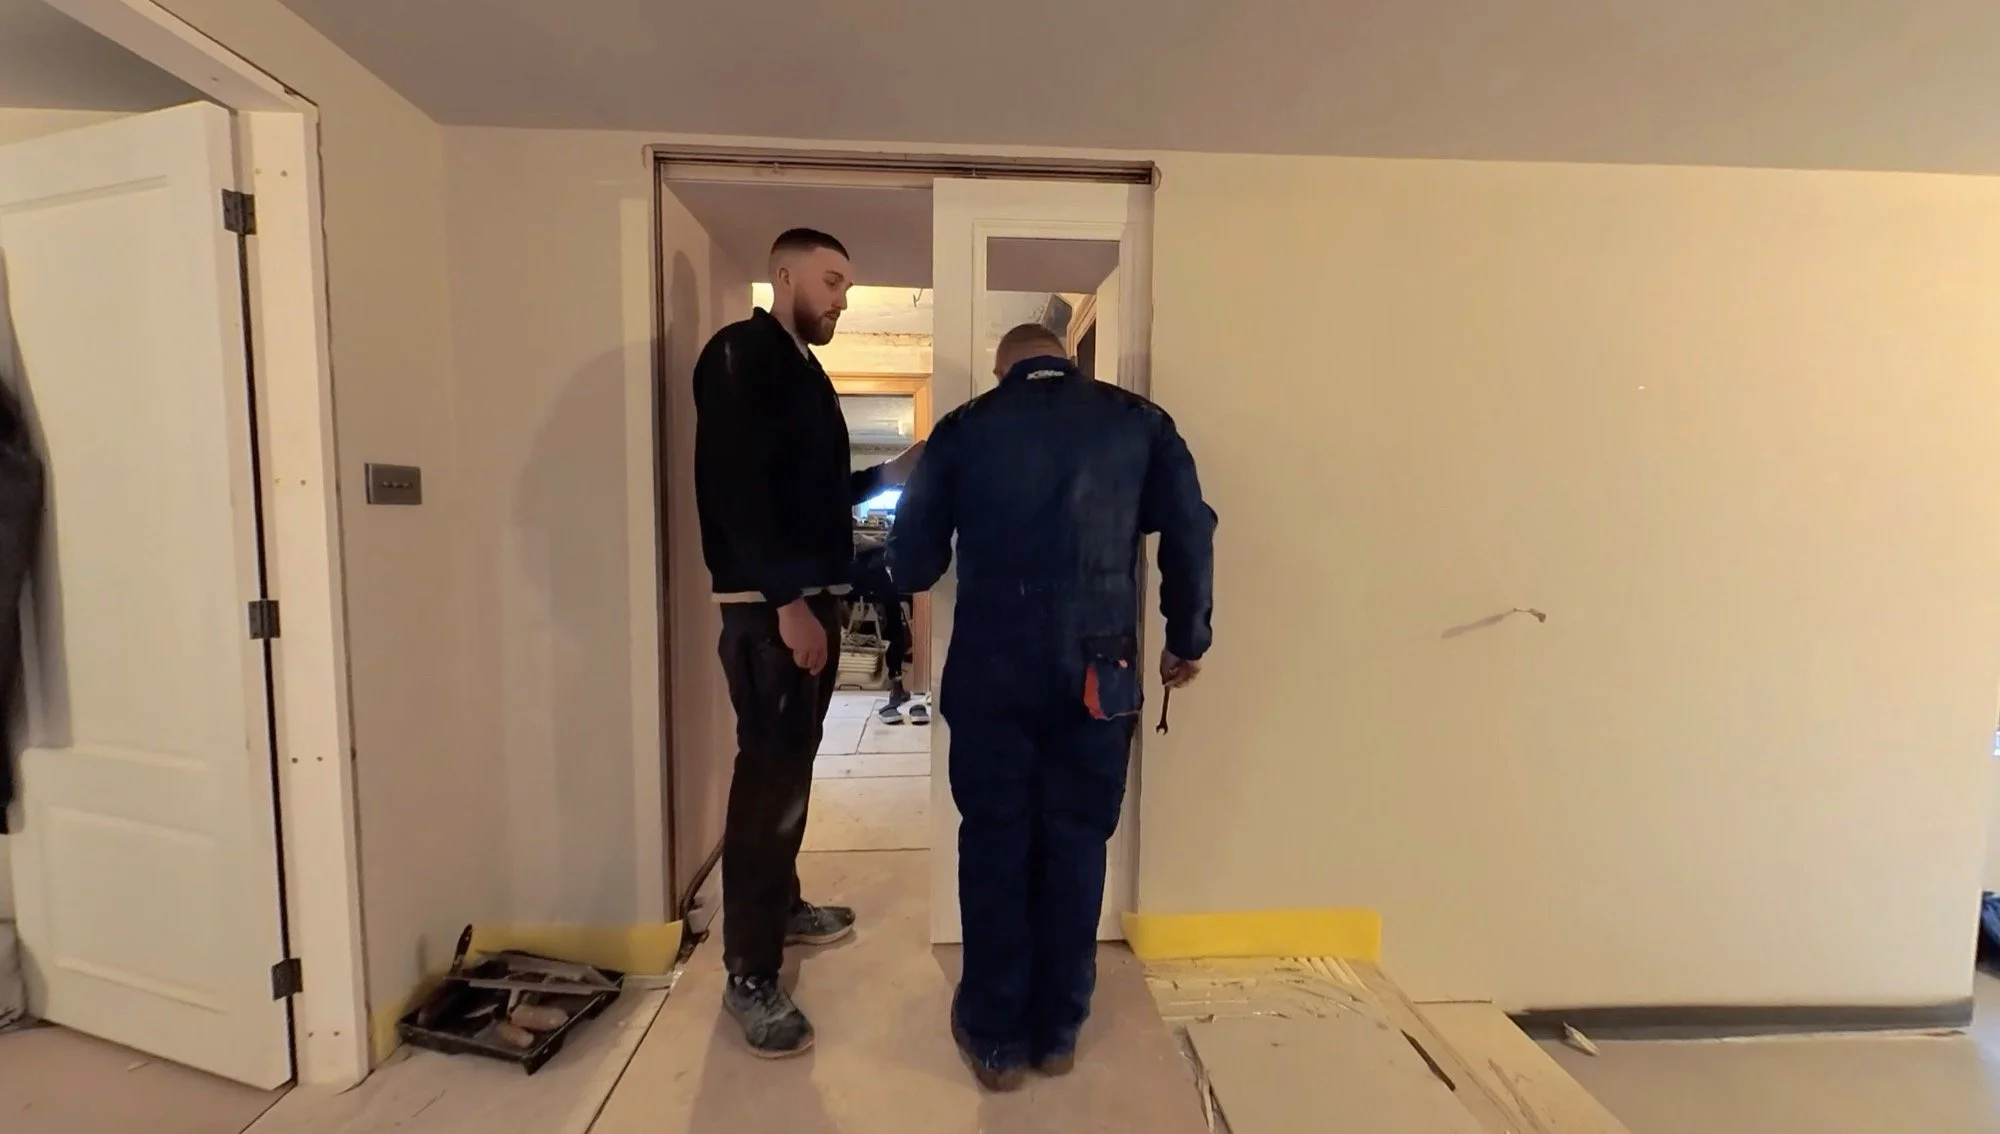
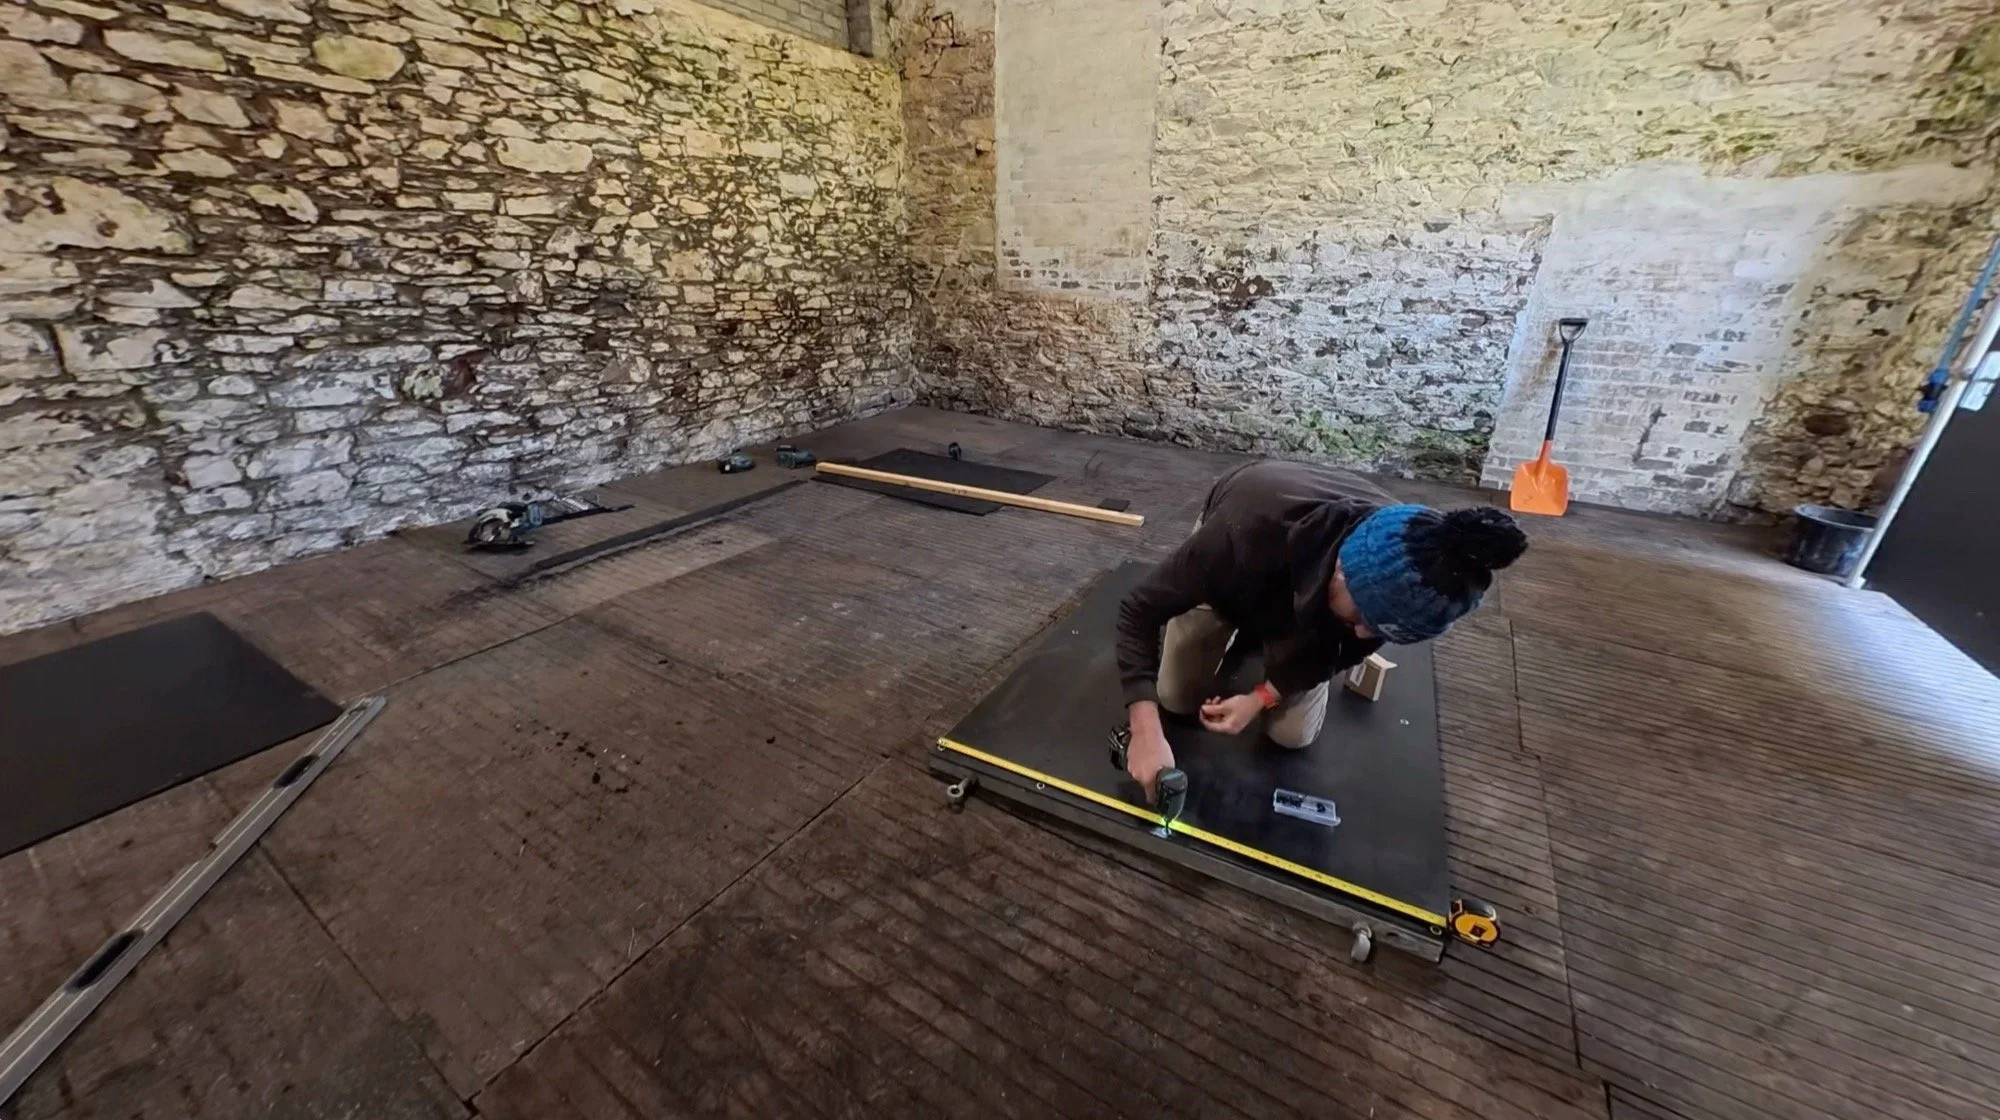
Either way, this week Dan and I needed to get a very temperamental door into a very odd-shaped hole, complete with angled internals on the stonework and a need to find an extra 100mm on the floorline too. And with that in mind, this is what we did:
Replacing the door:
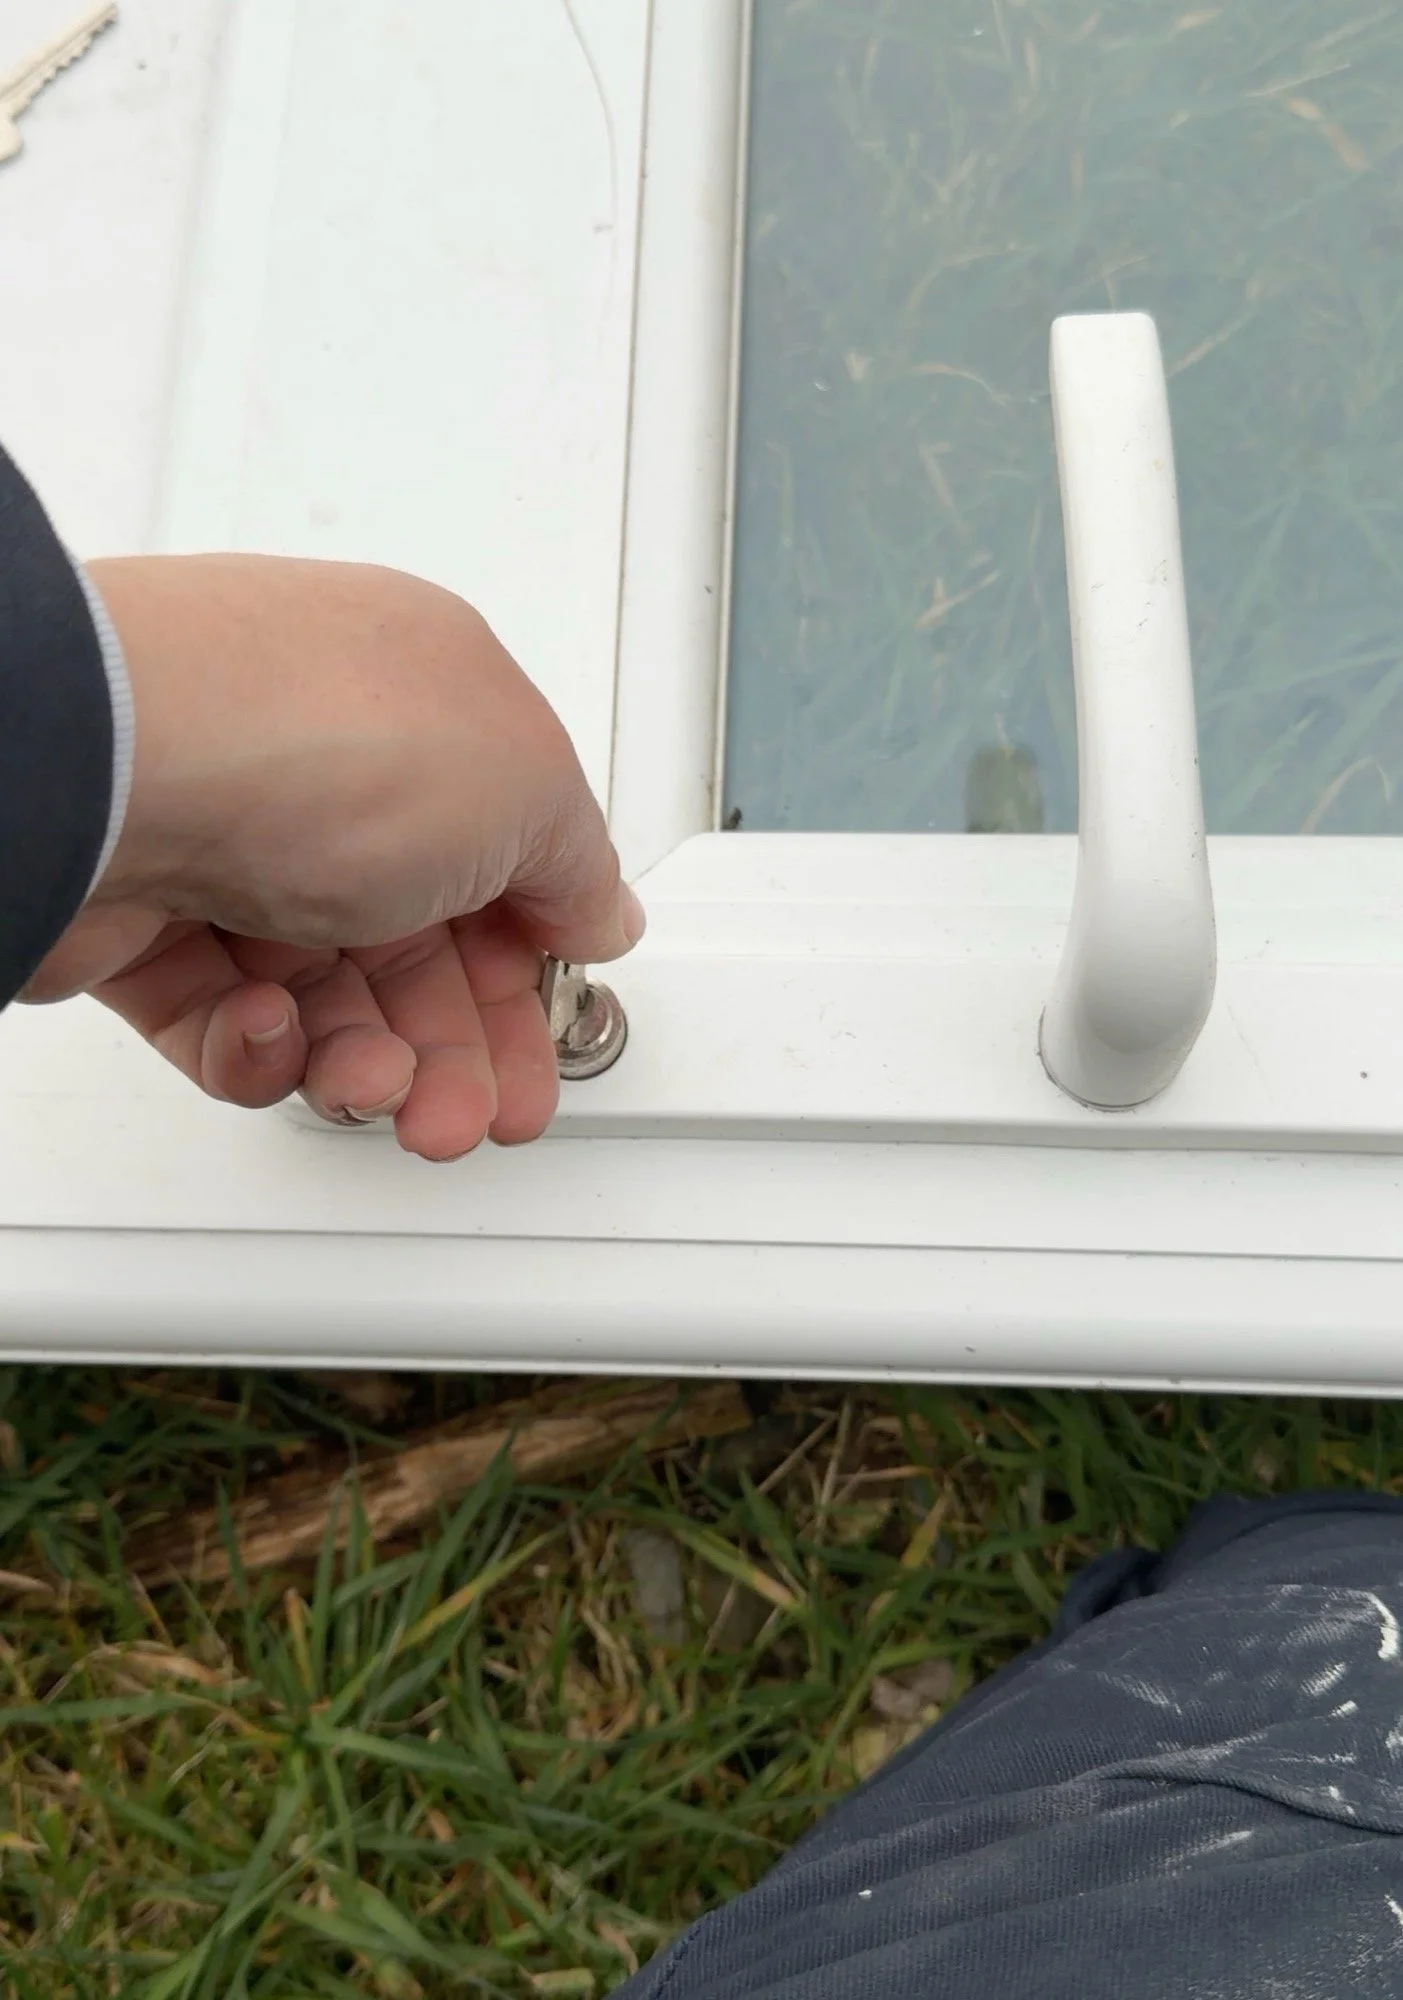
First, the removal of the old door and me madly trying to find any key that fits the old-new white PVC replacement (I found 3 - result!):
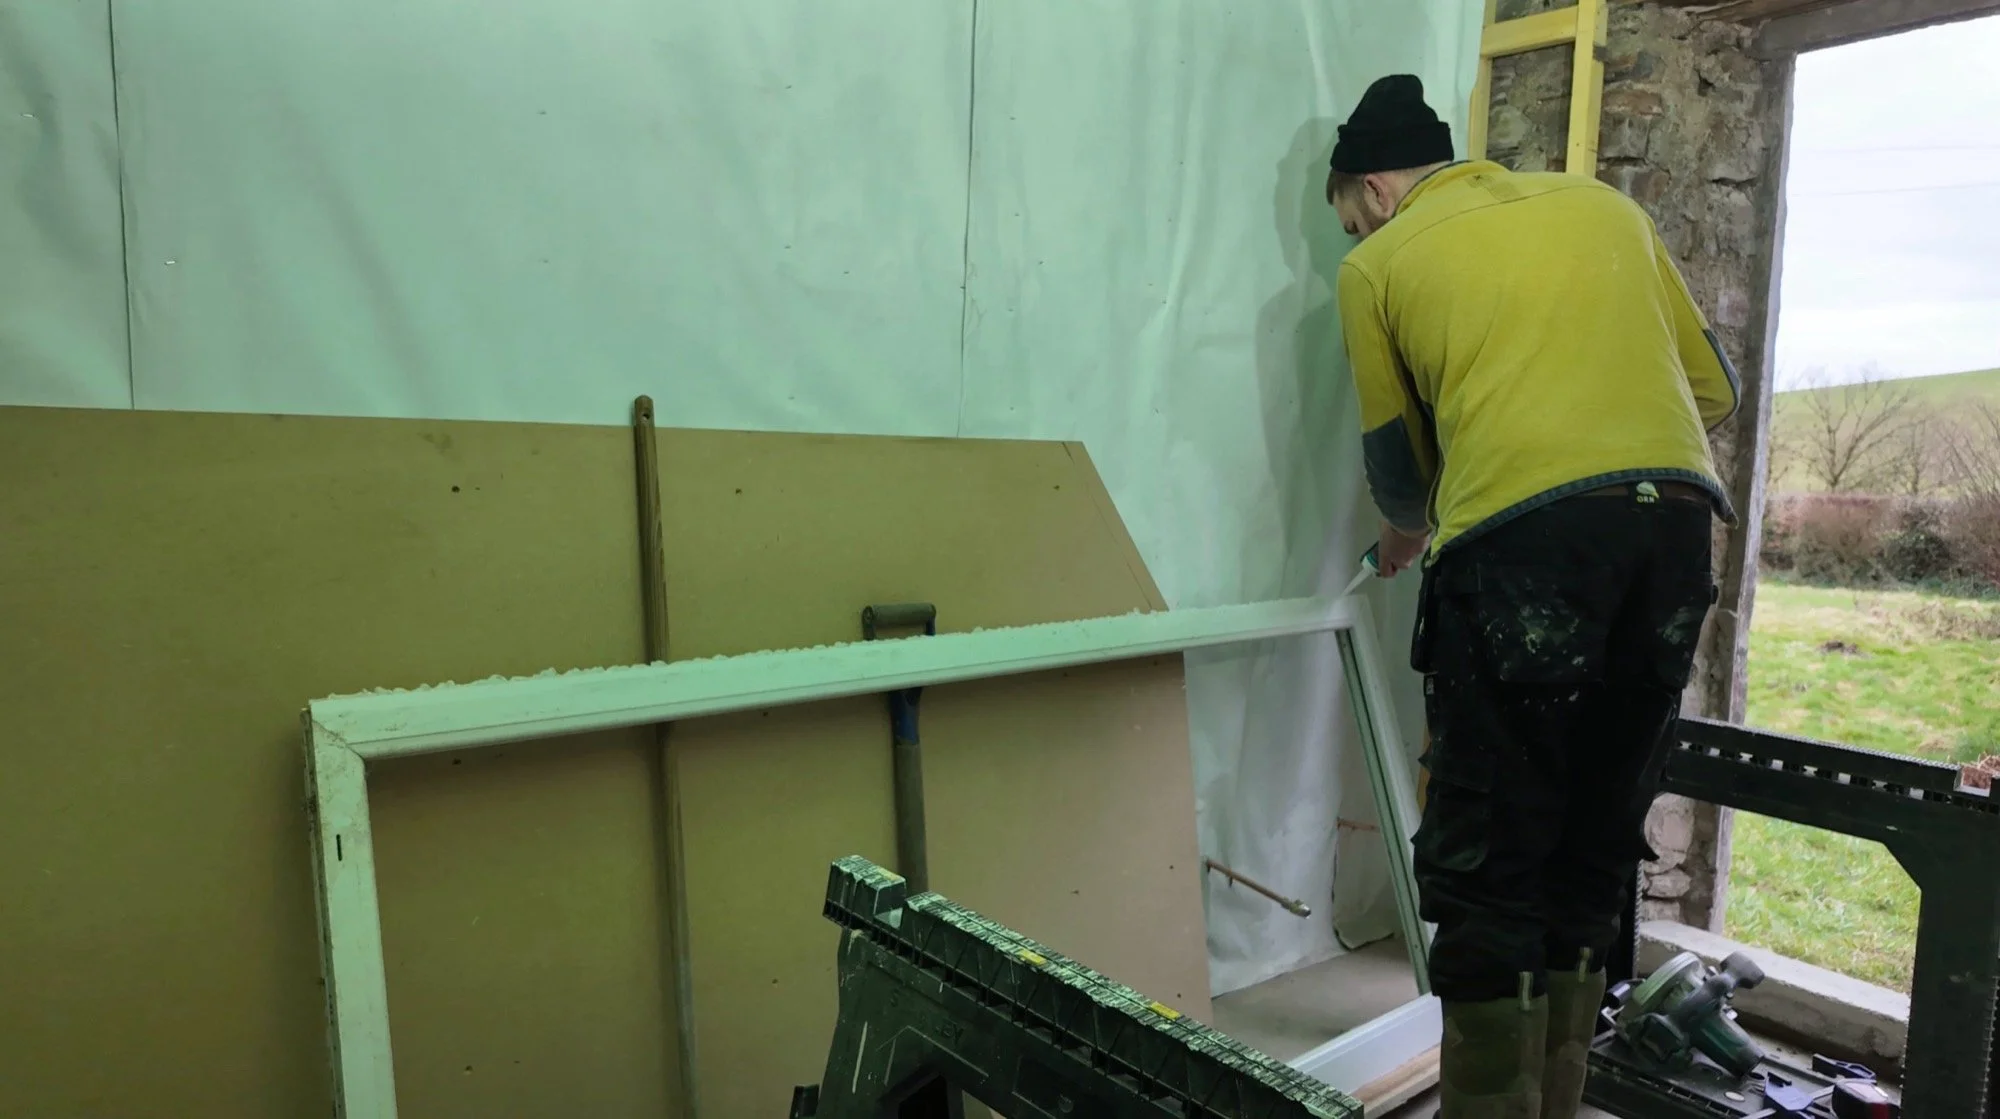
Next up, we had to find at least 100mm from something we had to hand, and one thing we have to hand most of the time is spare concrete lintels that are 100mm square. So, in the strangest use of a lintel probably ever, it became a door sill. This was bedded in and bolted through for security, but it will be removable in a years time (or 2 years, or 3). After this was in, the attention turned to getting that frame to sit within the angled walls on the inside and the lack of room on the outside to give it a flush edge anywhere. Wood was our solution, and so Dan worked to get a whole array of framing done, including shims and slivers to give a secure fit all around.
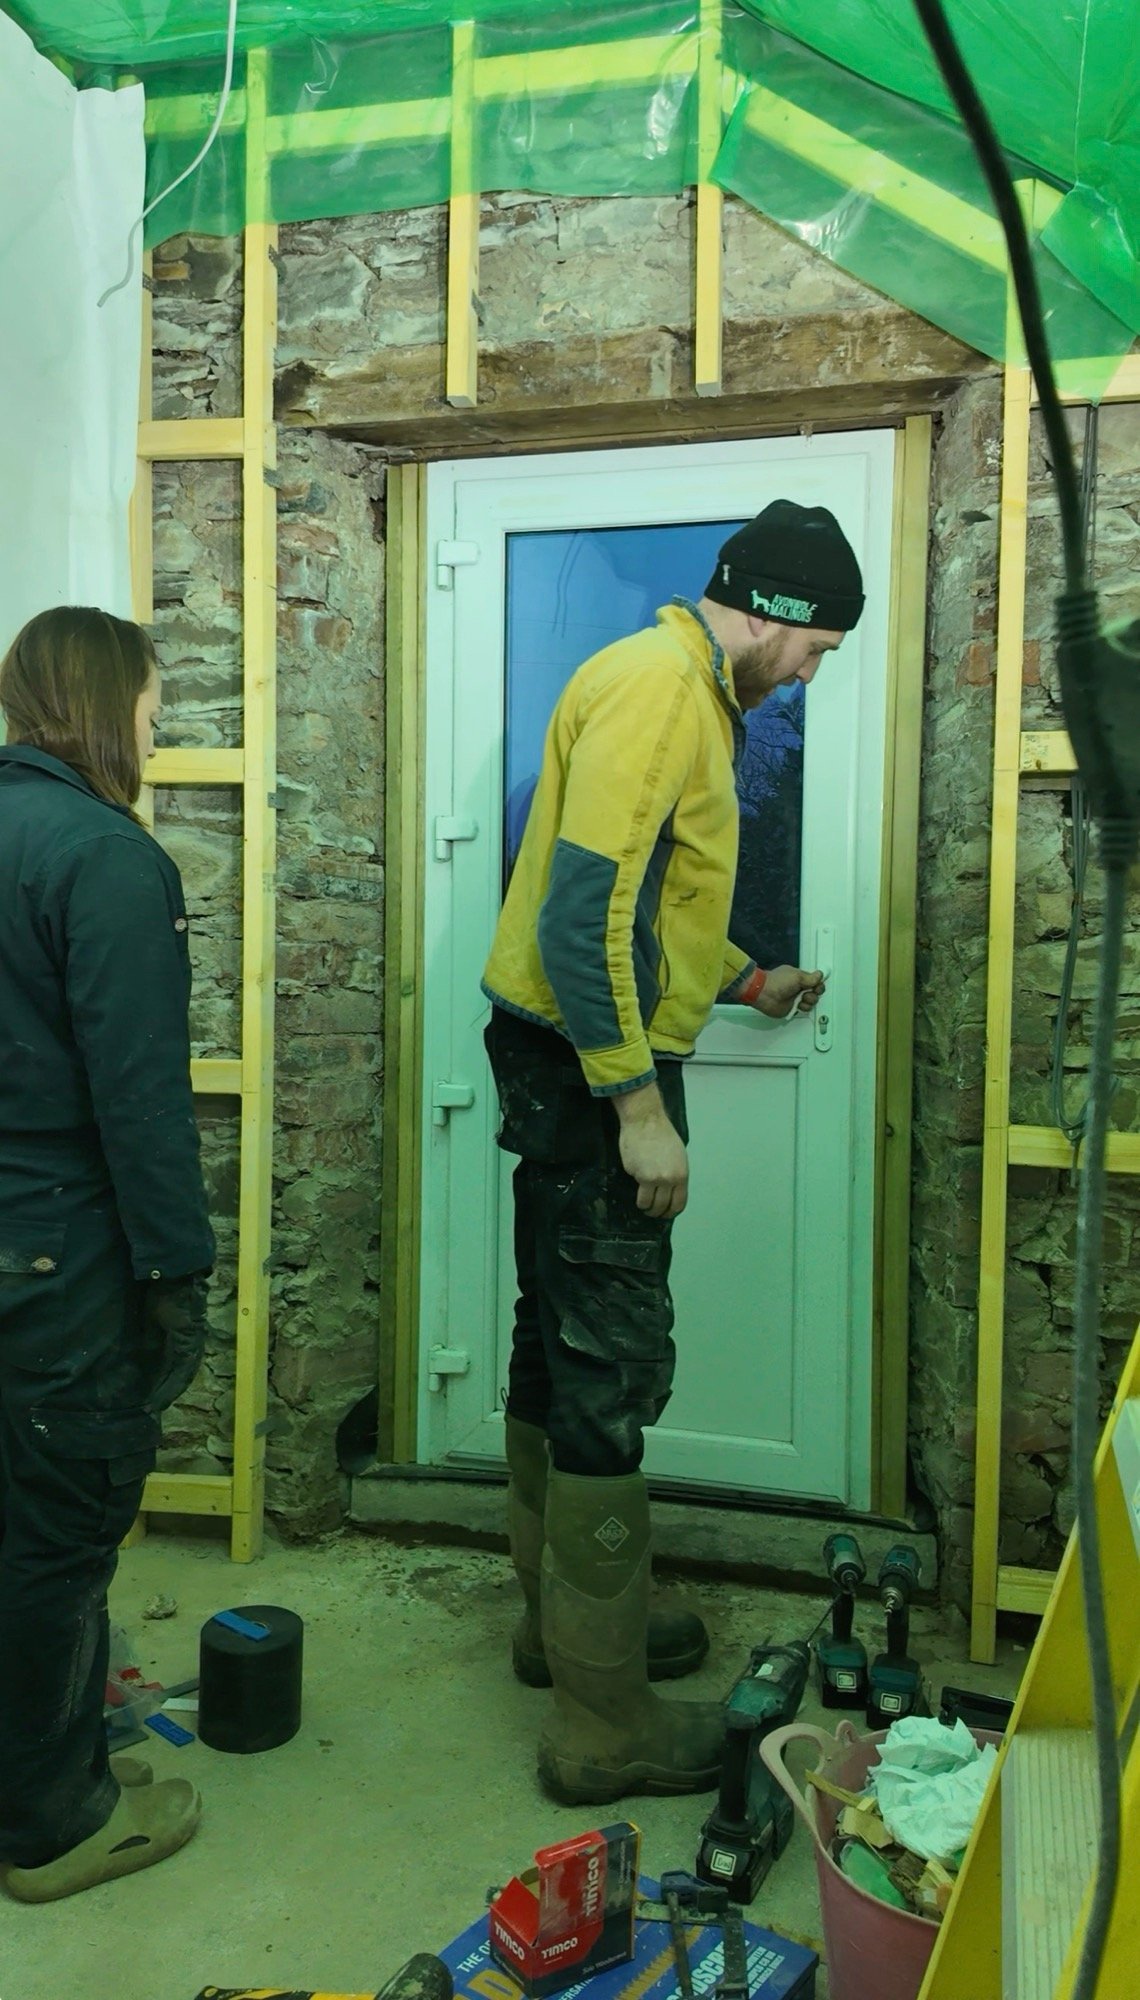
With 4000 checks to make sure everything was level, we added a strip of DPM and copious sealant on the concrete sill/step and then the door frame was screwed into the stone walls, through the wood on the sides, to completion. The test was whether this old door would close, and if it did close, would it lock?
The answer was yes and yes, the first time too. It closed and locked better than it ever did in the Cottage 😅
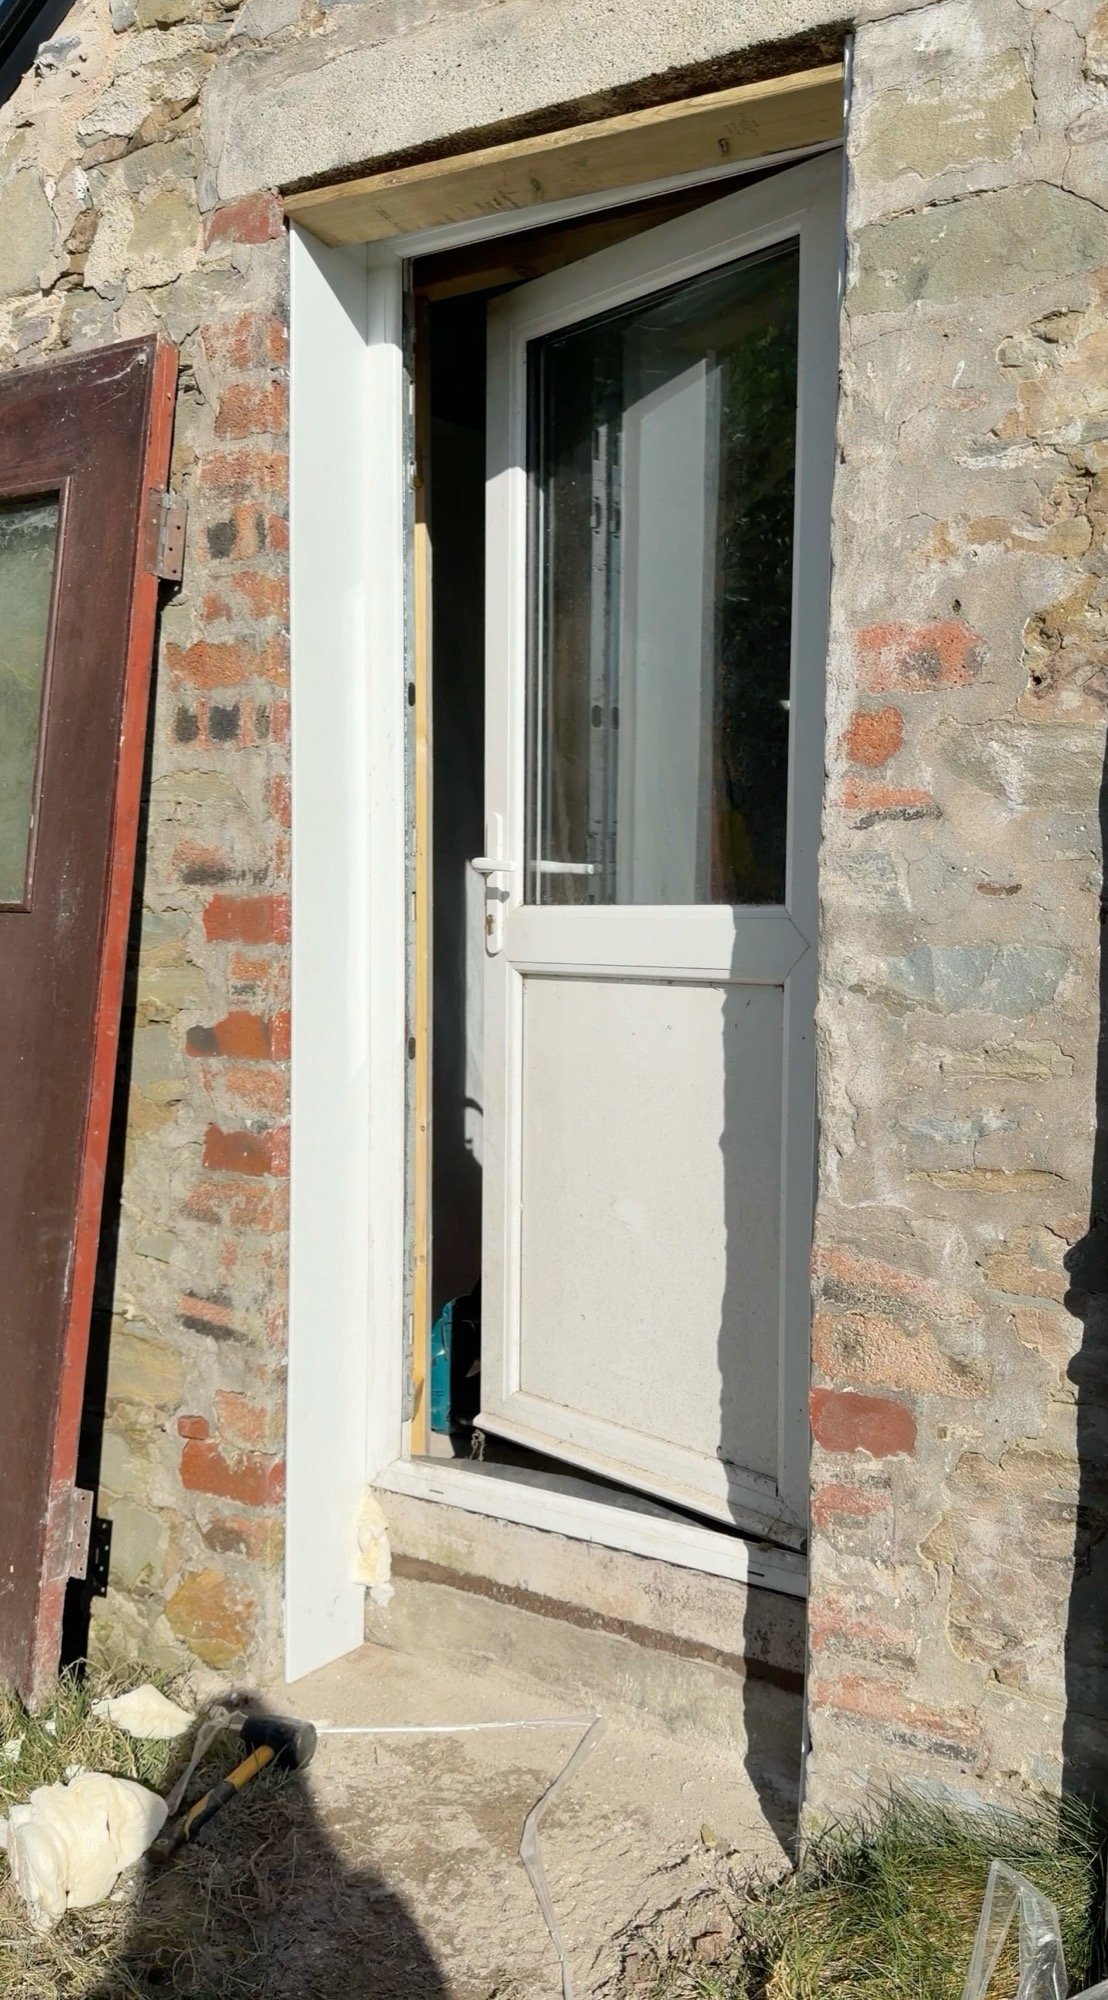
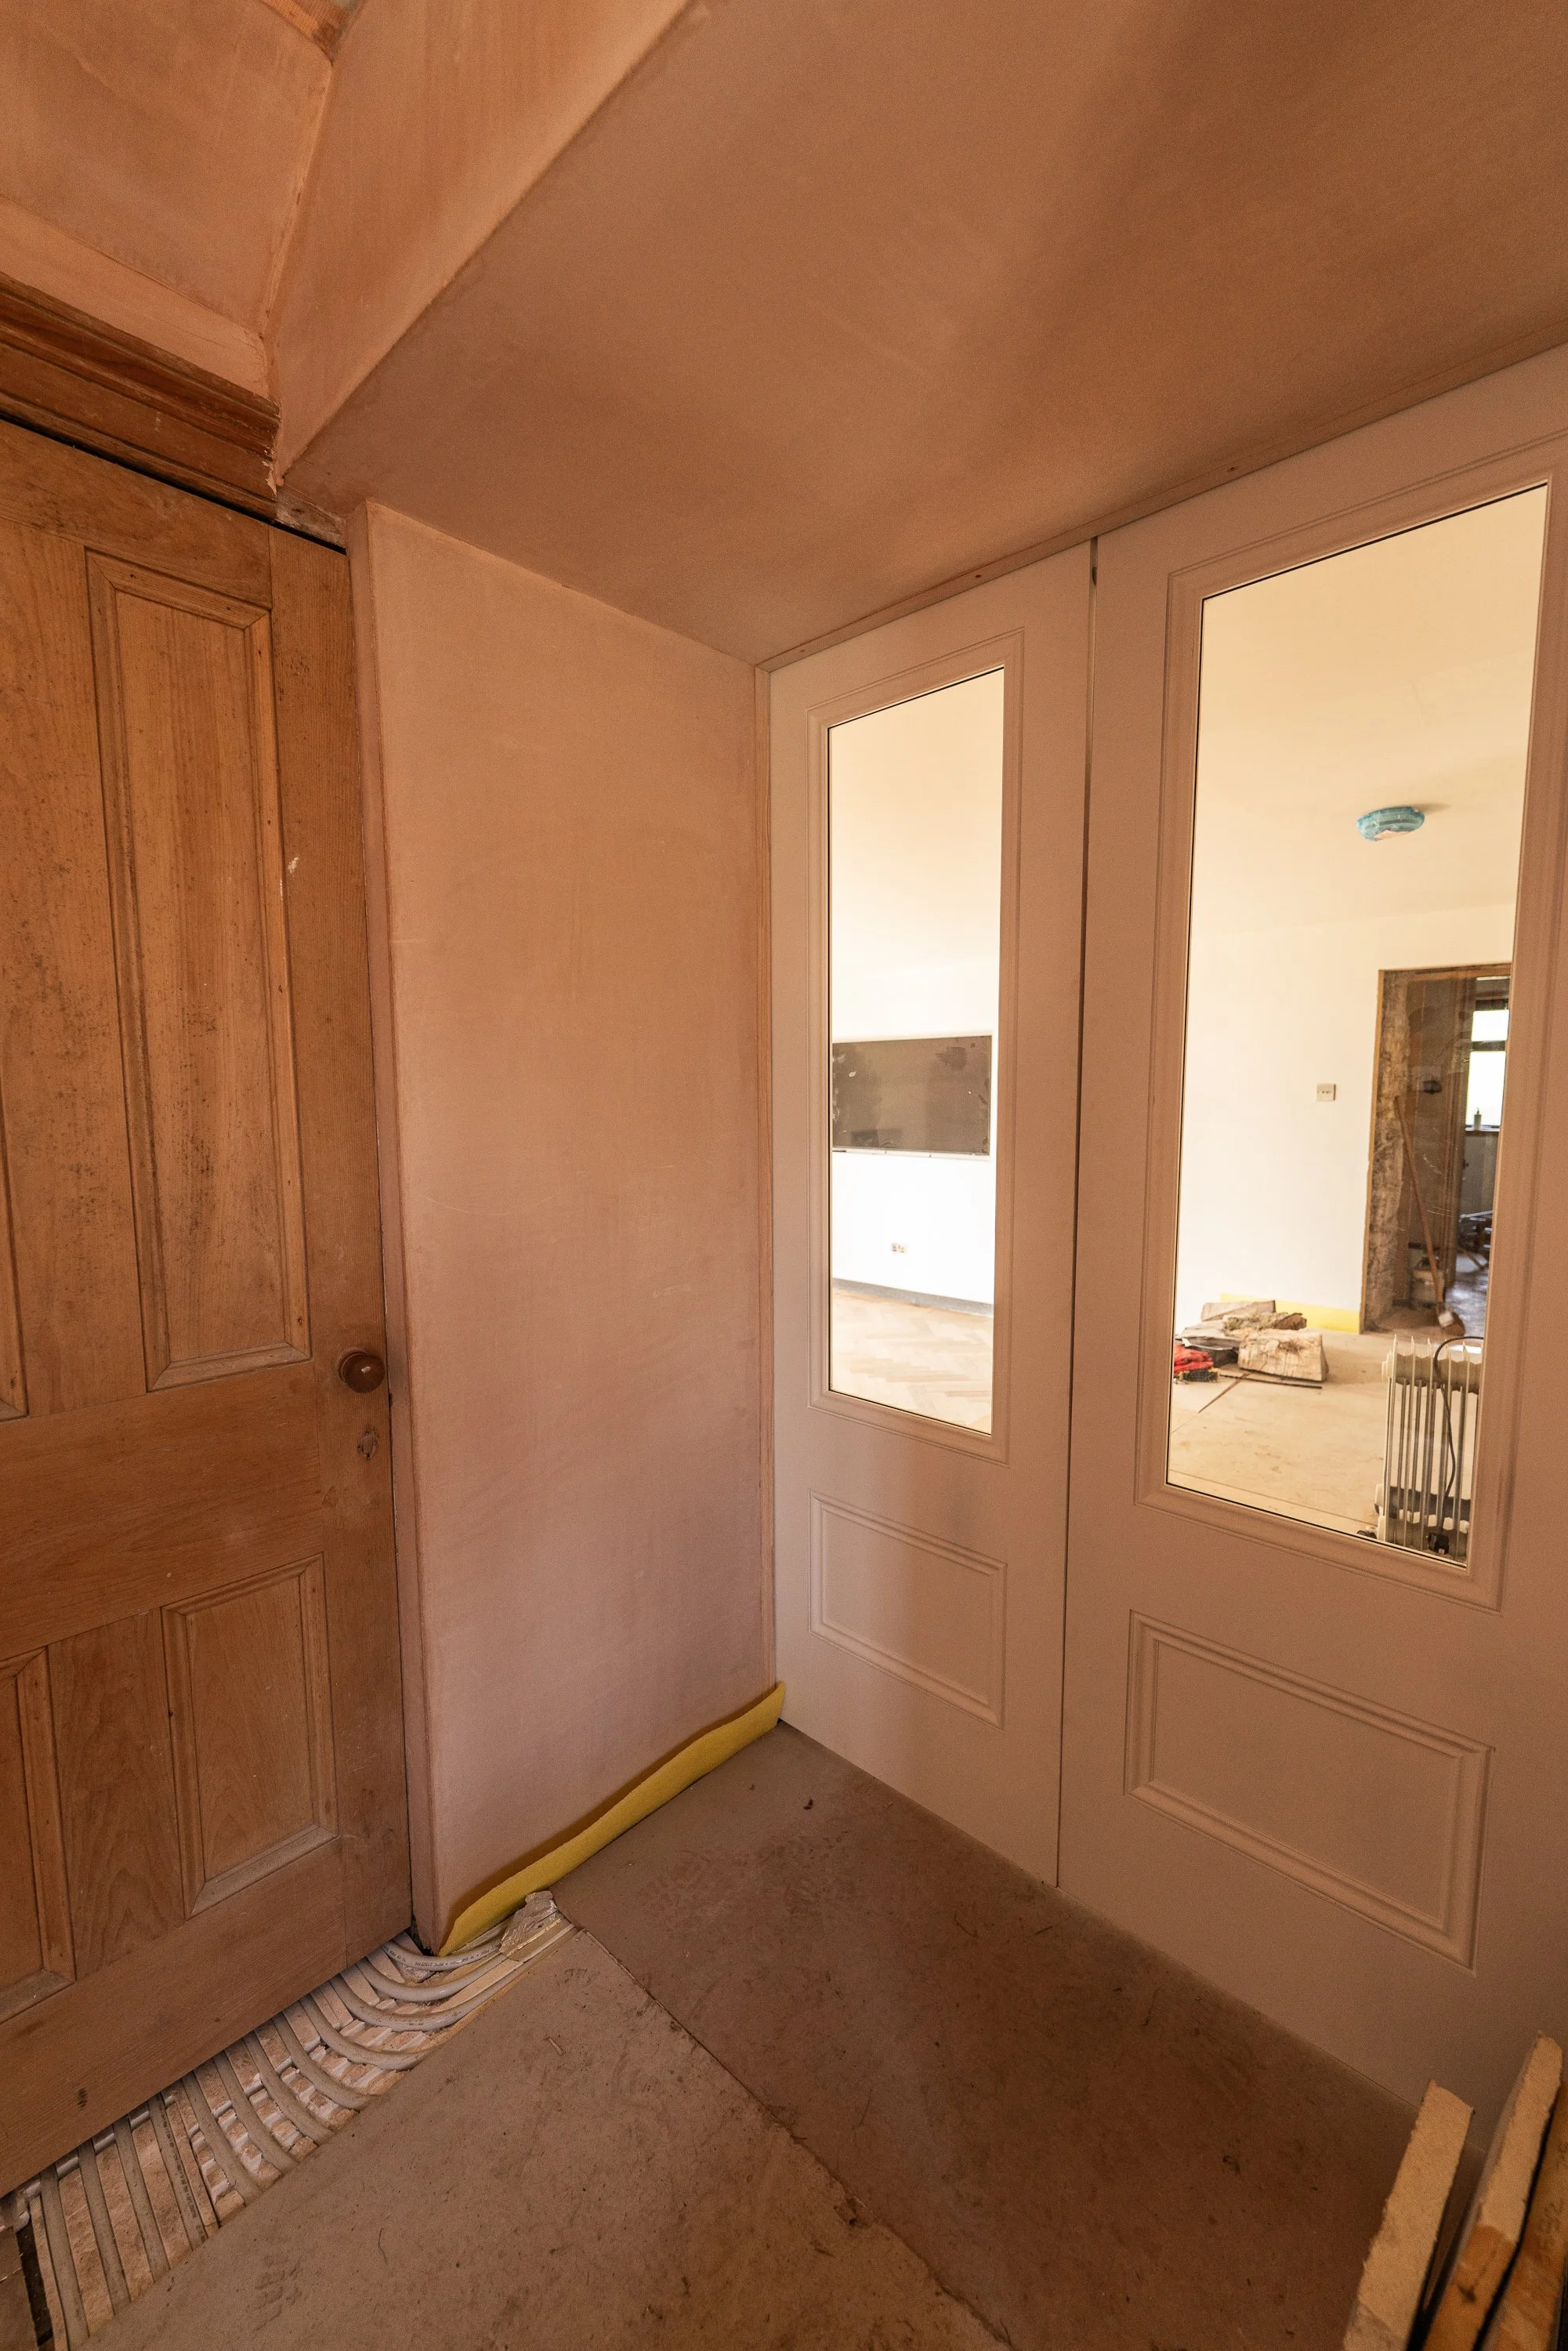
At the time of writing, Dan was just adding the PVC trim to the externals, protecting the wood and sealing the opening fully from all angles (last photo below).

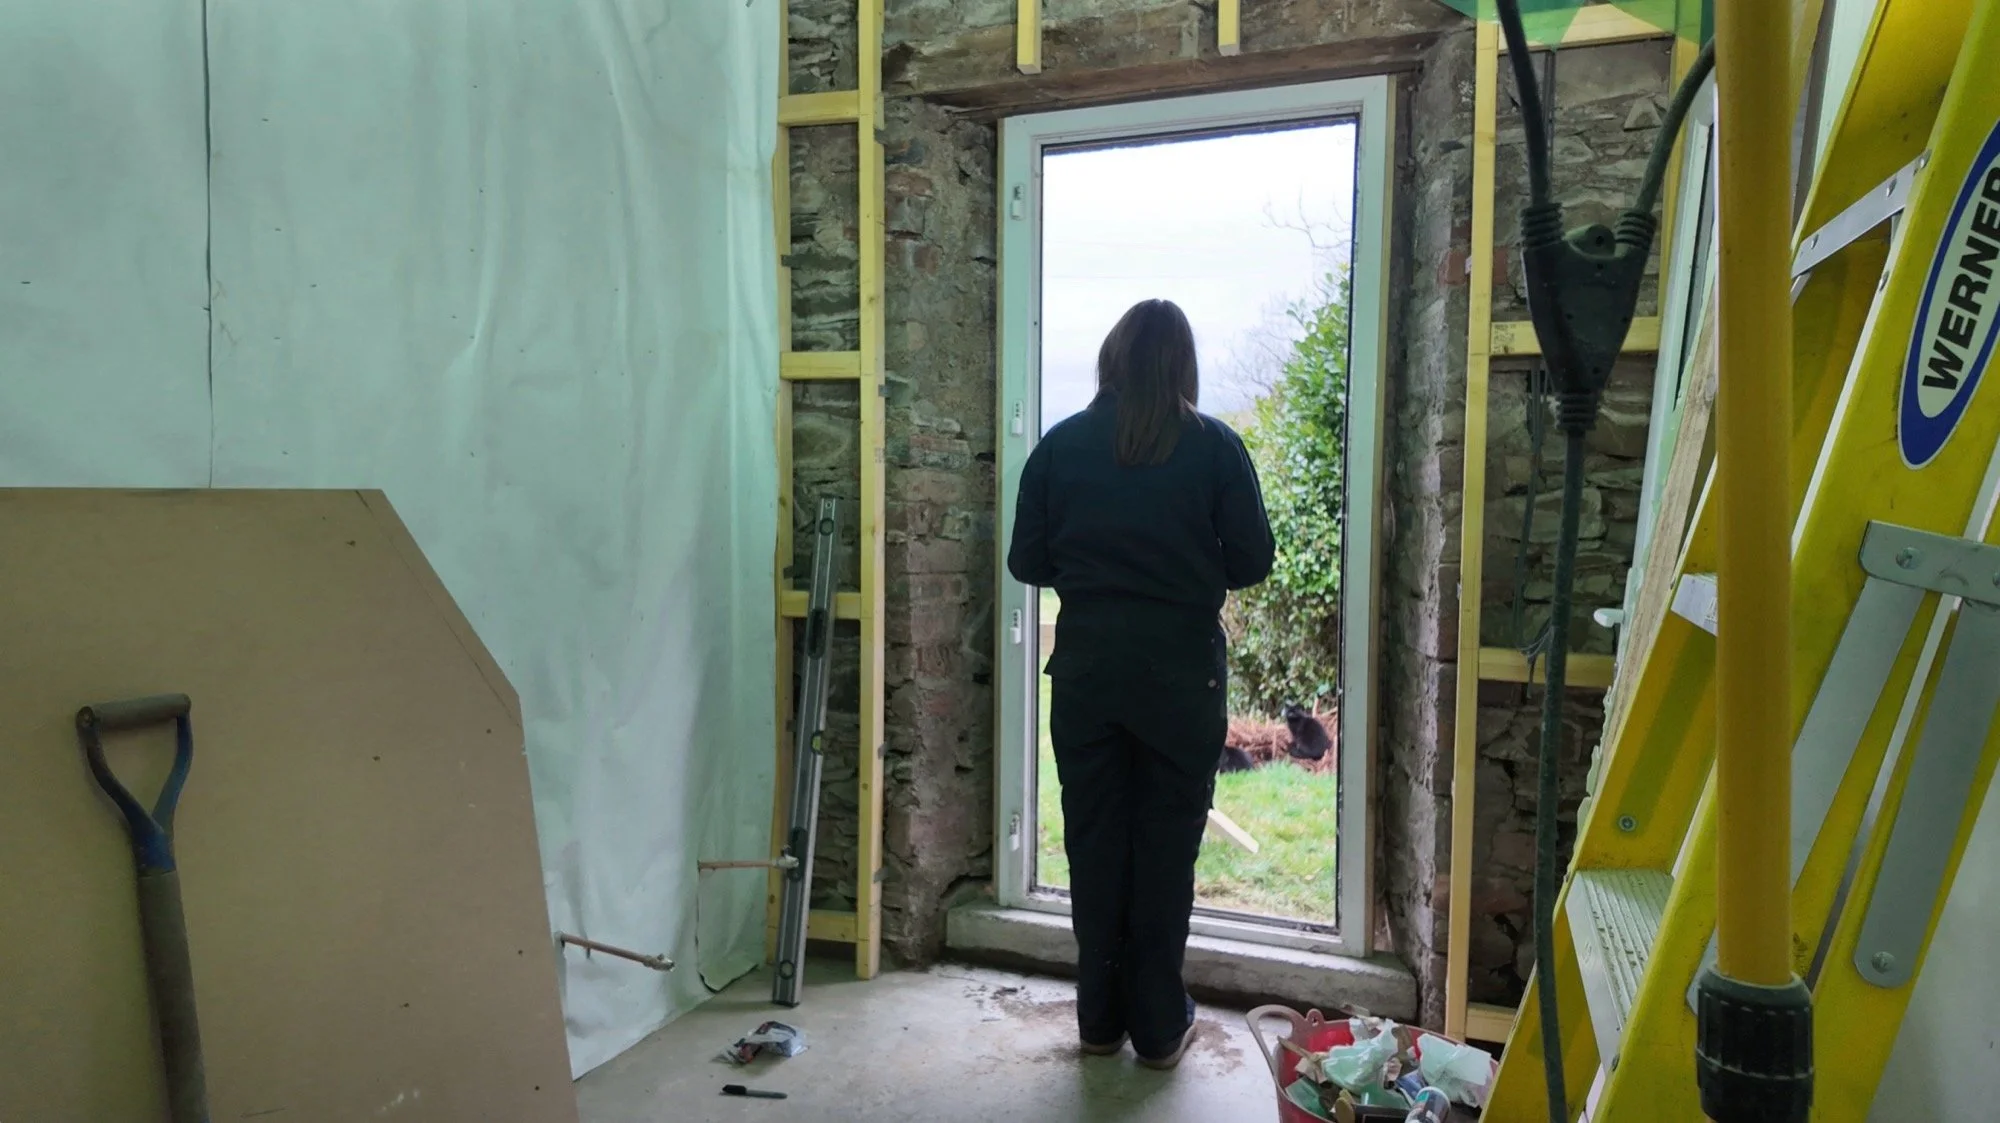
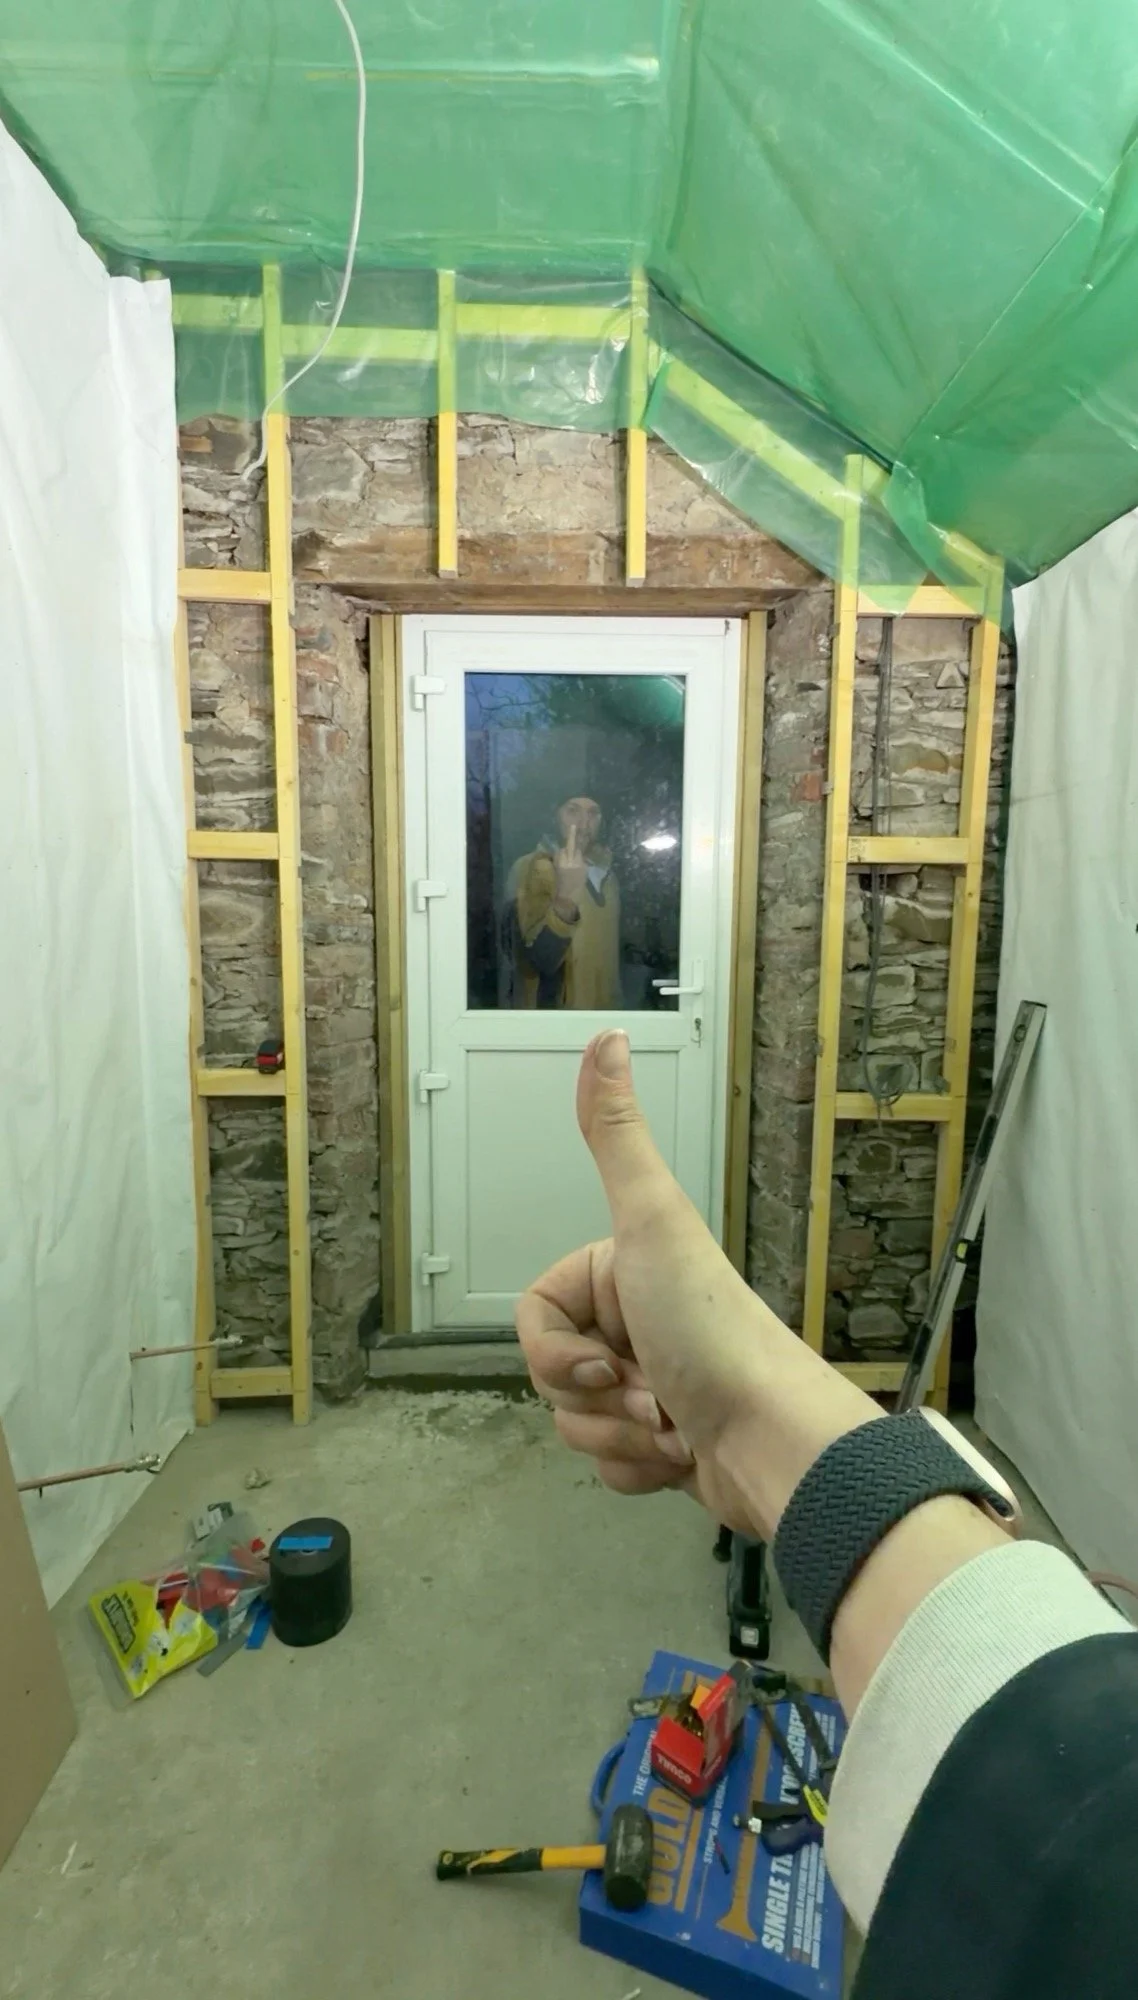
You can see the size of the step from inside to outside in those screenshots, and you can also see the size of the step from outside to inside (twice as tall). From outside to inside is an uncomfortable height, but we have a lot of stone here, from granite blocks to sandstone slabs and everything inbetween. We’ll pop a step or two here temporarily to tide us over.
The point is, we now have a house with 4 openings that all have solid doors, all those doors actually lock, and none can be broken through by a bouncy Malinois.
Ooh, I almost forgot…
Dan went to A&E, AGAIN.
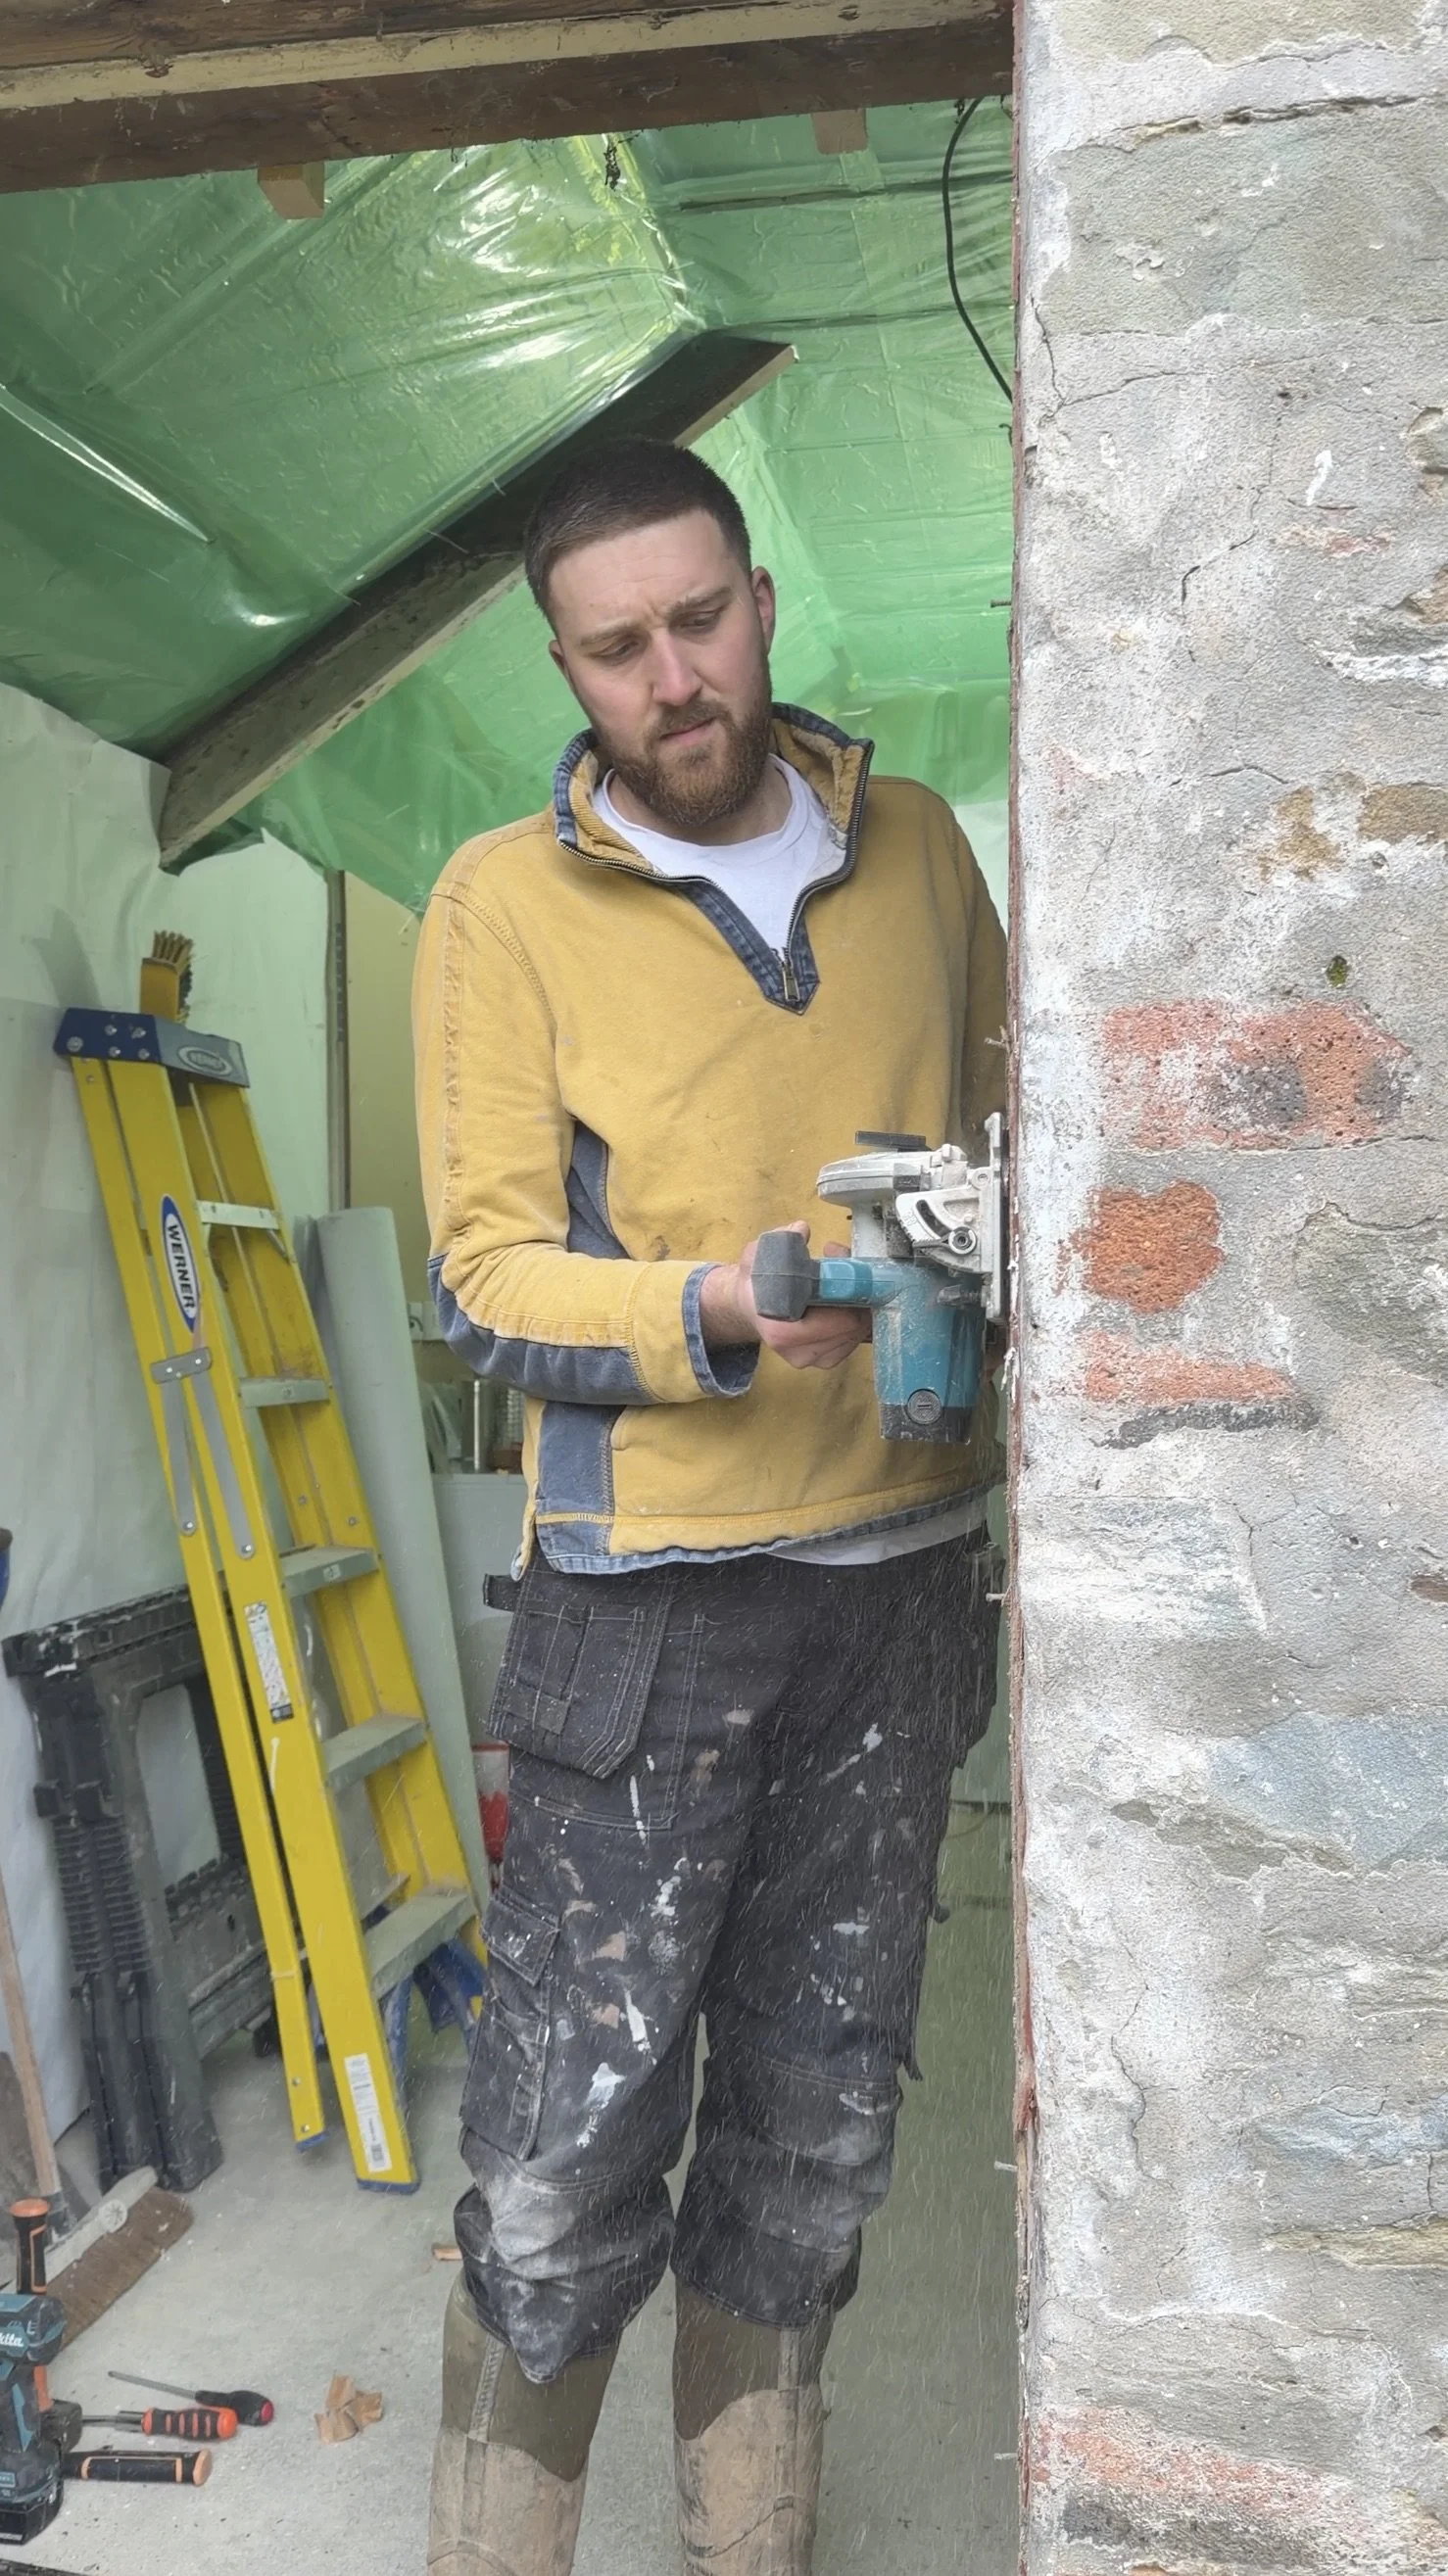
Whilst he was angle grinding concrete lintels into neat little angles to fit the opening, I suggested he should don a mask and safety specs. I could find a mask, but no specs. He went without - committed to the job and not to health and safety, as always.
He was then cutting wood with the circular saw, dust blowing all over the shop, and a bit of dust went into his eye. We finished the door fitting, fed the dogs, brought the horses in, and it still wasn’t right. On examination, and after copious saline washes, he still had something dark and tiny stuck over his pupil, and it wouldn’t budge. The eye looked bad - it was 6:30pm on a Thursday night so A&E was the only option left.
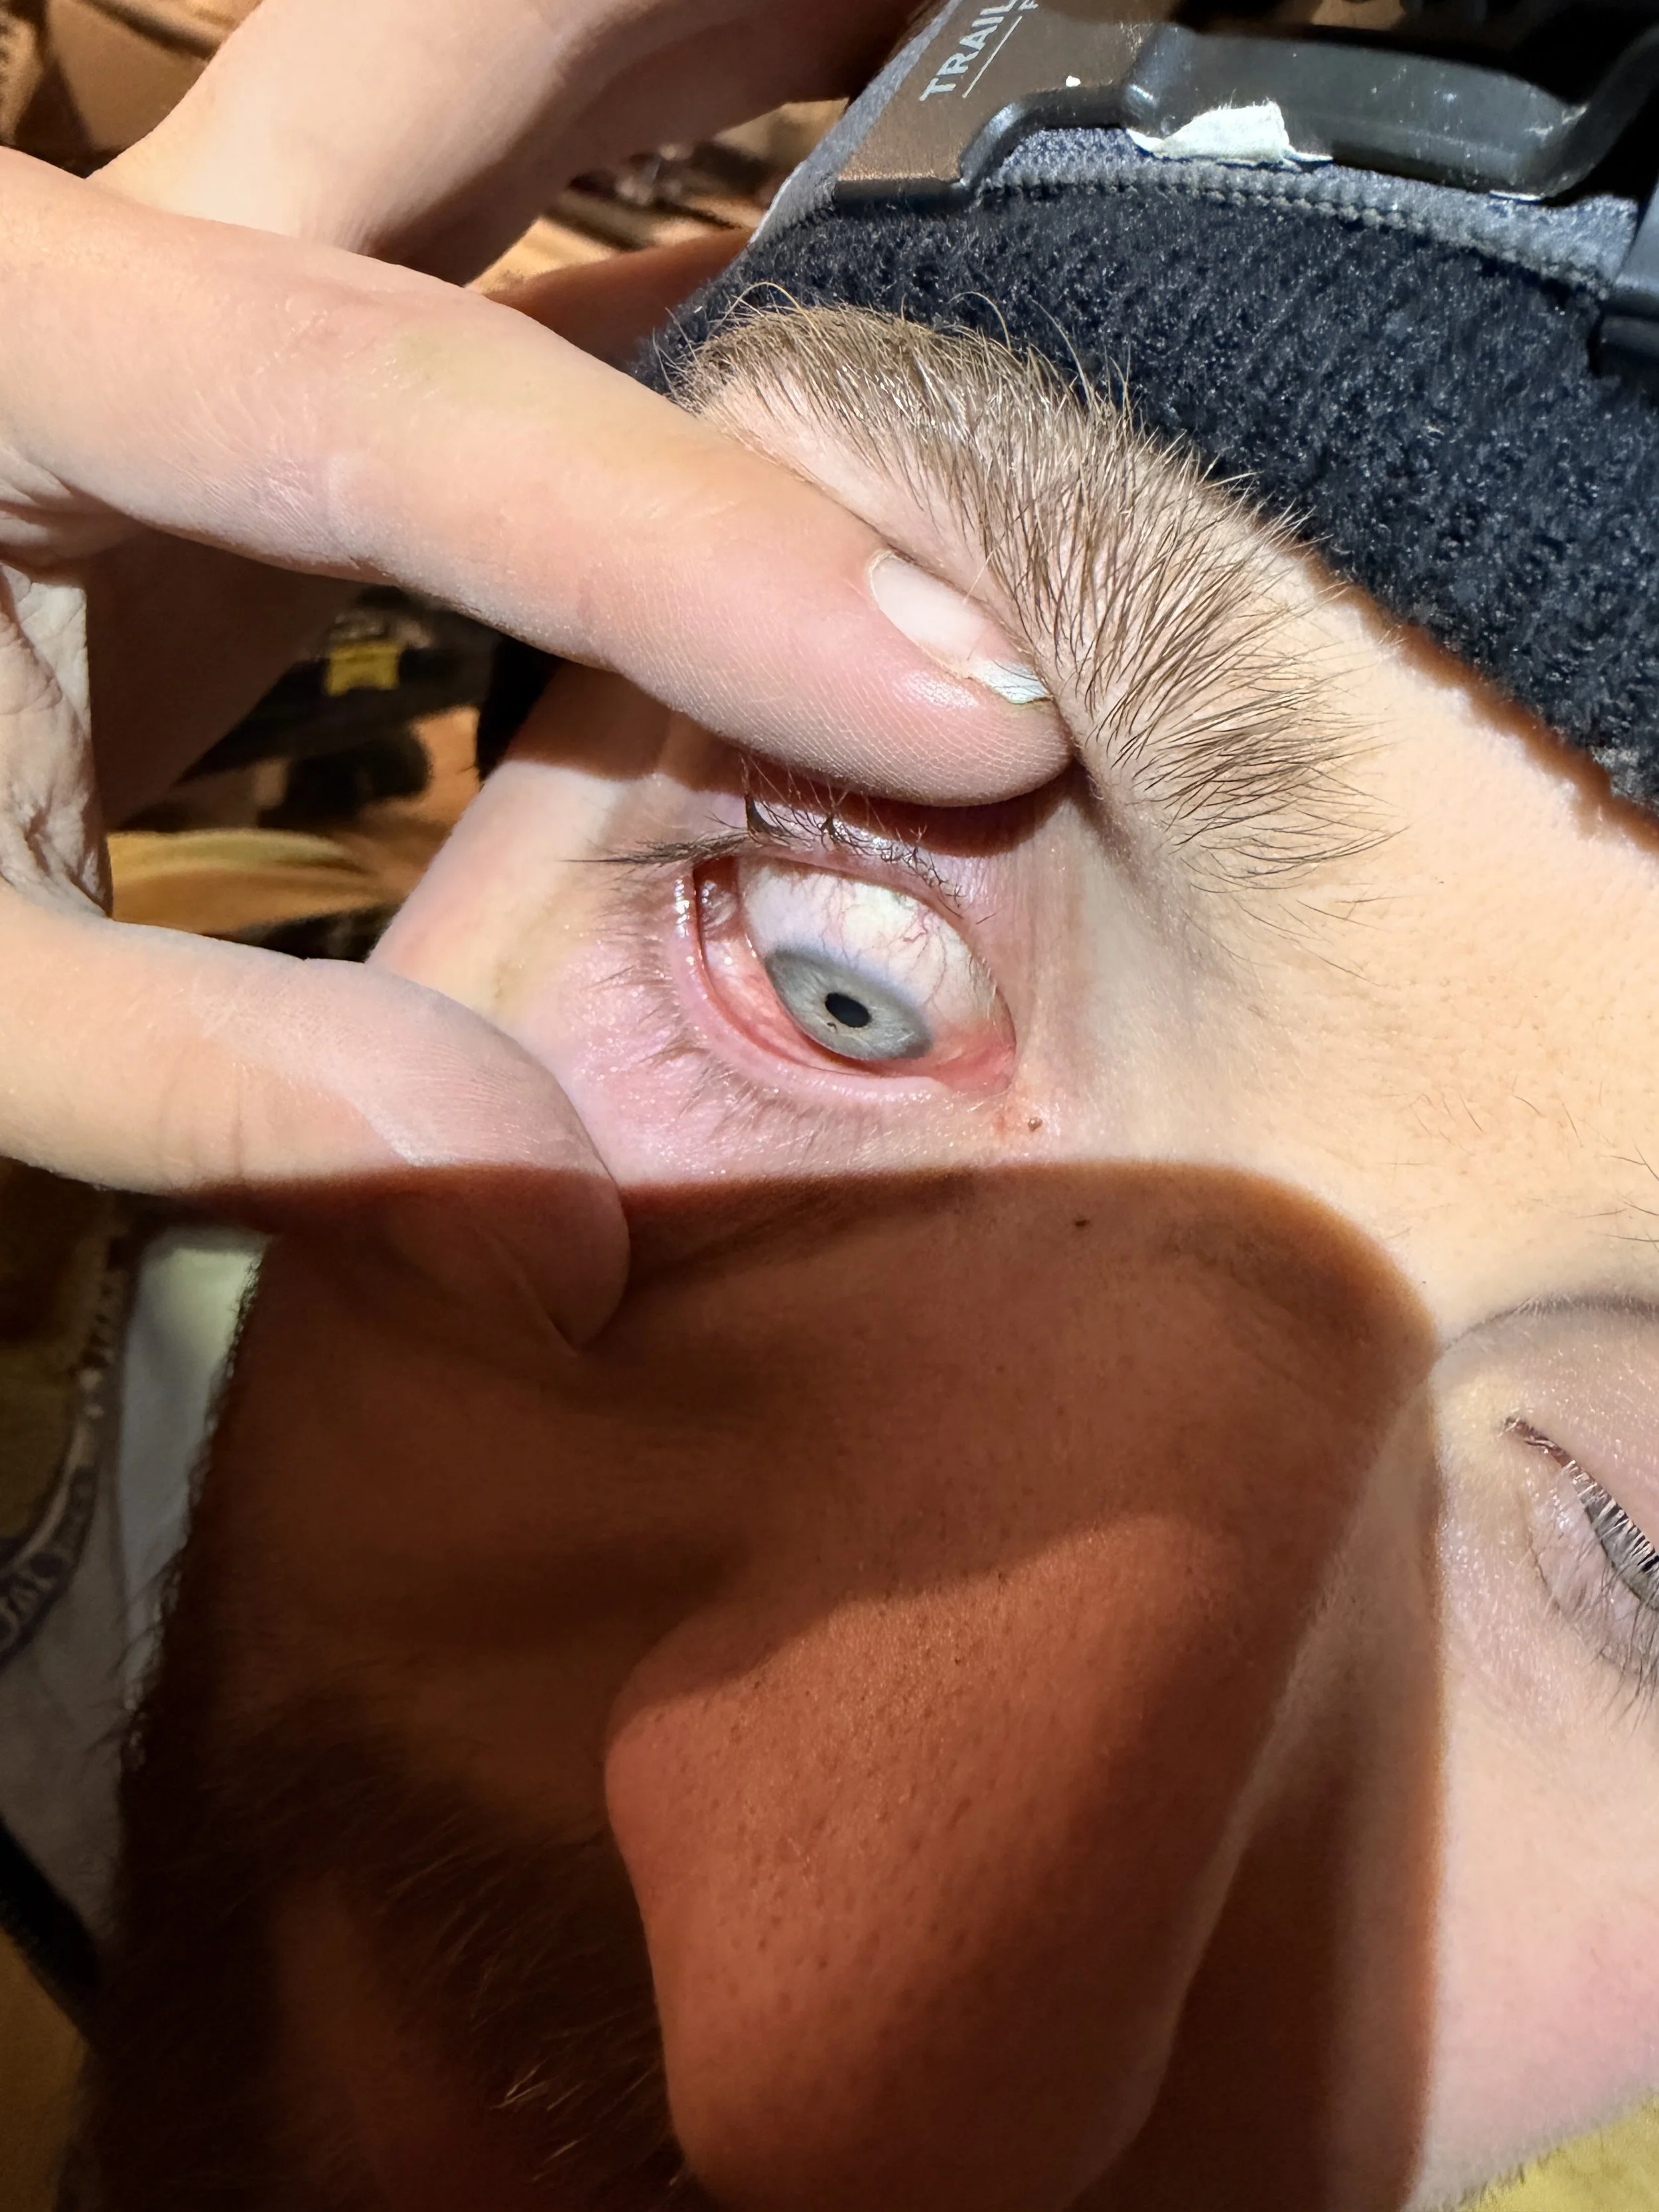
We swung by the takeaway, then dropped Dan at A&E with me waiting in the car to eat my pizza. 3 hours later, Dan returned minus the tiny shard of metal that had stuck into his cornea, right over the pupil. The shard was probably from the circular saw blade itself, and it was removed with a giant needle. Now he has to have eye ointment 4 times a day for a couple of weeks. He also received 40 pairs of safety specs the next morning (I can shop and eat), which he proceeded to wear for every single task, as he should.
Thank goodness for the NHS.
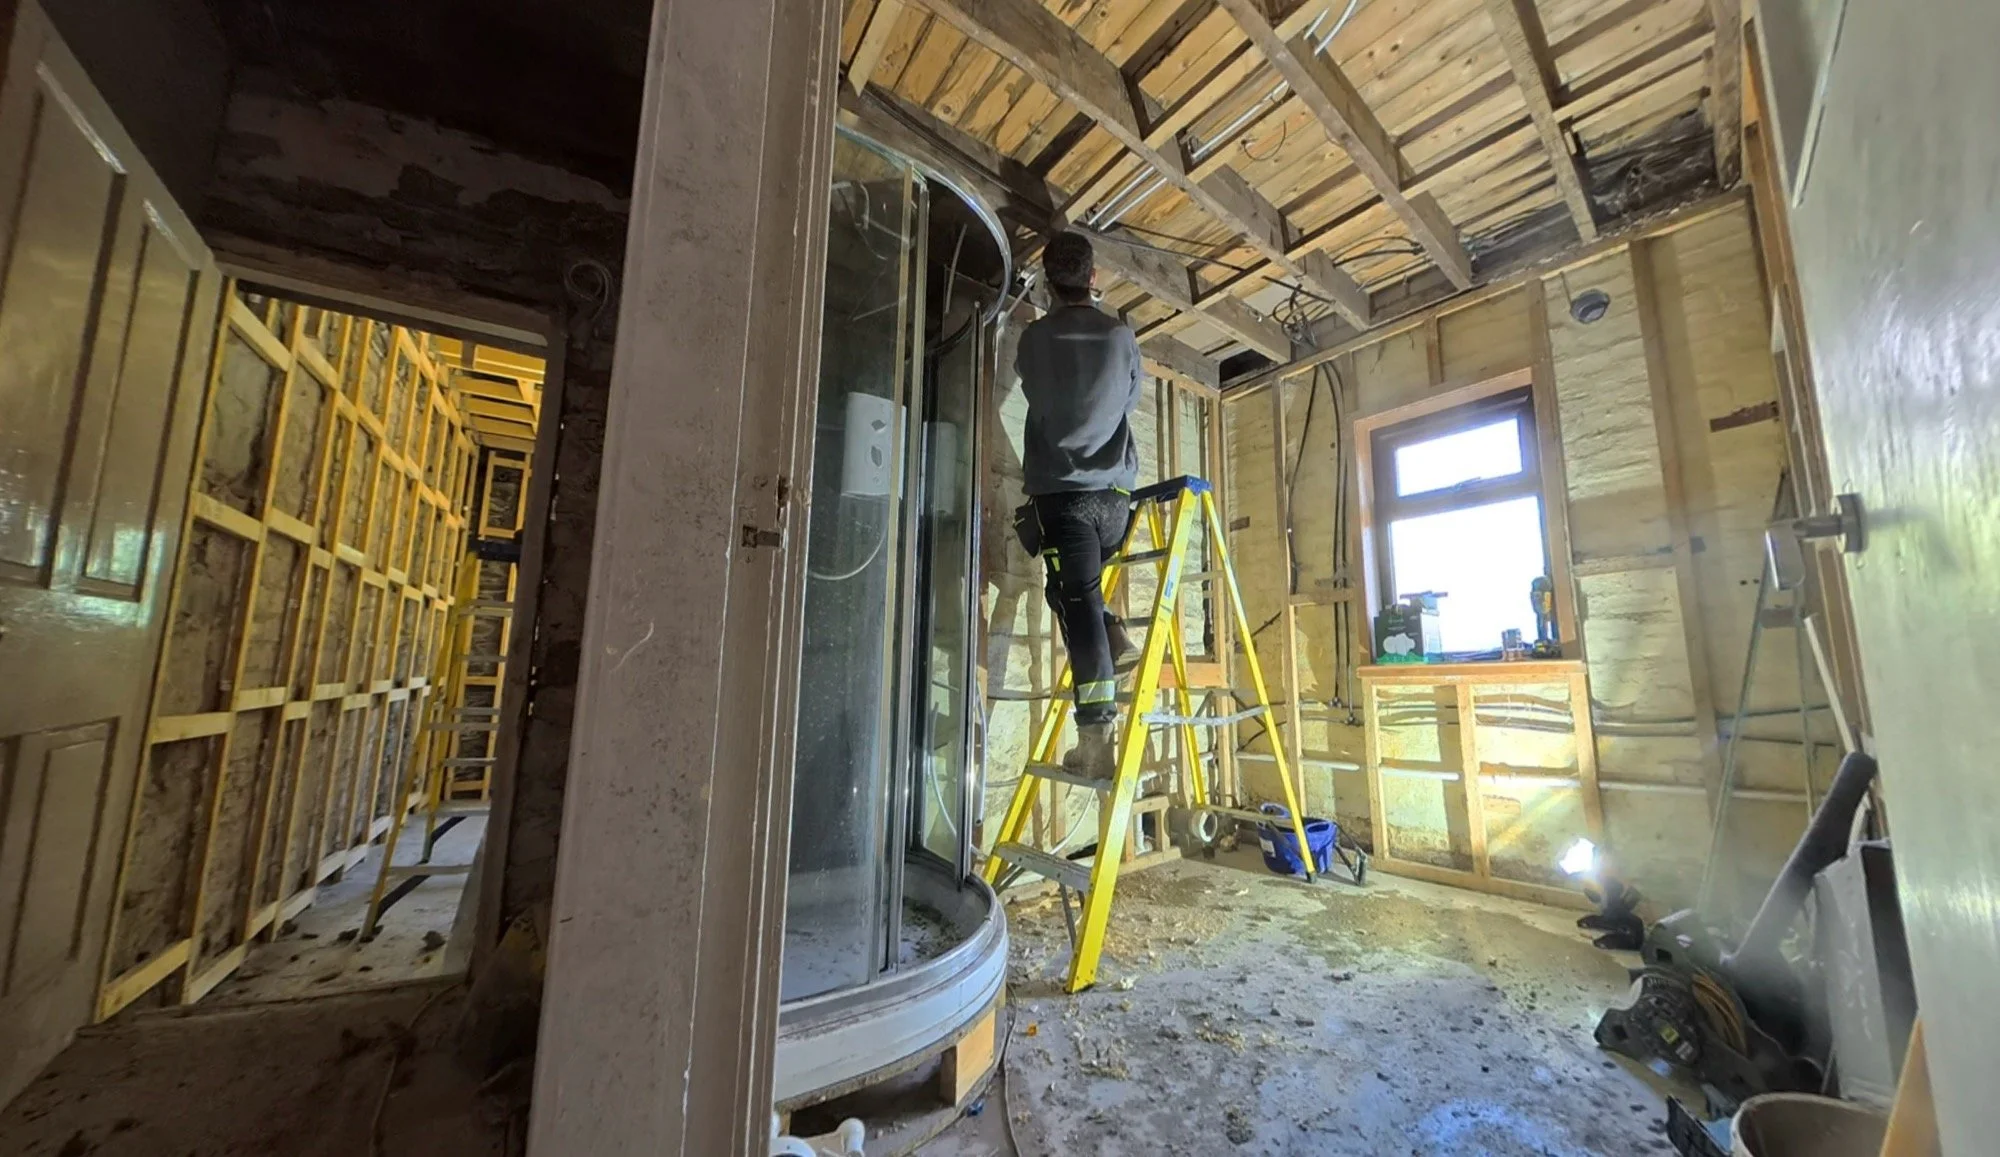
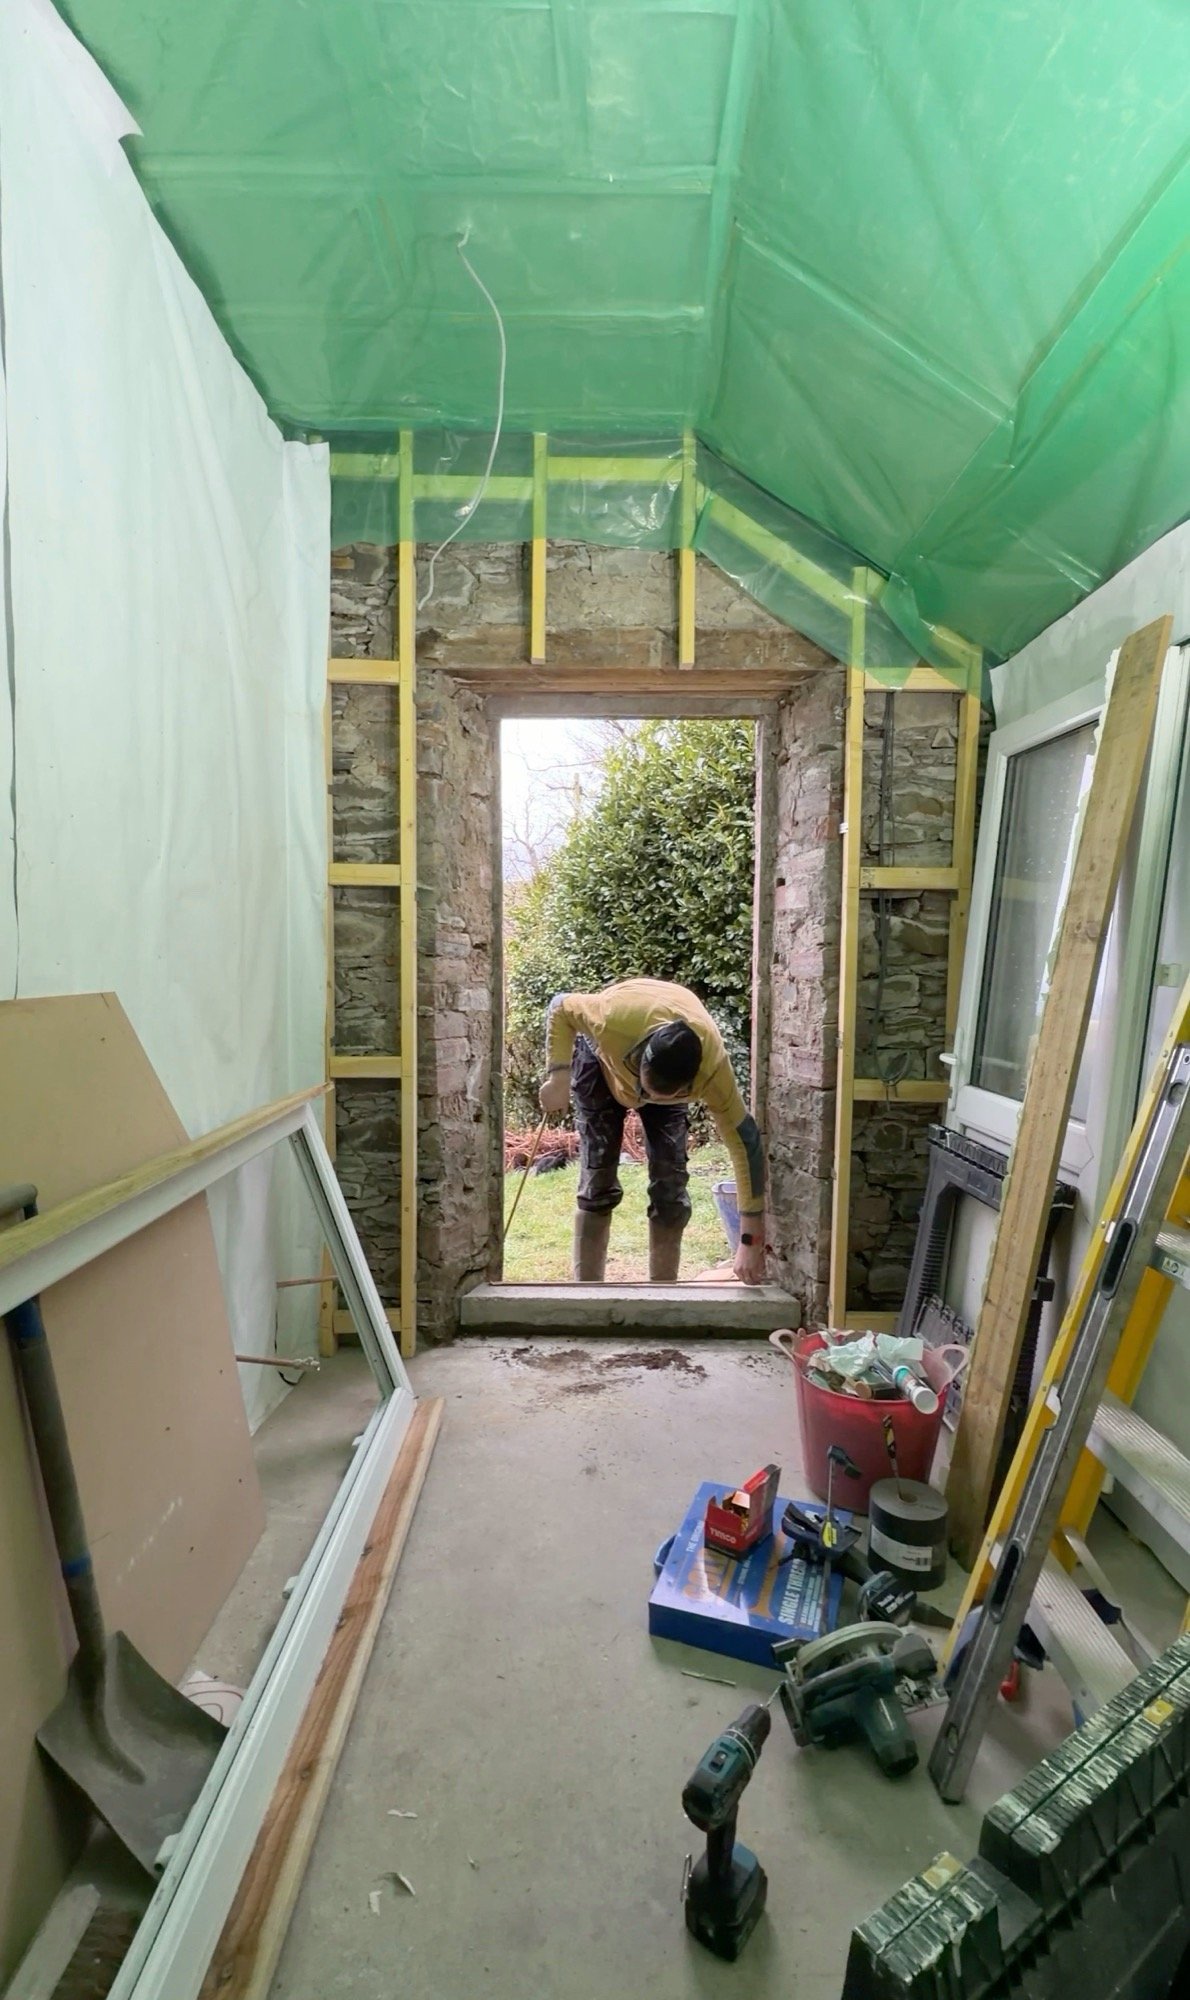
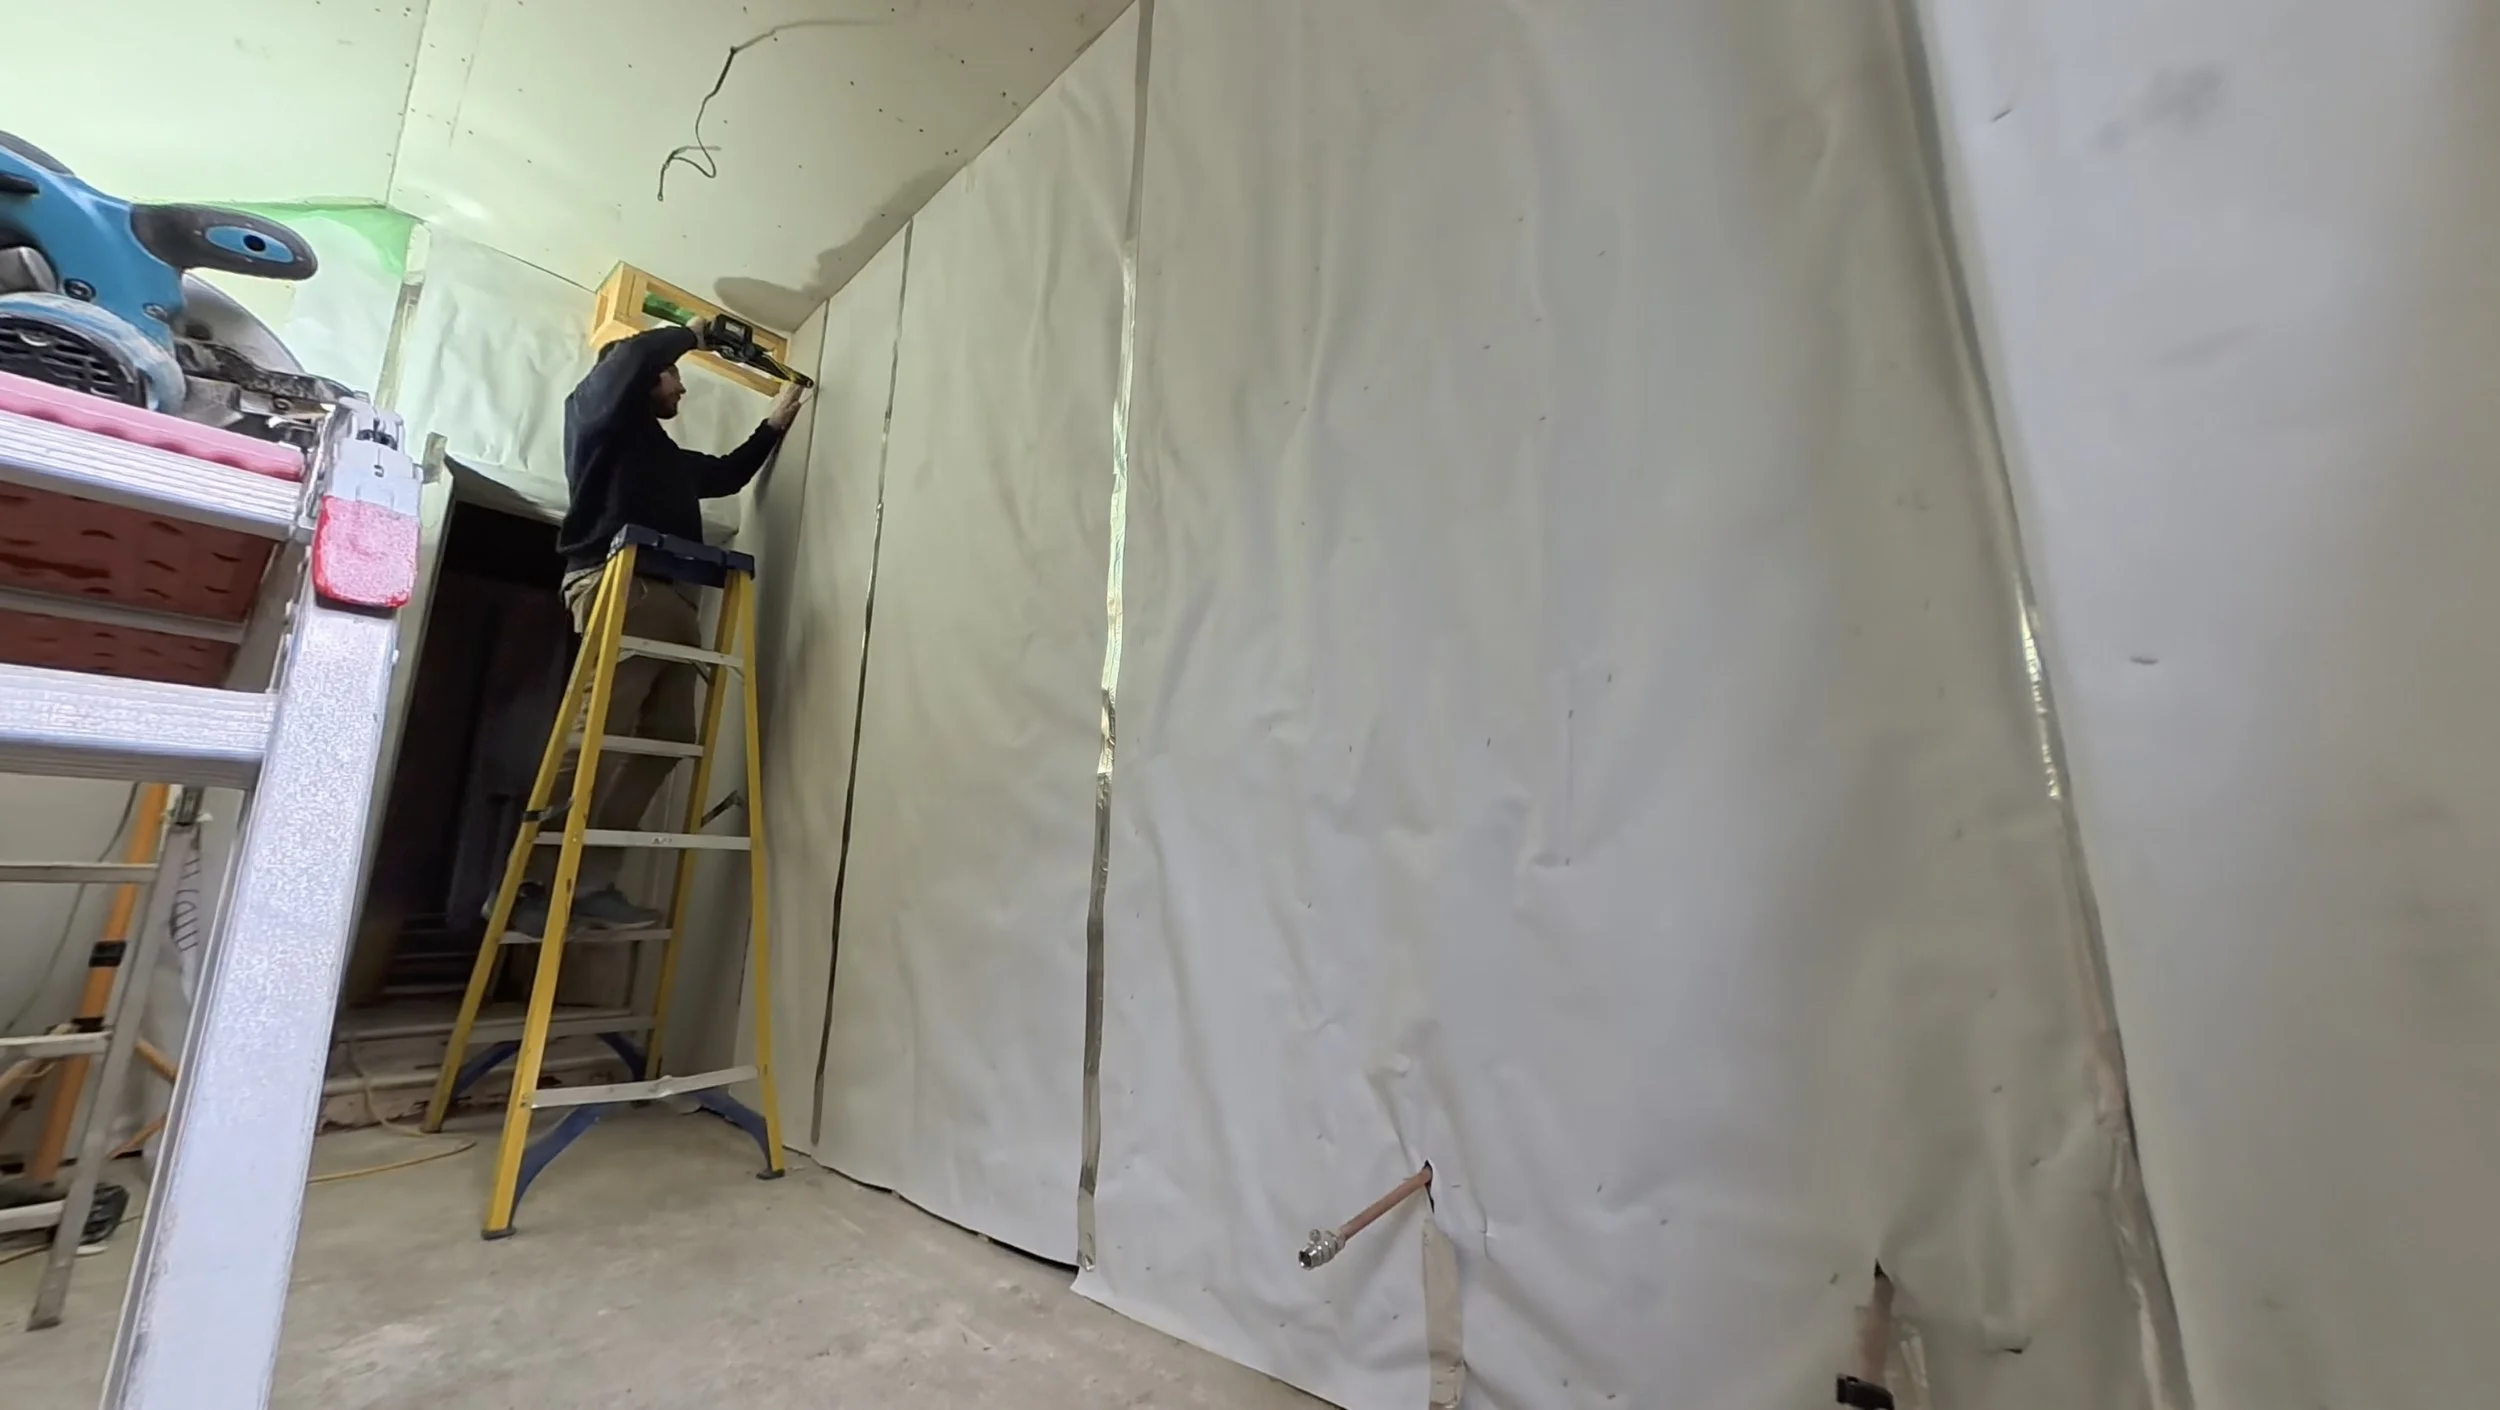
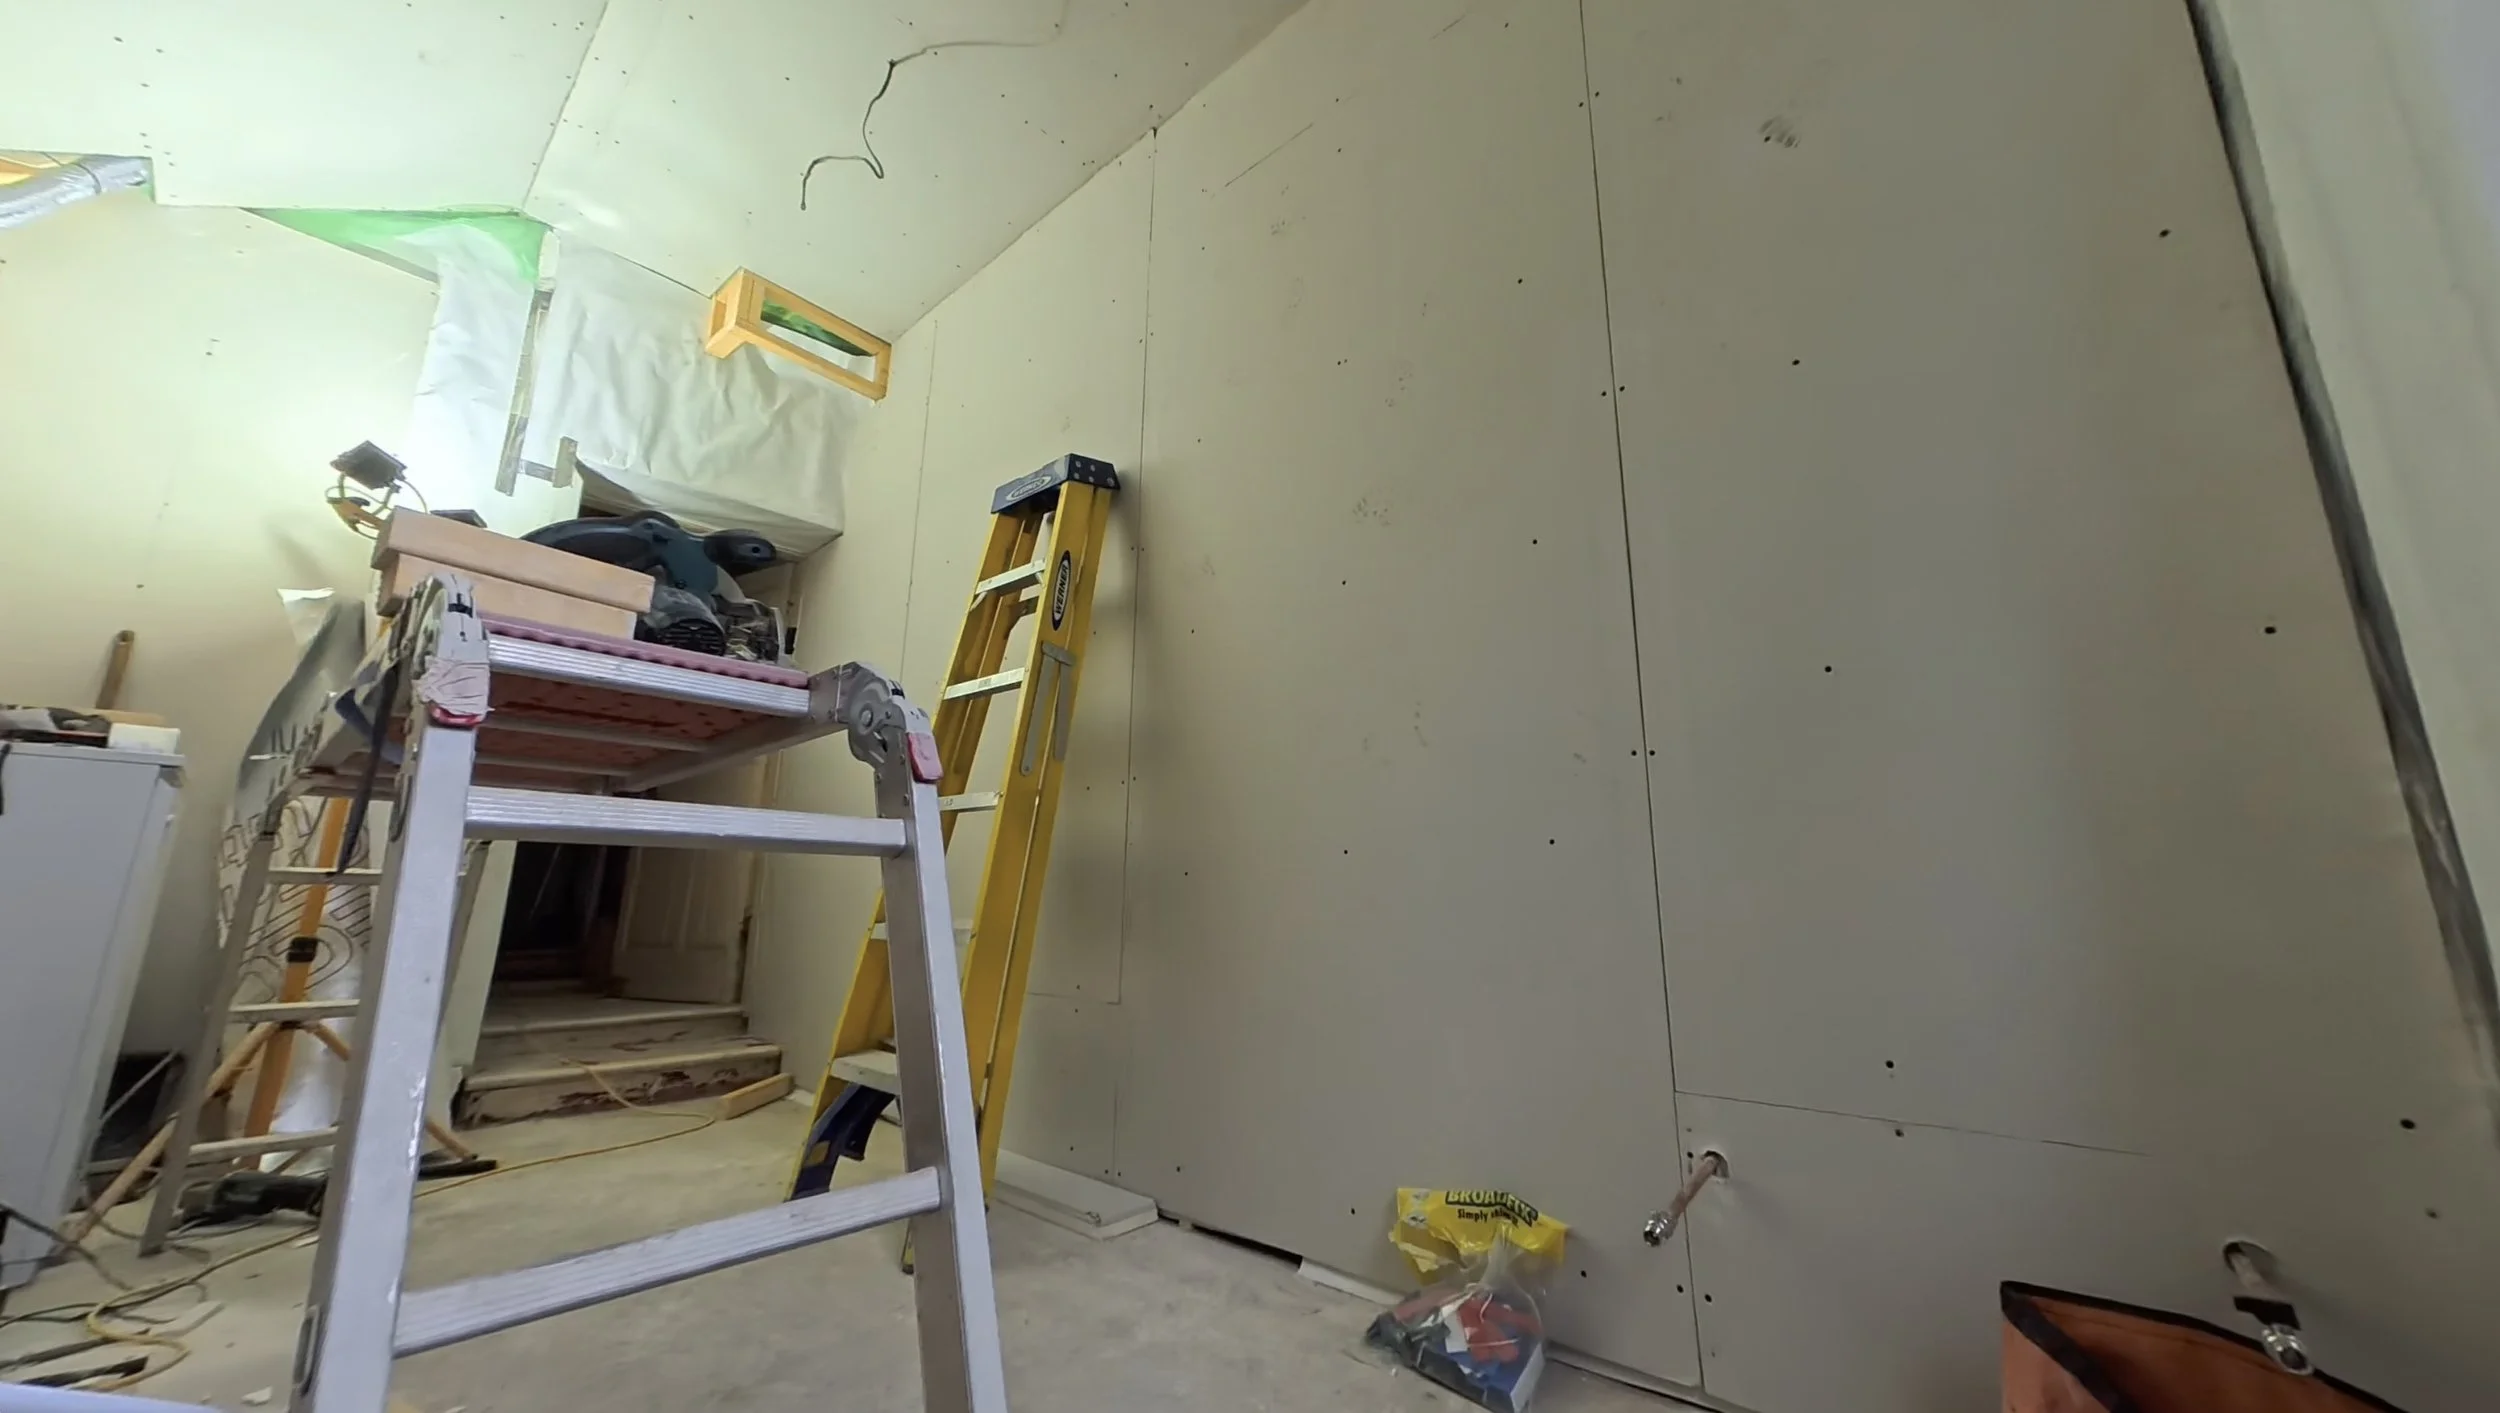
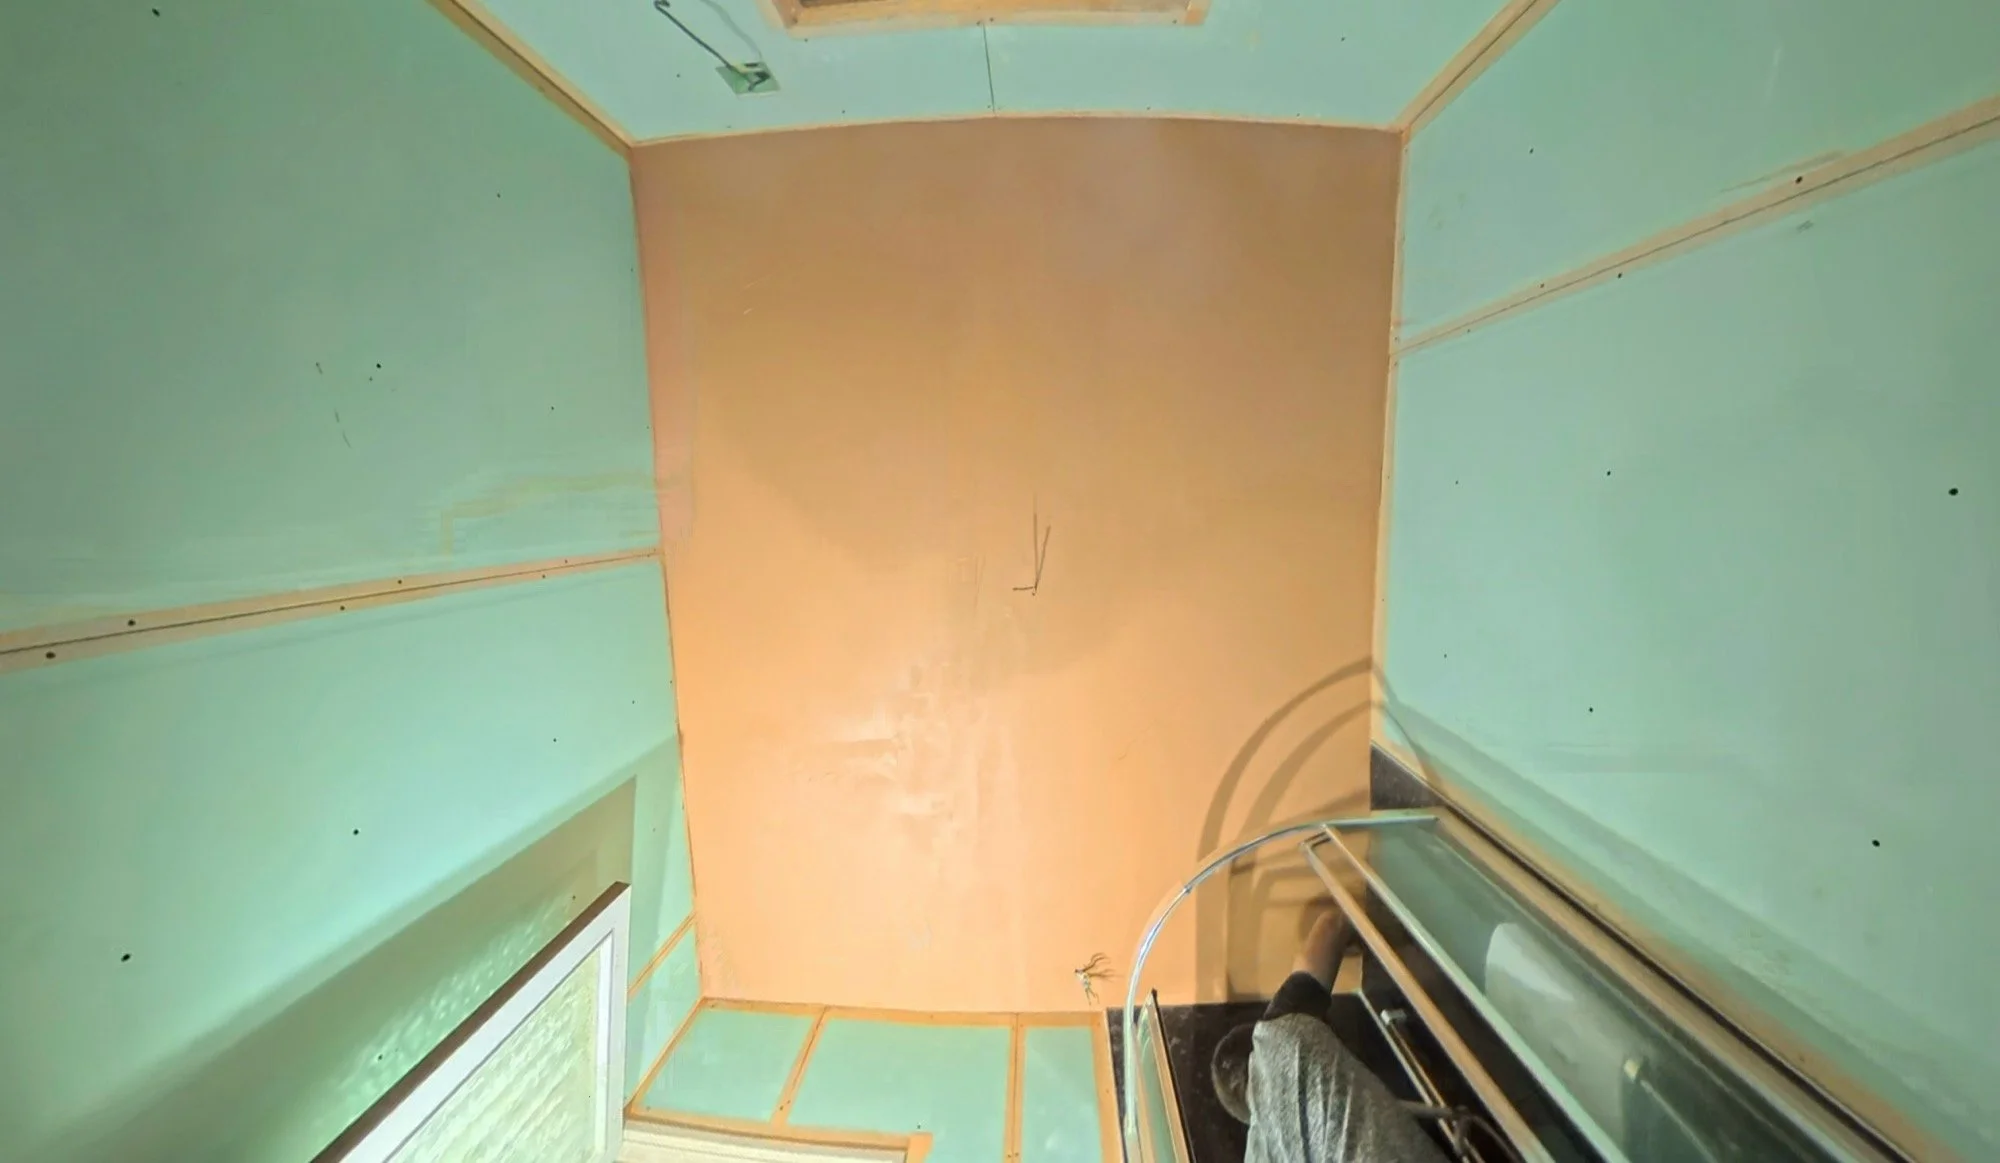
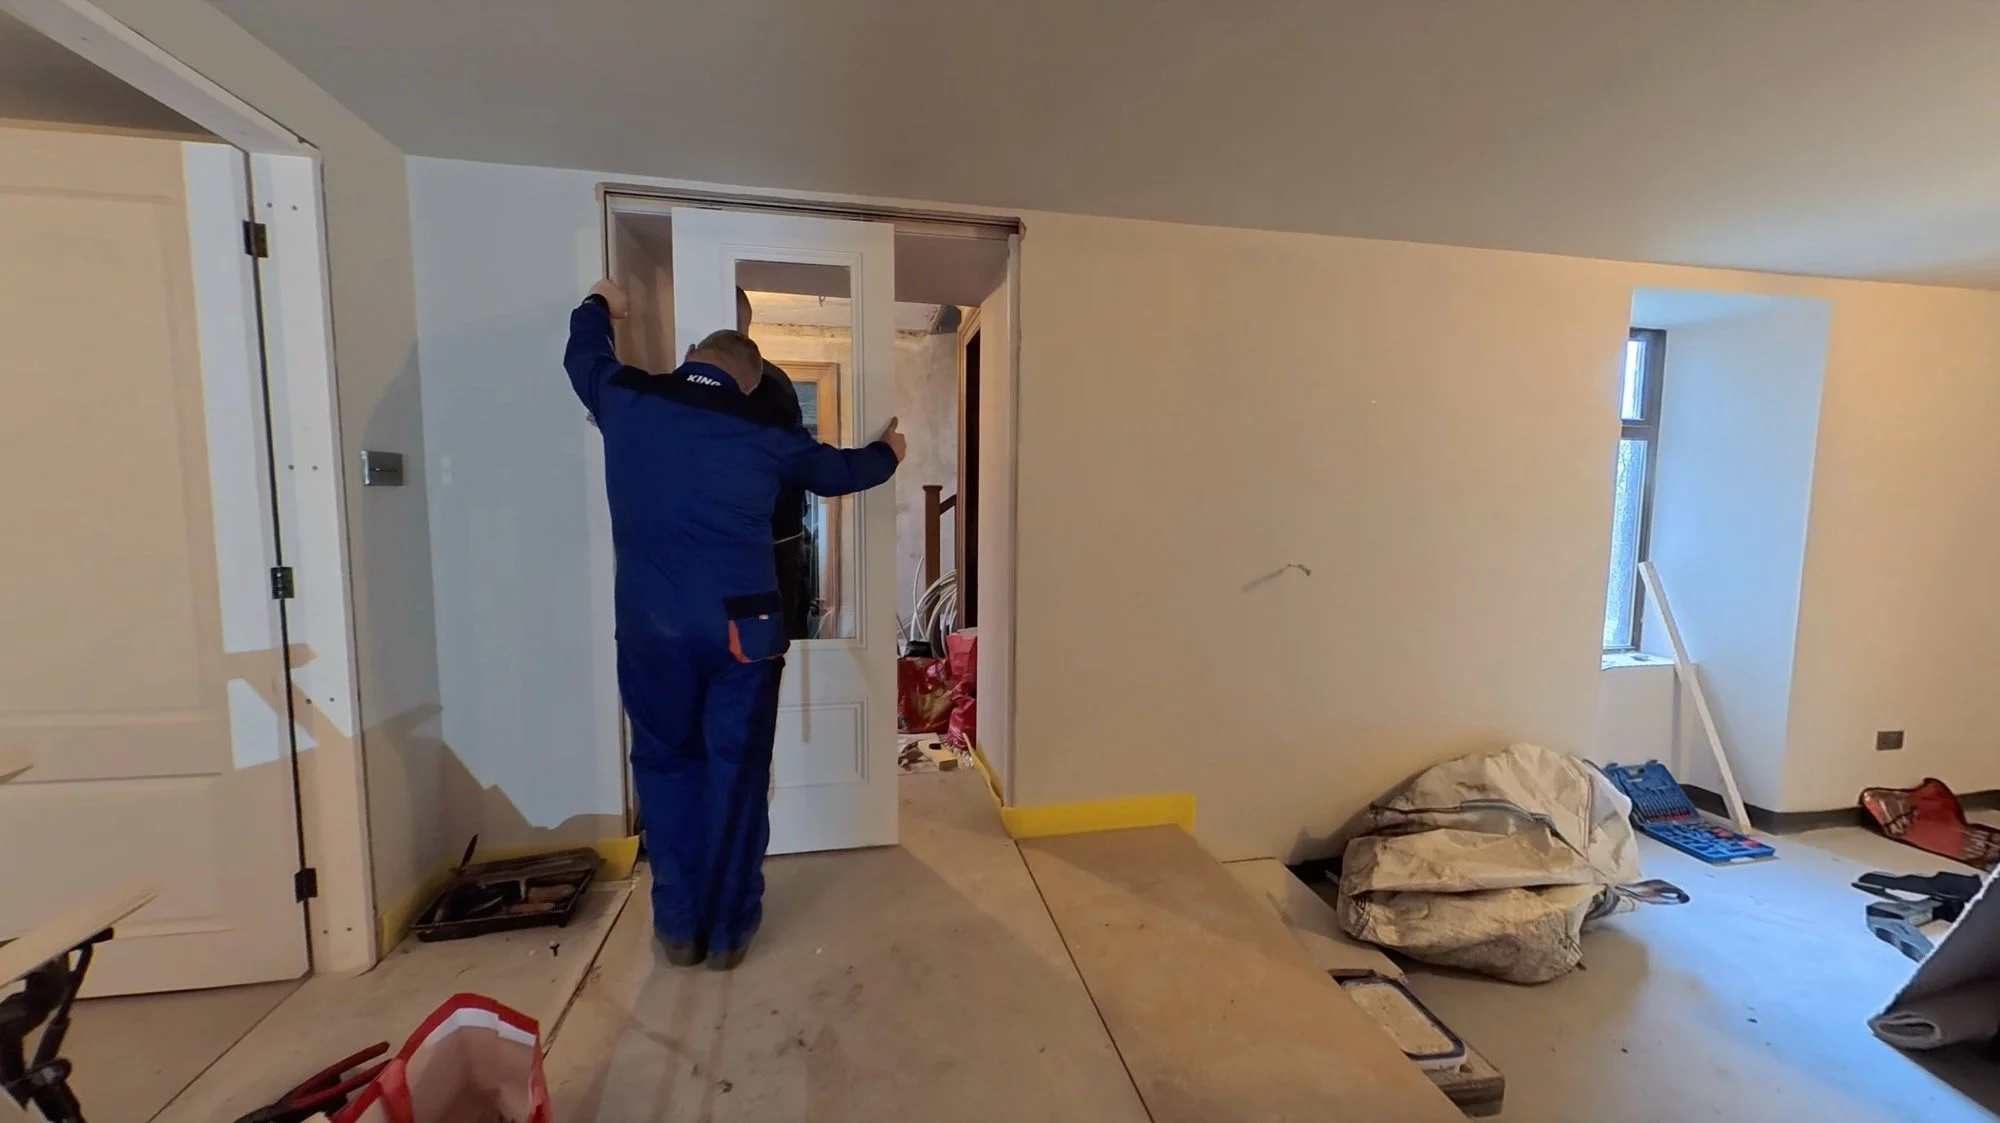
THEN, today (Friday), Dan was doing those outside sealing and PVC bits as mentioned, but he was also framing up the inside of the doorway too. I’d asked for angled reveals on each side, to match the stonework there, and that’s what he’s building now. At the time of writing, Friday at 6pm, the room looks like this with the right side framed and the left still to do:
There’s been other things arriving this week, those sliding double doors for the arch-not-an-arch and a very much needed harrow and roller for the quad. We need to get the grassland sorted before we switch to too dry to do anything.
Oh, and we’re also on the final 7 day countdown to the start of the SC26 Photography Retreat… it’s a busy month, so I best go do some work!
March Week 2:
I’m writing this at the end of Week 4, and so looking this far back feels like trying to remember what you had for breakfast on the 23rd of July last year… kind of a stab in the dark! March Week 2 is birthday week for me, and Retreat starting week, so a fair chunk of time is set aside to prepare and handle both of those things. However, because students would be visiting the farm again this year, we needed to get a couple of things done. These included:
Move out of the Cottage (Dan’s parents were moving in there, we were moving to the farmhouse)
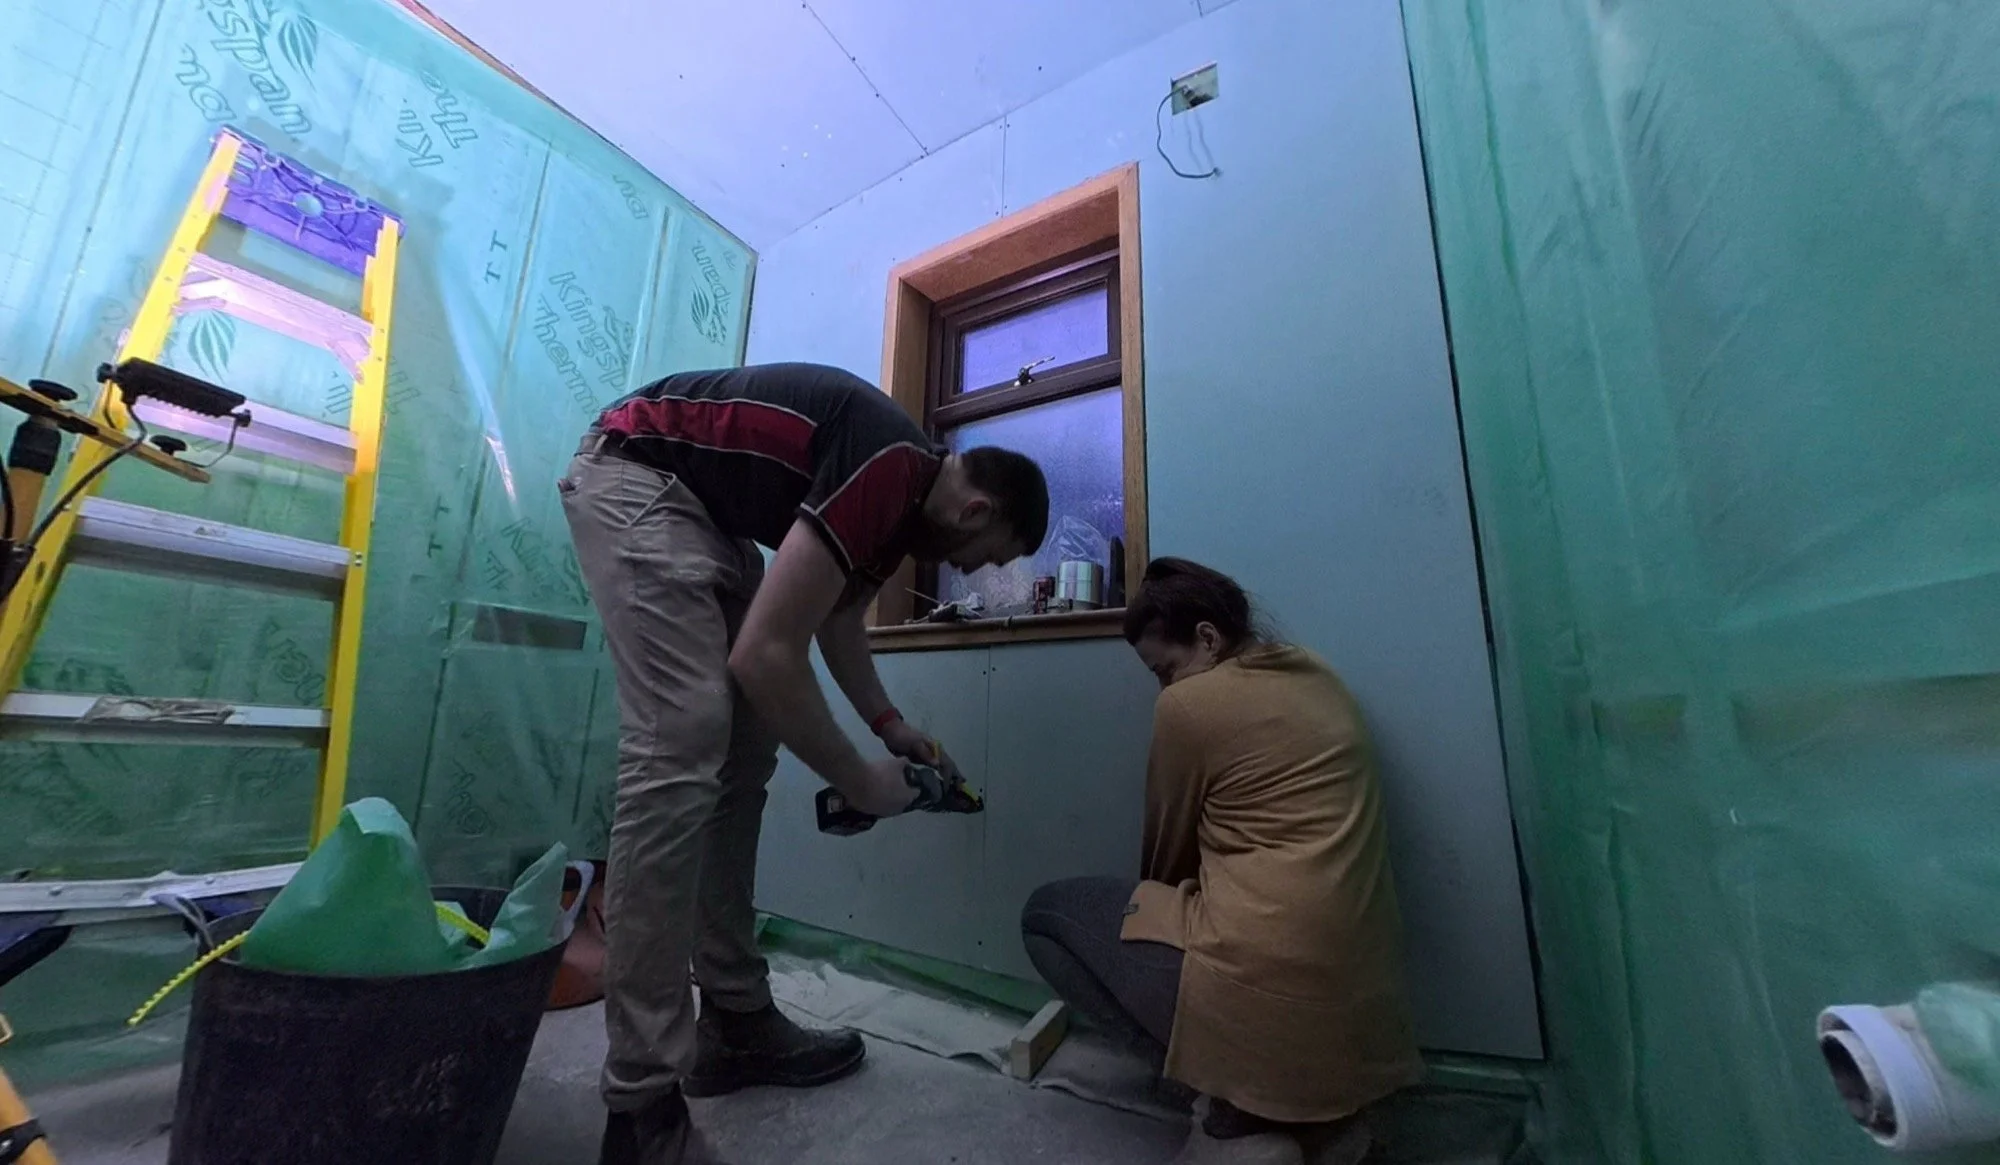
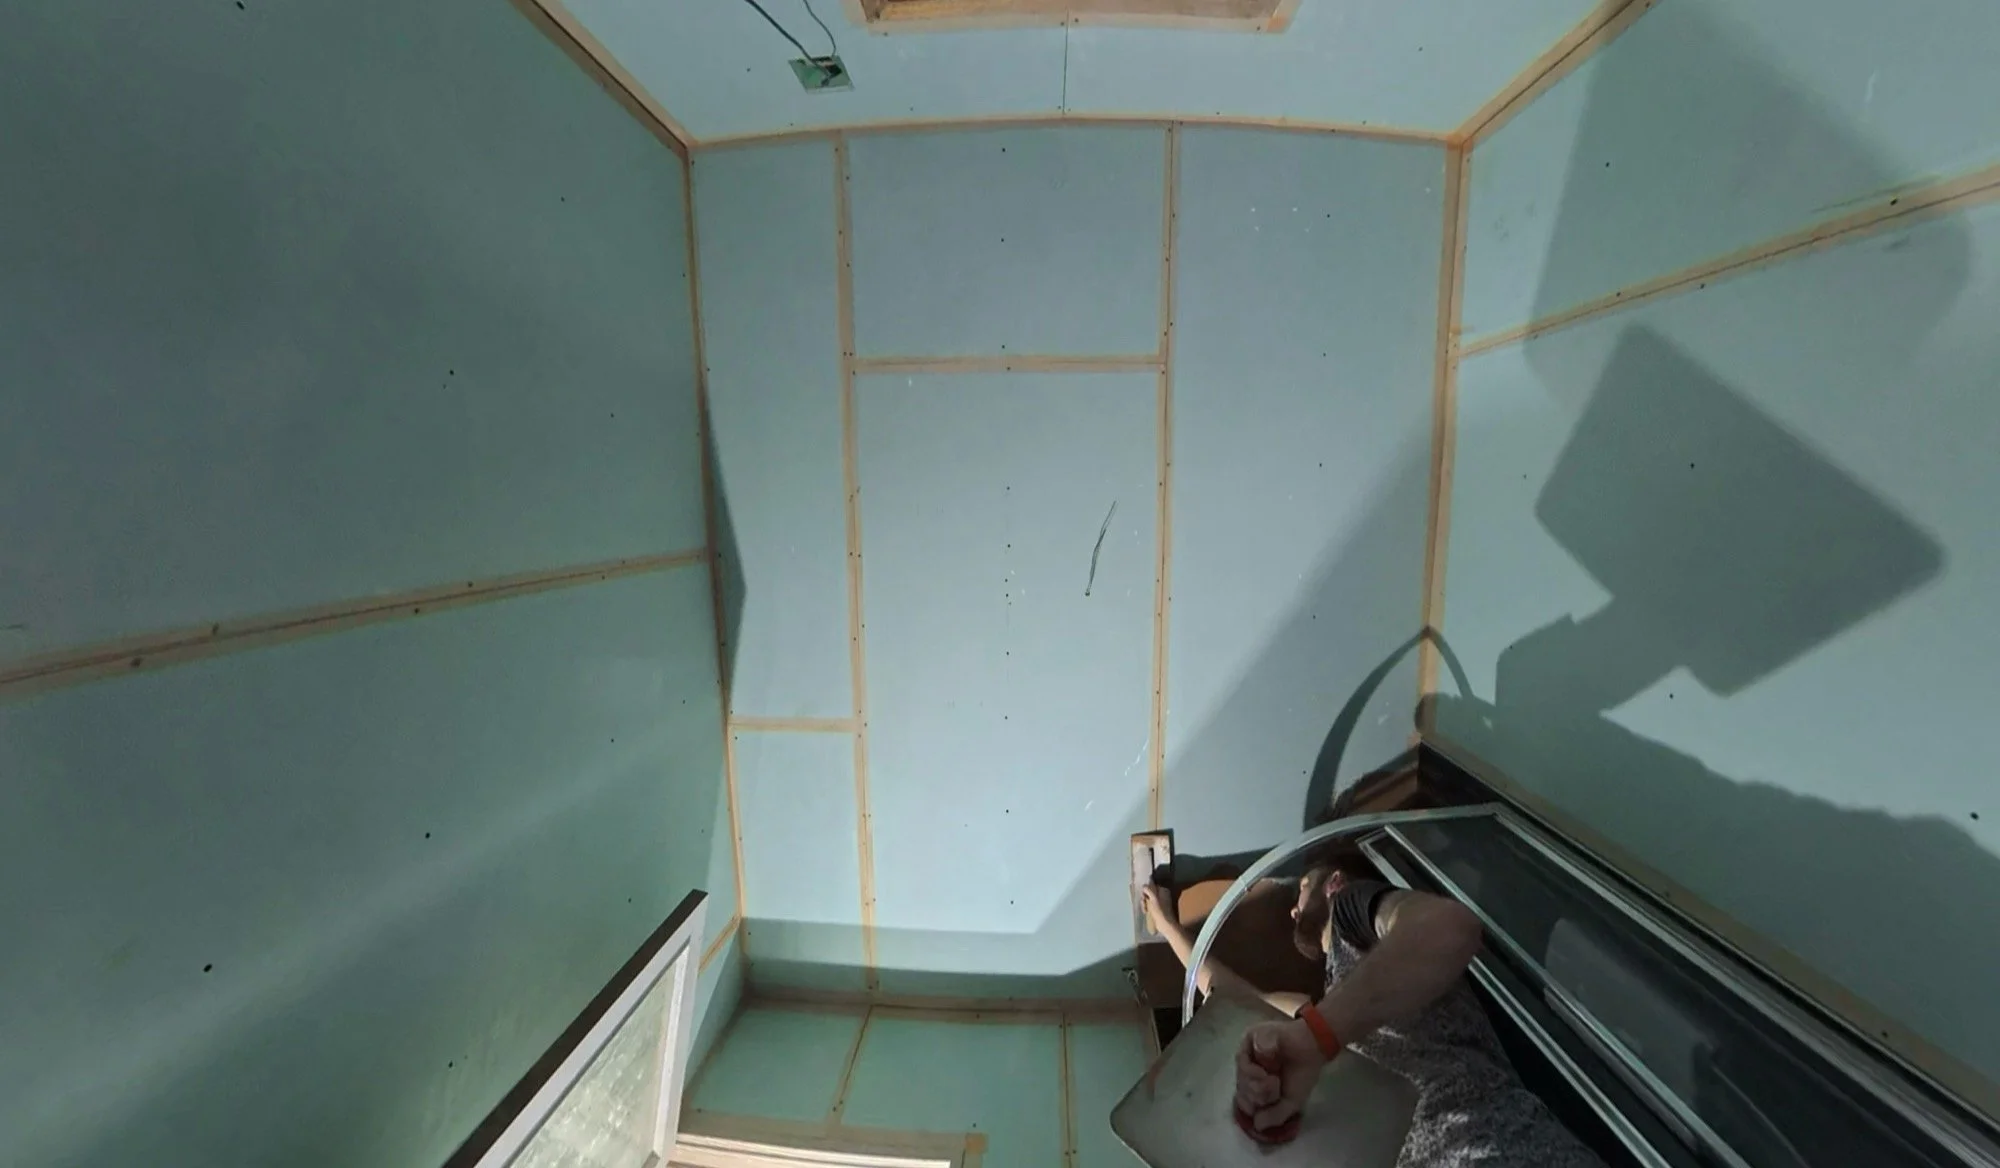
Board out the dog room
Plaster the downstairs shower room
Refit the toilet & sink
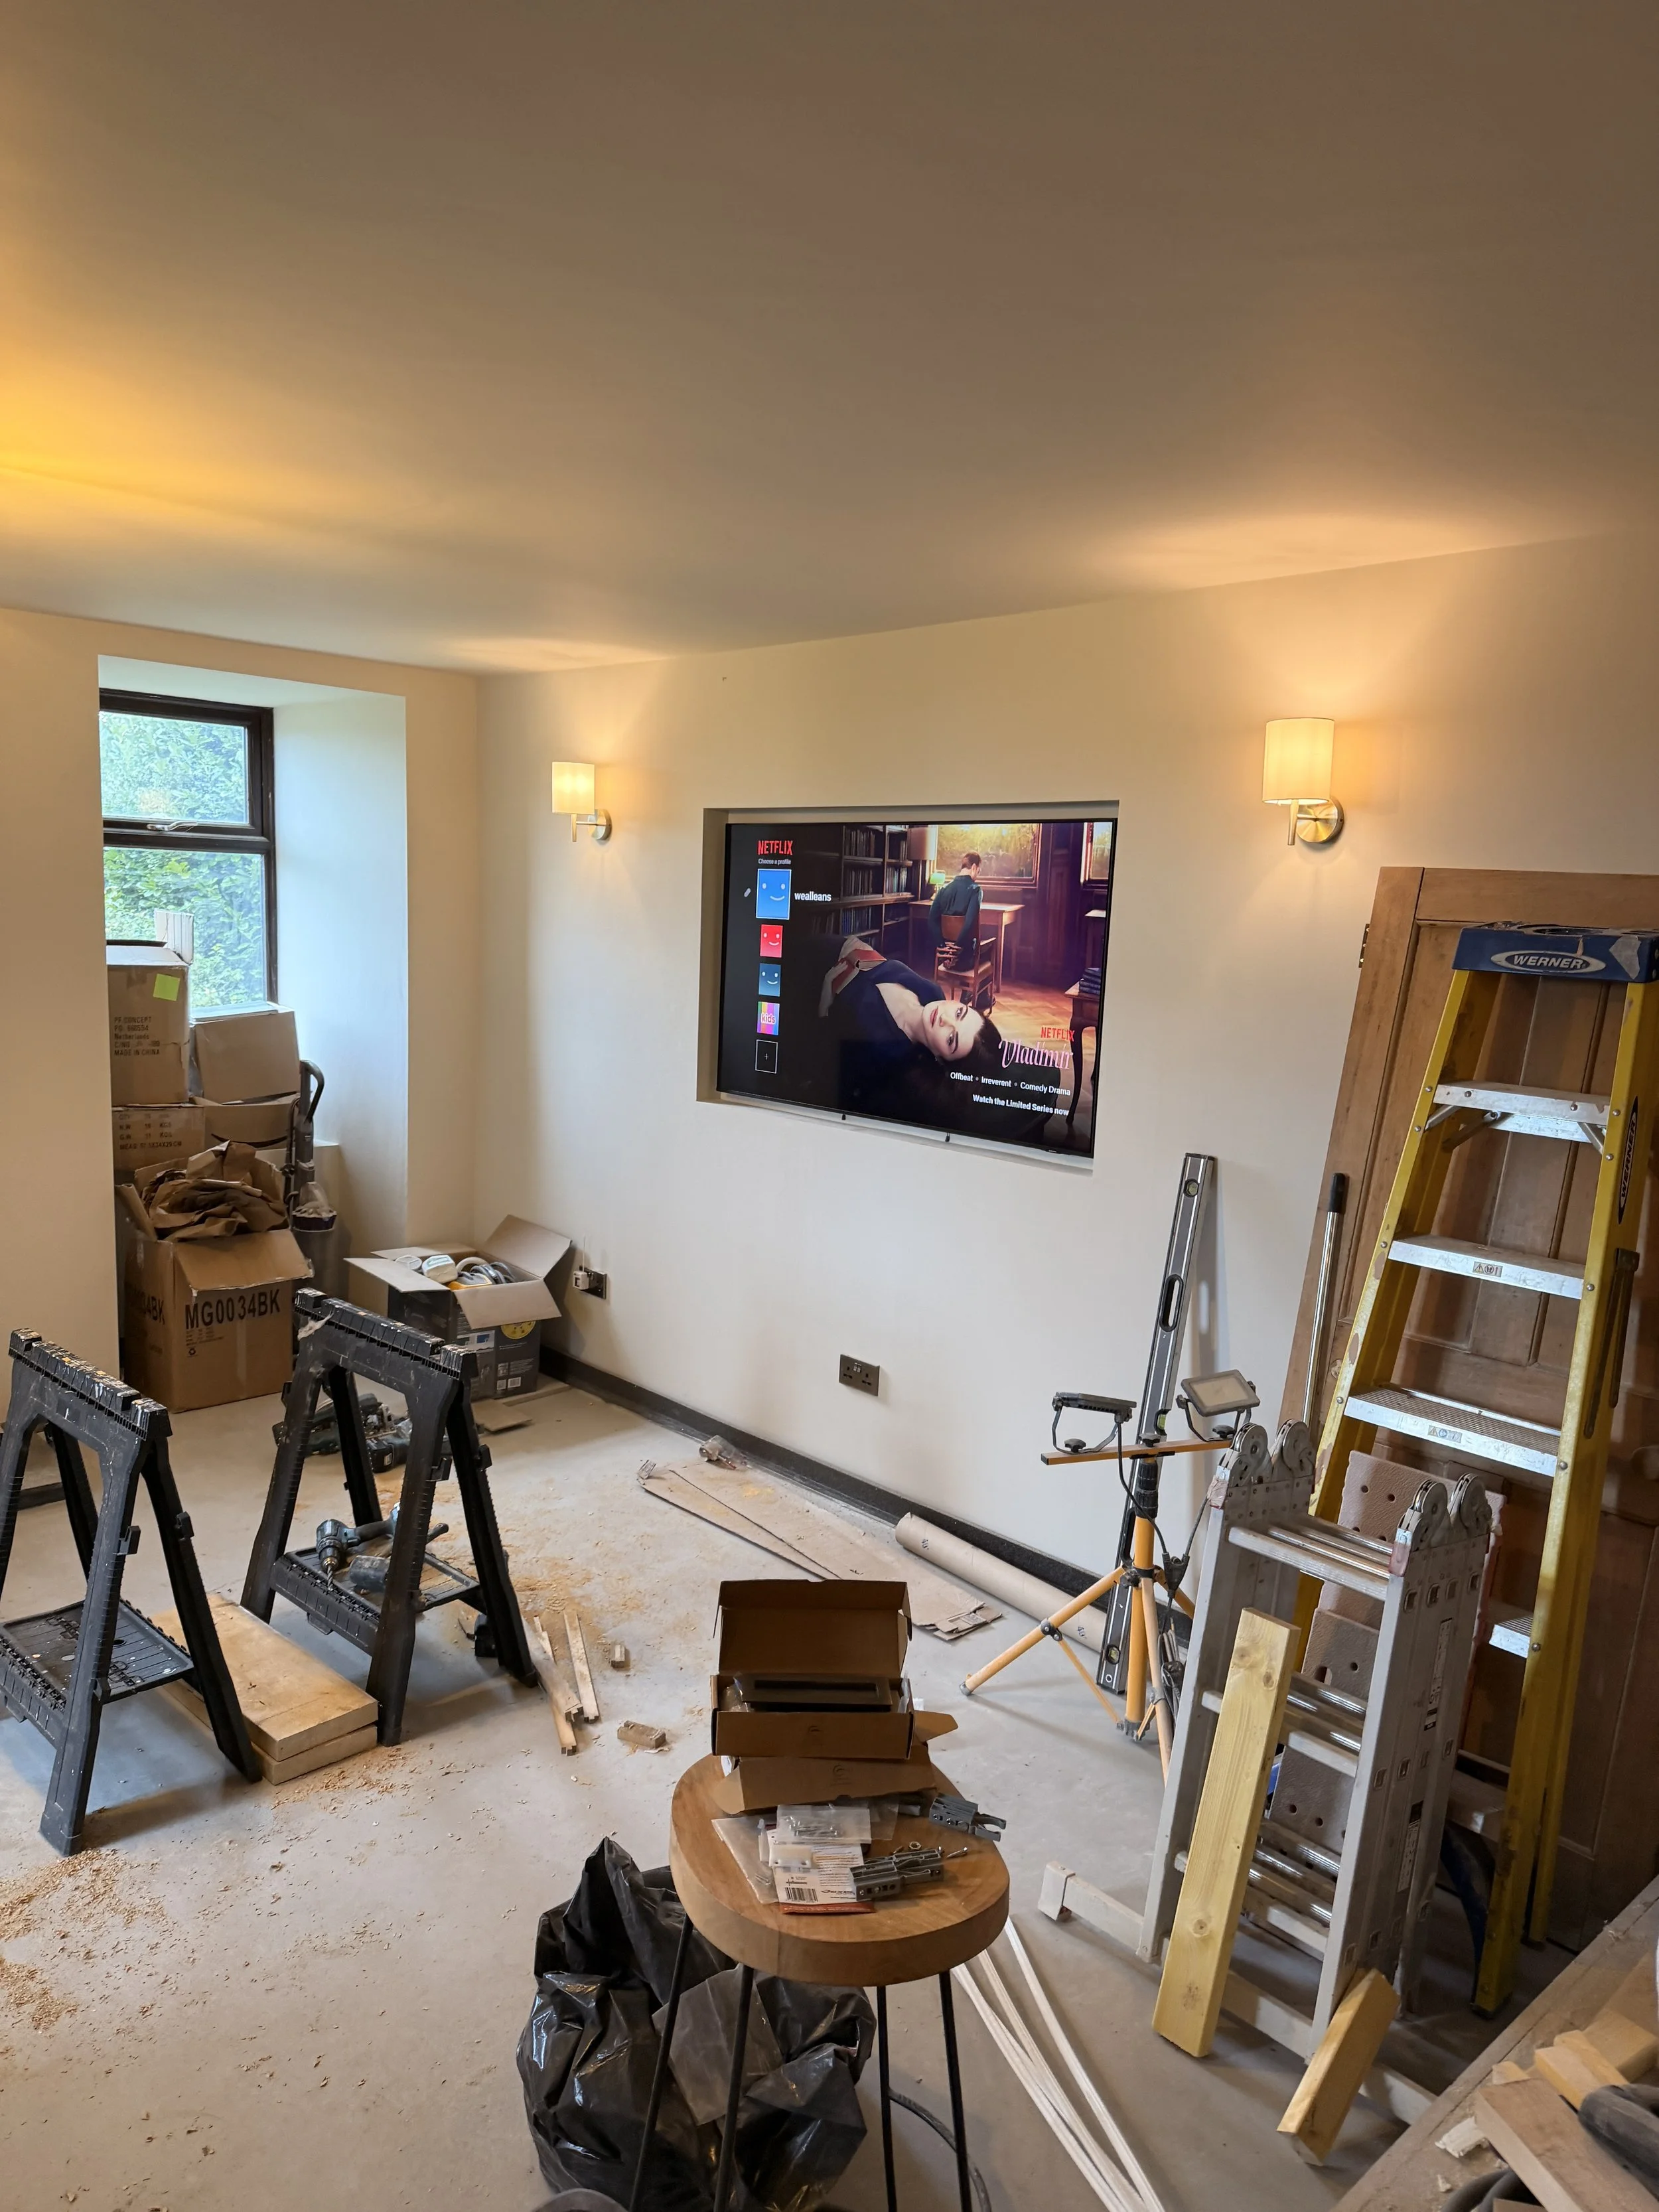
Put the old studio TV up into the media wall TV slot in the new lounge
Put the double pocket door in
Tidy up as best as physically possible
Have the family round, and then go start work.
There was a LOT more than that to fit into this week, but this was our priority list and thankfully, we managed all of the above.
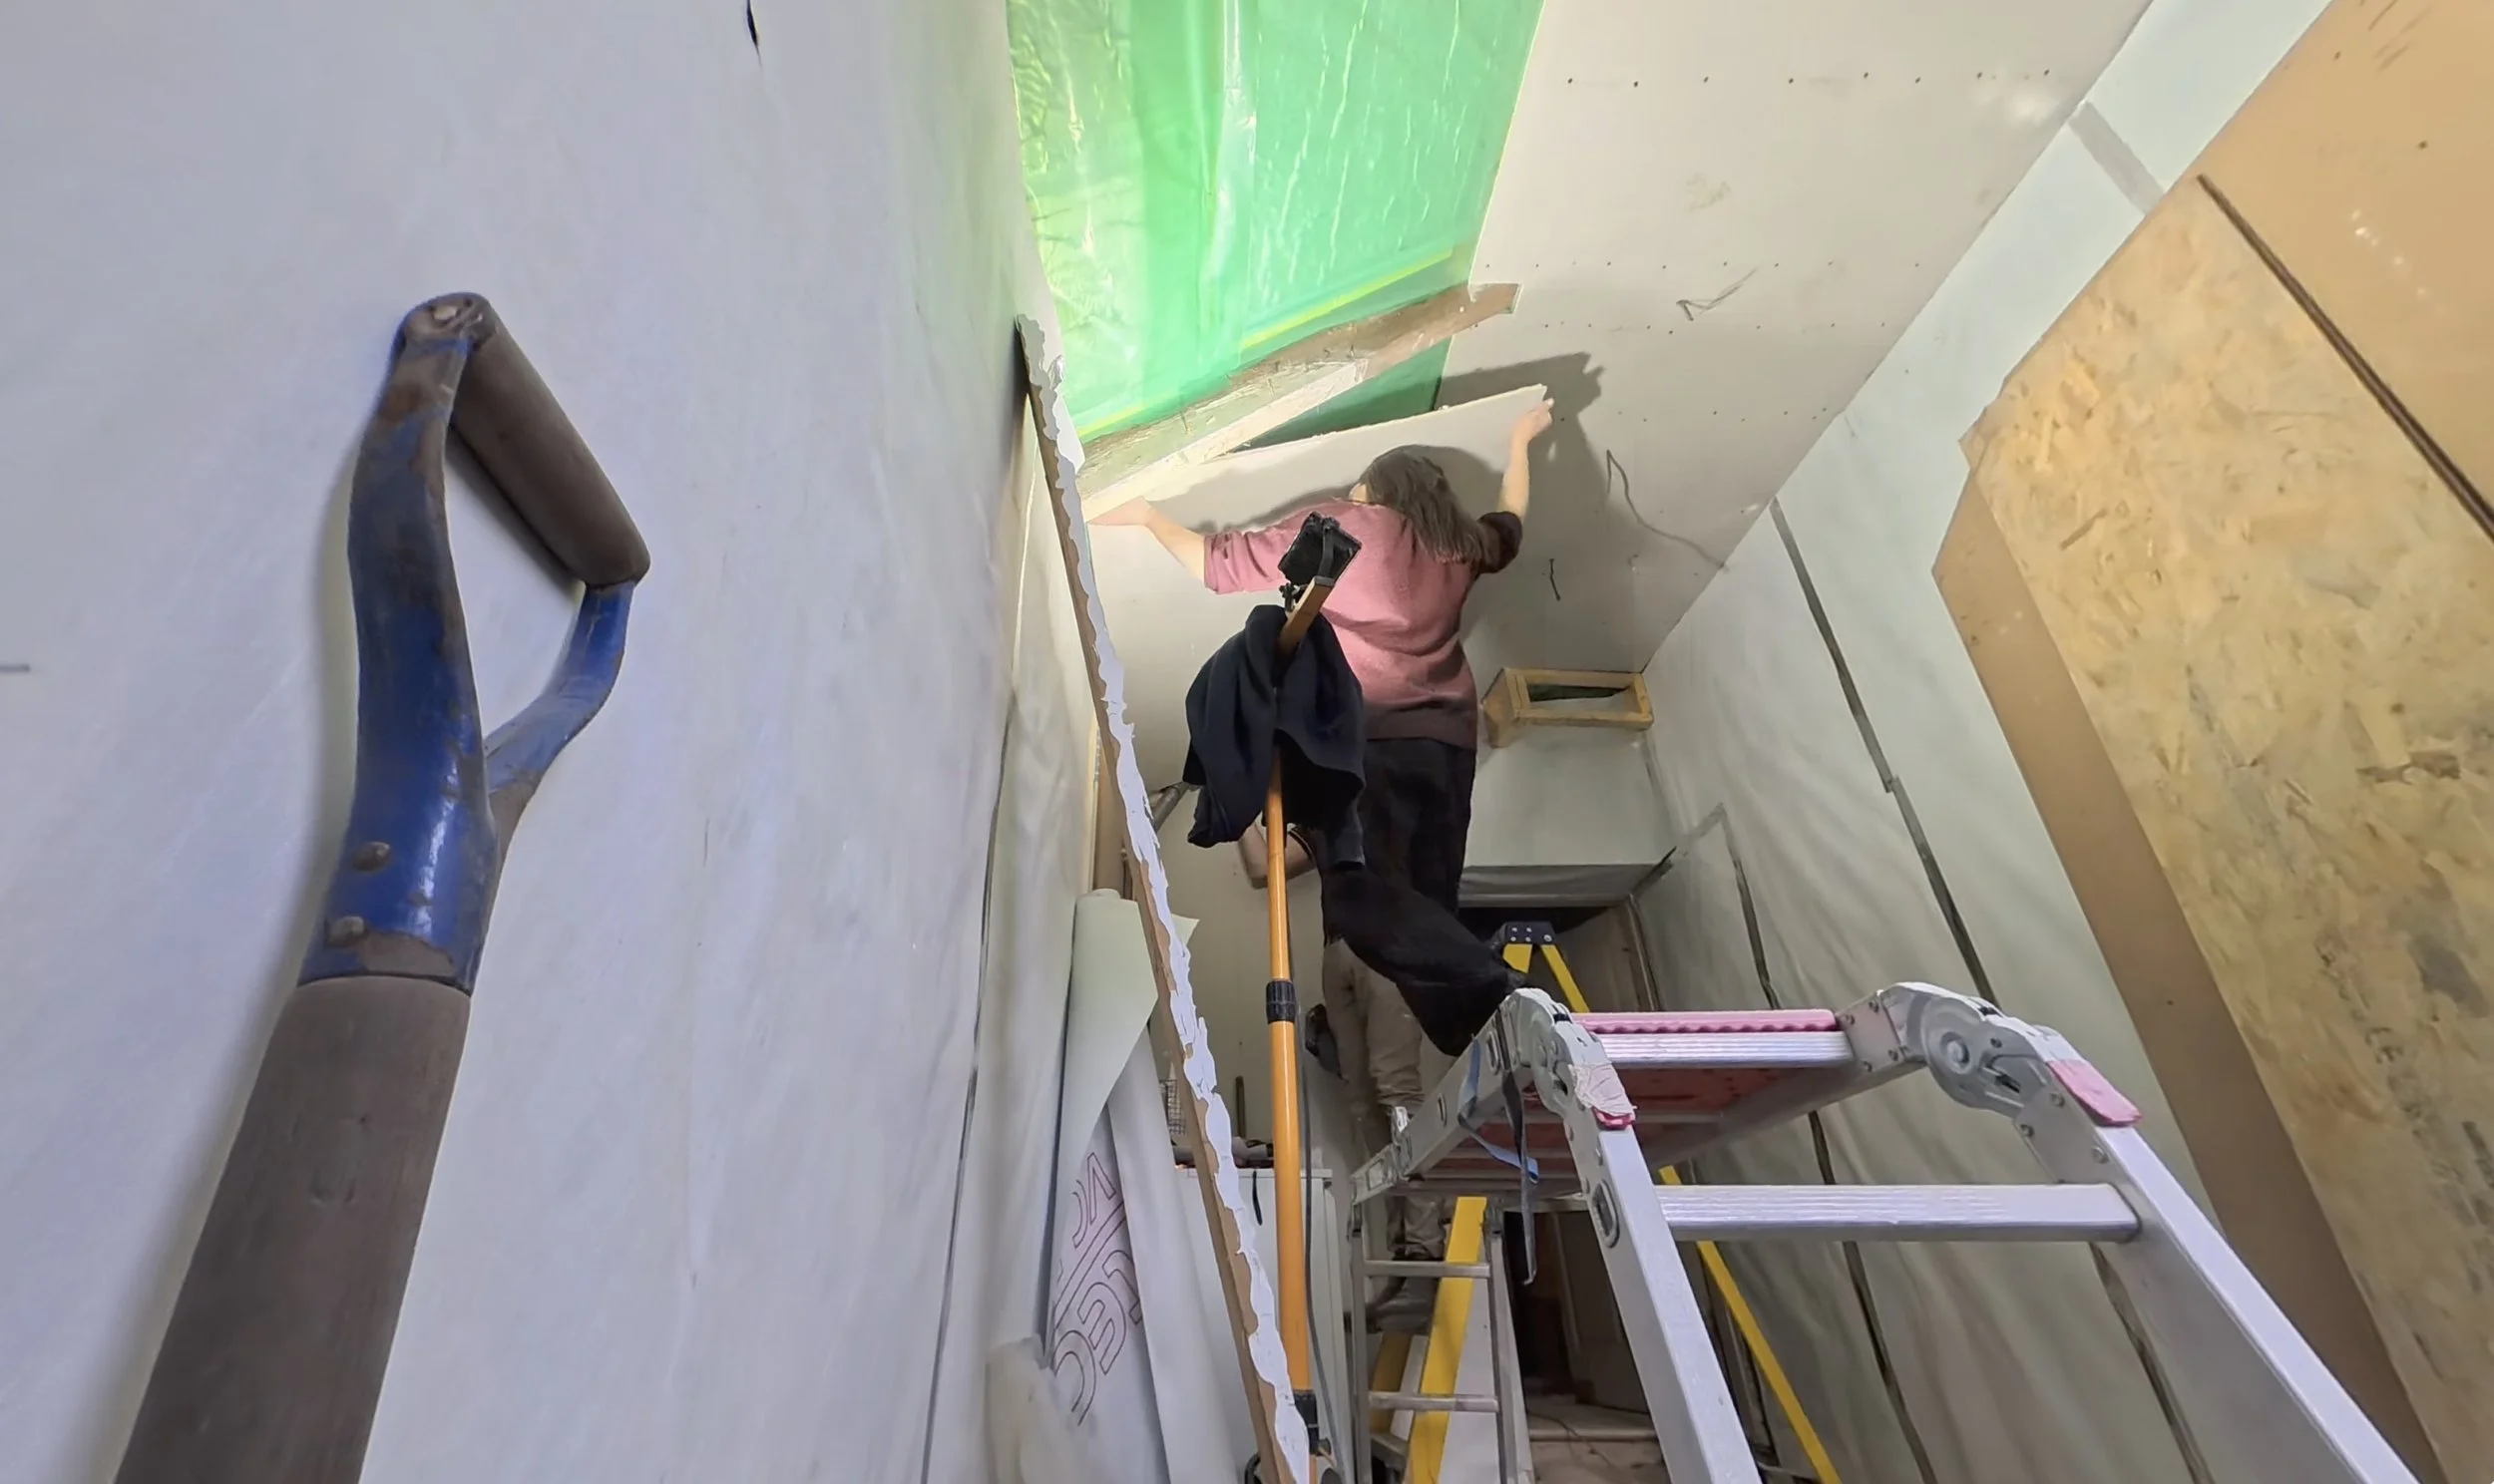
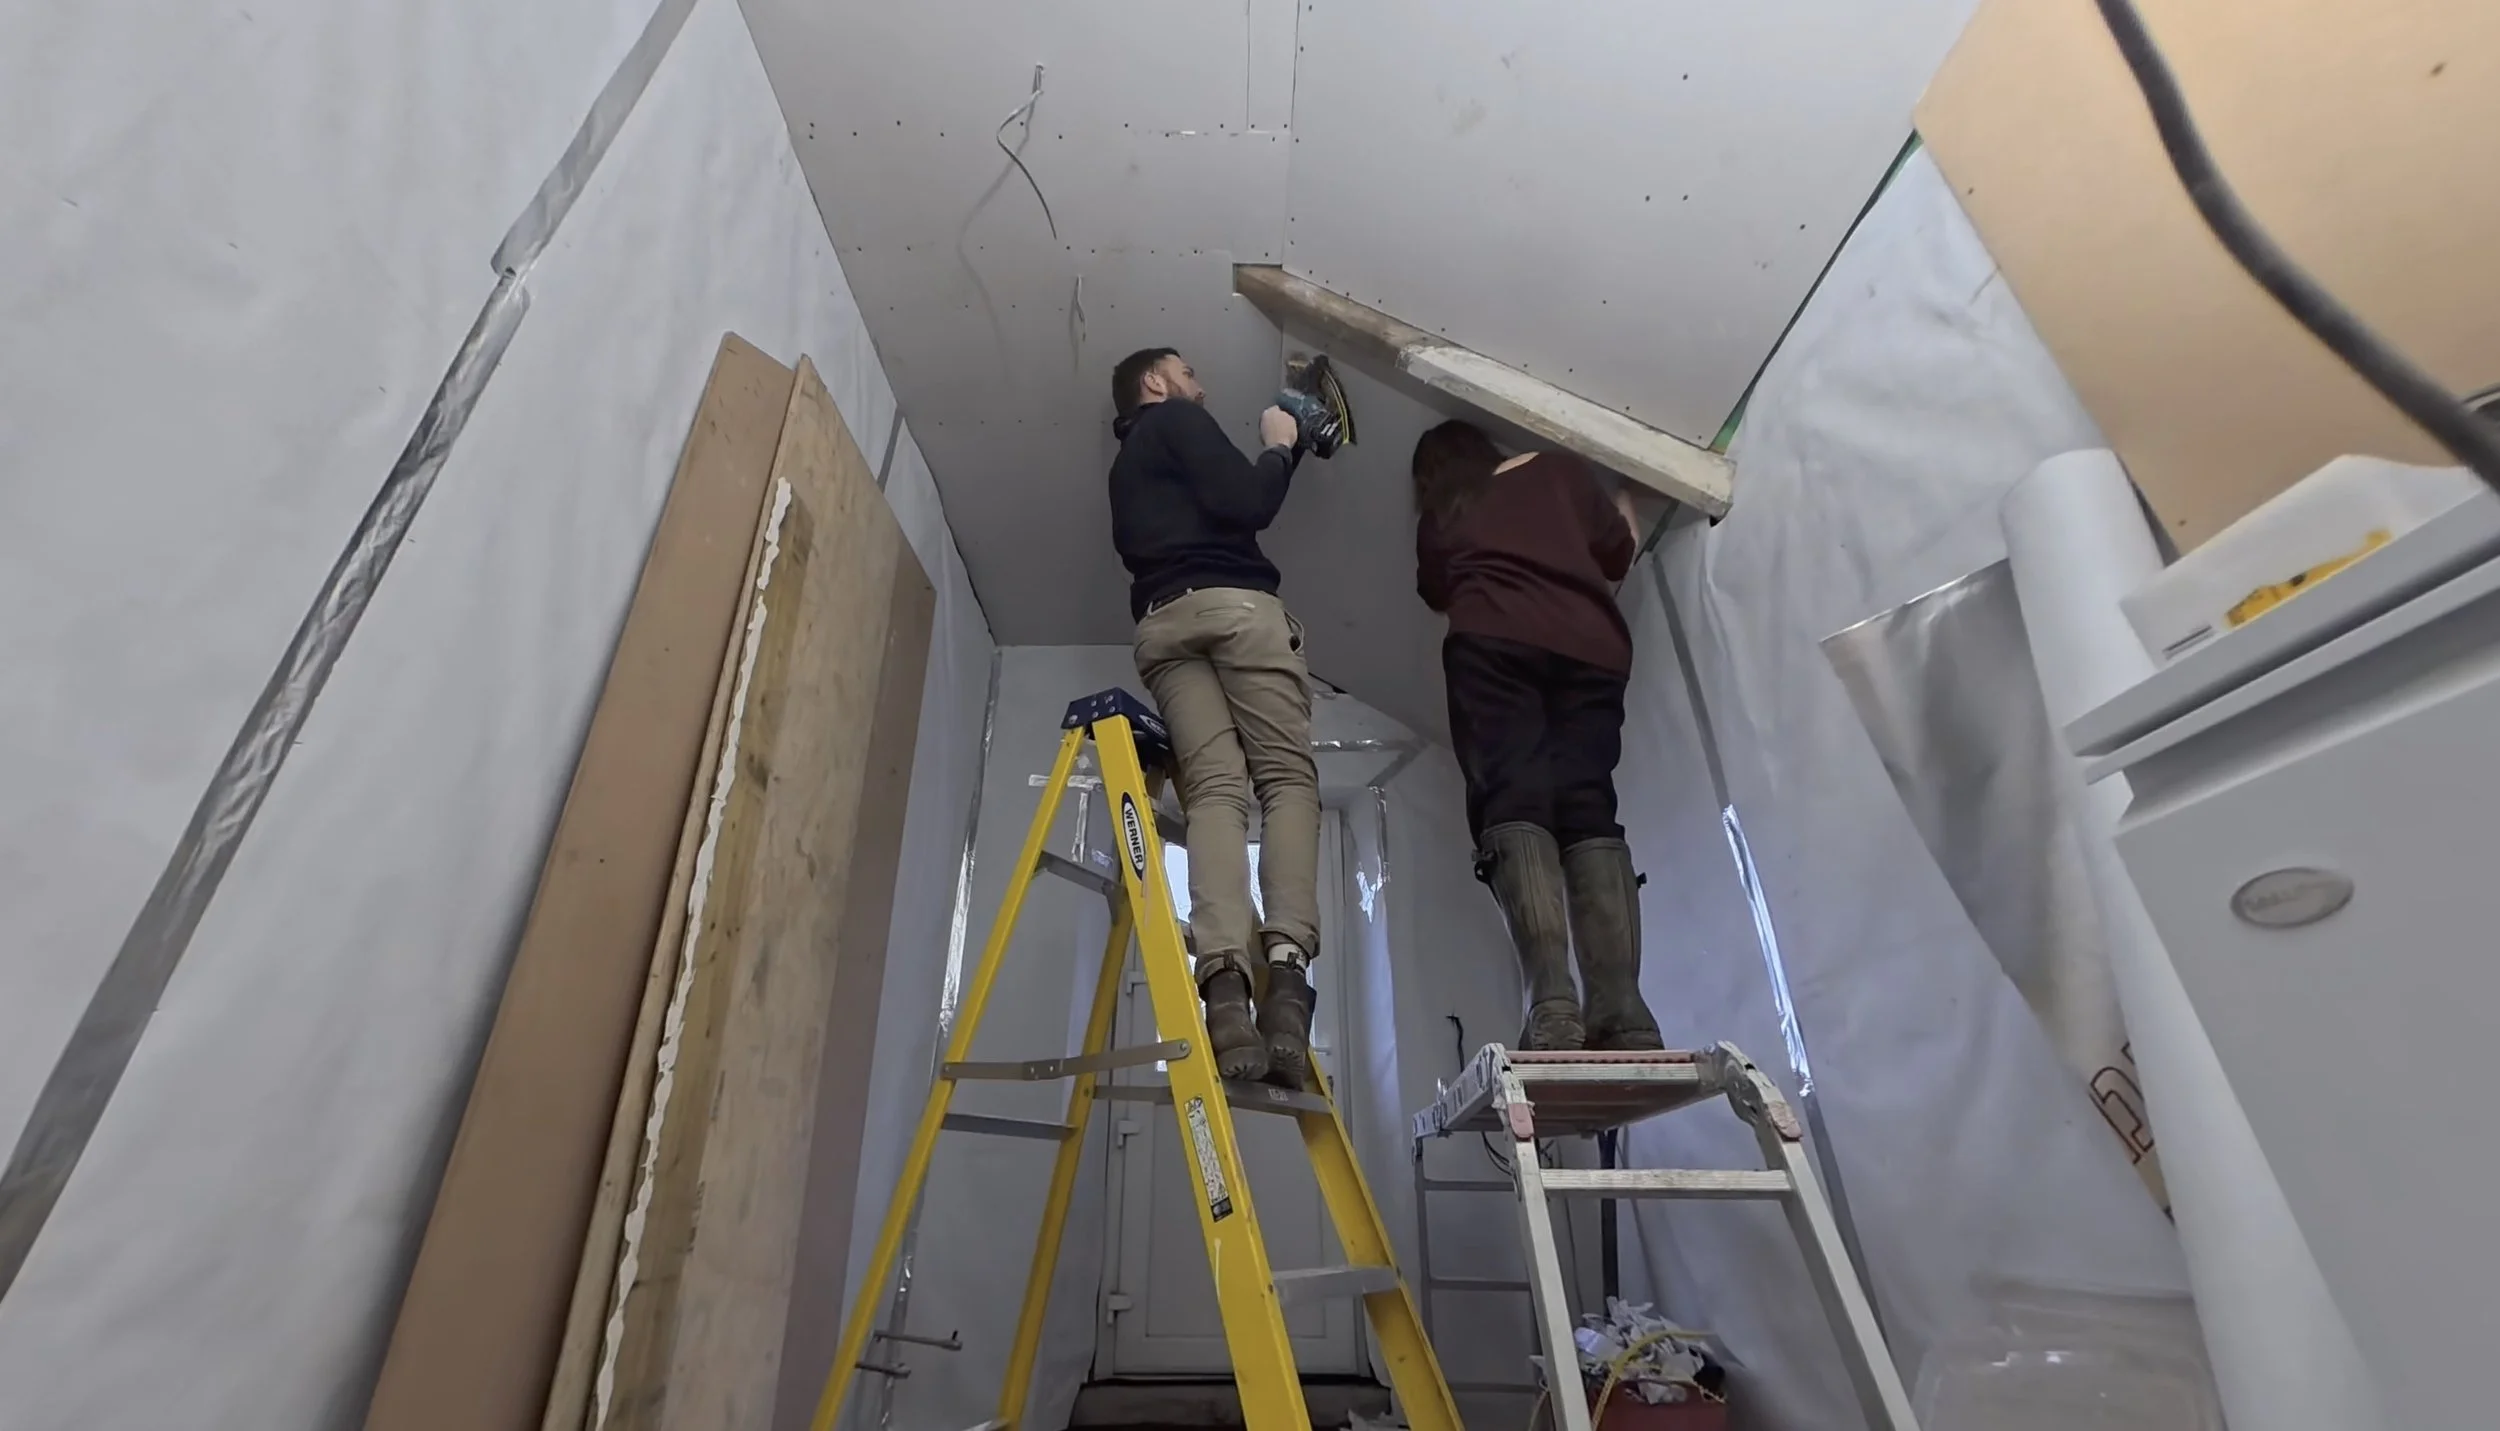
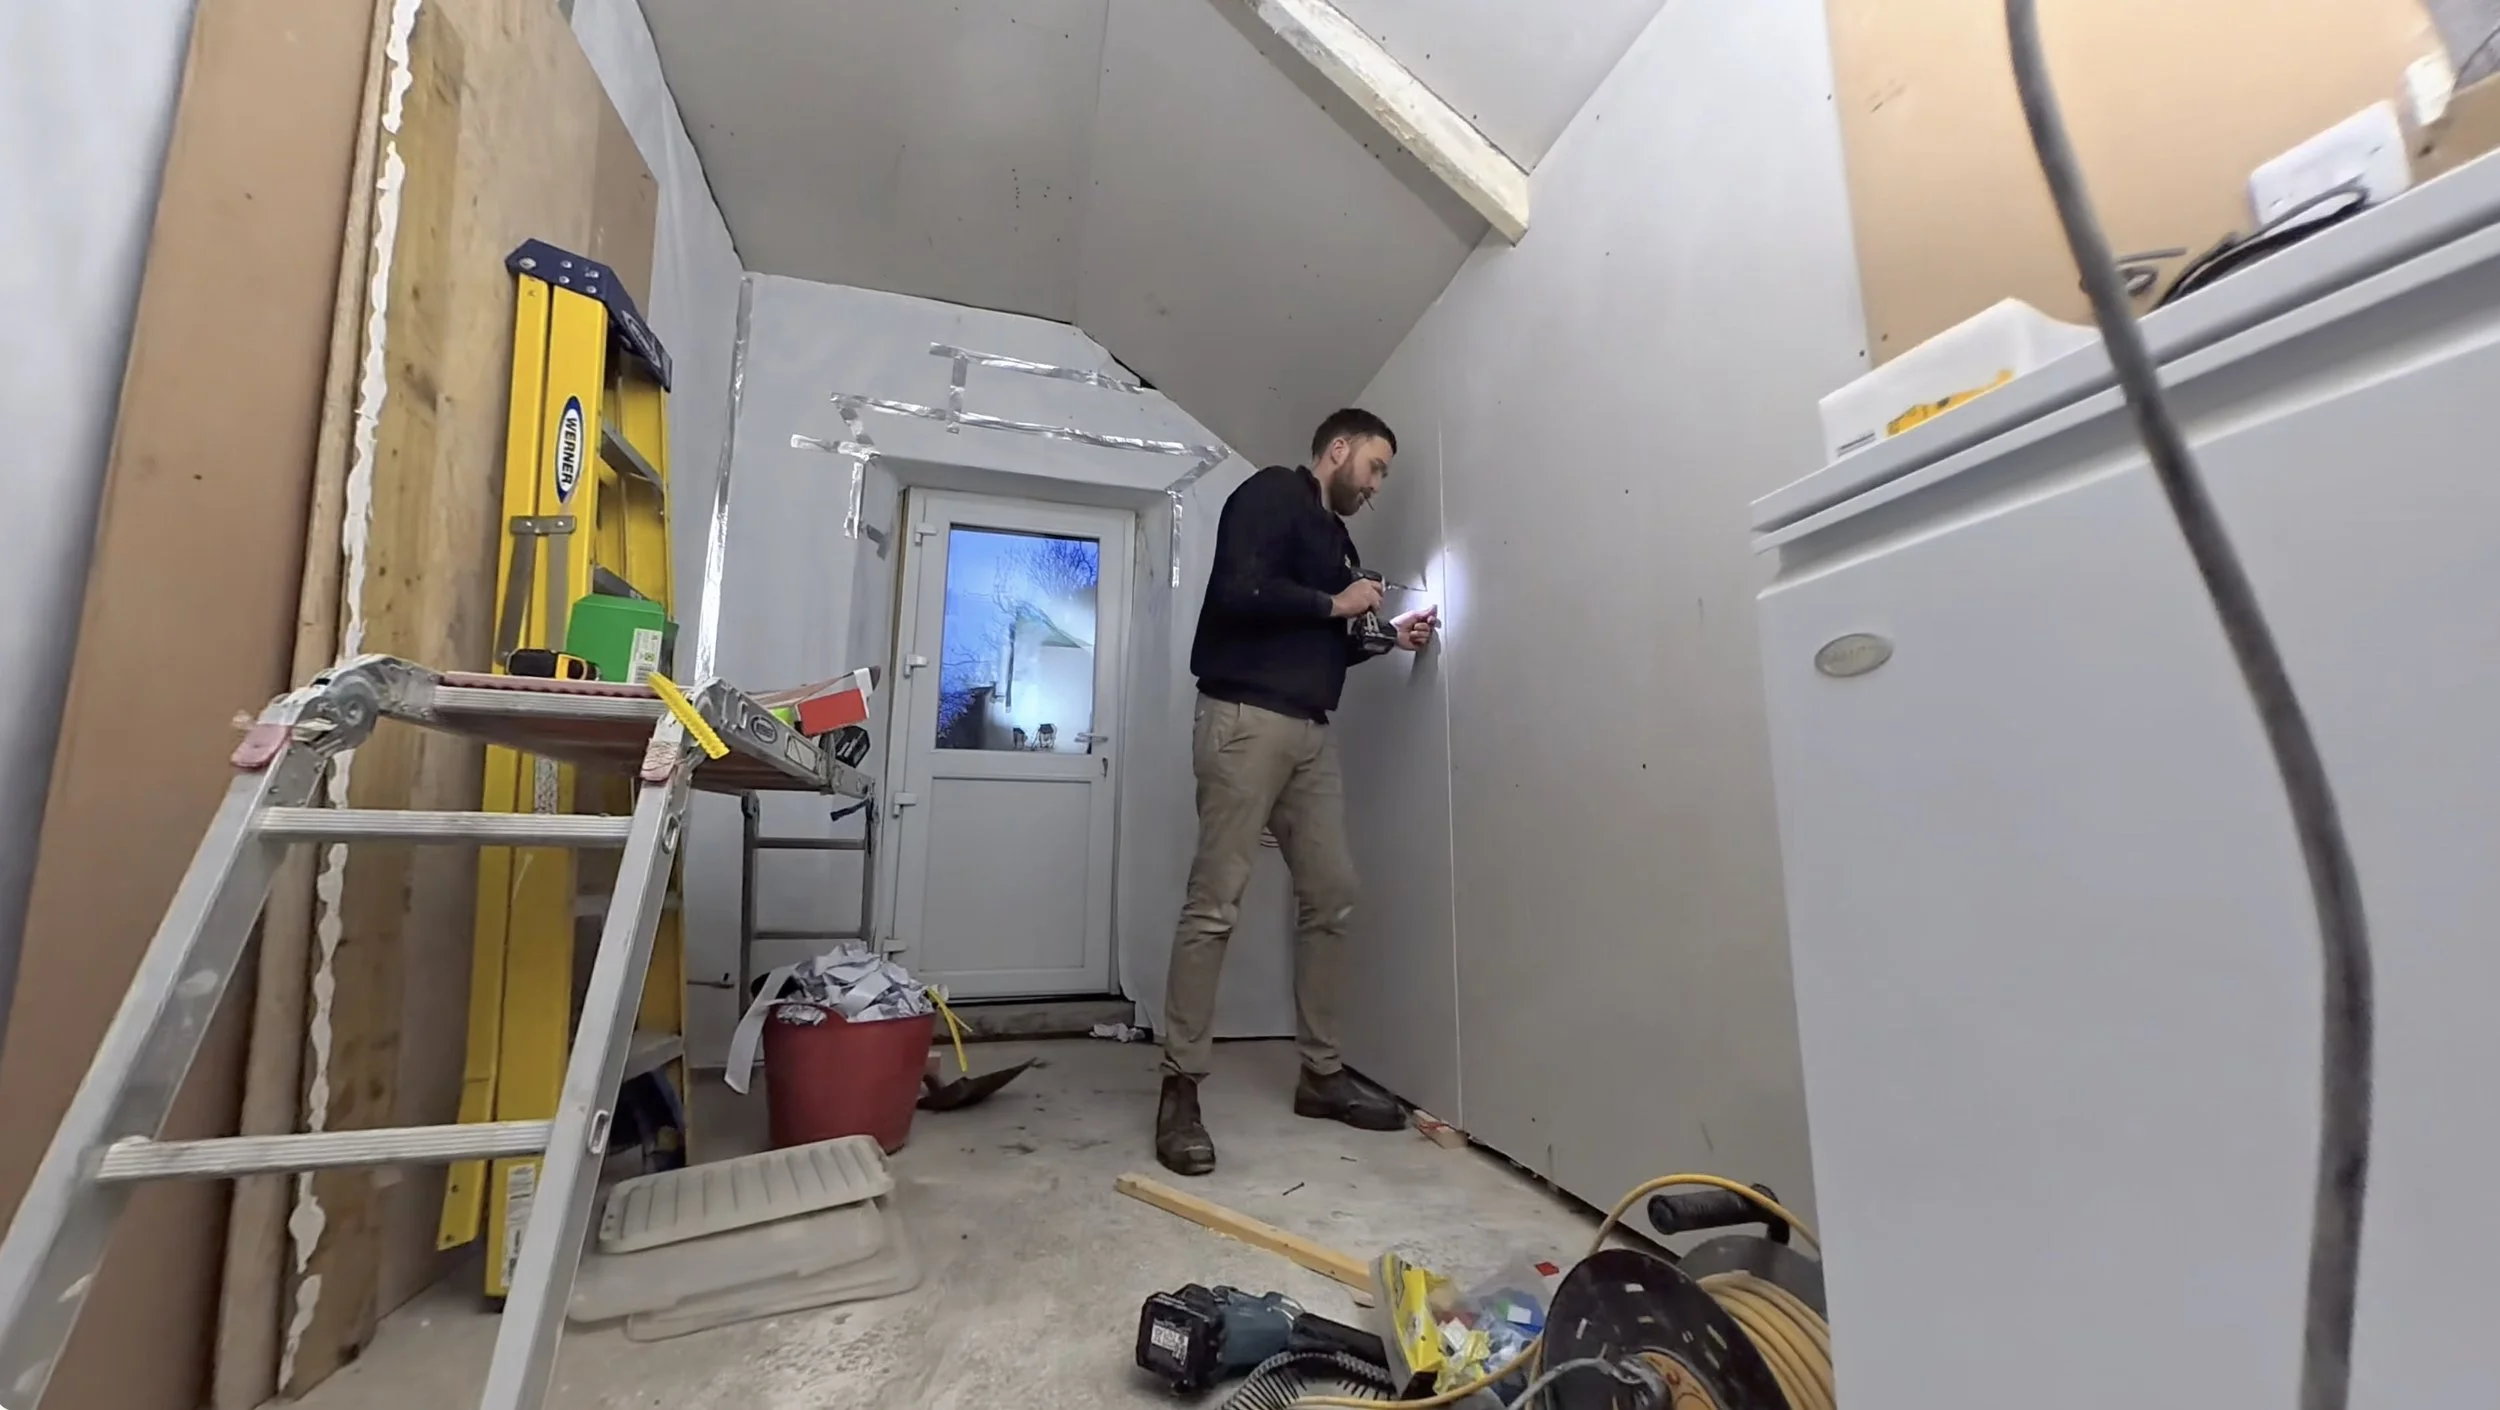
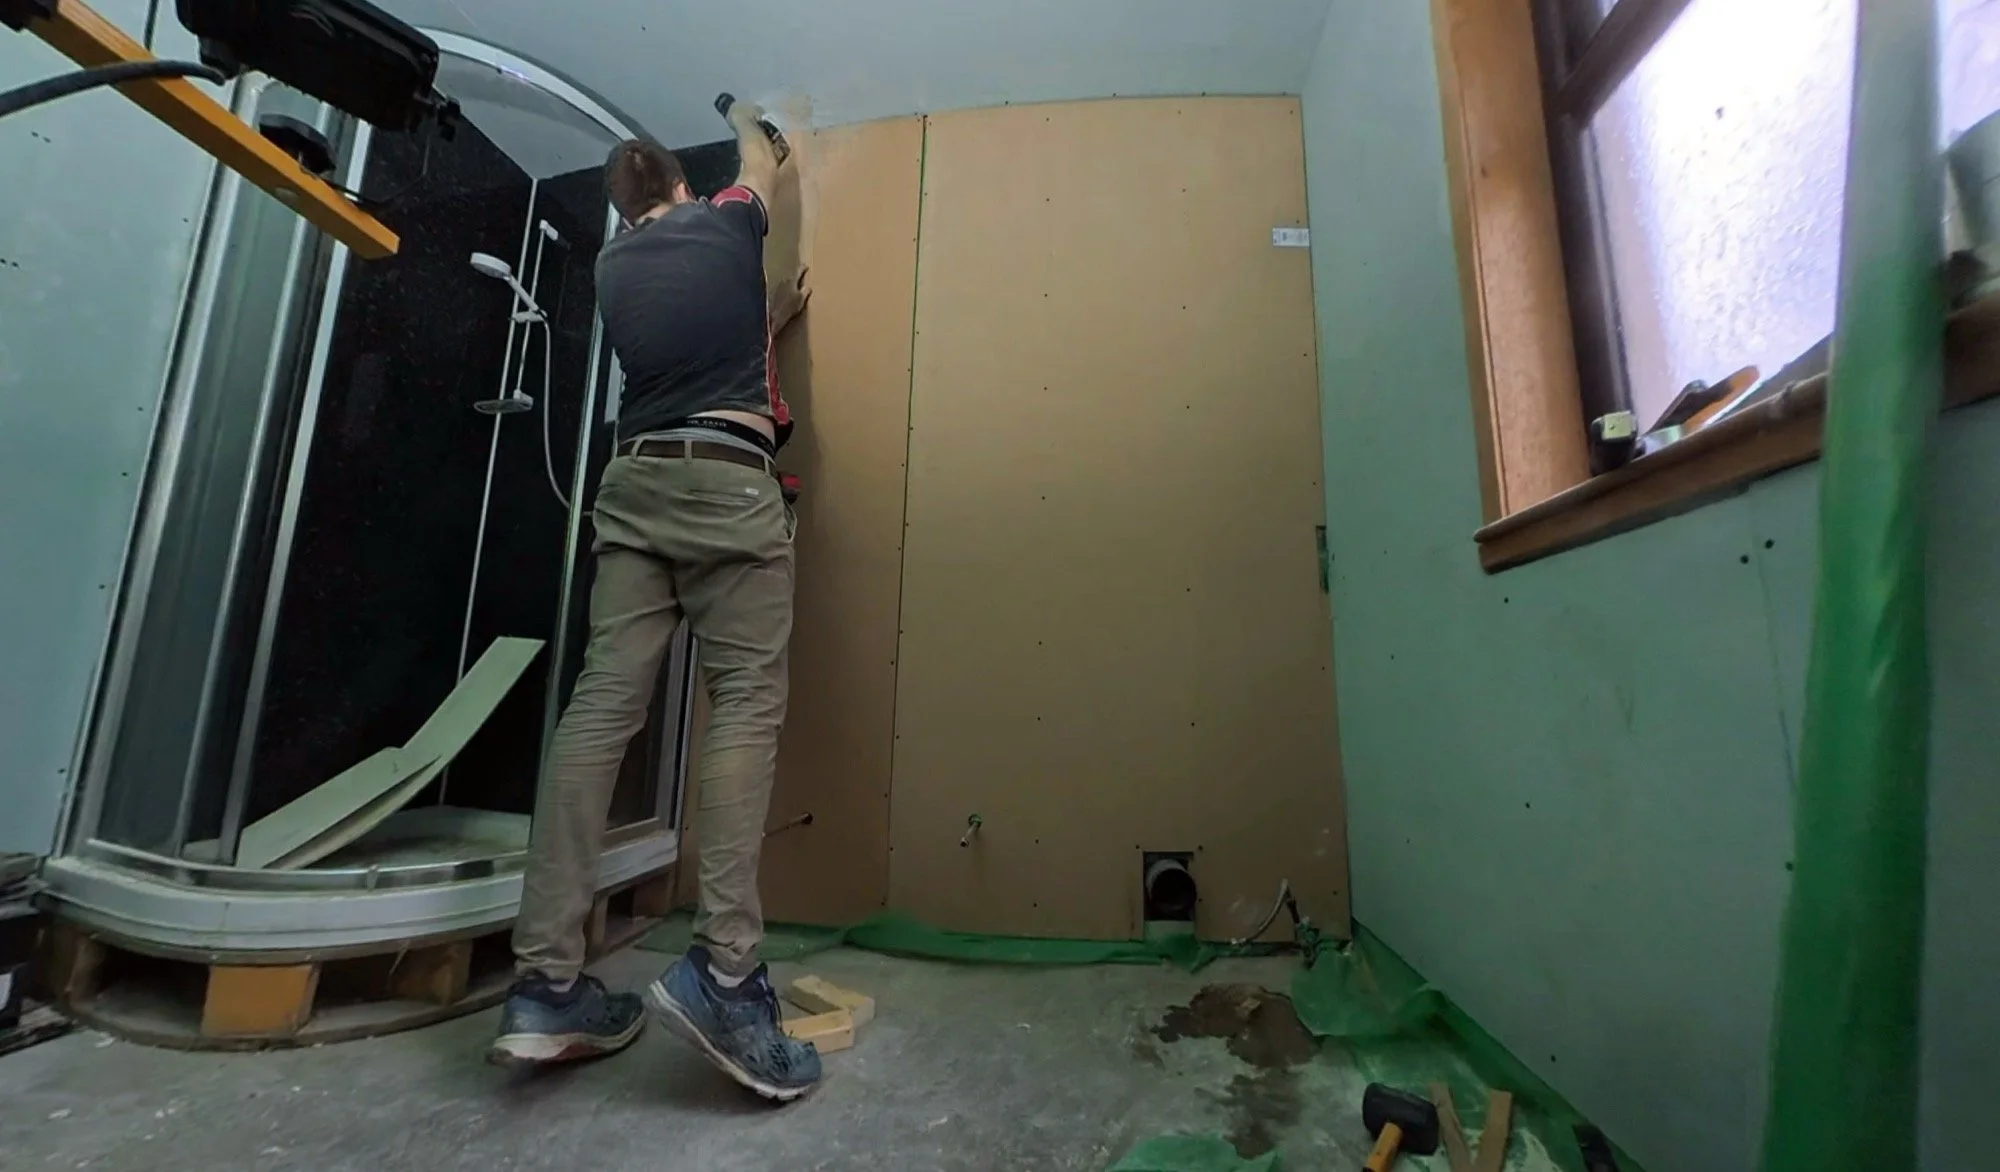
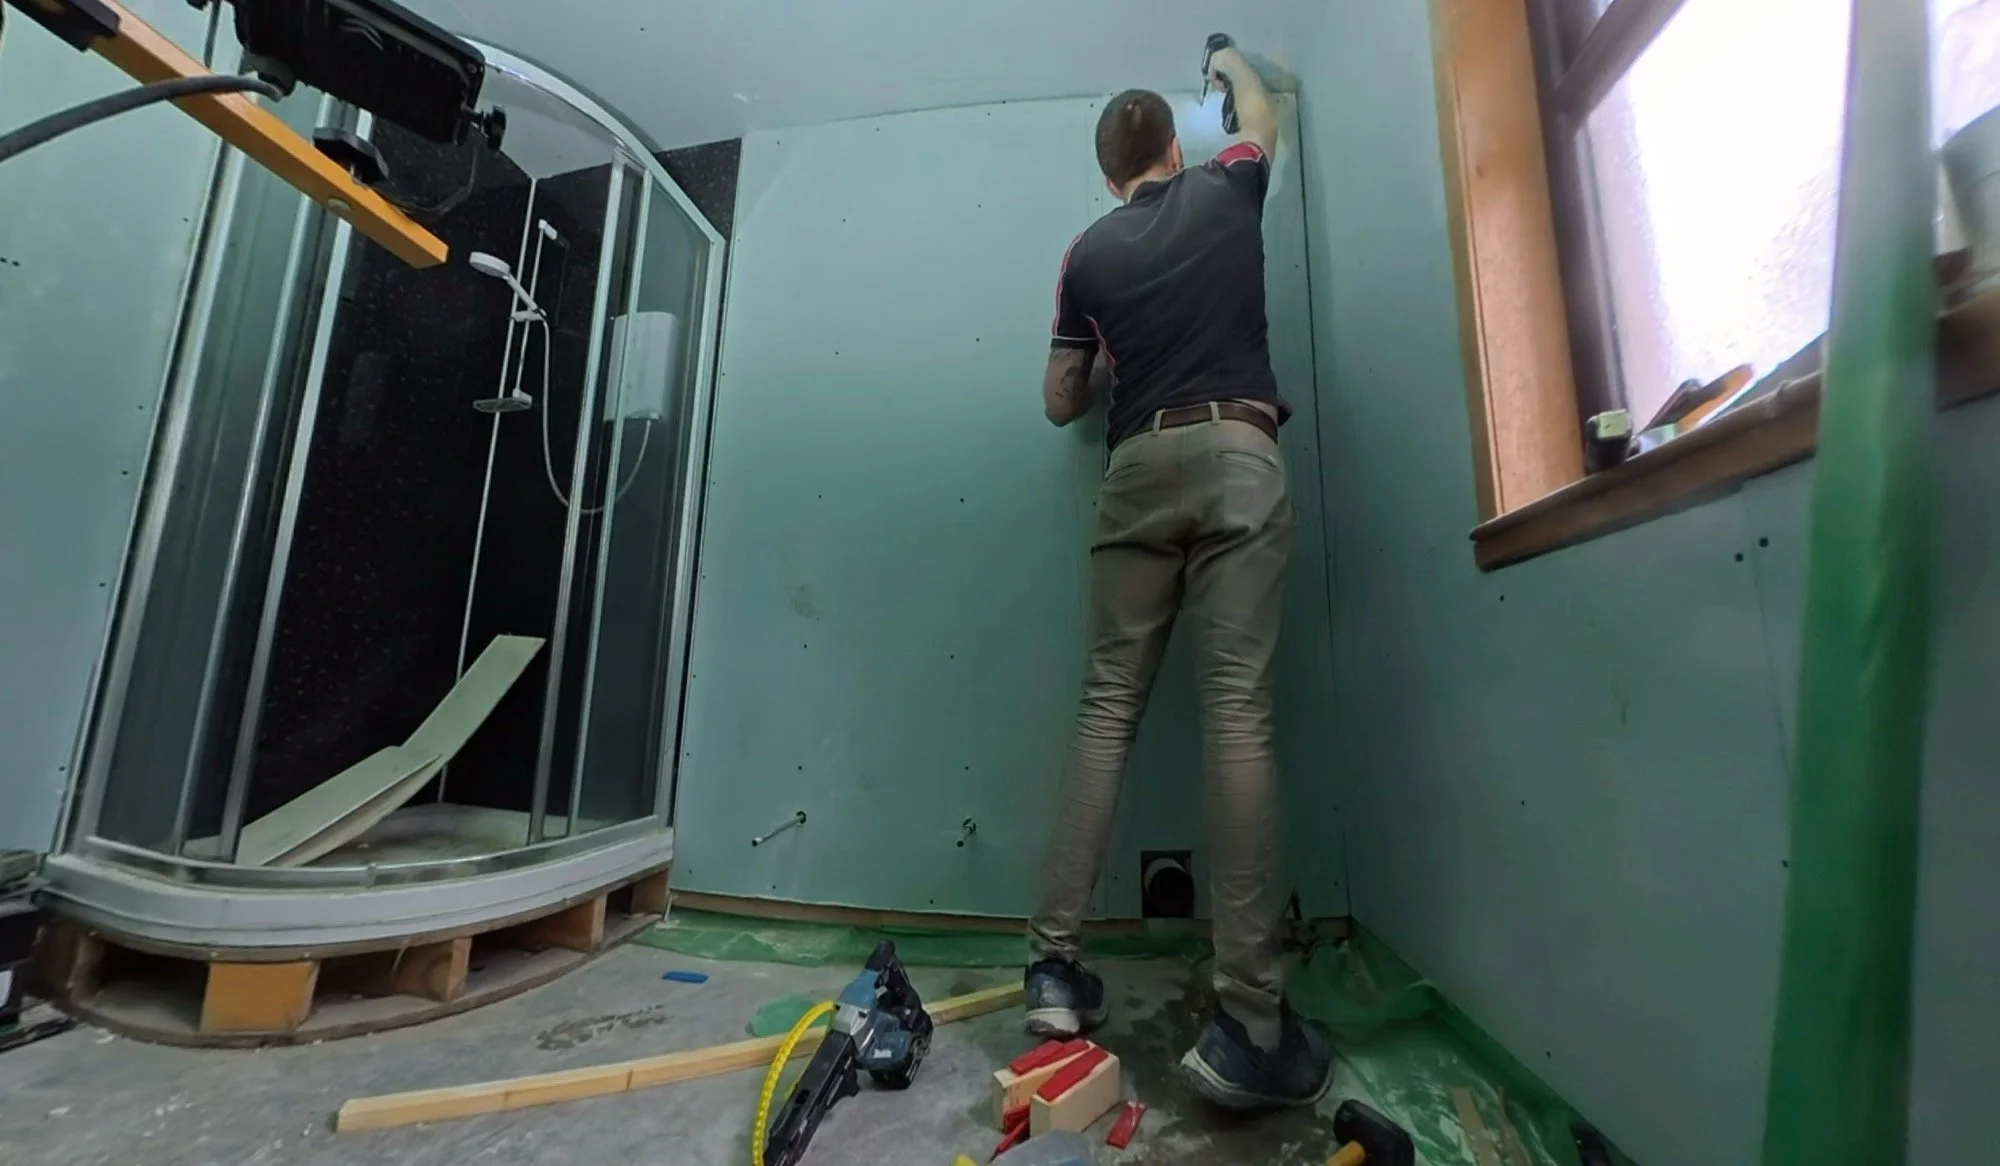
Let’s start with boarding out the dog room.
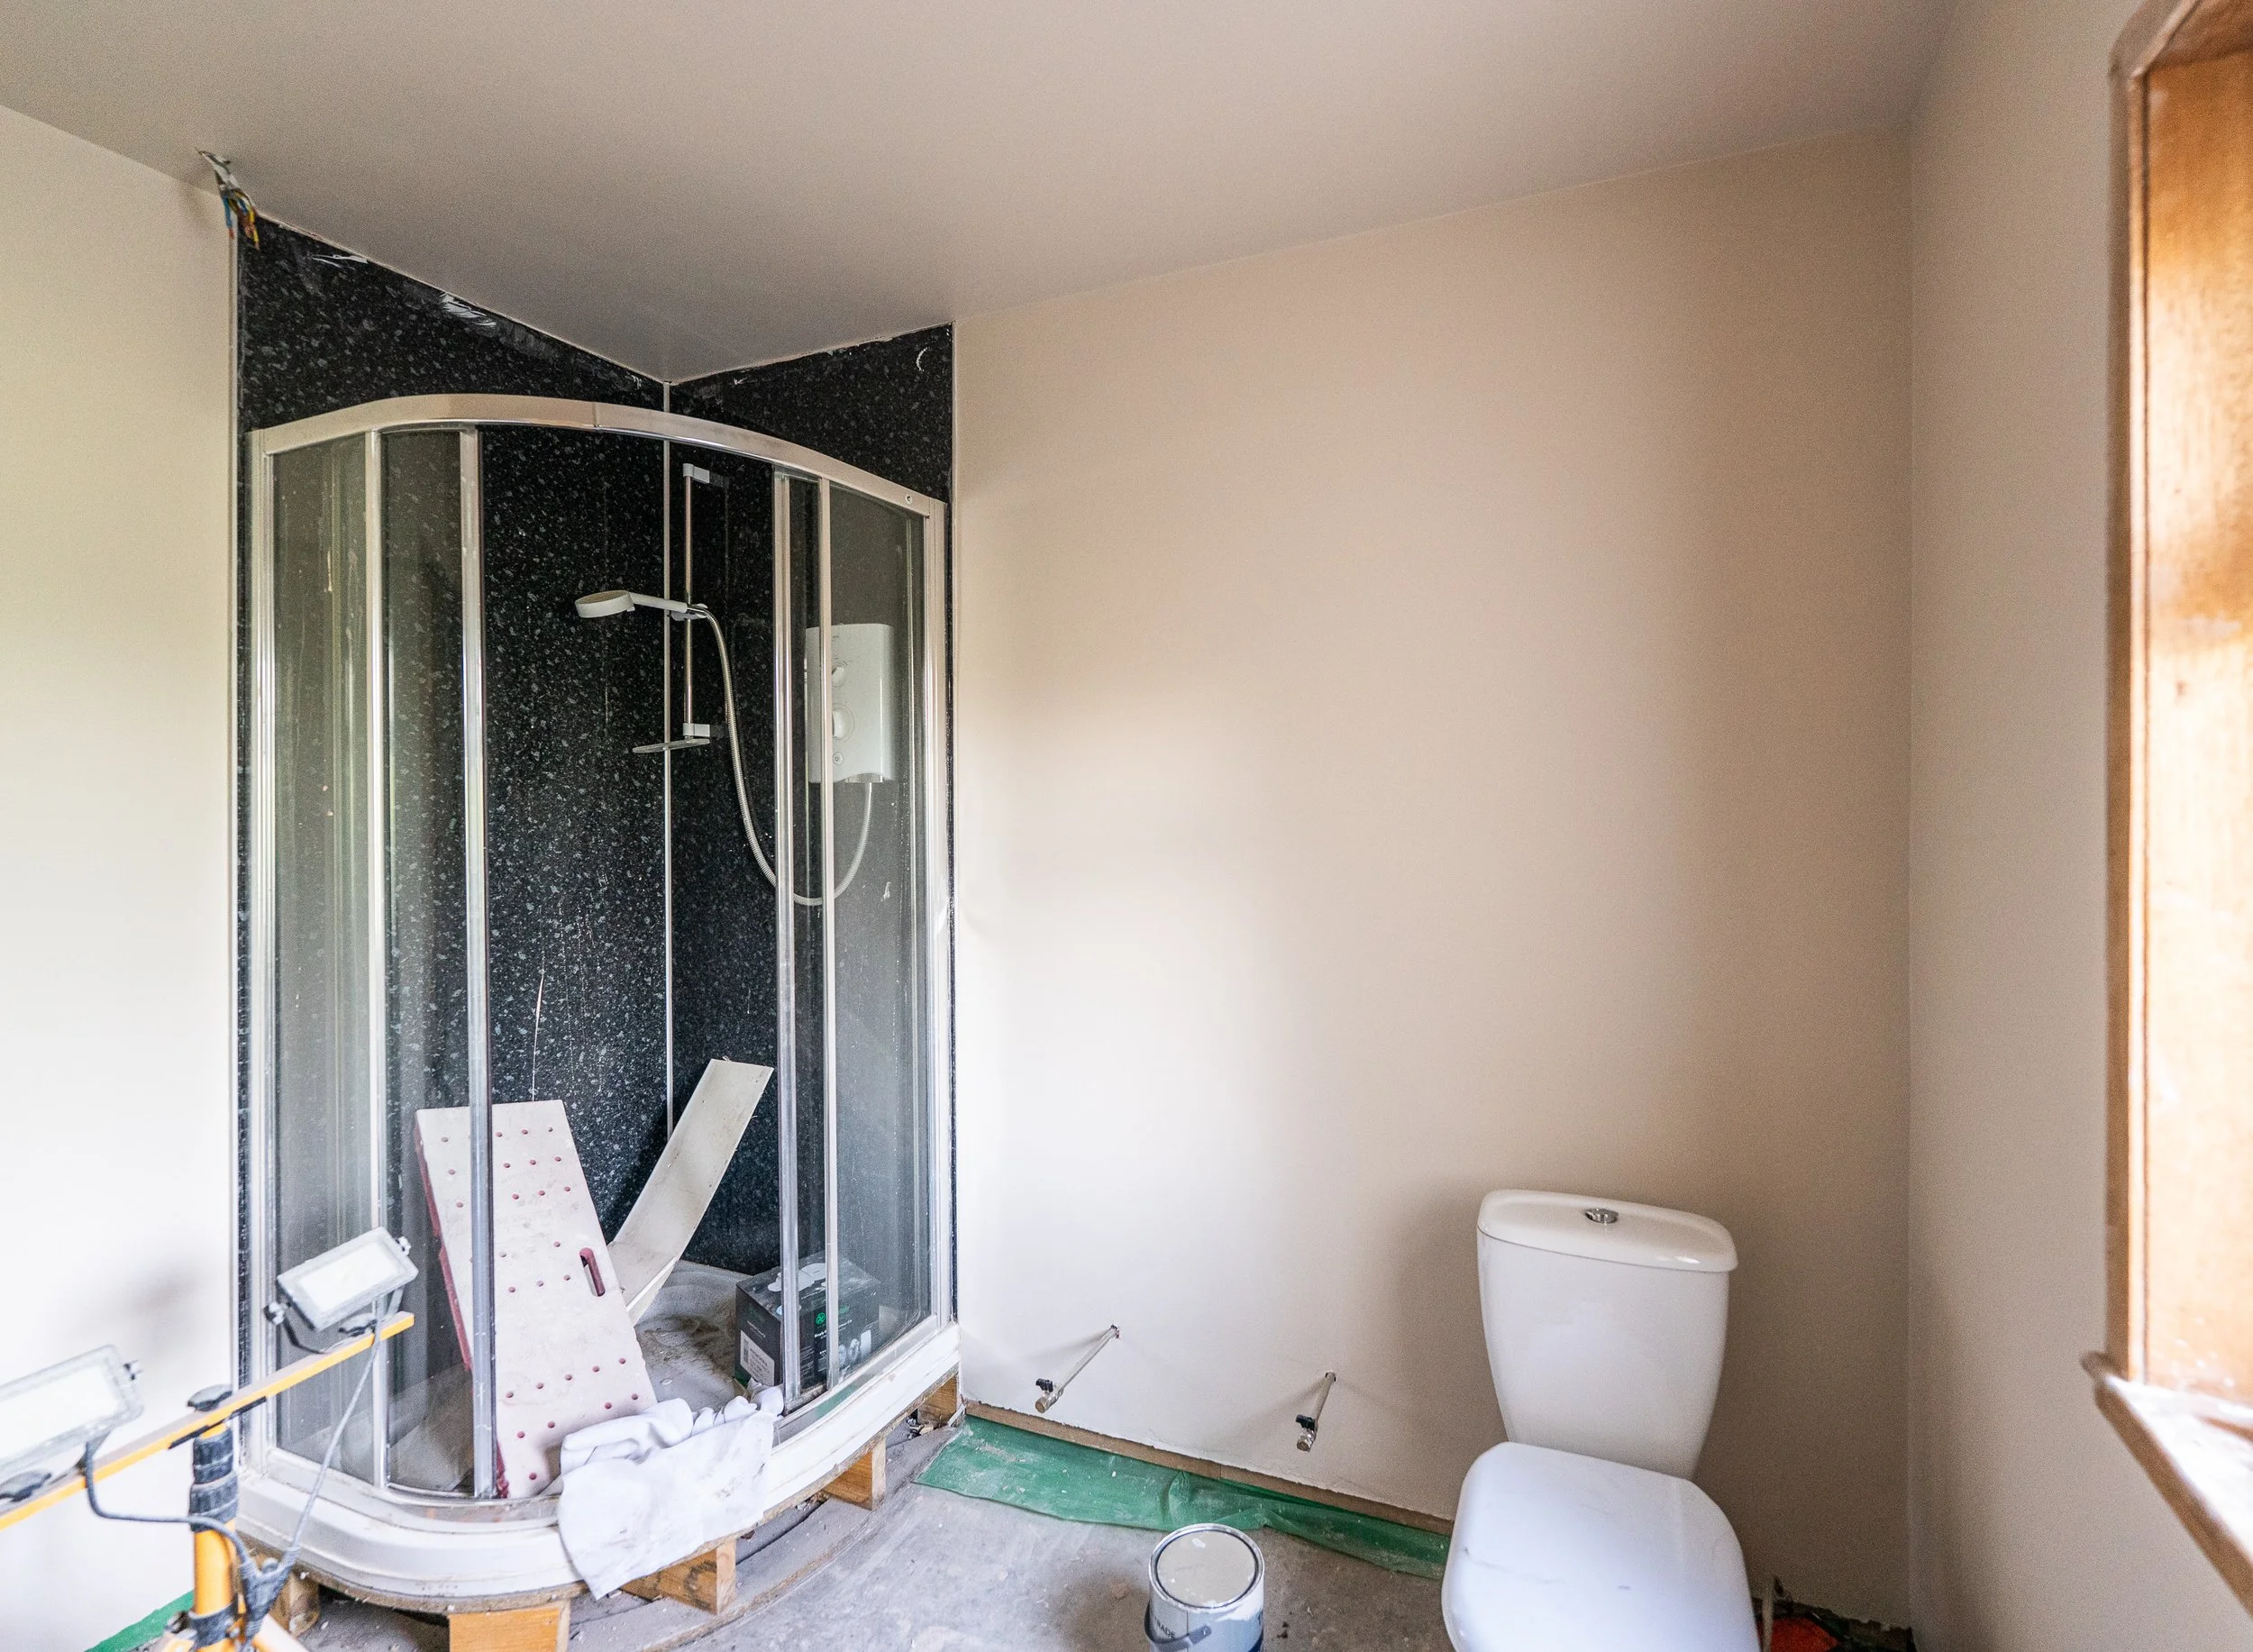
Next let’s look at the downstairs shower room, because this needed to be functional (absolutely NOT finished) for the weekend. You can click on a photo below and scroll through the progess if you’d like to:
There is no evidence of the toilet and sink going back into this space as a temporary washroom for our guests, but I can assure you that it was done, and the plaster was also dry!
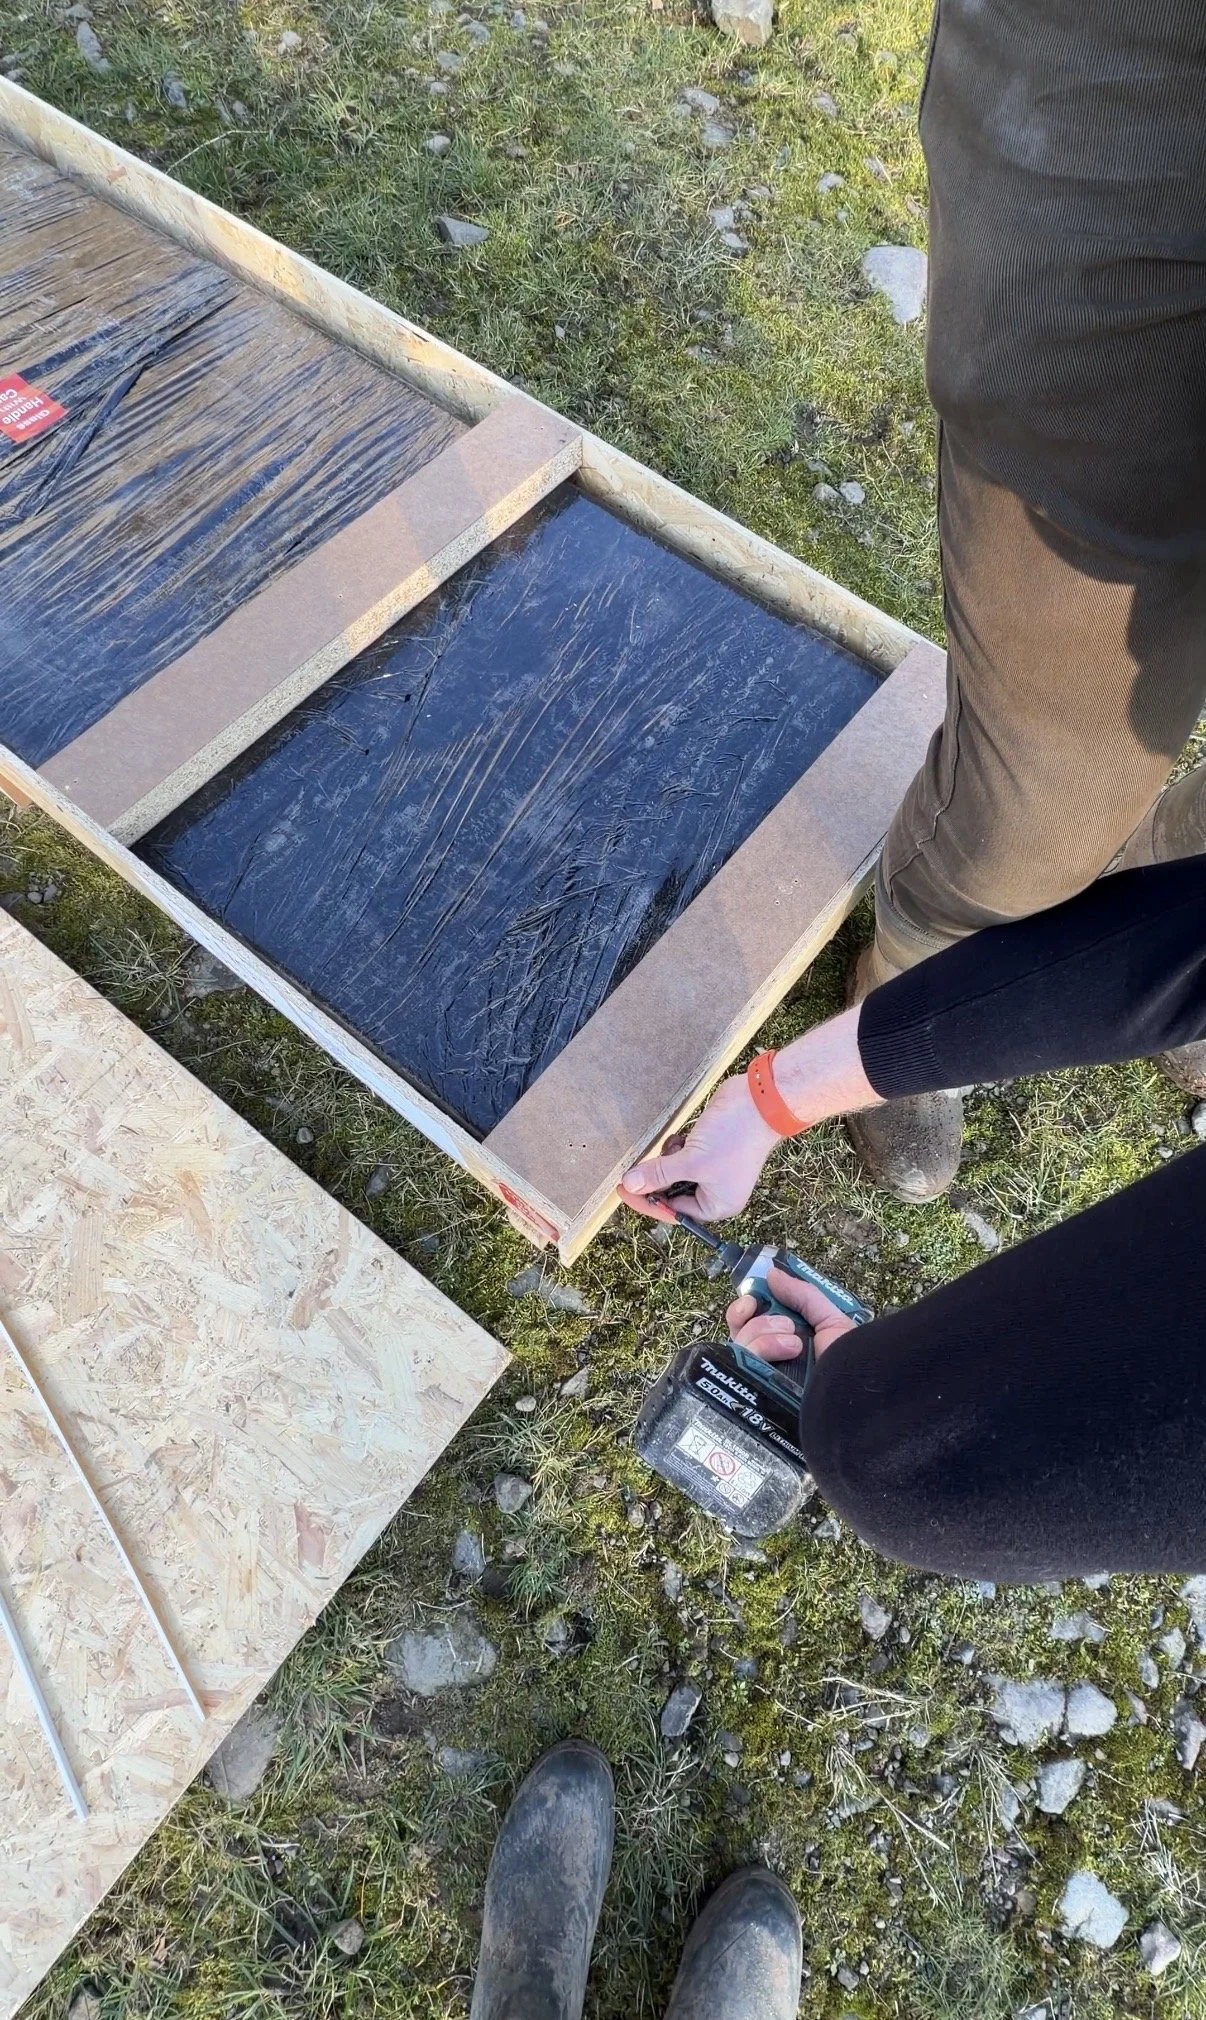
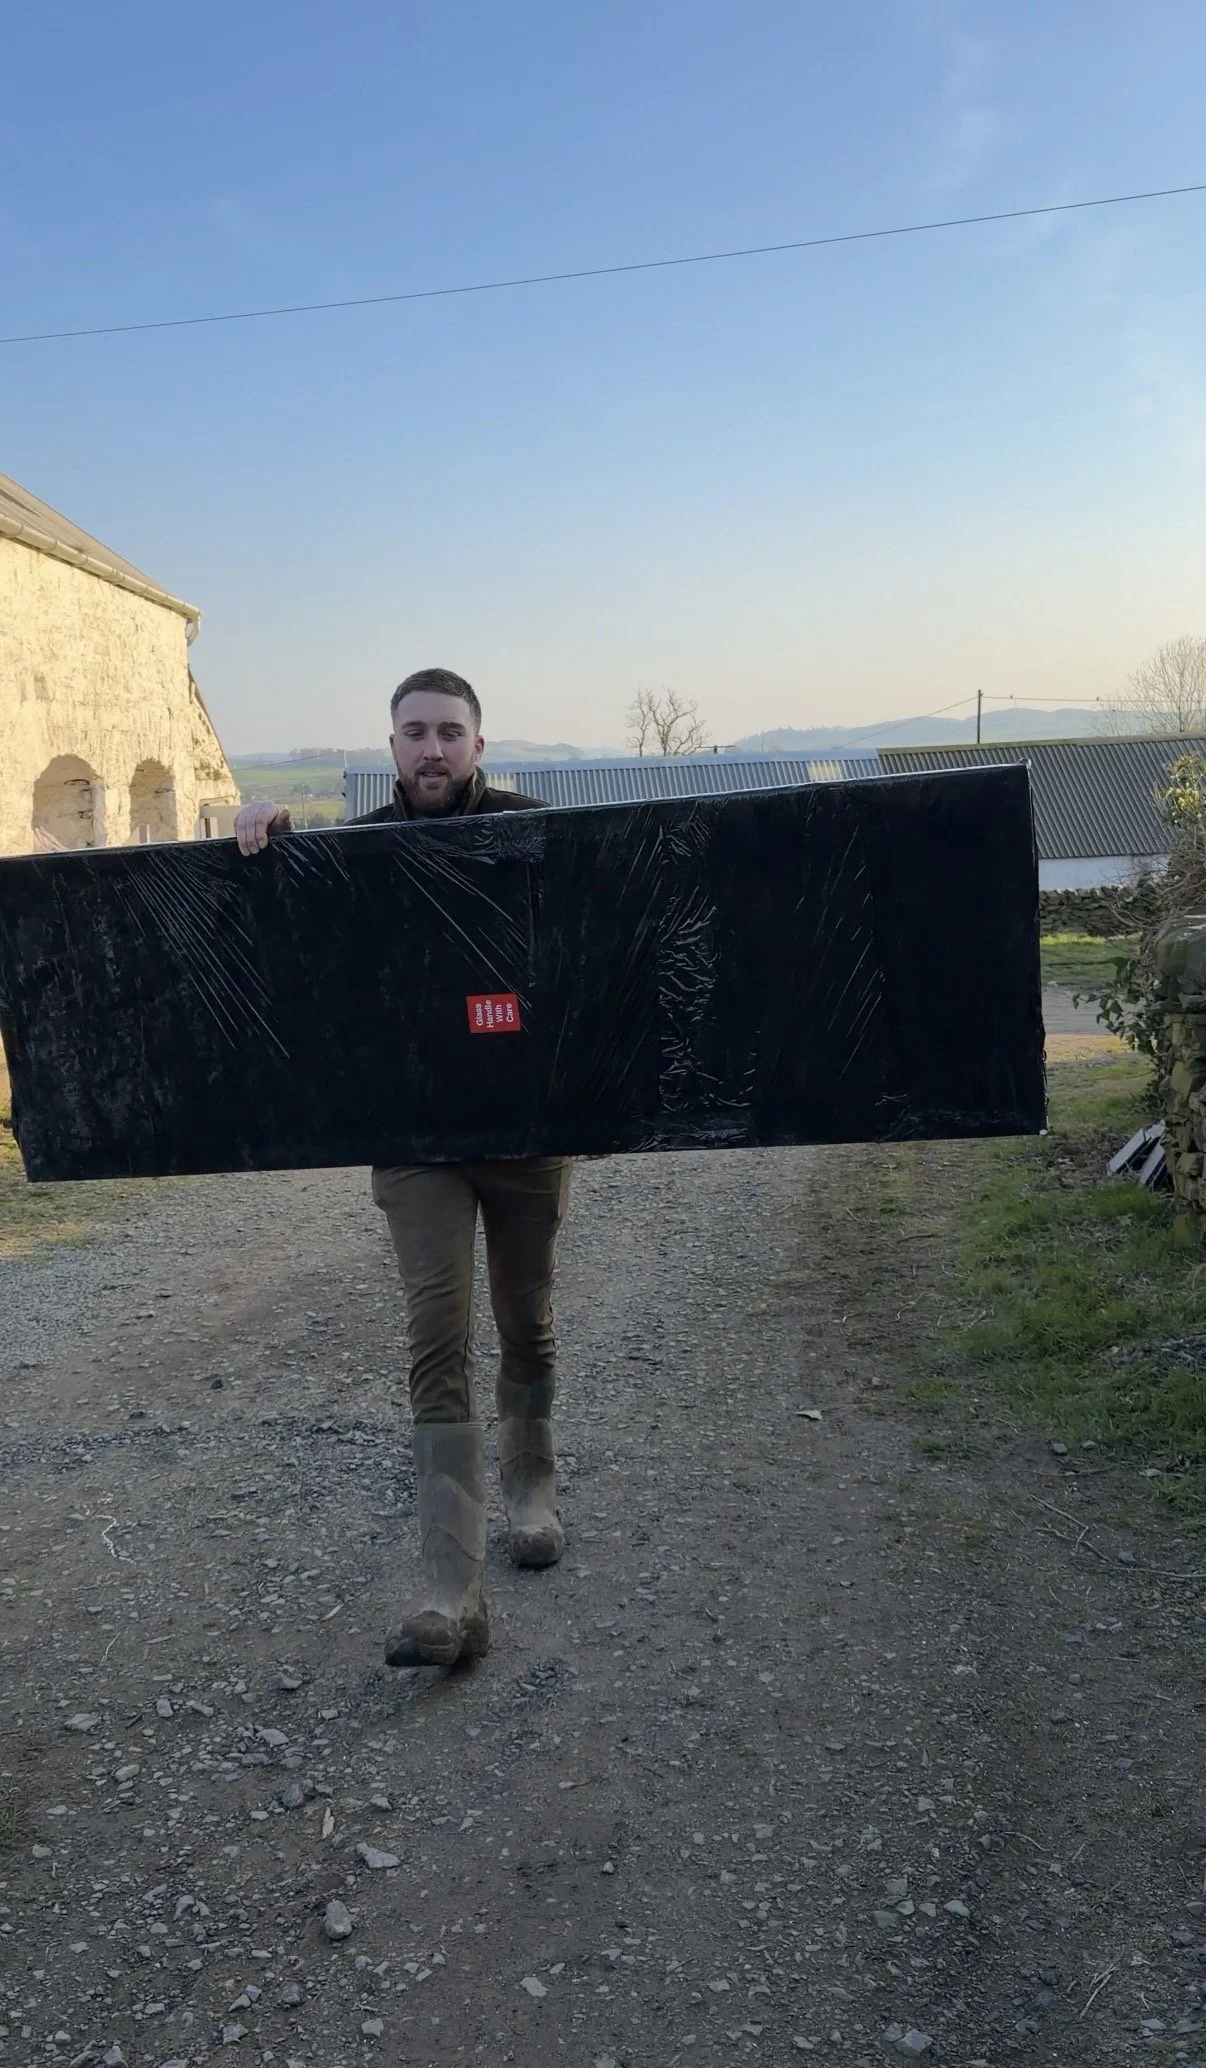
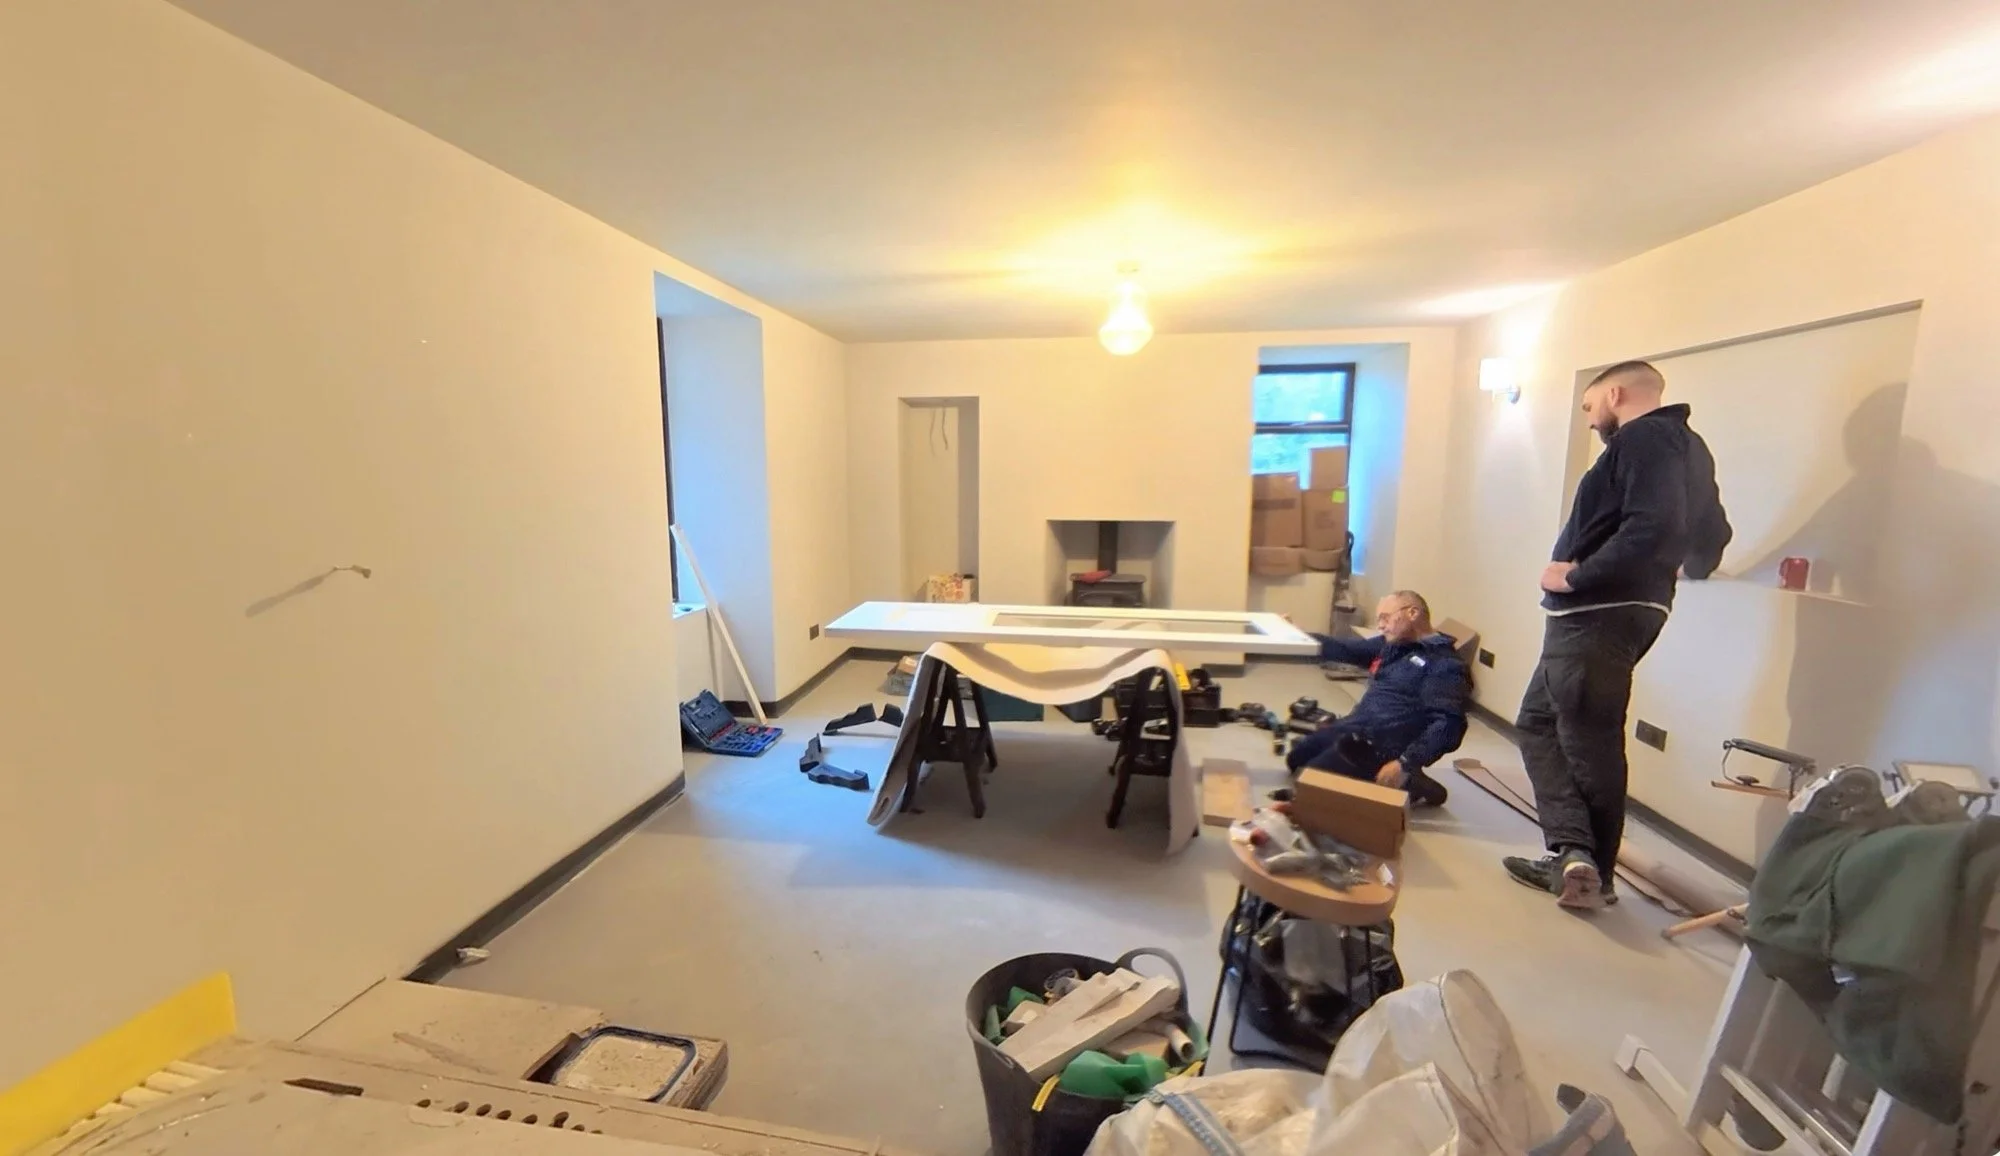
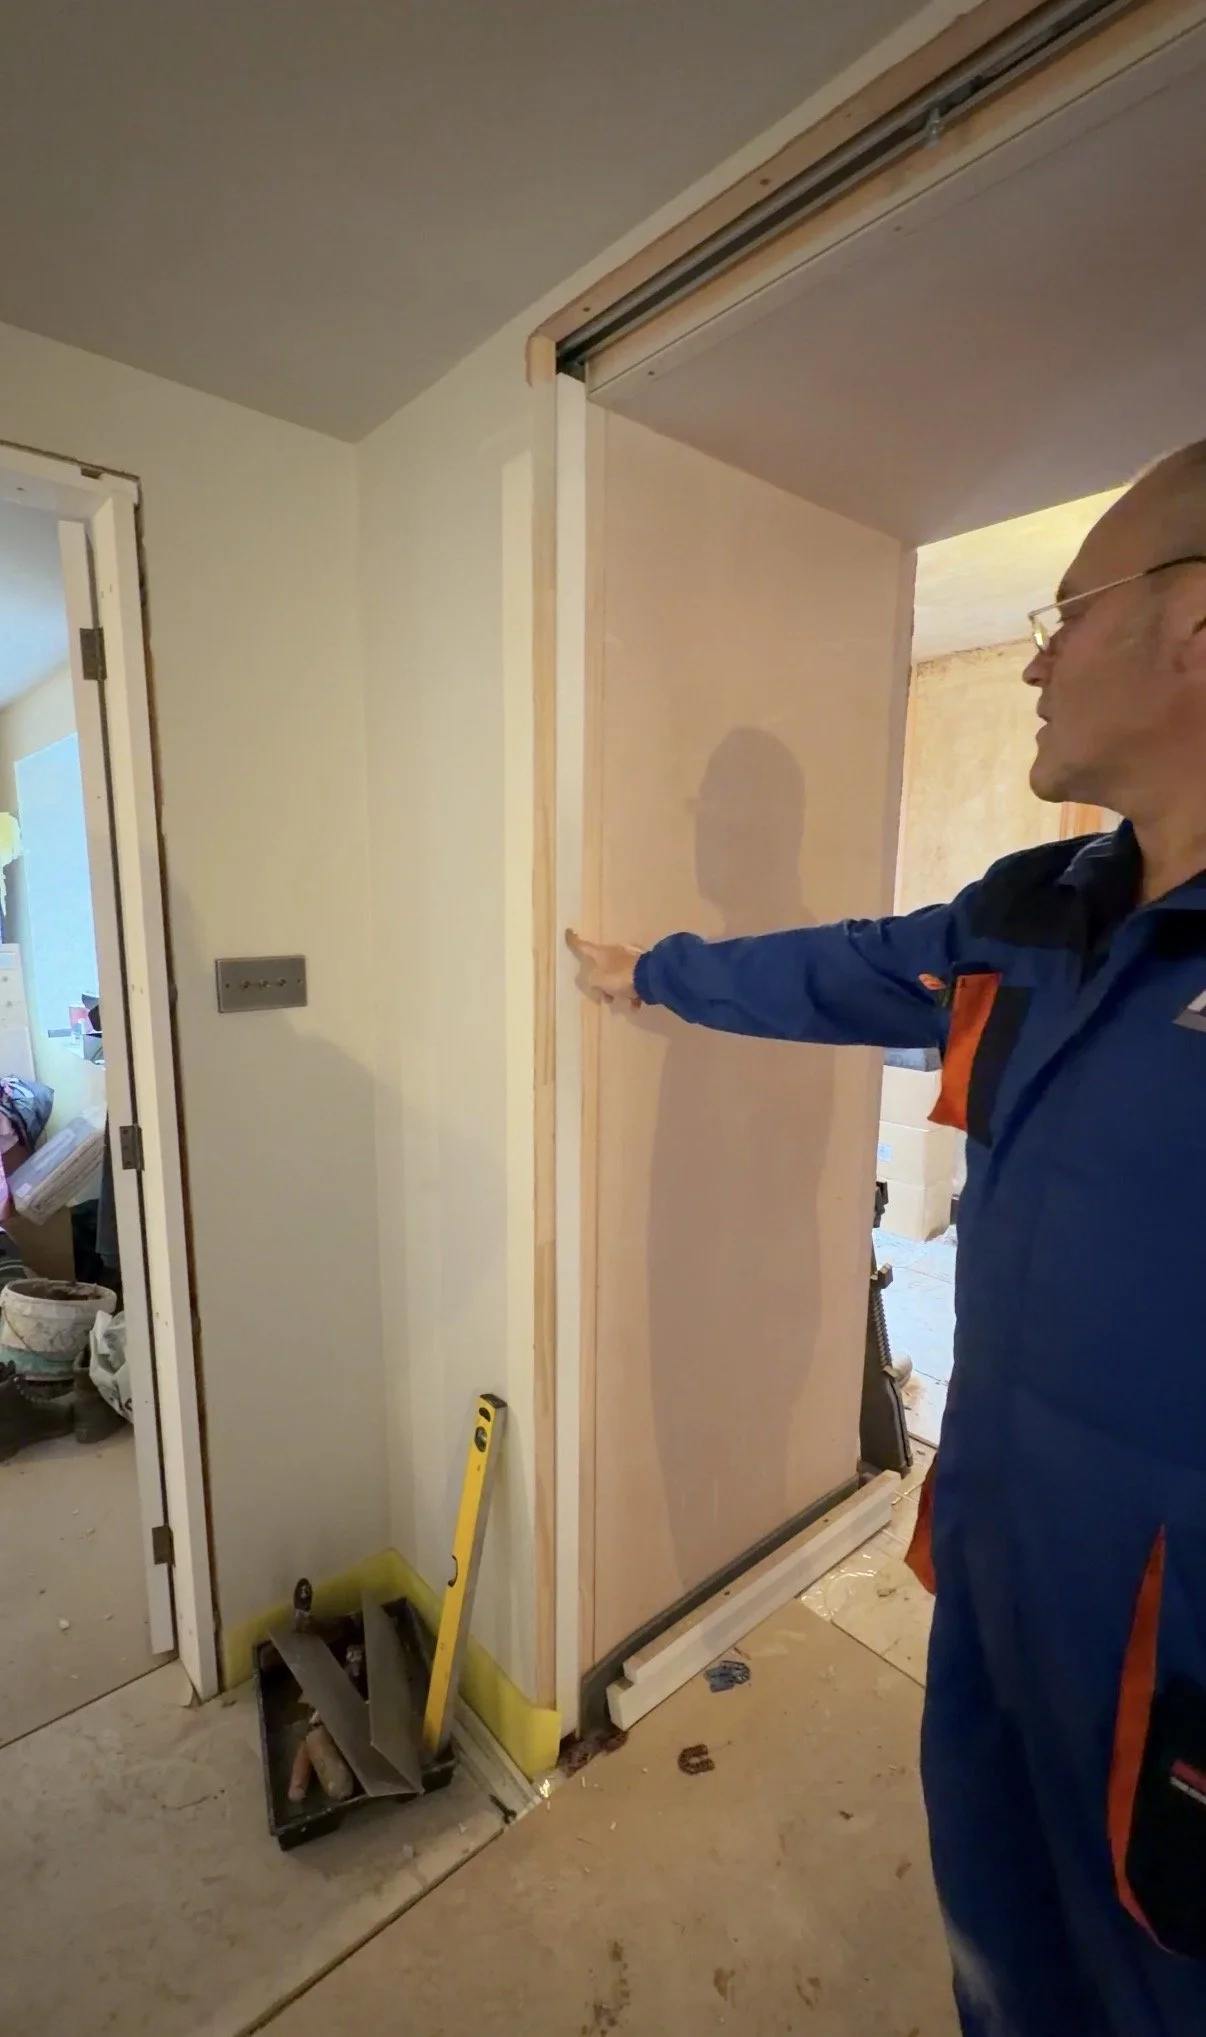
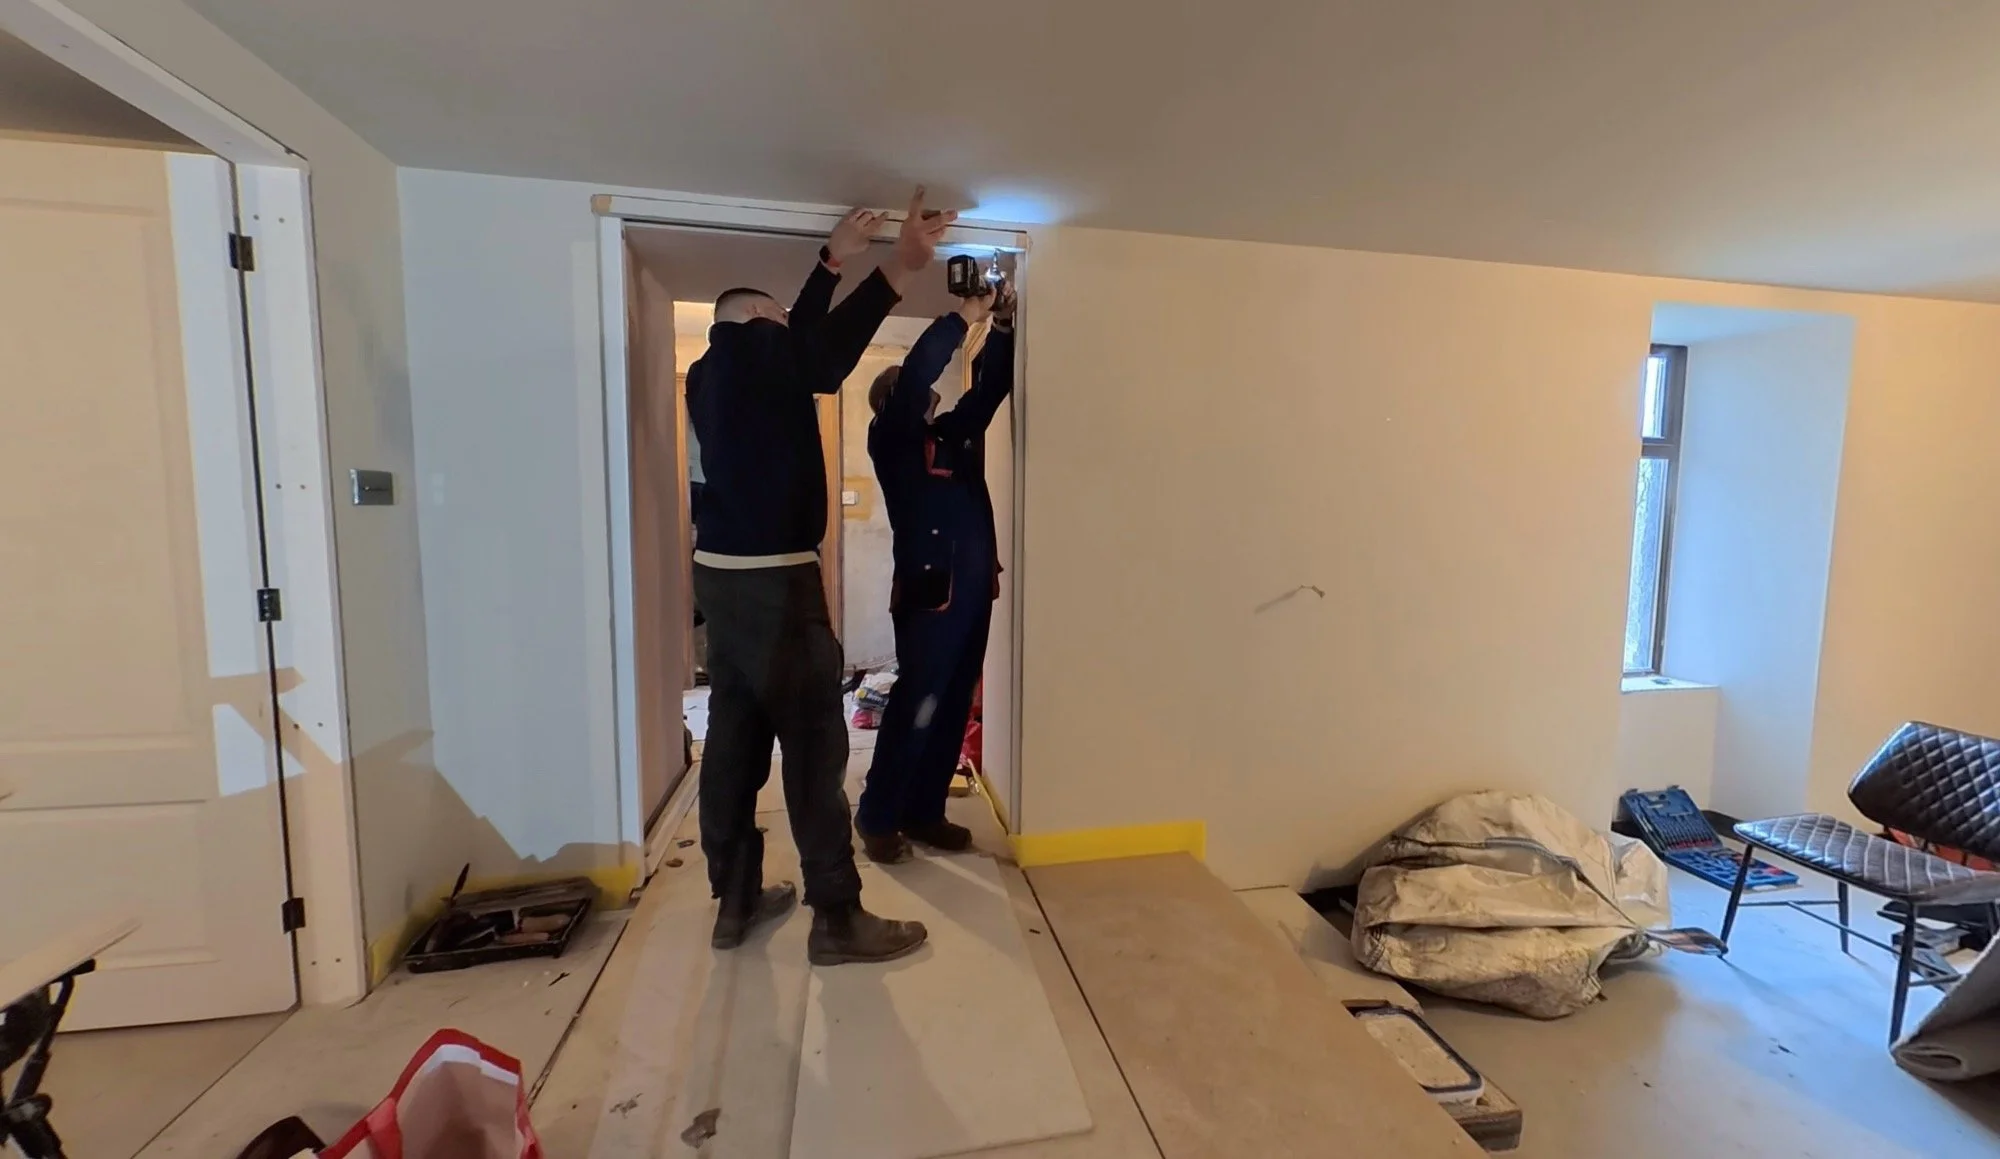
Finally, onto the pocket doors… We put in the order for these over-height made-to-measure Georgian glazed doors back in November, and last week they arrived on a lorry in a special travel crate. It was a very exciting delivery for us, and we wasted no time in breaking into that crate and unwrapping the very heavy, beautiful doors:
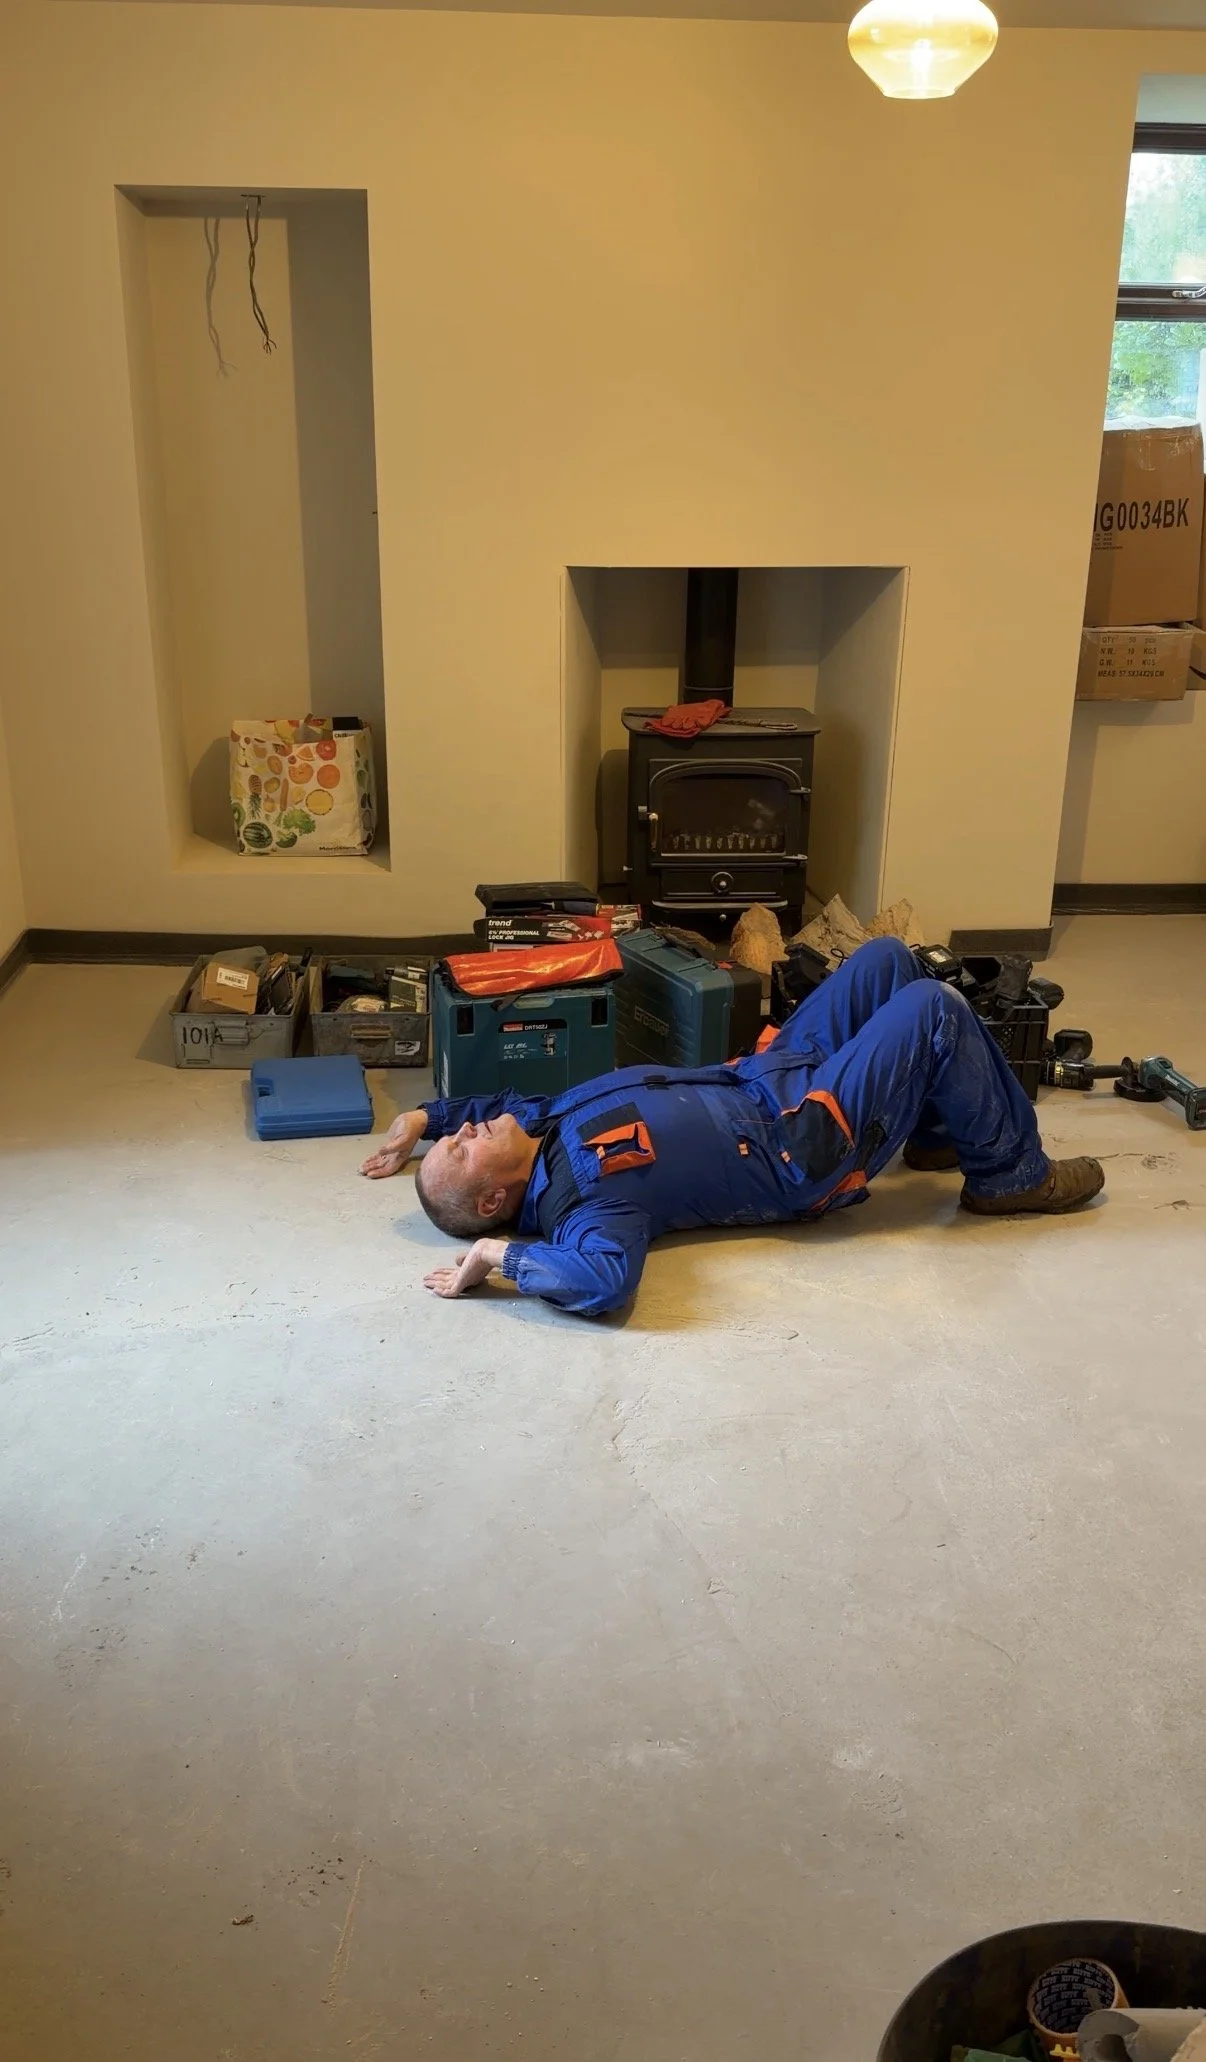
They are pre-primed, because the woodwork will all be painted downstairs, but there was no time to paint them before they needed to be installed, so we’ll pick that up when we lay the flagstones here too. Thankfully, Dad was up with a family birthday trip to the farm, so as a birthday present, he was an absolute gem and got the doors into their pockets ahead of the weekend.
He enjoyed a rest on the underfloor heated floor before grafting for about 6 hours straight to leave us with functional doors… and they’re amazing. Dan also whipped that TV up onto the wall shortly after.

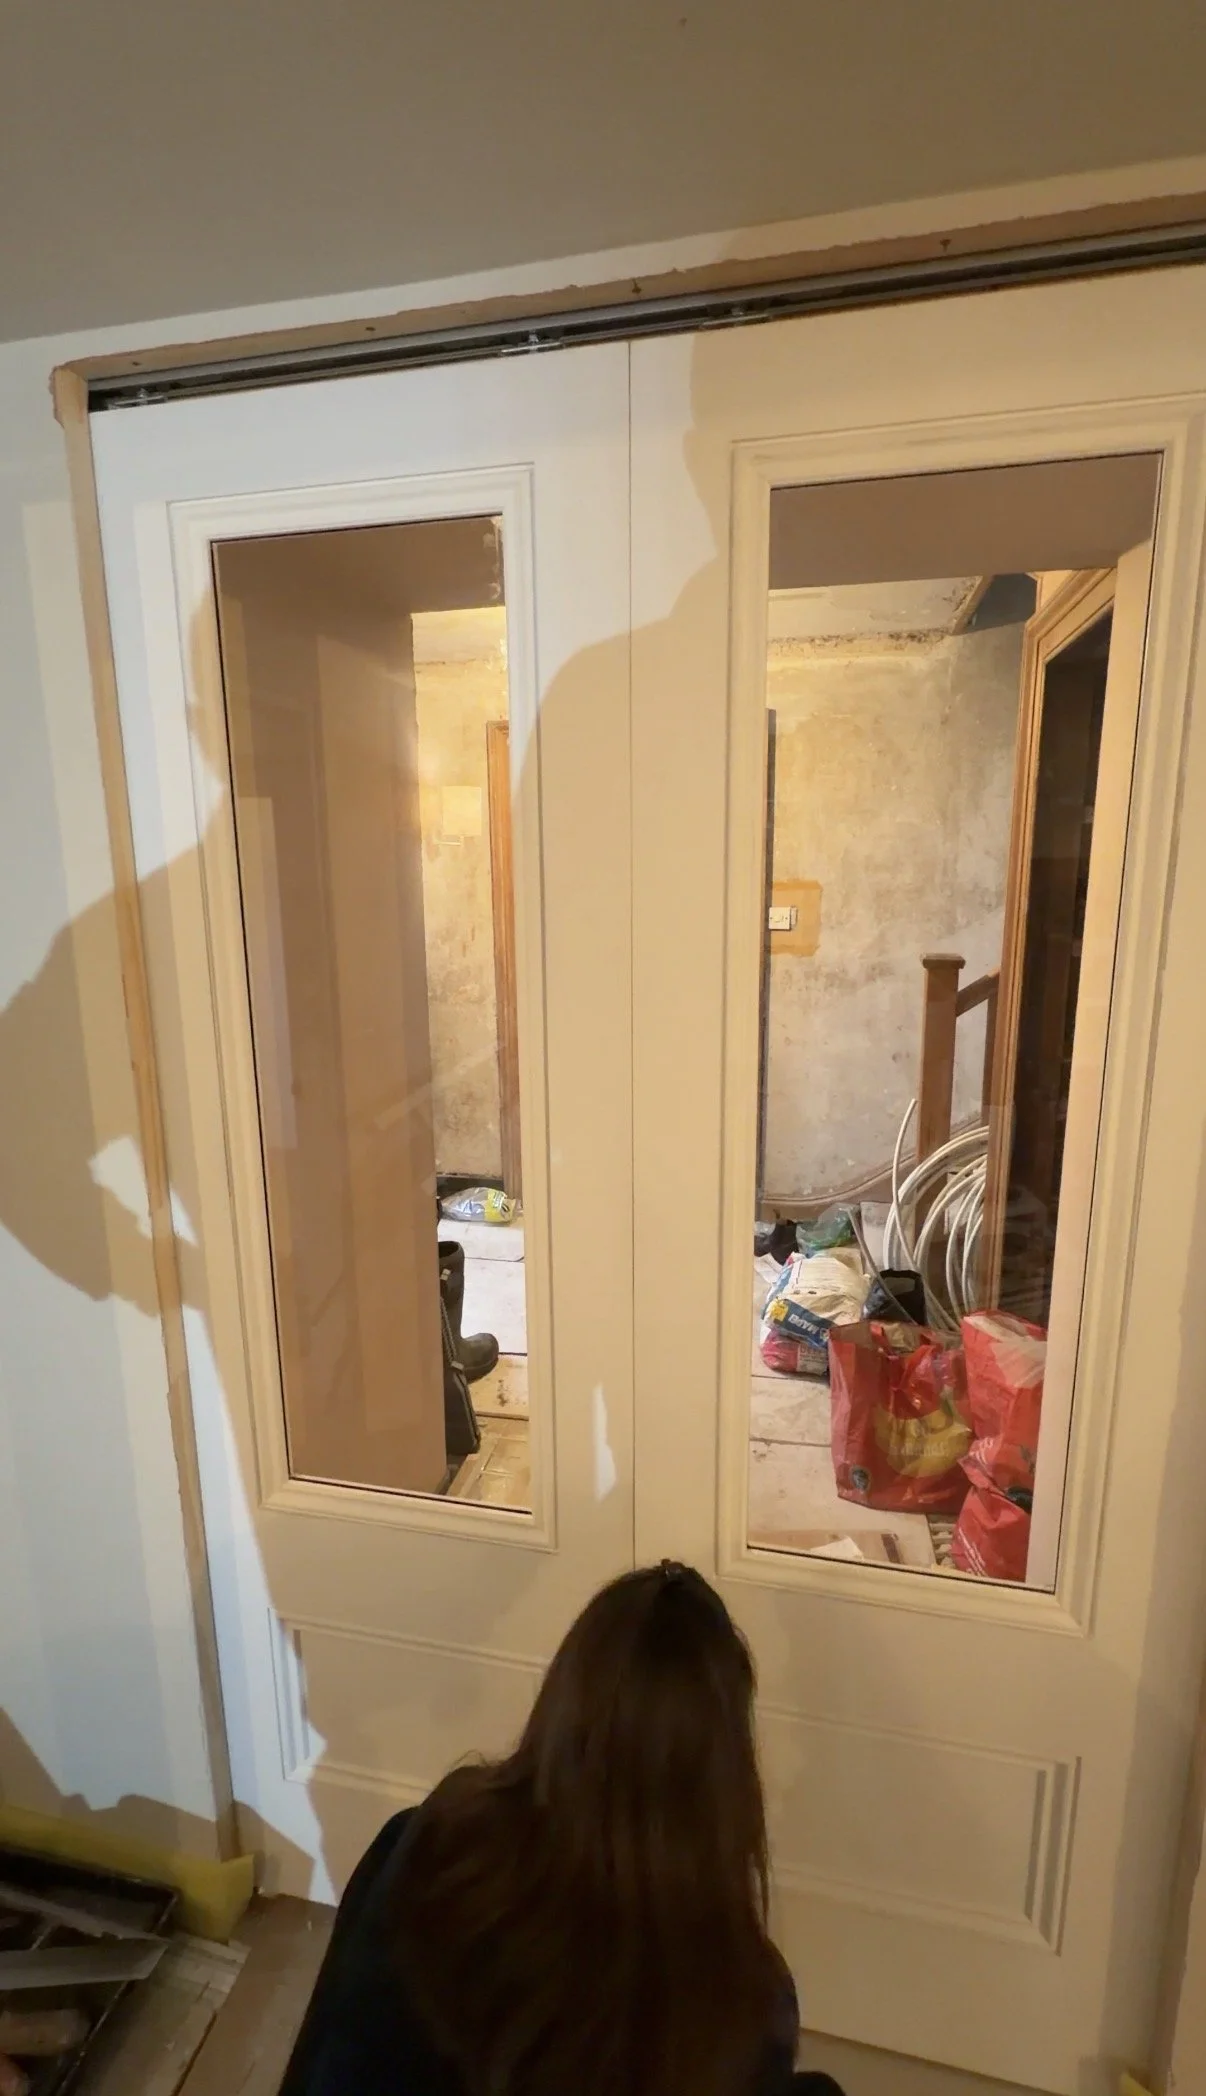
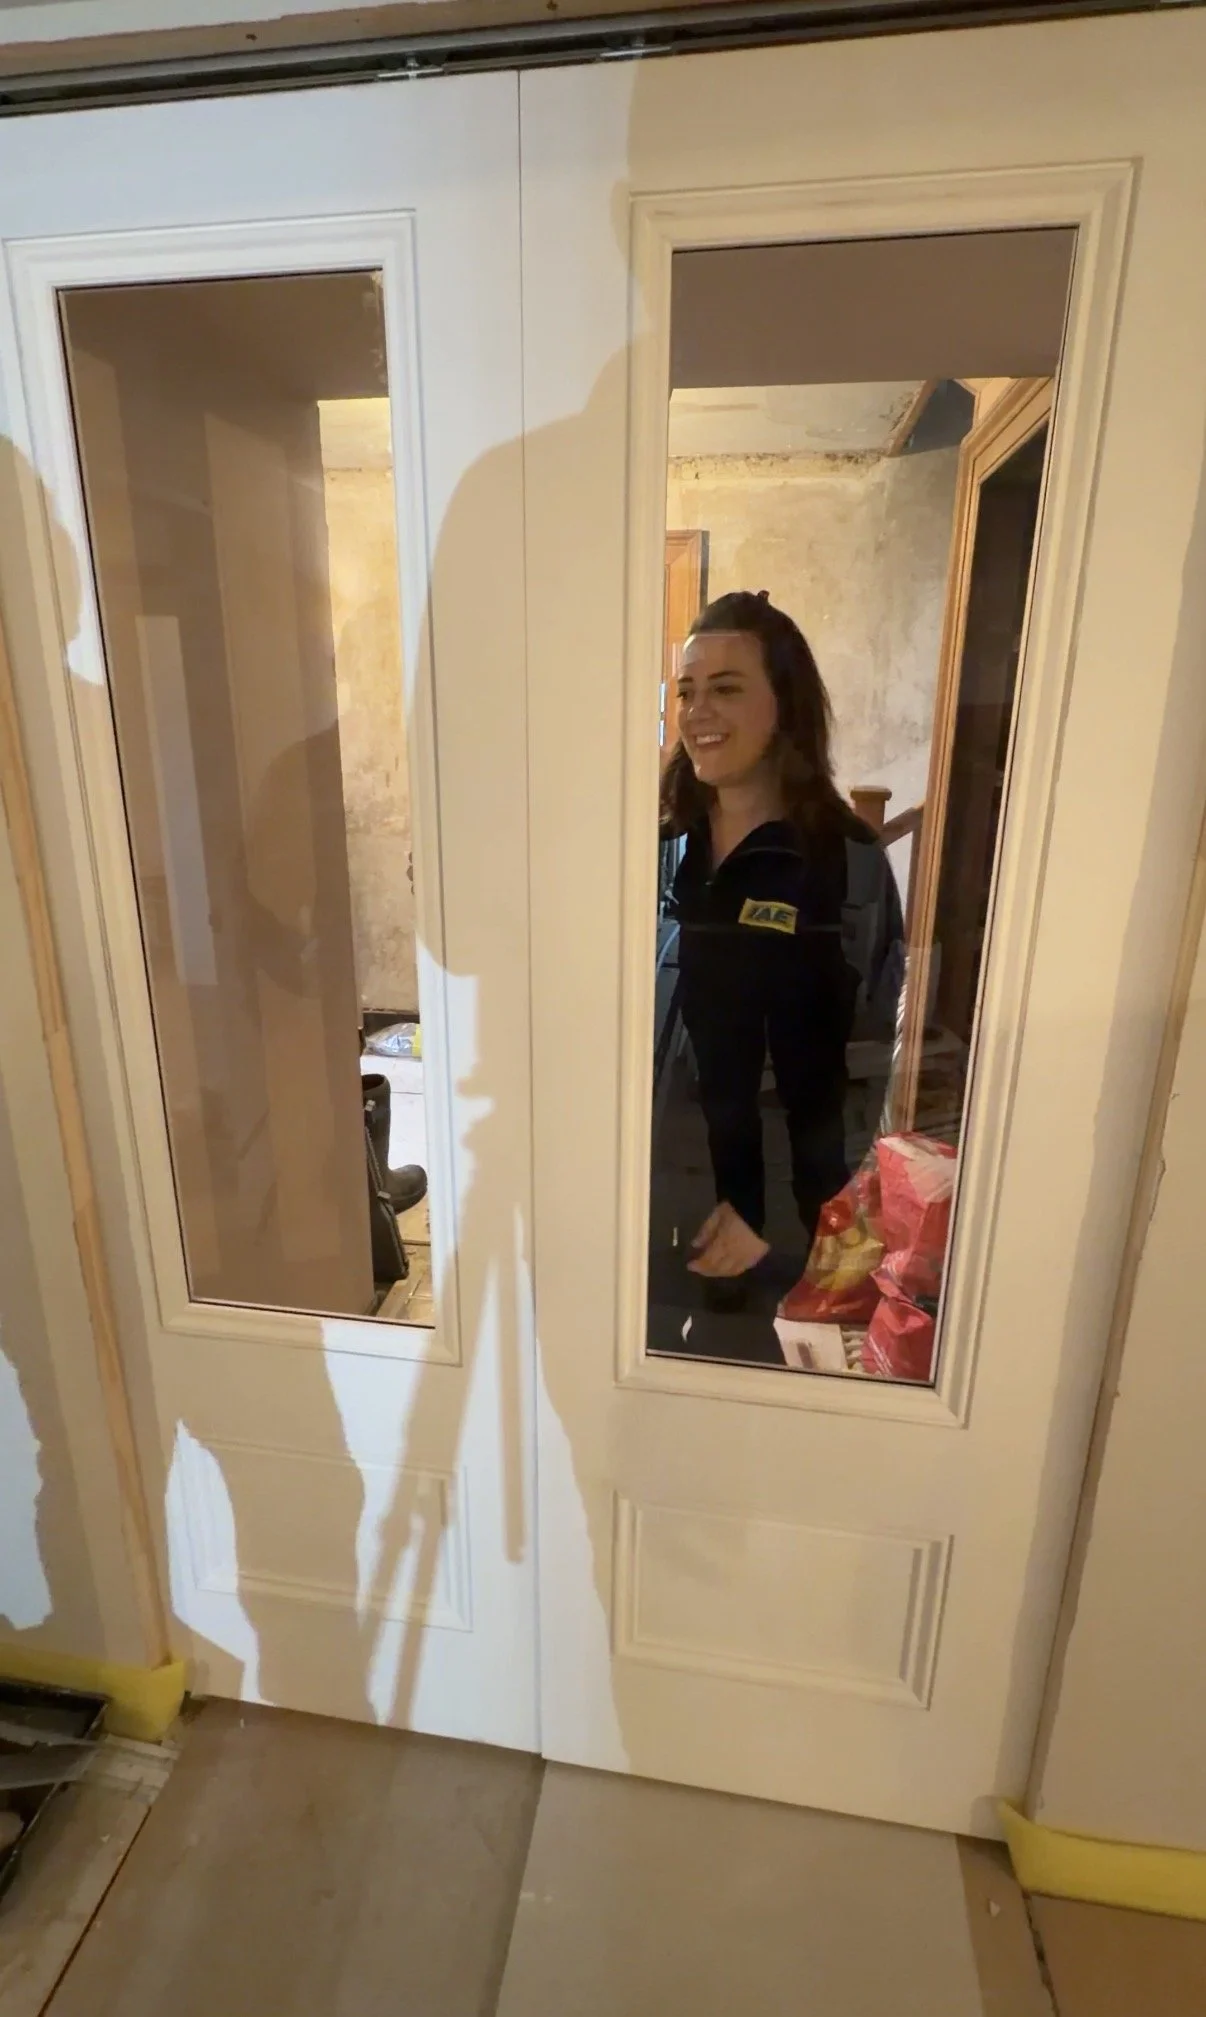
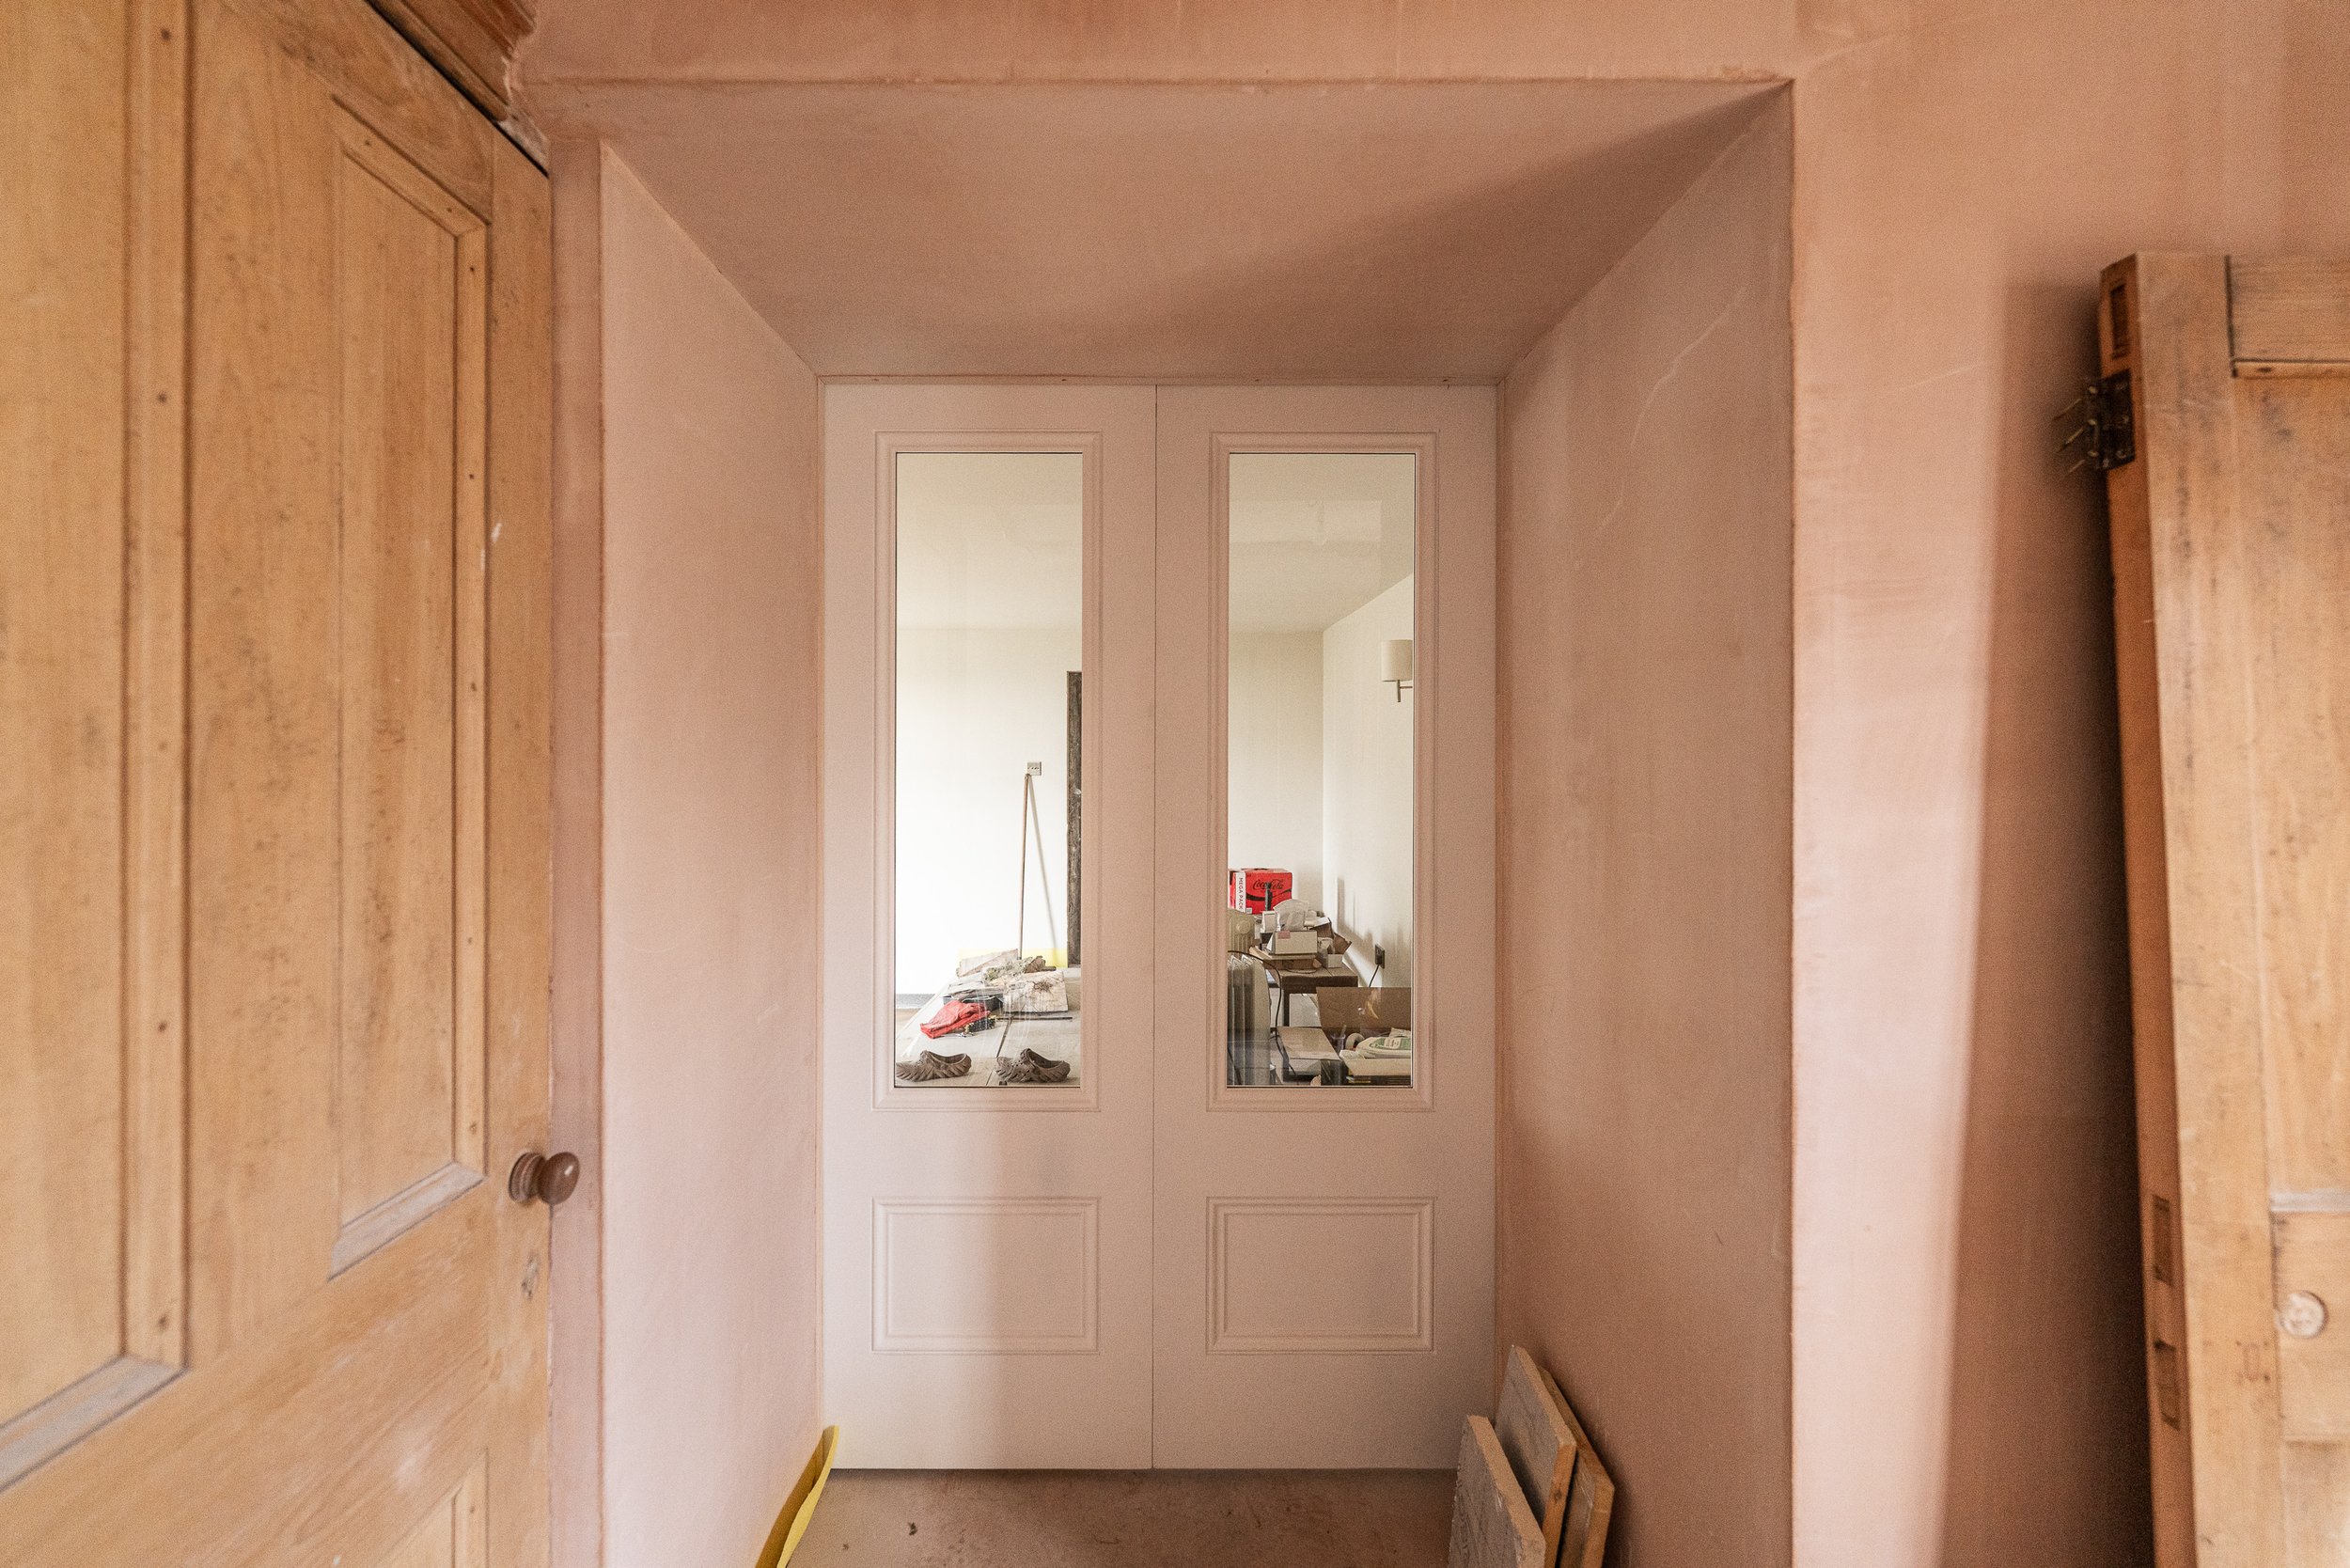
The doors do not have any hardware on them yet, so no handles, pulls or similar, but the brushes give a really tight seal, and the soft closers (and openers) and push-to-pop-out mechanisms work perfectly. RESULT 🥳 Obviously, they will be surrounded by architrave and painted, etc, with an actual floor finish underneath. Again, #trusttheprocess - it’s sad that the arch isn’t here (I’m still in mourning), but at least this opening has a purpose and we kept the height throughout too.
March Week 3:
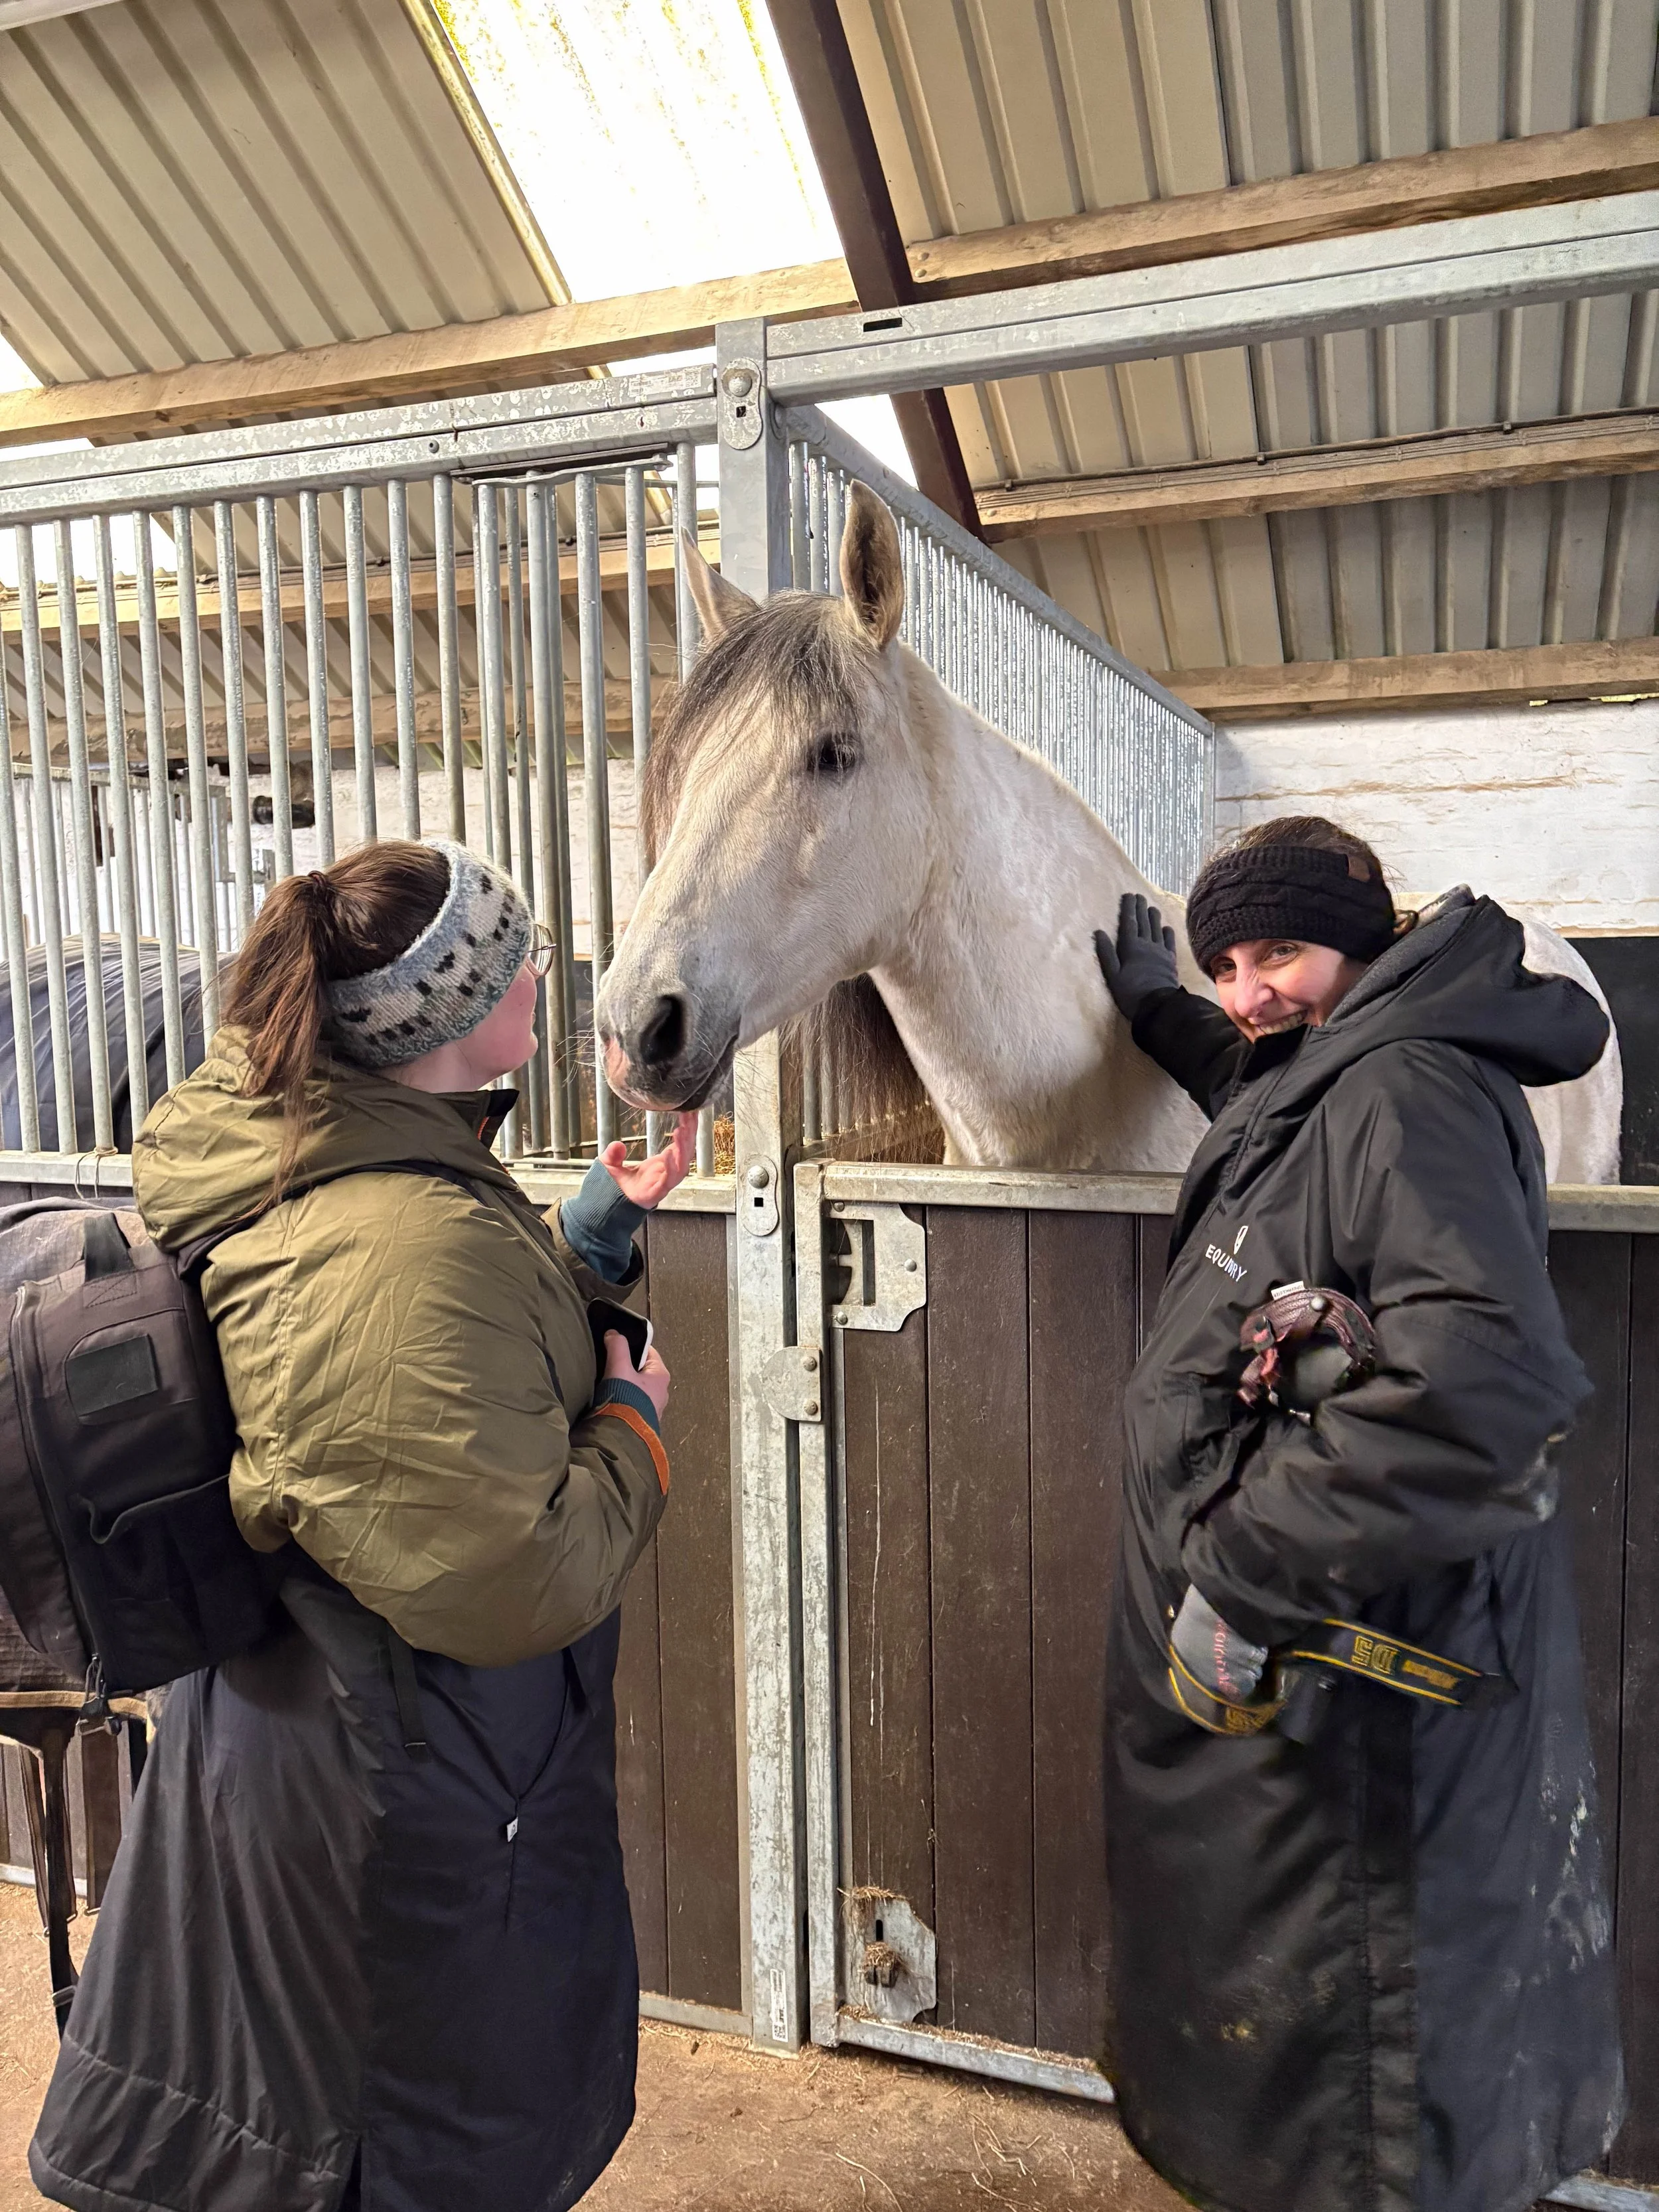
This week, we were not on the project because we welcomed 10 photography students to our local area instead. Our 5-day Scotland 2026 Retreat kicked off with airport transfers and arrivals before a solid set of shooting and editing days with our dogs. The students came to the farm twice during their time here, once for equine theory and a quick photoshoot with Velia & Connie, and then again for a dog photoshoot on the farm itself. Whilst here, we ate lunch in the building site of the farmhouse and checked images on the newly installed TV too. Thankfully, everyone knew what they were walking into, and maybe some will return when she’s complete!
Here are a few photos from time at the farm:
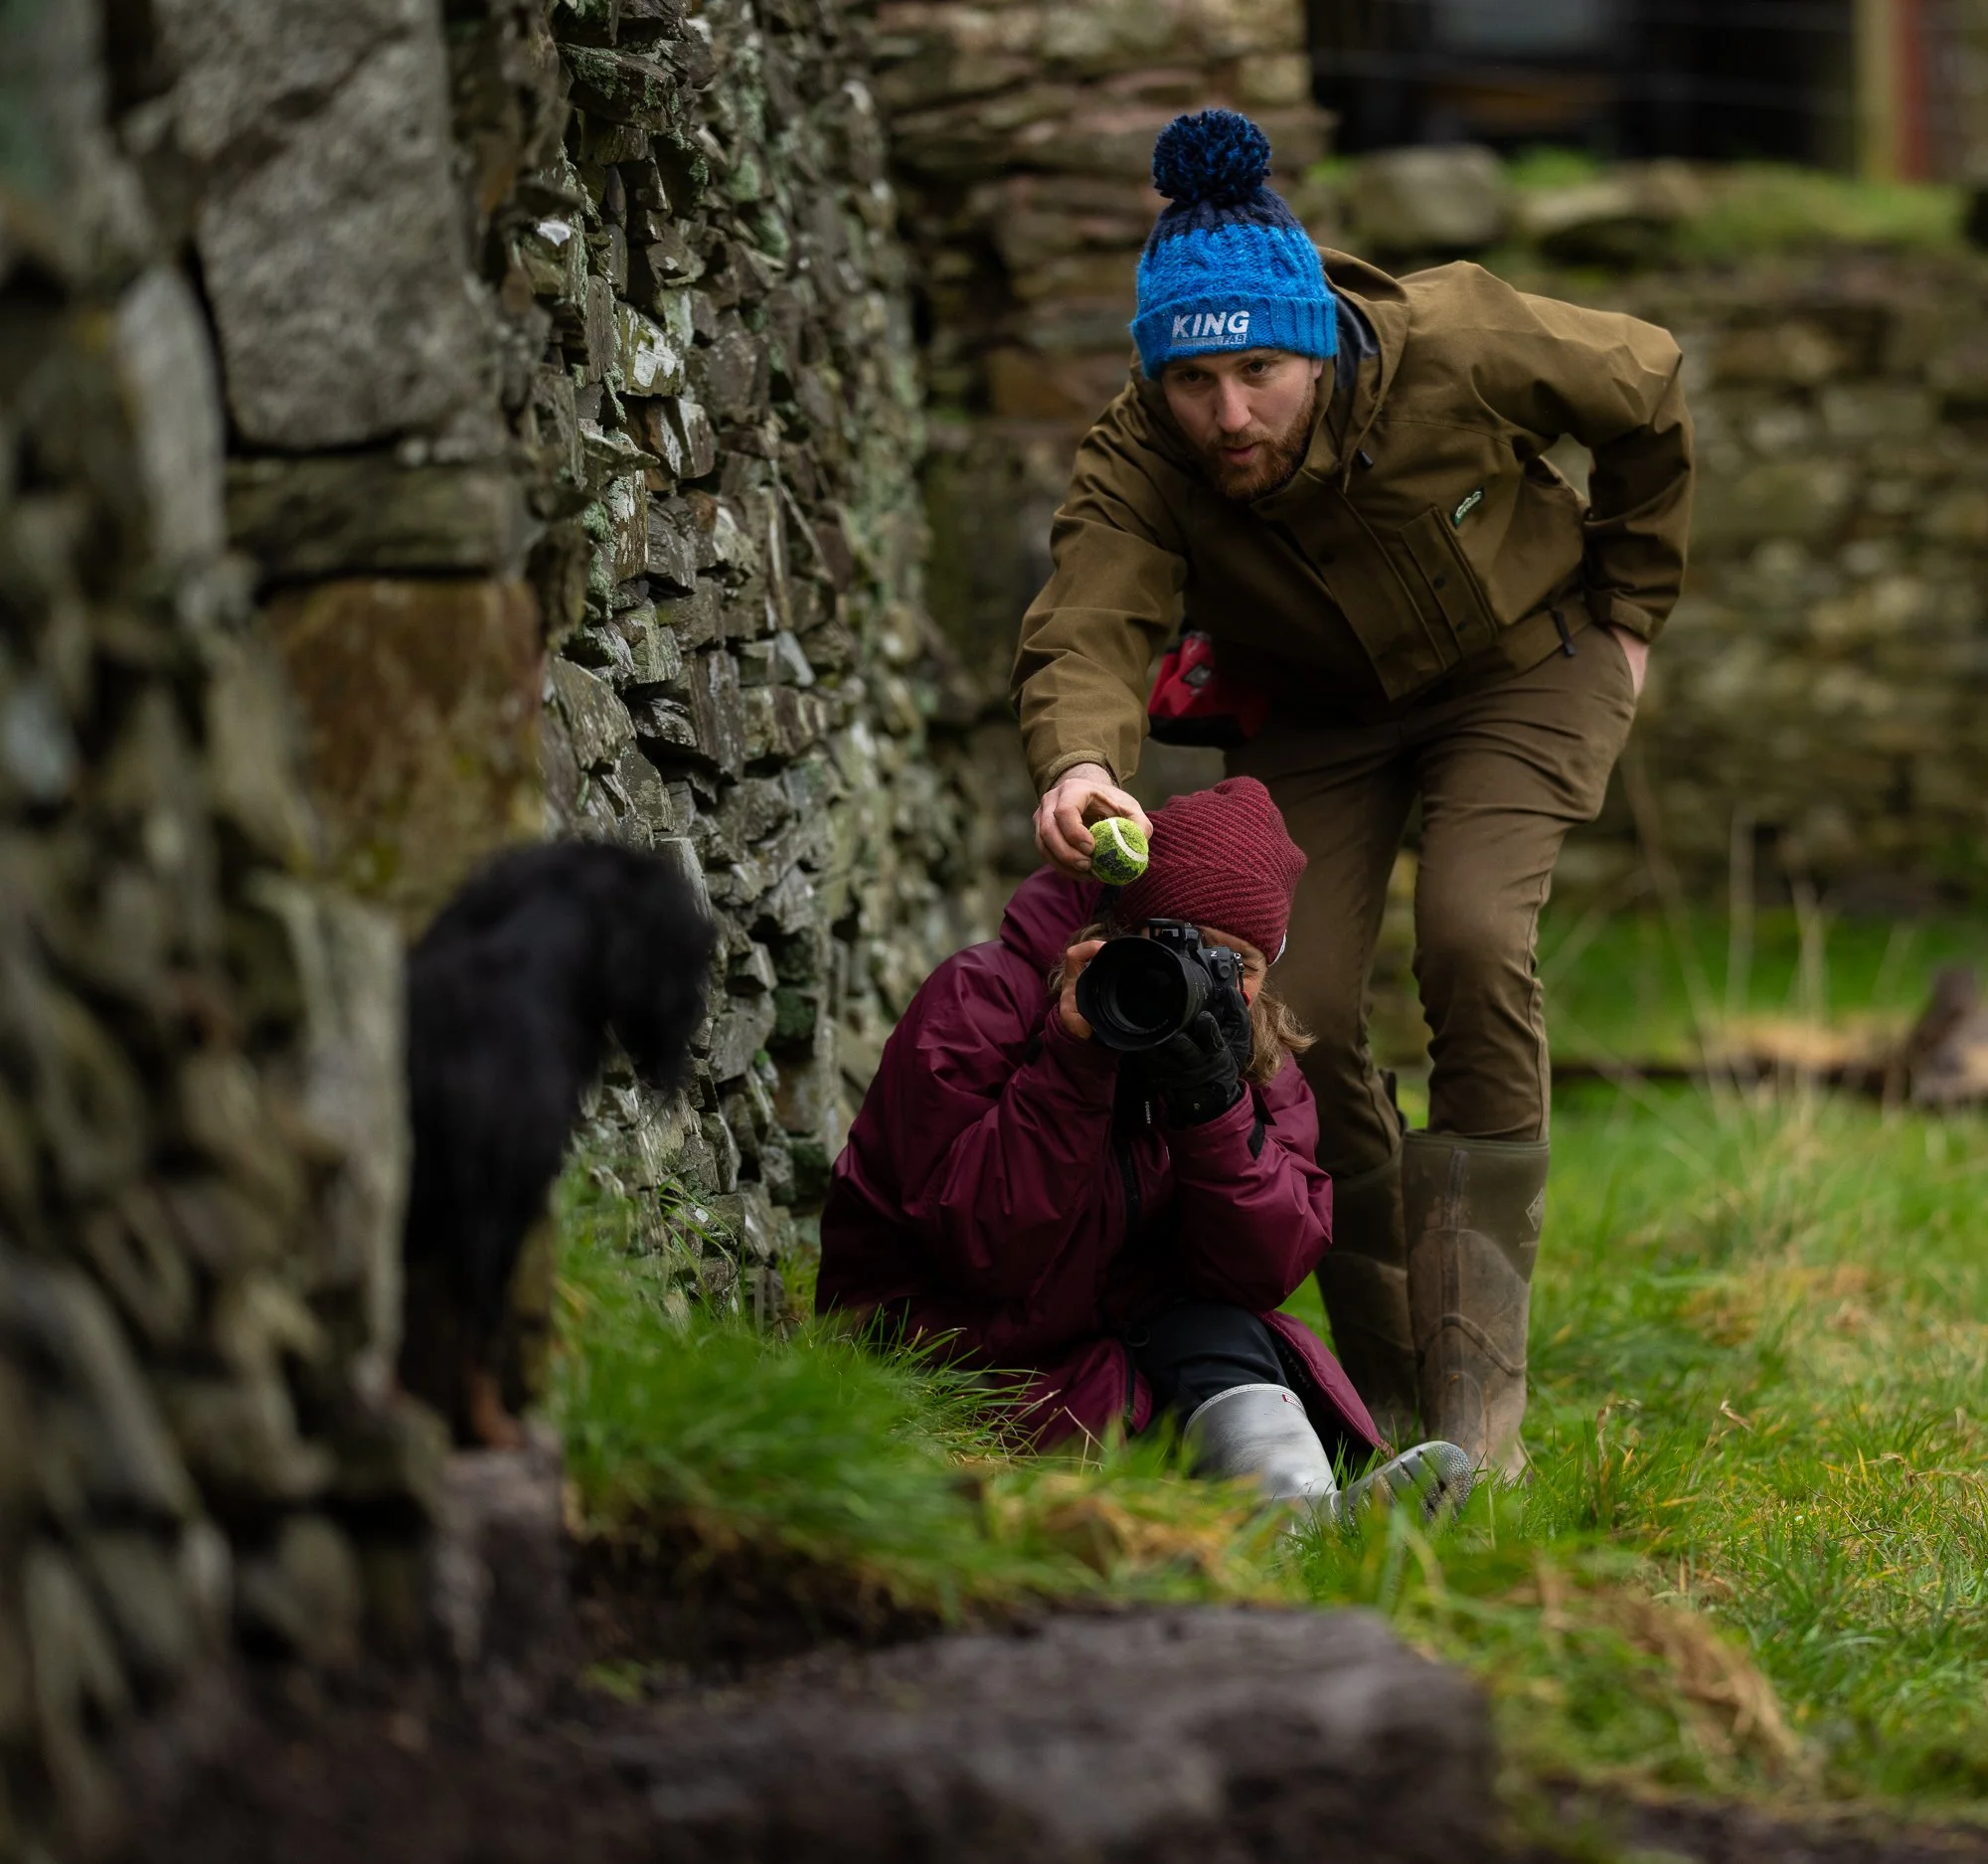
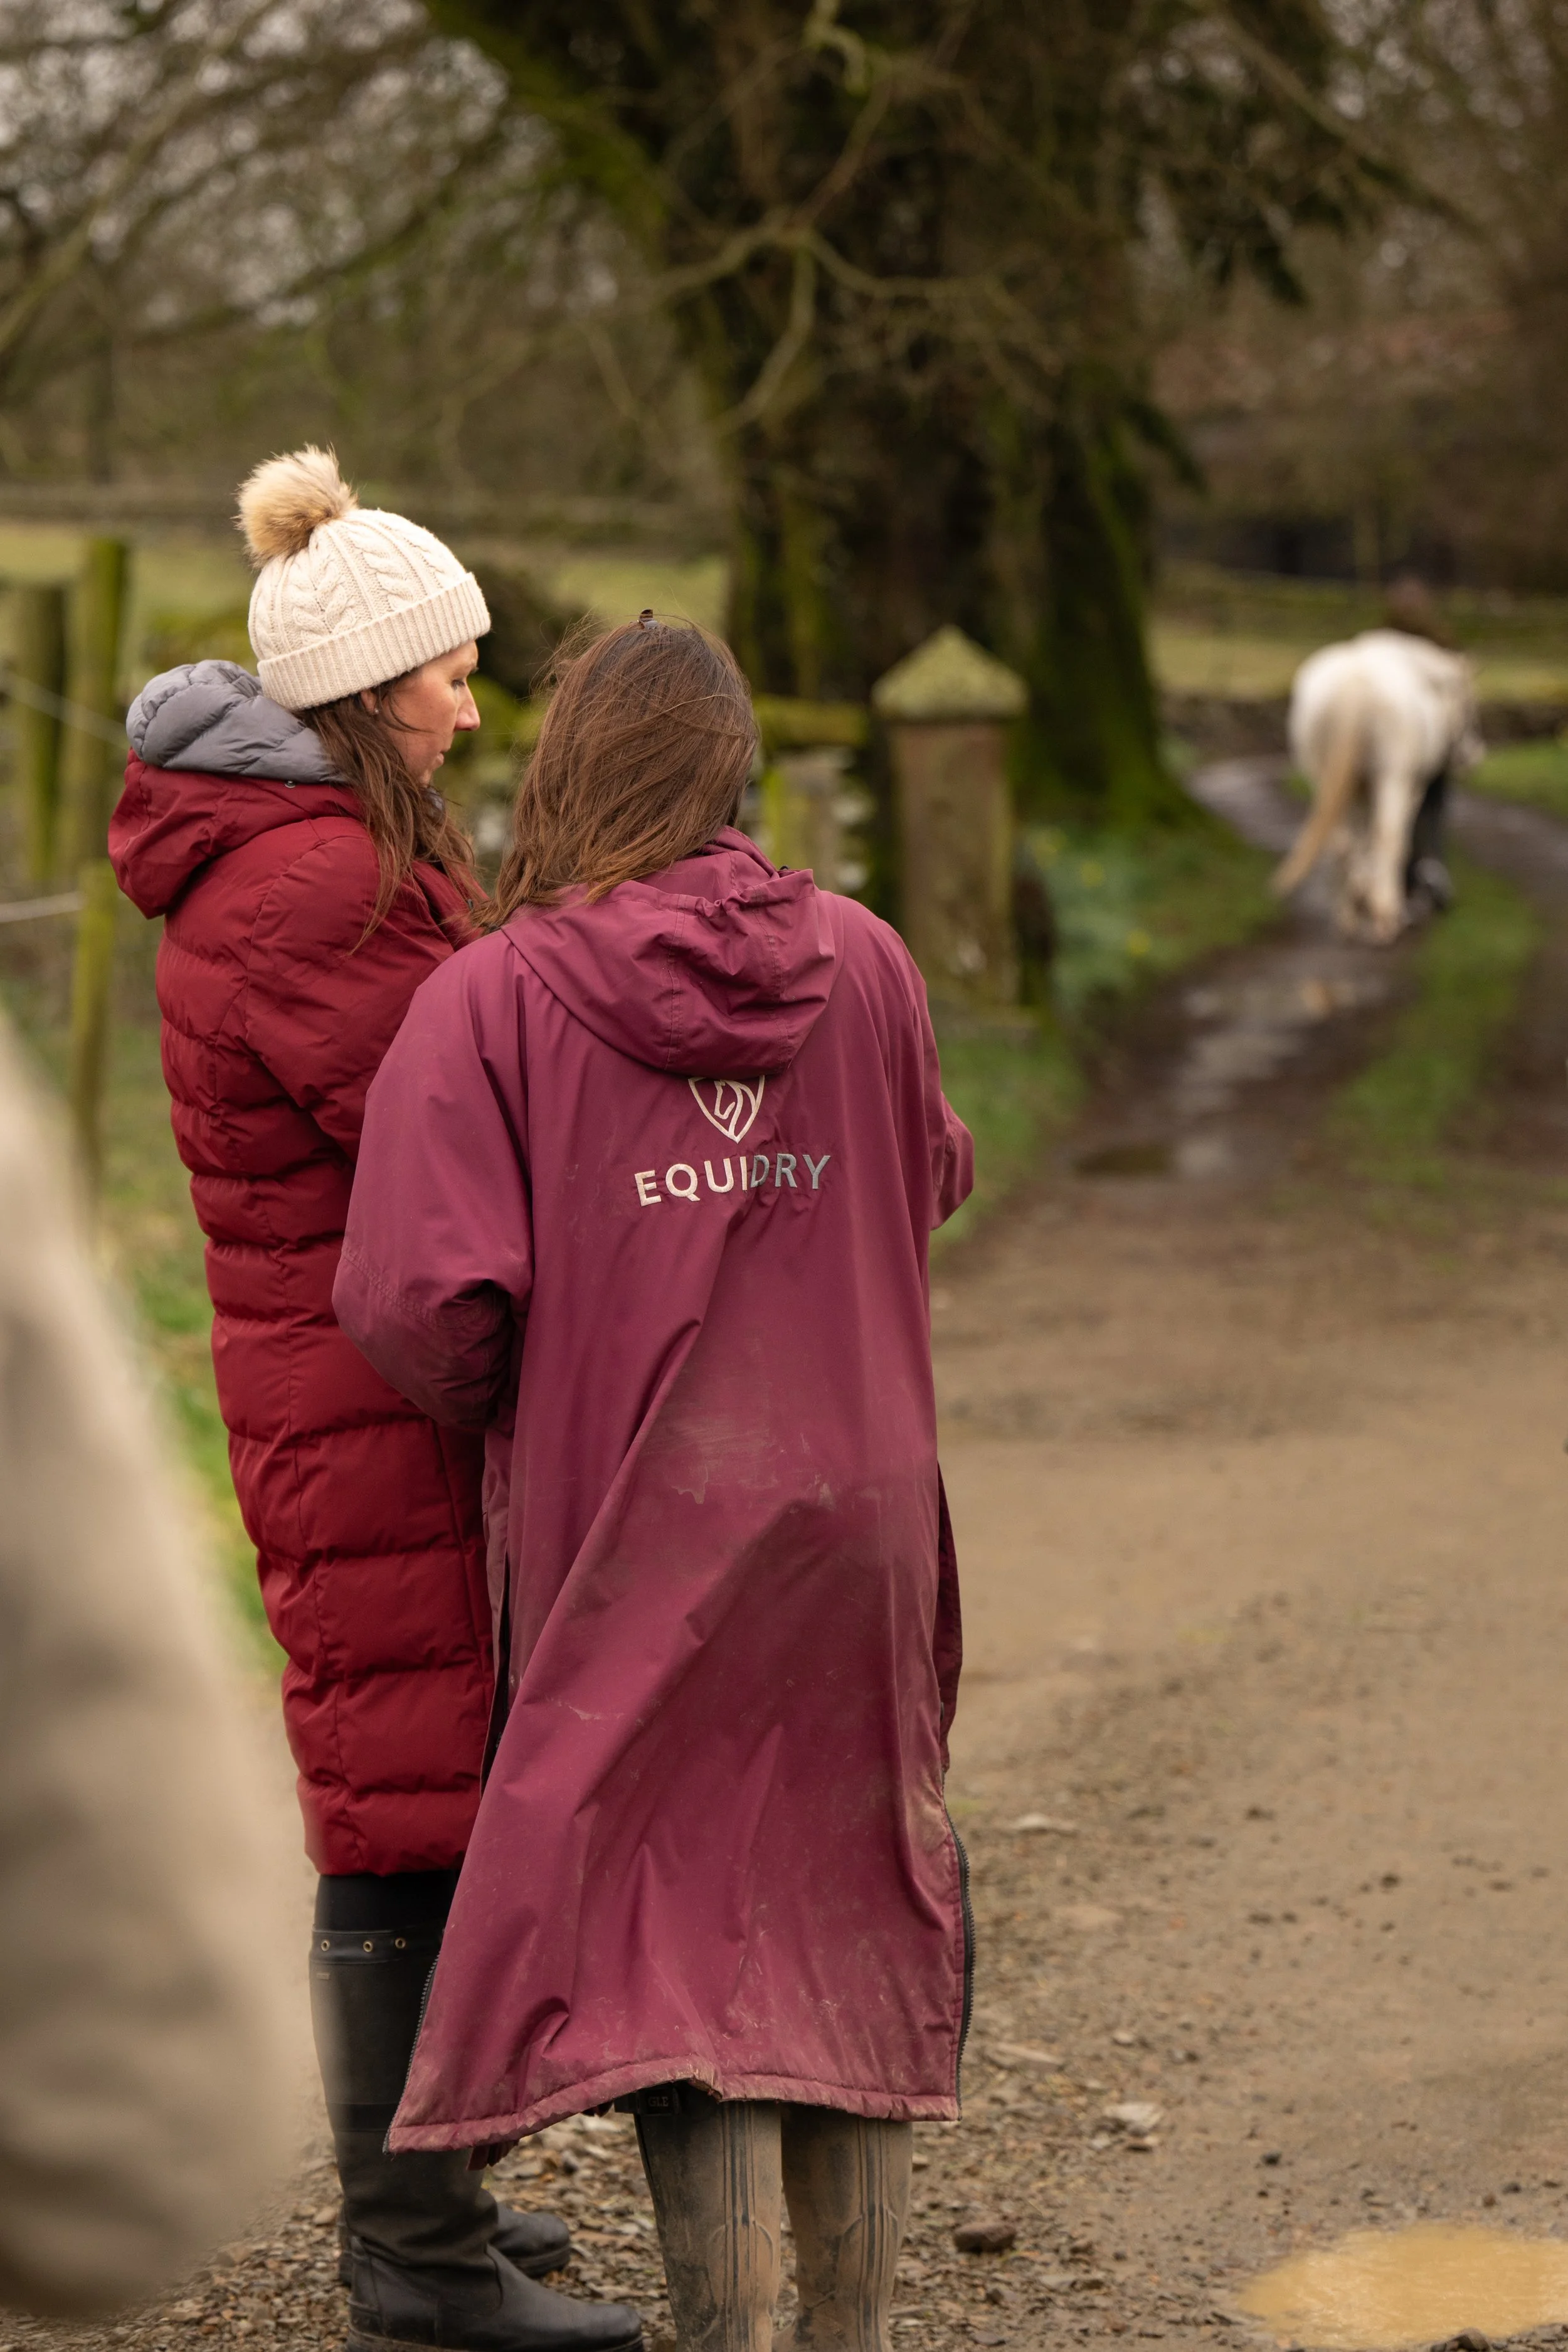
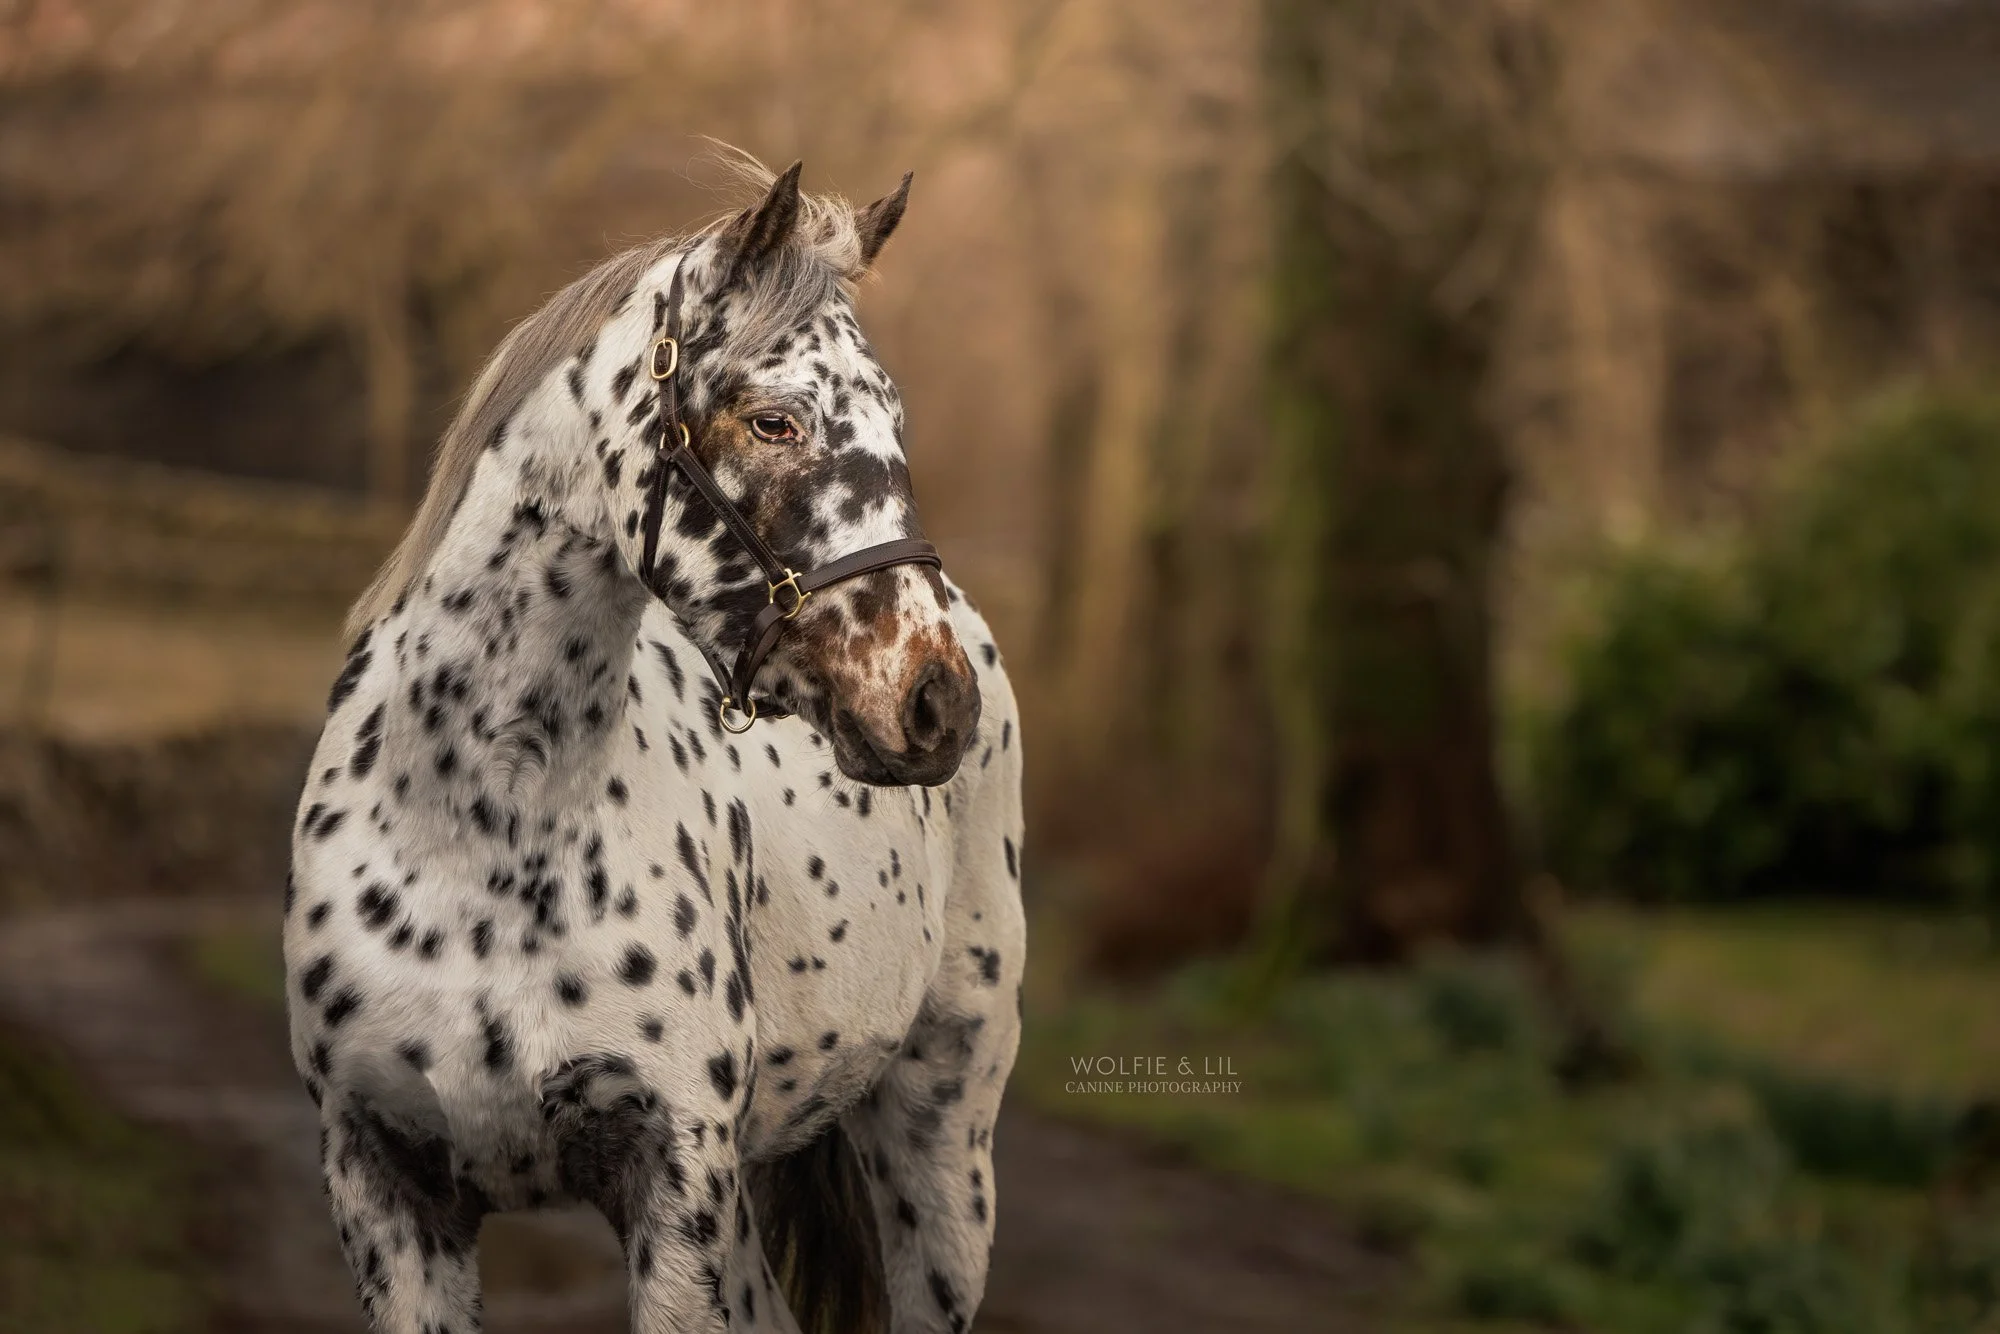

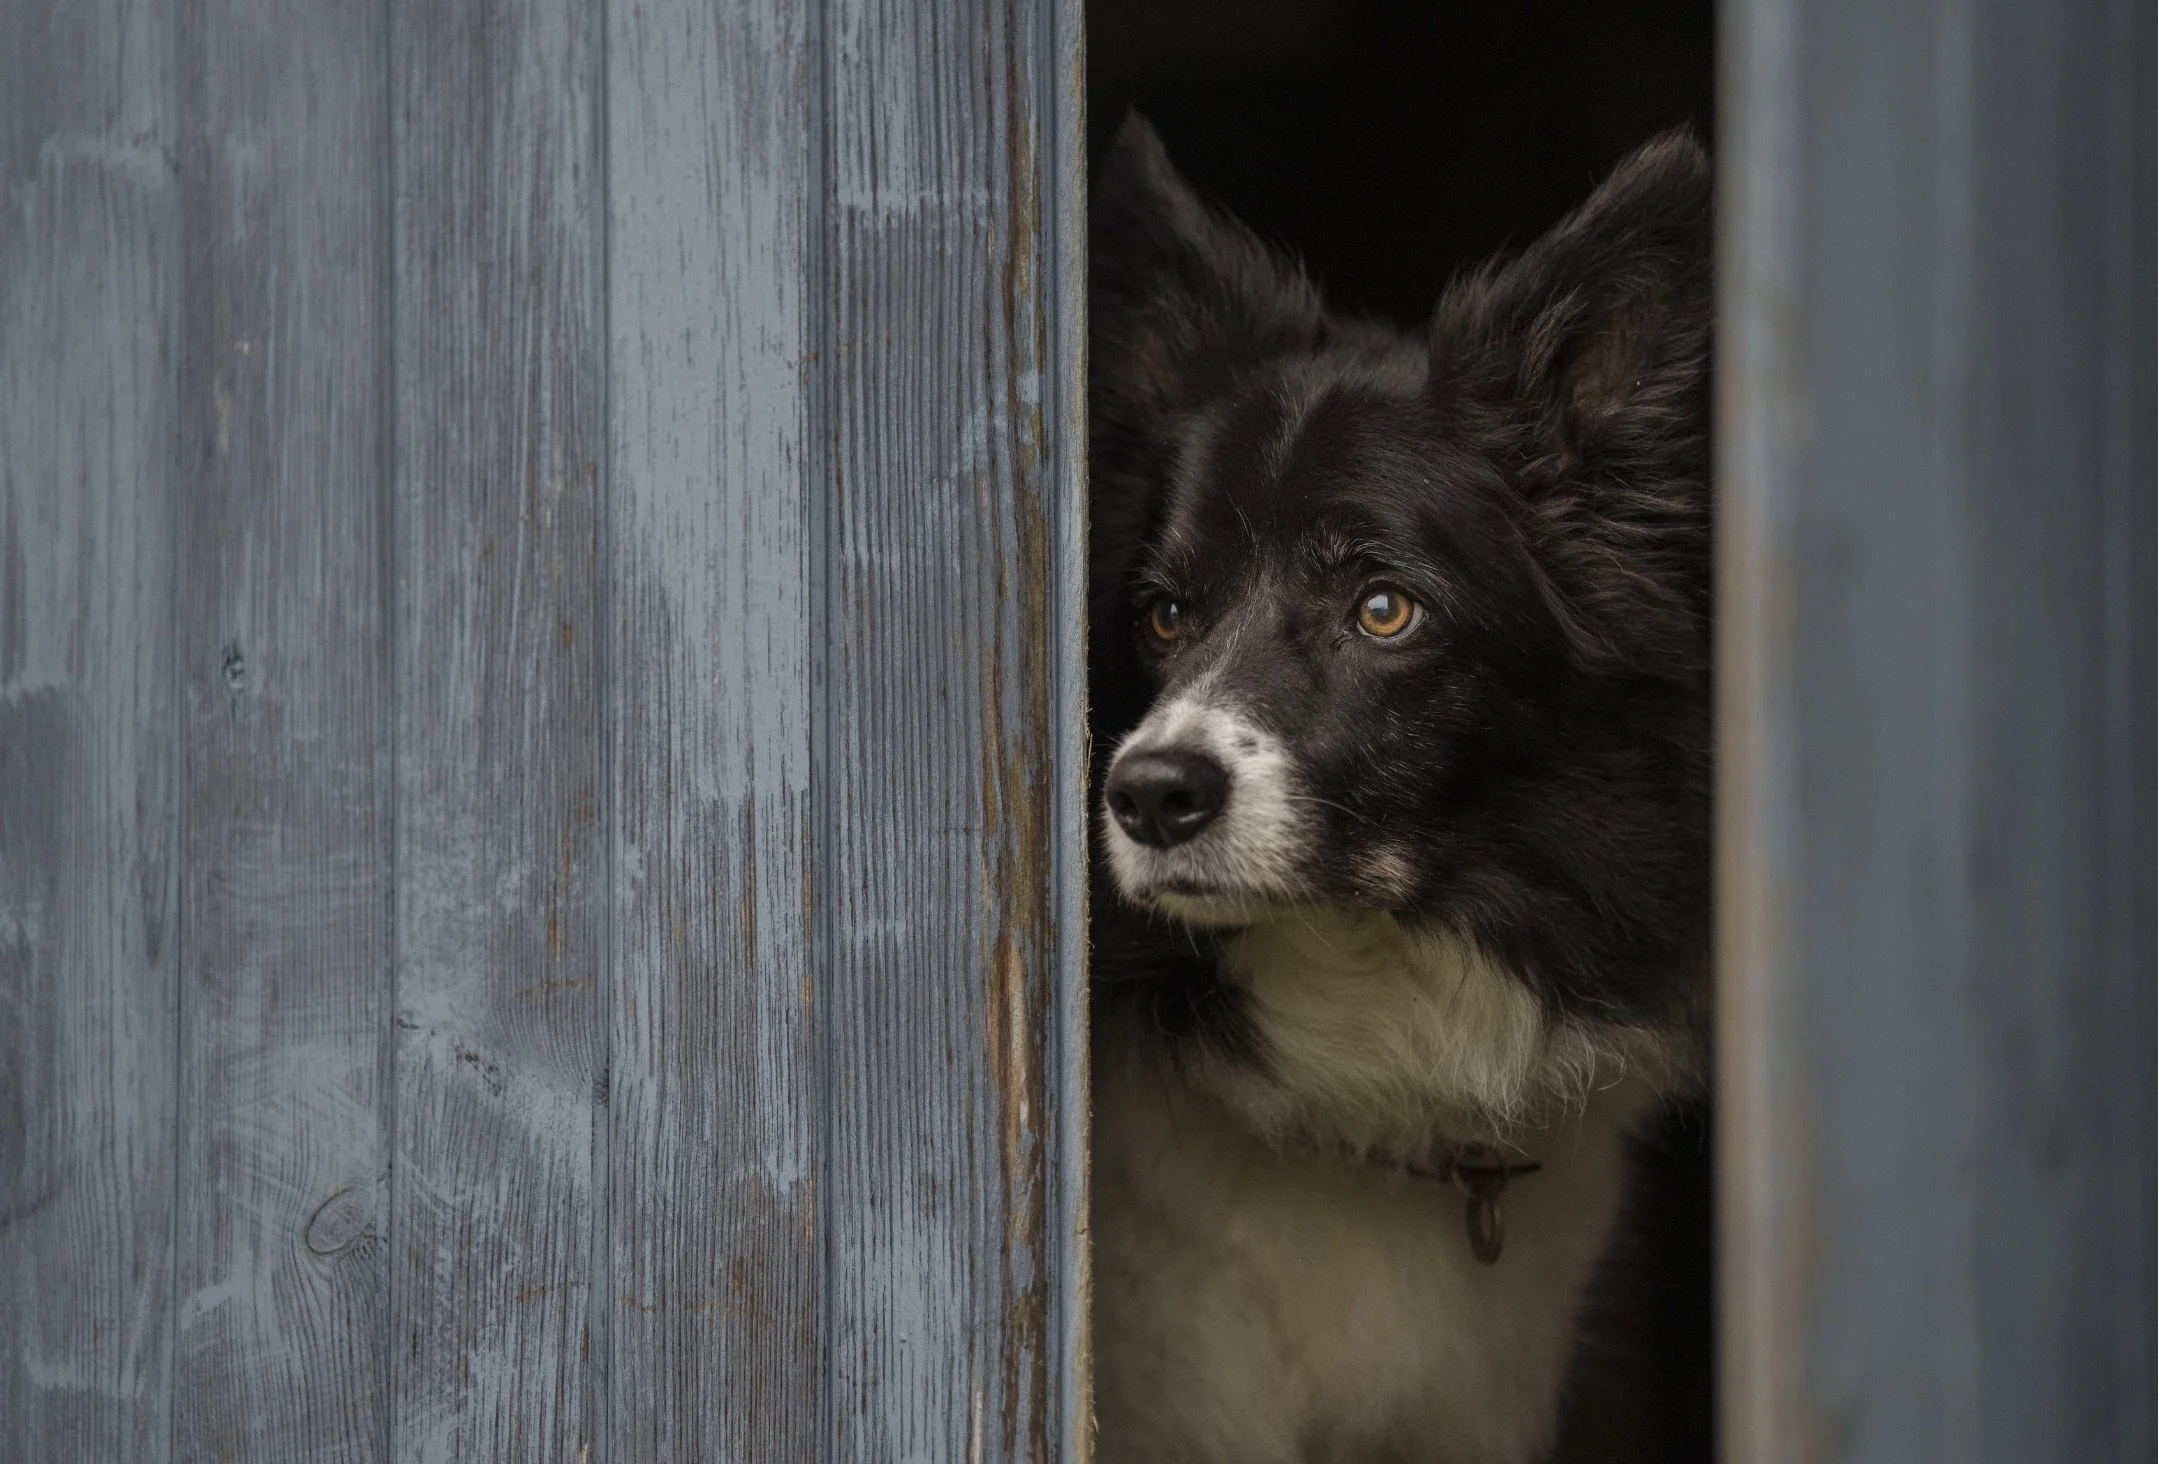
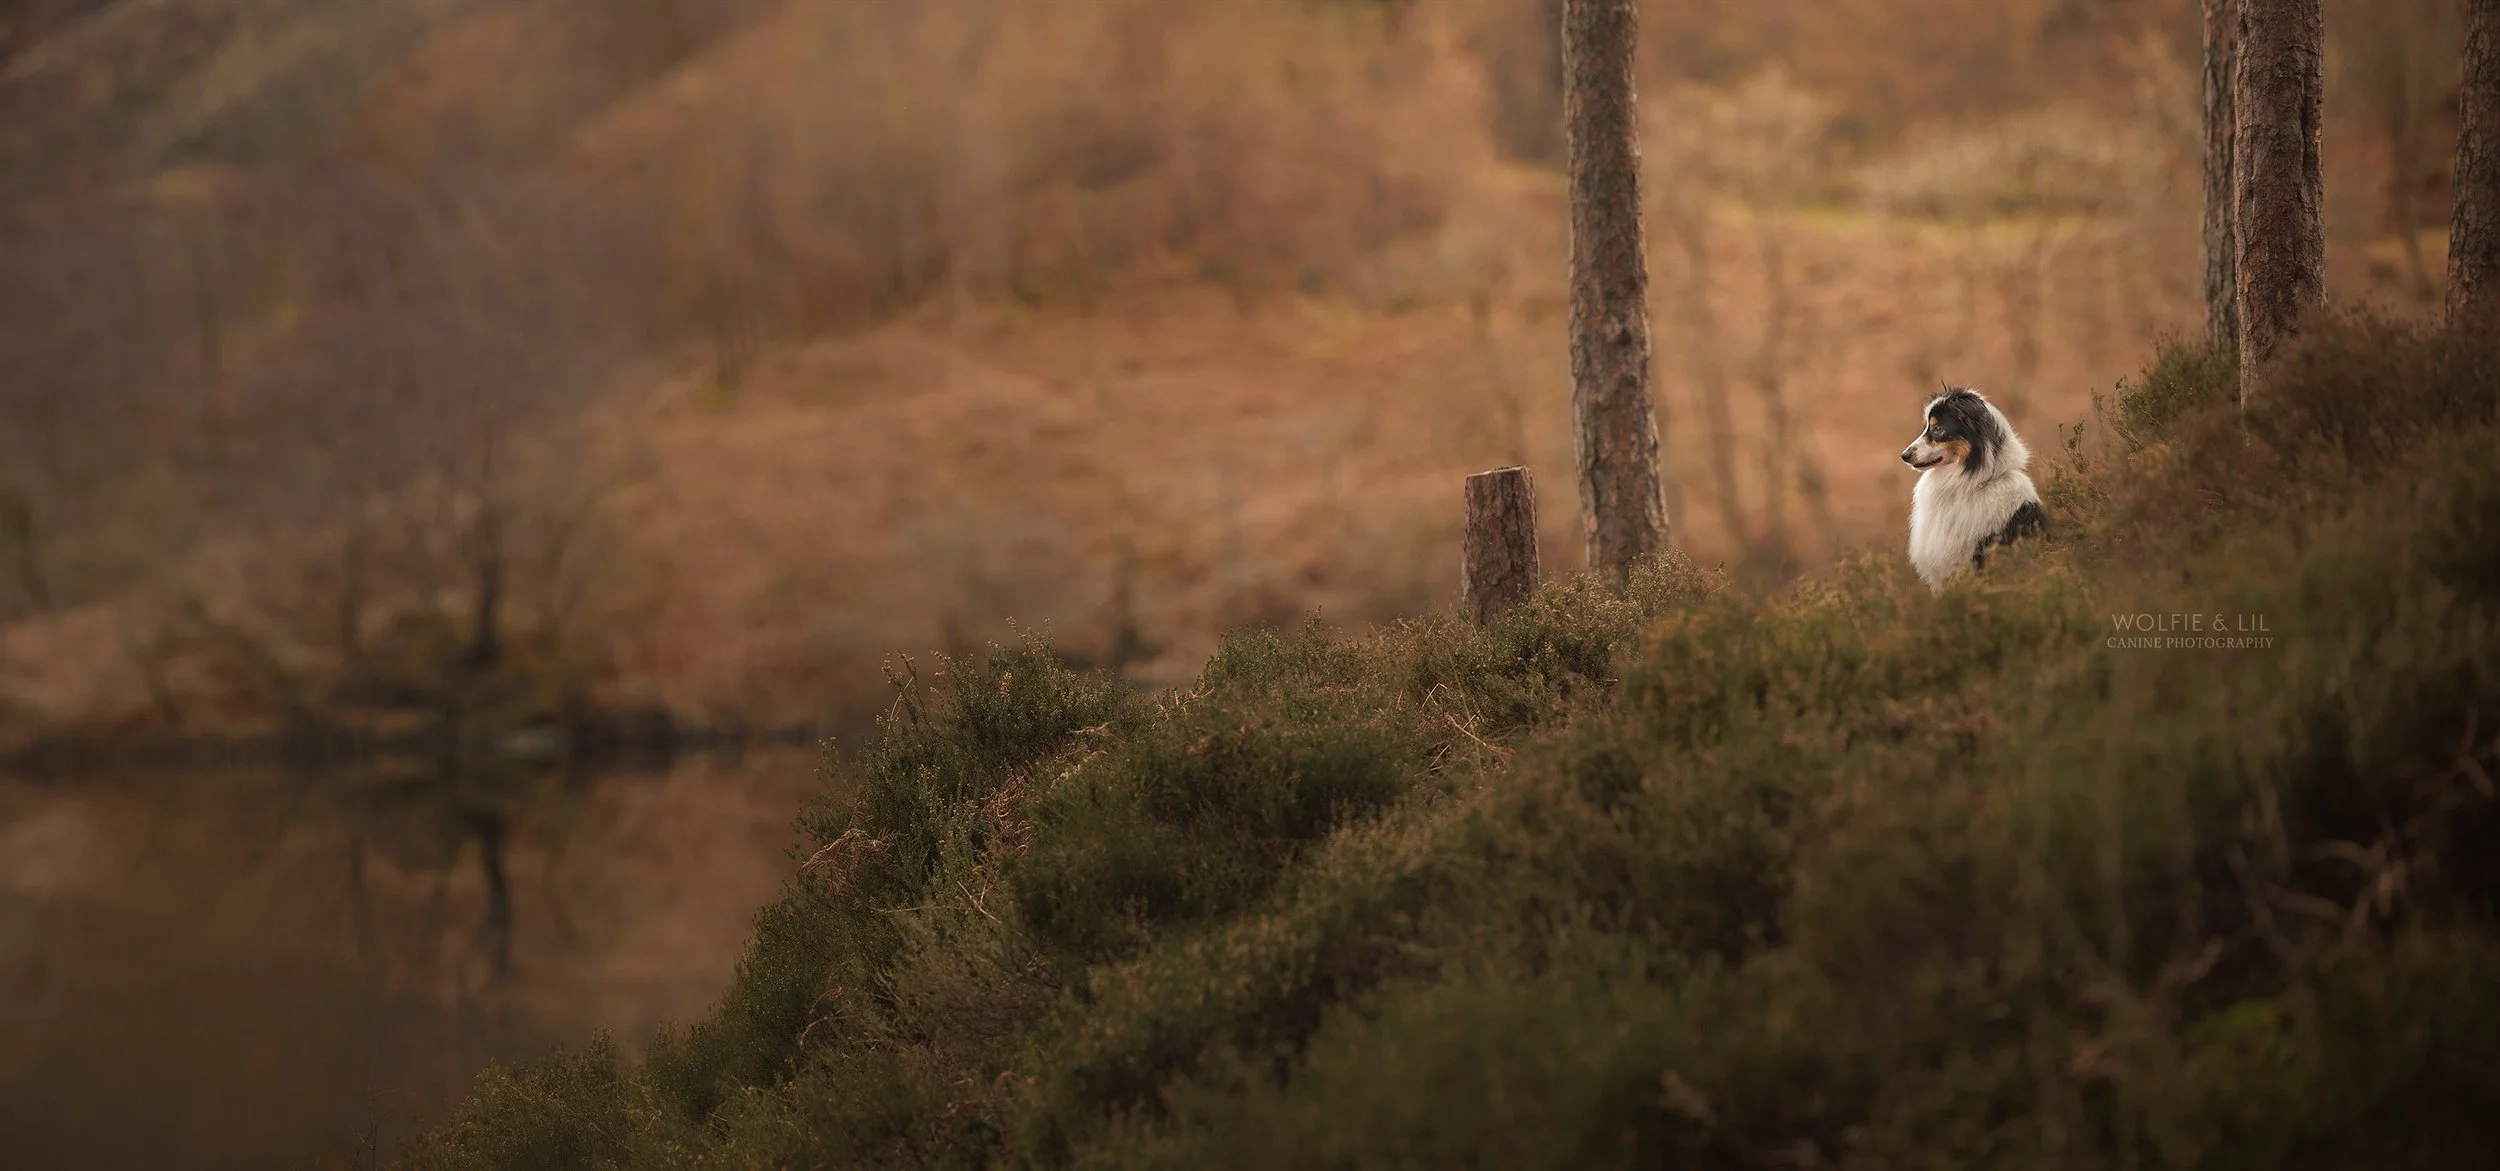
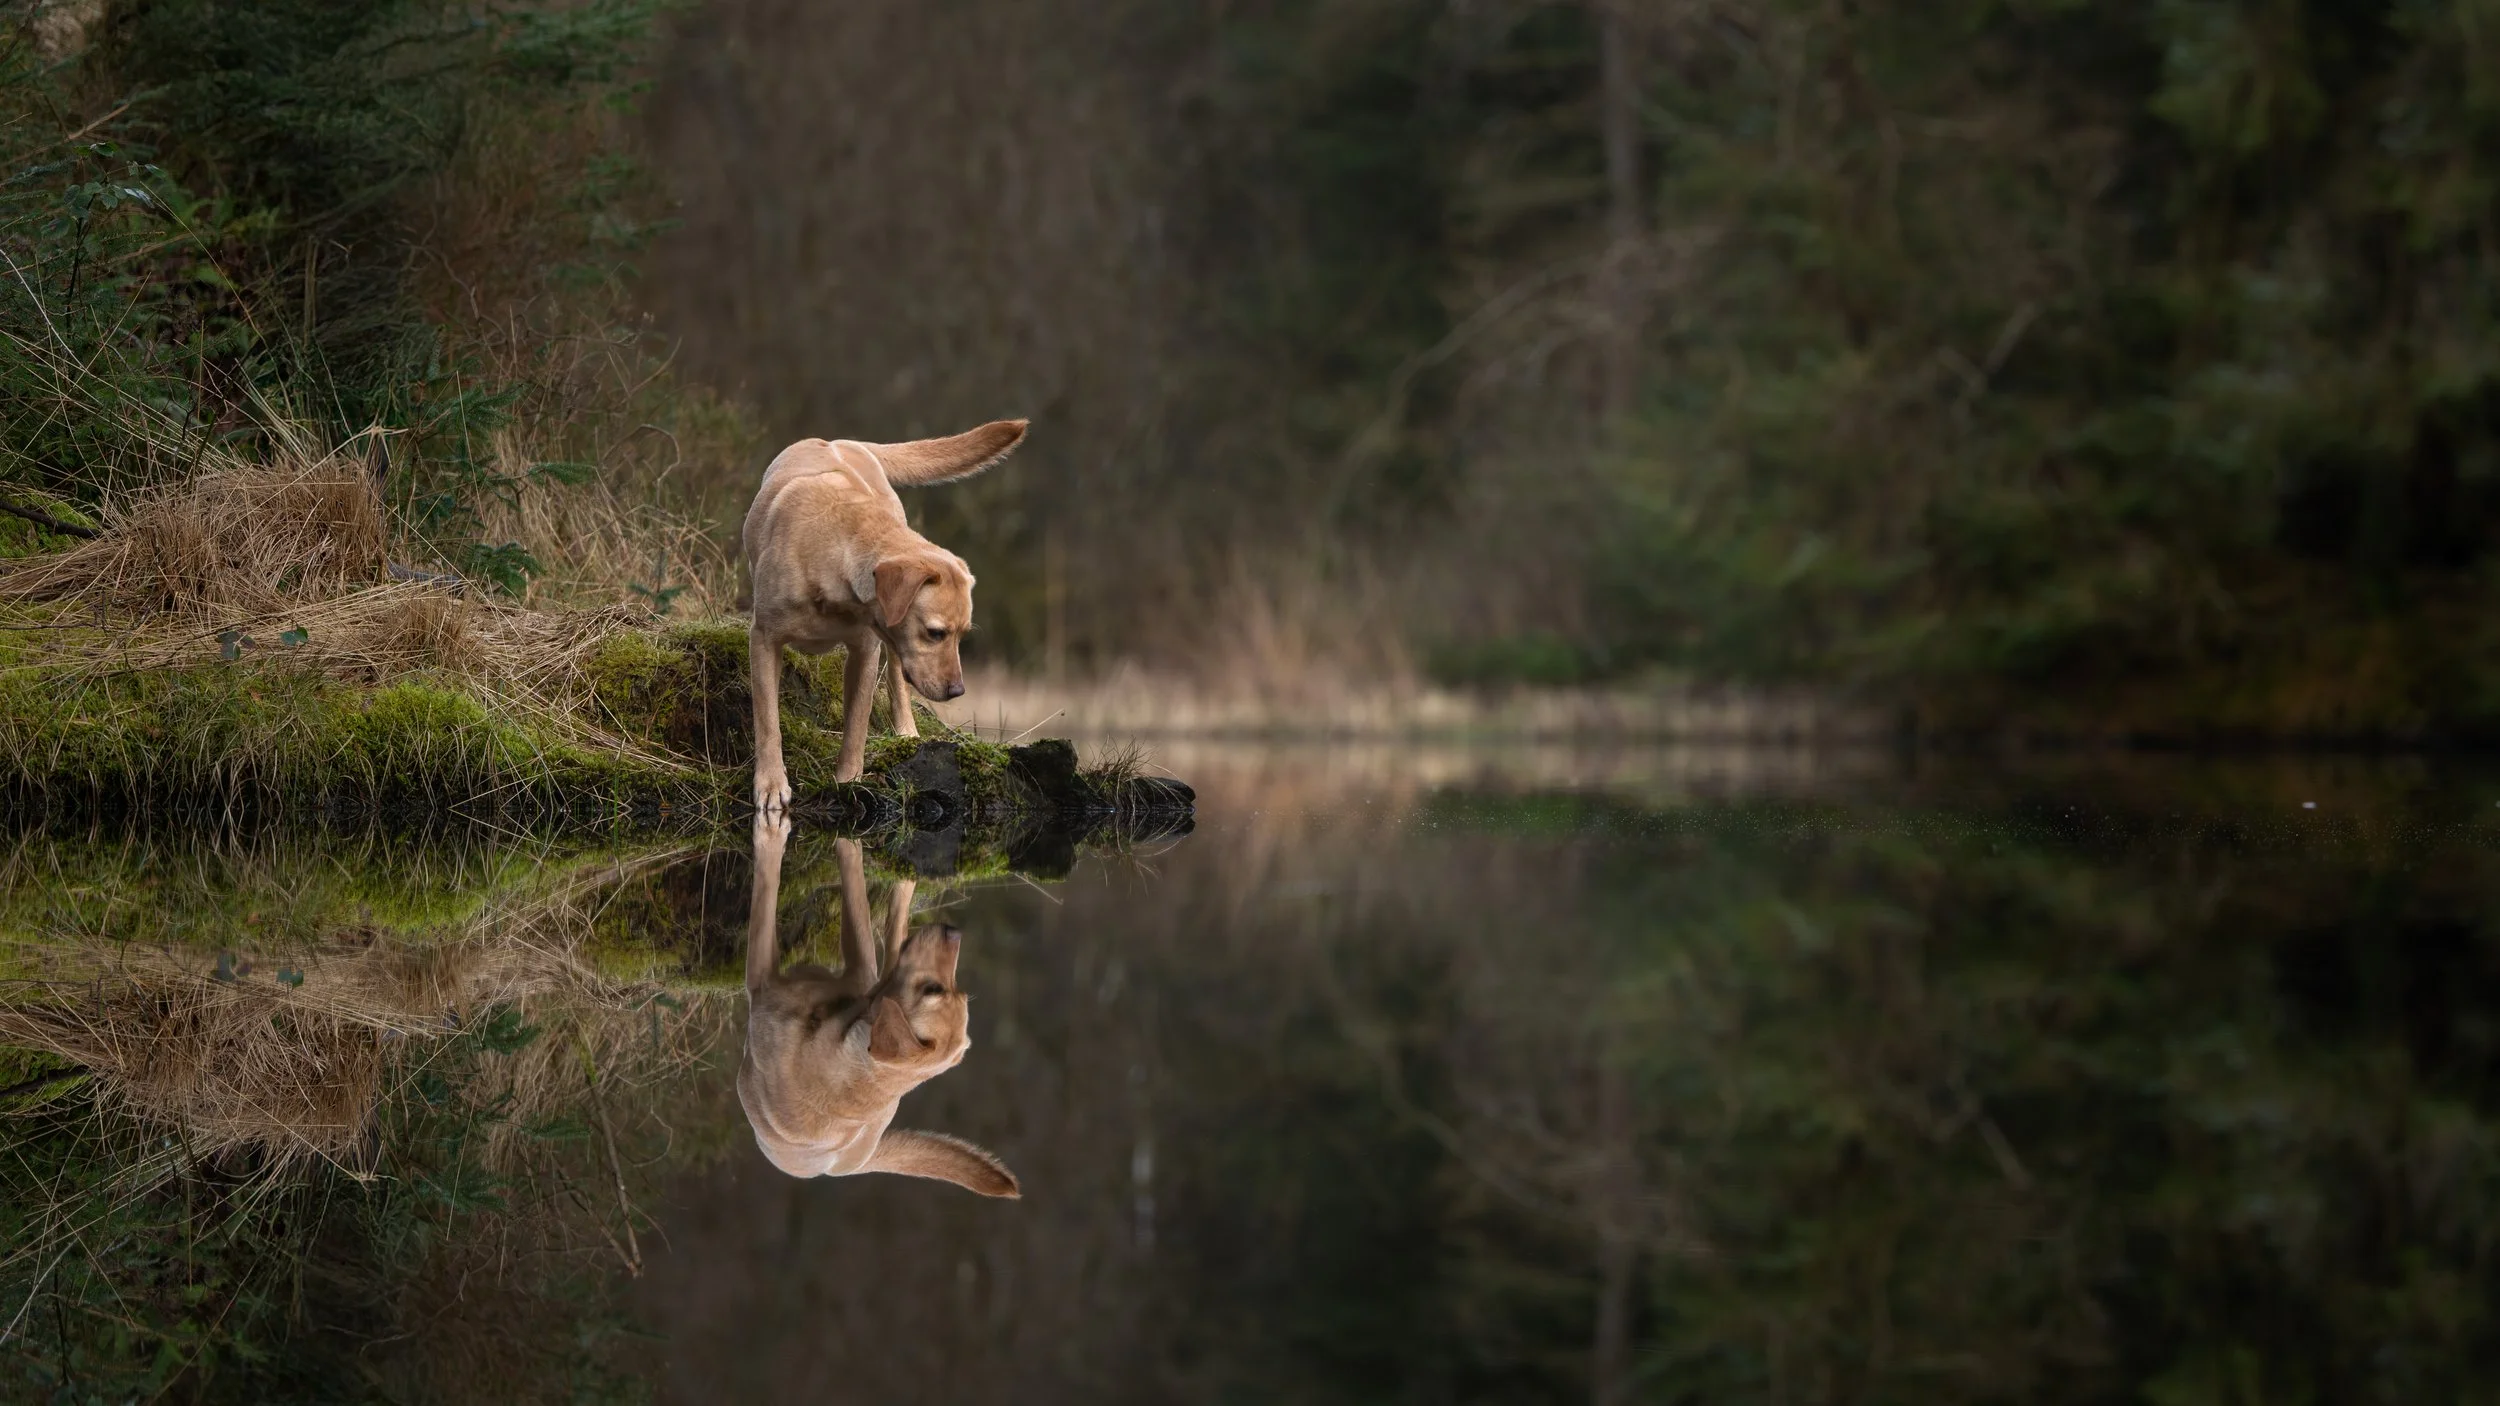
Here’s a handful of the photos from different shooting locations within 1 hours drive of home (aren’t they amazing!!):


Copious 3, 4 and 5am starts later, we wrapped up with a final return airport run which I joined. I then flew straight out to Belfast to judge the finals of a print competition. I returned the next day a shell of a human, and it was time to jump into week 4…
March Week 4:
It’s been a while! Finally, I can sit down and write about some things, but when I say March has been non-stop, I really mean it! Although there are still a couple of days left in March, we’ll probably roll over and into a new month post after this to keep everything consistent. Let’s start in the farmhouse and then move outside. This week was a BIG week because we had to:
Paint the downstairs shower room
Have the lounge flooring fitted
Do first-stage prep for Velia’s foaling box and move her in!
Let’s go…
The Shower Room
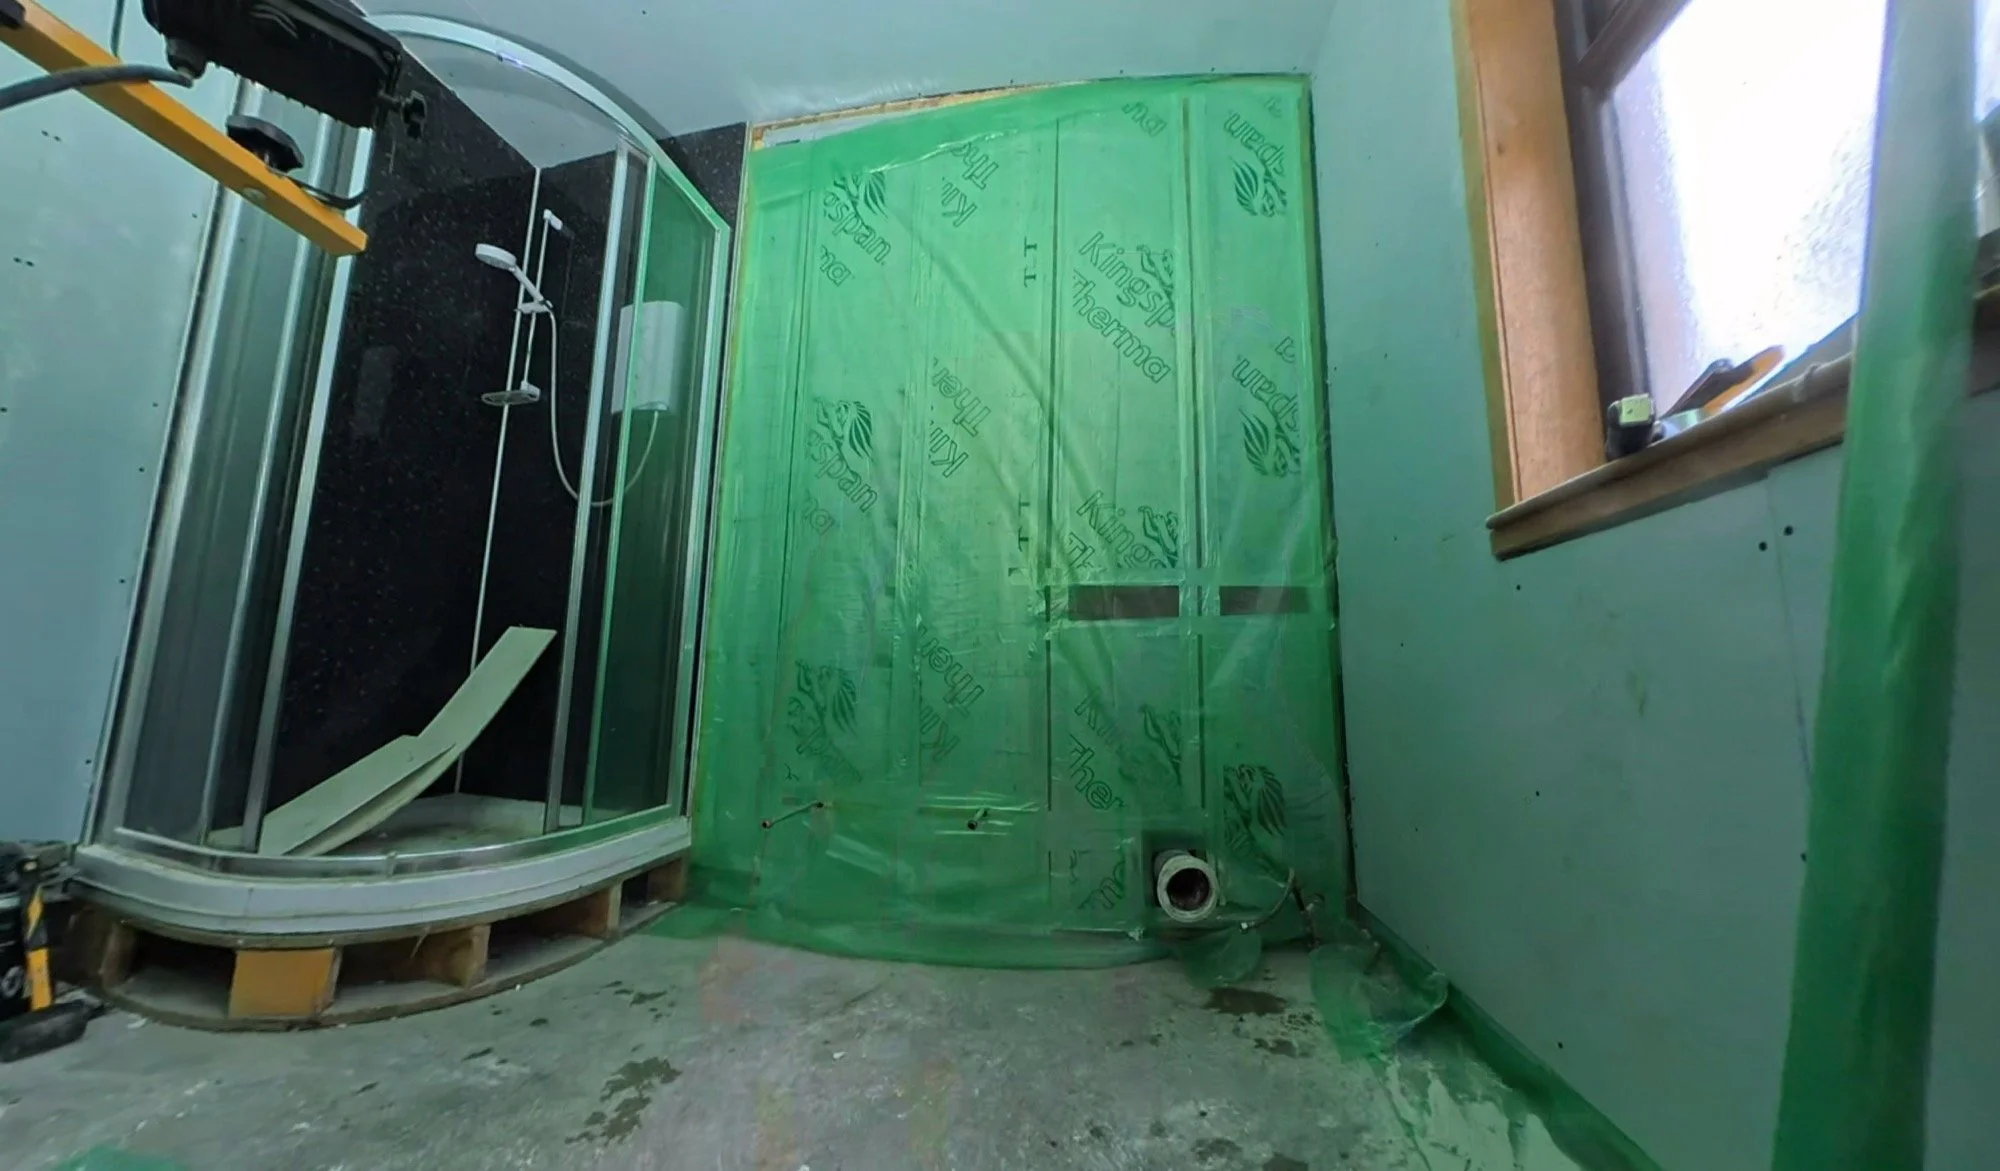
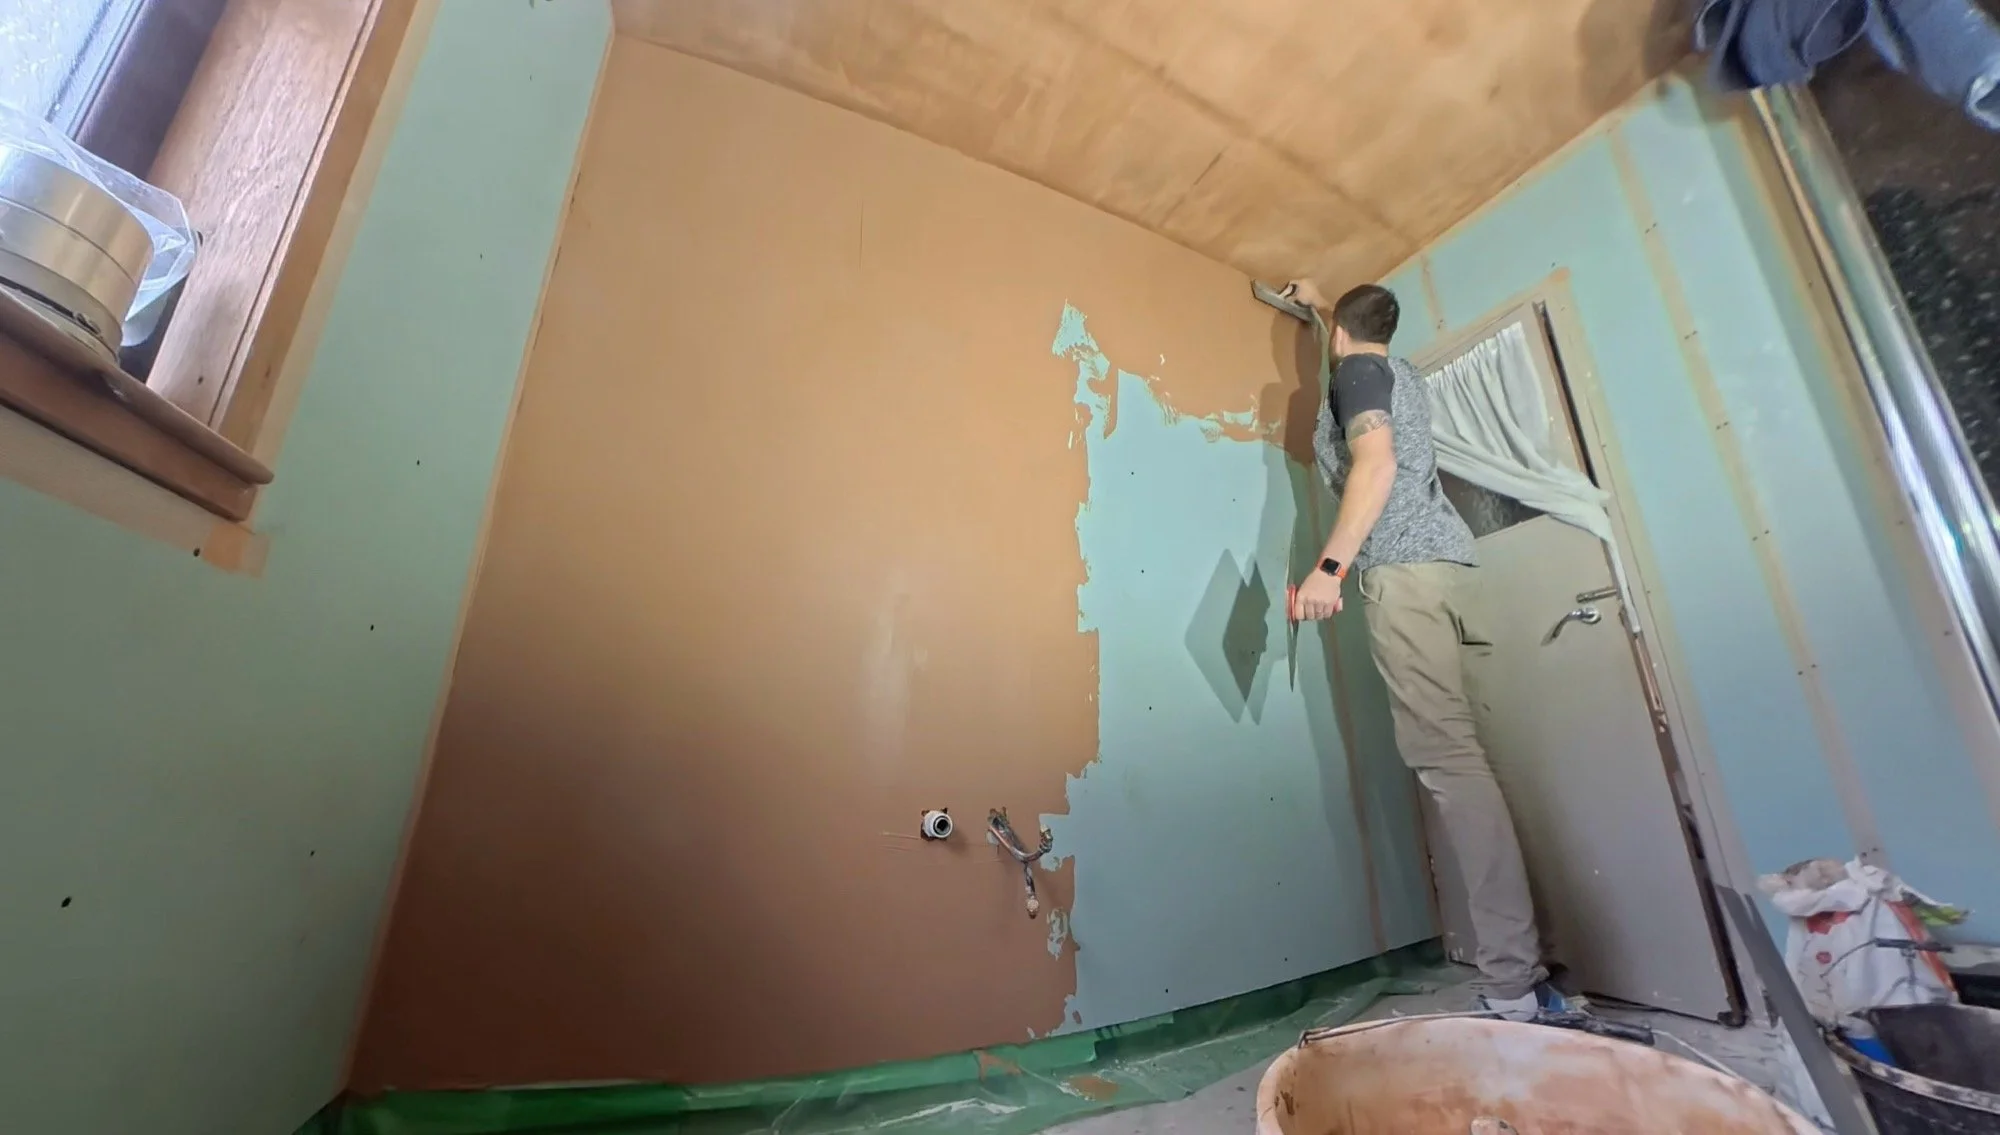
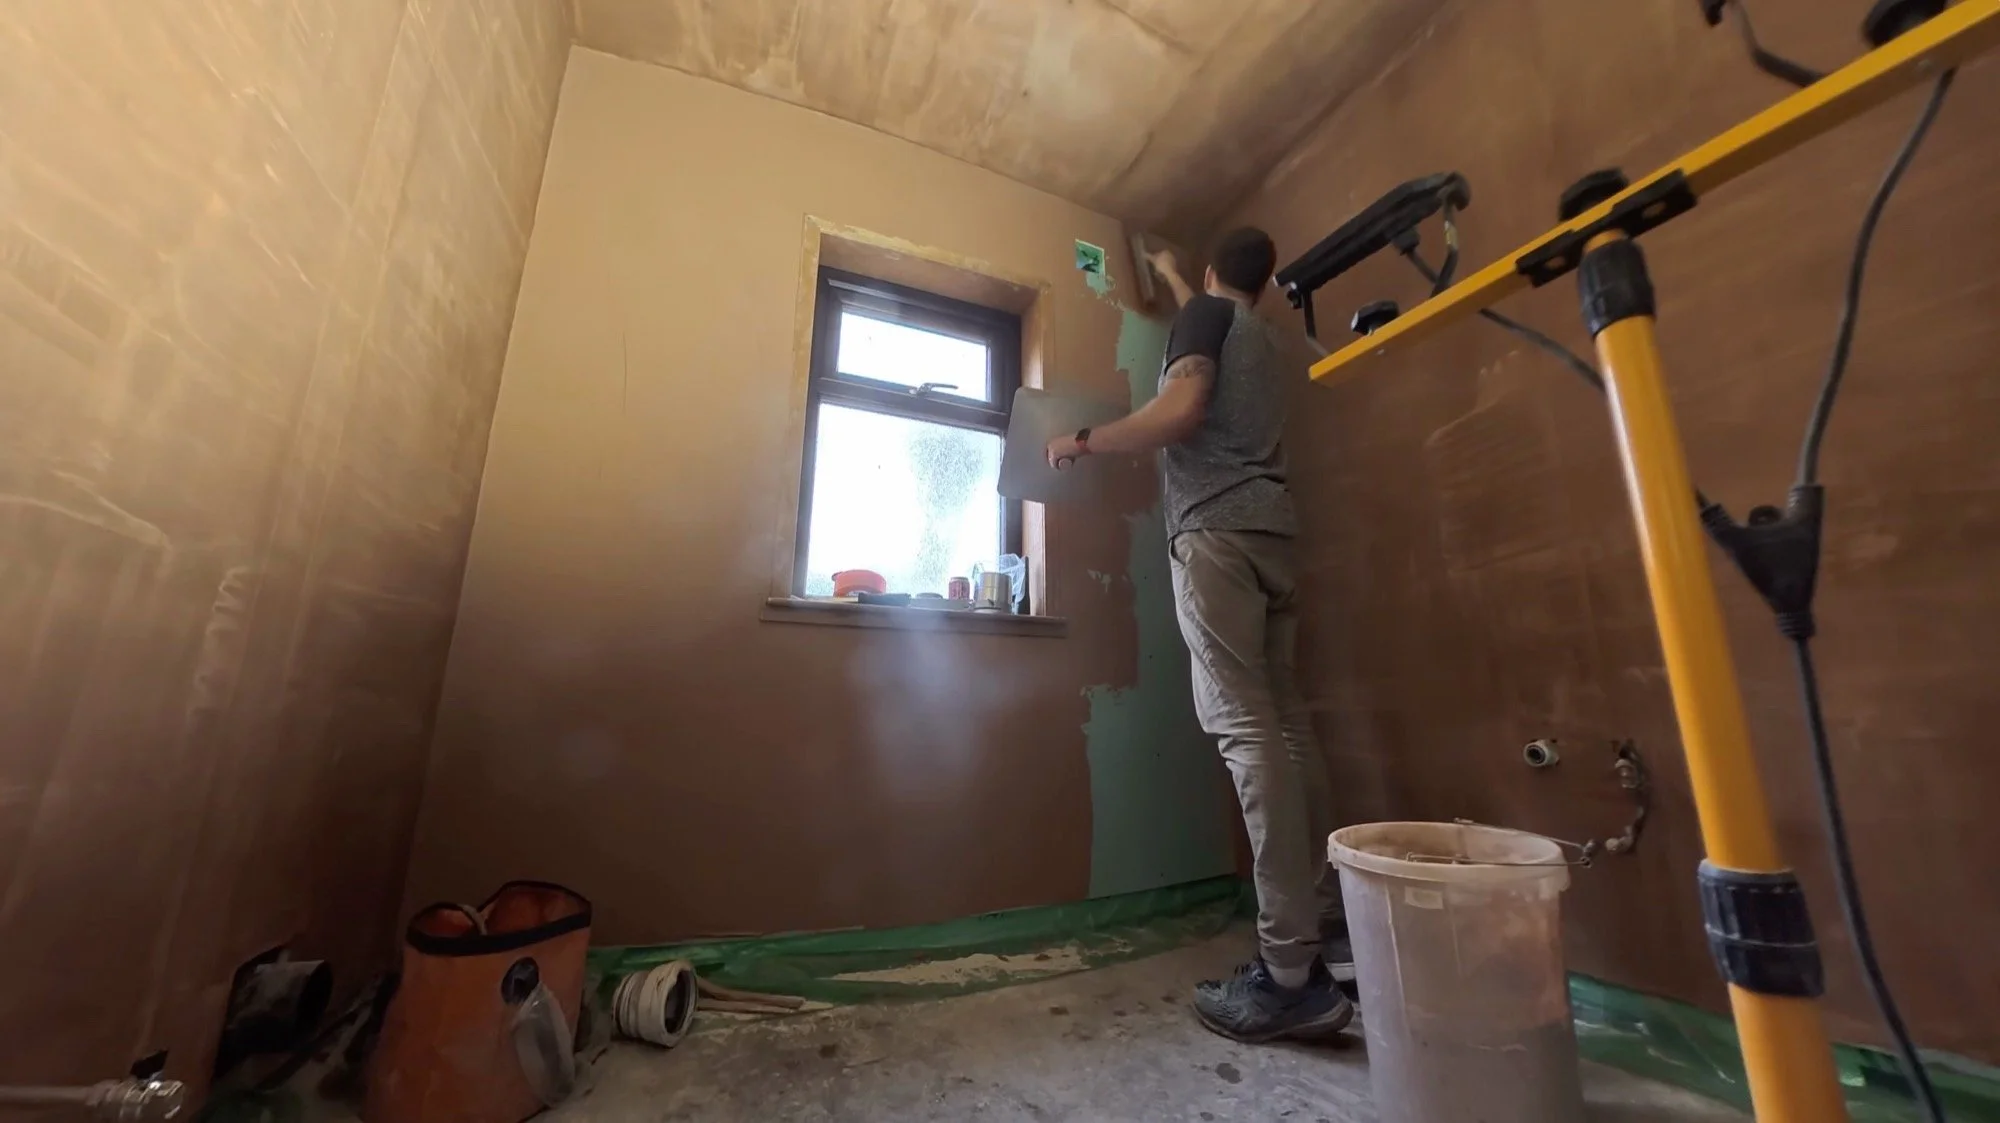
The last time I took an actual photograph of the downstairs shower room, it looked like this:
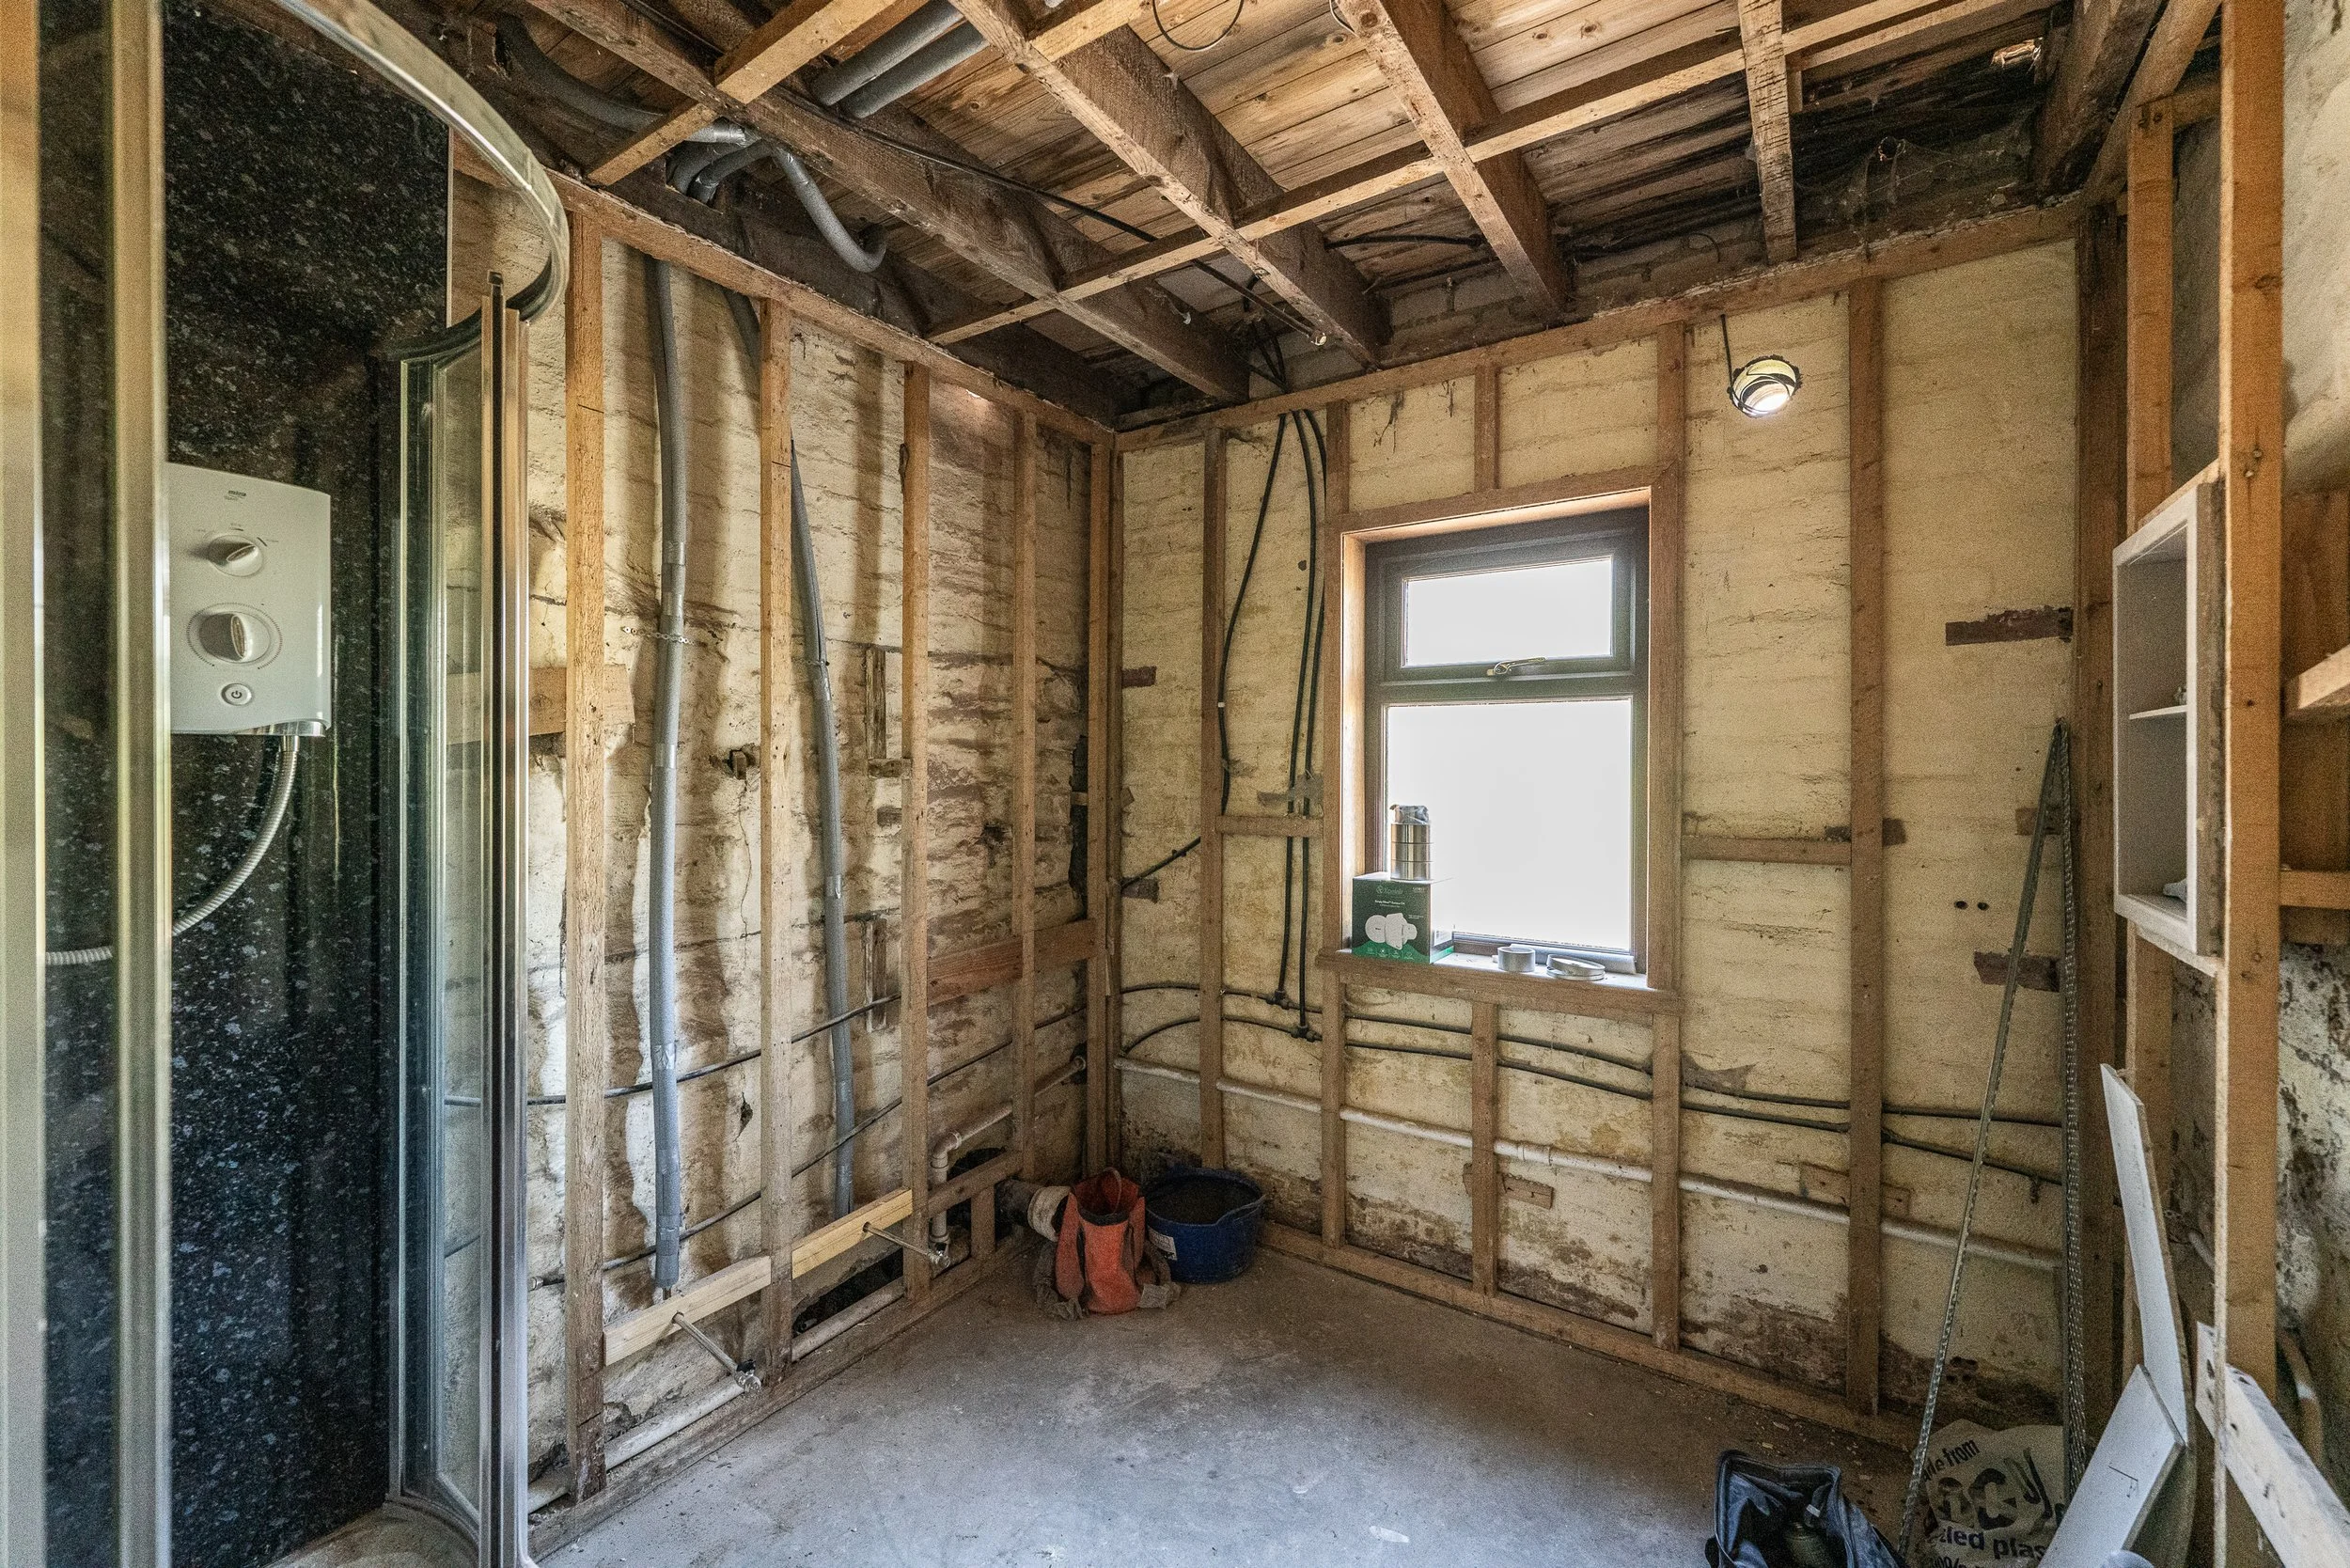

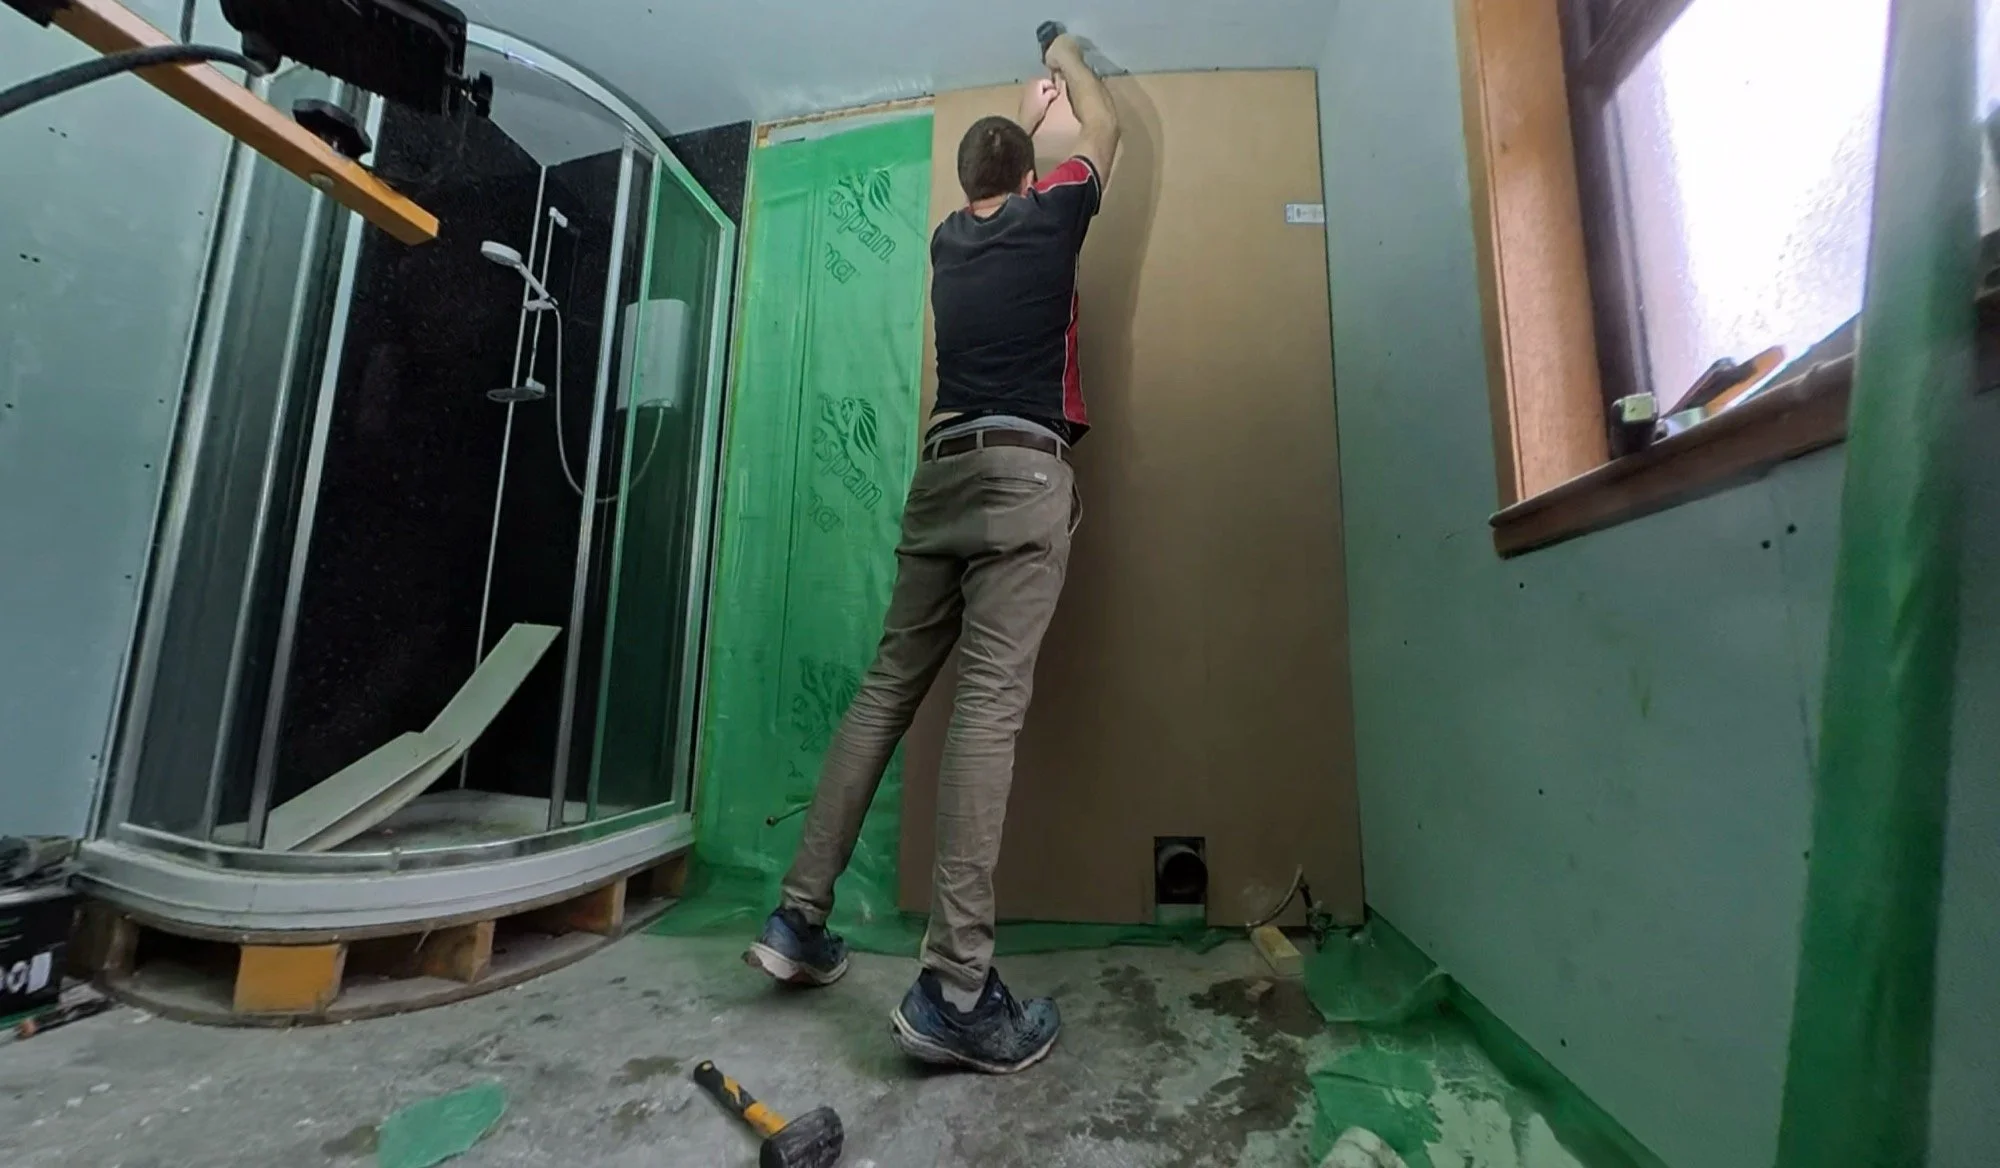
Of course, it has since been insulated, boarded and plastered, but it still hadn’t been painted. Two mist coats and two top coats later, all completed by Dan’s mum, the room is now ready to have things stuck back where they were, including the new radiator/towel rail. Because this new radiator is a tall one, Dan opted to ply and then plasterboard that one wall. You can follow the progress for that in Week 2 above, but for now, we can just look at her as of right now, complete with shower tray storage:

So much brighter and a lot more welcoming!
The paint colour went a little bit wrong for the last coat. It’s supposed to be a neutral greige in here, but Dan accidentally mixed the leftovers from two tubs of bathroom paint together, thinking they were the same colour. They weren’t. Egyptian Cotton and Natural Hessian are now together in a coat of paint (not the plan), giving this room a subtle red/magenta tint to its neutrality. Dan named the paint colour he created, “Buried Elephant”, because why not?
This will be rectified, but not now - I can live with it until the lower section of walls get panelled in here. That will help to tie the black shower panel in more, and it’ll all make more sense. Another #trusttheprocess.
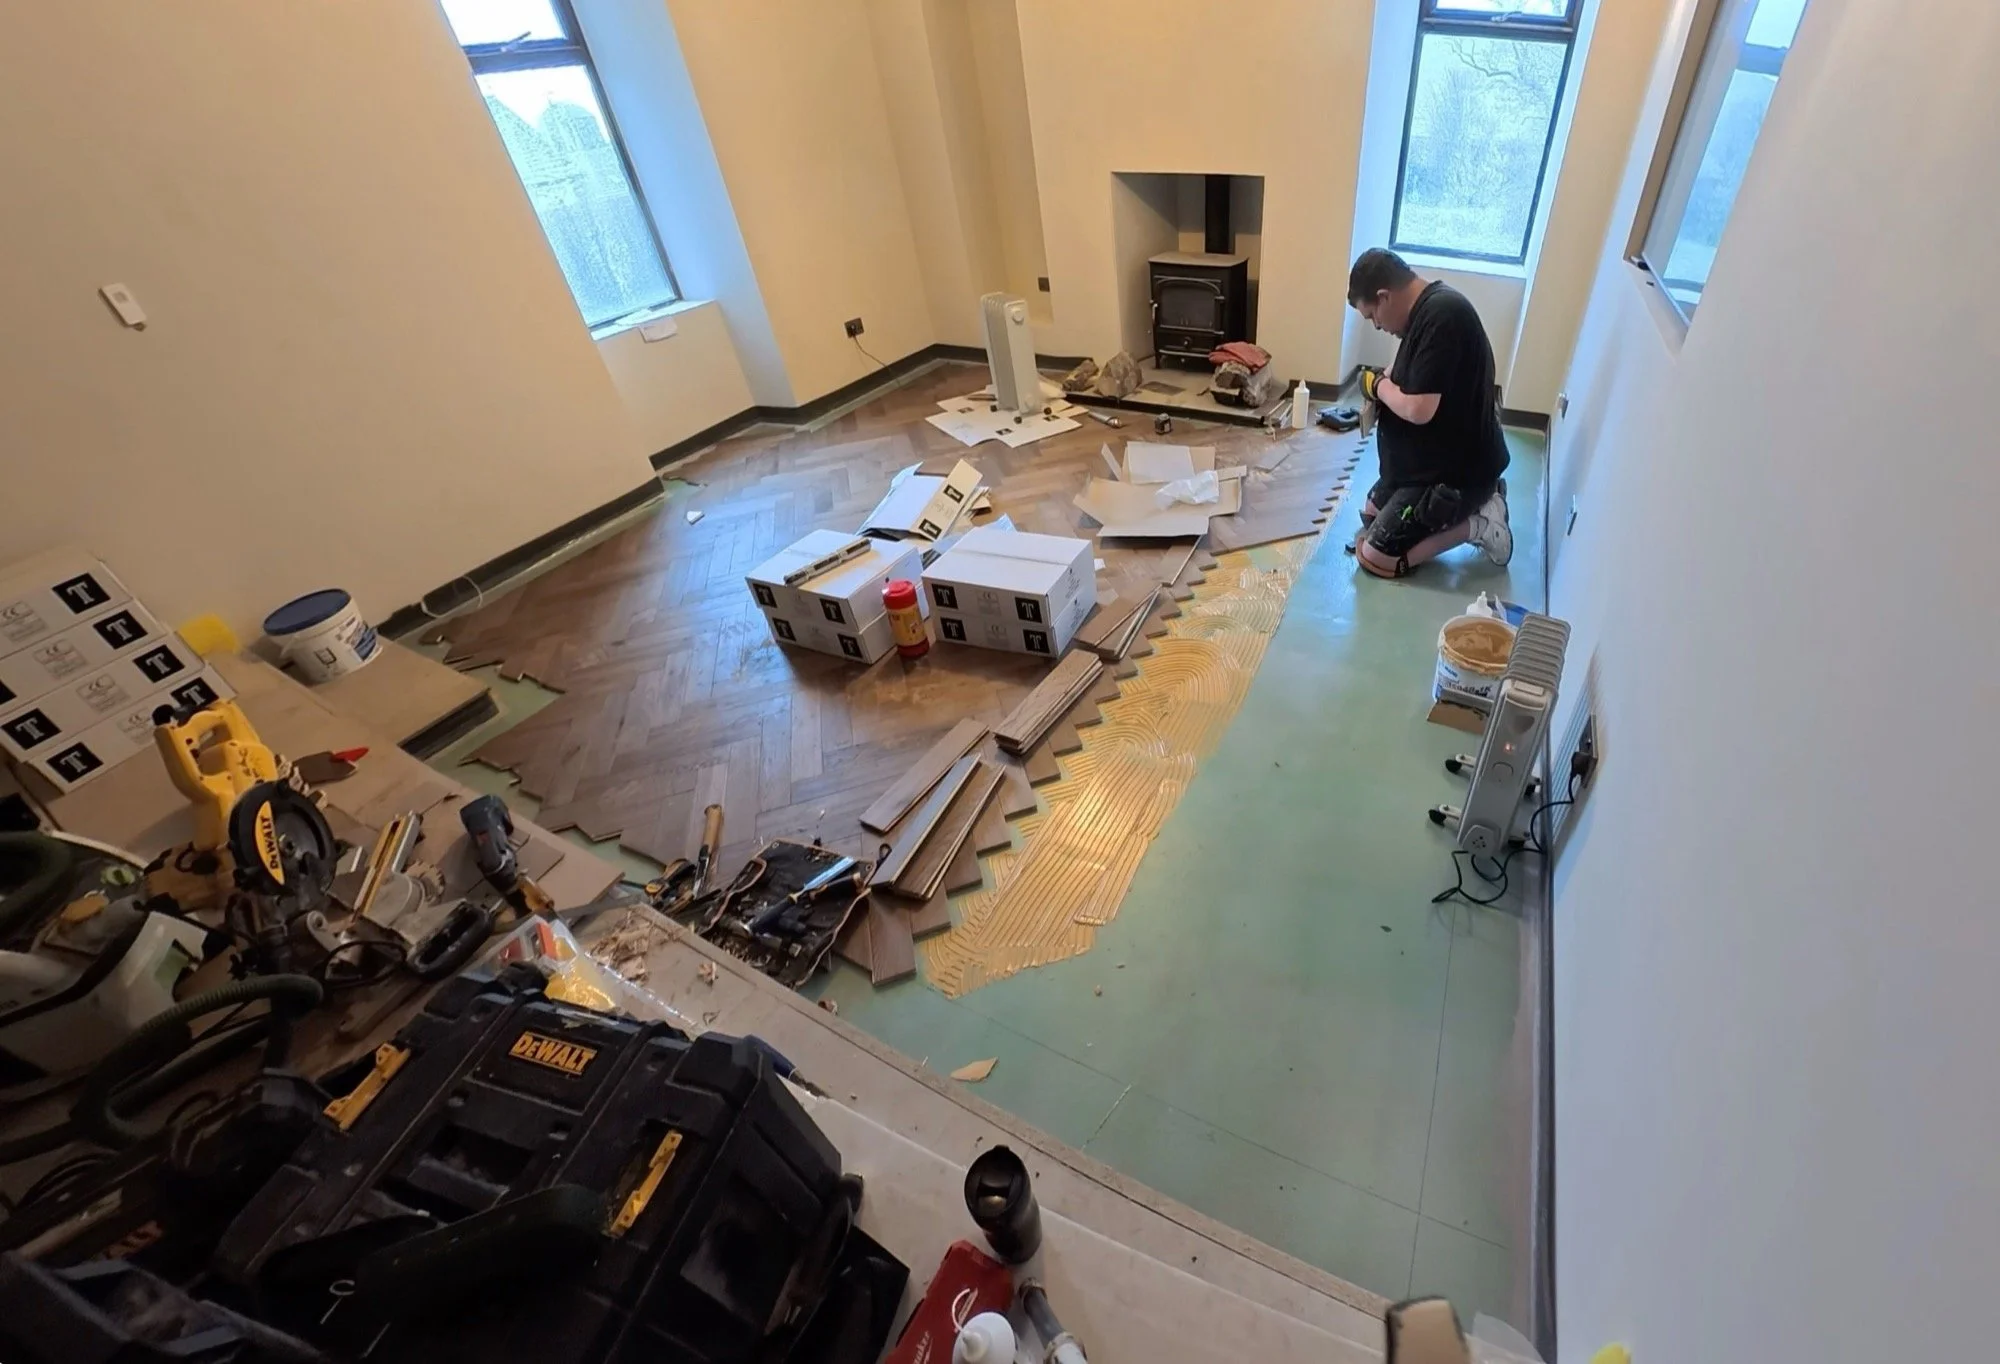
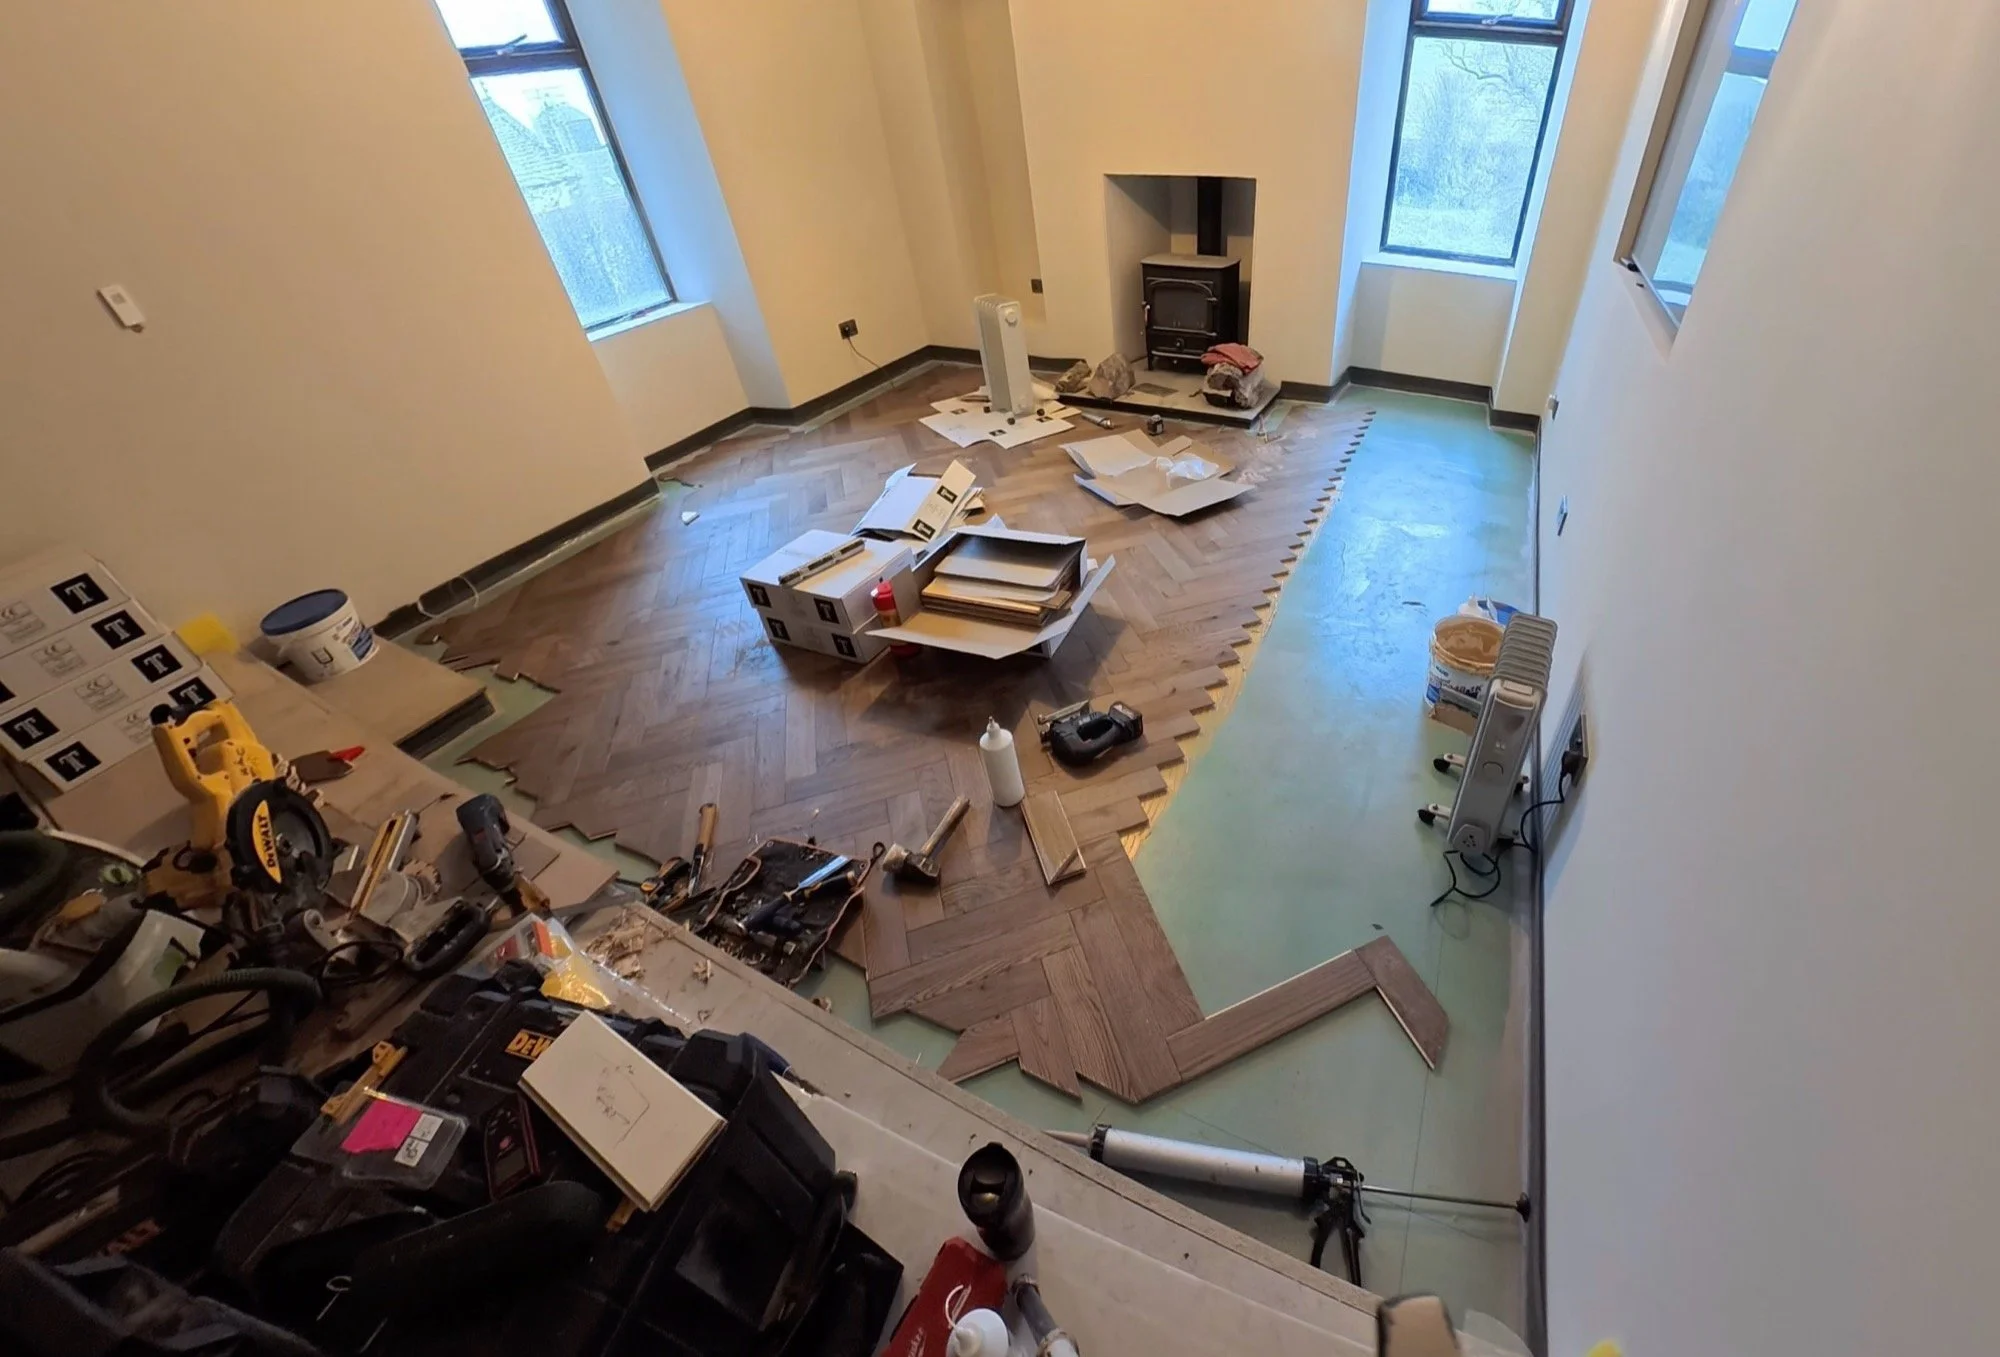
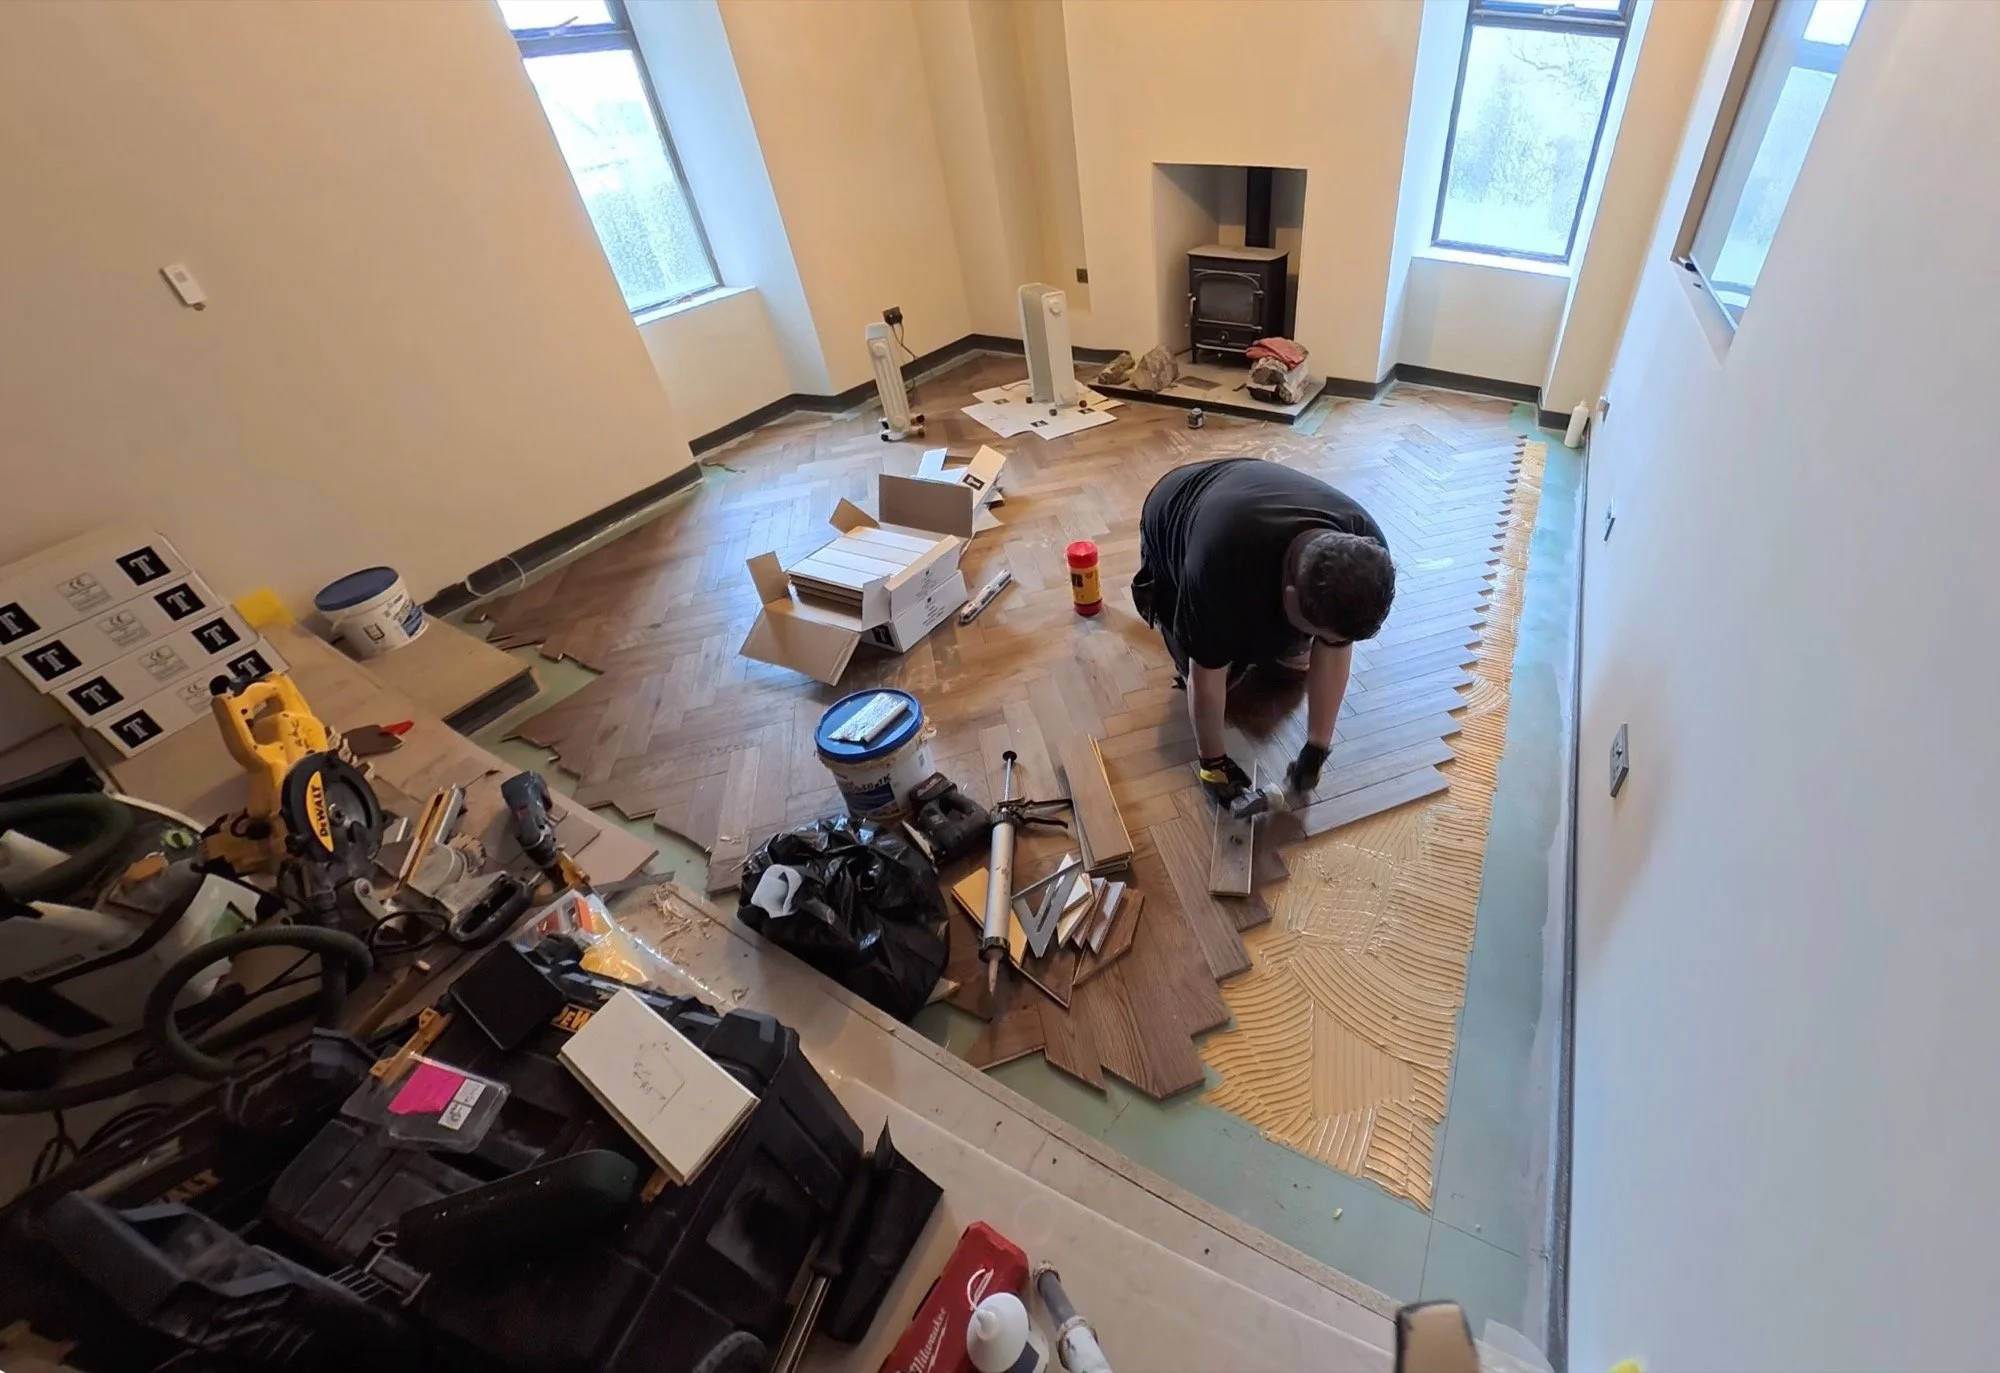
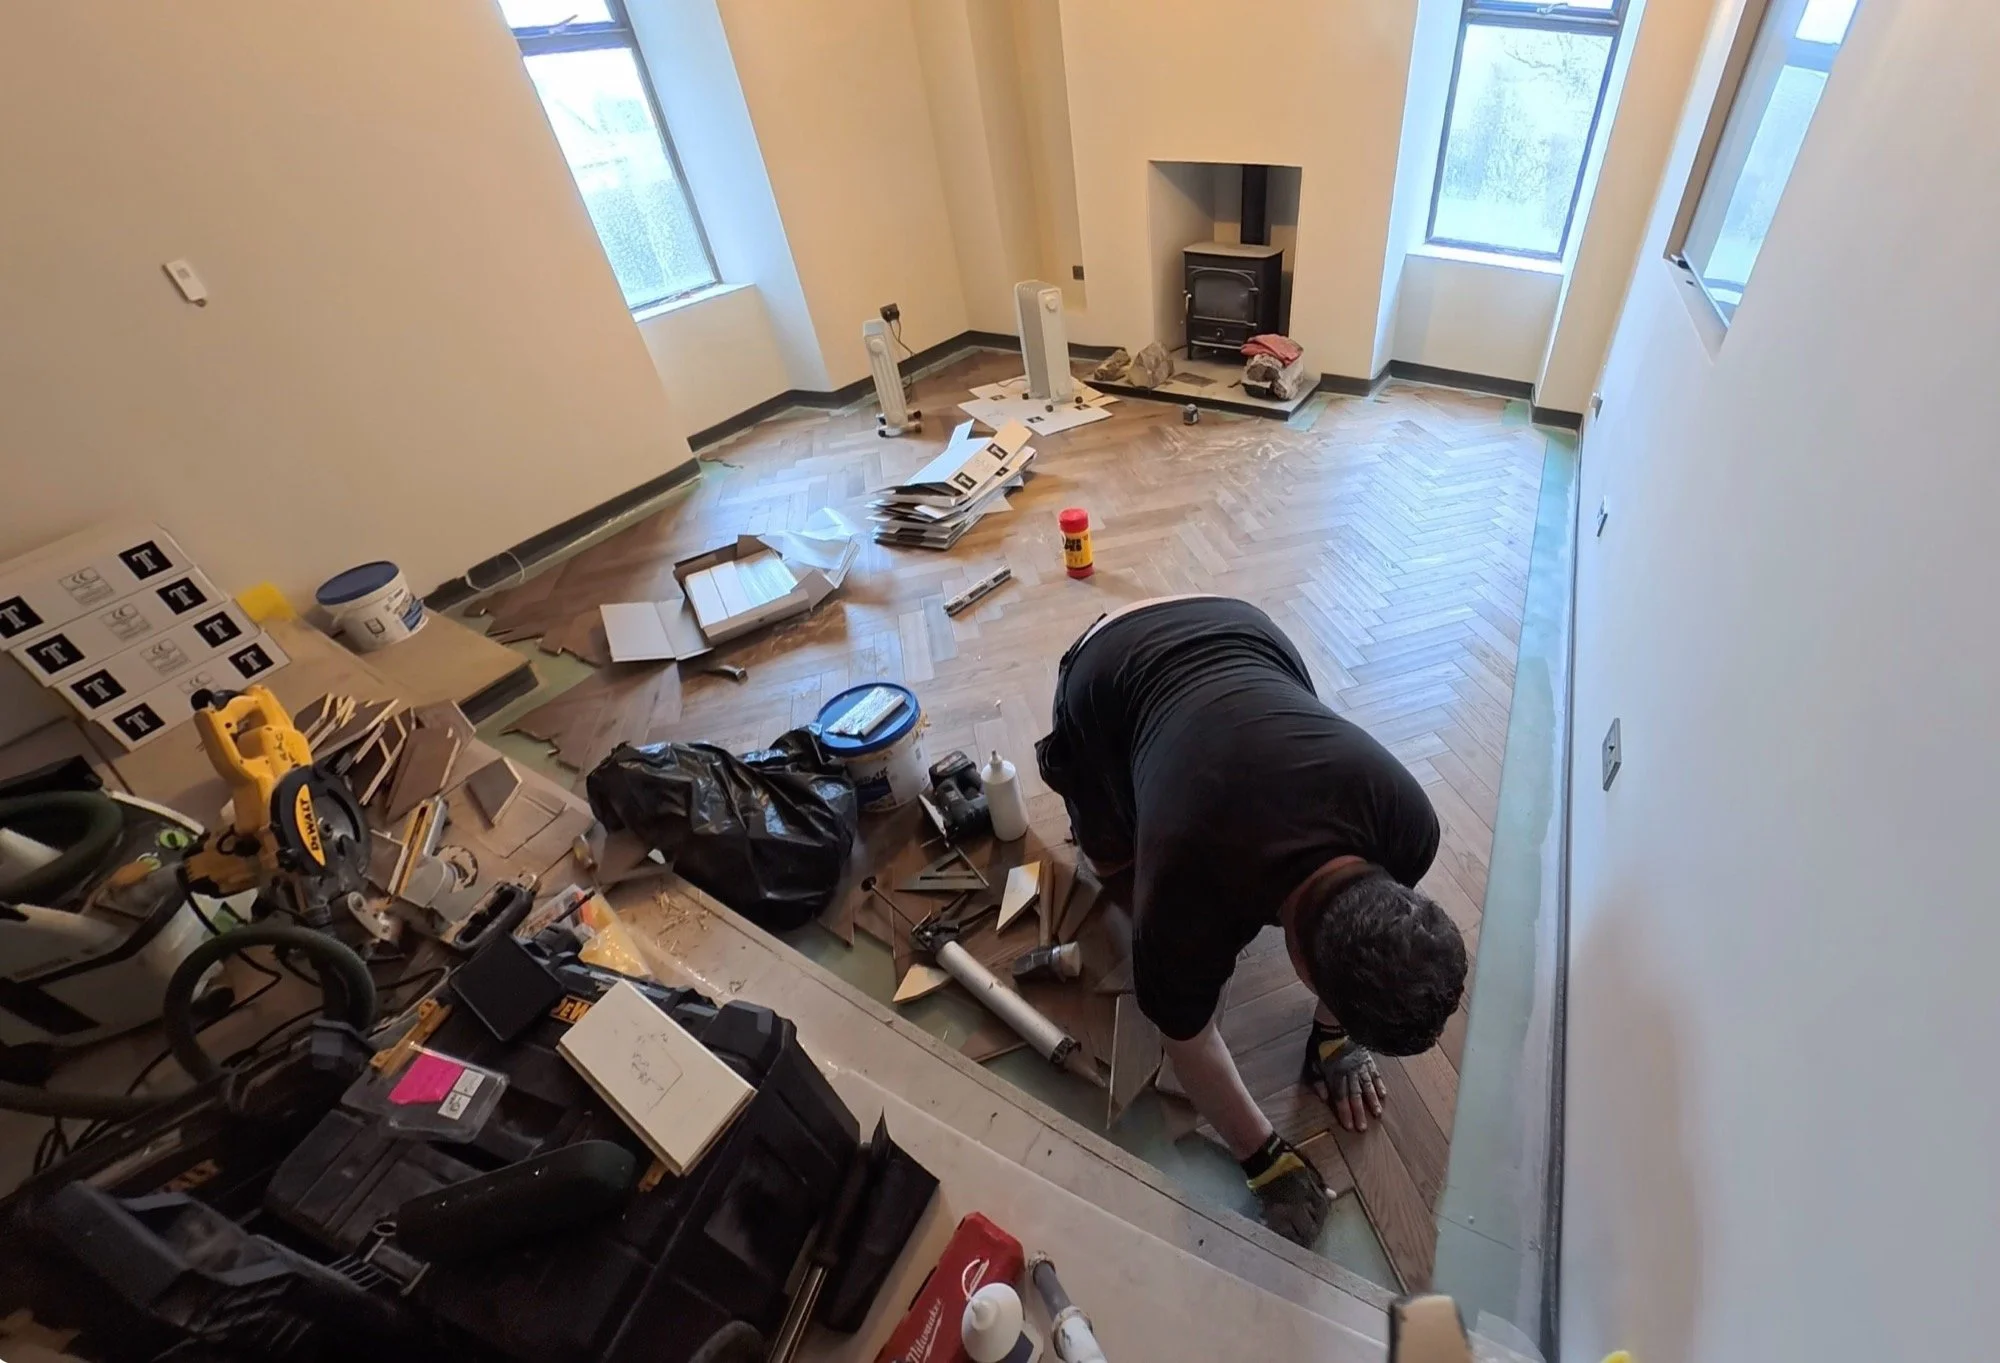
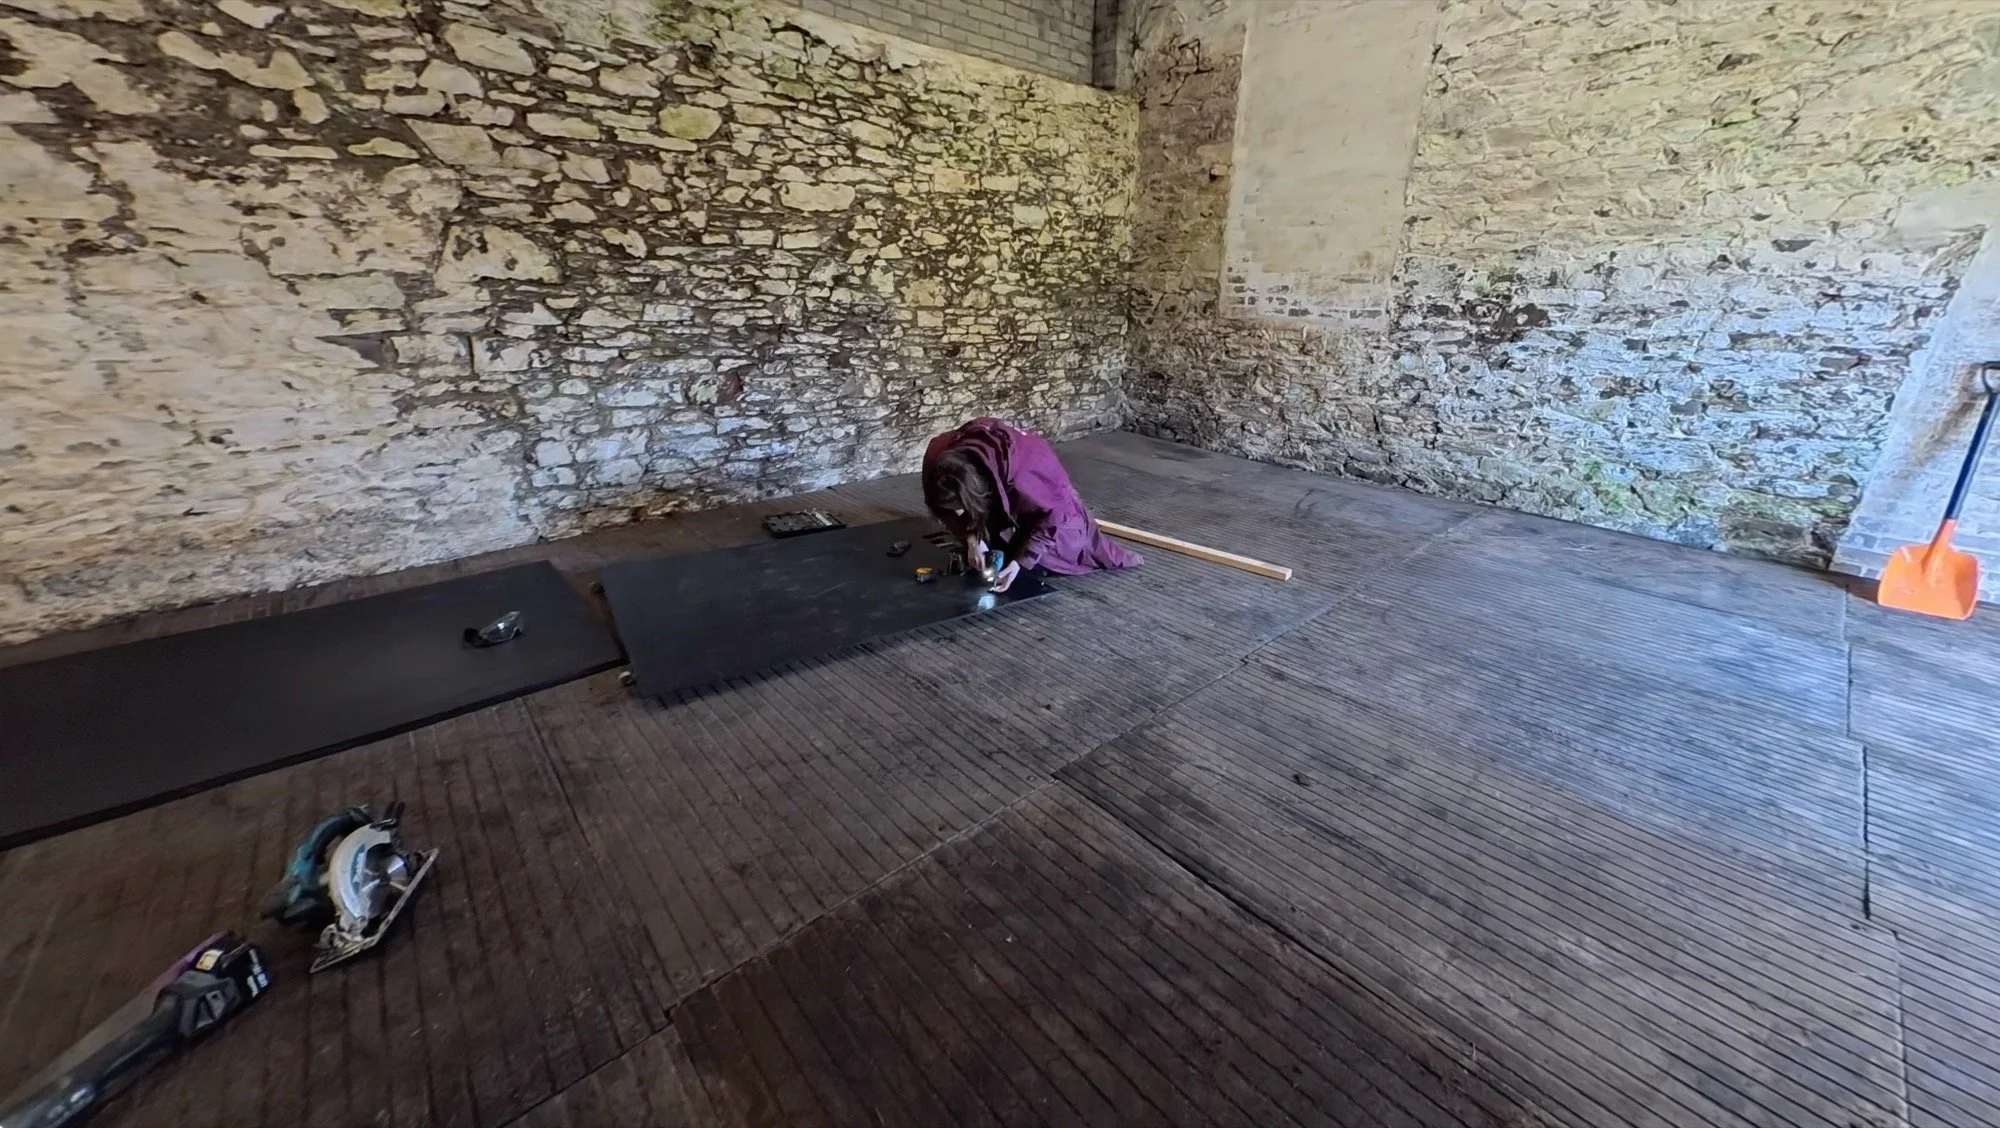
The Lounge Floor
This must be one of the most exciting moments I’ve had in my adult life.
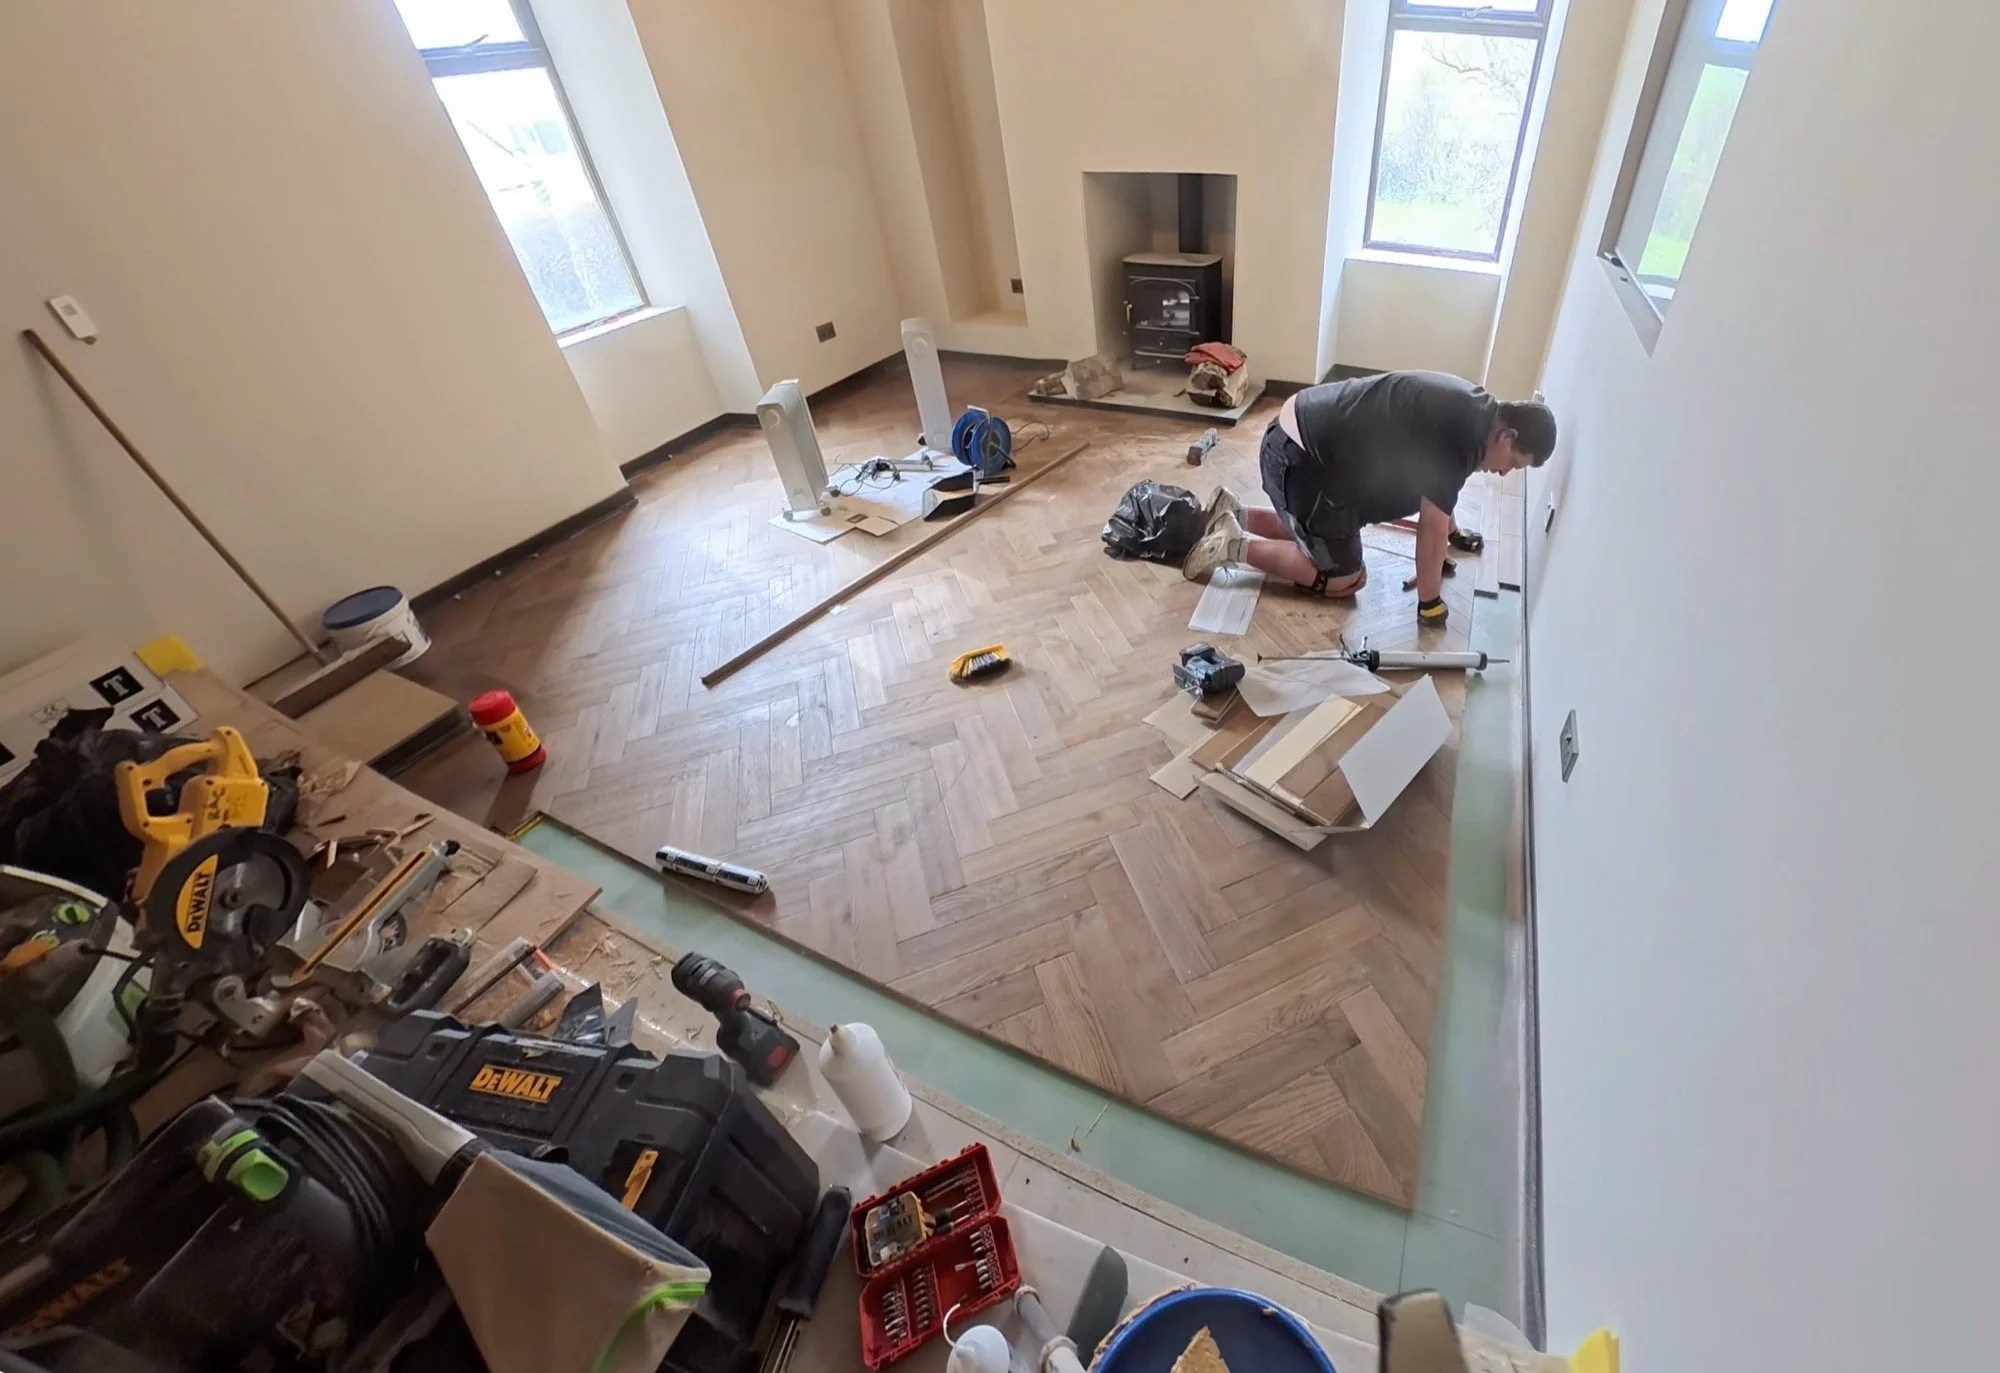
After saving hard for a year, one of my own personal splurge moments included the lounge flooring, and I know it sounds ridiculous, but choosing engineered wood in a herringbone pattern is, in my mind anyway, sort of in a different socio-economic class and tax bracket to us. After receiving about 25 samples from different manufacturers, we coincidentally narrowed our choices down to 3 from the same brand. The final selection was made using our furniture and other wood items as a reference for style choices, and we settled on Husk. This is a Ted Todd engineered oak floor that can handle underfloor heating and life, whilst still being just as nice as real hardwood to look at.
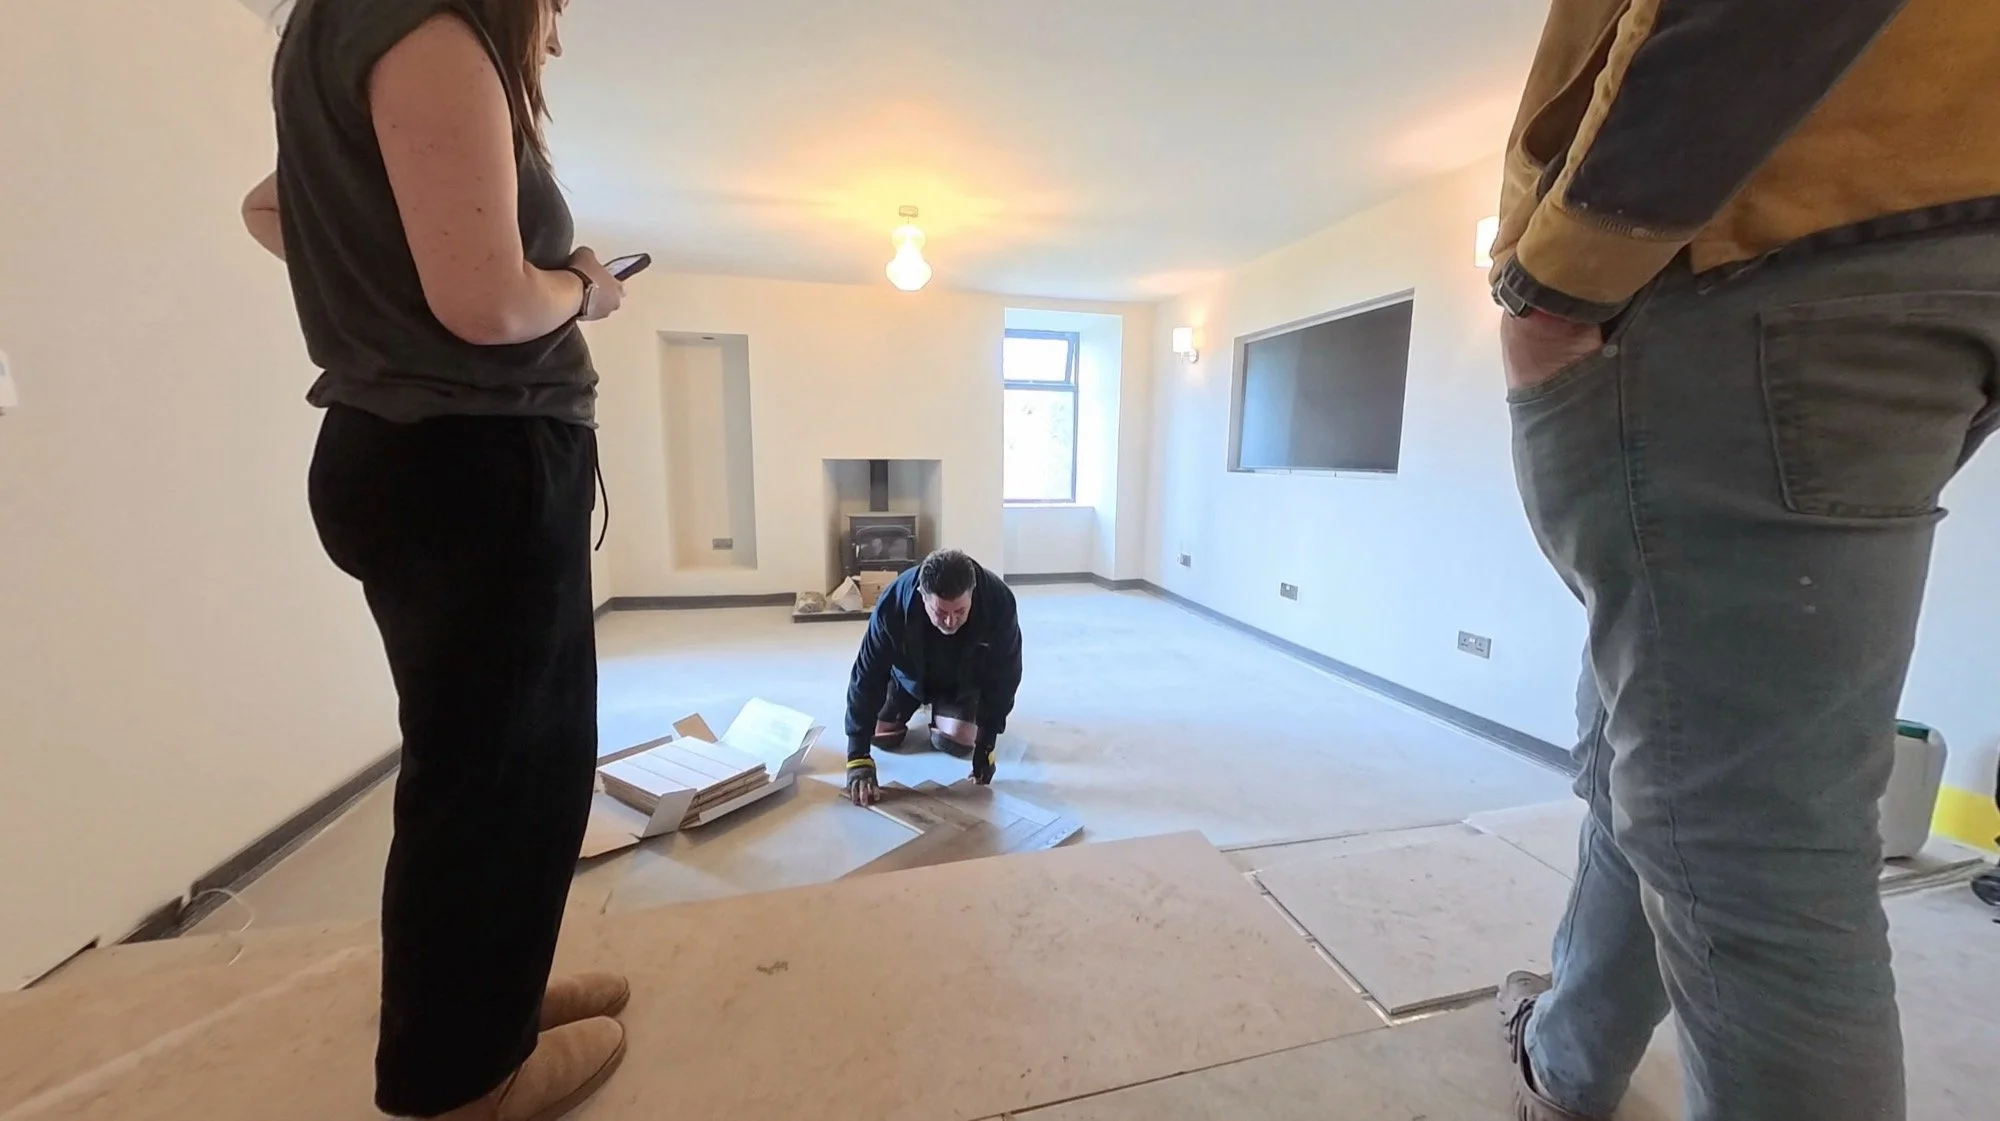
Now, I’ve never spent more than £20 a square metre on anything in my life (it baffles me that this is a budget option for the brand at £99 per sqm 😳) so the task of laying a (to us) luxury floor was handed straight to professionals, Partnership Flooring from Glasgow, and they arrived this week. Dan said absolutely no way was he going to try it - it wasn’t worth the risk.
I don’t think I’ve smiled so much looking at a room take shape before.
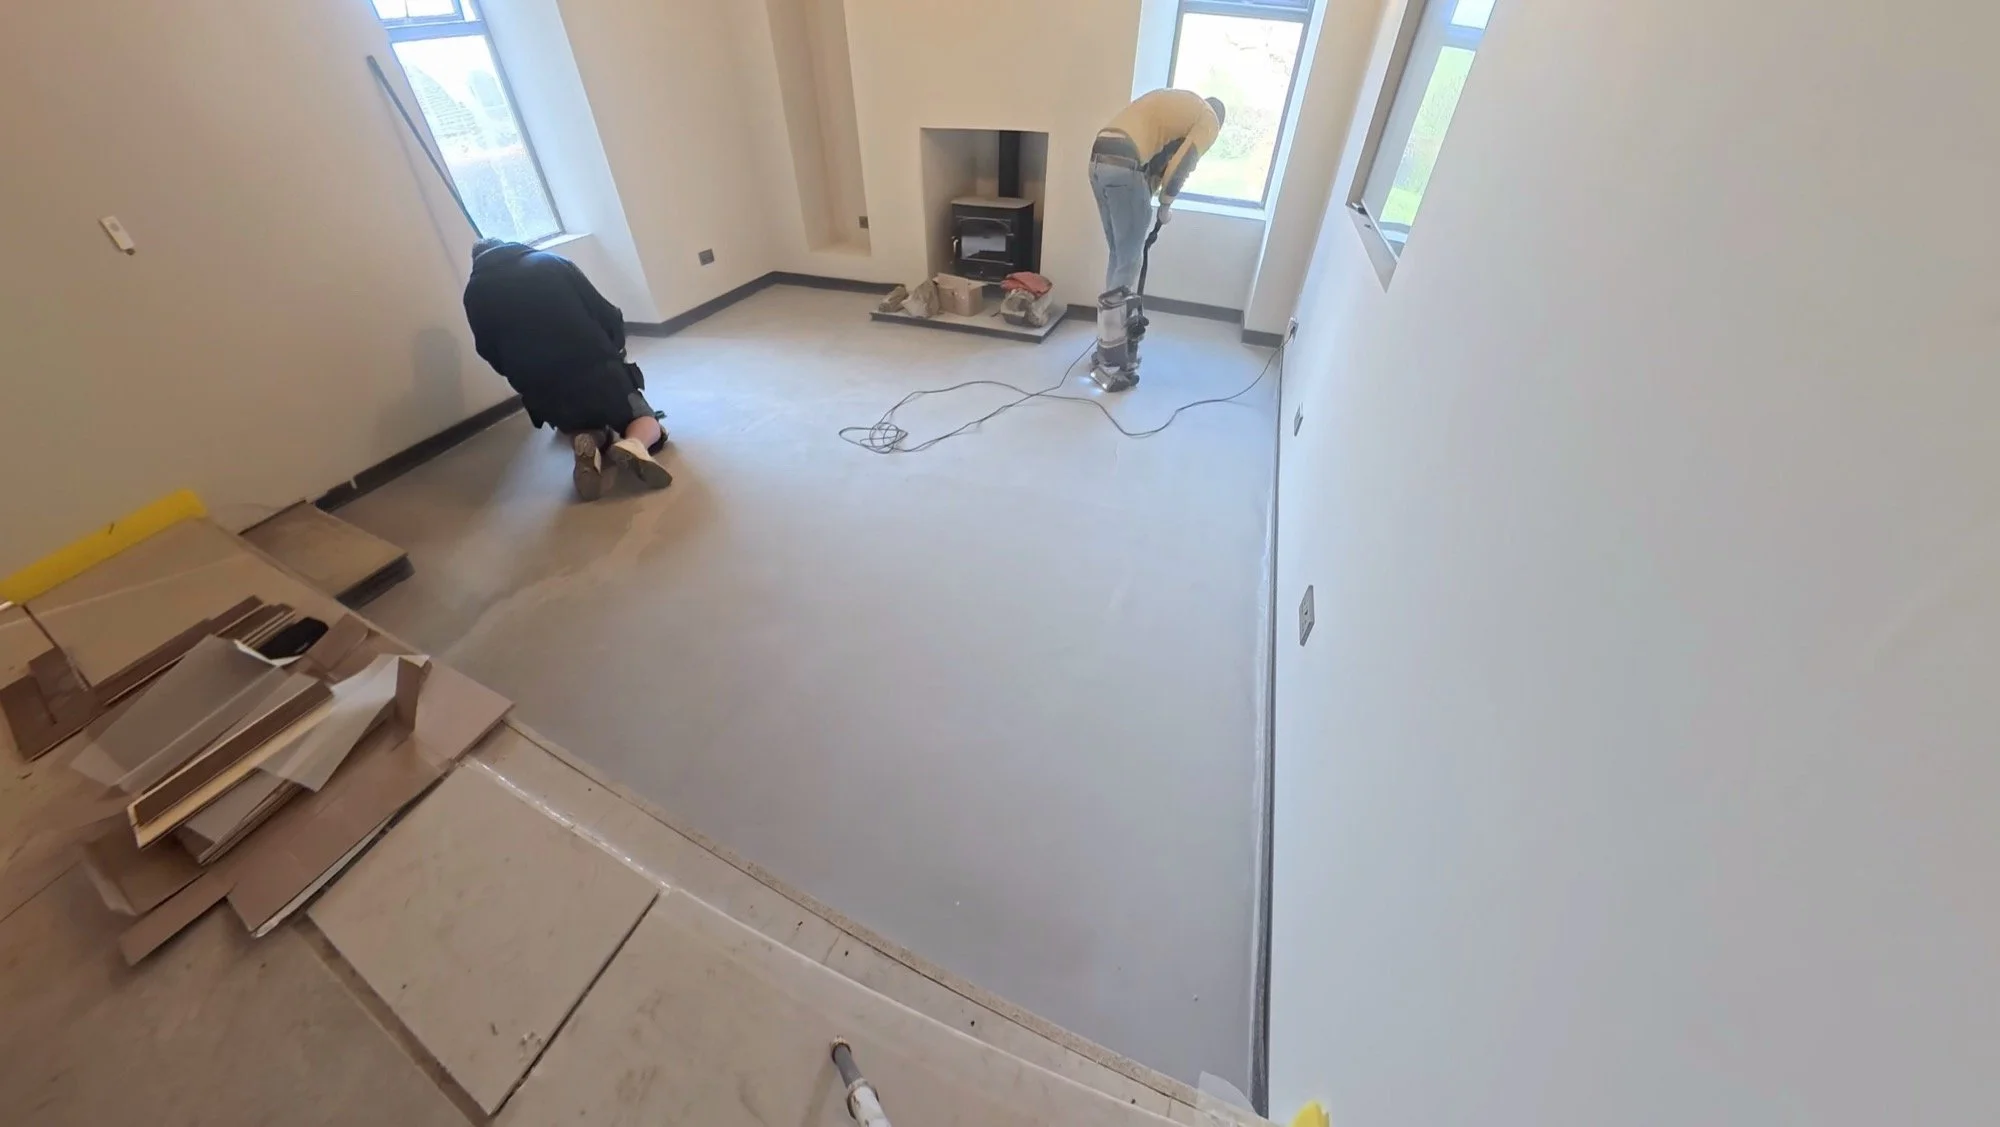
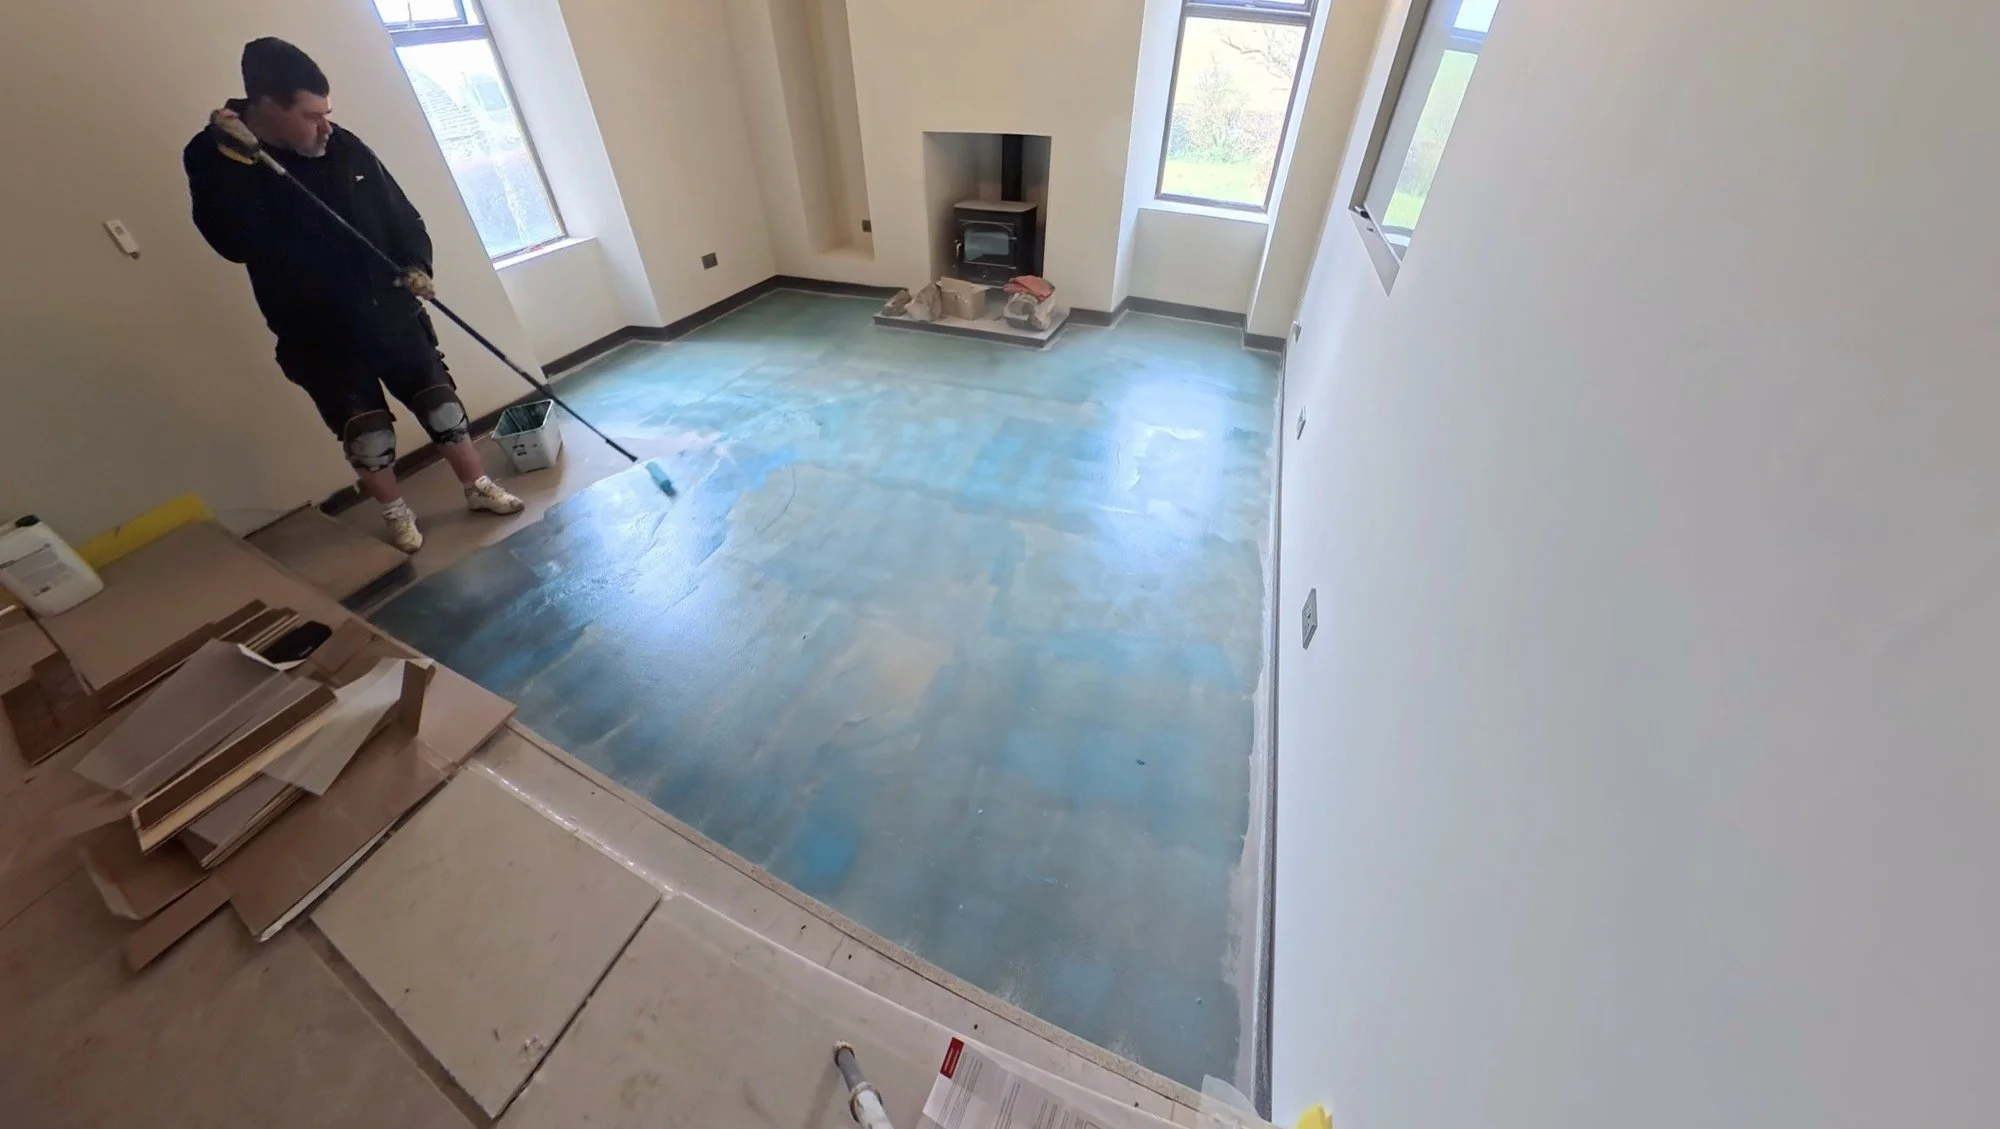
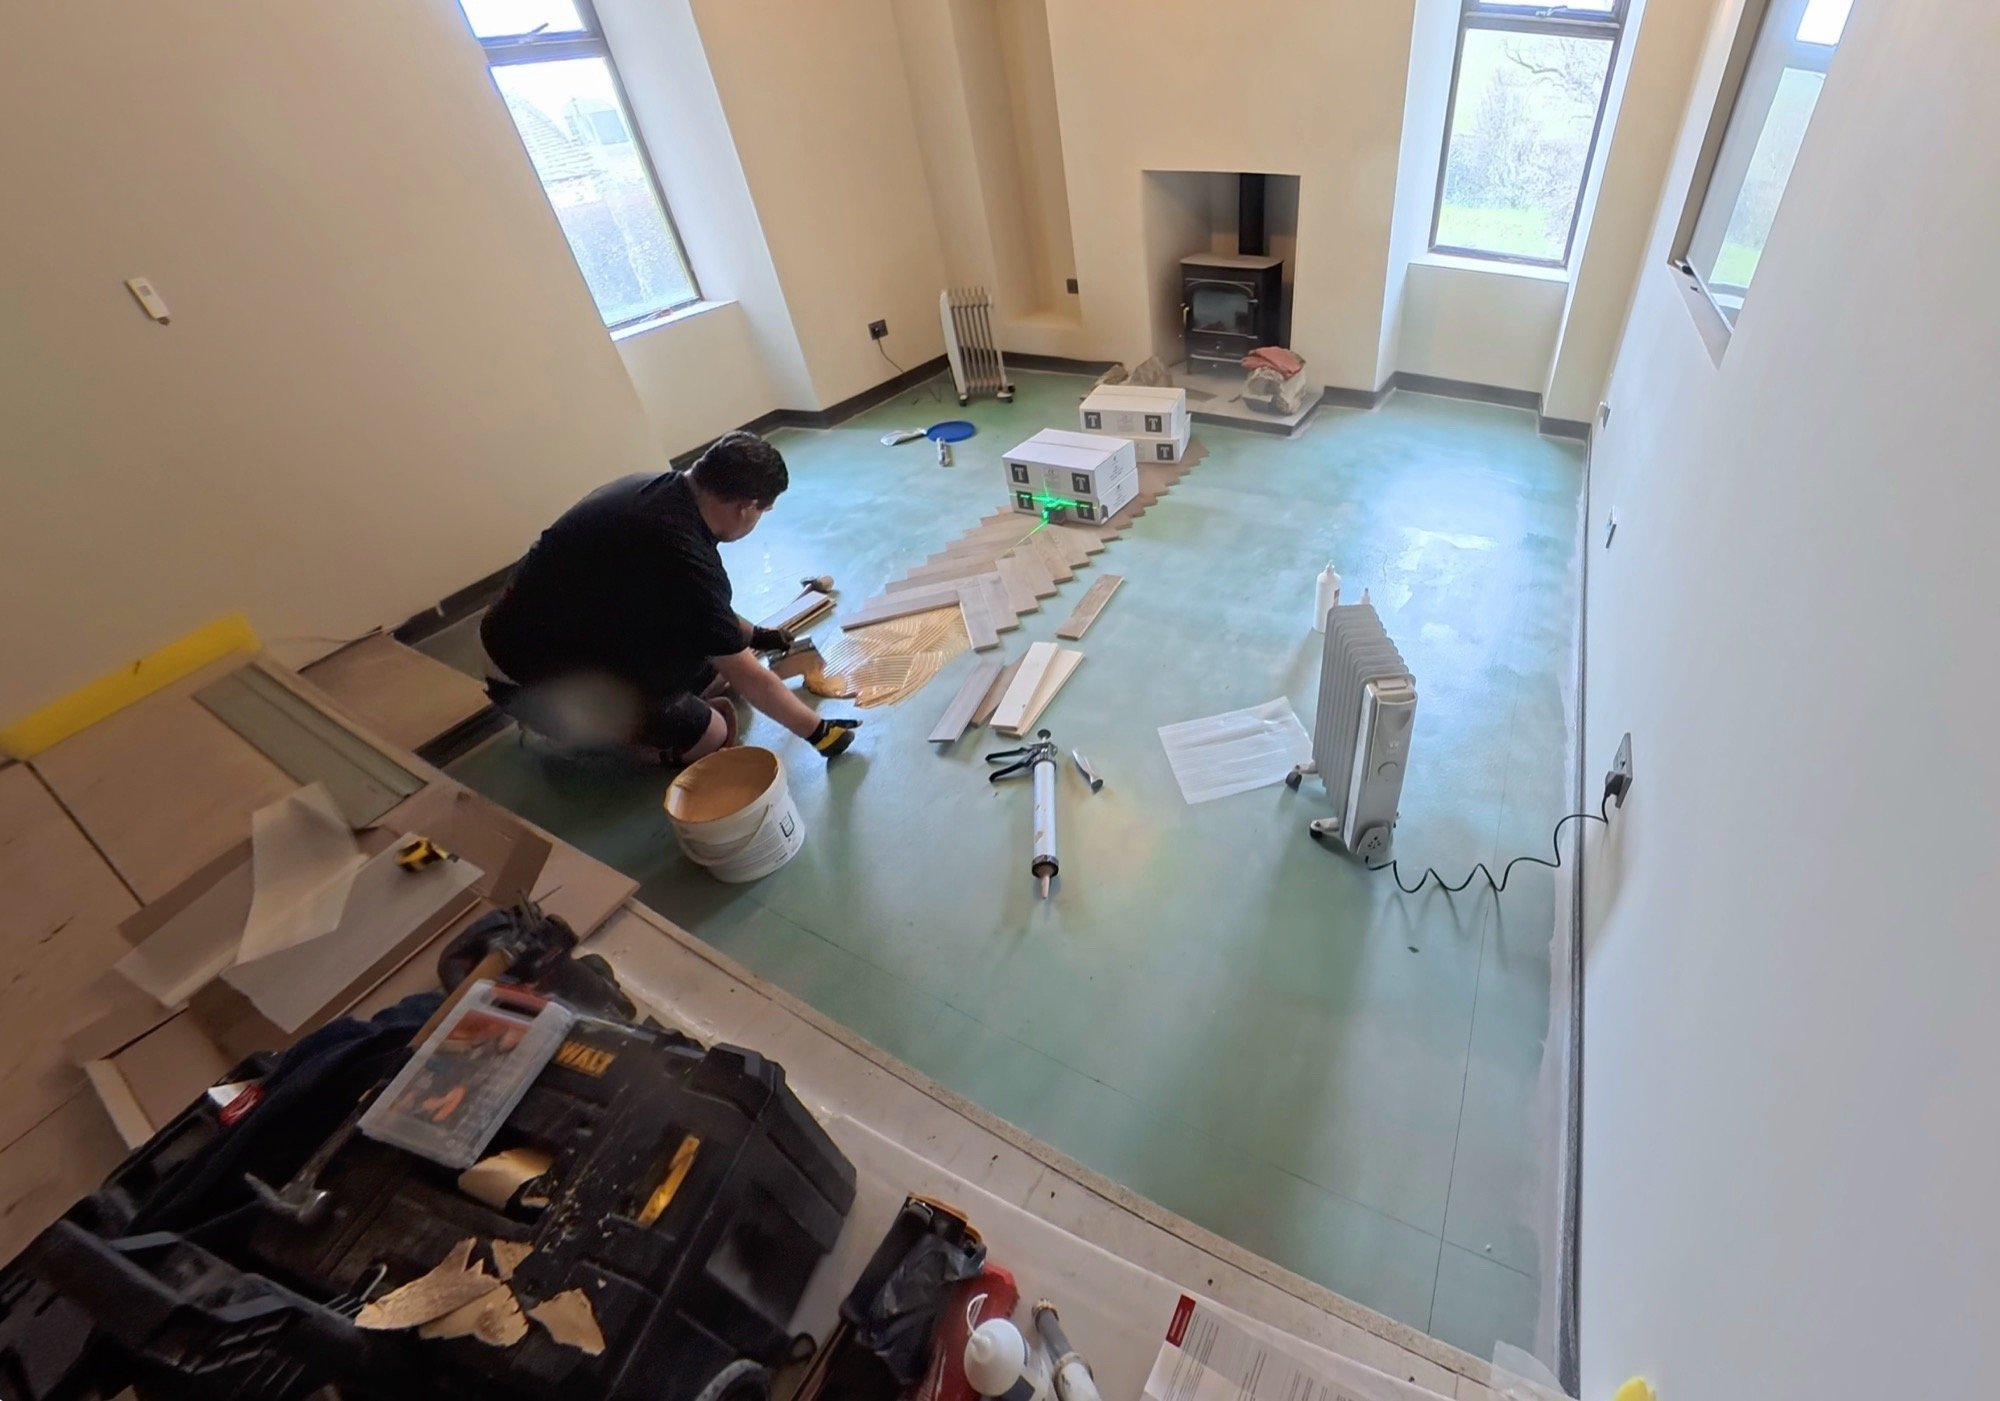
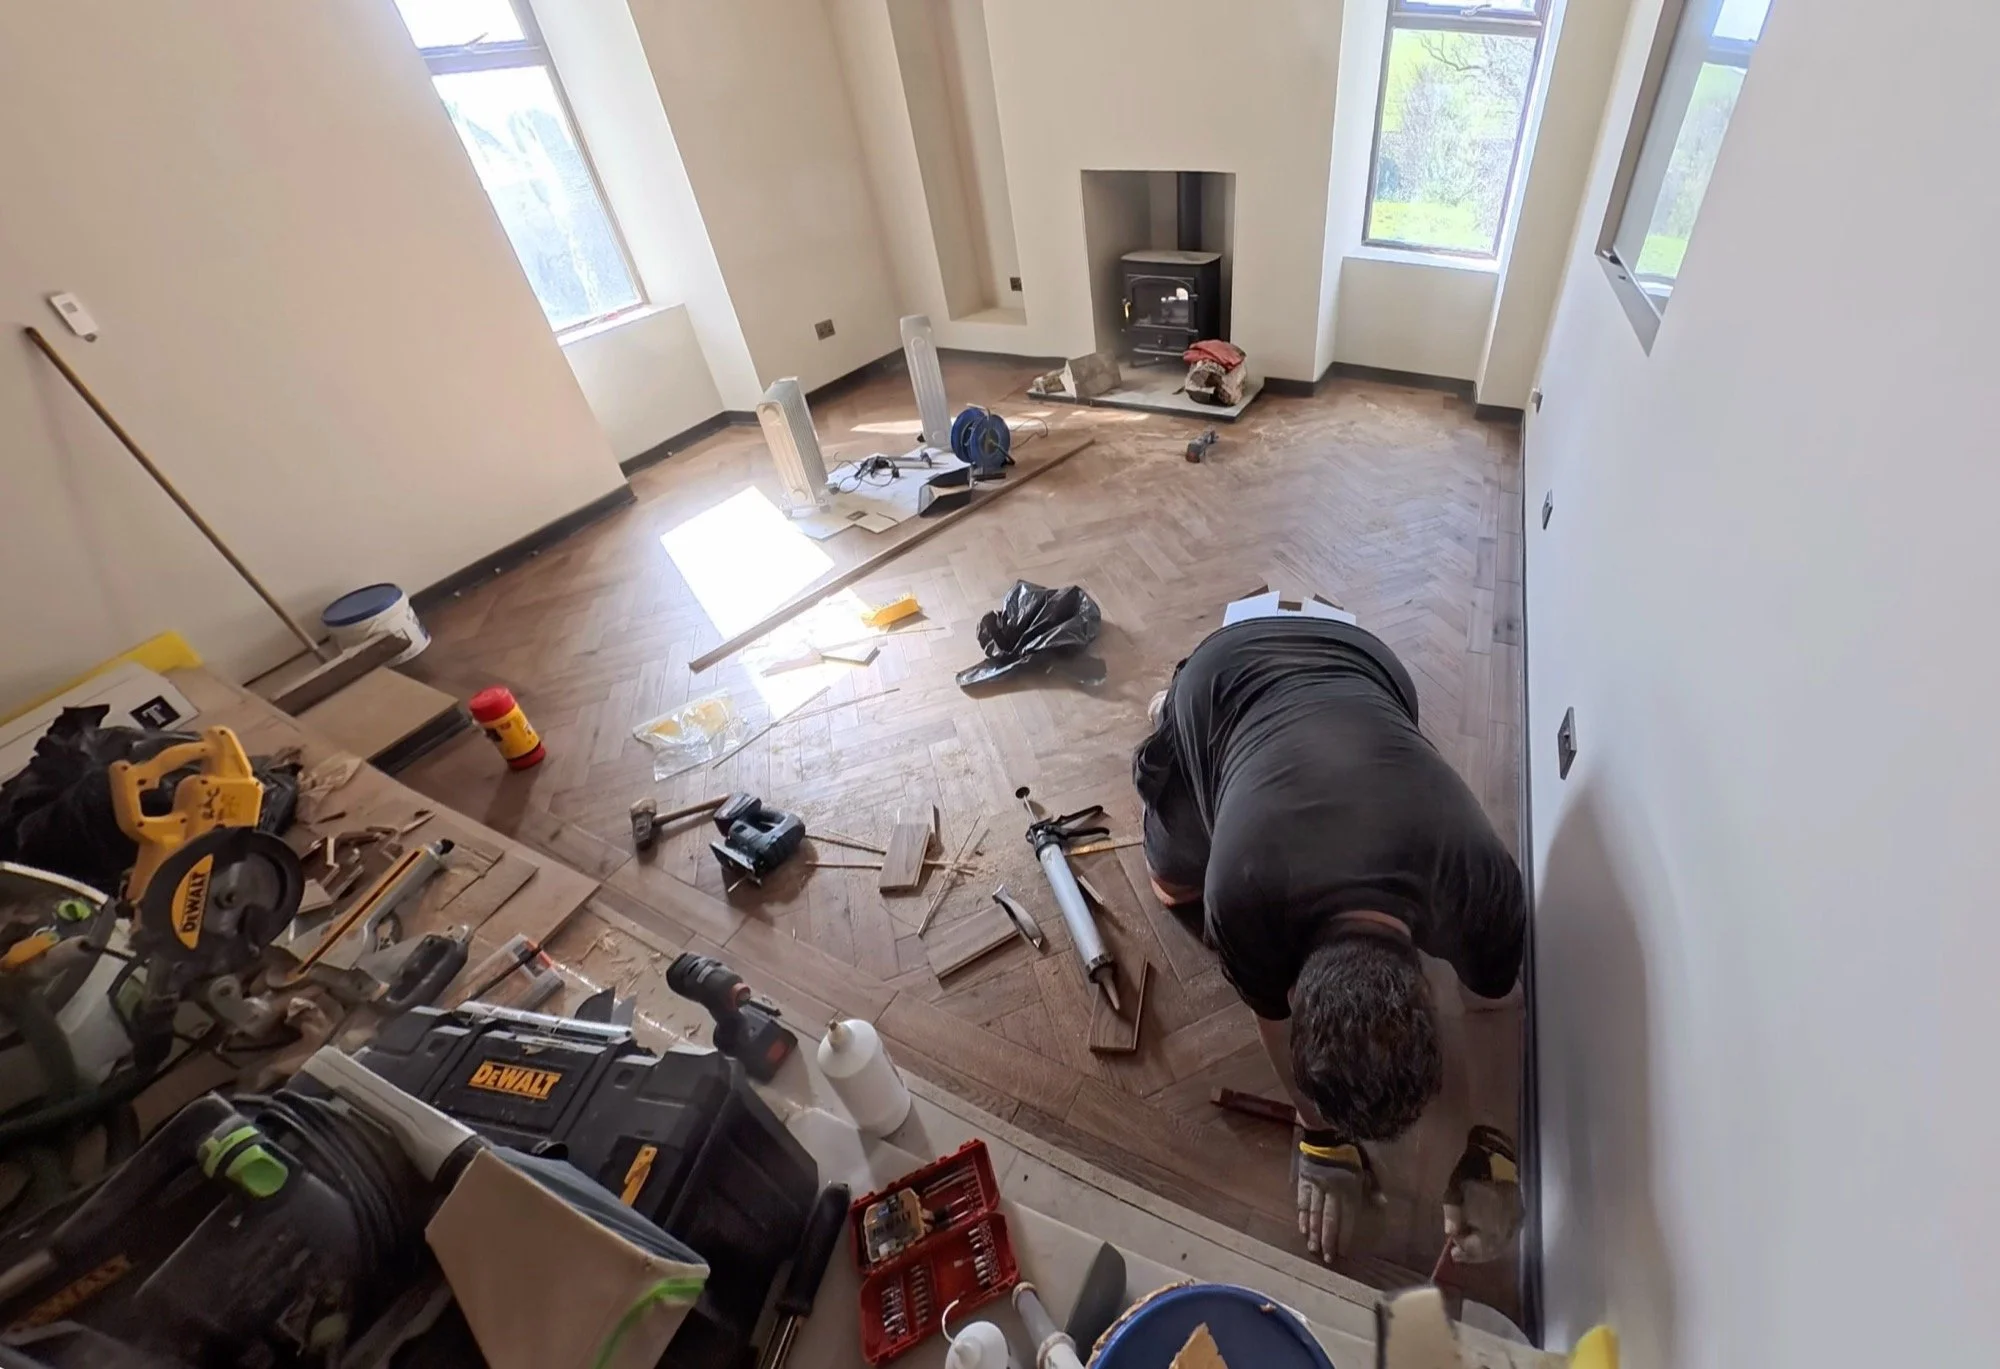
It started with a decision on the direction and centres. Are we centering to the room, the fire, a window, or the TV? Are we pointing at, away from or adjacent to those things? With a decision made to go towards the fire with it as the centre, the next step was to vacuum thoroughly and then add a coat of primer onto Dan’s SLC. Next up was marking out the 2-plank border (boujie, I know) and the centrelines.

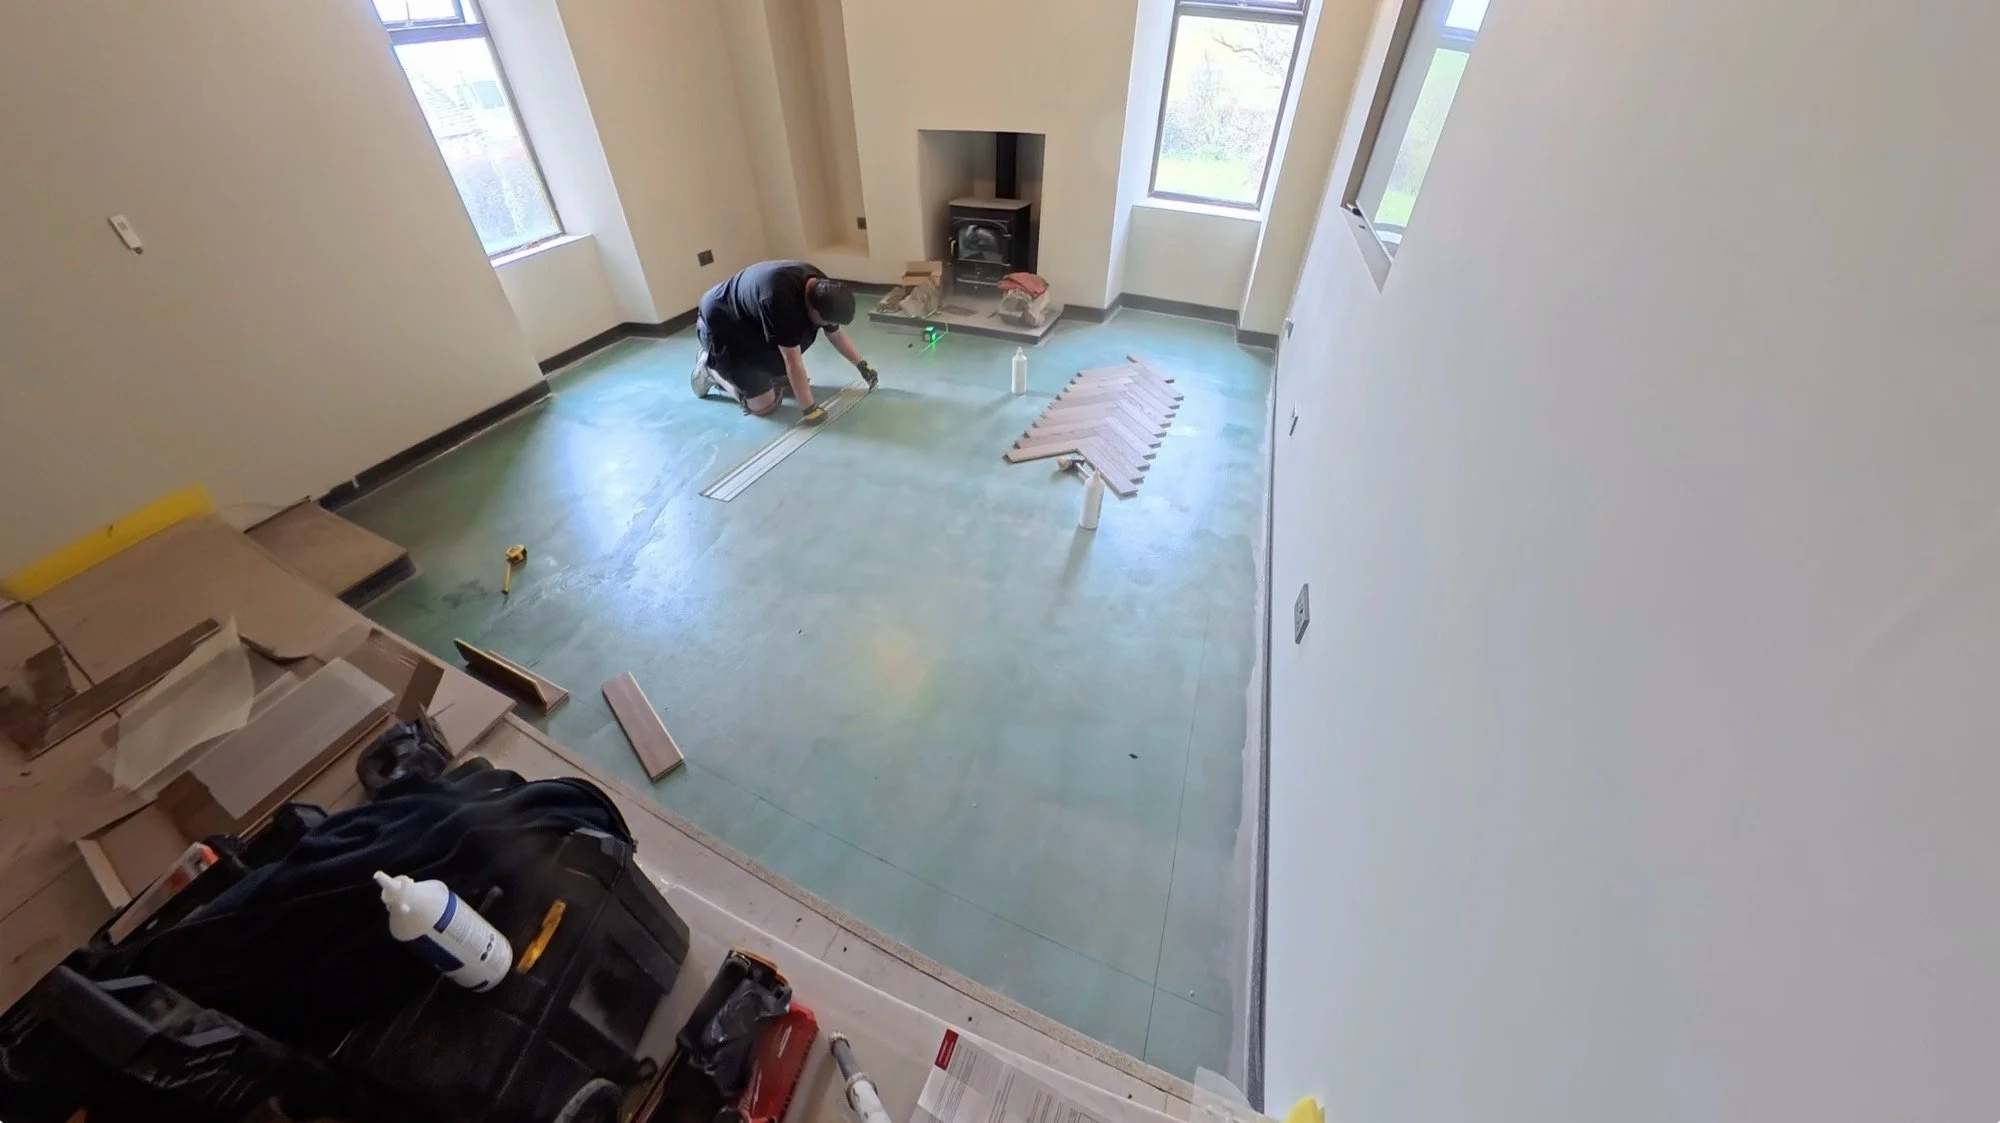
And then it was time to lay. This took a total of 3.5 days, so it’s not a small job, and there are a lot of cuts to do, especially in our not-square building.
But LOOK AT IT 😍
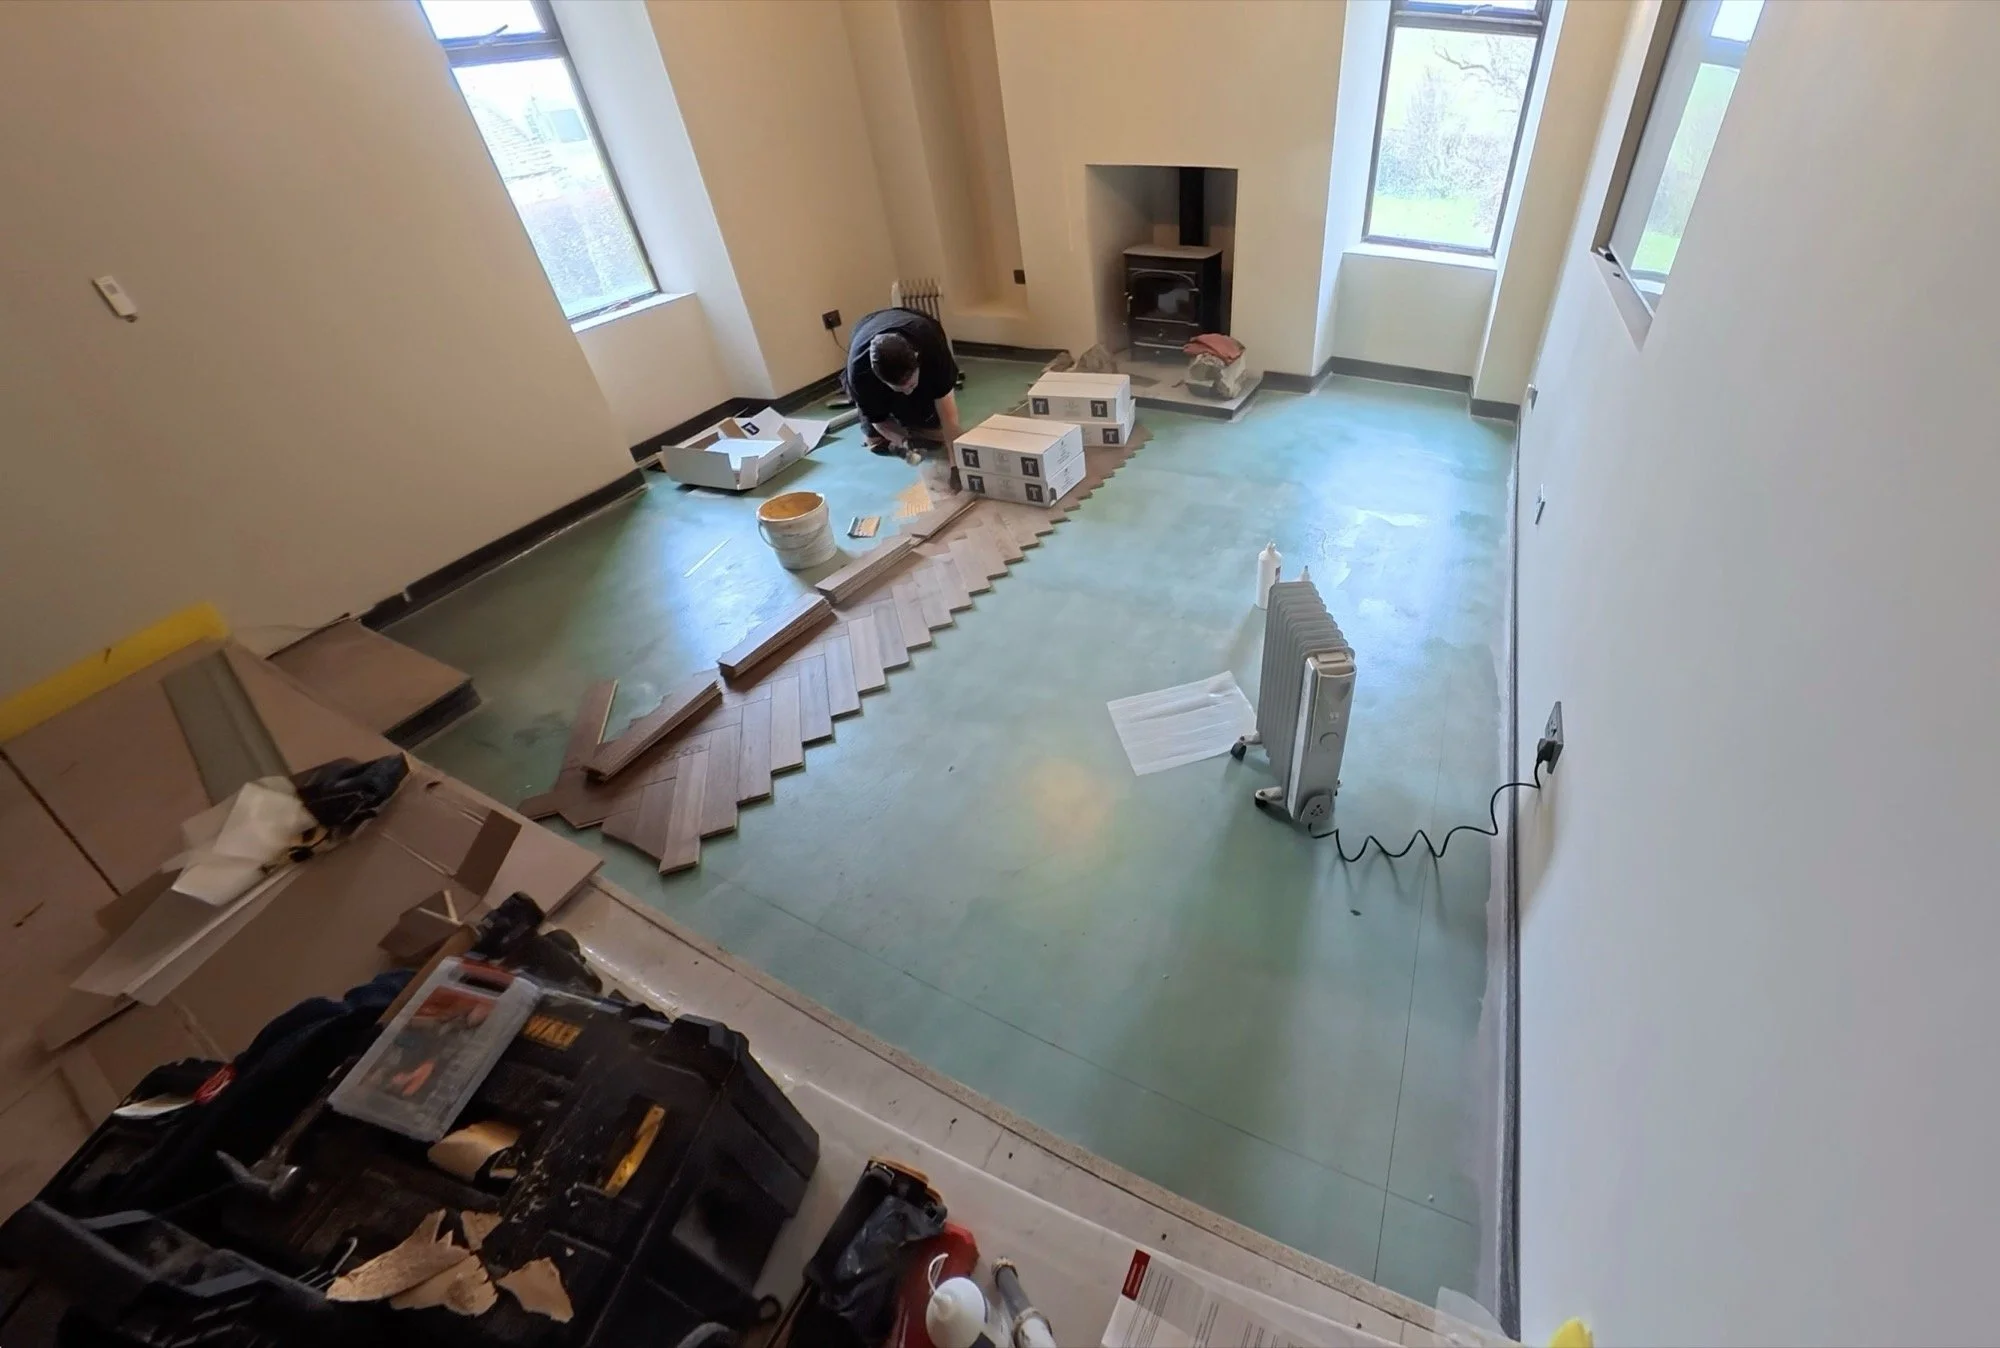

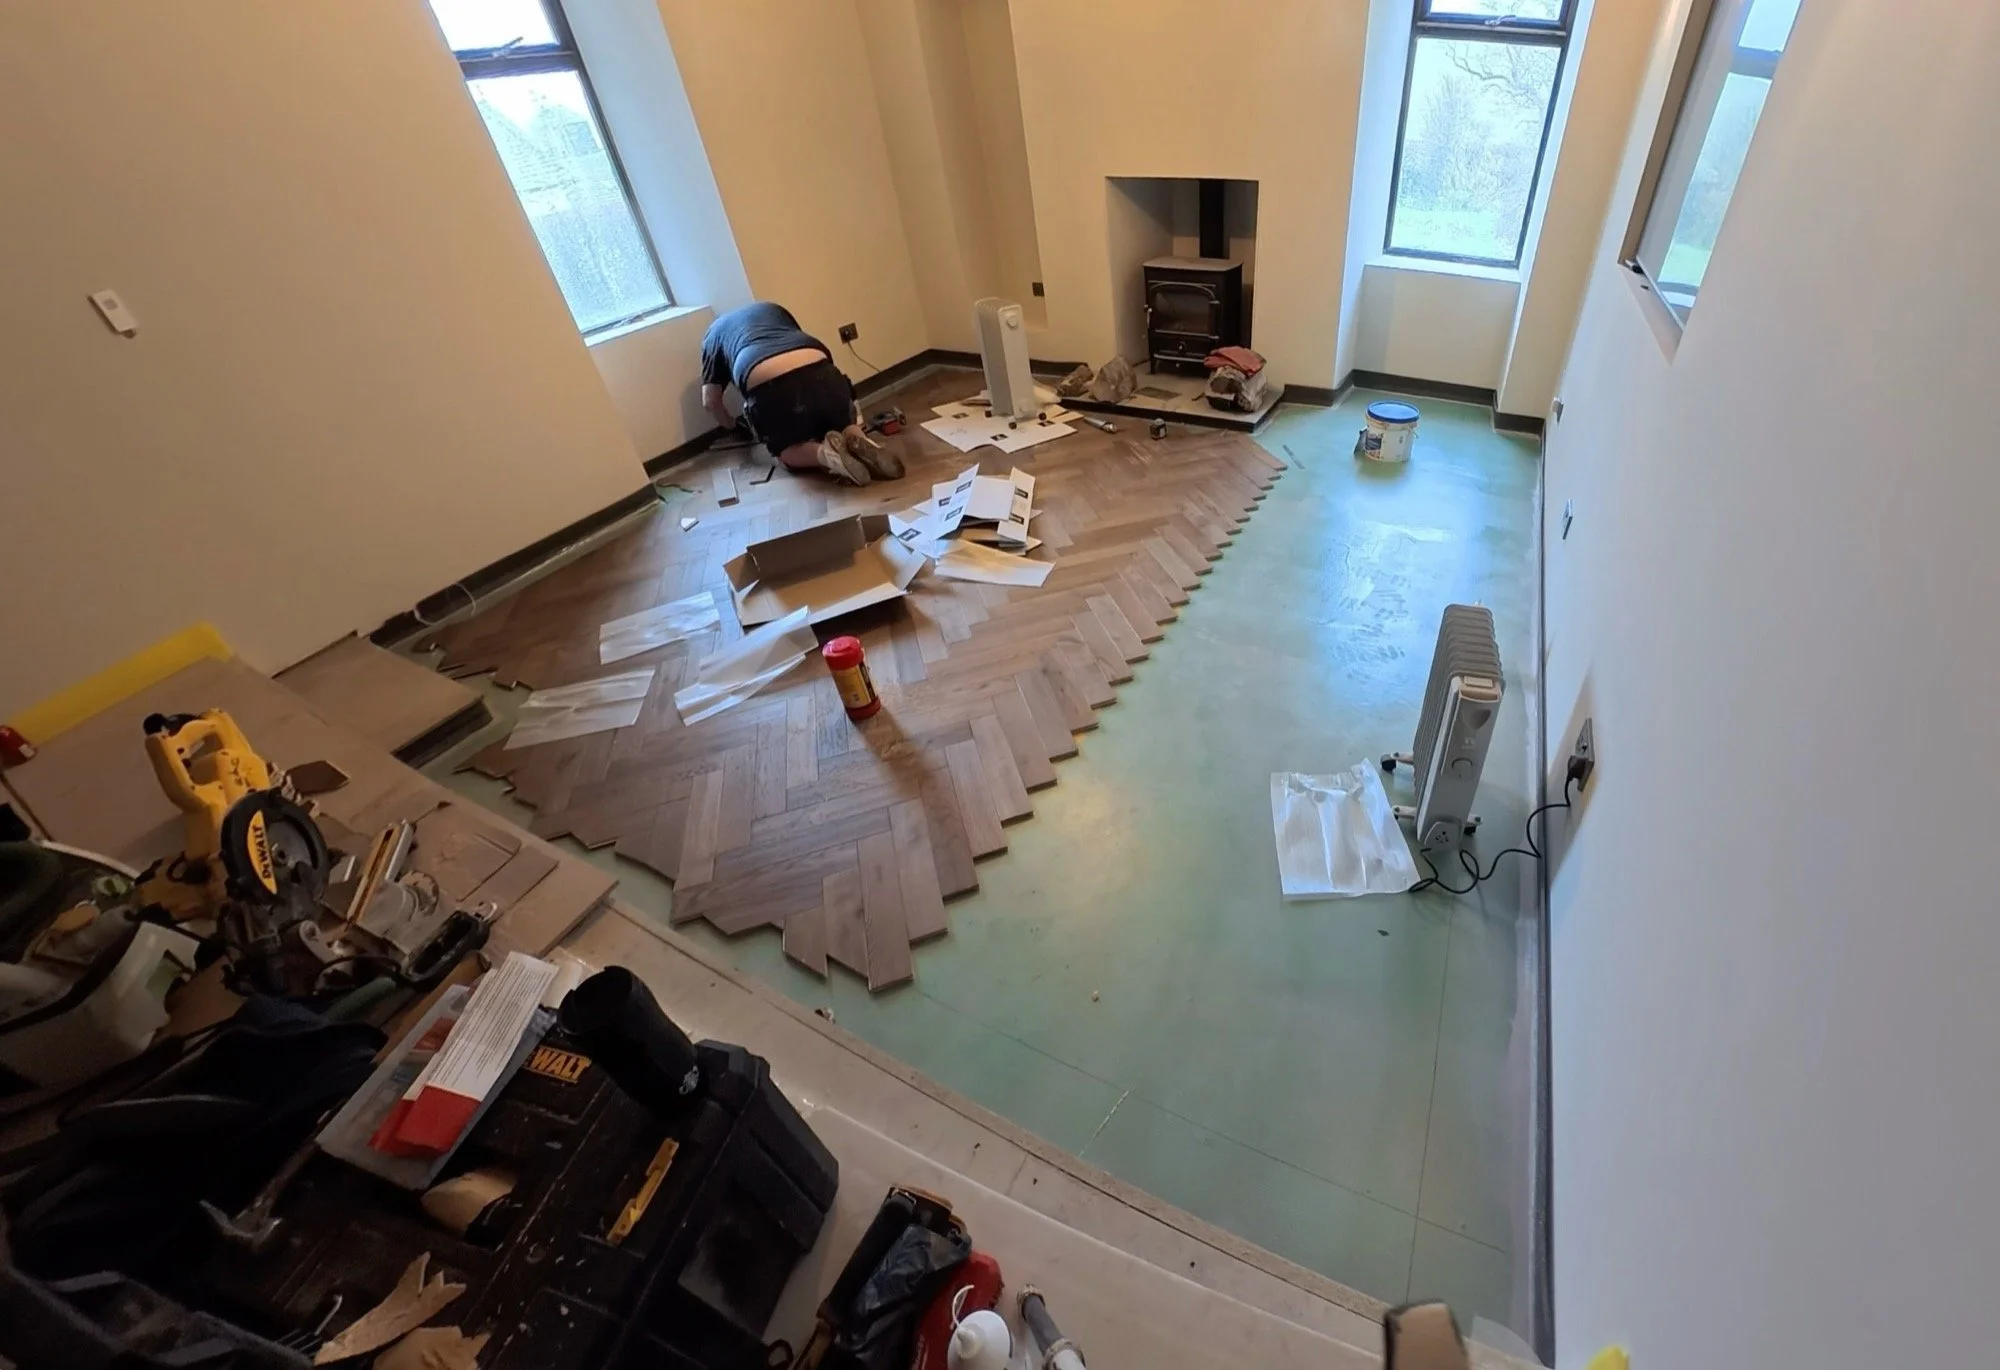
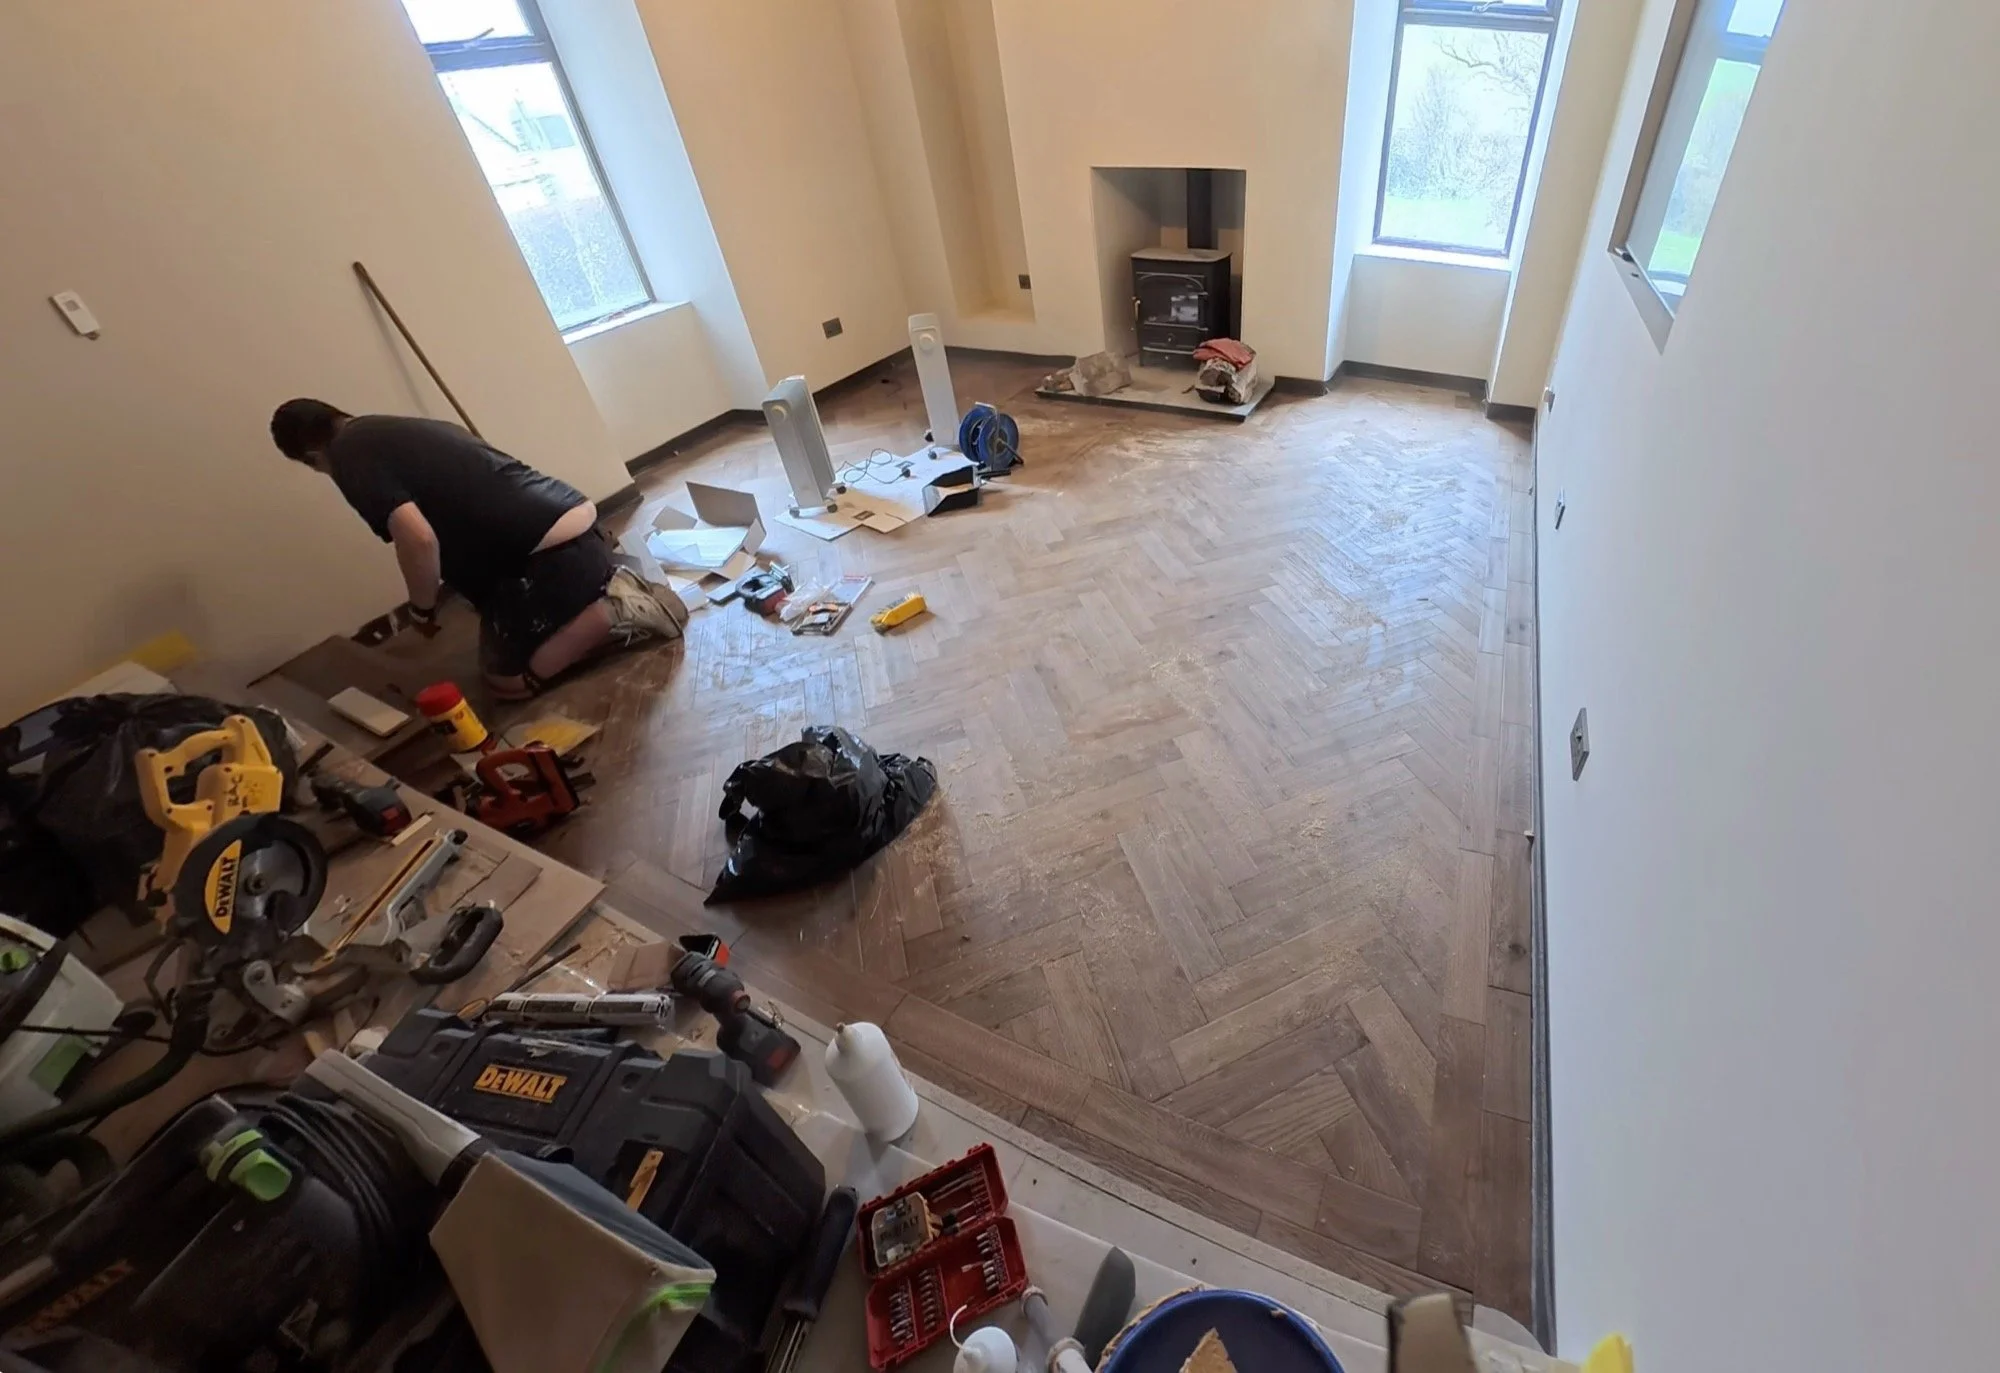
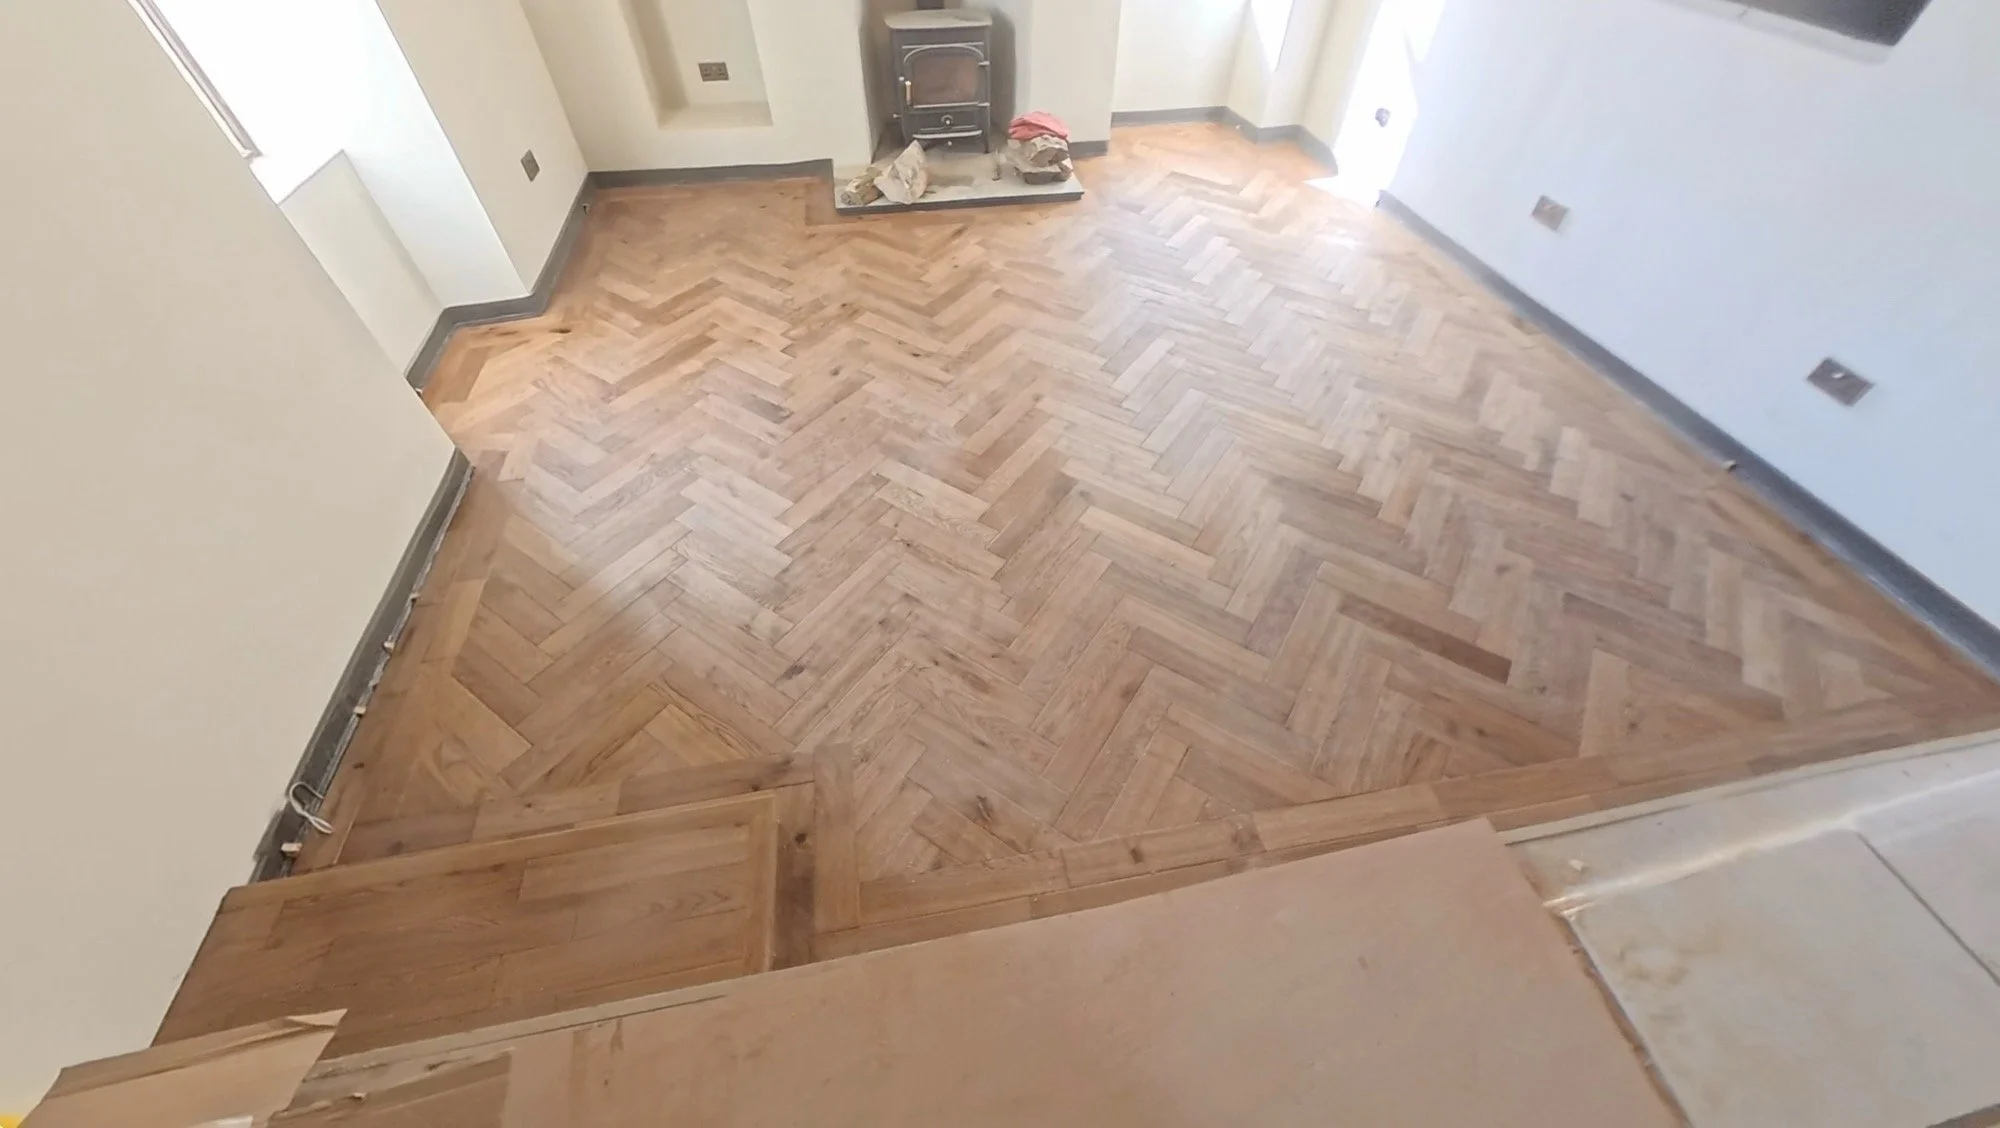
Then, it had a clean with the approved Ted Todd floor cleaner, and a coat of polish which Dan’s Dad applied. Honestly the photos do not do it justice, it’s not orange-ey at all, it’s textured and clean but also rustic and homely. It suits the house and us down to a tee and the underfloor heating works perfectly with it too.
With the floor installed, we can now remove the rest of the foam skirting supplied with the underfloor heating, and get this space finished 🥳
Velia’s Foaling Box
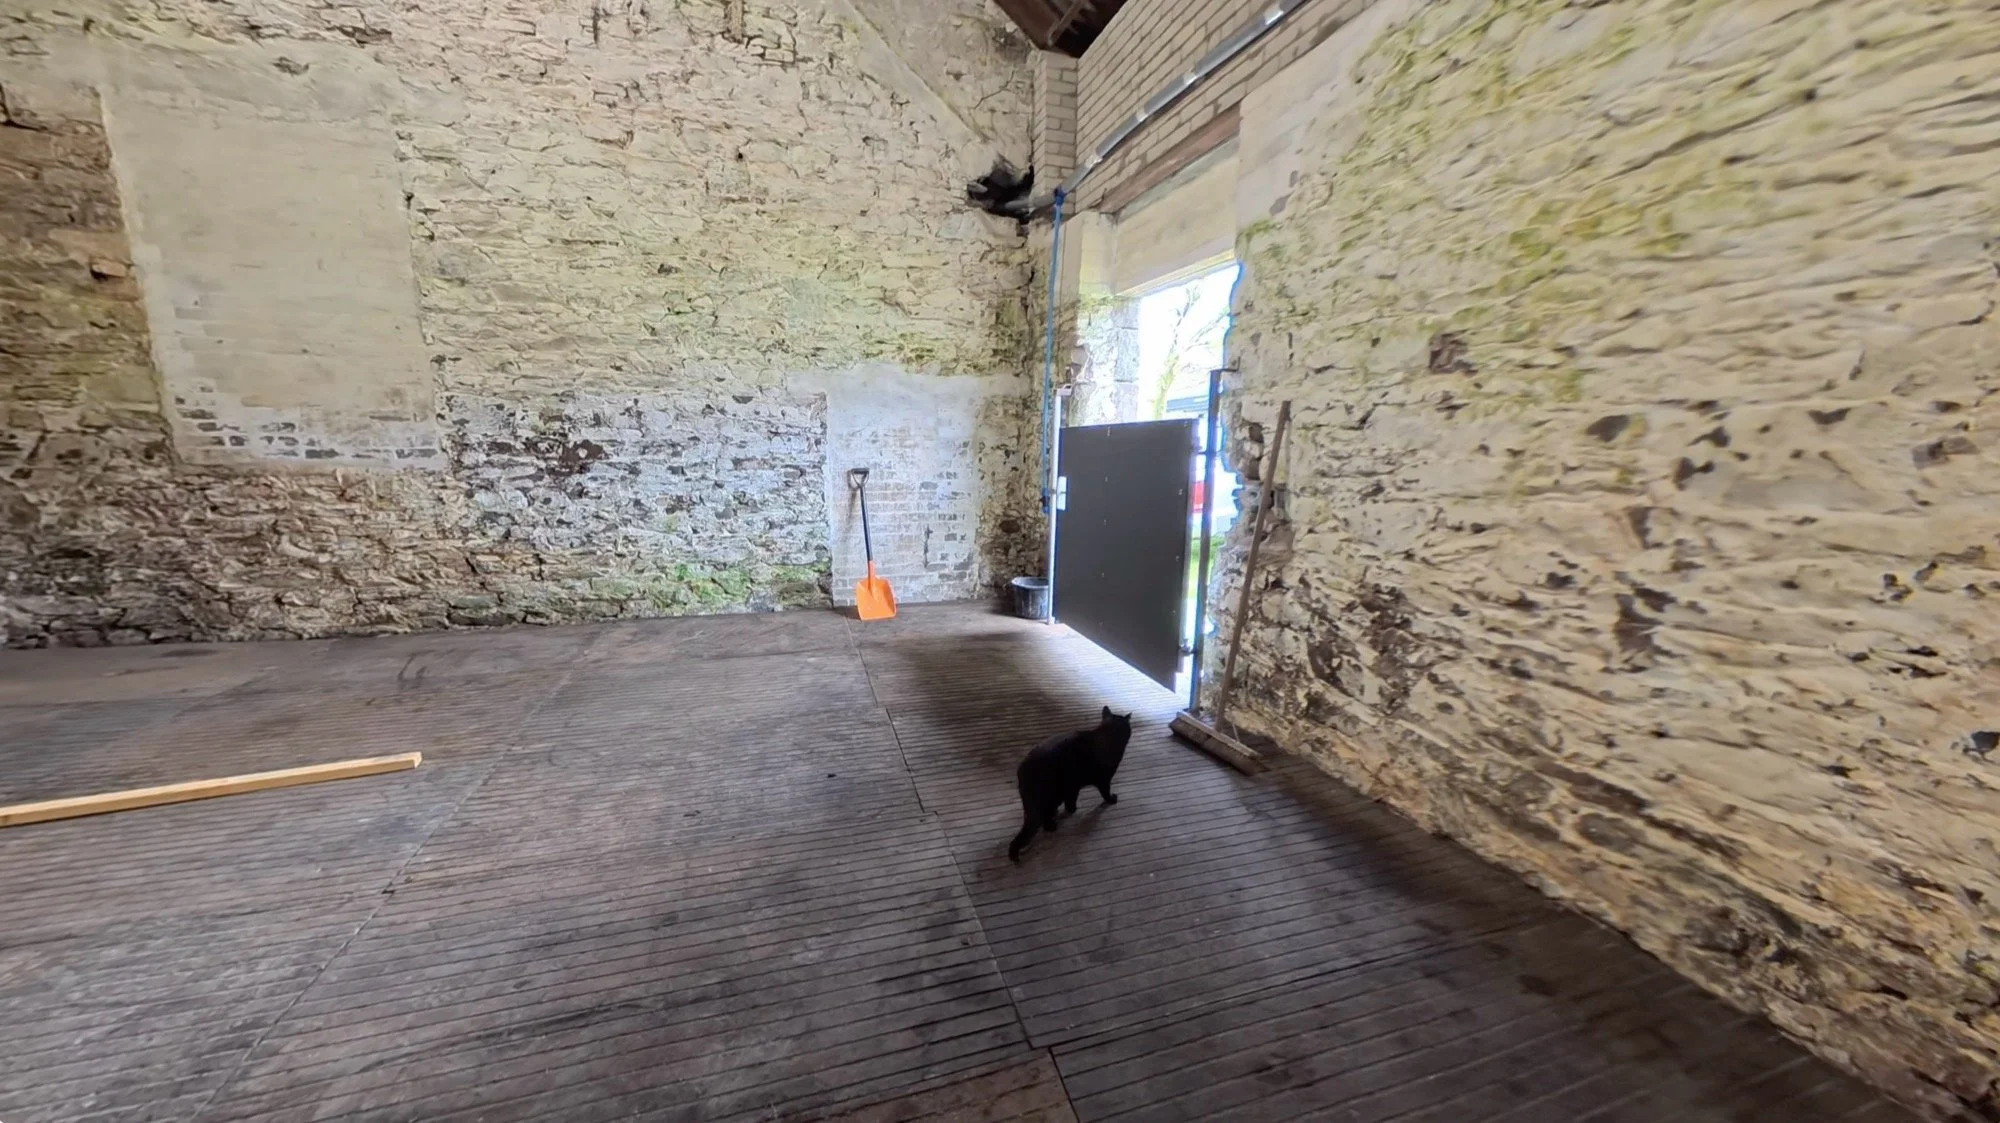
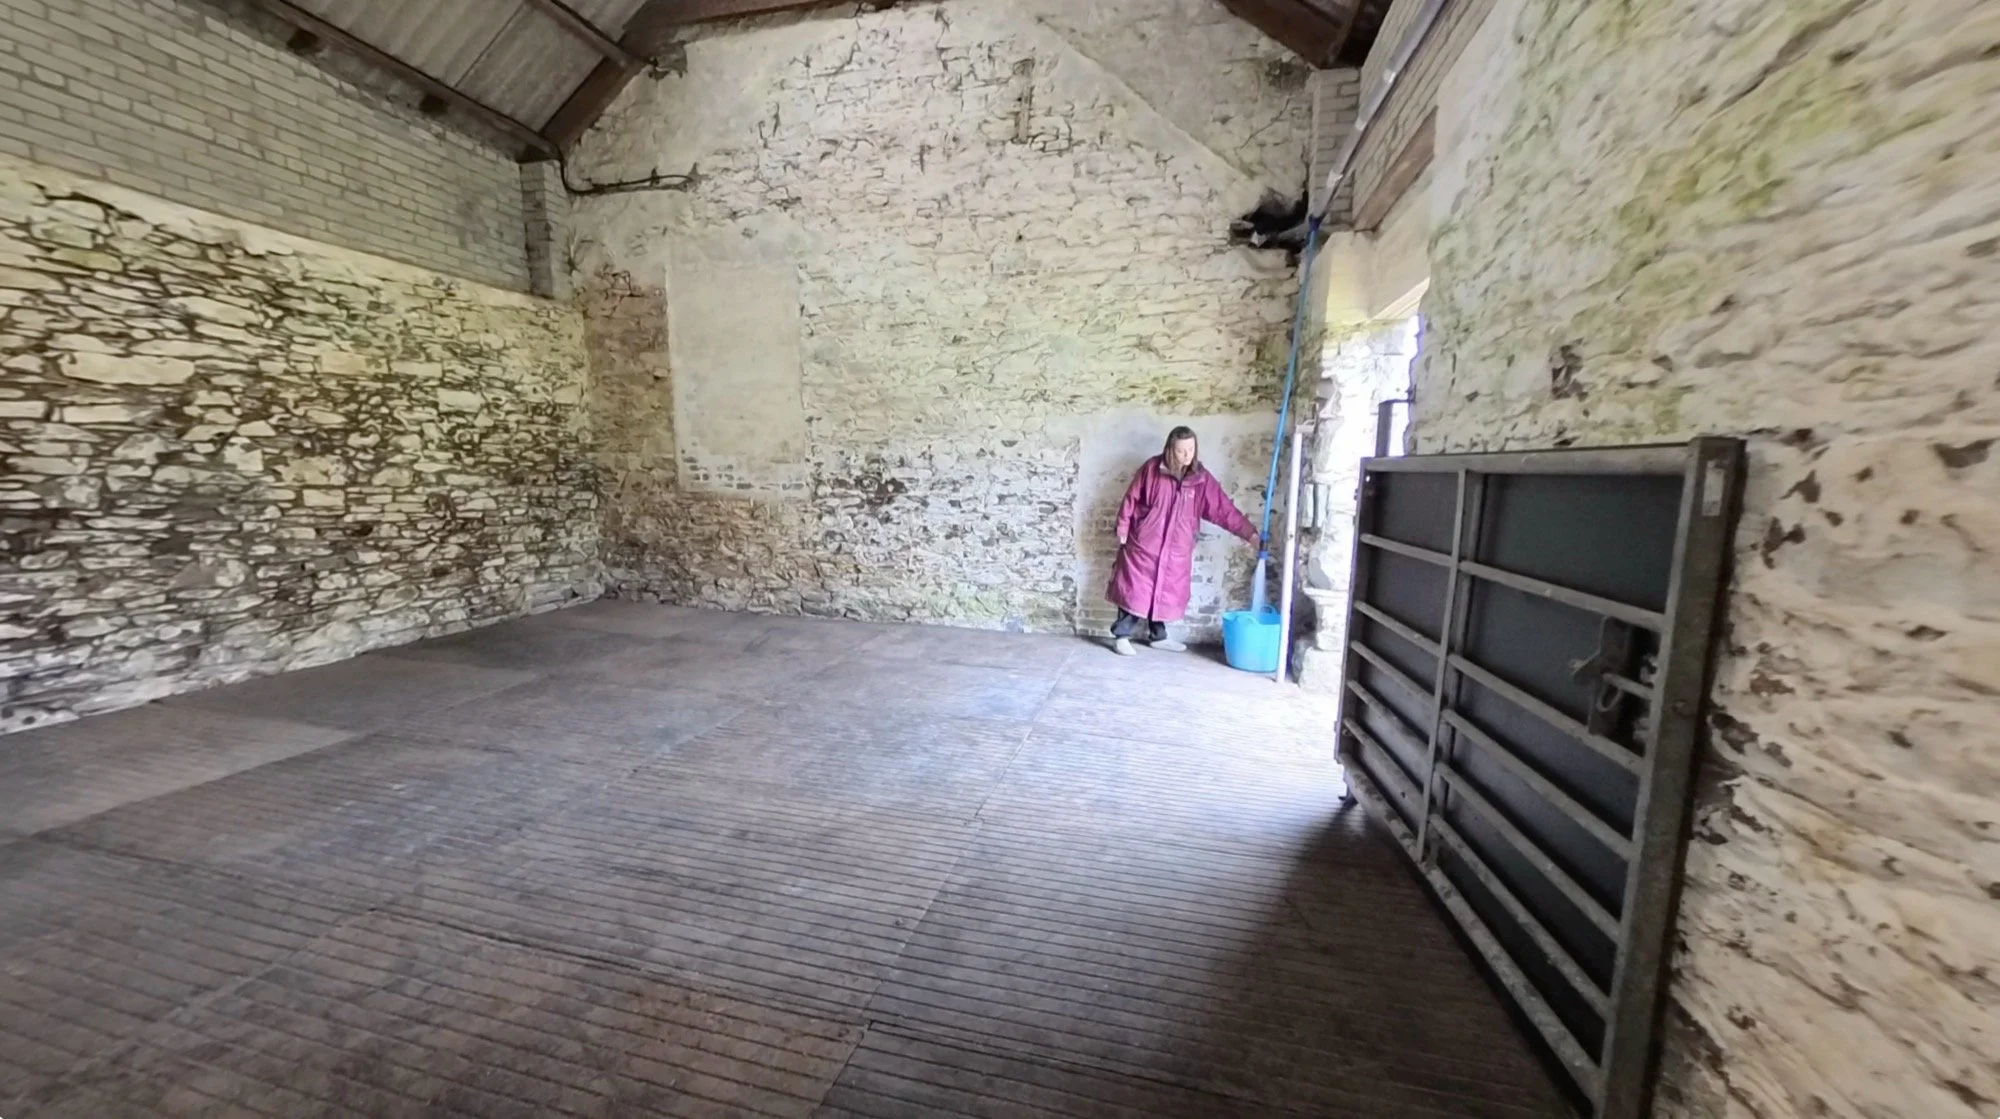
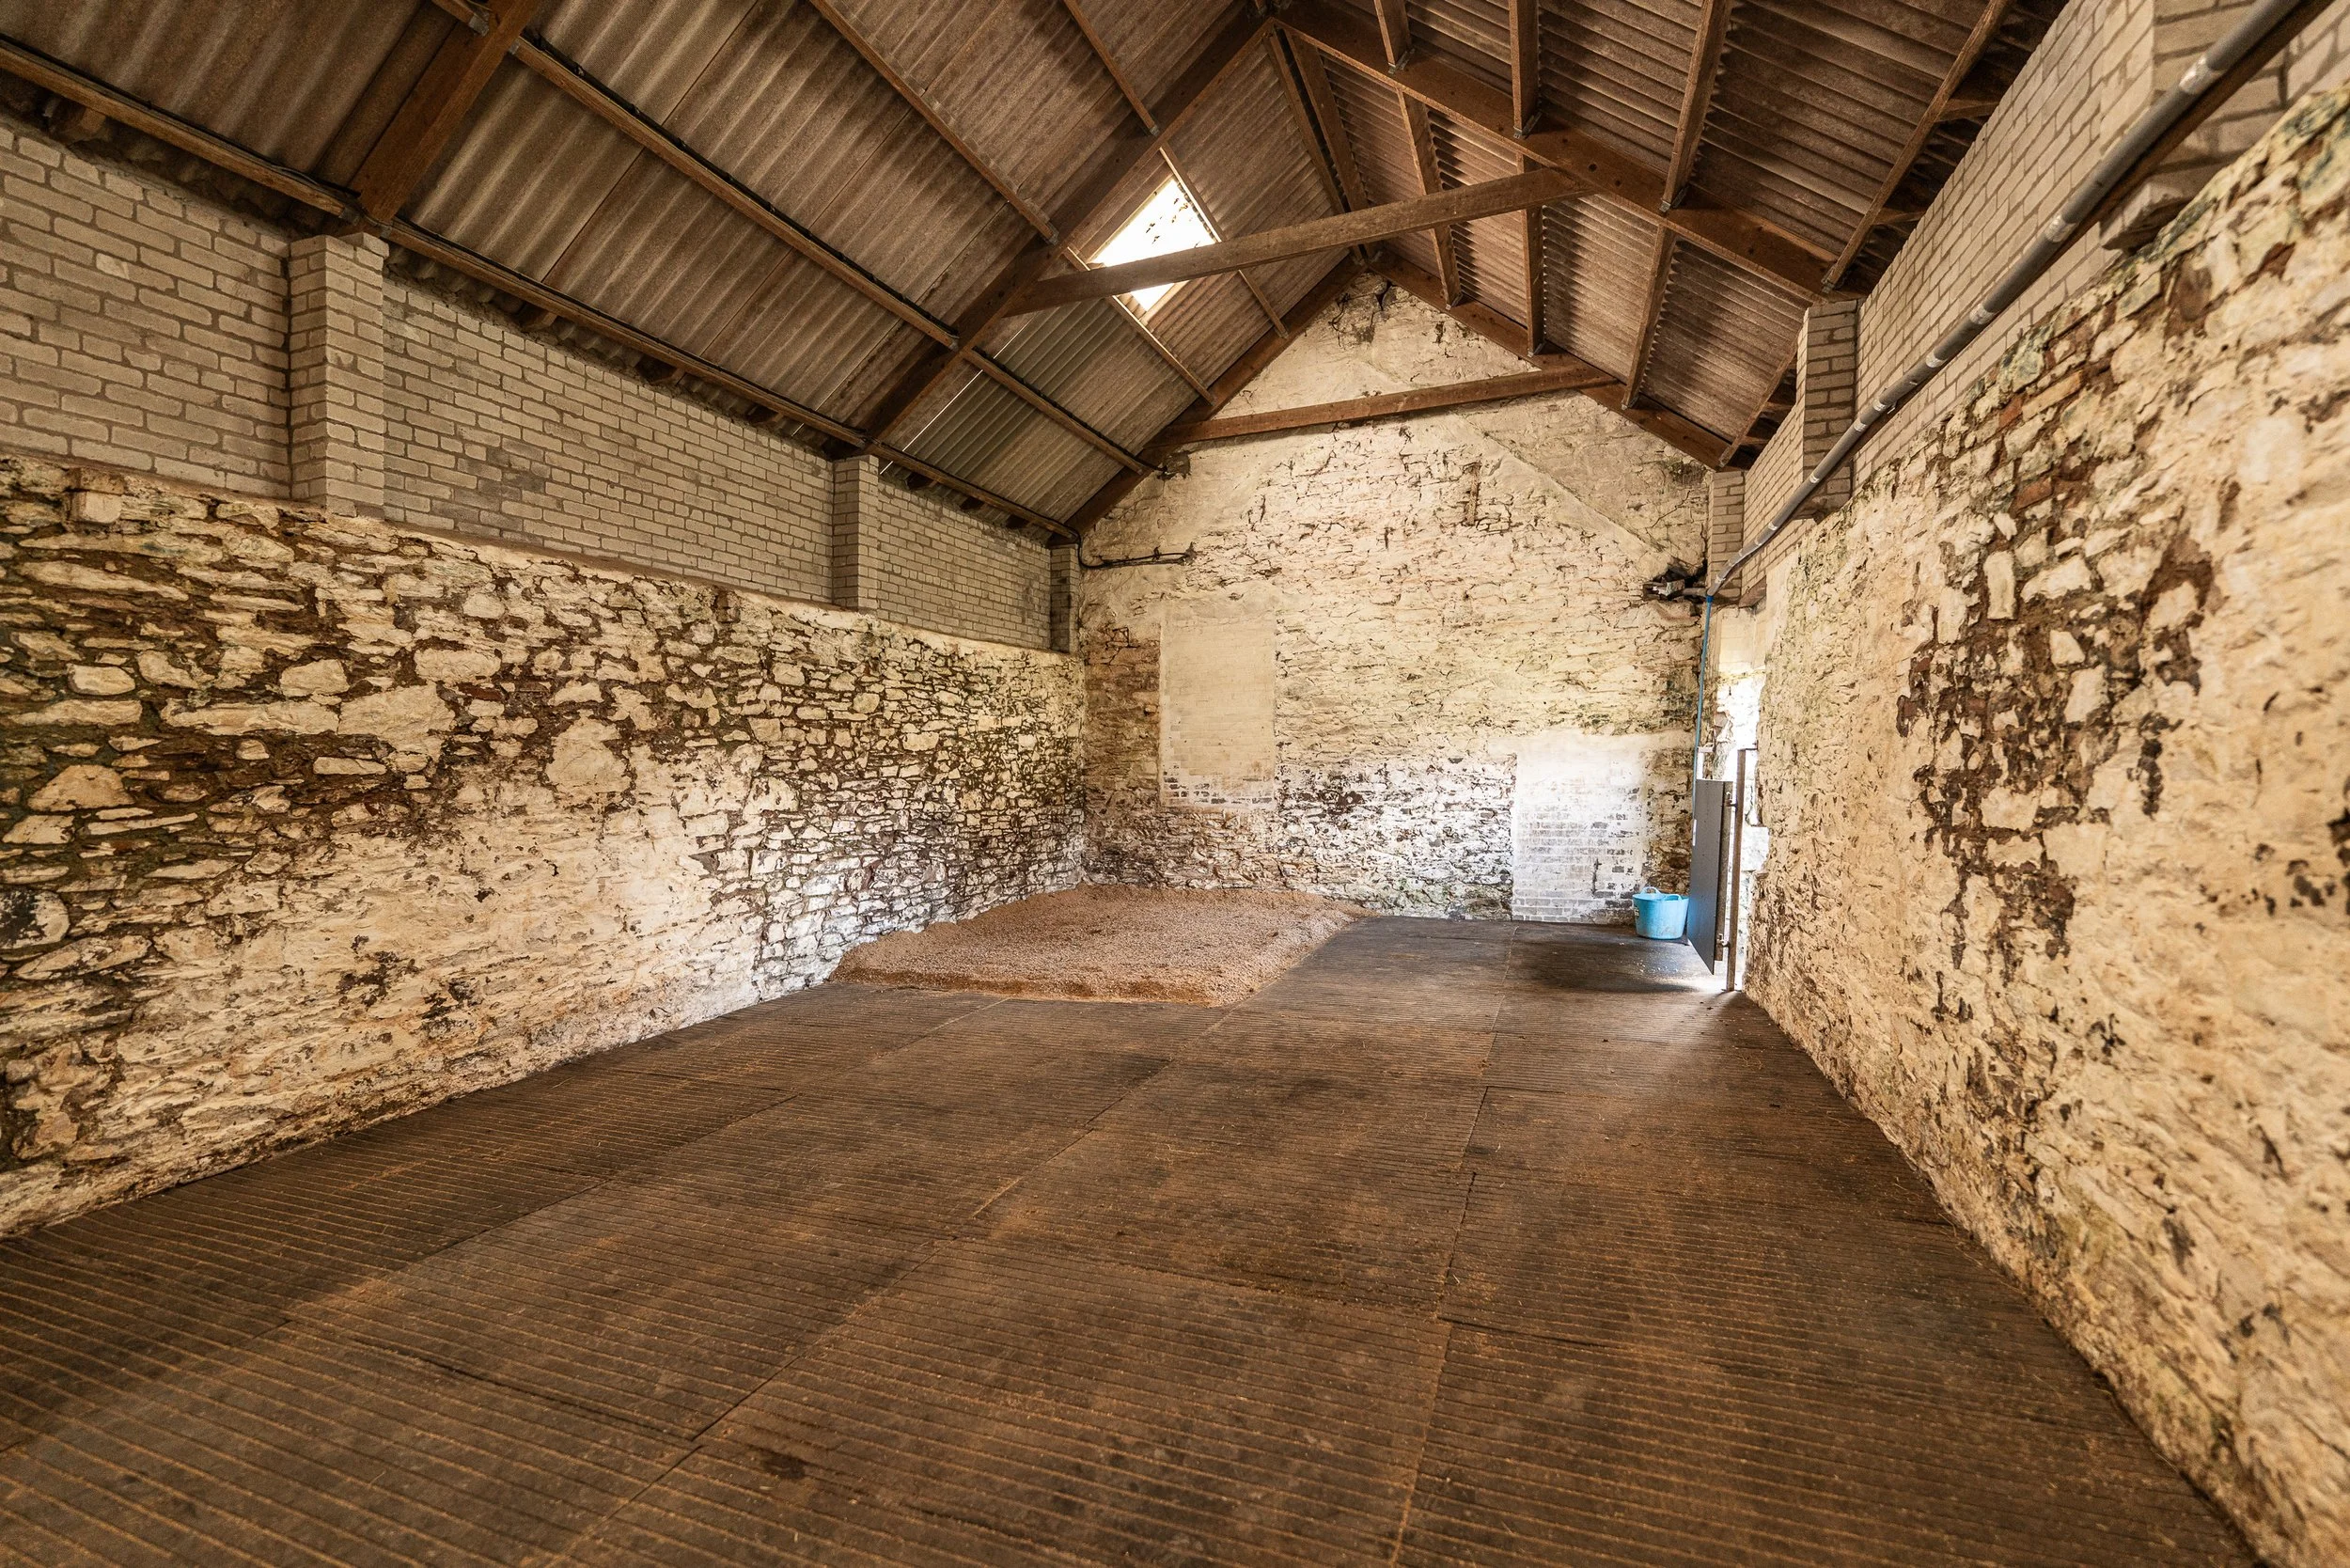
Next up this week was a mission for Velia to get her some more space. Granted, Granary B is gigantic and she doesn’t need anywhere near that amount of space, but it’s good for her to have room to wander and her feet could sure do with some drier movement than the soggy fields or her smaller 14ft square box.
If you remember, Granary B was supposed to be split into two boxes back in November to welcome a new neddy (🐴) to the farm, but the sale didn’t proceed so we parked the plan and left it there. This spring, the same building needs to become a straw-filled foal play pen before mid-May, and we figured, why not make this move now?
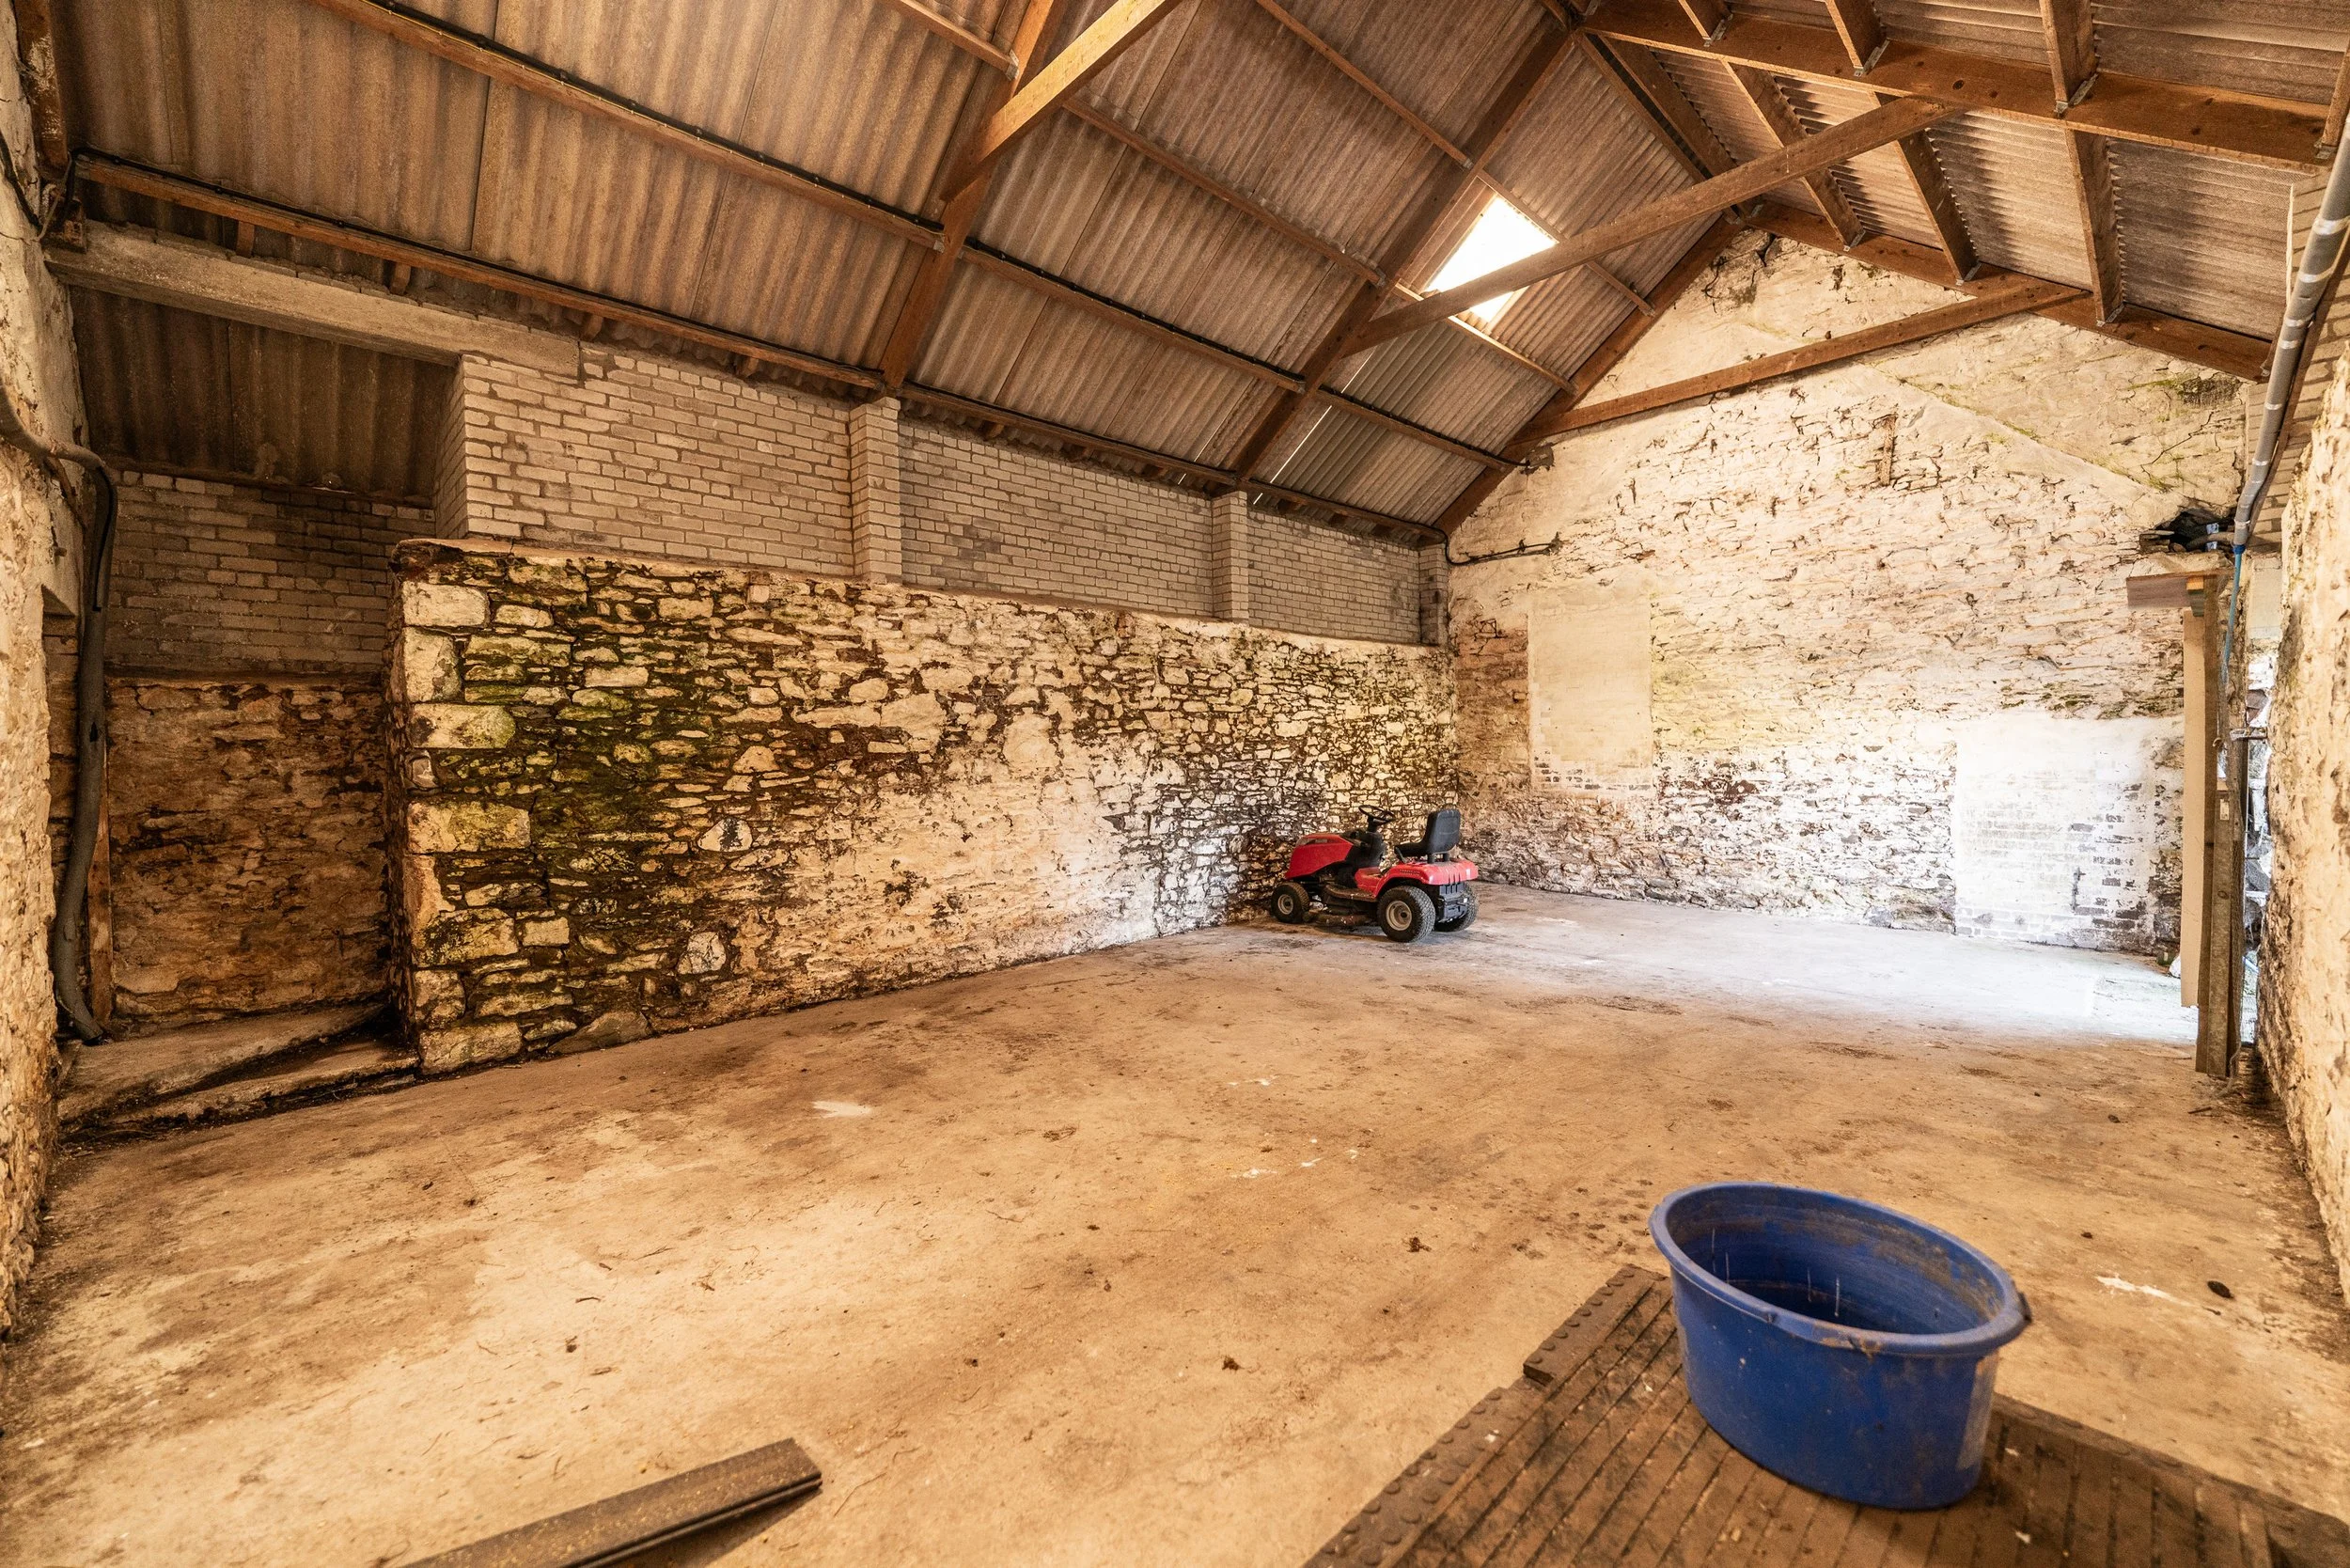
Instead of splitting it up into two 12ft x 14ft boxes, we’re leaving the entire shed open. That means that we also need to get the current contents somewhat horse-safe. For reference, Granary B currently looks like this:
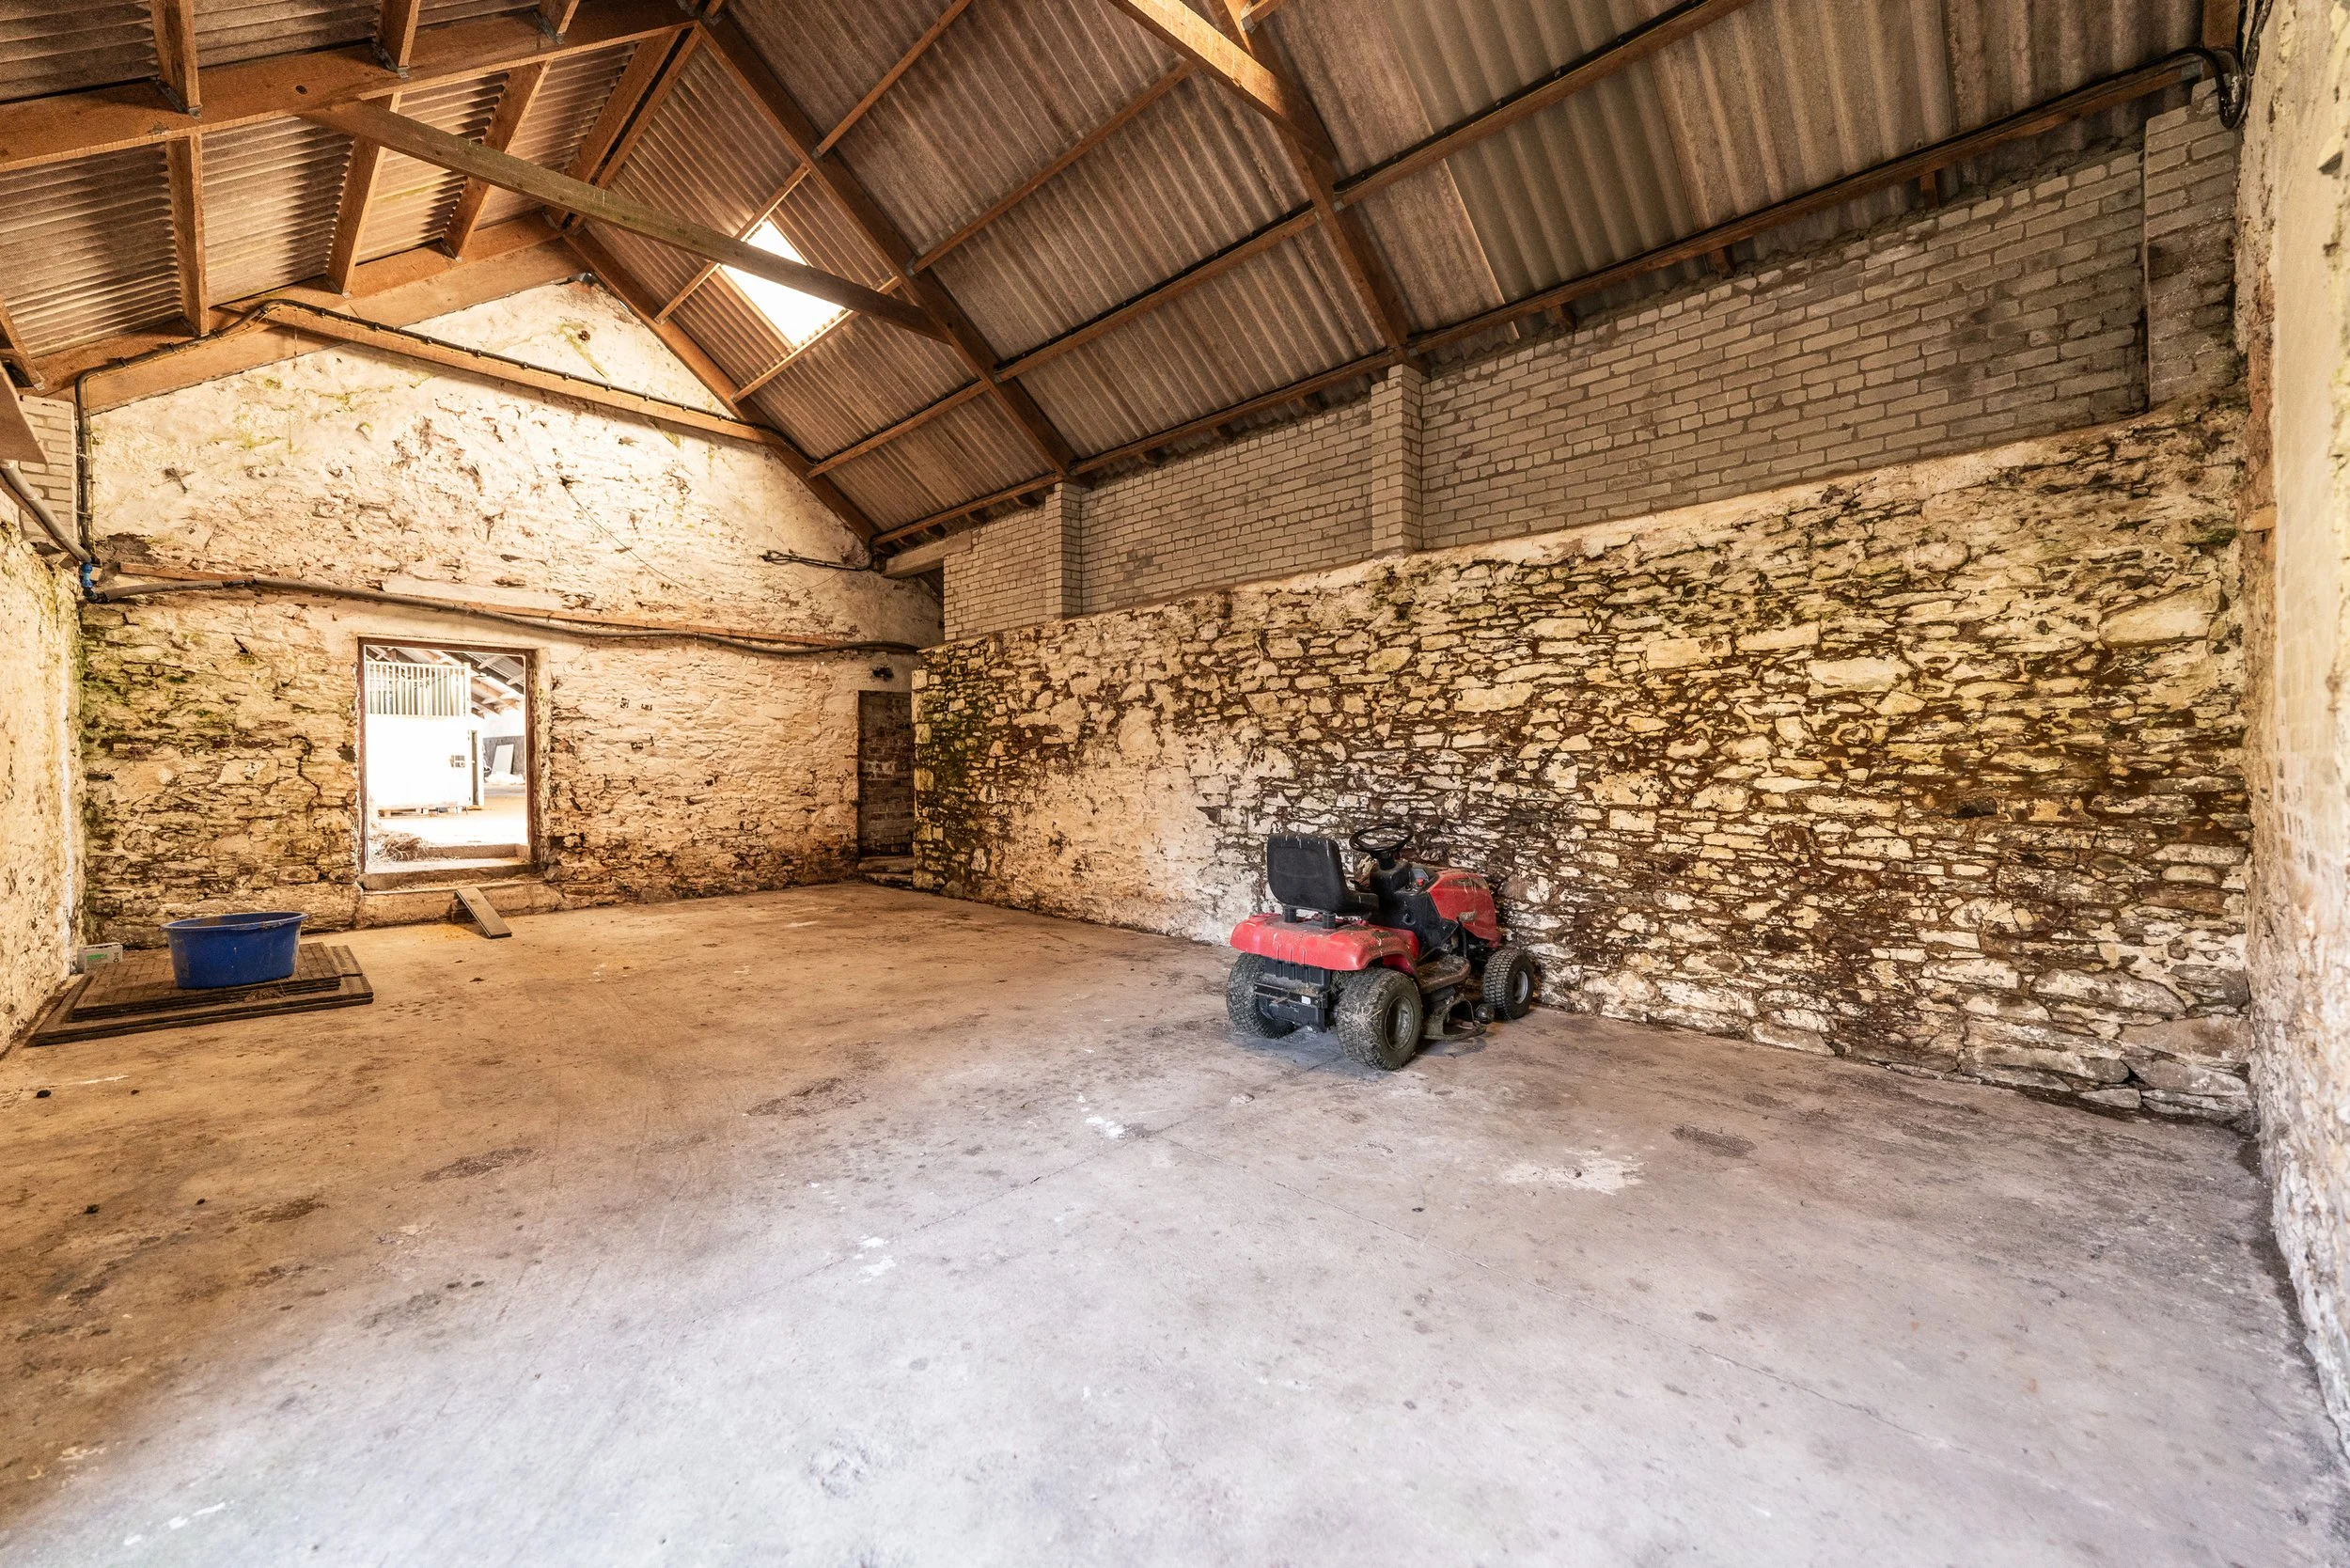
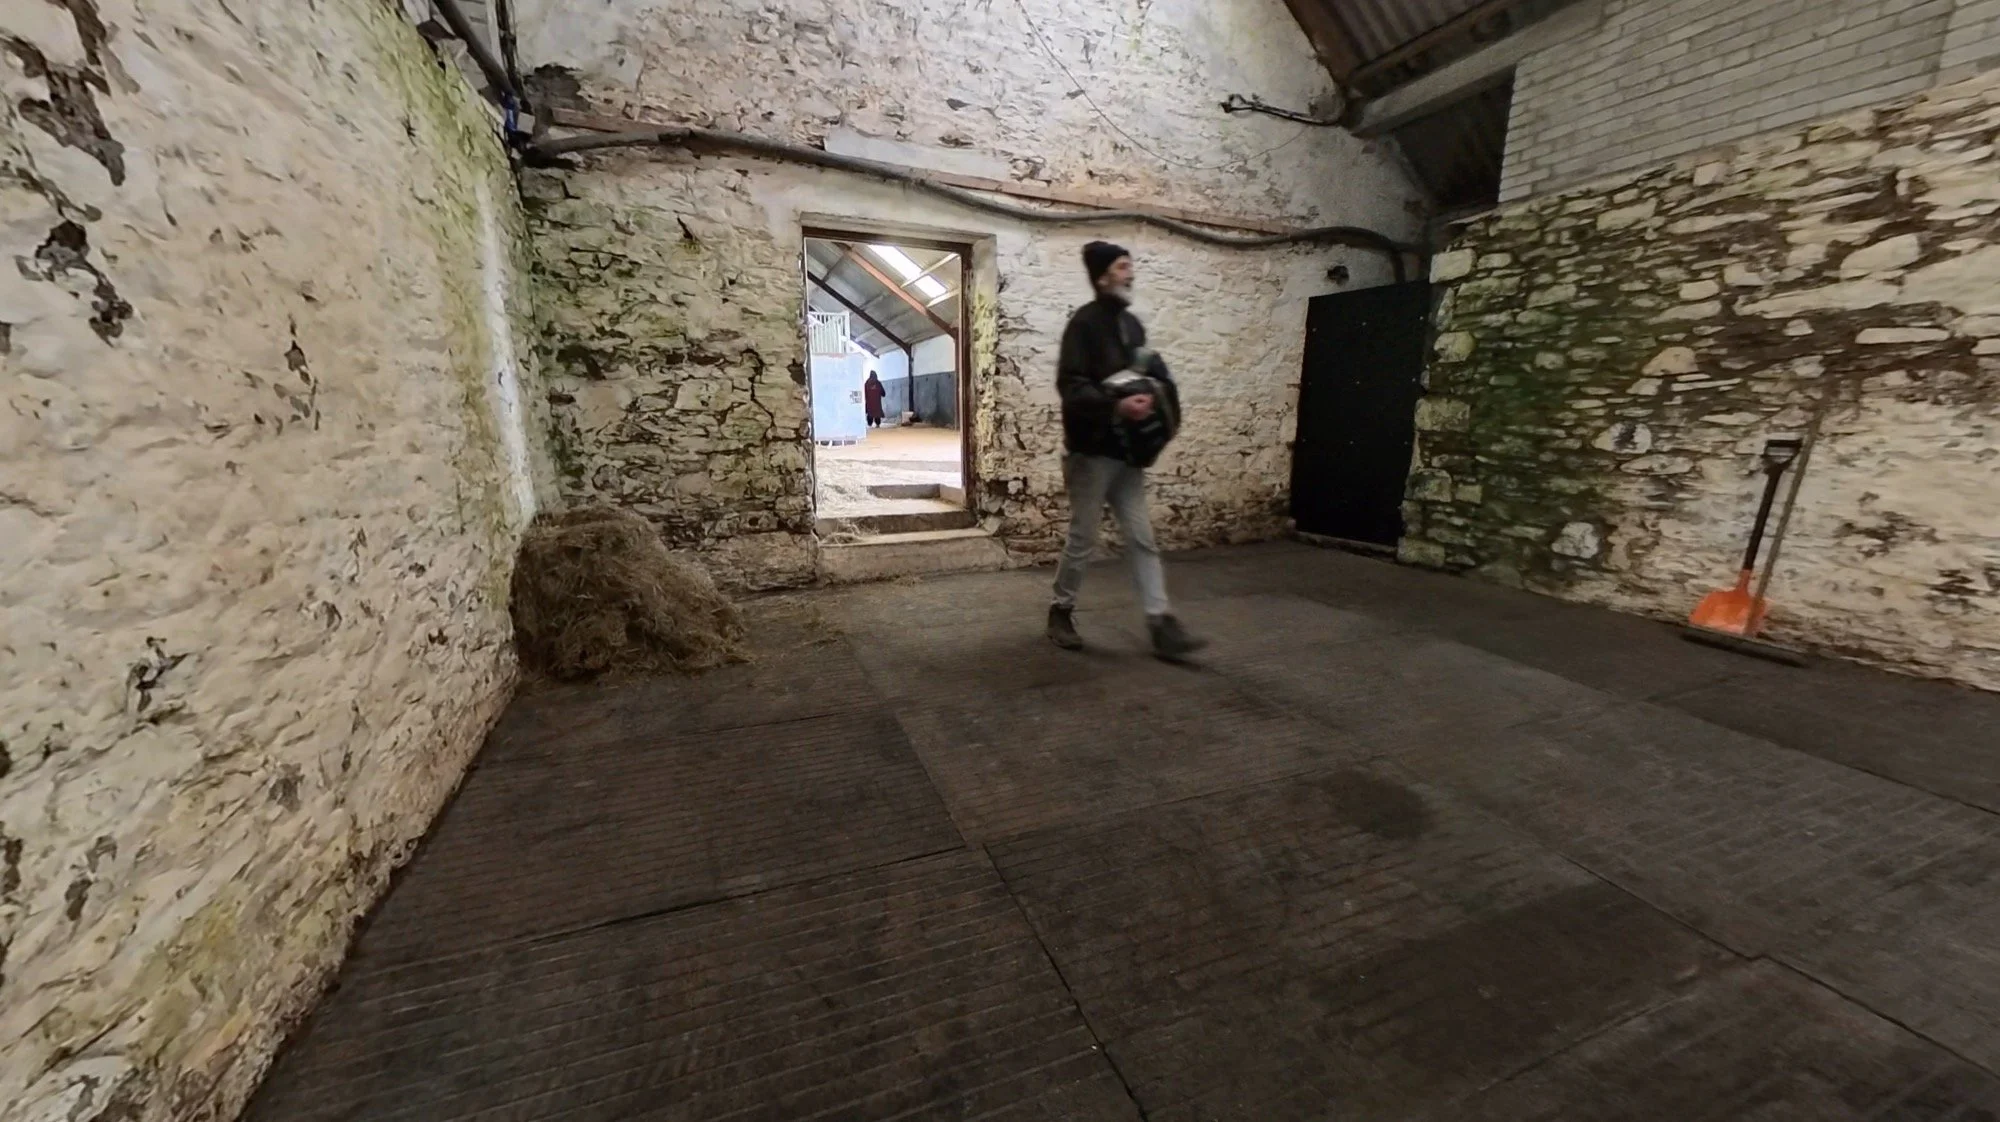
The plan was to:
Remove everything currently inside
Thoroughly clean the floor
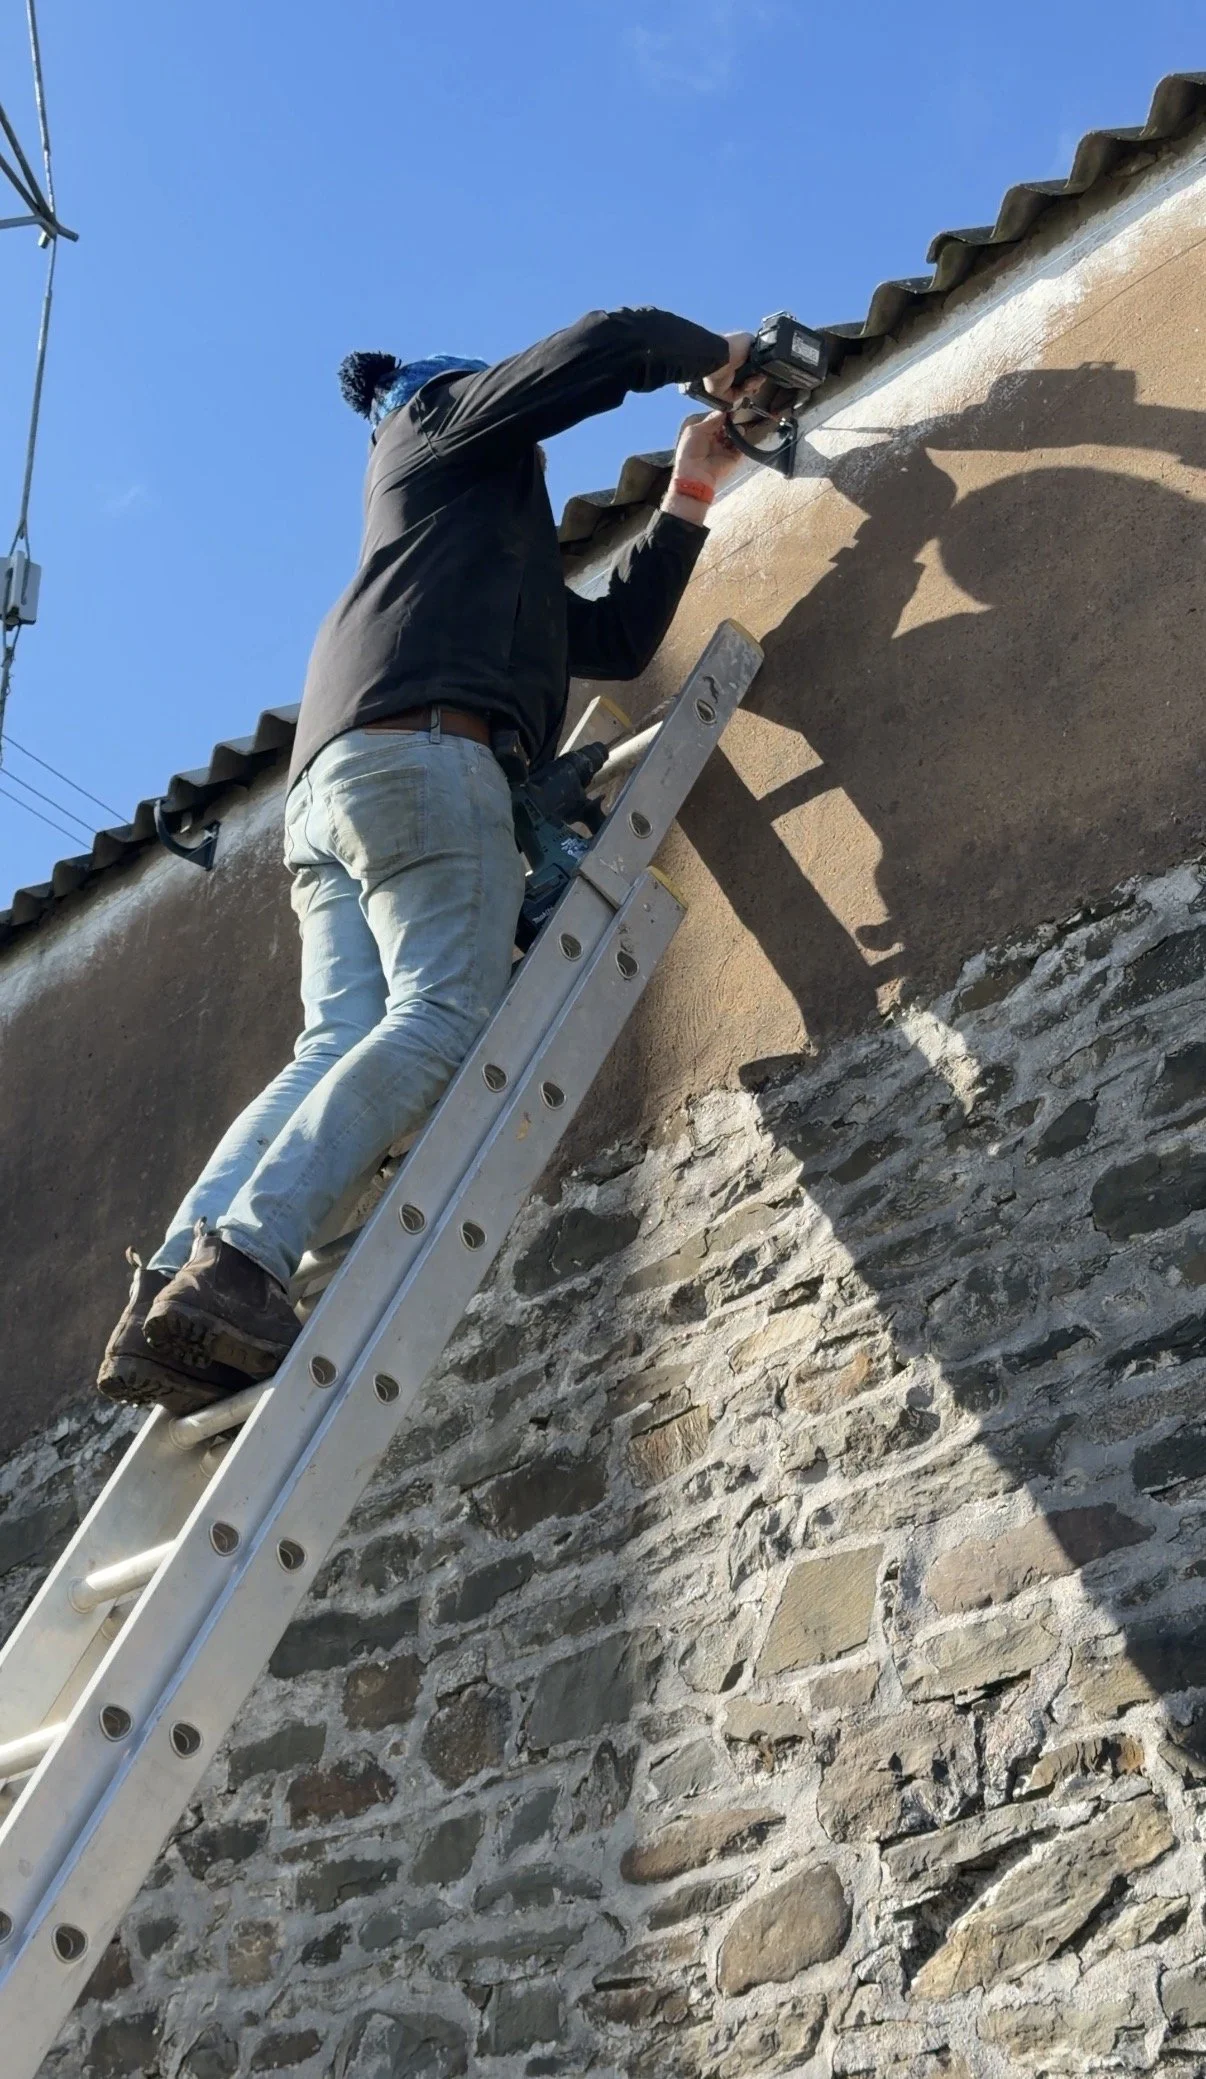
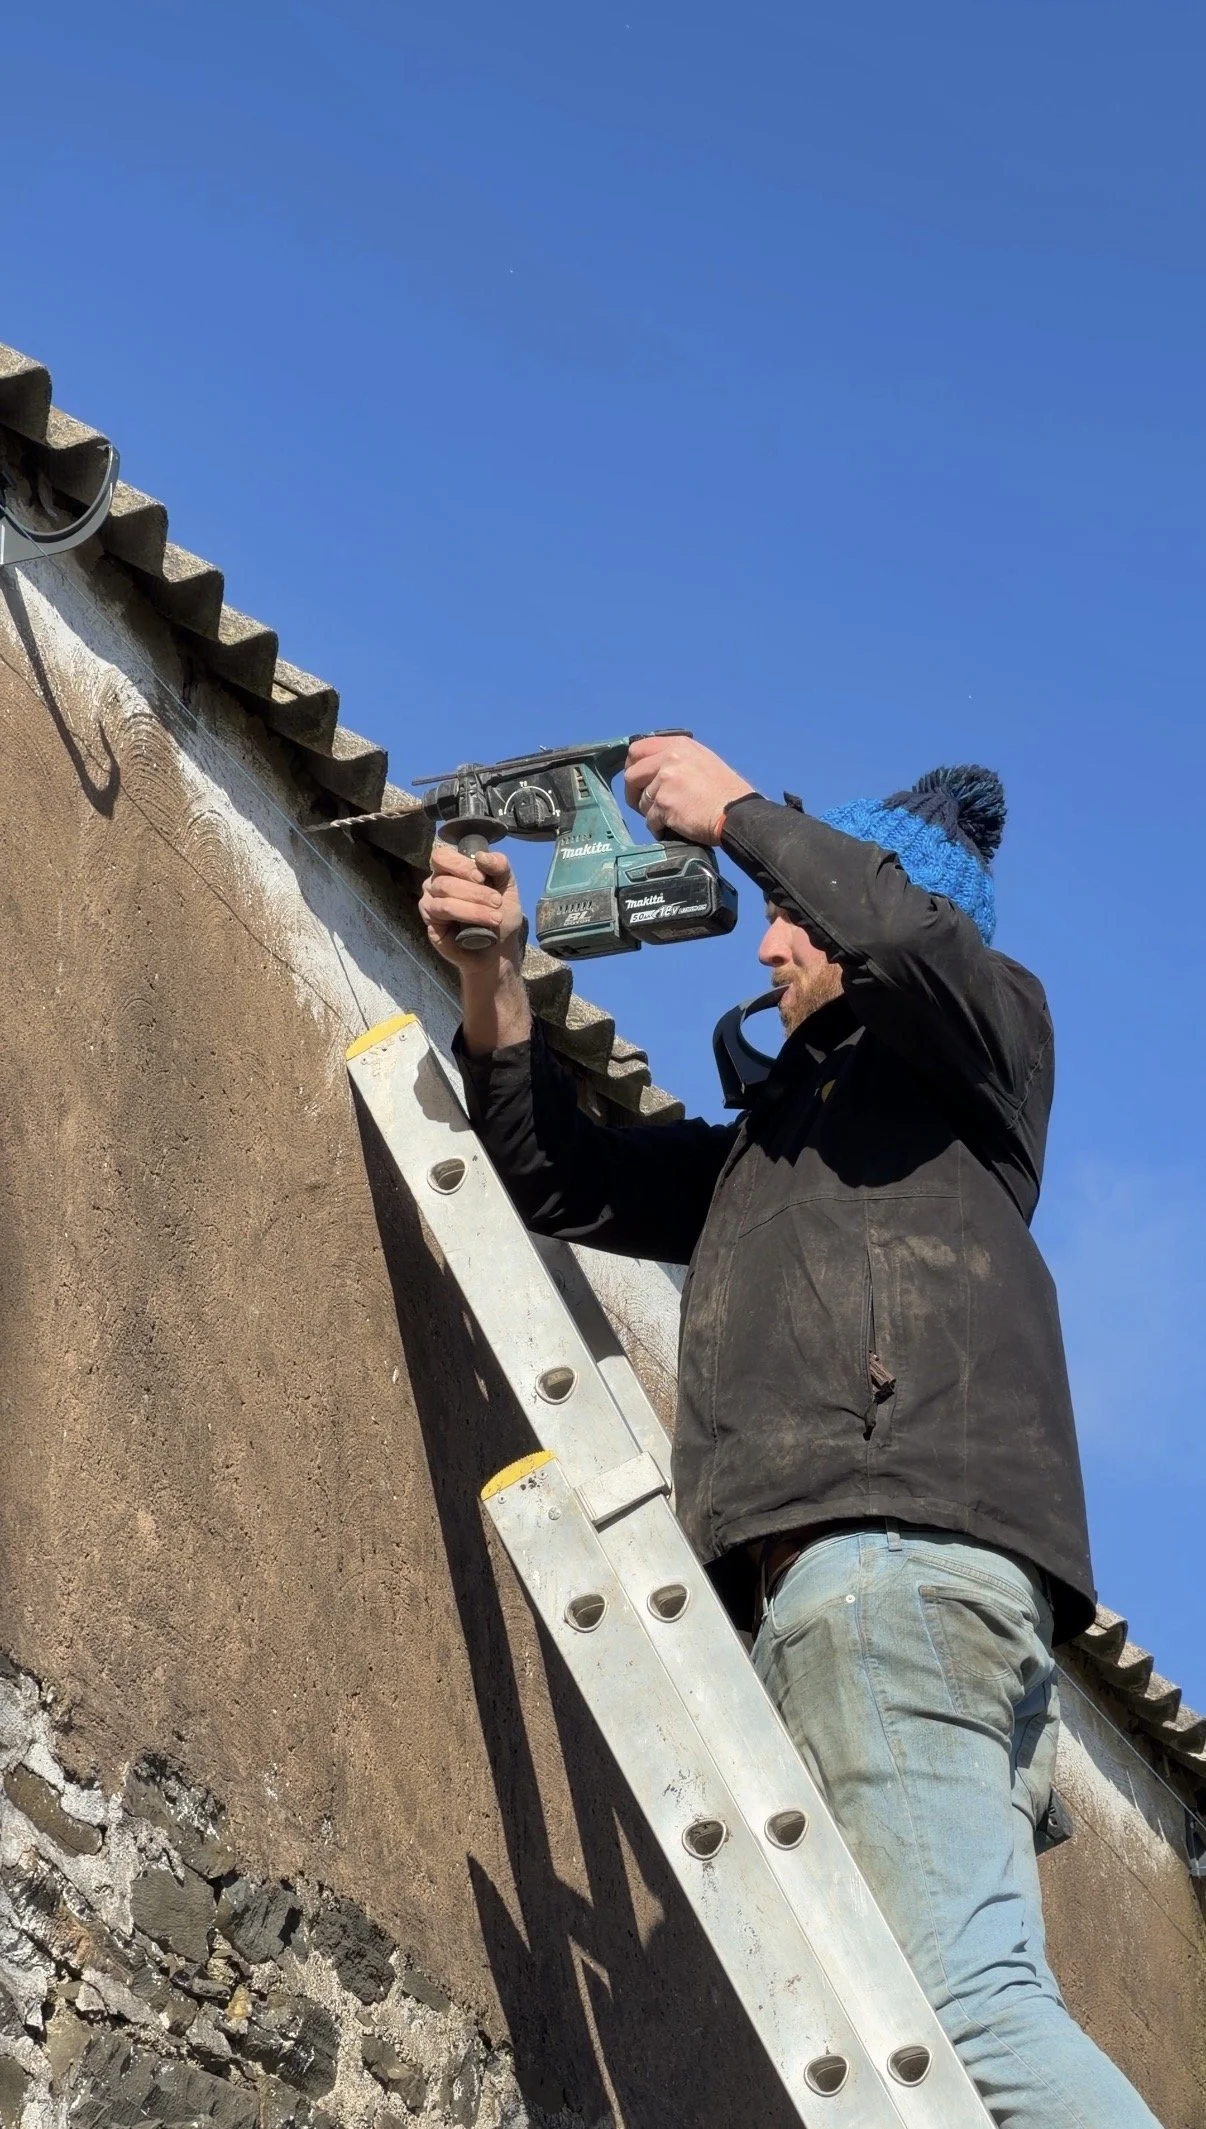
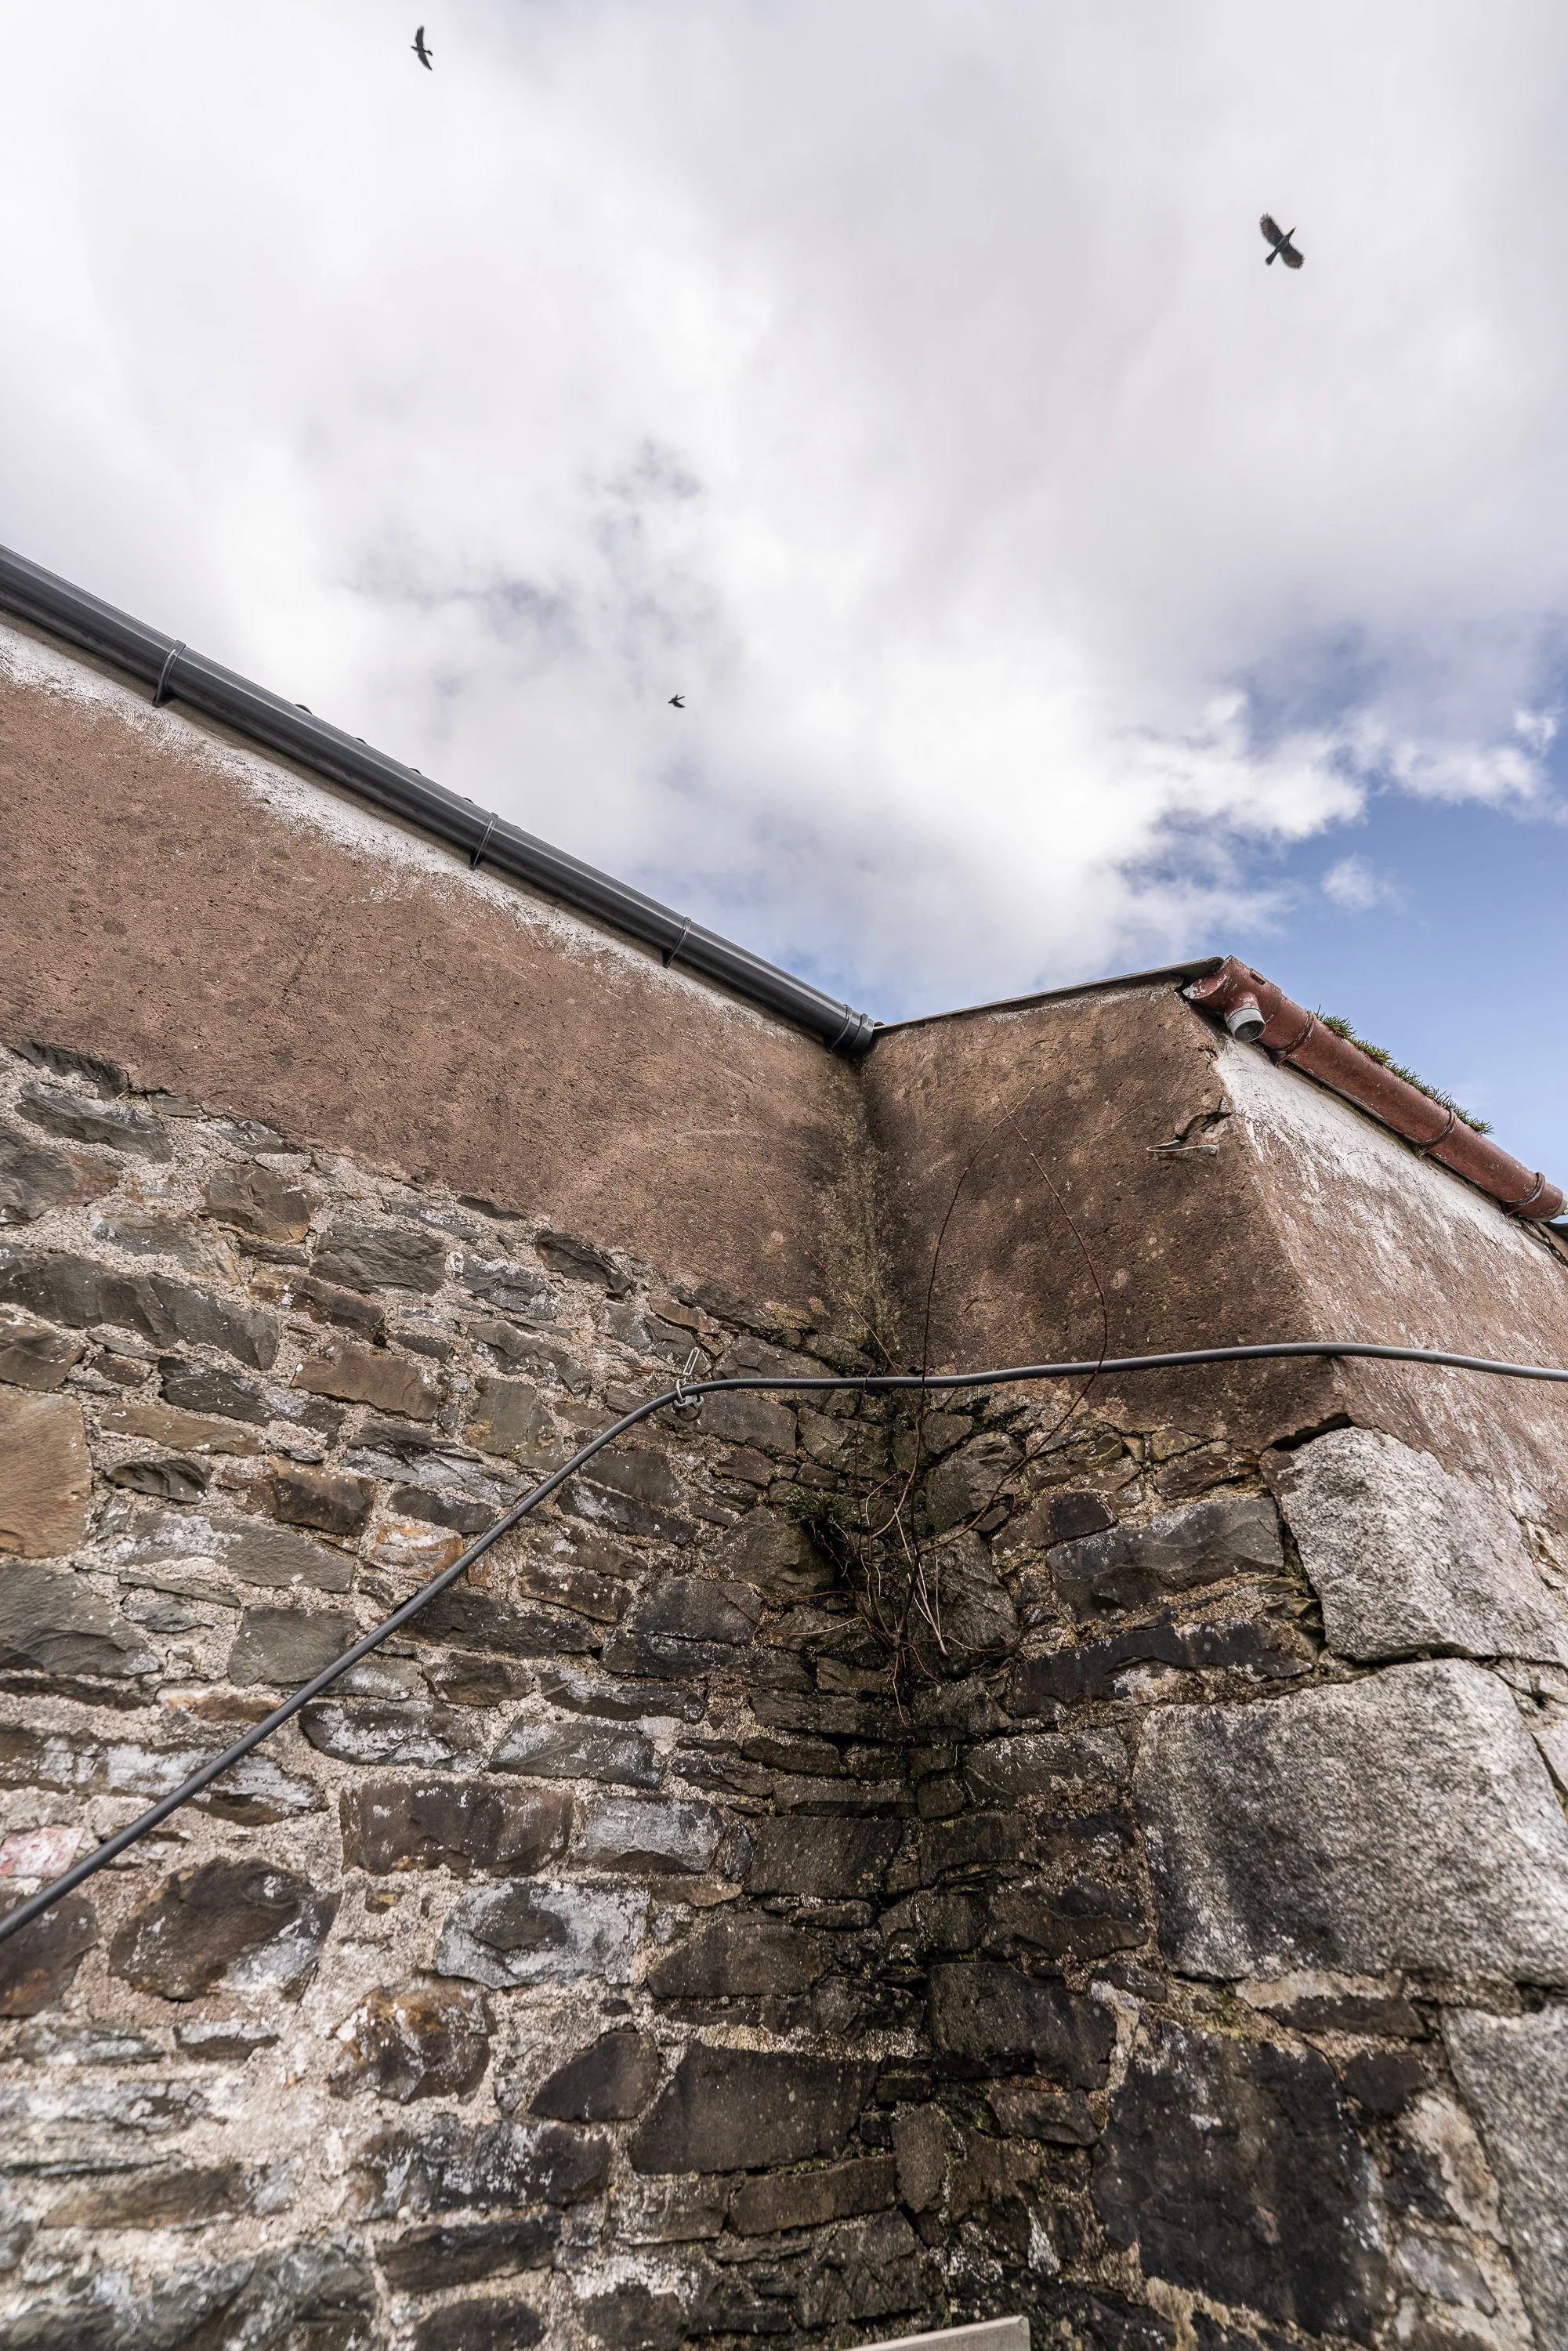
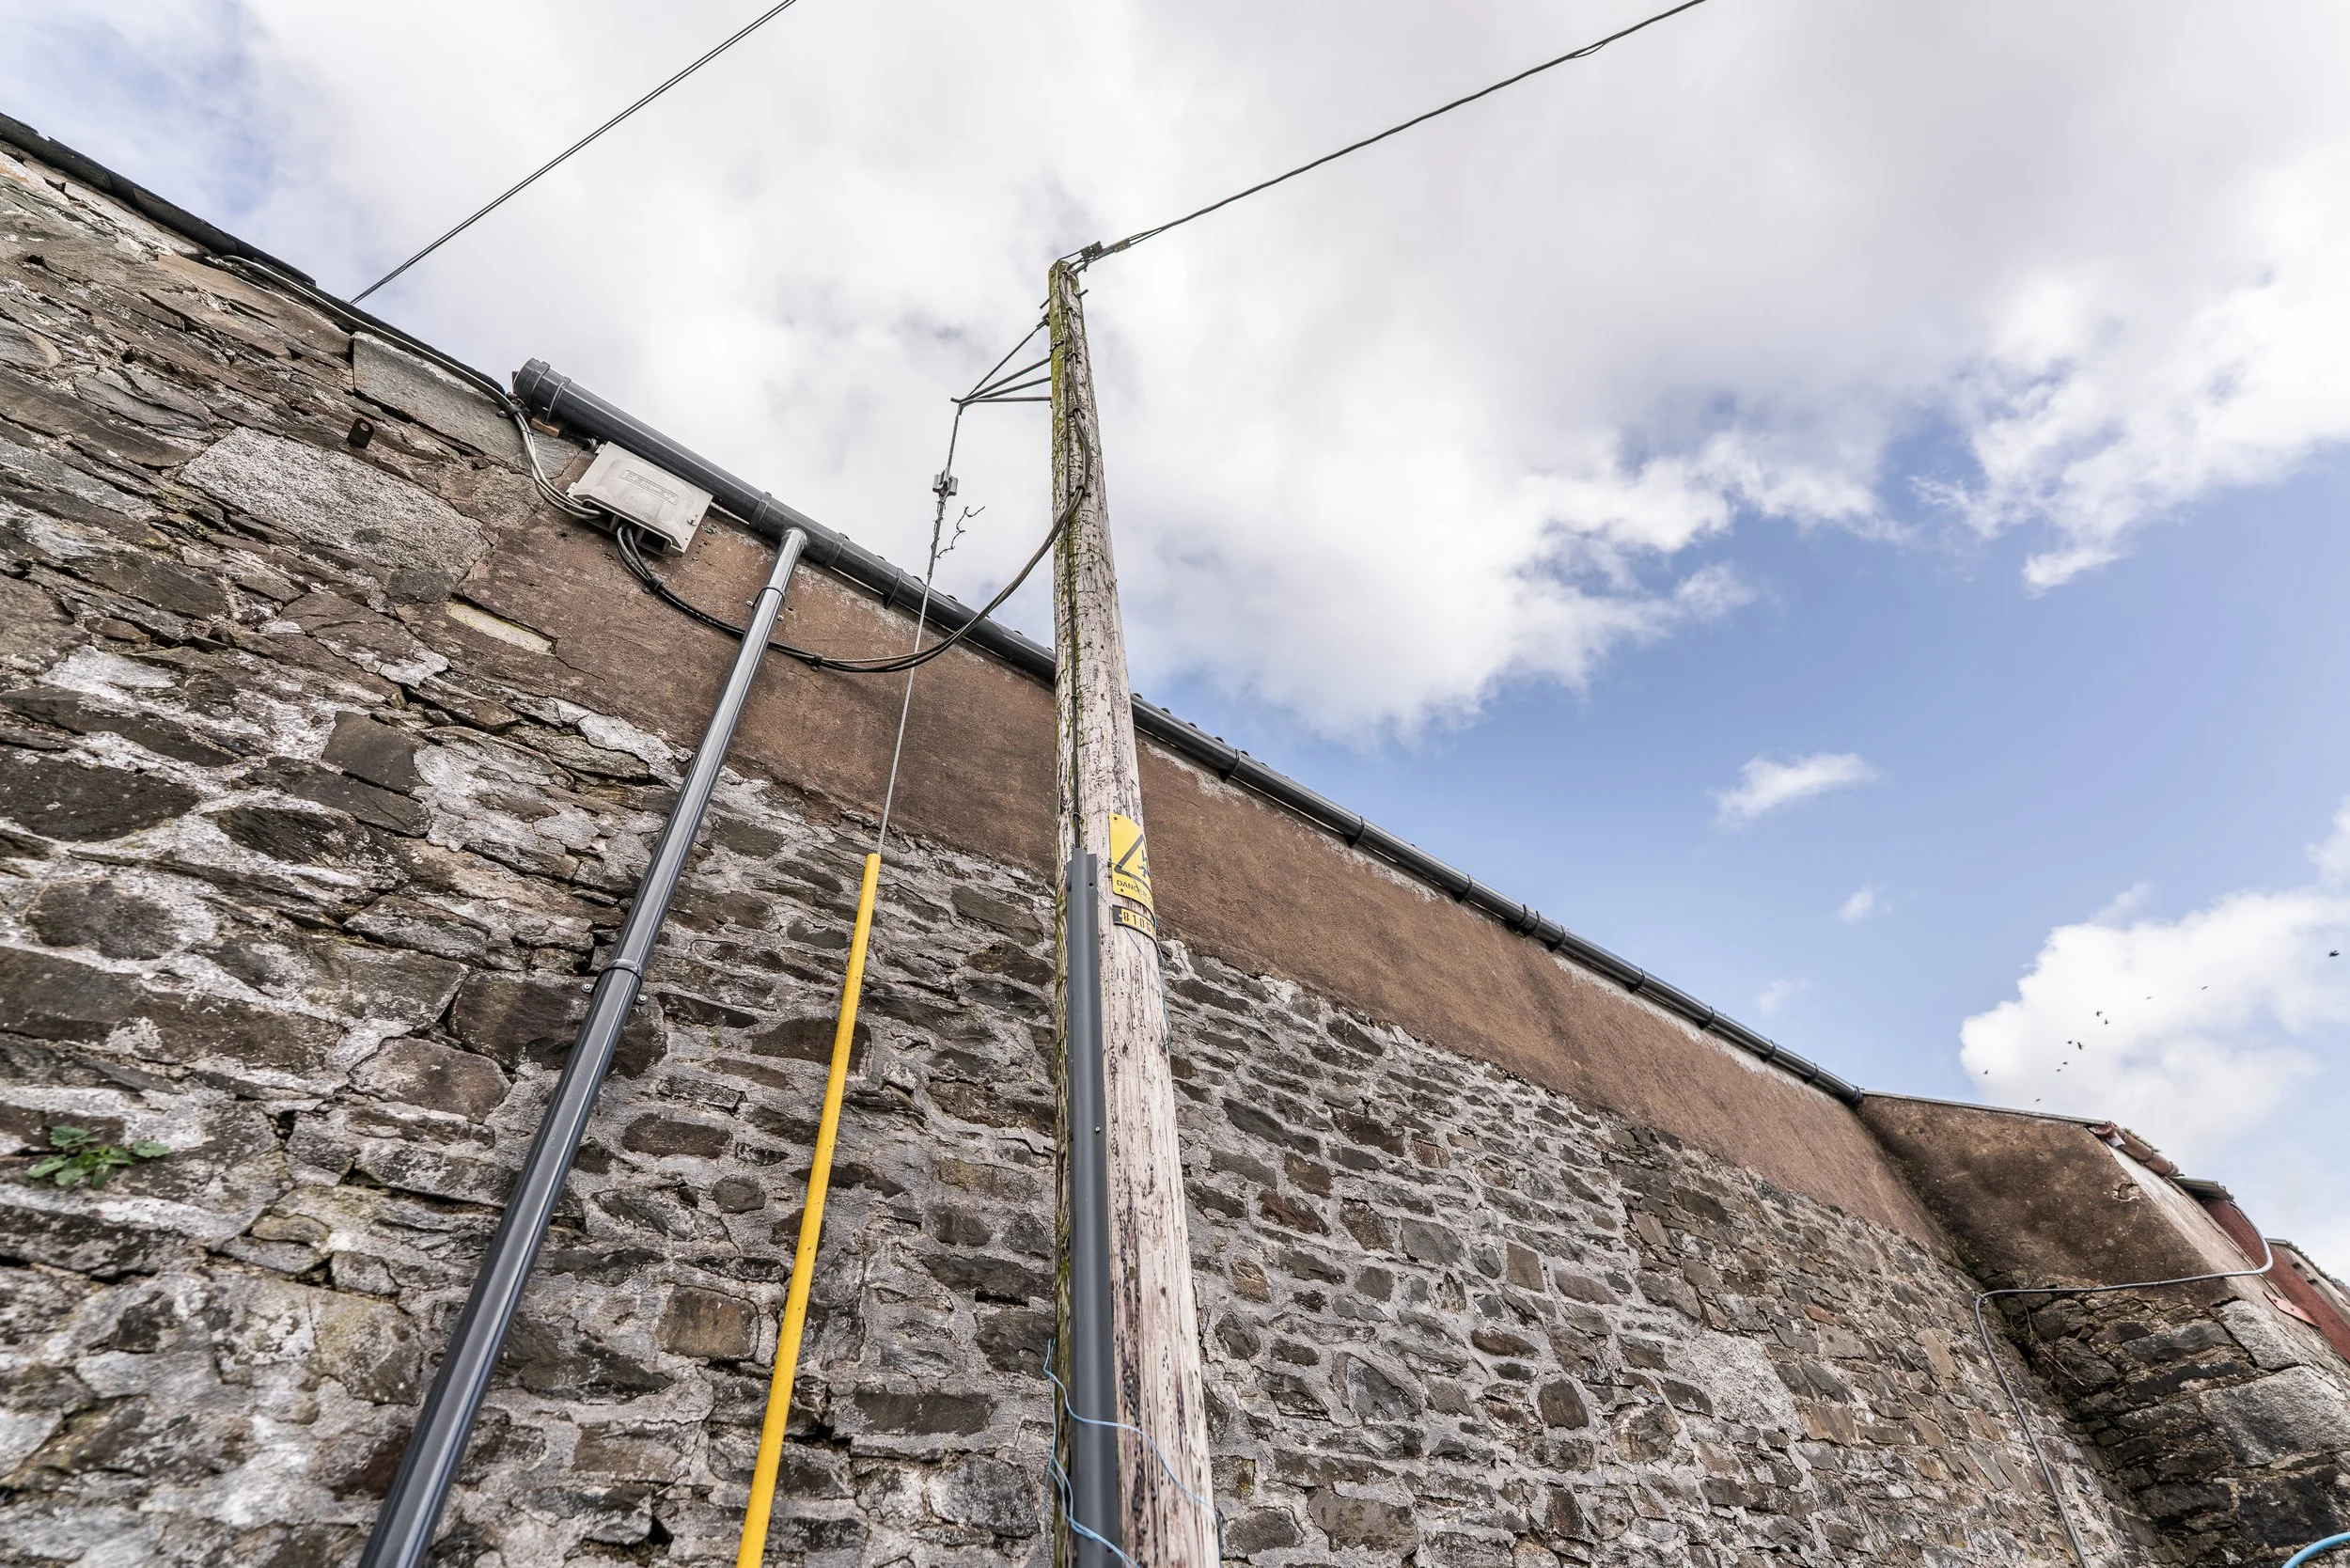
Repair and re-do the guttering to prevent new water ingress through the walls
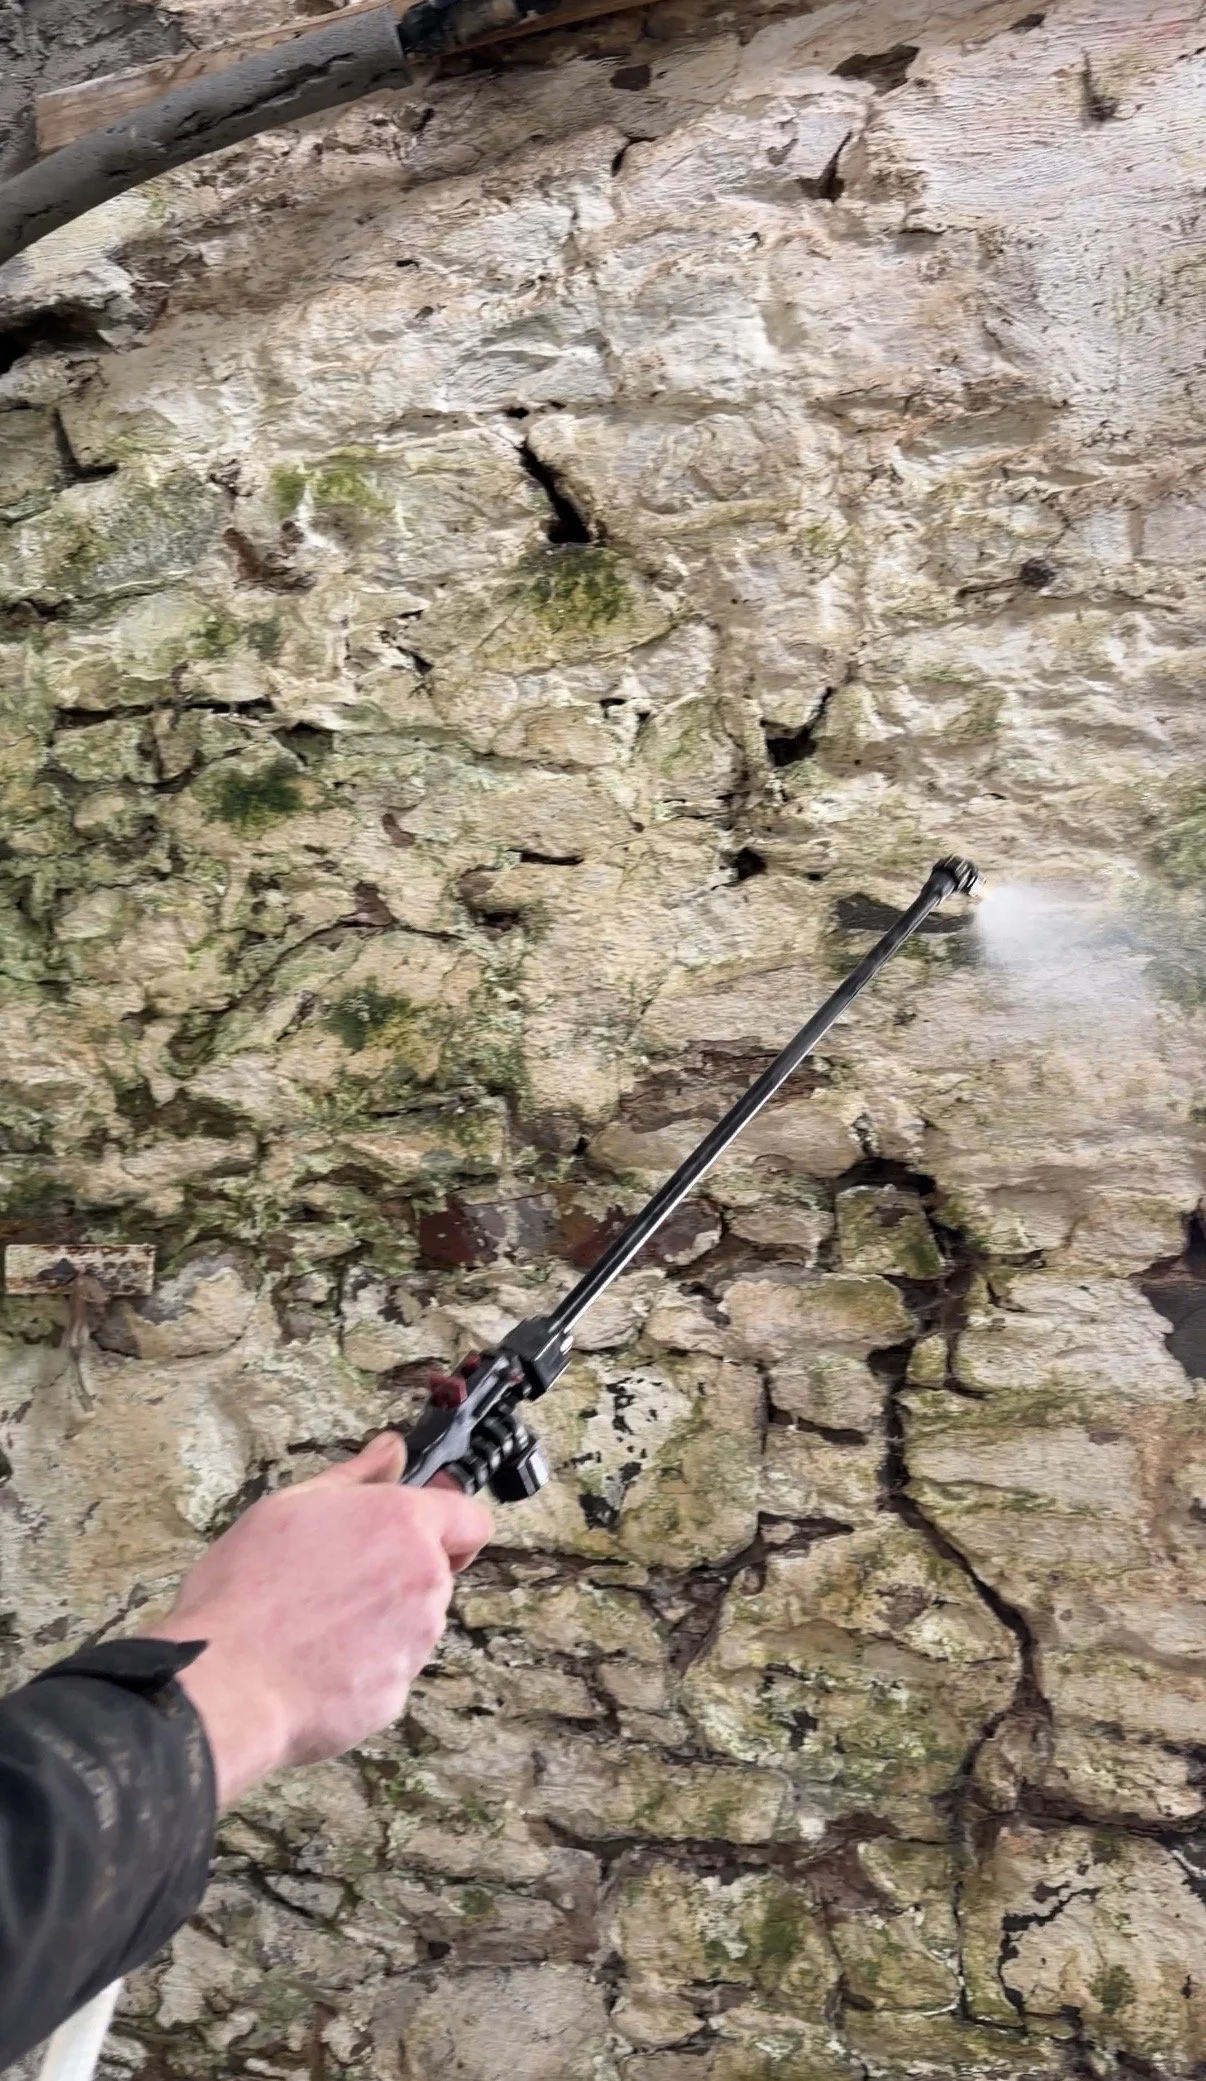
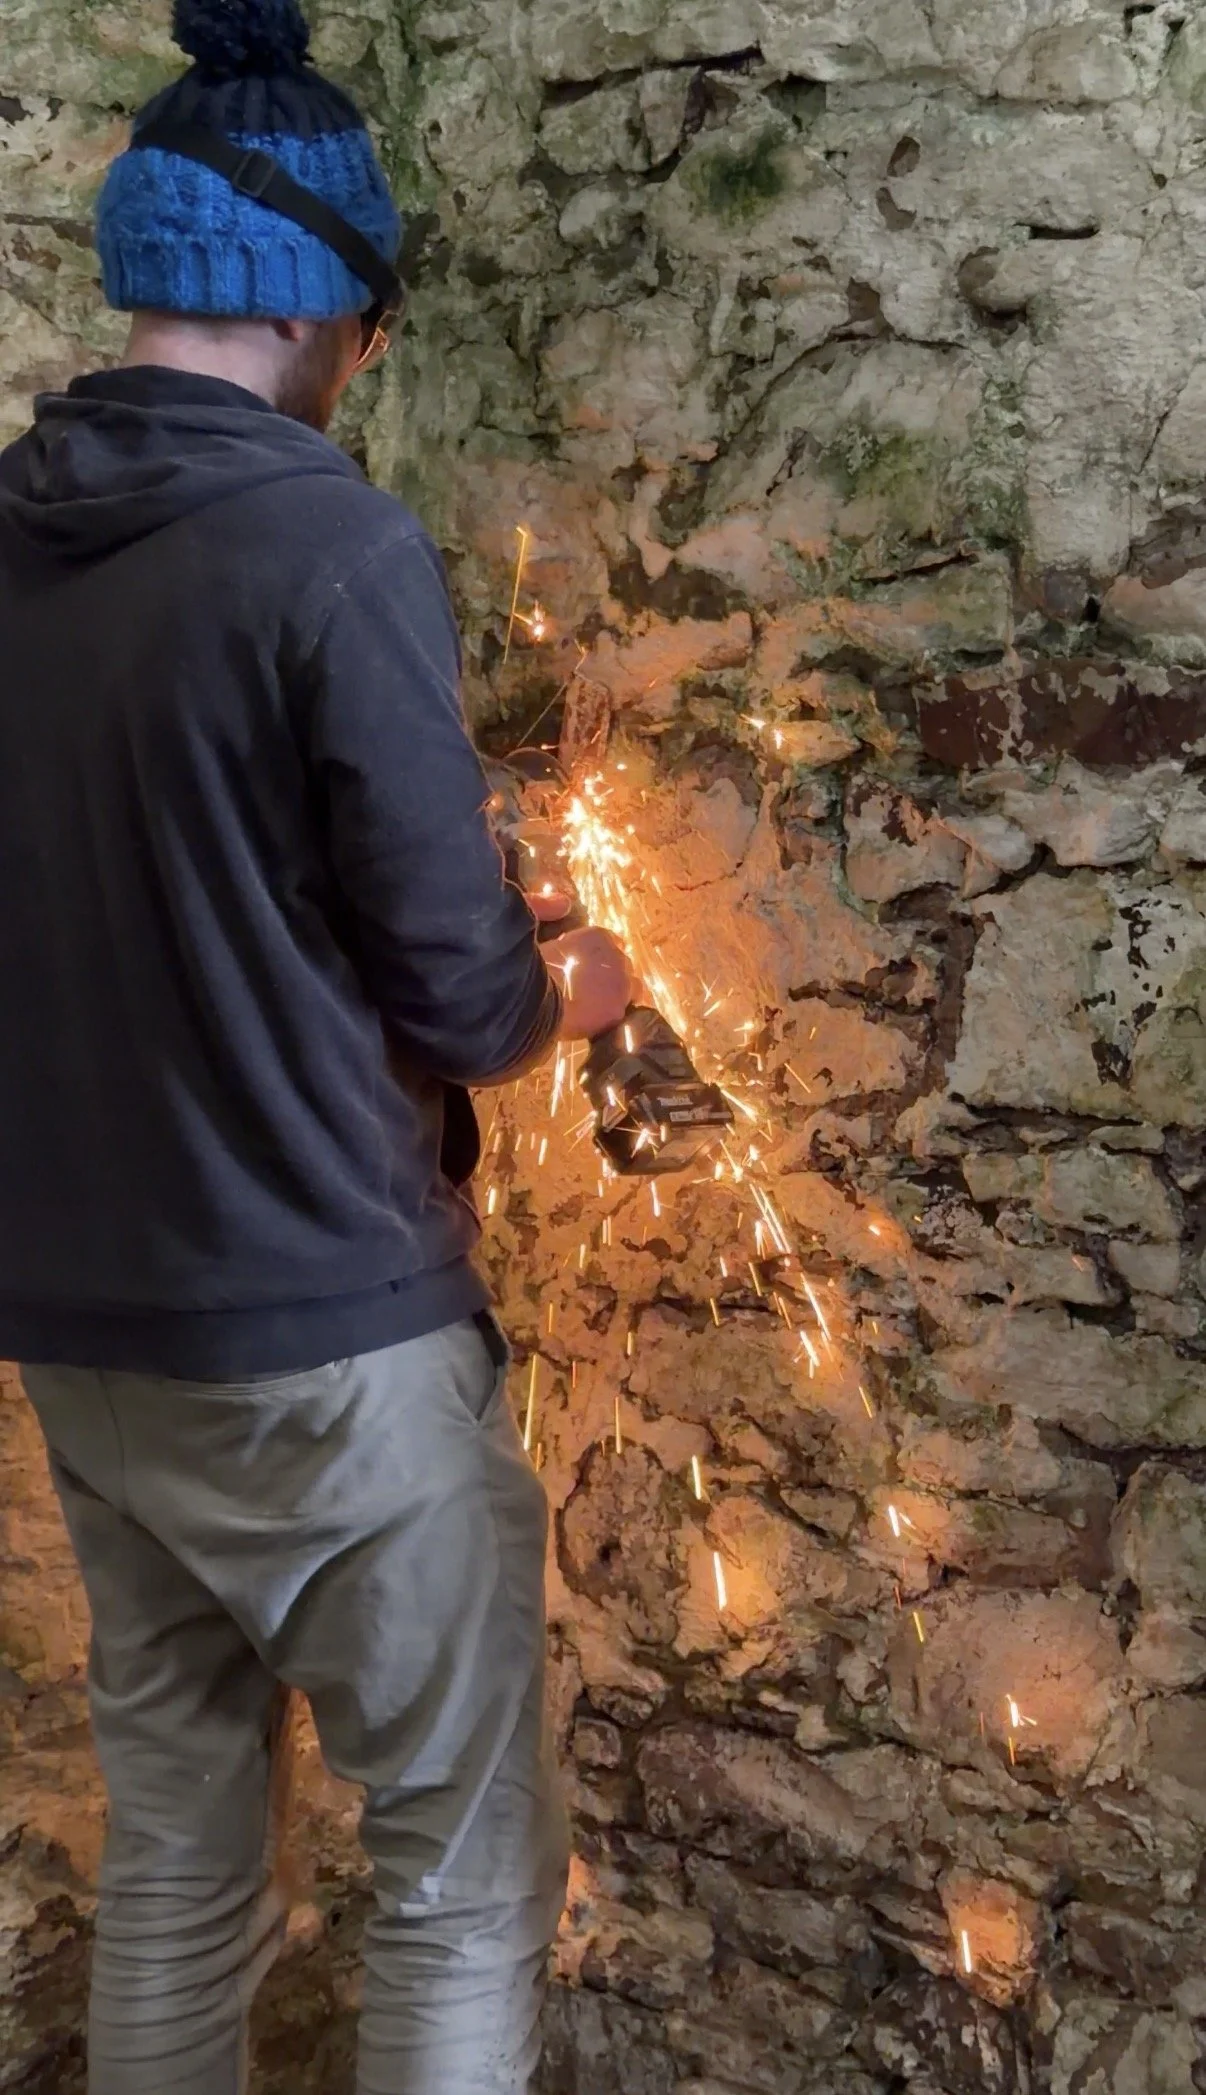
Fungicide and anti-bac the stone walls (now not getting soaked with water, green marks evidence of previous ingress)
Stokbord the old steps out in the corner
Stokbord the gates to prevent legs getting stuck between the bars
Rubber mat the floor
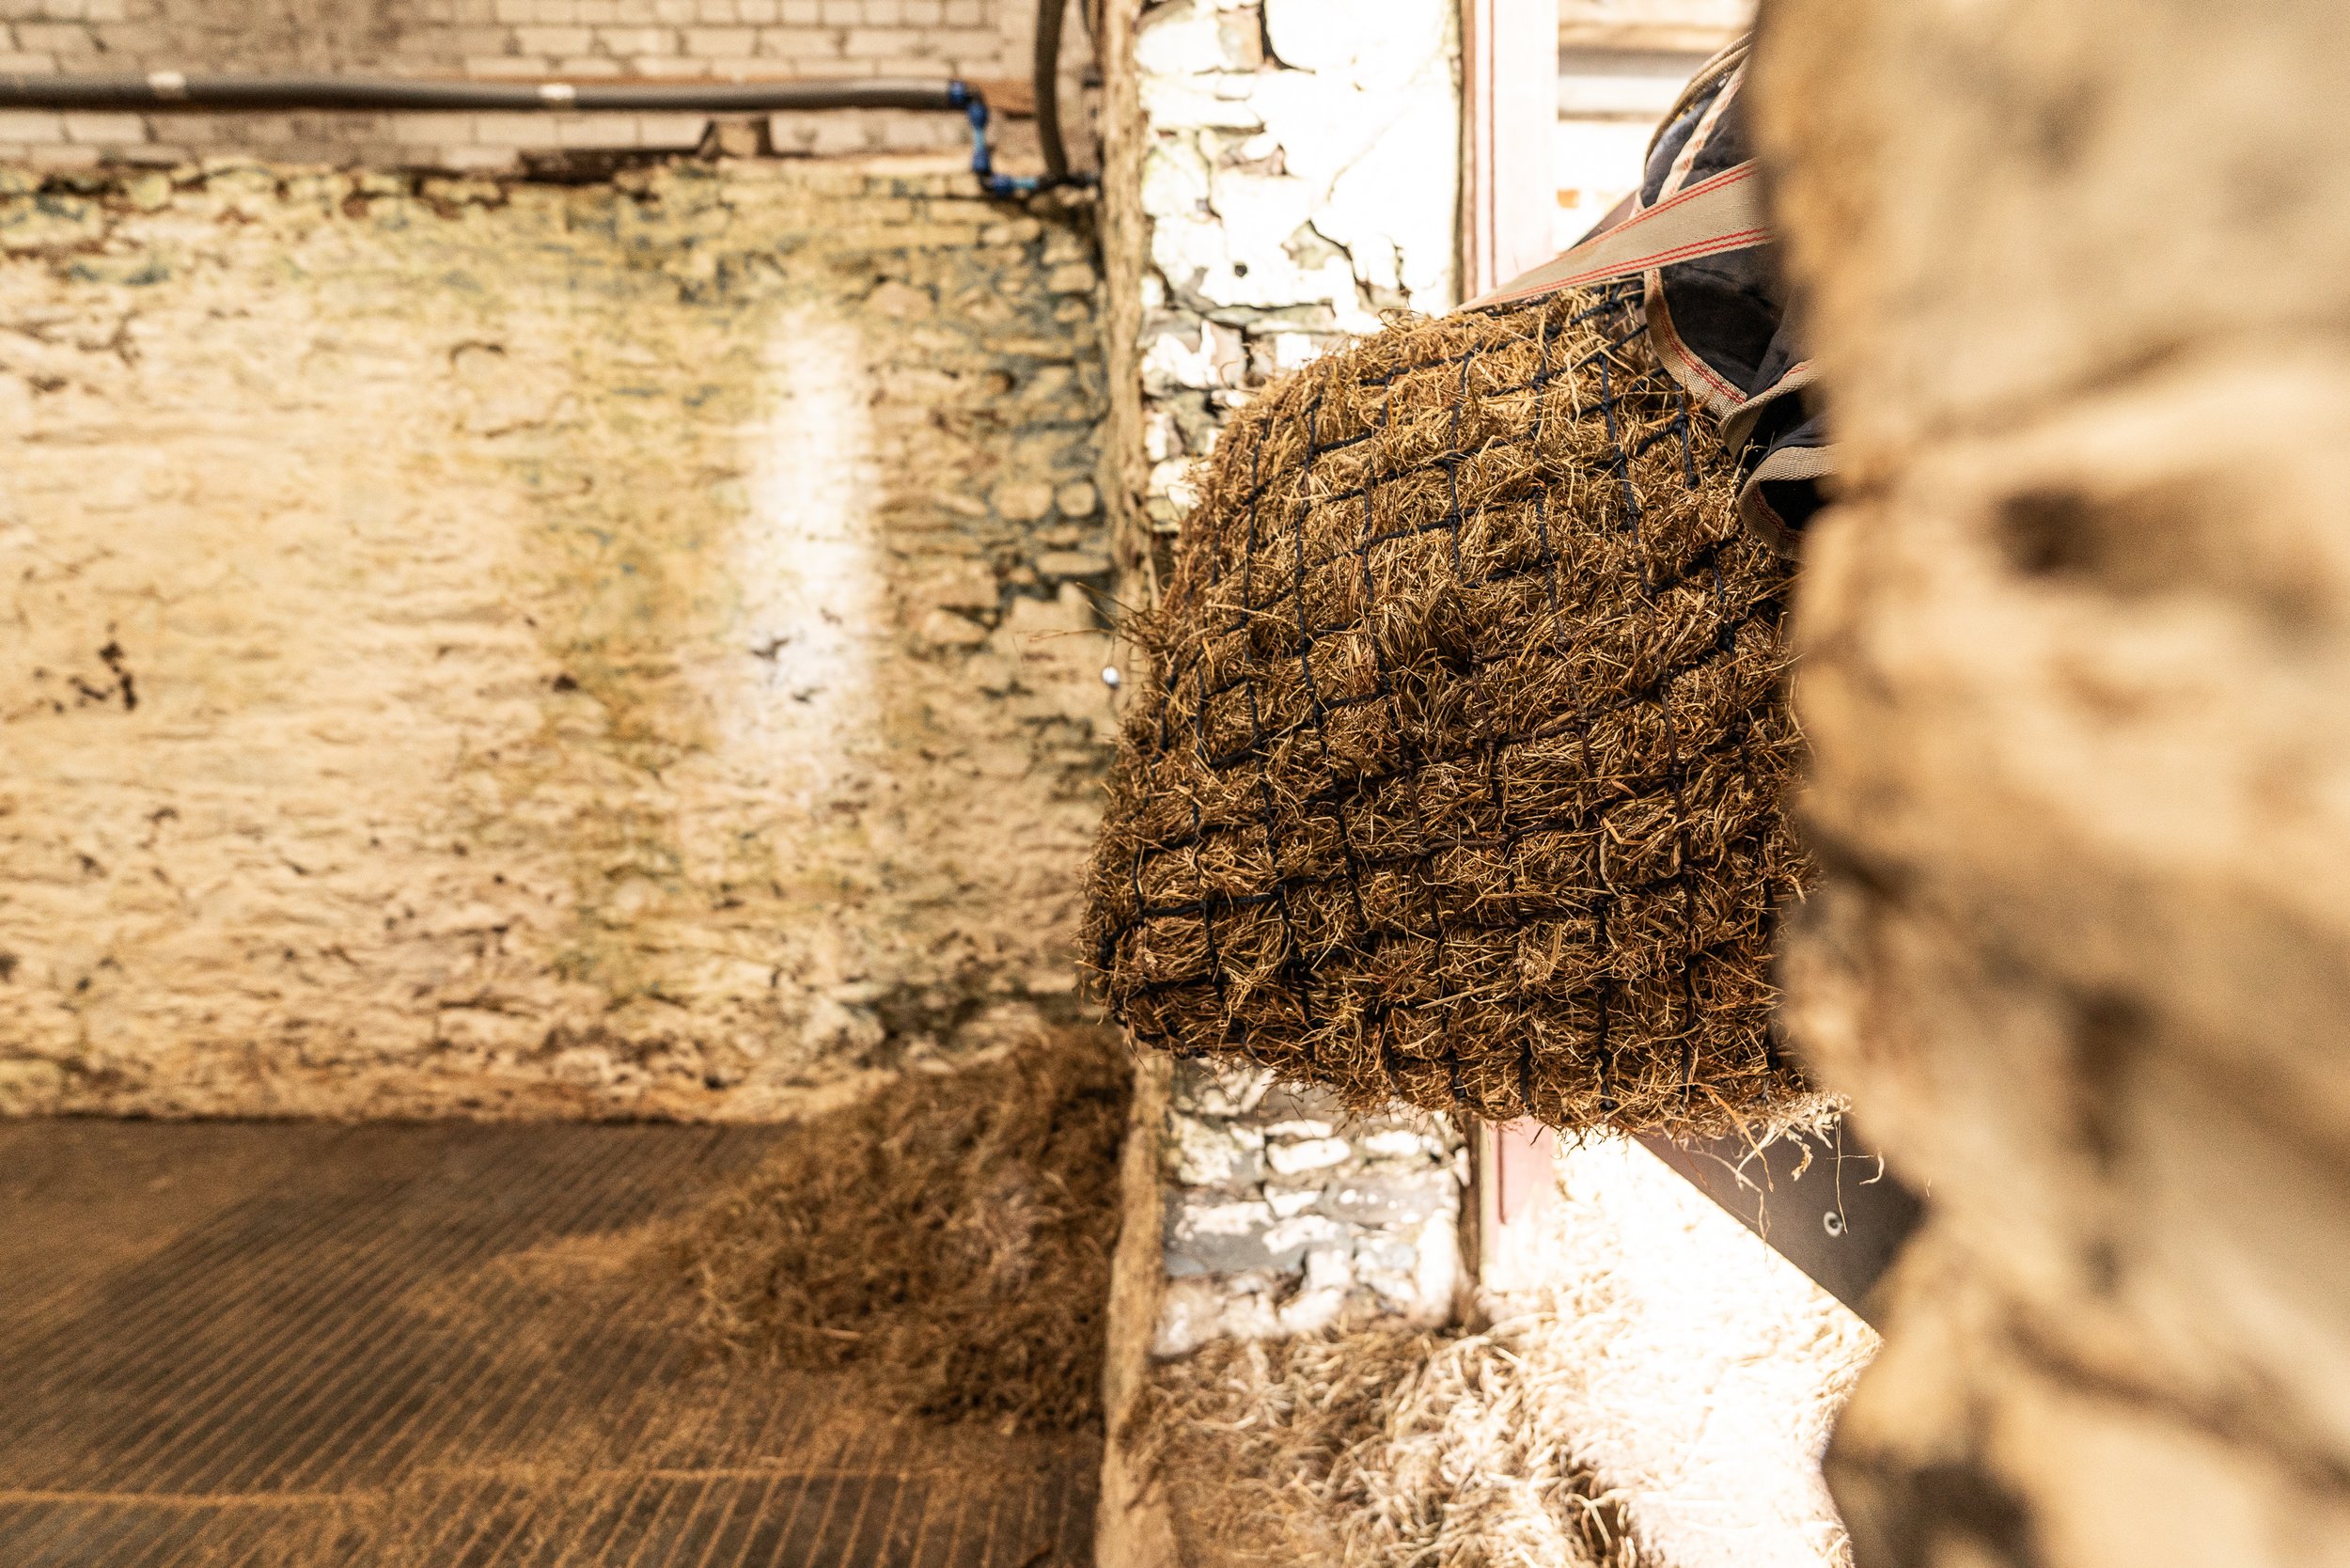
Make Velia a bed, pop a water bucket under the existing tap and find somewhere to put haylage
Oh, and then
Move Velia in, and hope nobody loses their minds in the process
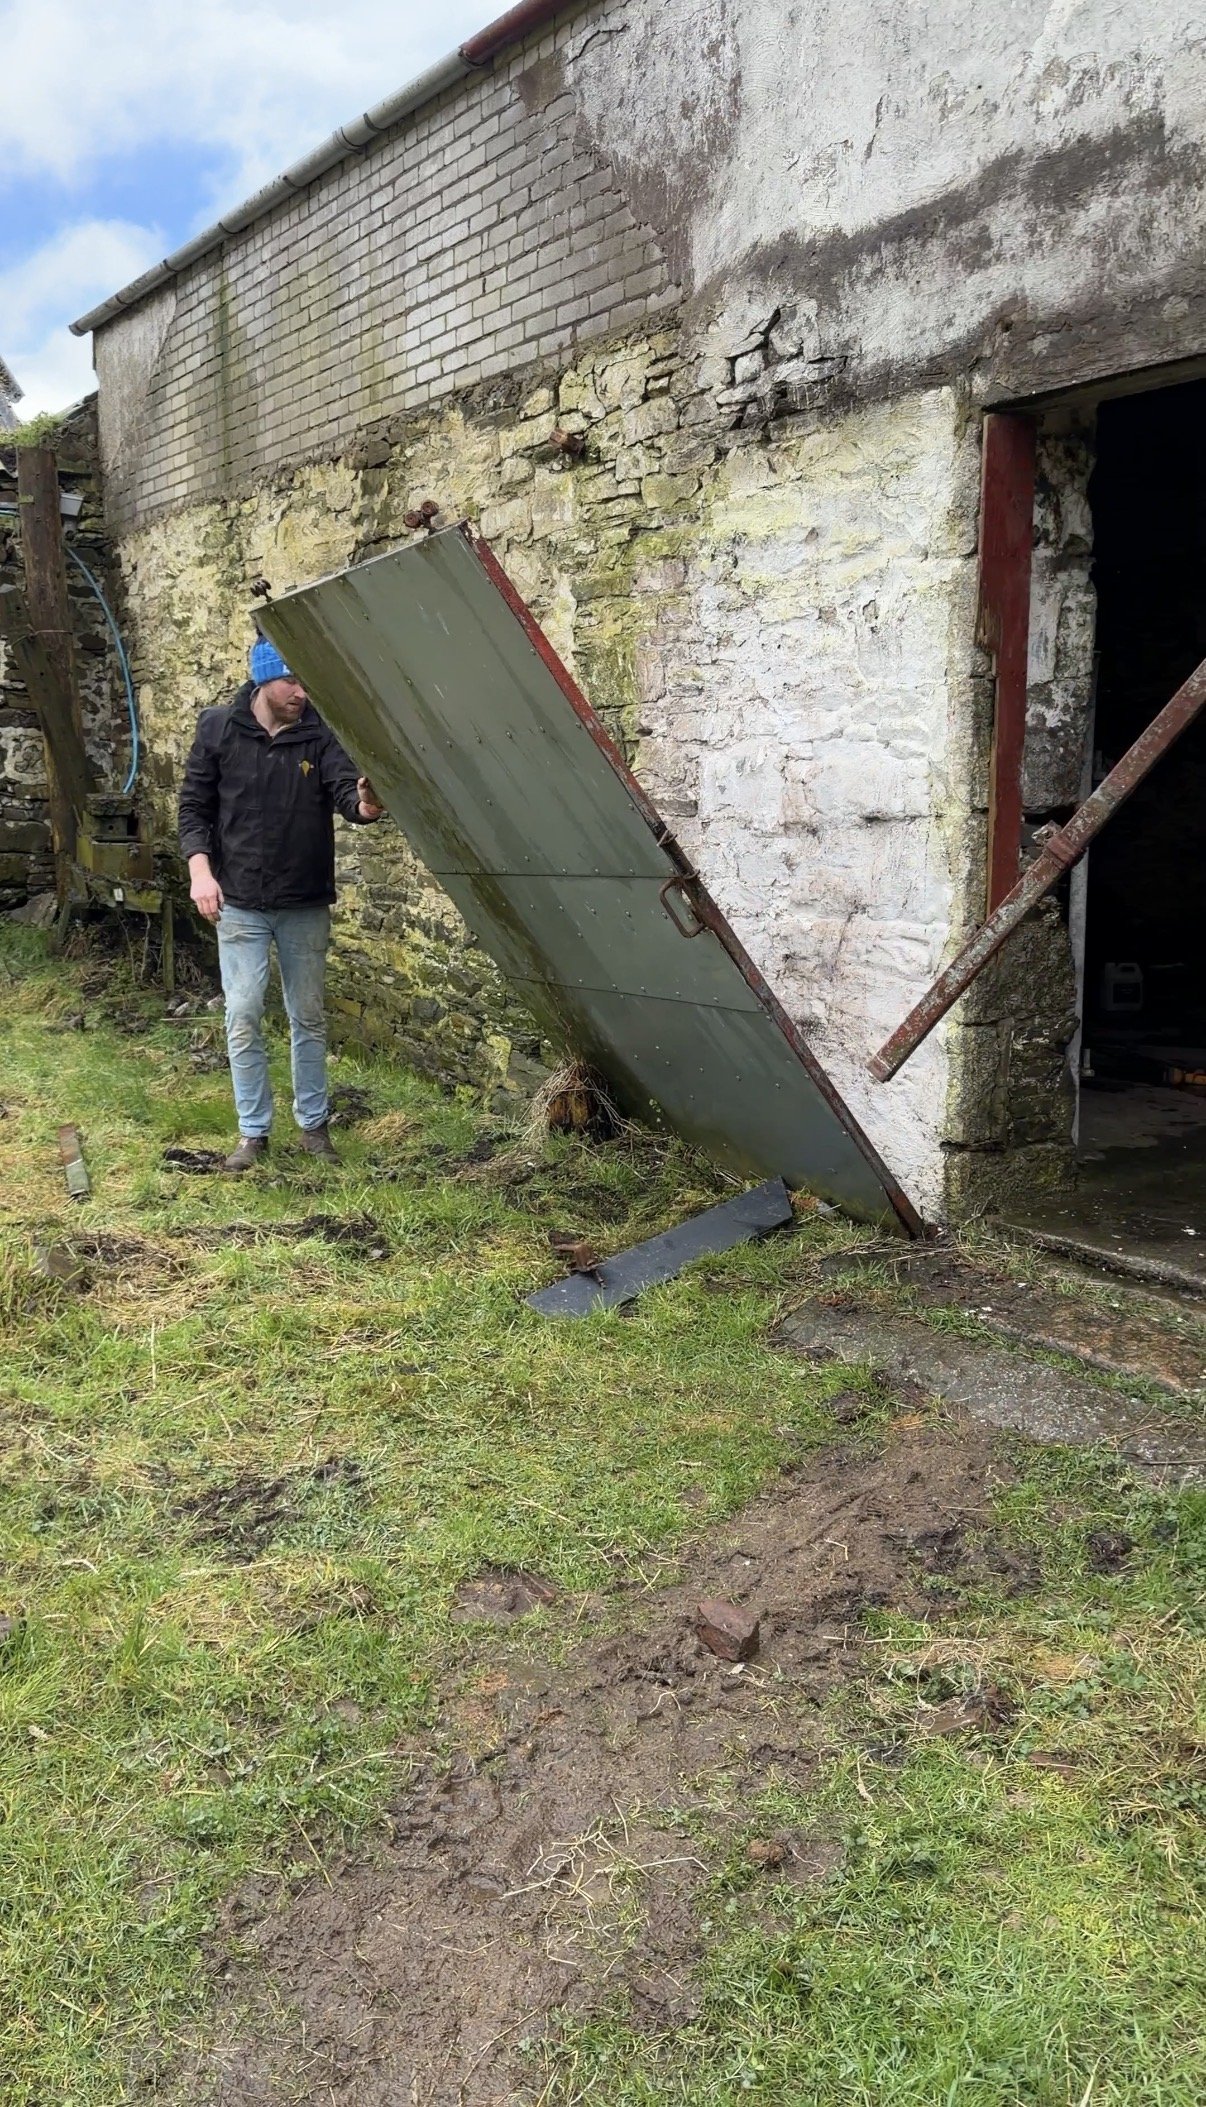
We started with fungicide treatment one, followed a brush down then treatment number two went on. In between, we pulled off the flappy dead door on the outside of the building, which sat adjacent to the Tin Can (can you remember that shed?). Next up, Dan and his dad tackled removing and replacing the guttering. It is this gutter specifically that caused a huge amount of damage to the back wall, allowing water ingress right through and a tree to grow uninhibited (see image 5 below). This wall will be repointed to make it fully watertight when the last of the frosts go (it snowed this week, we’re not there yet).
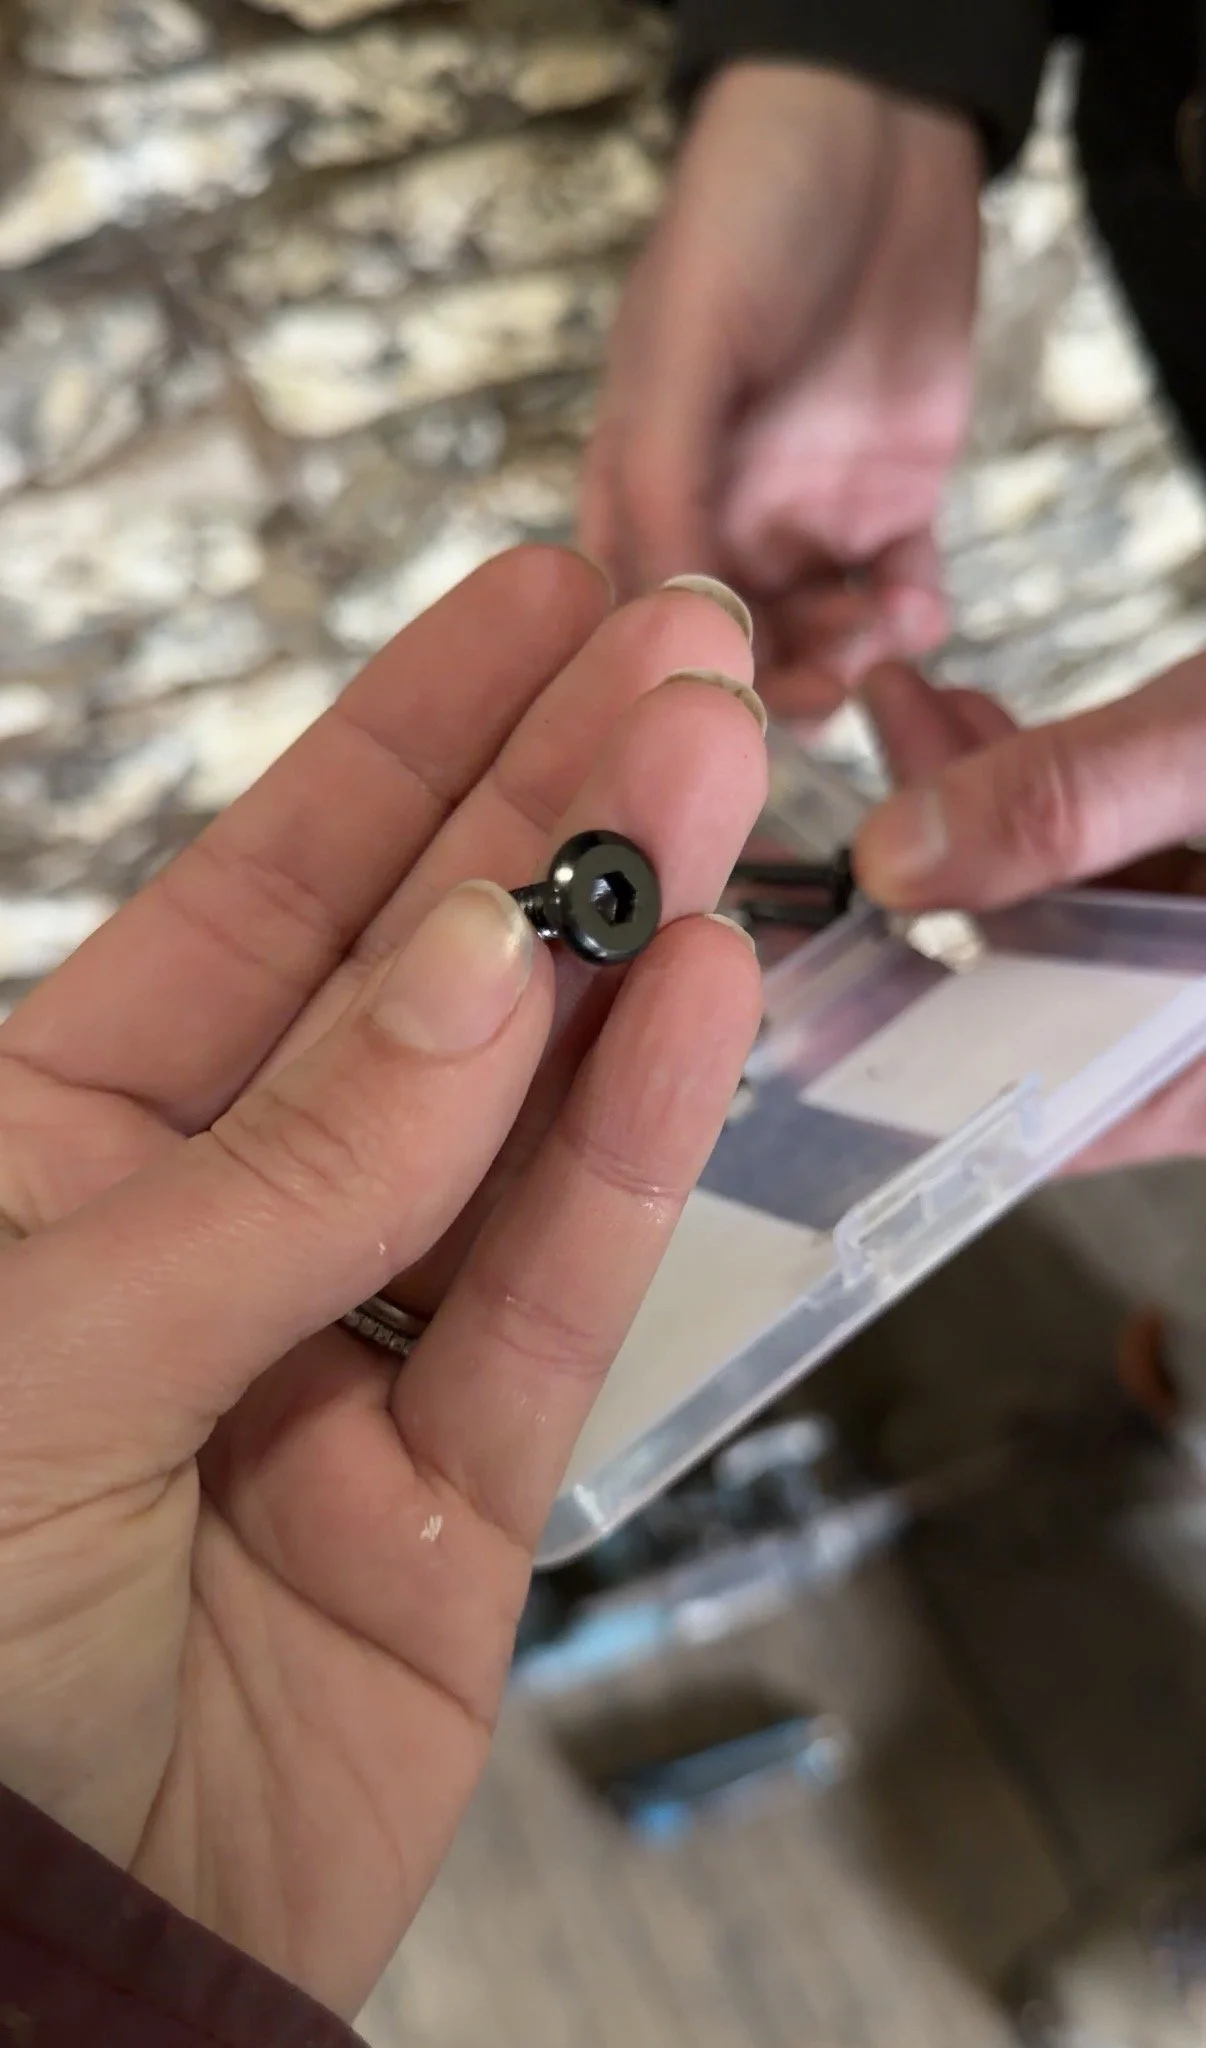
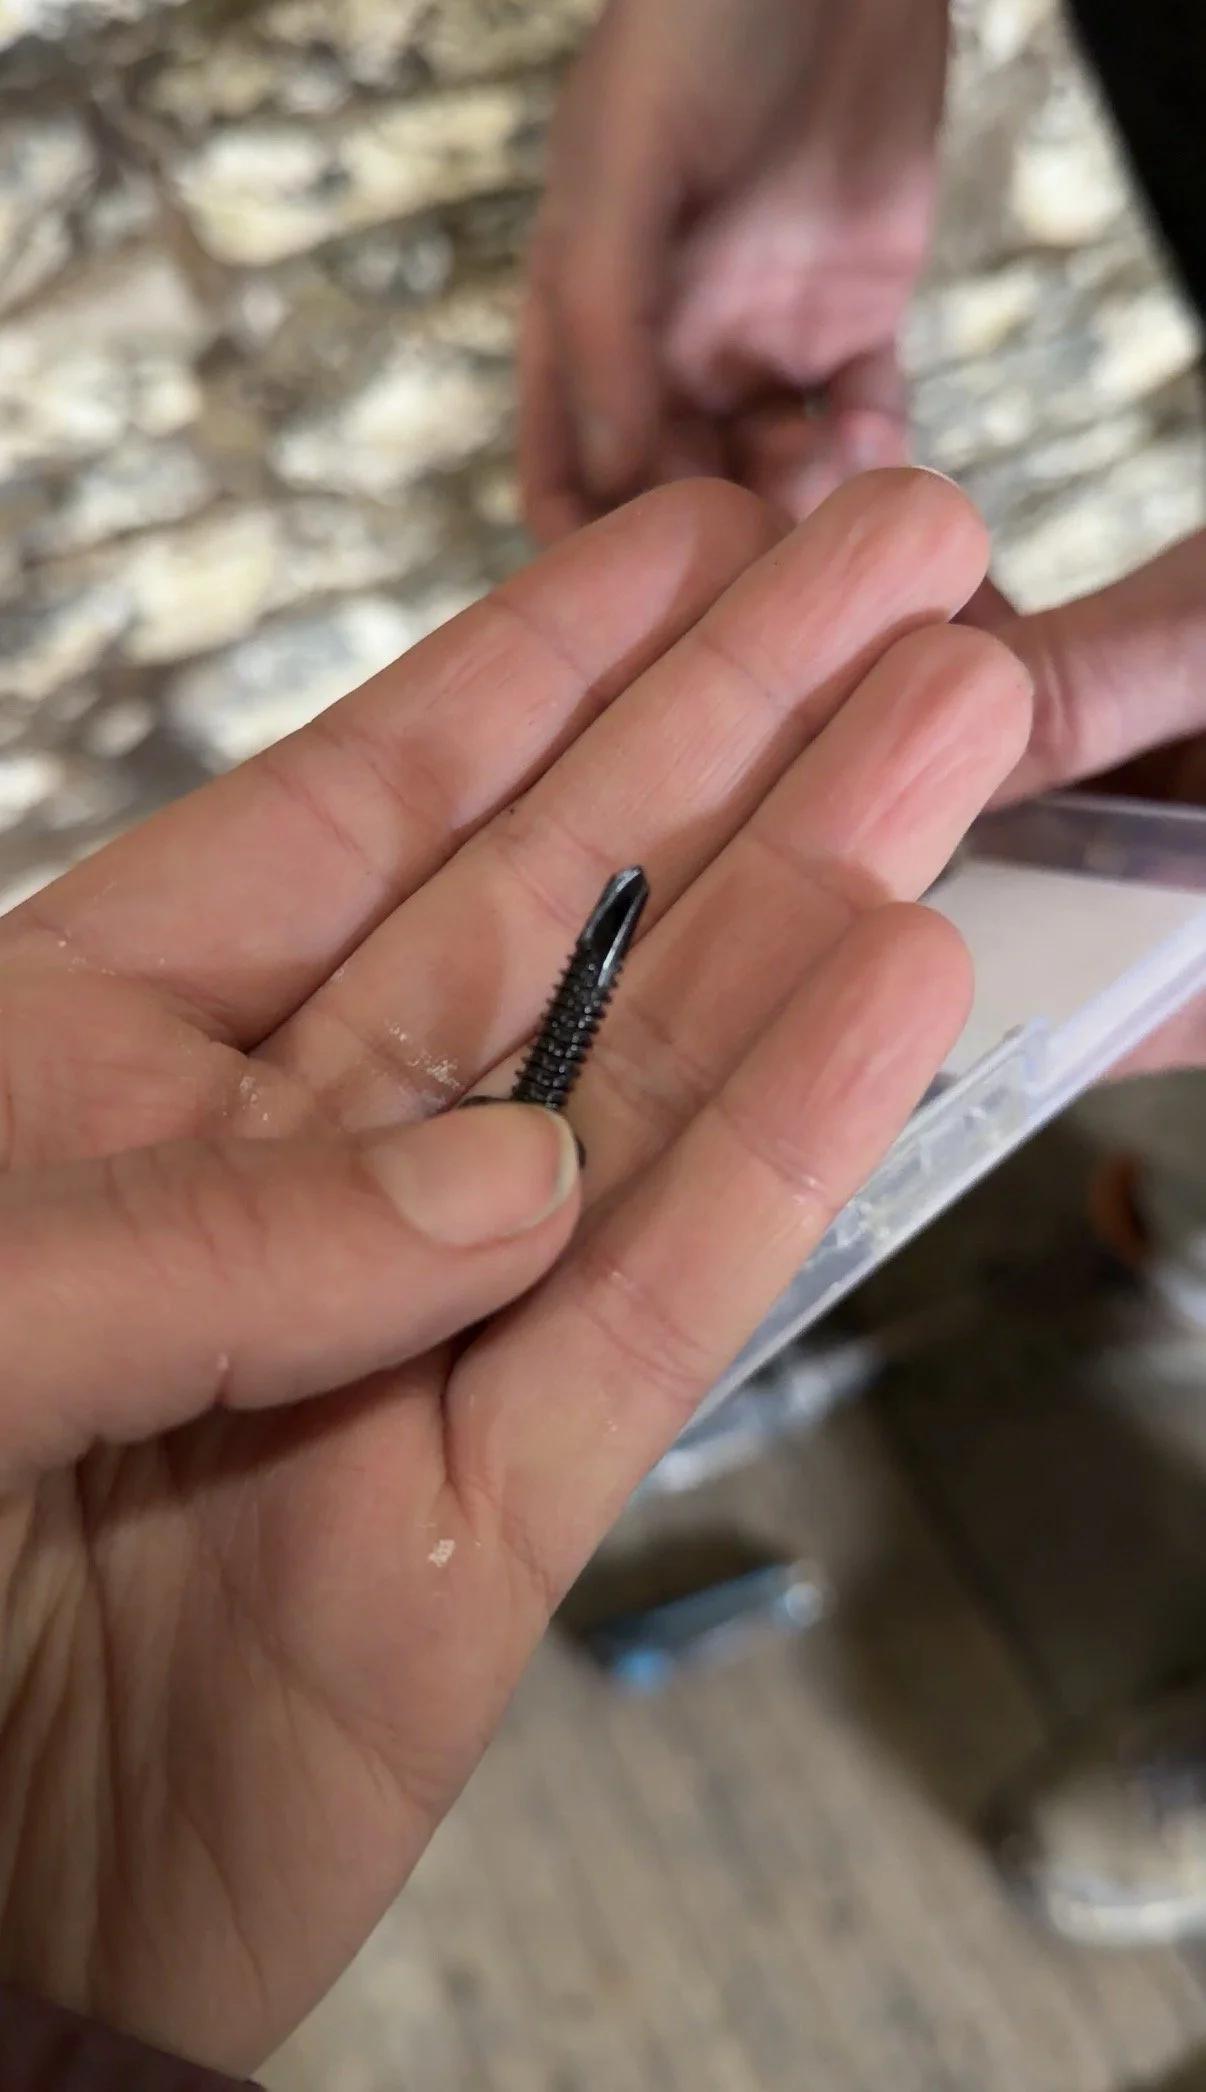
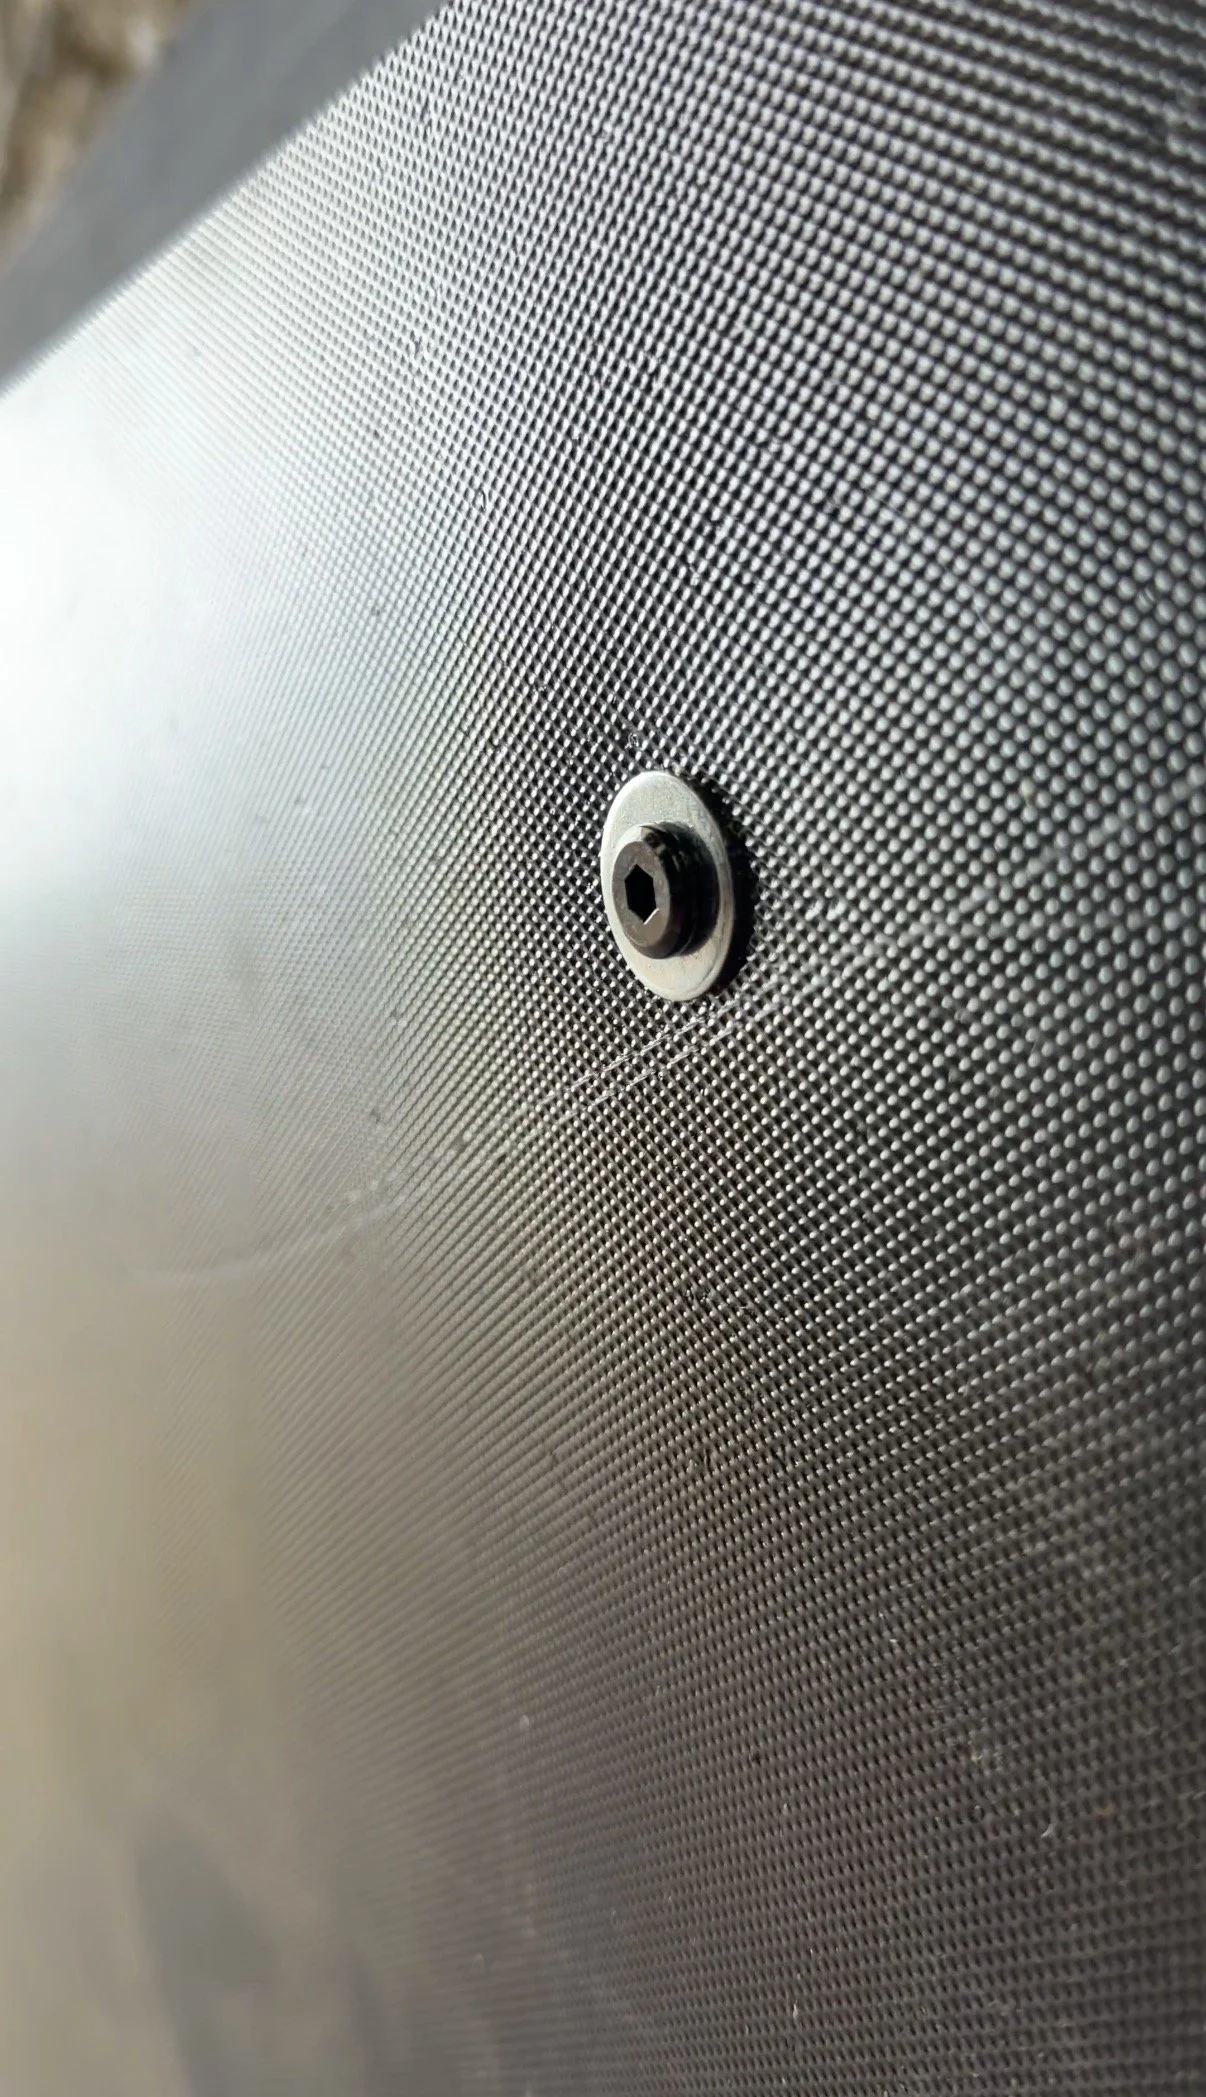
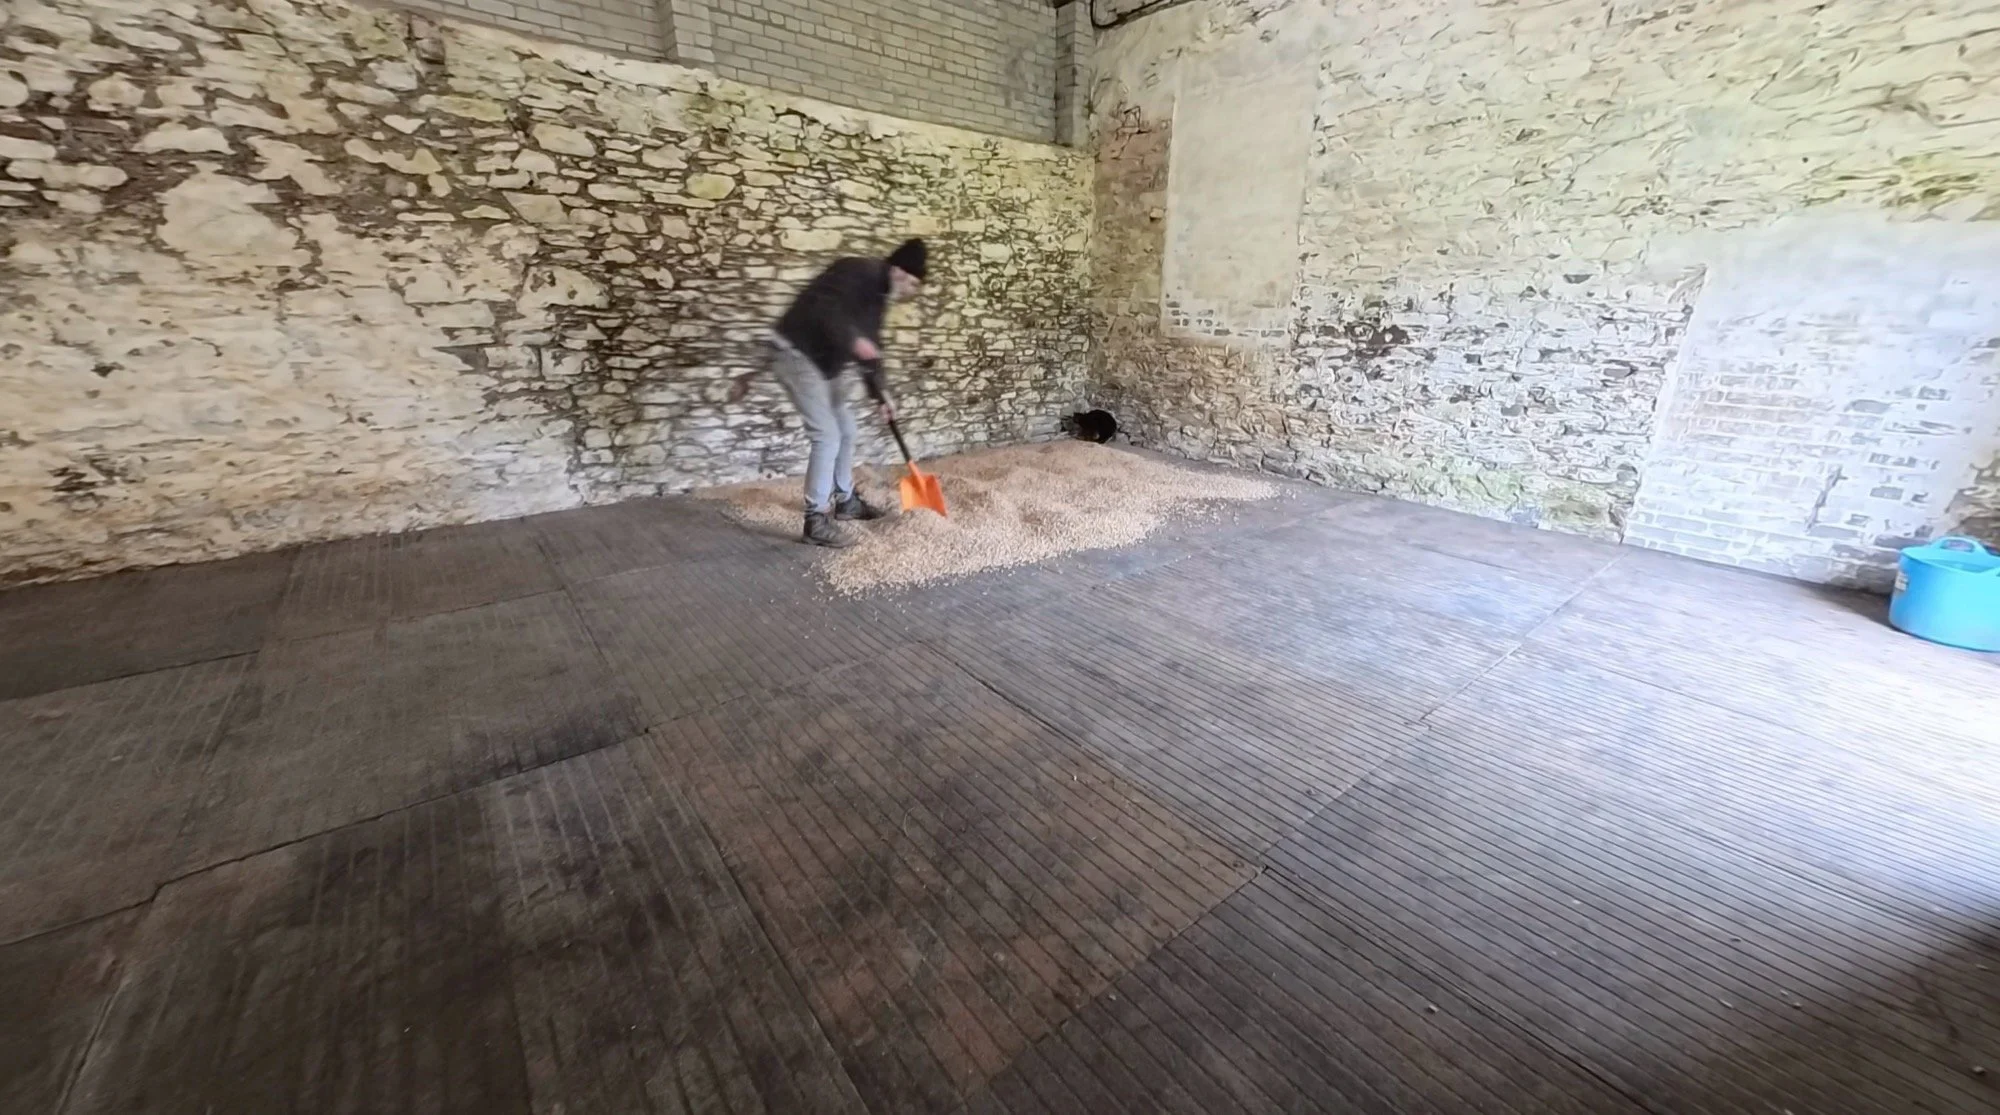
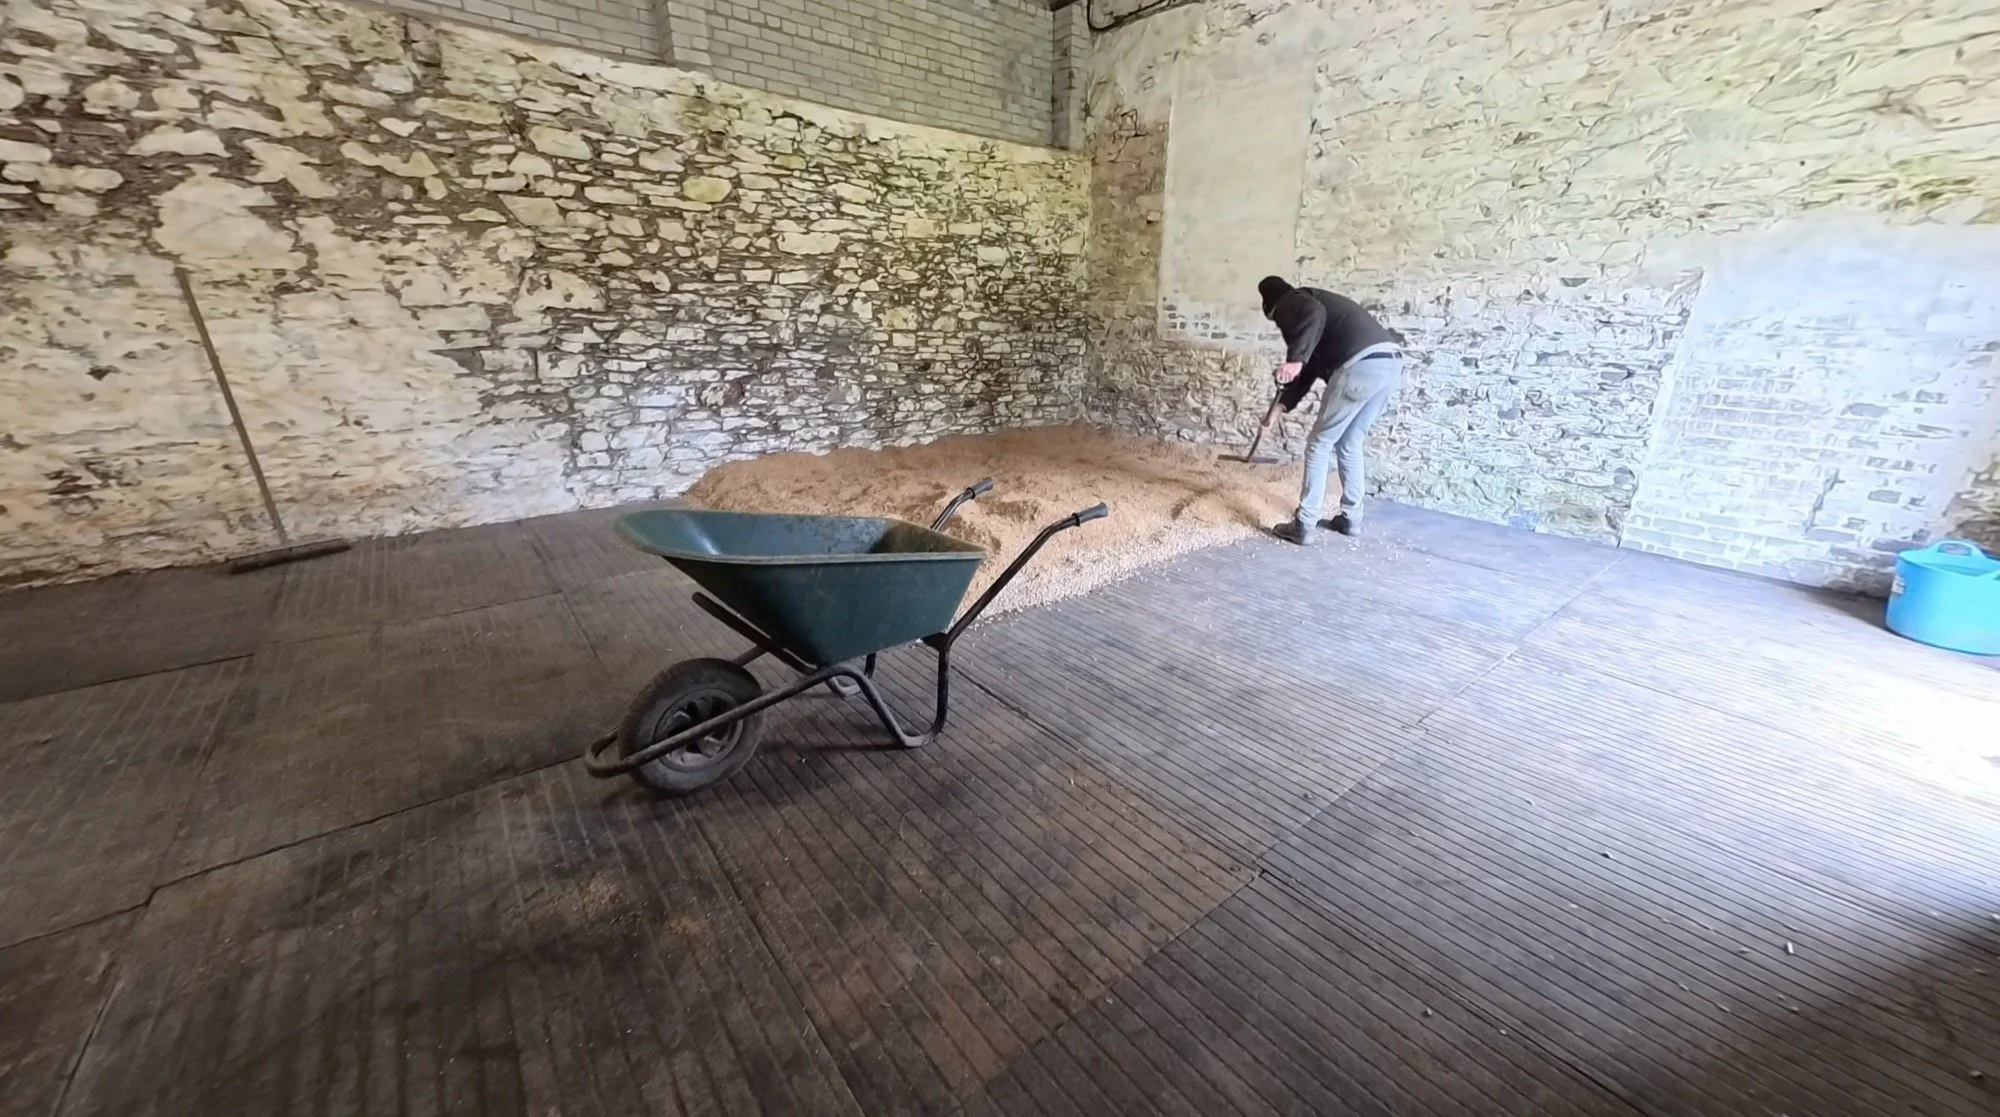
Inside, we set to work with Dan & his parents taking on the tidy up and rubber mat drop. Dan then set about building the frame in the corner to block it off cleanly, before Dan and I worked on the gates. The fasteners for the stokbord to the gates were self-drilling screws with a hex head, paired with 6mm washers. Finally, the old steps out were stokborded over onto Dan’s frame, and bedding up could begin. 1 hour later with Dan and his dad, Velia had a comfortable 14ft x 11ft bed, inside a giant cave of an old barn. Don’t panic about the green bits, they’re safe and will fade naturally in the next week or so, promise.
You can click on and swipe through these progress screenshots:

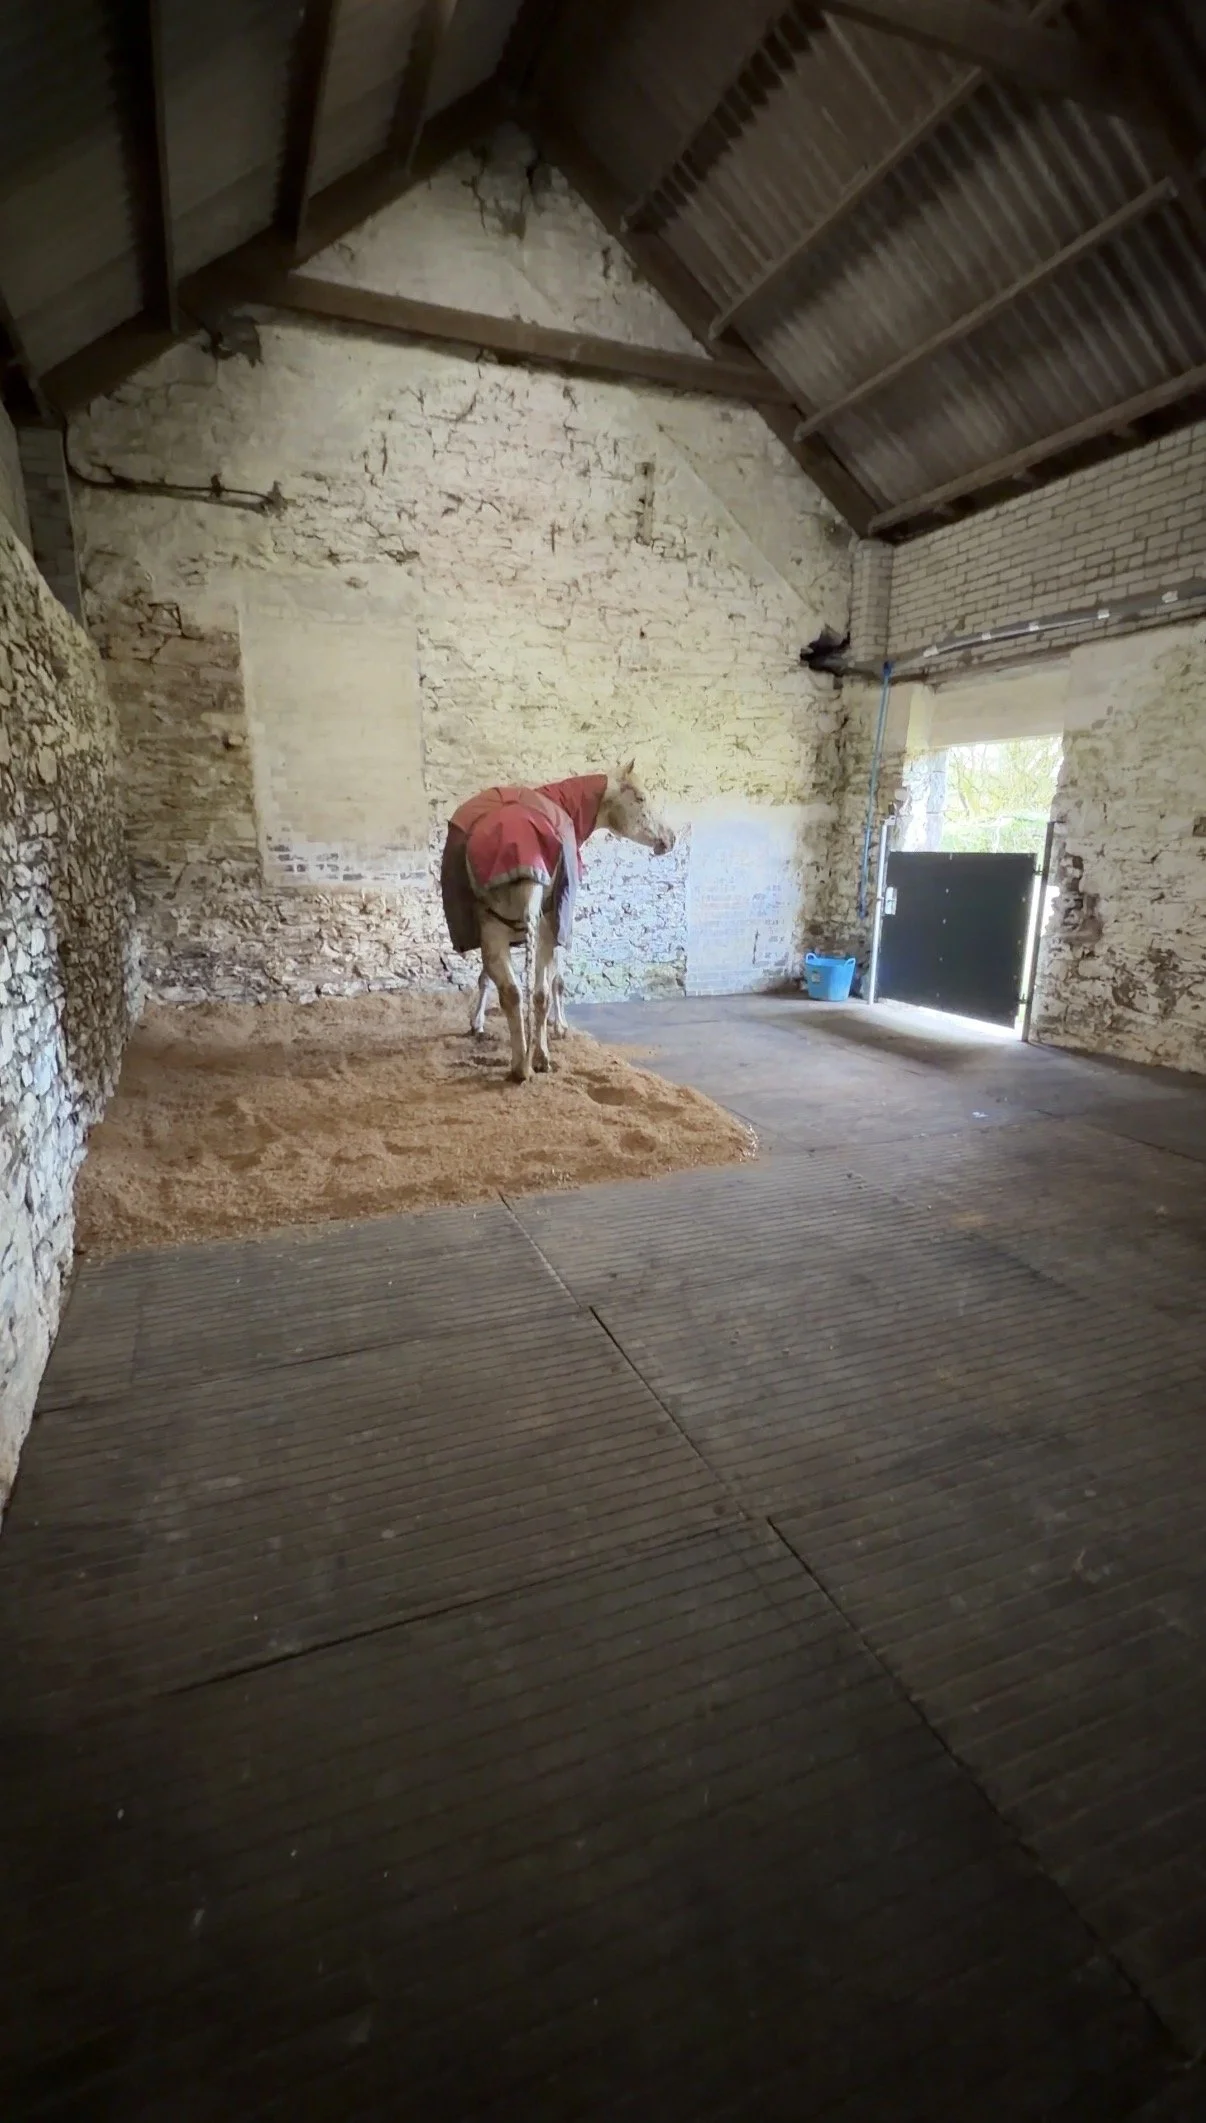
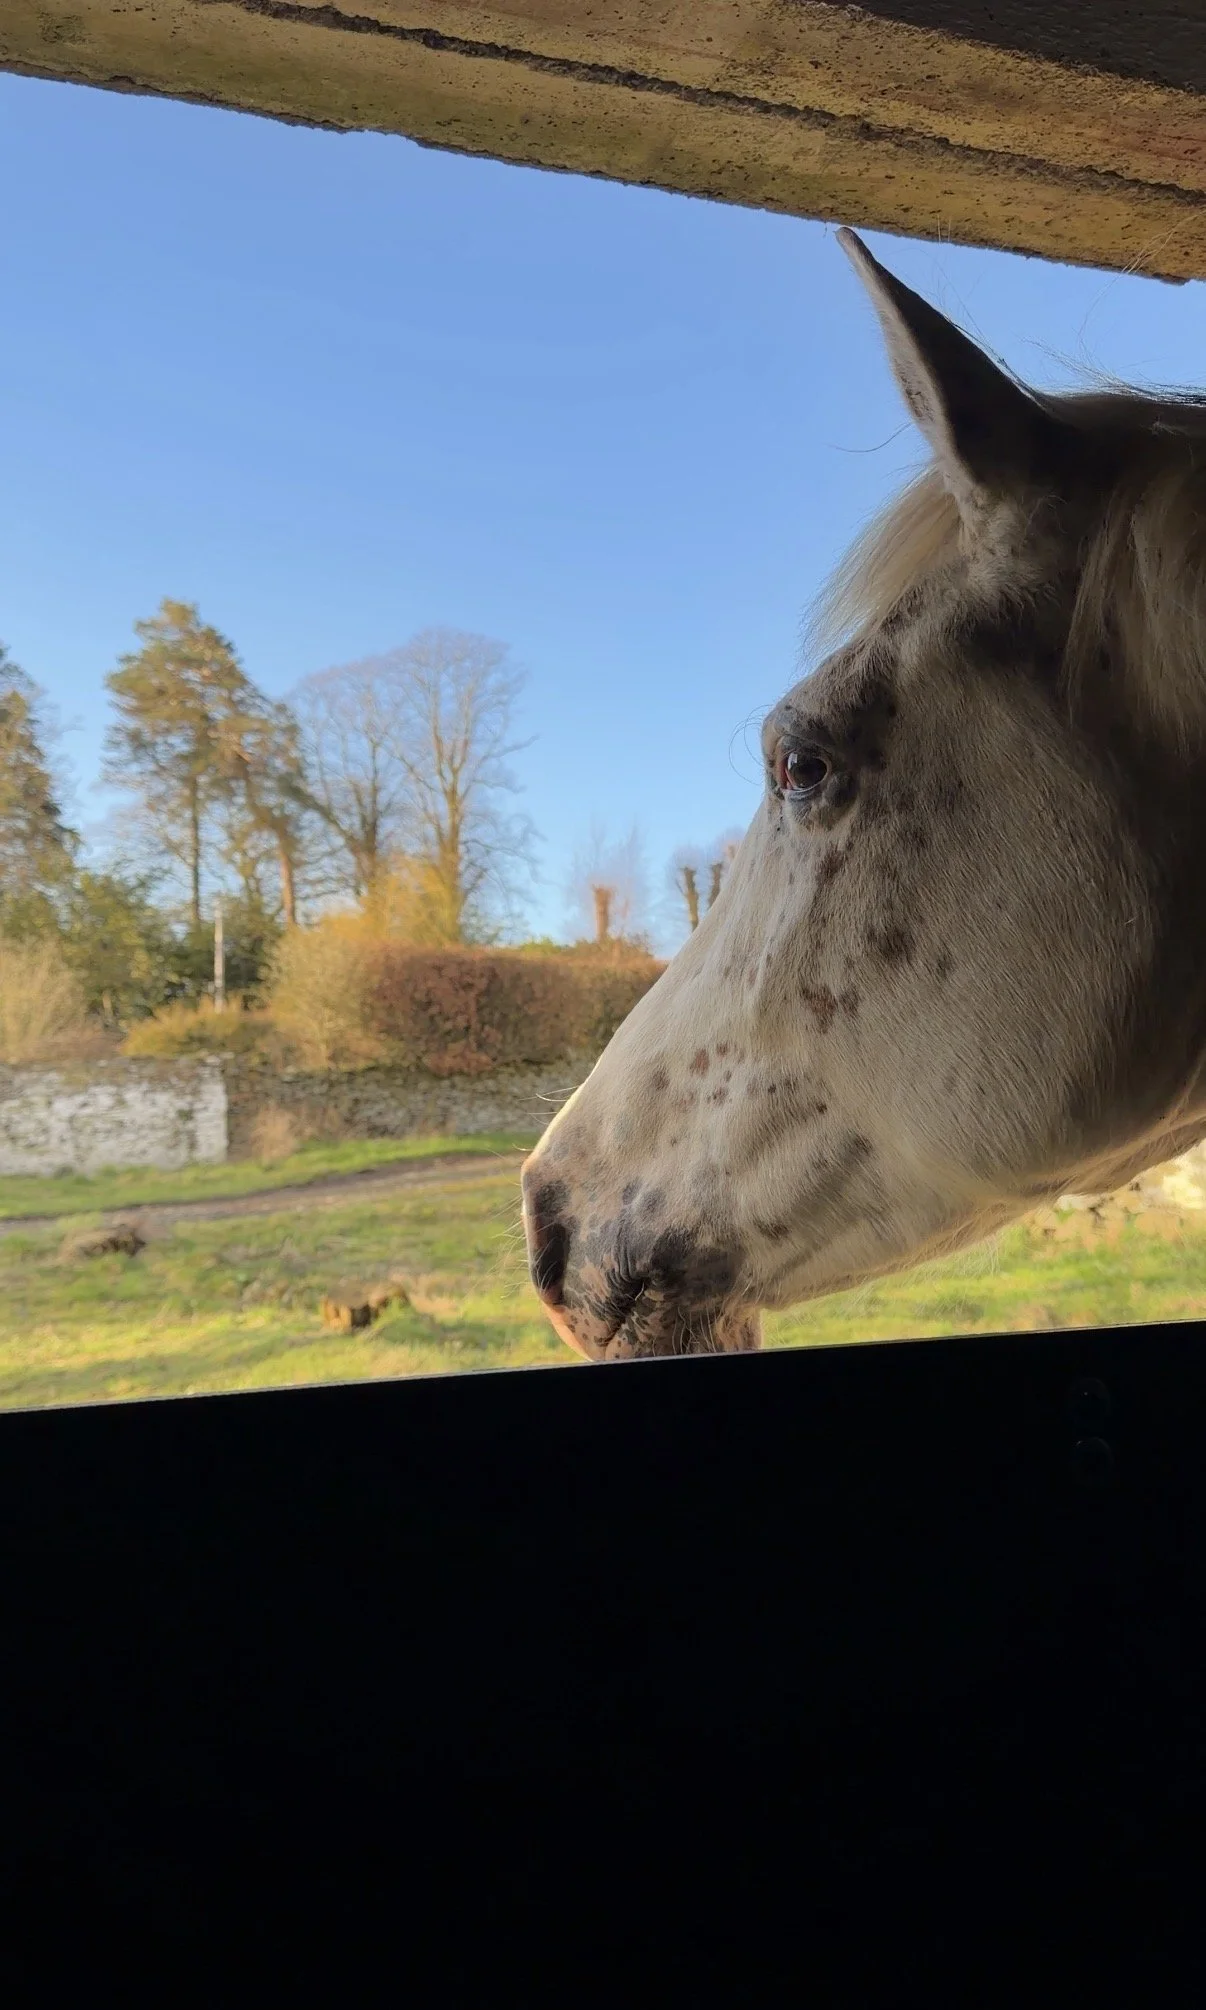
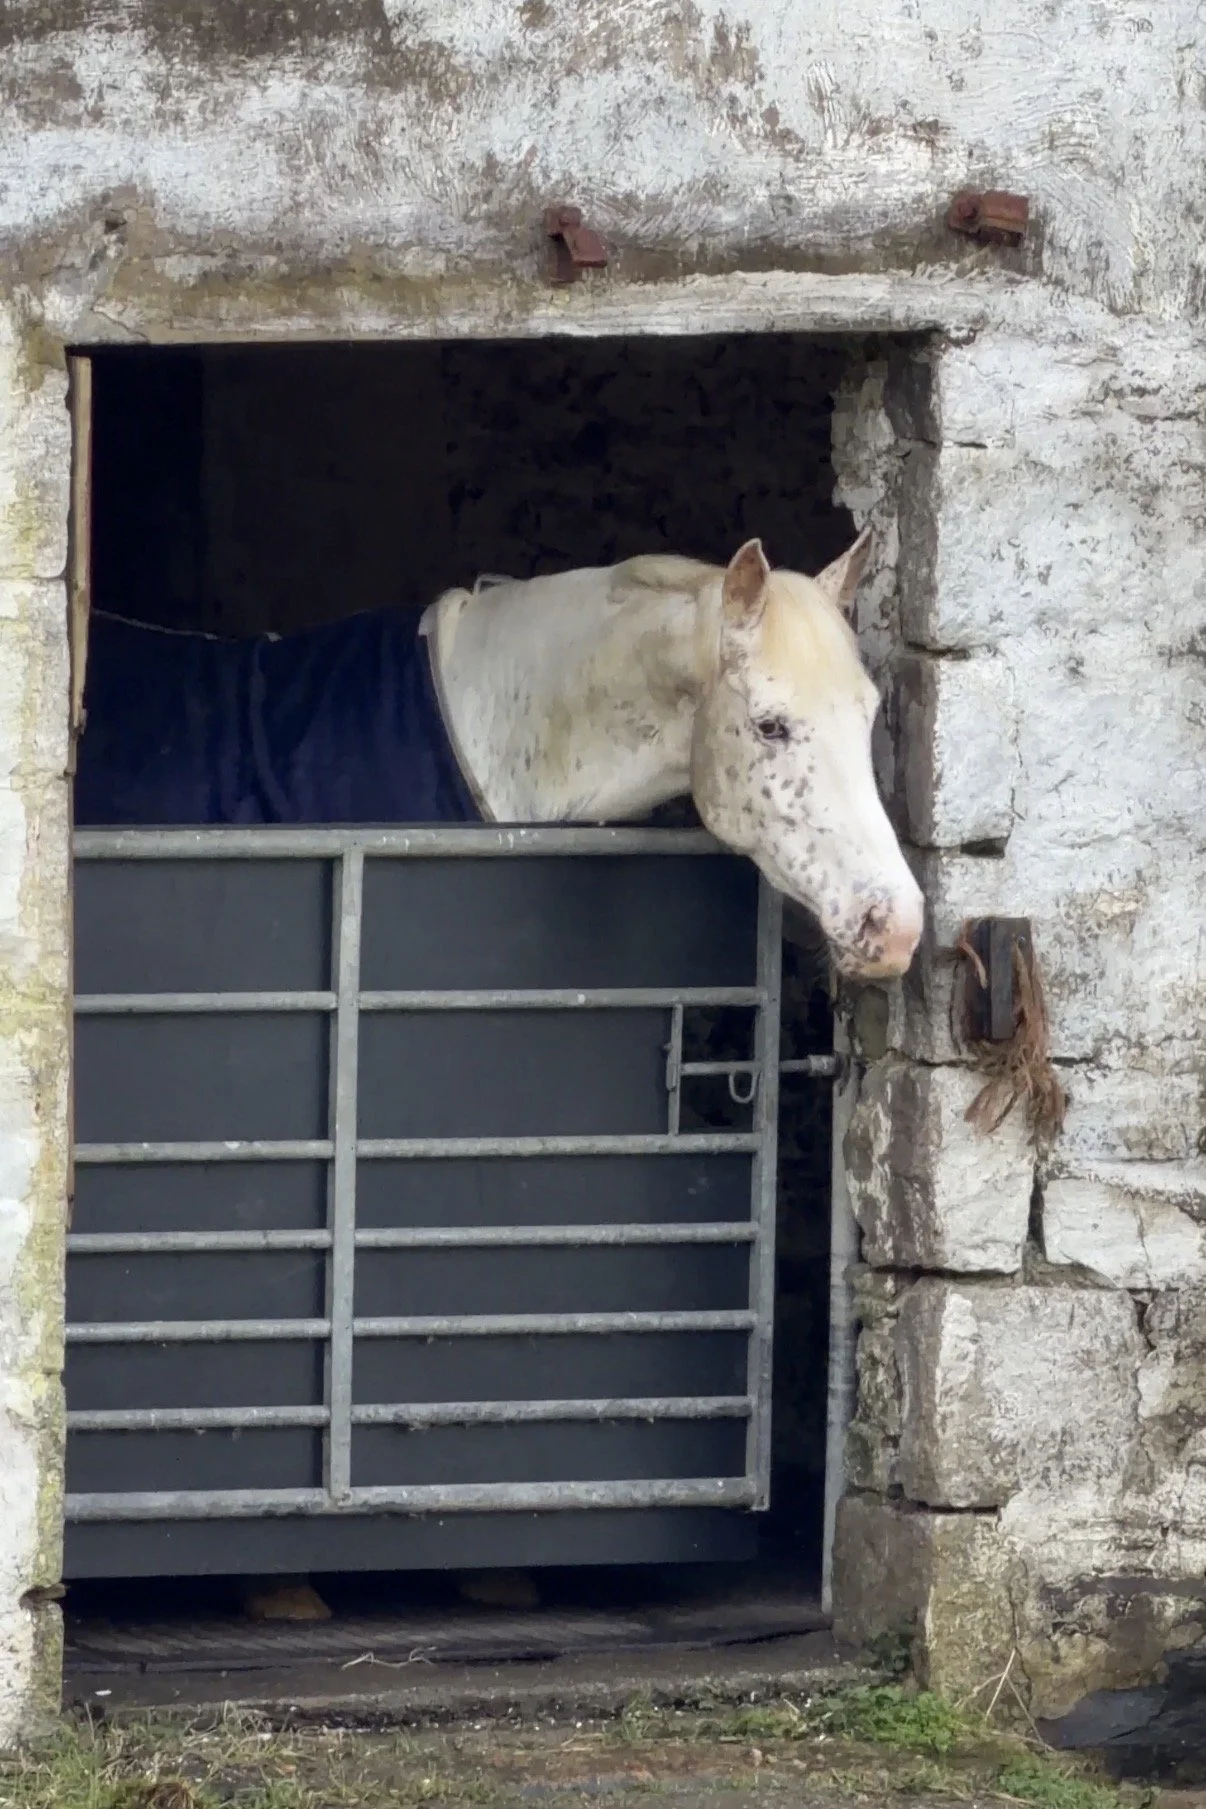
Then was the moment of truth - would Velia cope 7 metres away from the others?
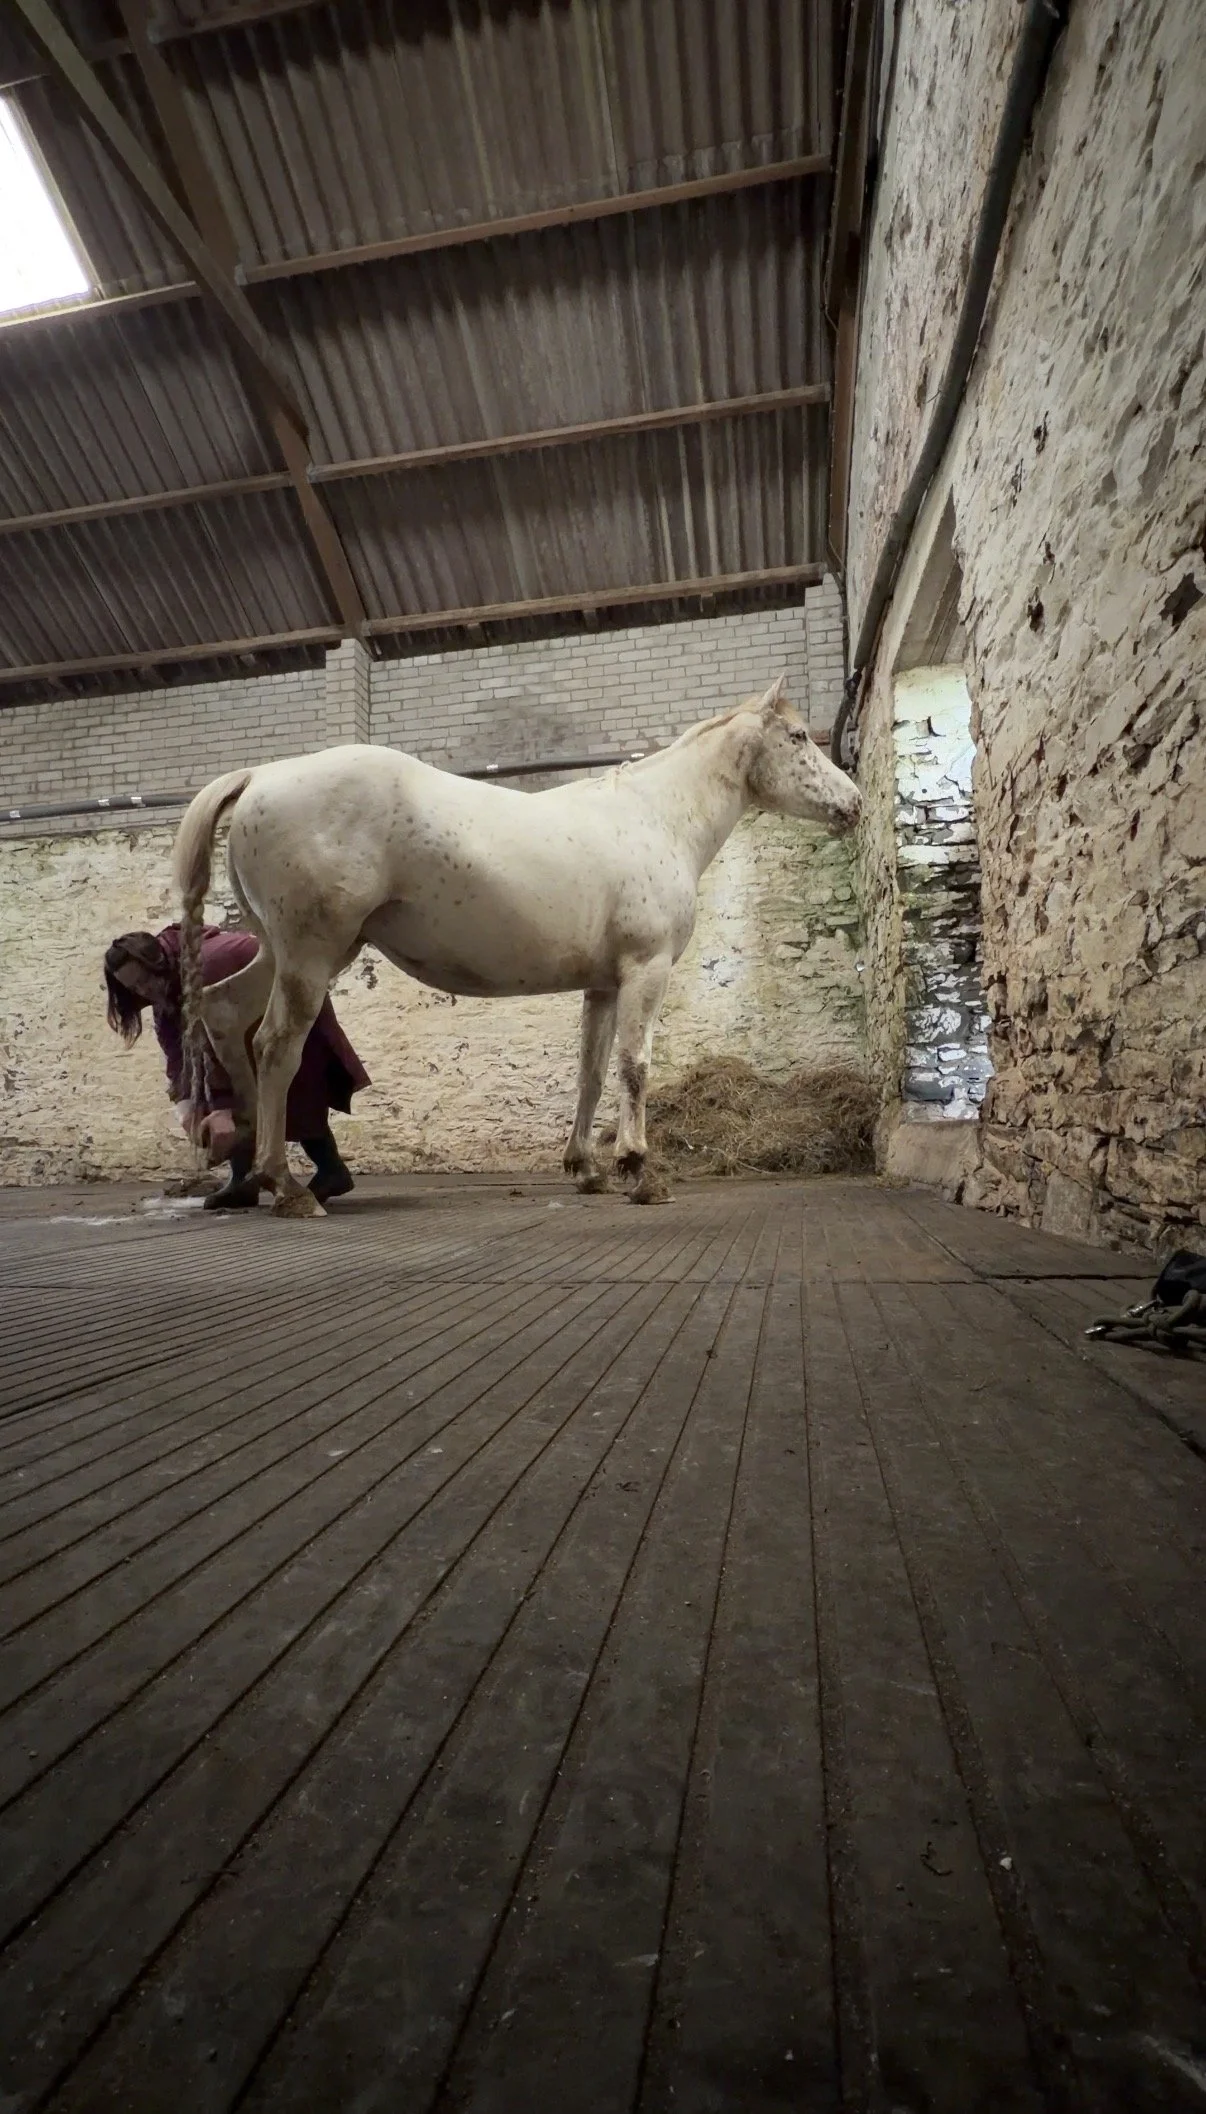
I brought her straight into here instead of washing her legs and doing our normal routine in the main stable area, just to get a nice clean break into this box tonight. Tuna and Connie were just over the gate that has the steps up, to the right of the second photo below. Velia was snorting for a while, then settled quickly with me inside the box. She was fine for me to turn down and enjoyed her new window to the outside.
Connie was also absolutely fine (no surprise there!), but there was one horse with a problem… Tuna the queen of drama could not cope with Vel being down the steps, despite a visual line of sight. I went out to check them at about 9:30pm, and Tuna was still calling for Velia, so I switched Connie and Tuna into each others boxes, putting Tuna in the closest box to Vel. With an even clearer line of sight than before, Tuna settled quickly, and everyone calmed down.
Velia seems to like her giant digs. Hopefully, we can glam it up a bit in the next few weeks before she switches onto straw for foaling.
That’s week 4, and that’s March. See you next time!