
February Monthly Update
After a lot of time spent away, I’m back, and despite being sick again for the 300th time this winter, this post will fill up as normal and you can skip ahead to the different weeks by clicking the links below:
February Week 1 & 2:
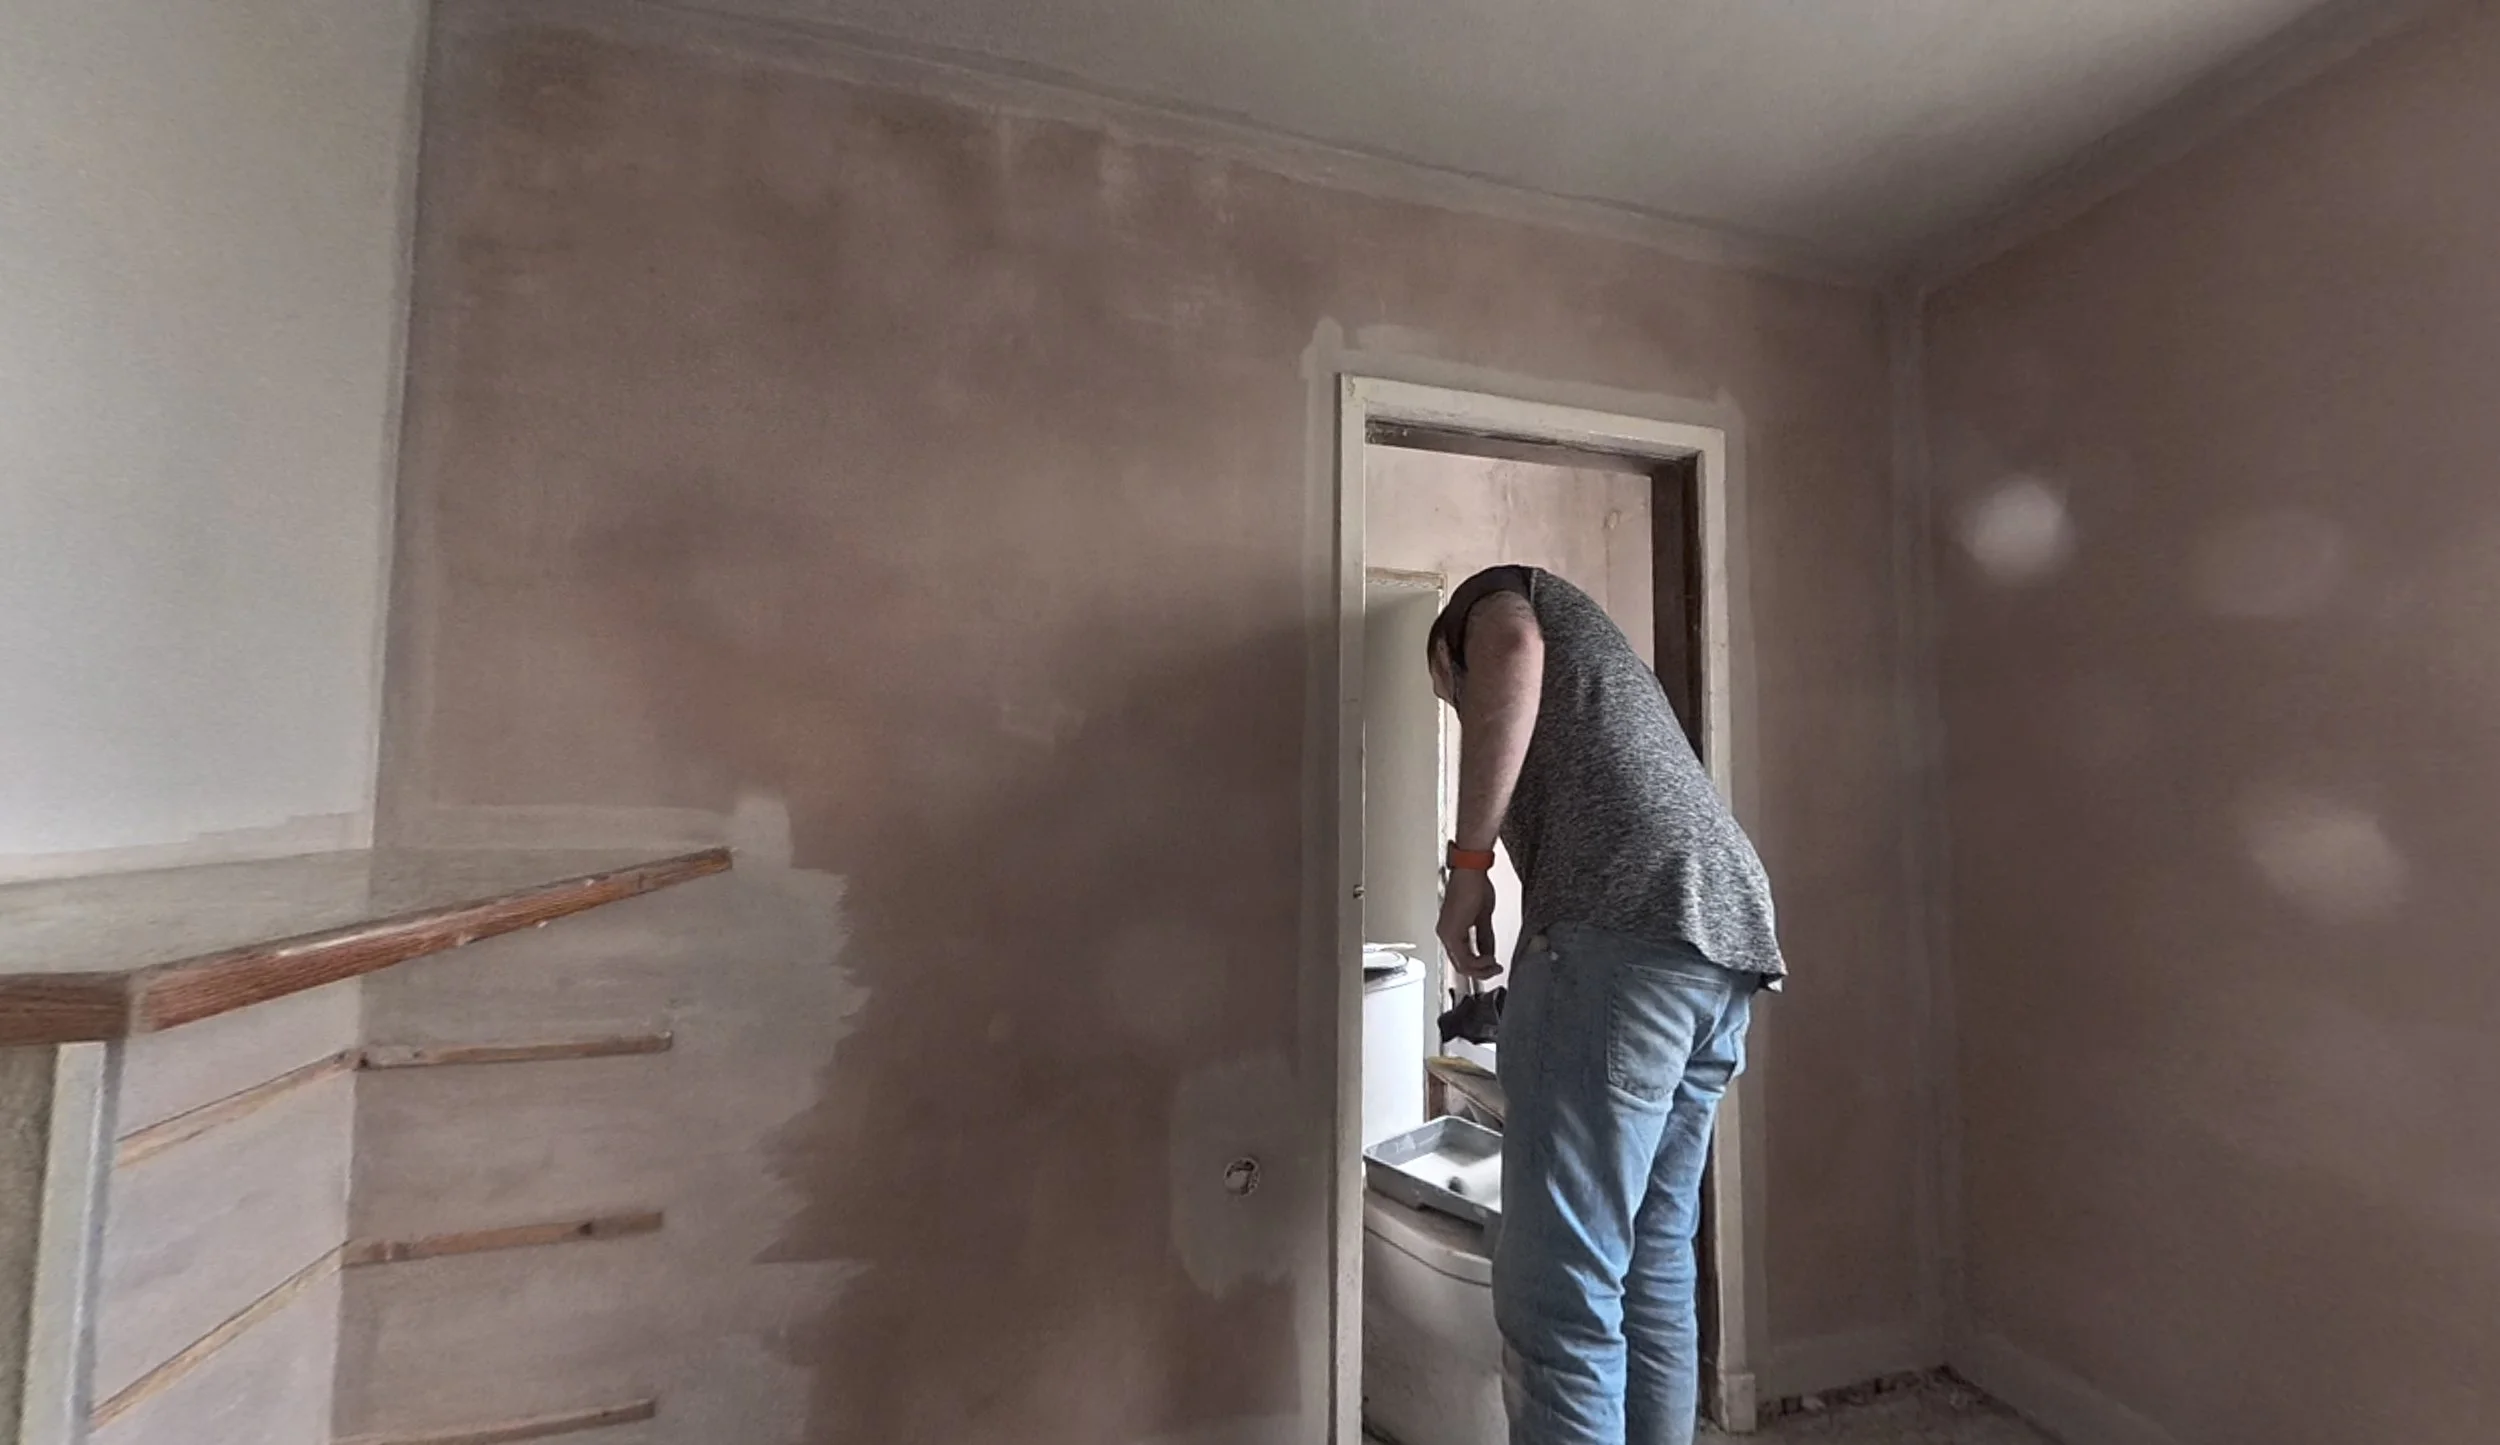
Last month, Dan plastered the now insulated upstairs bathroom as part of its re-fresh plan. This took a week or so to dry, but before we knew it, it was time to get this room painted.
There are two things that make a project like this feel closer to the end. The first is paint, the second is skirting board. Don’t ask why - I don’t know. The first of the two finishes was upon us here, and Dan tackled it with gusto.
As is normal with fresh plaster, a mist coat went on first (2 coats, technically), leaving us with a blank slate on which to build.


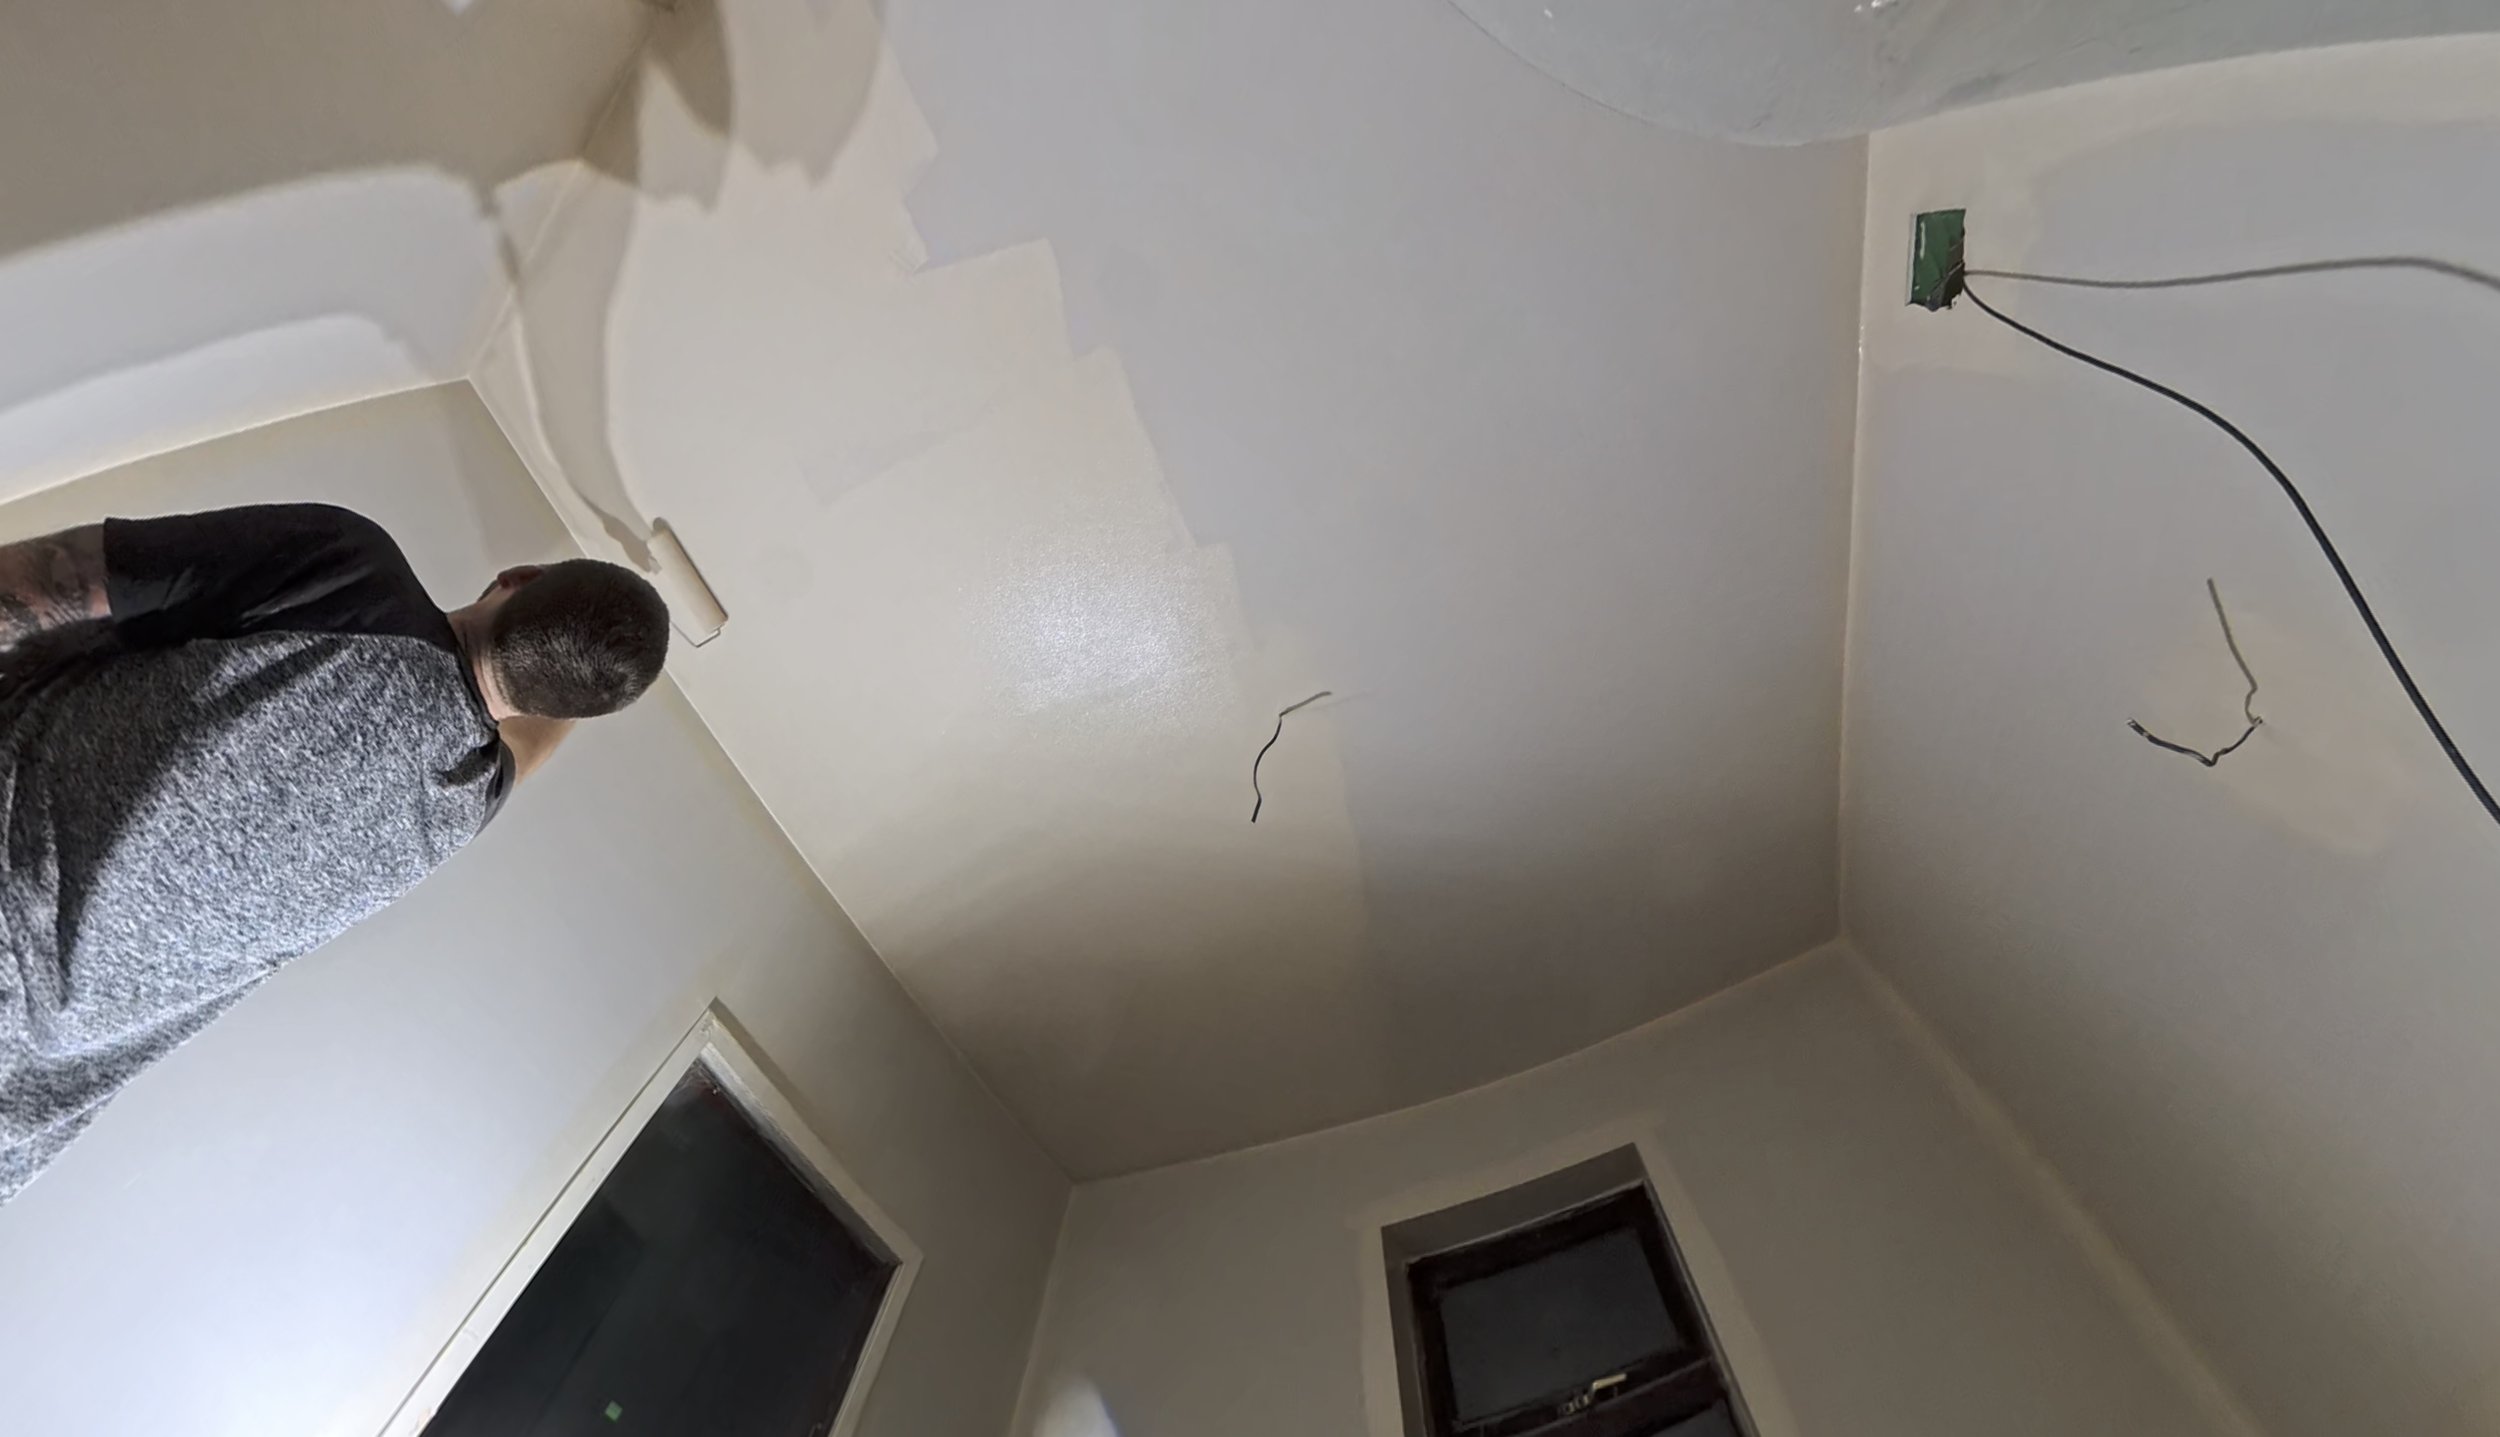
Next up was a leap of faith on a paint colour for in here. As you know, we’re holding onto the existing suite and panels, which means that decor choices need to match that as best as possible. Given this room is a west facing garden view room, it tends to be lit with a slight green tint except for at golden our on an evening. The subtle green cast muddies neutrals quite badly, so I went with a slightly peach-toned cream that takes a light hue from the existing waterproof panels.
I will admit that watching it go on made me questions my choices - it sort of looked like gone off salmon with a yellow tint. Trust the process counted here too, because once dry, it sat as a neutral and worked really well to add a fresher feel to the space.
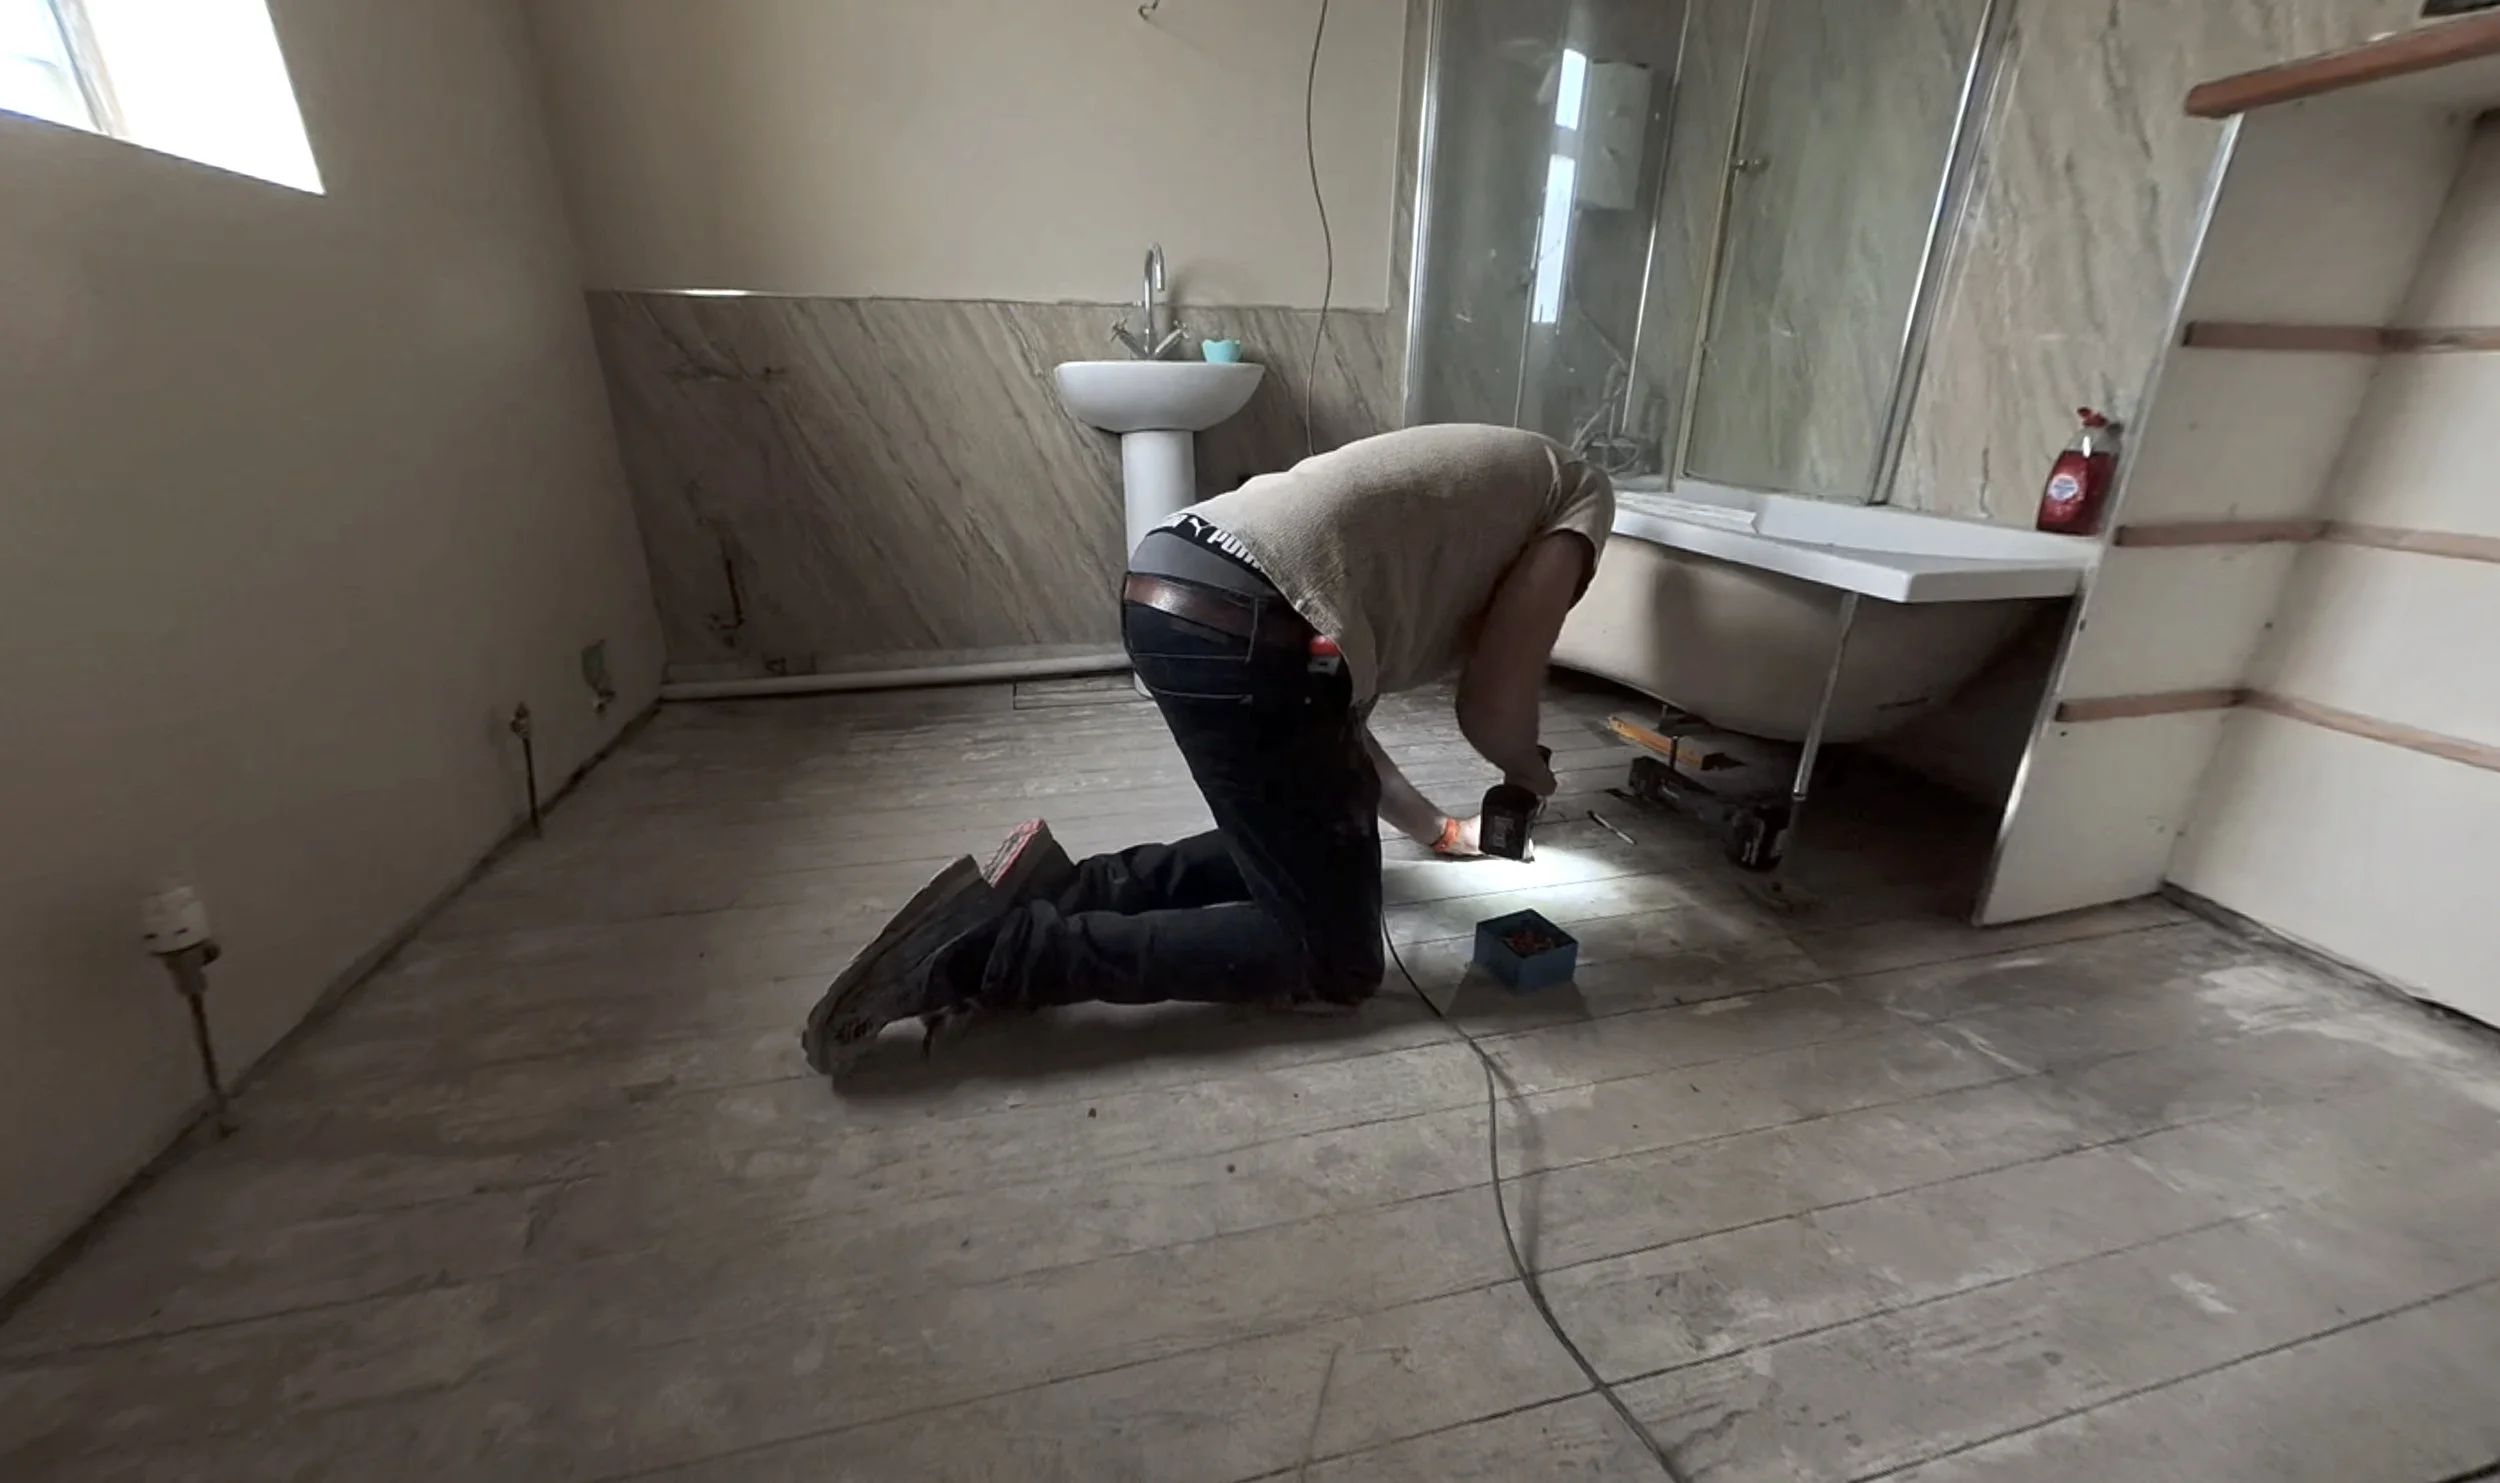
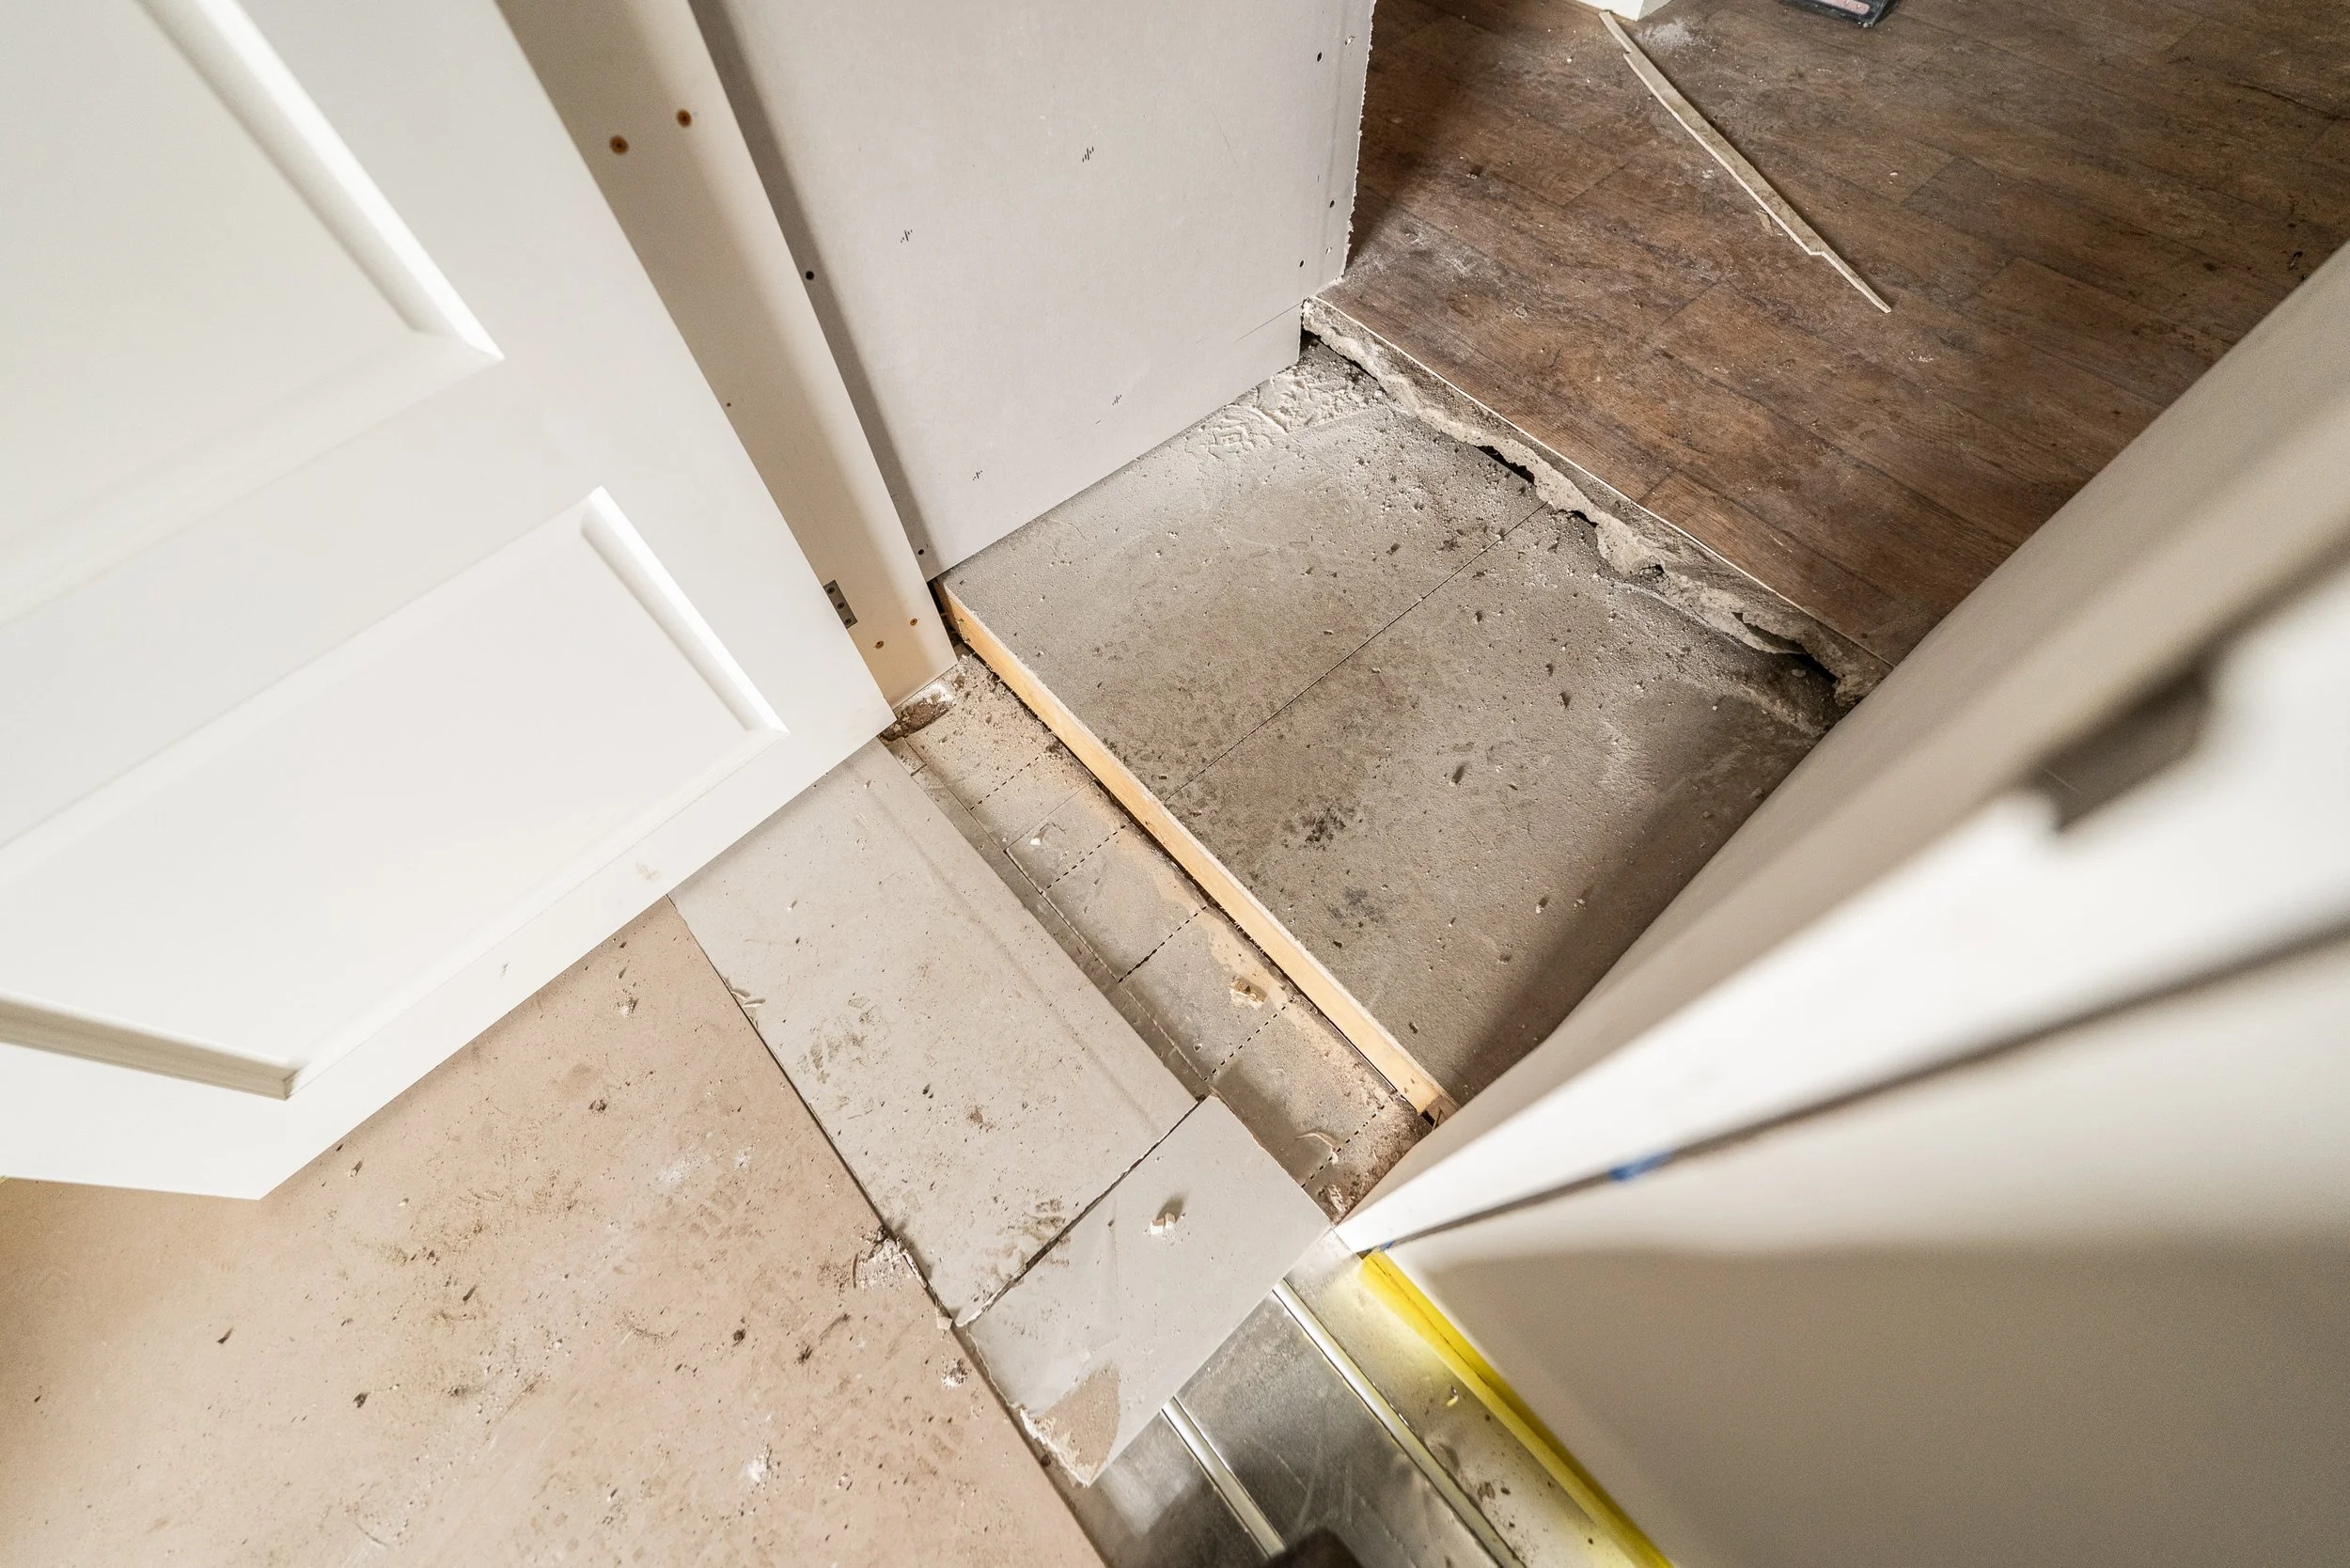
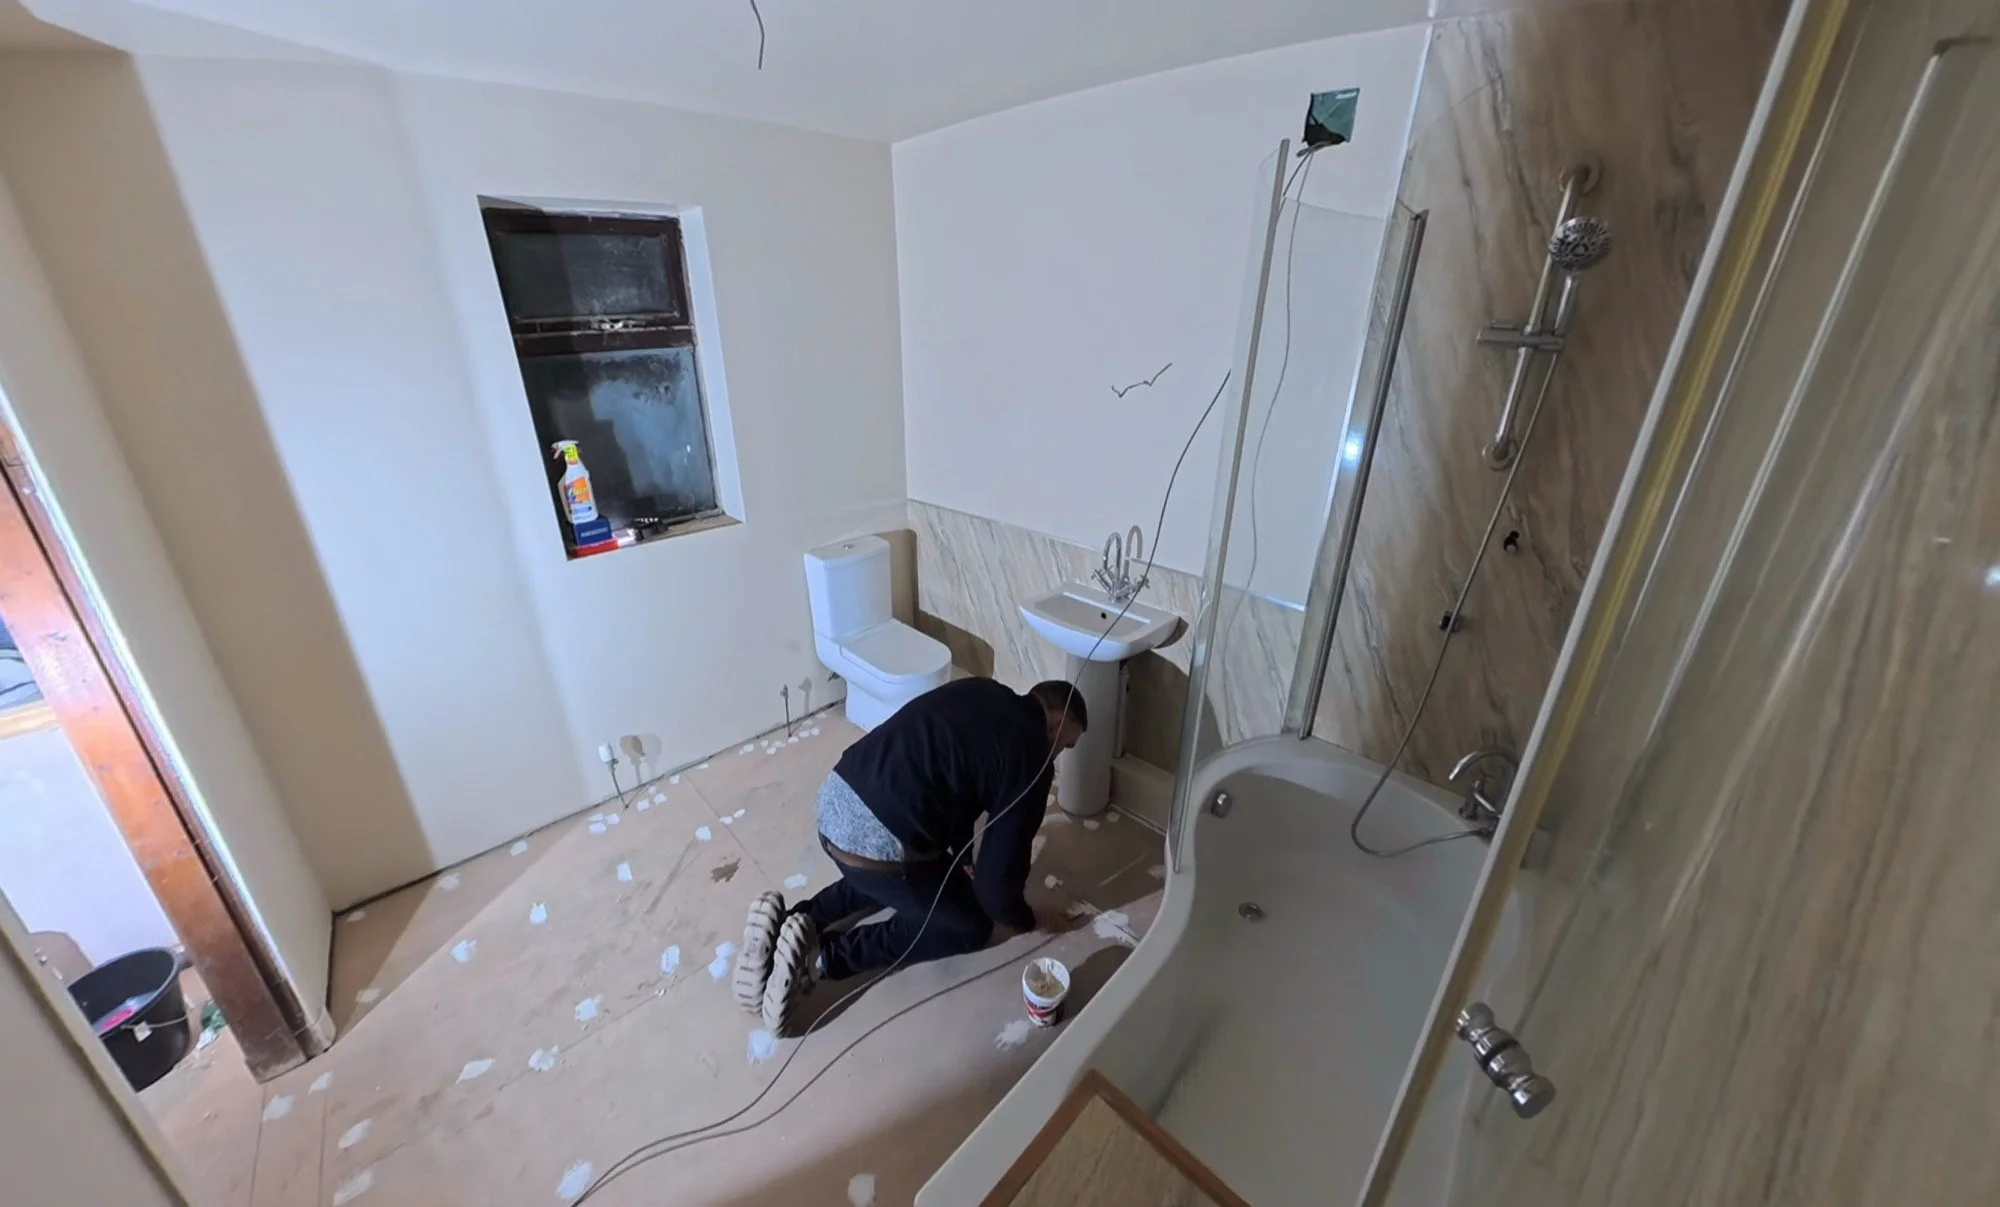
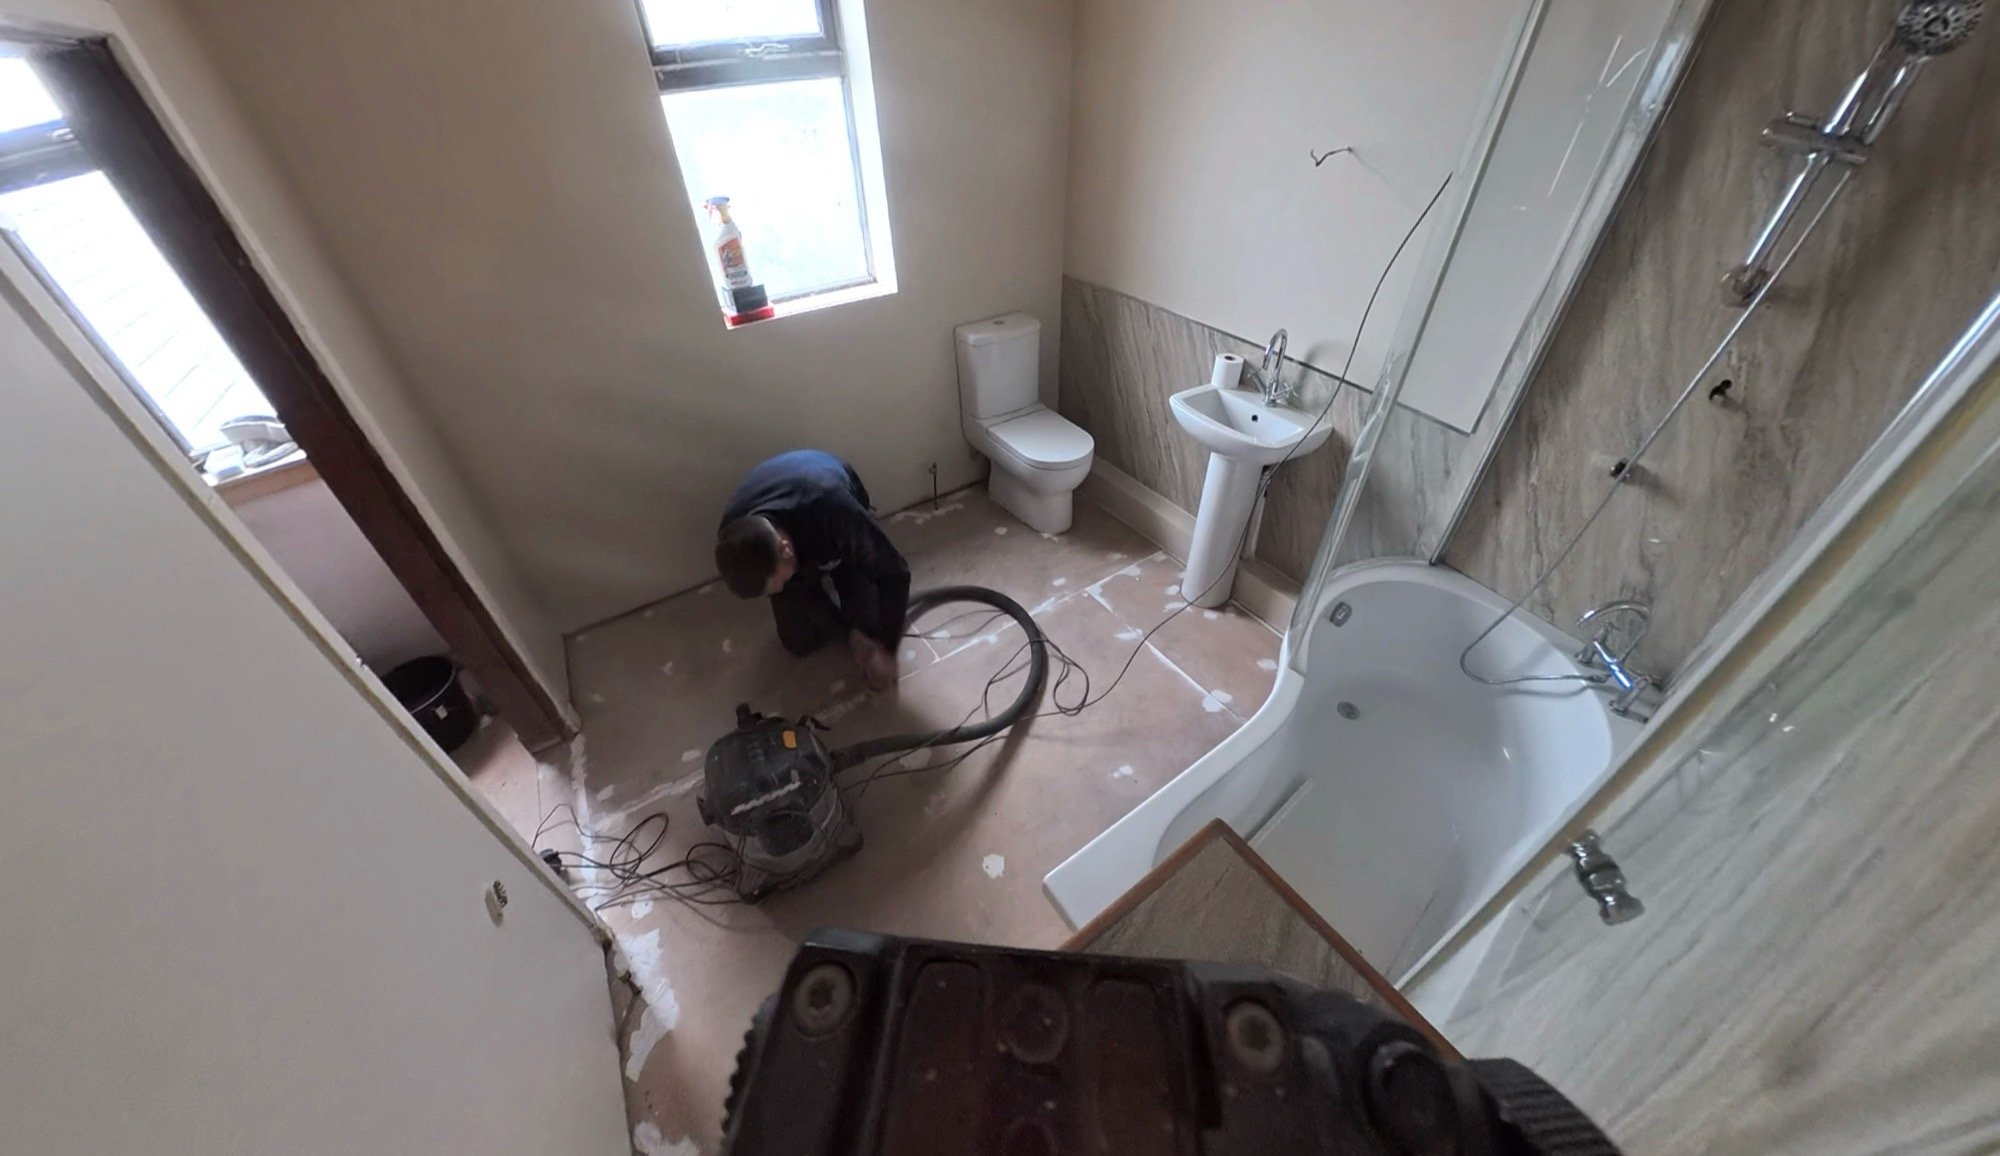
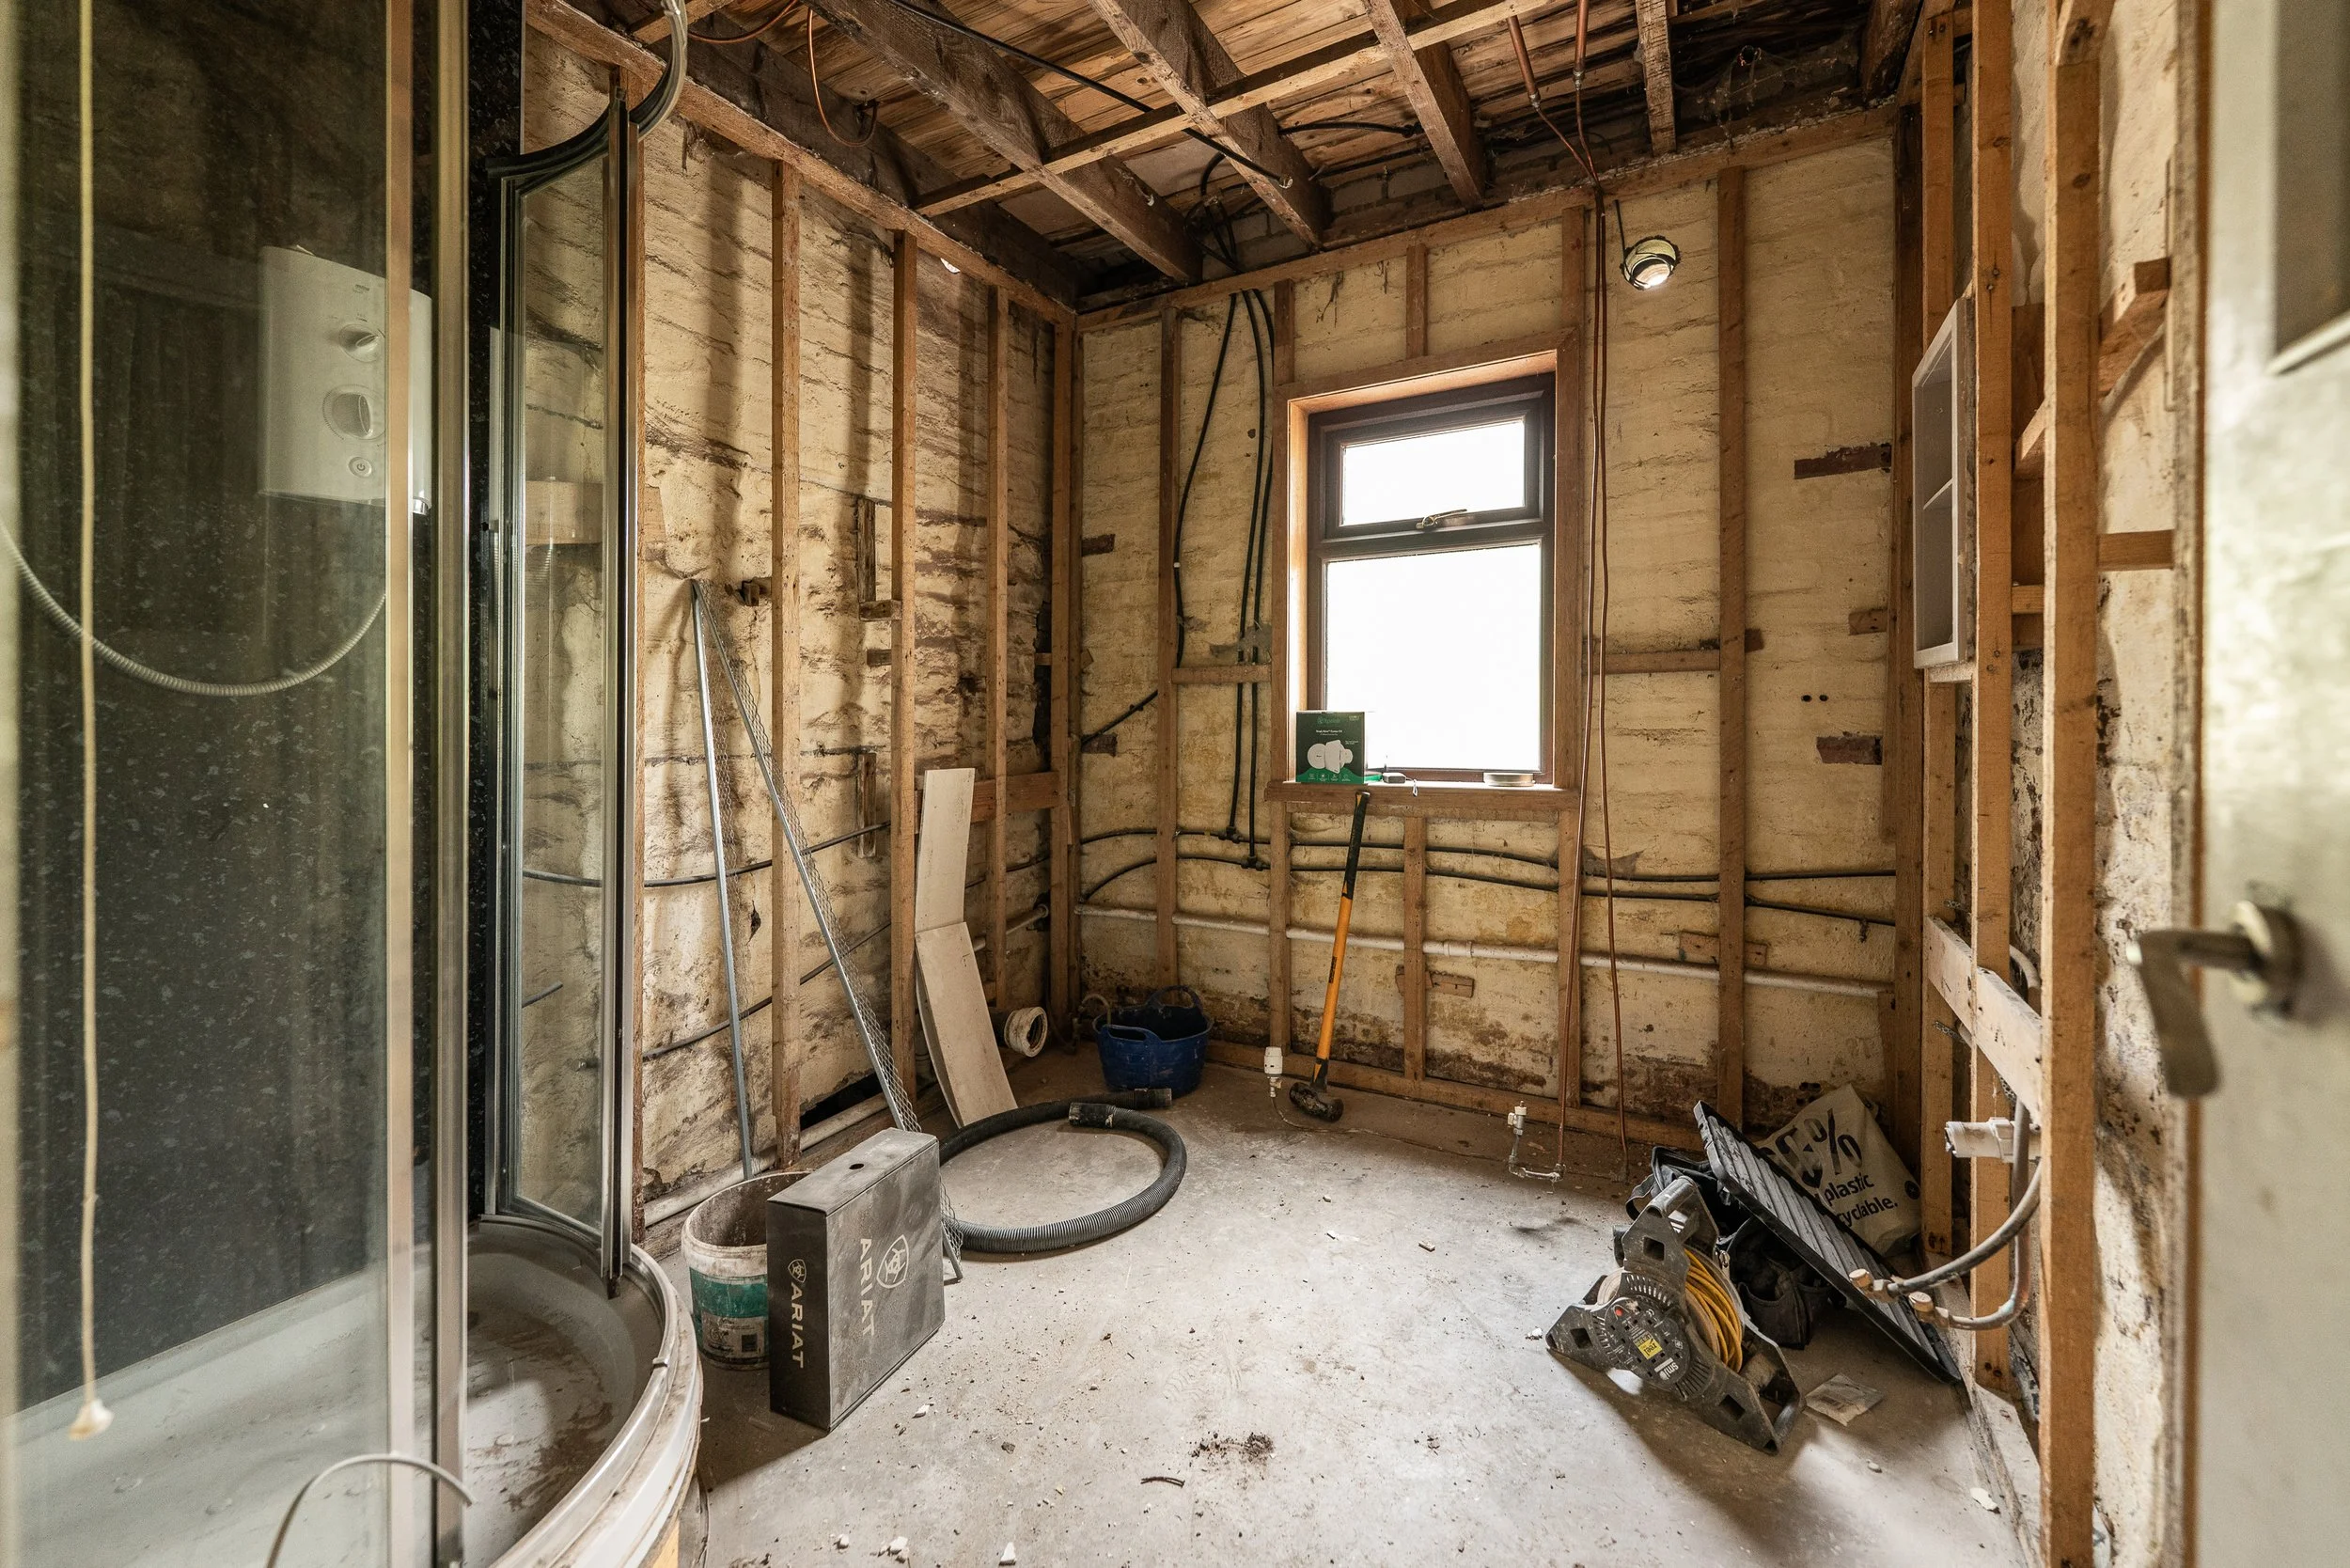
Next up in here was floor prep. The floor has been through horrendous leaks from above and we went back and forth on just ripping it up and boarding out instead. However, the warping had settled almost completely through the drying out process and it’s now just kind of grimy and a bit uneven underfoot. Instead of creating another problem for ourselves right now (this section will be ripped out in 5-6 years), we opted to clean, screw down any loose boards and then board over the top.
Dan got to it straight away:
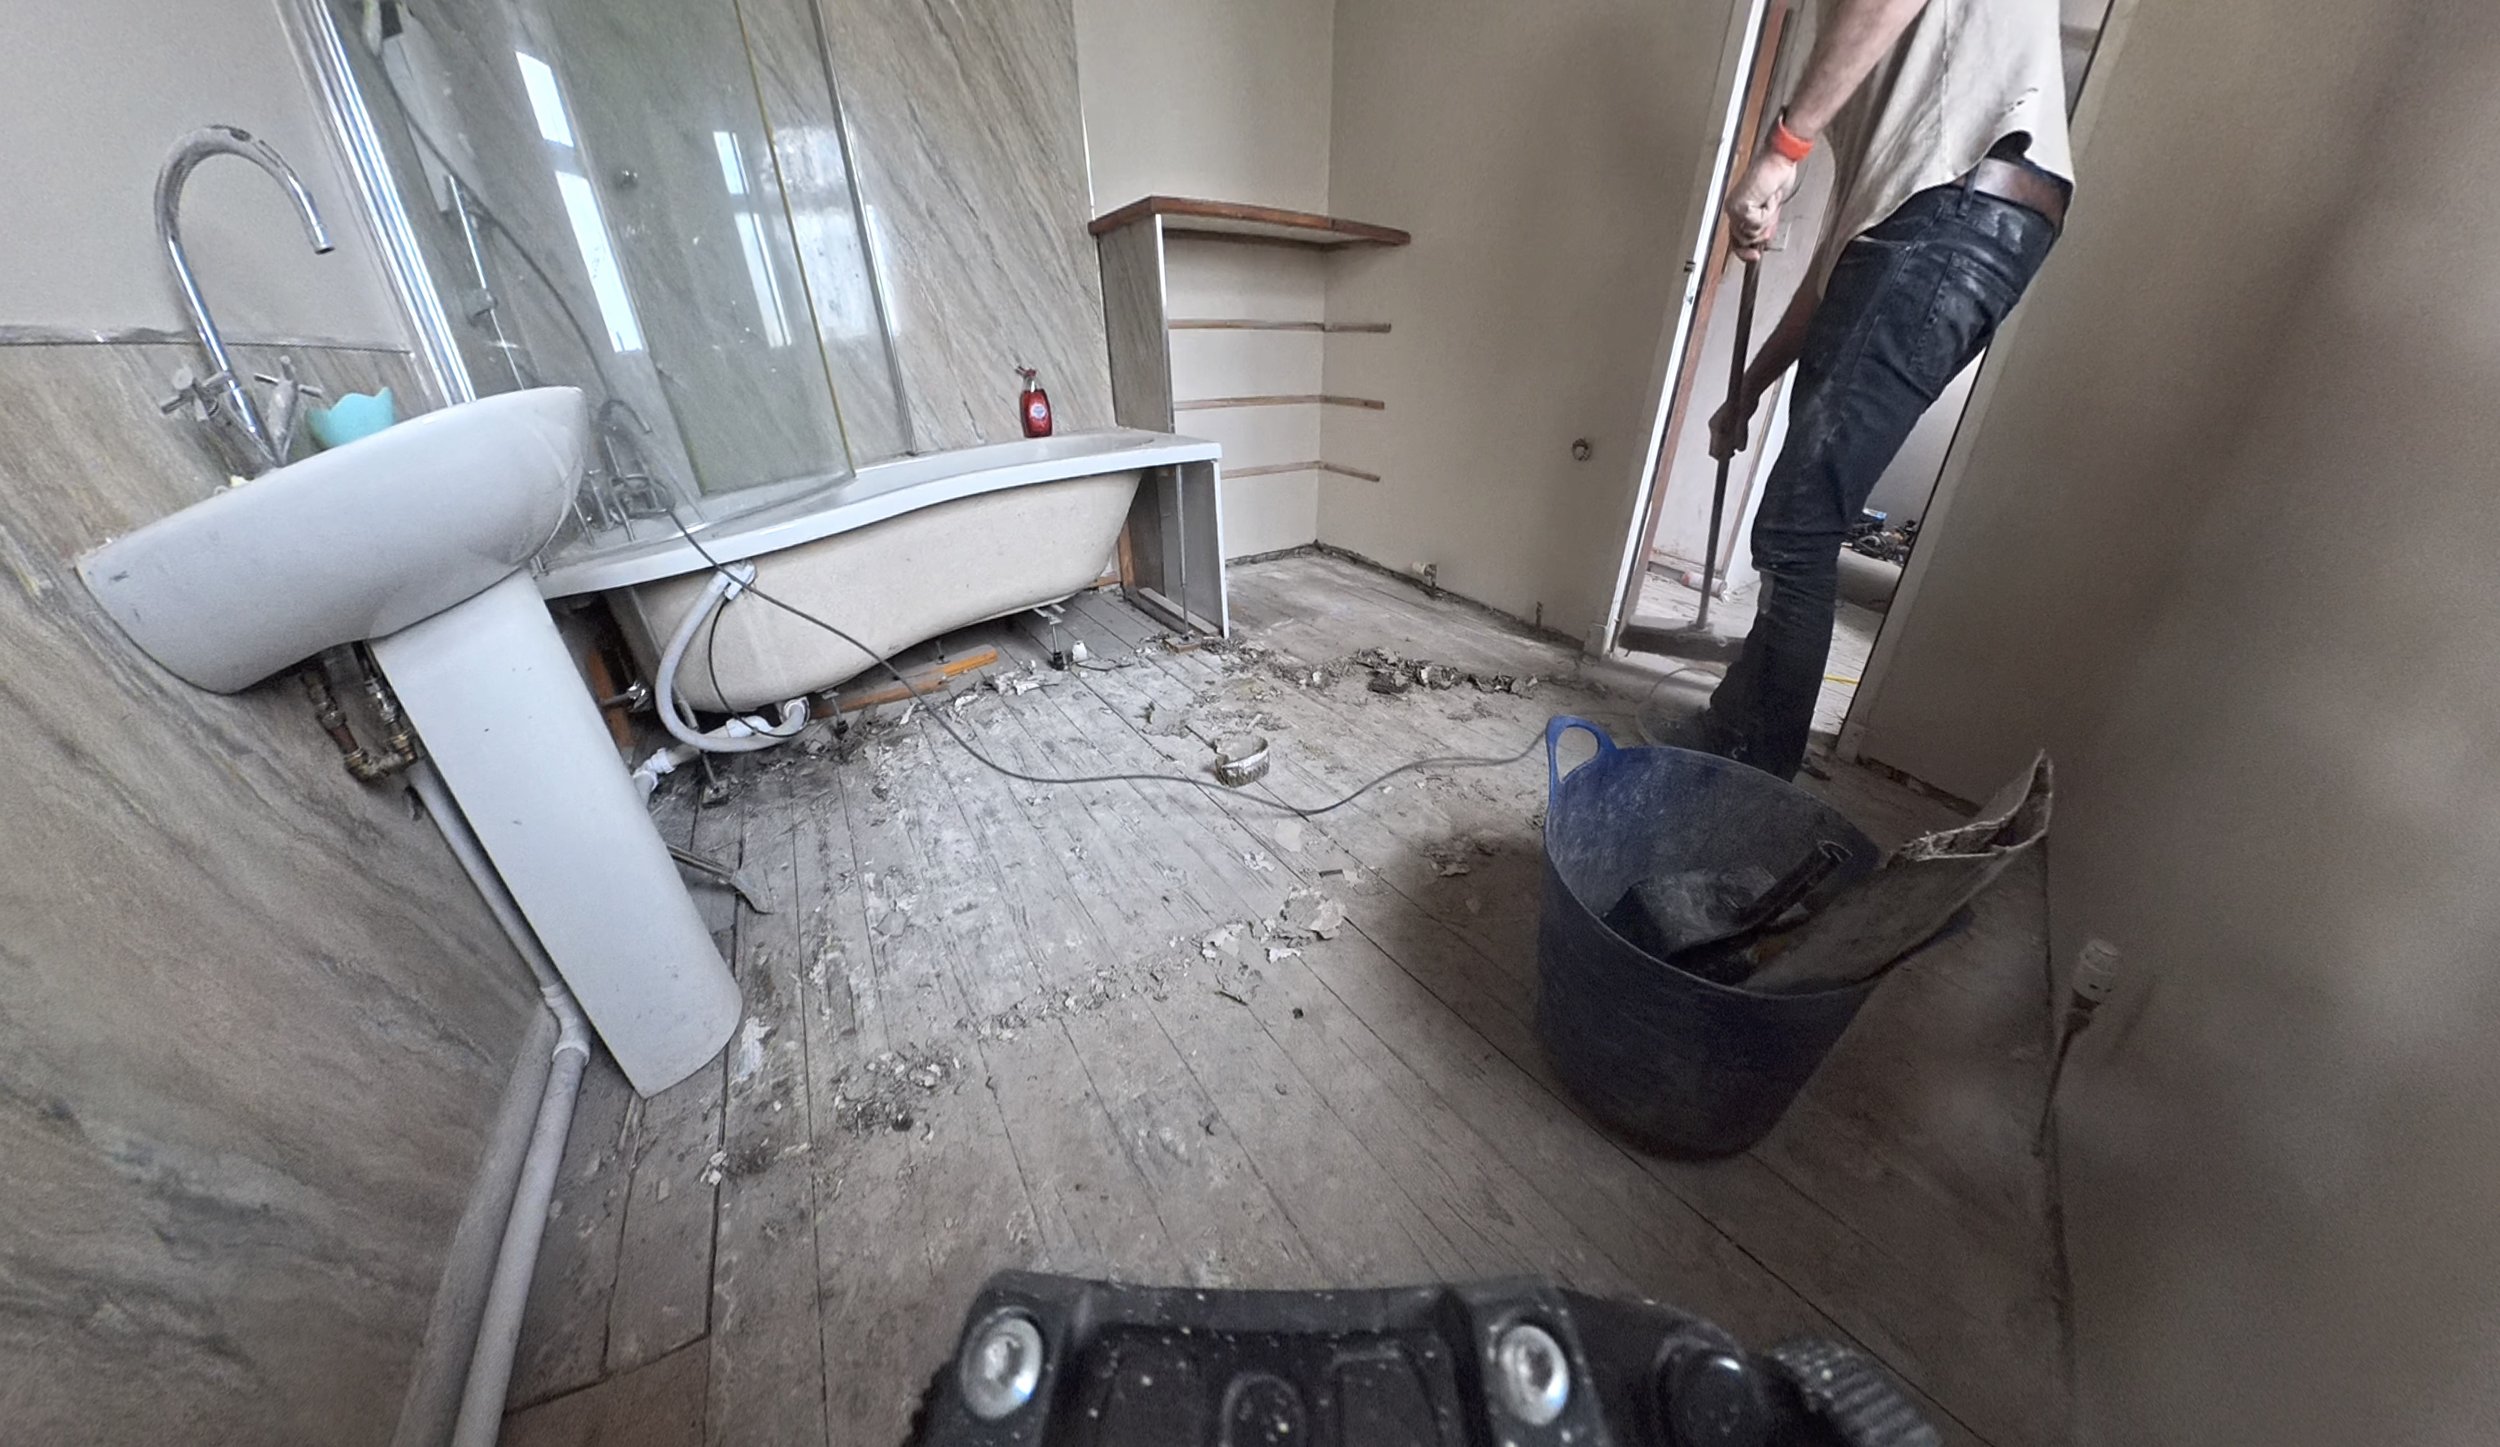

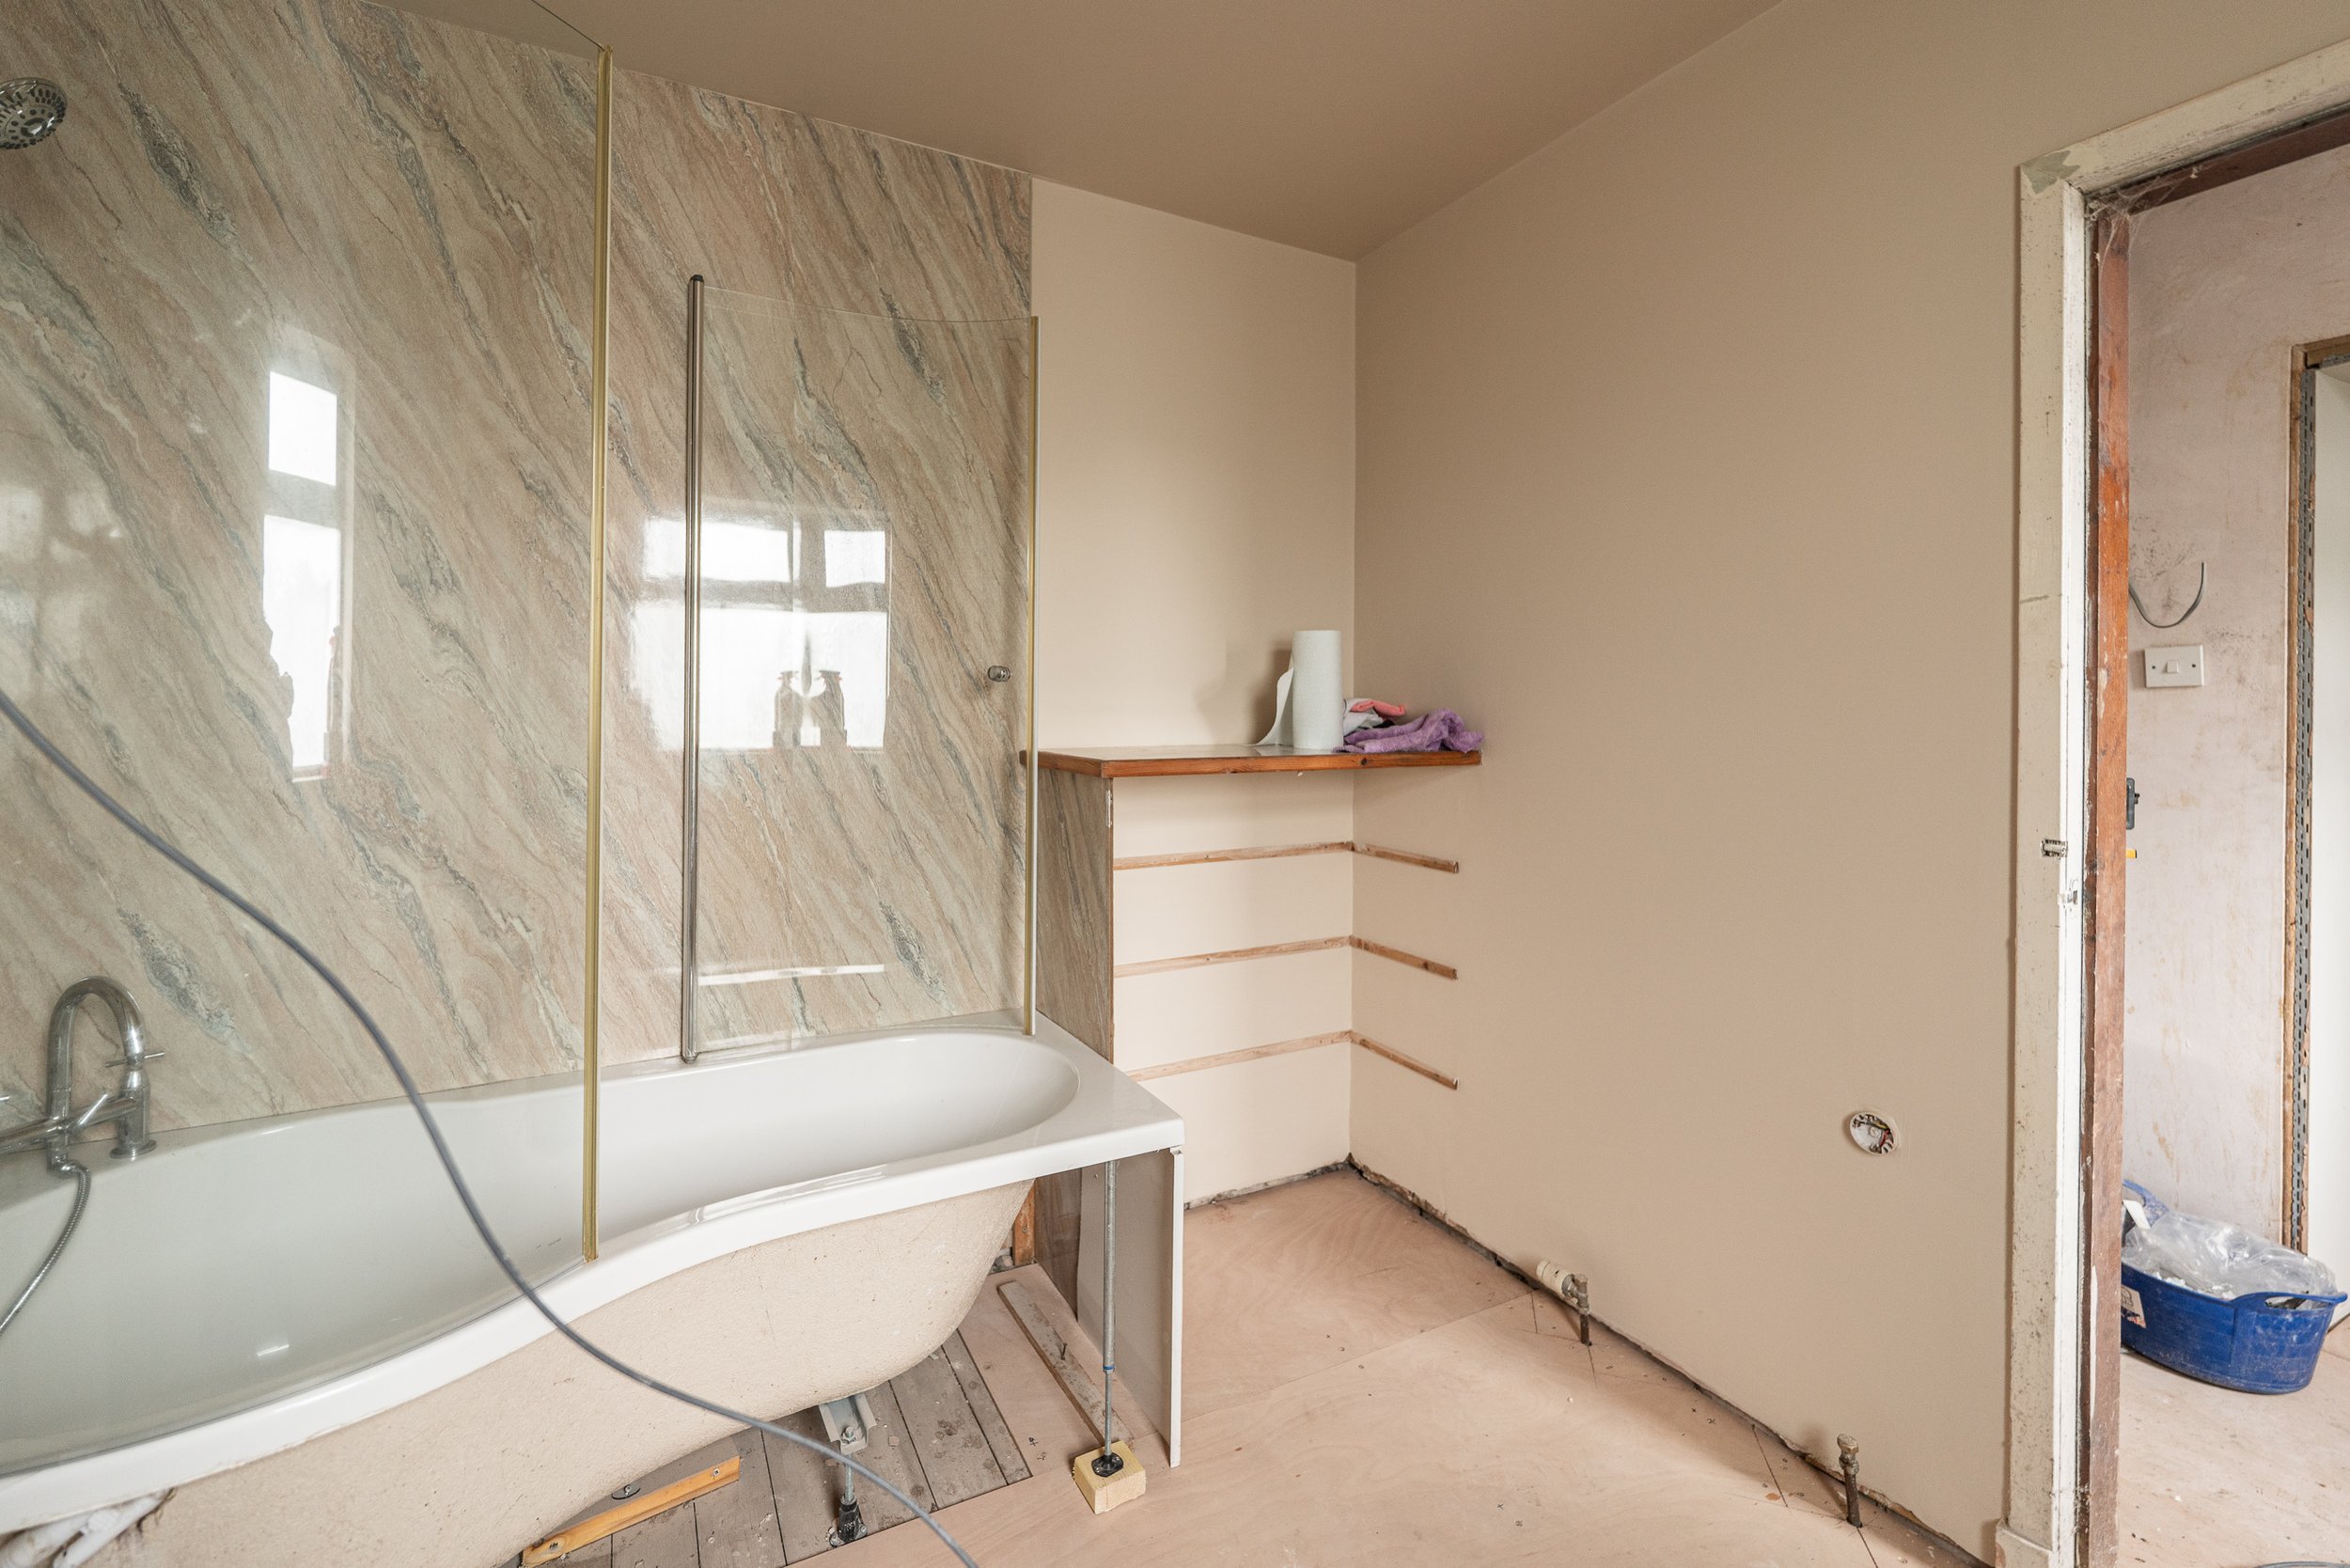
Next up was boxing in. Because the waste pipes were completely removed to be rerouted, the new wastes would be in-room until this room is completely rebuilt later. The in-room pipe needed boxing and Dan used ply, adhesive and a finishing nail gun to complete the boxing for the sink and shower waste that connects to the general waste pipe outside of the room, through a new hole in the wall.
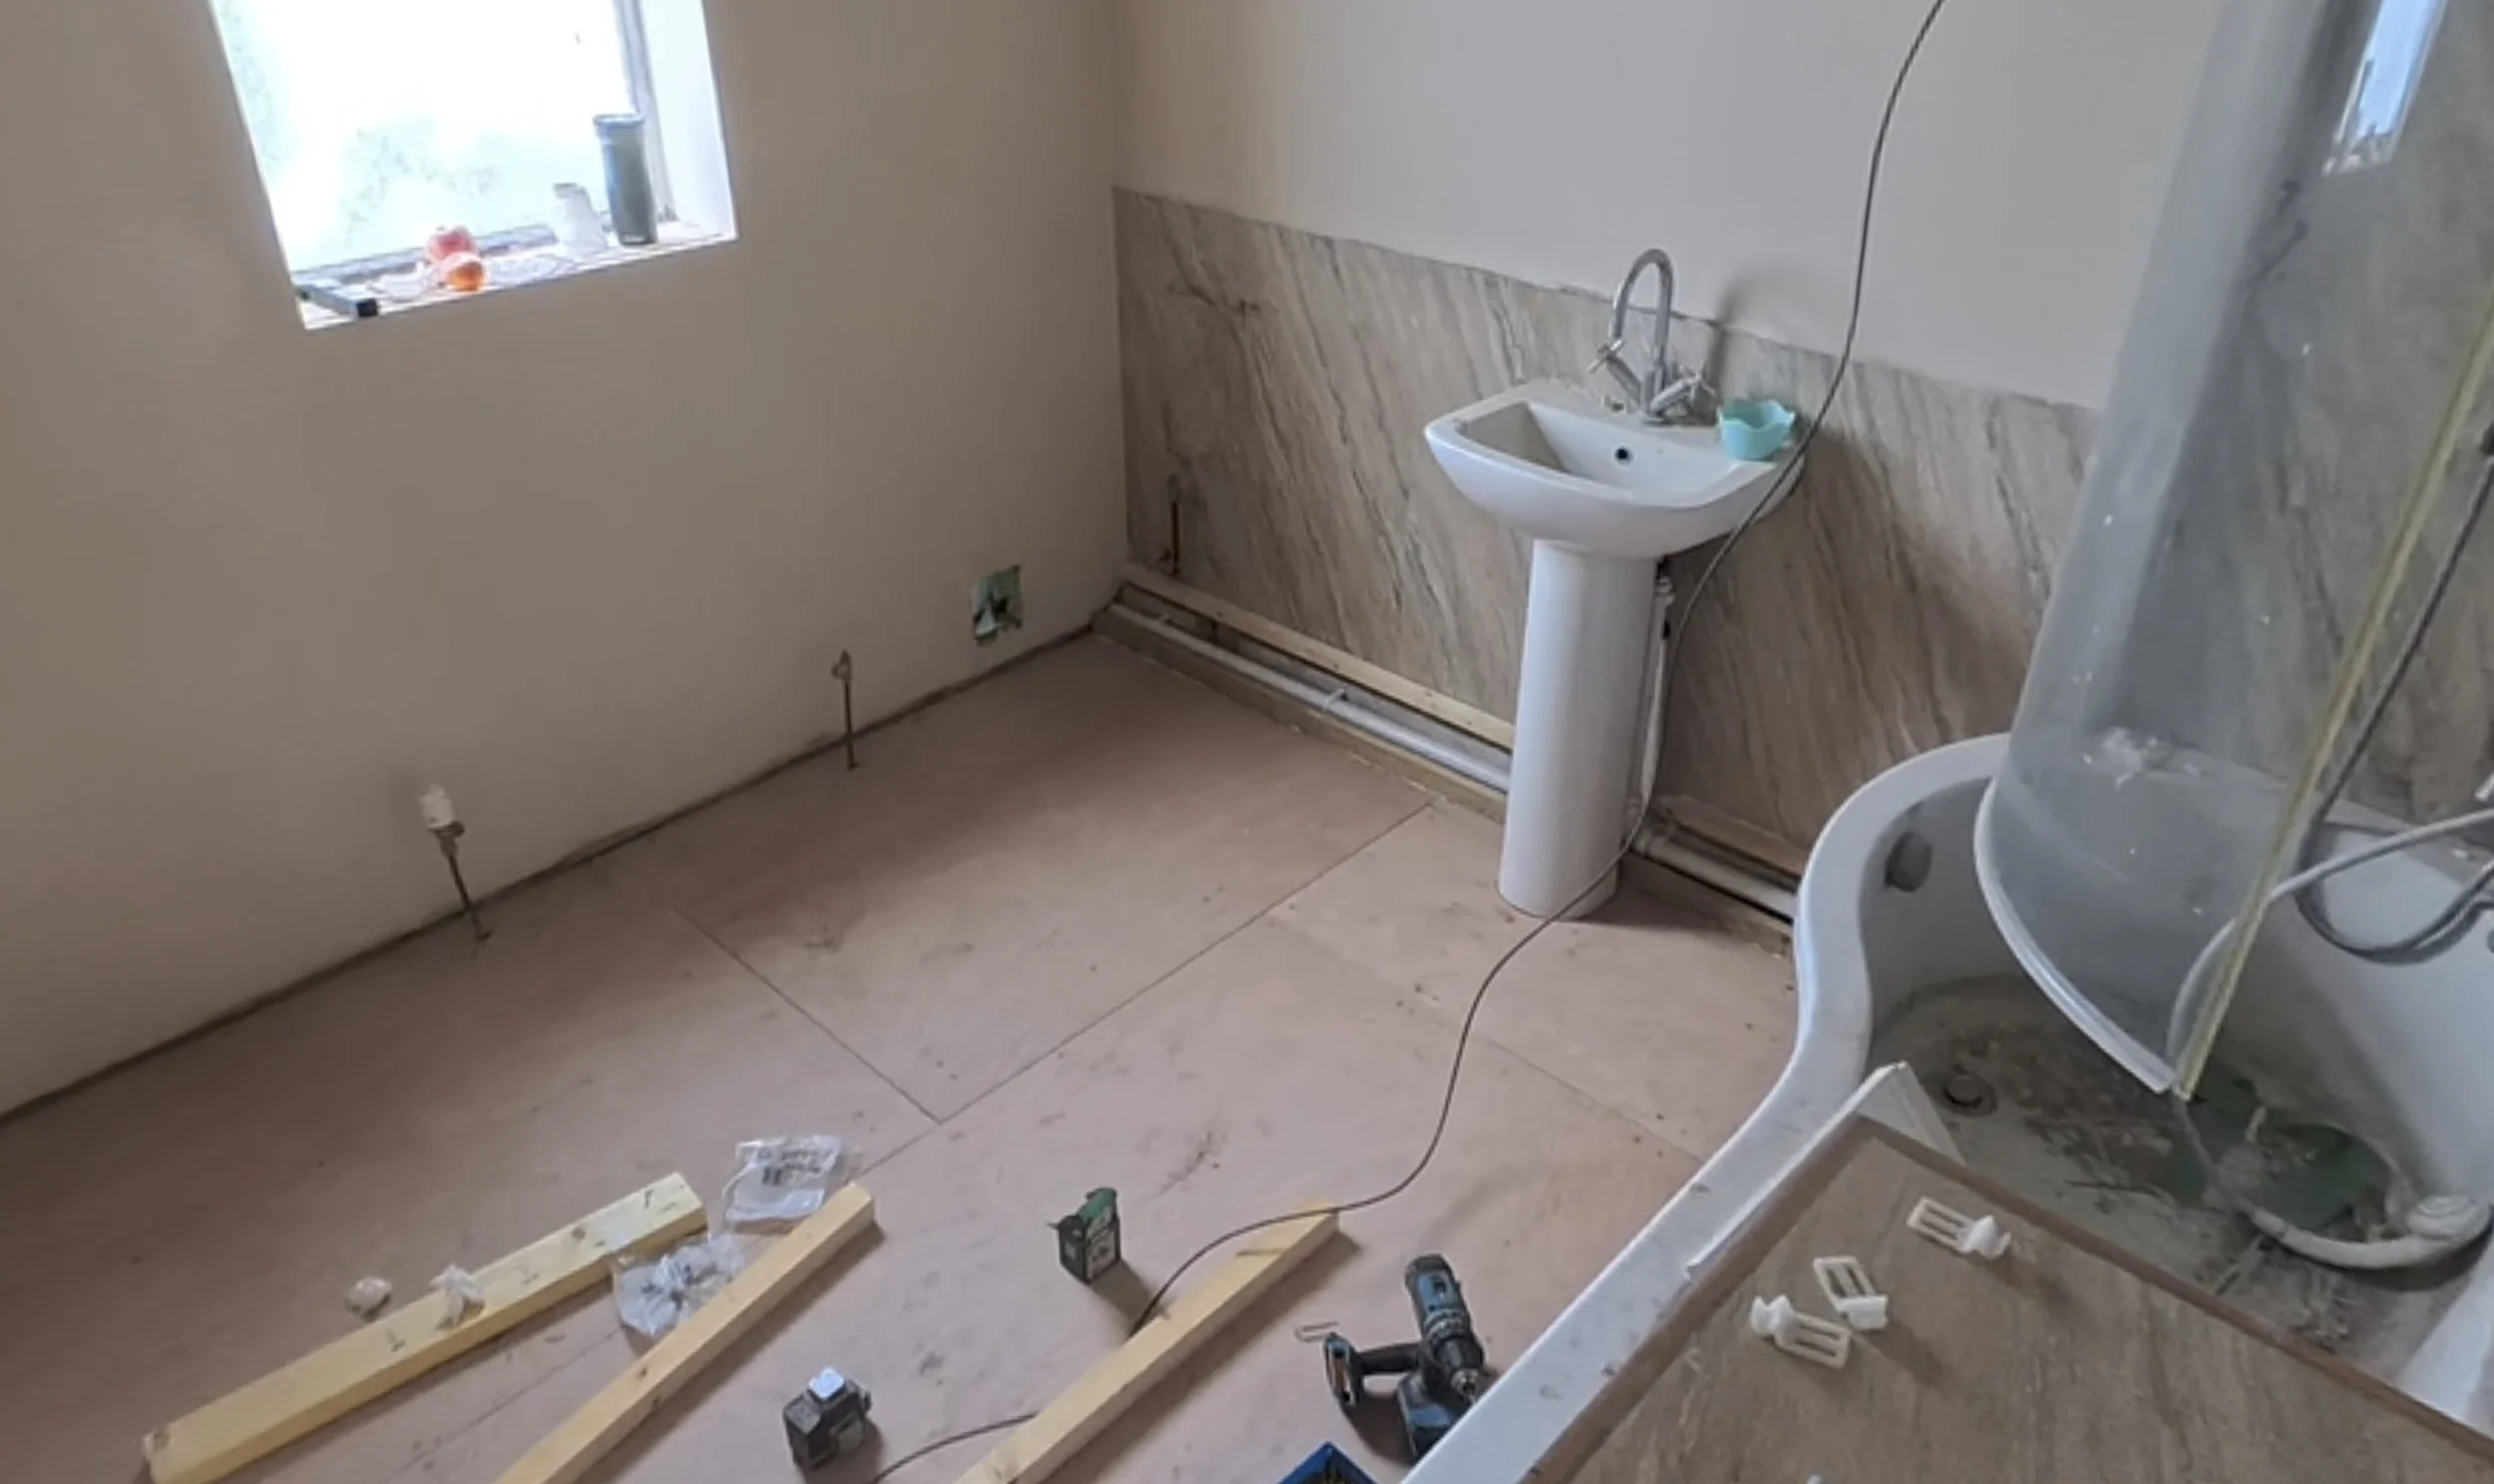
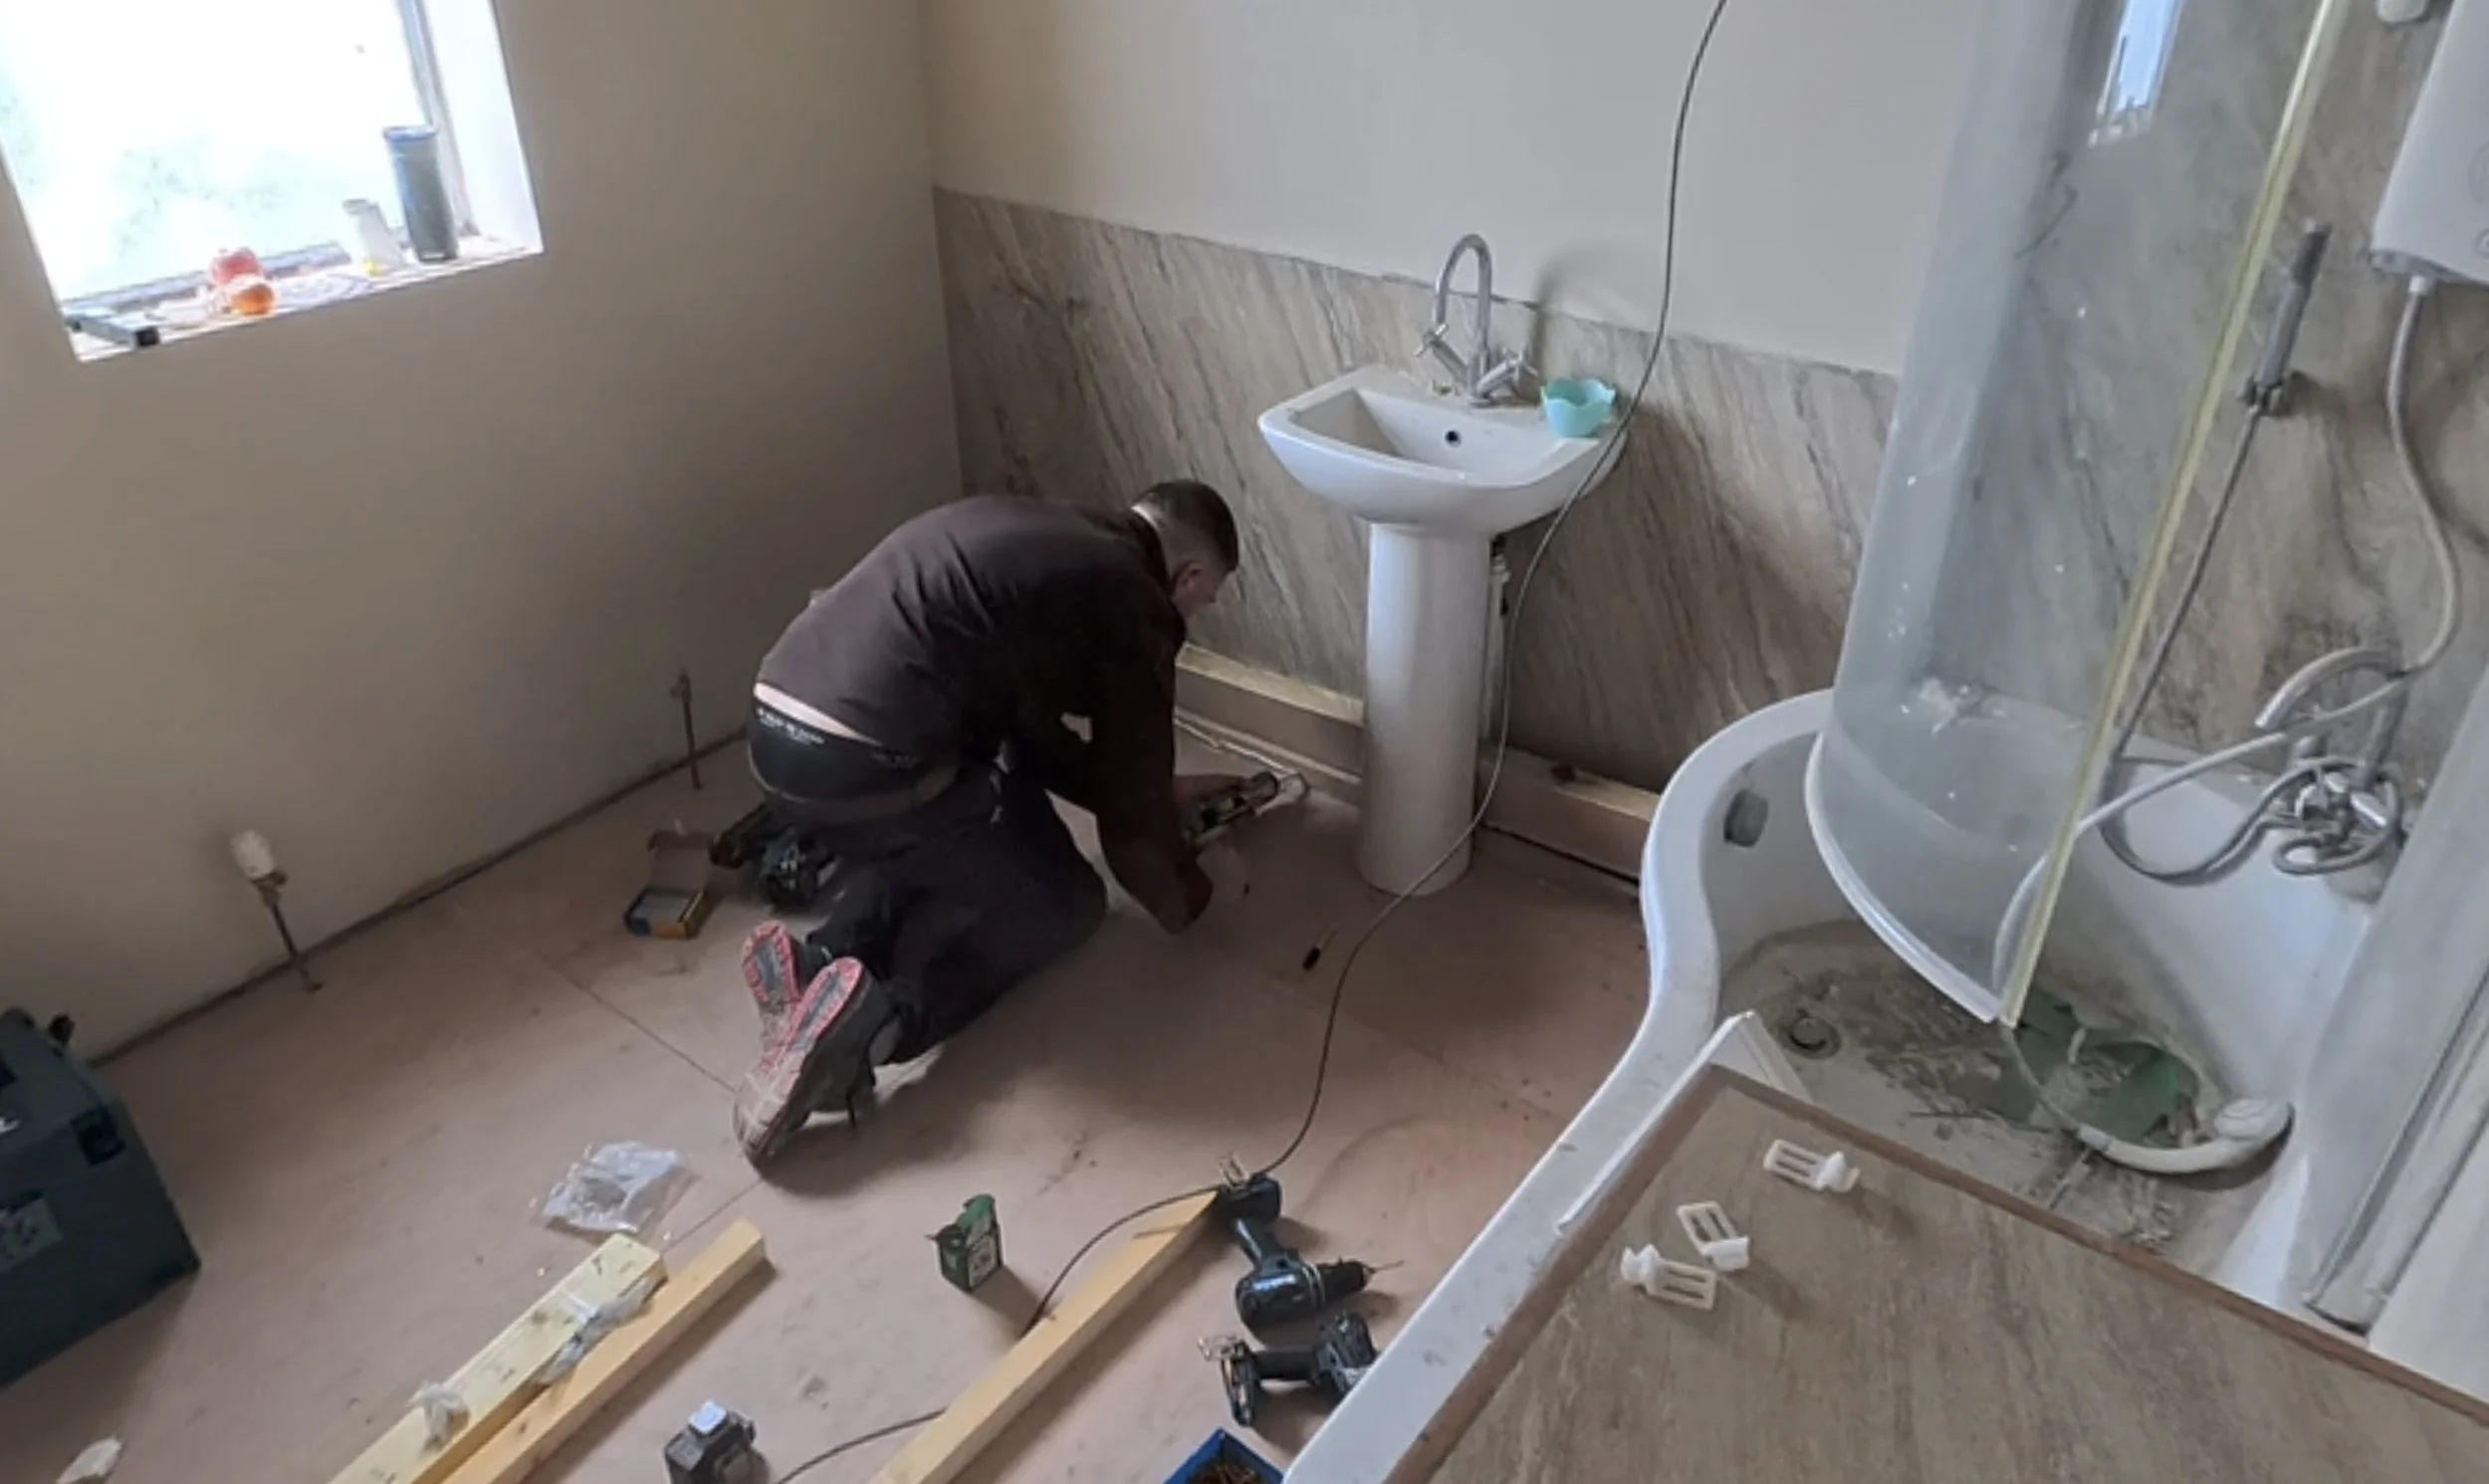
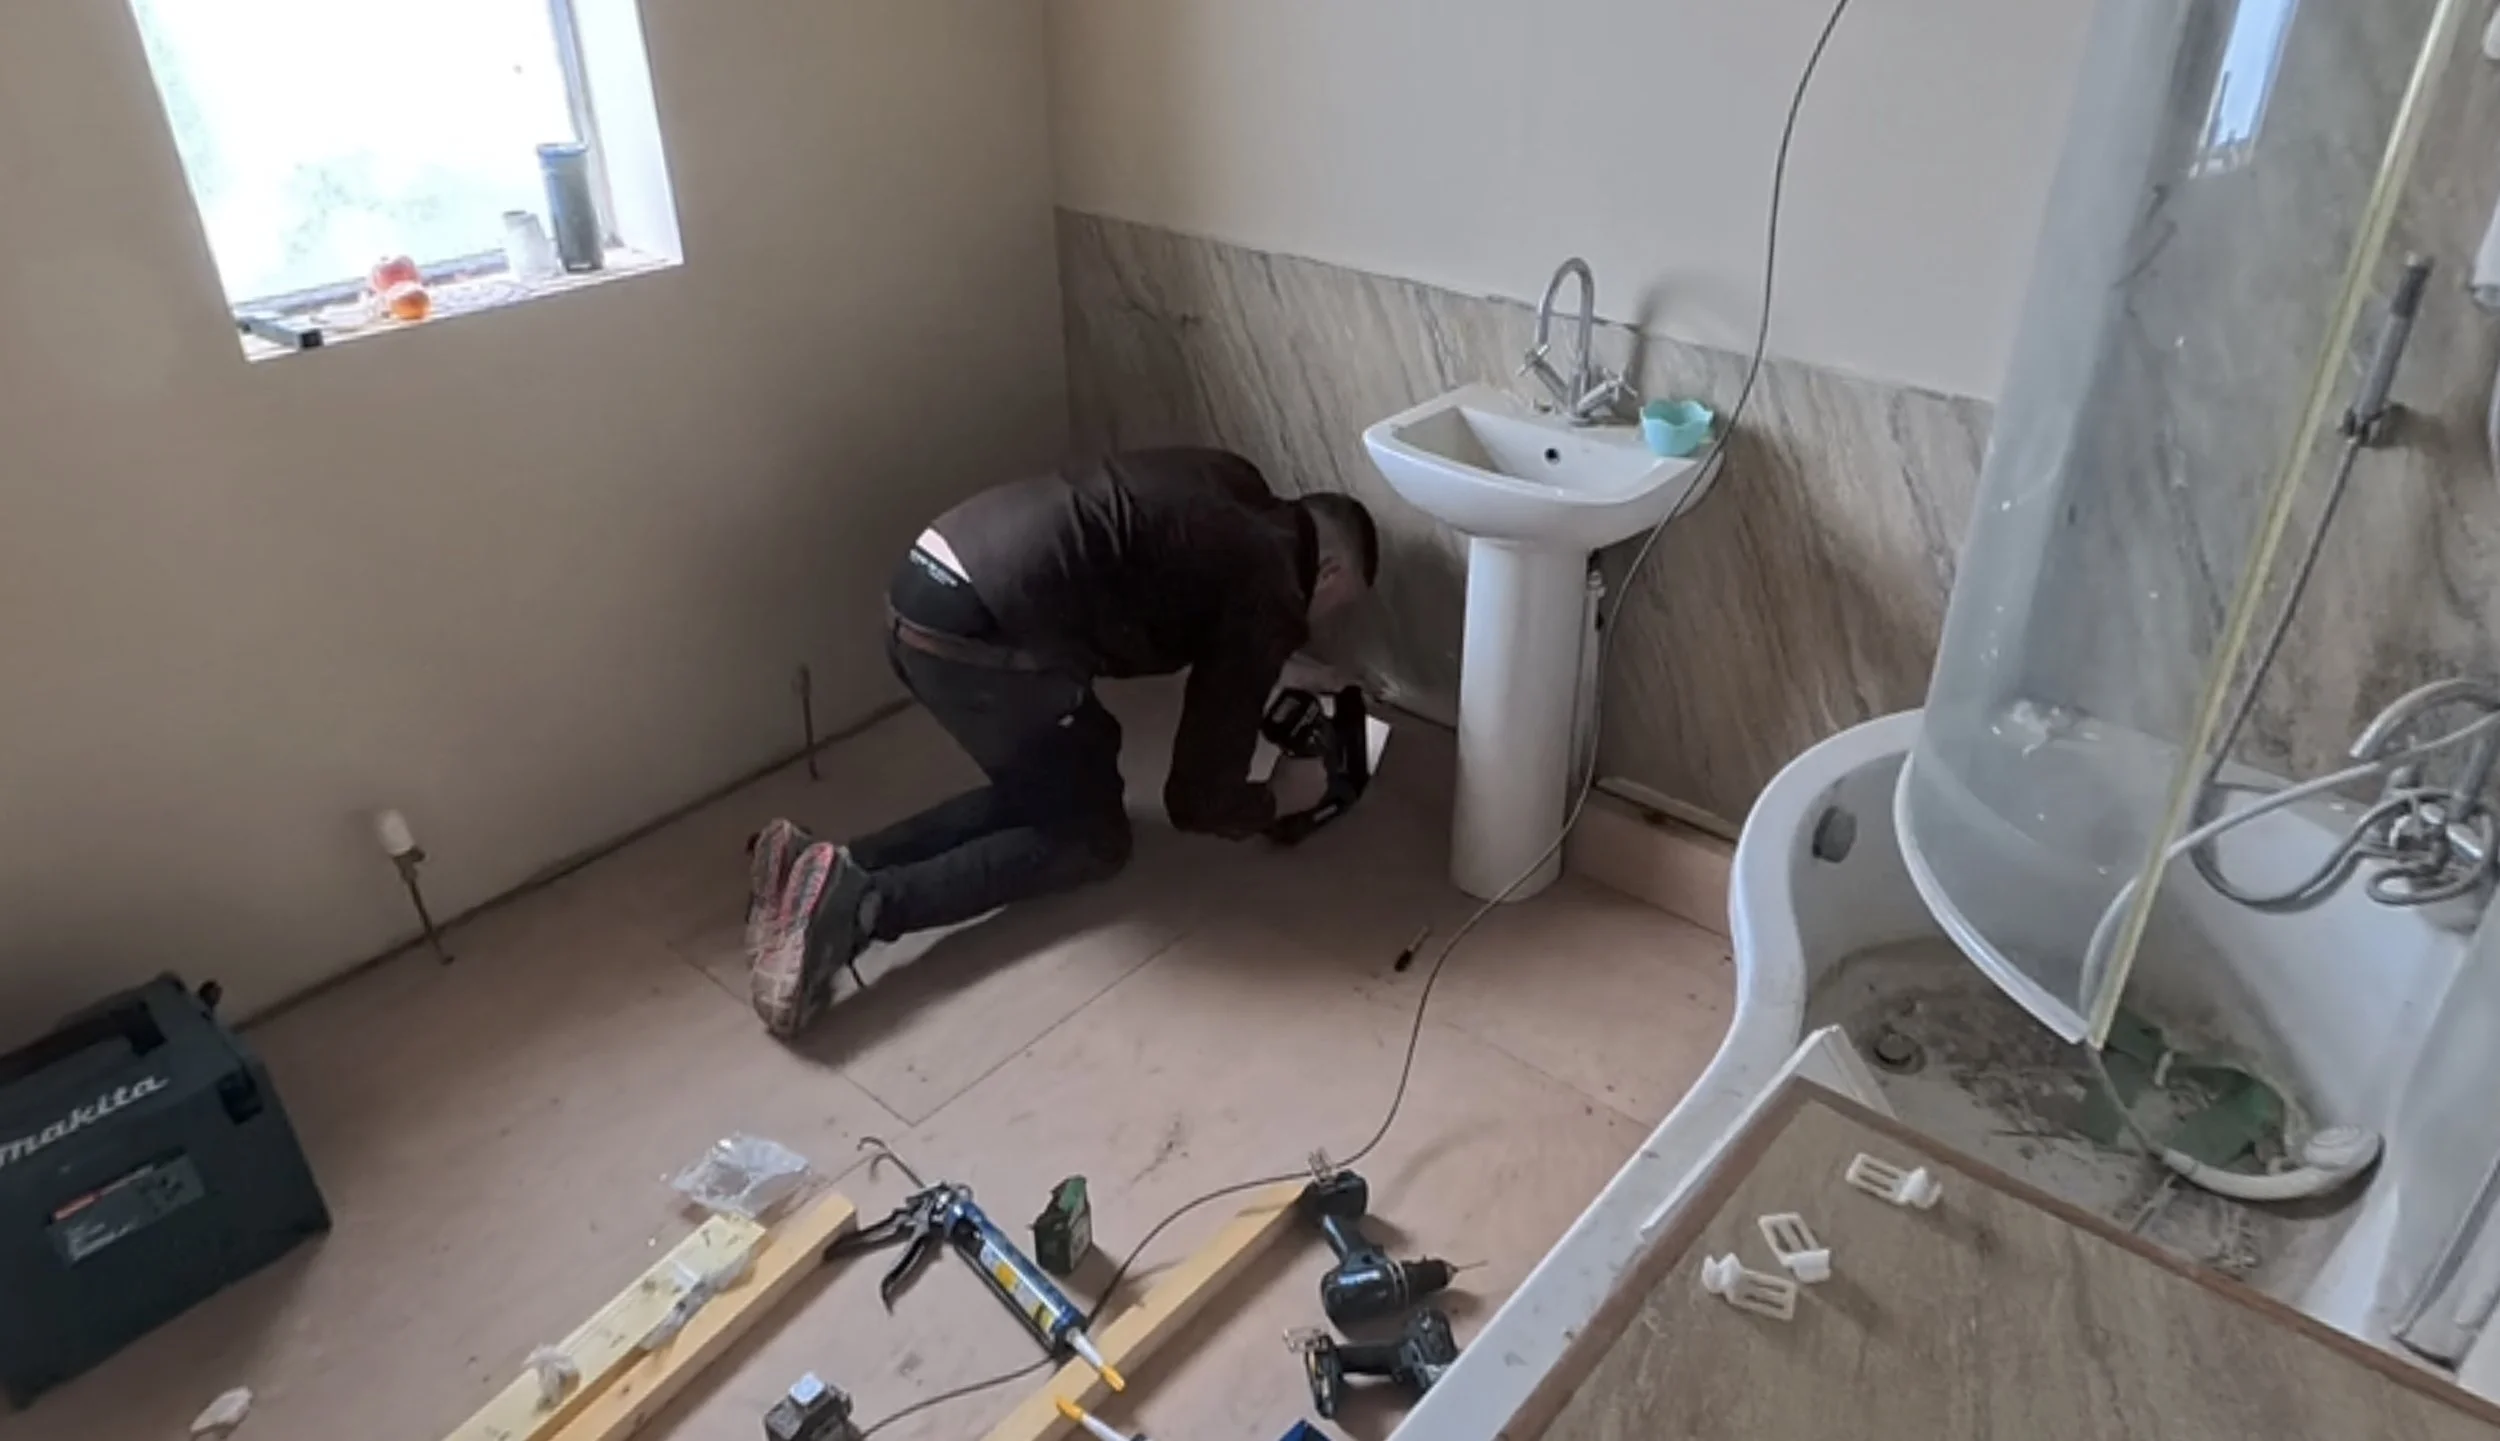
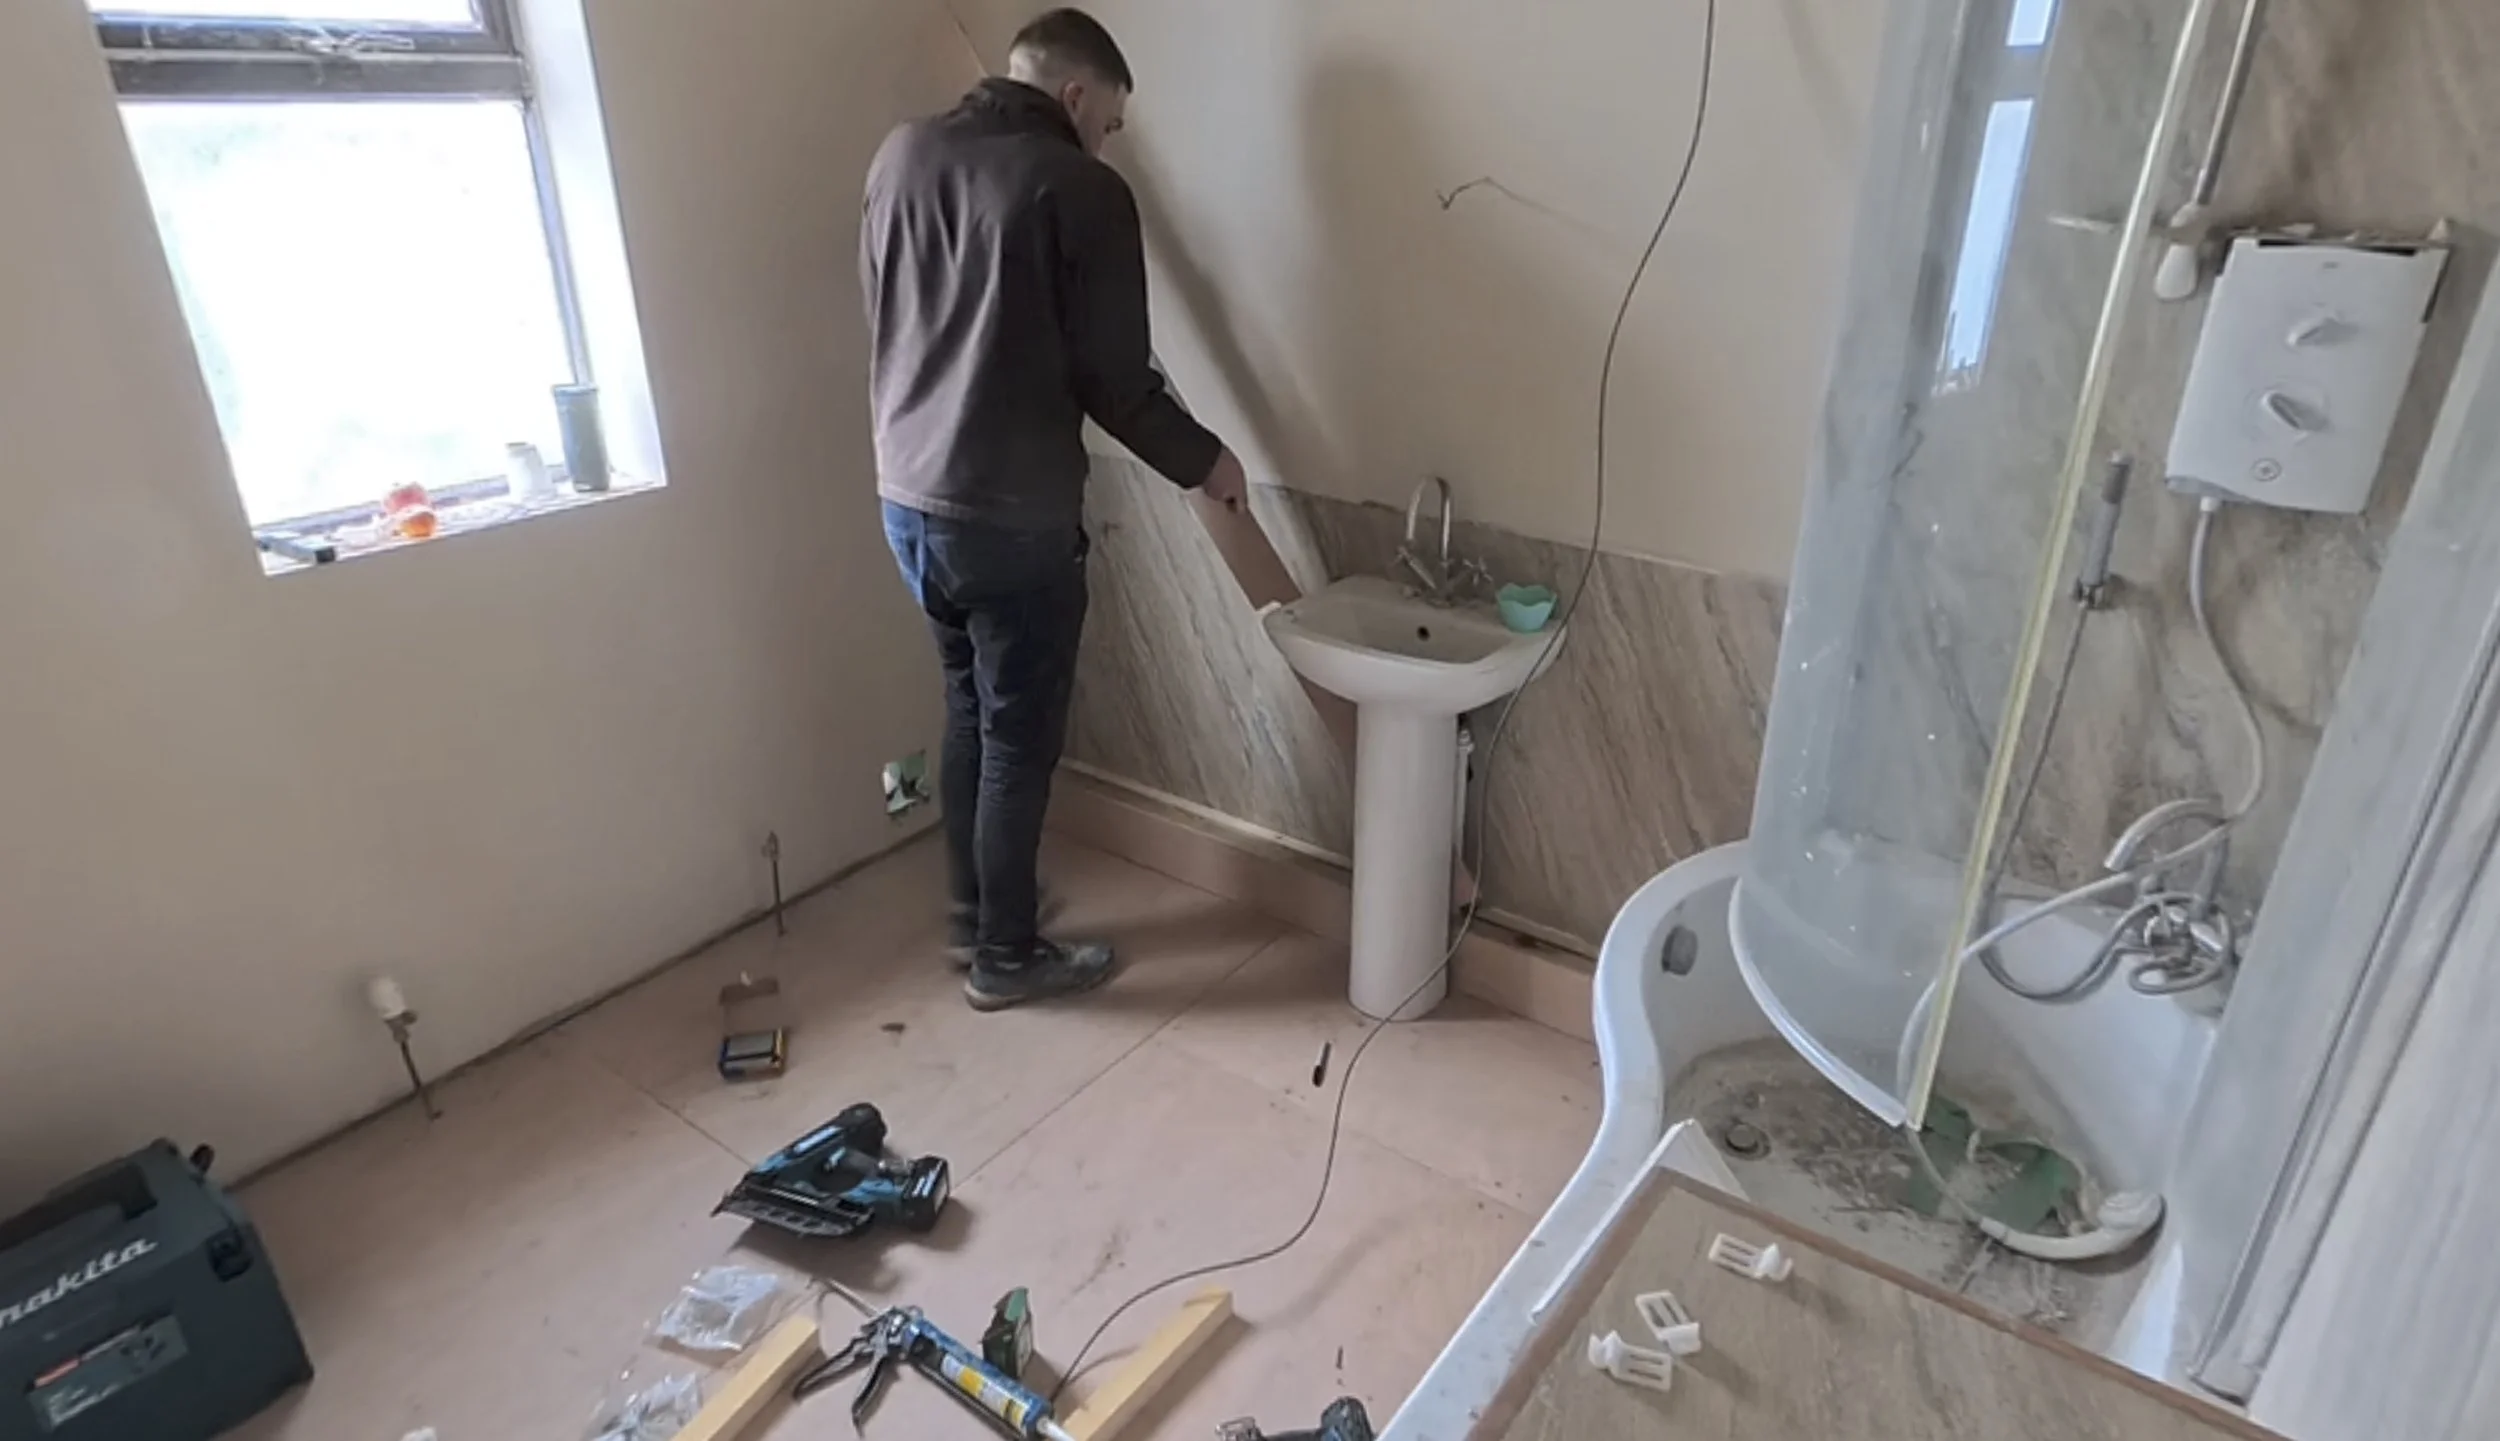
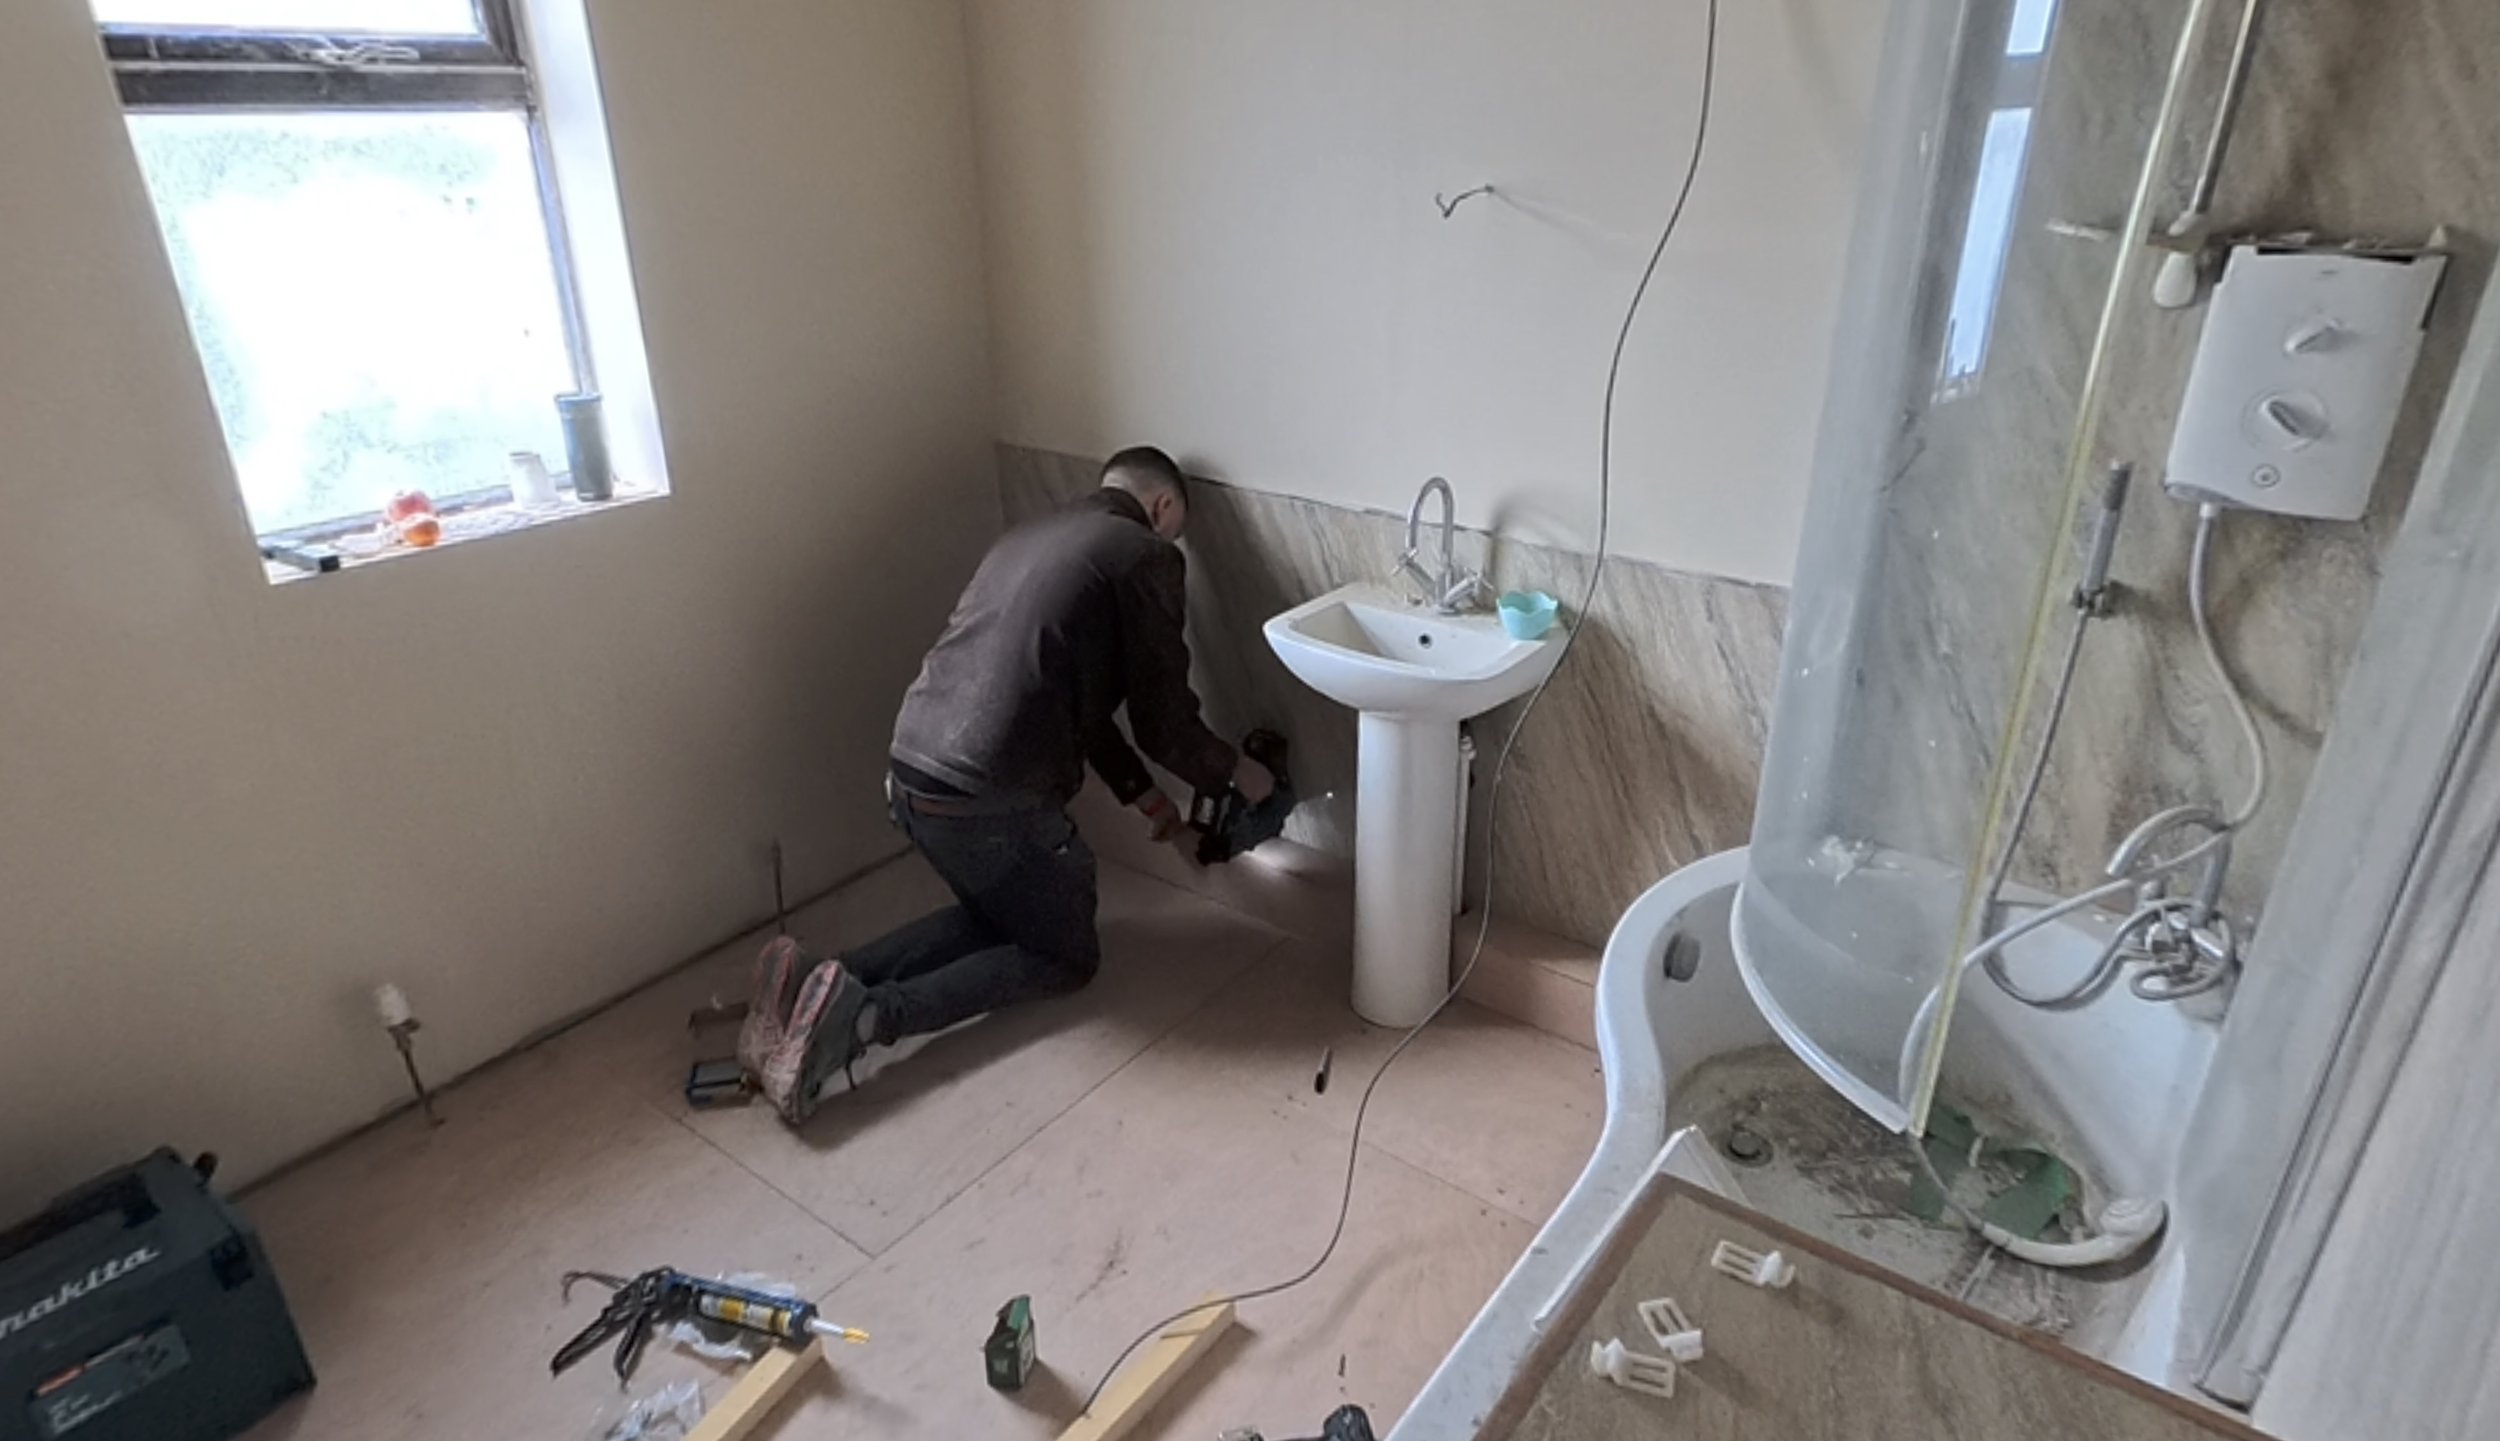
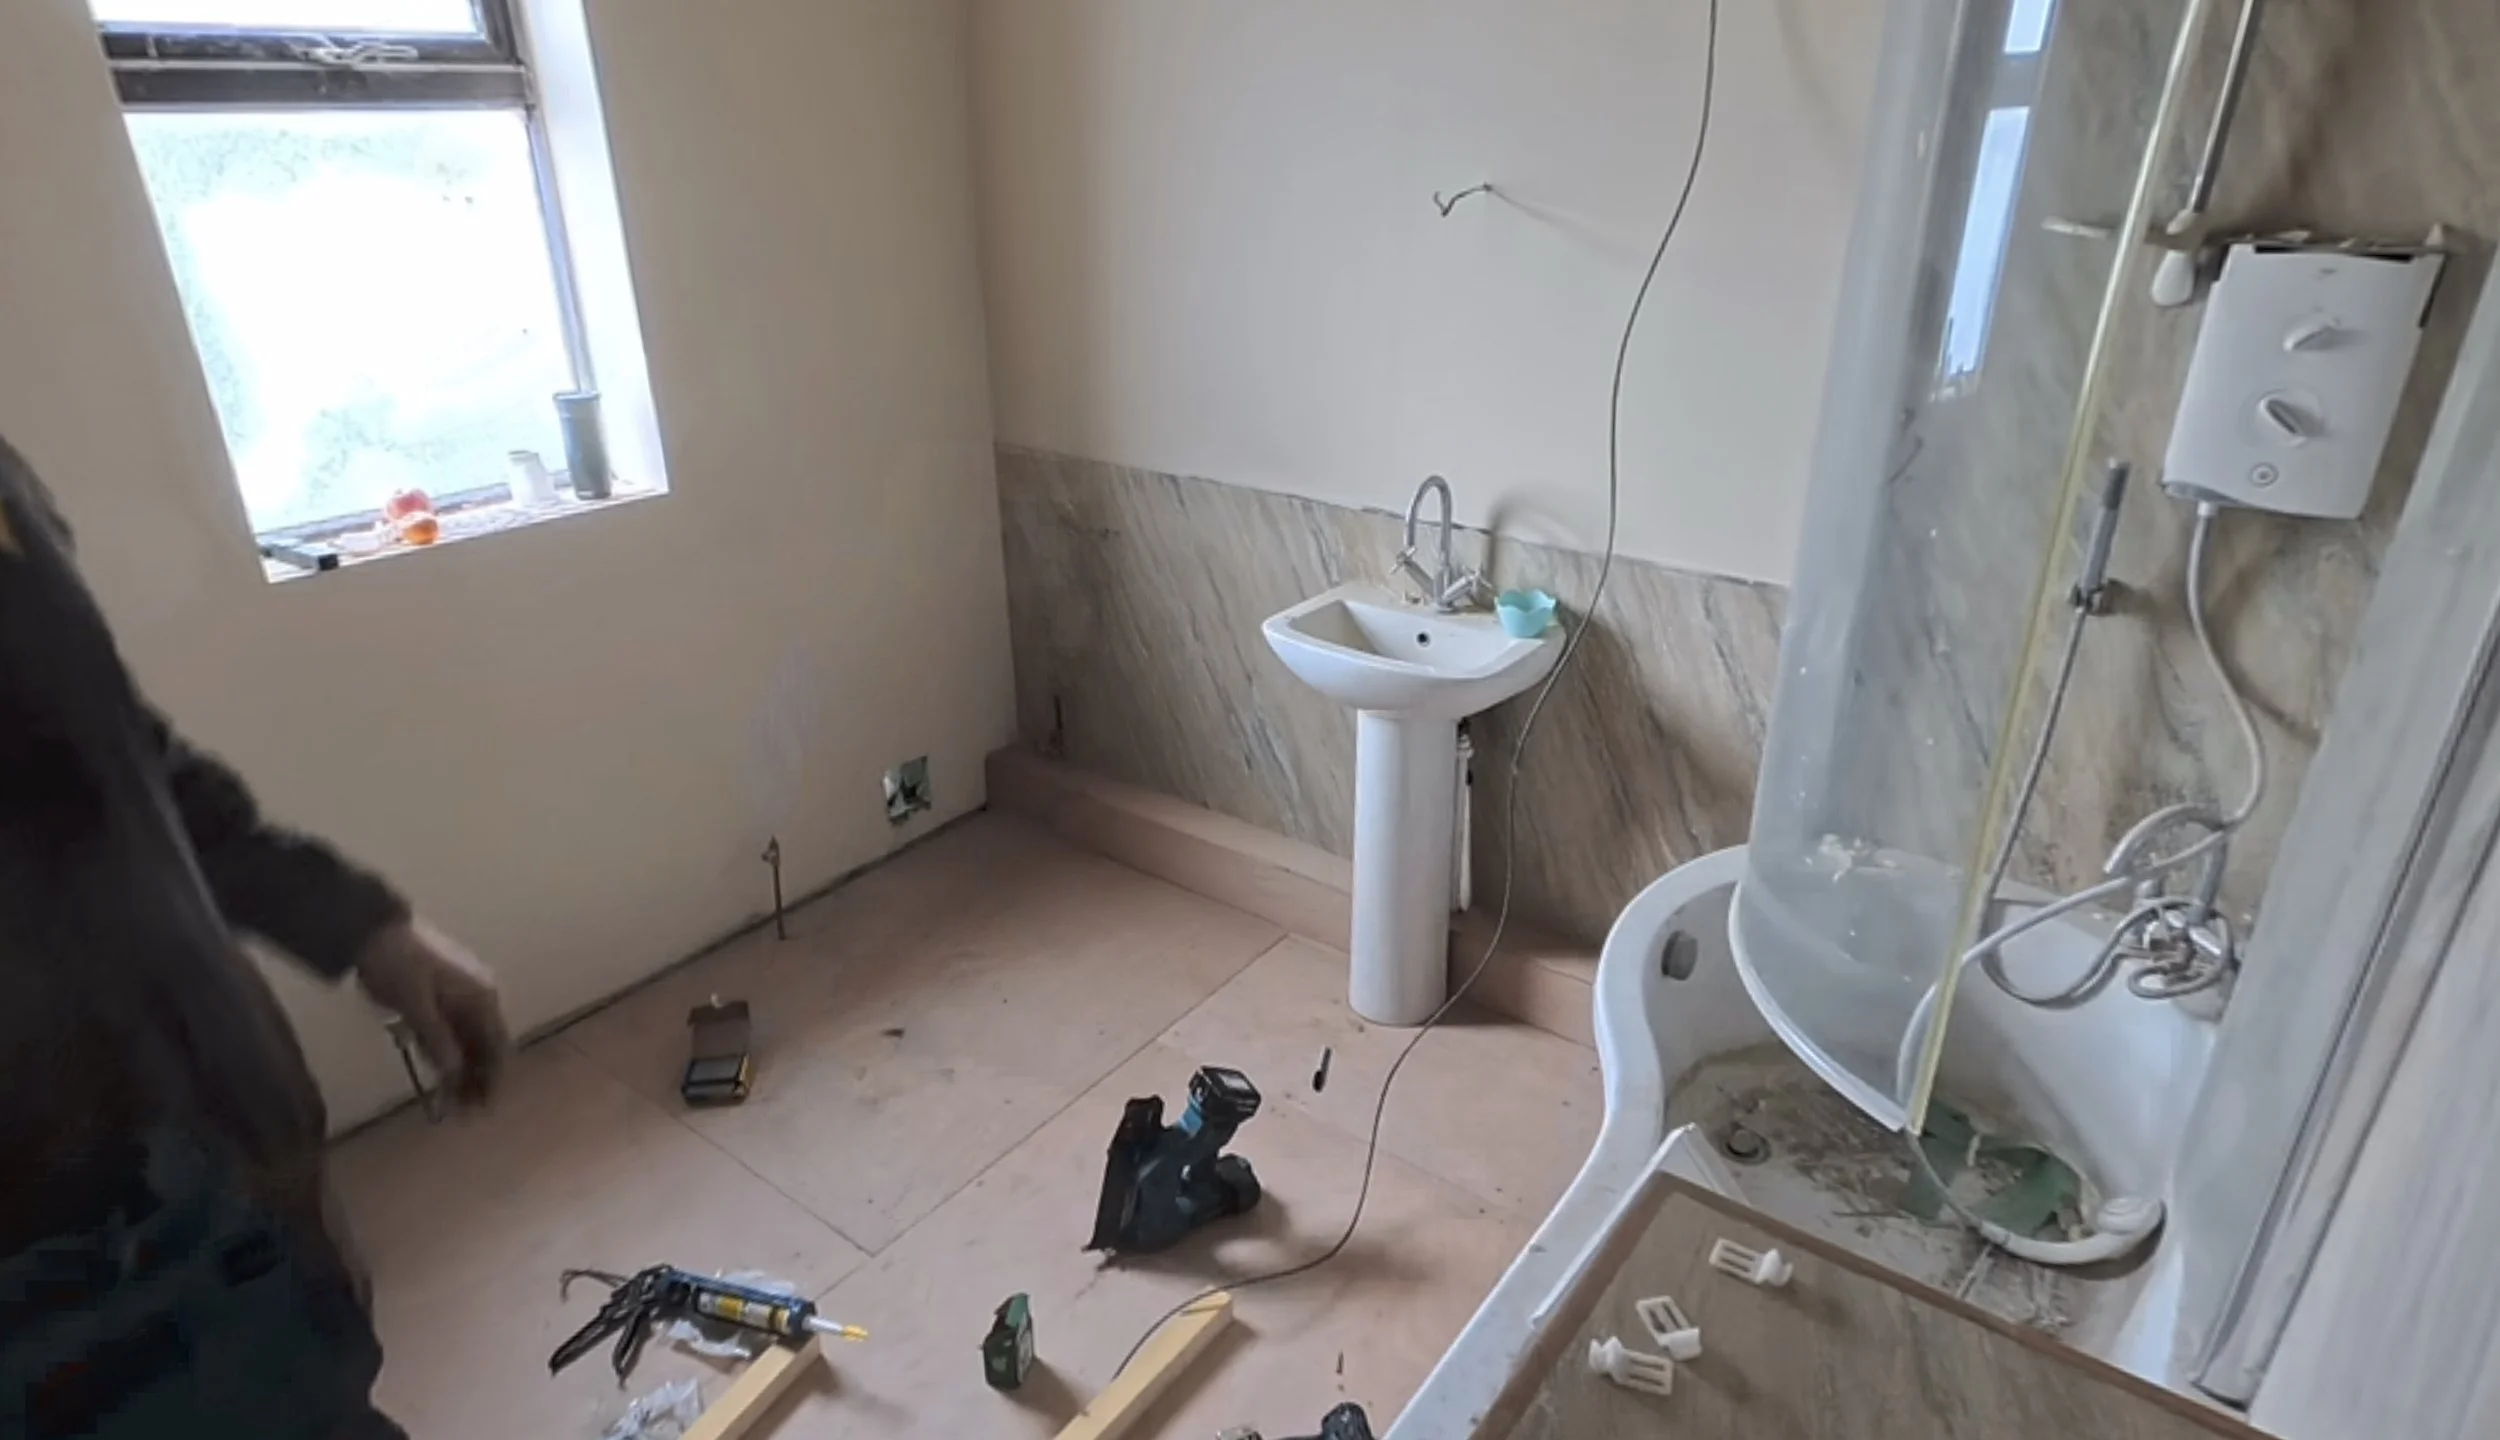
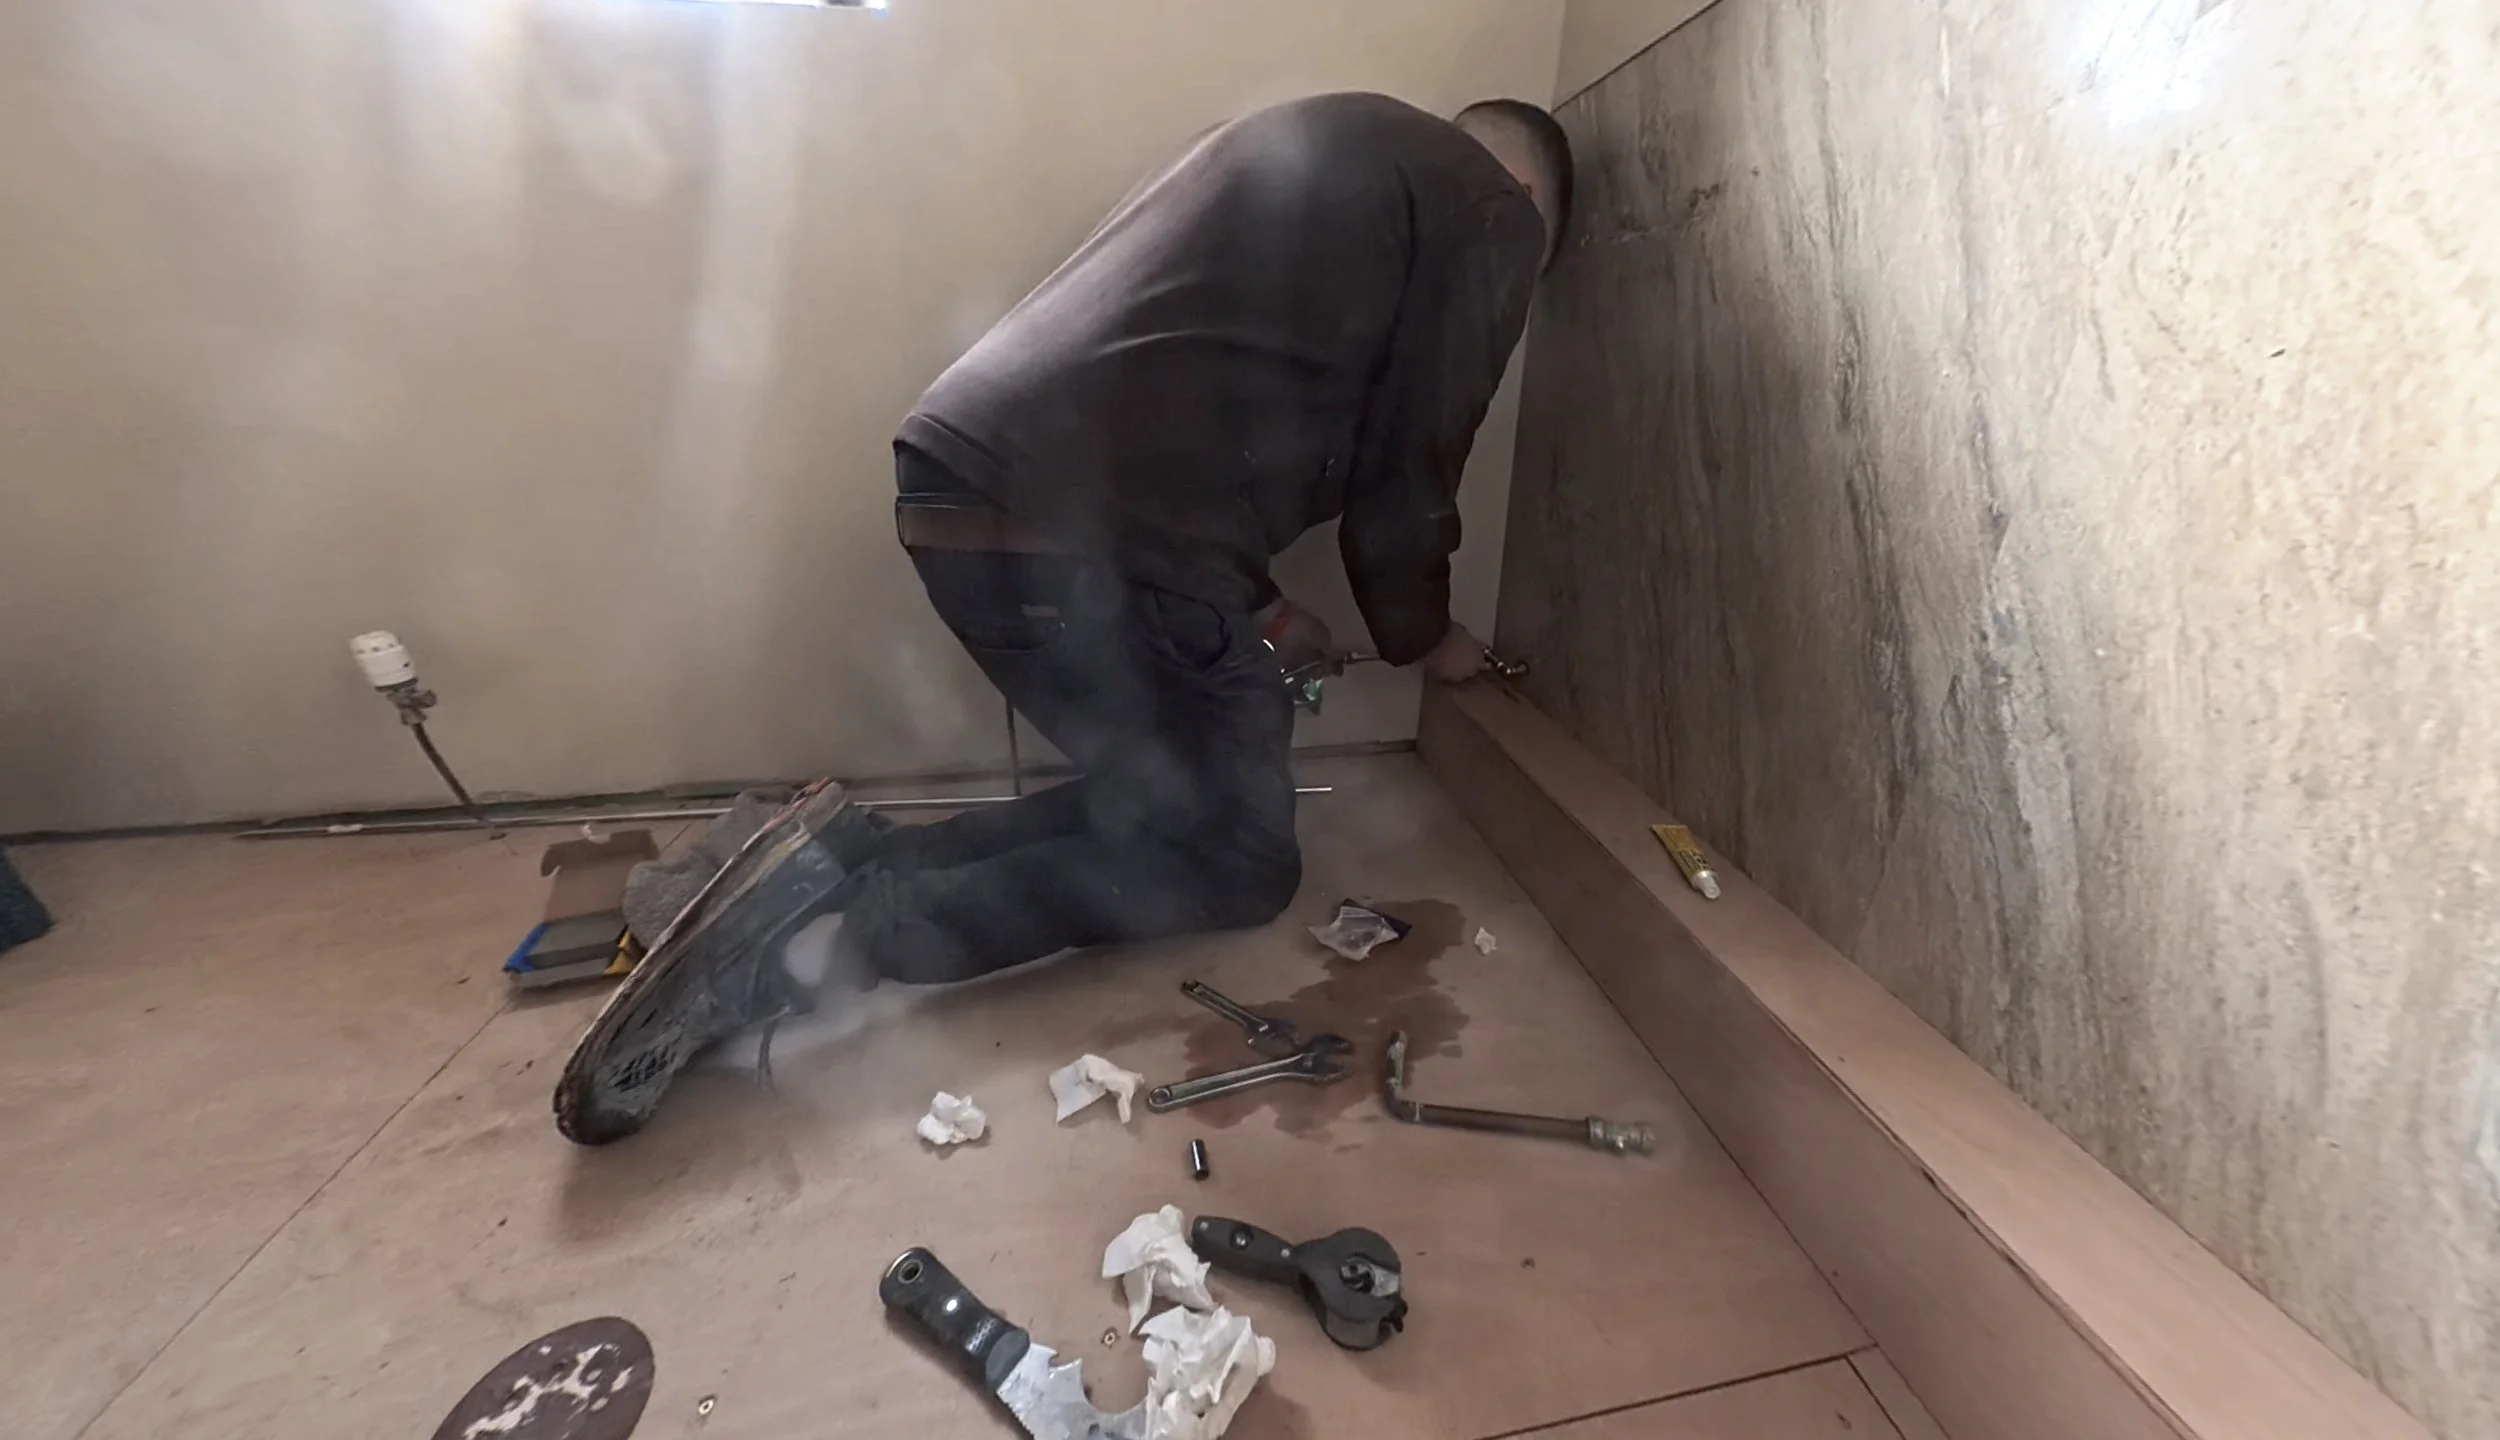
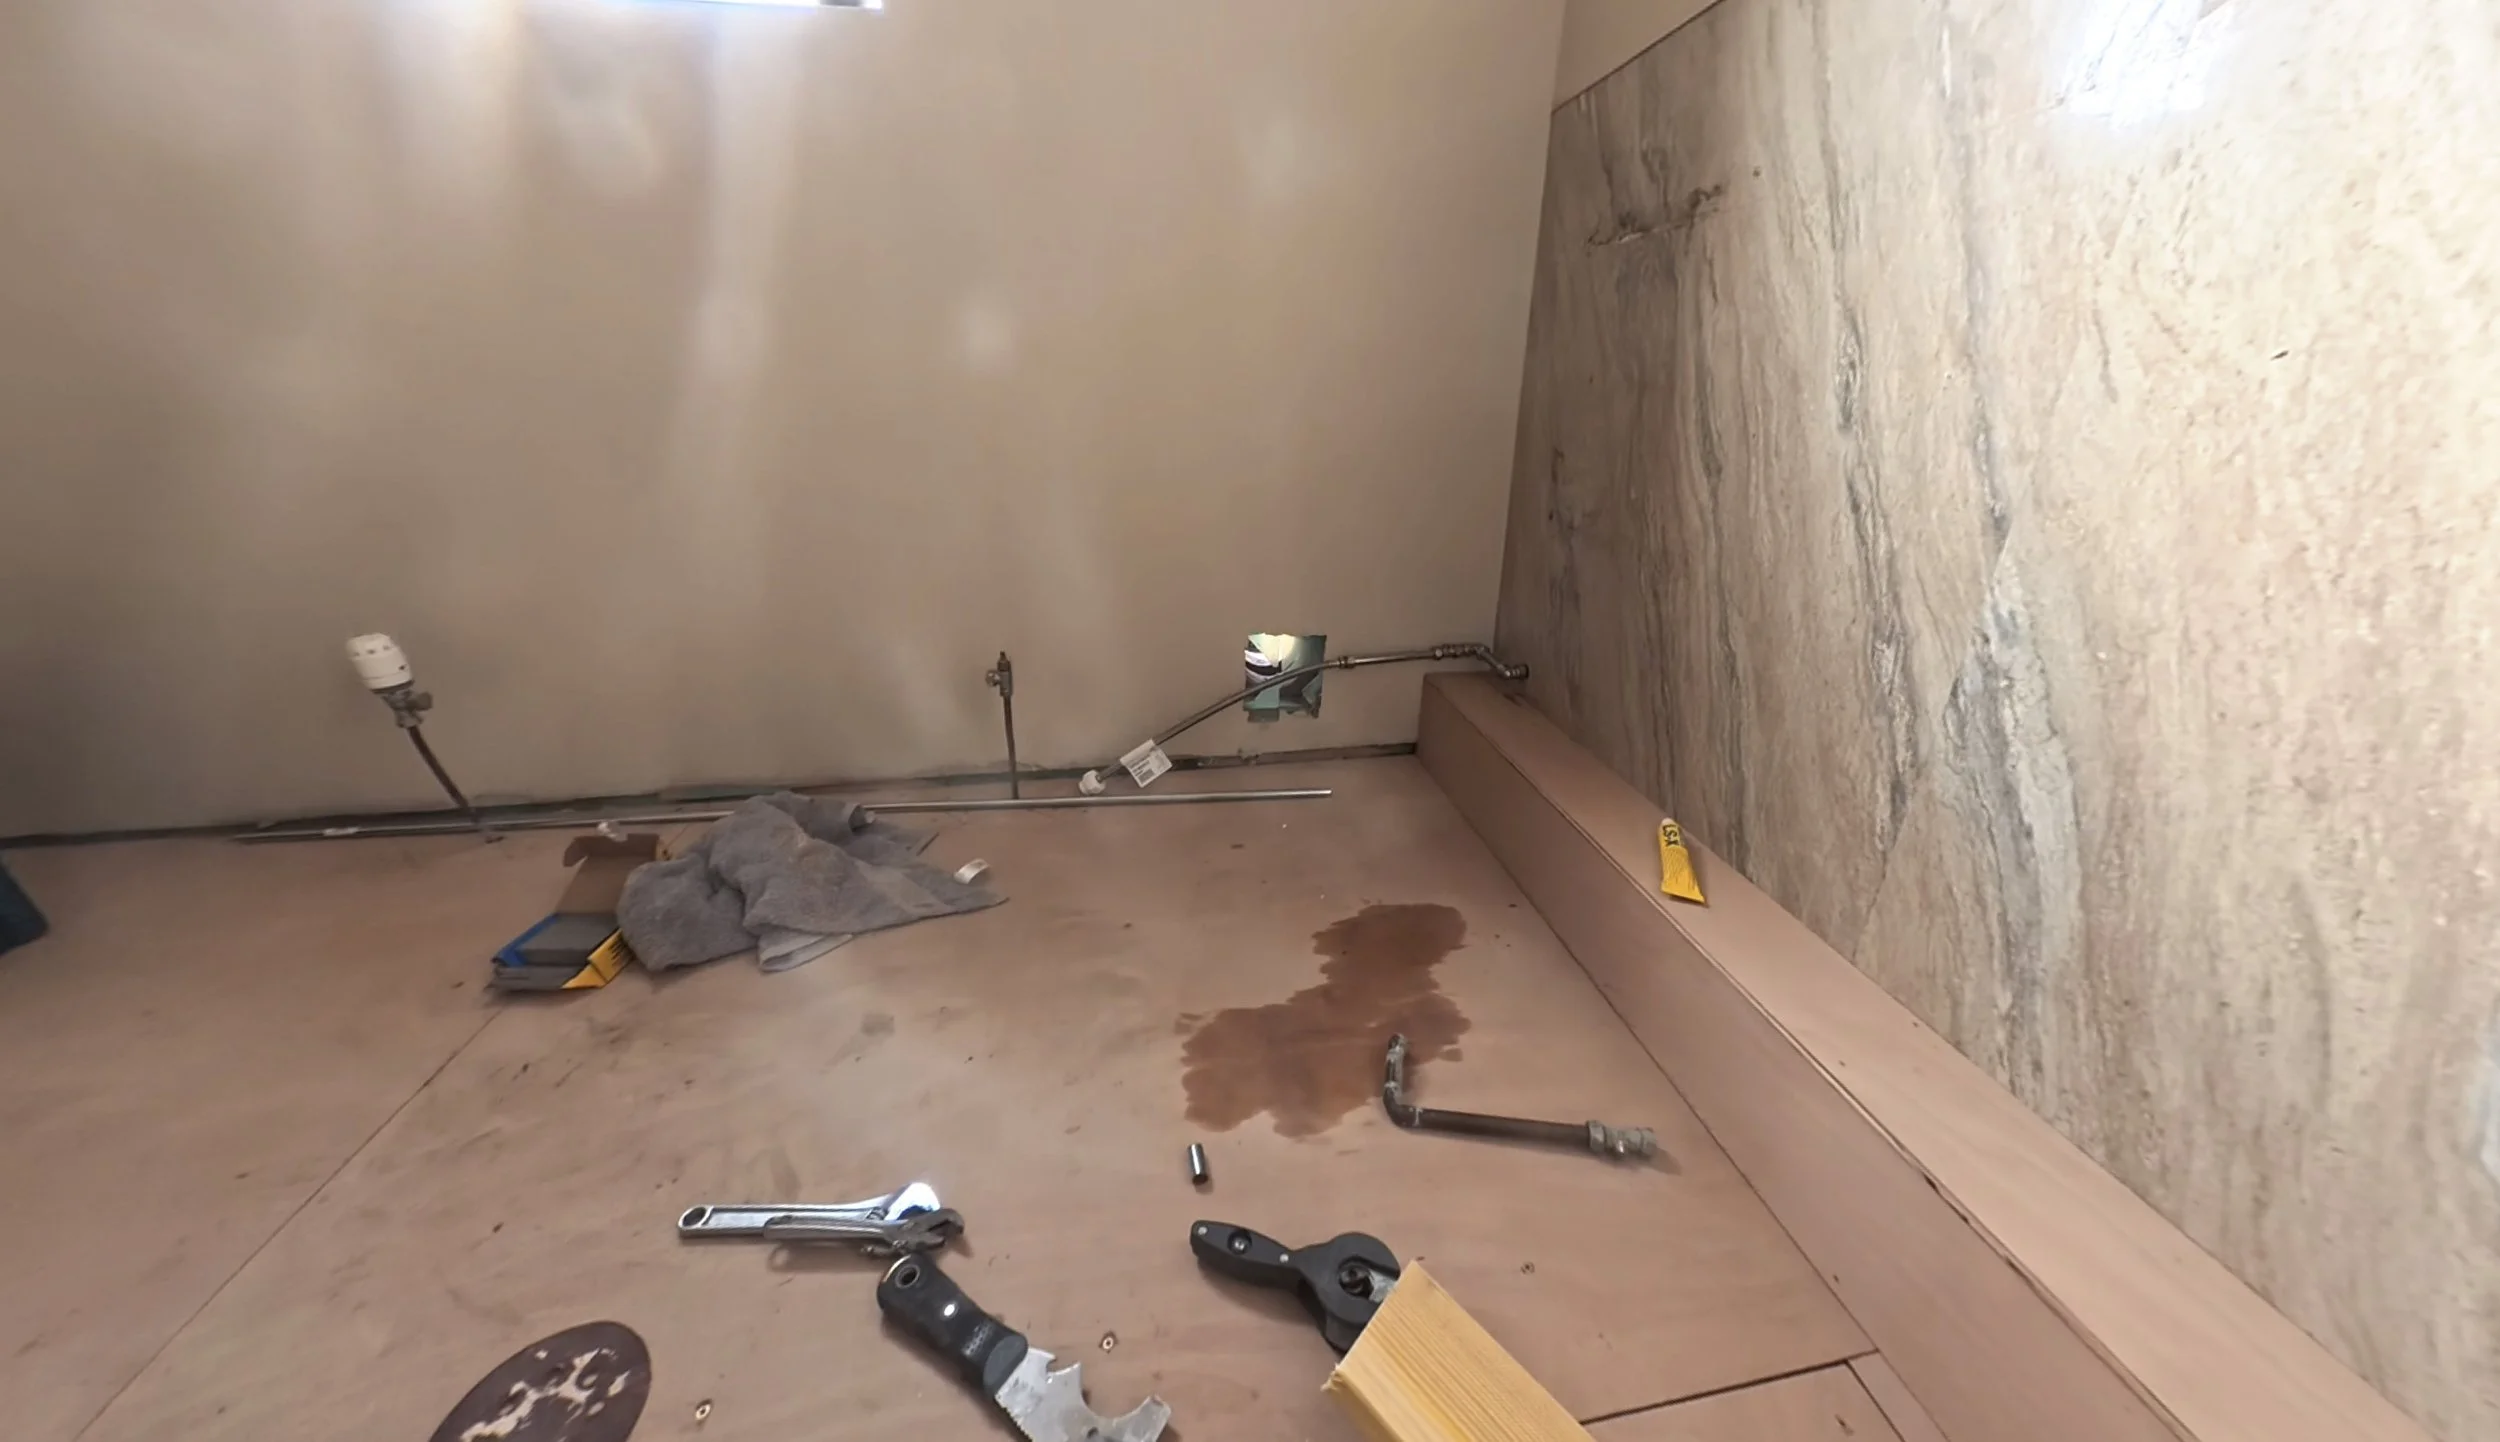
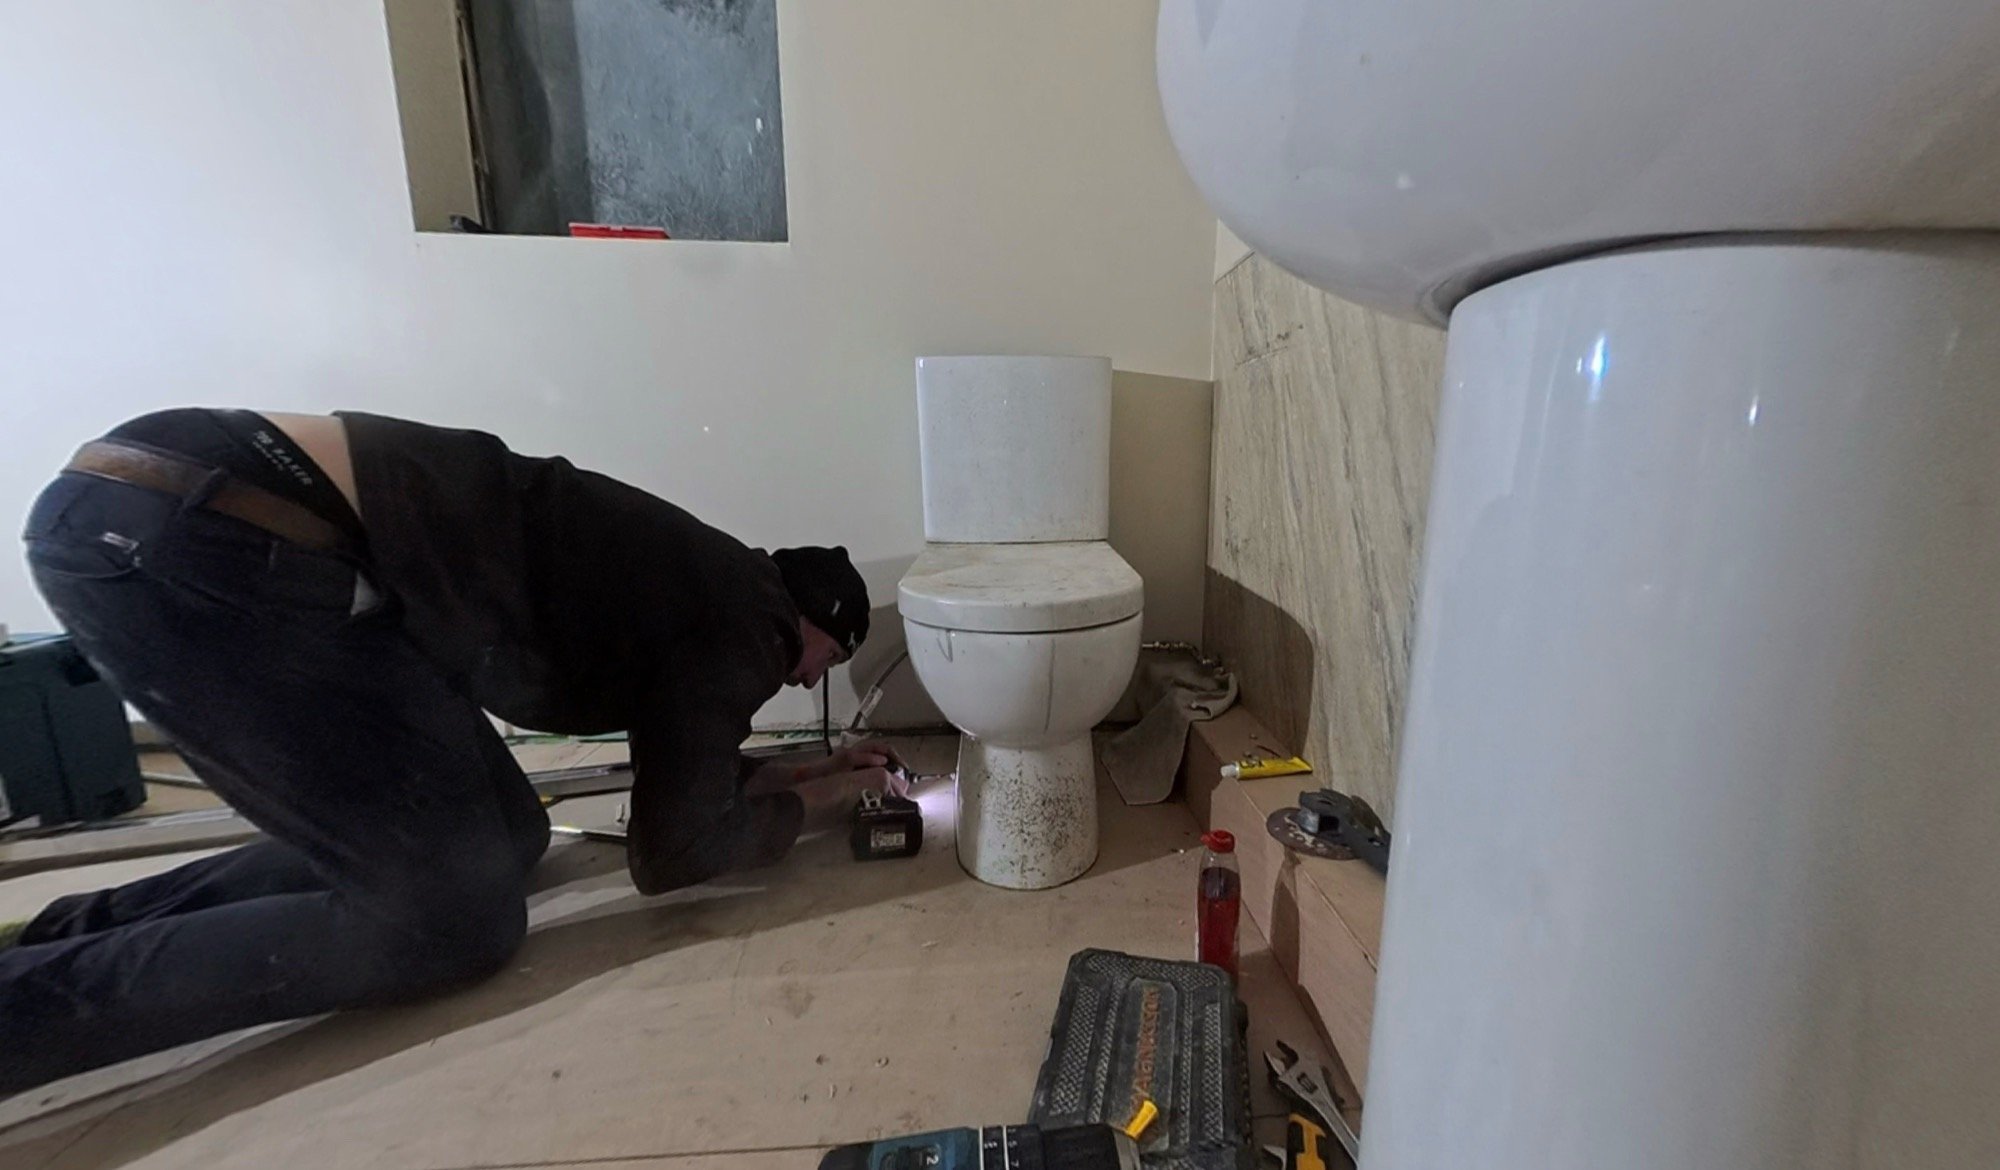
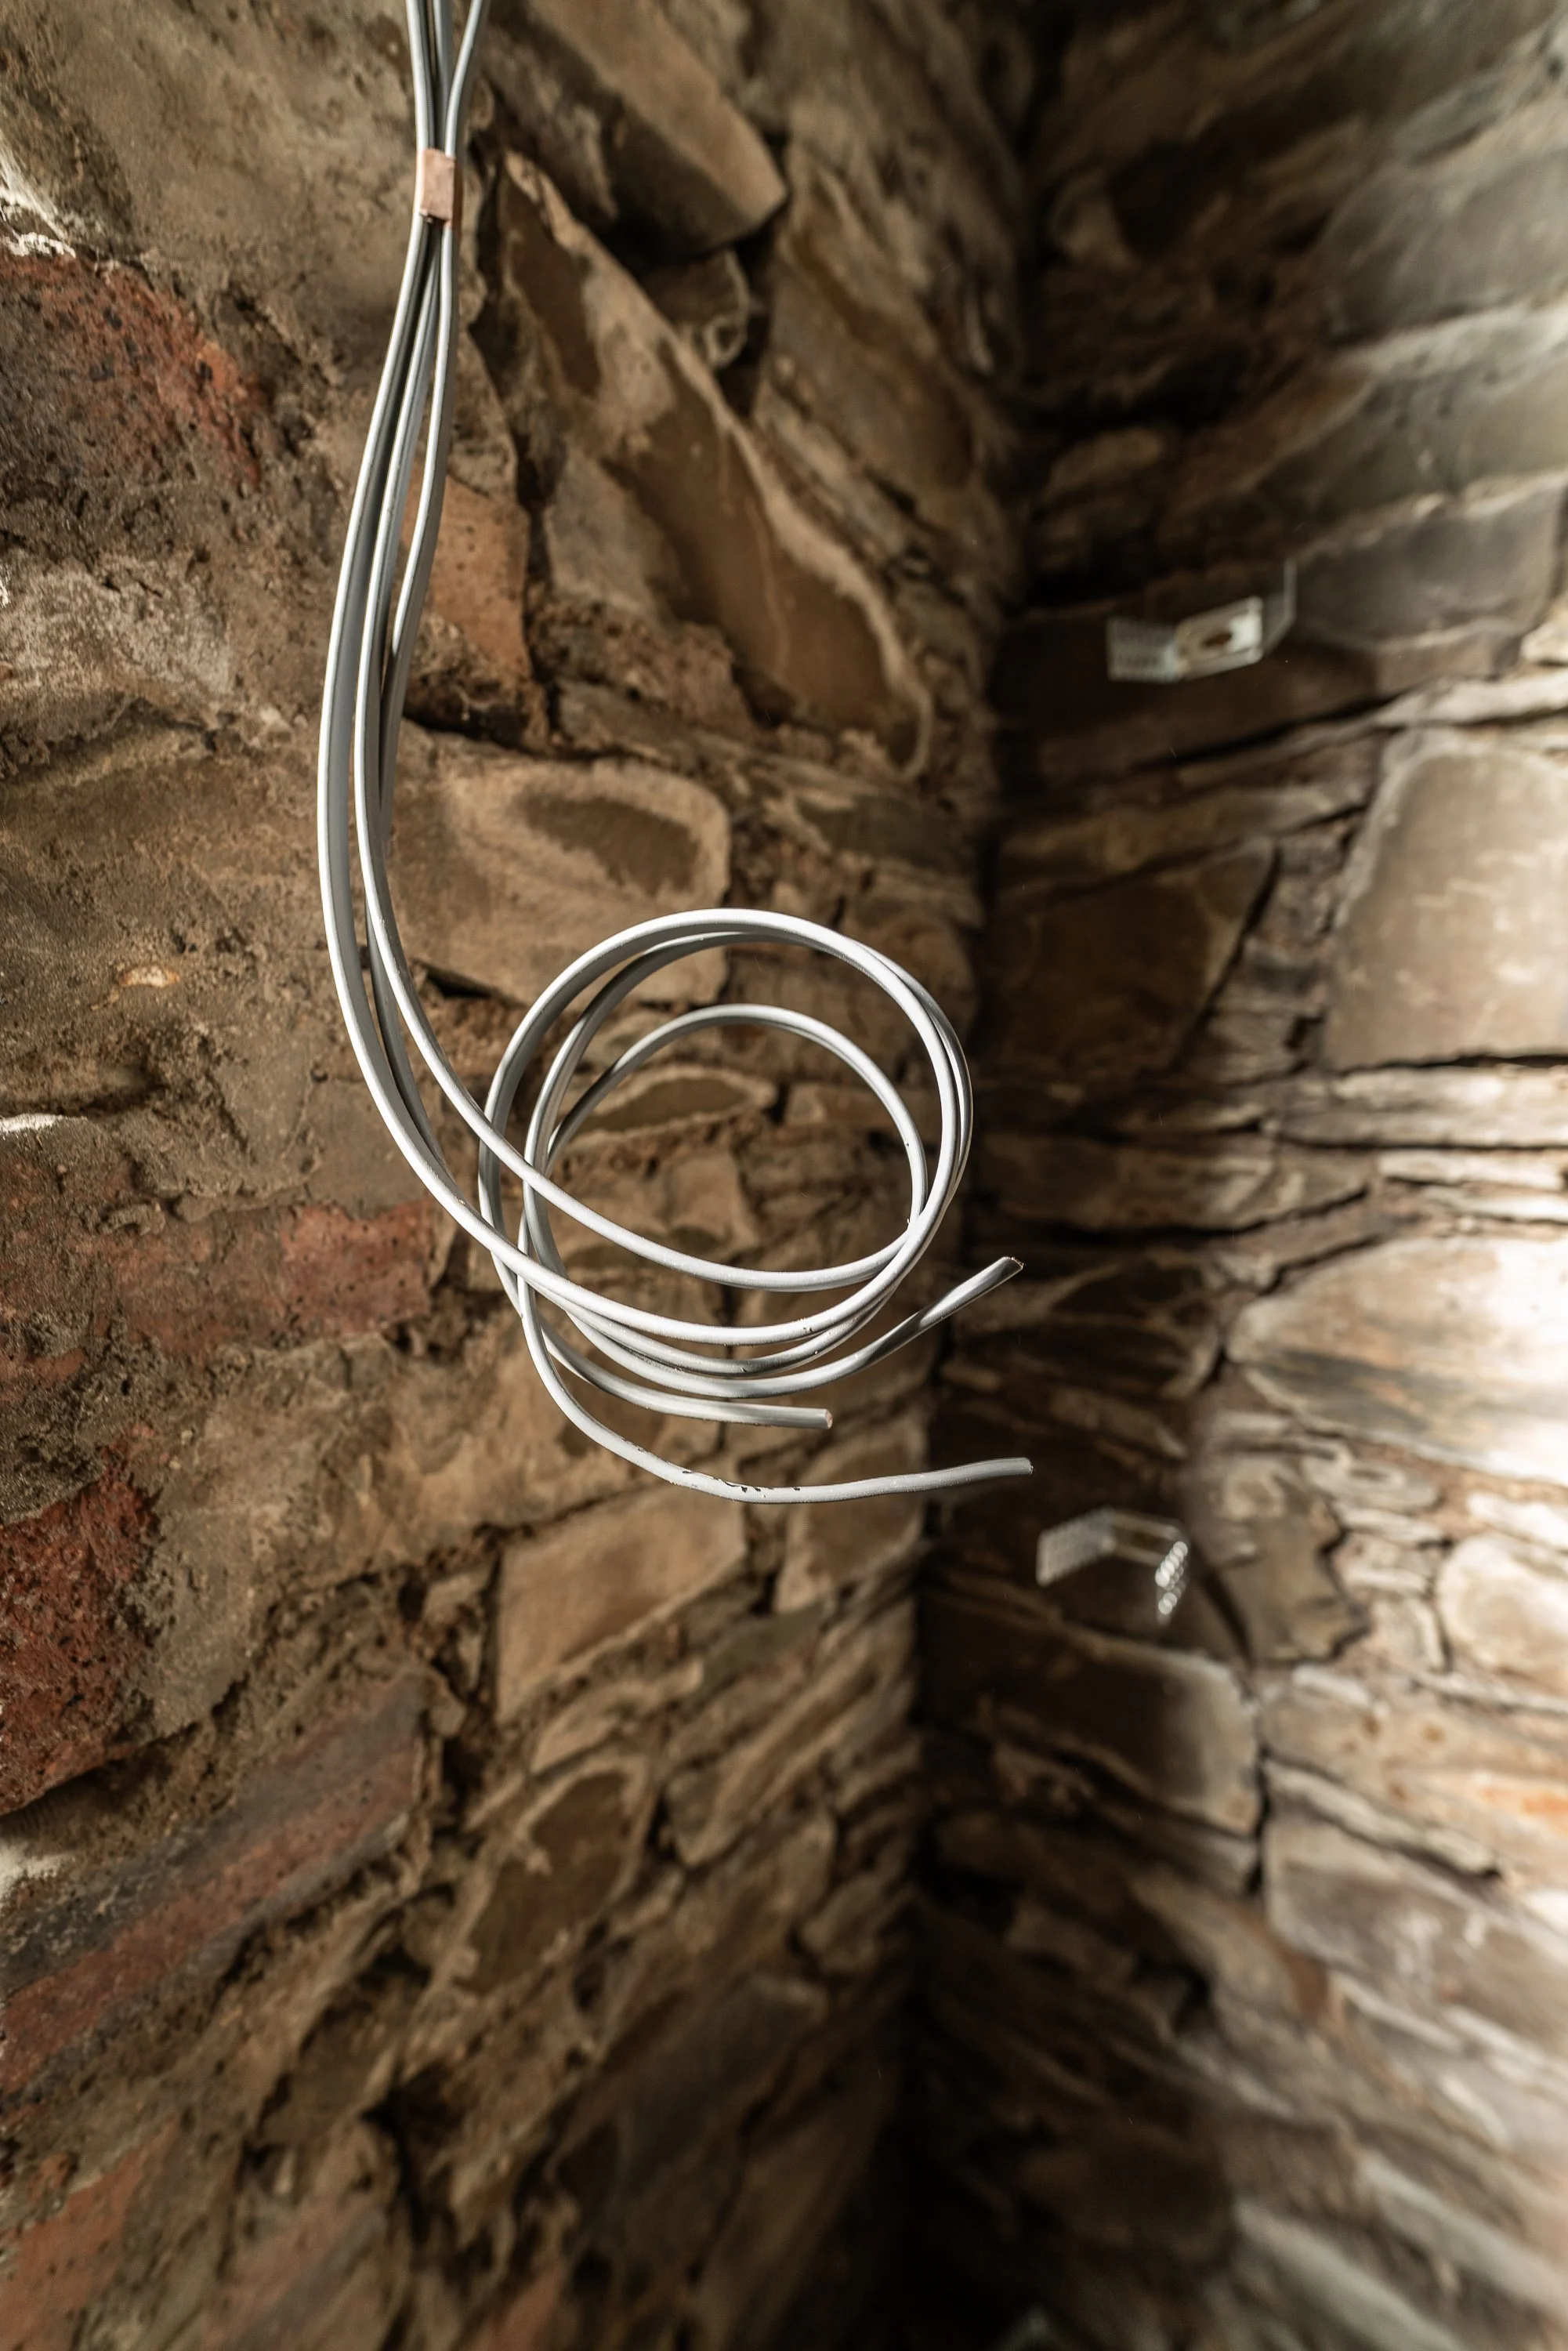
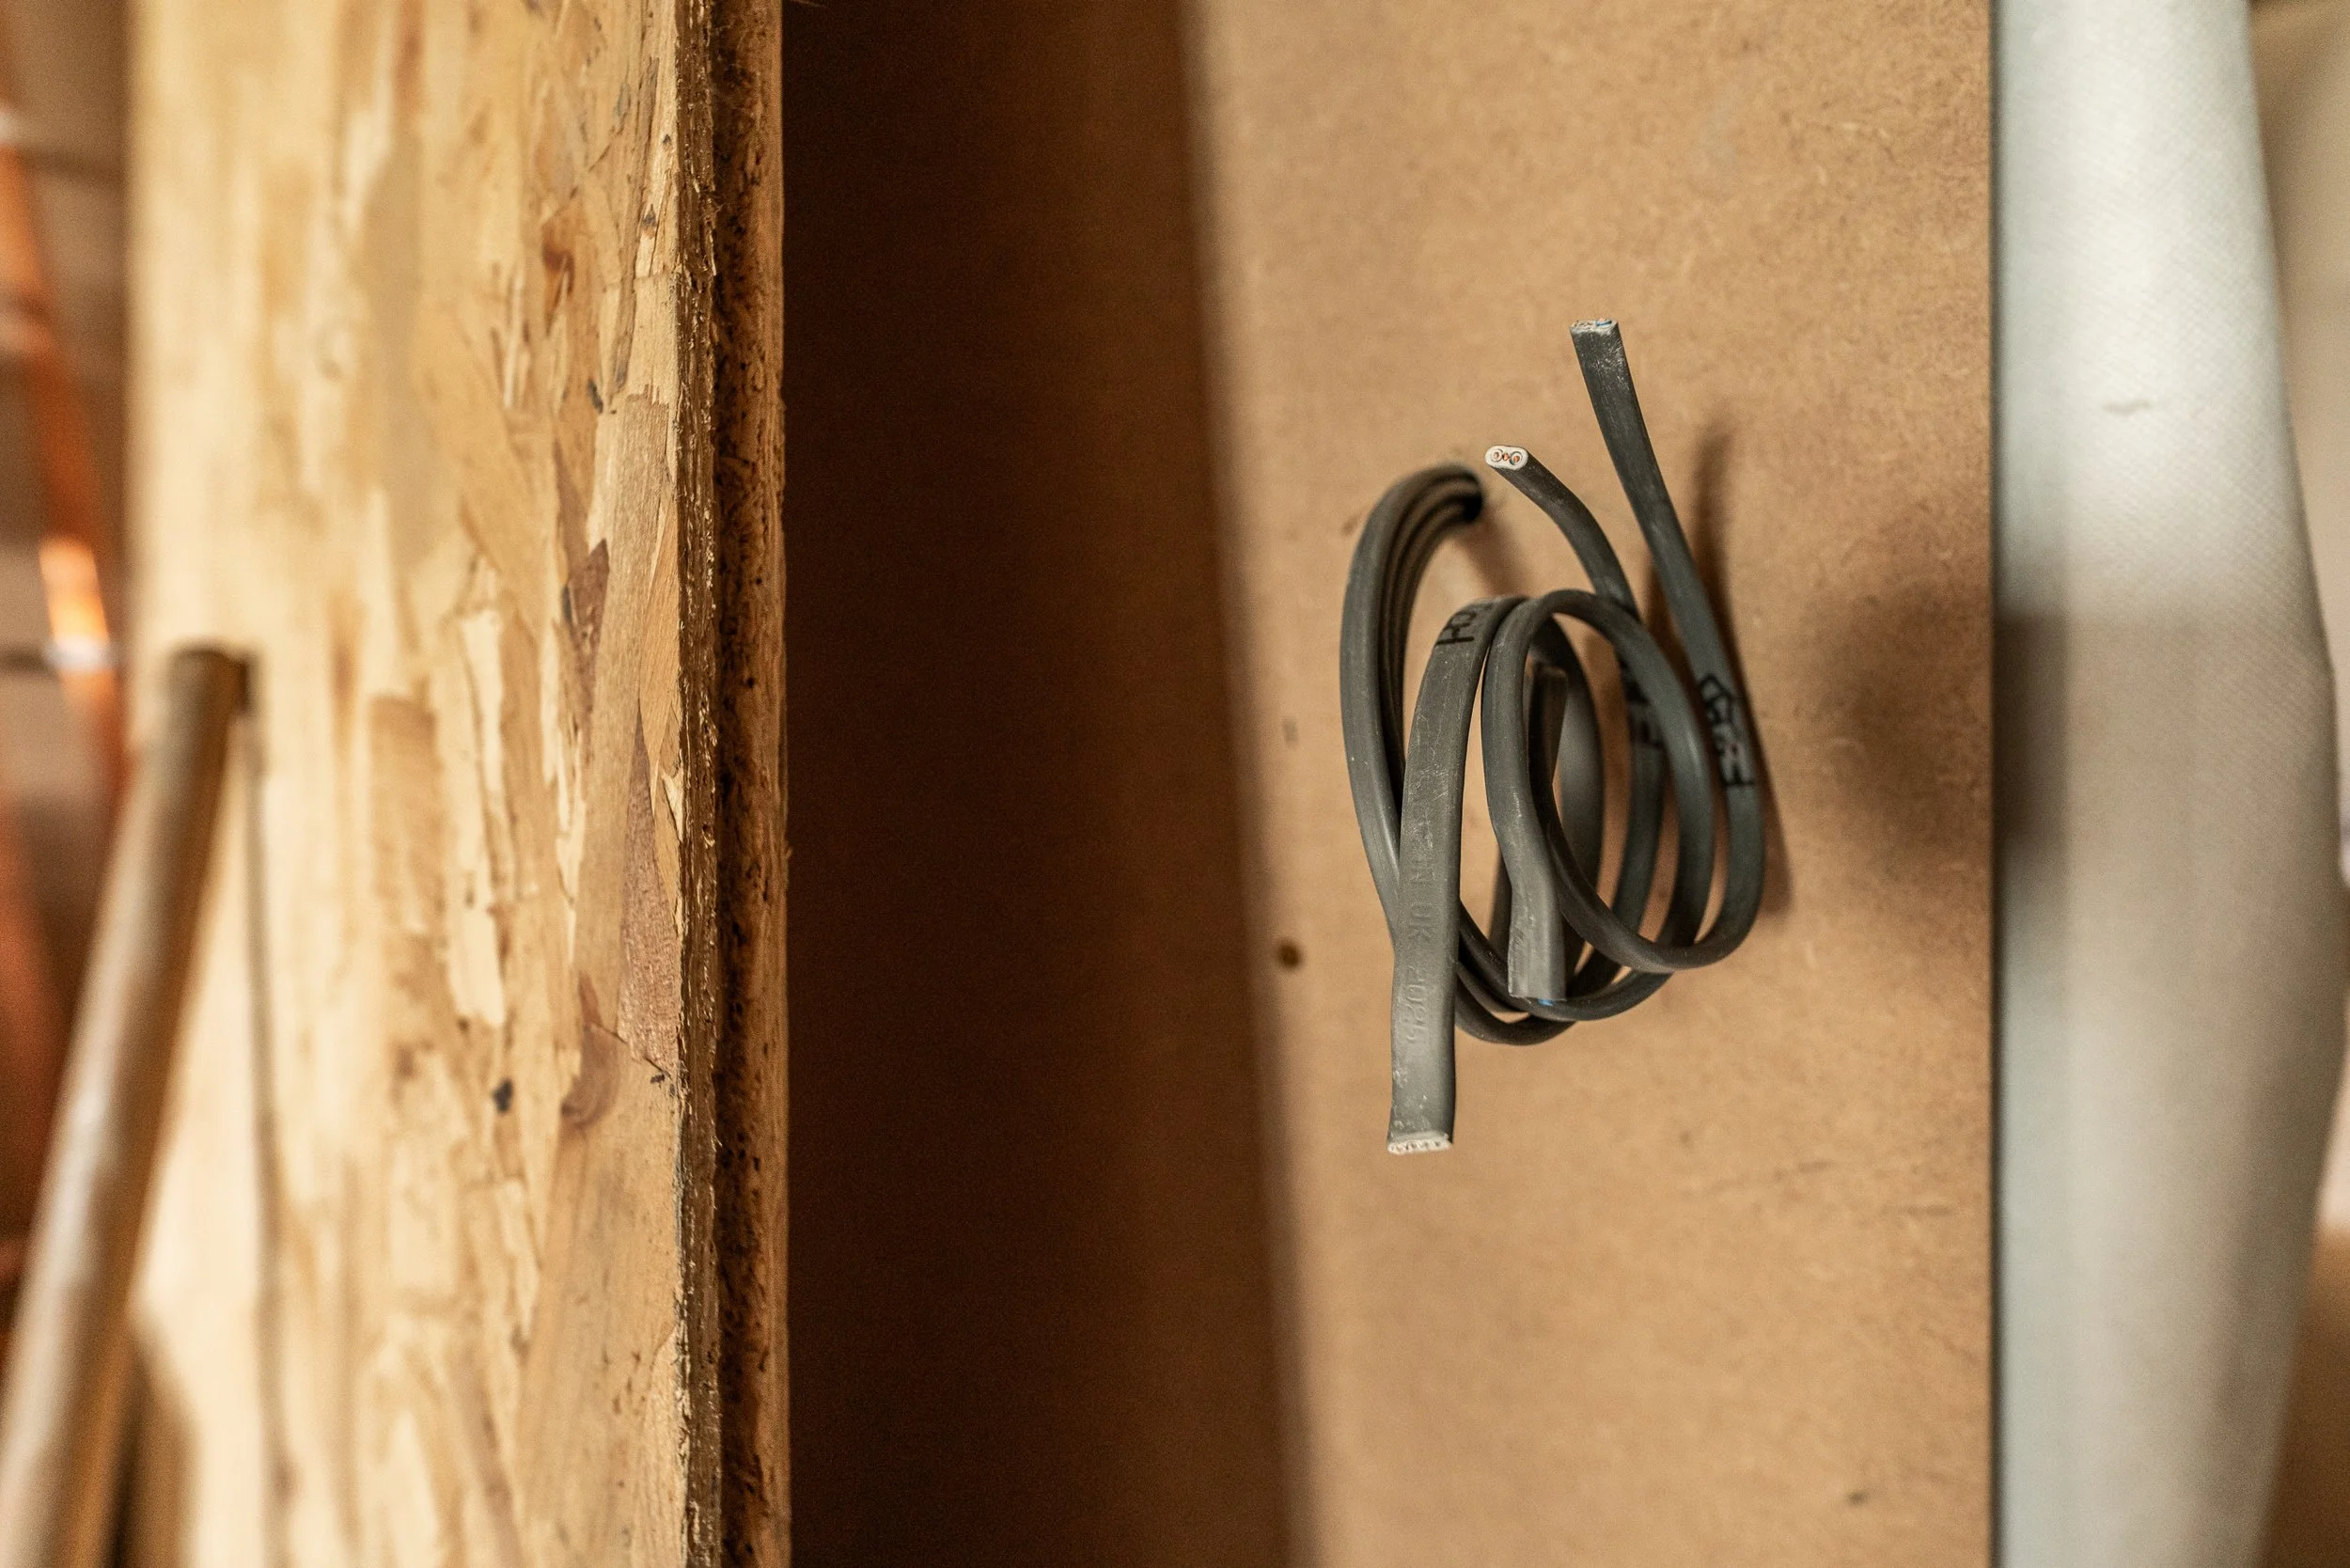
Finally, by Friday of week two it was time for the toilet water supply. The toilet is being rotated 90 degrees out of necessity due to the waste location outside, and therefore the water supply also needs to turn a corner 90 degrees.
Dan used the existing supply and added chrome pipework, including a short flexi that will tuck up behind the toilet itself.
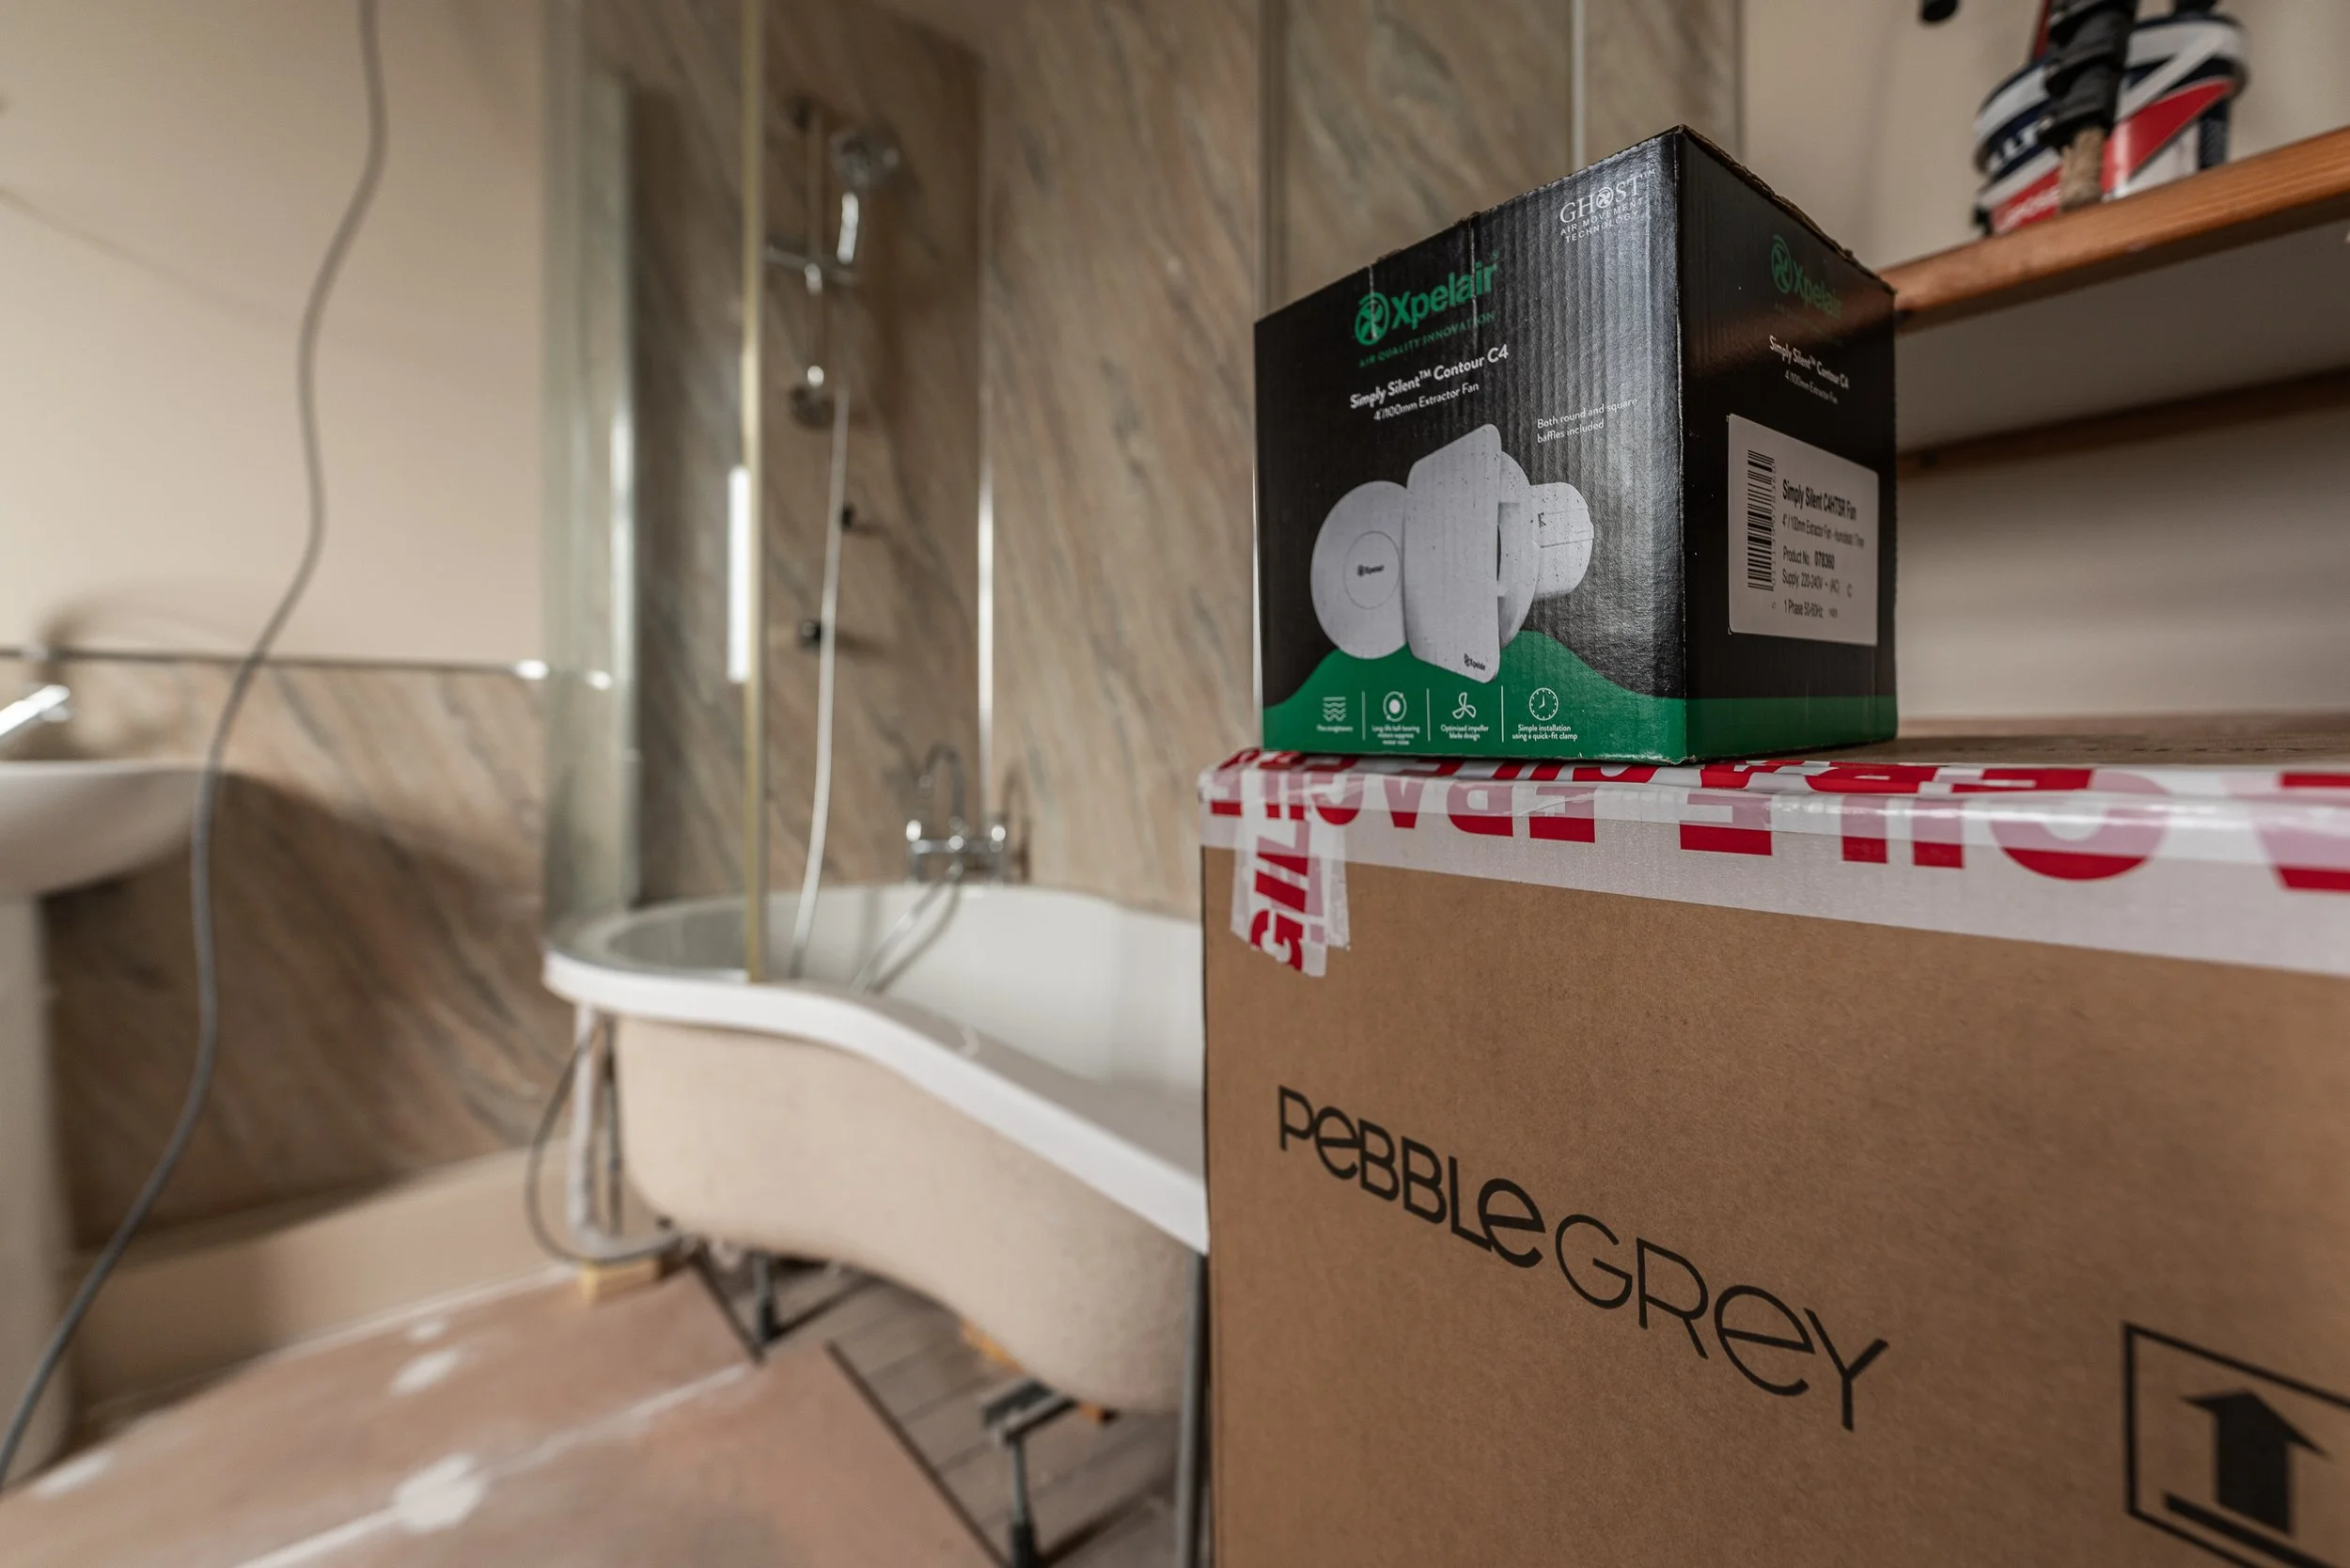
In the meantime, I’ve been getting flooring samples for in here. This room won’t have underfloor heating in it until the section is redone, so we’re fixed with cold flooring and given it will be removed in a few years too, we’re opting for affordability. Therefore, vinyl is the way forward and I have to make that work in the interim.
Tile effect or wood effect was the first decision. Given the wood elsewhere upstairs (the beams, etc), wood is where I’ve started. The room is quite tall, taller than it is wide. A dark floor will exaggerate that height, but I’d rather it felt roomy in width. Therefore, a medium or light floor choice makes sense. But which to try? It has to work with the panels, so here are our current options:
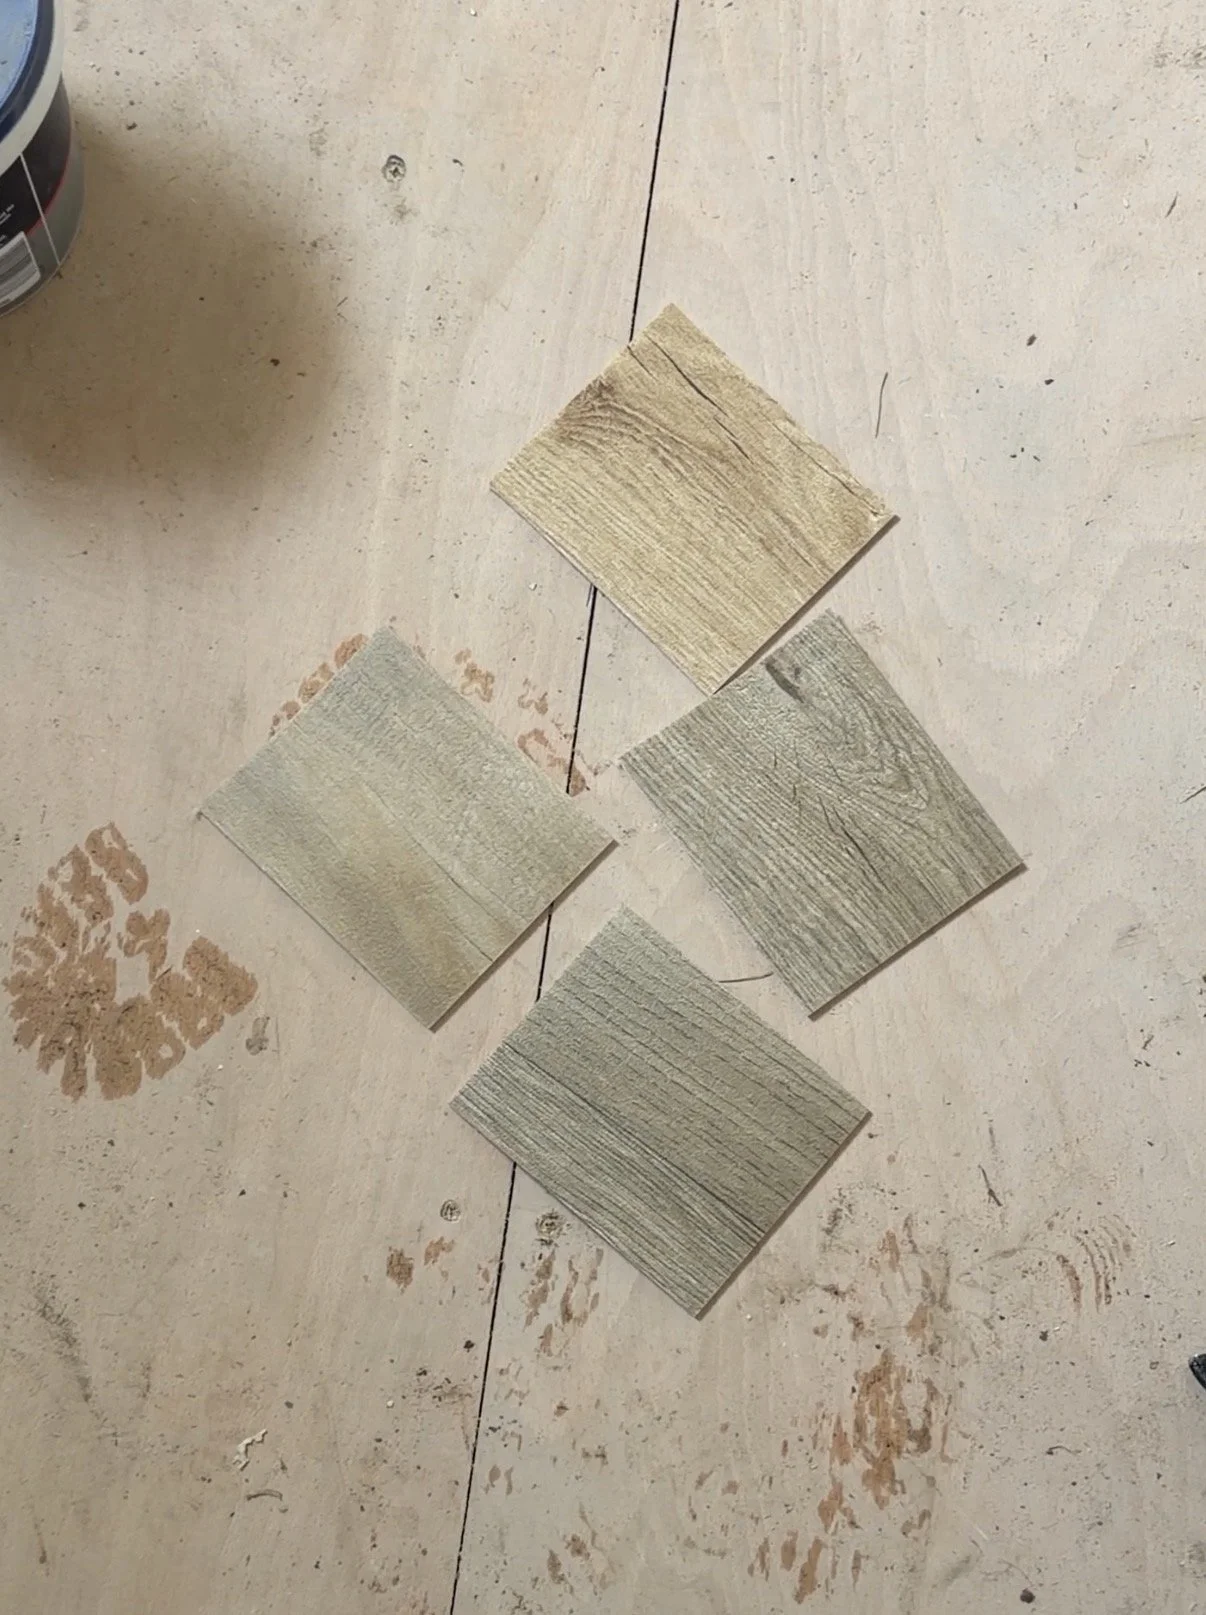
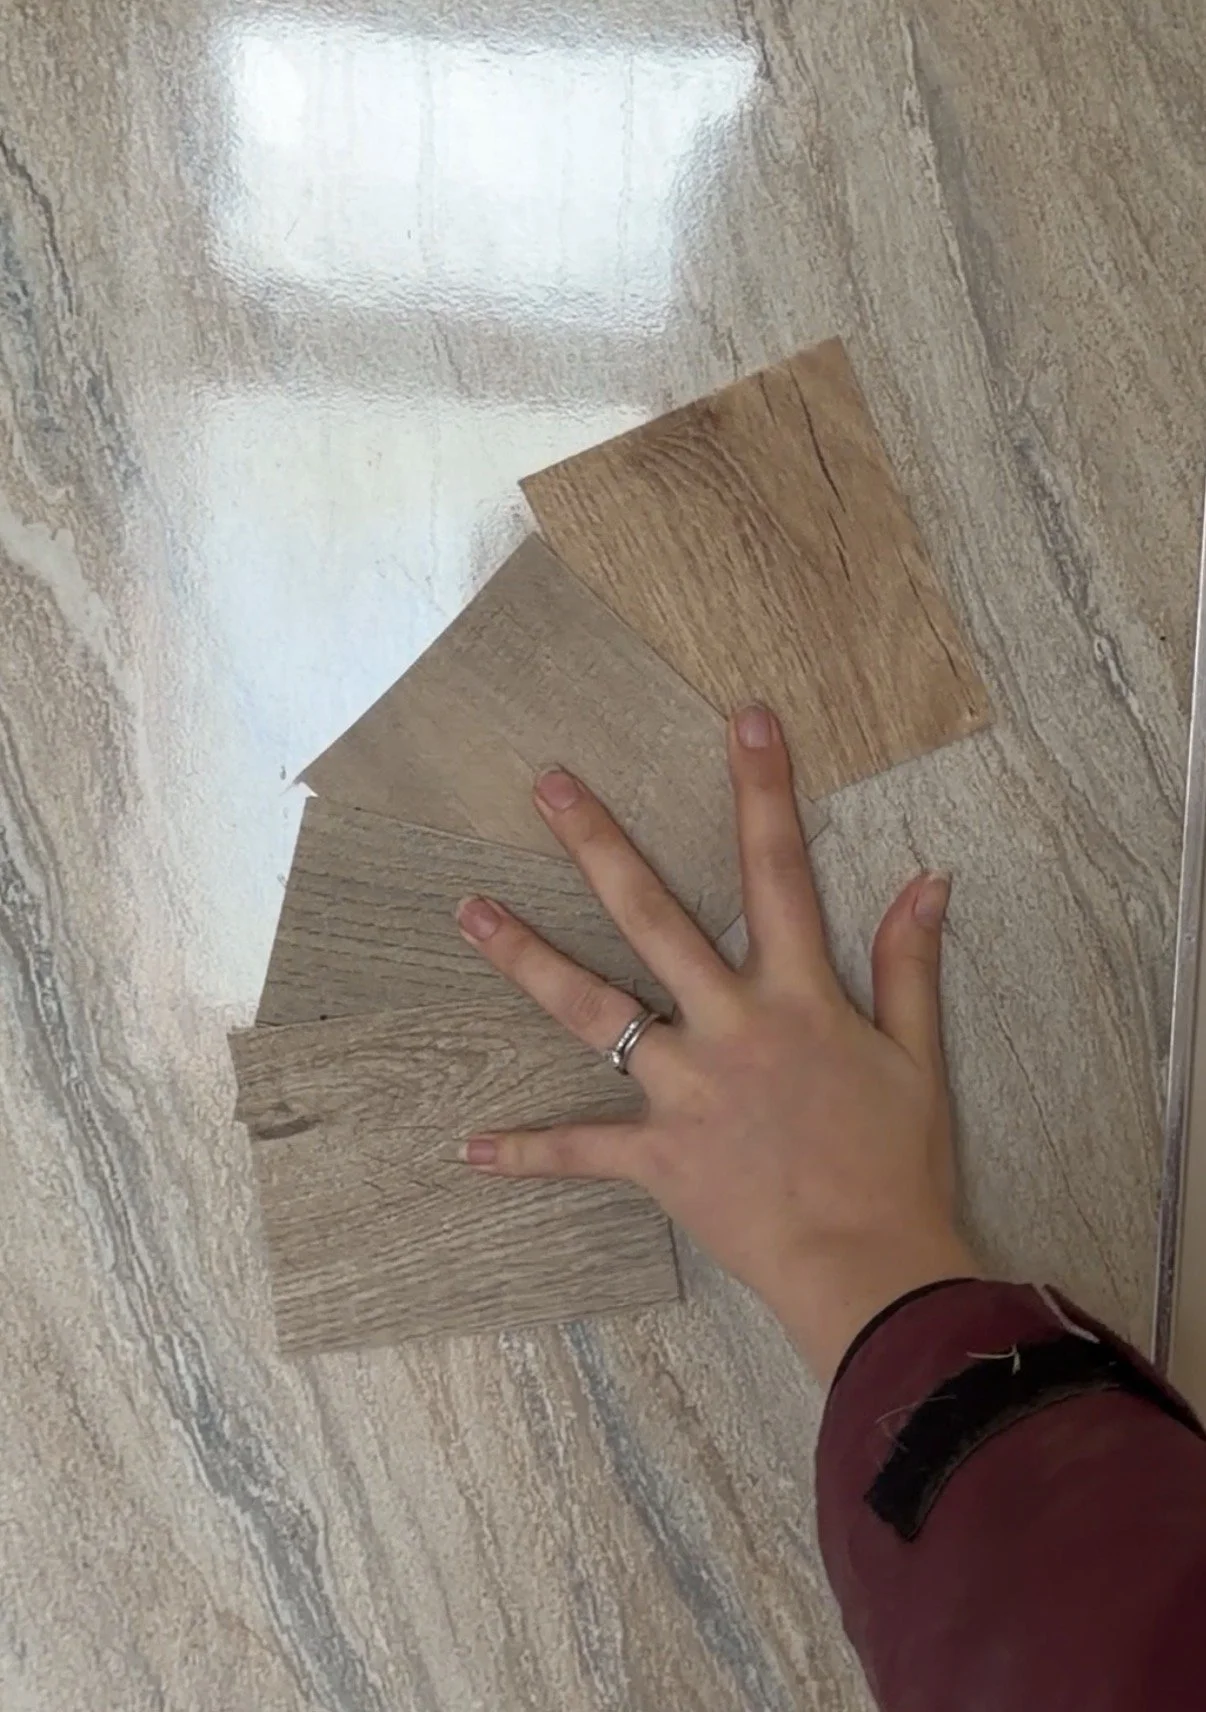
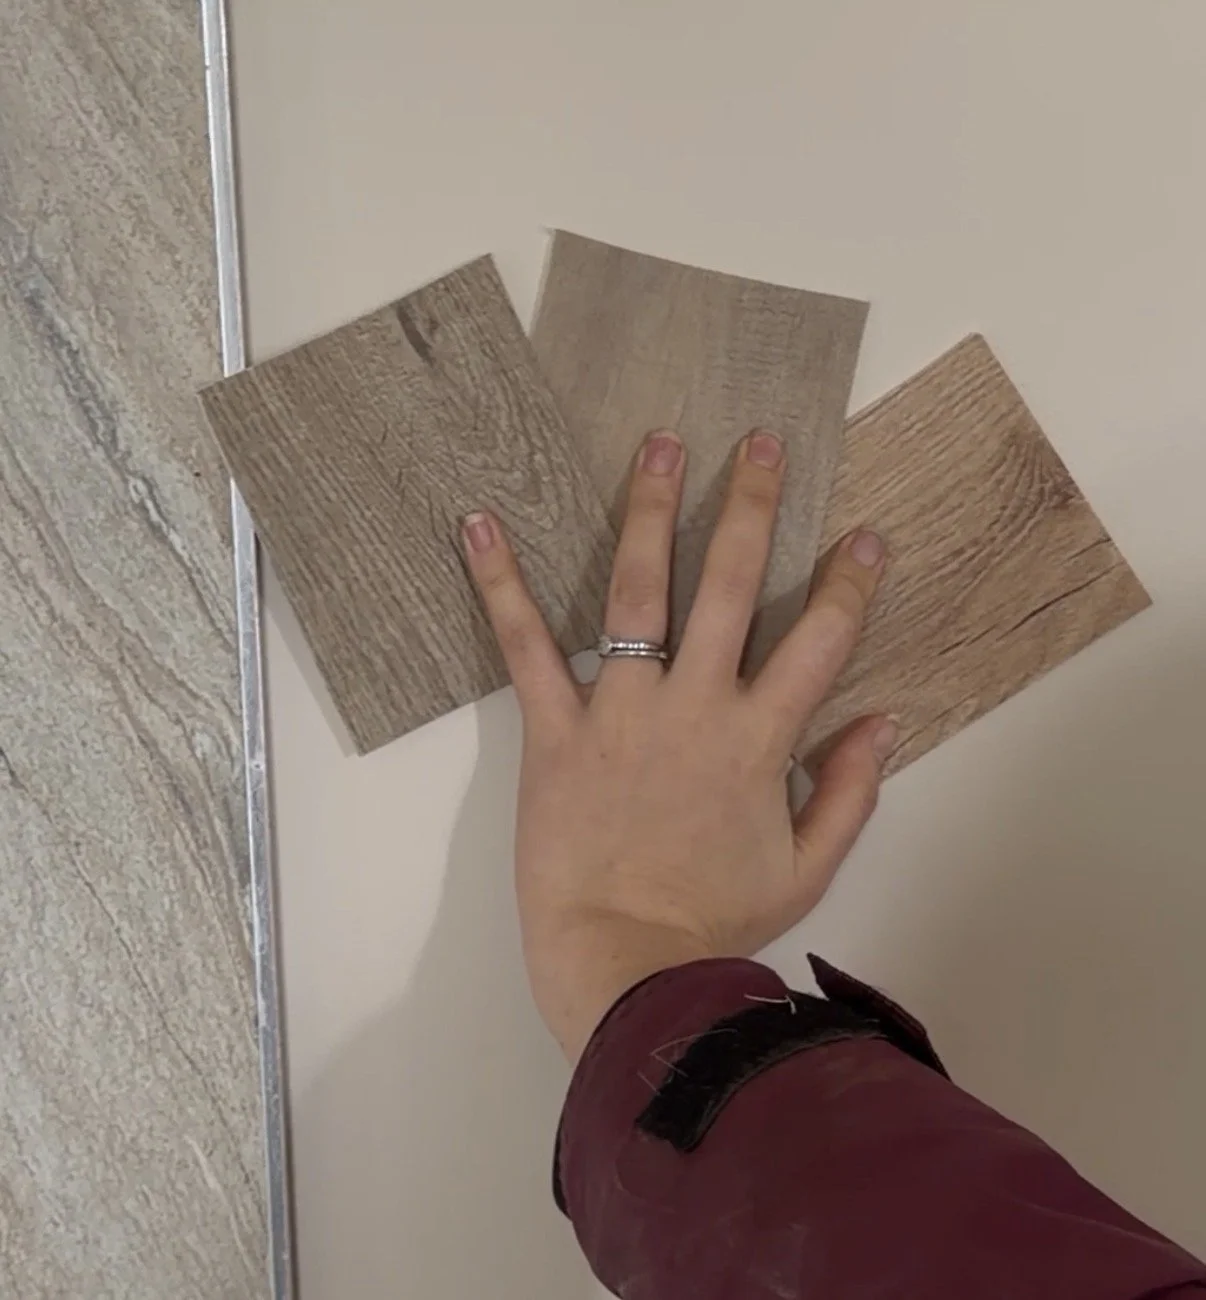
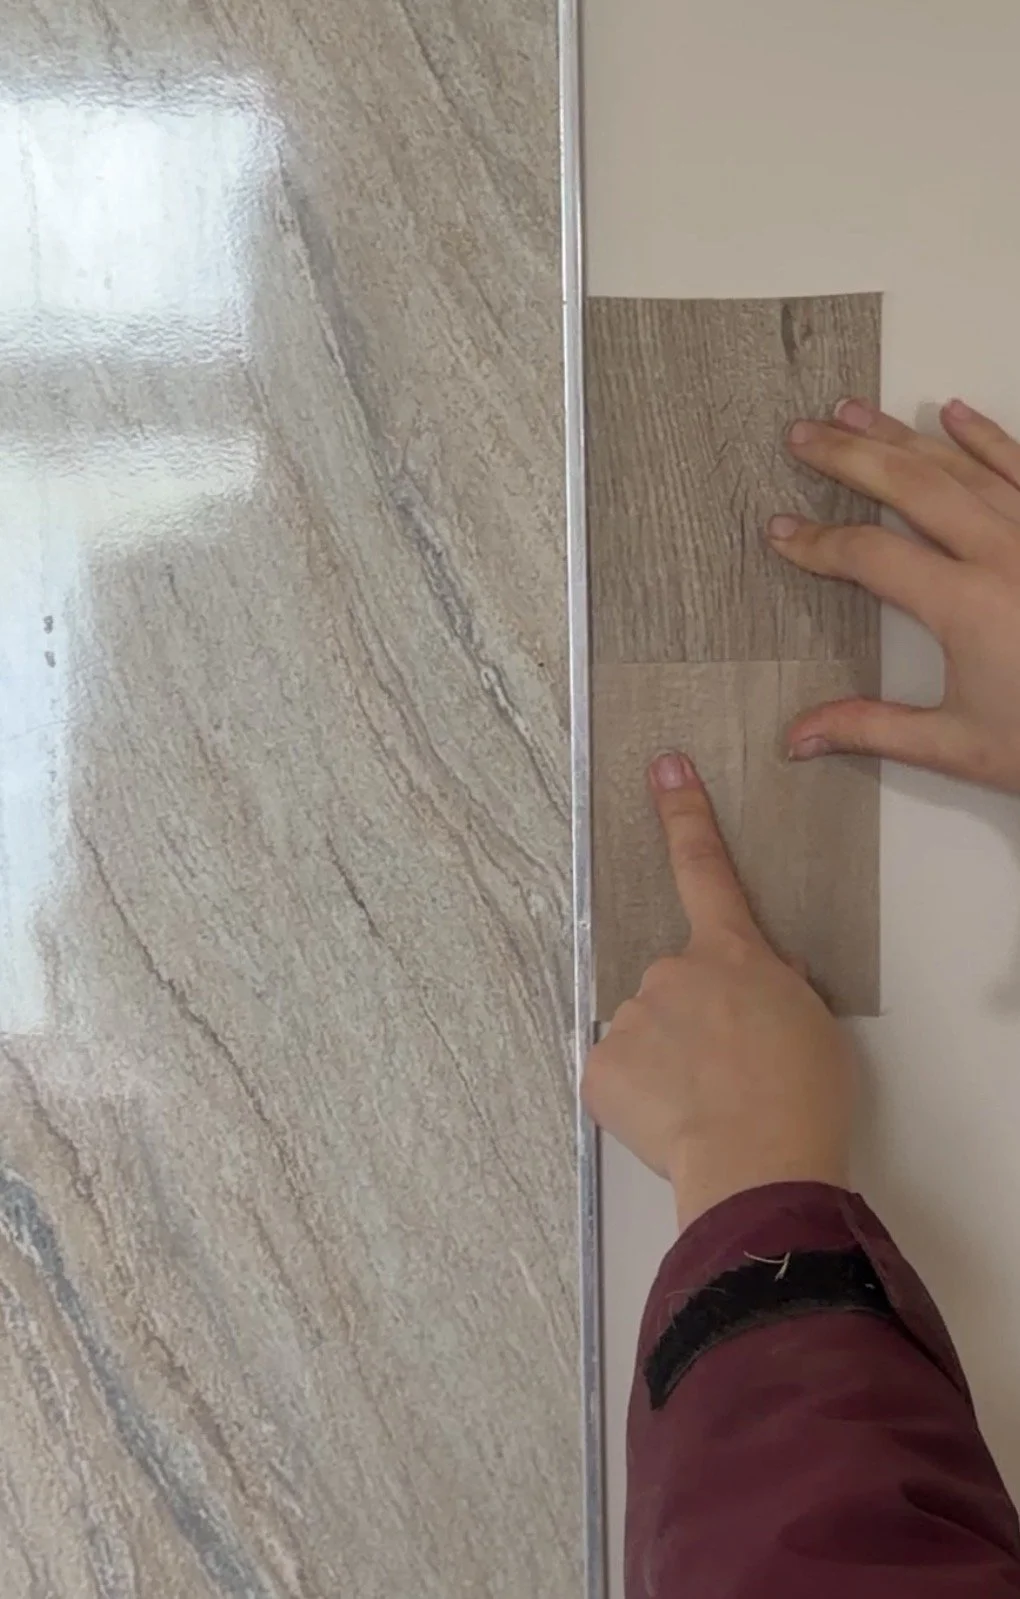
The current consensus is the top option on the last image. Thoughts? Dan may veto again and prefer to look at darker samples, but I’ve kept it neutral for now.
The same flooring decision needs to be made for the room immediately below, the downstairs shower room. This has a concrete floor and is freezing in all seasons. Down here, there is a black marble effect waterproof panel that we also have to keep for now, so I’m thinking of taking that down a fairly traditional route with a black and white diamond tile effect vinyl.
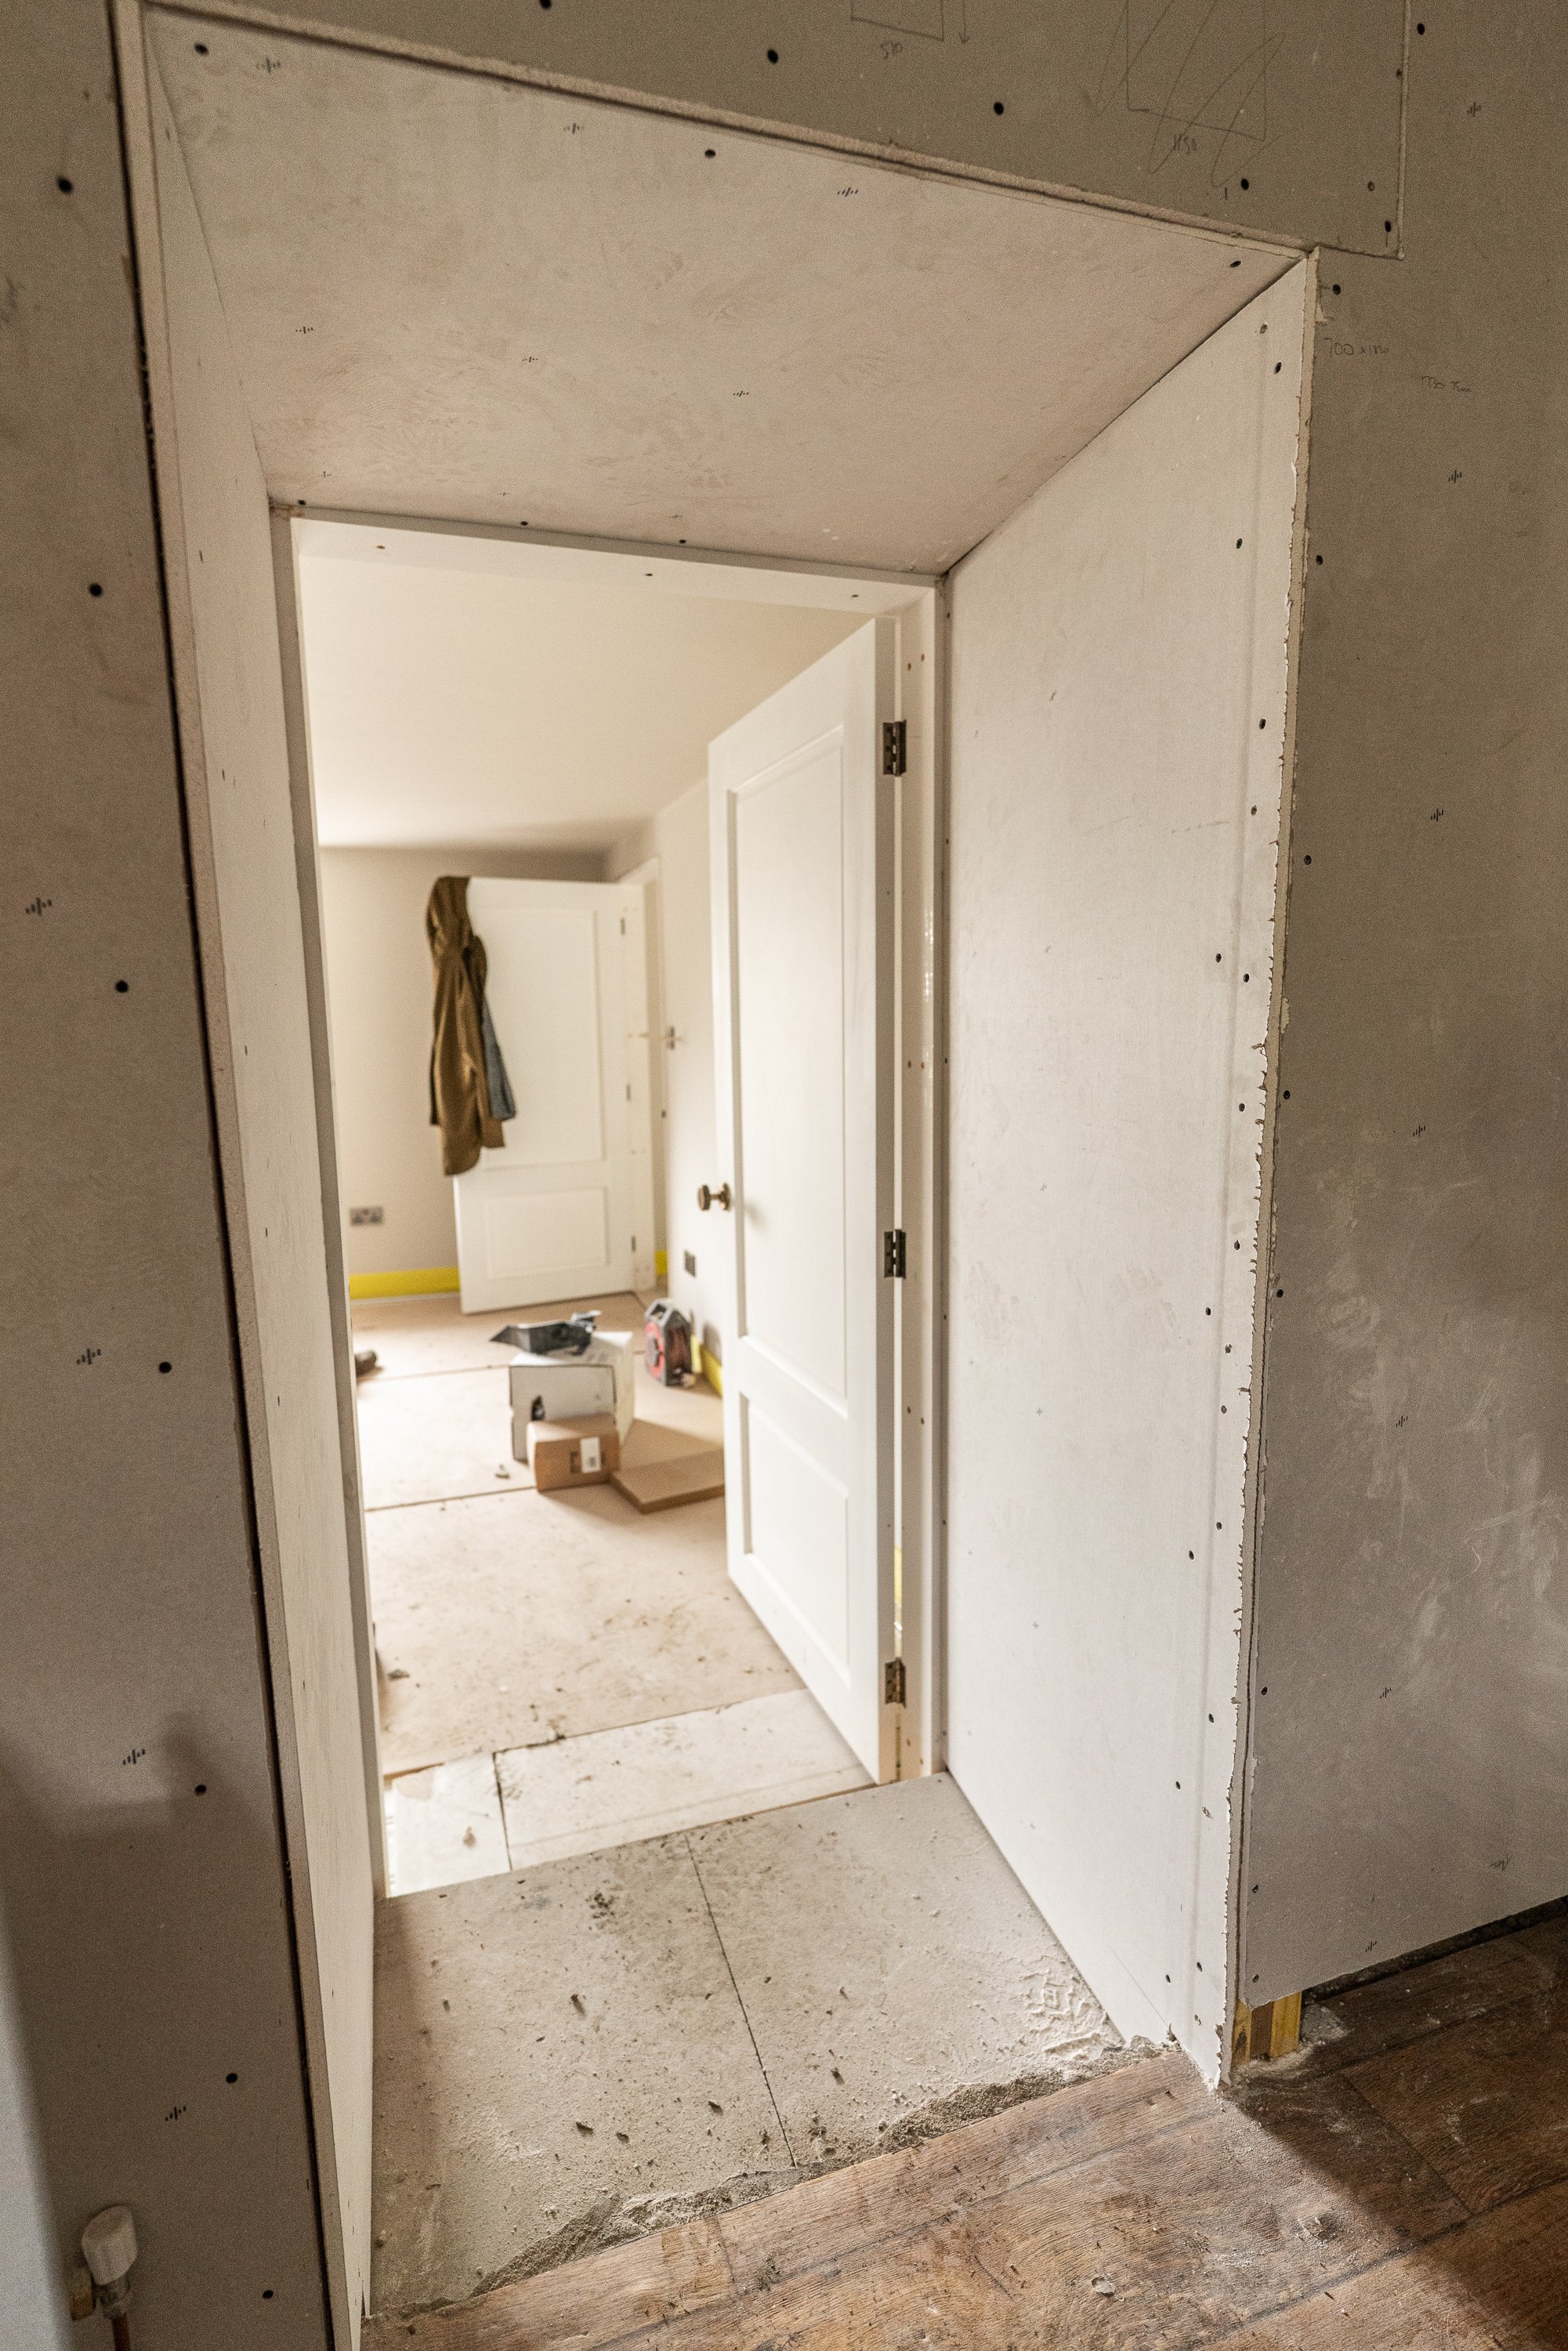
Either way, these two rooms, along with the existing kitchen and existing master bedroom, have to just ‘work’ for a while, but they won’t be the end result in terms of finish level and aesthetics.
That’s all for this week, as we’re frozen solid again and both of us are sick. Next week will be better!
February Week 3:
Thankfully, the lurgy has left us. That means that this week has seen lots of bits happen, and the resurgence in short-form content (shorter videos) on all our platforms has lit a fire under Dan’s backside and I’m now struggling to keep up!
This week included 2 days that I had set aside to help with things too, so as well as Dan working through his giant to-do list in the big house, we have some outside tasks to tackle as well. Let’s start inside:
The Bathroom:
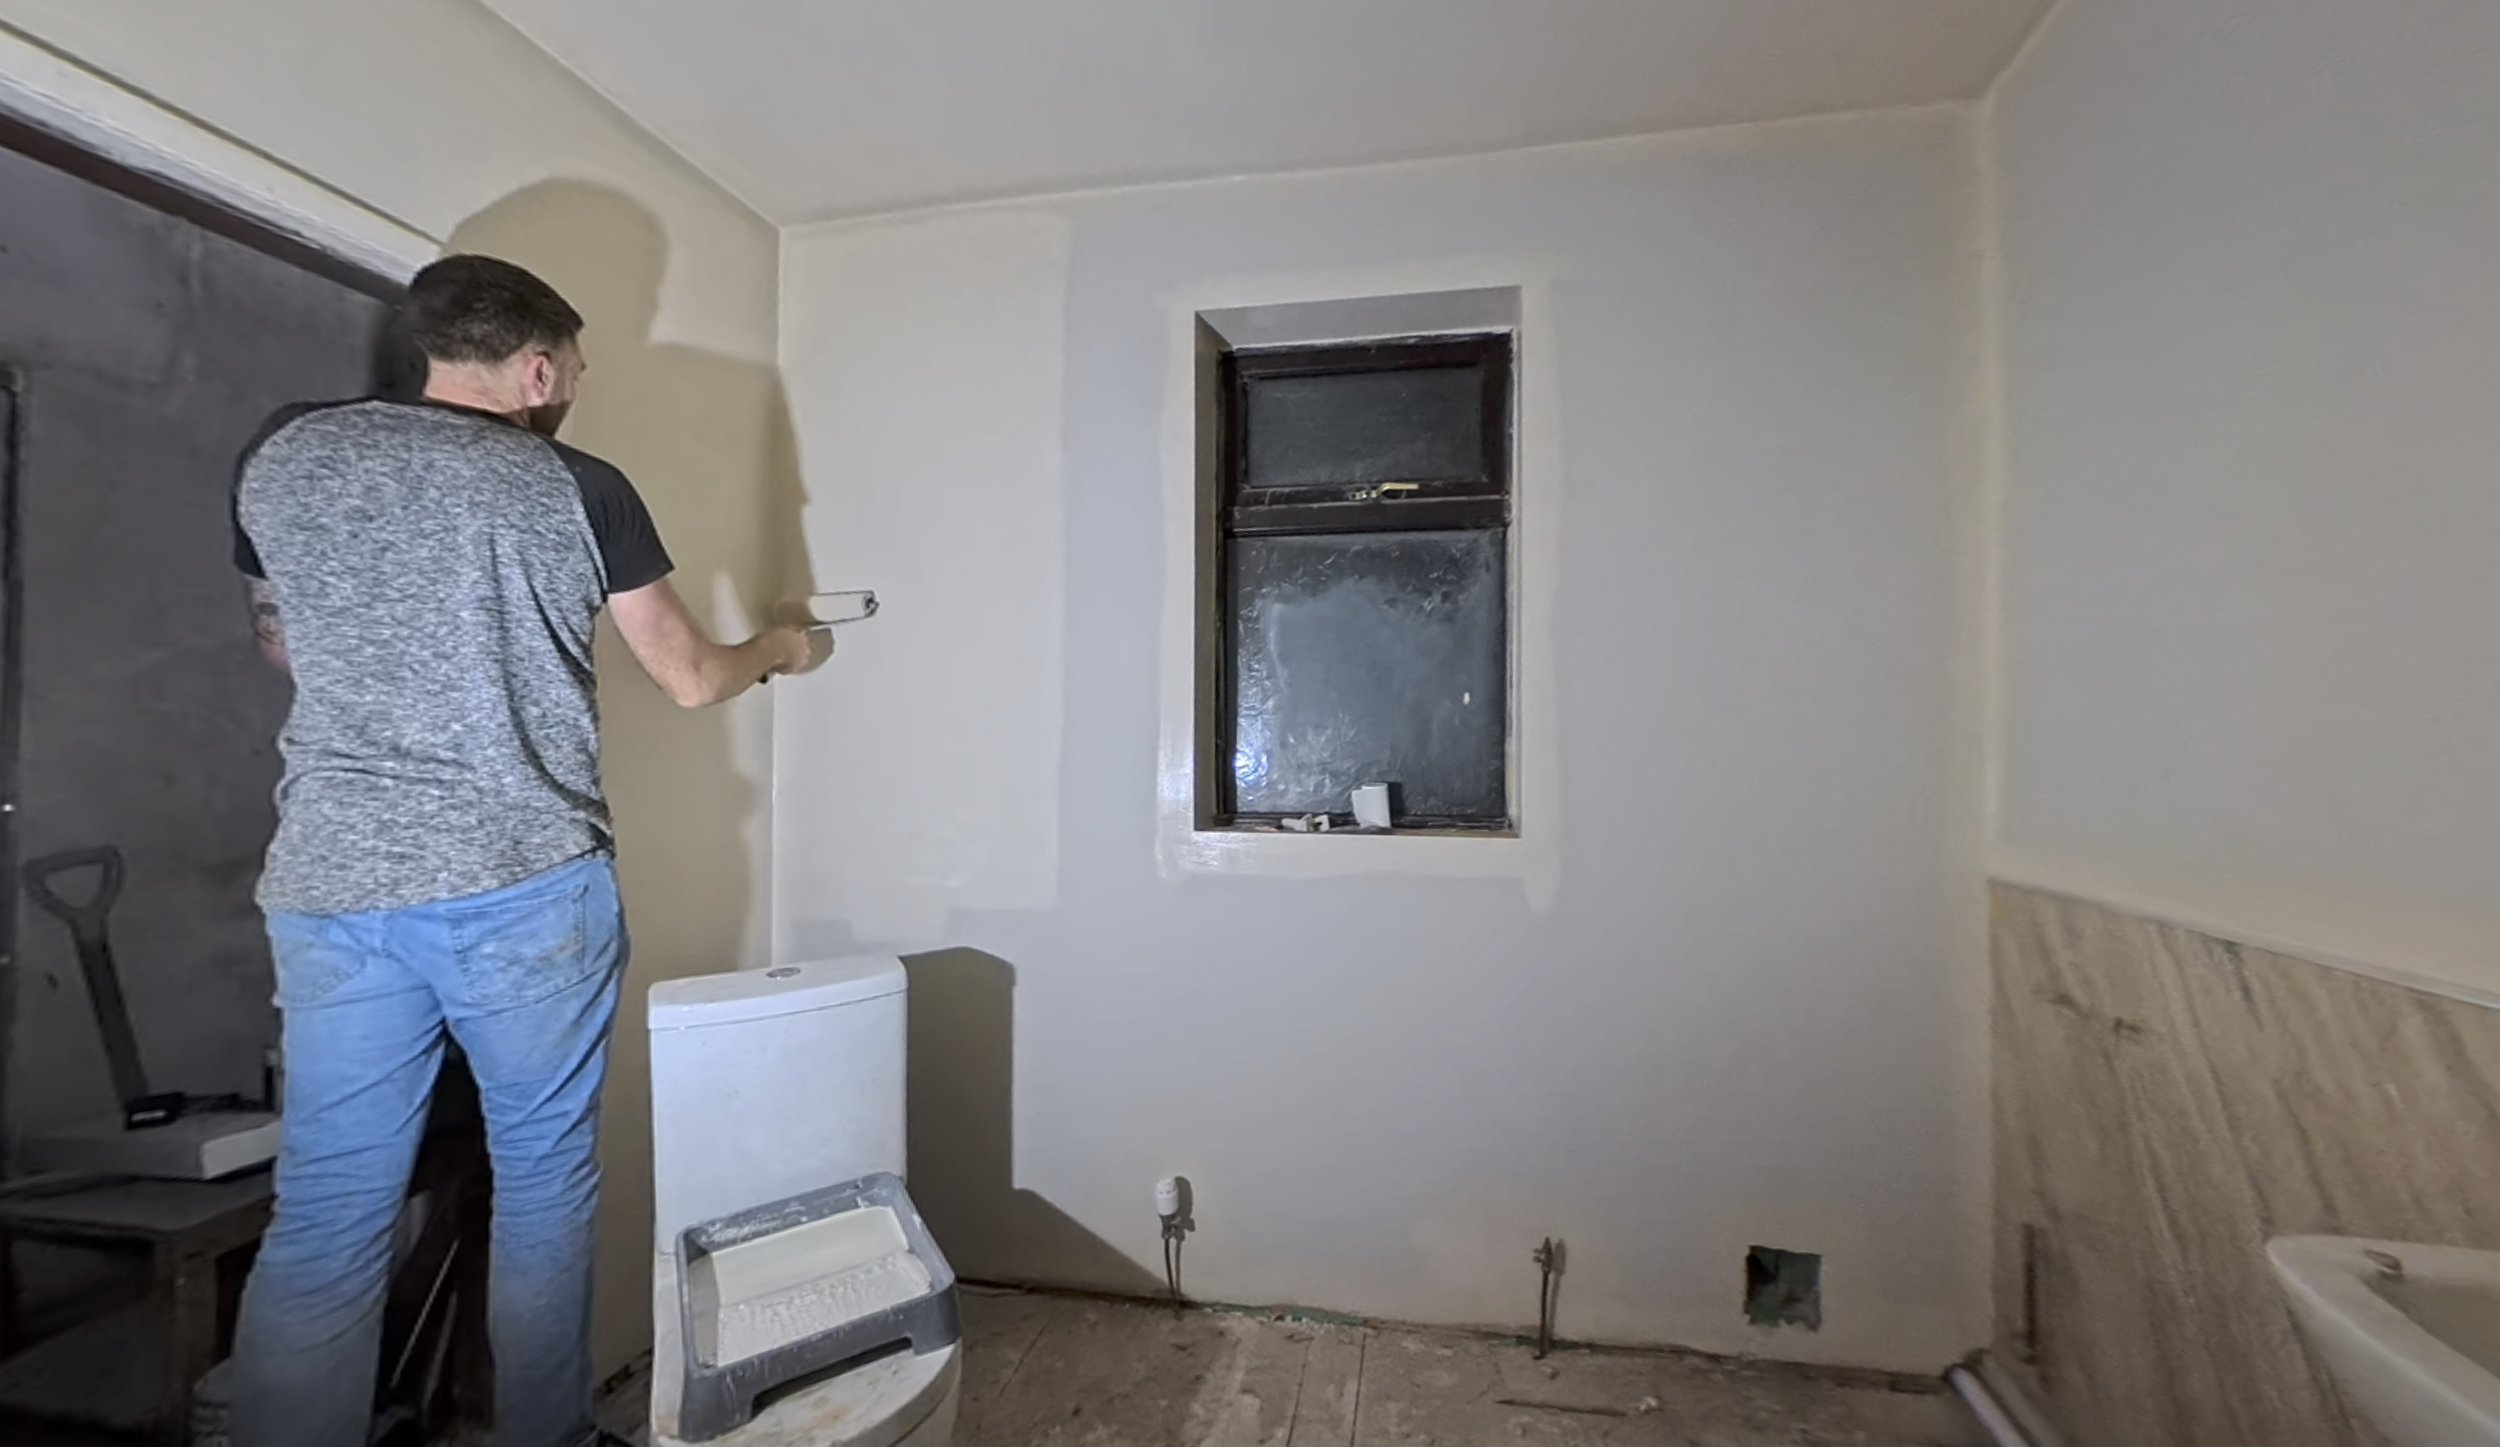
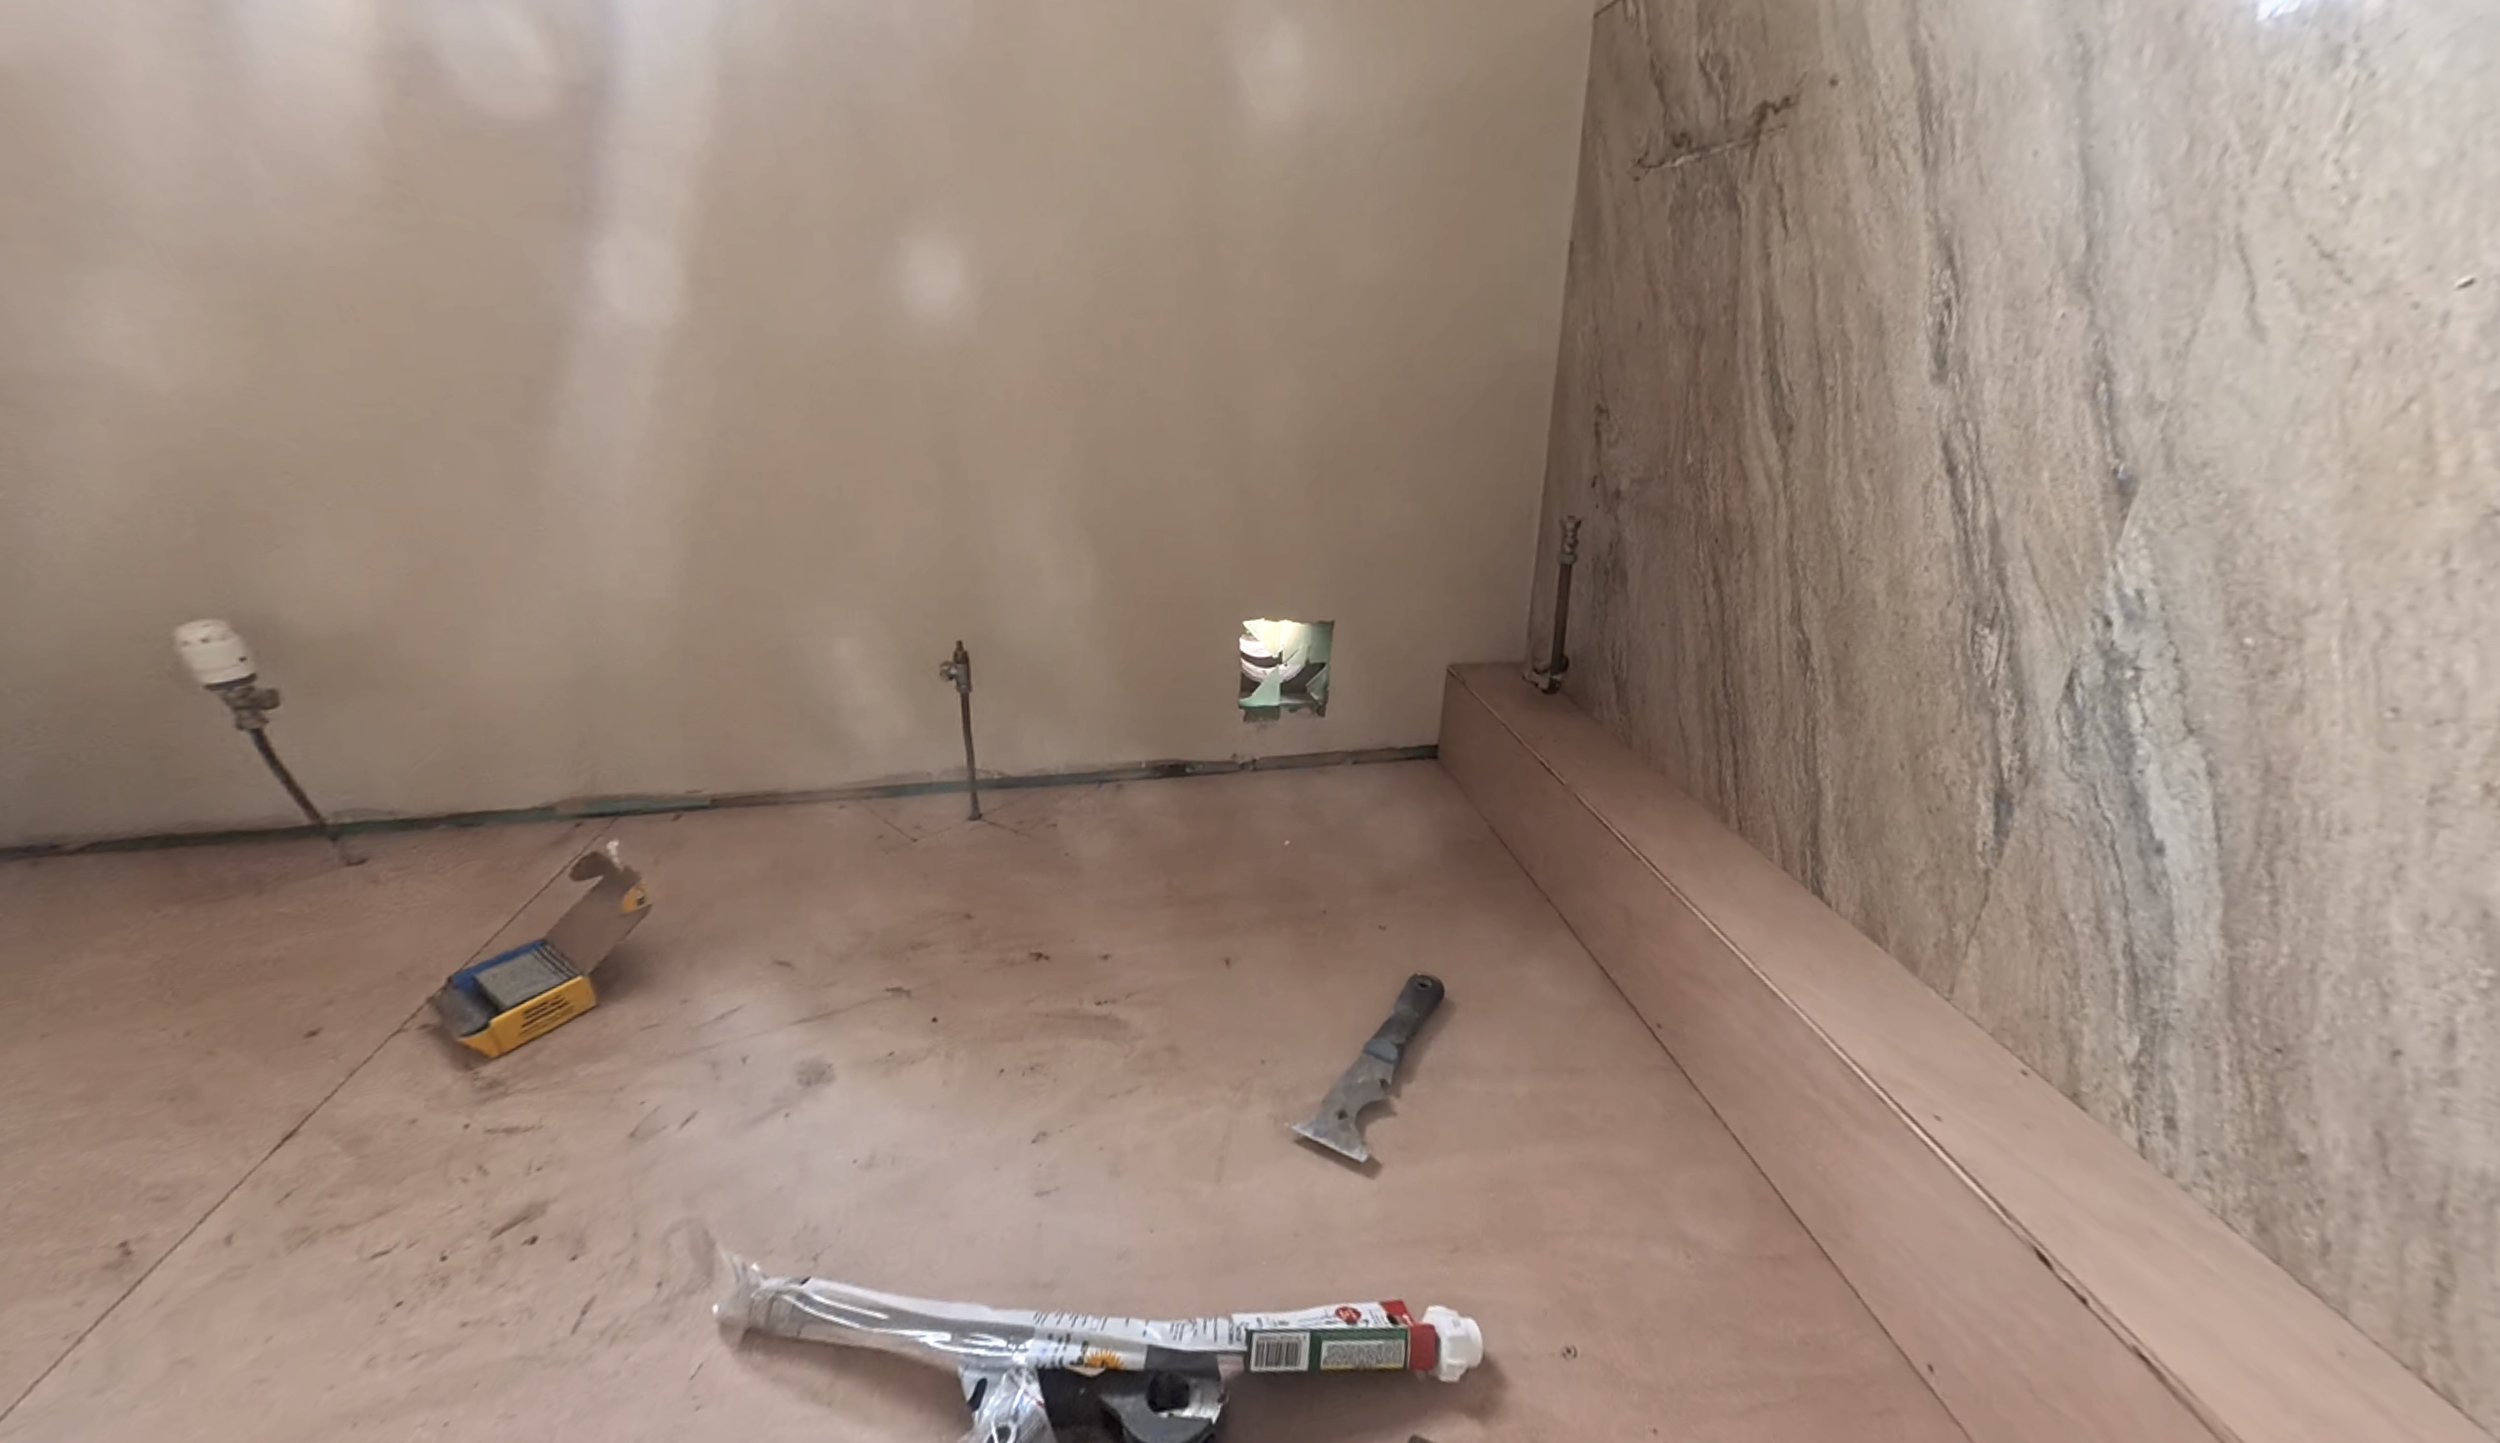
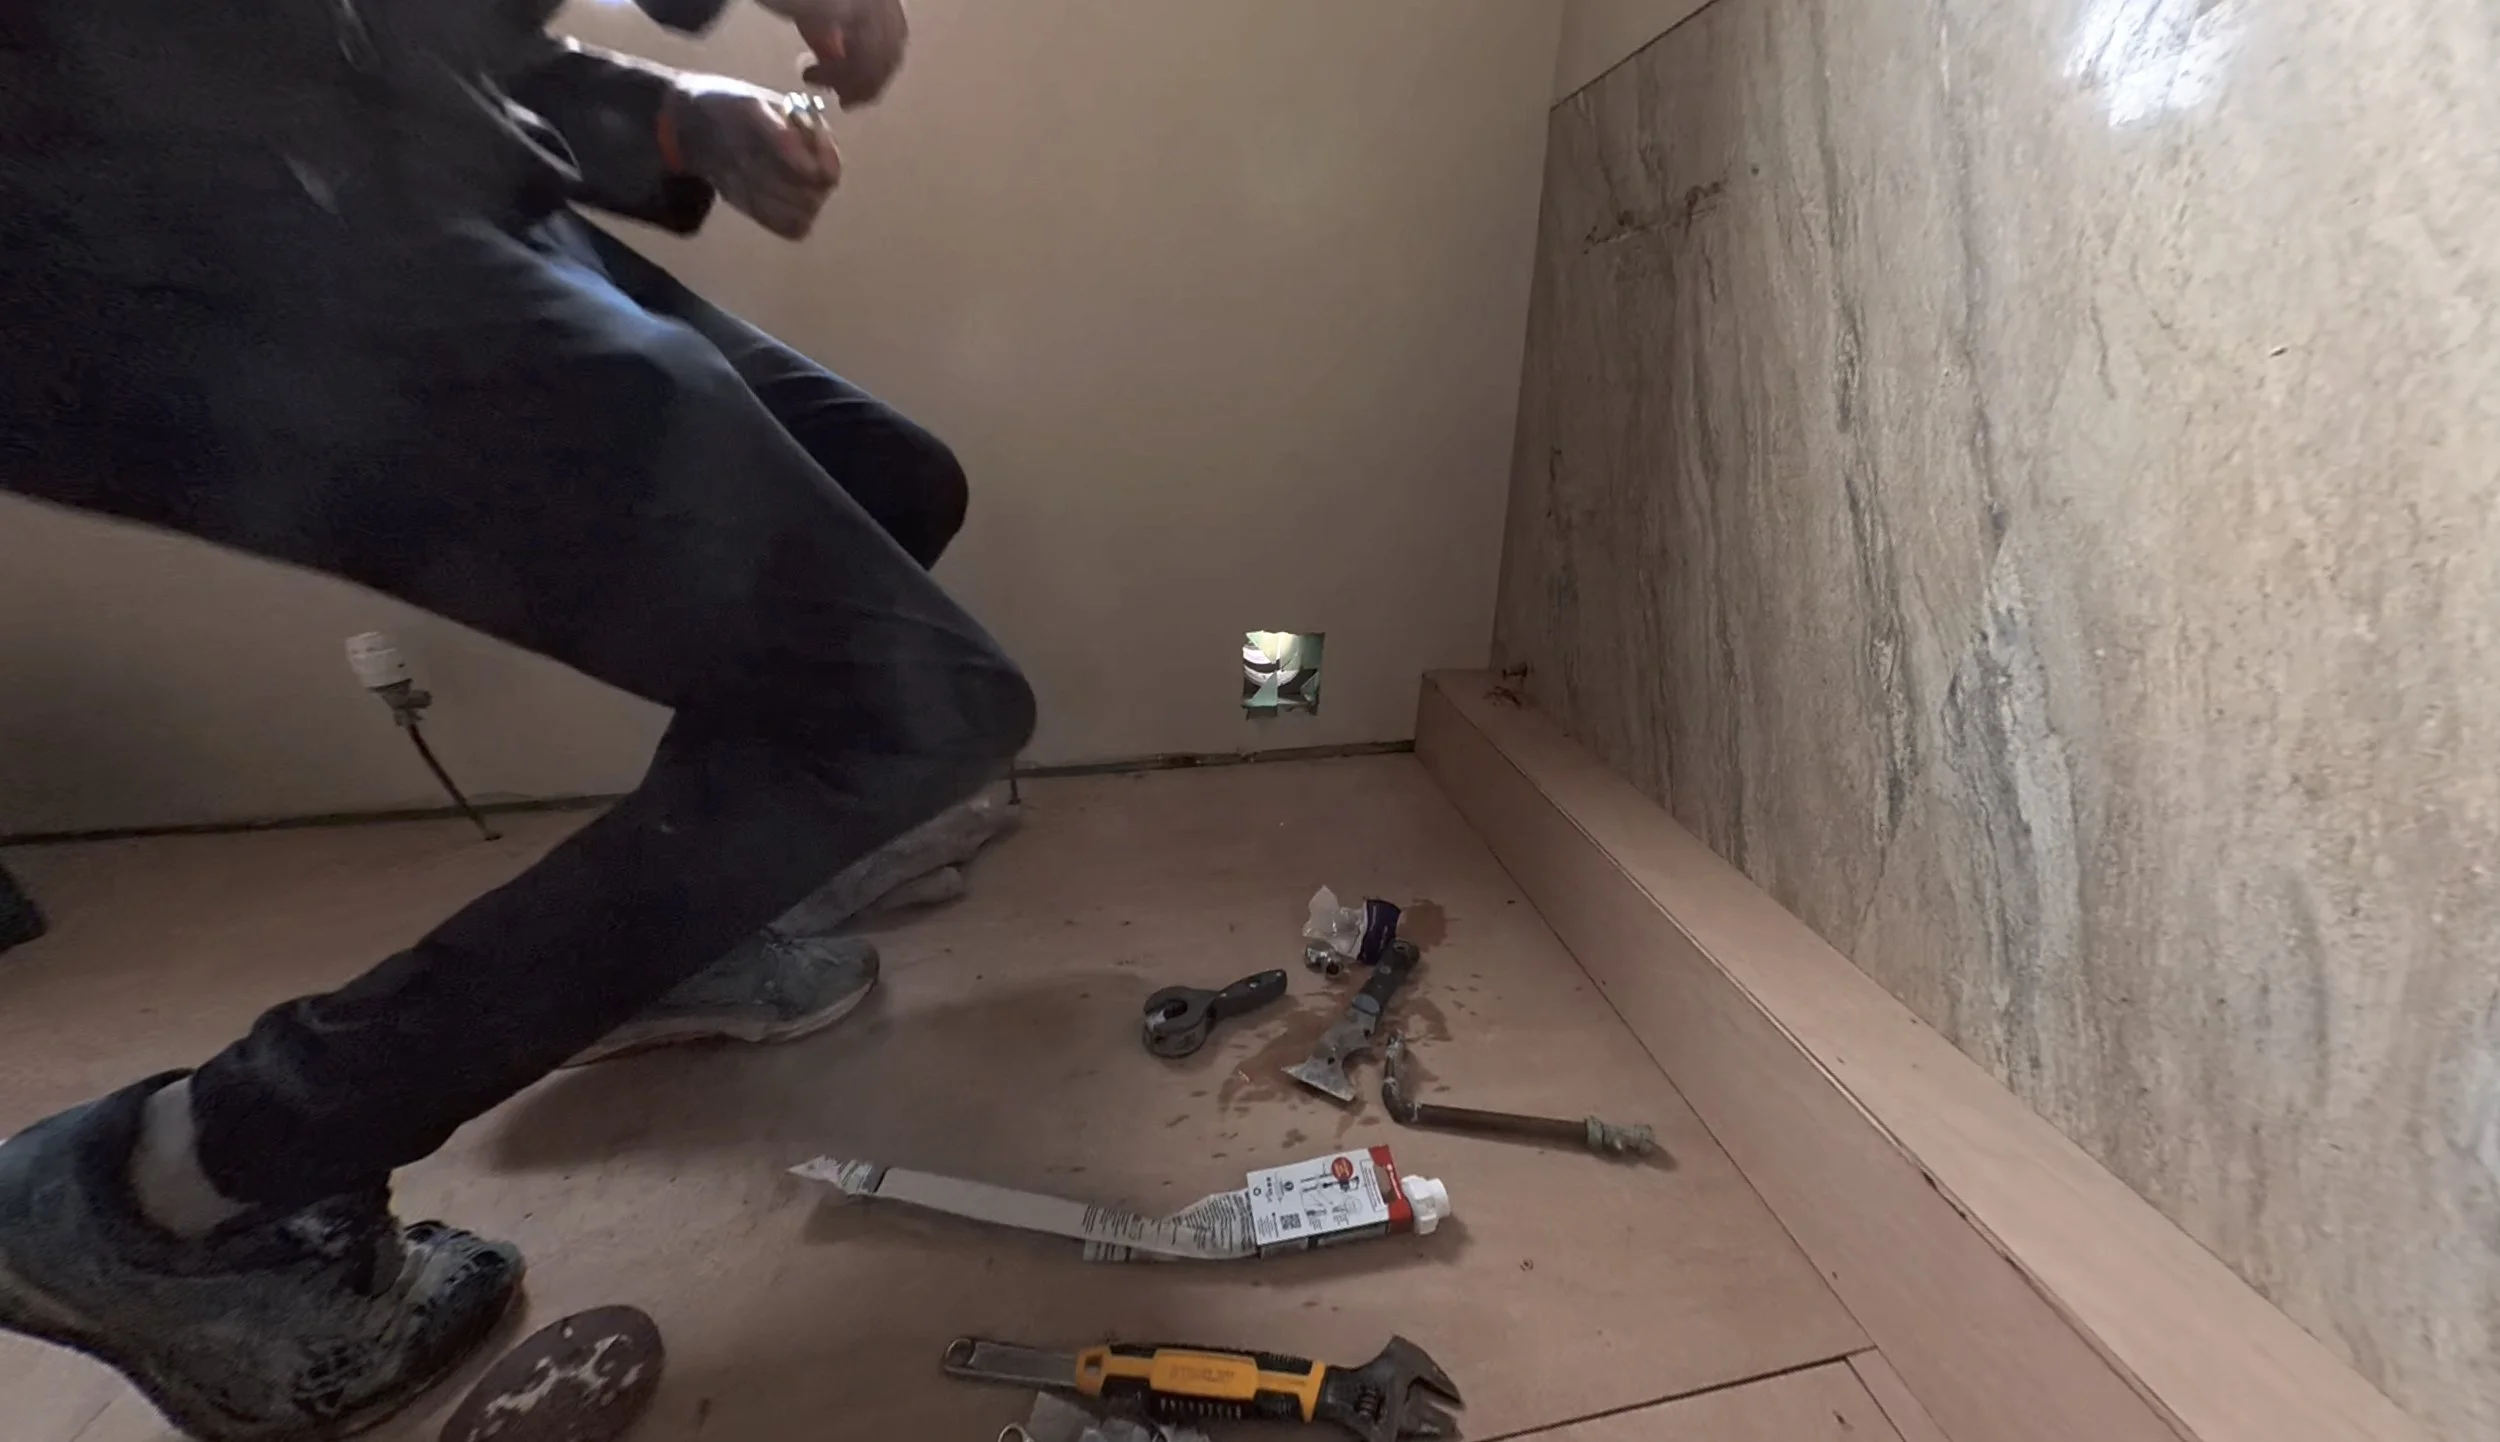
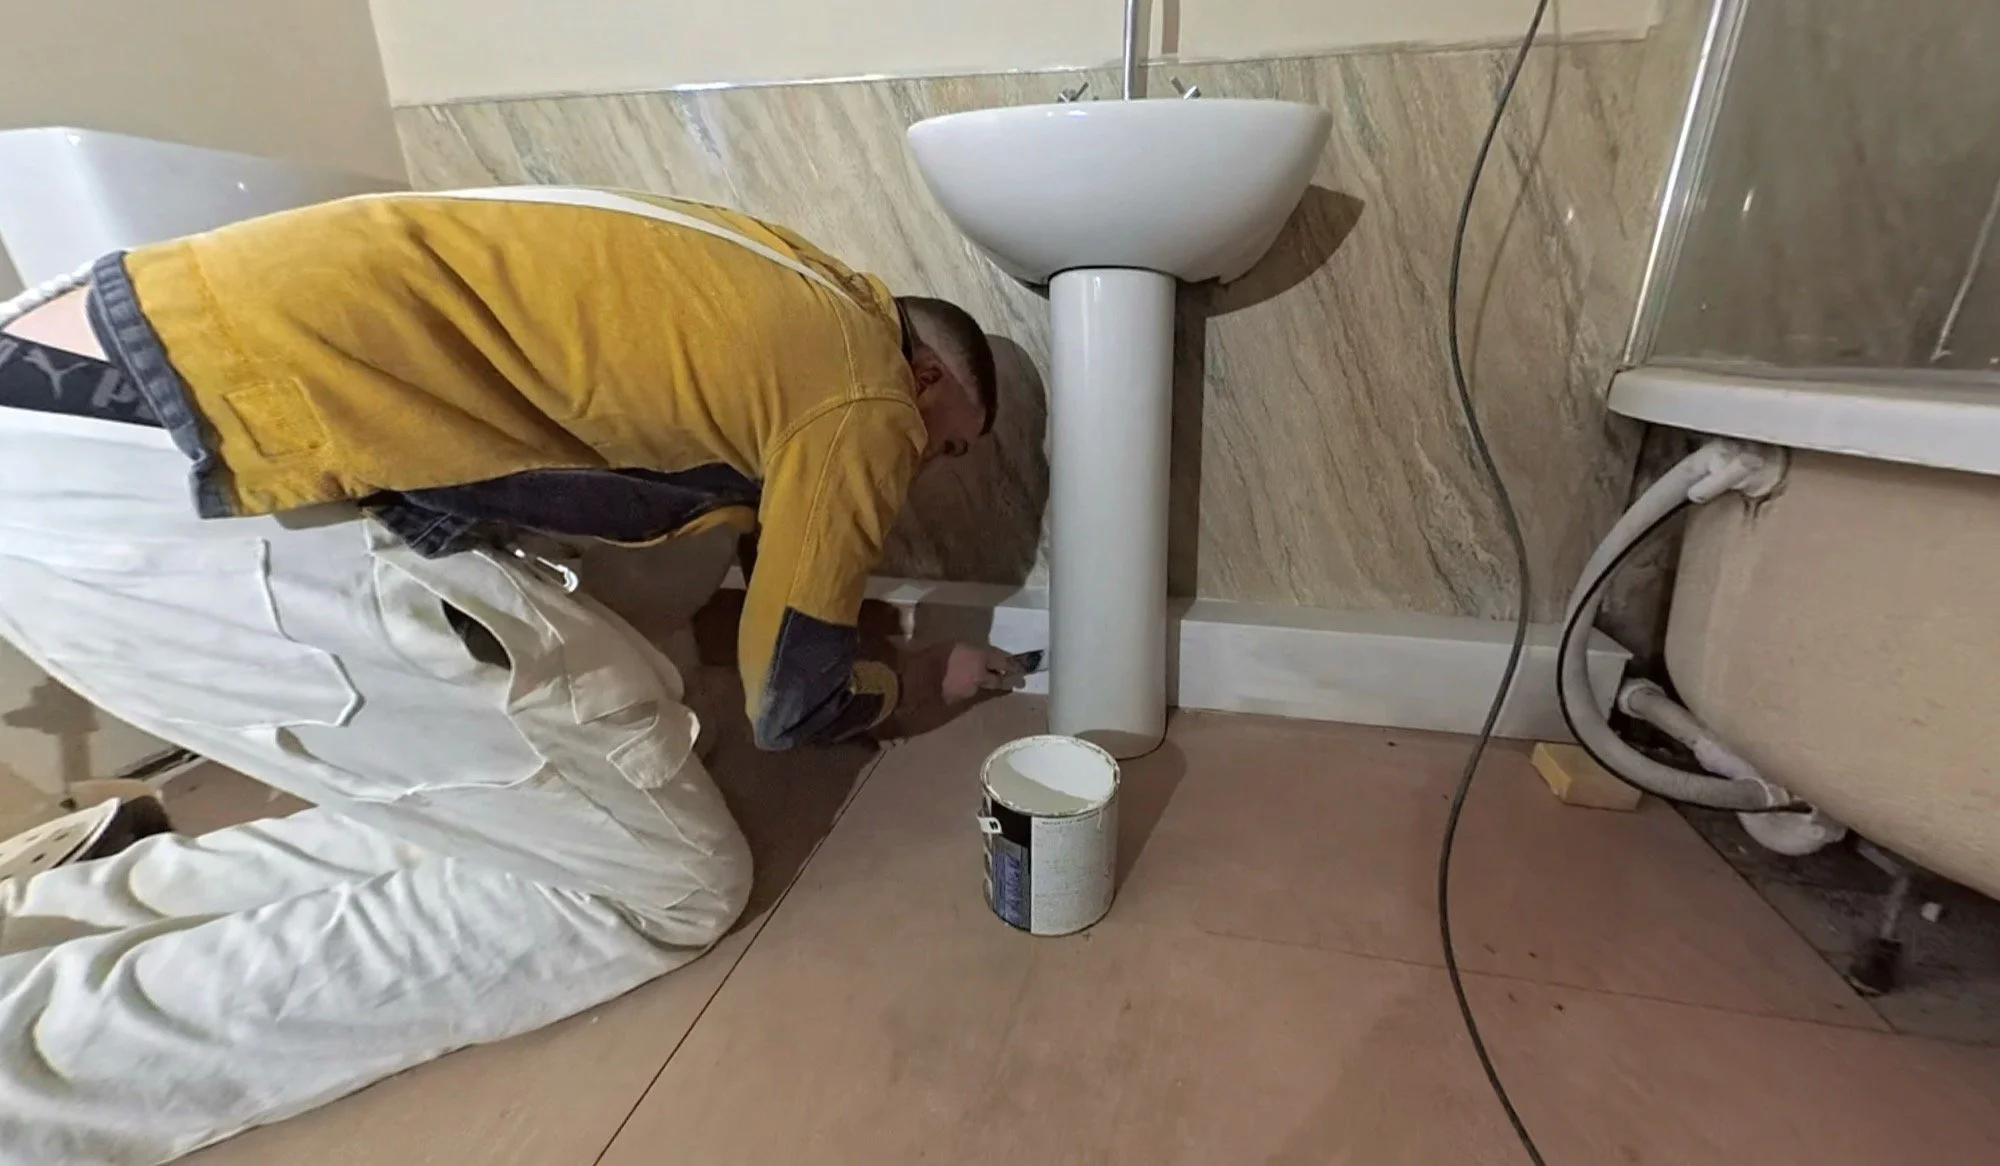
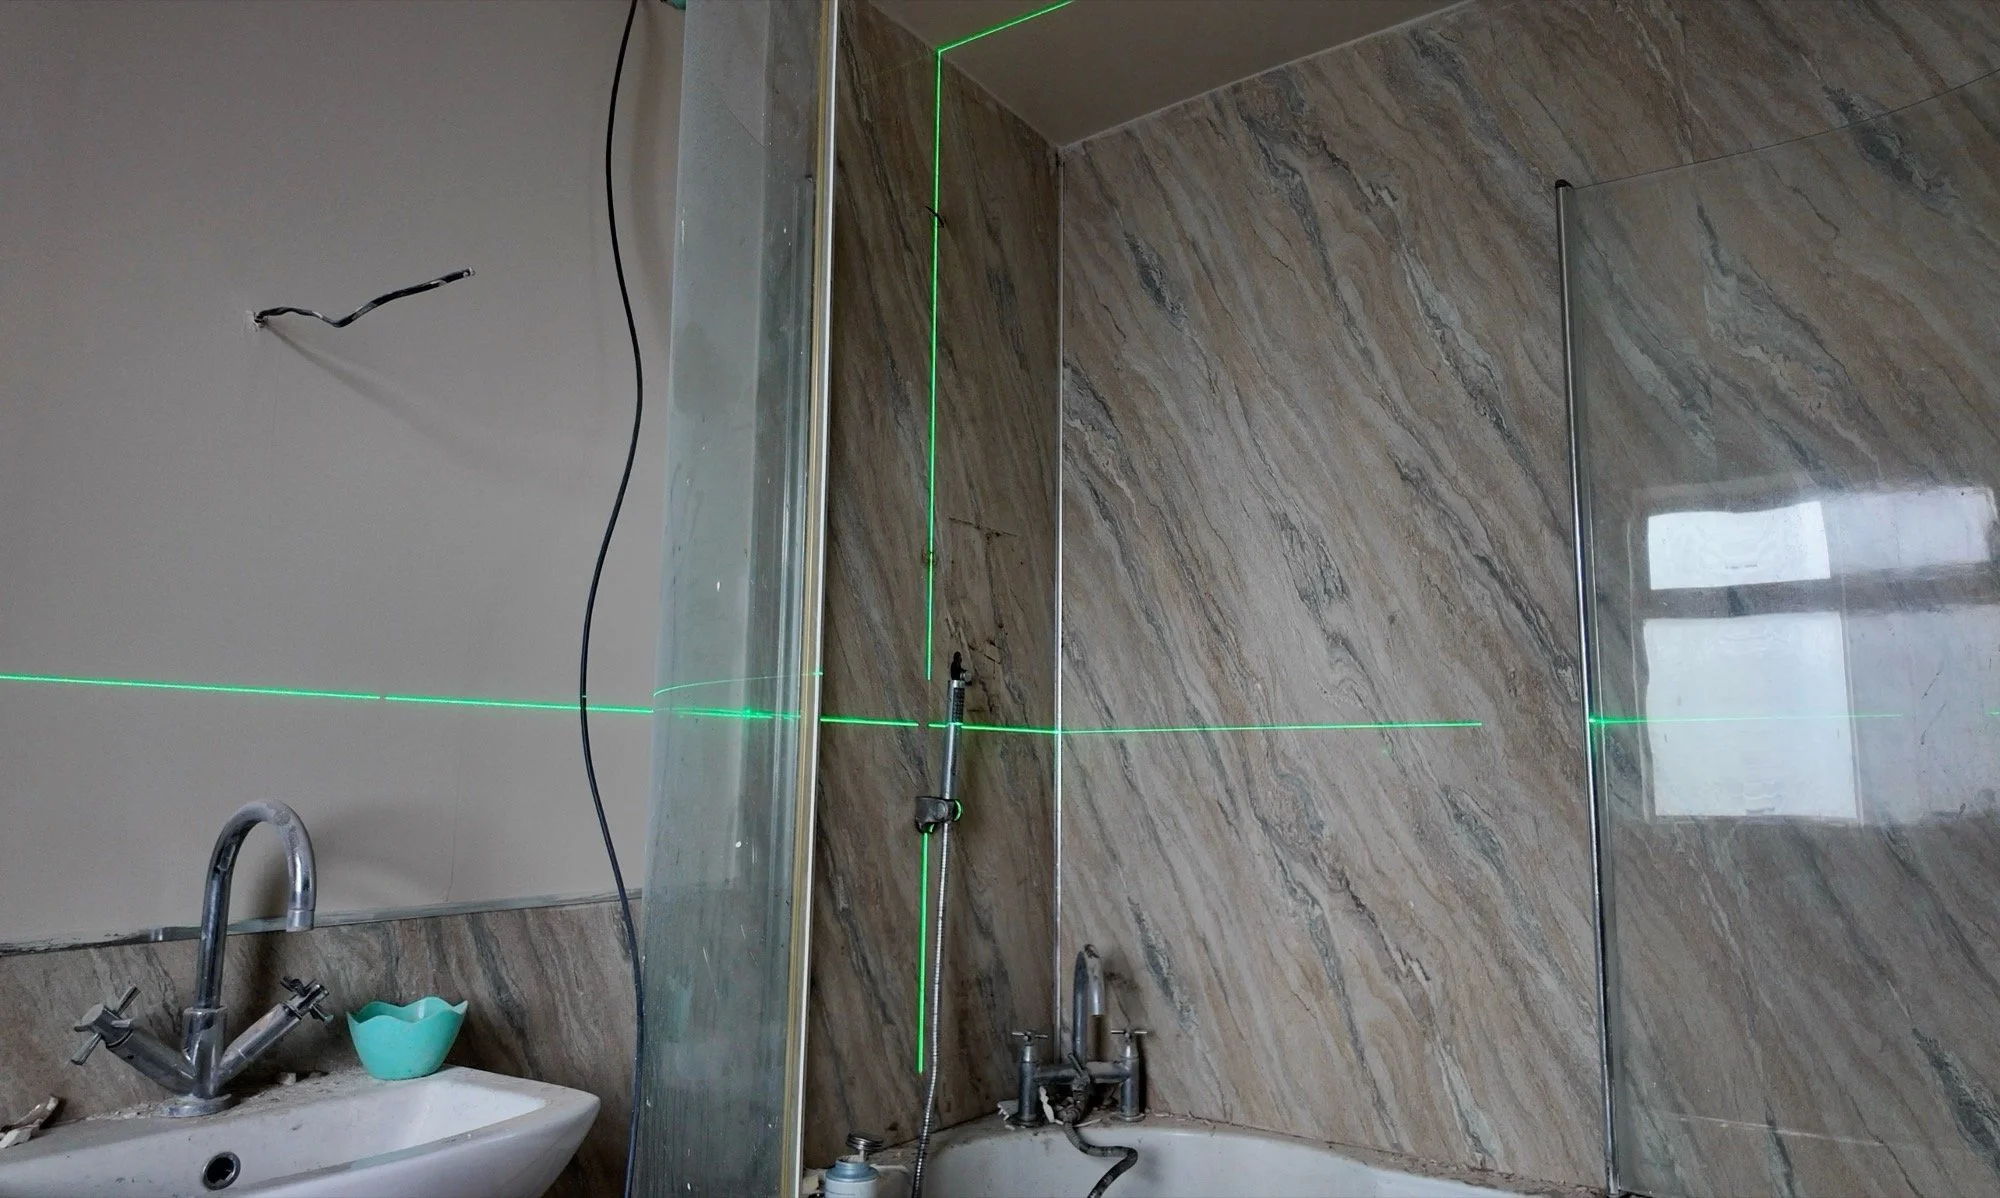
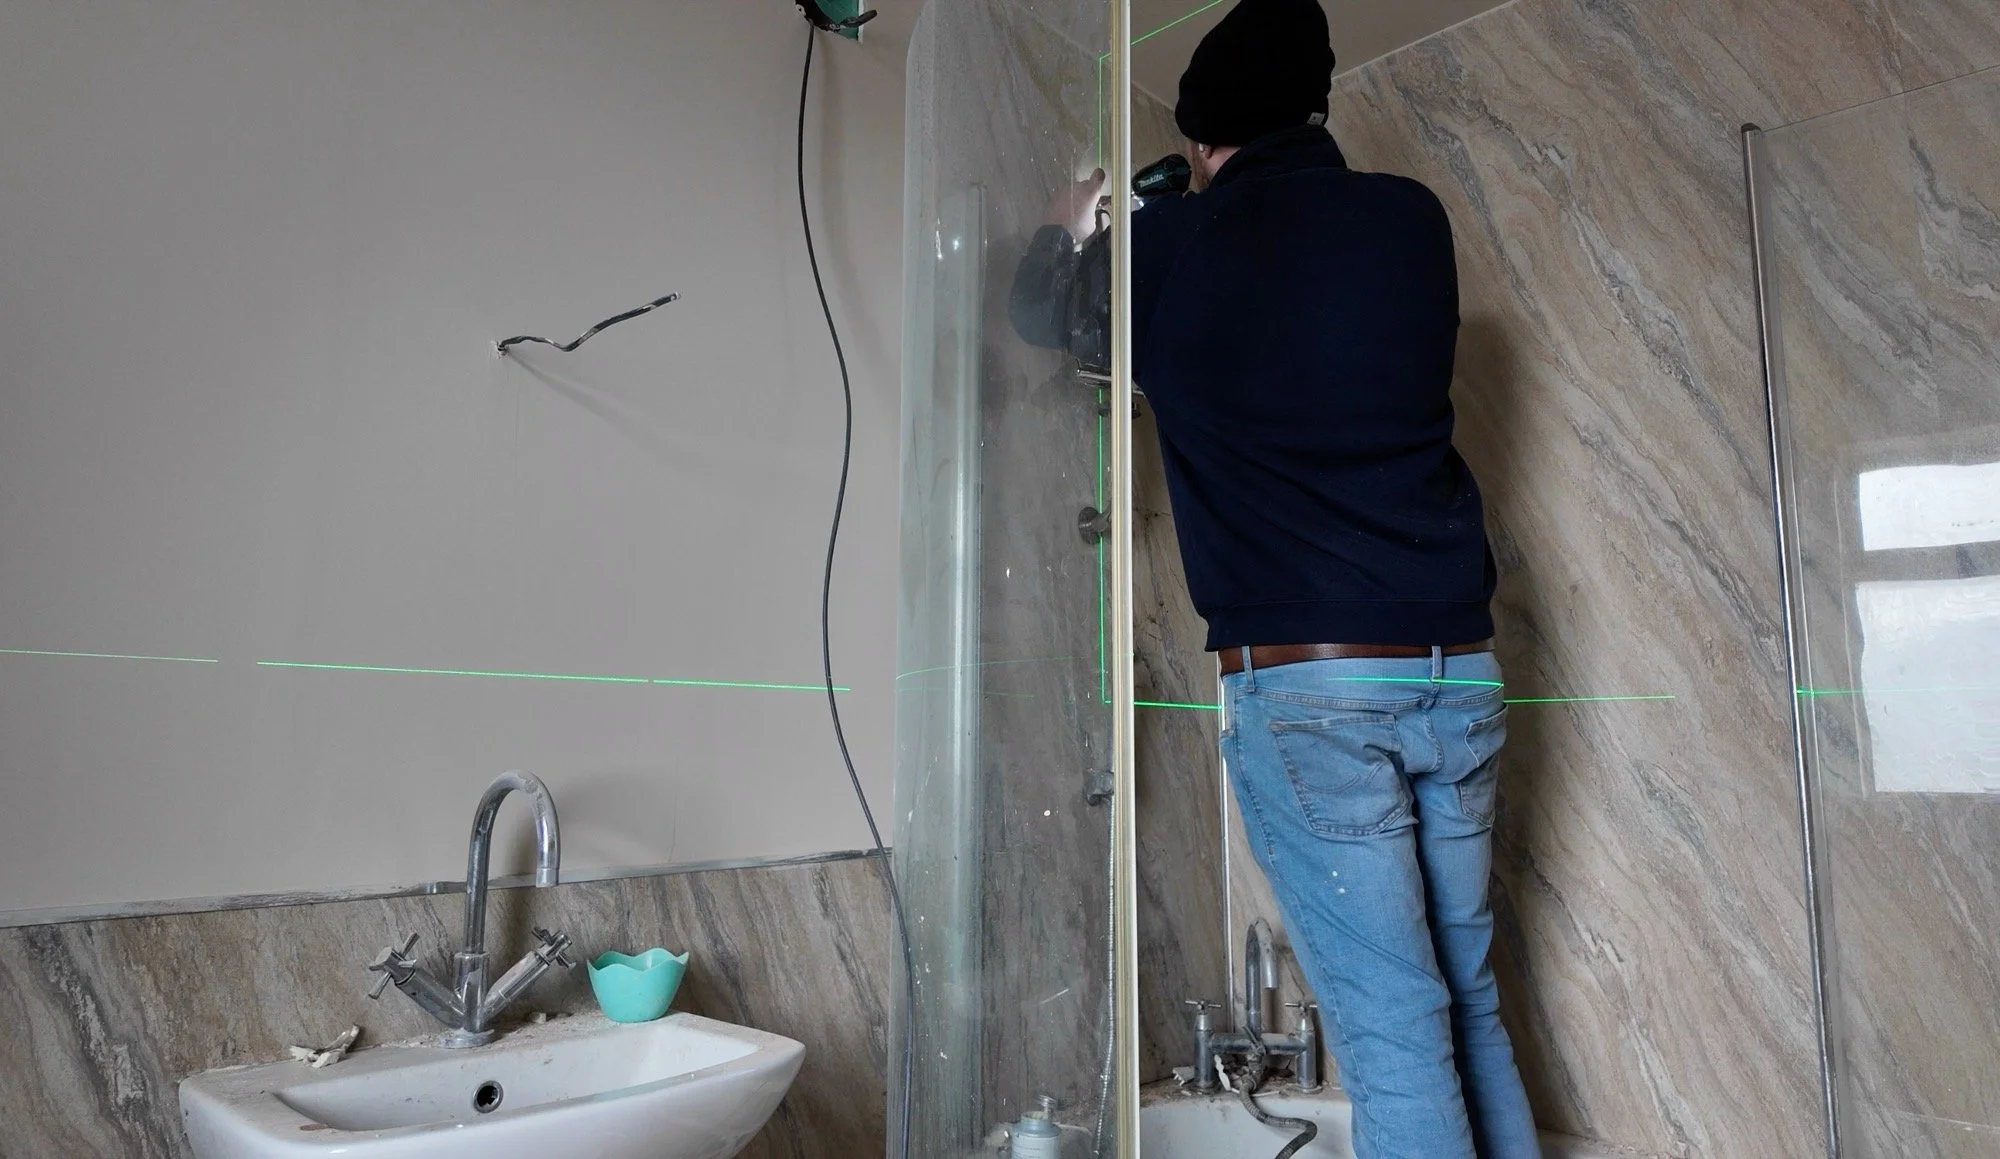
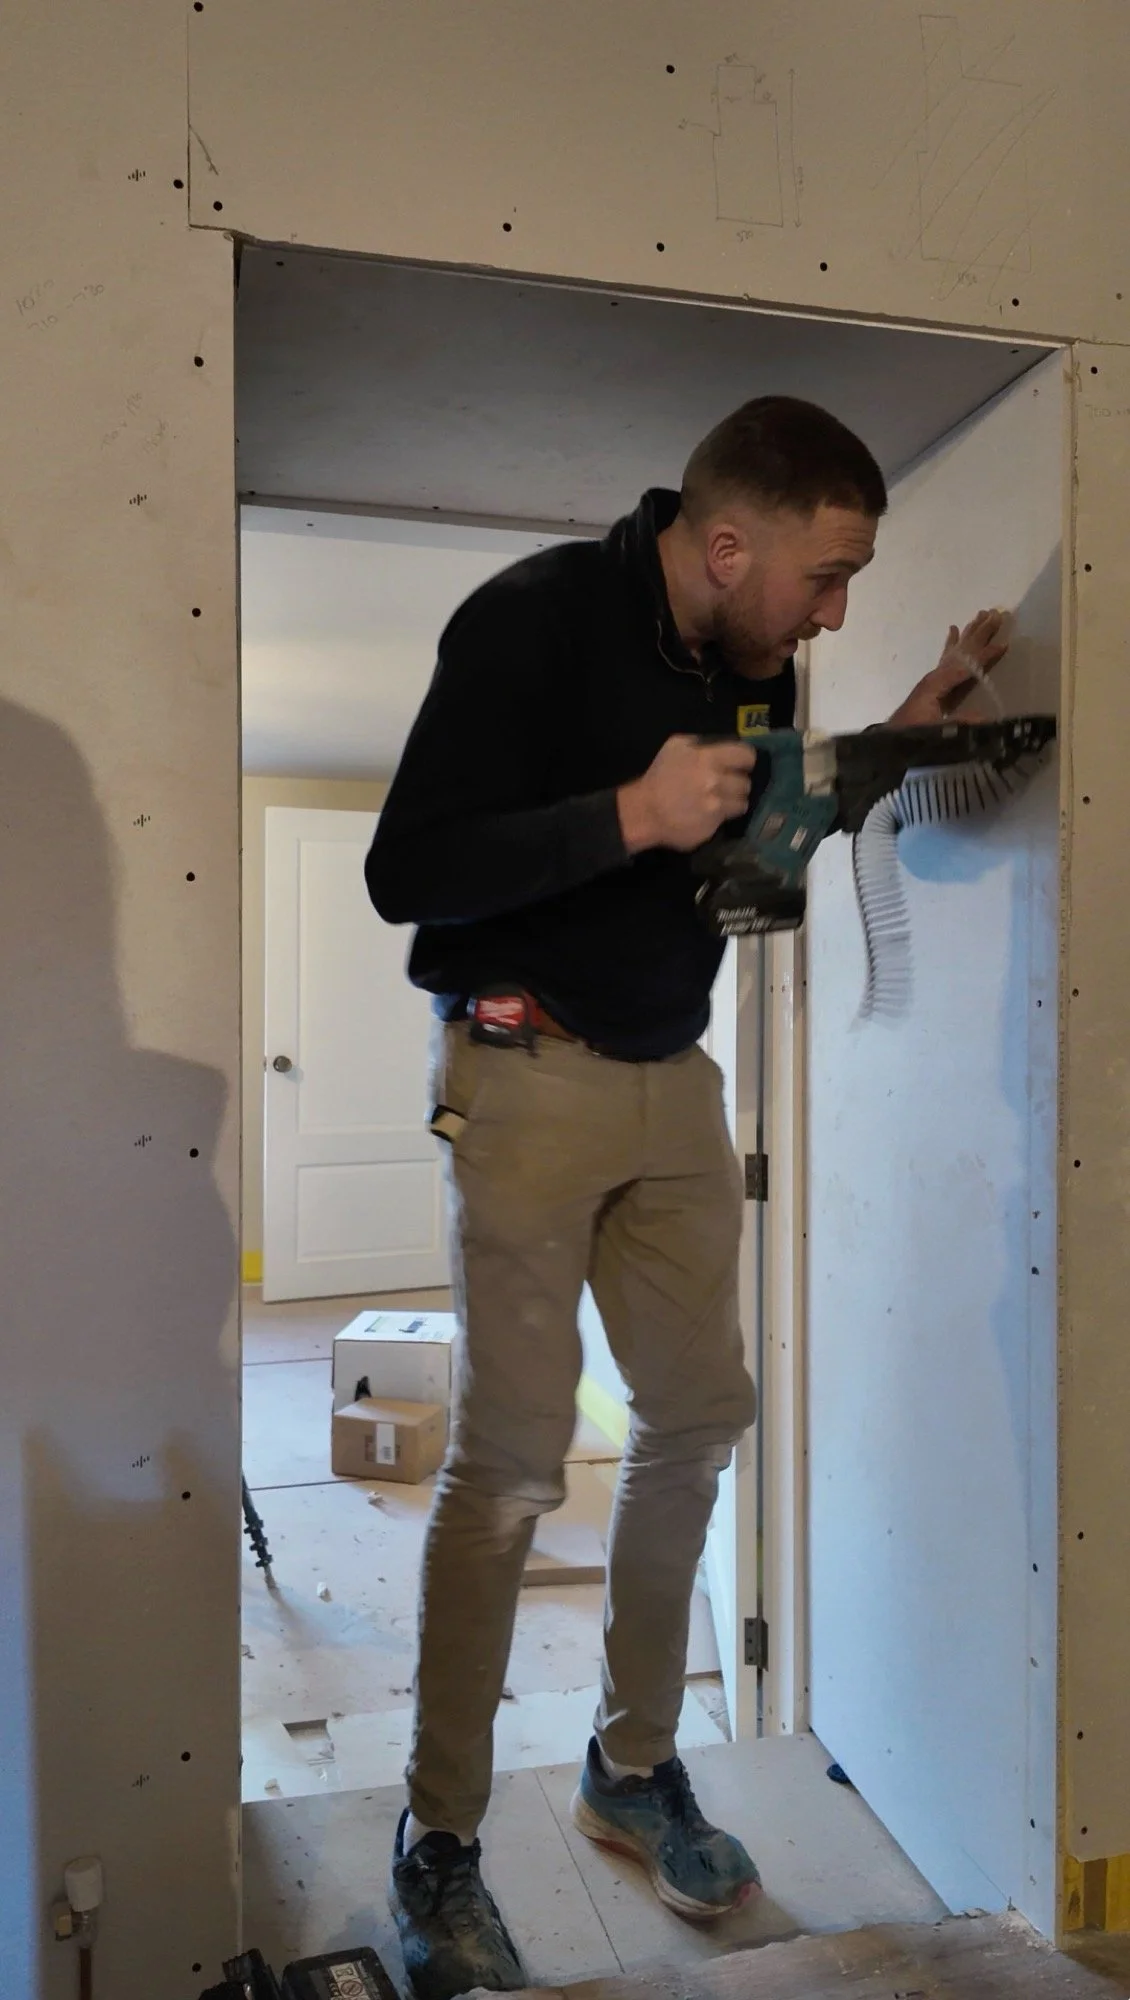
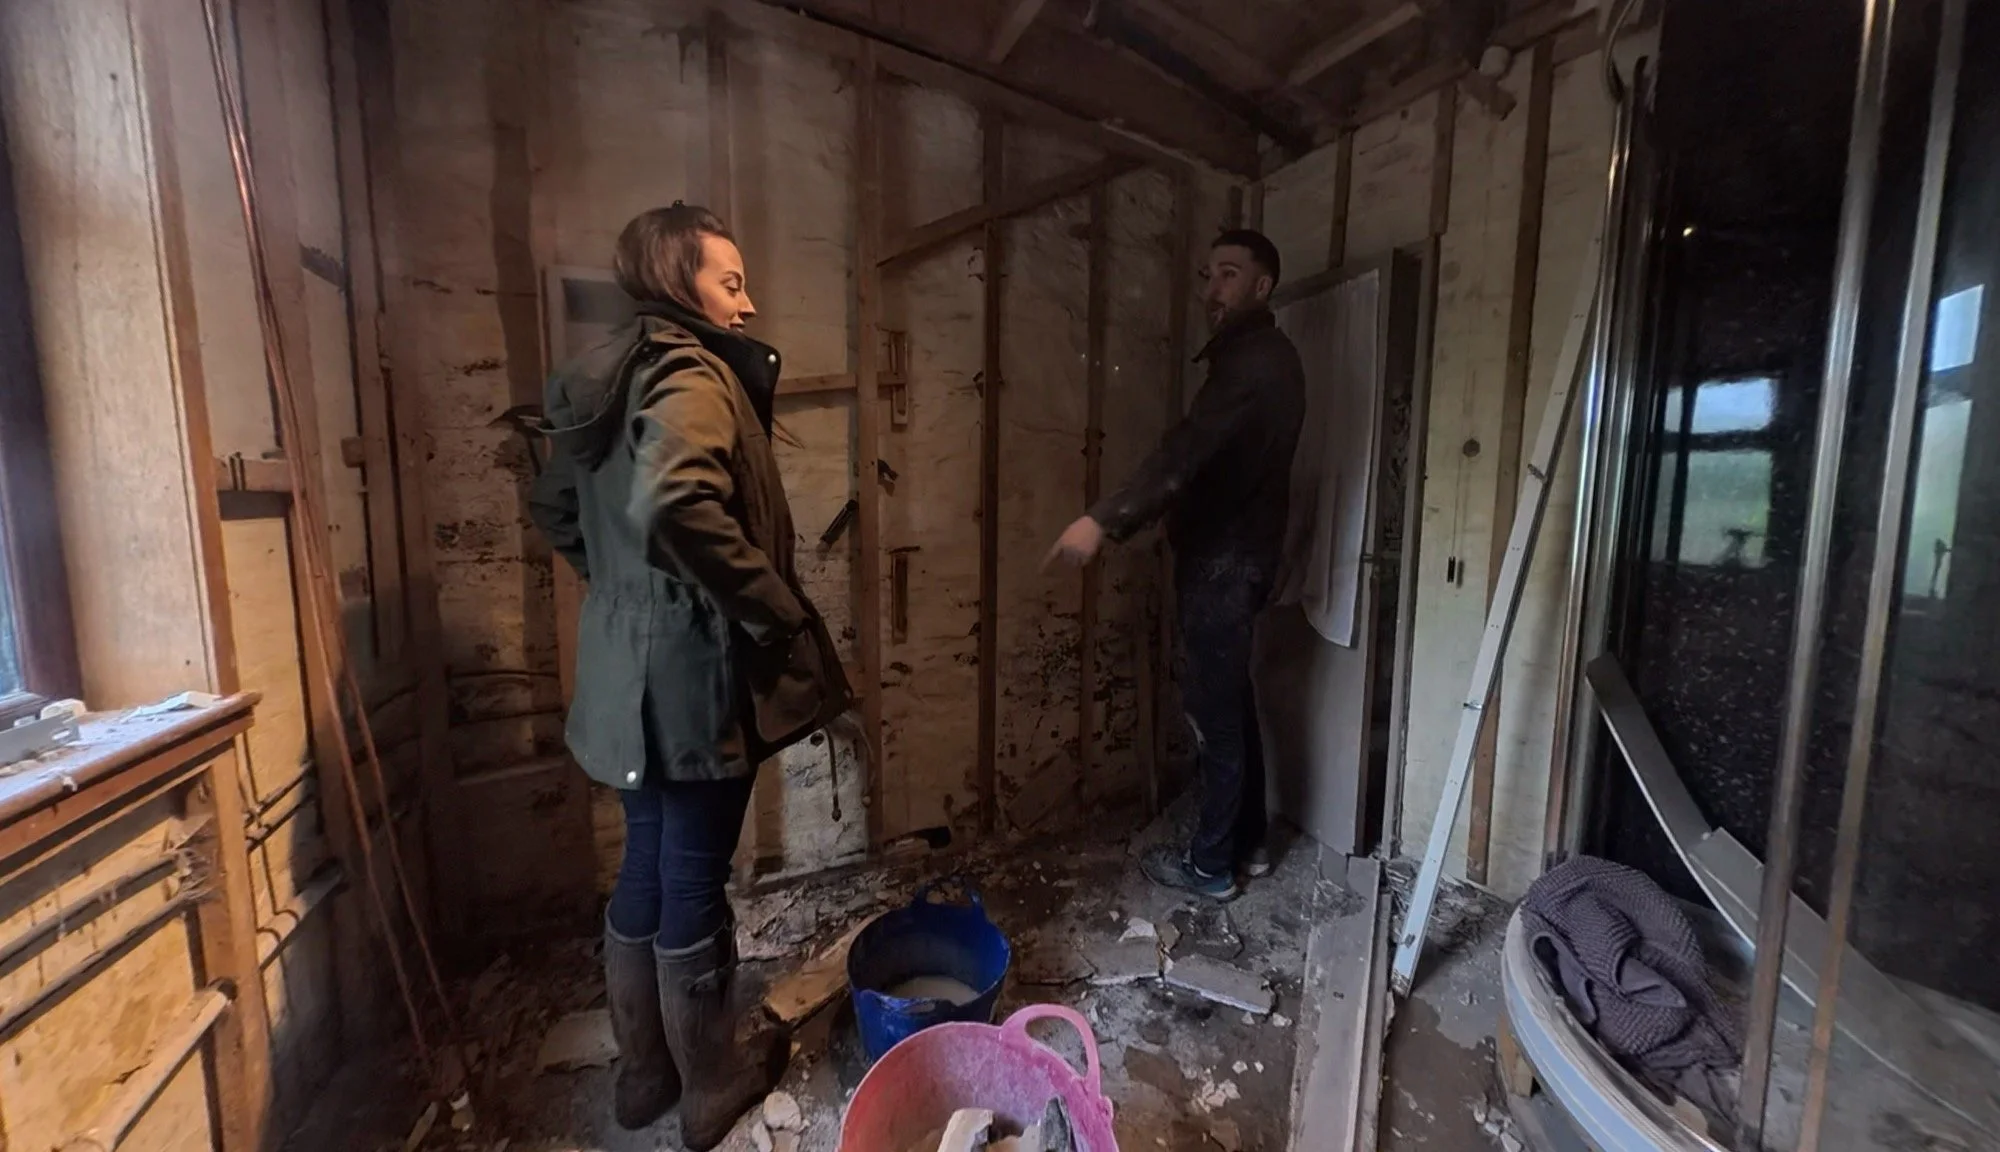
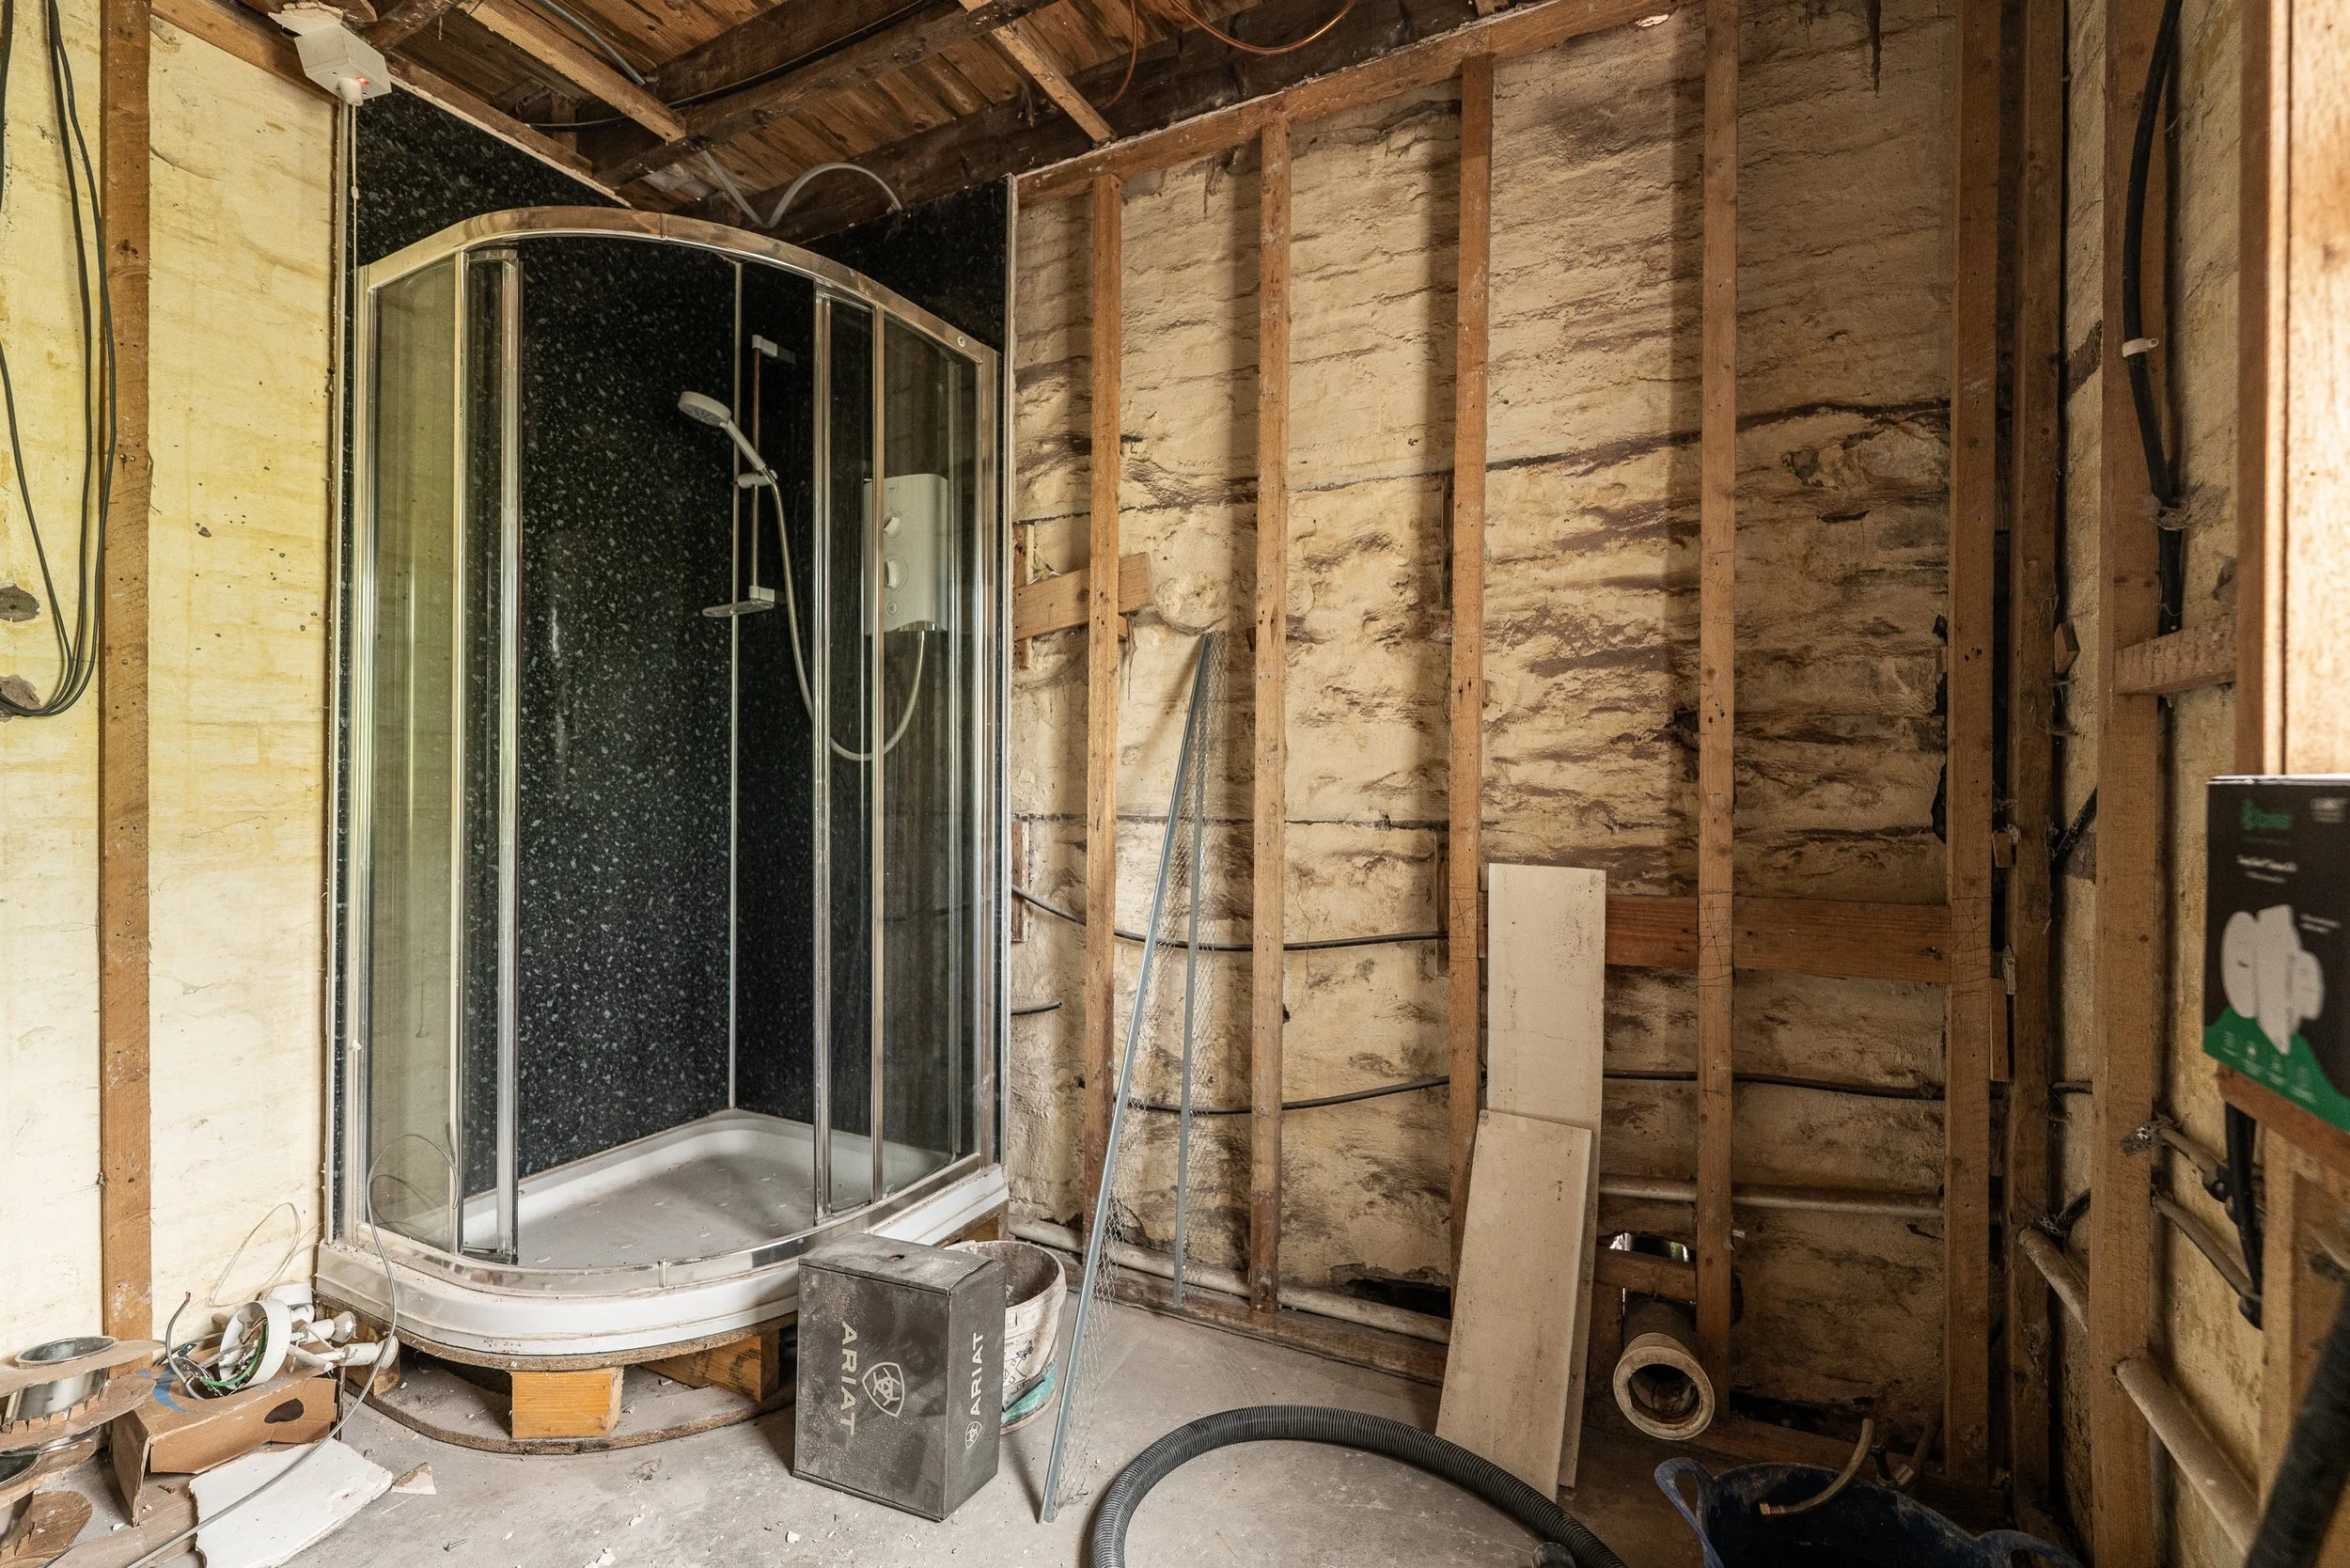
This bathroom is on a race to the end (kinda), so this weeks to do list included filling, priming and painting the boxing in around the sink and bath waste pipes, reworking the existing bath taps/shower combo to remove the electric shower (it is electronically disconnected) and fit the toilet to its new 90-degree rotated position.
Dan began with prepping the toilet for its reconnection and then priming and painting that boxing:
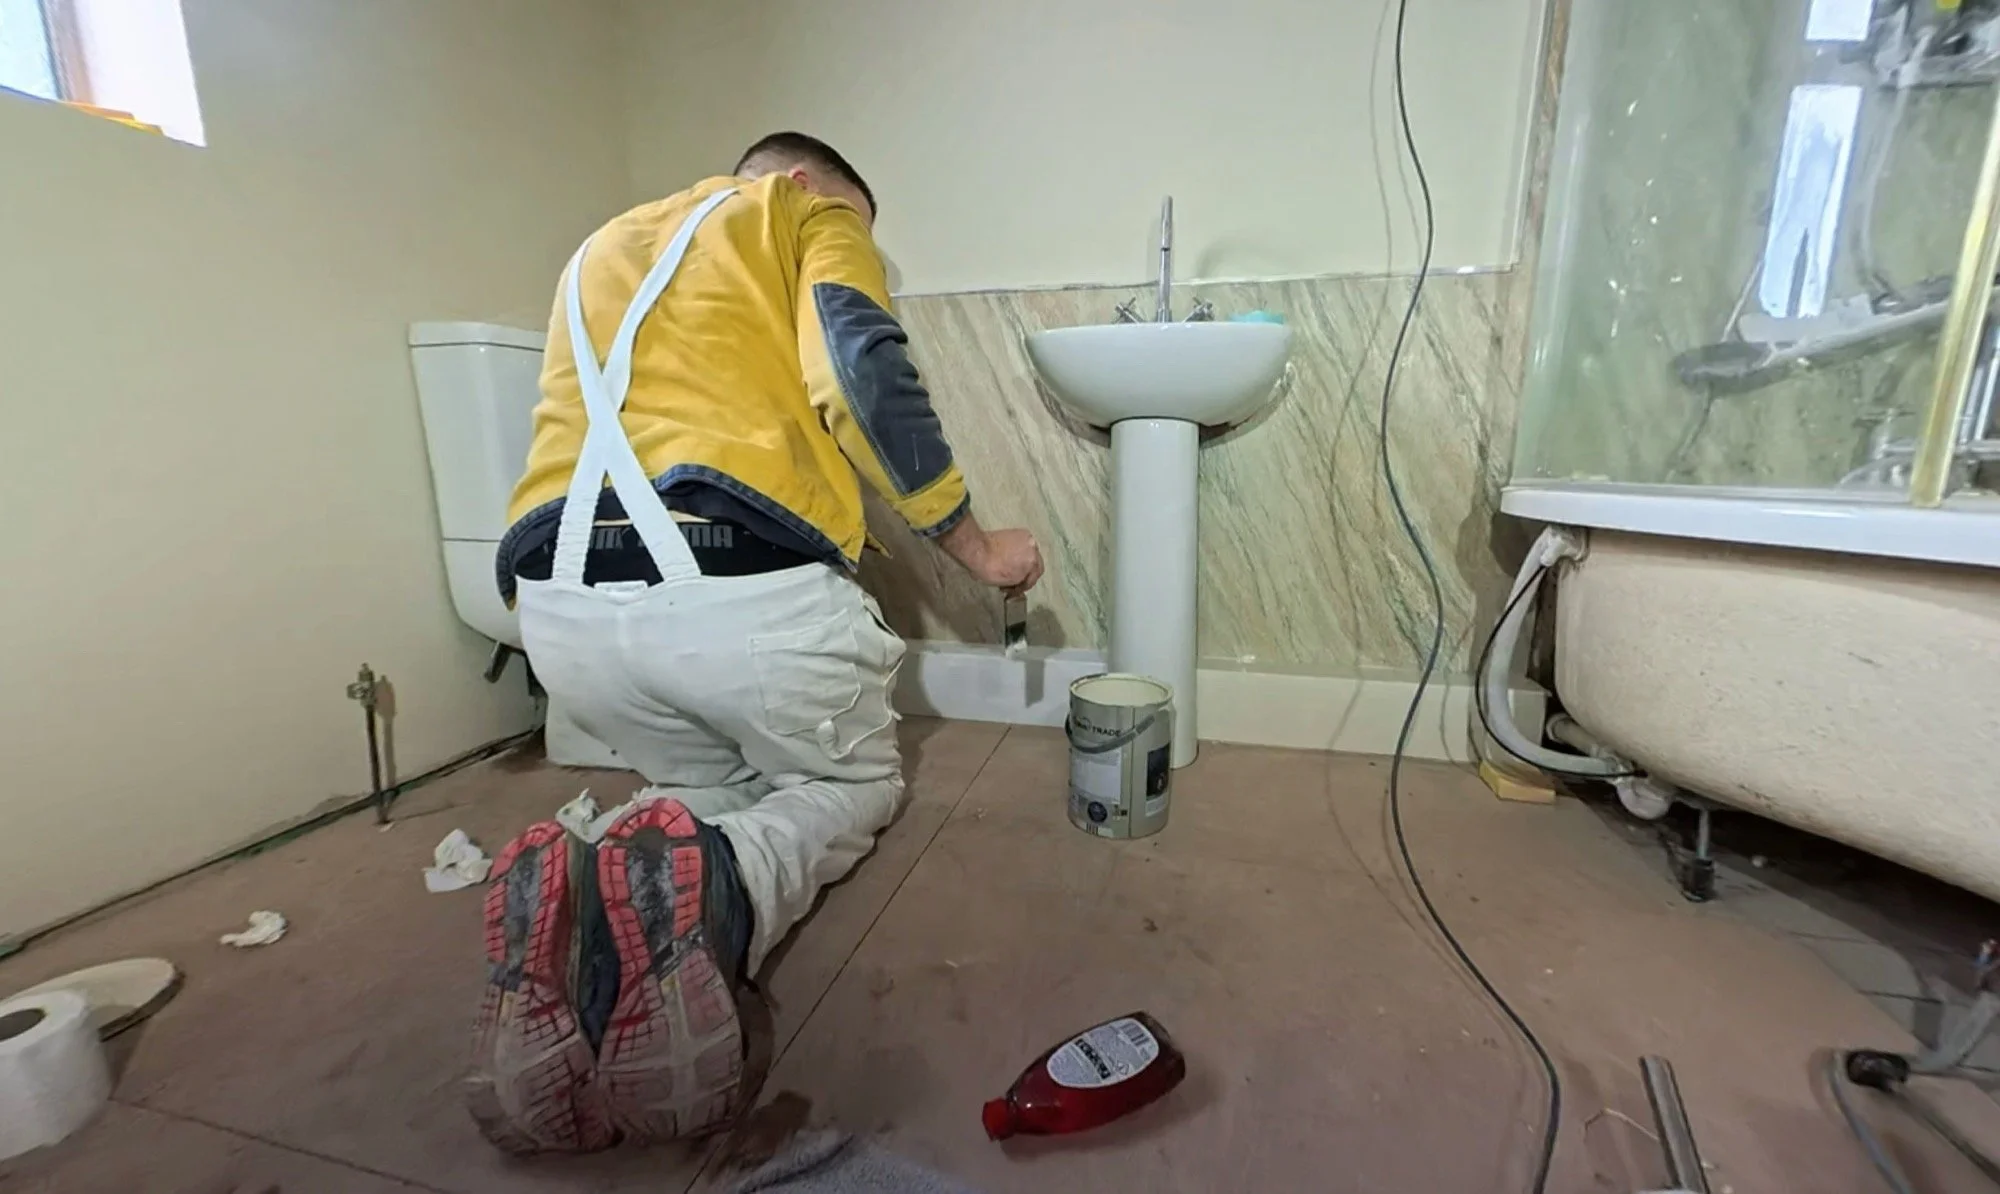
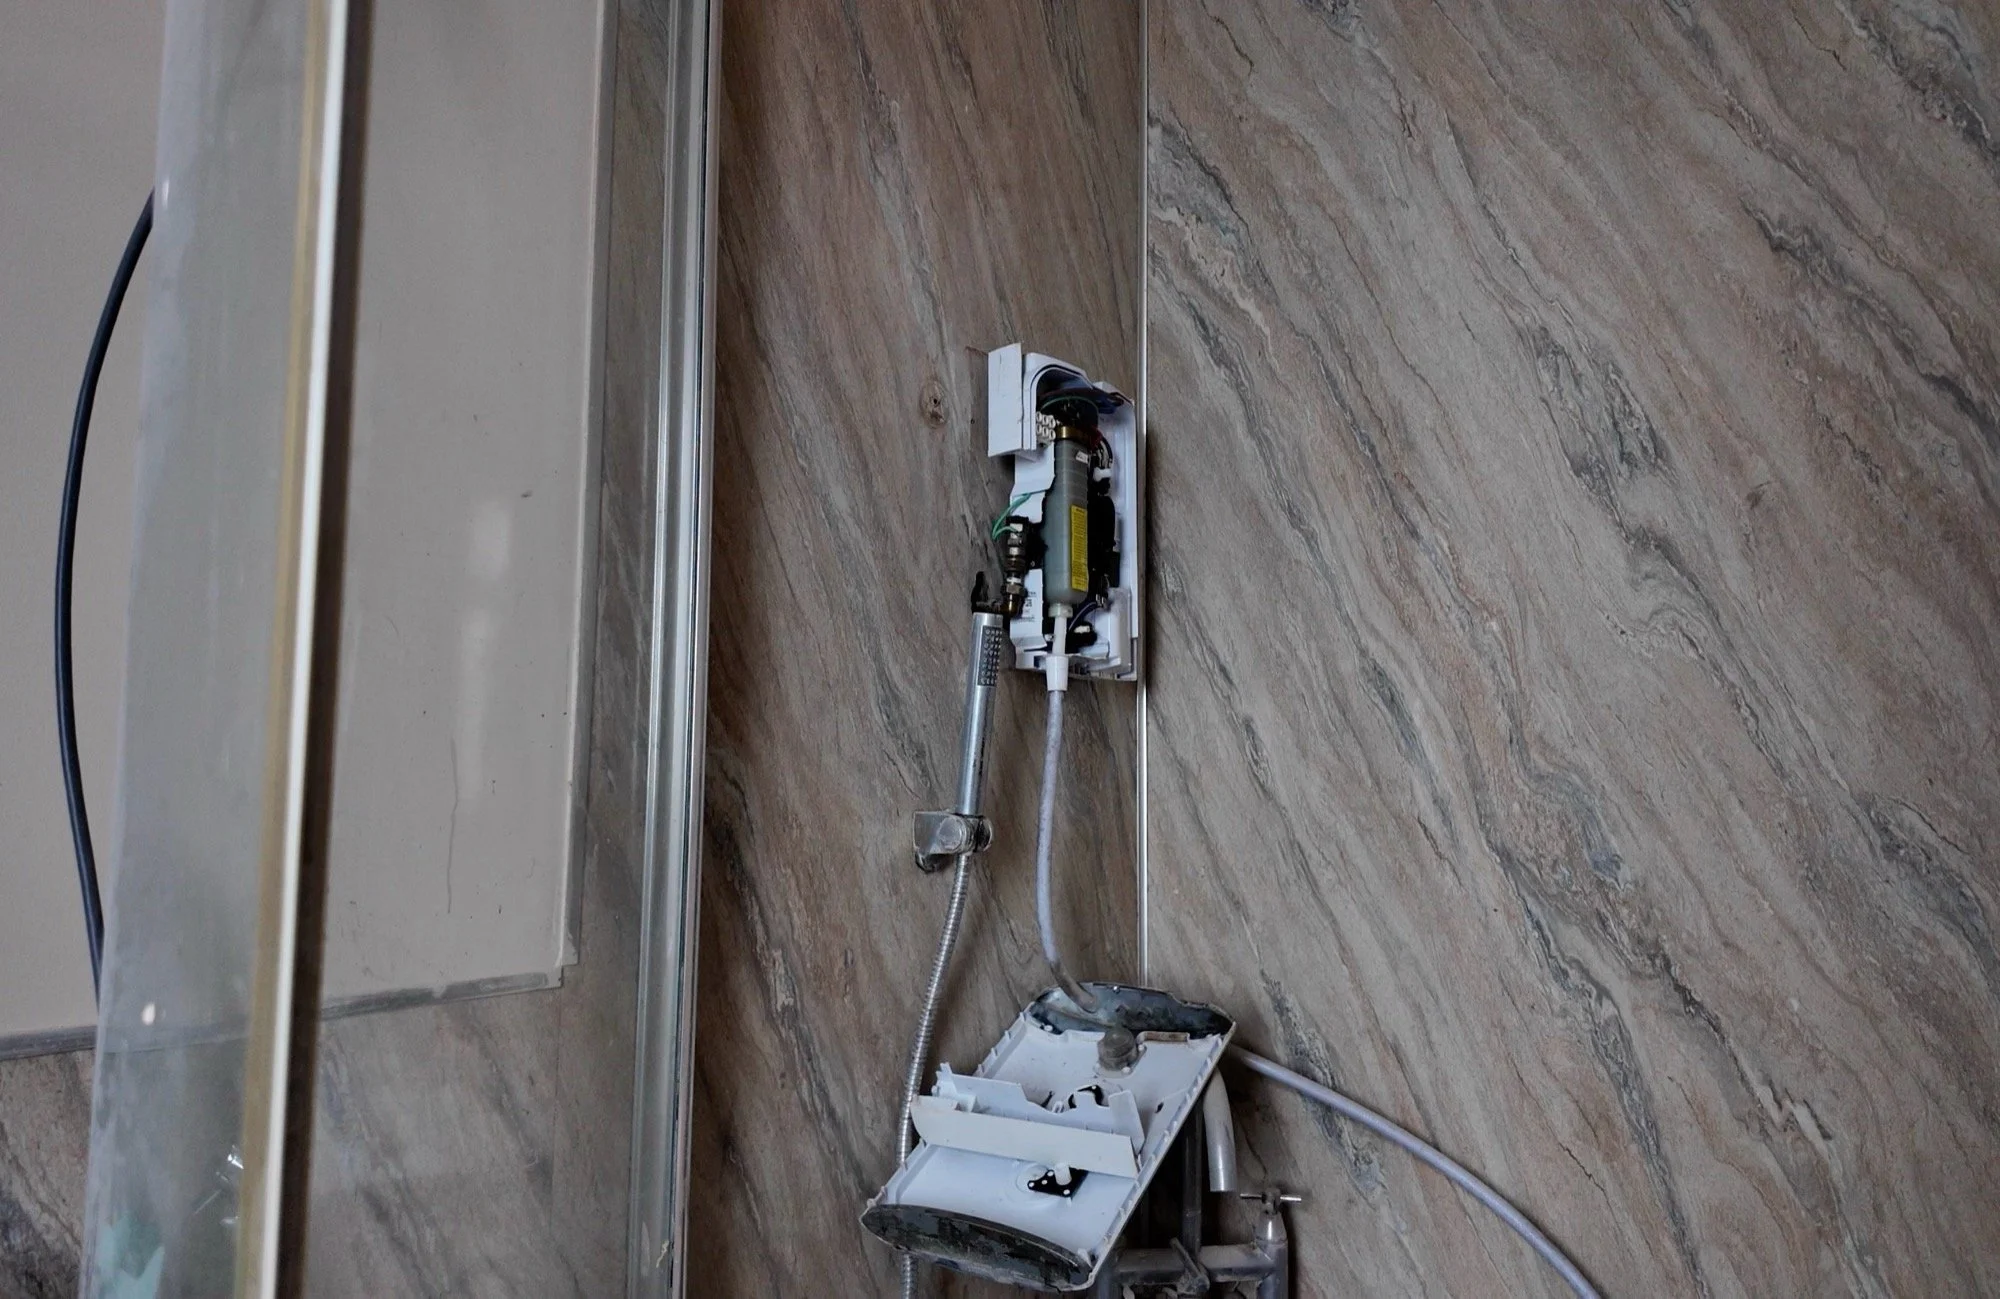
Next up was the Electric shower removal and the installation of the replacement rail (perfectly procured to cover all existing rail holes in one fell swoop).
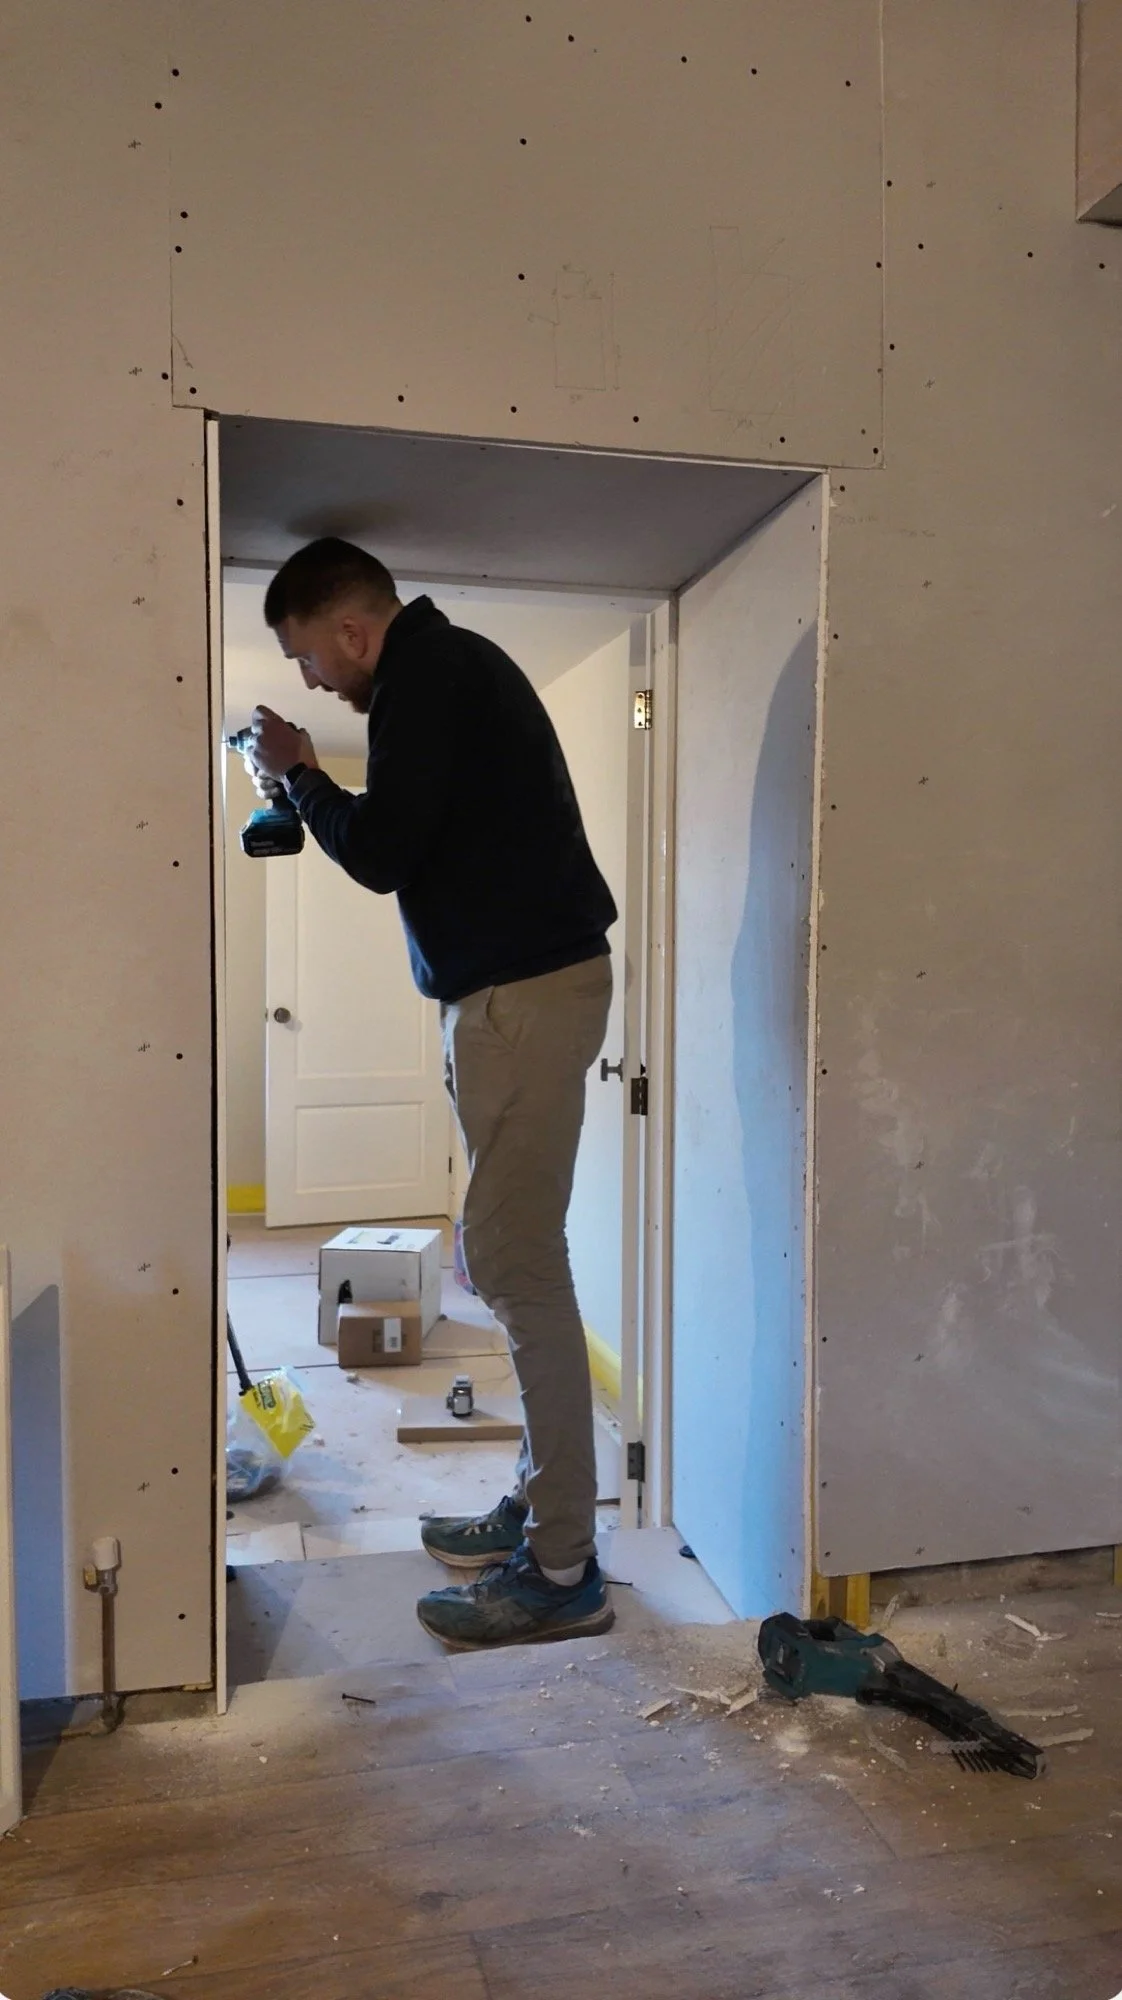
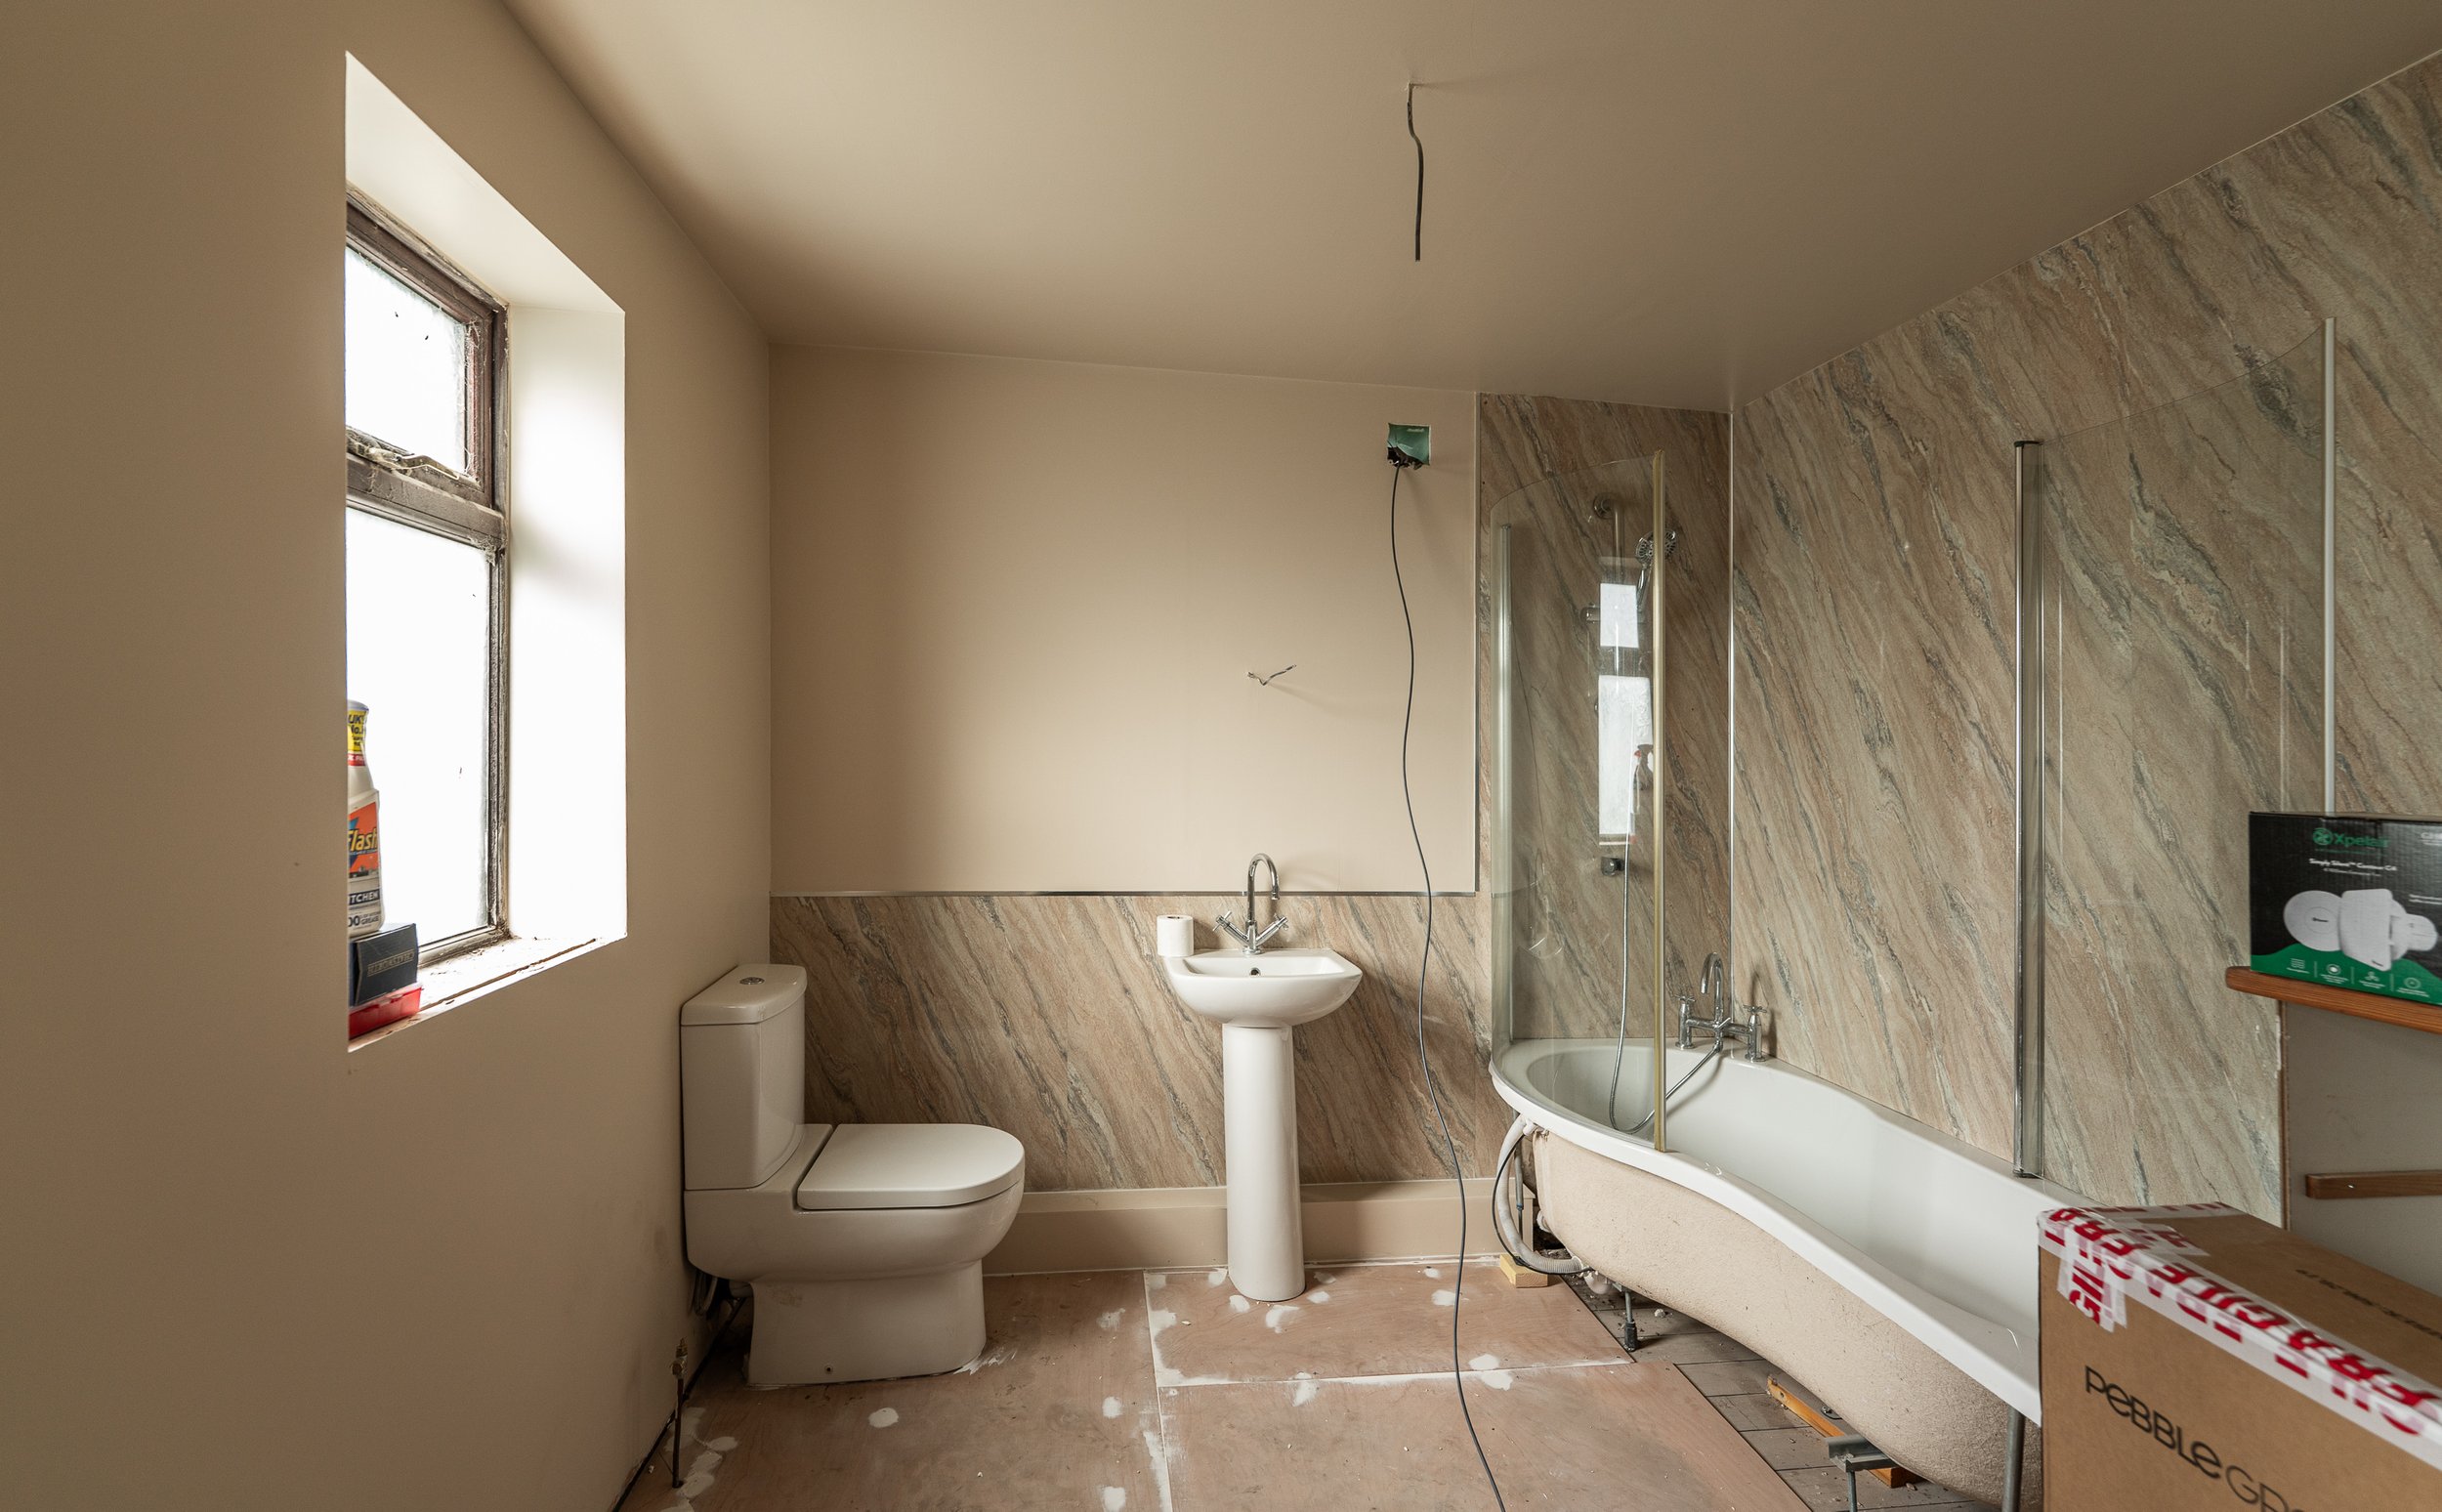
After the toilet was reconnected to the water, secured down, and the poop pipe exit fixed into place, this room looked like this with a working shower connected to the existing bath taps:
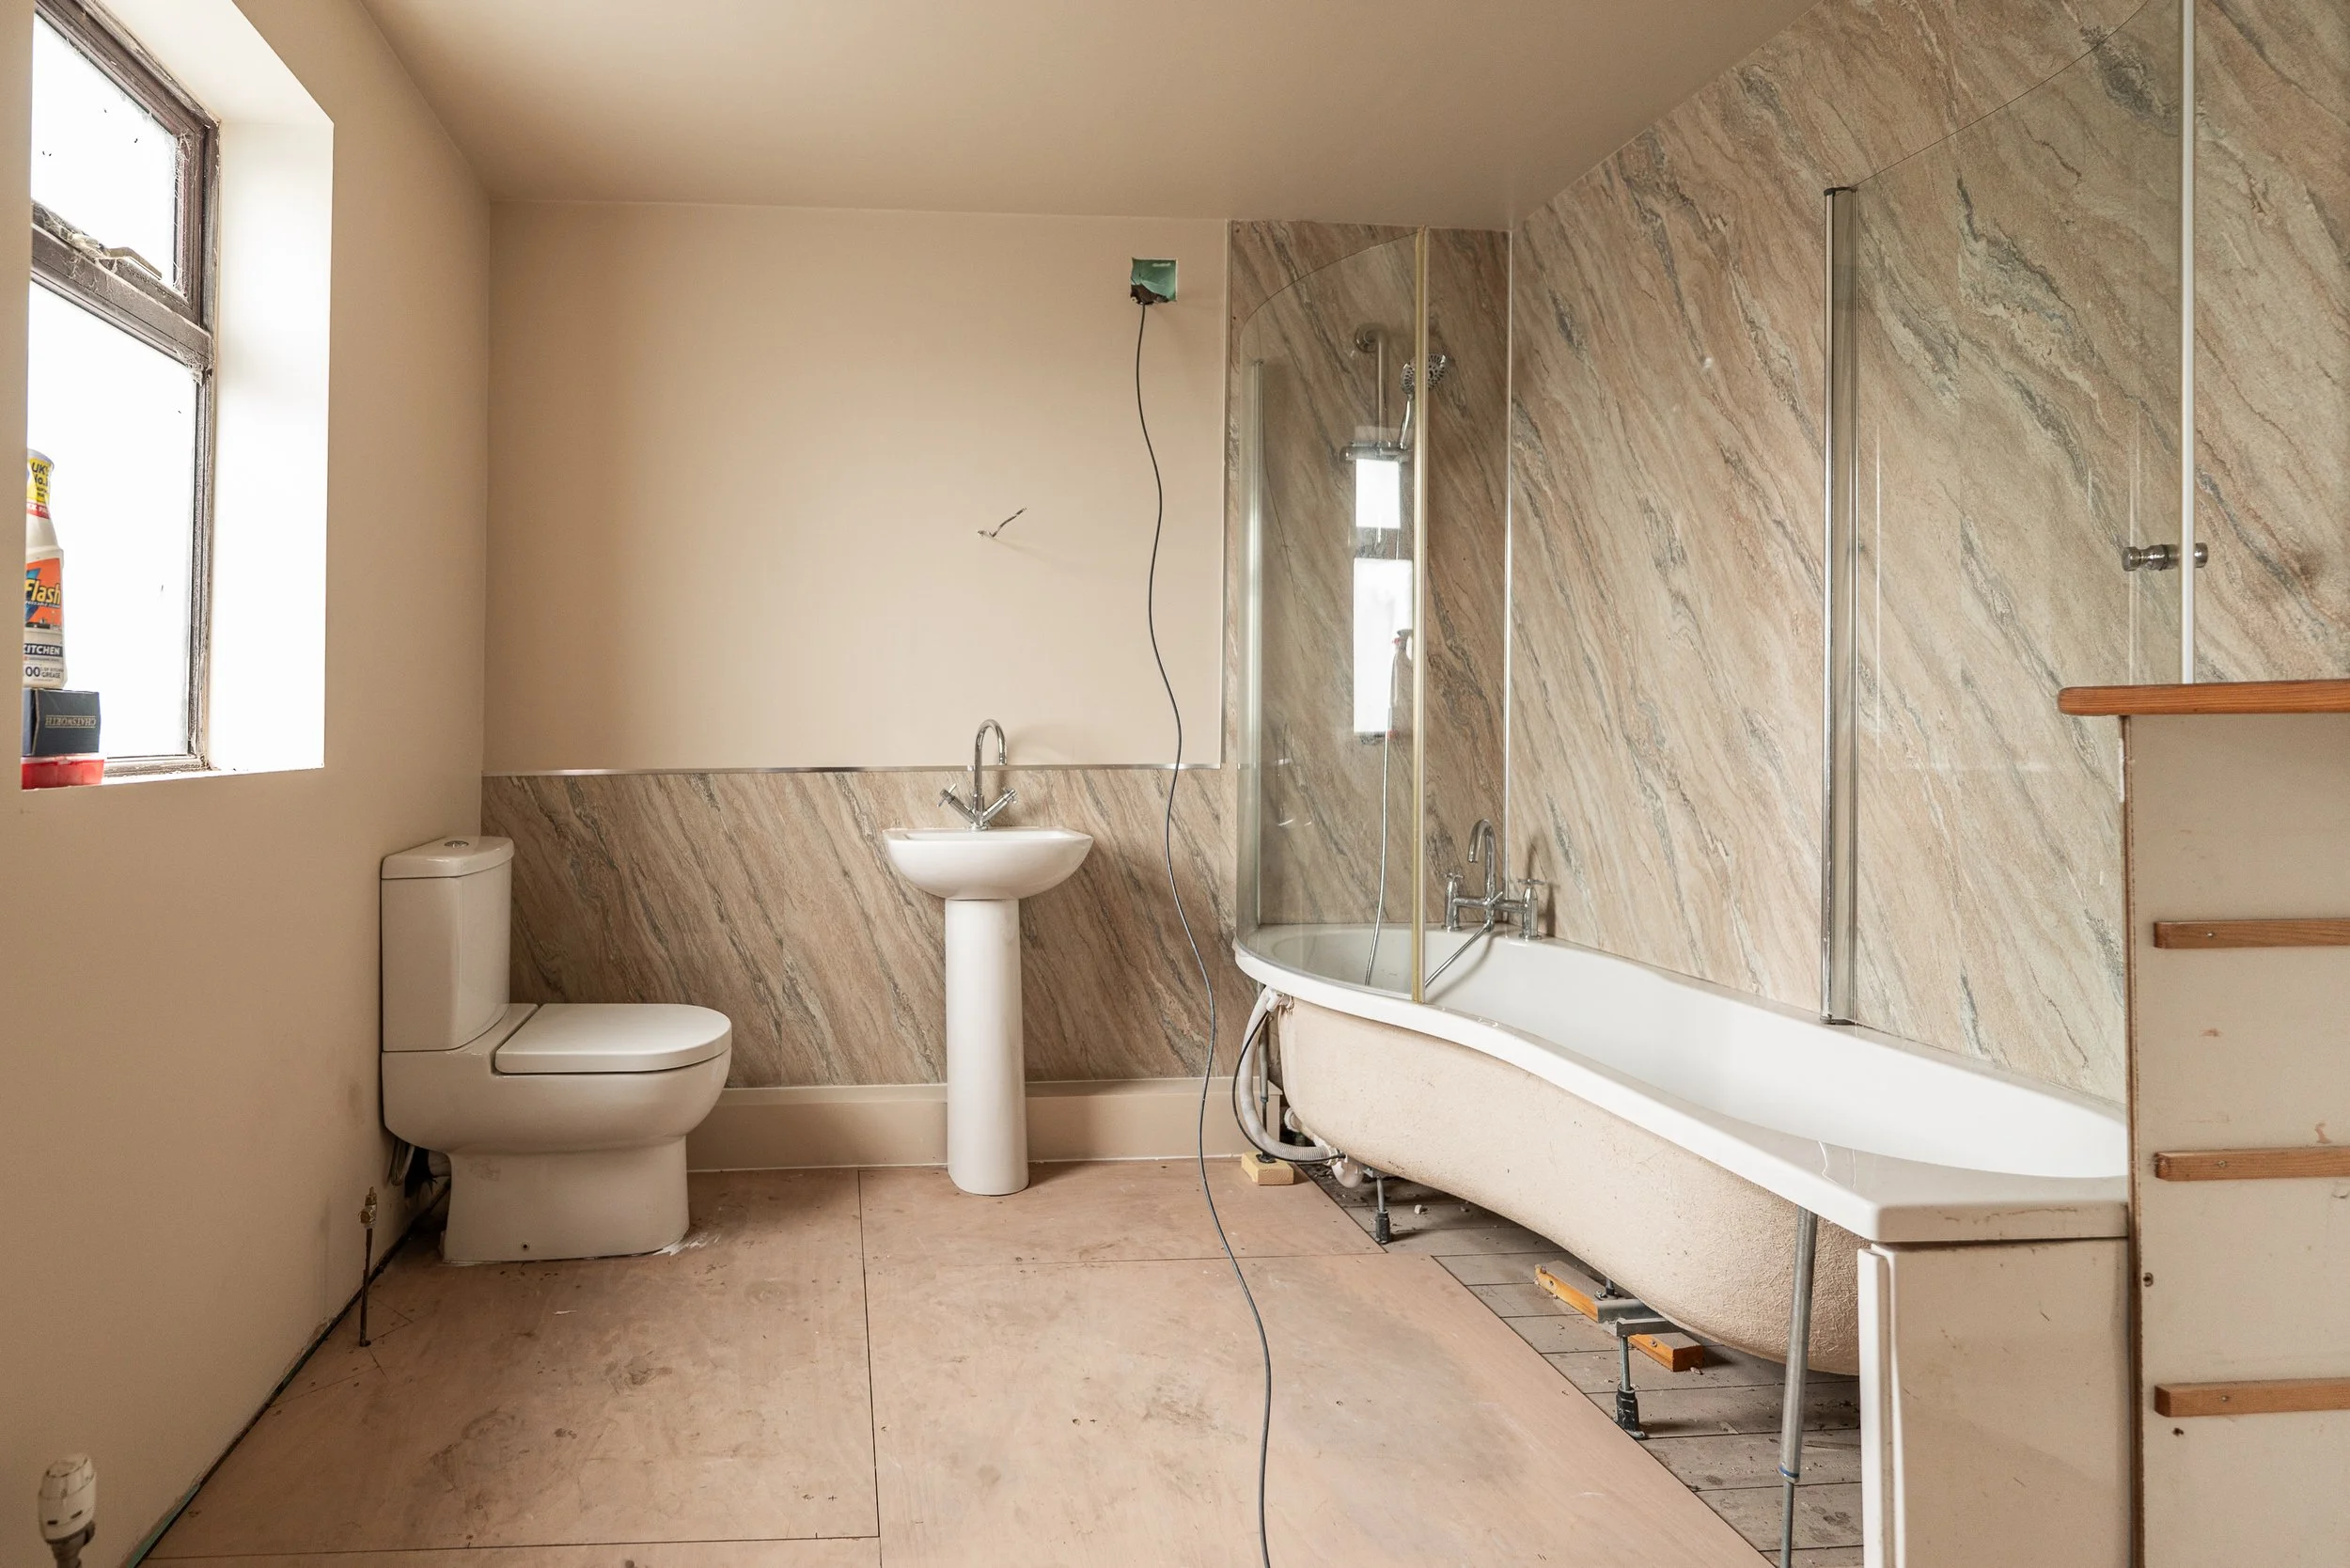

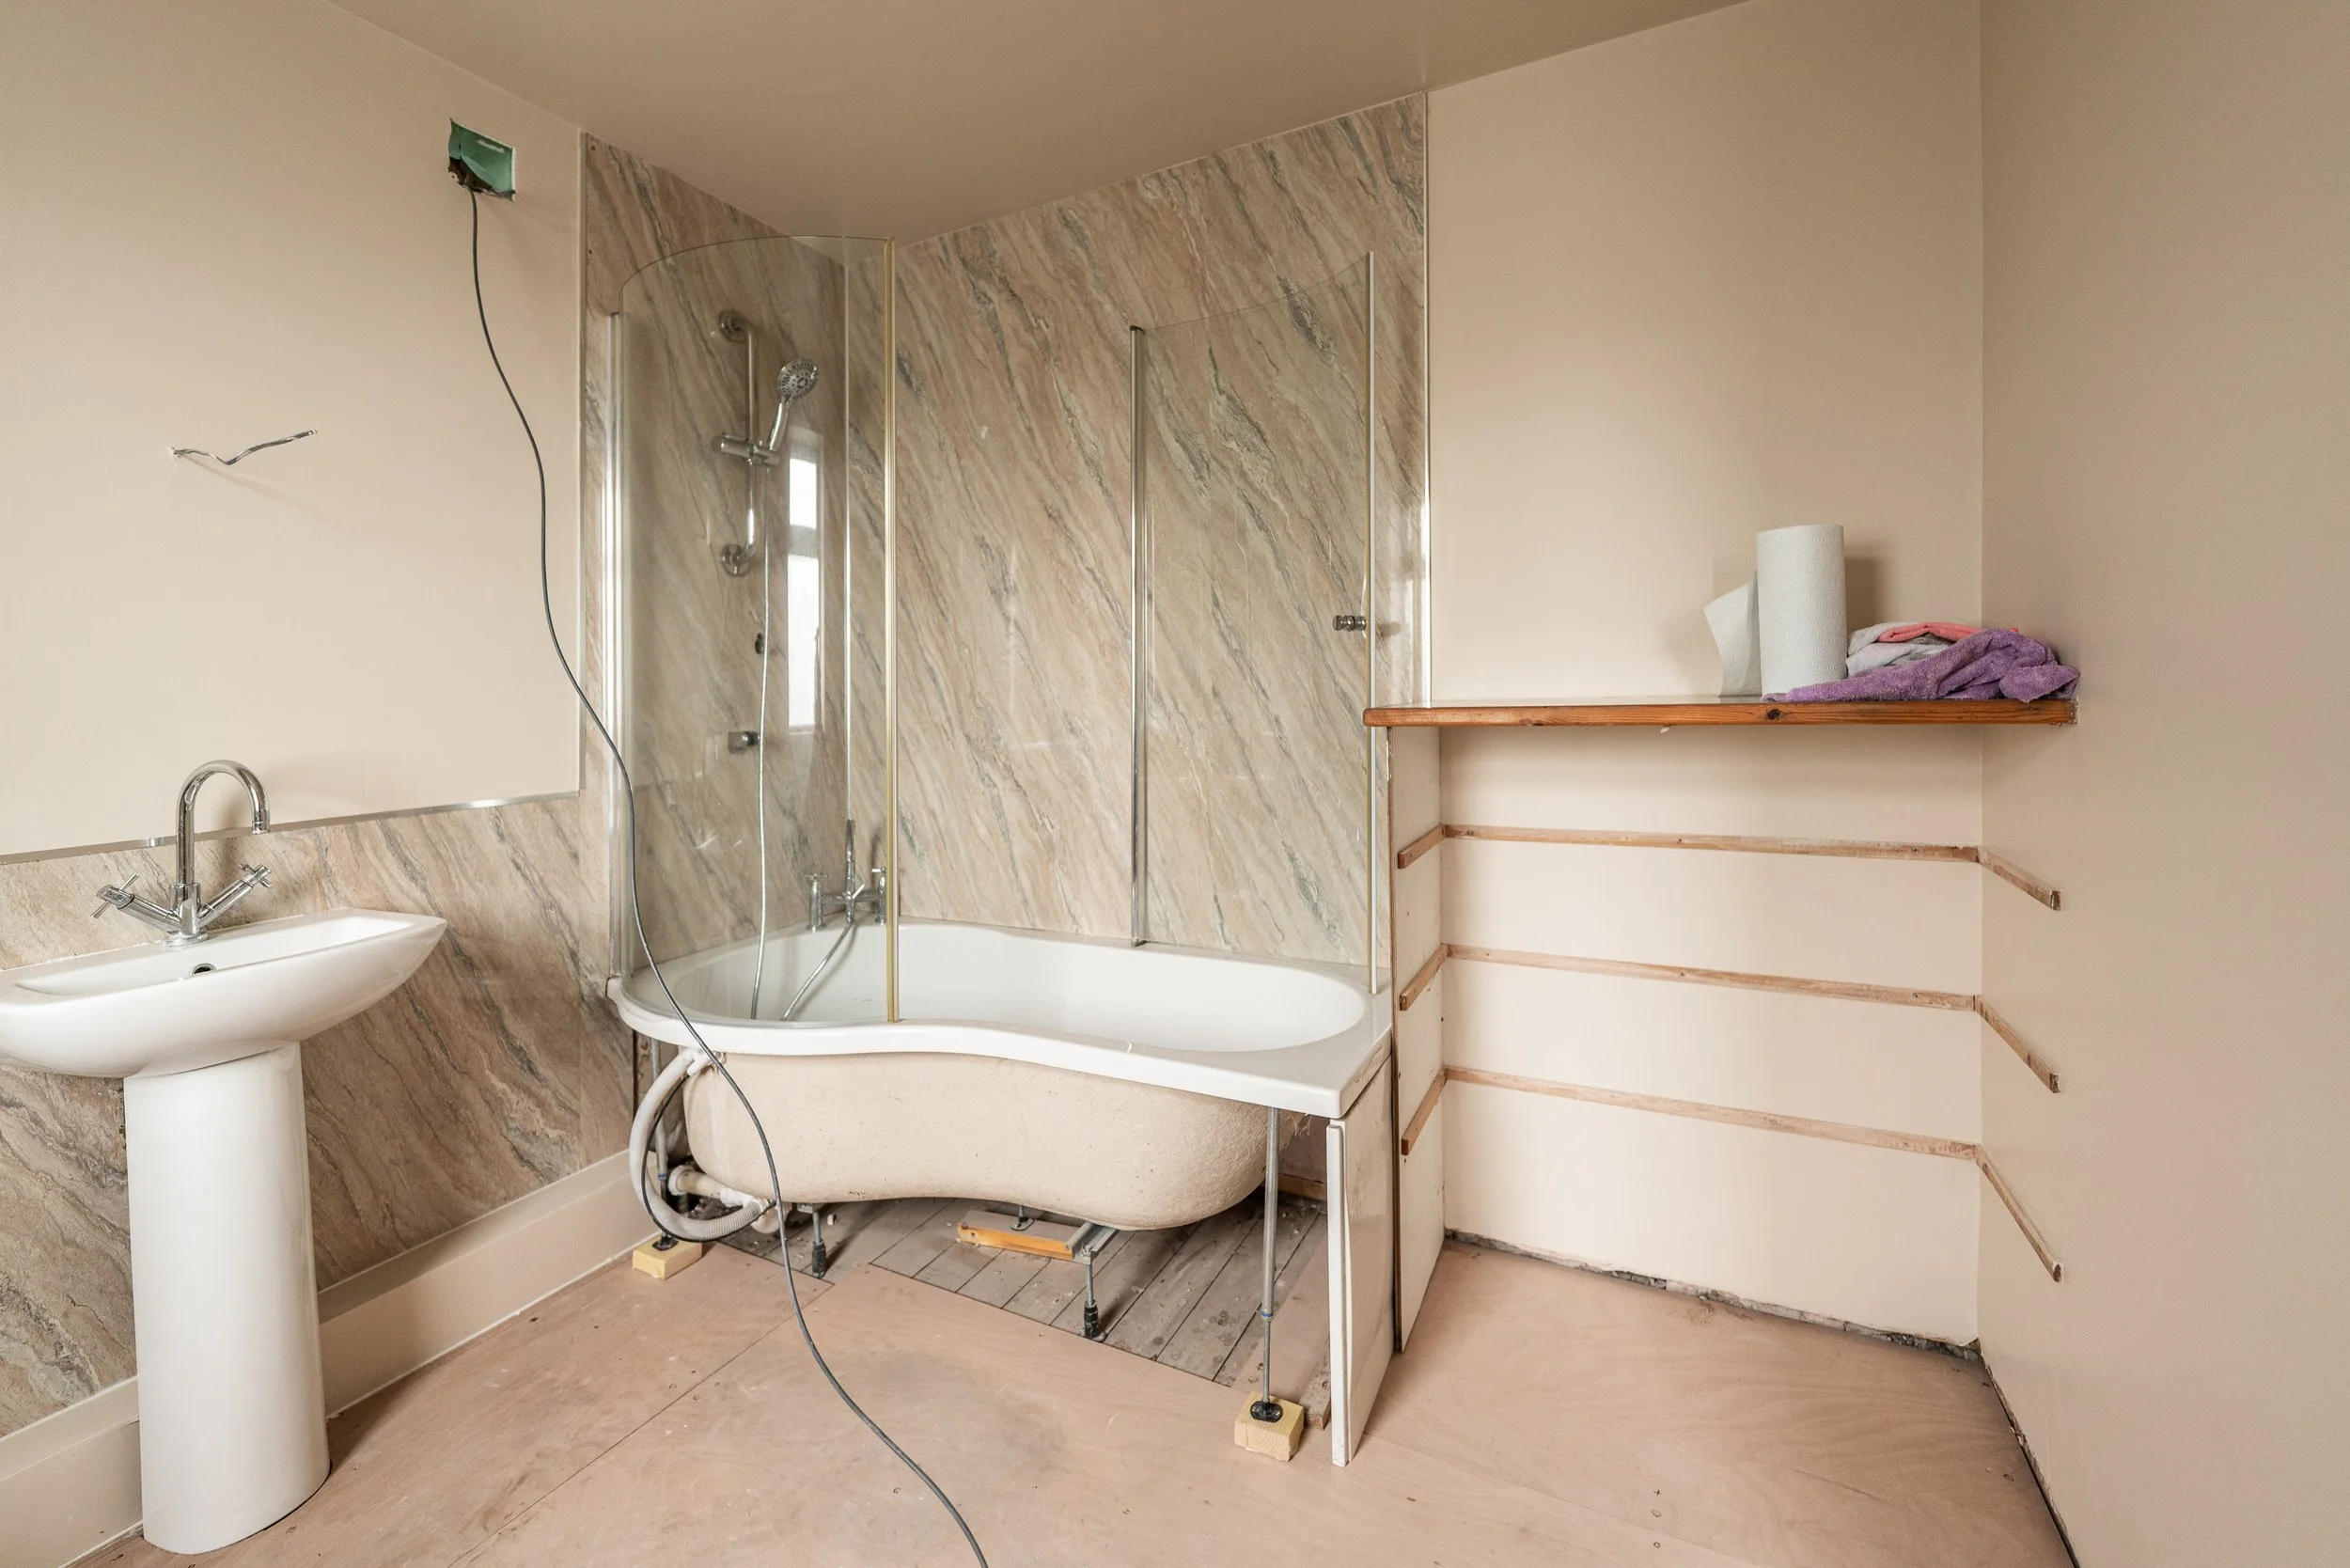
I just have one remaining shower wall panel hole to cover, but the right shower accessory or blanking plate is proving tricky to find. The water feed to the old electric shower had been incorrectly drilled a couple of times, so the actual hole to fill isn’t a standard 1/2 inch pipe hole. I’ll need 3.25 inches to fully cover all areas safely with a silicon seal for waterproofing, and repairing/replacing the panel is not on the cards for this room. The search continues, but I think I might have found a solution. Watch this space, even if the solution is weird as heck.
There will be questions over our efforts to keep these panels up and the array of shower fittings purchased to just “make do”, but this room is temporary, so budget solutions are the cornerstone of decision-making.
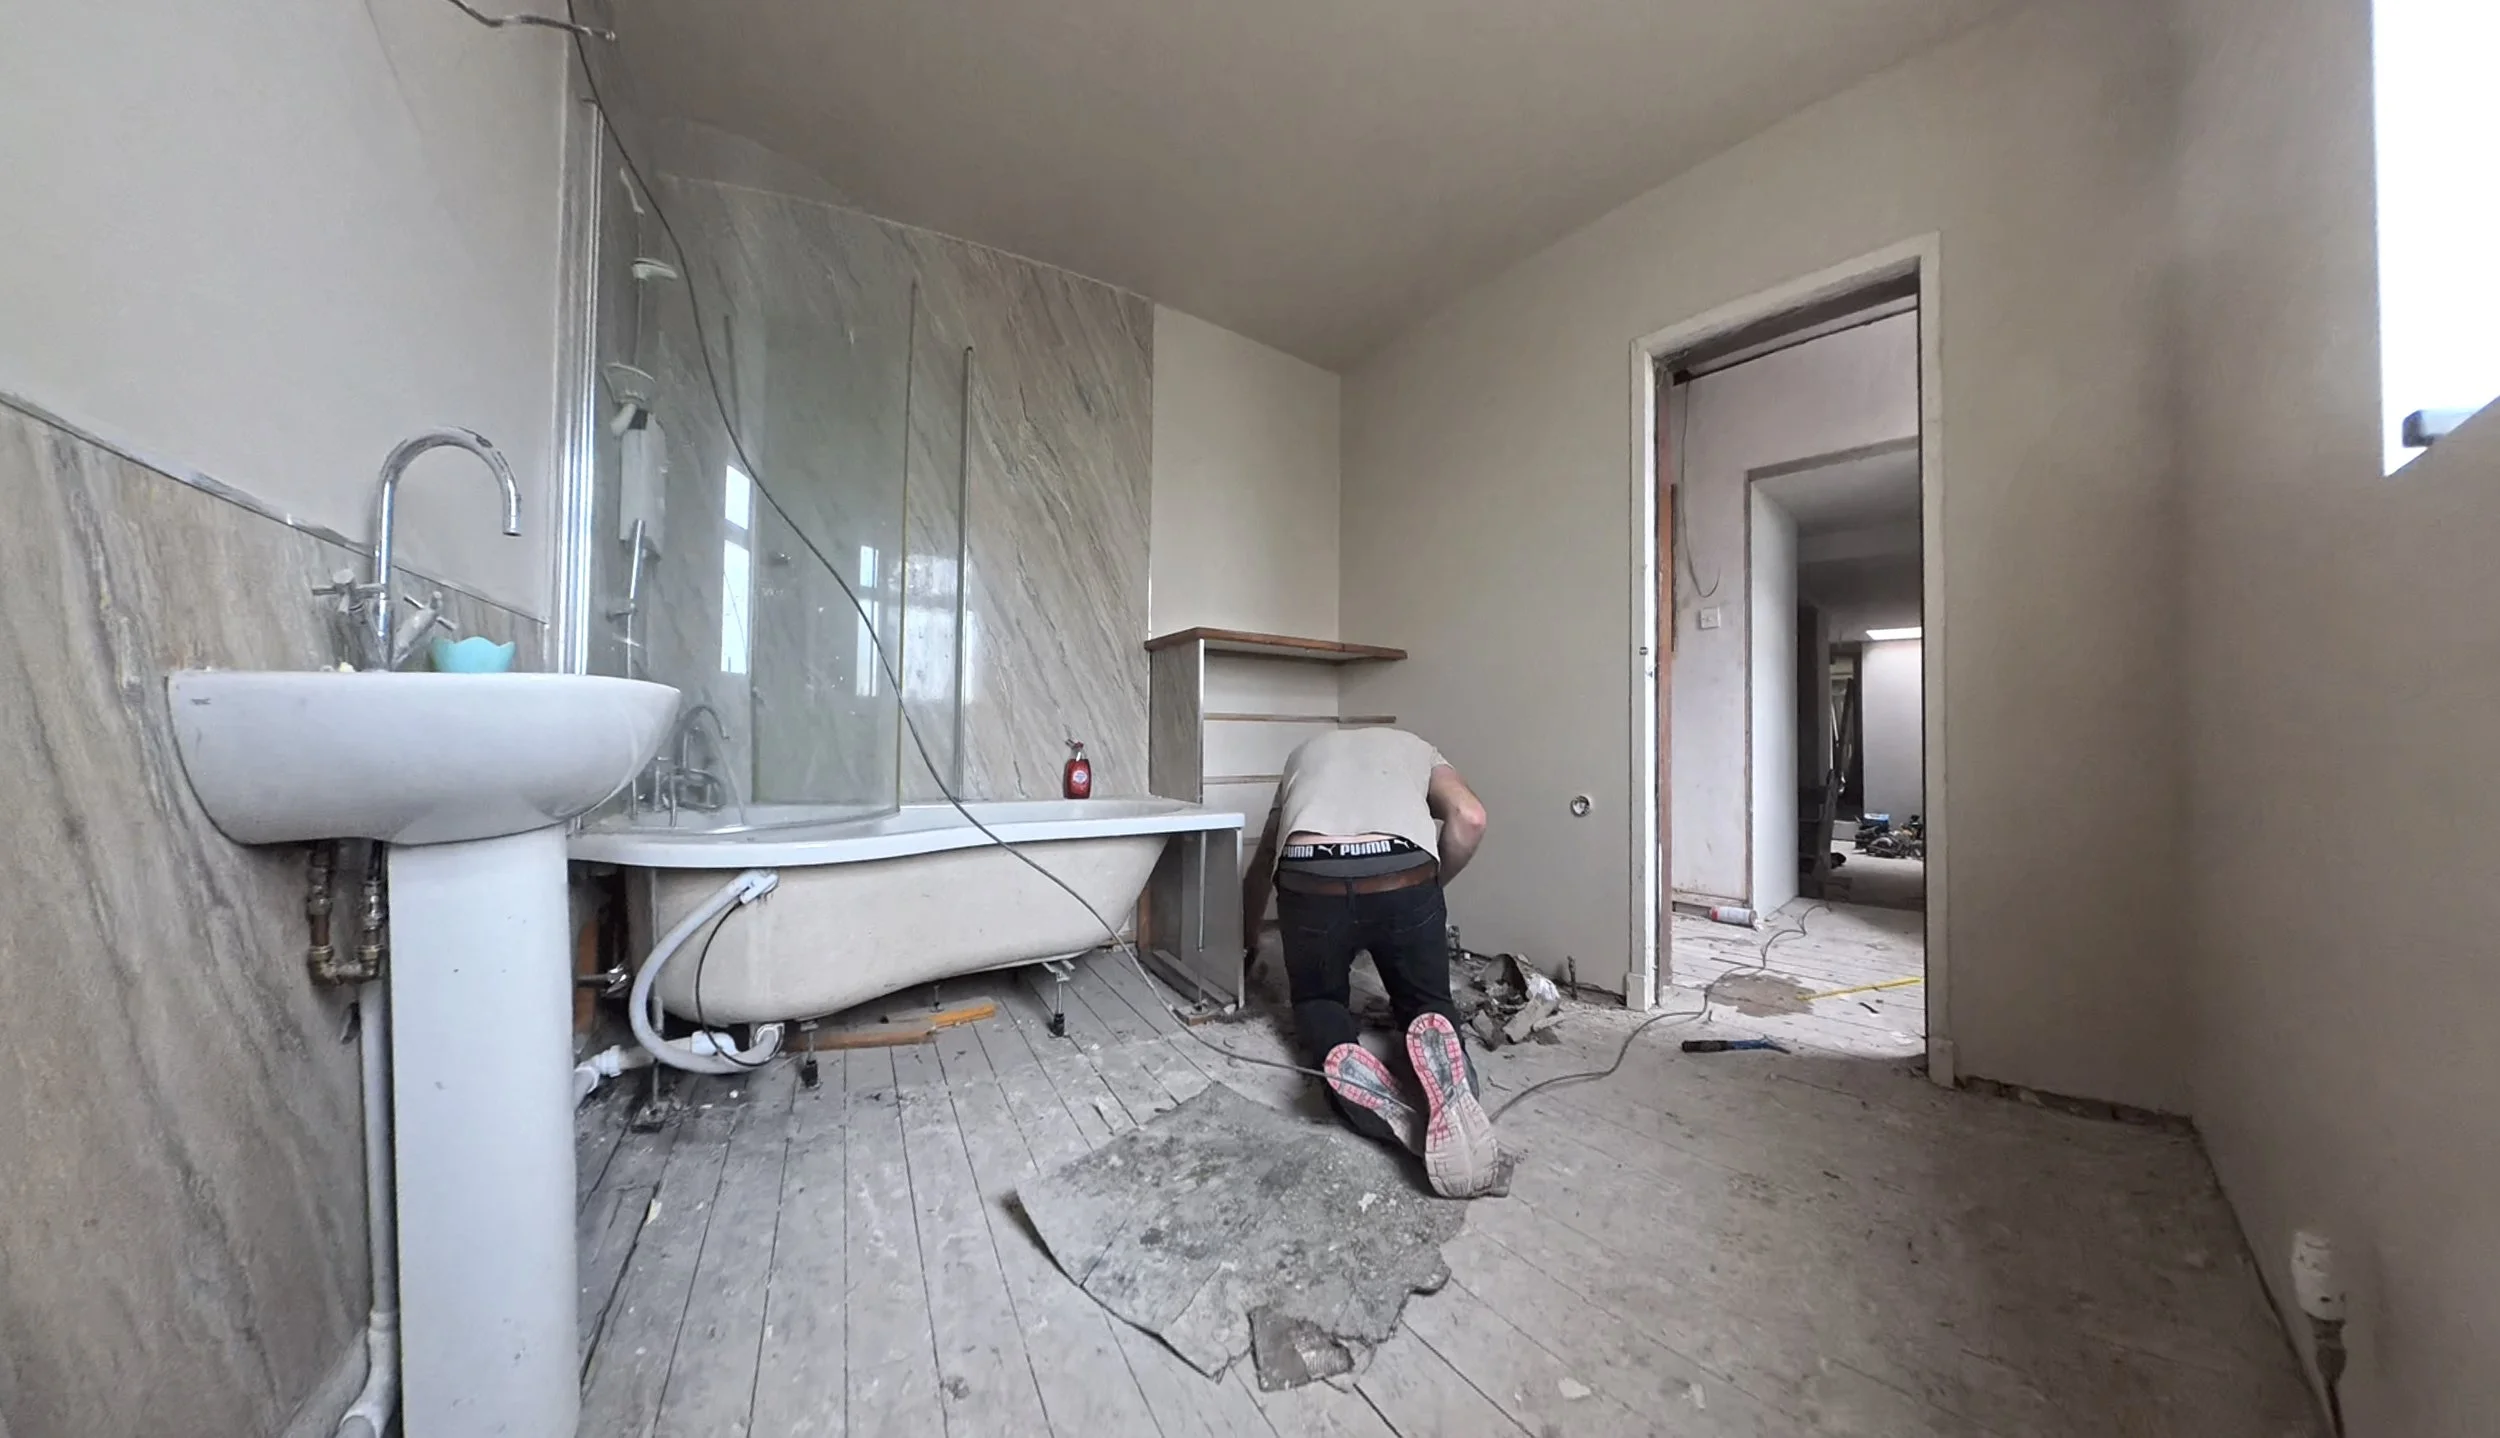
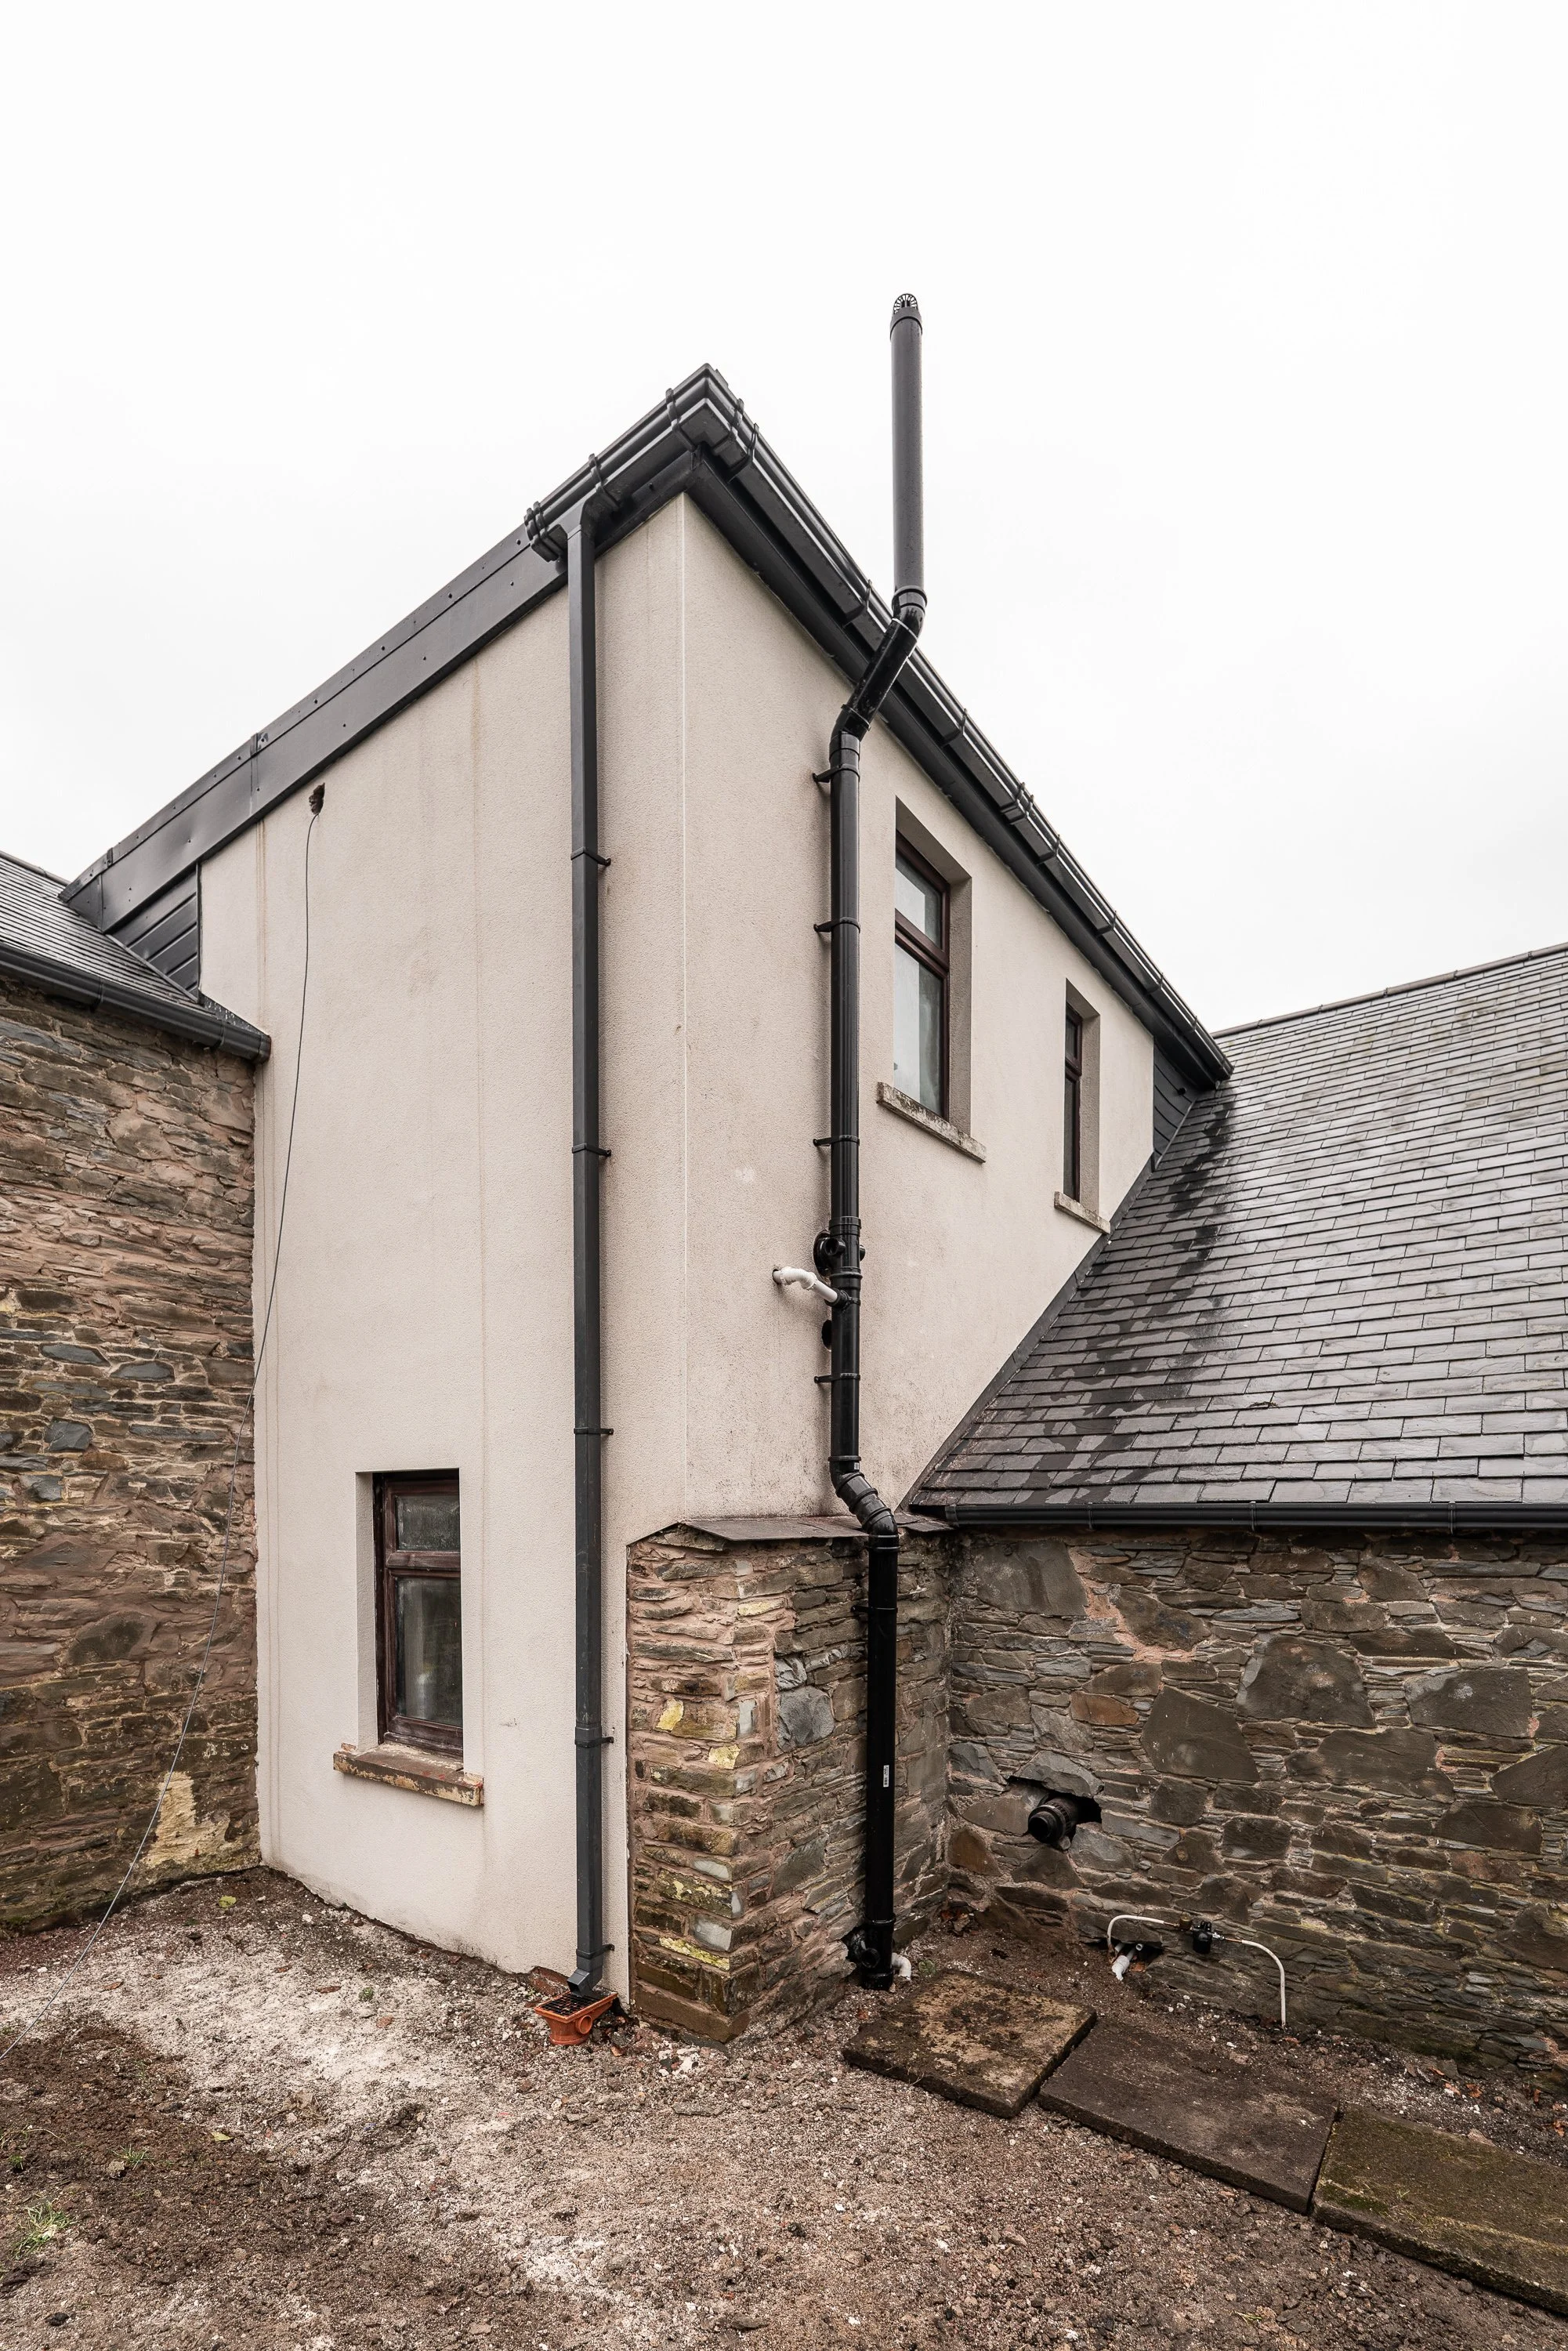
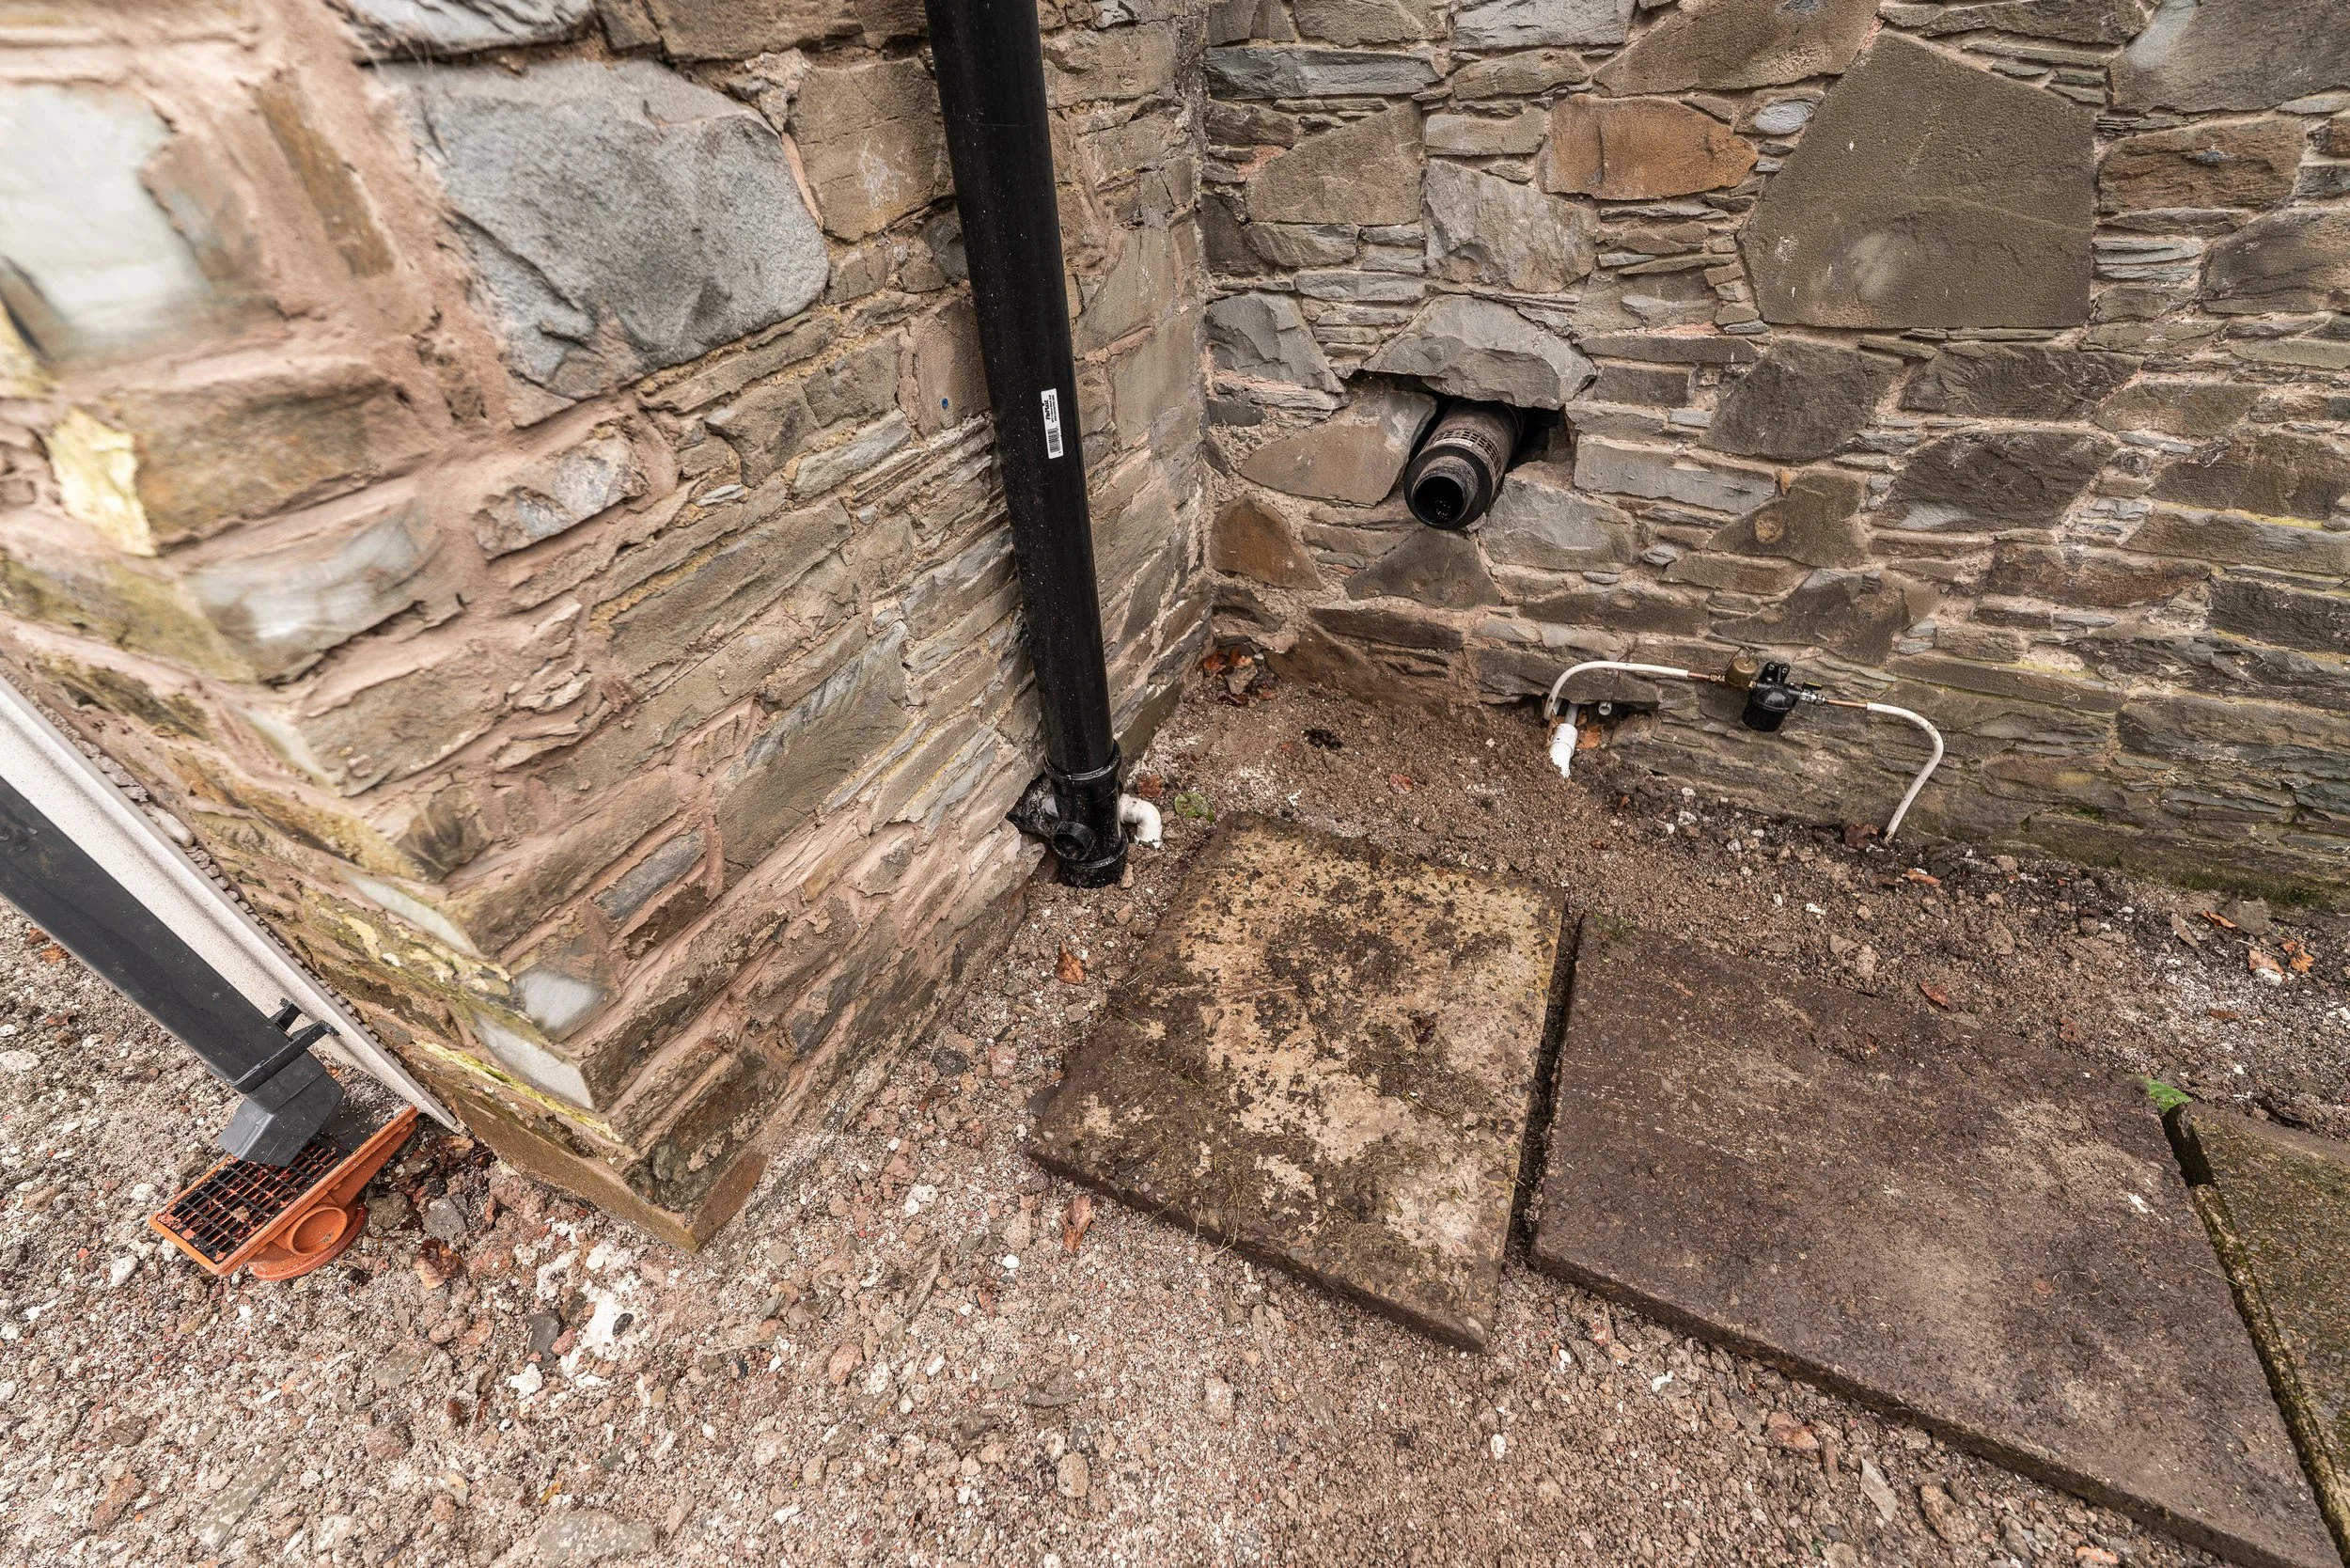
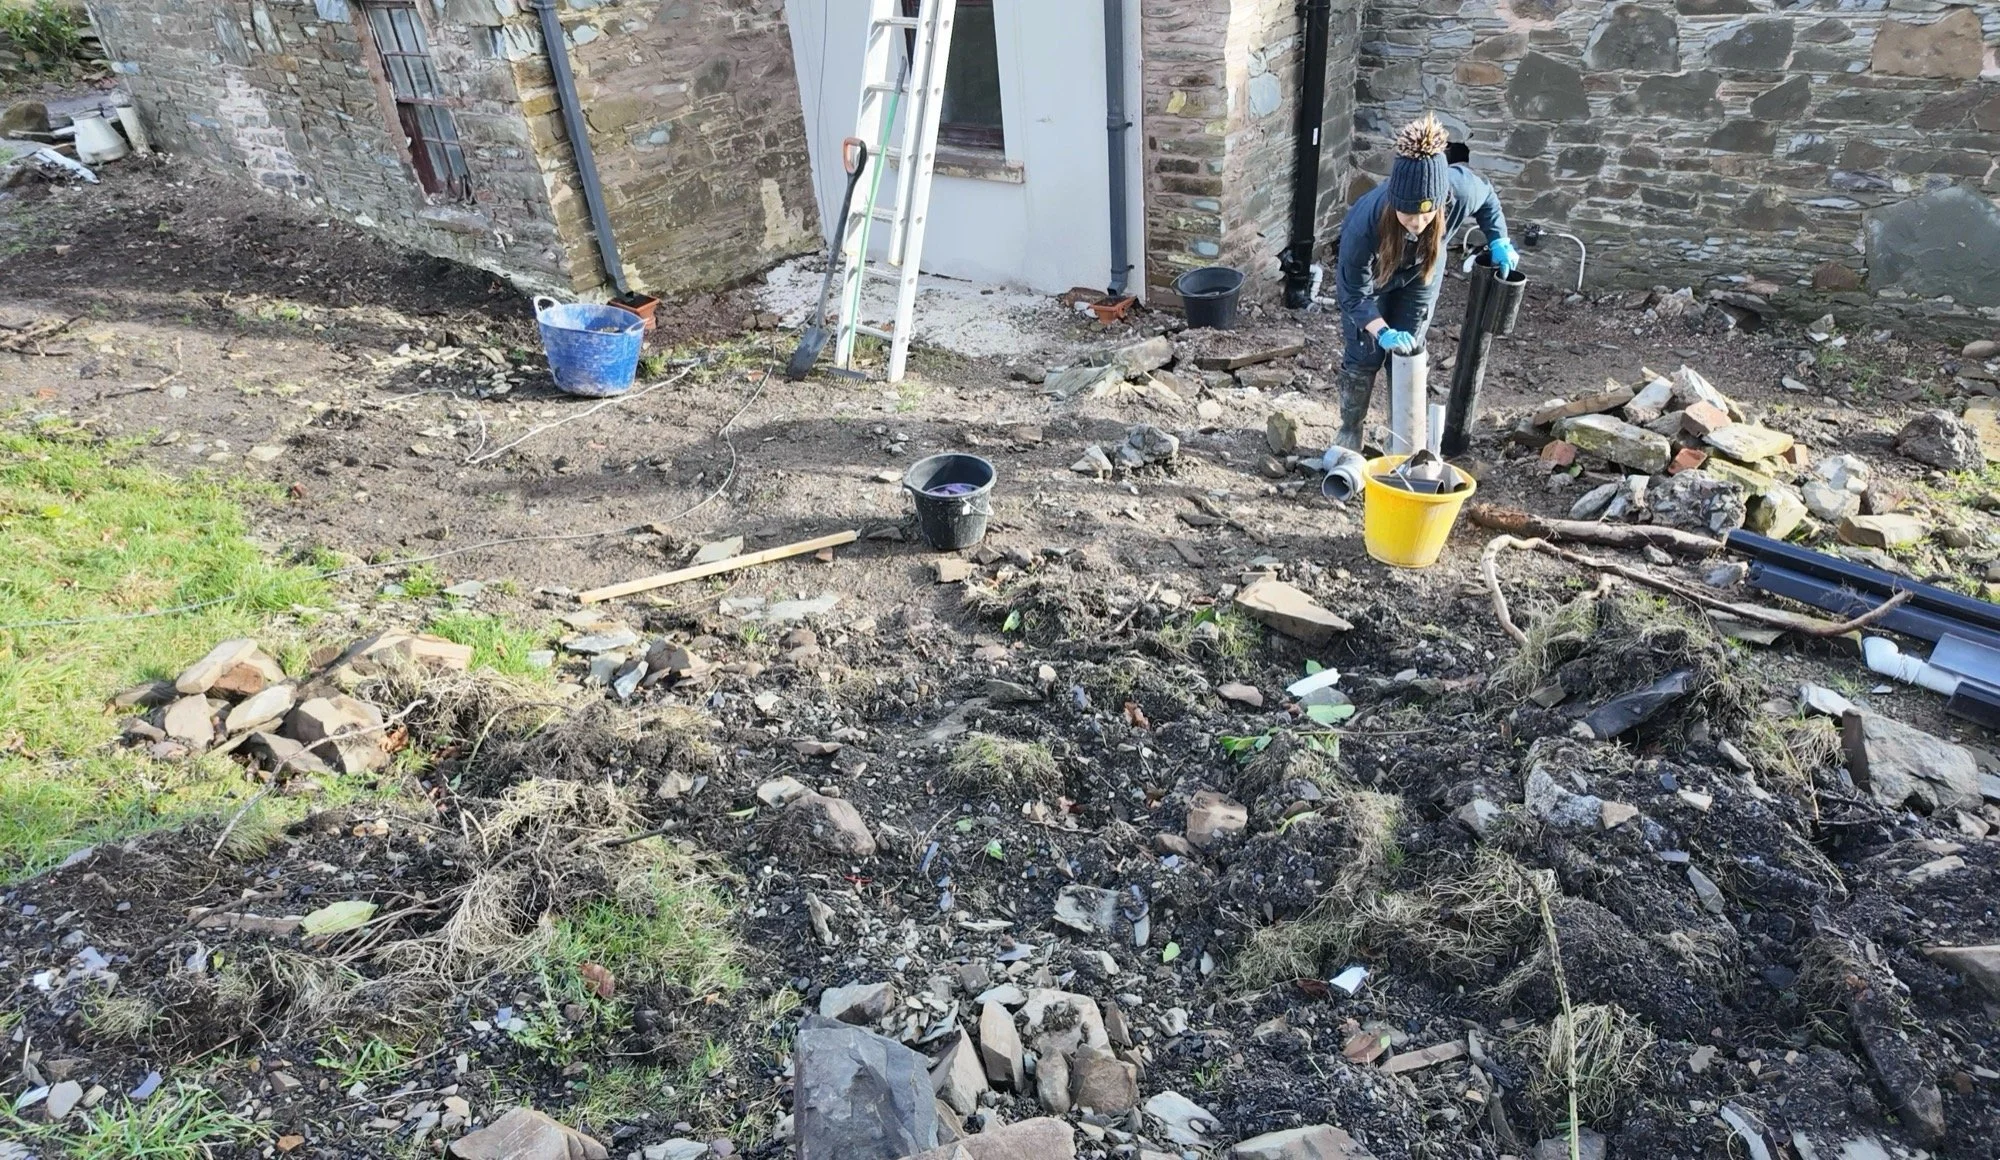
The Poo Pipe:
If you remember, the previous upstairs poop pipe travelled indoors through 3 different rooms before it exited the building, all inside an ancient, rusting, semi-blocked cast iron pipe. The shower and bath waste went on a similar journey in their own cast iron pipe. These pipes are no-more, especially since the hole they moved through has been repurposed for the new boiler connections.
That means that we needed to connect the upstairs wastes to the existing downstairs waste instead. This is the core reason why this upstairs toilet has done a pivot. The downstairs toilet is positioned in exactly the same place, just one floor lower, and the floor joists mean that a 90-degree turn under the floorboards is not an option.
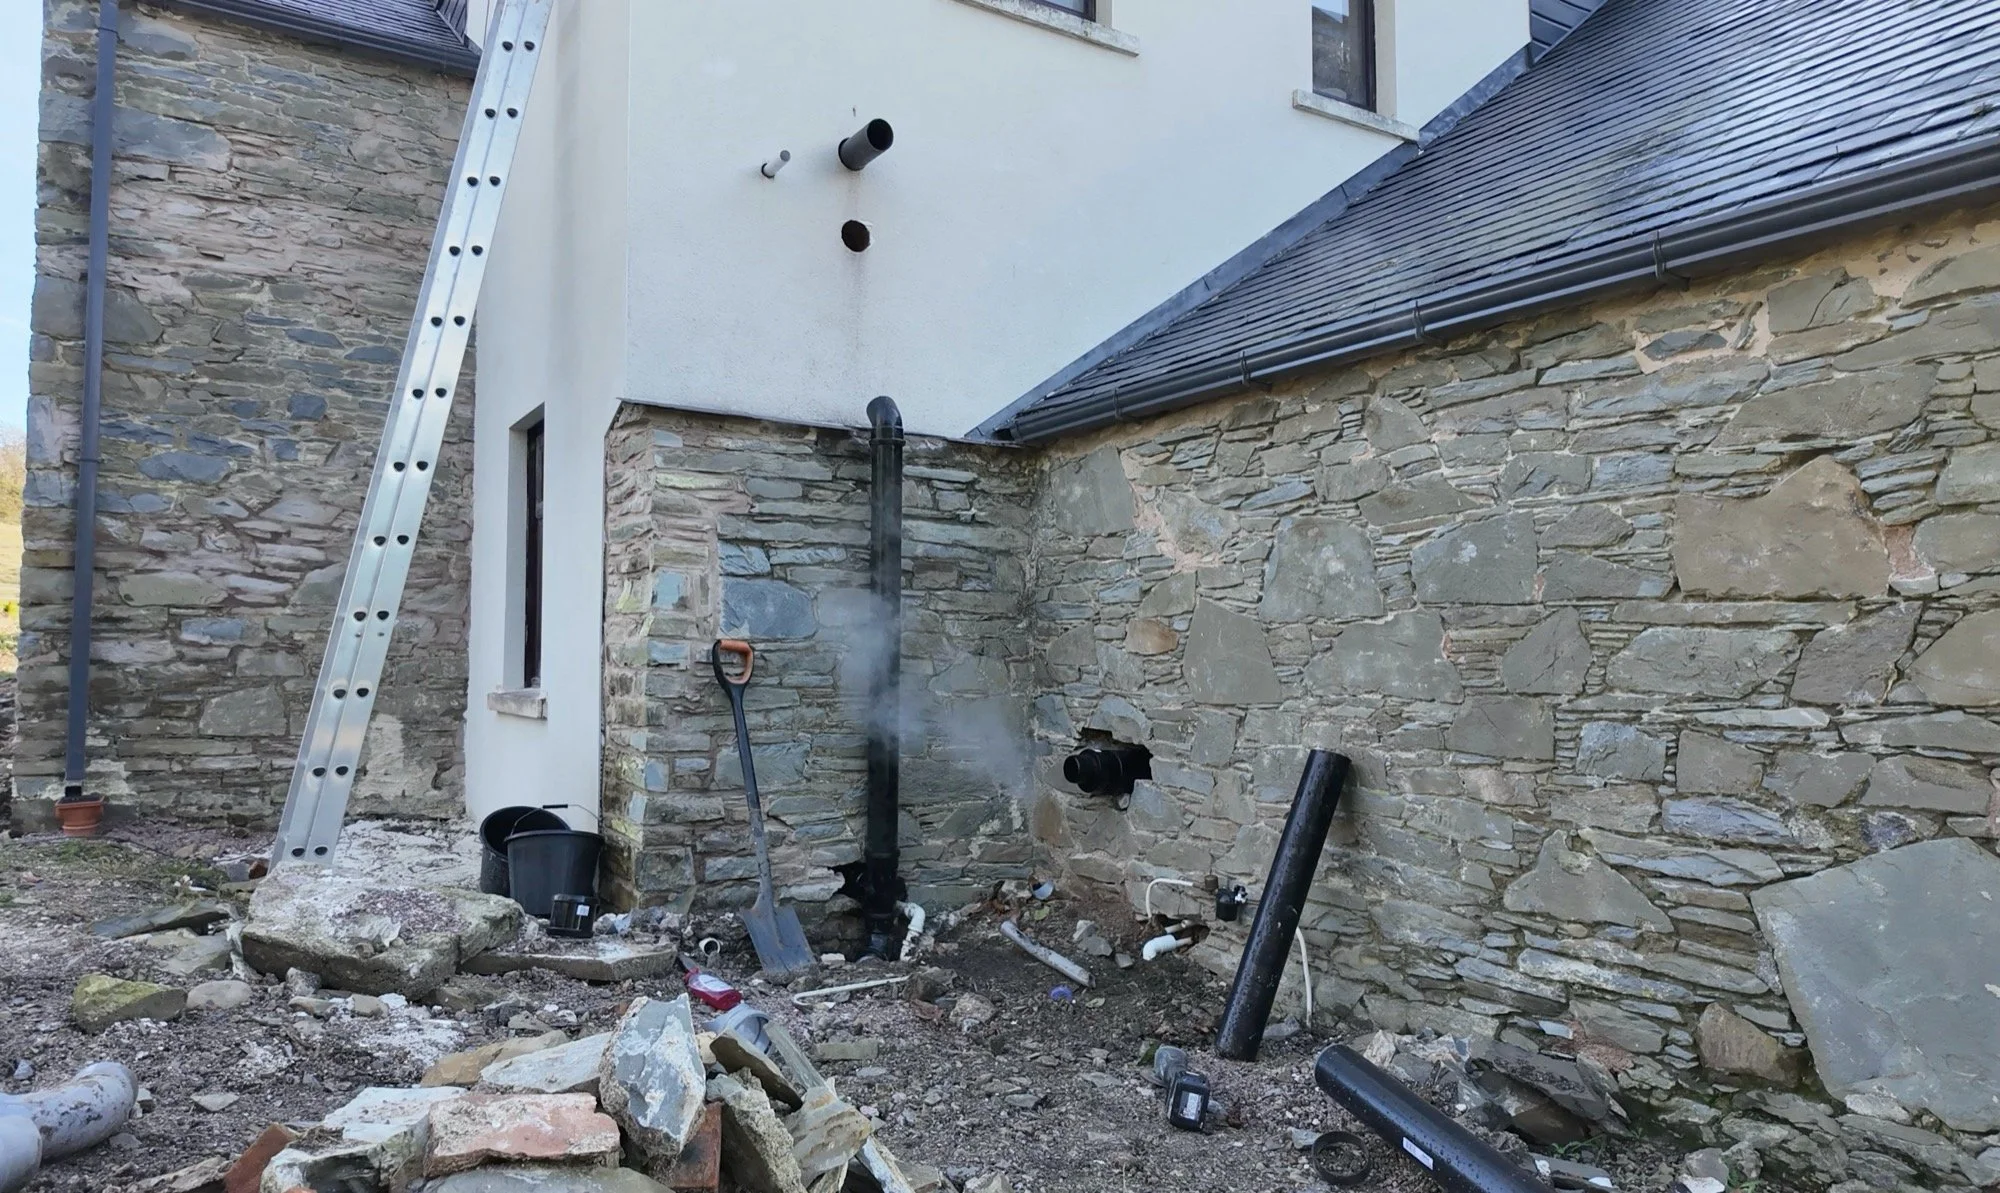
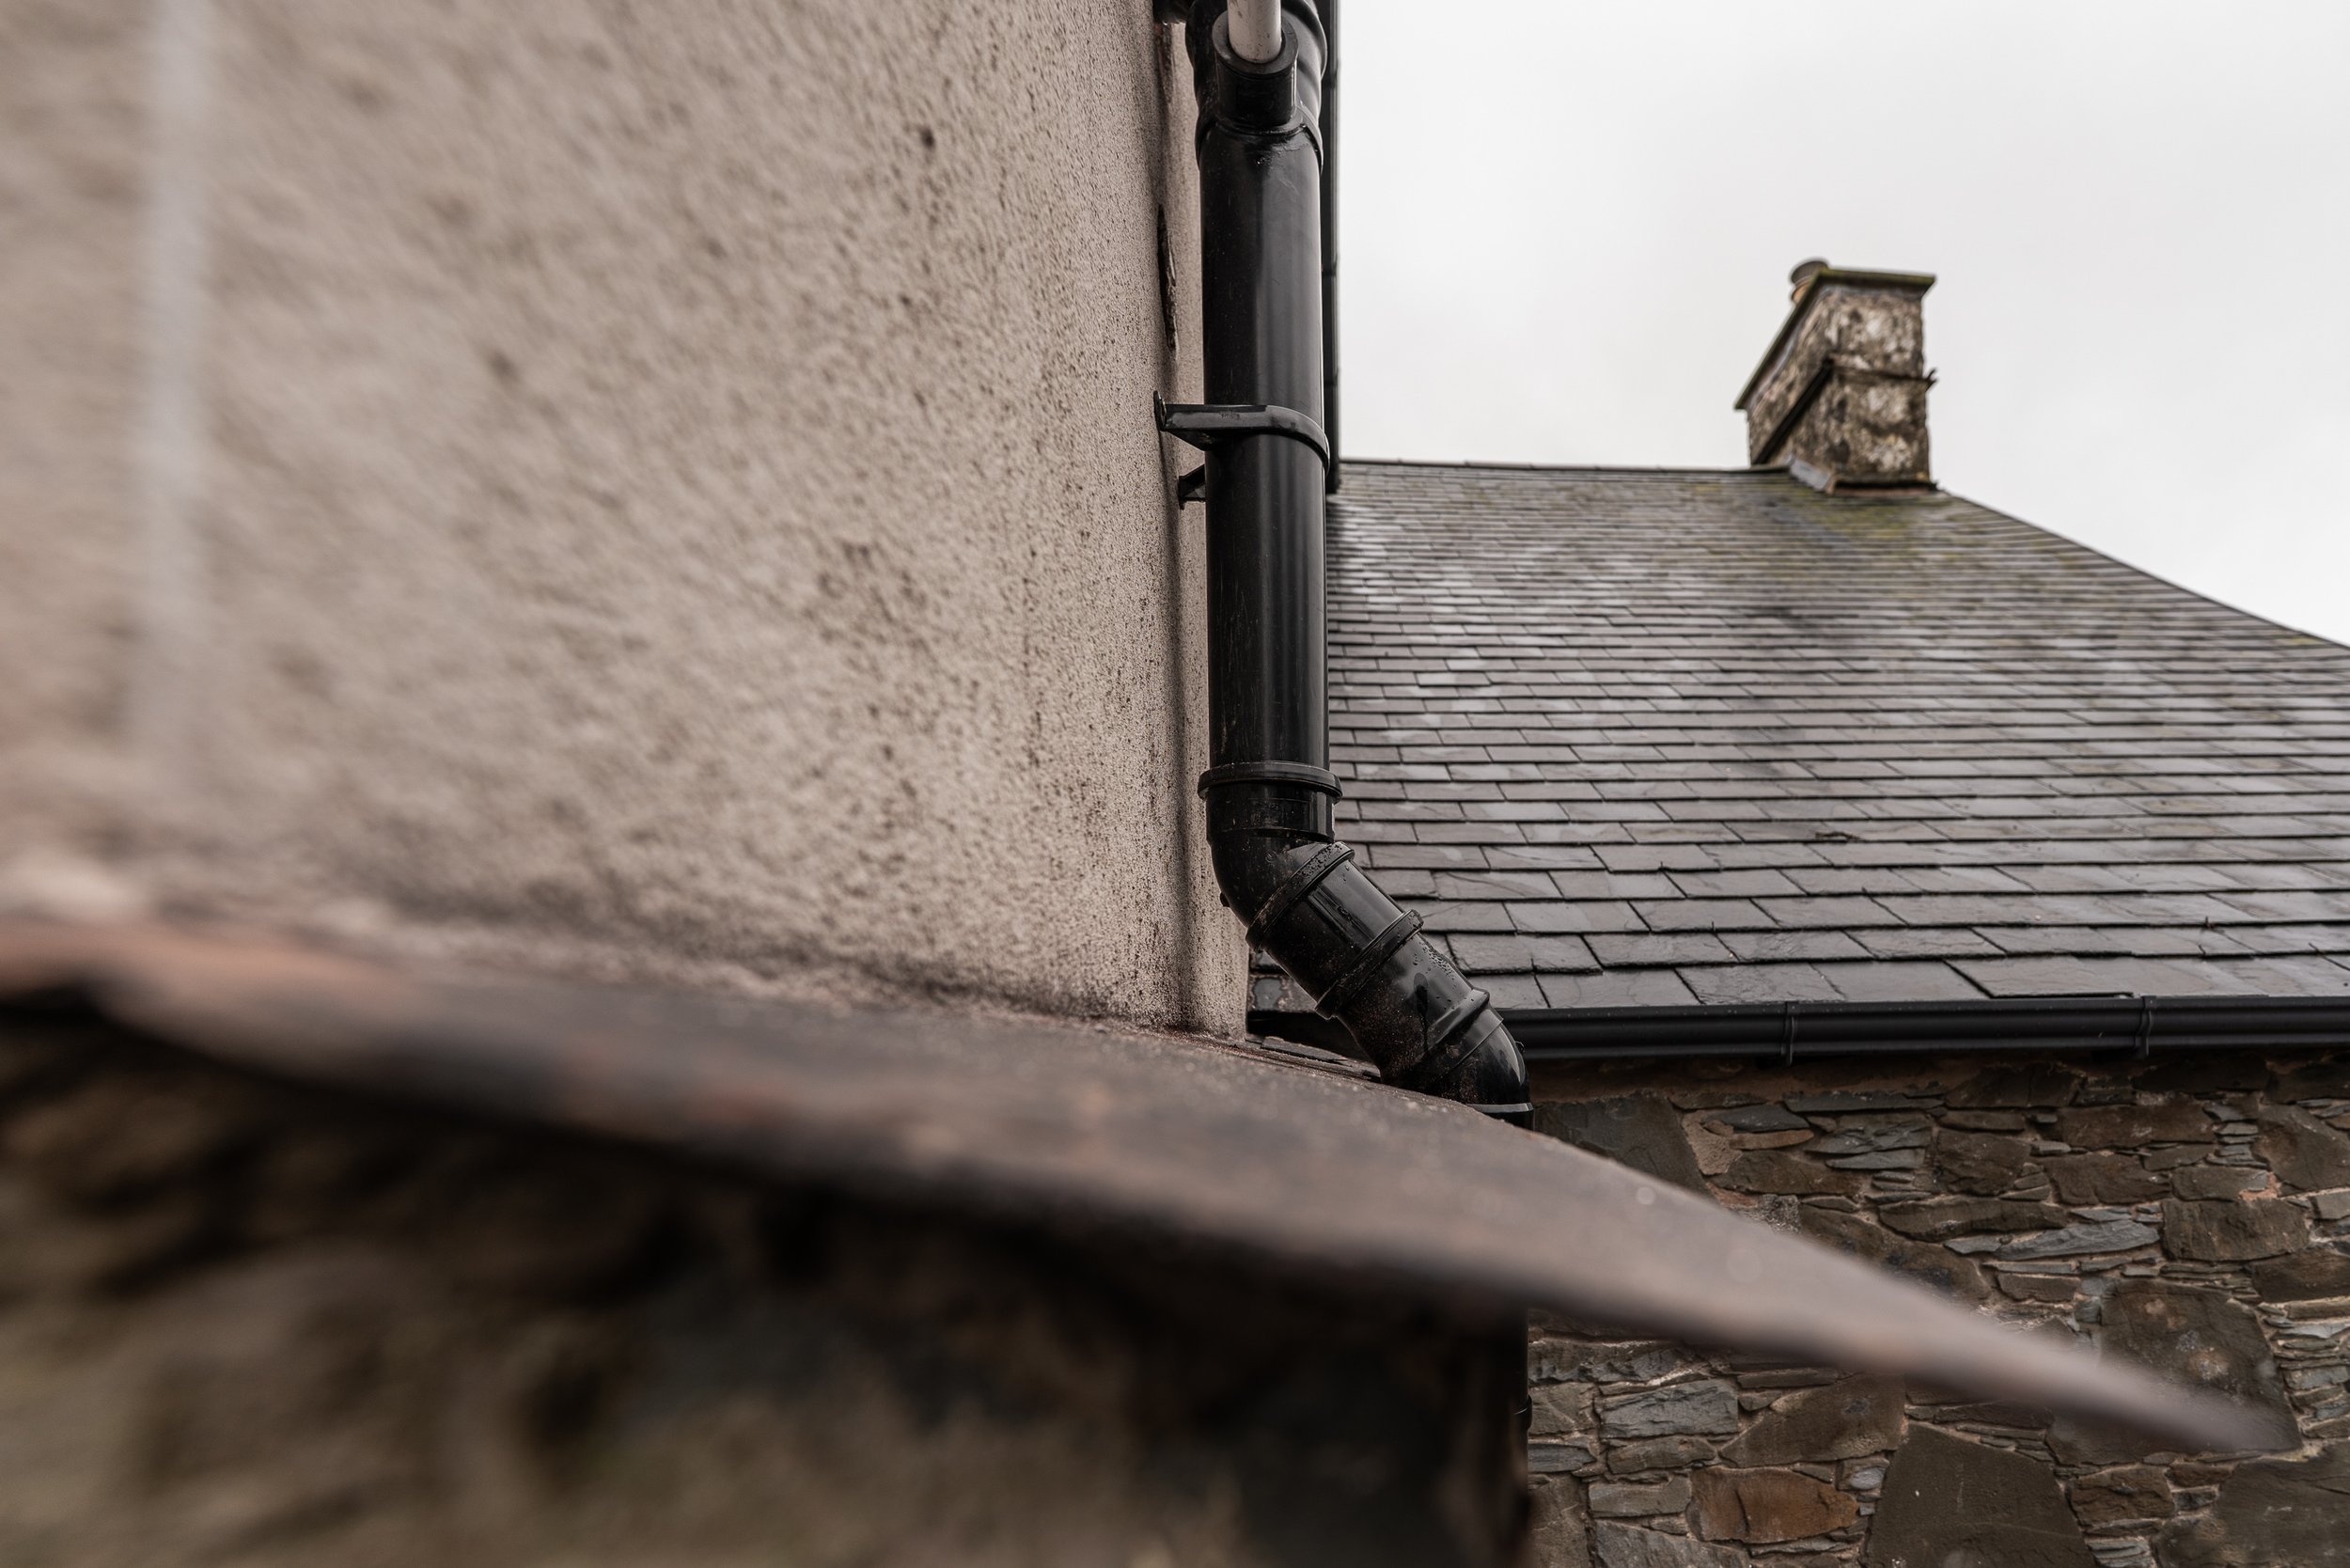
To rework the wastes we needed to disconnect the downstairs toilet, hack its waste pipes out, replace them with a T heading skyward, and then add a whole new section of piping. This new section would go up, bend a little over the wall head to come to the brick exterior, T into the upstairs toilet and then continue skyward past the bathroom window to vent above the gutter line. Just below the upstairs toilet T, the bath and sink waste would also connect into the same pipe.
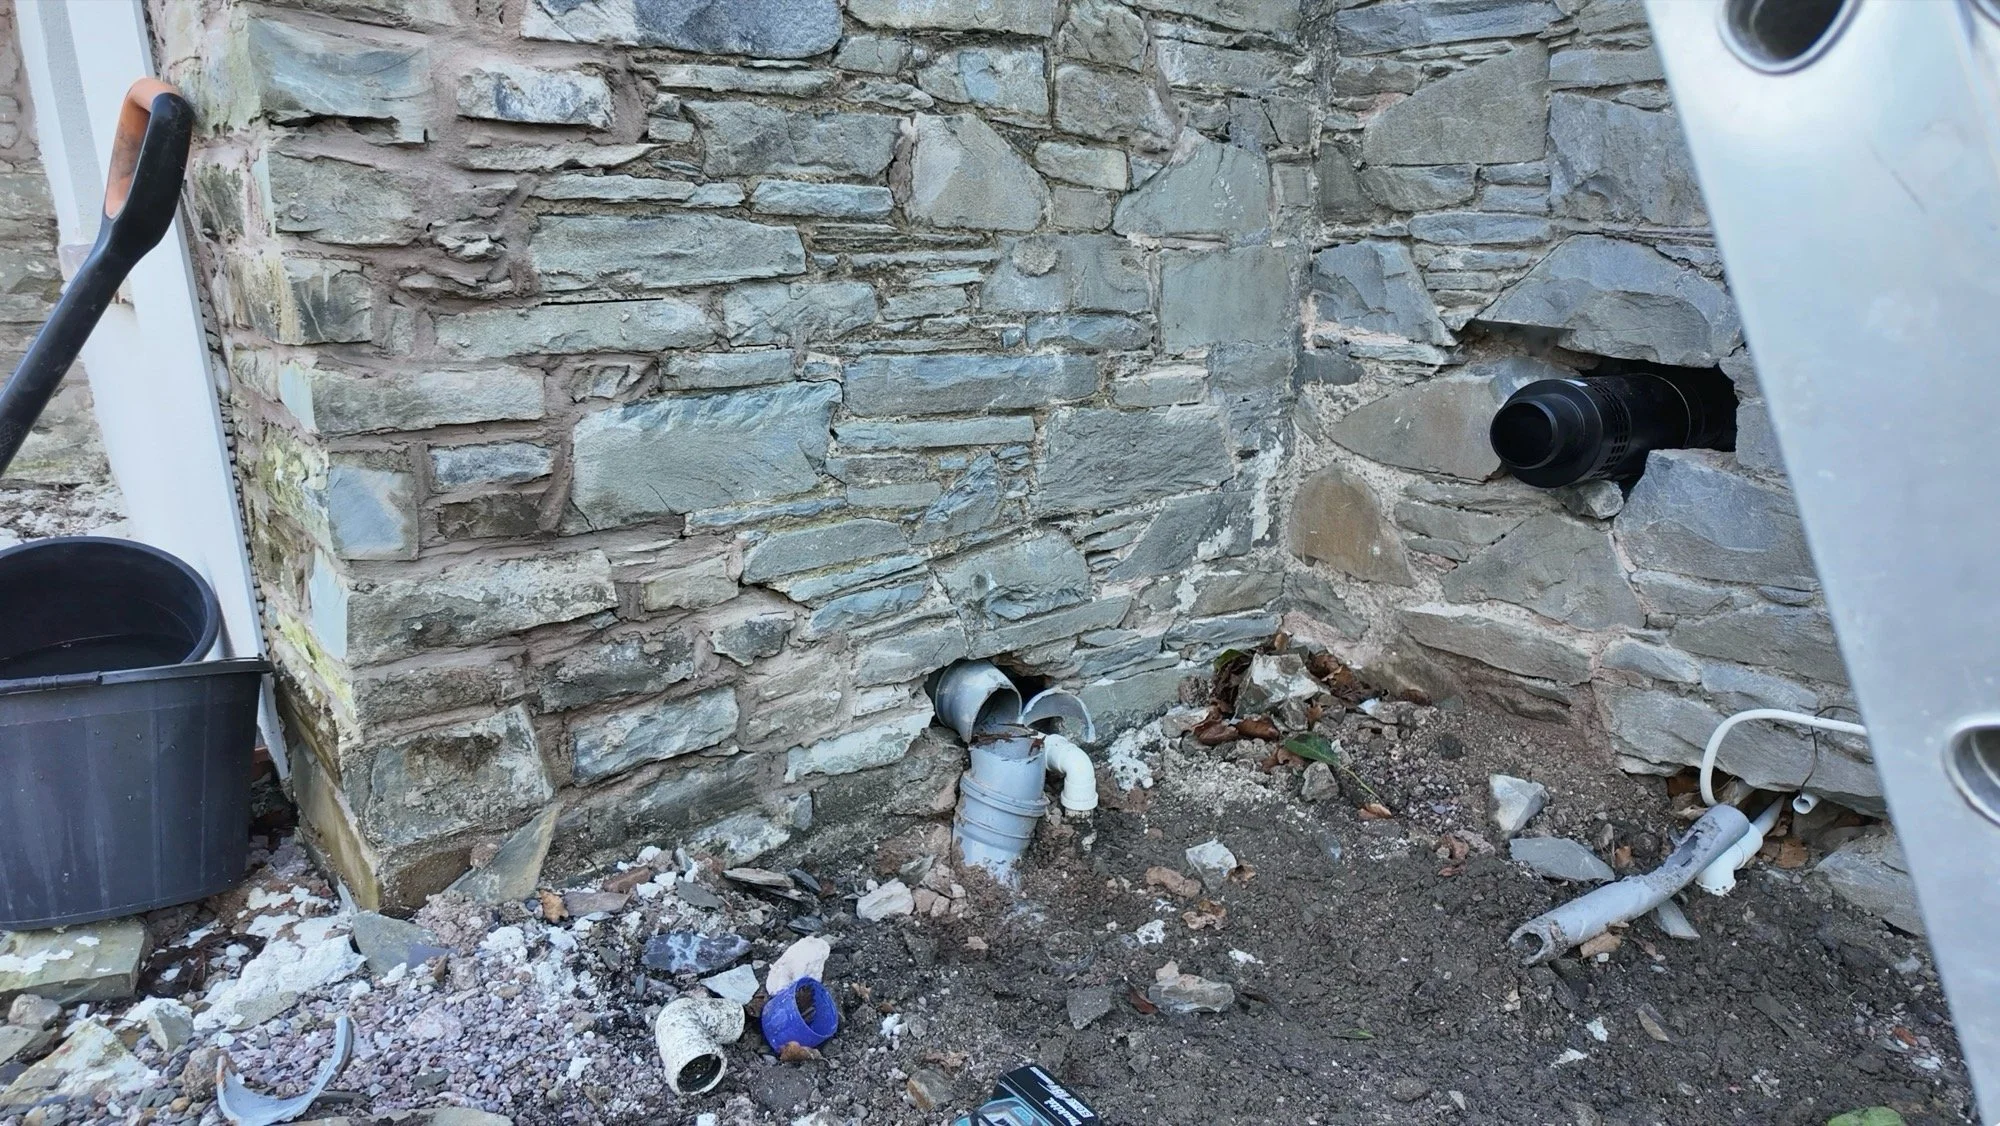
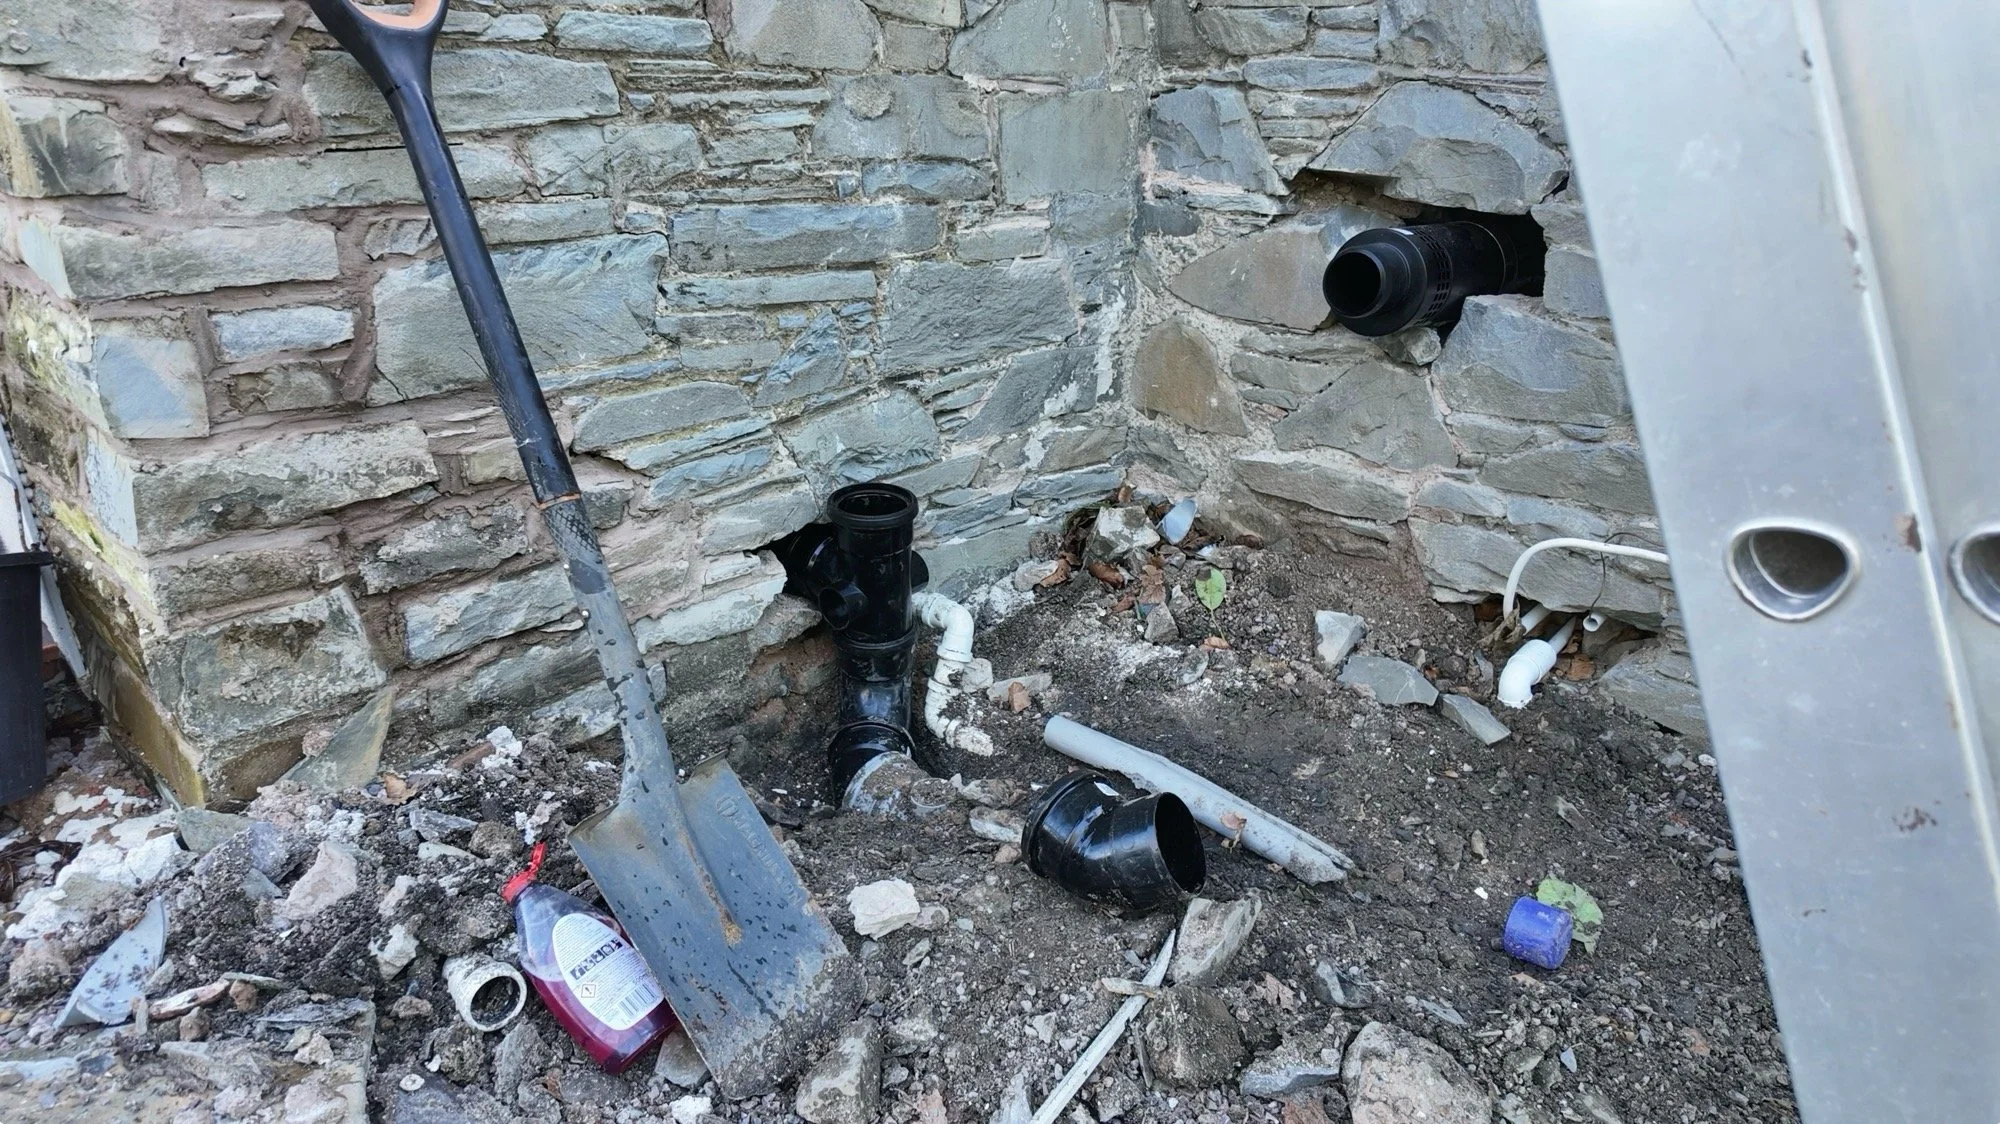
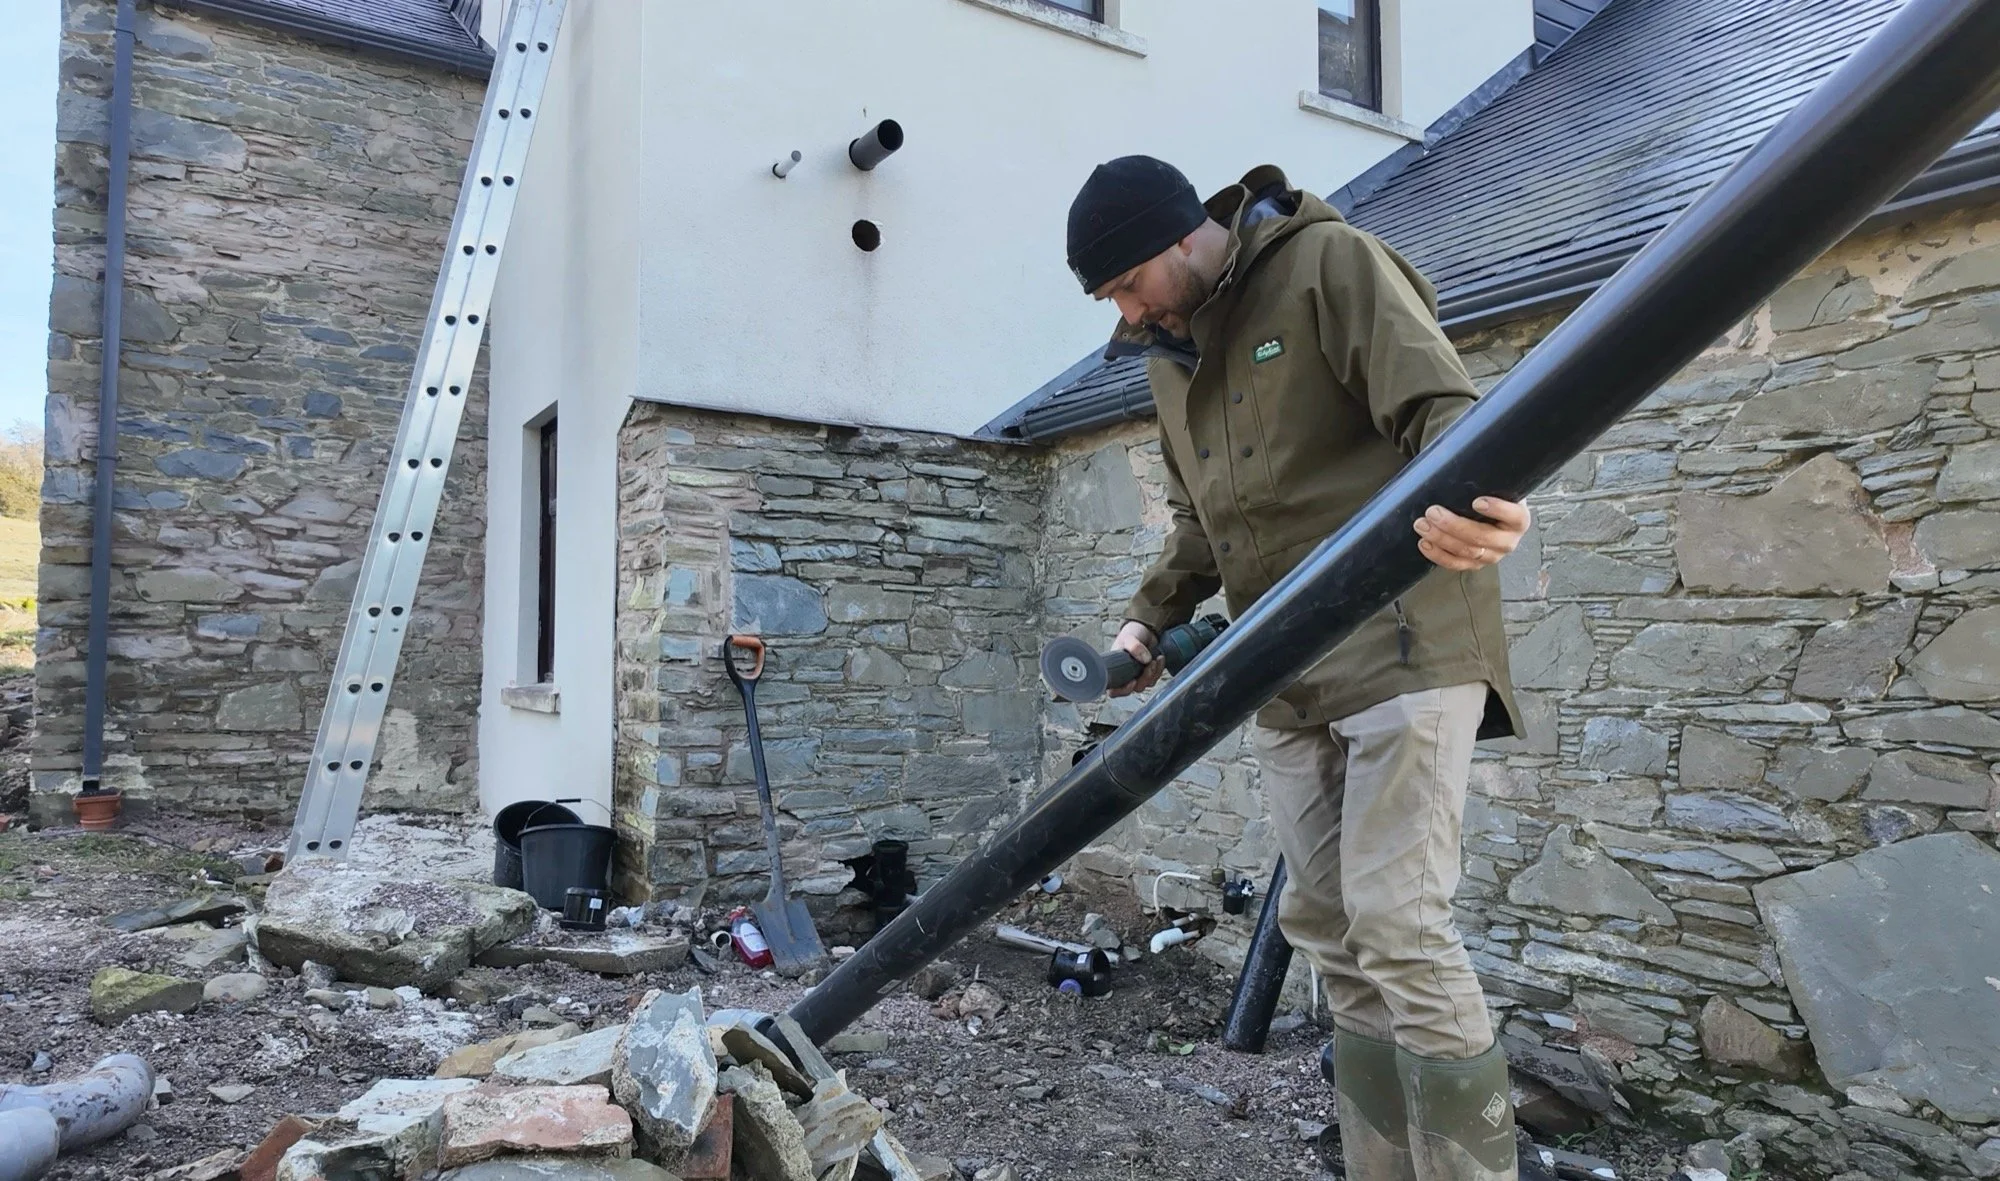
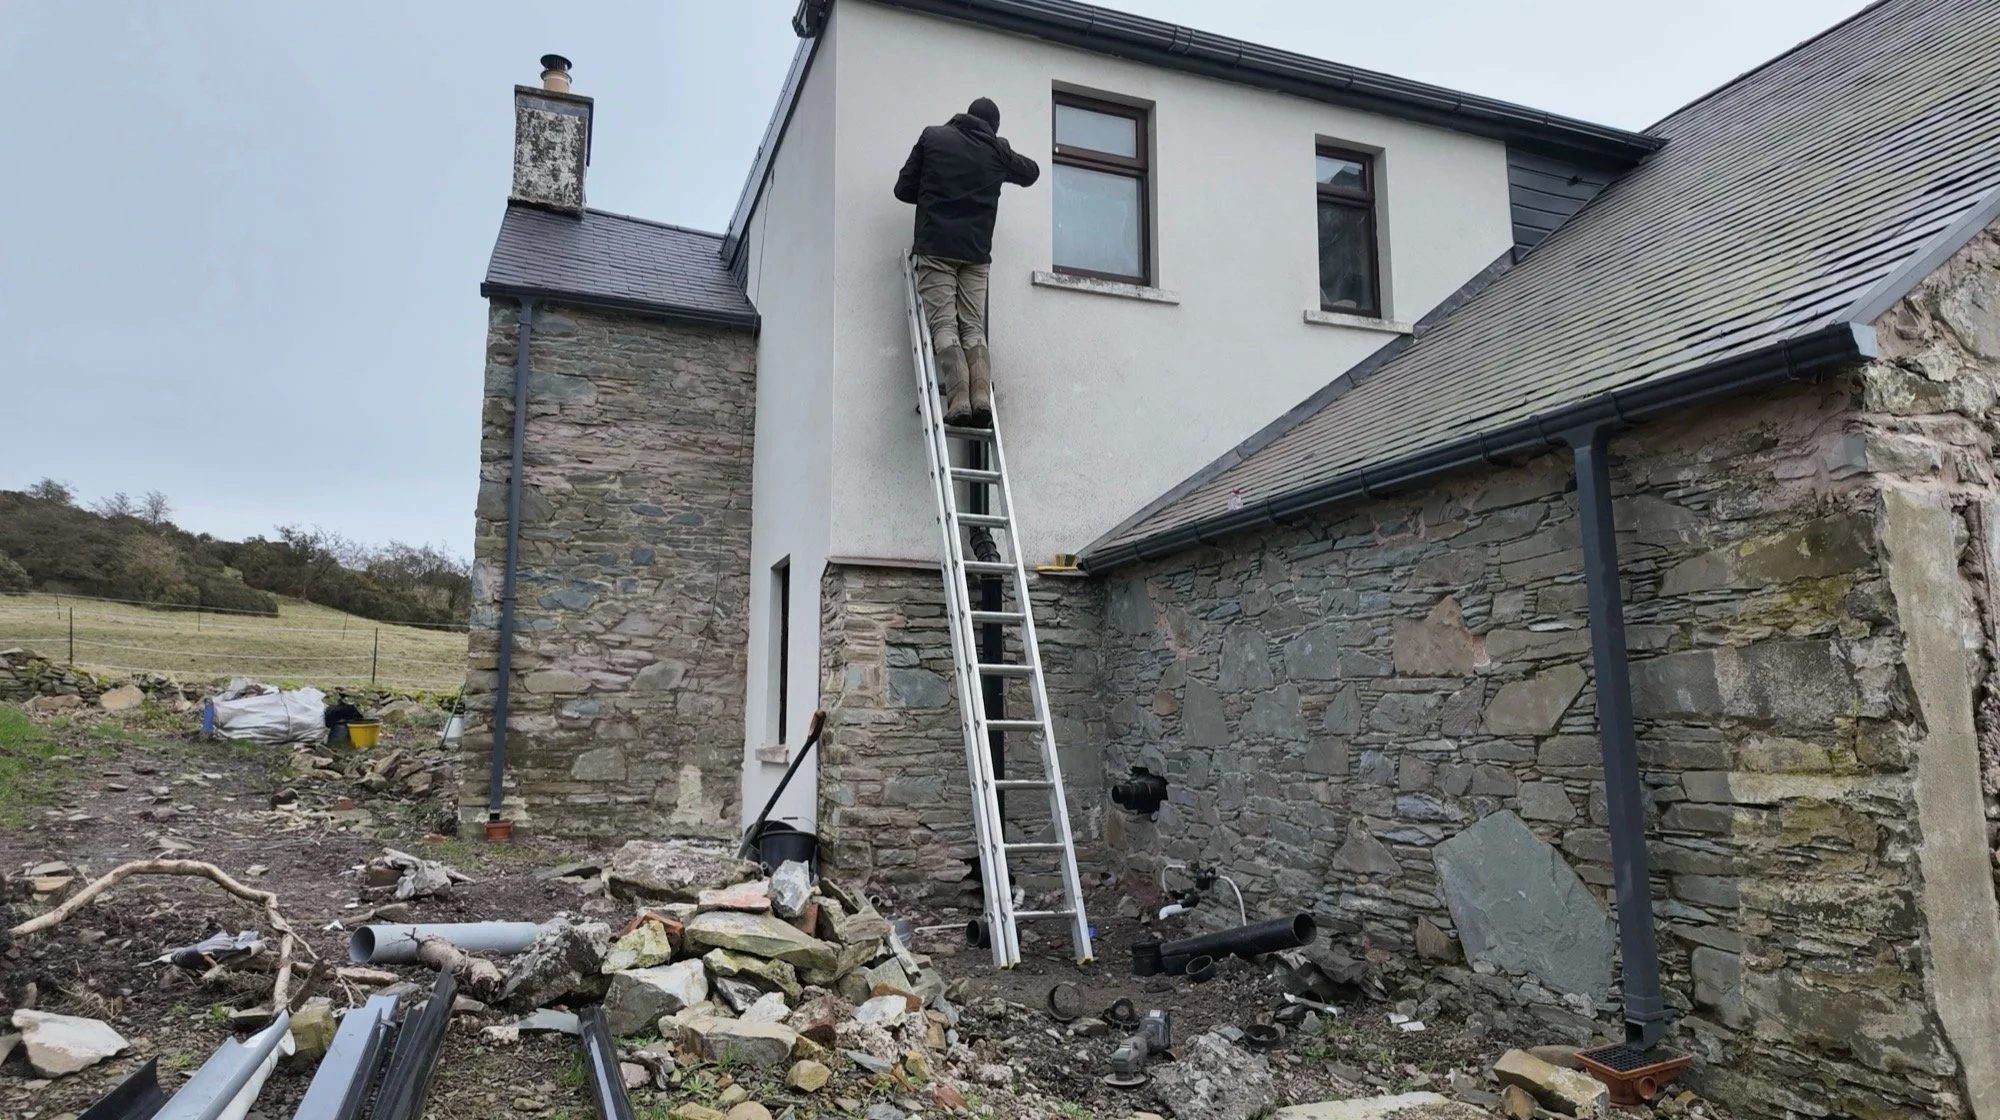

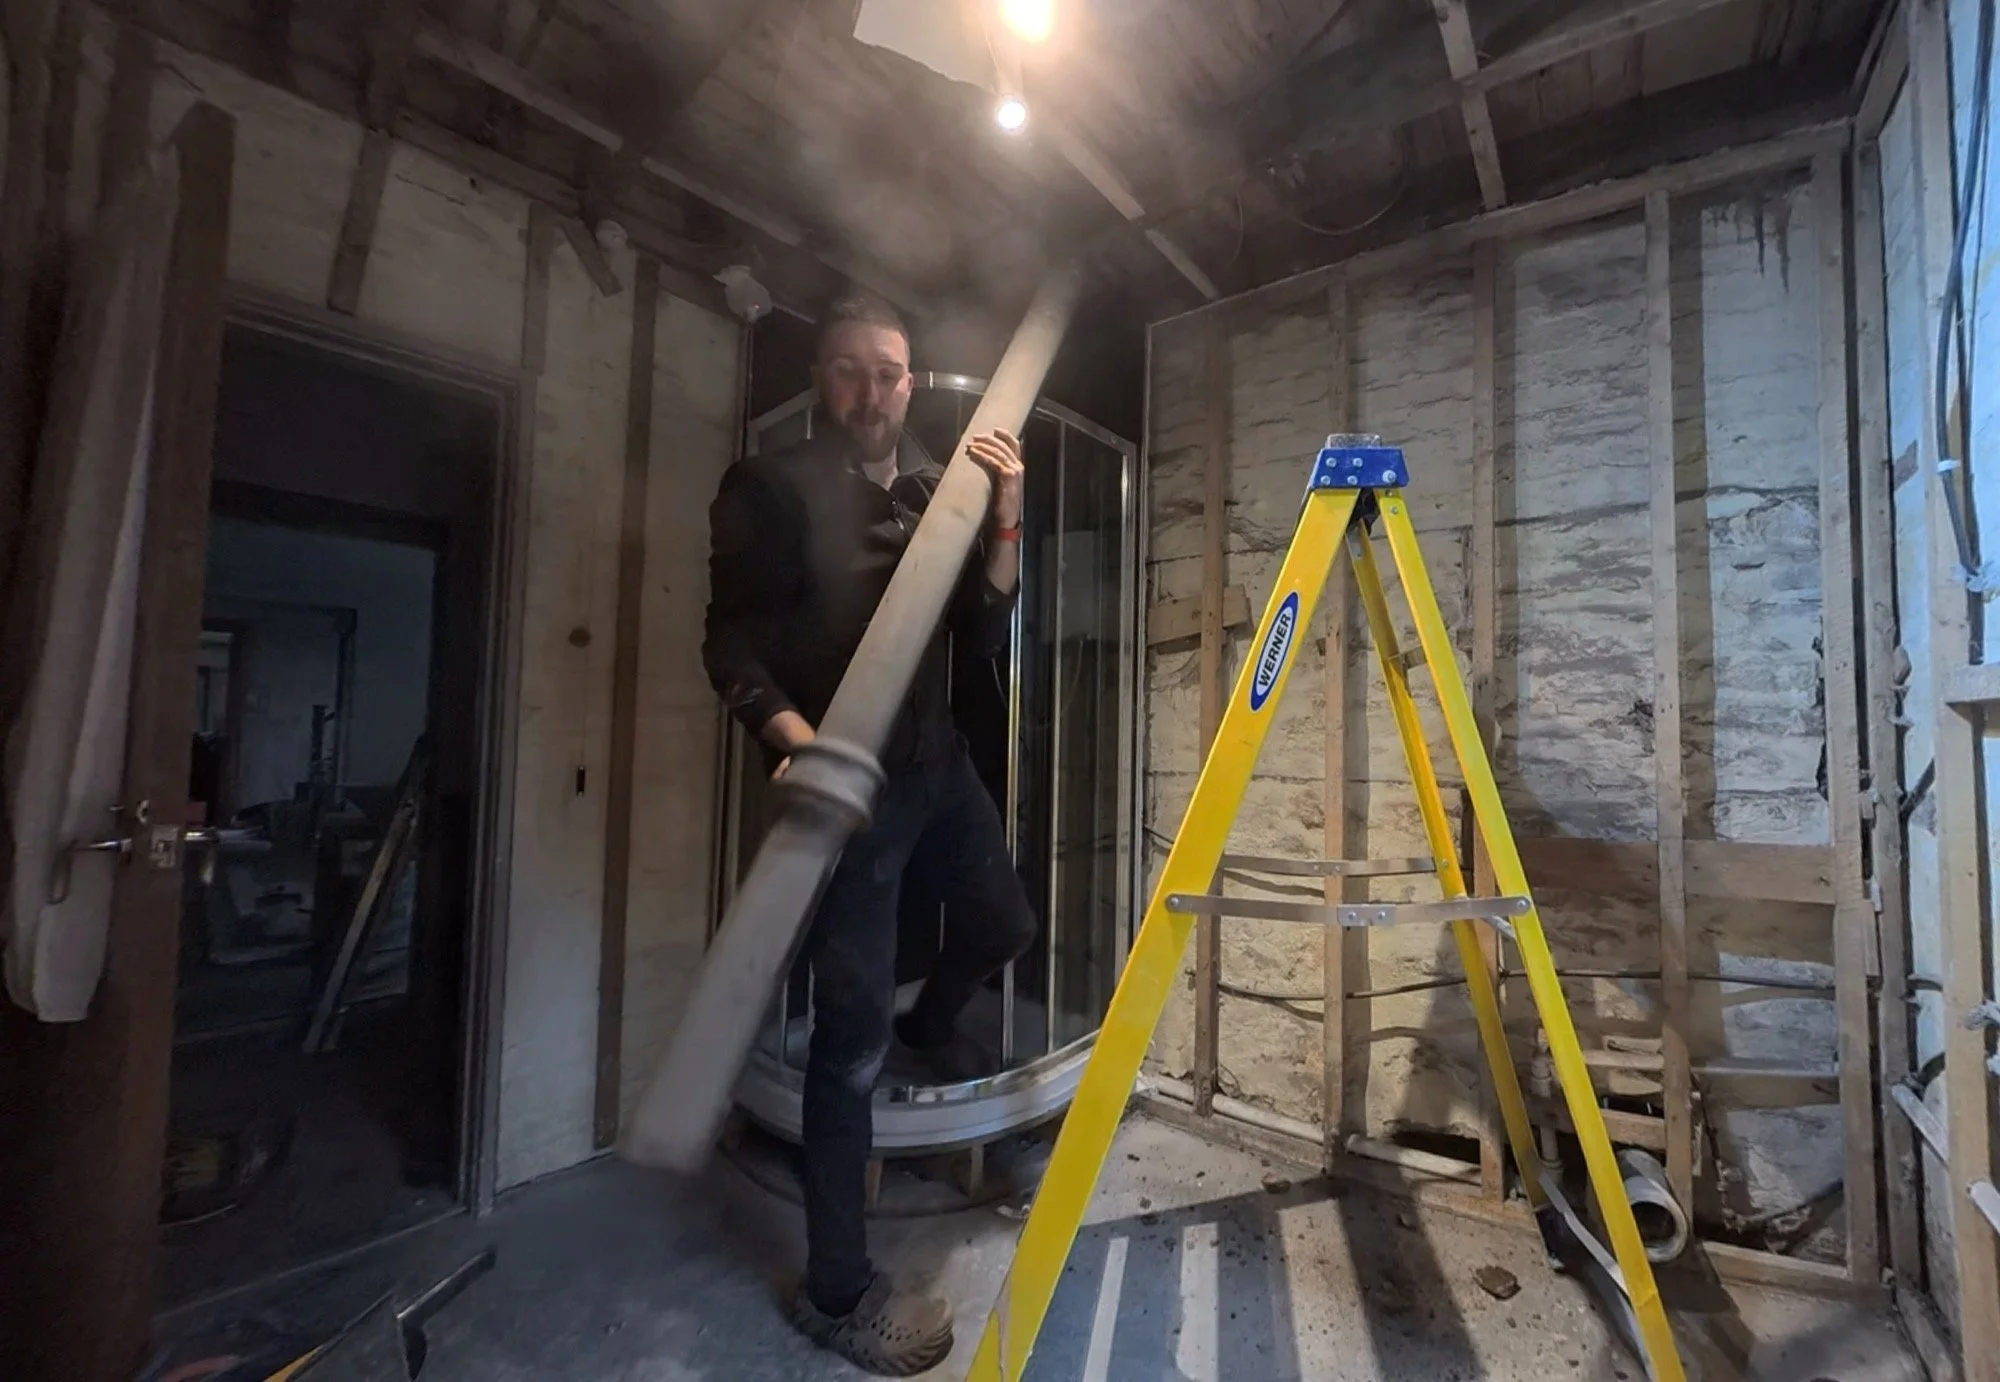
All of this seems simple in theory, but it took a day and a half to crack and Dan got some stellar use out of his ladder. He also ran out of pipe and had to do a trip to the shops. He probably would prefer I didn’t mention it, but he did also drop a rubber O-ring down the poop chute from the second story. This was thankfully recovered downstream through an access cover, with the help of a marigold glove and fast fingers.
The different water sources were tested individually and concurrently, with the pipe working perfectly throughout.
Dan and I disagree about the height of that vent pipe though... I have requested it be shortened a bit!
The Step:
A small single day project to just make a bit of progress downstairs, Dan tackled adding the step from the current kitchen down into the office. Before, this was quite a cliff, but historically there was a step here too; it had just mostly rotted away under a cupboard that formed the base of the serving hatch.
Dan began by adding a frame, screwed securely into the stone walls on either side, before adding the Weyroc step tread.
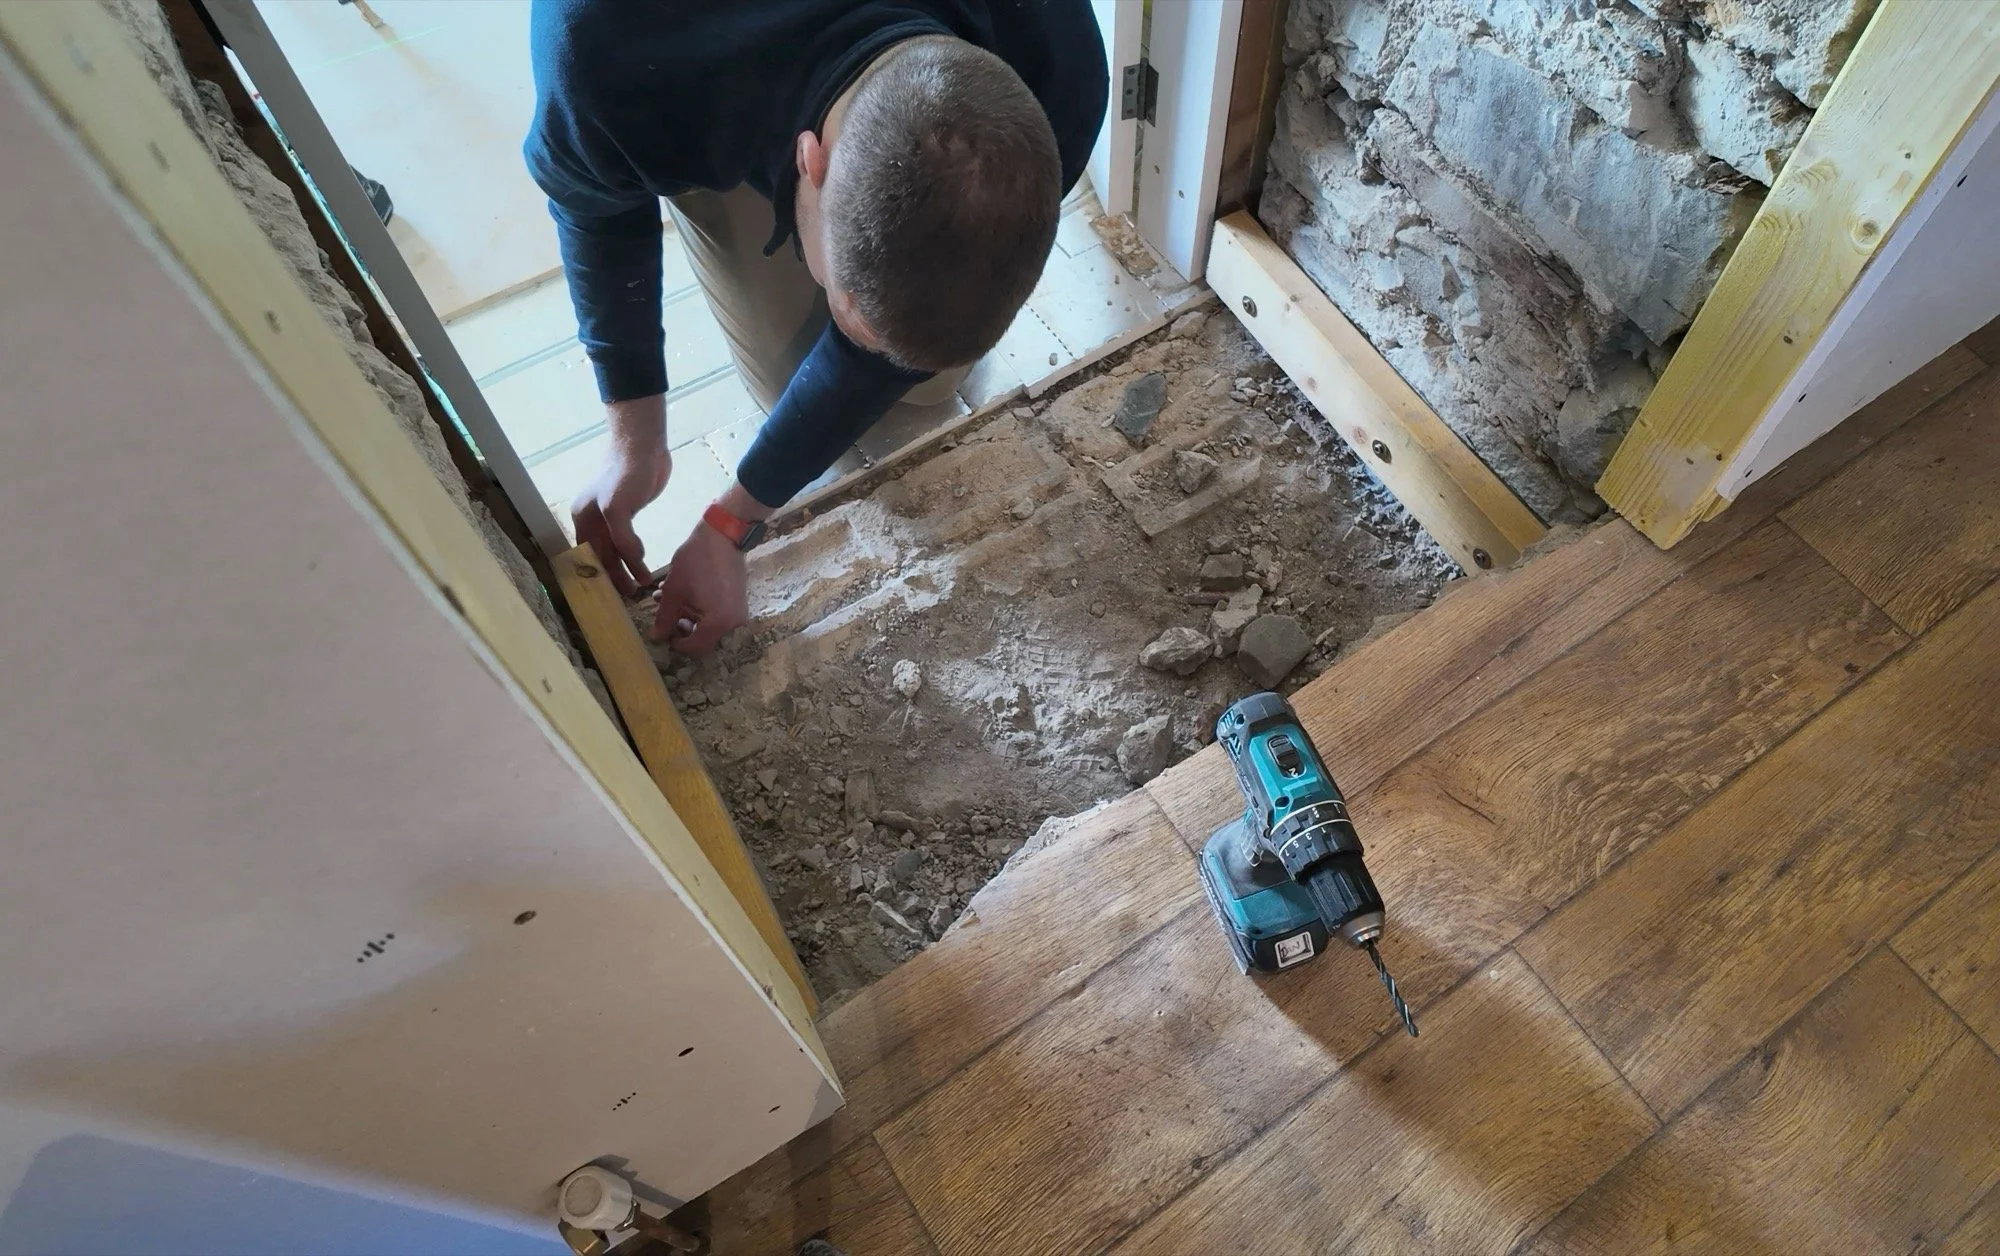
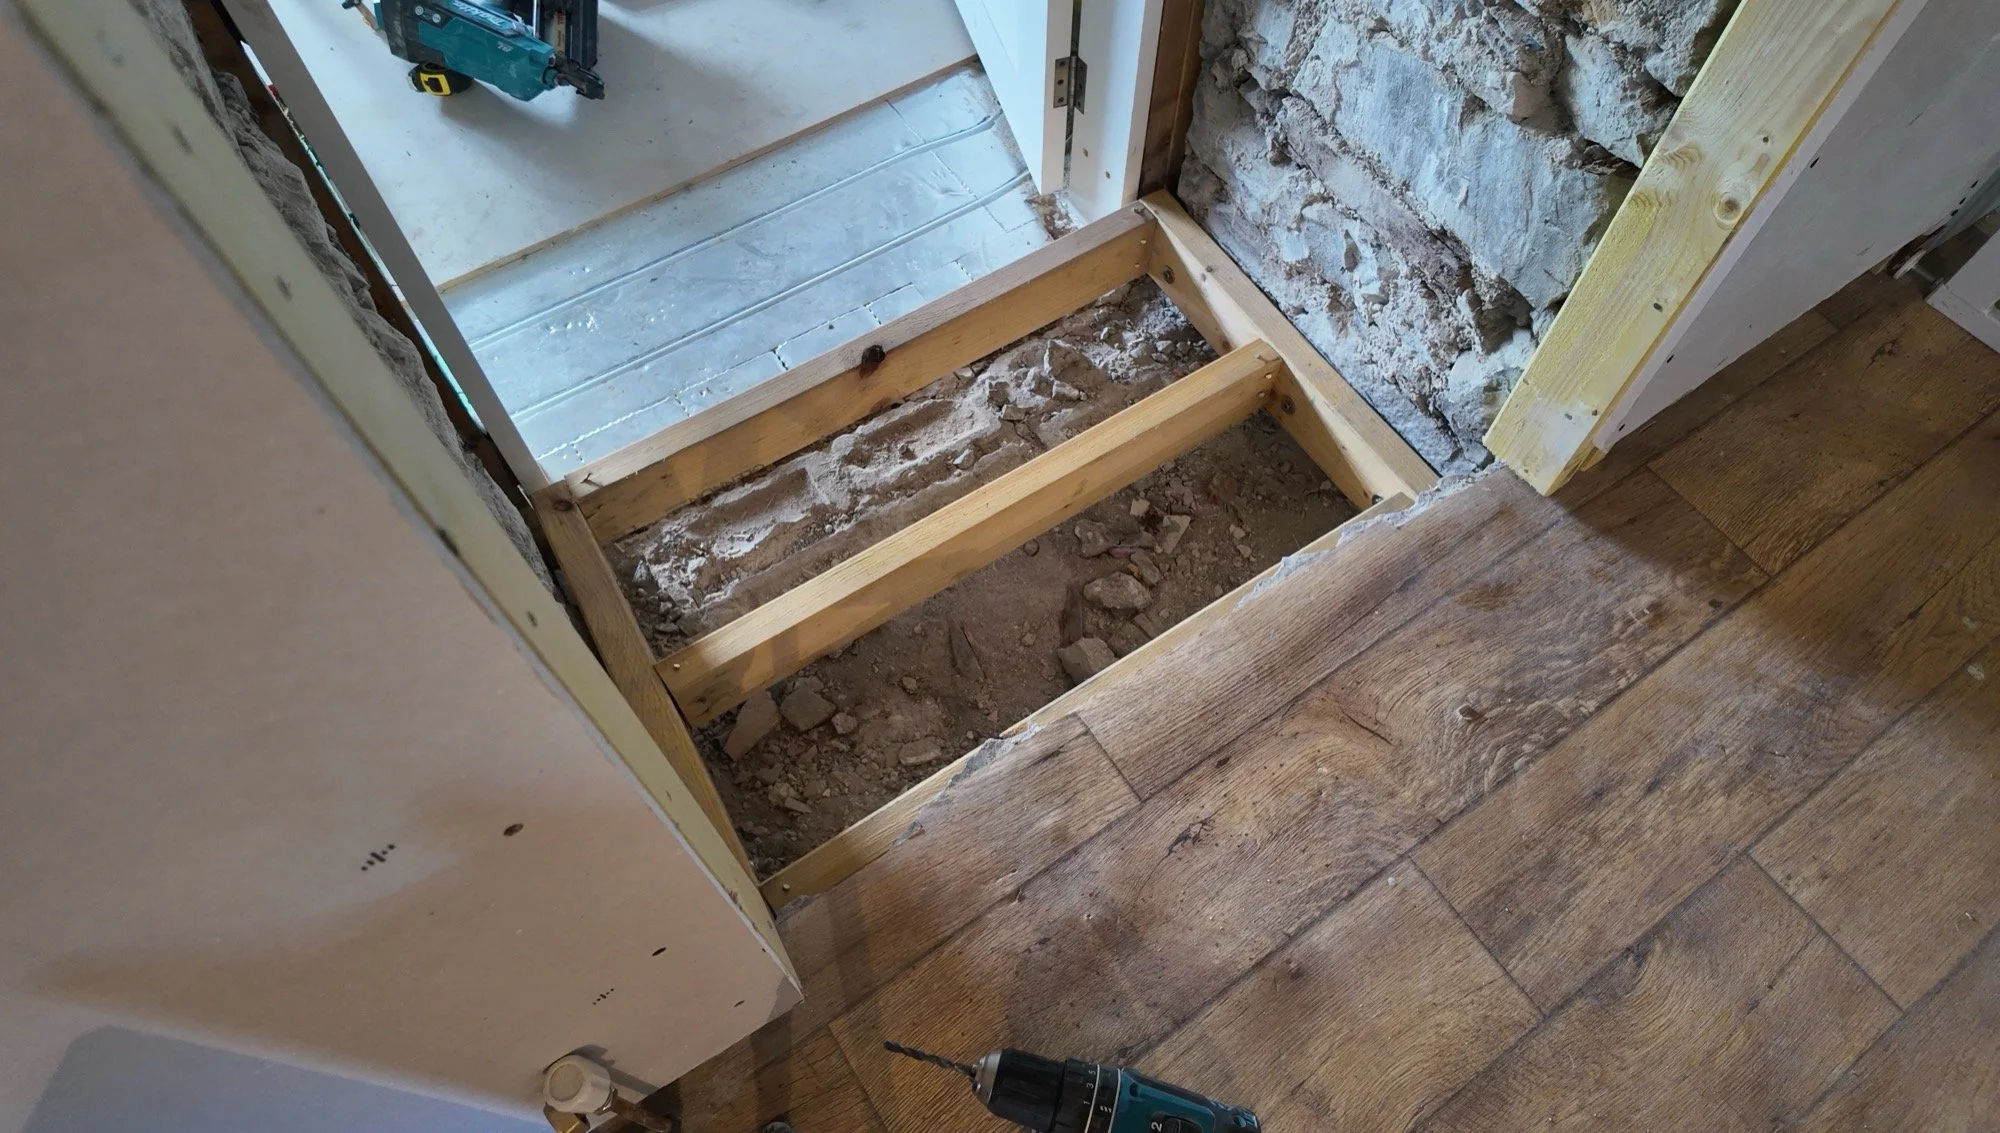
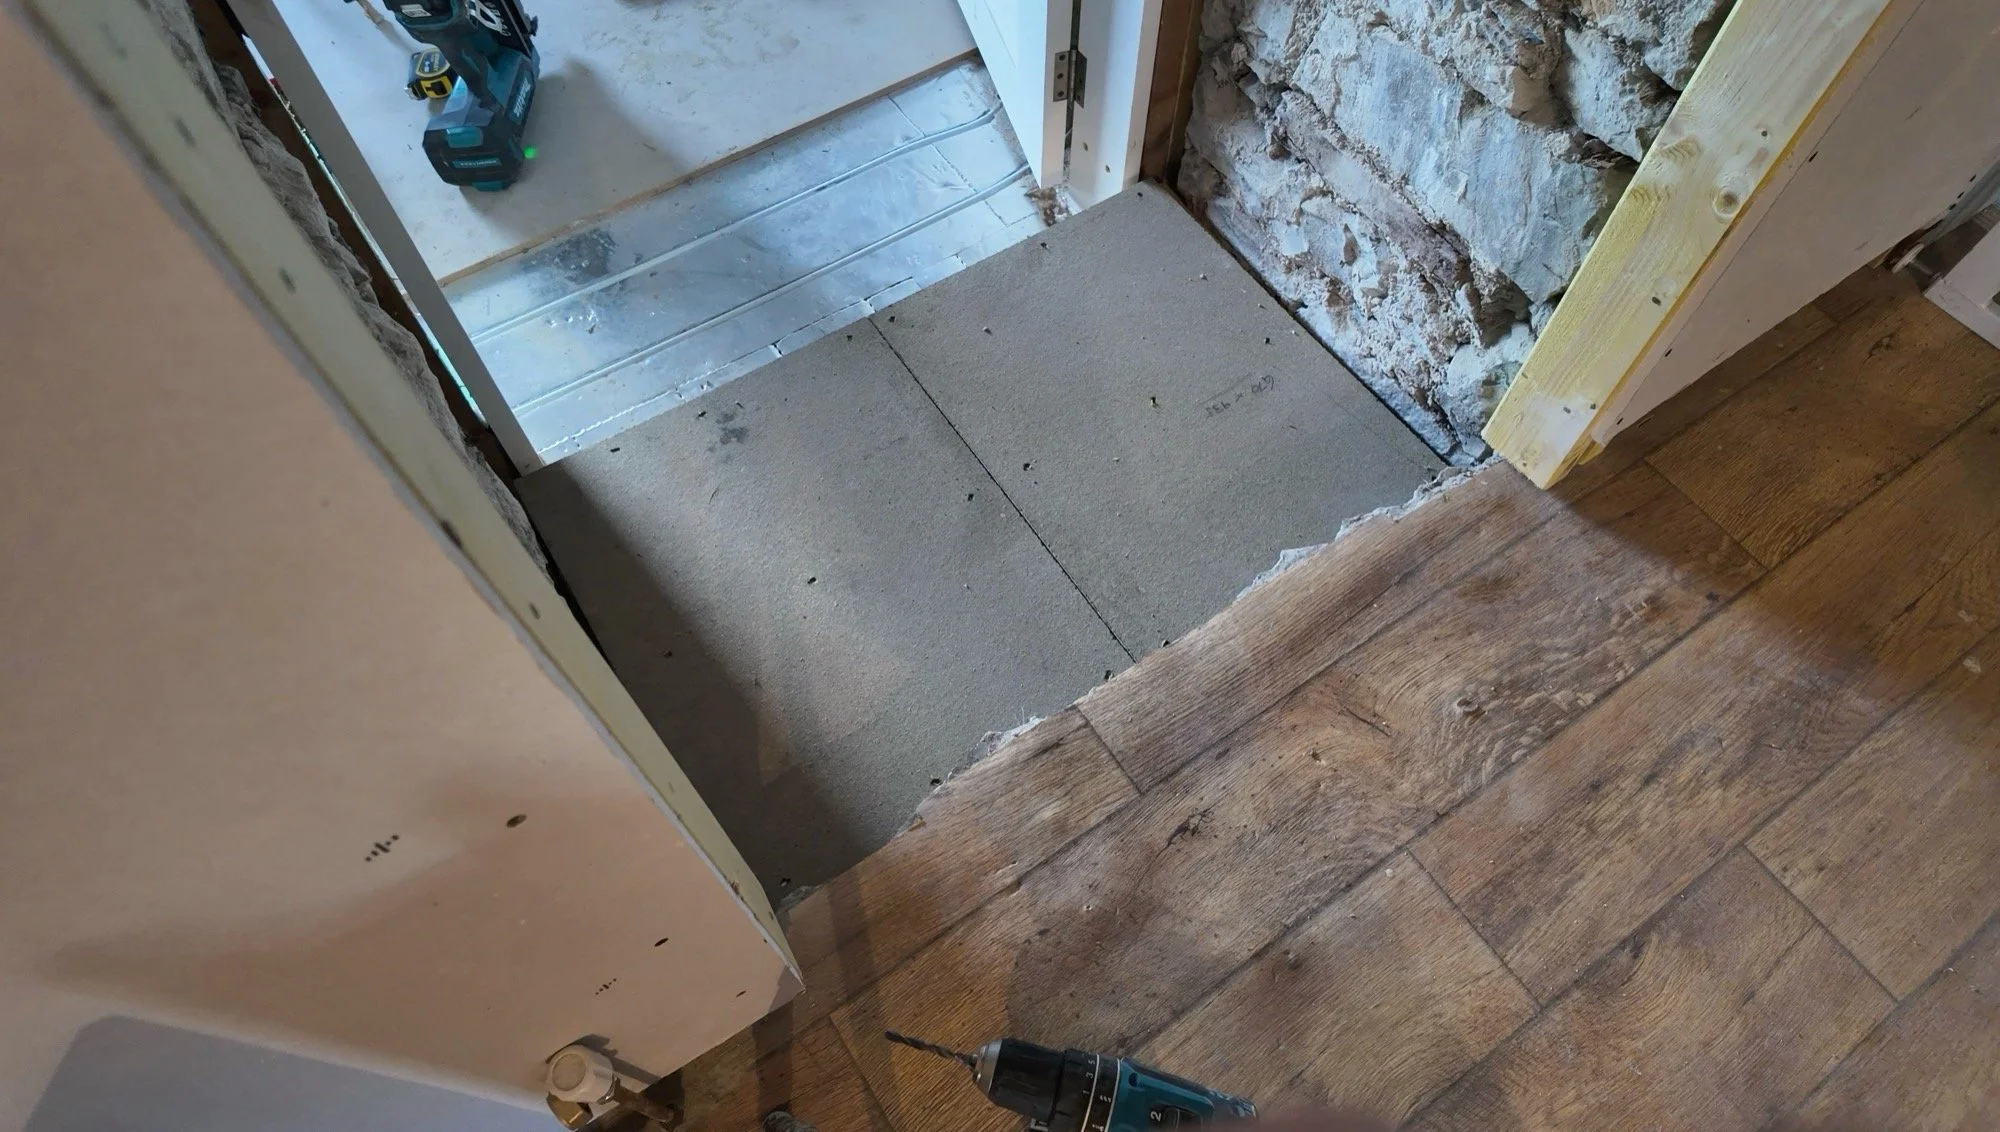
Next, the doorway itself needed to be framed out, ready for plastering. This began with the ceiling piece before both sides were screwed into place too.
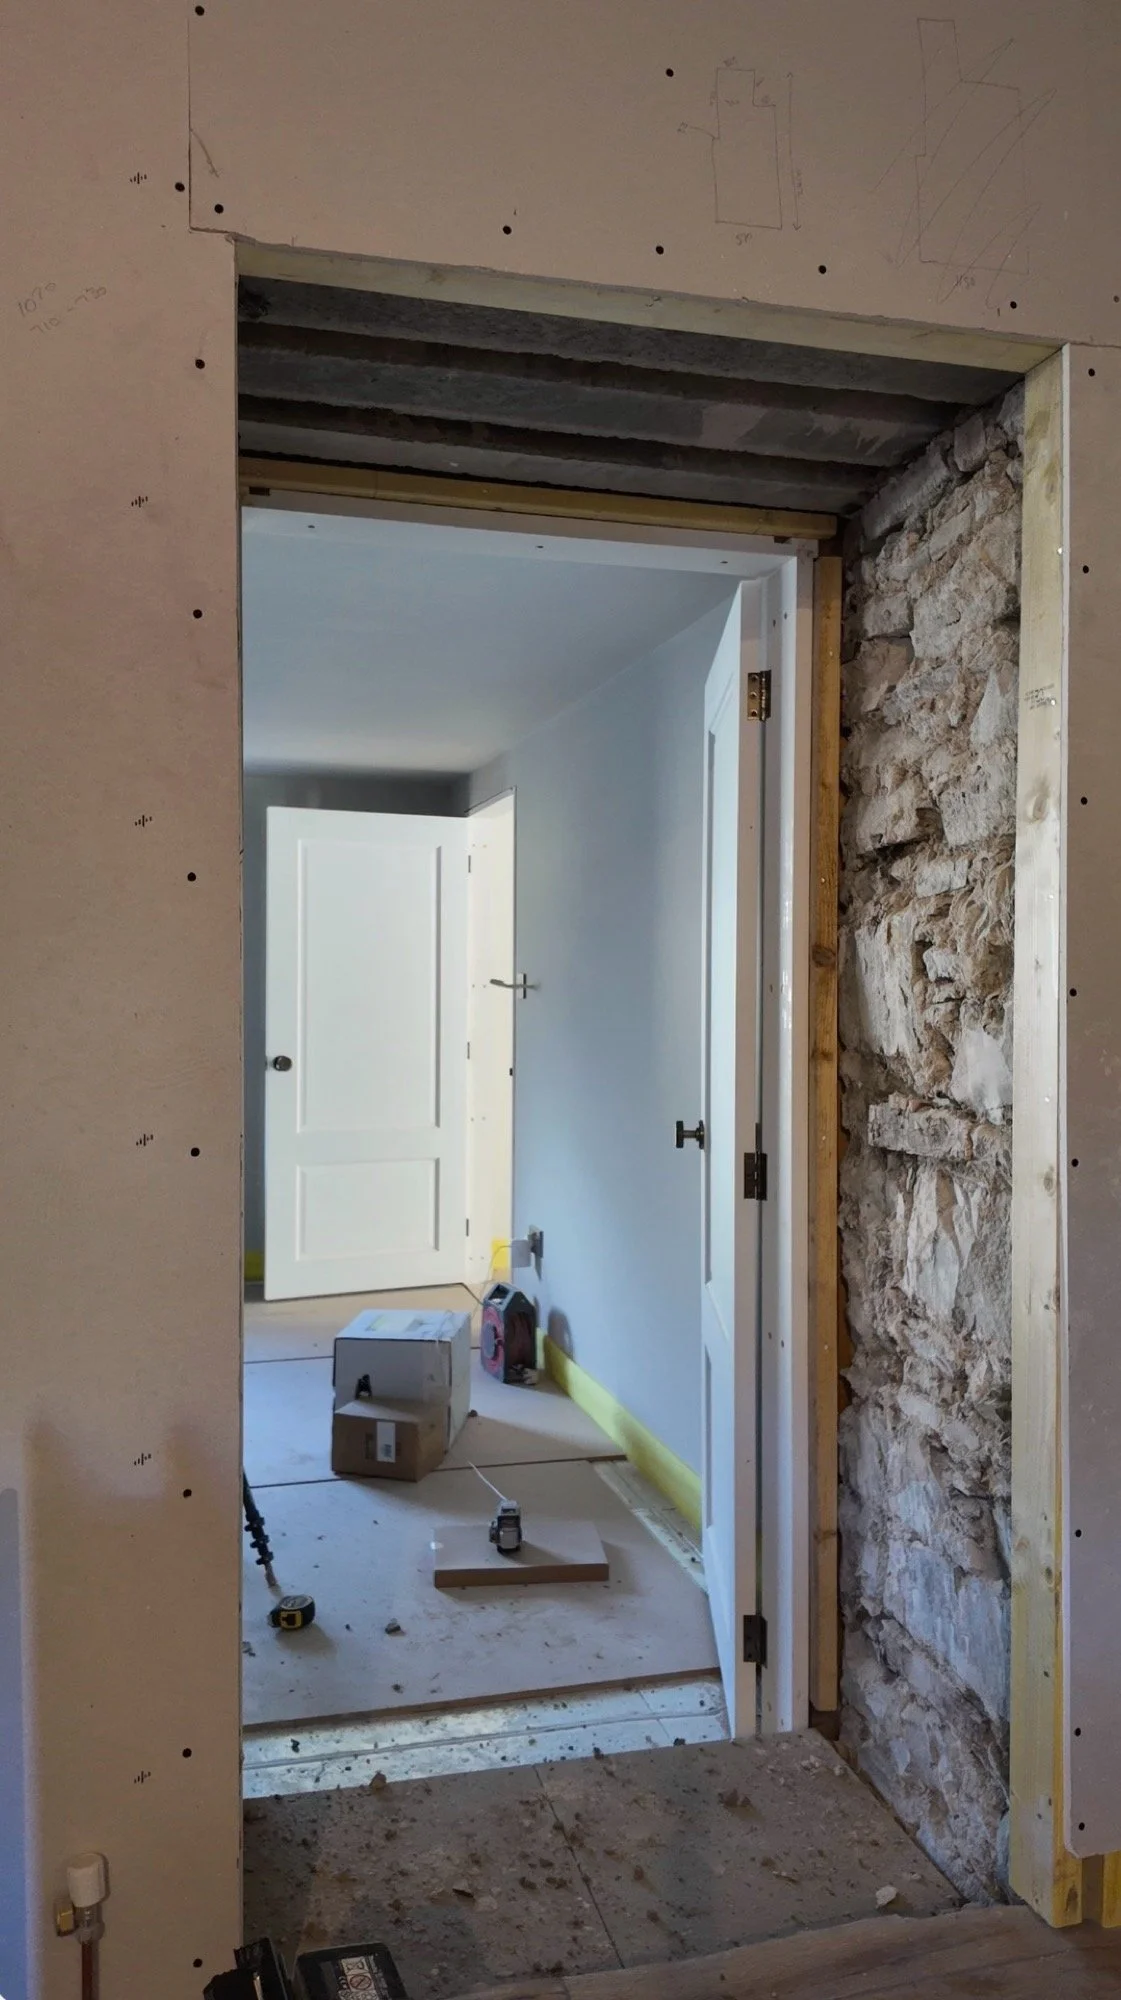
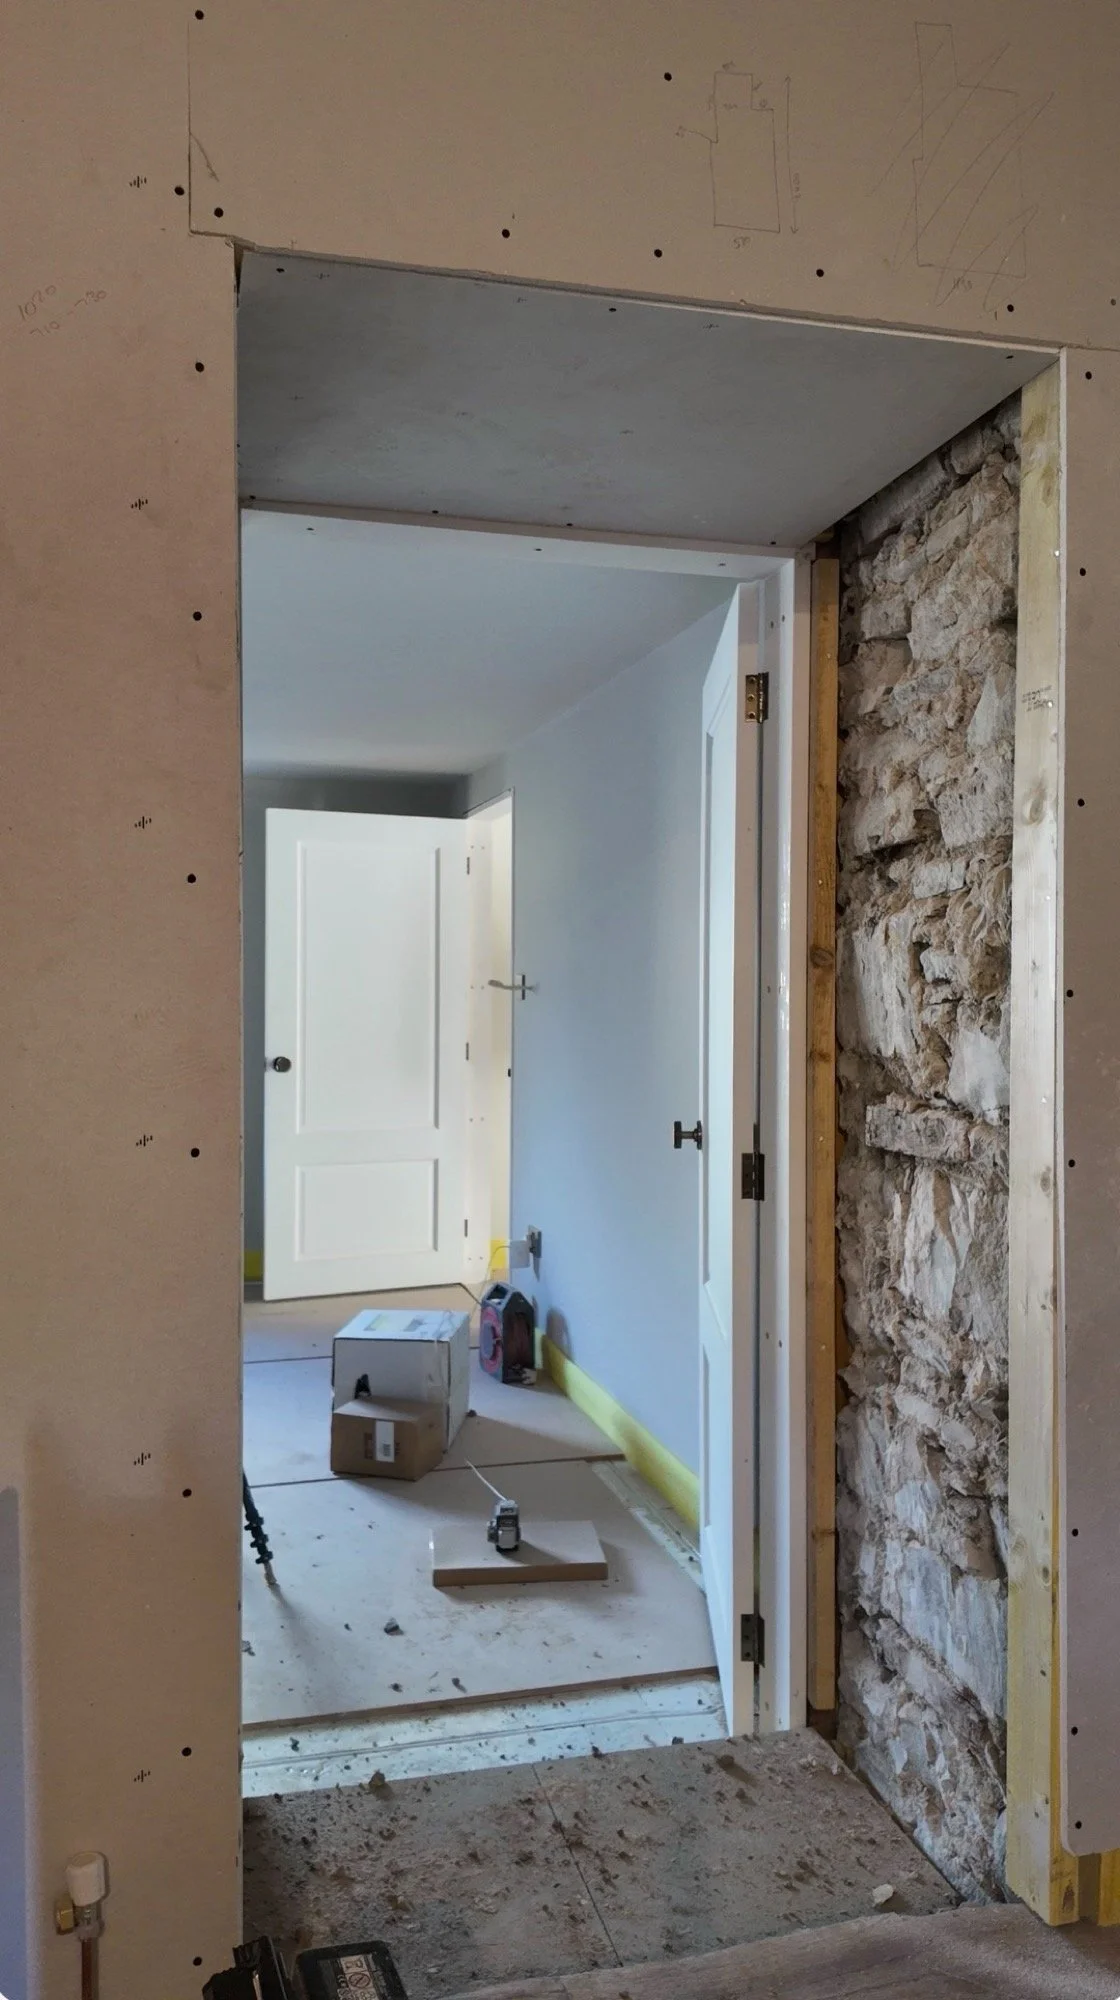
There is still much neatening up to do here (see the grind line to follow on the final image below), but progress is progress nonetheless.
The Disaster Zone:
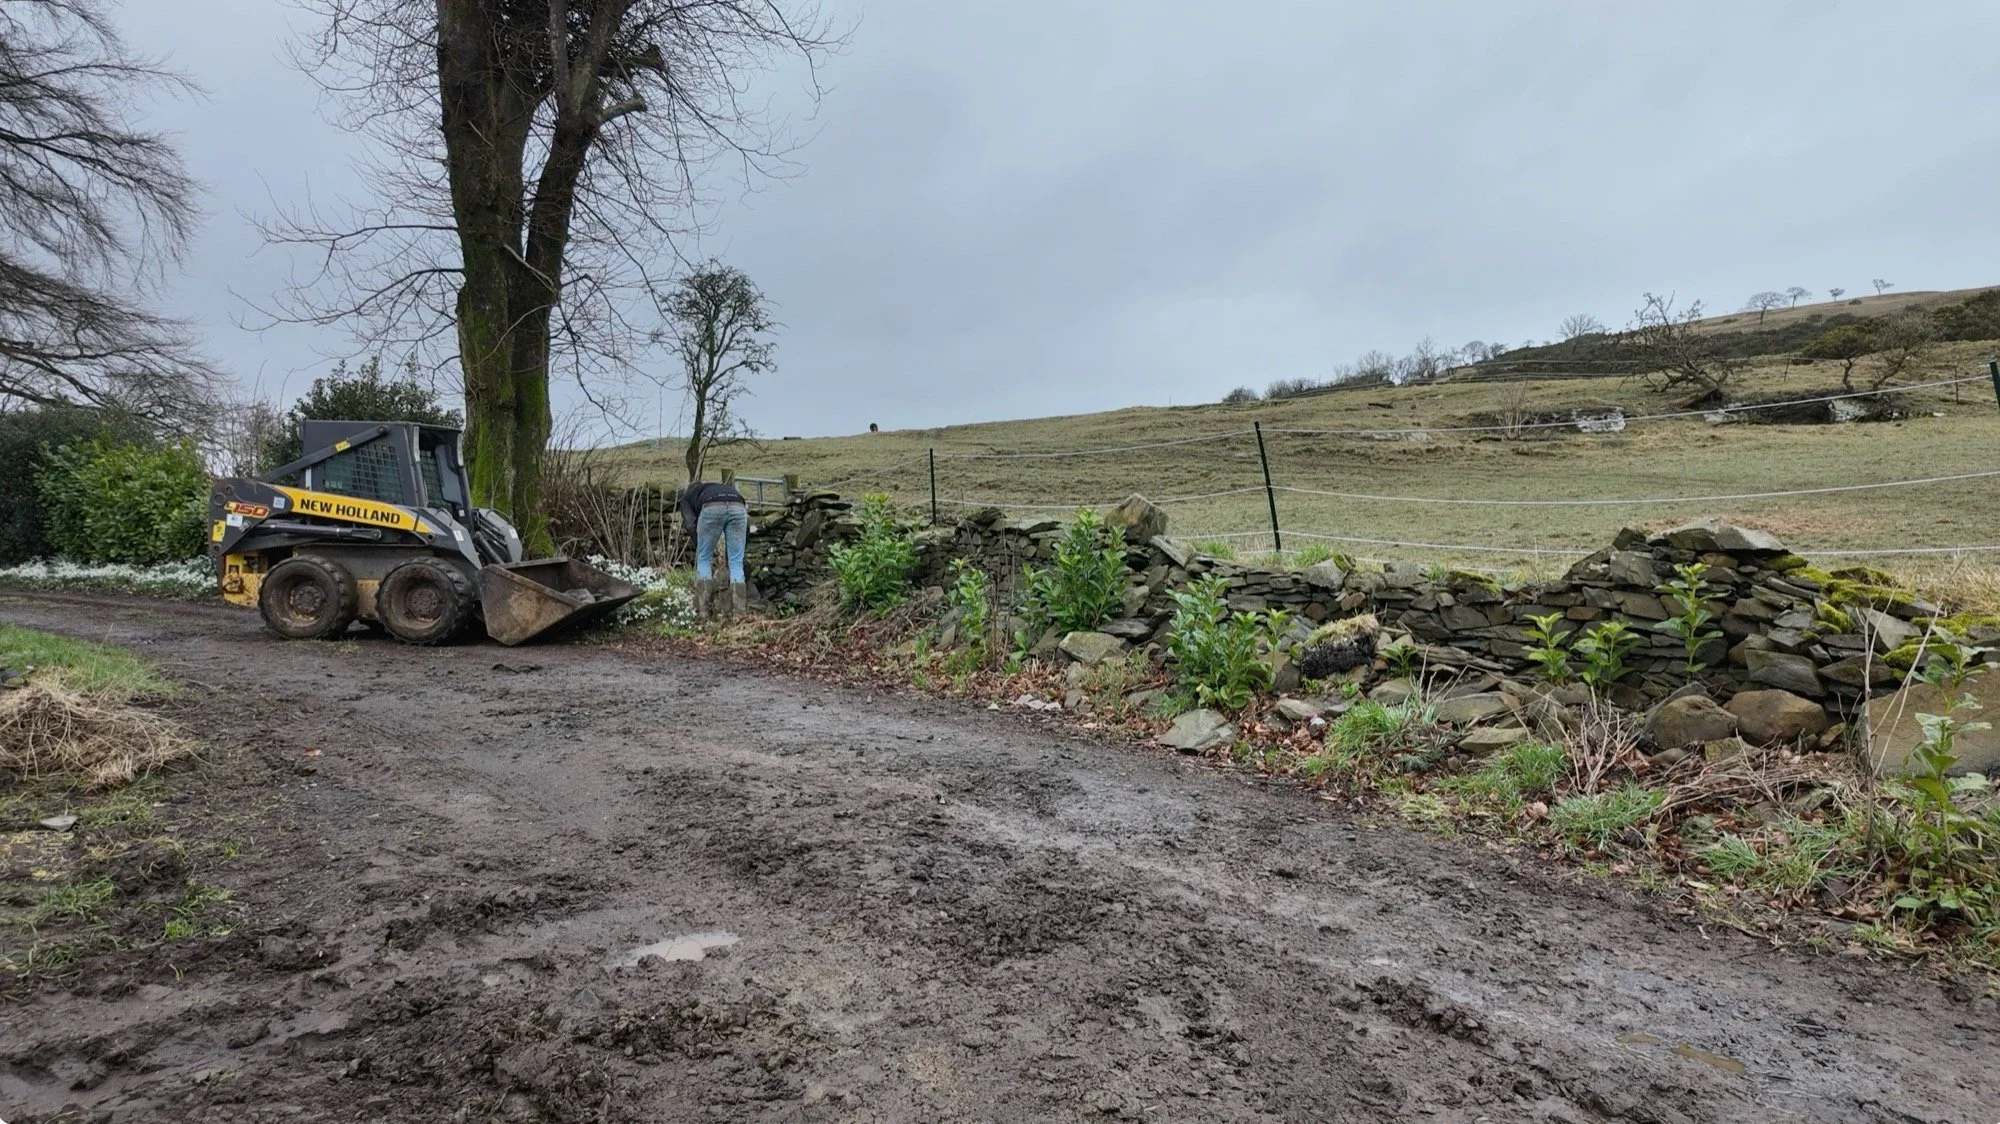
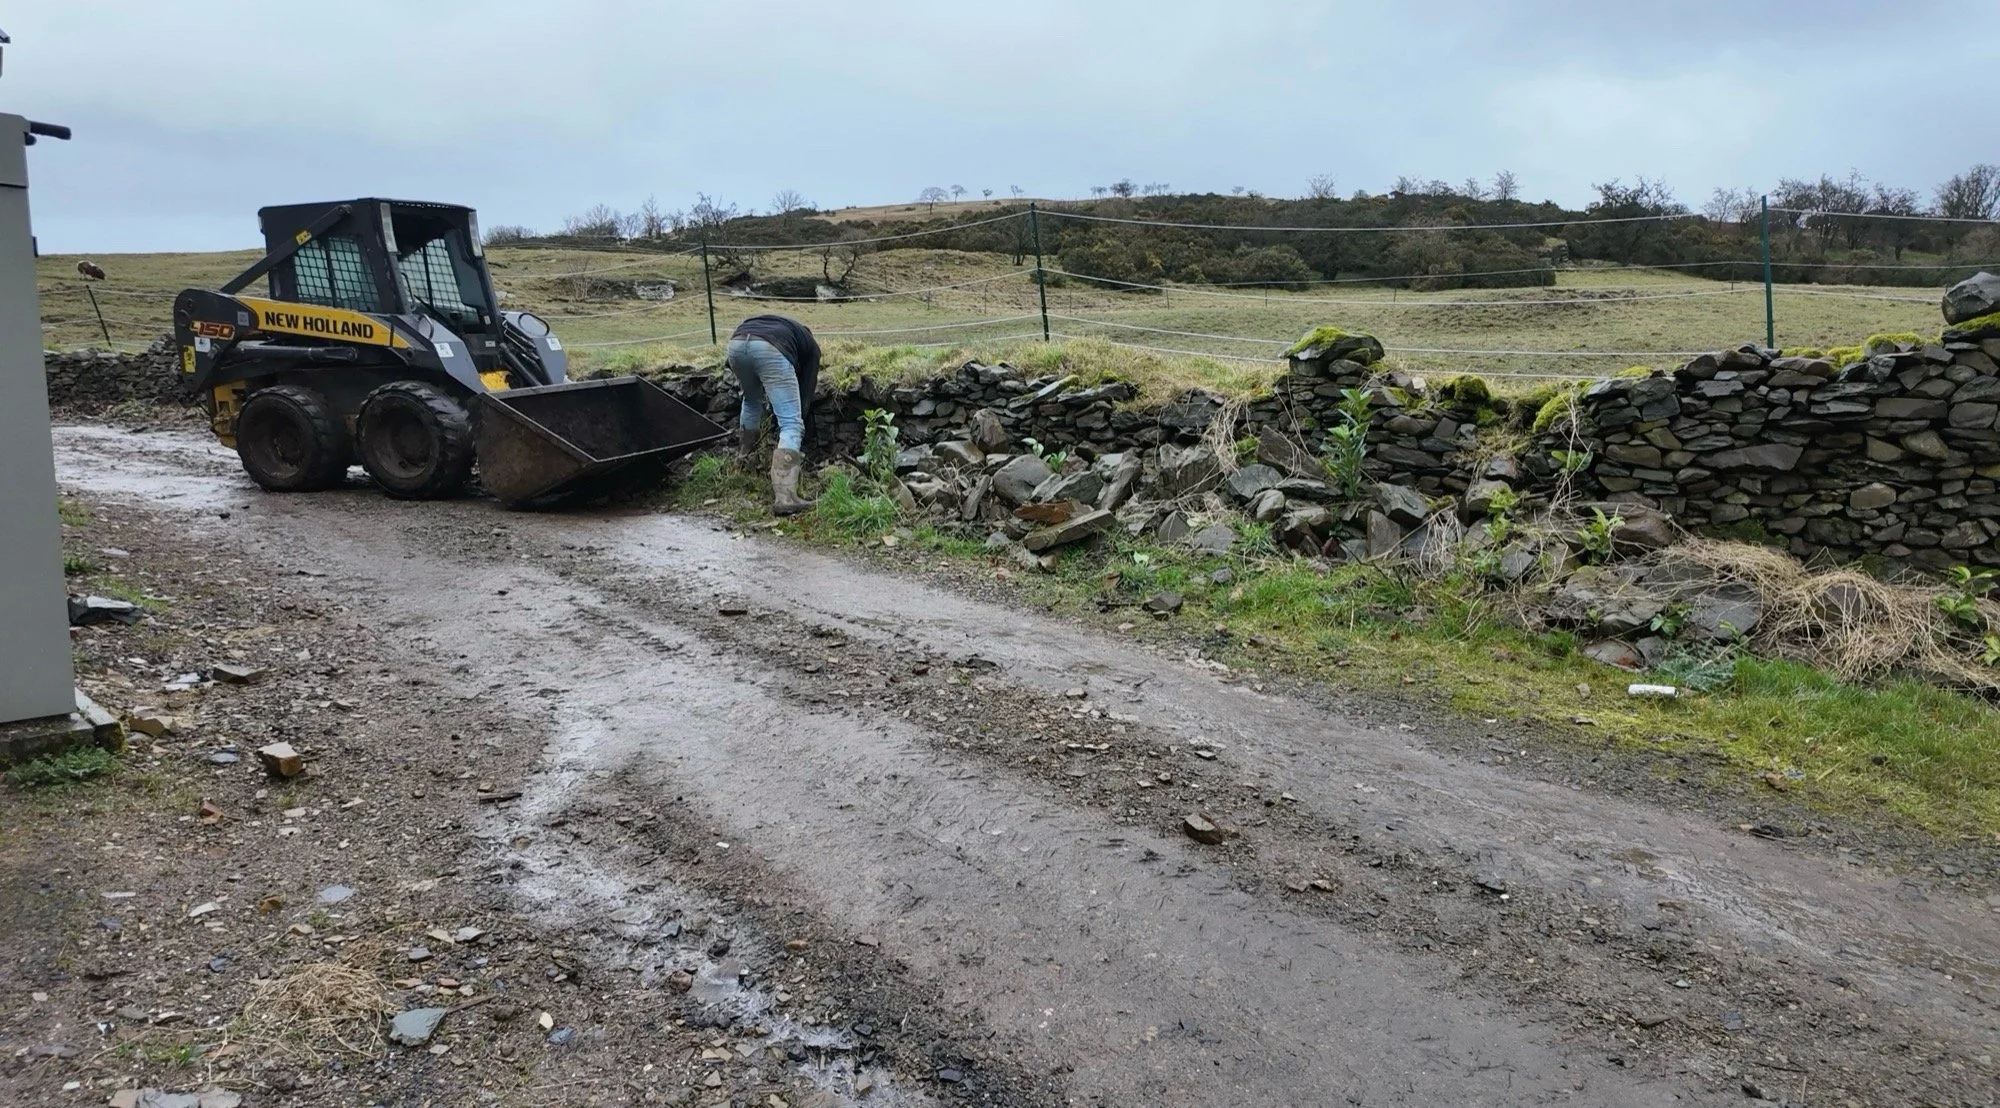
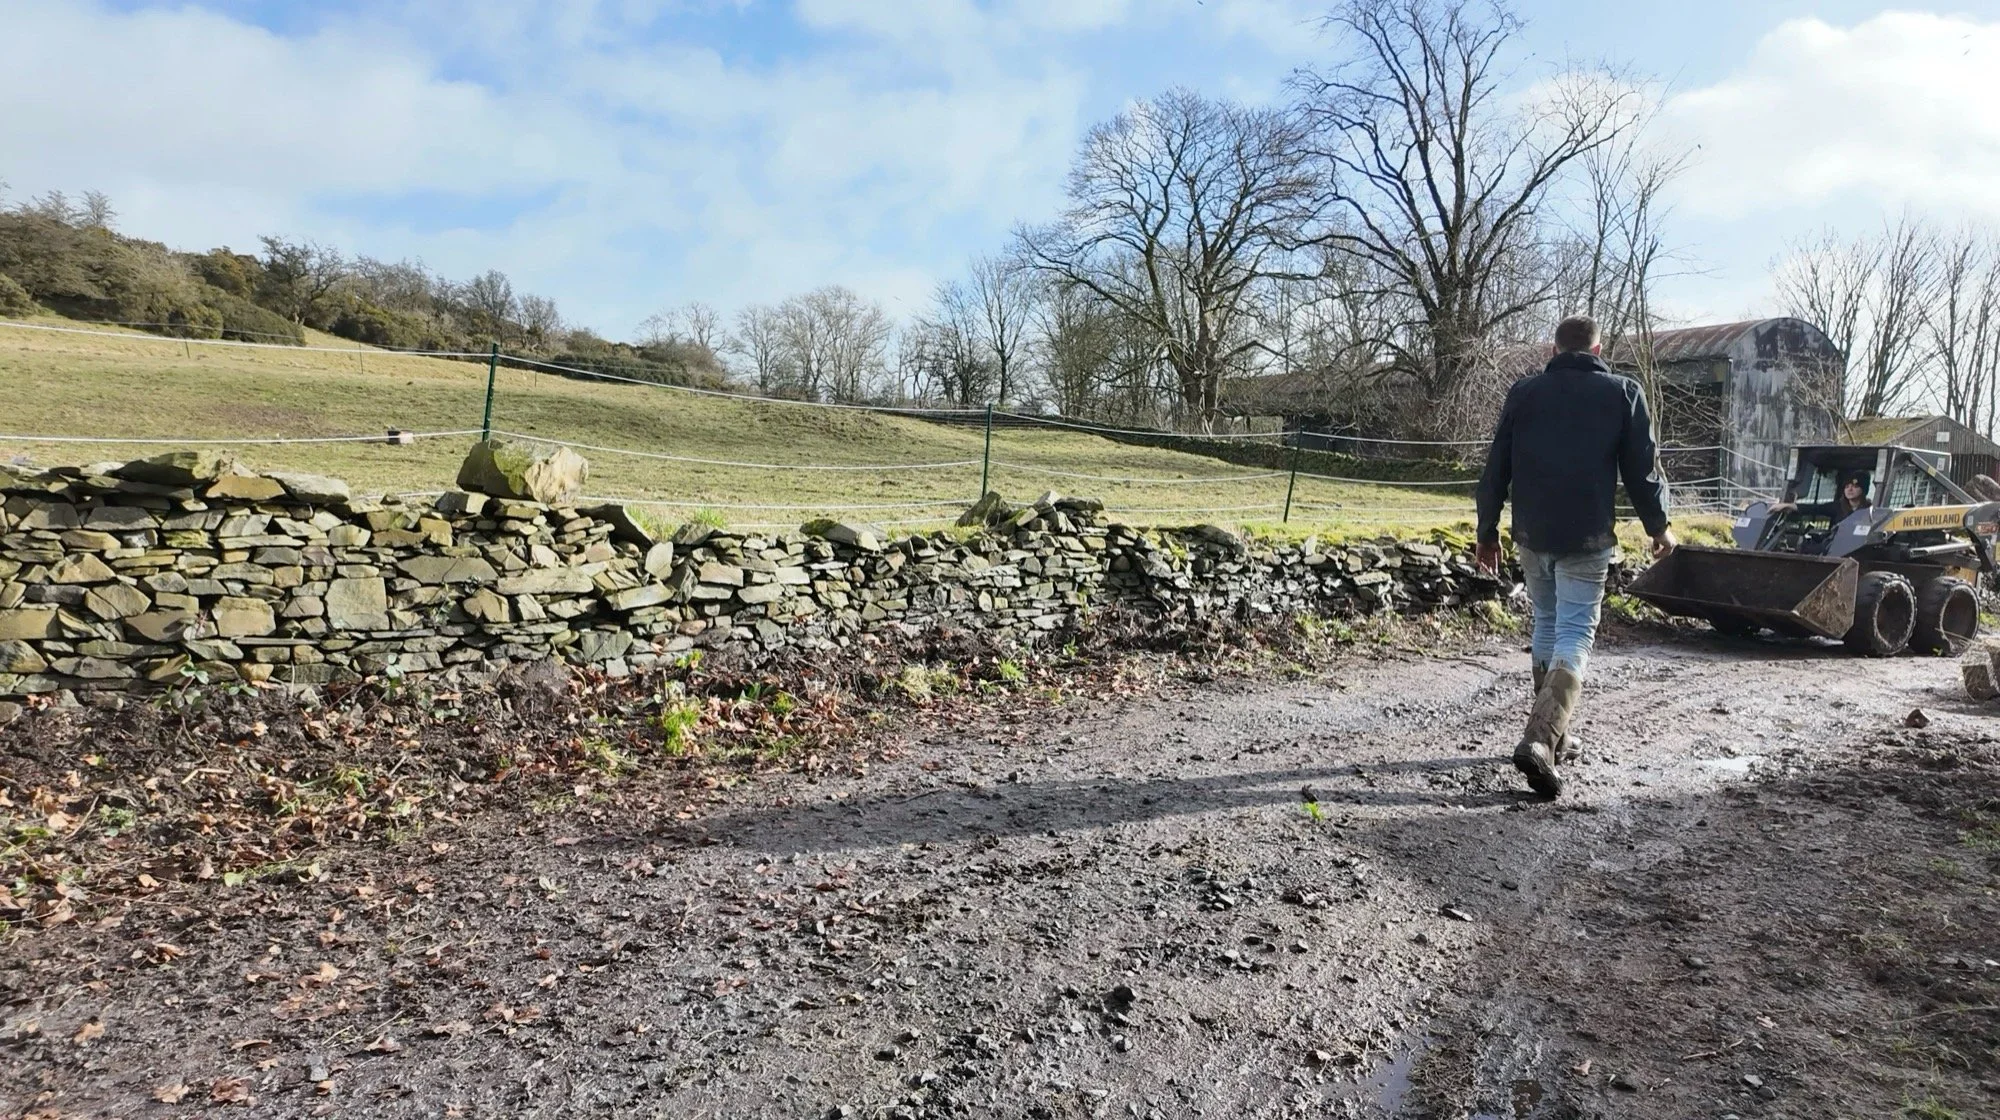
Remember I mentioned that I had set aside a couple of days? They coincided perfectly with Farmer Ben’s diary to allow us kind use of his skidsteer, and use it we did. I’m writing this on Saturday evening, so there’s still a whole day to go through, but I wanted to share the situation here and also cover where we’re currently at.
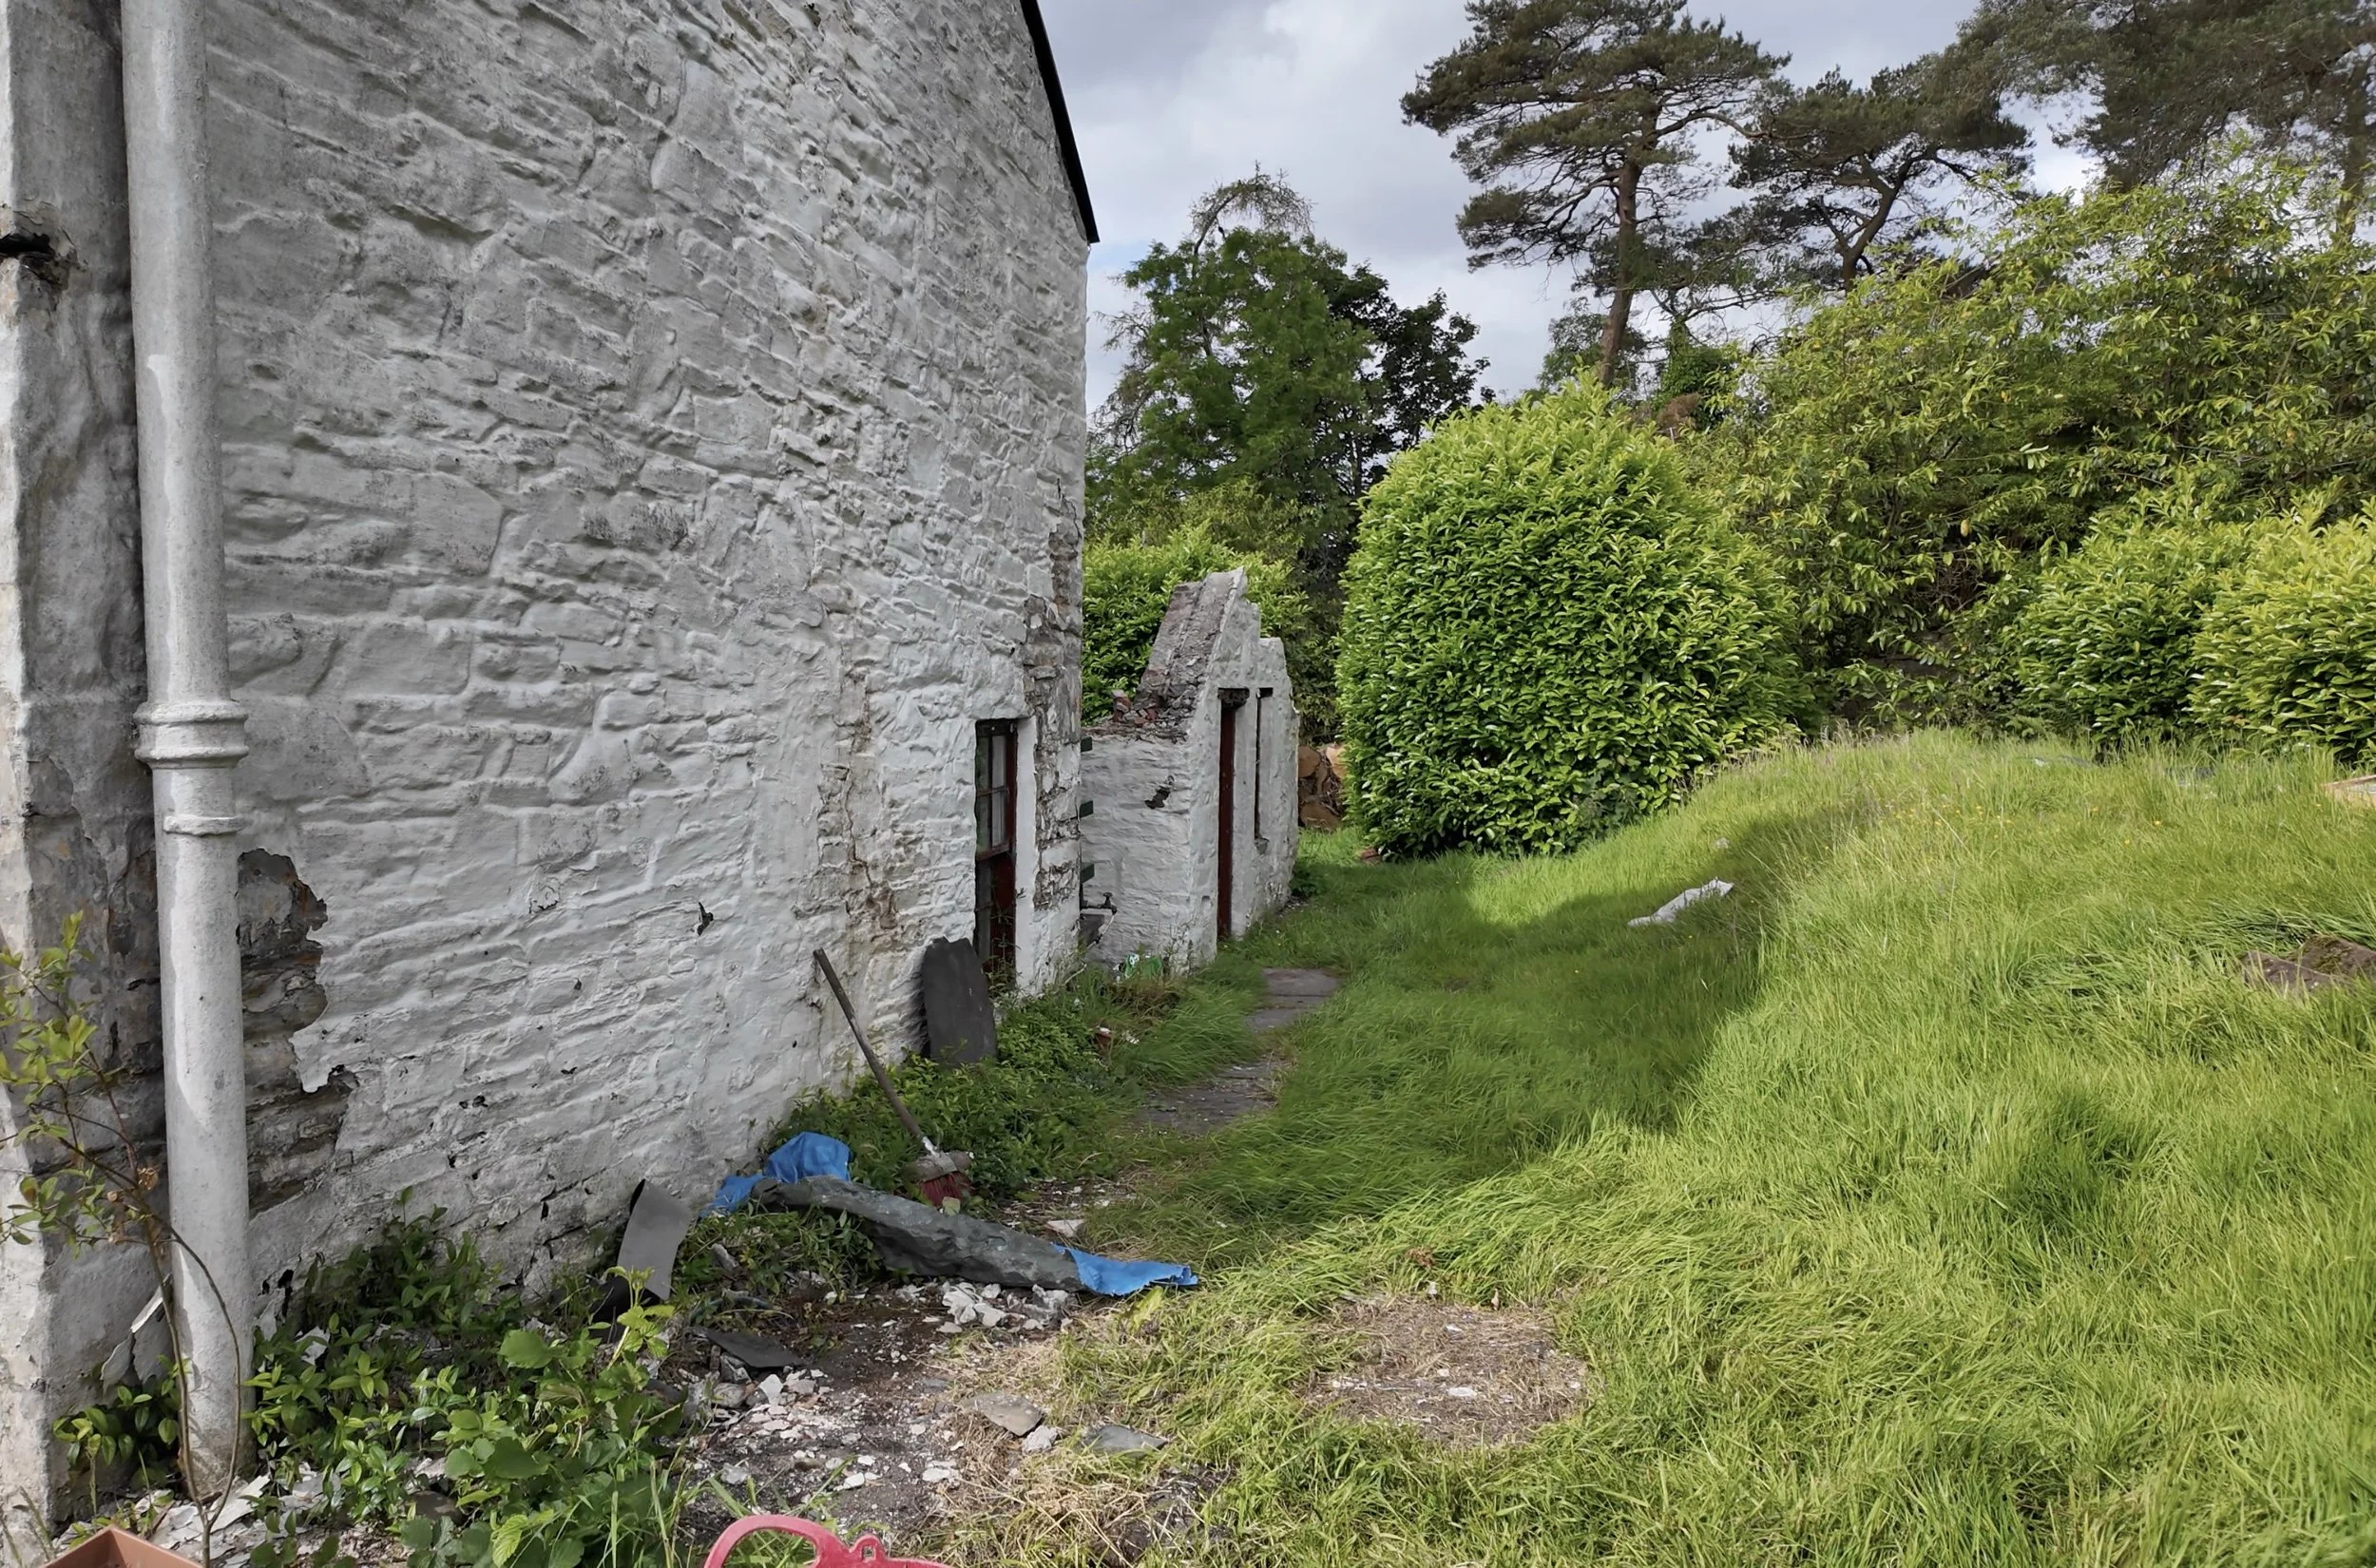
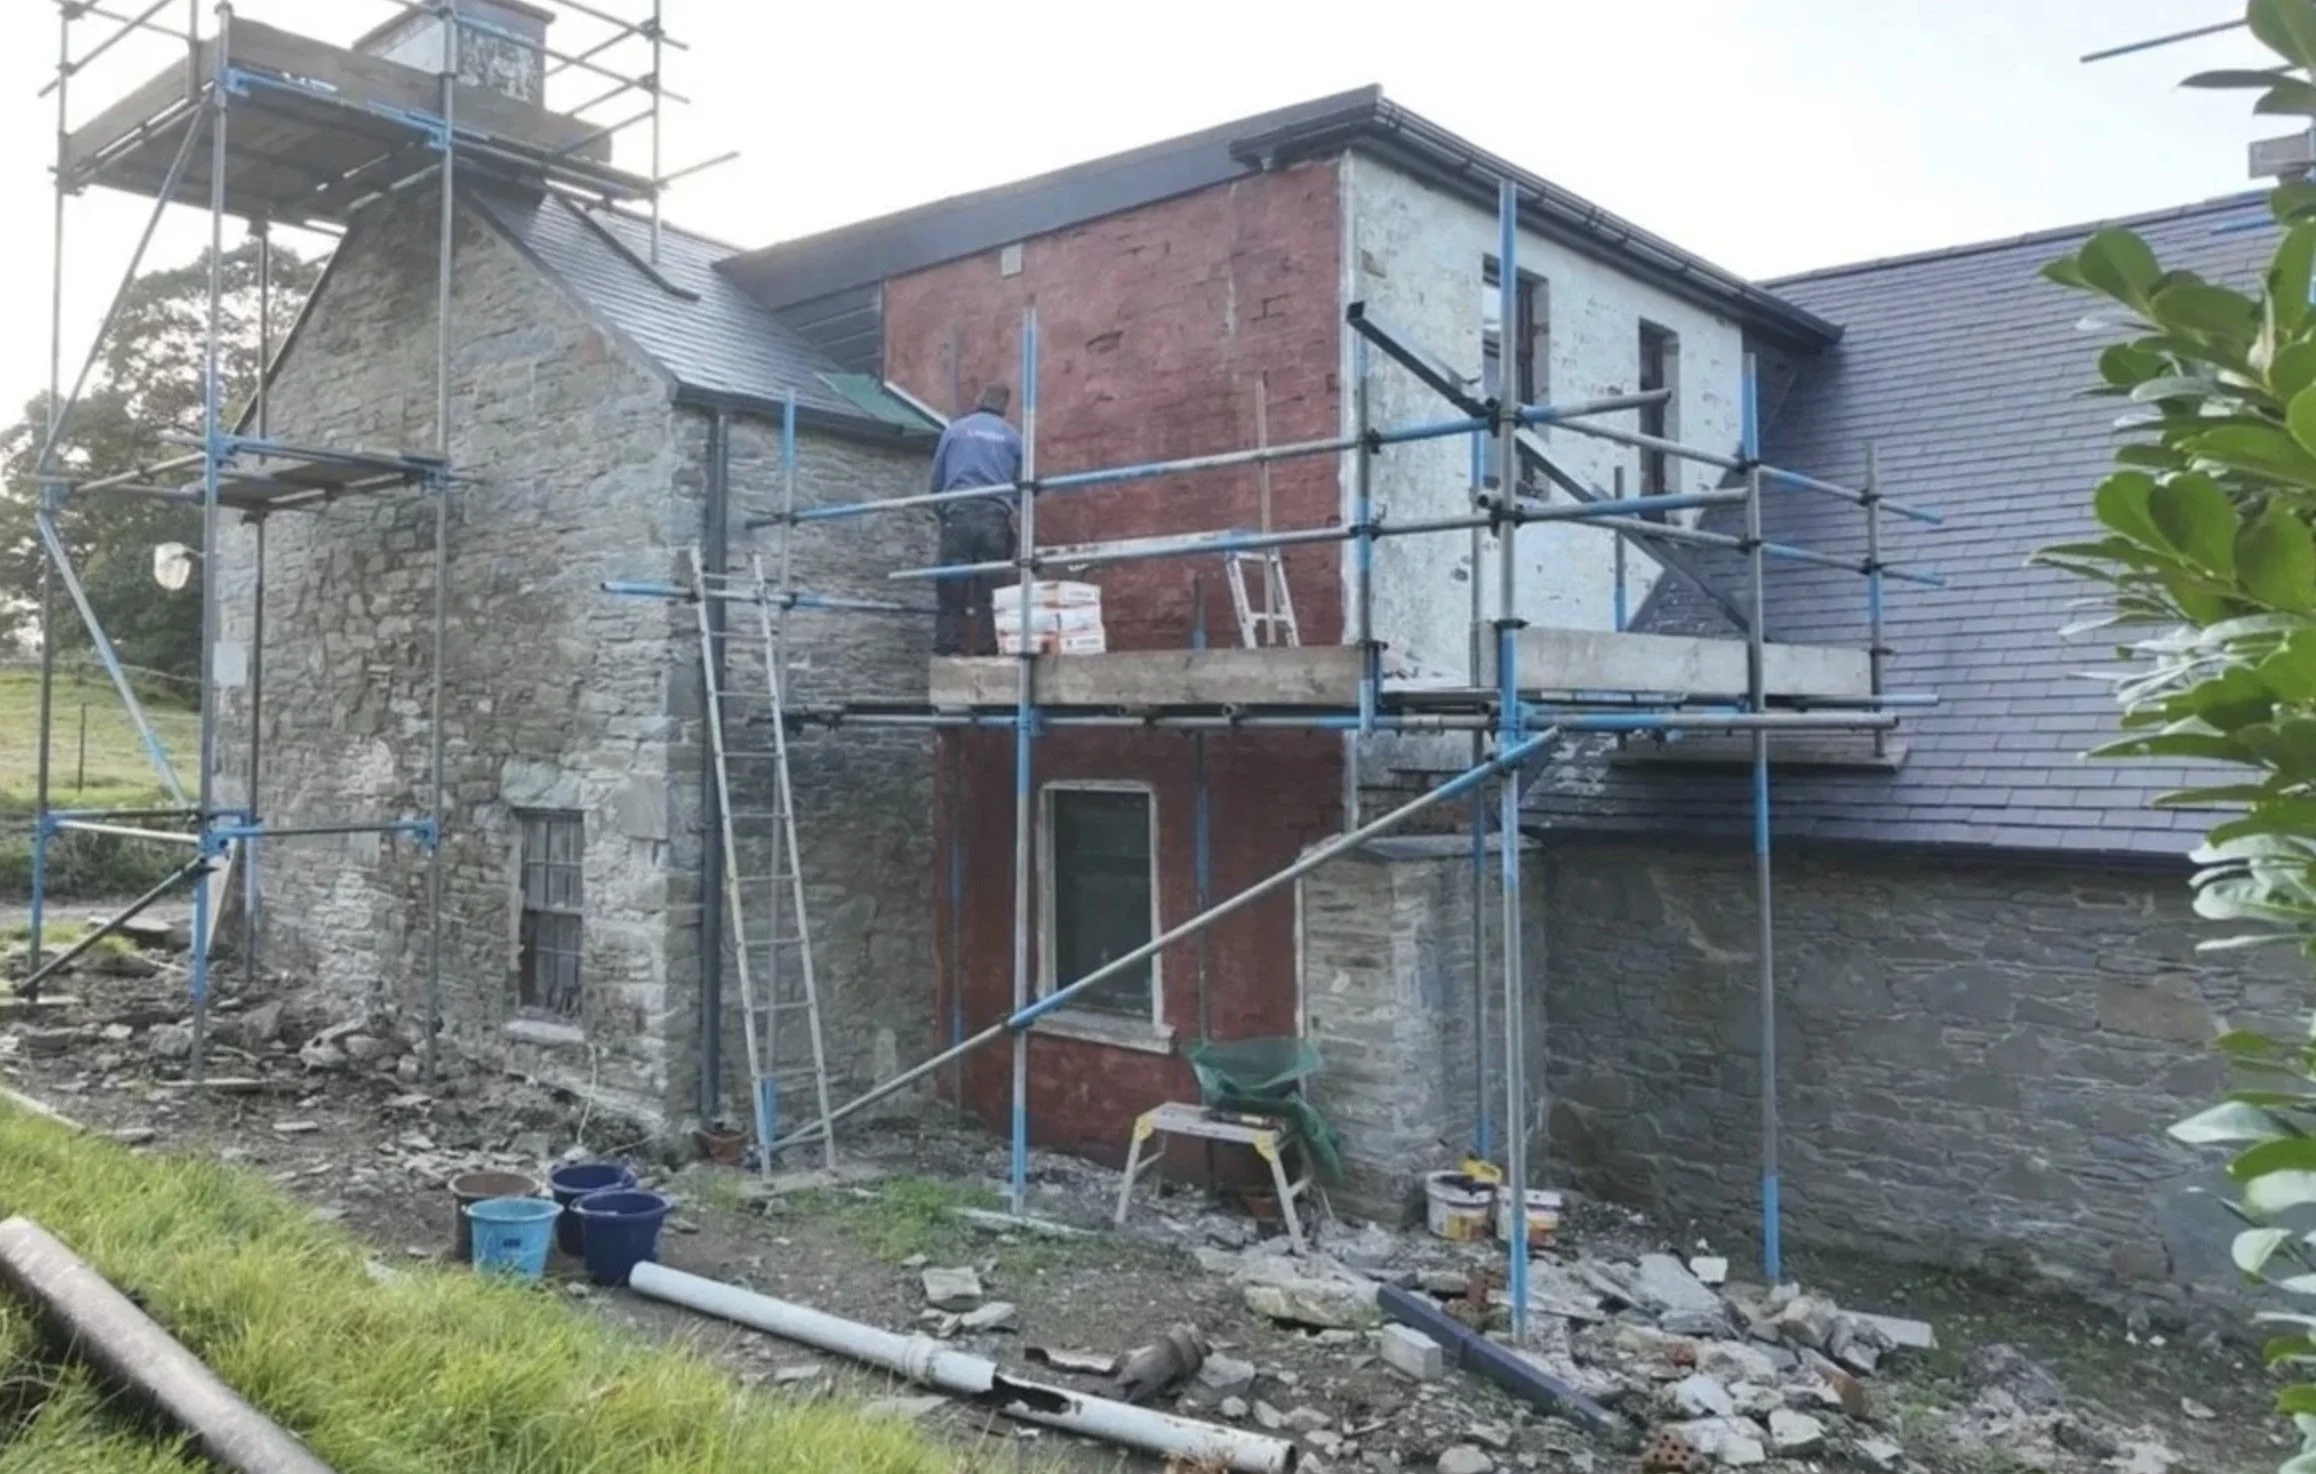
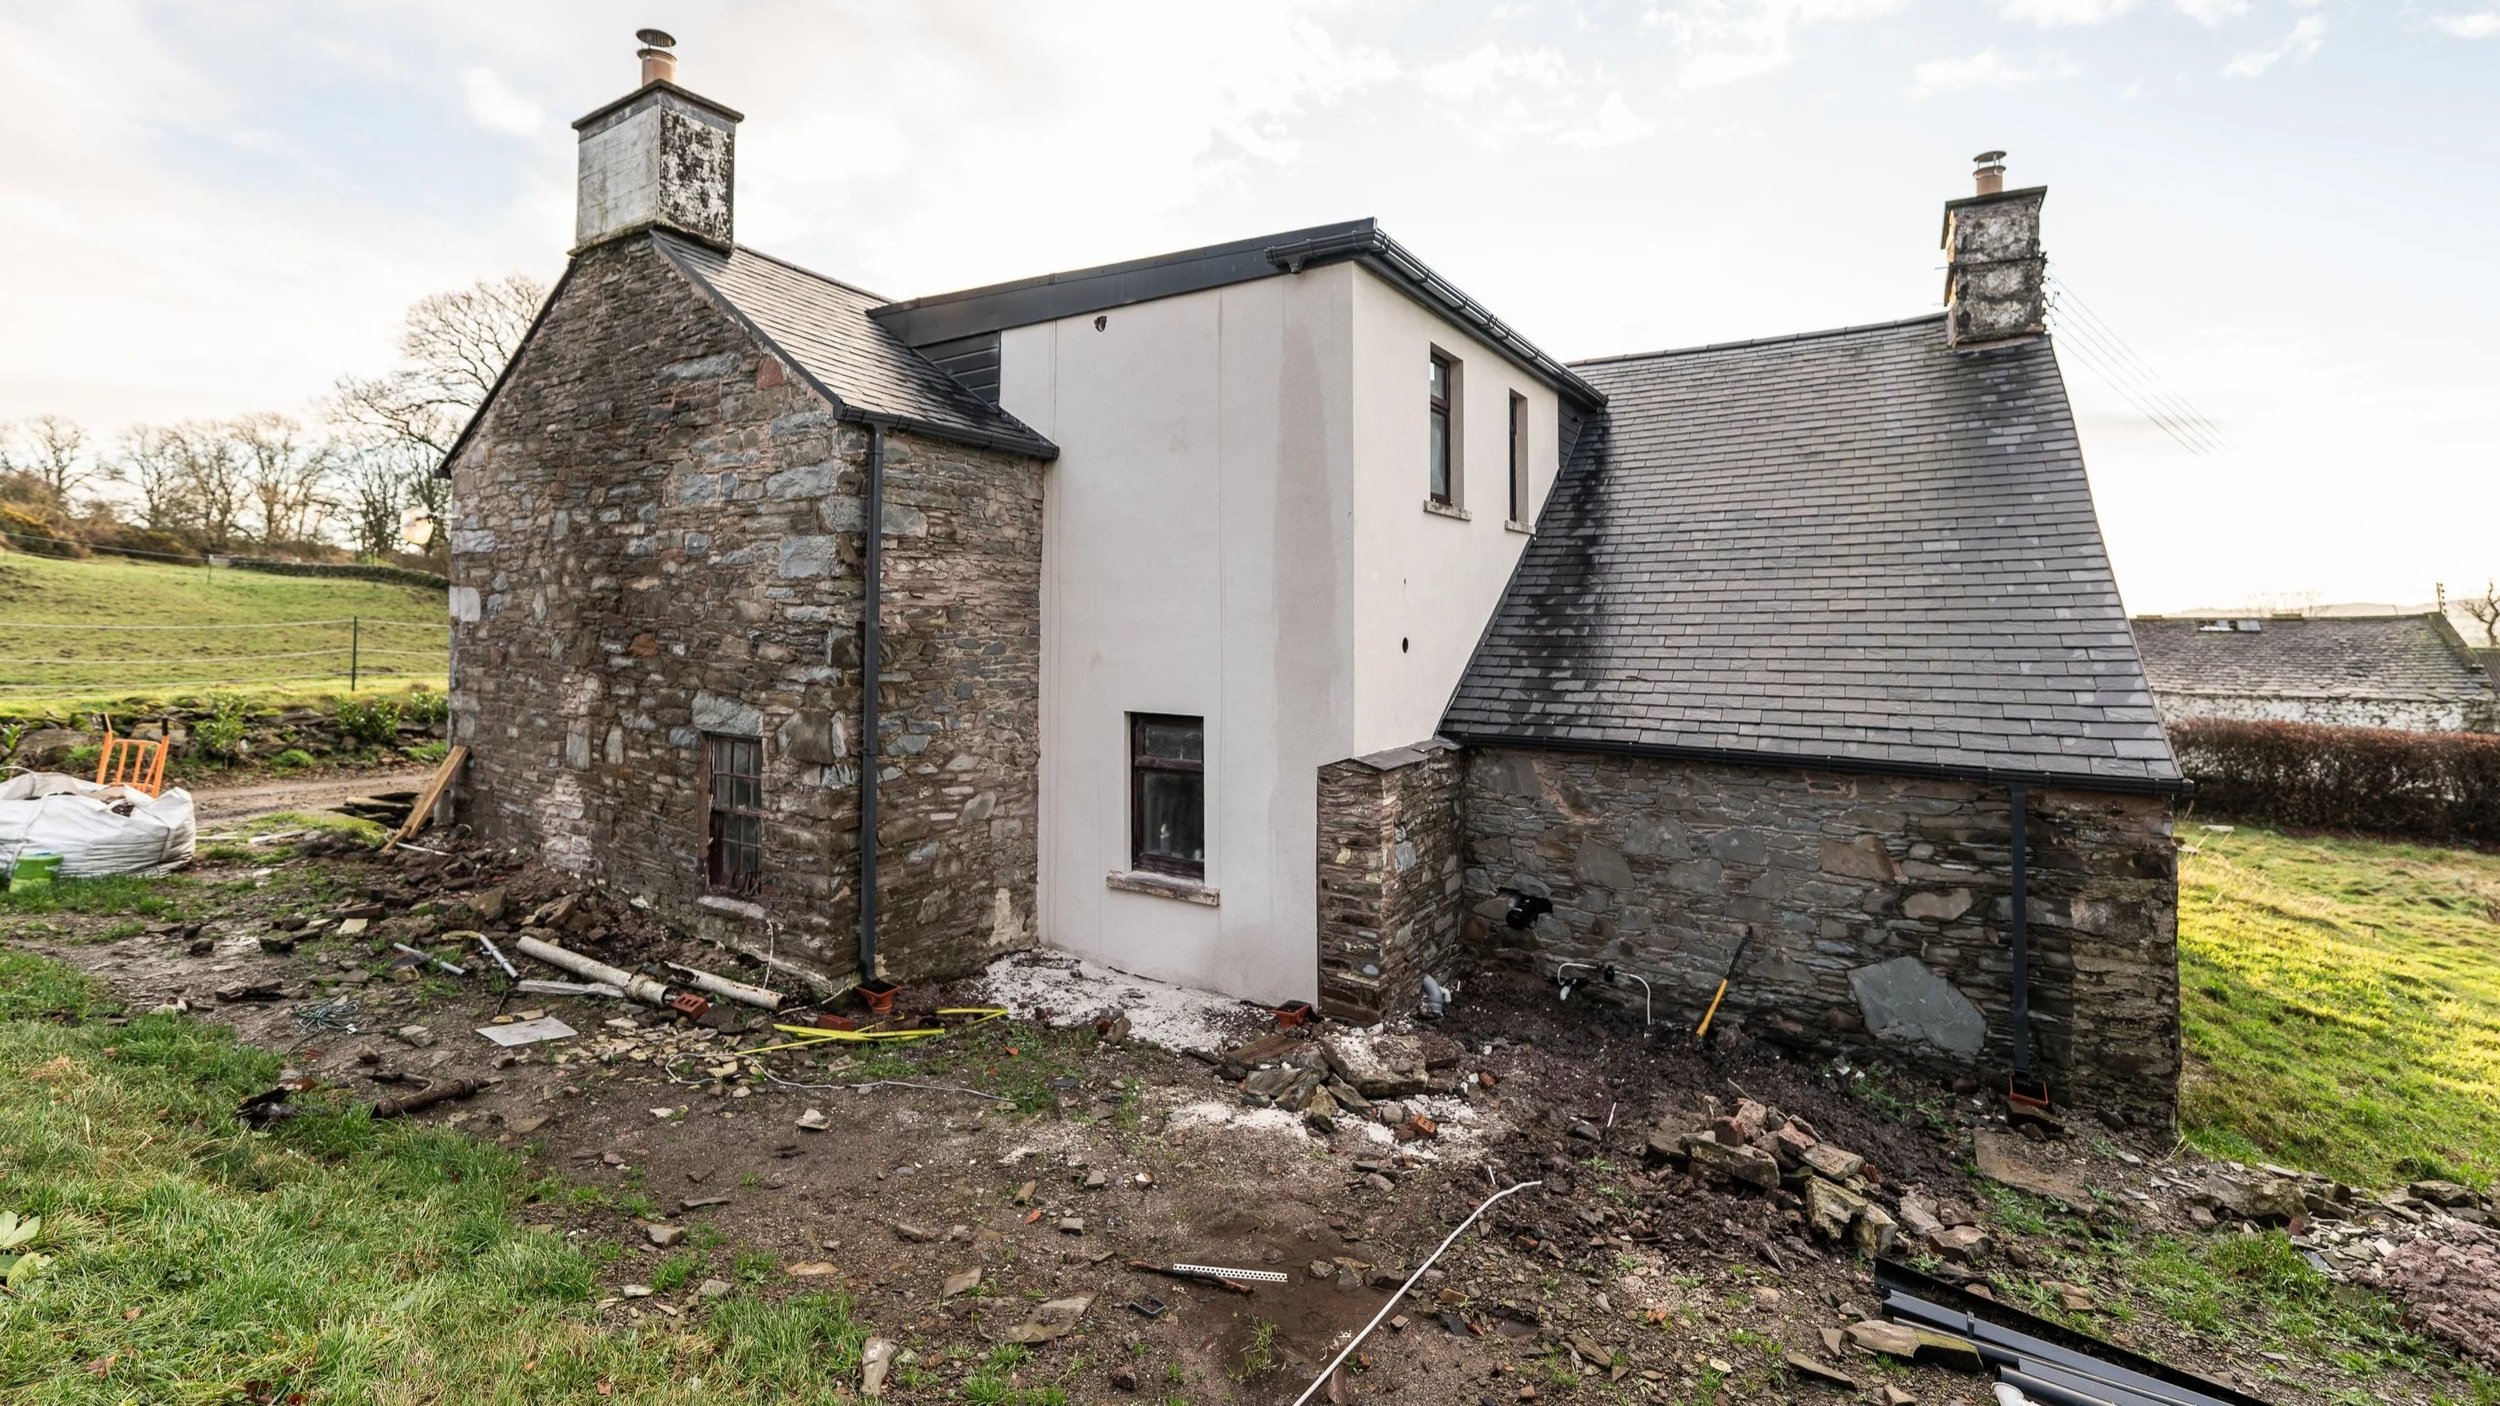
The north side of the farmhouse has been a visual disaster zone for the best part of 18 months. To make sense of everything, we need to go back to how it was when we arrived, in 2024:

Note the giant laurel hedge to the far left, the aga oil tank nestled in that corner, the failing brick section with the flat roof that had ripped off, the sloped roof to the right, and the little building to the front. All of these points are relevant.
The disaster zone itself started with the roof project in 2024, because the potting shed/coal store/odd external building thing had been hipped in at some point in the distant past to the large sloping section of farmhouse roof. This hip joint was so bad that when the roofers were atop the slope, the whole thing fell through. It was at this point, with the internals exposed, that it became apparent the external little building actually wasn’t tied into the farmhouse walls at all. Therefore, the decision to kill it for good was made right there and then.
By late-spring in 2024, the view from above shows the walls in situ, but the current roofline made too.
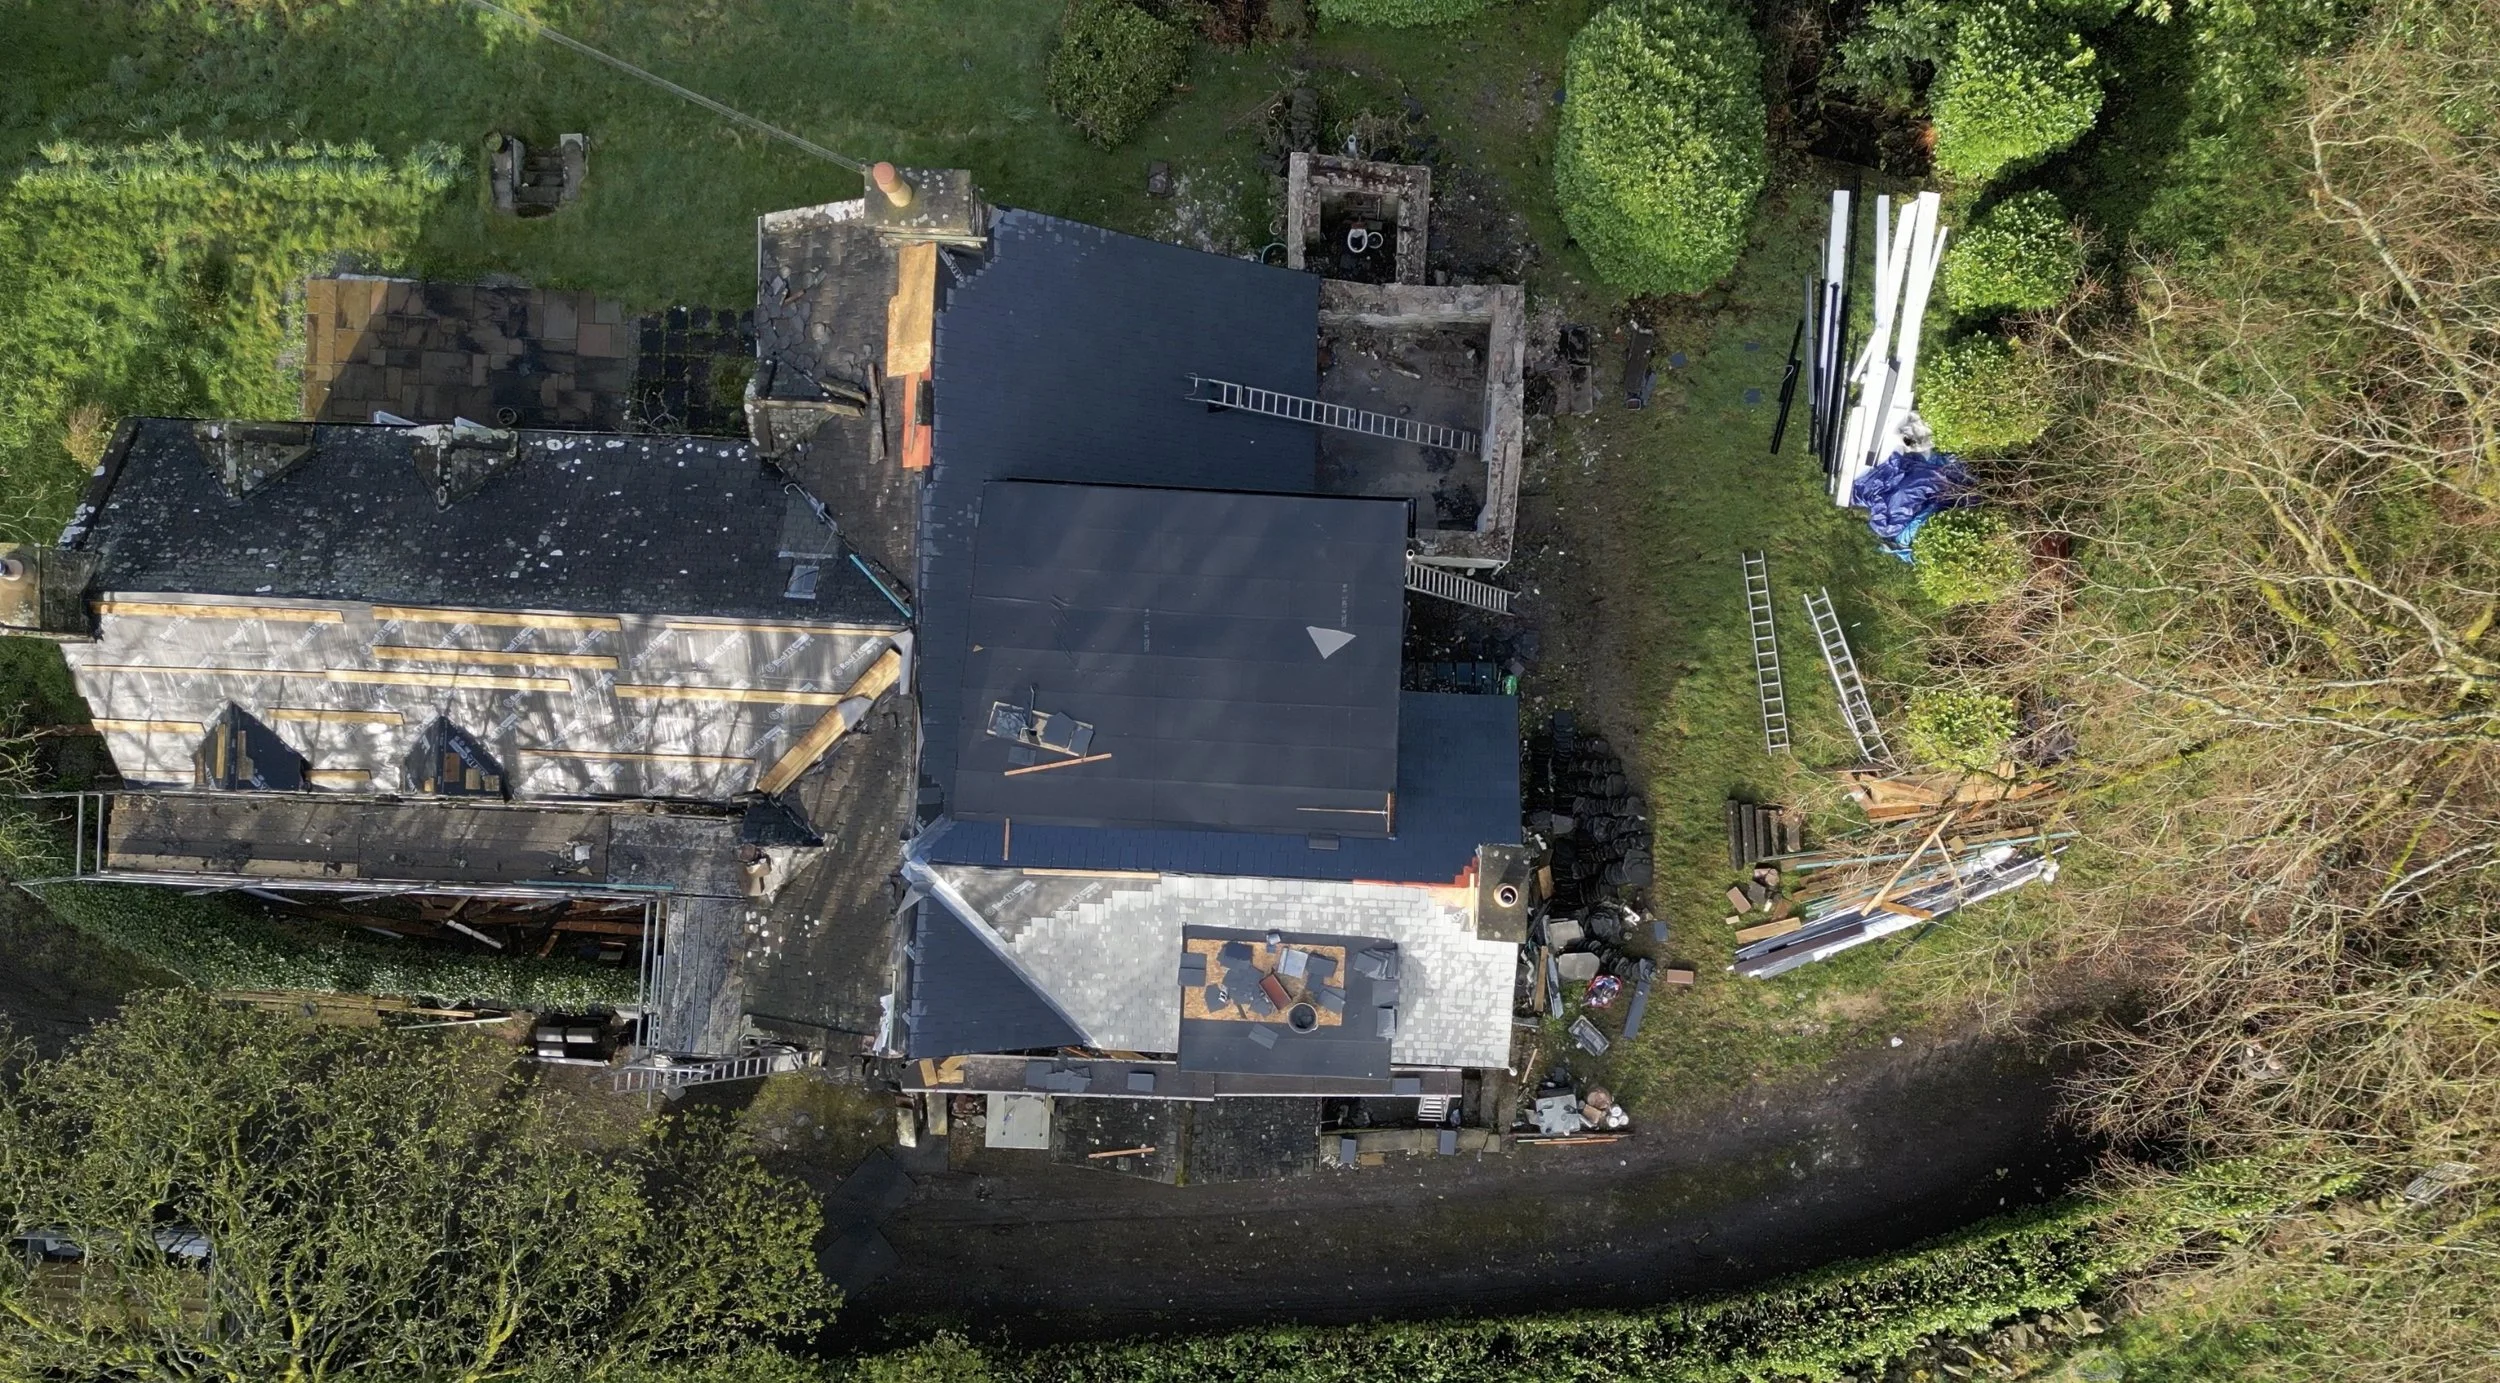
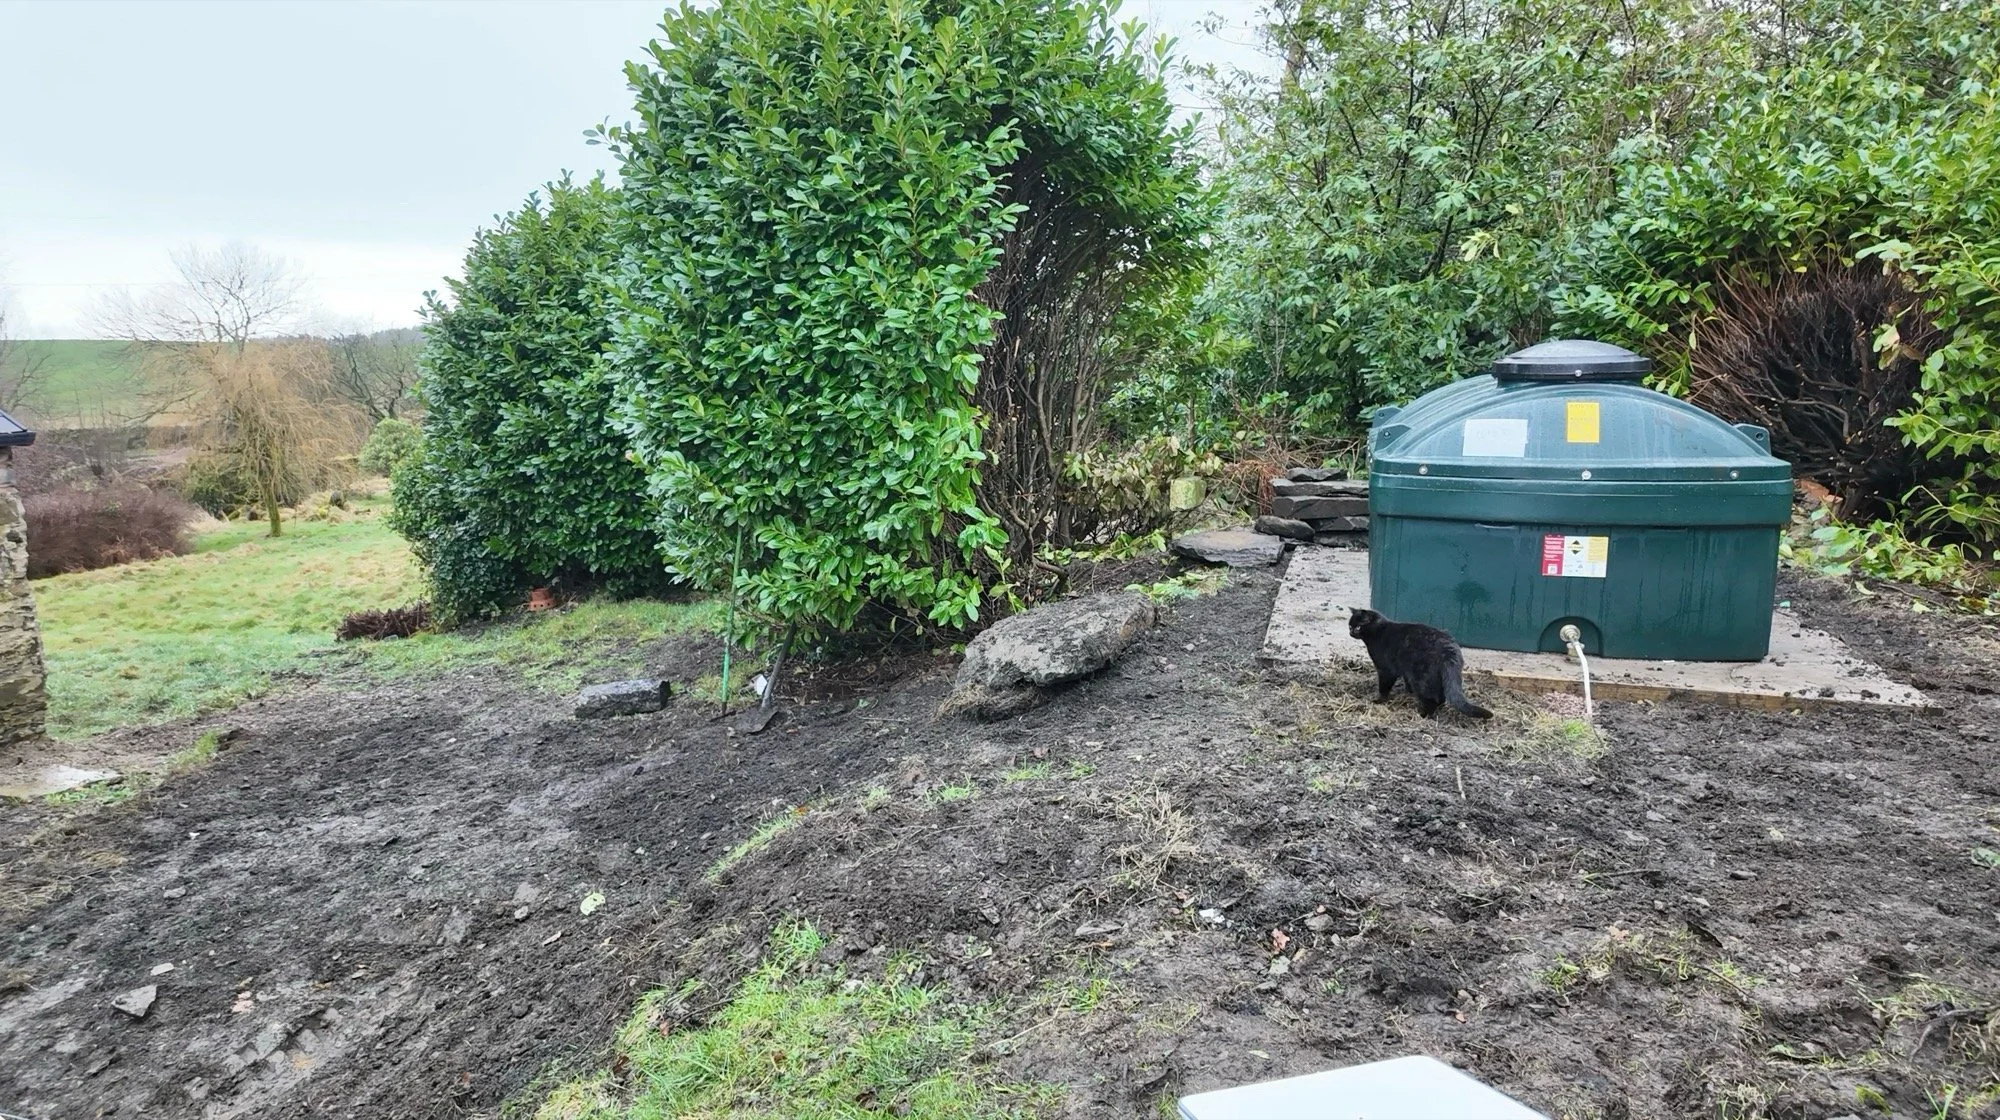
Since then, the initial rainwater drainage was completed which saw the demolition of those random add-on walls and the concrete base inside, the paint was removed from the entire farmhouse, the deep surface water drainage was completed to handle moisture in the retaining walls, the wall heads from that little building were neatened up, the brick section was rendered and the oil tank, pipework and boiler was added too.
It’s been a LOT, and despite tidying up through most of those things, the trades never failed to re-disaster-zone the disaster zone. See evidence here, in chronological order:
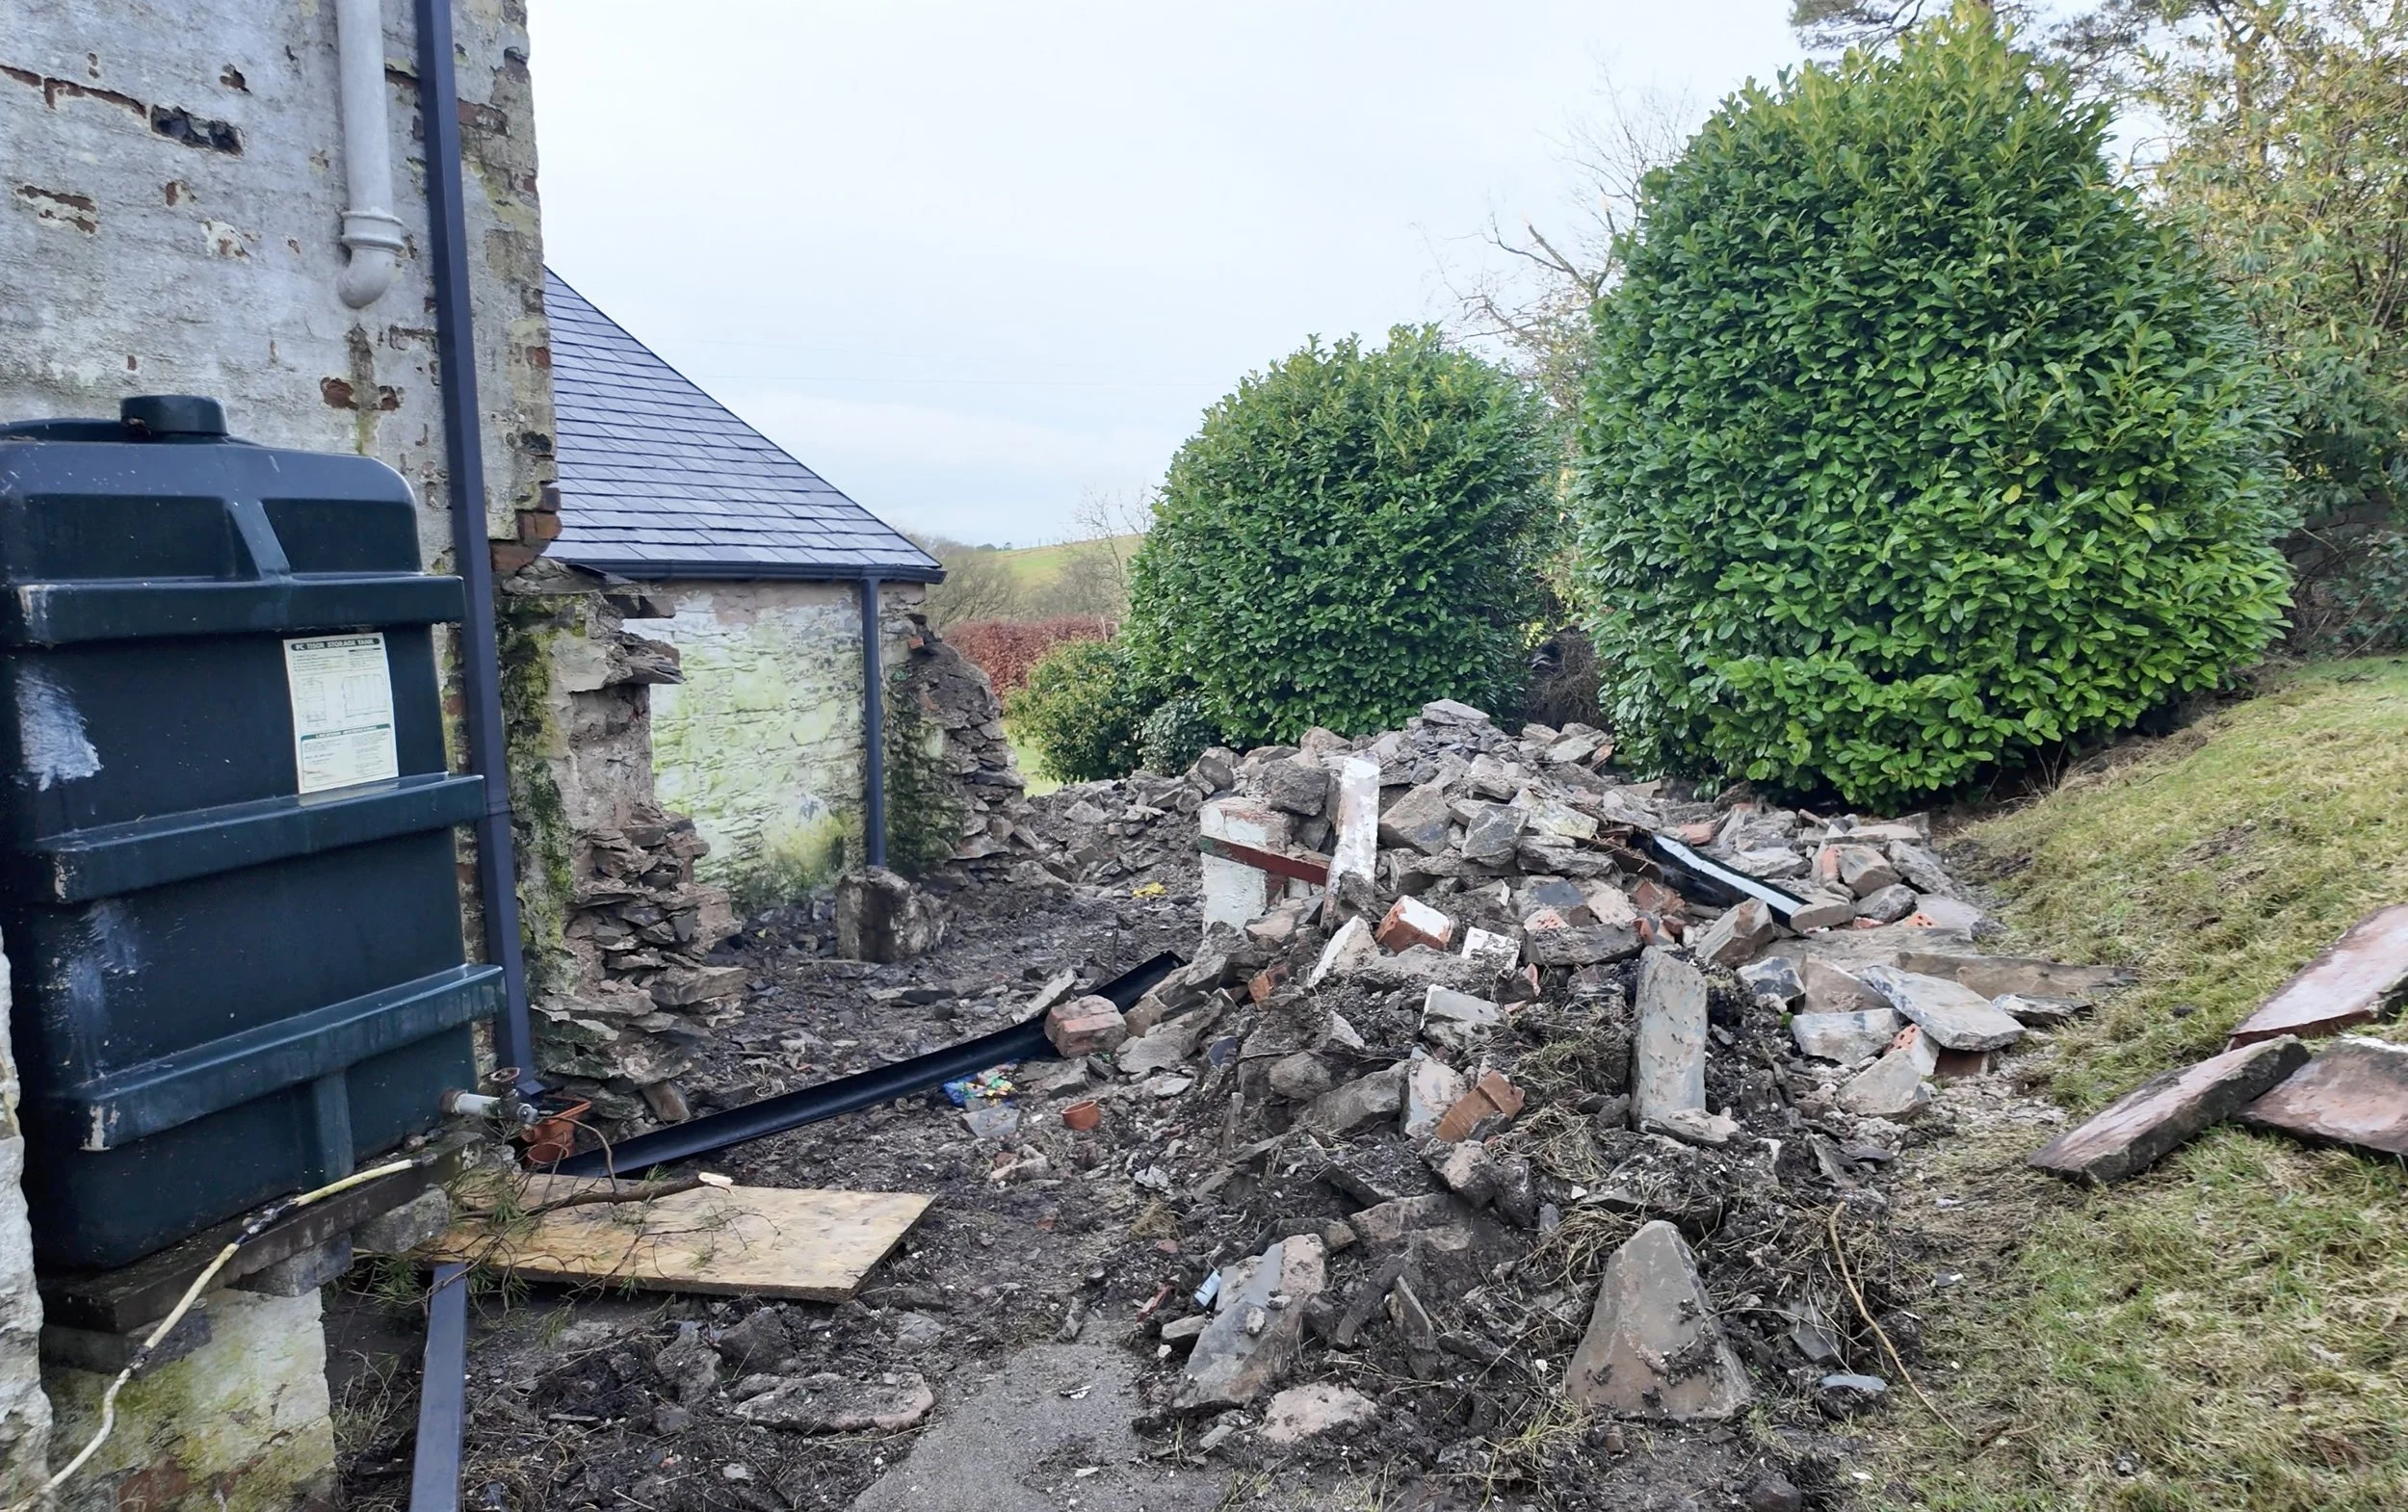
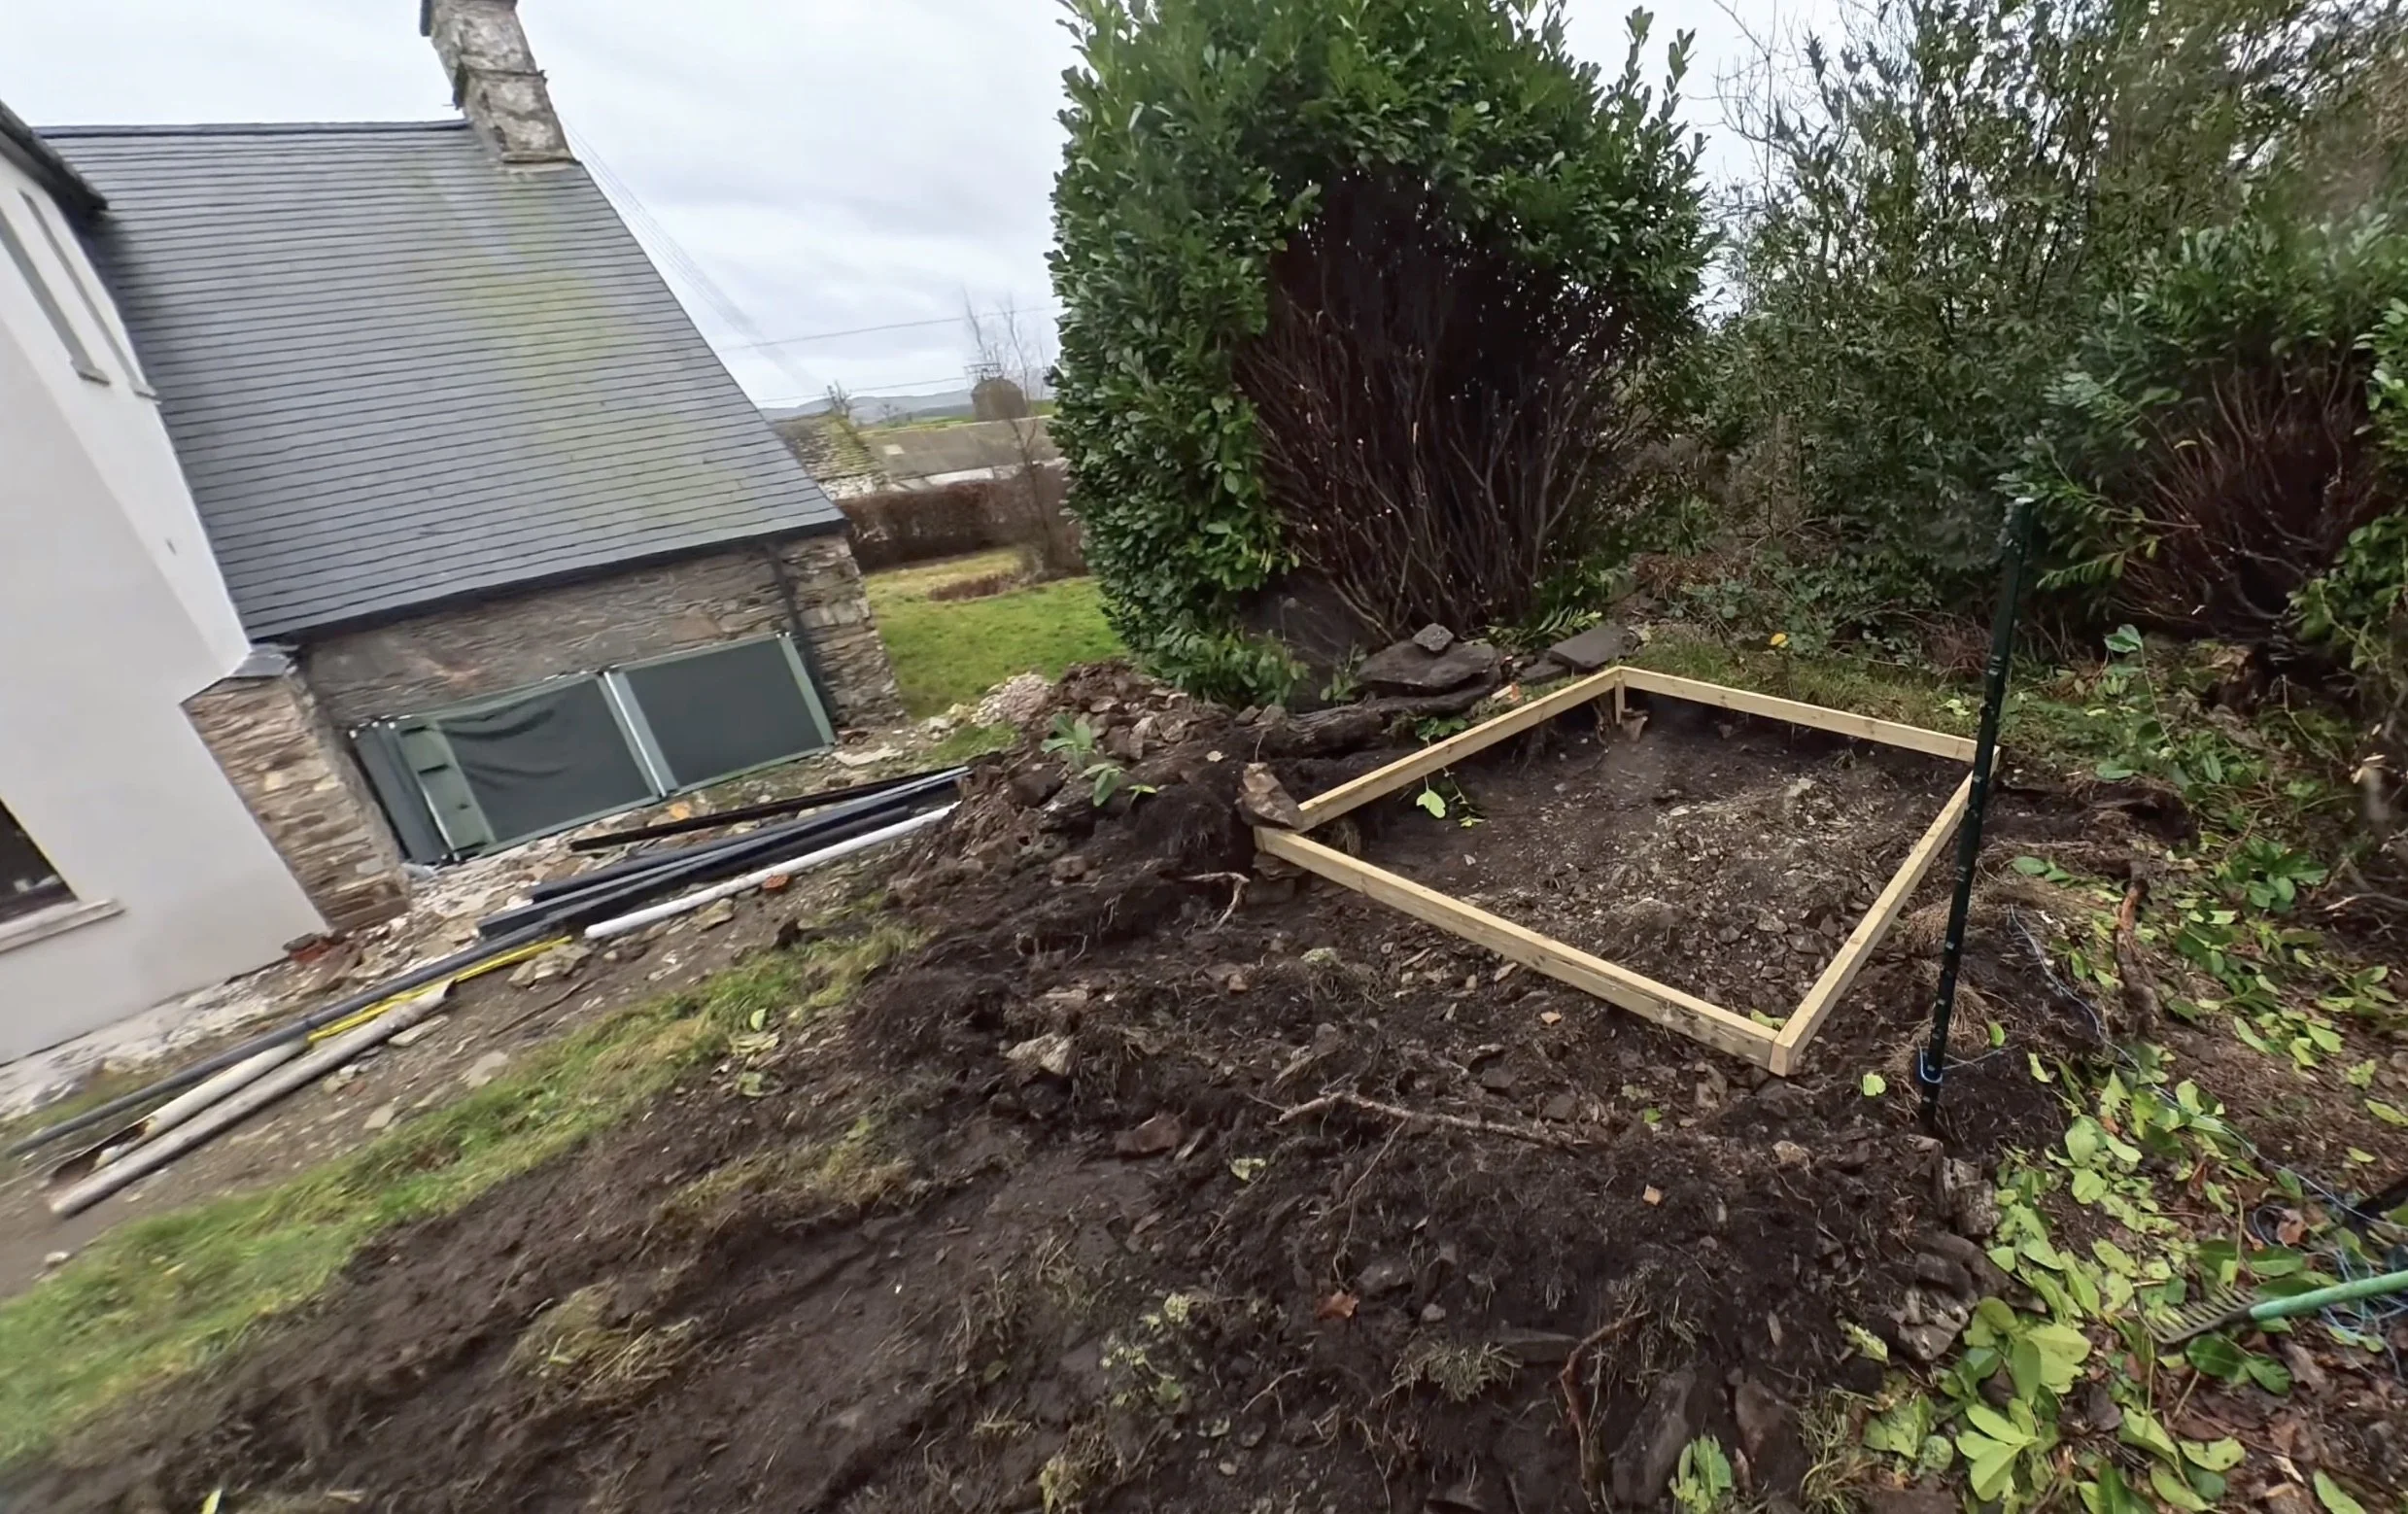
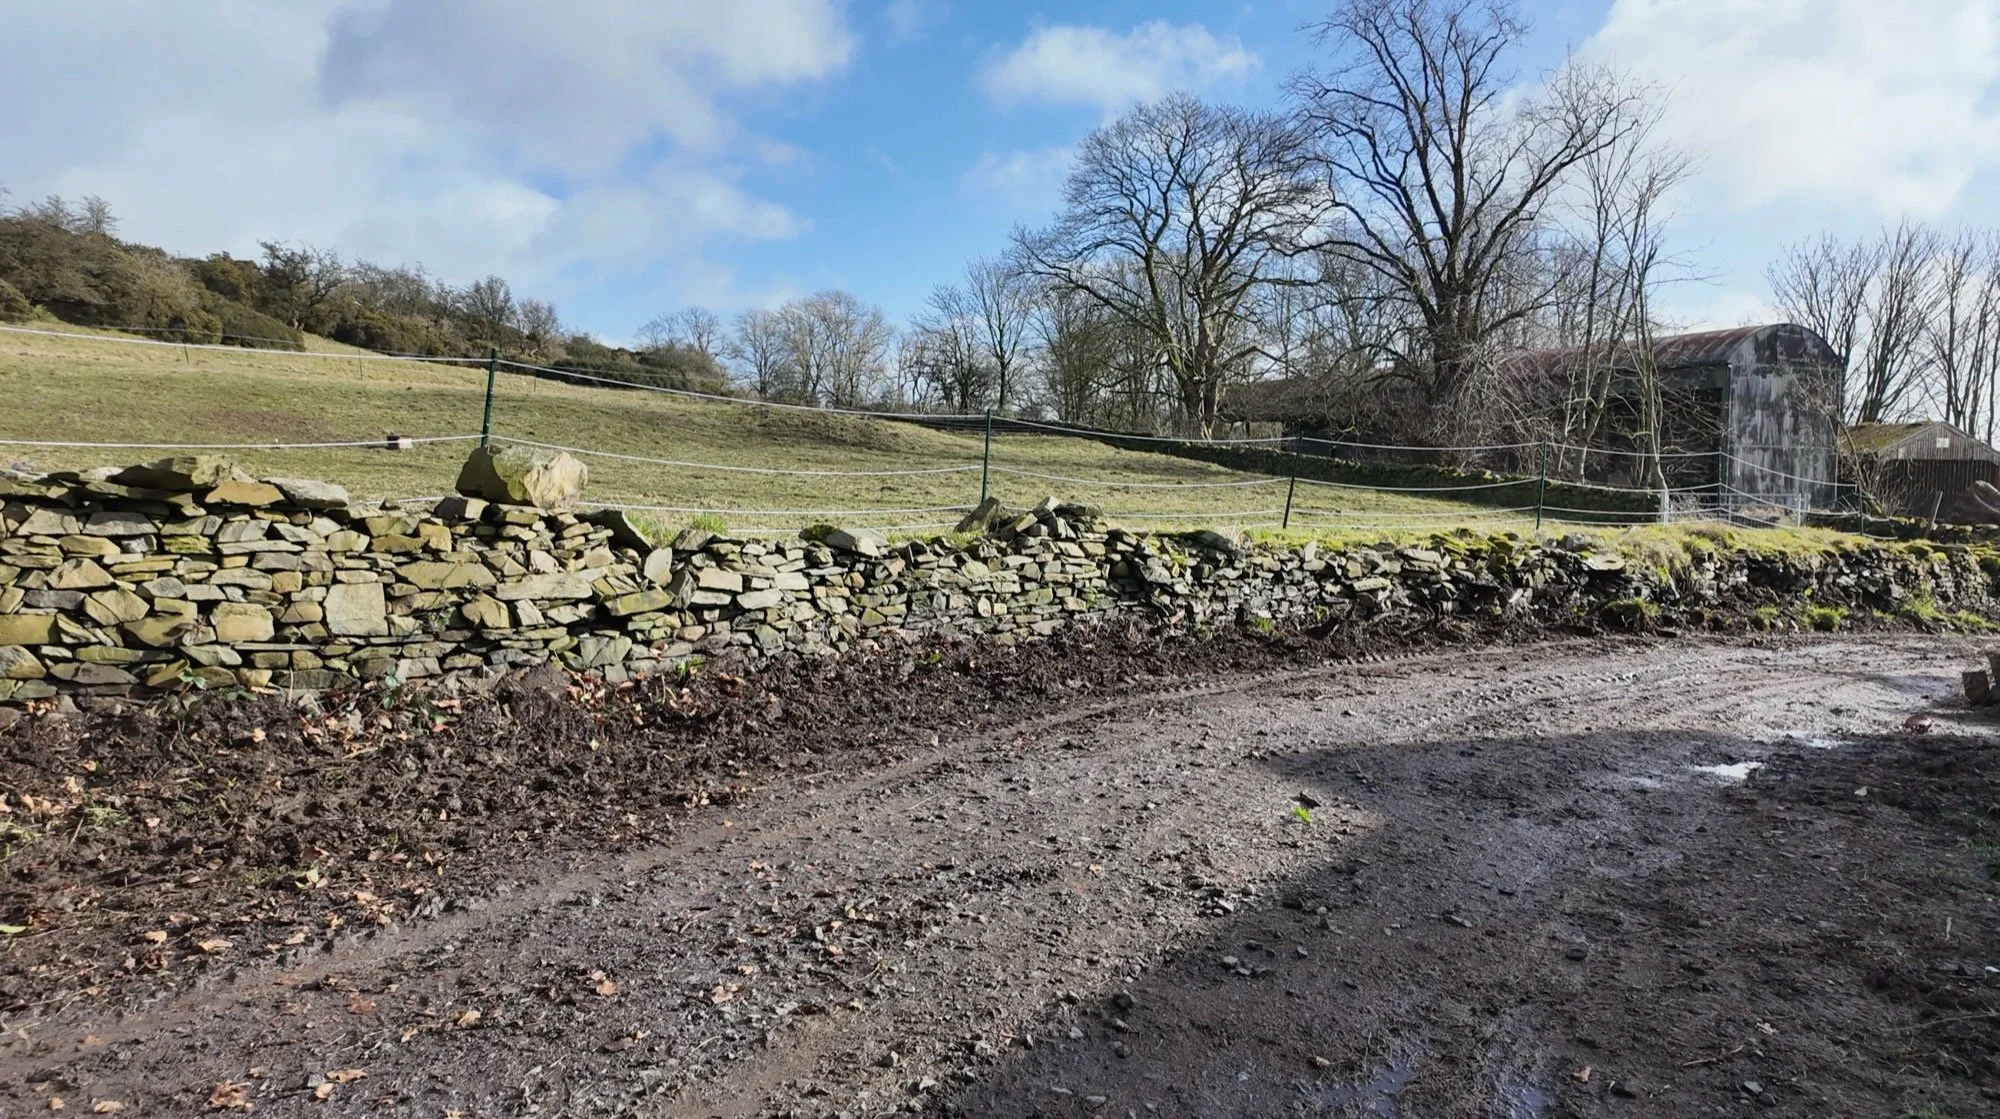
It’s an area I don’t dwell in, ever, because it looks SO BAD all the freaking time. But this weekend was the weekend that we were going to do something about it, and install a lawnmower track to be able to get into the farmhouse garden for the first time in nearly a year. For the last day and a half, we did this:
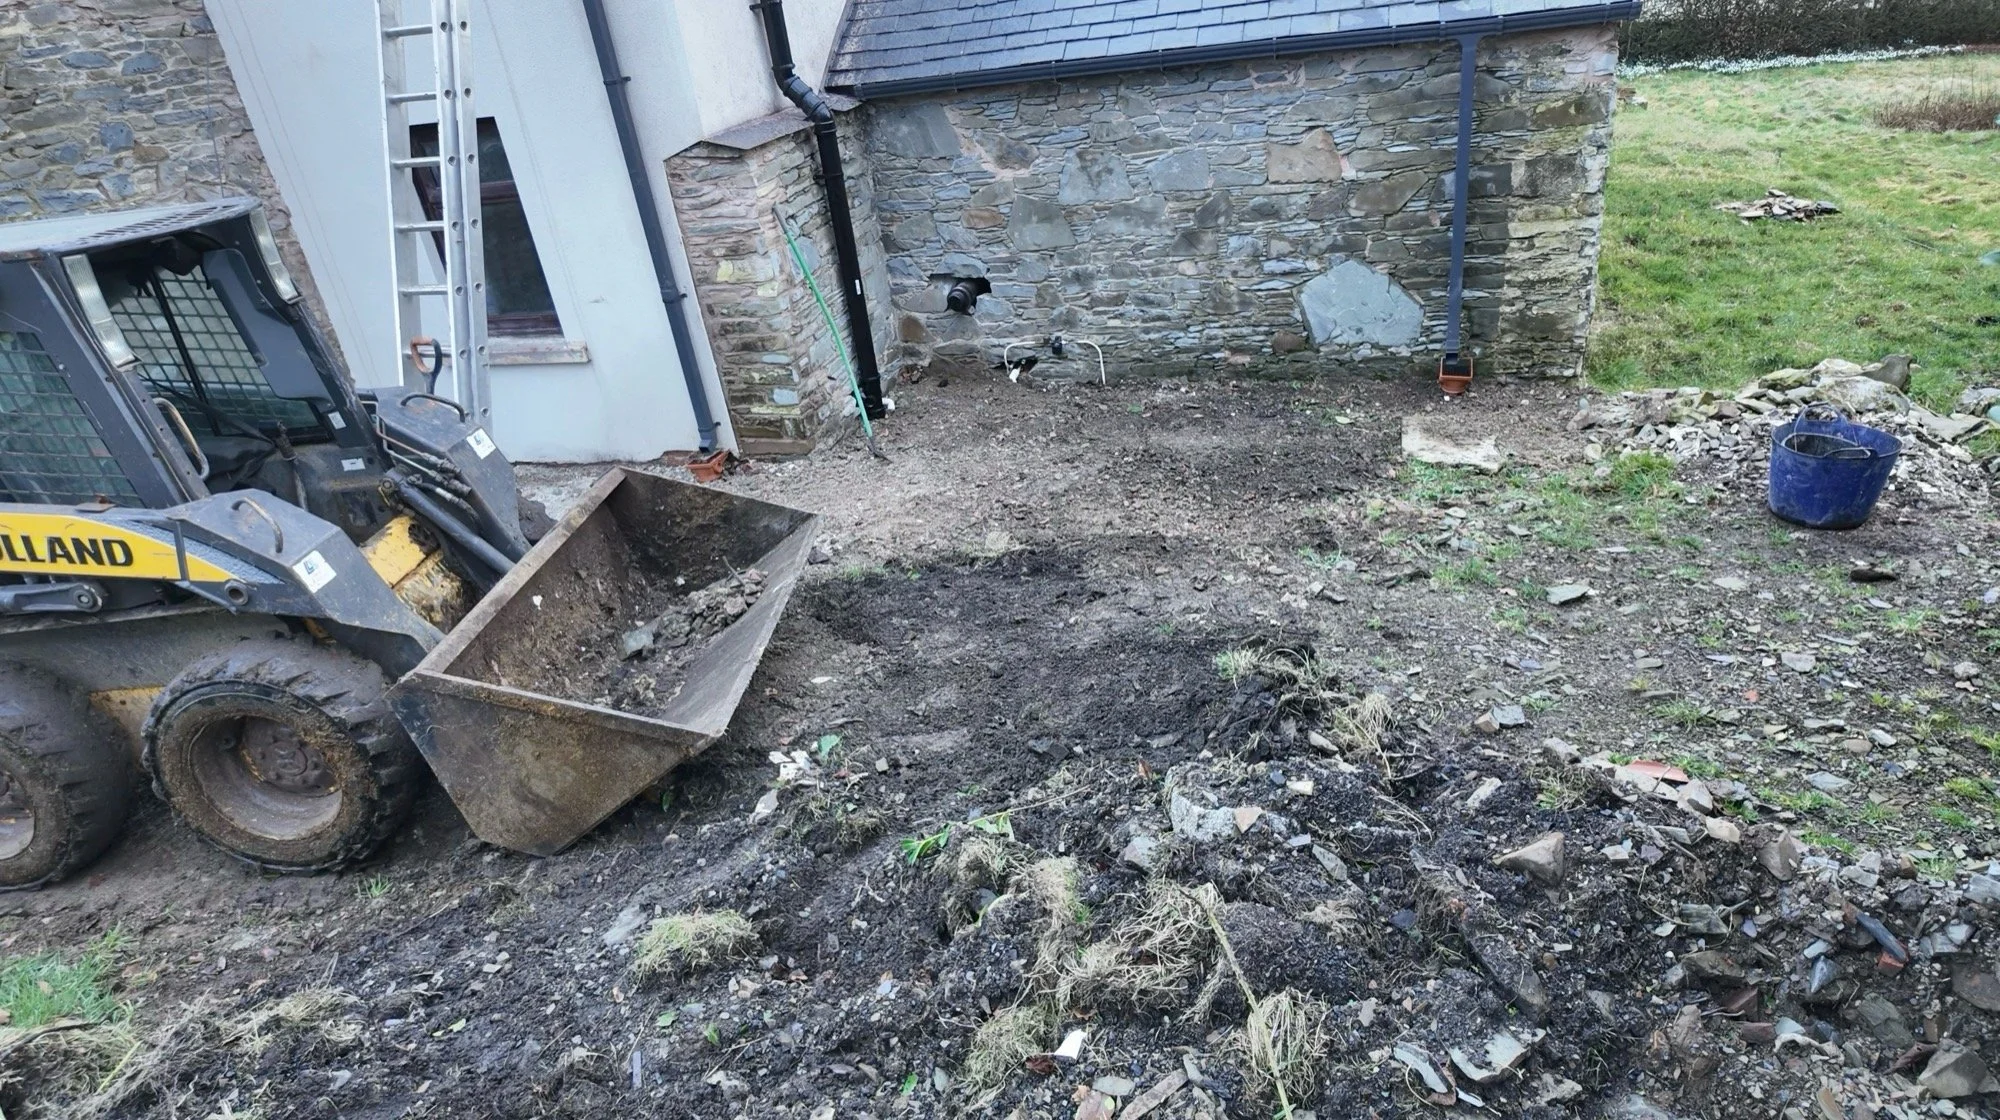

That leaves us with bad backs and the following before and after:
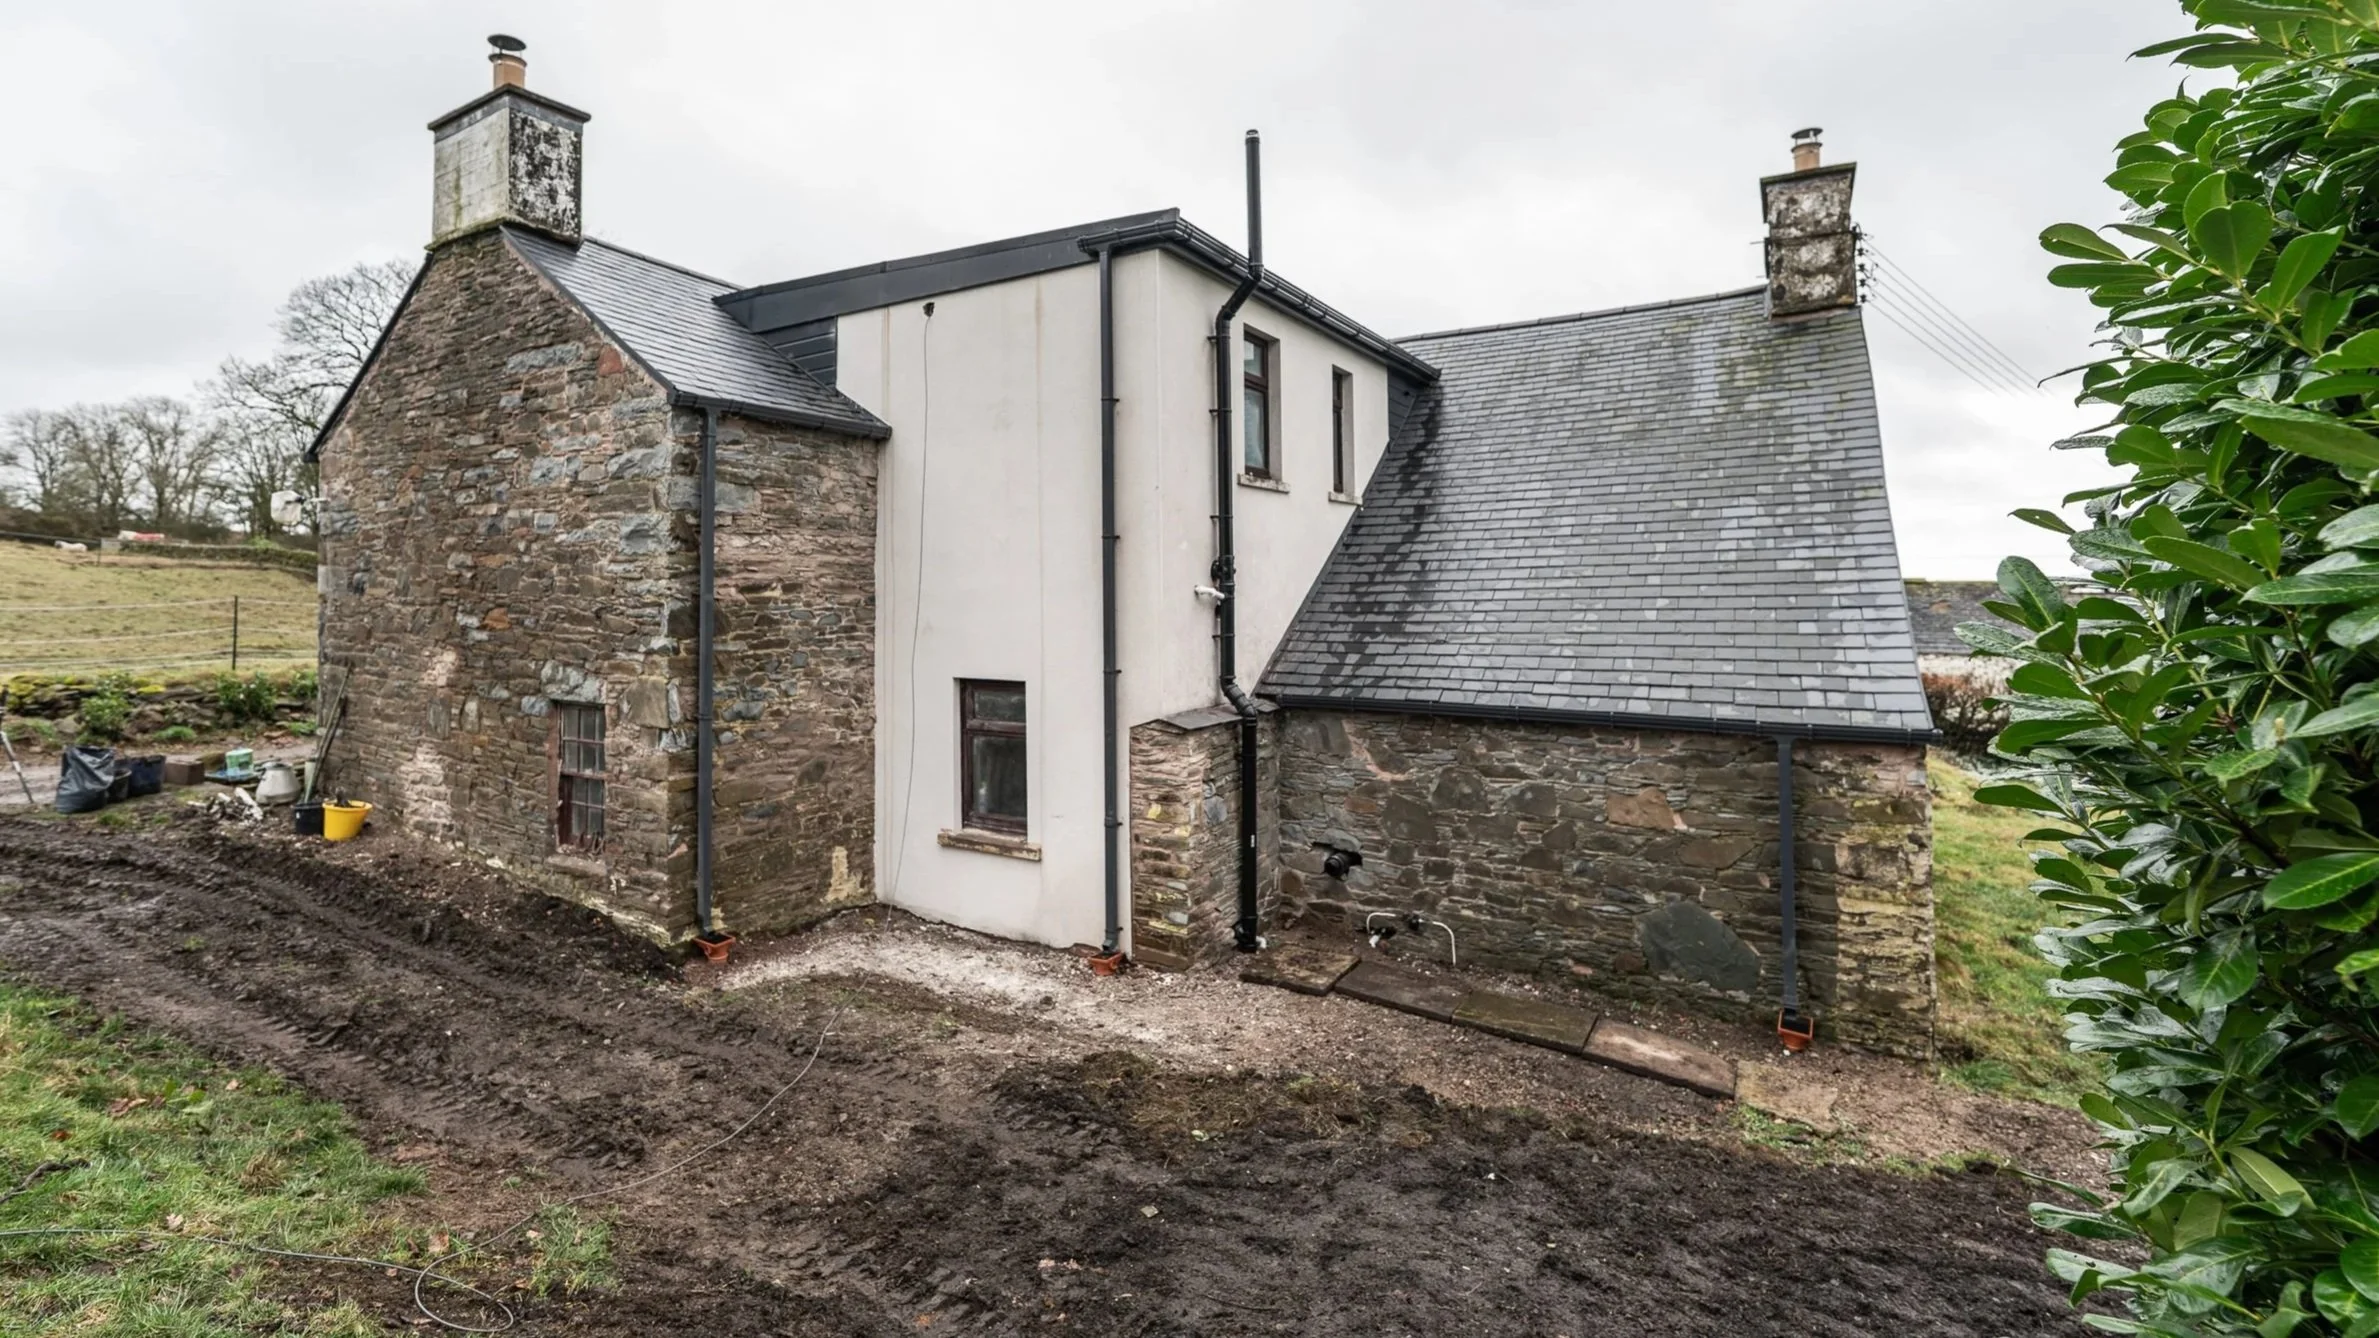
It might not look like much, but through the rain we’ve actually achieved a lot in about 14 hours, and we’ve added a boatload of rock to our in-fill heap too.
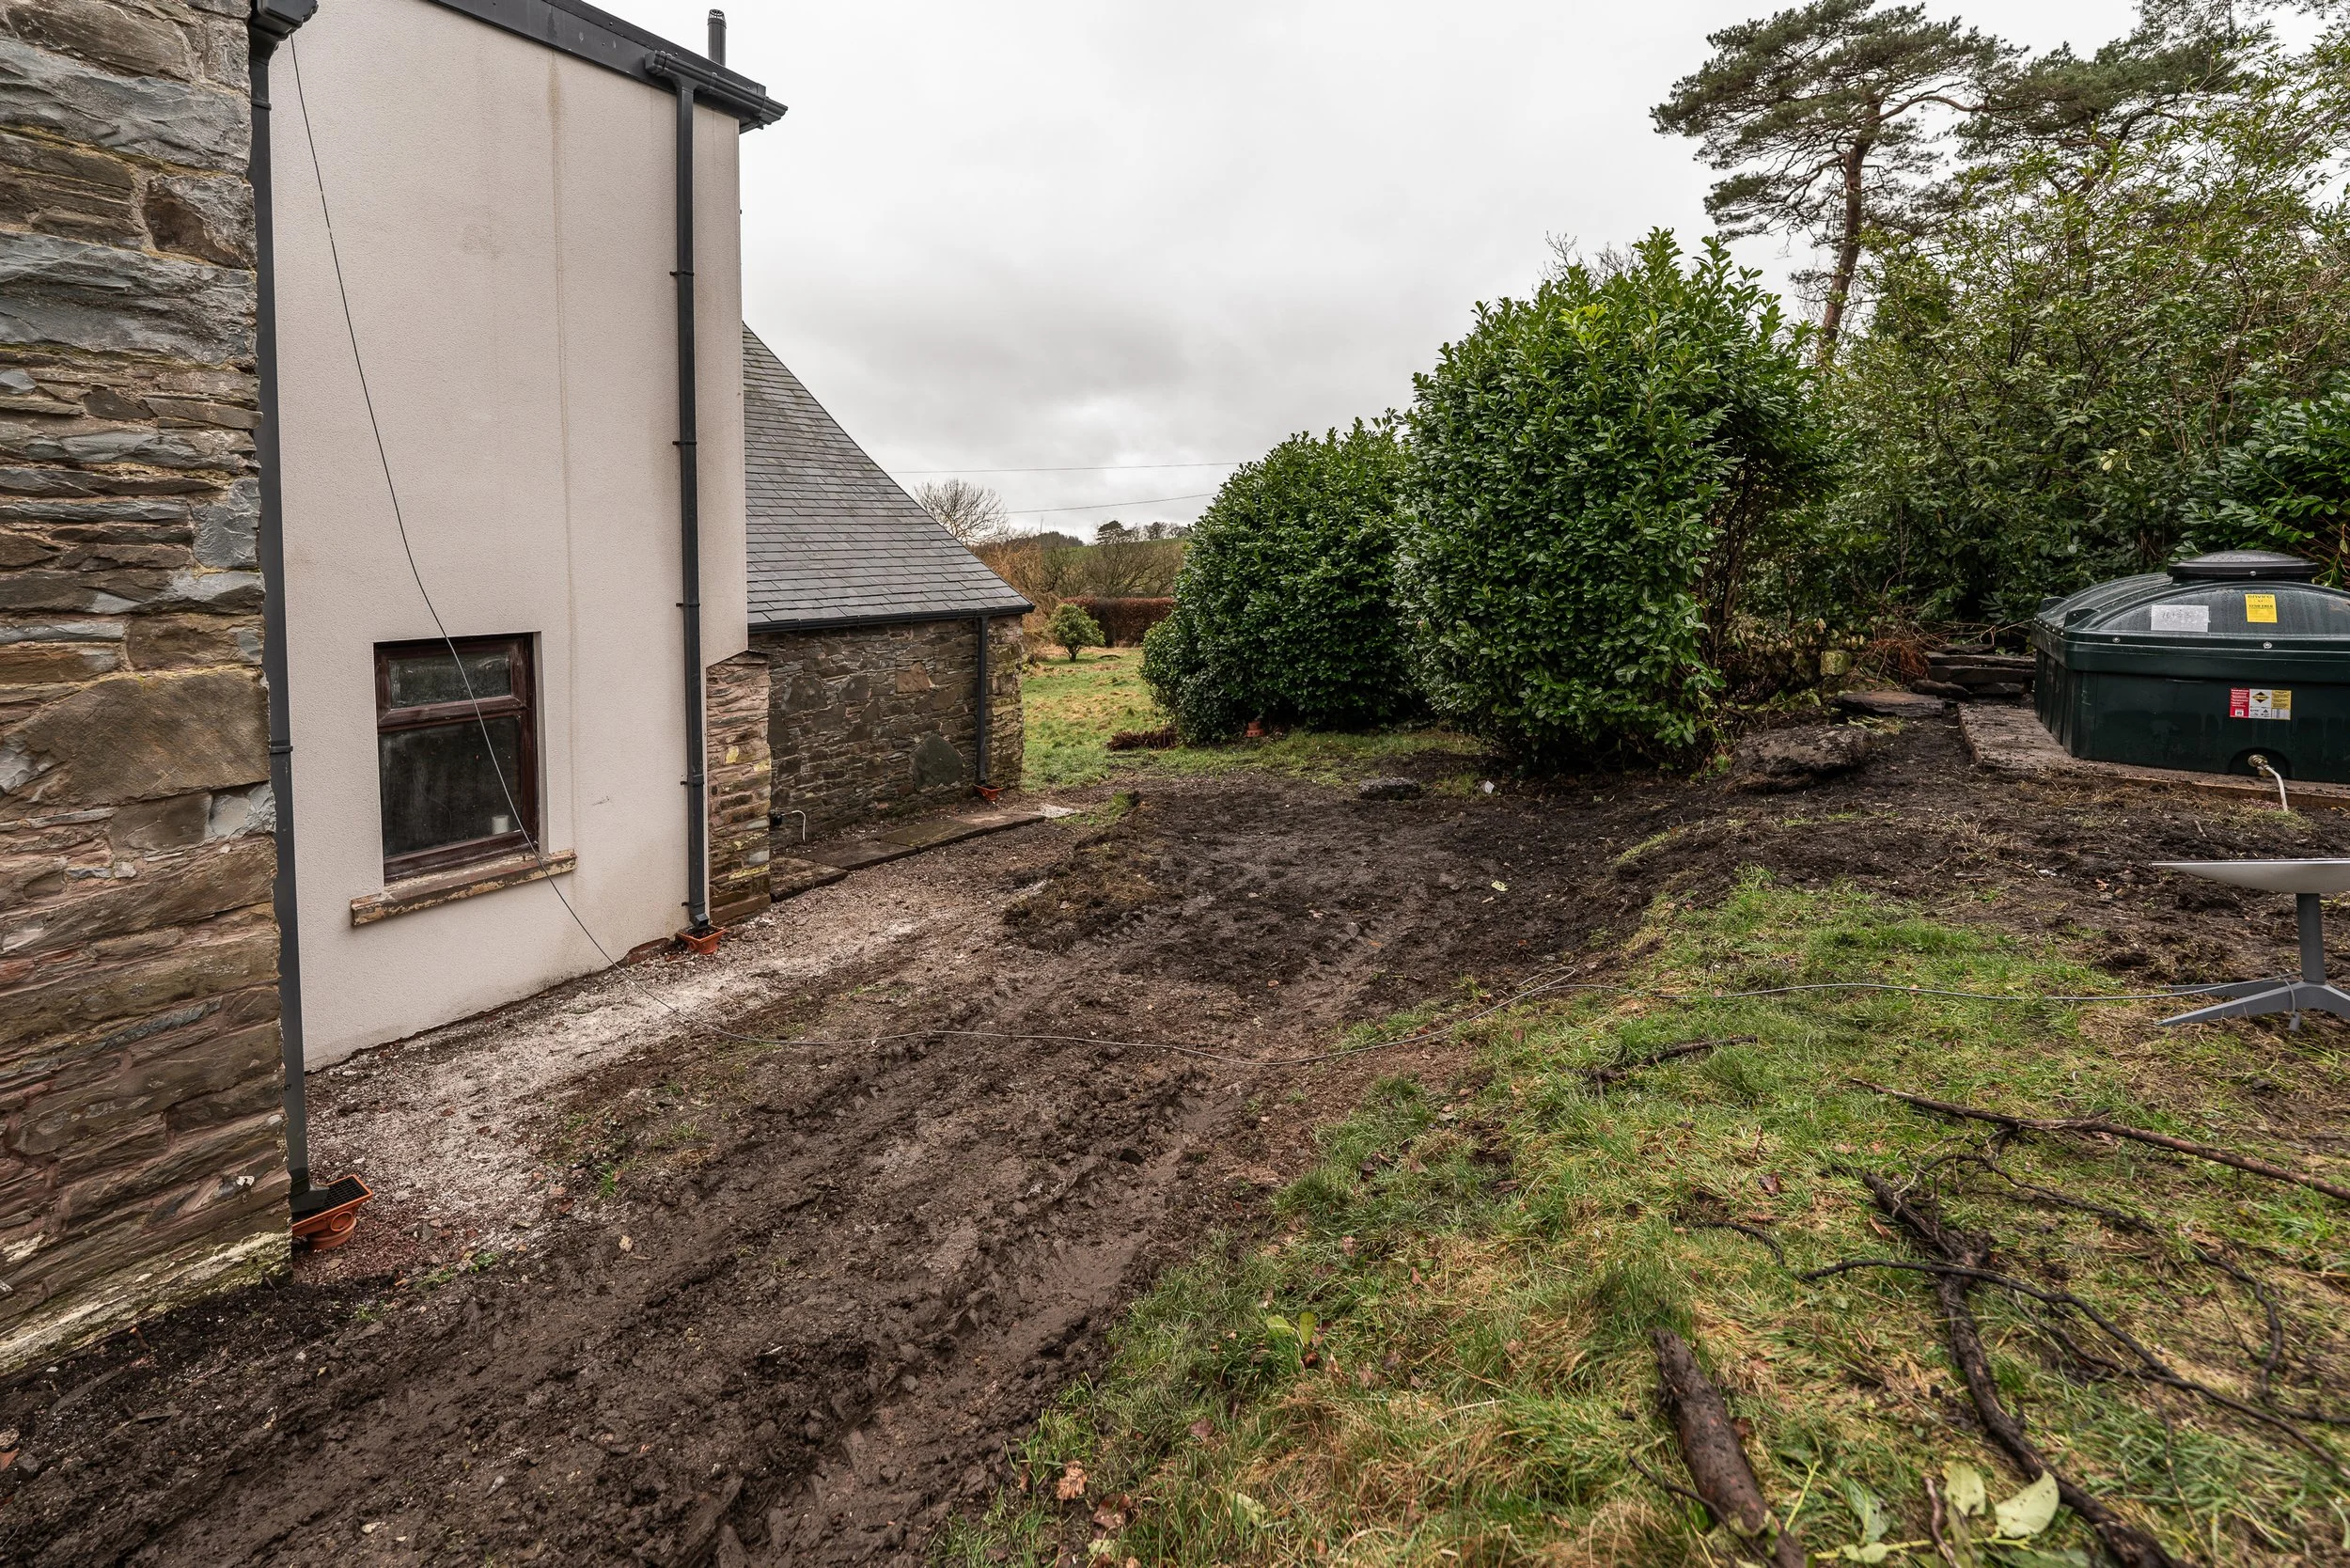
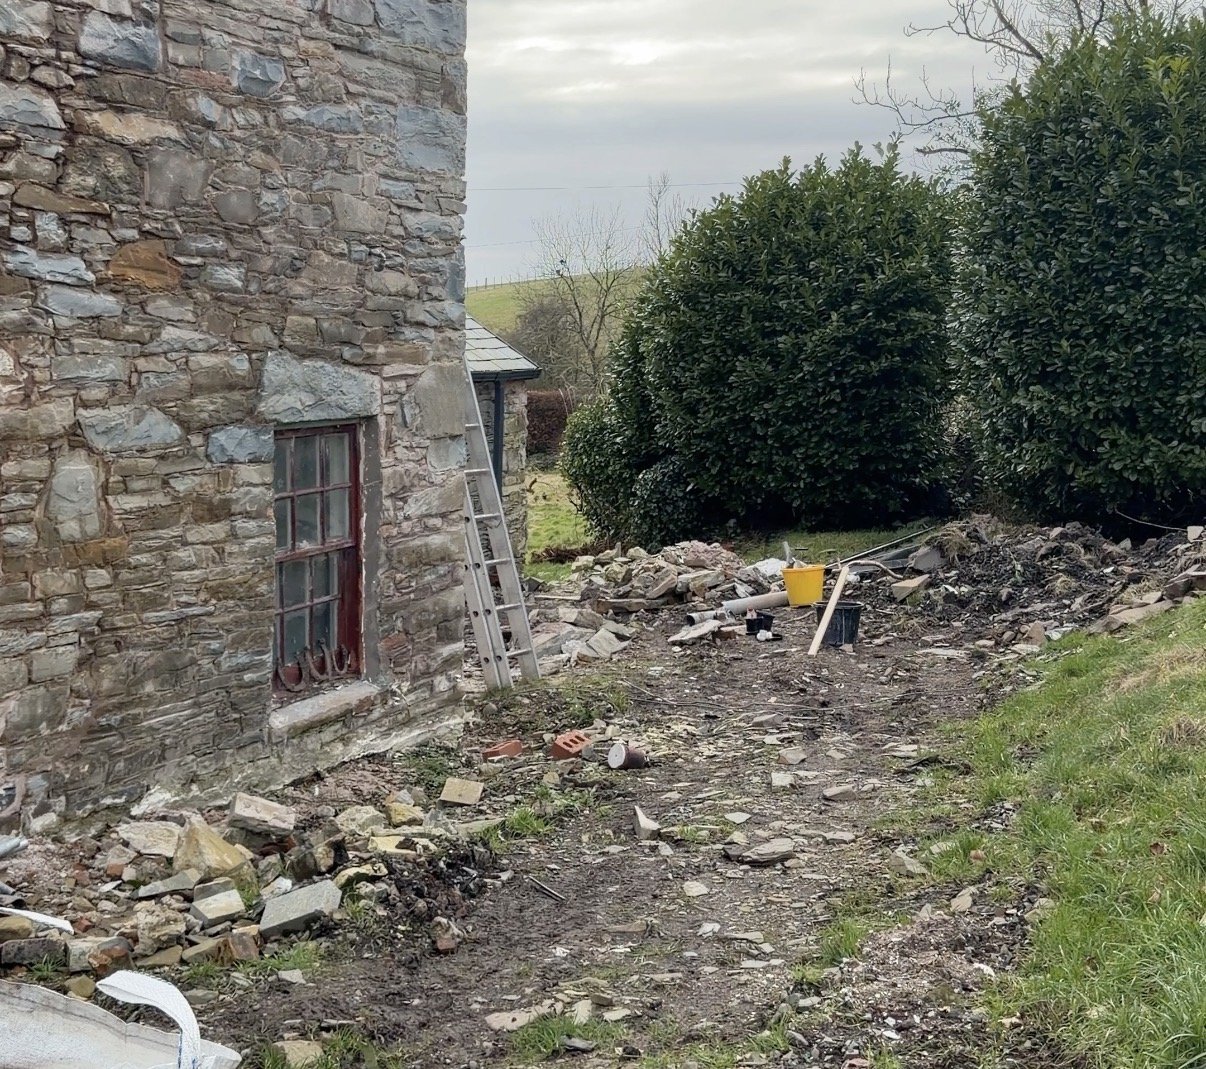
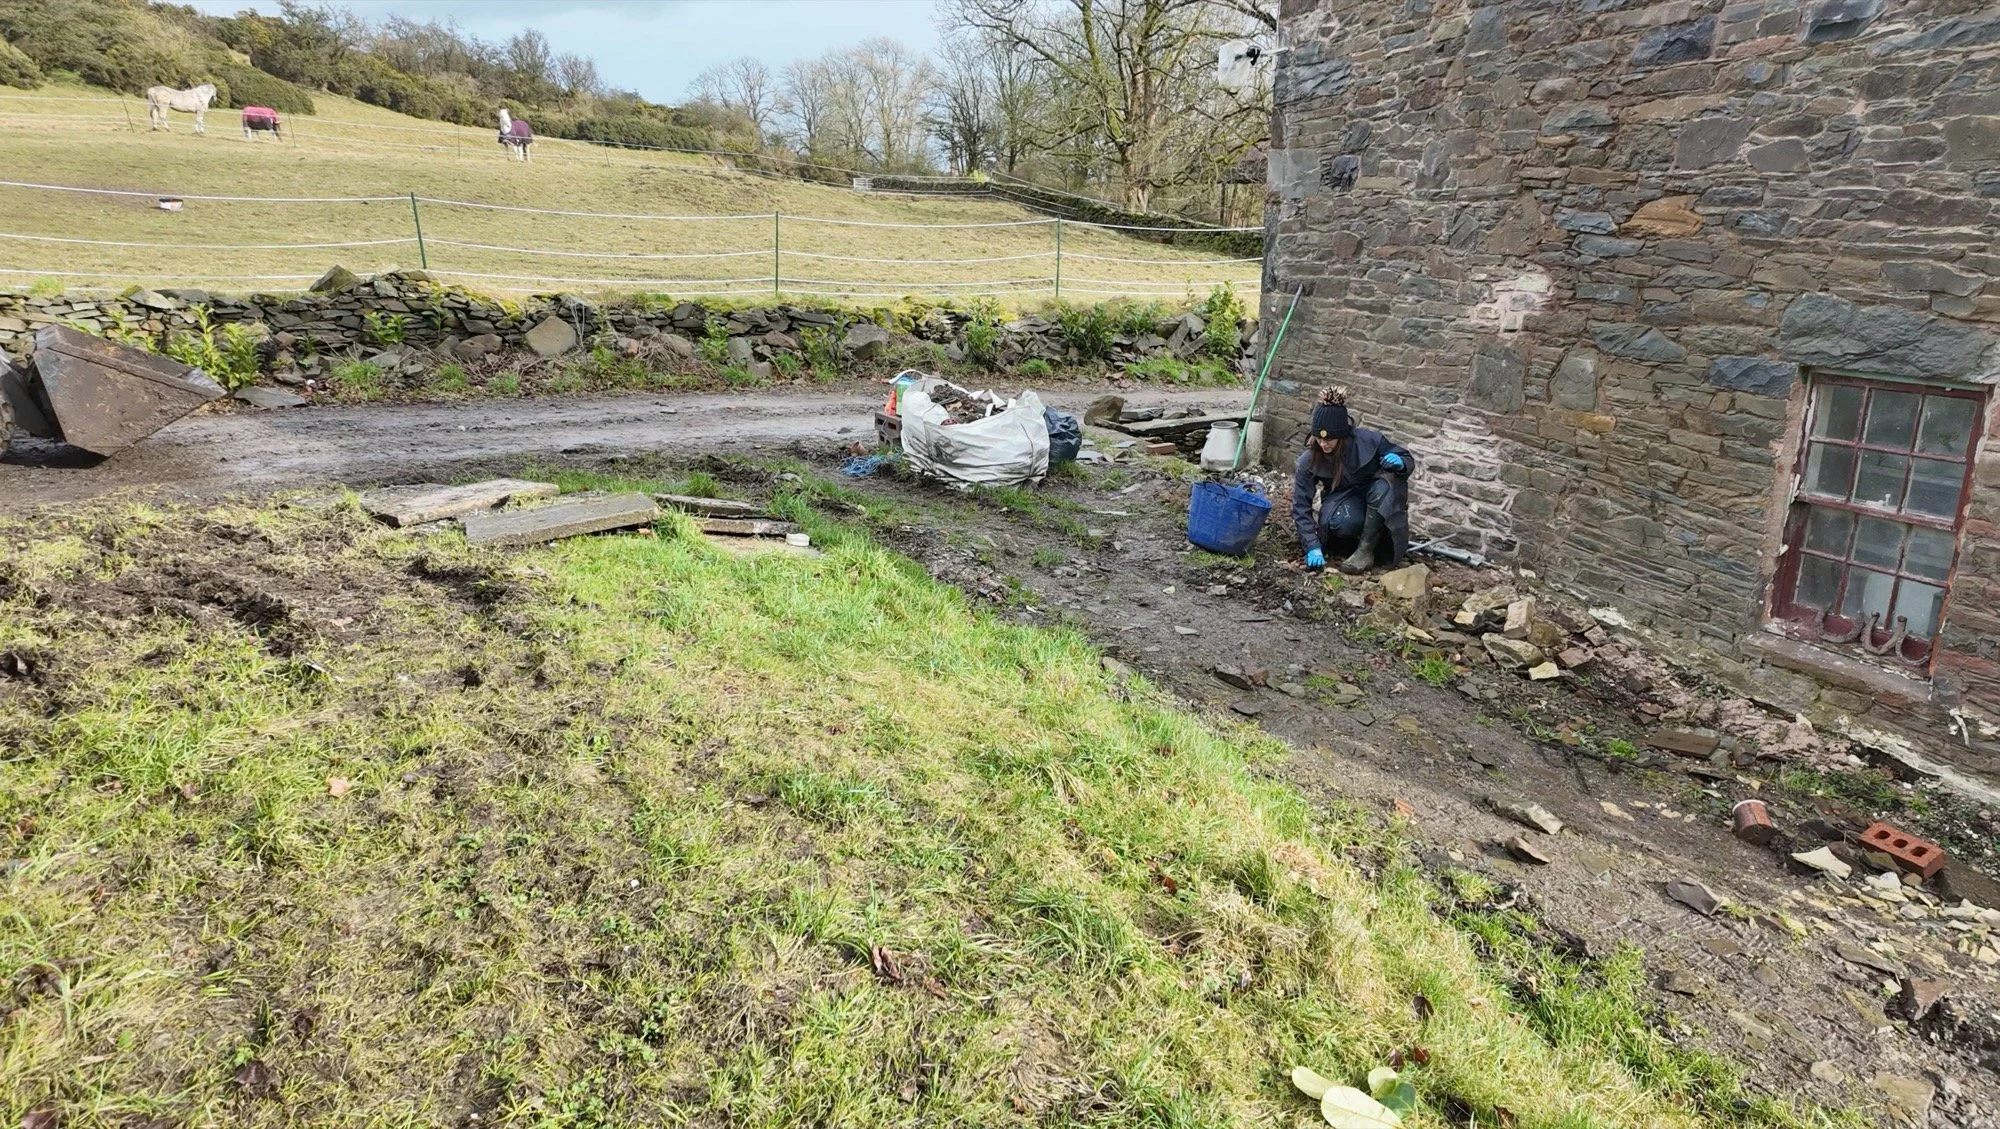
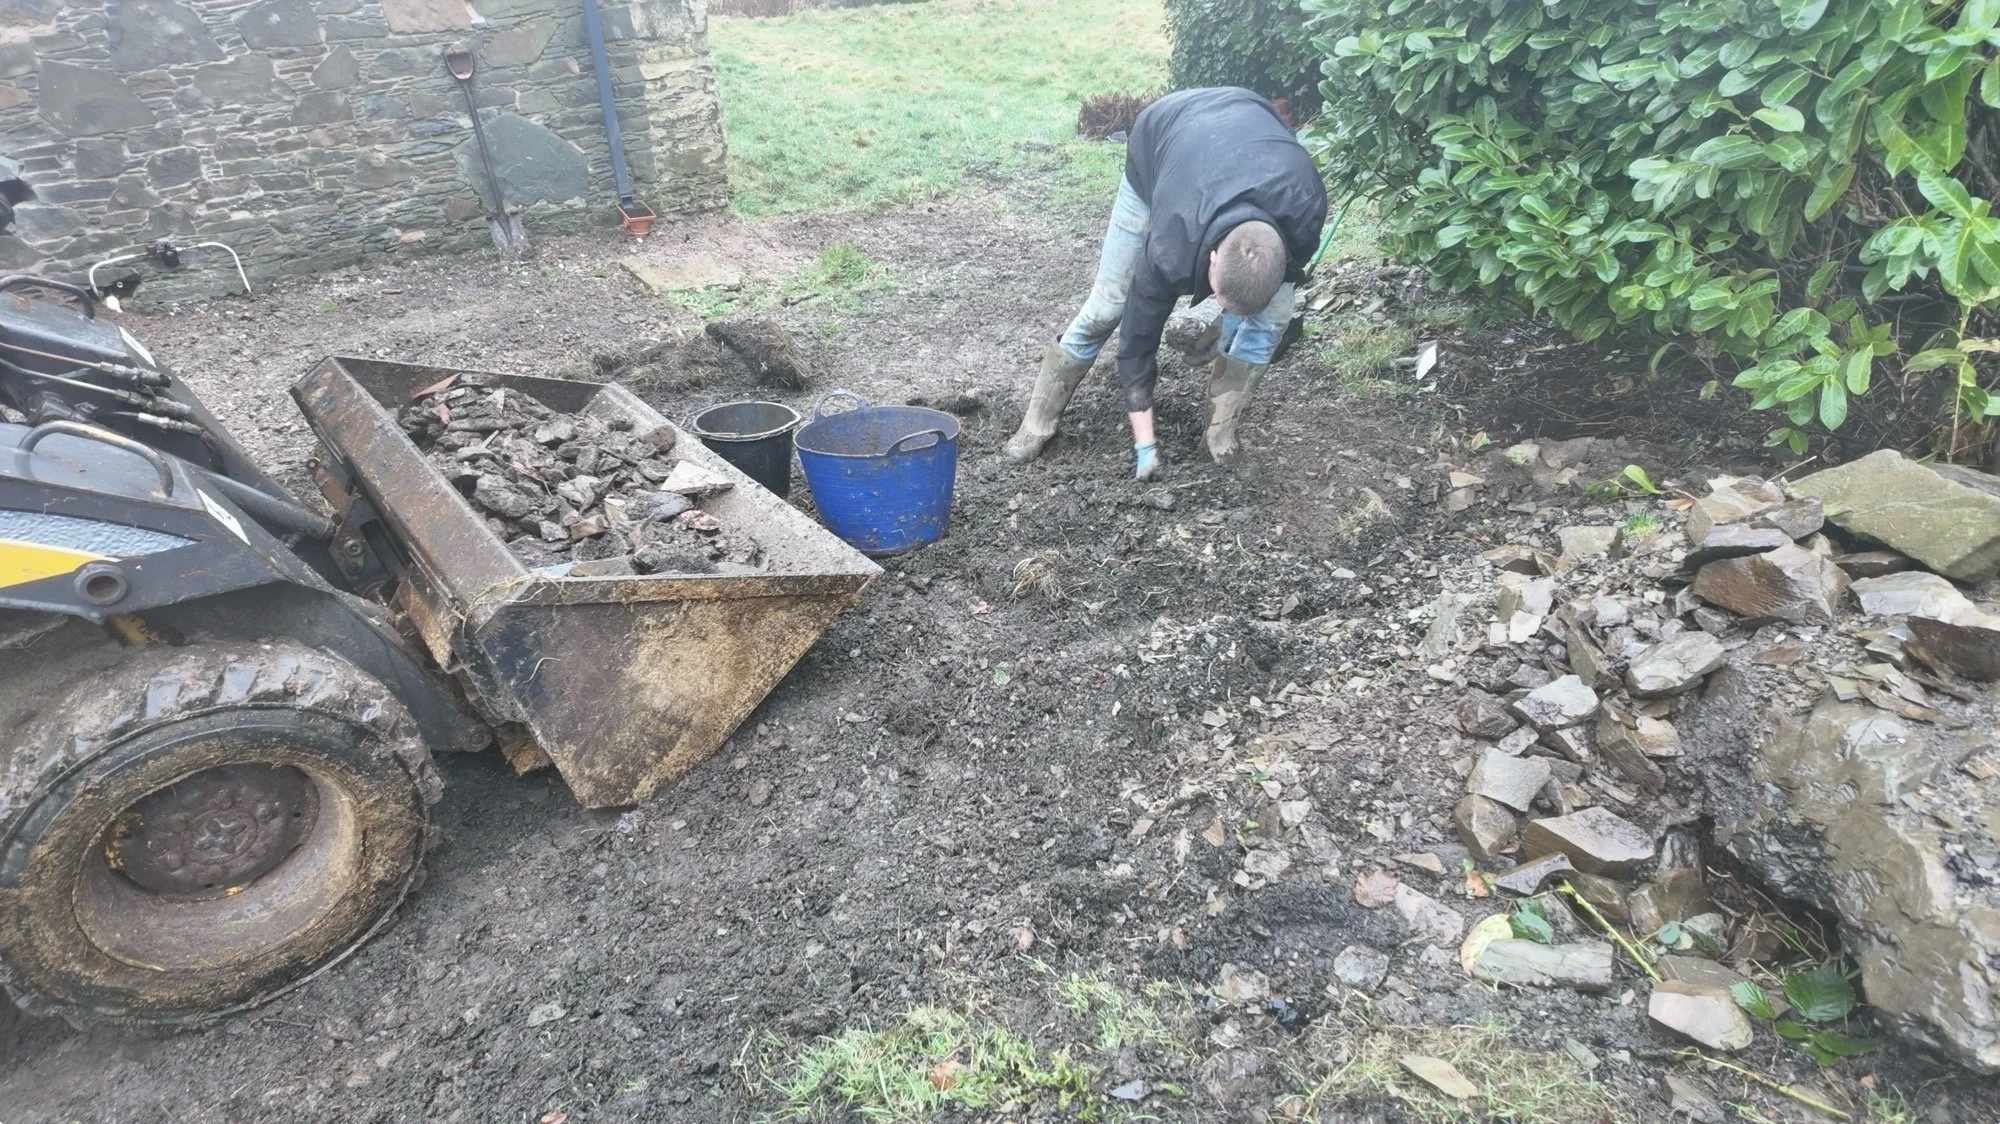
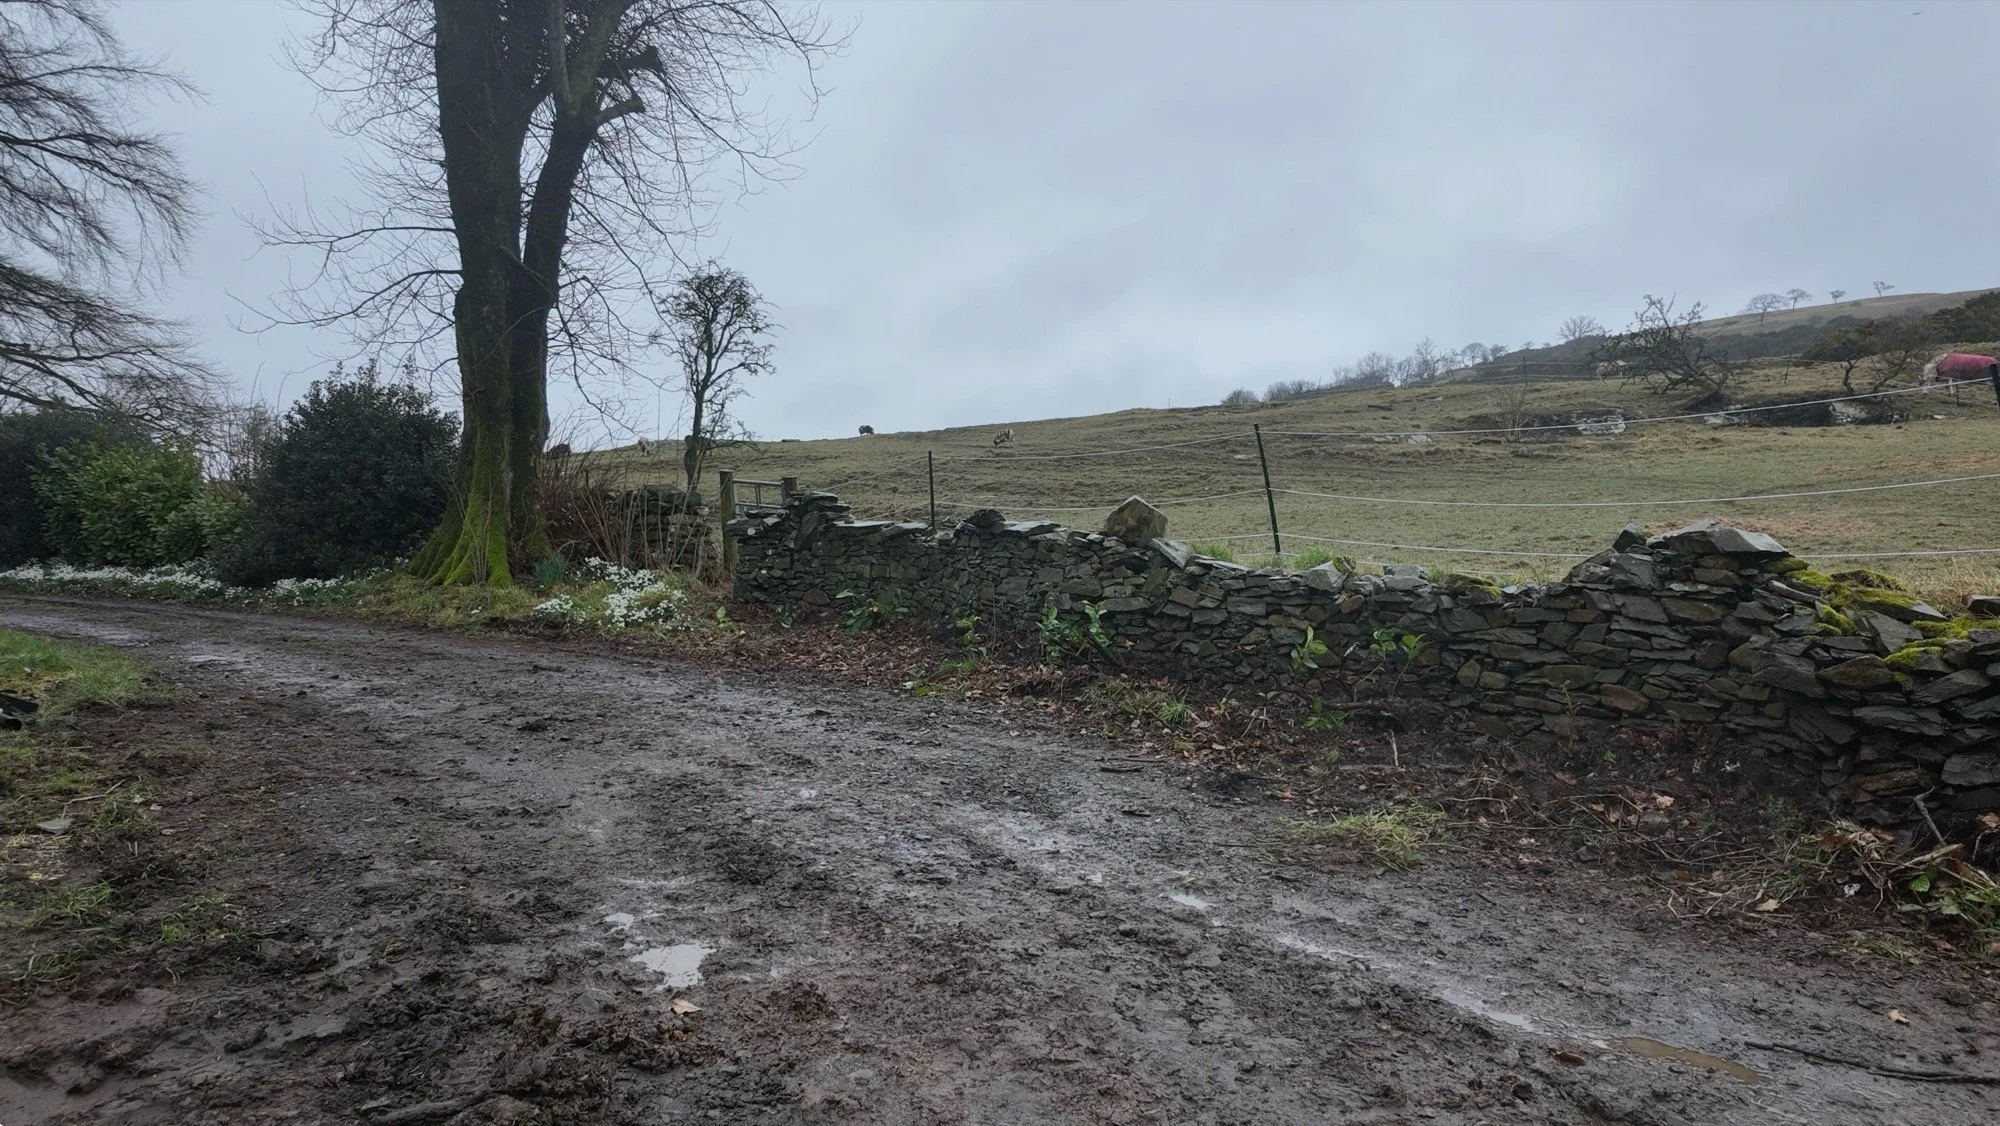
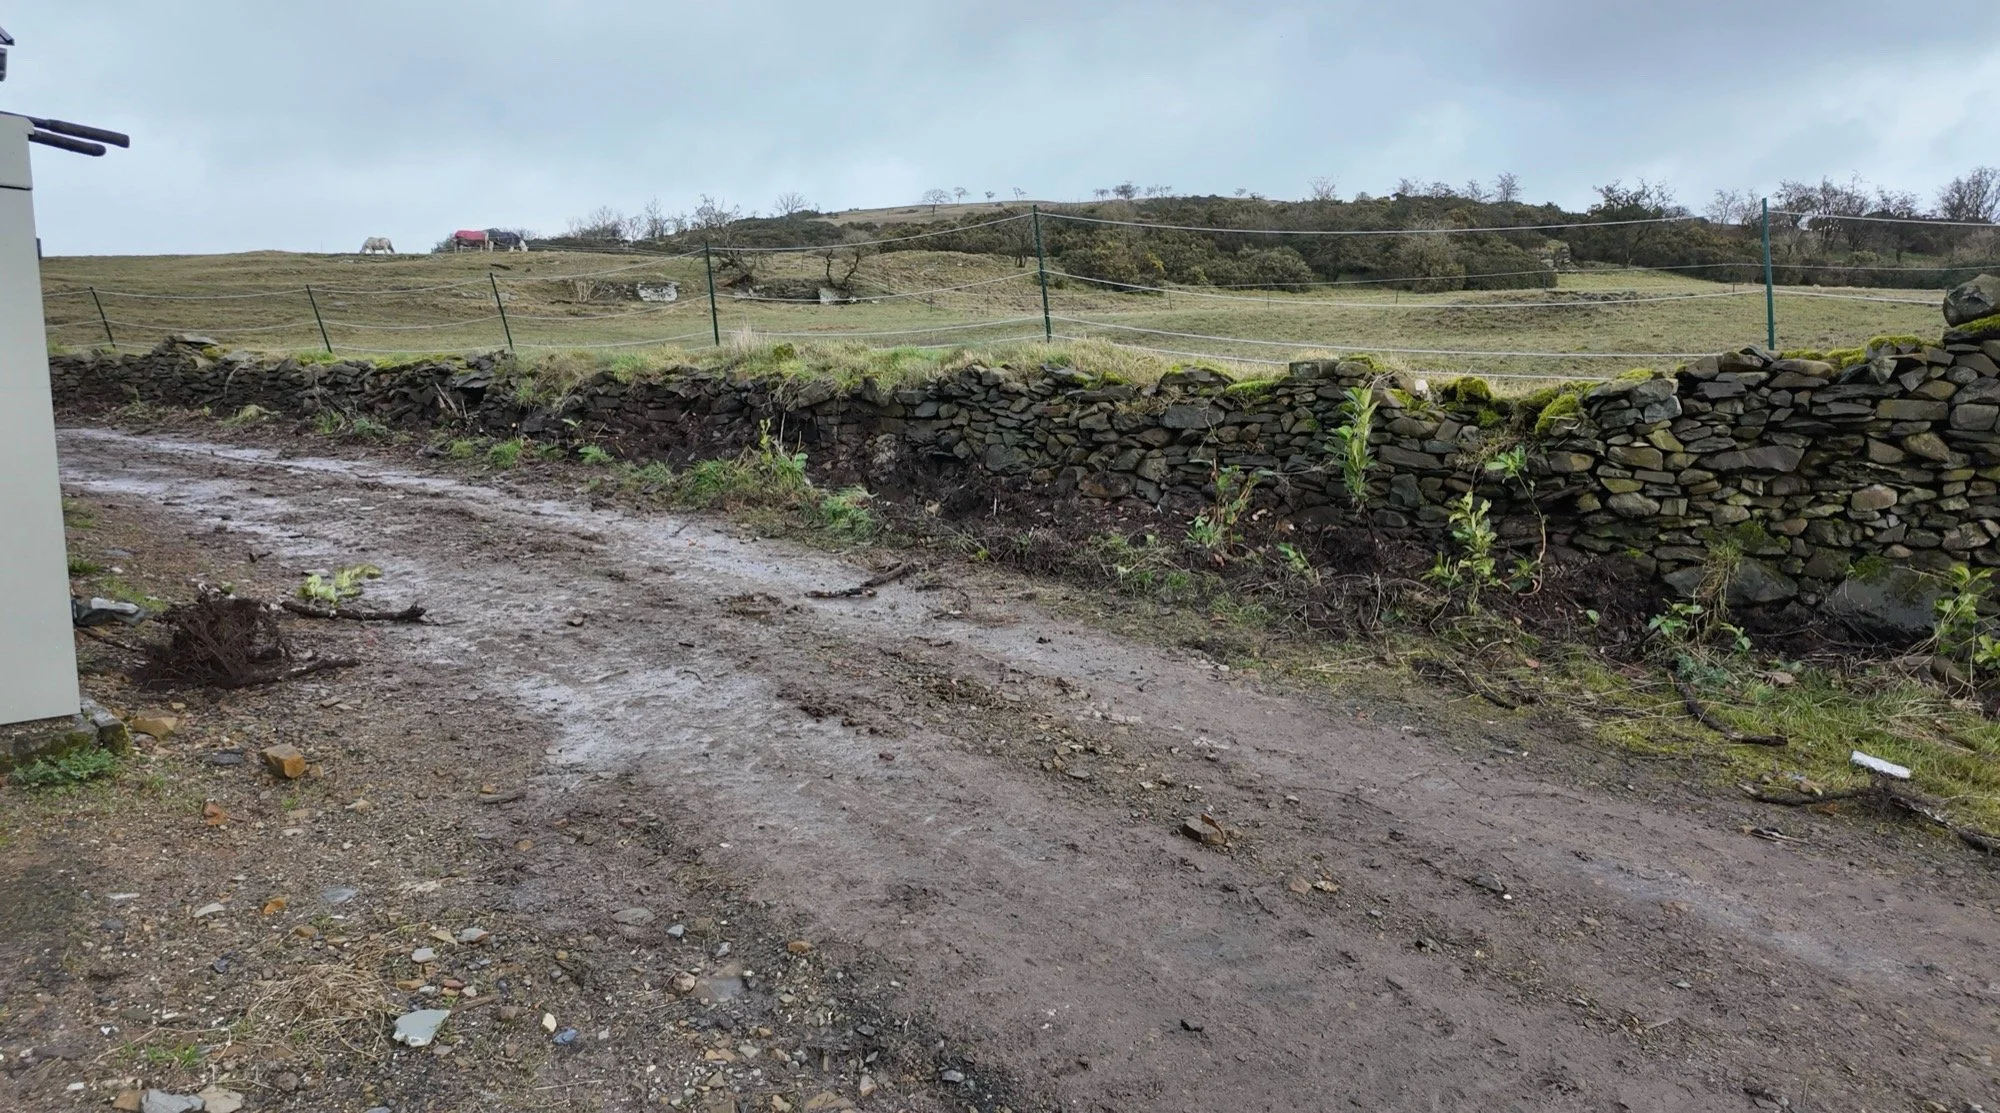
We then paused down here because it was getting too wet again with the skidsteer sinking a bit near the gable wall. Instead, we (royal ‘we’, basically Dan), turned our attention to the old laurel hedge that was removed in February (2025) Week 1 and the collapsed dyke. We were originally planning on rebuilding the wall (dyke), but having lived with the wall at the same height as the lower section of the field behind, we actually loved seeing the animals over there from the kitchen window. That means we have ooooodles of dyking stone that needs to move to the dyking stone store holding area.
This is back-breaking work, something that I sadly am banned from doing. Instead, I was skidsteer driver and, in between, continued to rake and pick stones from the tracks along the north side of the house. We did about 1/3 of the total amount before the rain truly did arrive and it was time for animals:
Tomorrow we’ll continue with more of the same.
The remaining laurel that refuses to die will be sprayed off in the next dry spell, as the roots are interwoven with the remaining dyke - pulling them out will cause the retaining wall to collapse entirely. The dyke itself is obviously uneven up top, this will be neatened up too, but for now, the priority is removing all the stone (8 full loads were in the section you can see above!) to give delivery vehicles more room passing the porch entrance to the house.
I’ve had to rebuild that wall twice, and it keeps getting knocked, so the more width we can get here, the better.
That’s all for now. Onwards!
February Week 4:
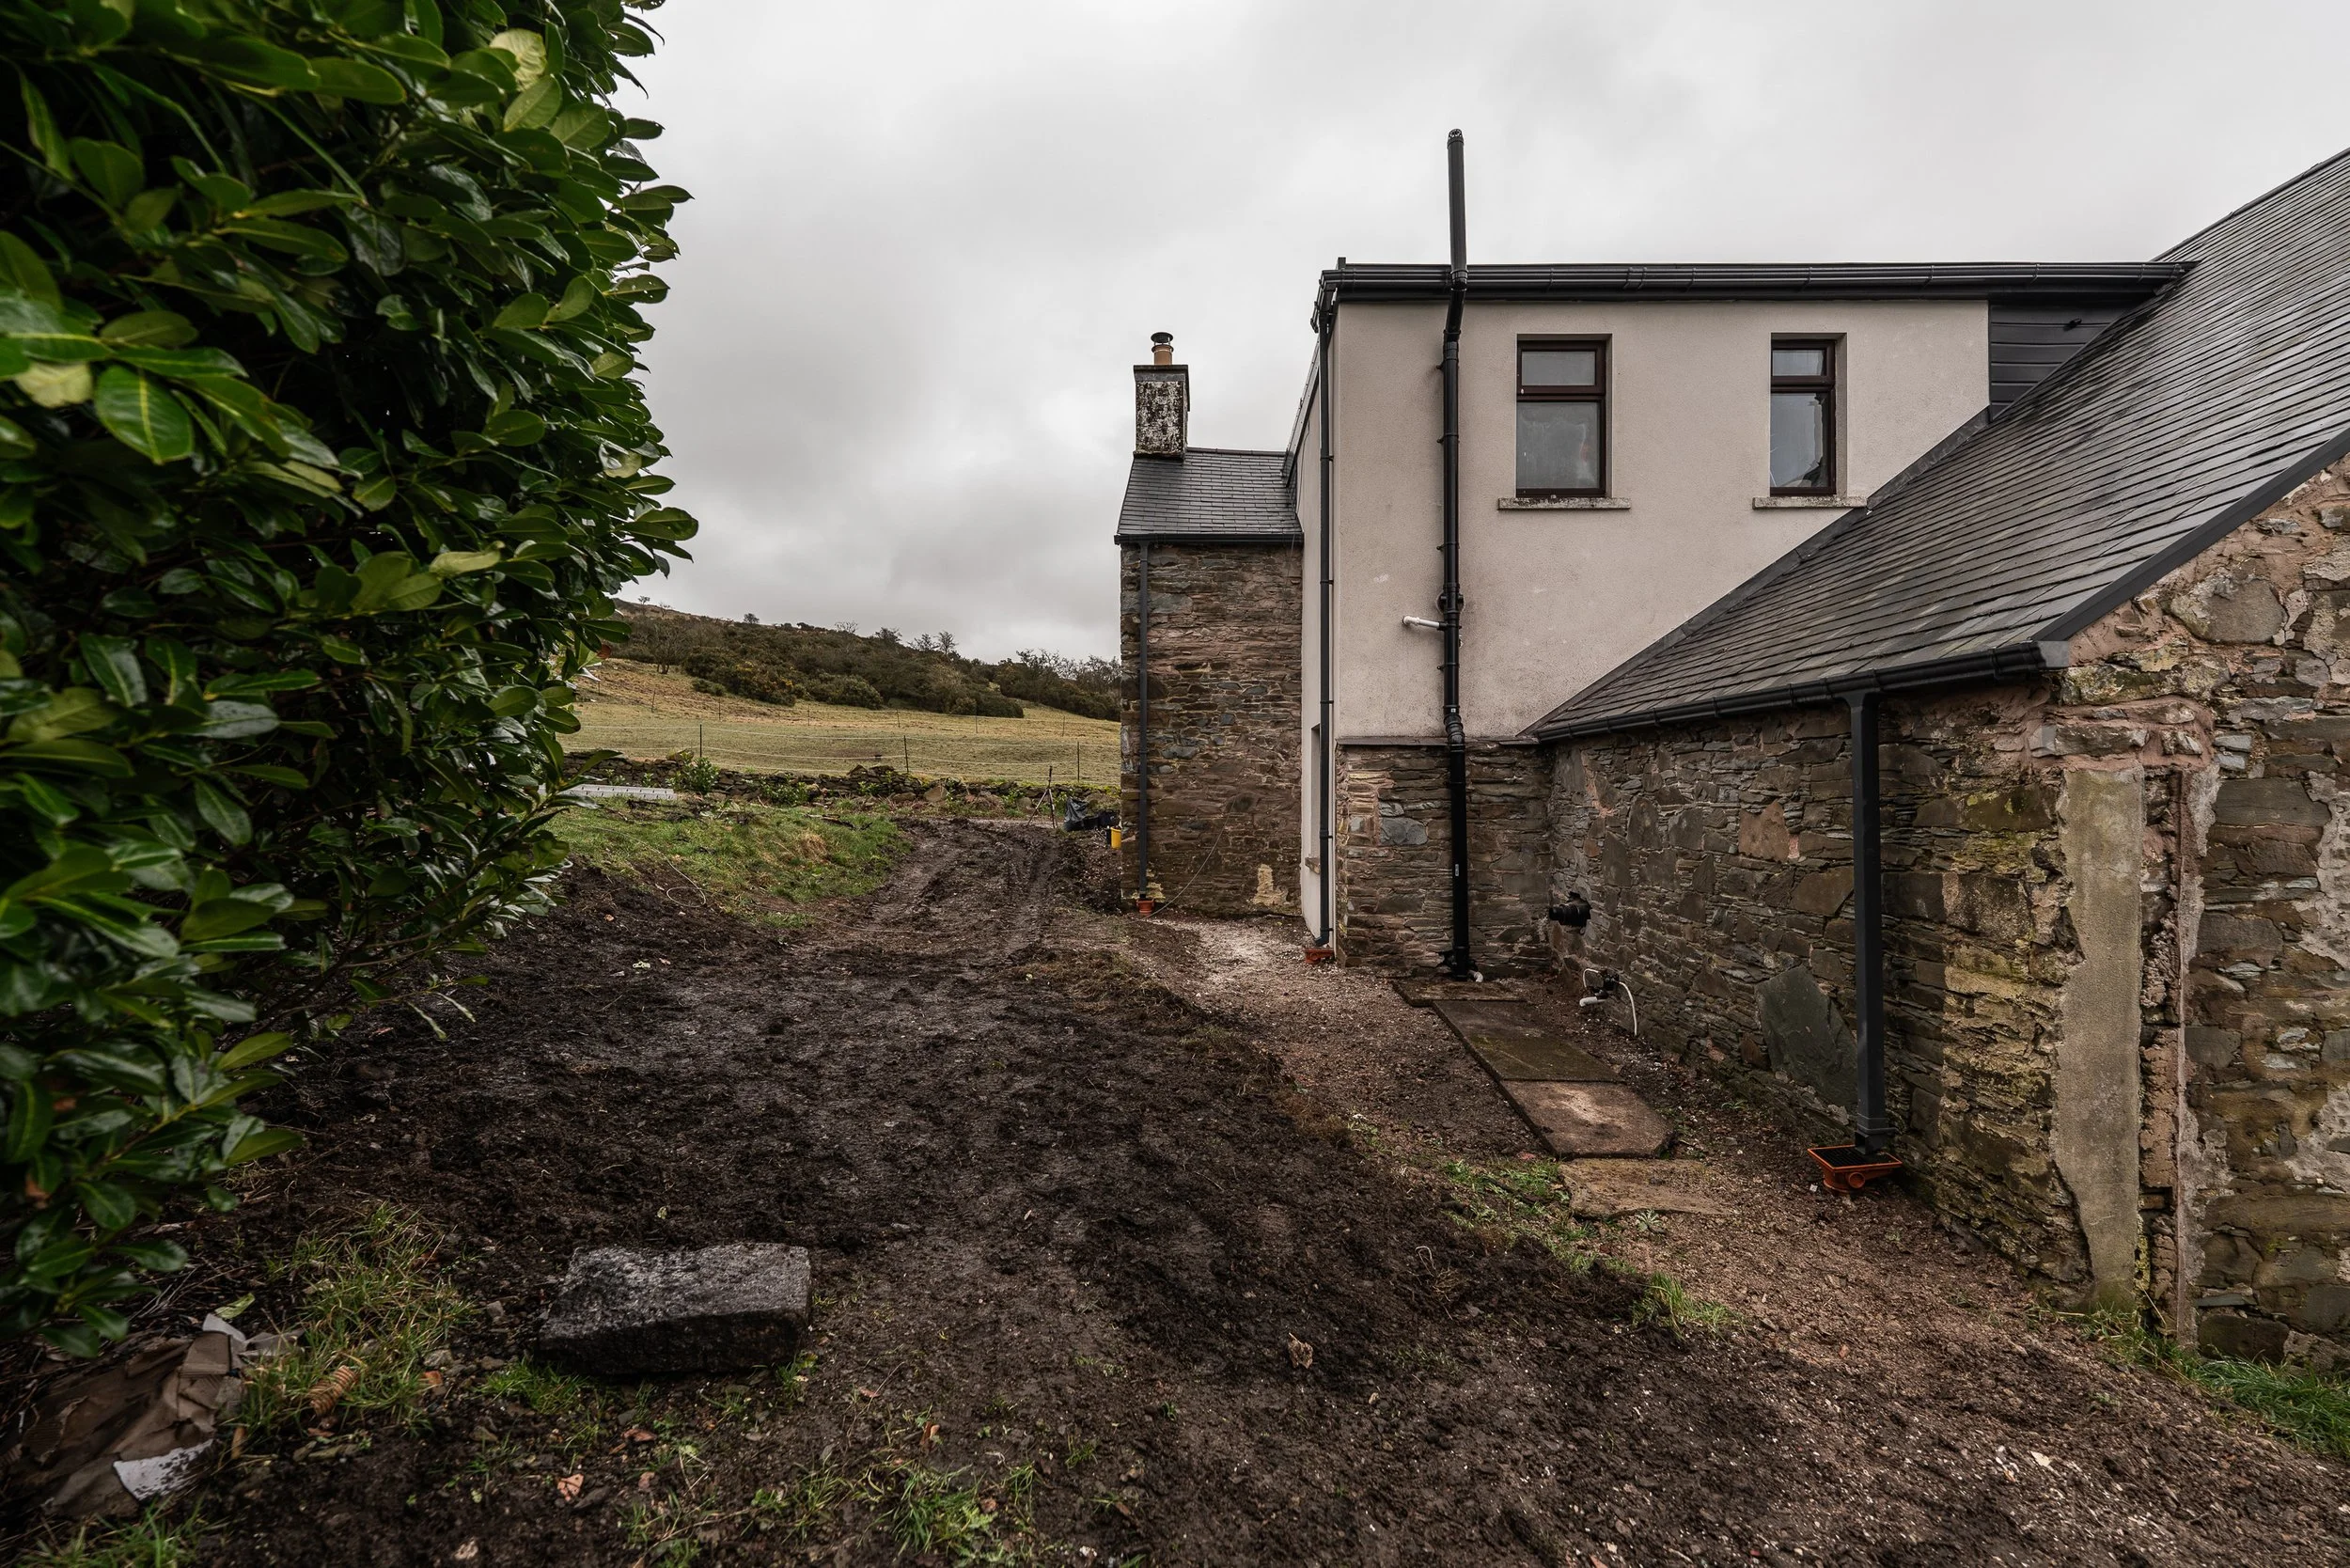
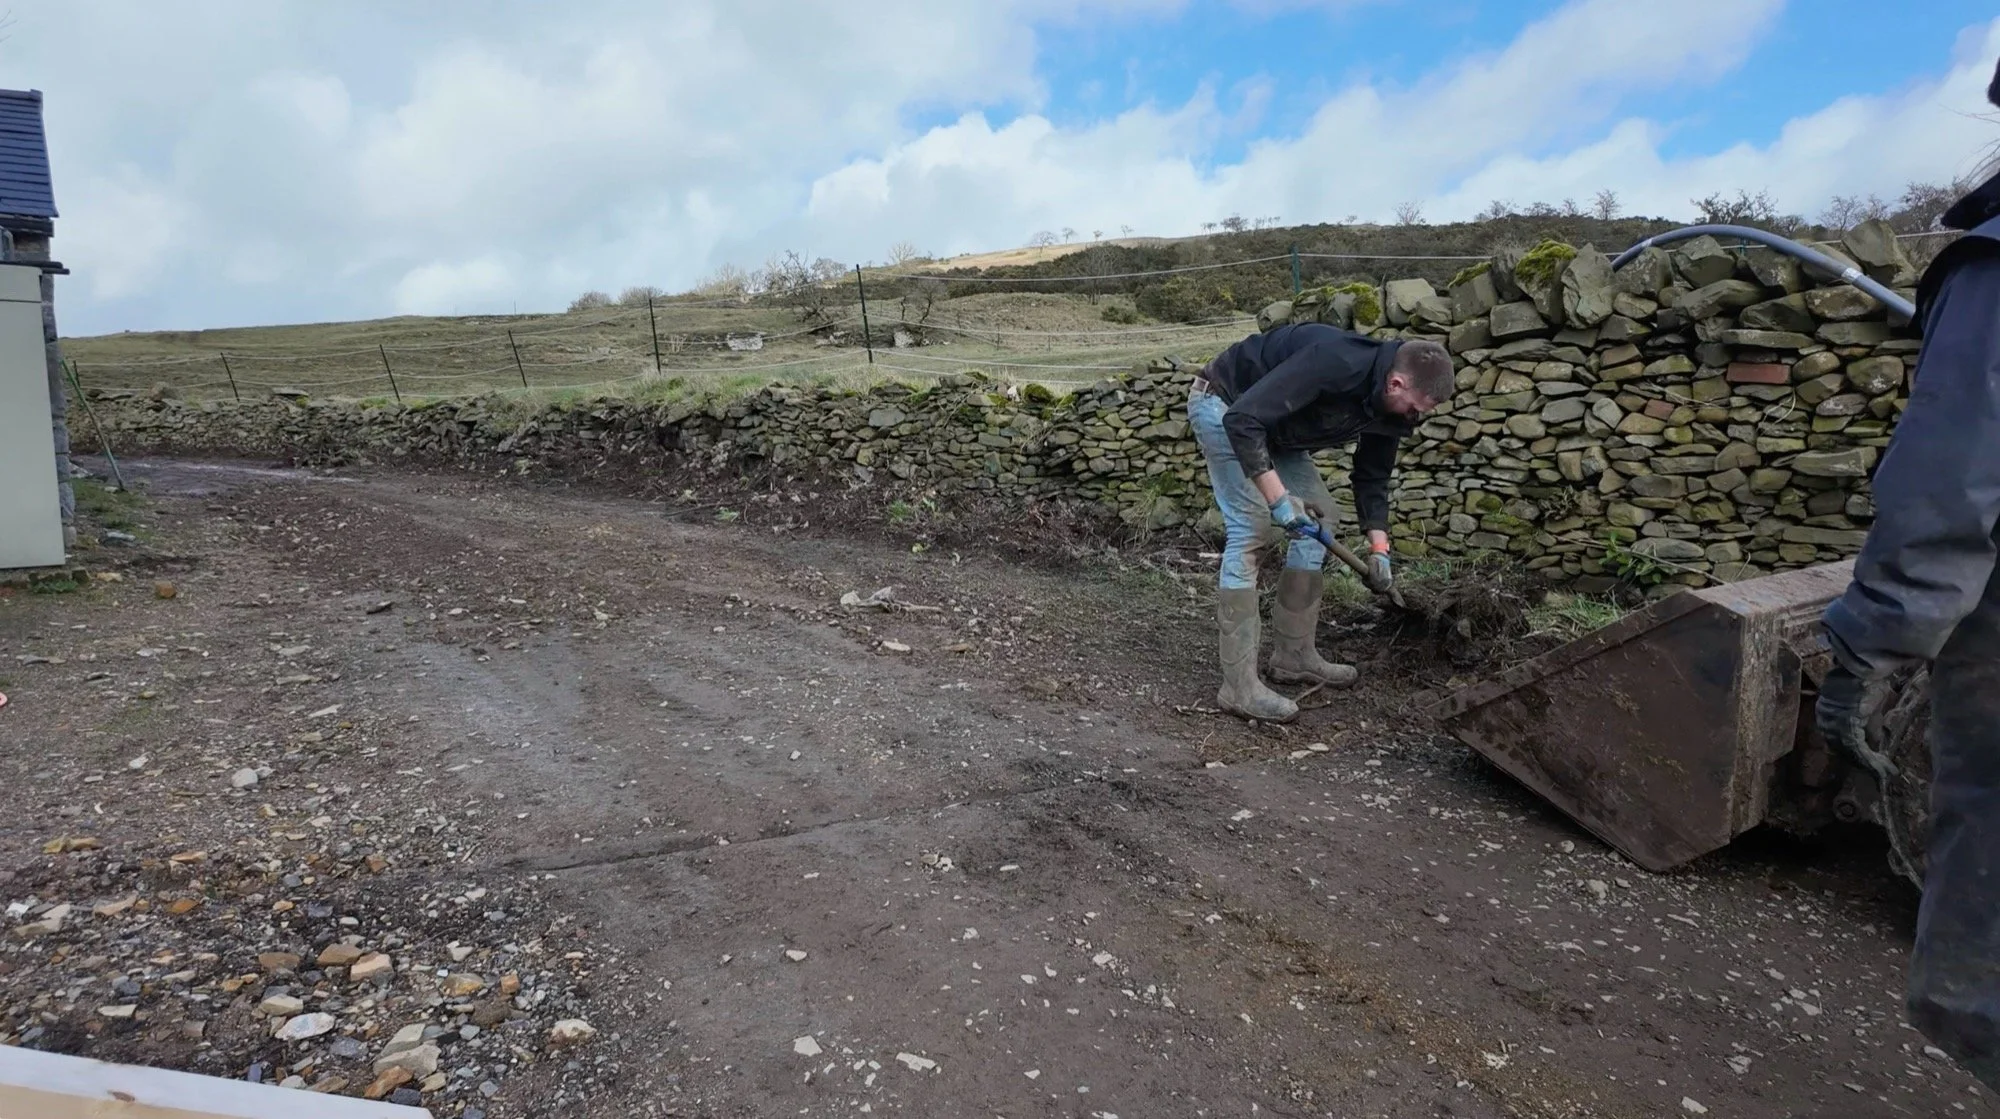
We’ll pick up where we left off with Sunday last week, tackling the remains of the dyke and chopping off any accessible random bits of laurel. With the last of the rocks out of the way, we began “scraping” up the soil to widen the track a little bit. It took a few passes, but we’ve gained at least 2 ft and at the end of the following week (today), I can confirm that all deliveries have used the new width, staying well clear of the farmhouse steps wall for the first time since we moved in here 🥳 You can click the images to see the progress bits in real time.
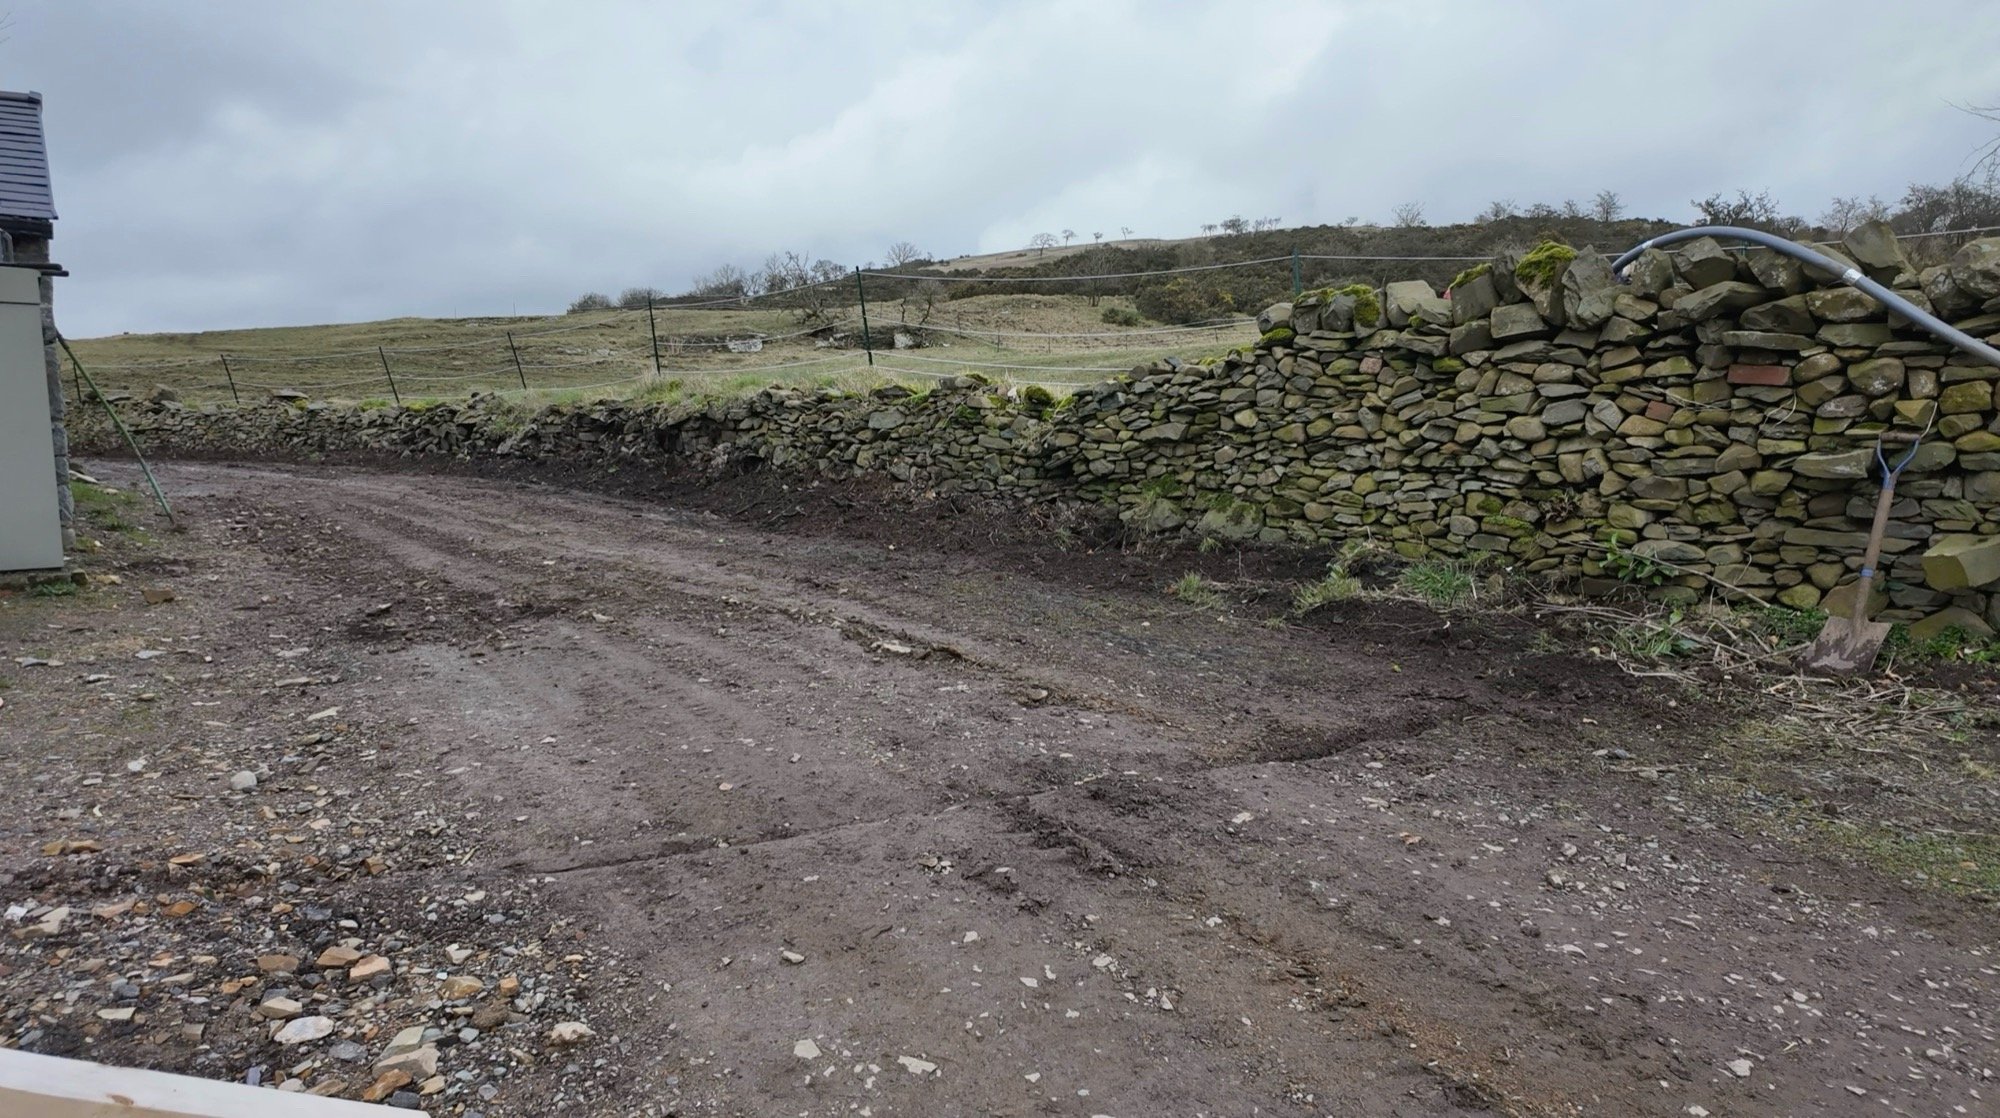
I need to admit that I totally forgot to shoot the driveway this weekend, so I have zero evidence that this has changed other than the screenshots above. I’ll try rectify that at some point soon and drop them in here.
The Upstairs Bathroom
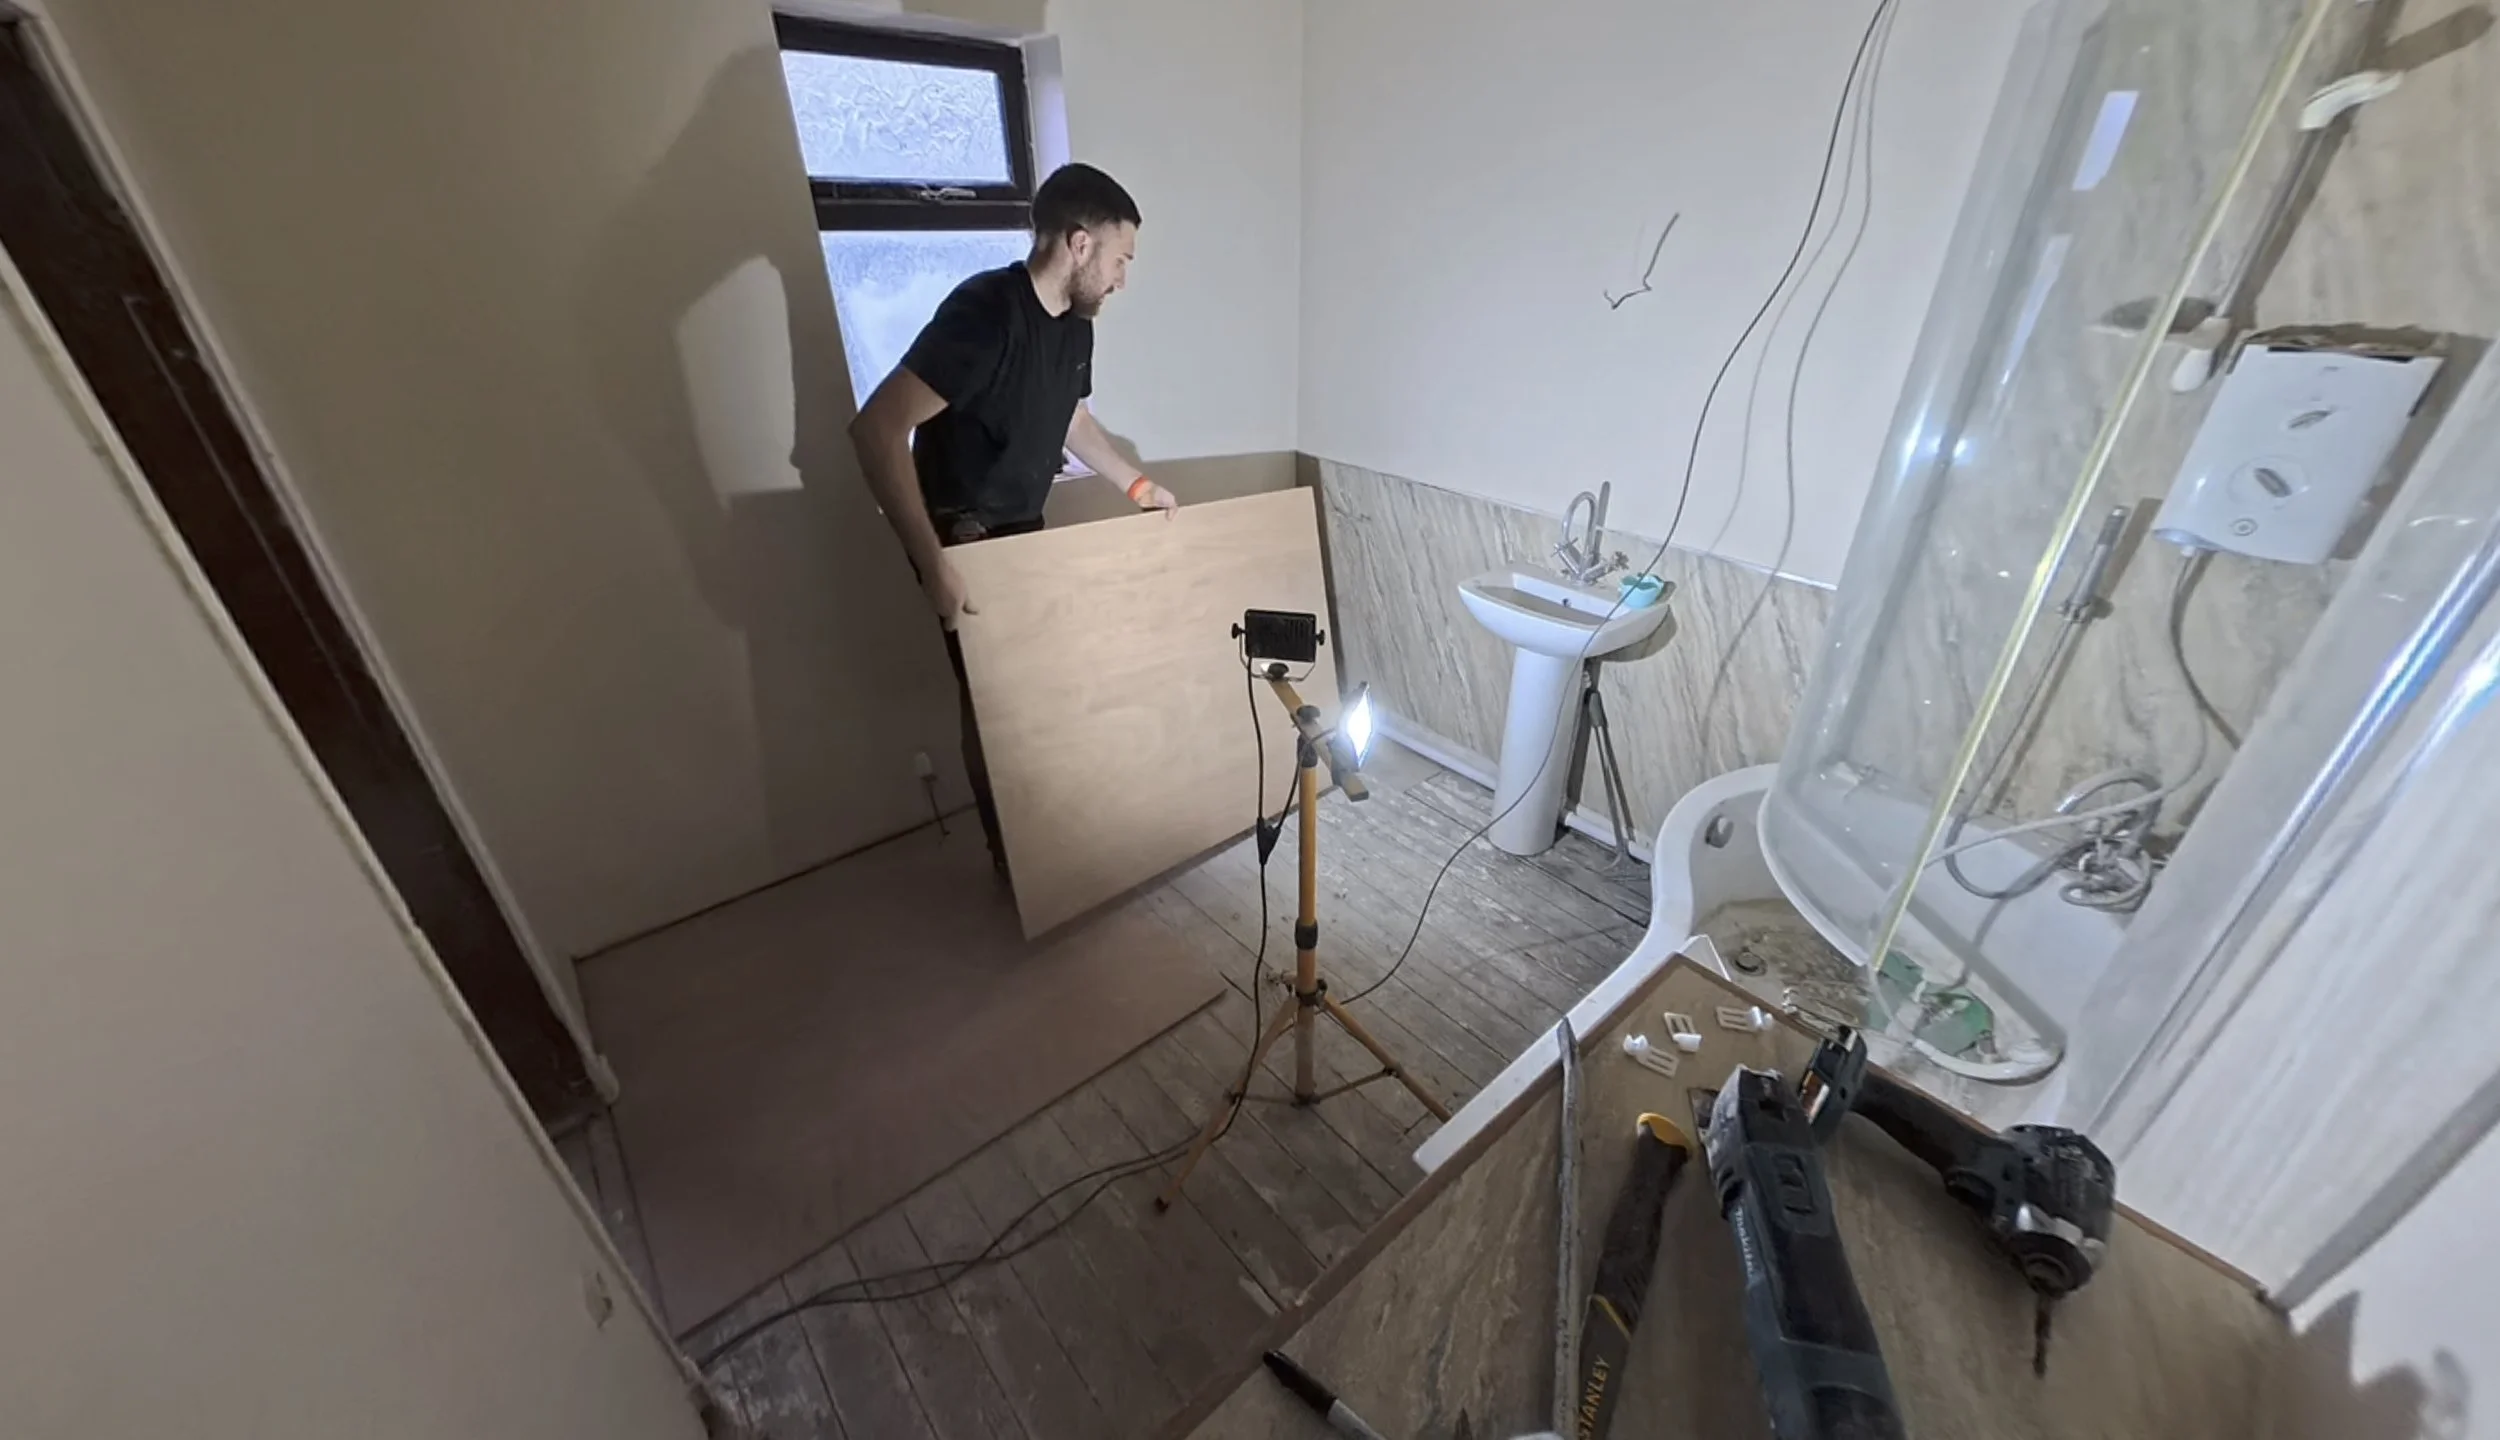
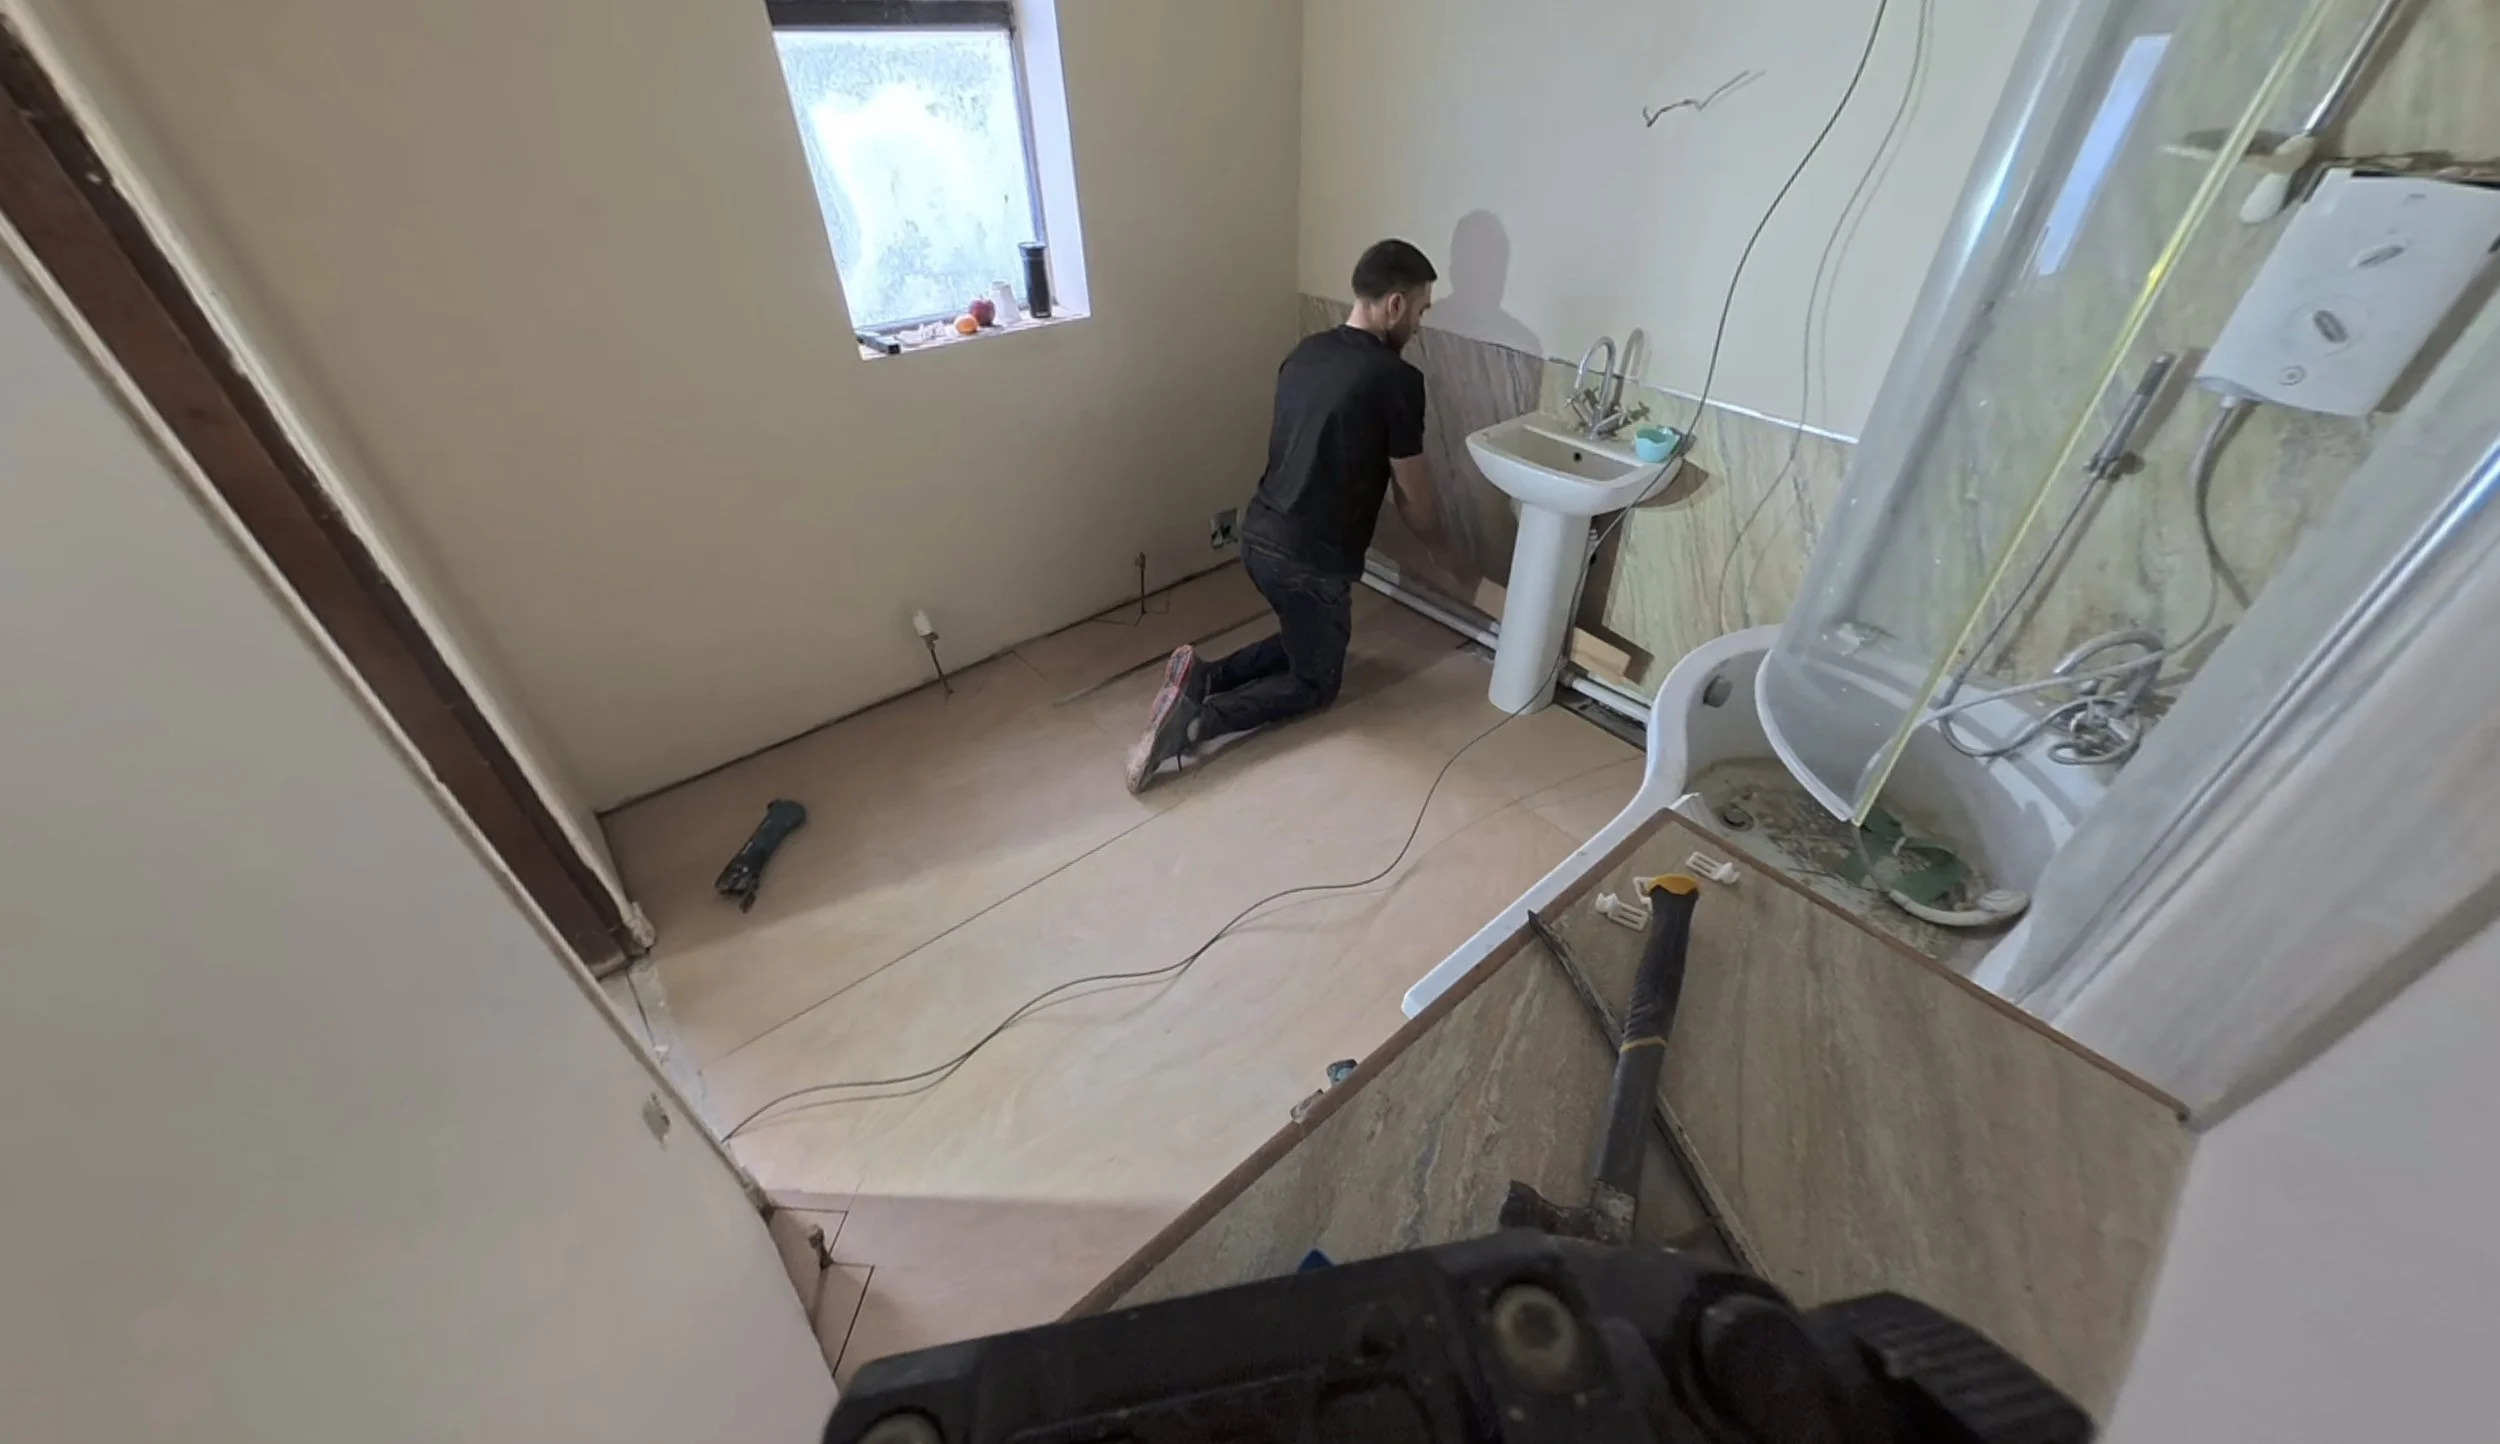
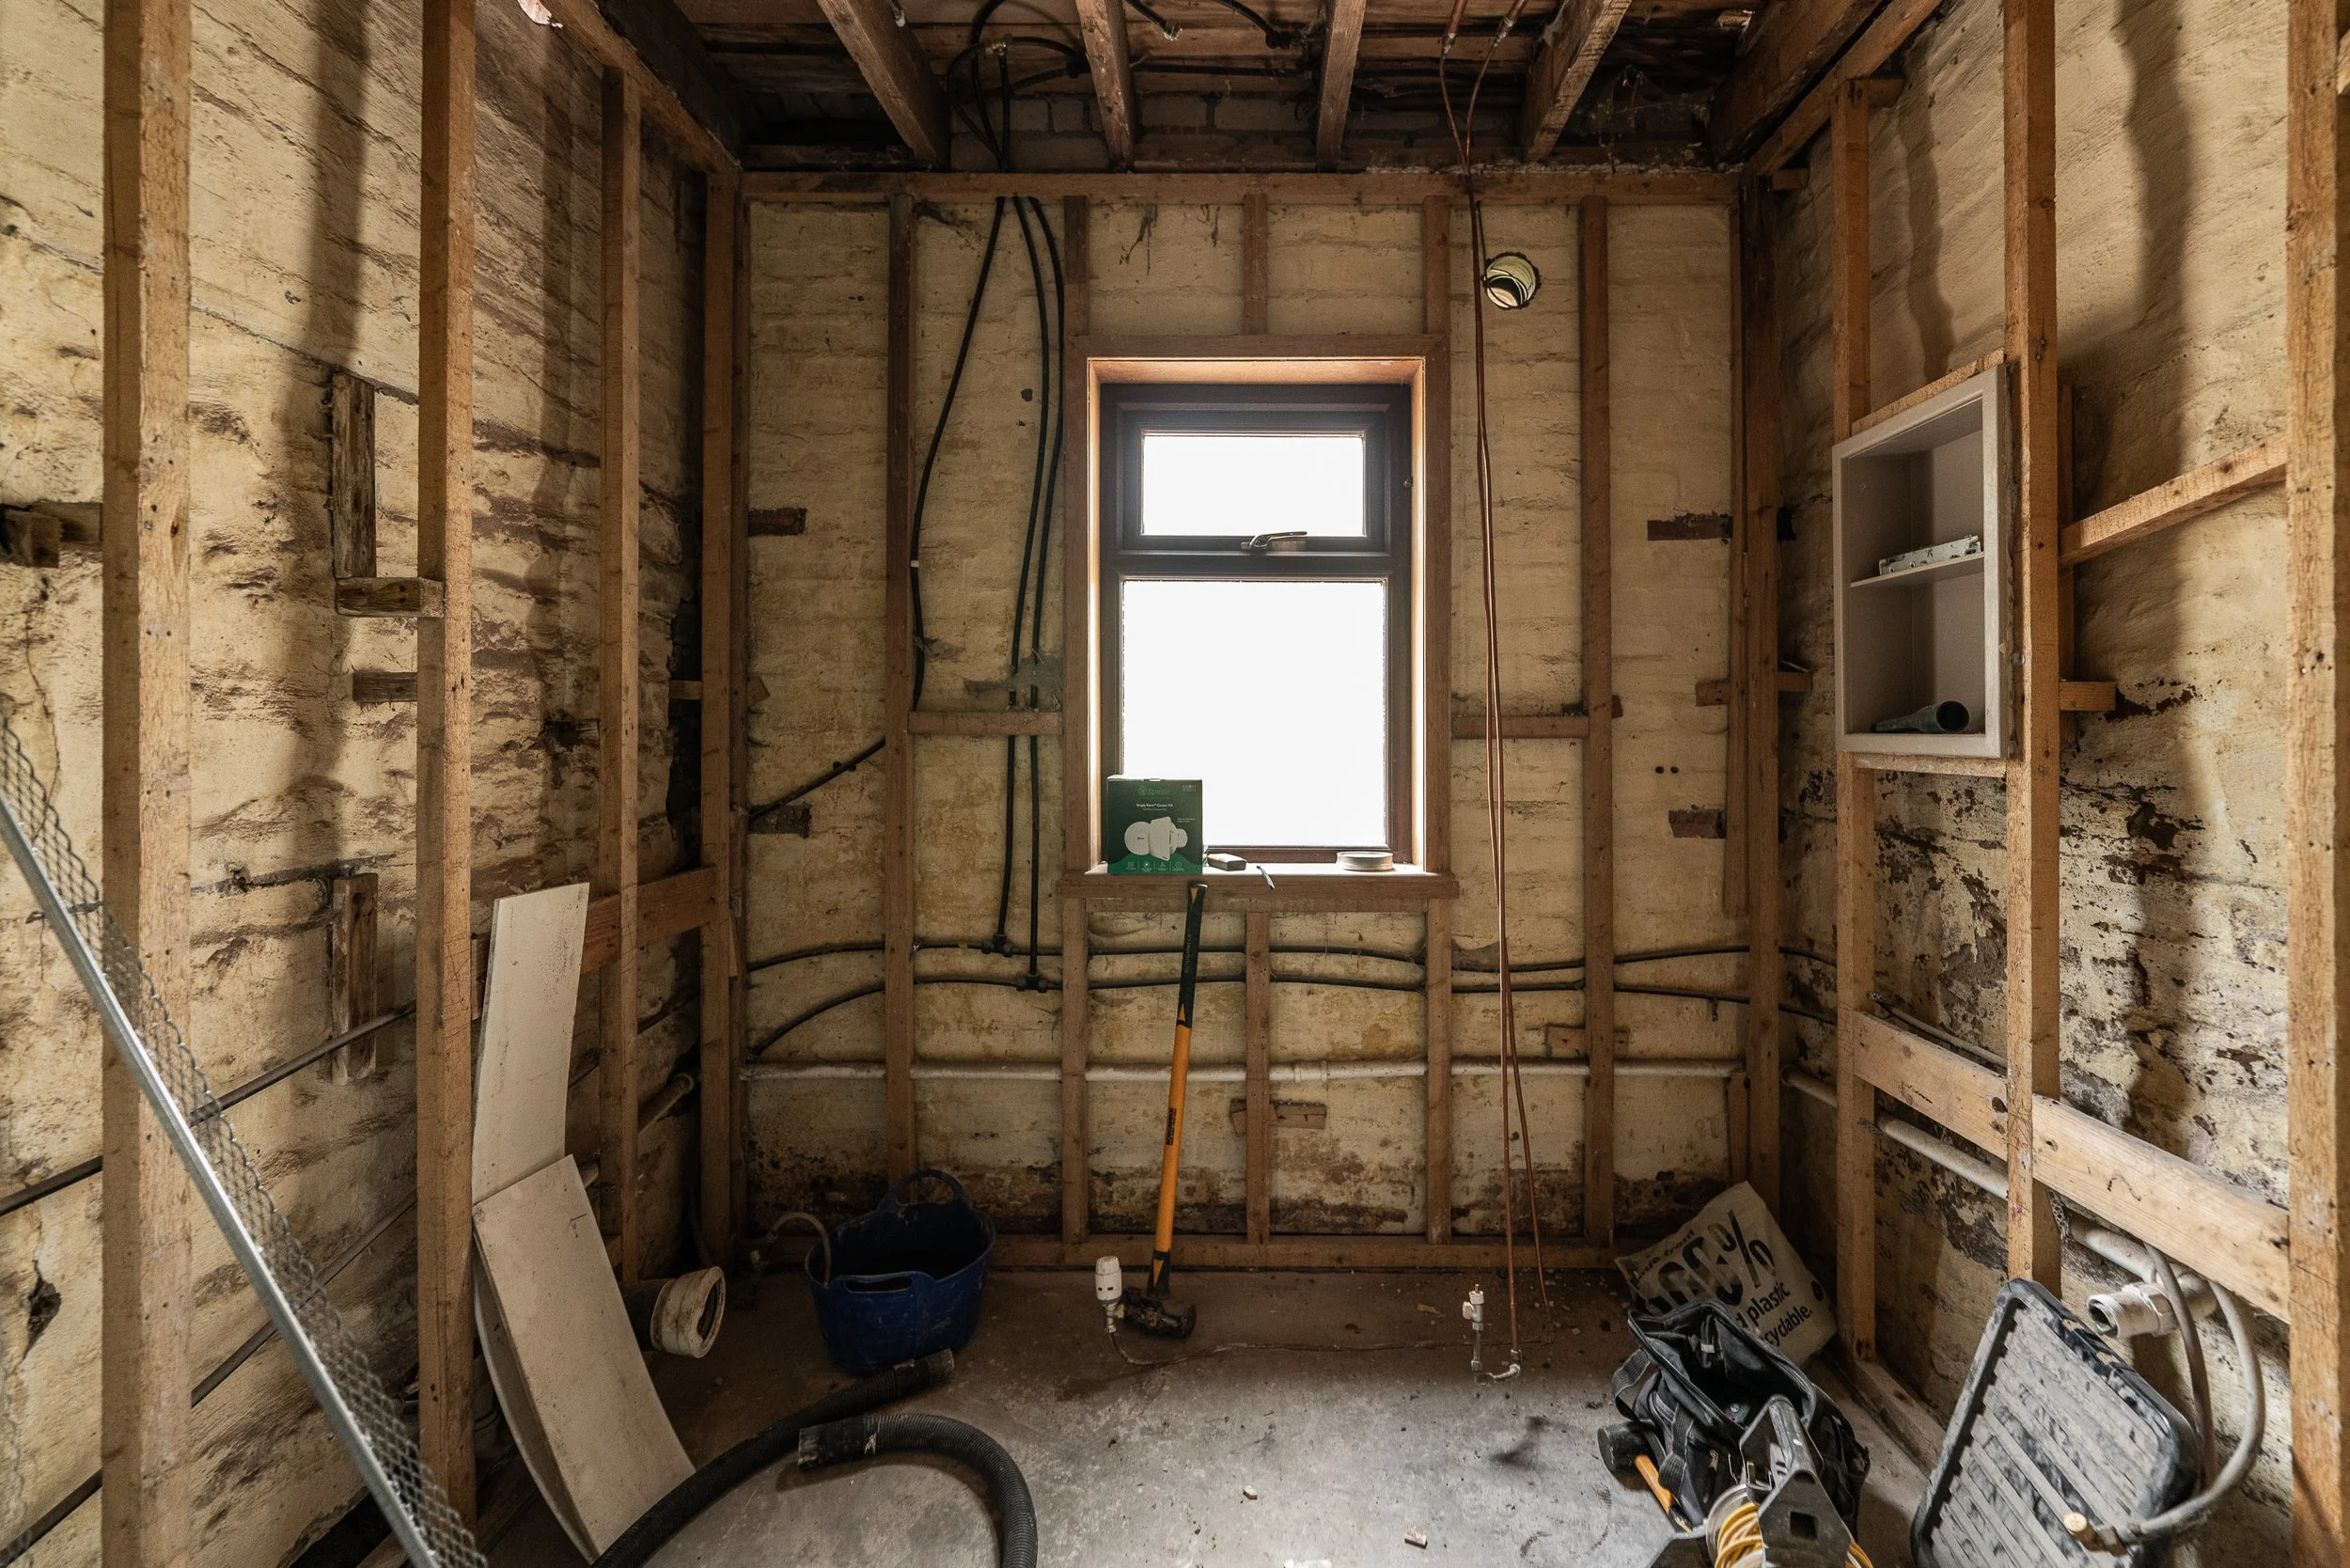
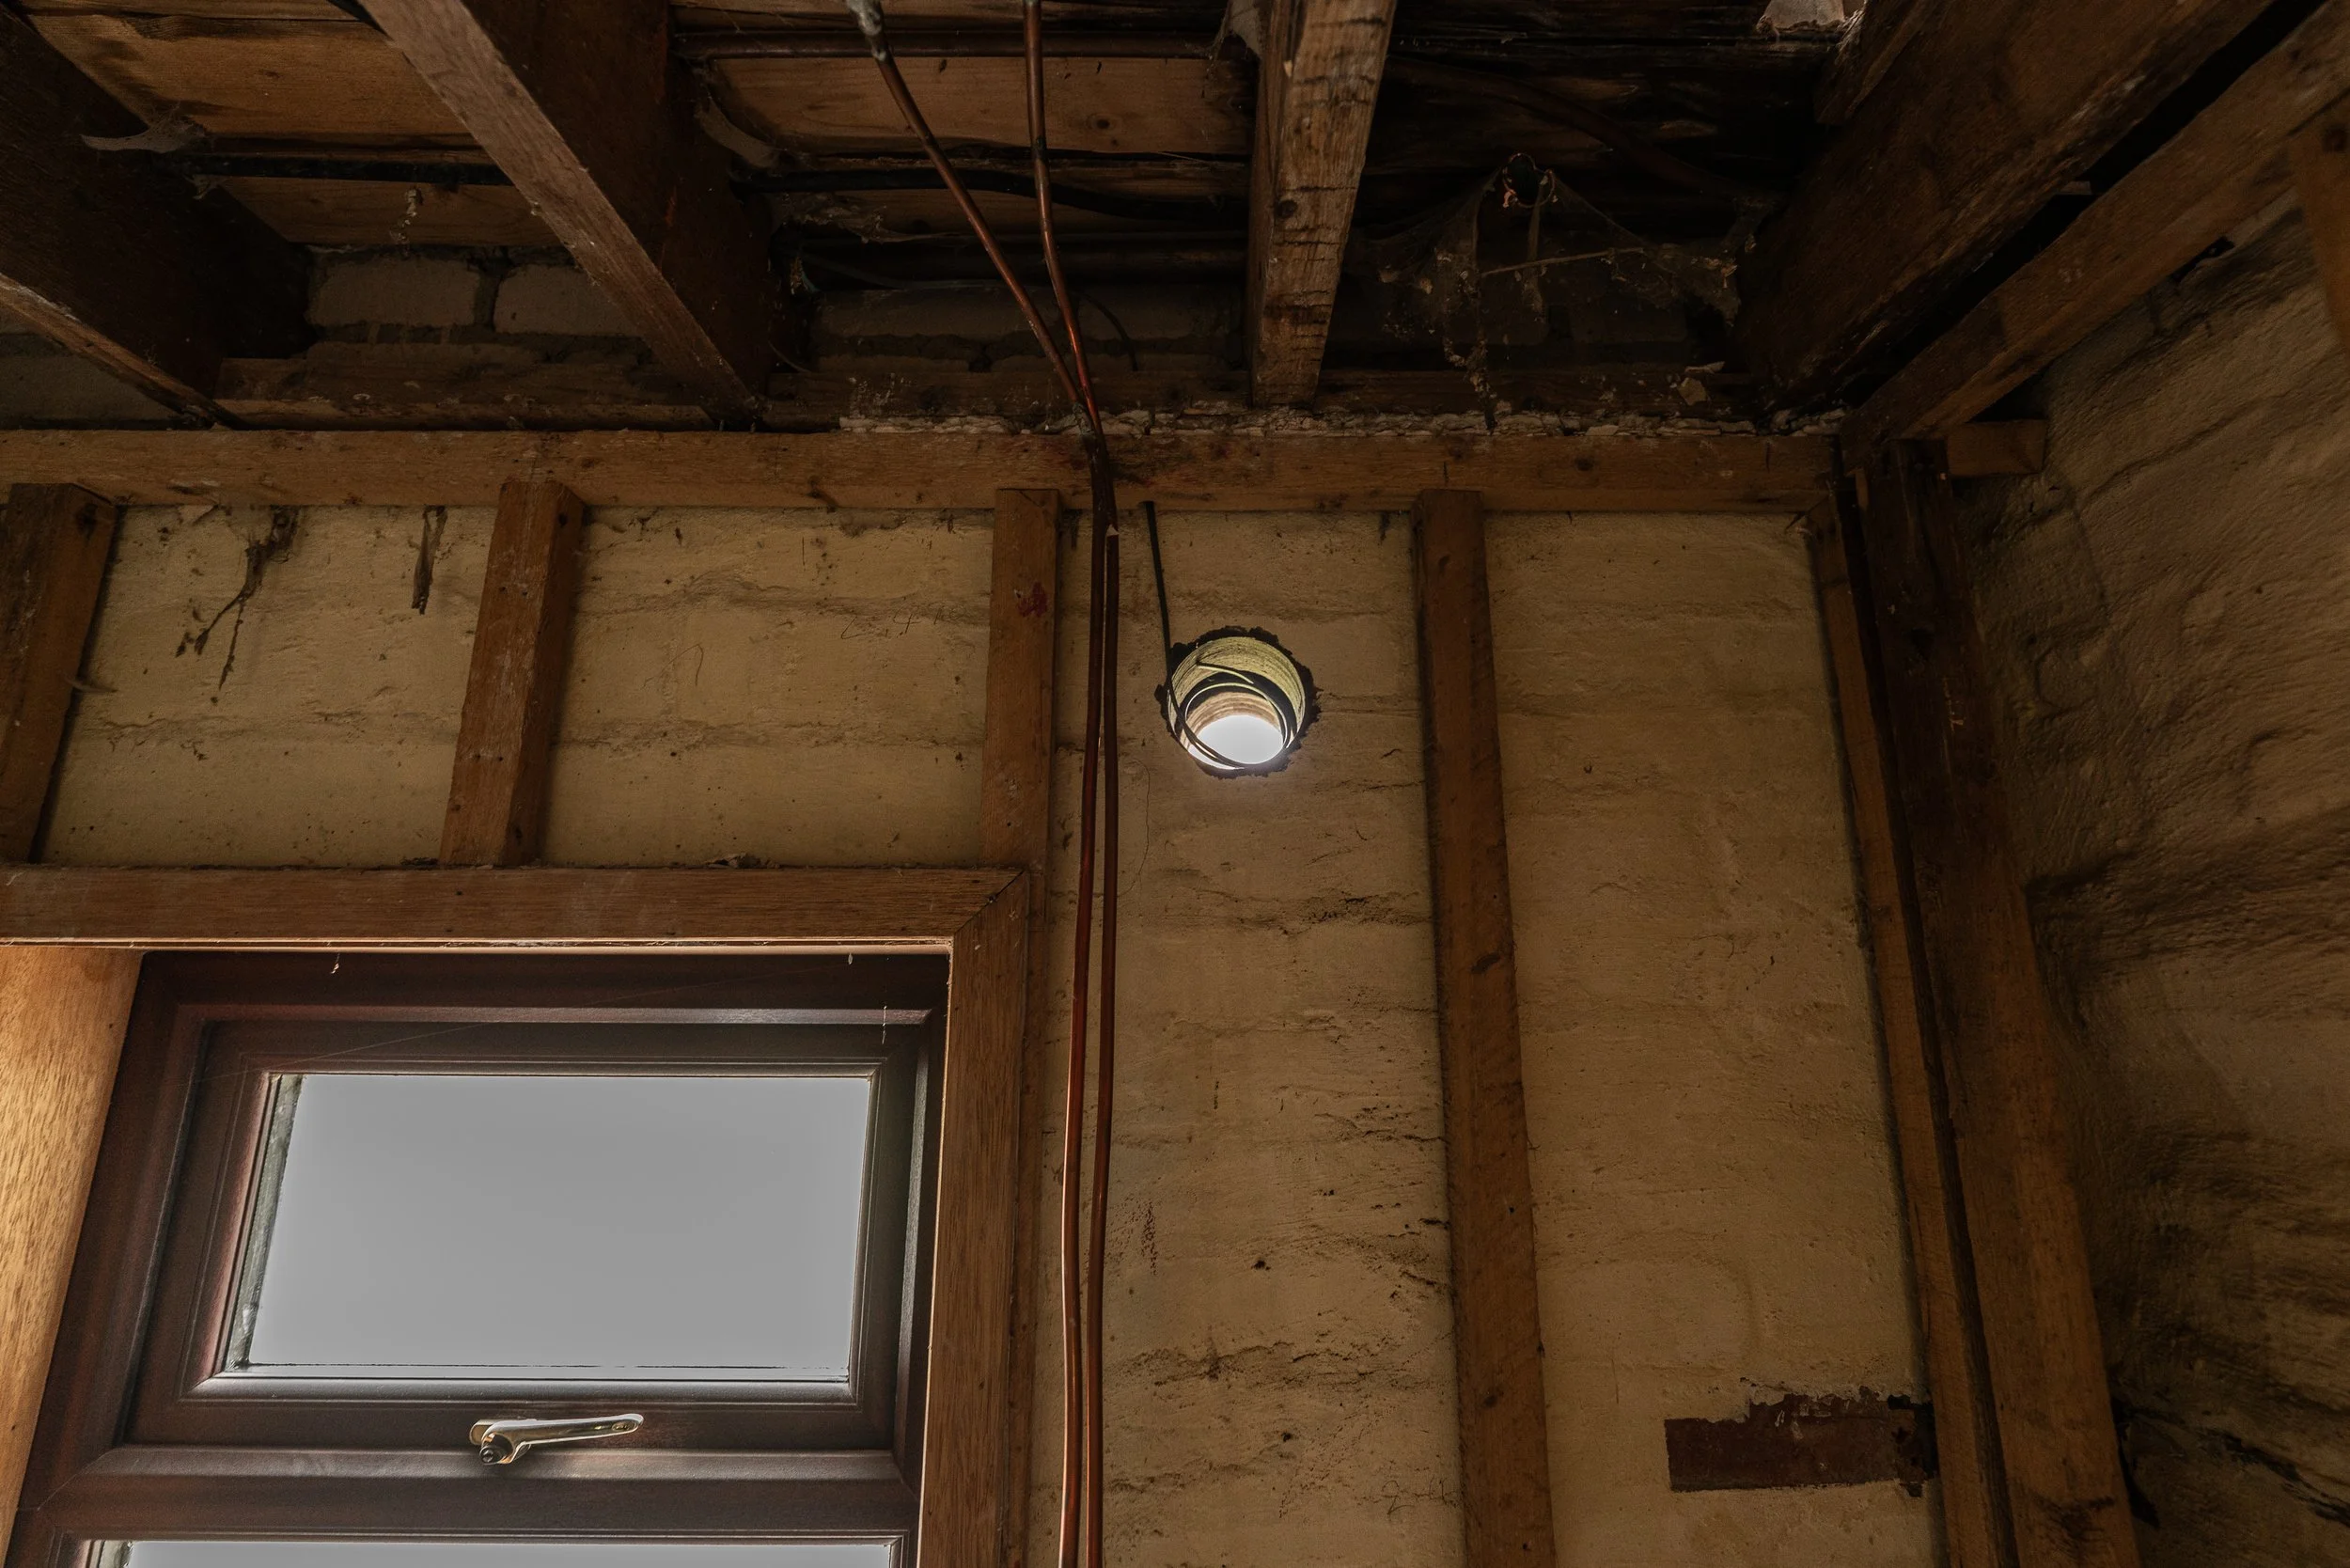
Circling back again into this room, the only thing that changed this week as we wait for flooring to arrive (yep, we picked!) and the finishing touches was that Dan filled all the screws in the ply floor, sanded it all down, and then coated it with primer to both seal the wood from any chance water ingress and helps the vinyl glue get a better adherence.
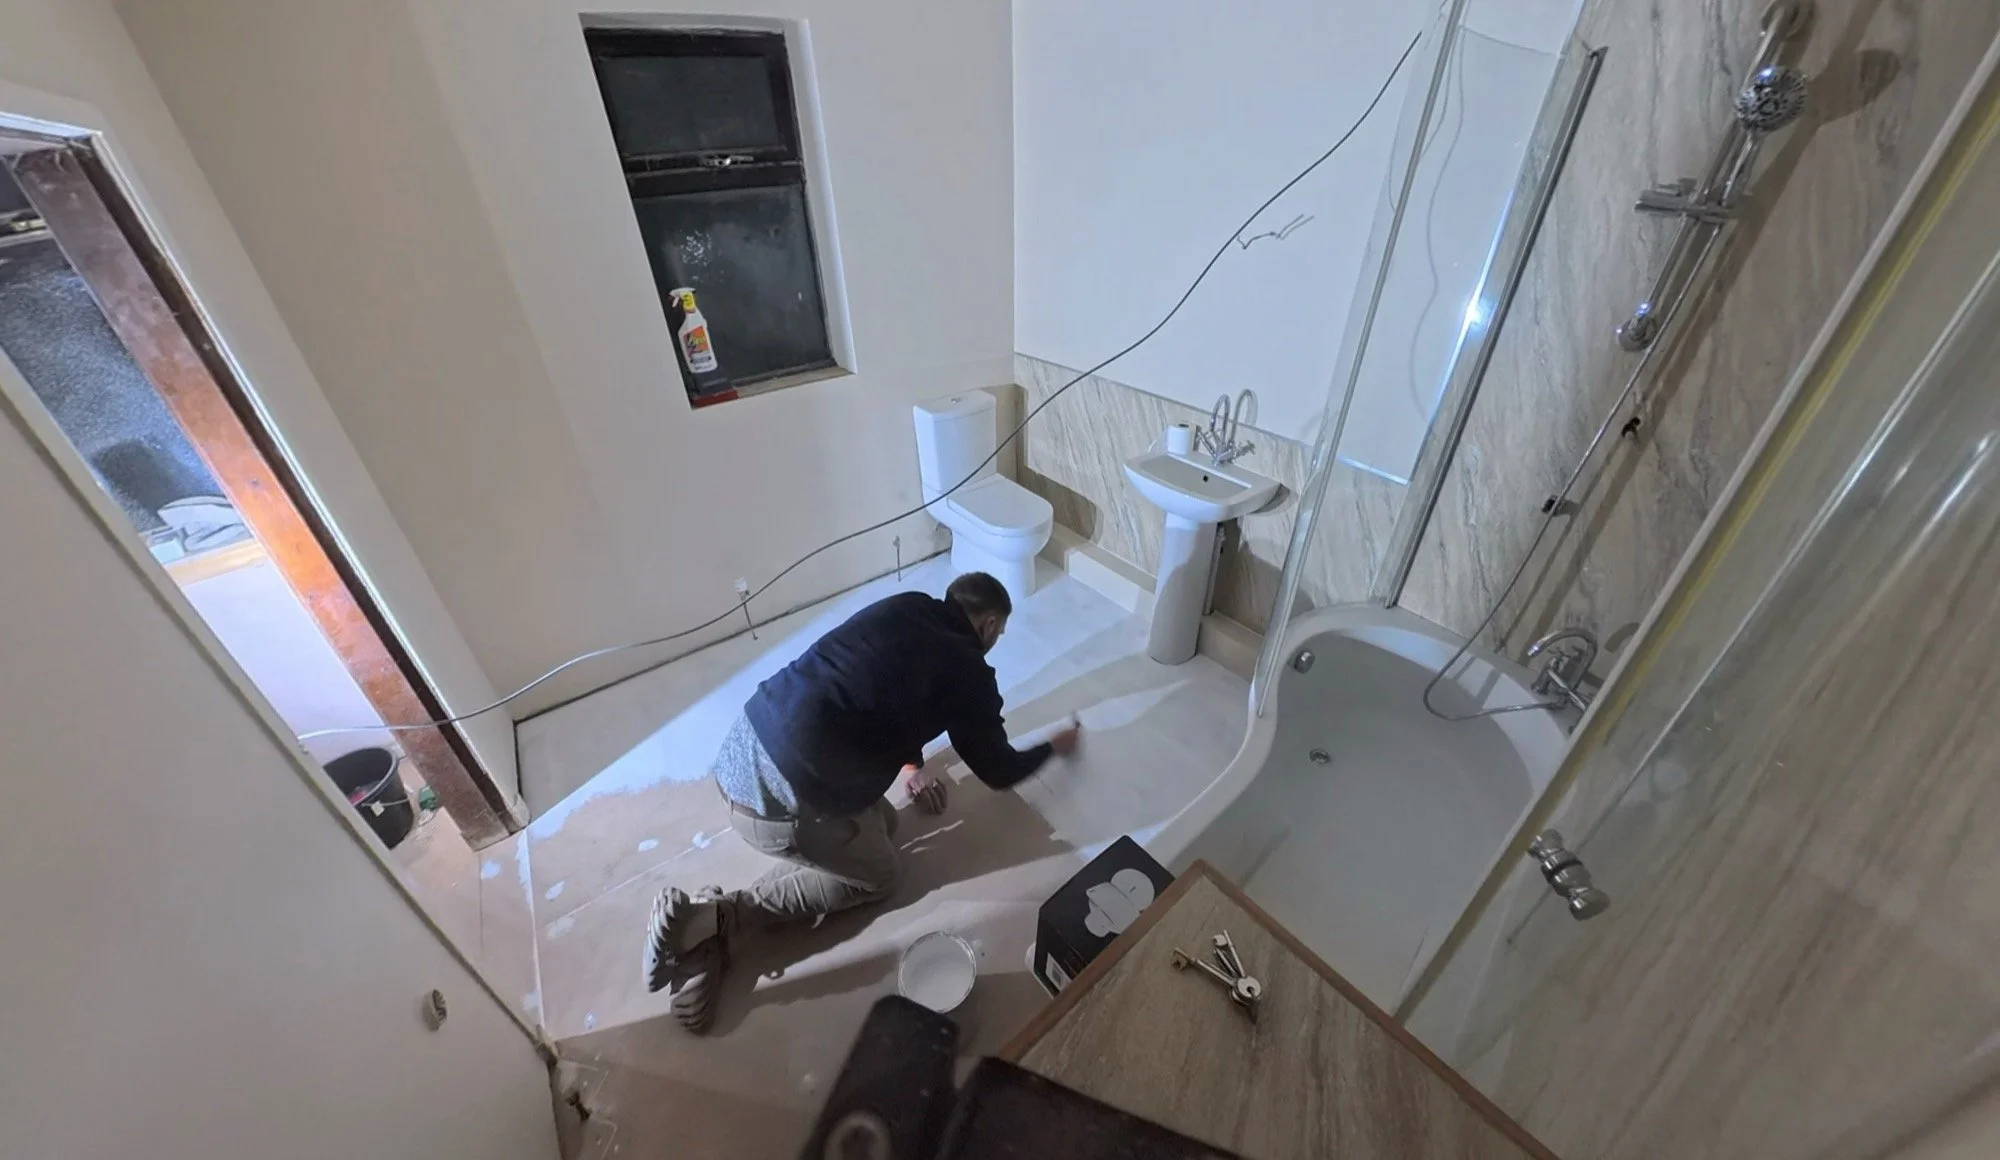
This week also saw the prep for electrical installs in here with the extractor and demist mirror on site. The room before that primer coat looked like this:
The Downstairs Bathroom
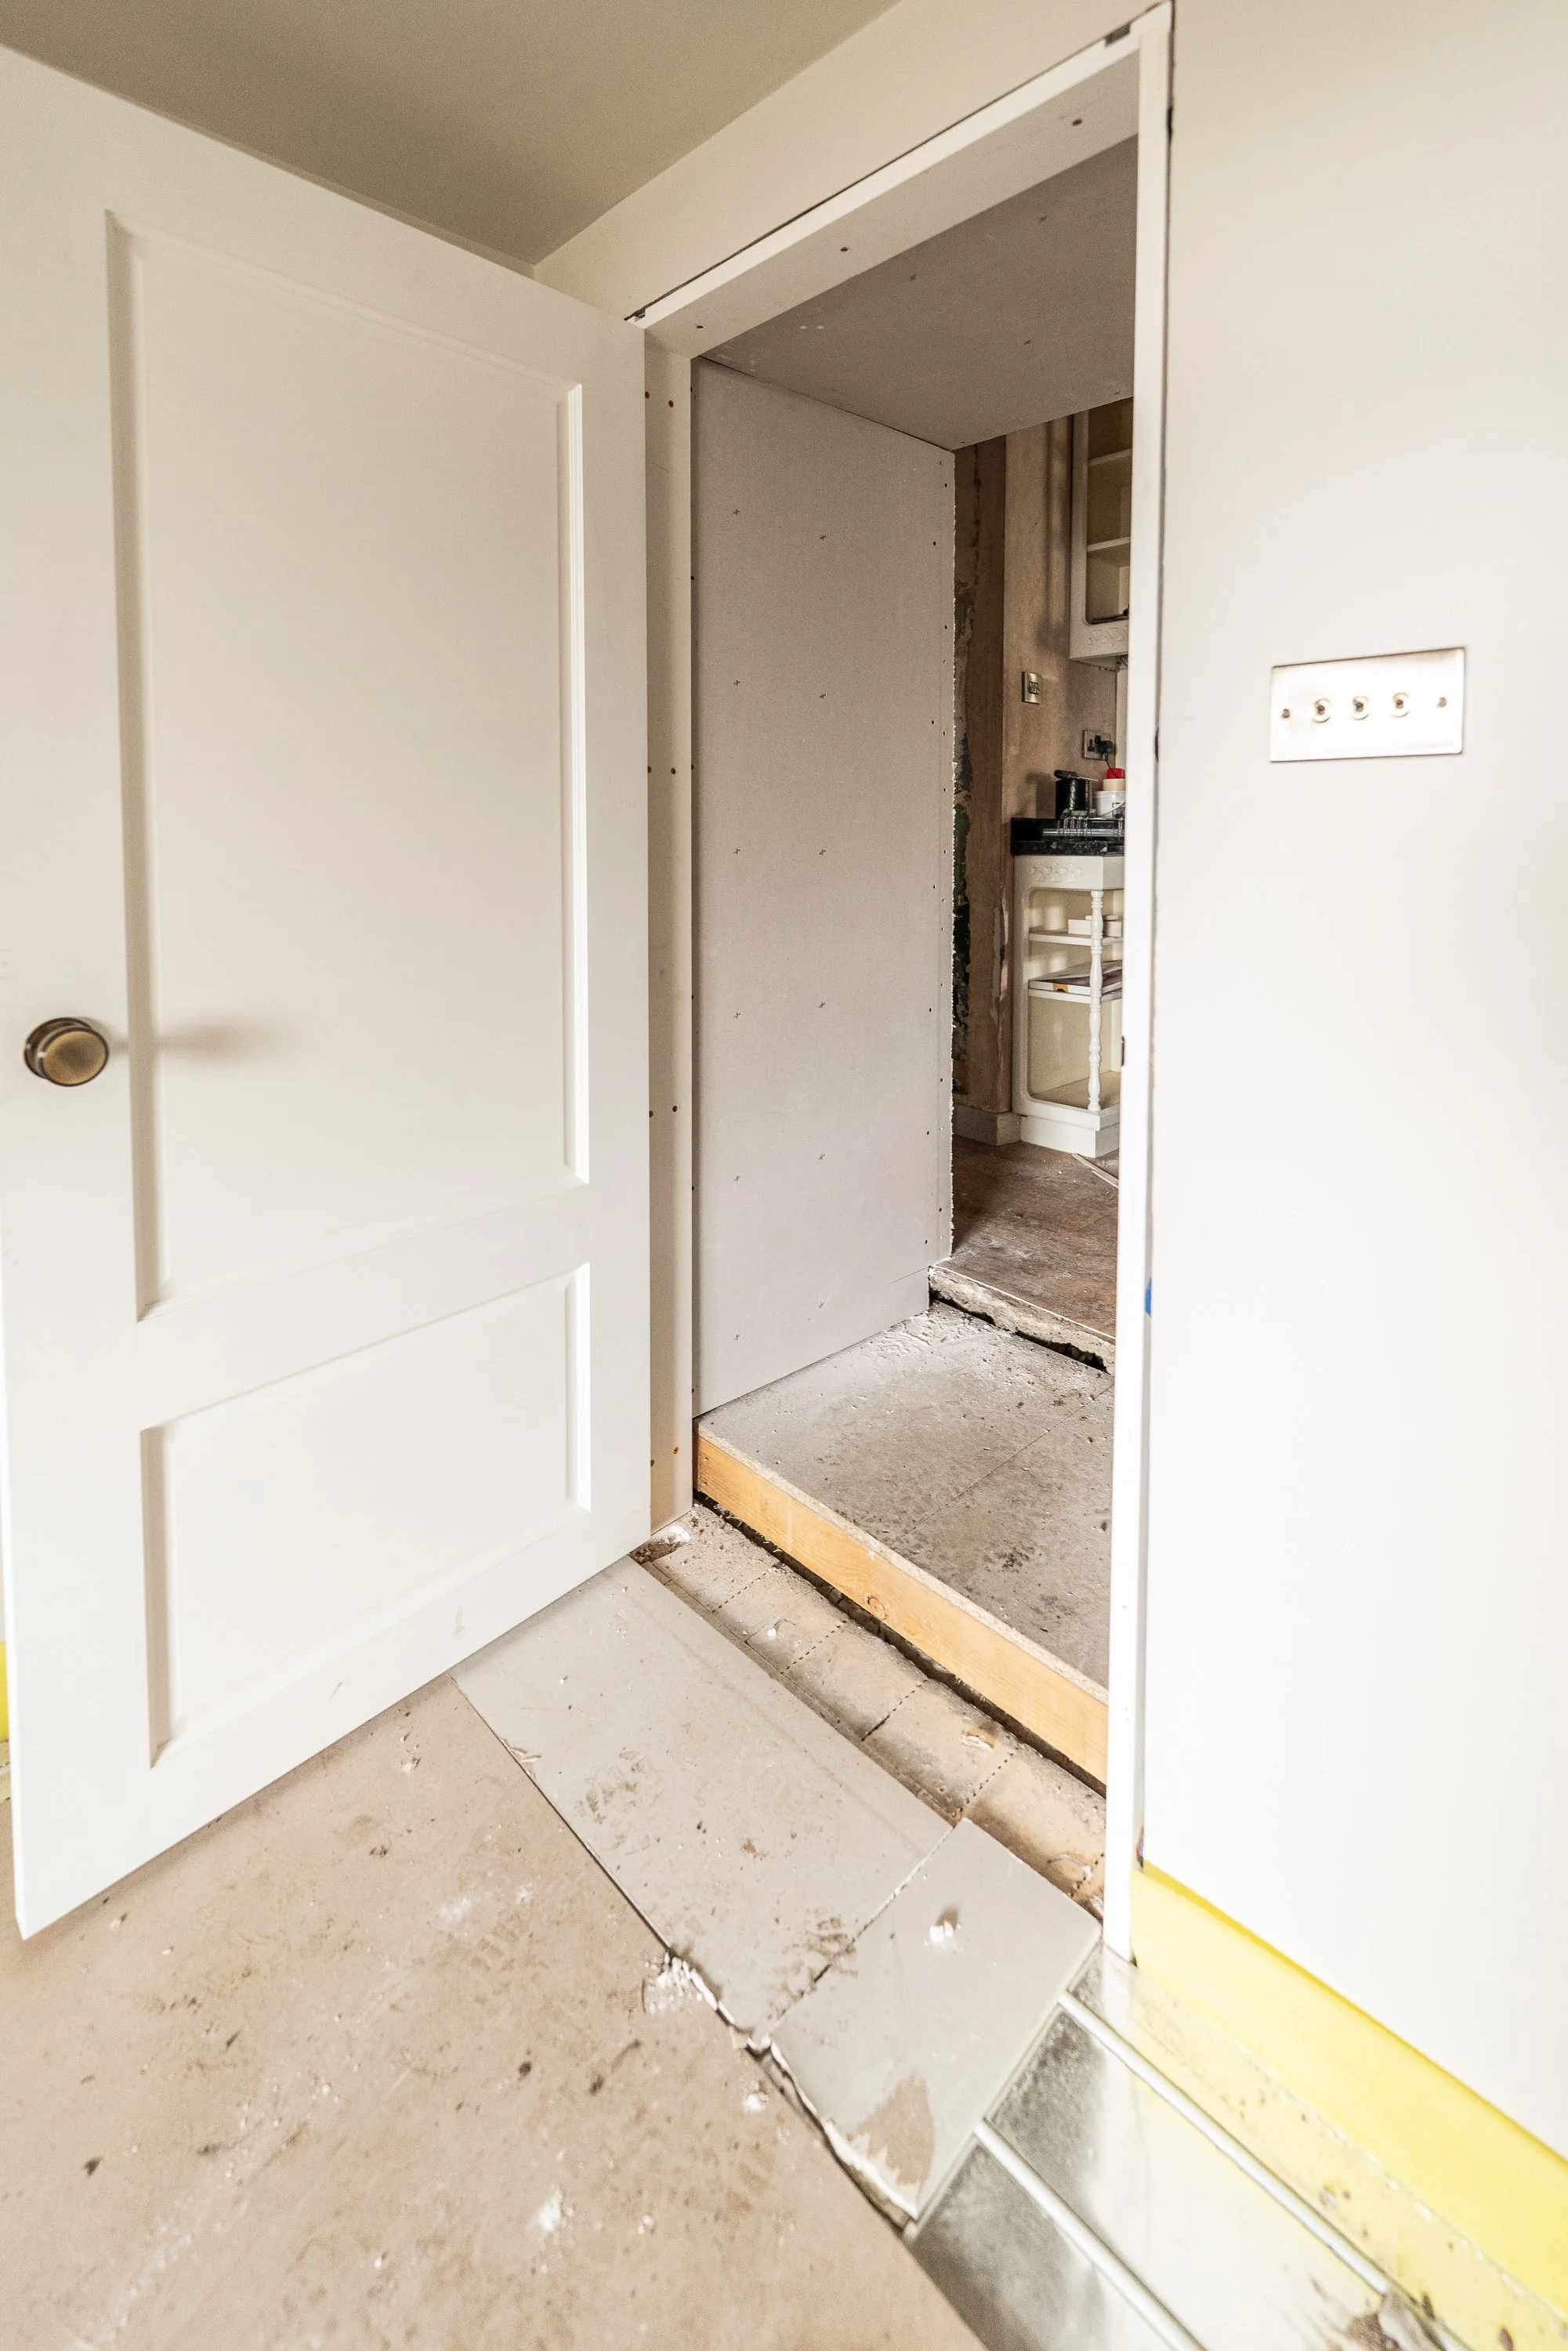
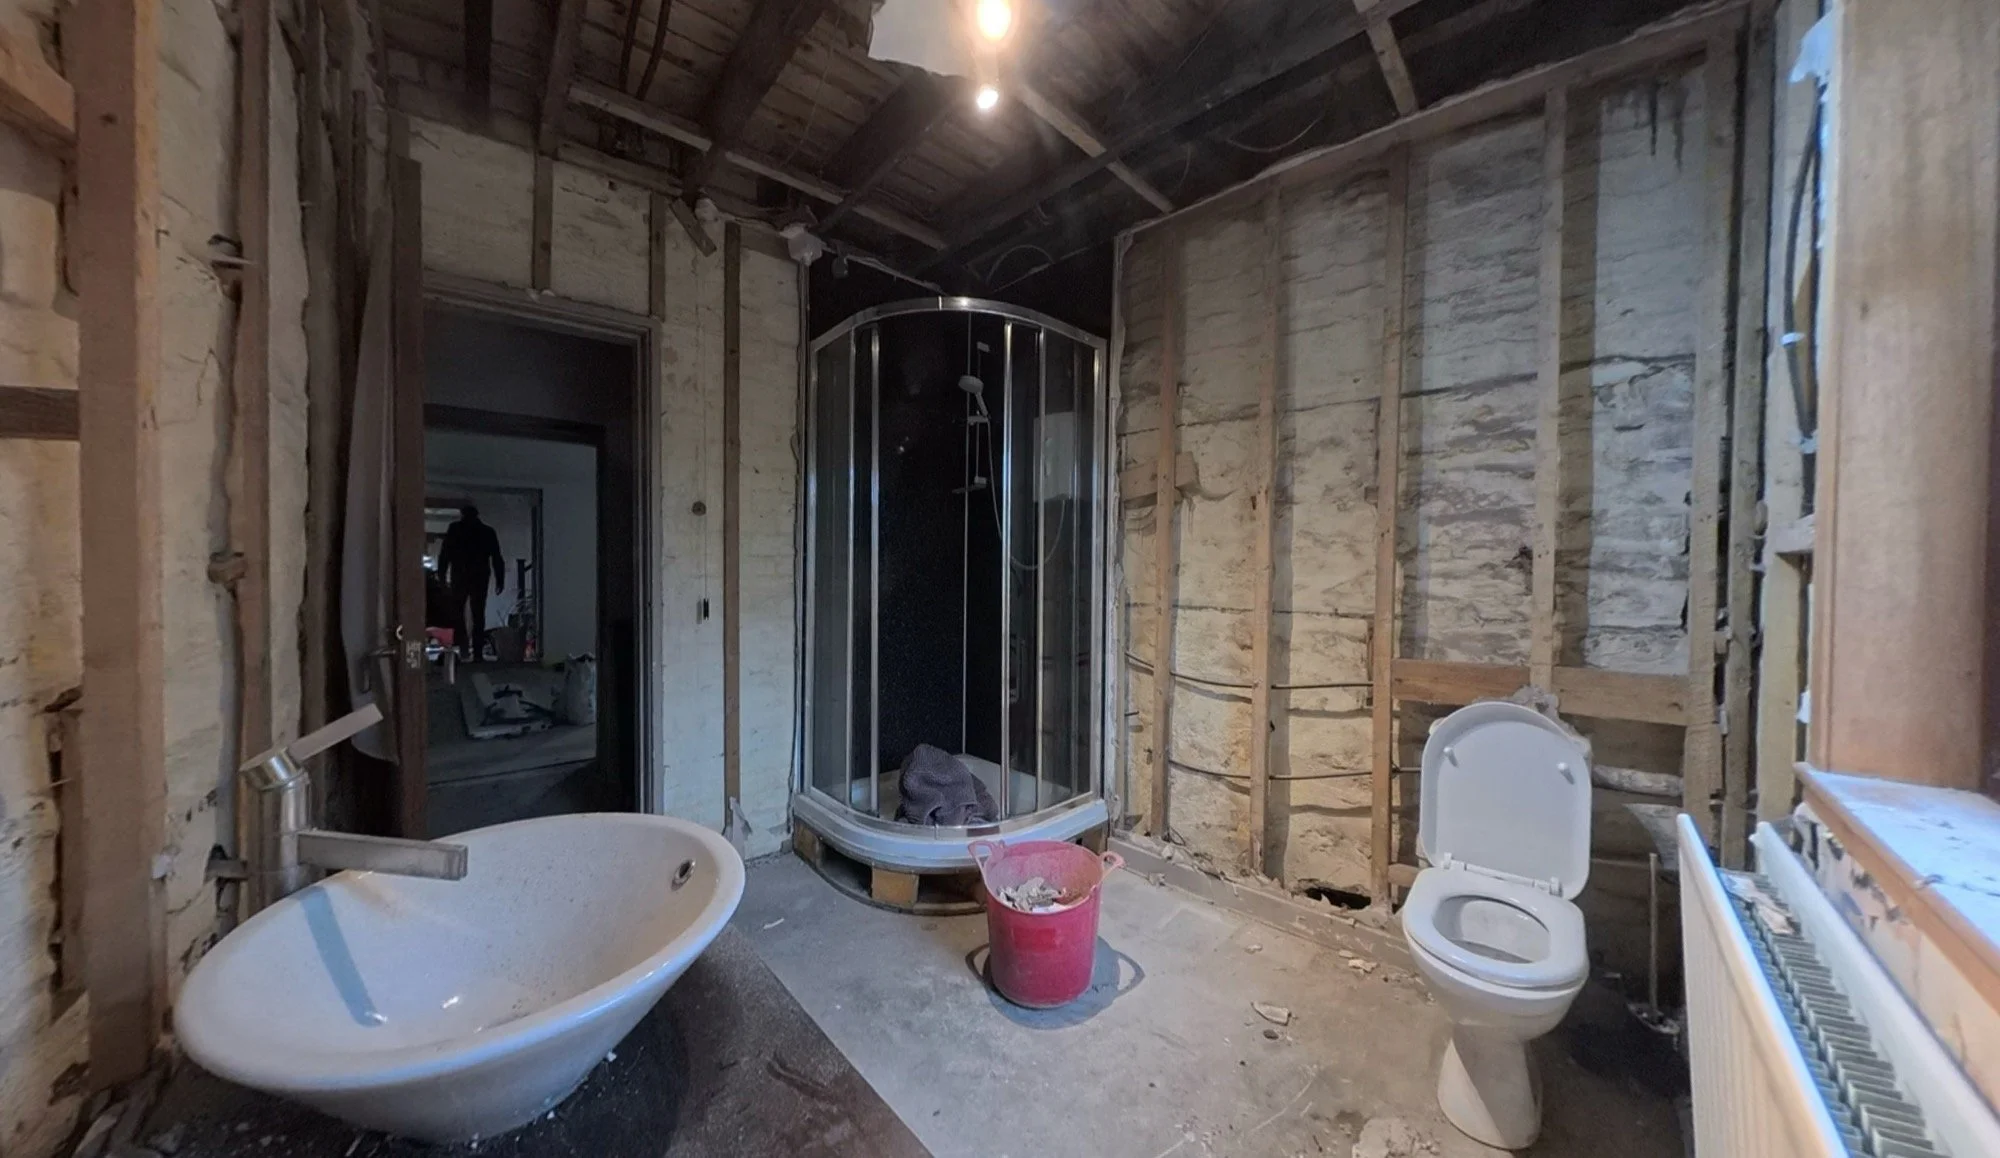
Heading immediately underneath the bathroom we’ve been following so far, we need to tackle the worst remaining room ASAP. This room did look bad when we moved in, it was soaking wet everywhere, even the stone walls were weeping. It’s ready for its mini-refresh transformation now.
Dan has about 1 week to get this turned around, but the wait for materials is going to press it tight. This week, Dan managed to get the following completed:
A clear out of “stuff”
Removal of the remaining skirting boards and unnecessary stud work
Temporary removal of the sink and toilet
Permanent removal of the old cast-iron poop pipe that still remained here
Drilling a hole for the extractor fan in here
Kenny the Electrician was also on site for half day to run first fix for the extractor, and to chase the light switch outside of the room instead of leaving it on a pull cord internally. The electric shower will remain in-situ, so we have to make do with black as a base for the scheme!


The Wet Dog Room
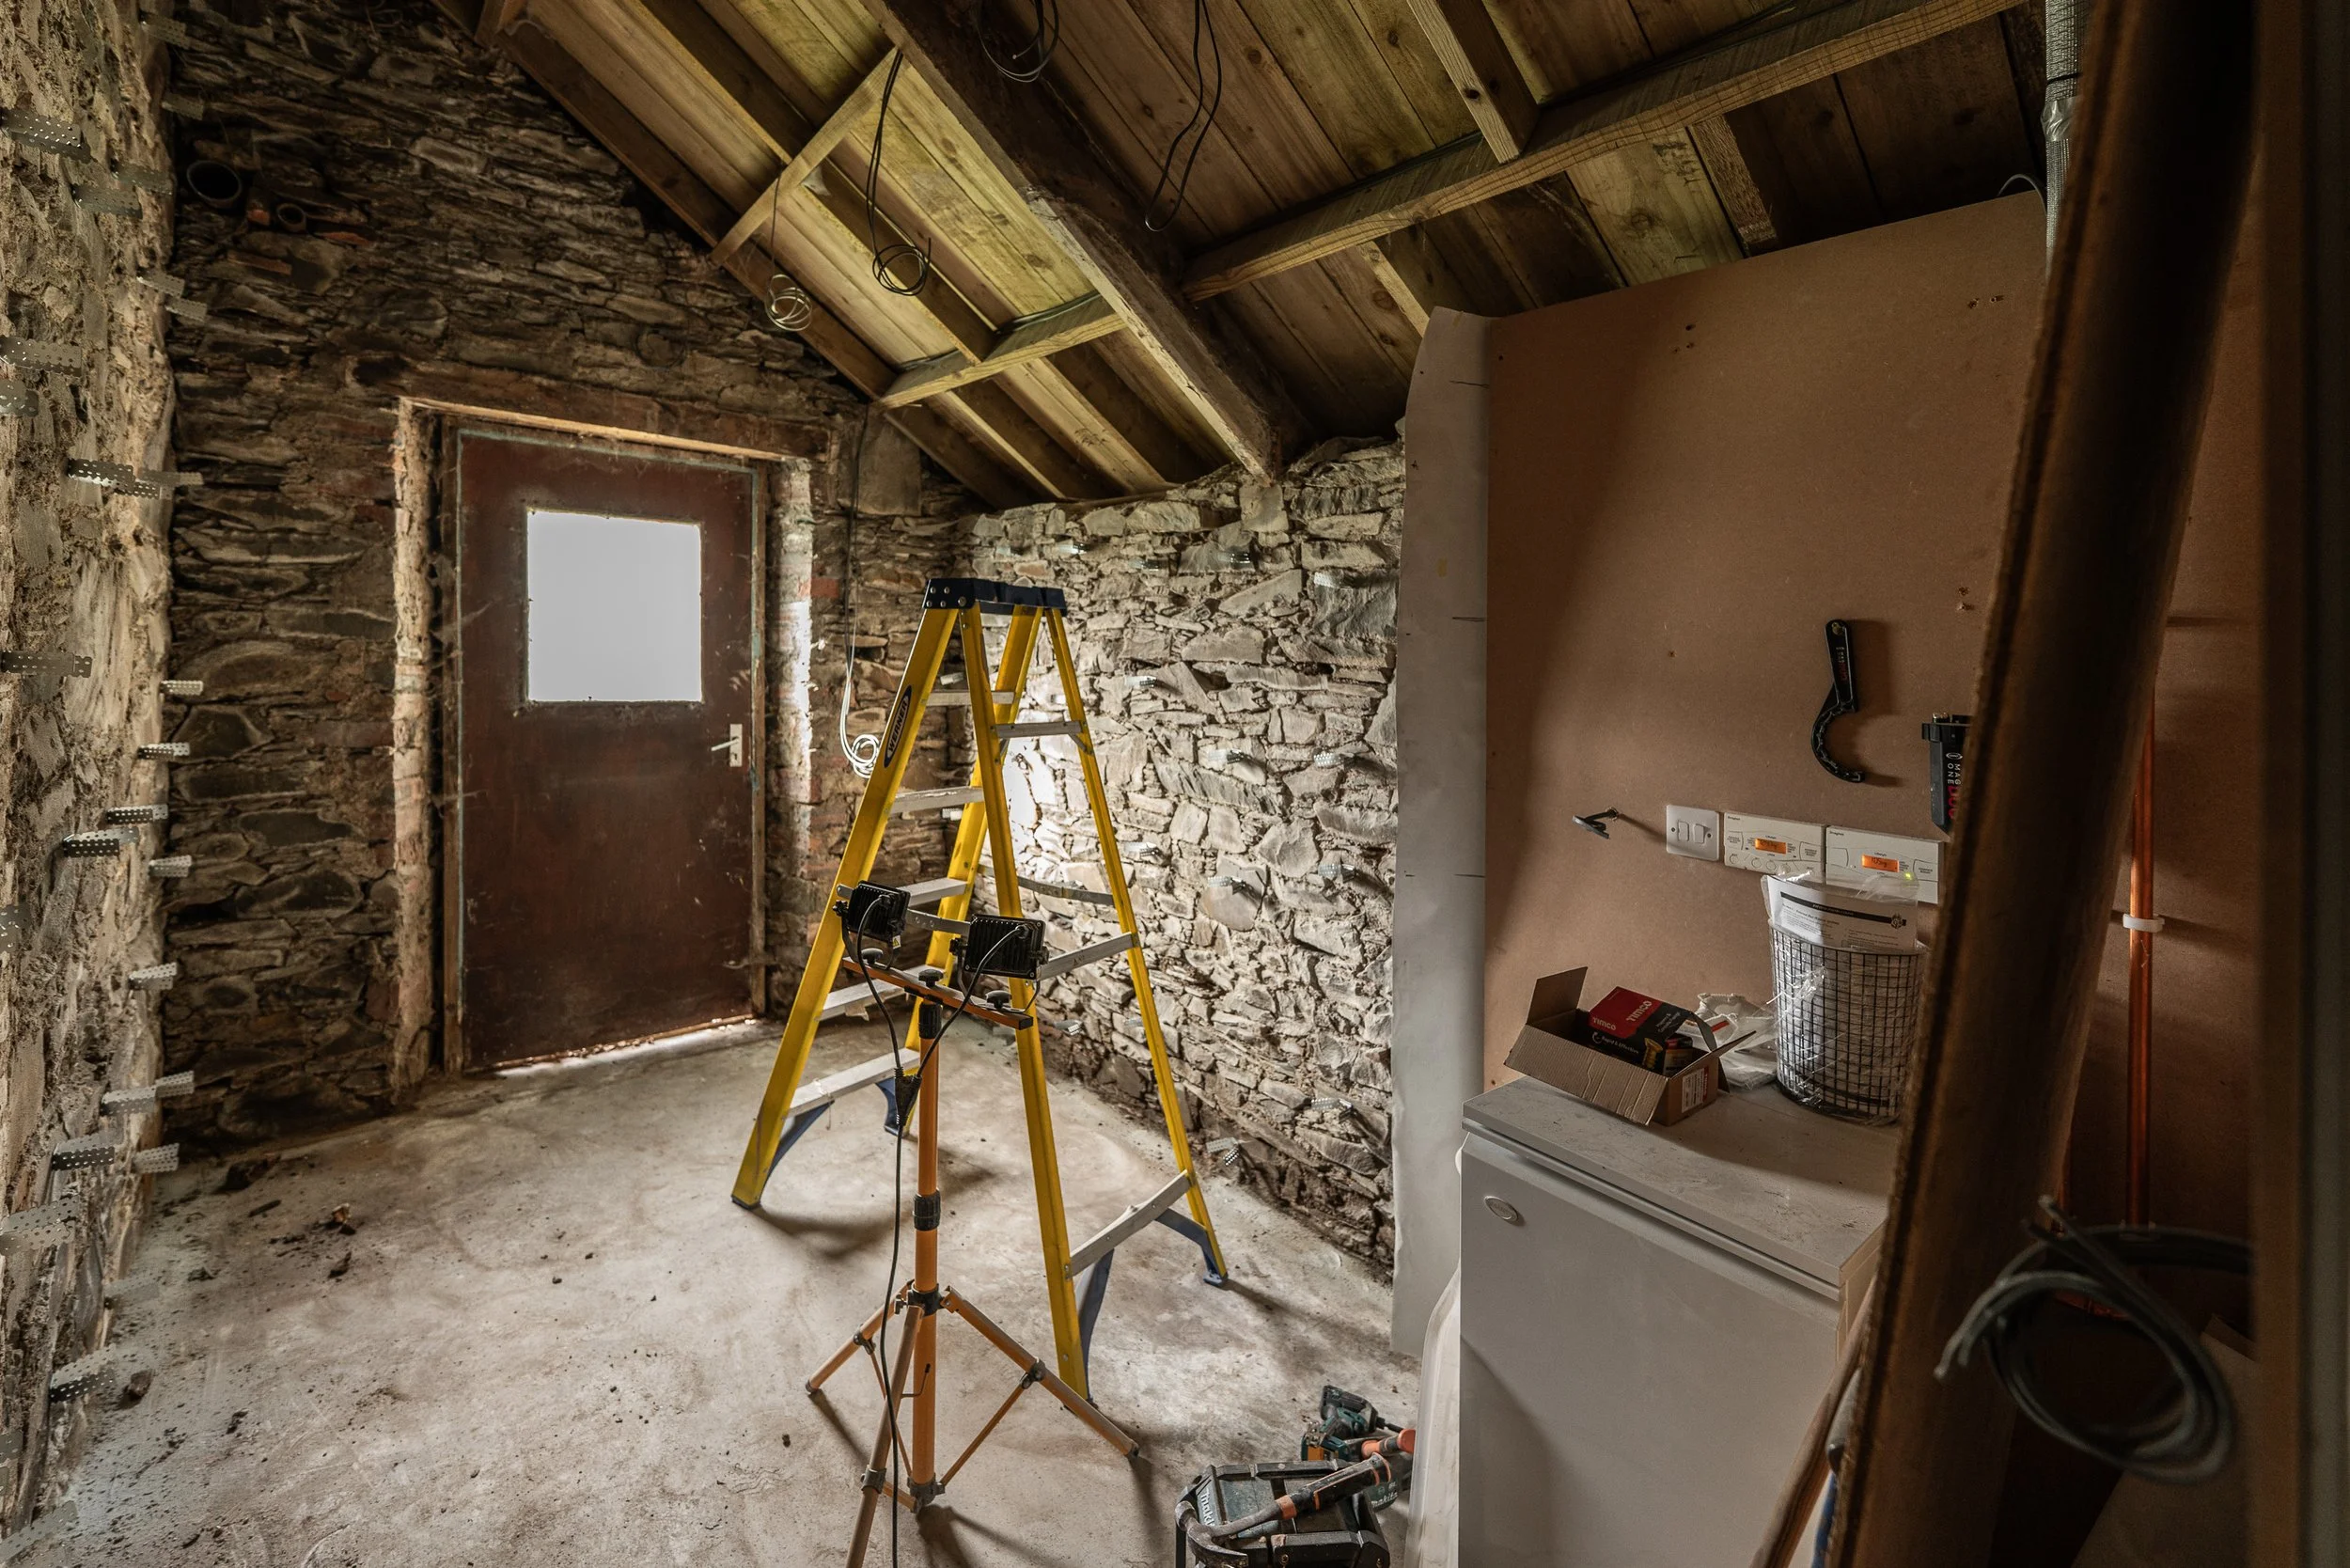
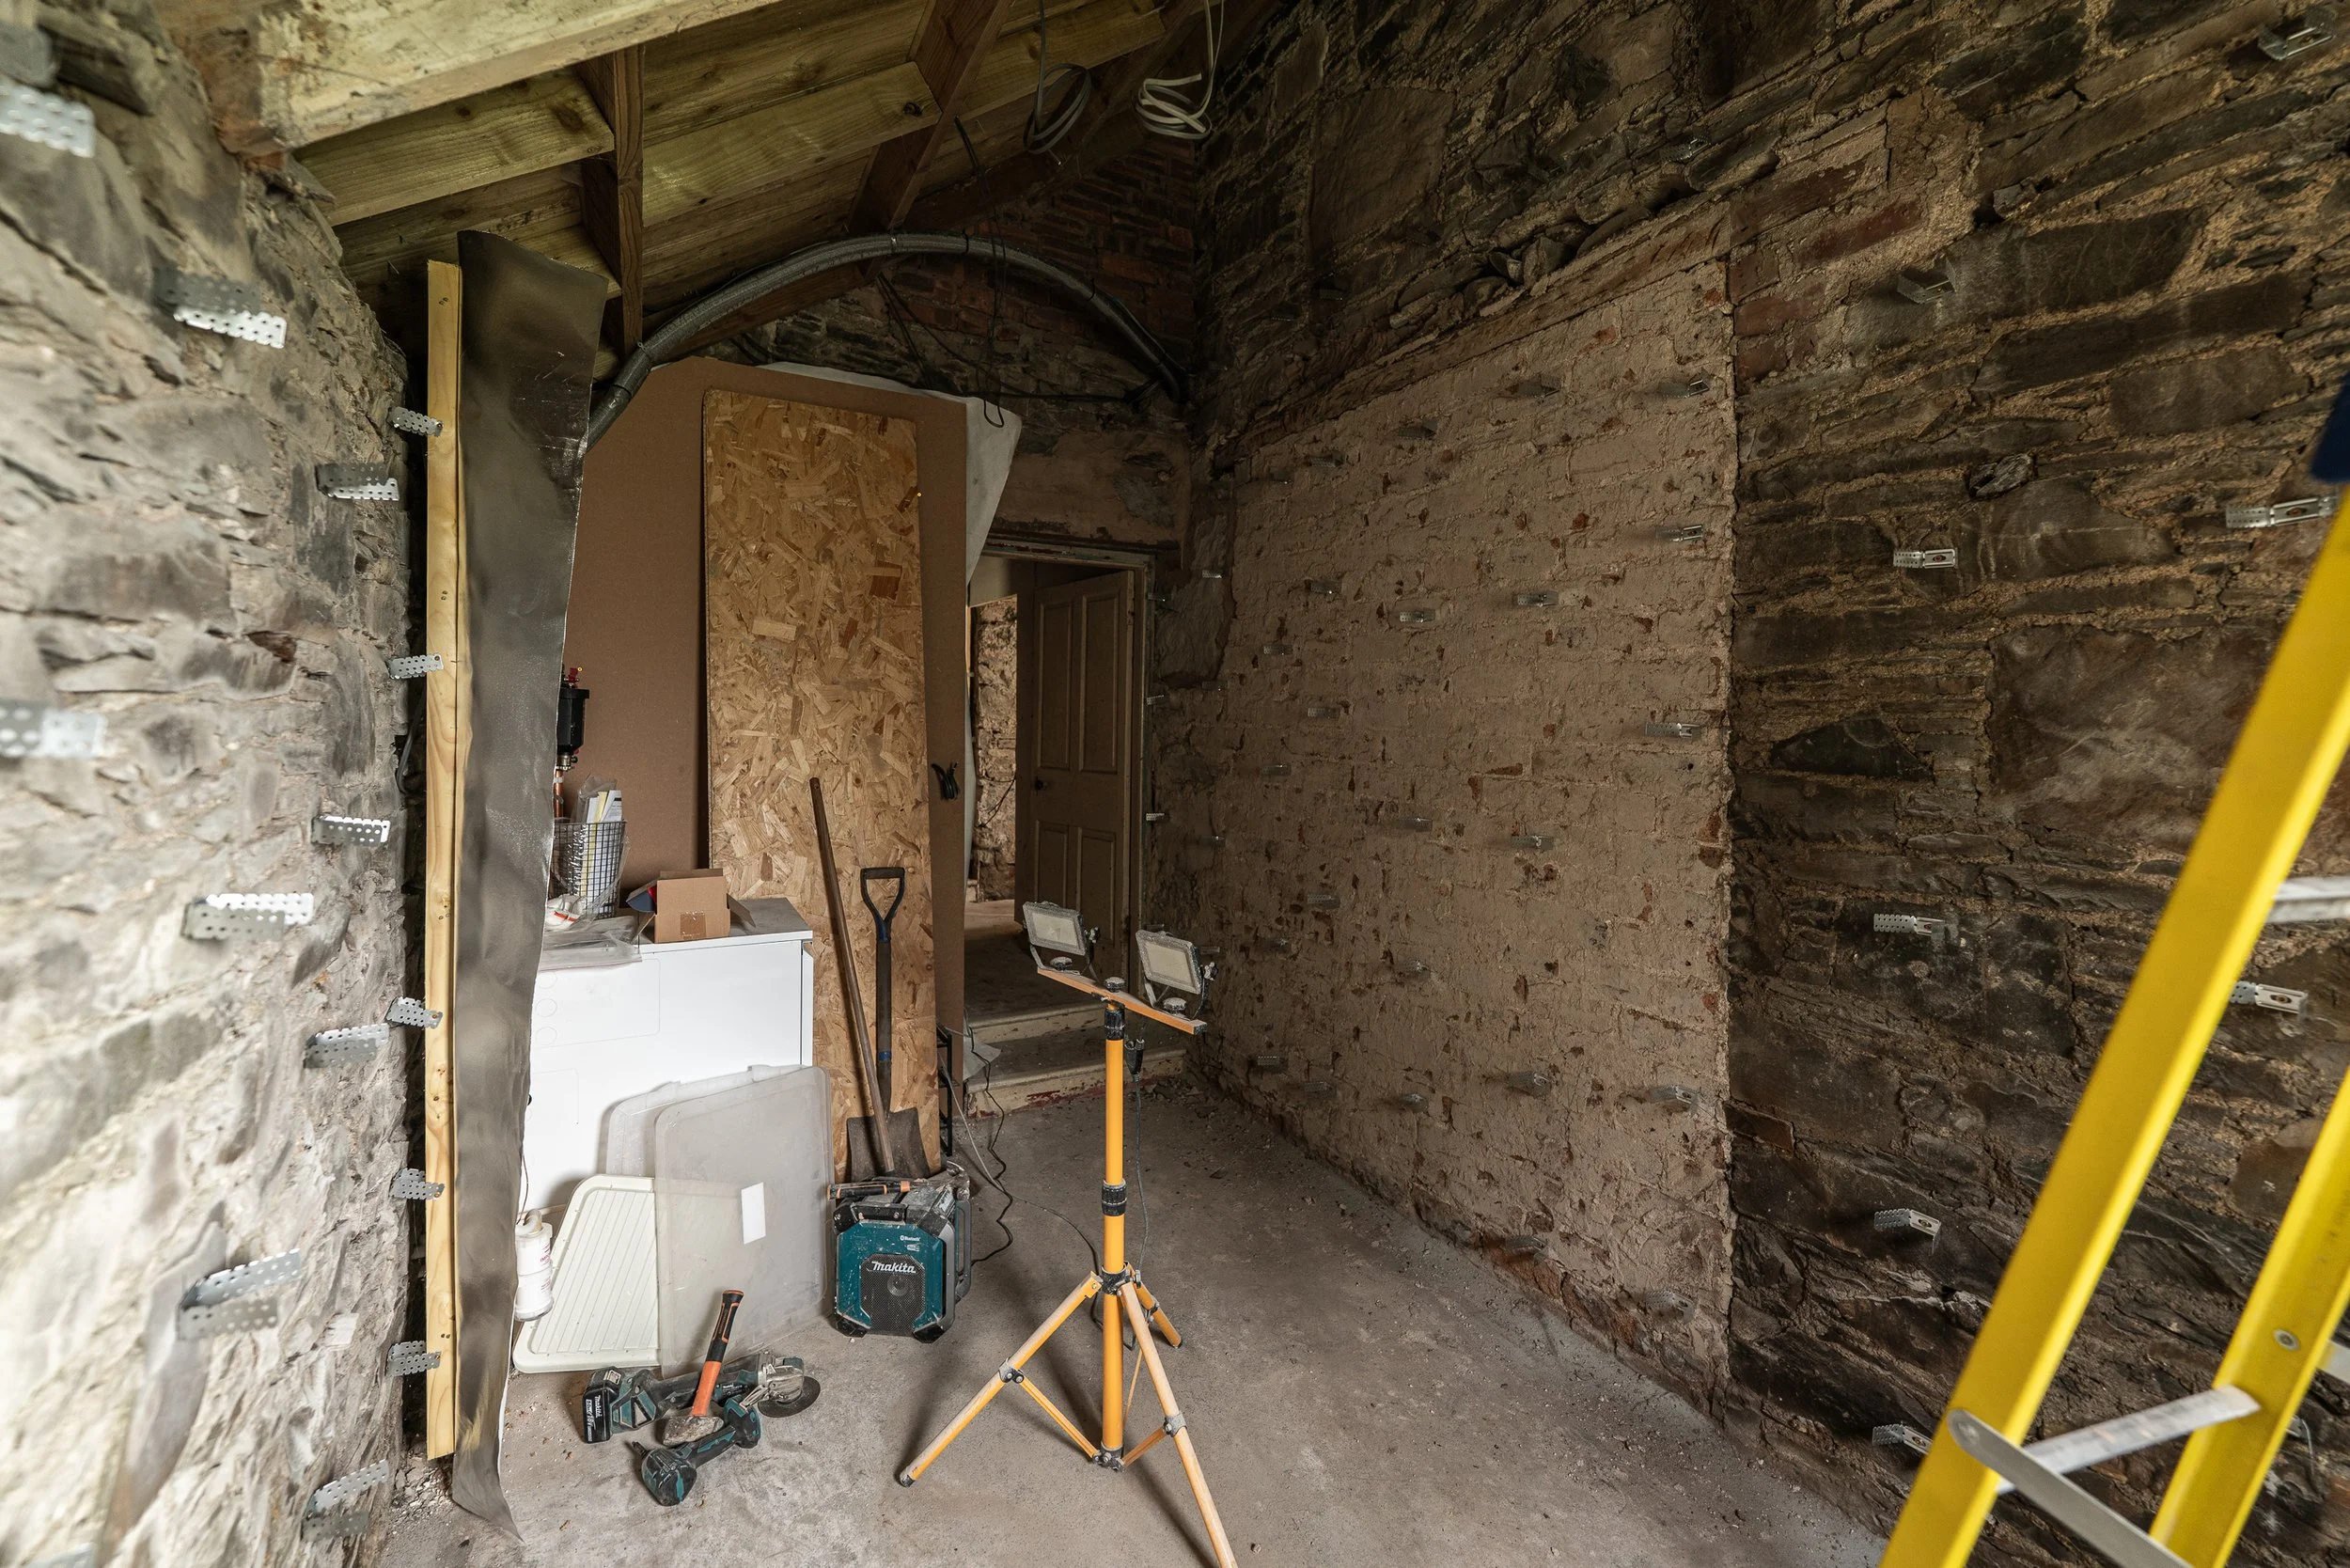
The biggest beast to tackle is the new Wet Dog Room, not to be confused with a dog wet room. Whilst we may add an inline extractor to this room too in the future, for now we’re on absolute speed to get this semi-complete by the end of next weekend (ish) because we gotta move into here for a bit with 5 dogs and mud everywhere.
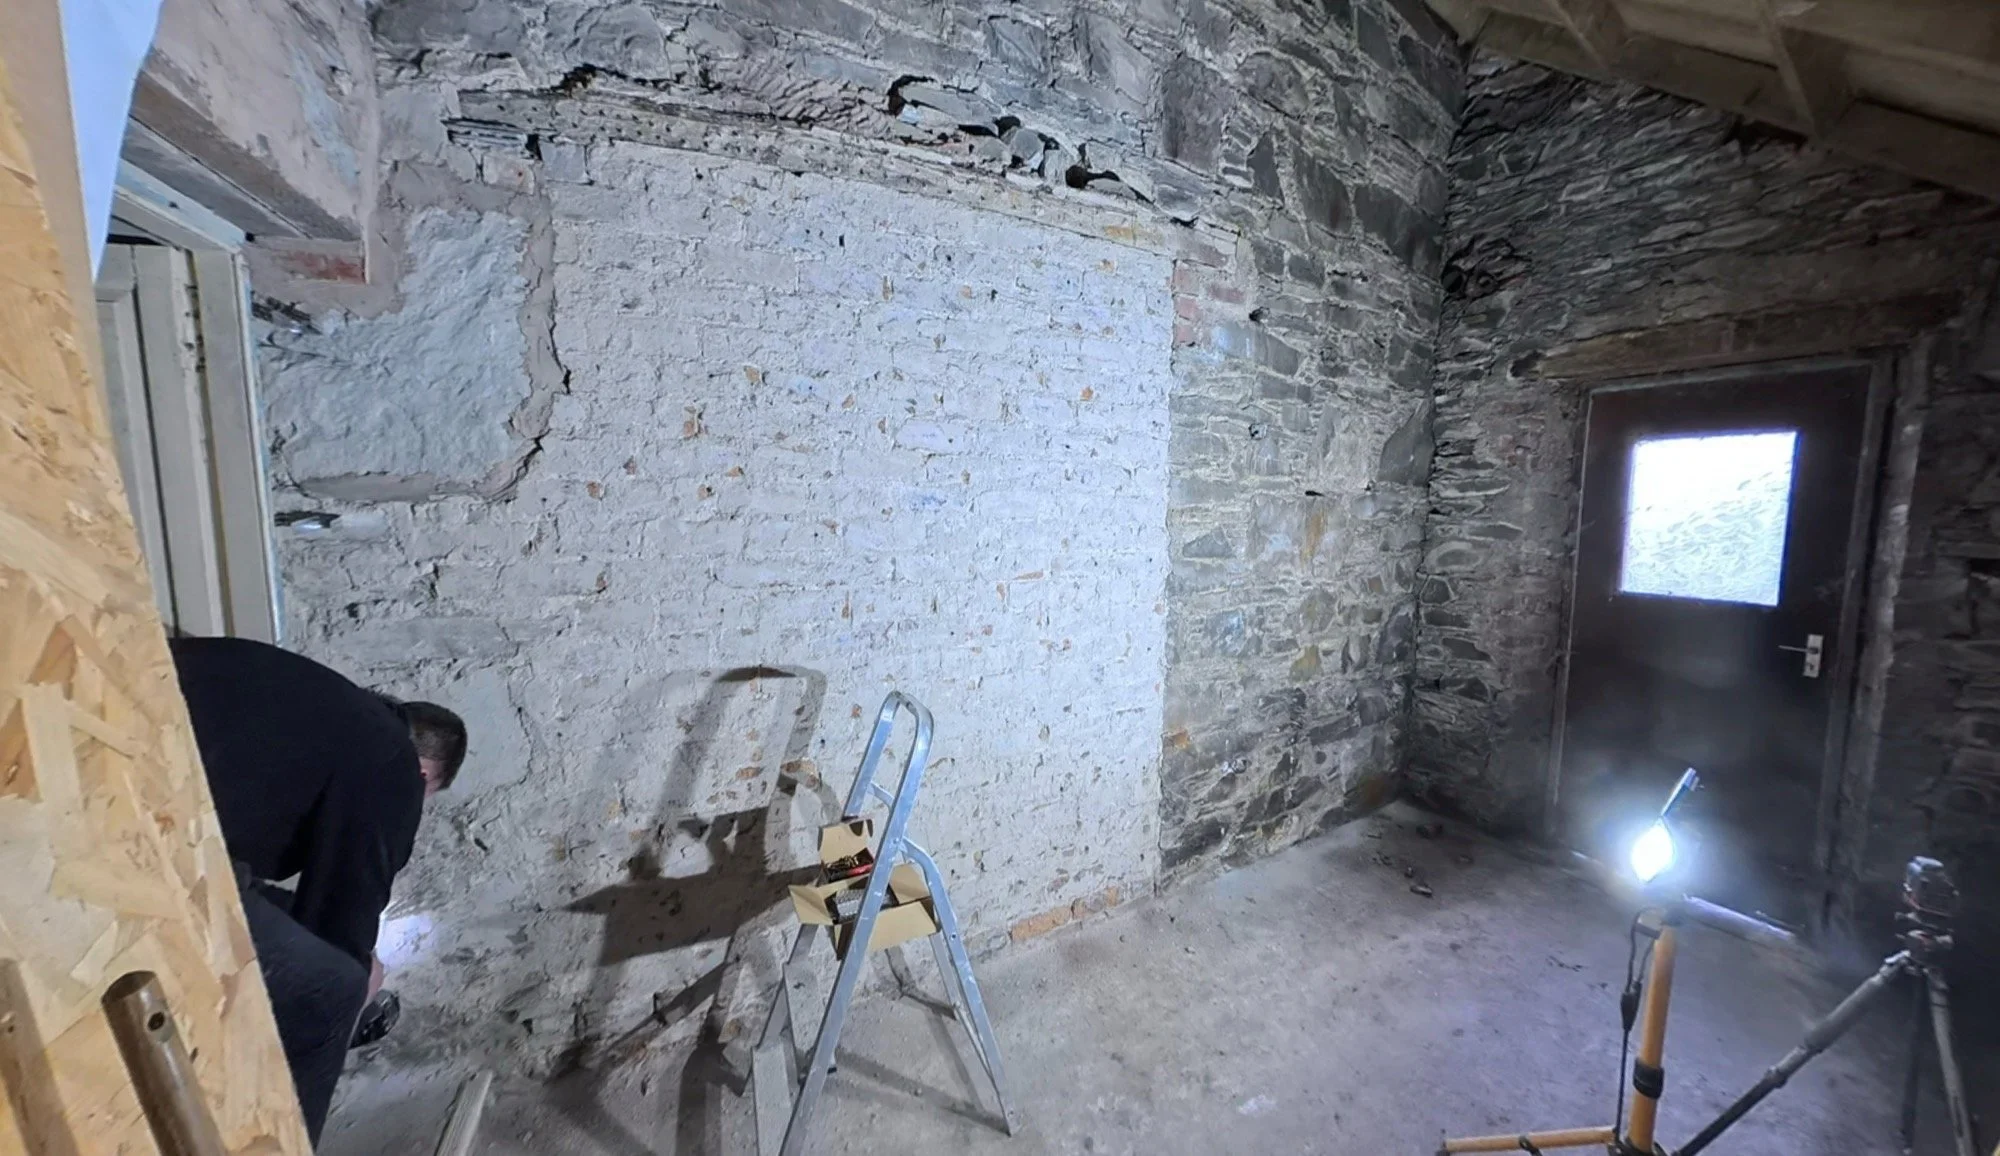
This is the old “pantry”, it had one light when we got the keys but no heating, and I don’t think it had a power socket either. This is the long section of sloping roof which collapsed when the roofers began work back in 2024. It has solid stone walls on all 4 sides with a brick section against the lounge media wall in the adjacent room. It is the home of the oil boiler, so we’ve already got electric running there, but other than that, it is still a stone shell. It didn’t need to be anything, so it wasn’t yet, until now.
So we move…
If you haven’t seen it, there’s a video explaining the rough plan on all of our socials, but here is a link to one for ease.
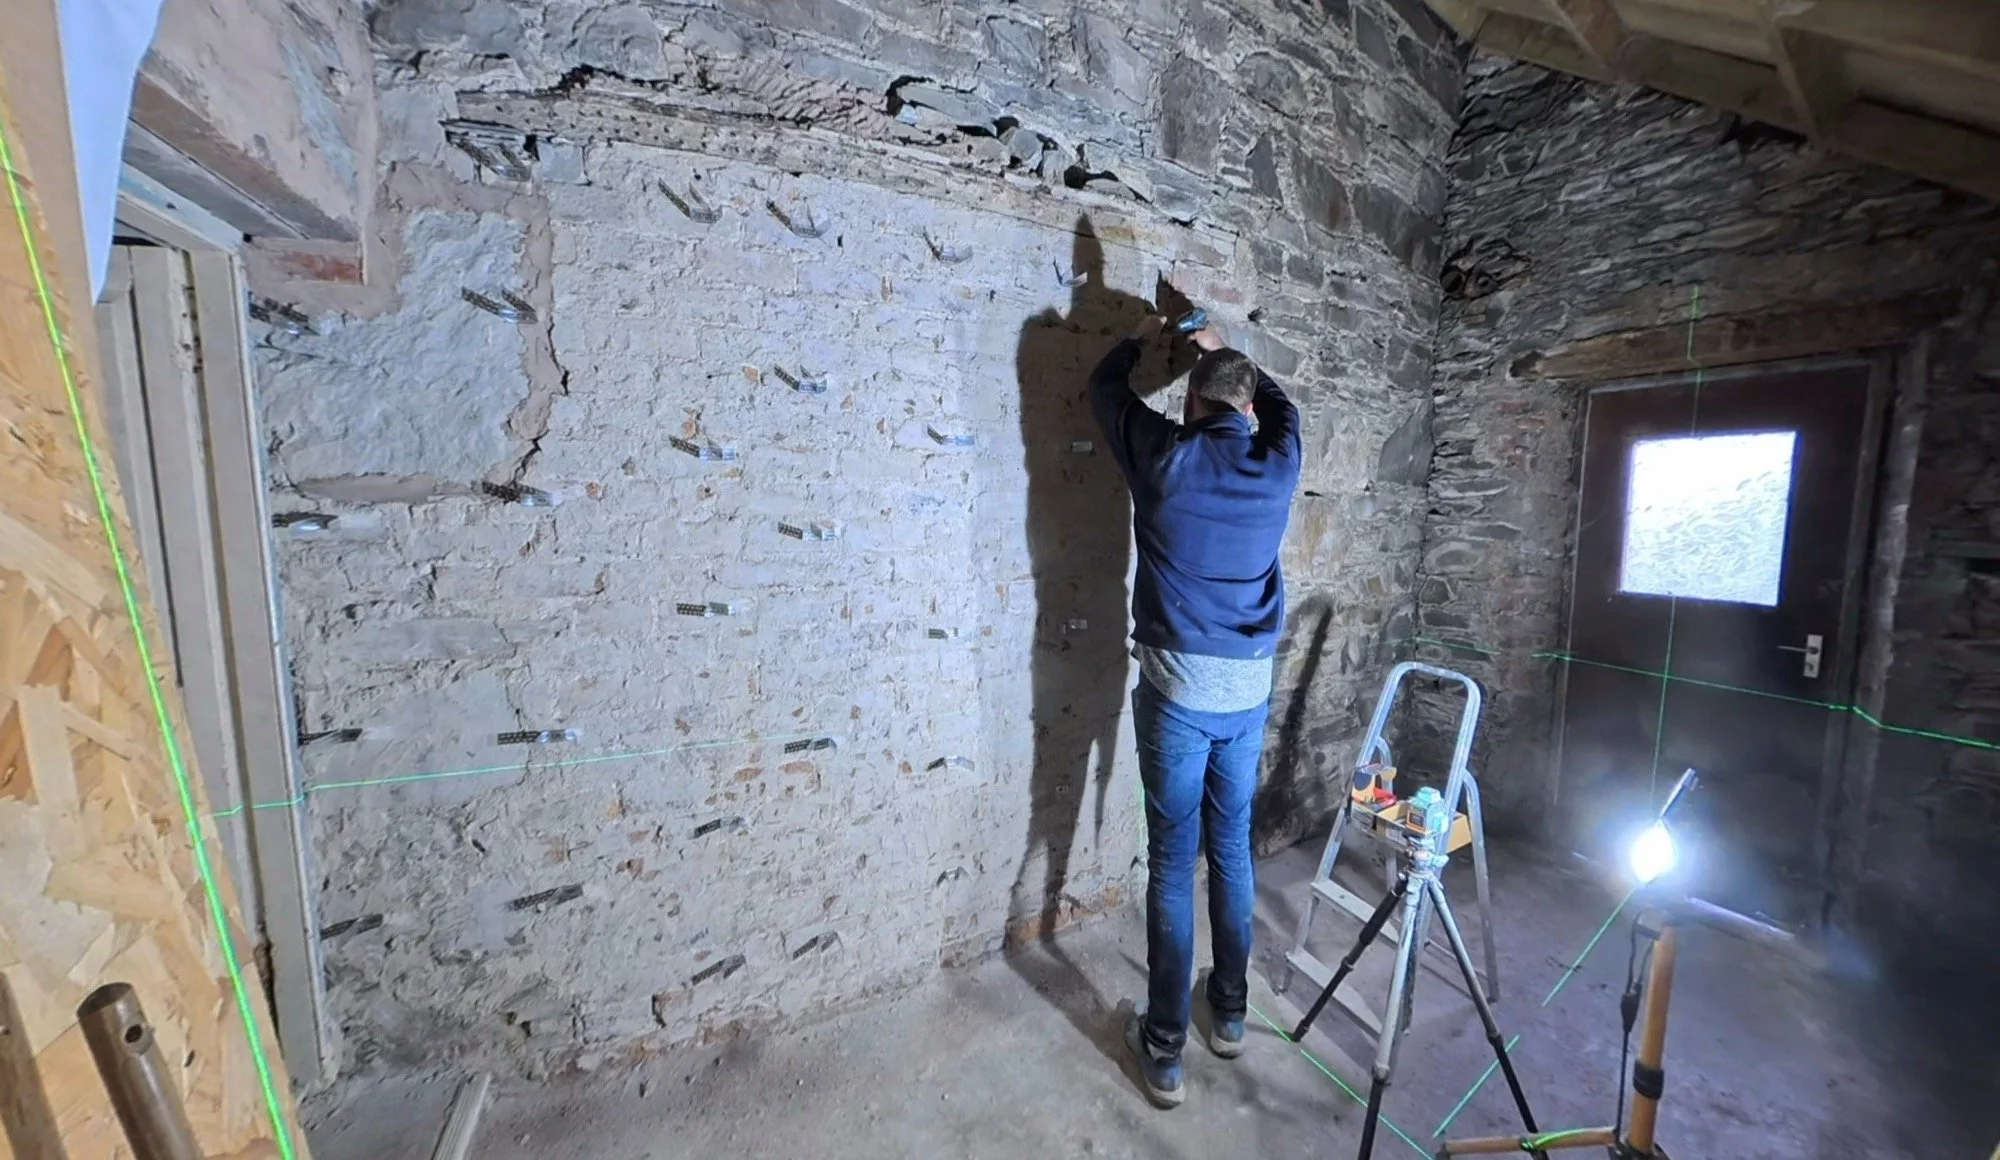
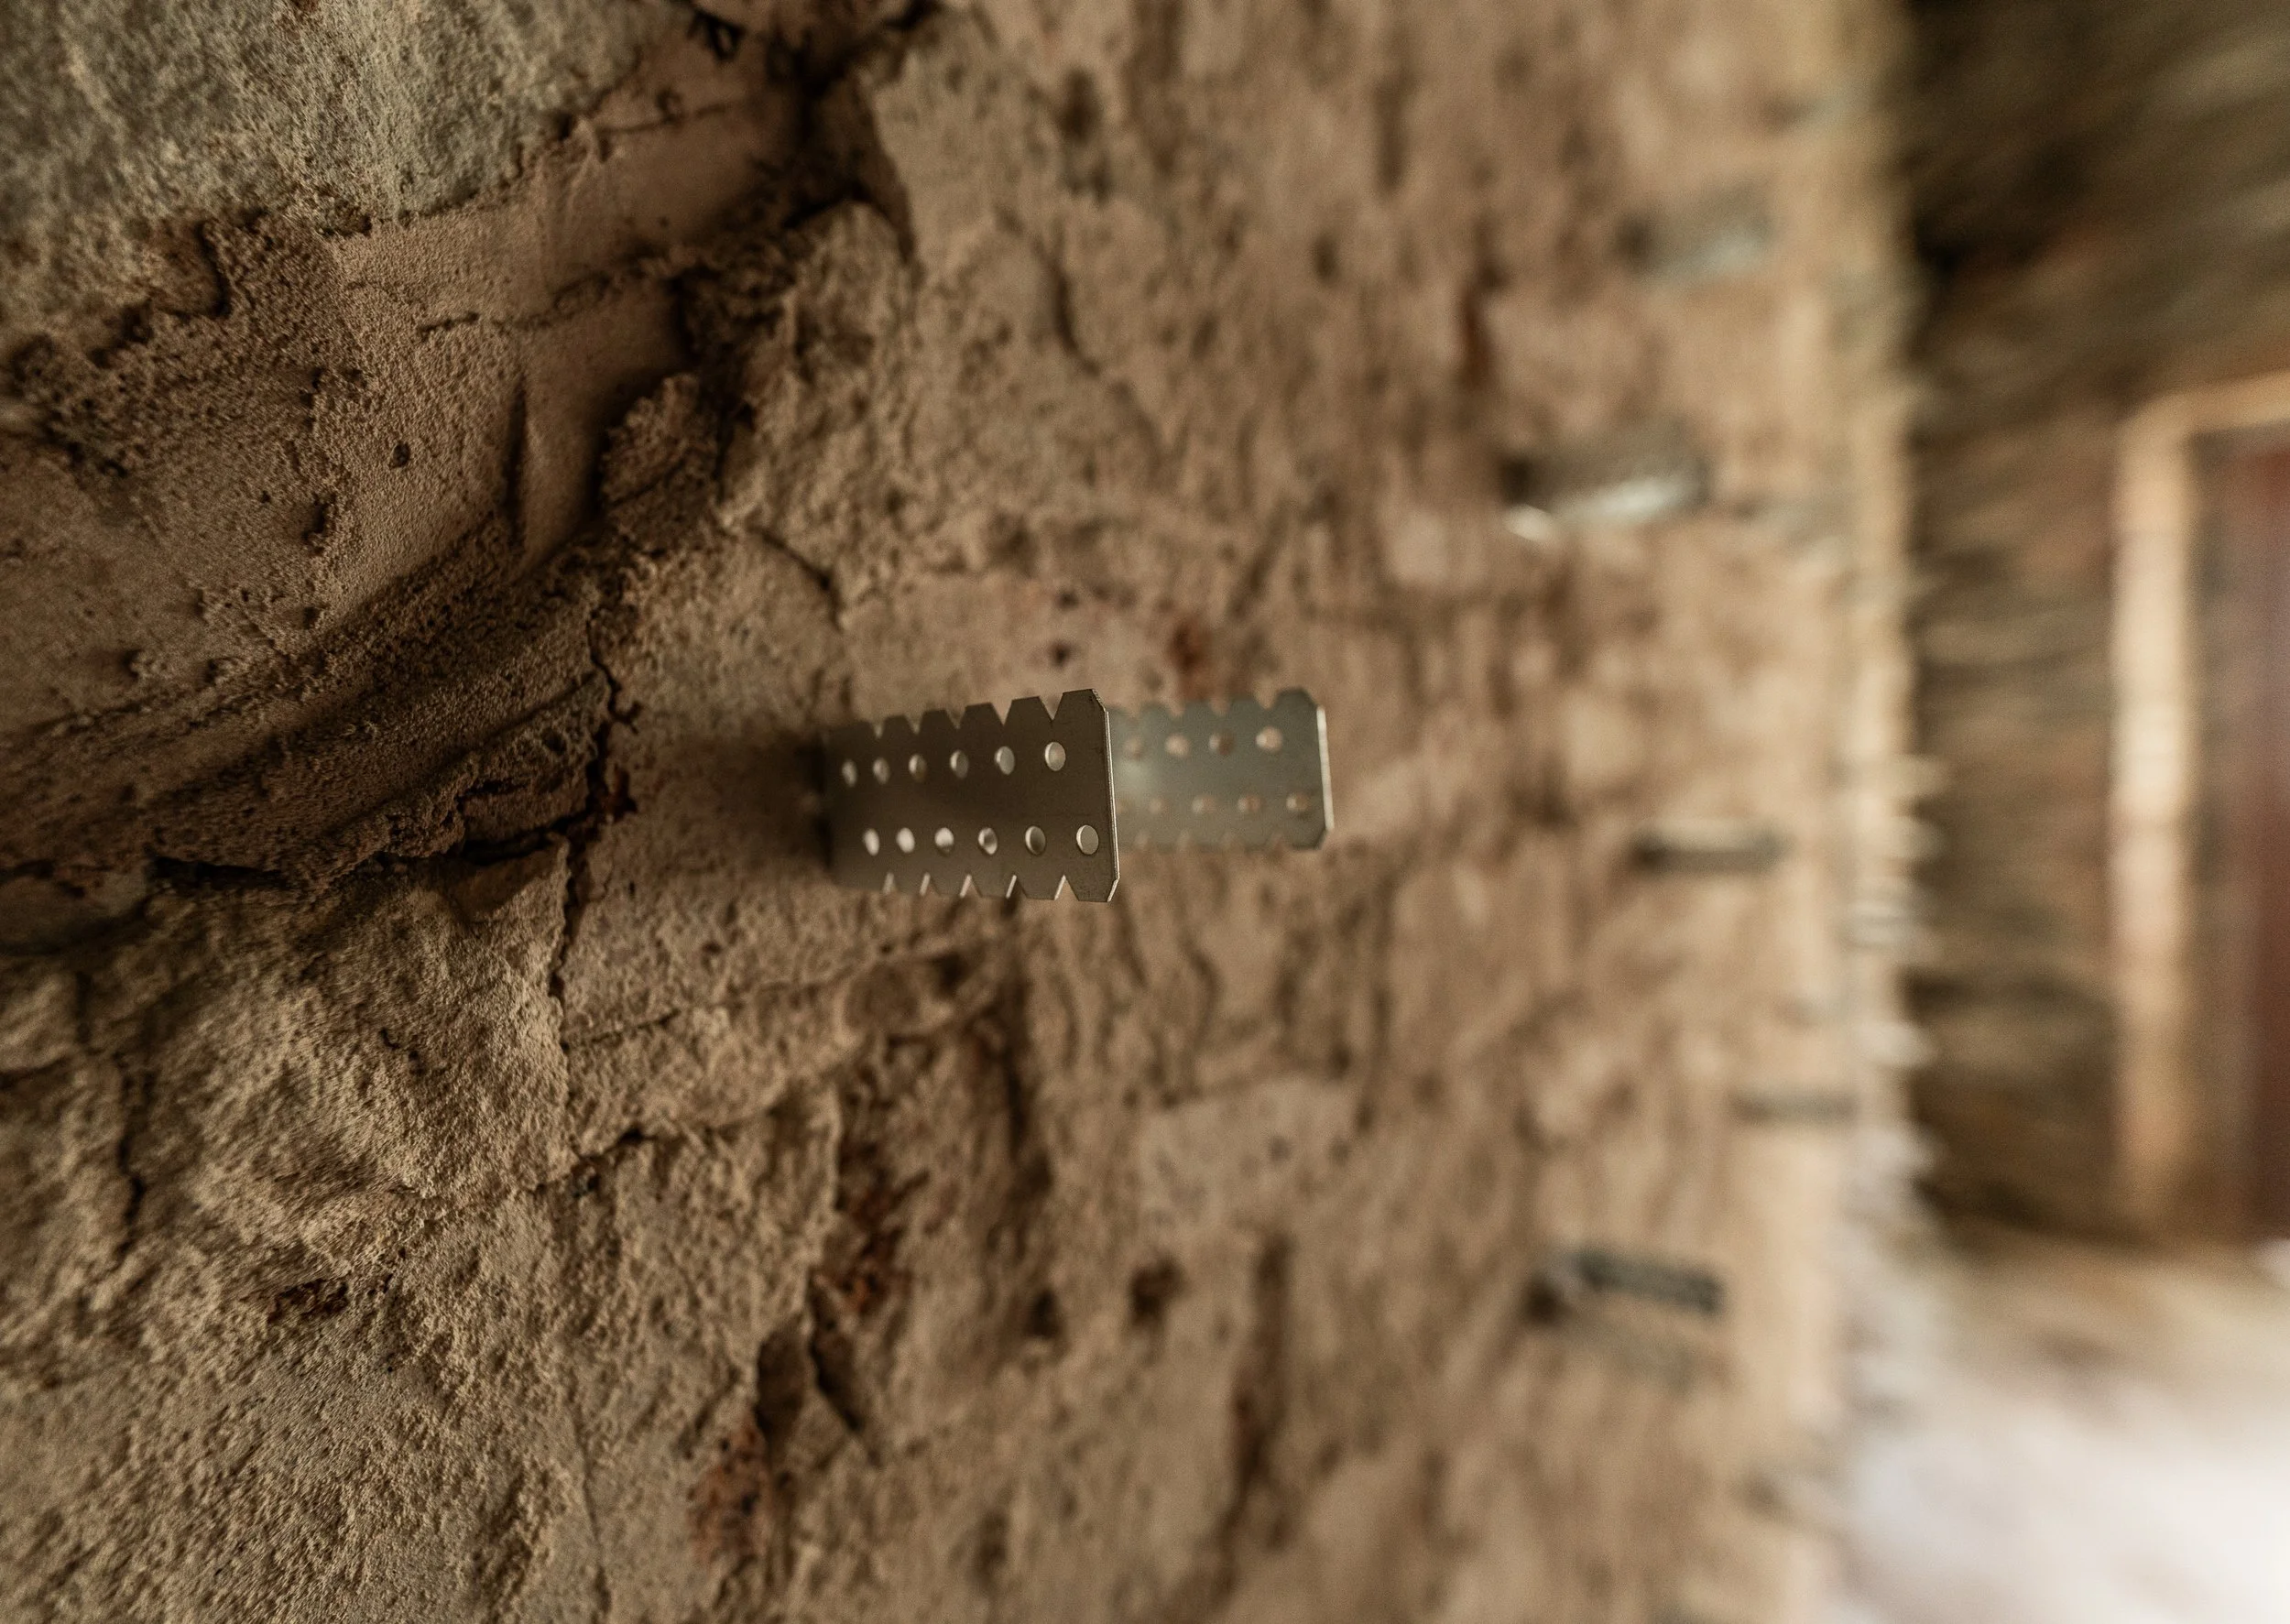
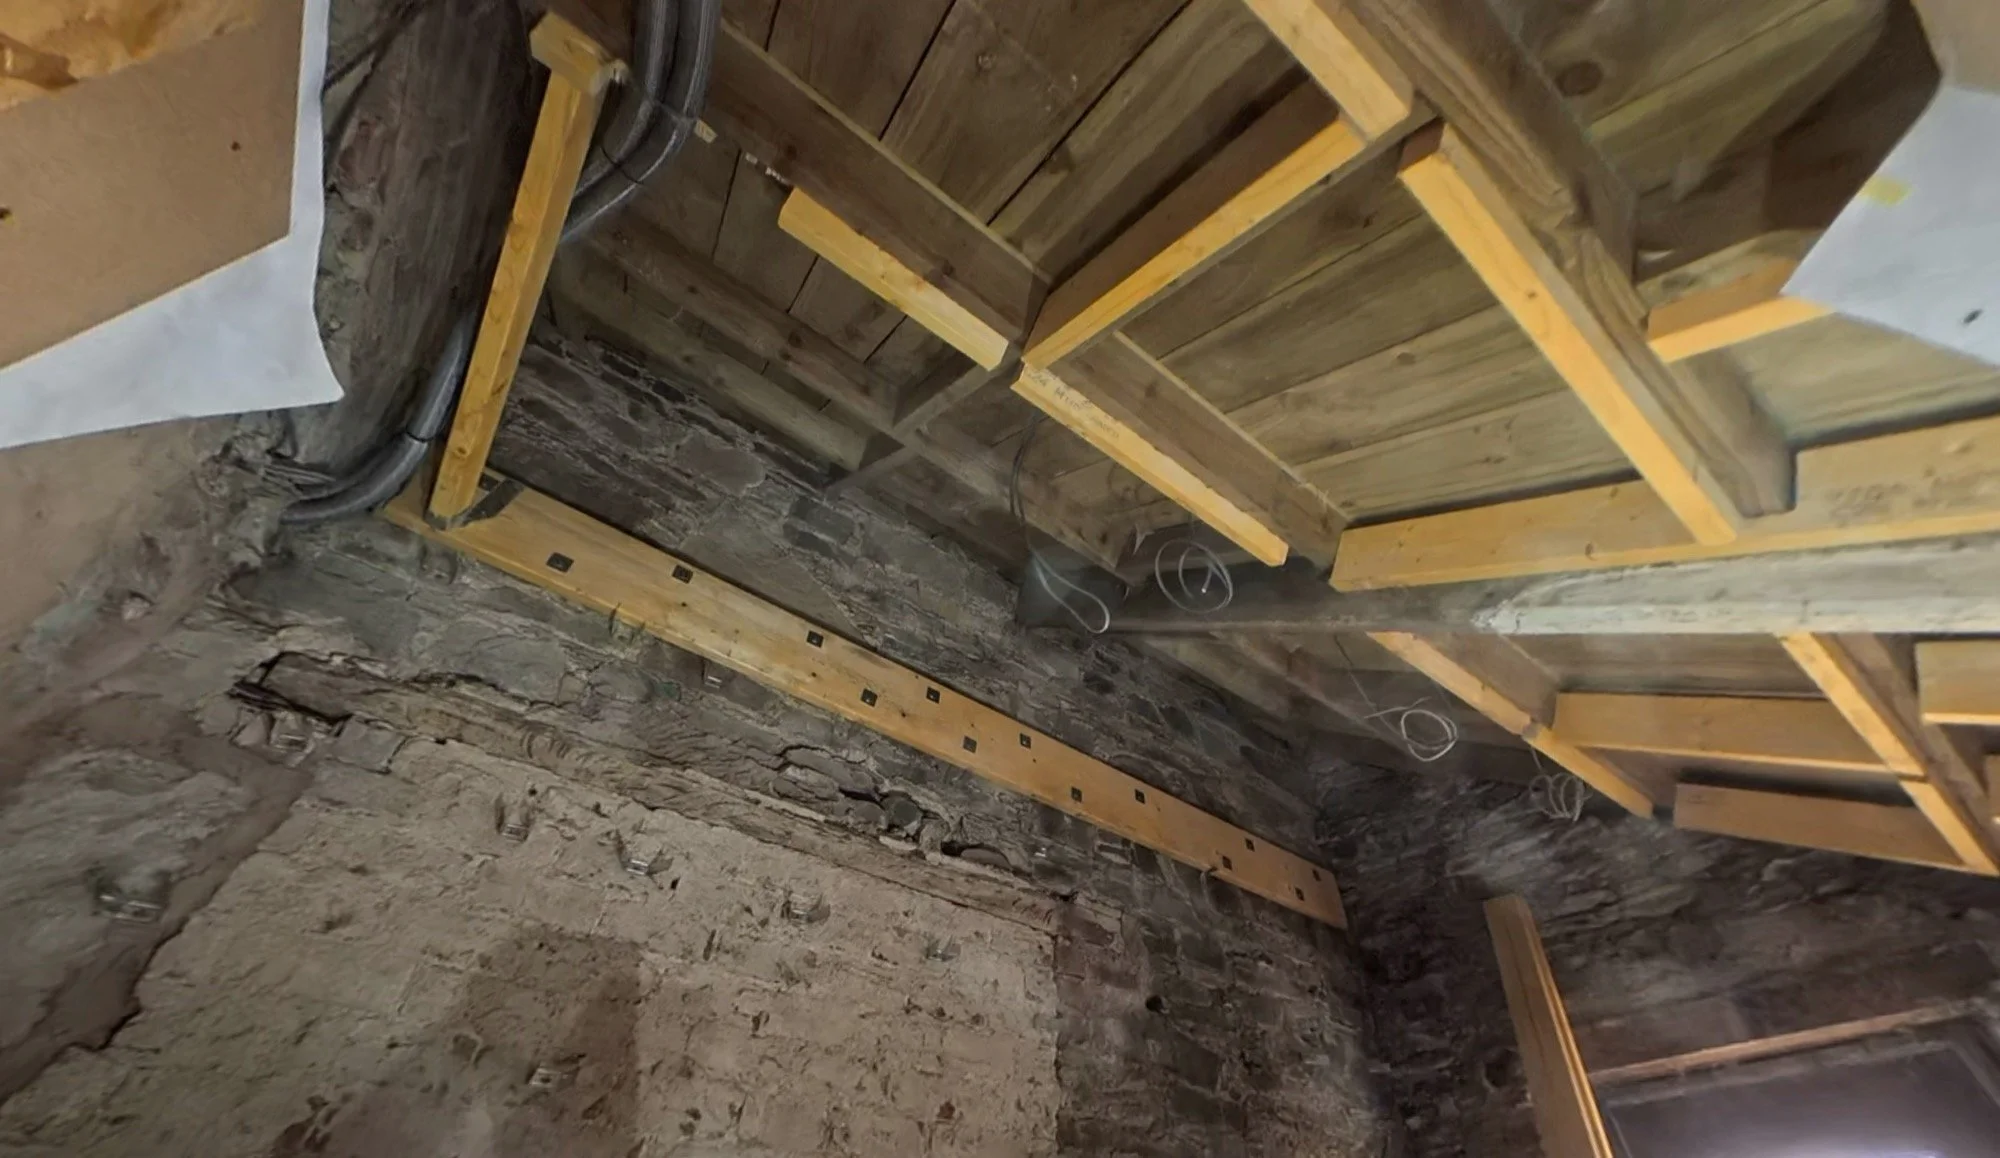
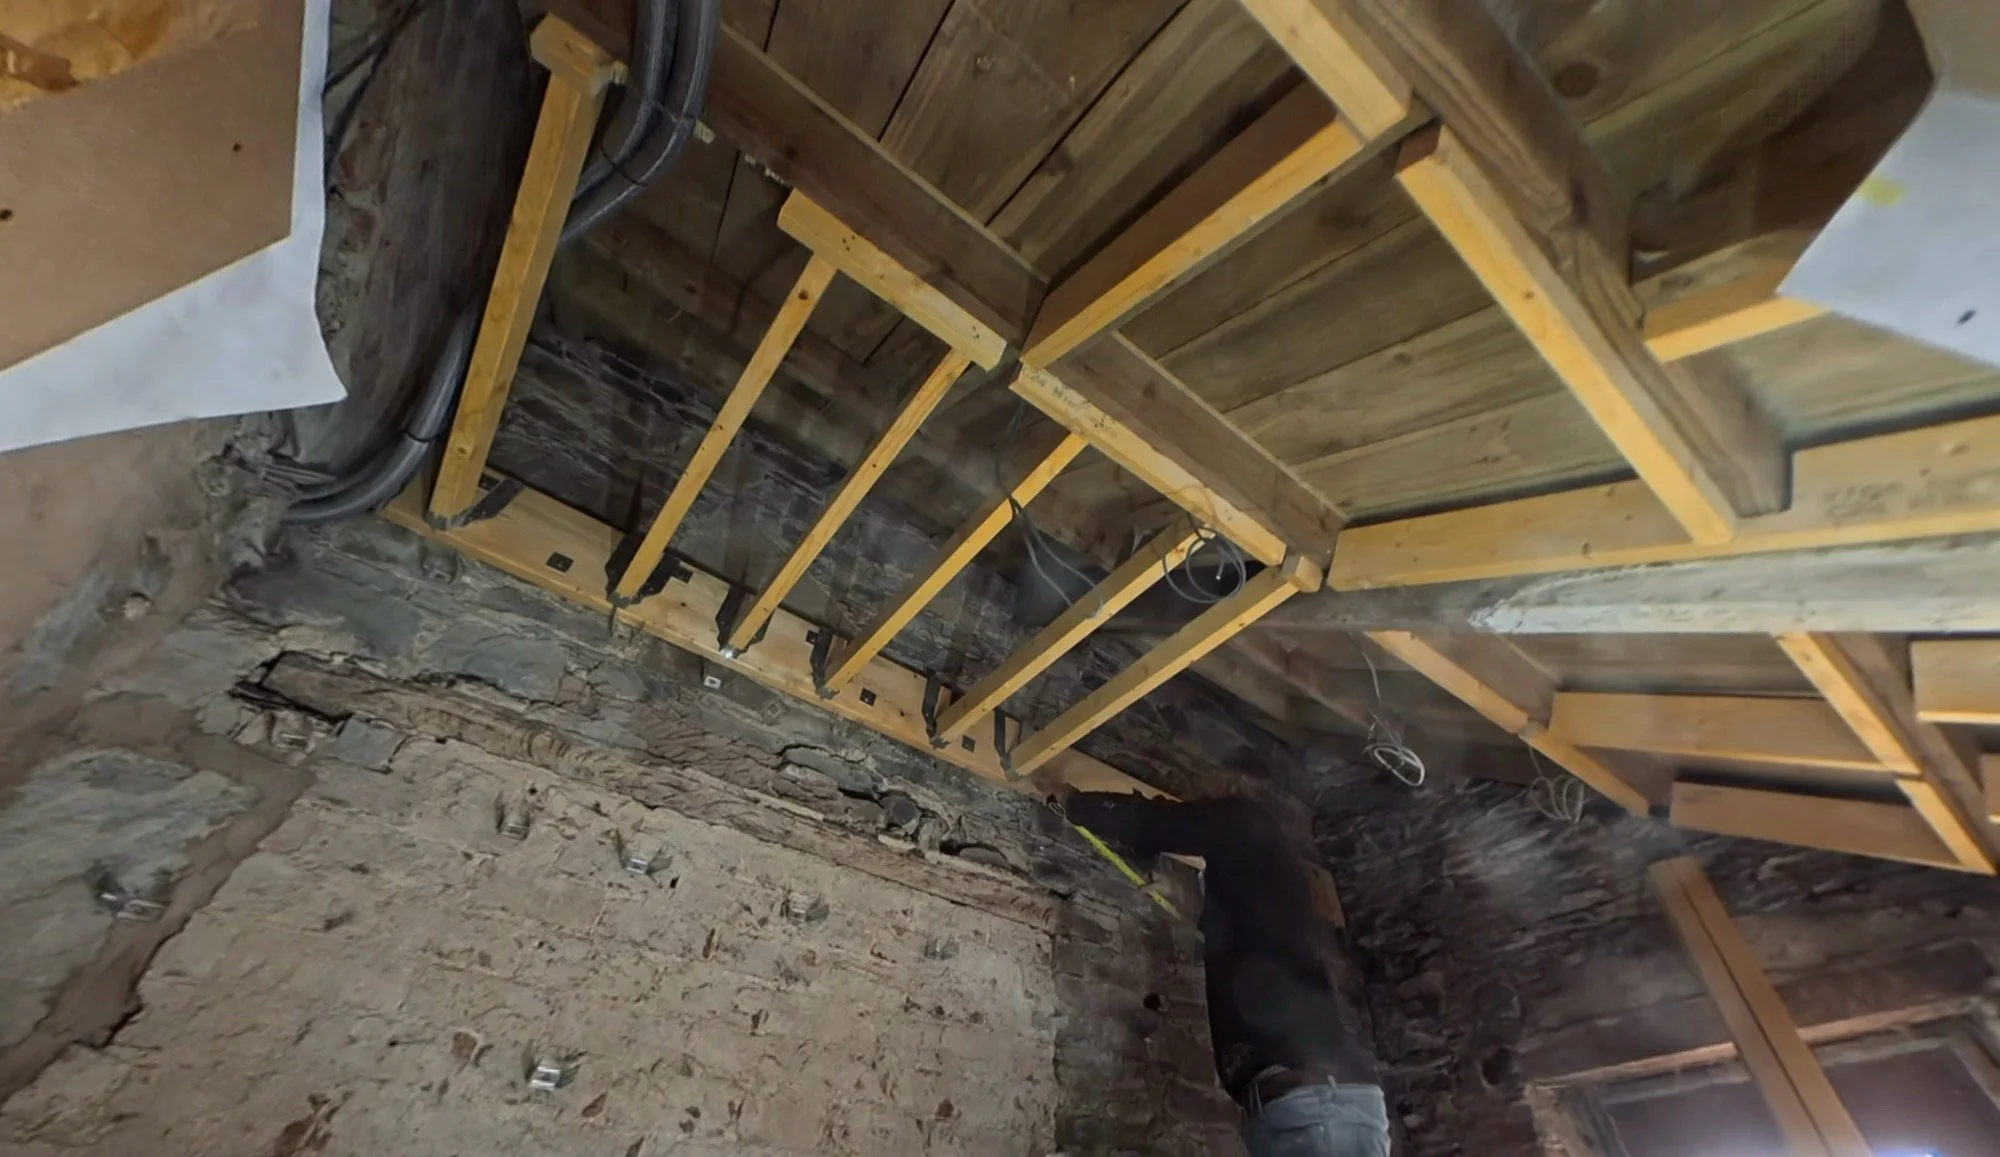
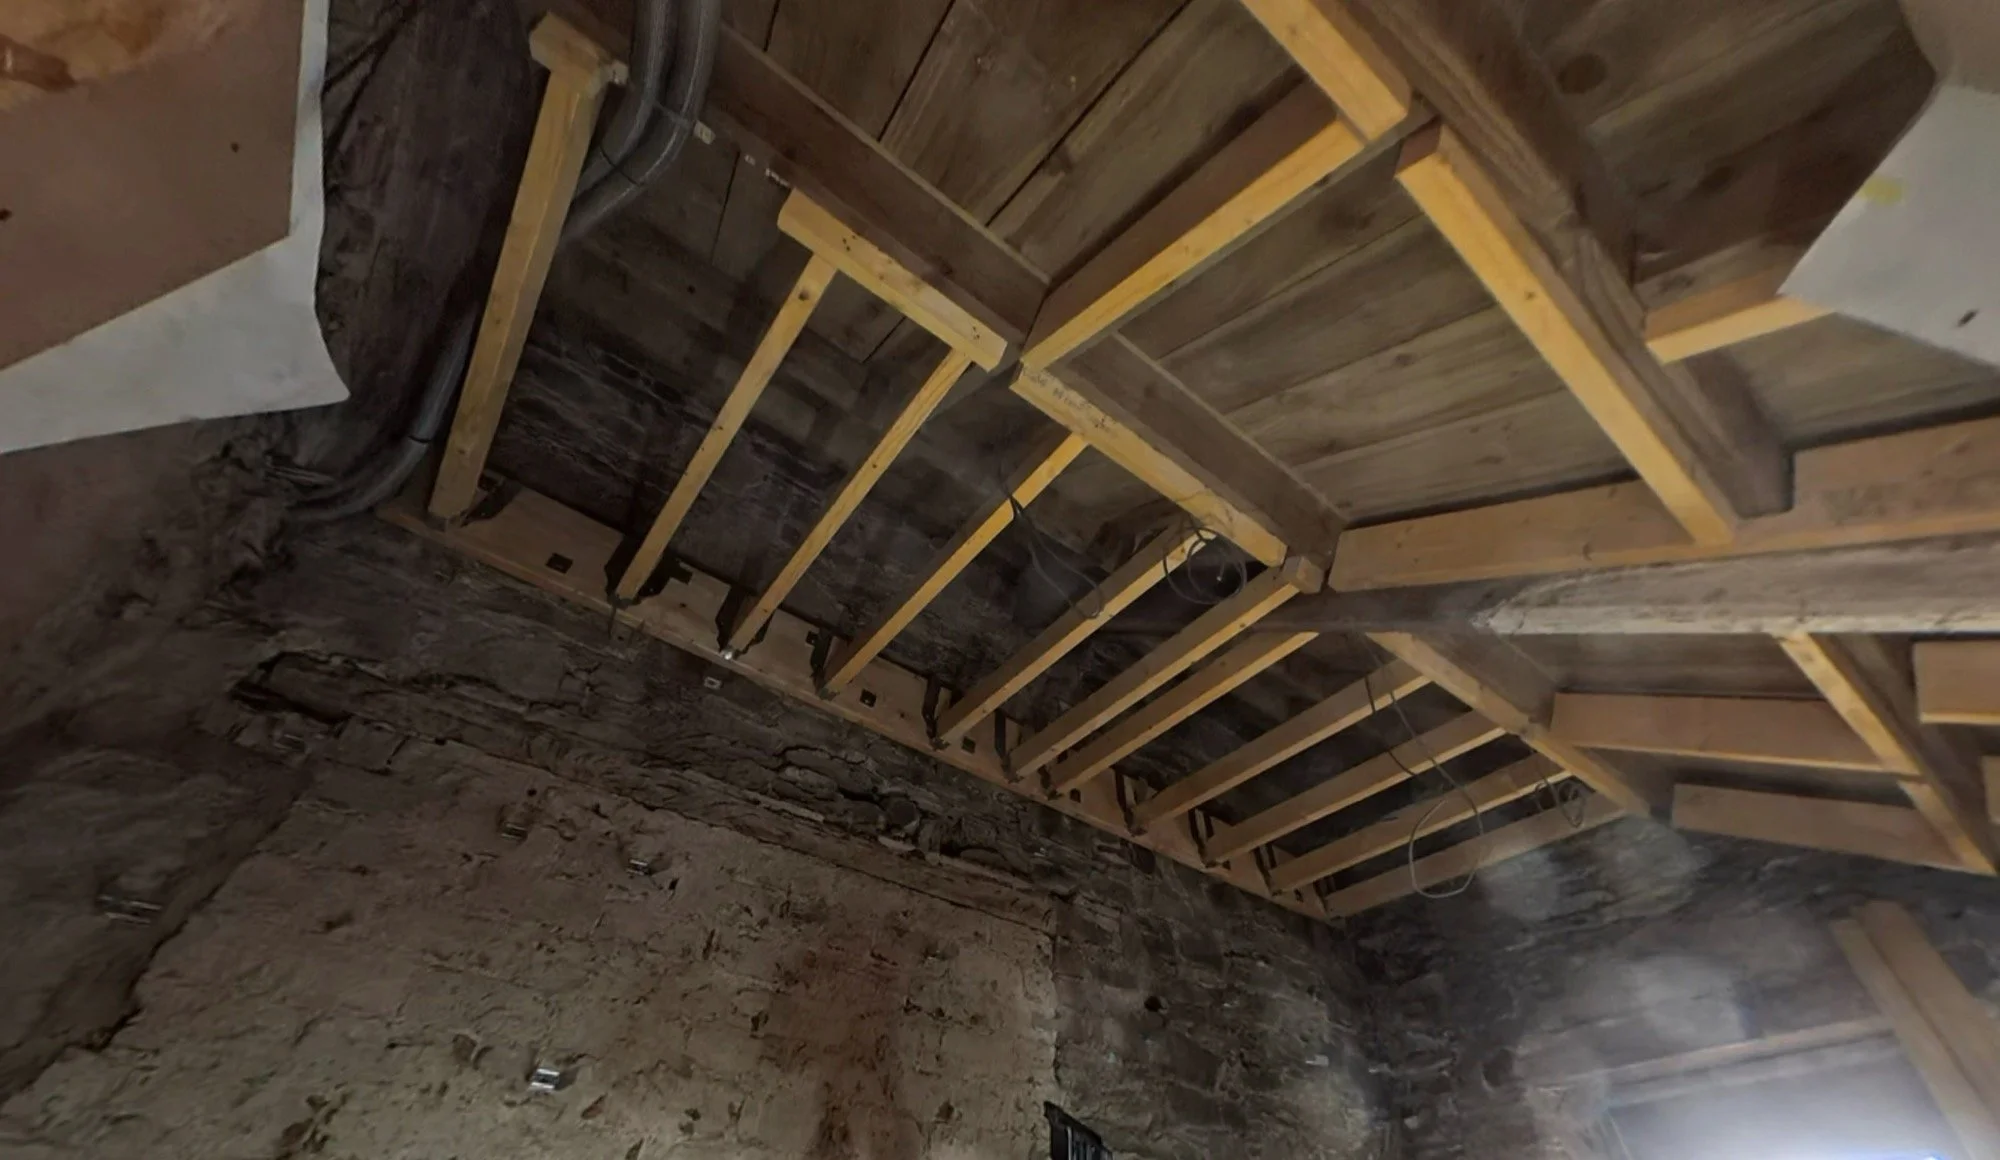
This week Dan cleared out this space which took an entire day (paint and bits store room!), and then began the process of studding it out and adding a ceiling to cap the void. The first step was adding the stud brackets to the walls to give us the ability to use straight boards on uneven stone:
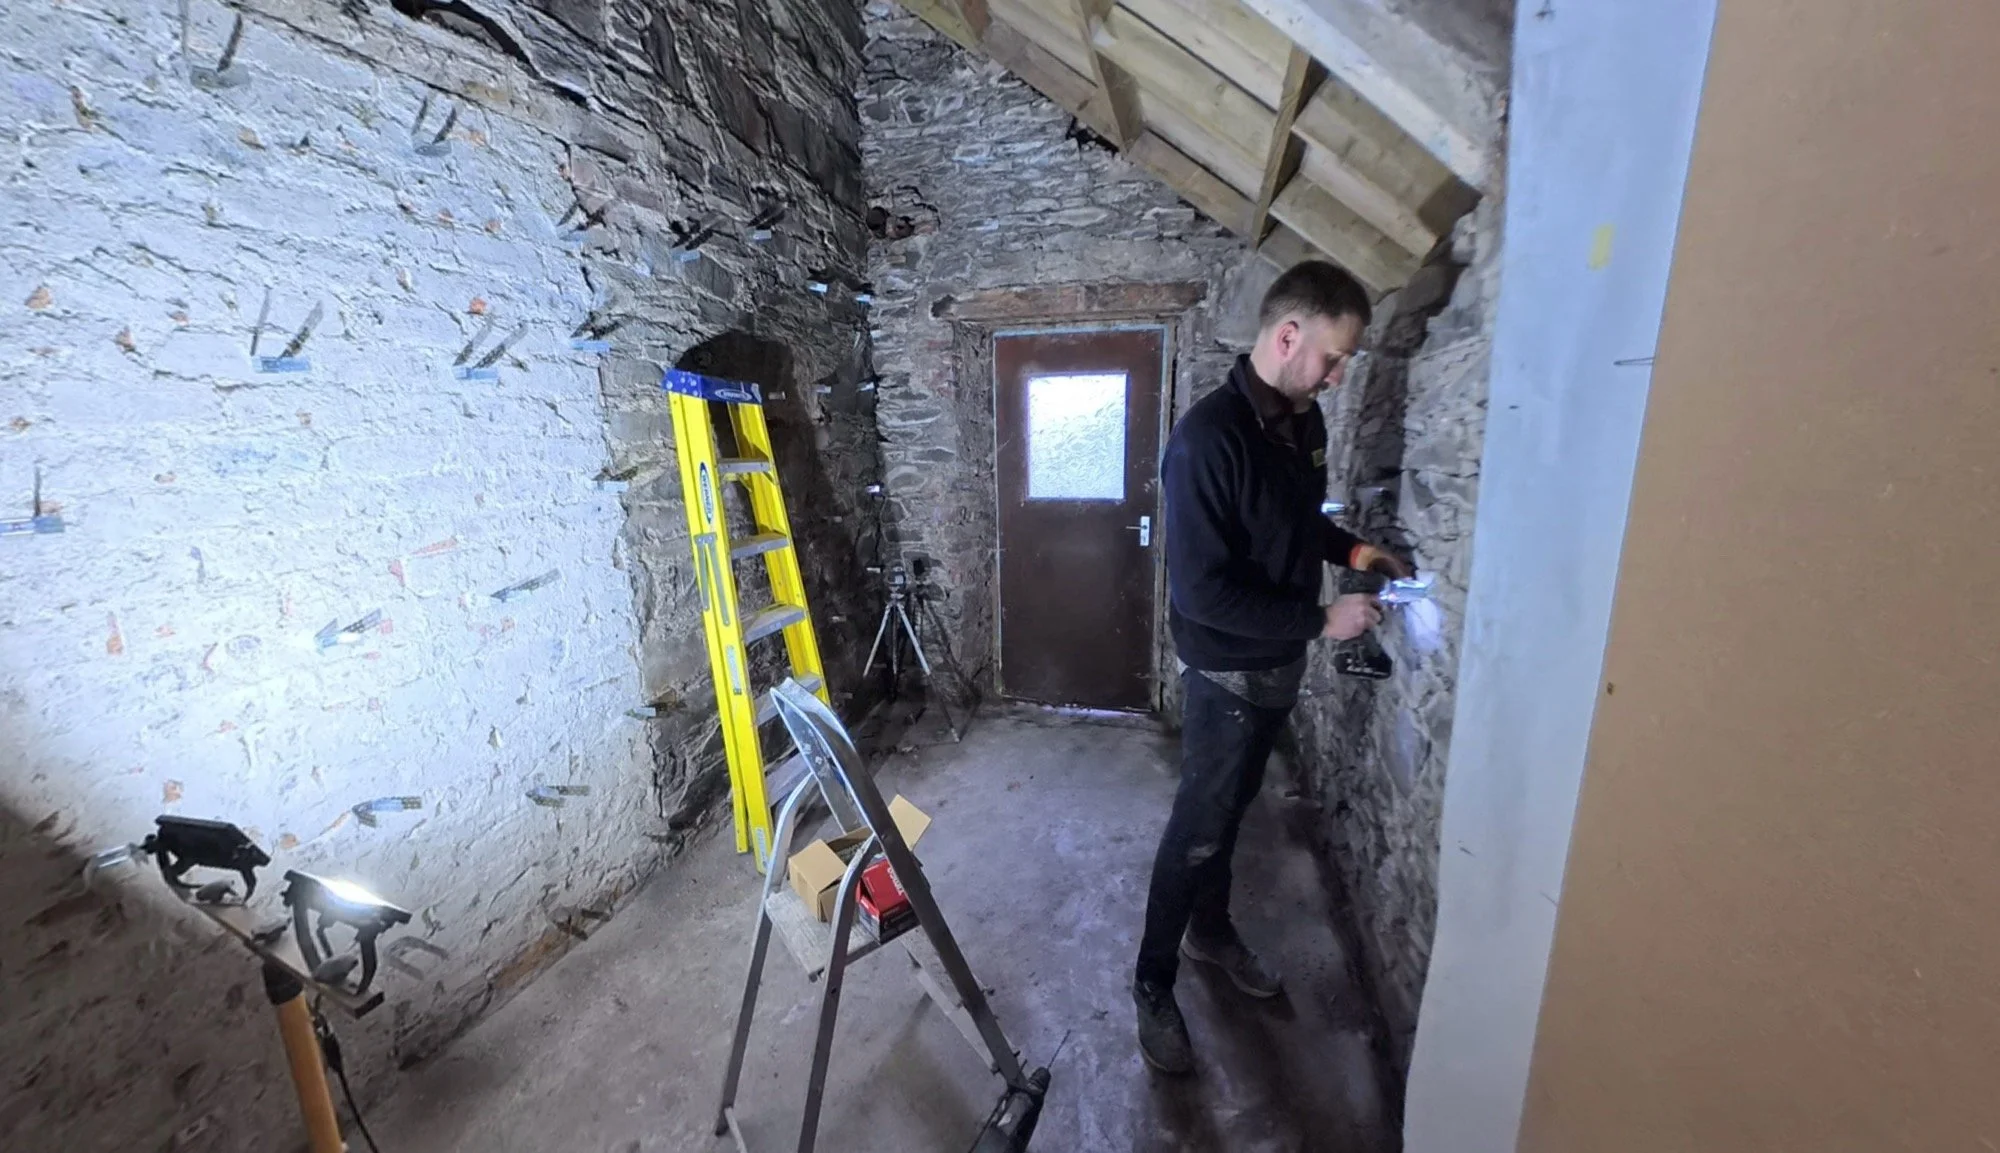
Kenny also ran cables for 3 spotlights to sit in the new ceiling, giving good light to each end of this space, along with an external outdoor light, both of those switches and a socket too.
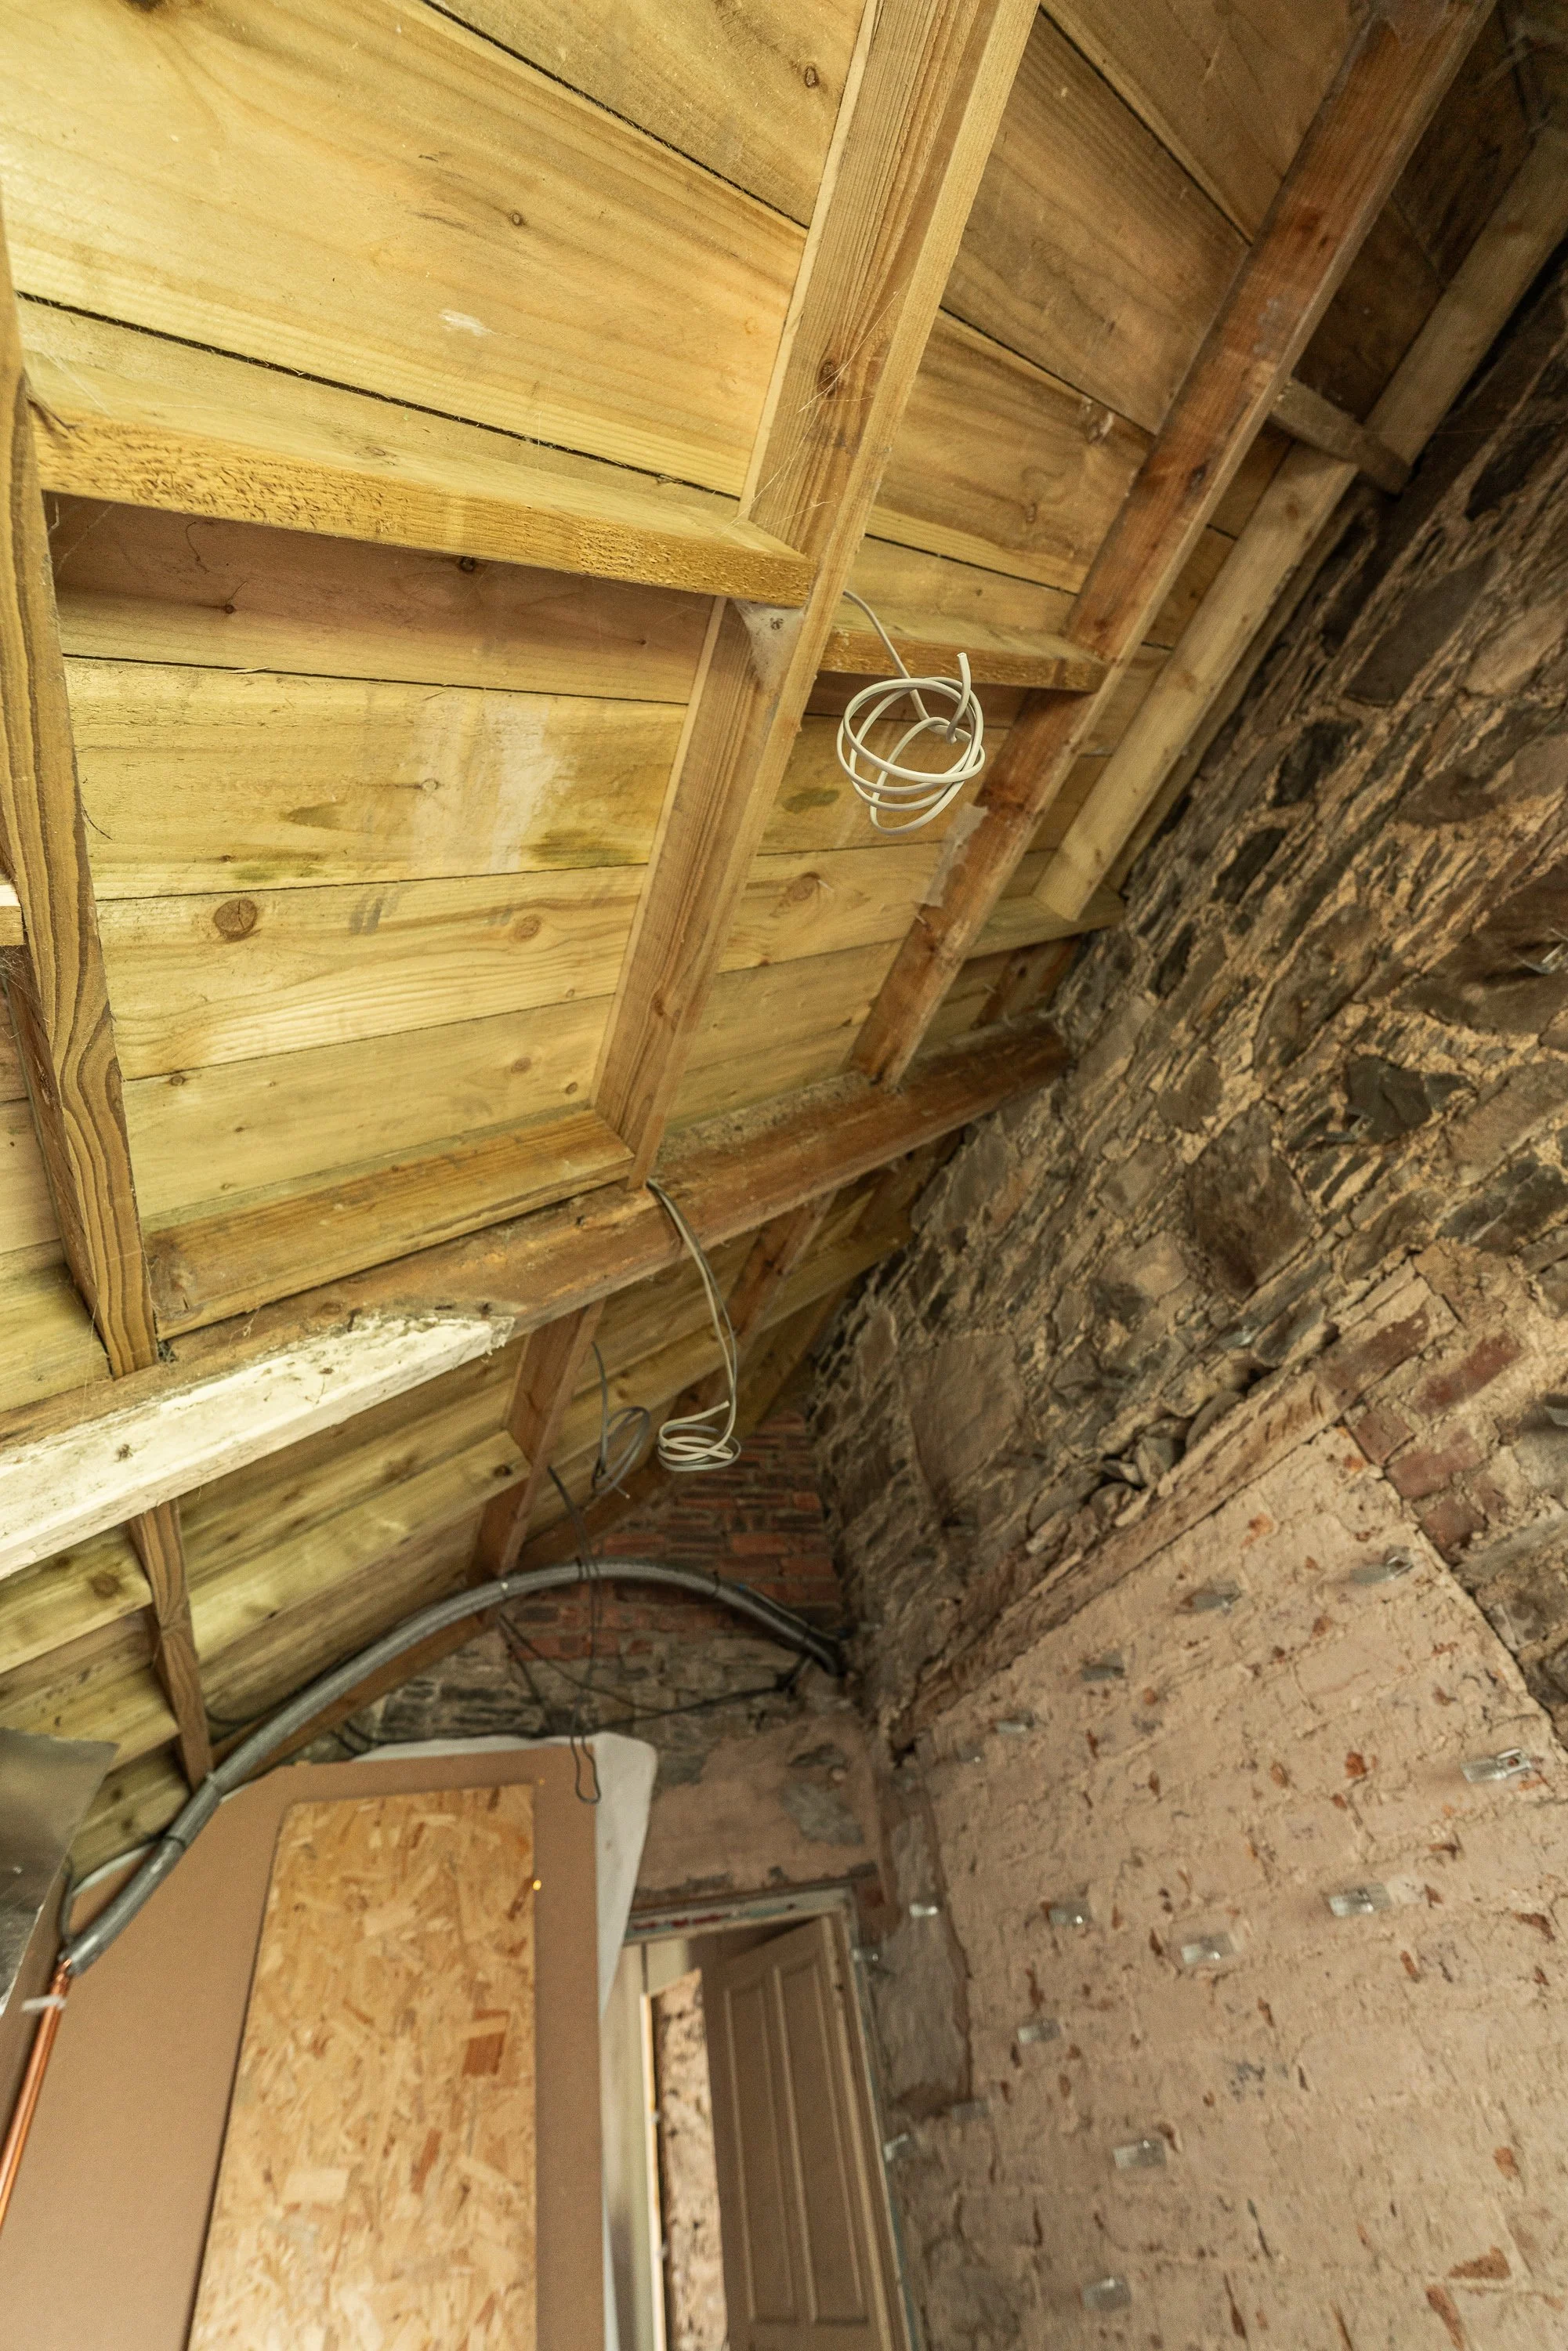
Next, Dan used some good old ingenuity to get a beam up onto the wall at the new ceiling height to mark, drill and fix the support into place.
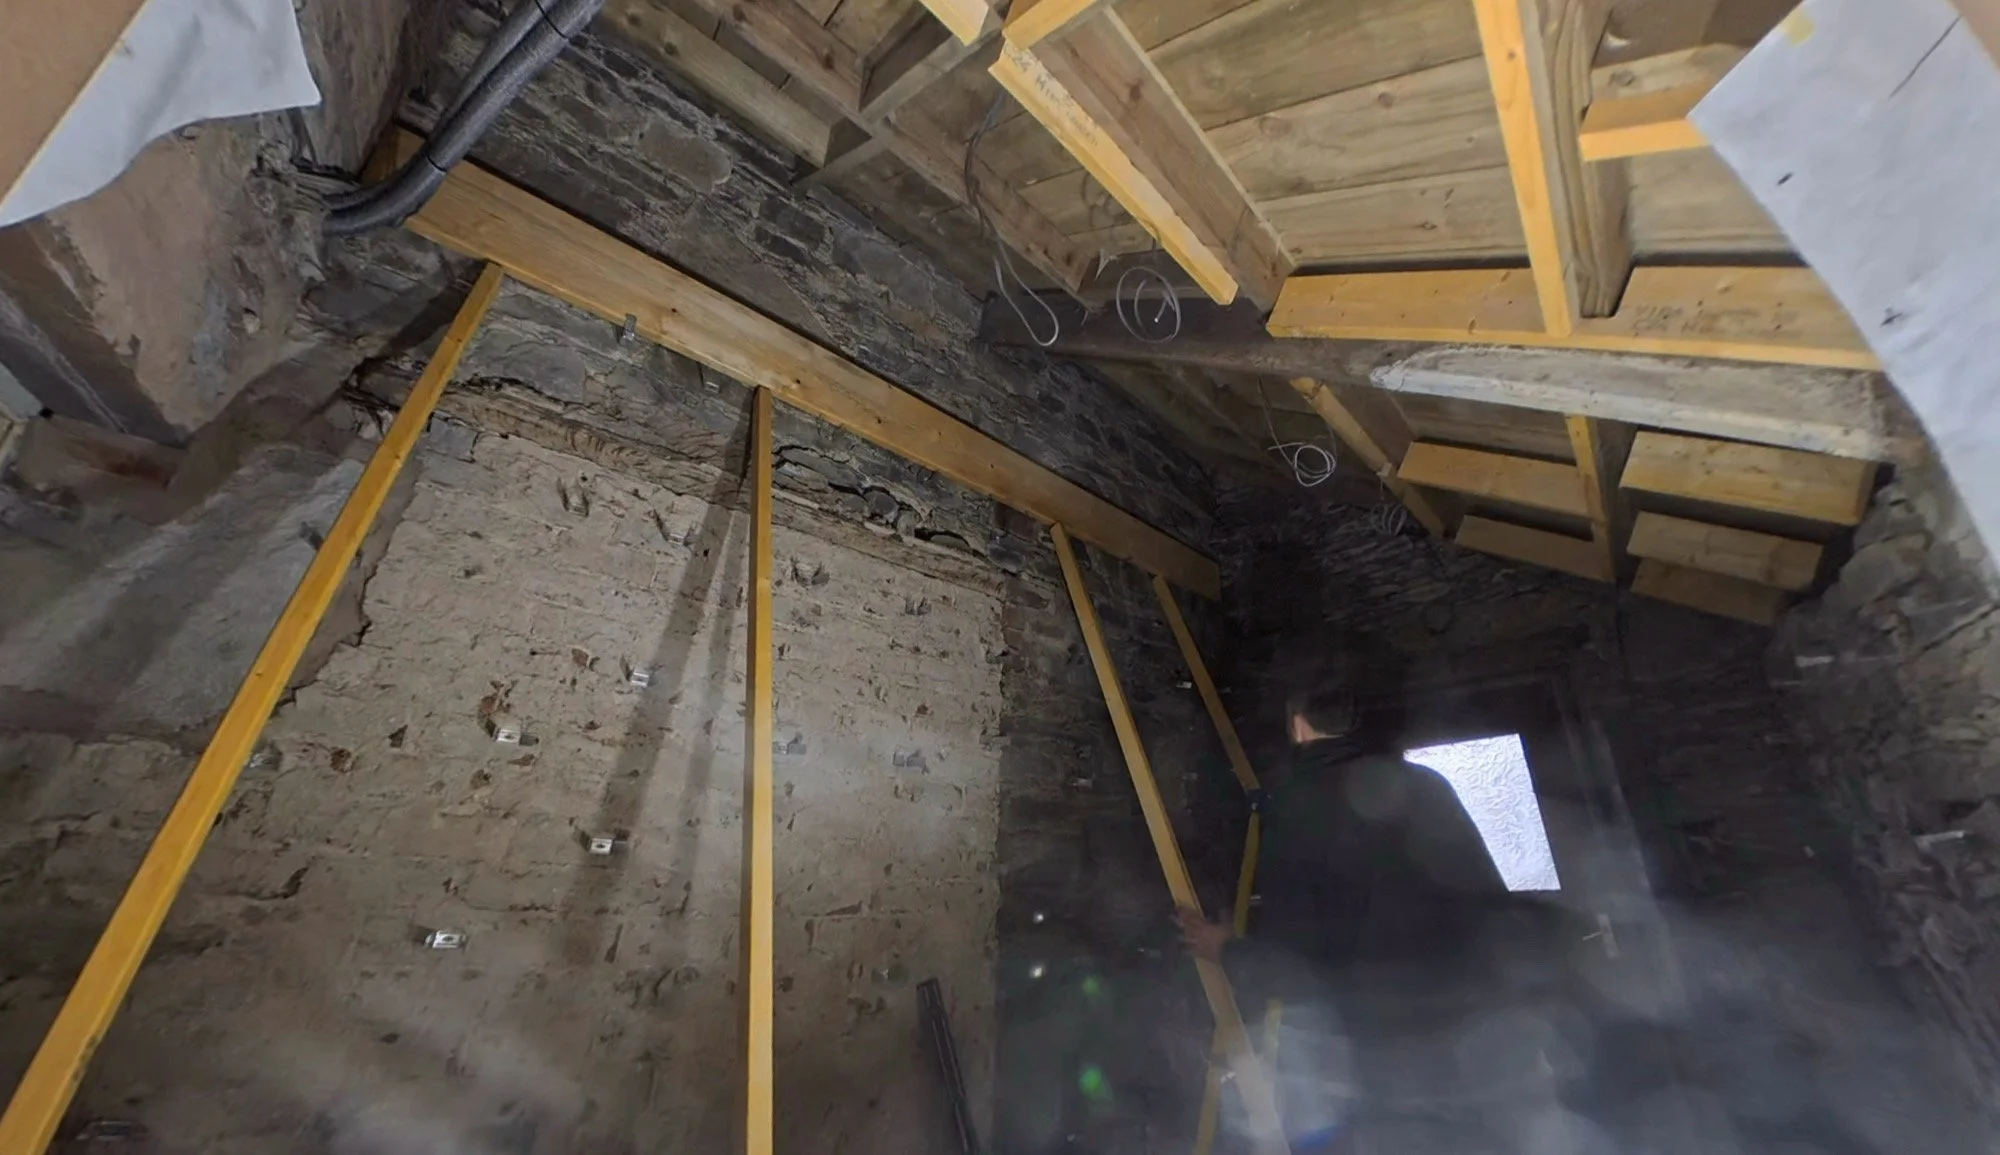

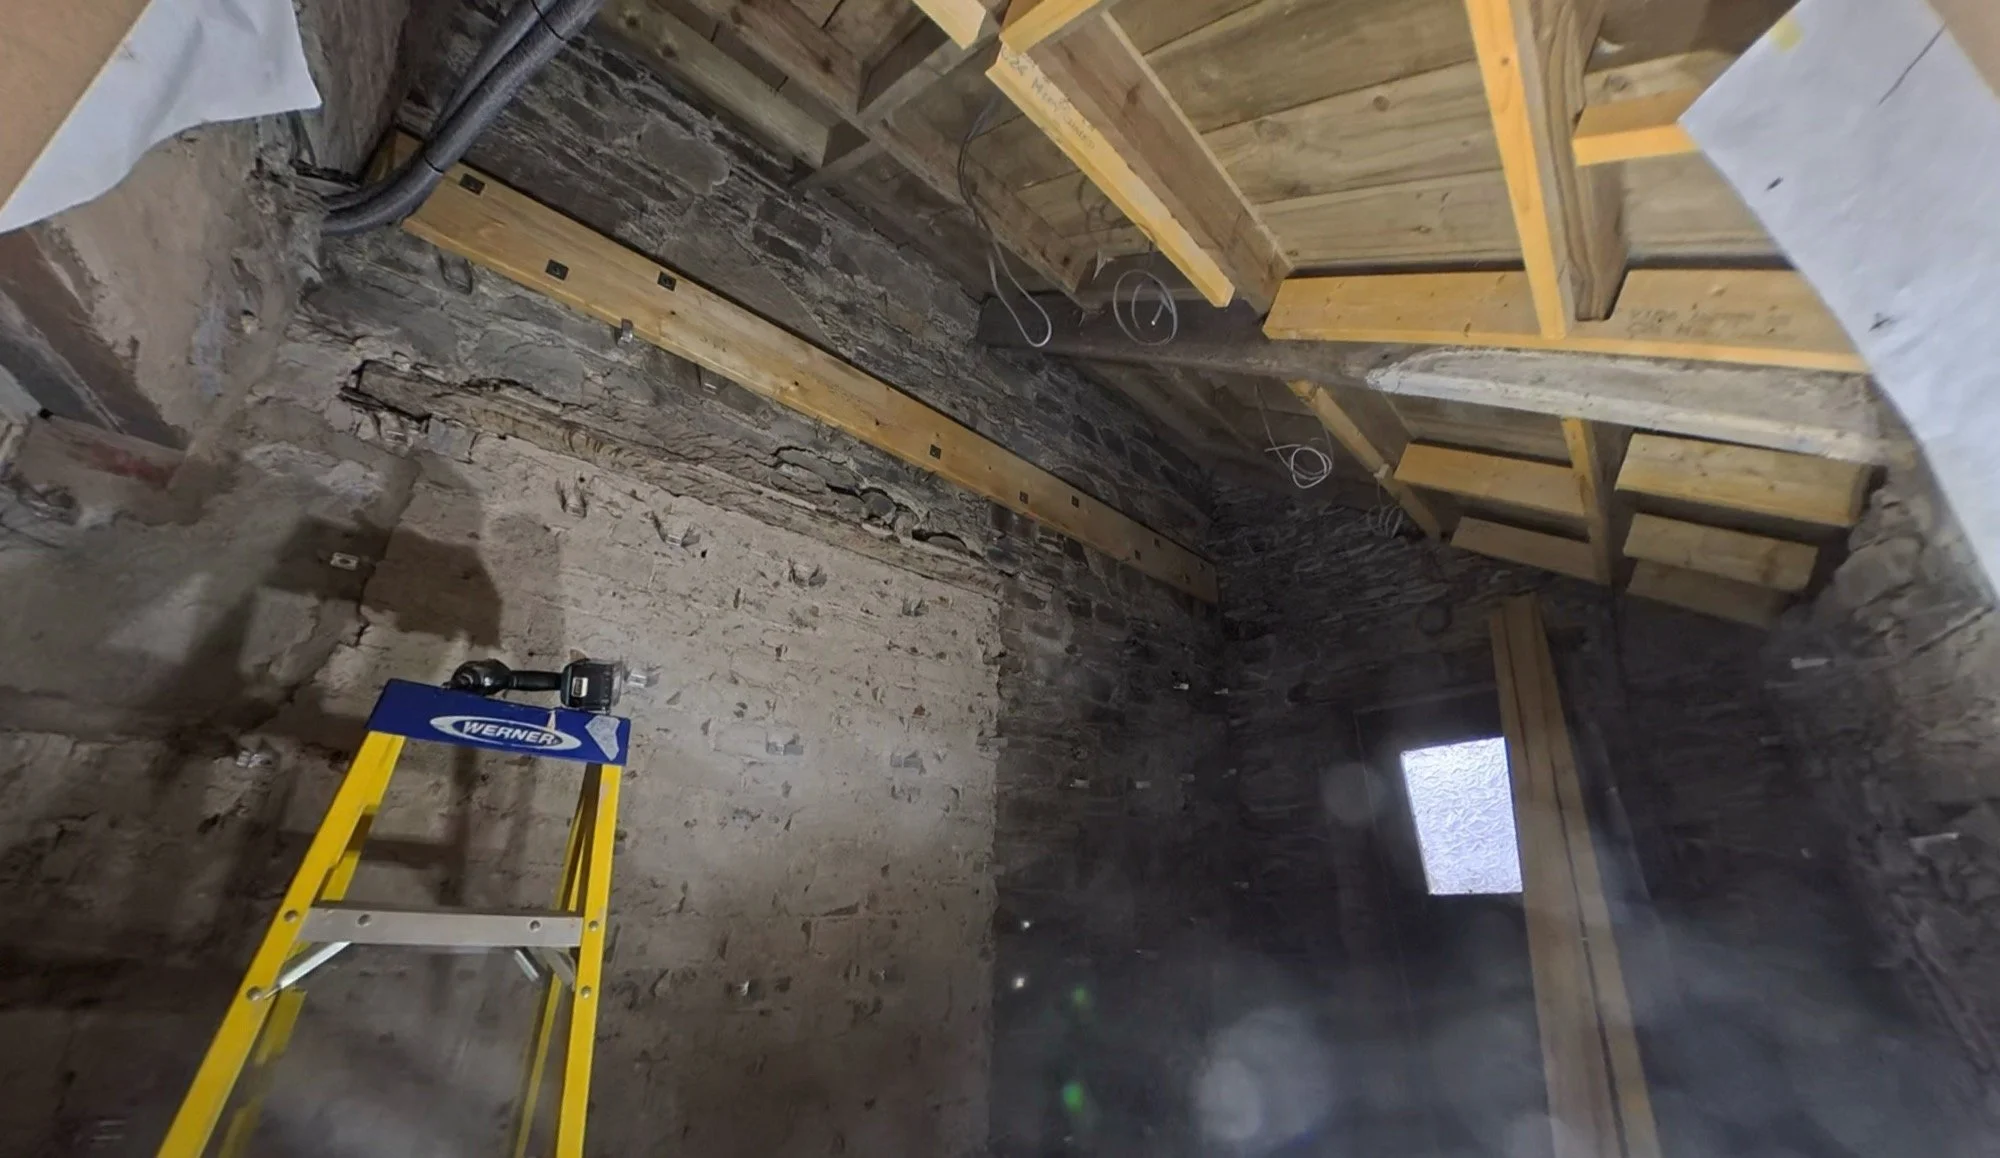
Then, he used some fairly industrial hangers to get some cross beams into place, meeting some framing that he’d sneakily already done on the sloped side. This provides multiple incredibly solid fixing points for board underneath, and gives good cover for battens holding in deep insulation:
Next week, the plumbers are due to run pipework for a hefty 5500BTU rad to sit in this room. Fingers crossed it all goes to plan and the room continues at the speed it currently is 🤞
At the time of writing (Saturday night), the first of the wall studs has just been attached, but we’re both exhausted this week so calling it a night with Pizza and we’ll kick off again tomorrow!